Our 30-day decluttering challenge will make your home so tidy
Spruce up your life


Get small space home decor ideas, celeb inspiration, DIY tips and more, straight to your inbox!
You are now subscribed
Your newsletter sign-up was successful
I'll admit it: I’m the queen of clutter. I’m forever leaving things in the wrong place, or not tidying up properly after I’m done with an item. As I write this, I’m sat at my desk surrounded by Christmas decorations and stacks of magazines on my desk. And sadly, my cleaning hacks aren’t going to save me from the sheer amount I need to get through.
If you’re like me and have loads of messes around the house but aren’t sure where to start, I’ve got you. Welcome to the official 30-day decluttering challenge. I’ve devised this checklist, breaking down what needs to be done each week by room, and then each day by section.
You’ll only need to spend 15 minutes a day tops on each area, which is much more manageable than tackling everything at once. So whether you live in a rental or small apartment, by the end of the month you’ll have a tidy home.
Sounds good? Then get ready, as it’s officially it’s time to de-clutter…
The ultimate 30-day decluttering challenge
Every seven days, you’ll finish a room and move on to the next one. This way, you can keep making steady progress. Then, on the last two days, you'll move onto the smallest area: the hallway.
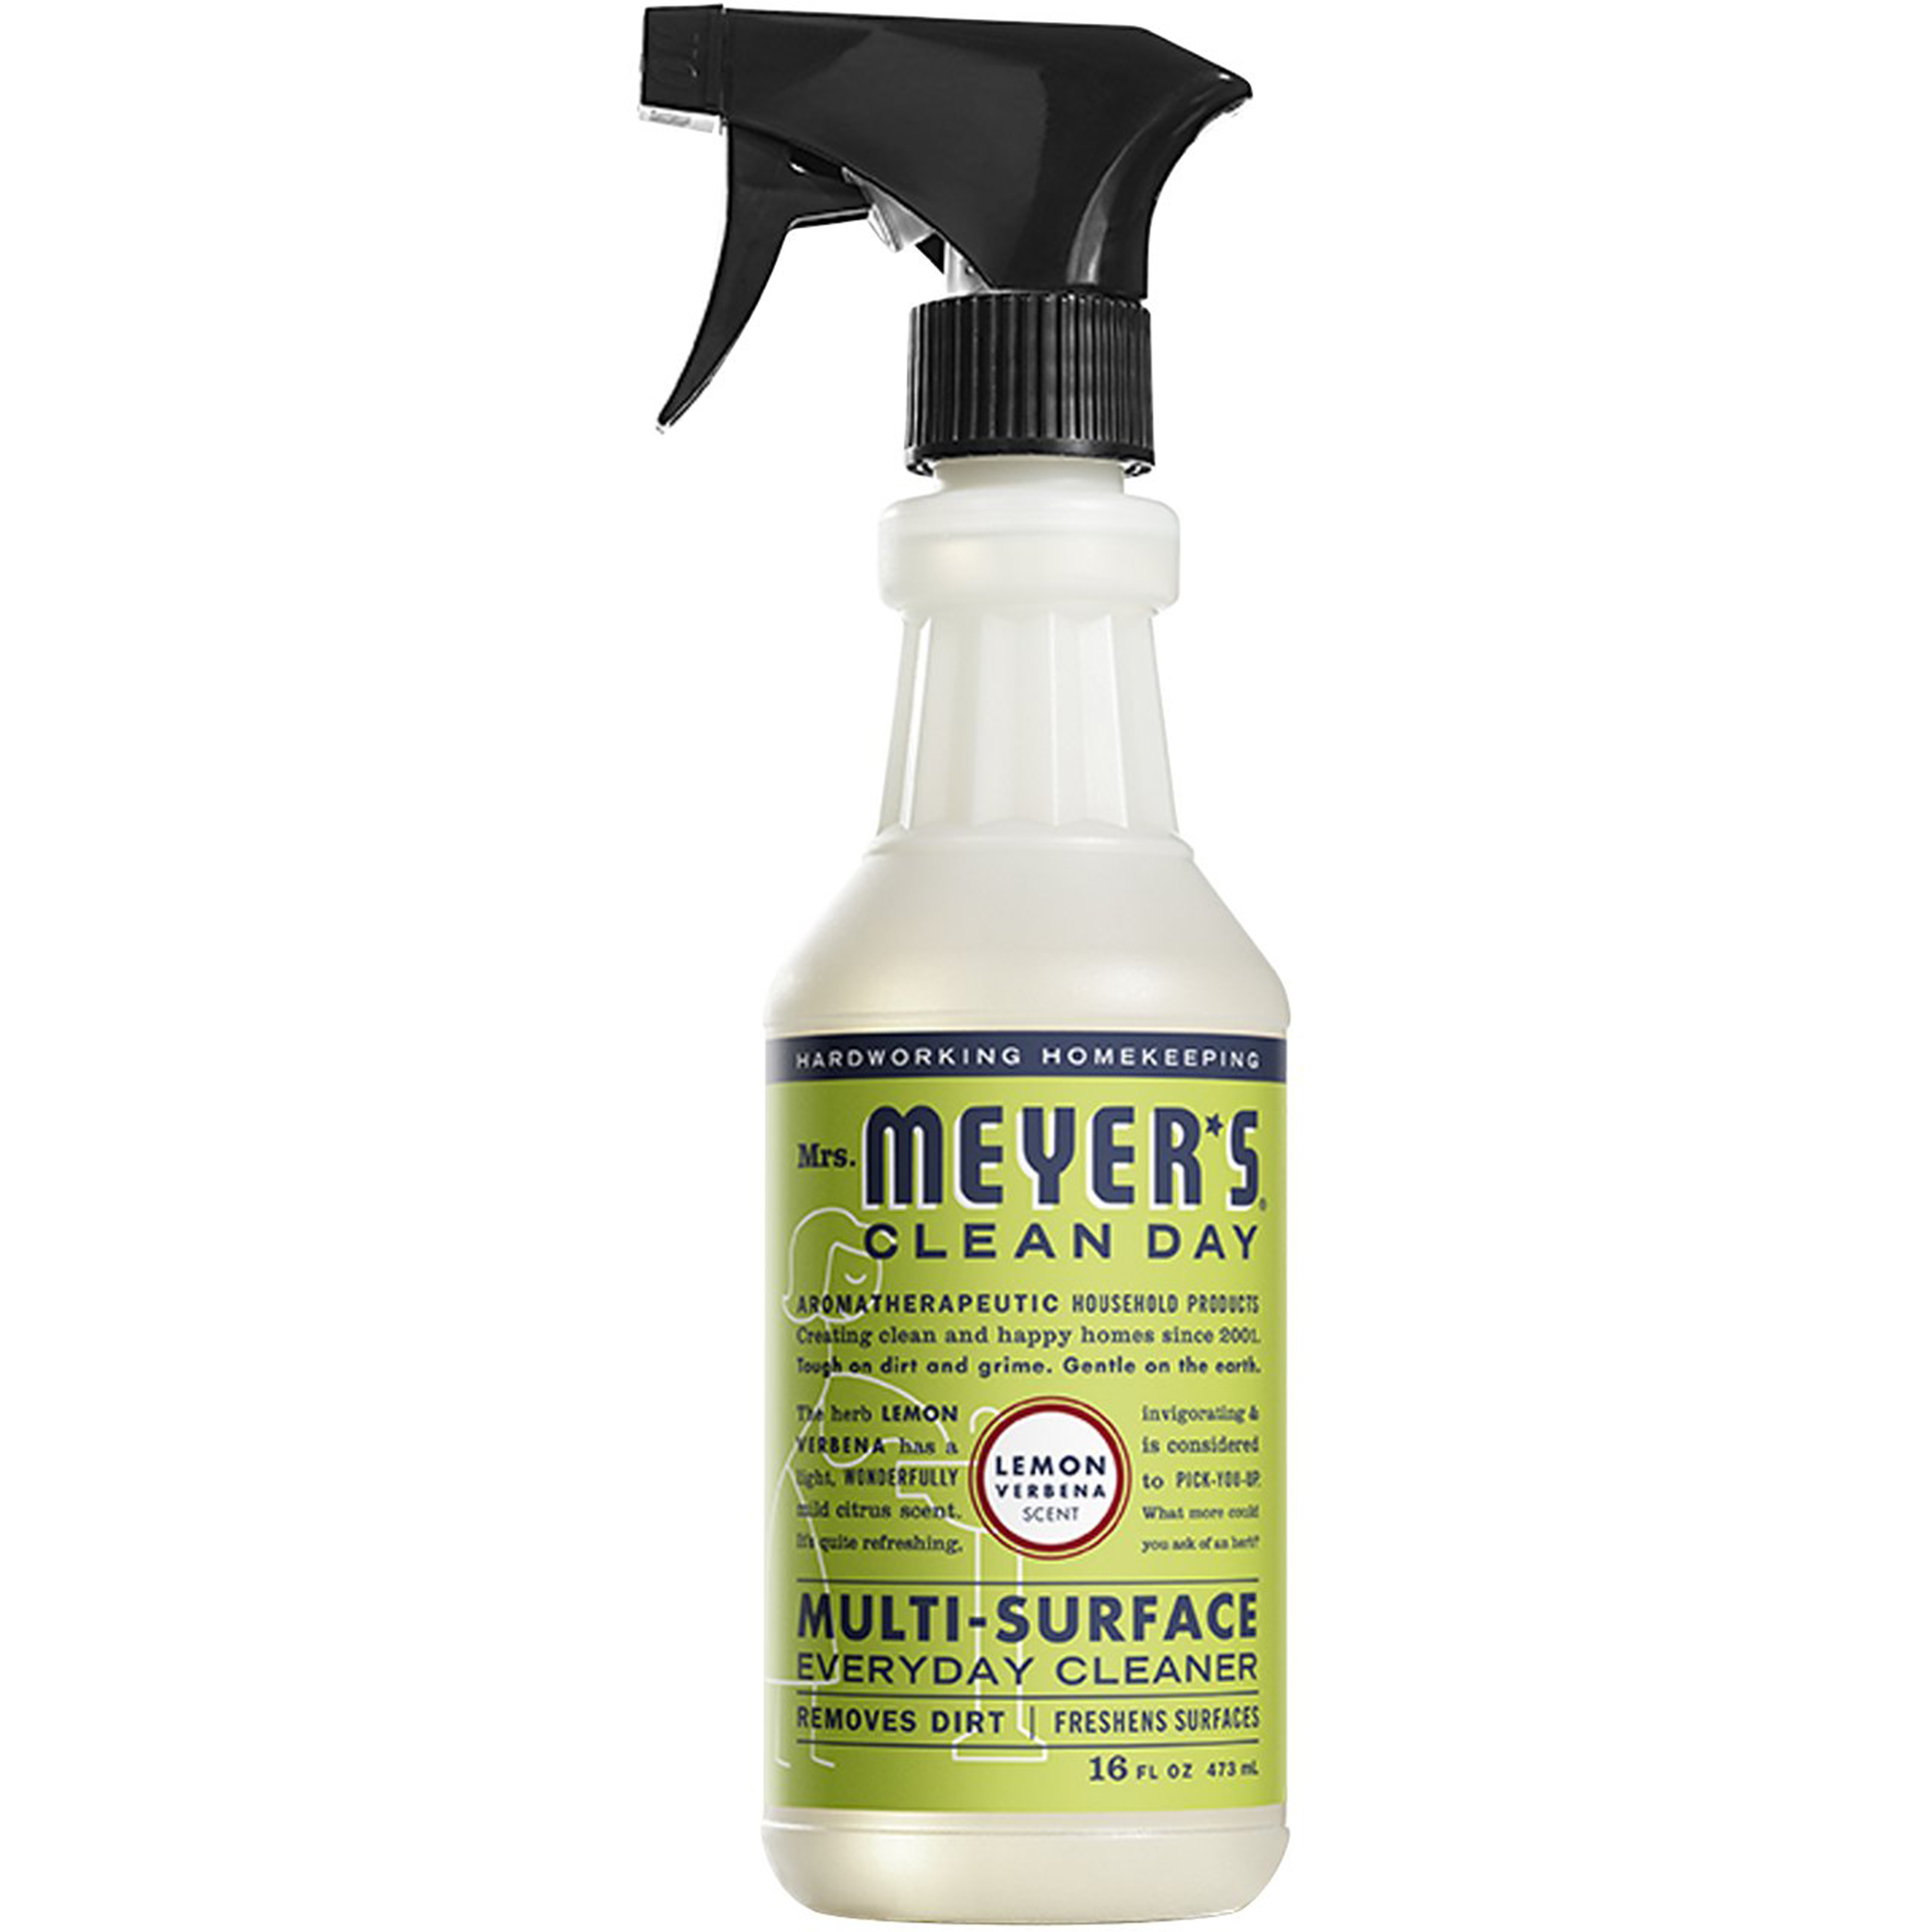
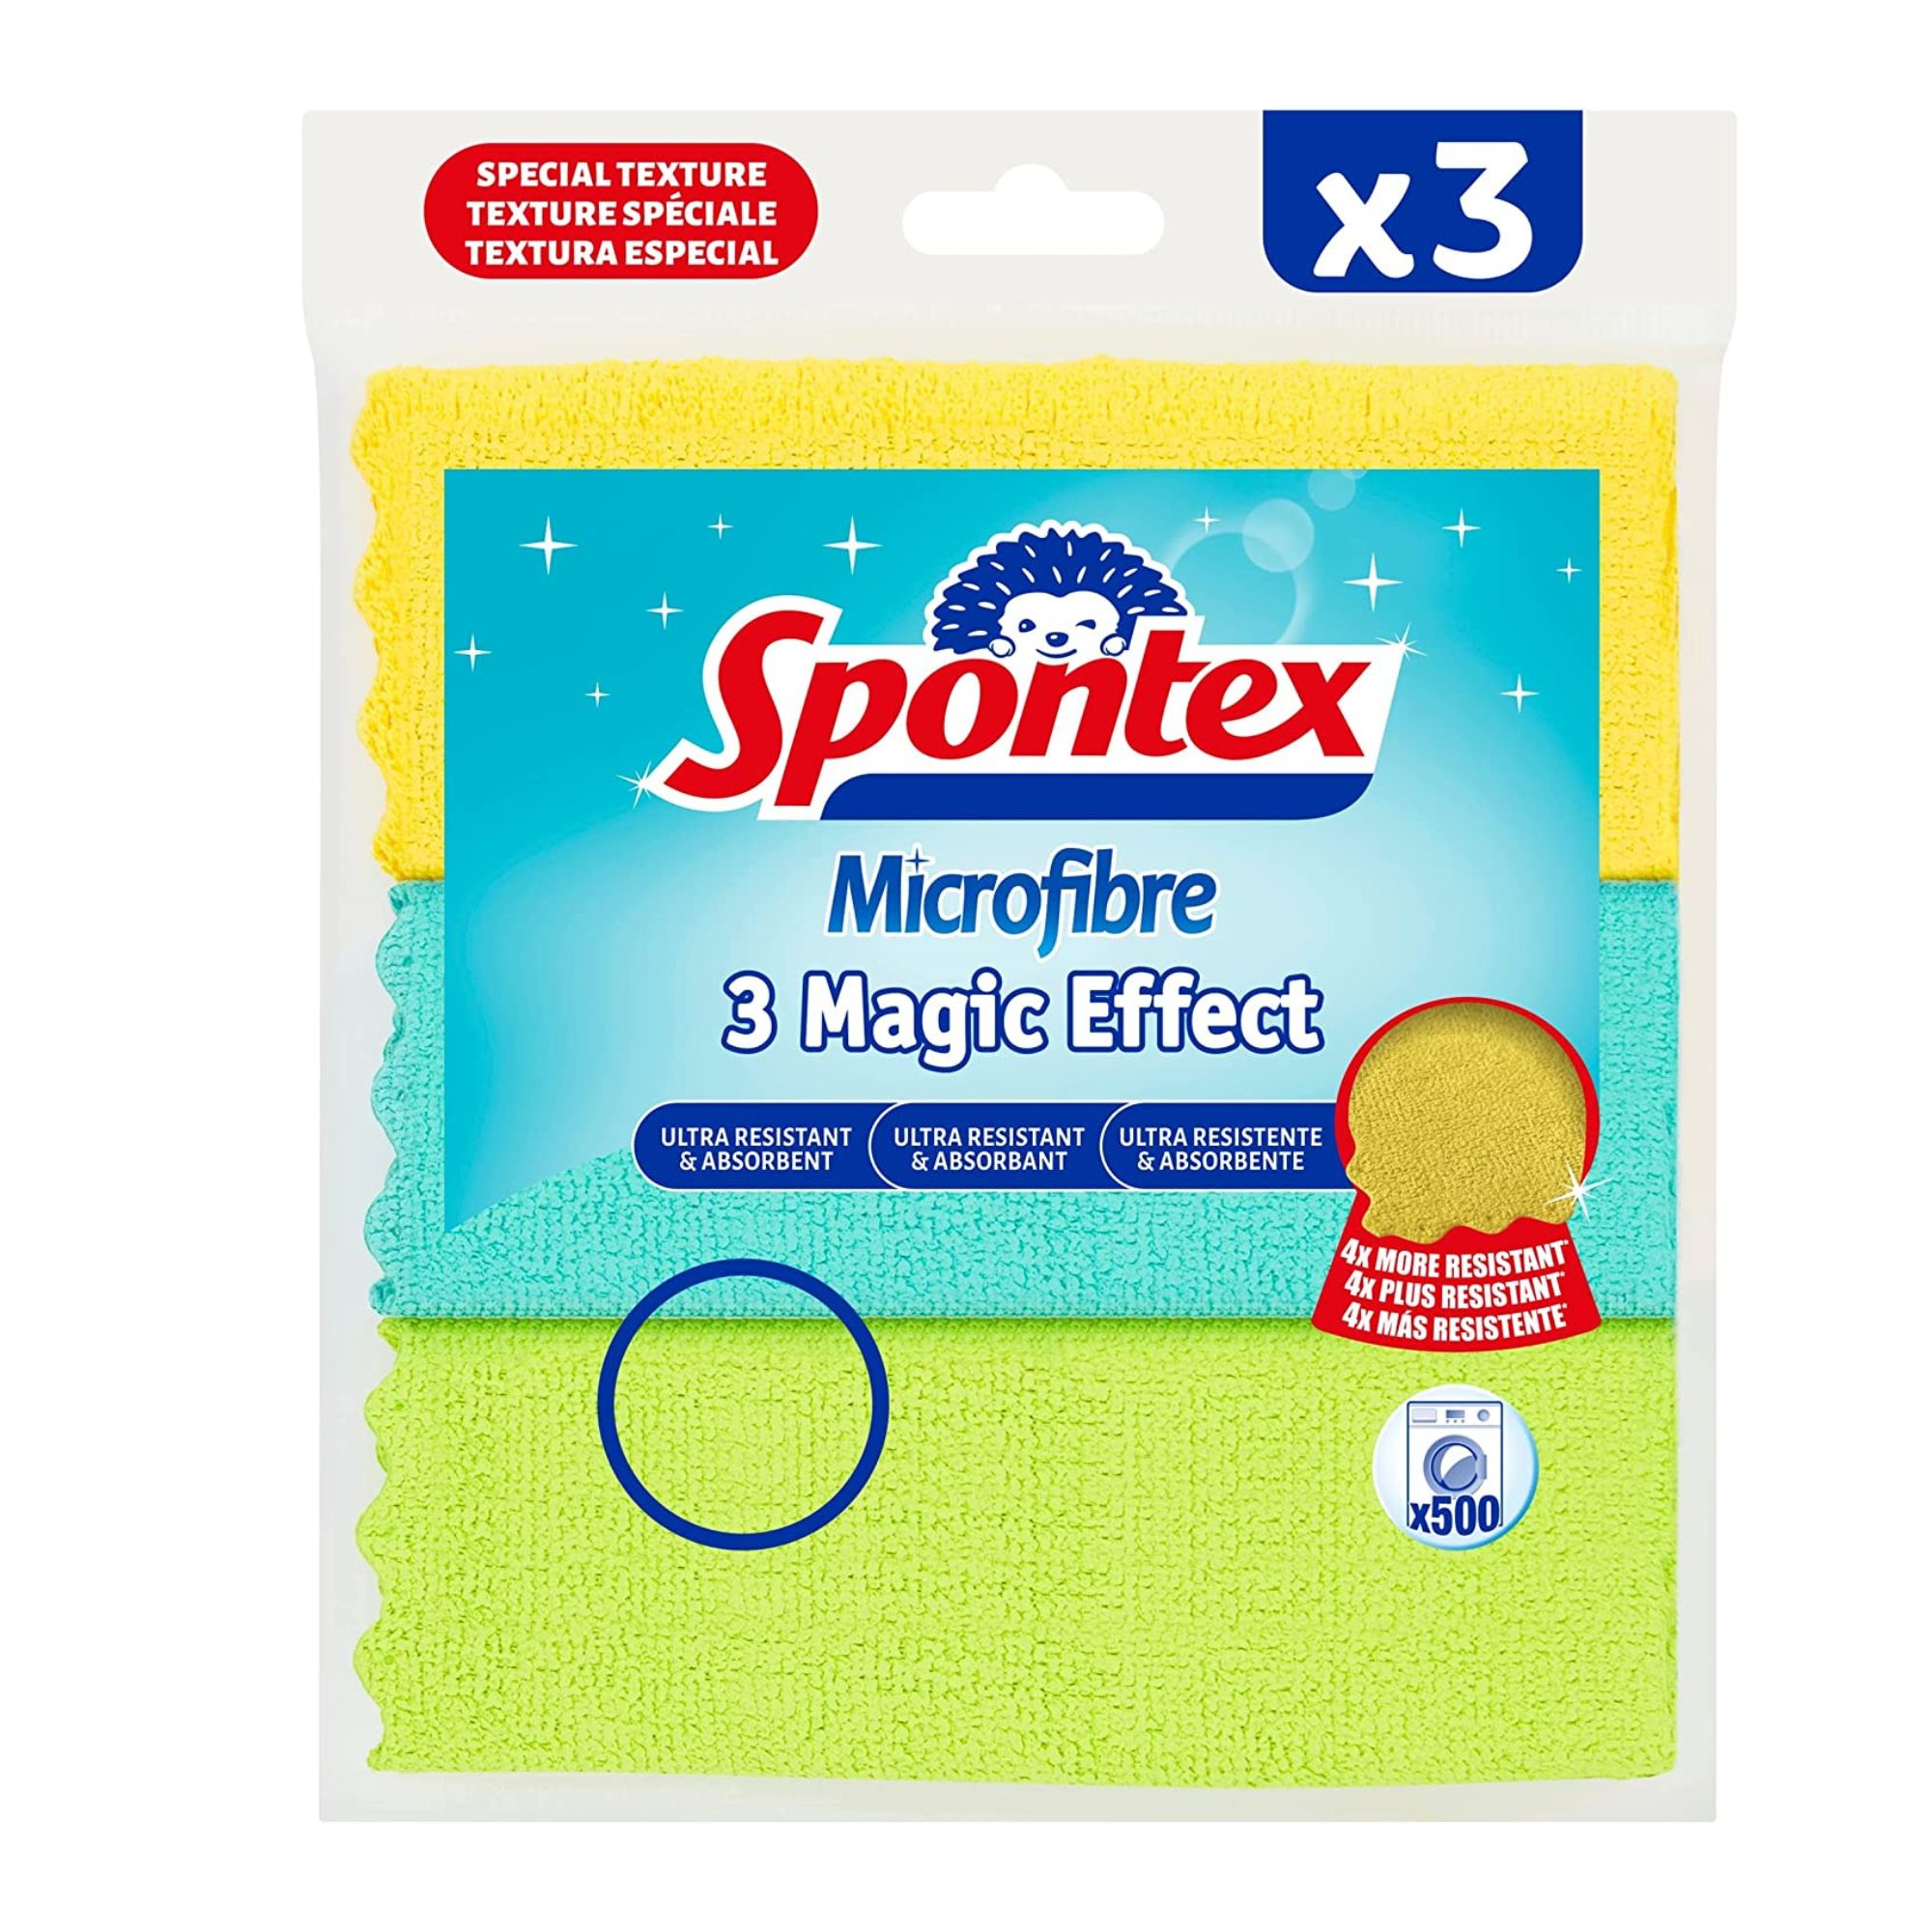
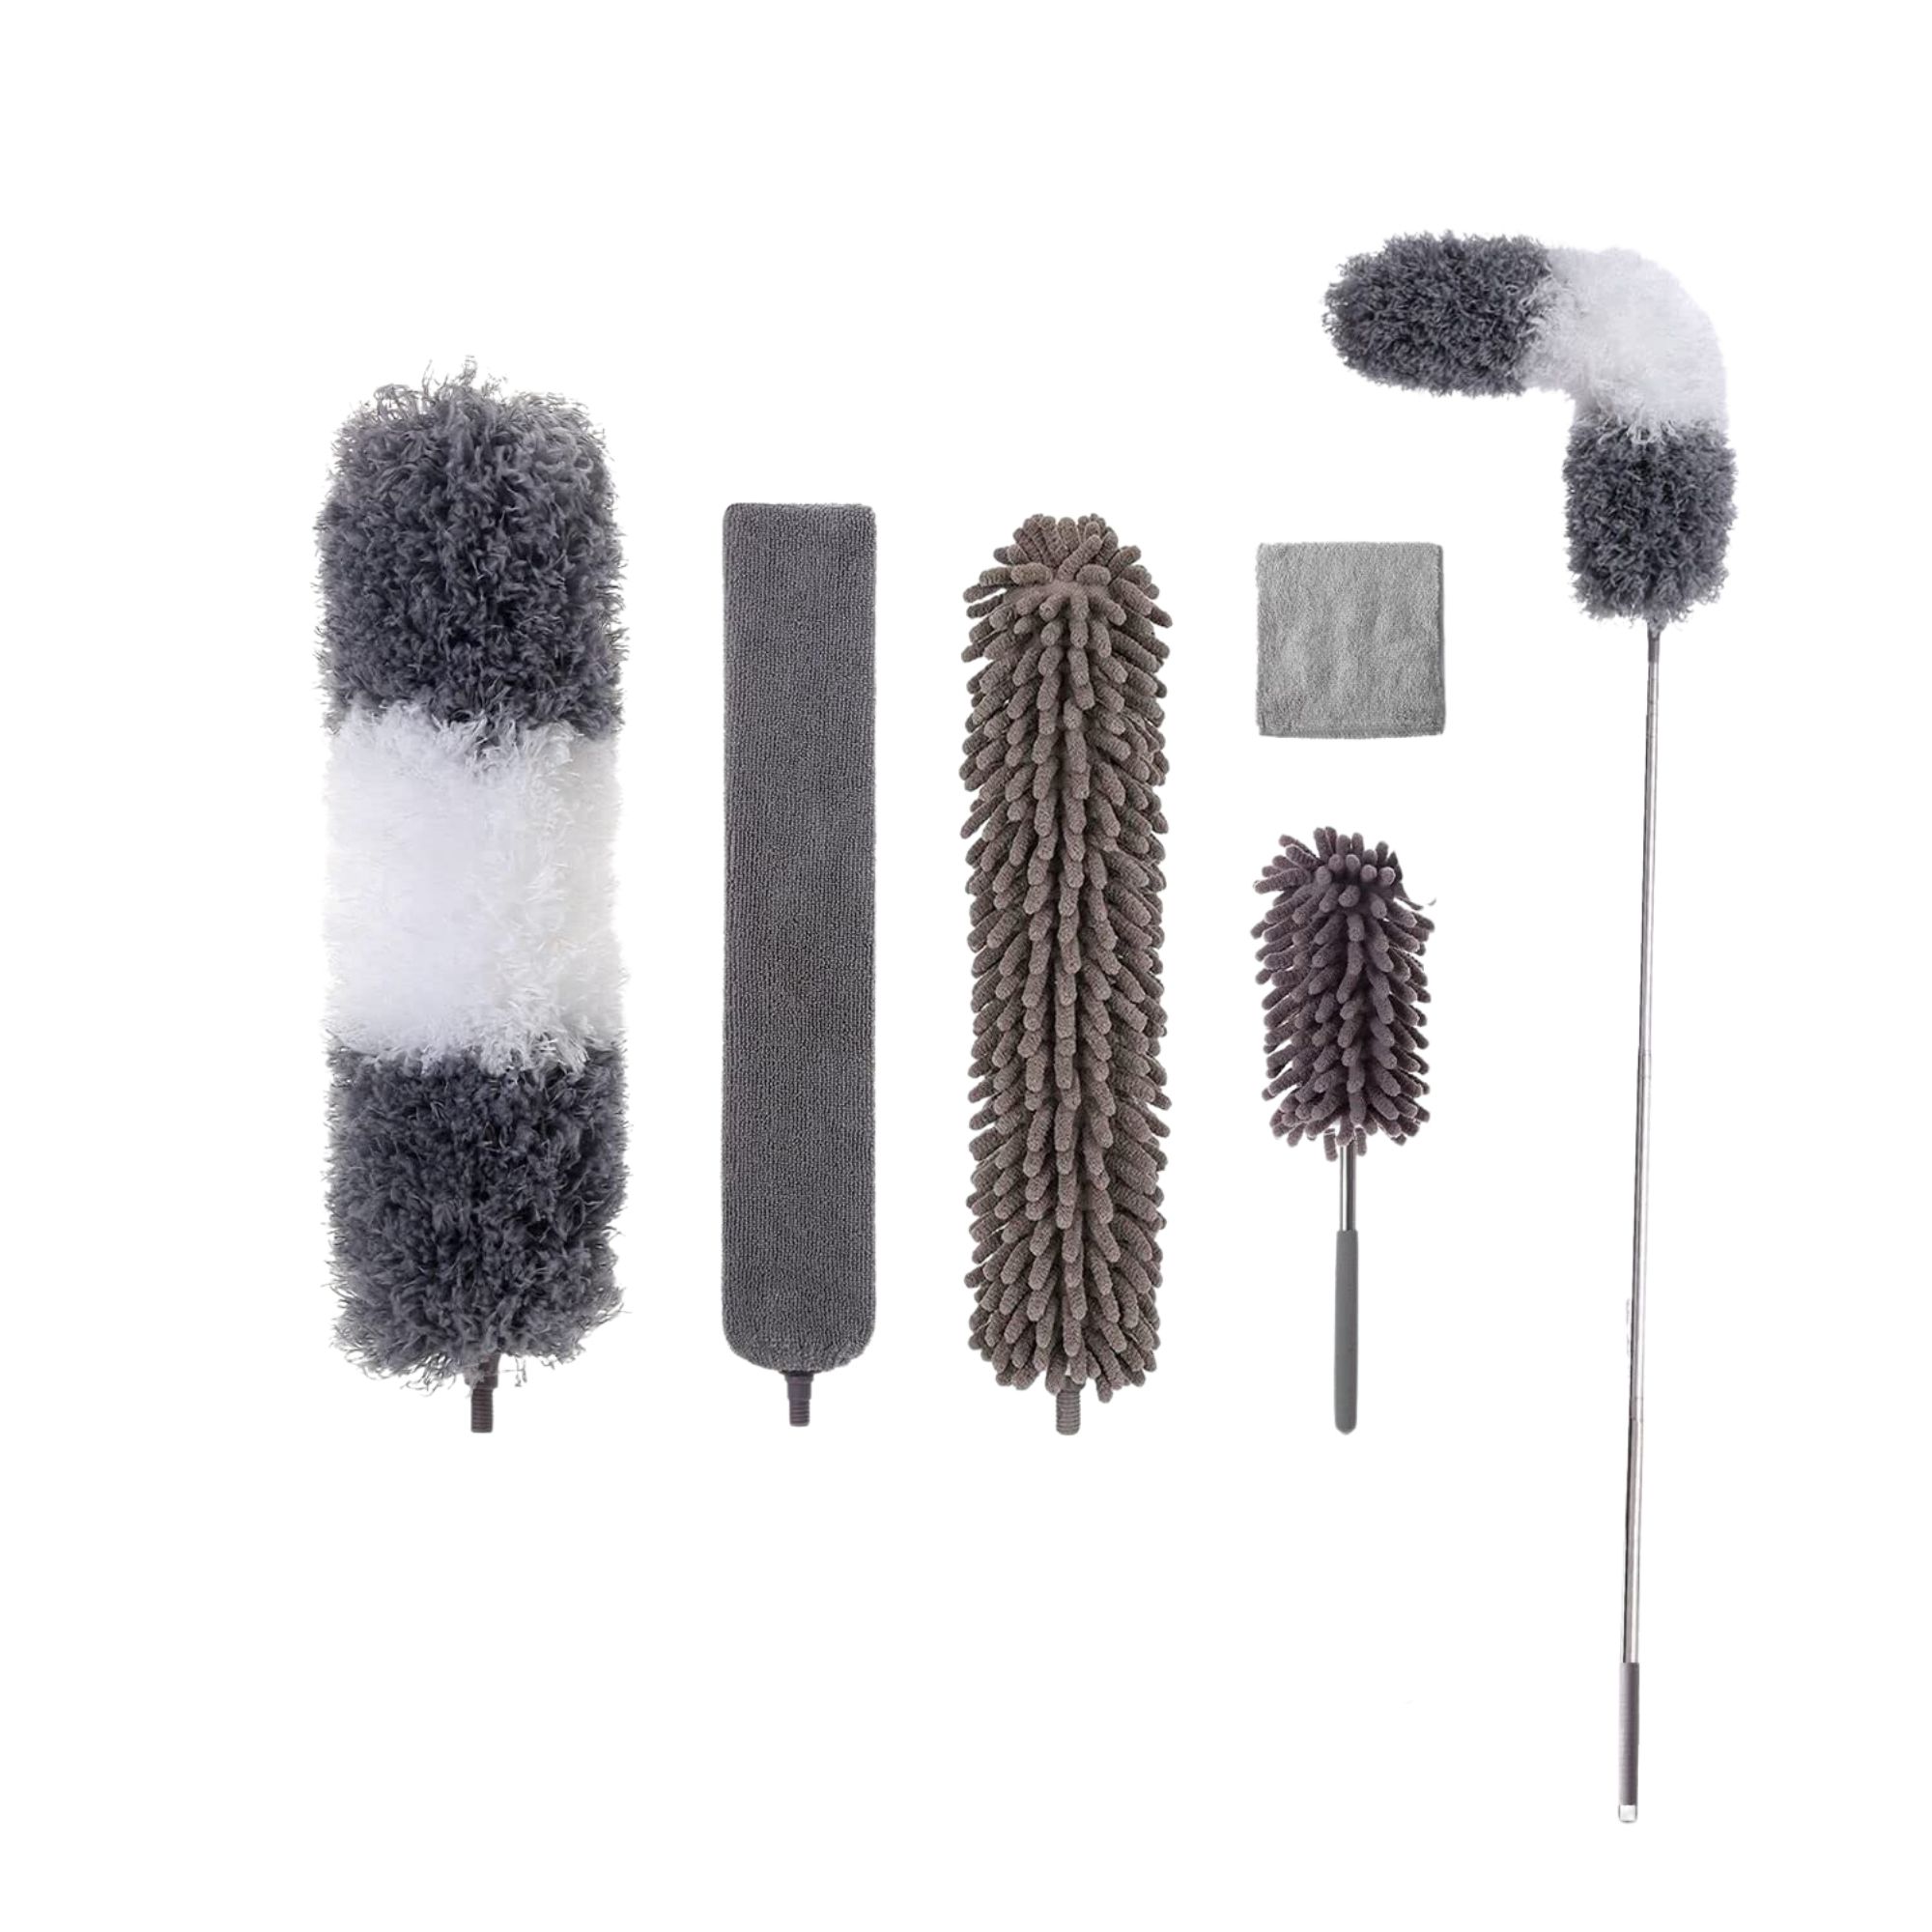
I’ve also listed some handy cleaning products below that you might need if you’re wiping down and cleaning surfaces during the decluttering process.

The best everyday cleaner

My fave microfiber cloths

I love this 6-in-1 duster
Good to go? Ready, set, declutter...
Days 1–7: Kitchen decluttering
Day 1: Tea, coffee, and liquor cabinets
Work through your tea, coffee, and liquor cabinets and figure out what you do drink and what you haven’t drank in a while, either because you don’t like it or it's no longer good. Pour the liquid of any unwanted drinks into the sink and recycle the bottles. Alcoholic spirits keep longer, so you don’t need to do this with them unless you don’t want them.
When putting your drinks away, use something like these mDesign bottle holders from Amazon to keep things looking tidy in your cabinet. Tea bags can be neatly tucked away in acrylic bins, like this helpful set.
Day 2: Food cabinets and pantry
I have way too many cans and packs of rice (I always say just in case!) but it's good to keep them organized and in check. Sort through each shelf and see which foods you will eat and which foods you won’t. If there are new, unopened packets of food that don’t want, you could always put these aside to donate to a food bank. Then, re-organize the shelves so every tier has a specific purpose (e.g. canned food, baking supplies, sauces).
If you don't have enough shelf space for the number of products you have, these SimpleHouseware stackable shelves are Amazon's Choice for cabinet-safe spacers.
Day 3: Freezer
This is another place where I always keep things in the hope that I’ll actually use them. Go through shelf by shelf and drawer by drawer to see if you’ll use the food. If you have meals that have been in there forever, you could always incorporate them into your week’s food plan so they finally get used up. For anything half-opened that you won’t use again, just throw it away. Then, rearrange the drawers so they’re in a usable order (e.g. frozen fruit and veggies, meals, emergency ice cream tubs, etc).
Day 4: Fridge
You should be keeping on top of your fresh food anyway, but chances are there are still items that have overstayed their welcome. When decluttering, take everything out of the fridge so you can see exactly what you have. If you have jars of food or sauce that are half-opened, throw them away if they have mold (ew!) or won’t be used again. If they’re relatively fresh (i.e. no more than four days old), plan a meal to use them up.
Plastic organizer bins (like this Munfix set of 16 boxes from Amazon) are my fave way to get my fridge organized, as they're so easy to clean and make it simple to see what's where. If you need more snazzy fridge organization ideas, there are plenty of them.
Get small space home decor ideas, celeb inspiration, DIY tips and more, straight to your inbox!
Day 5: Under the sink cabinet
Personally, I use my under-sink area for cleaning supplies, as it’s right next to my washing machine and the sink itself. If you have cleaning products that are half-opened because they’re inefficient or because they’re seasonal (hello candy-cane printed paper towels), either throw them away or put them in storage until you want to use them. From here, you can then re-organize — I put everything in rows depending on what they’re used for, so there's a row for laundry, household cleaning, and kitchen cleaning.
Group together cleaning products and create even more space with a tiered organizer like this Riousery one from Walmart, which even has handy sliding shelves.
Day 6: Countertops
Throw away any items that you aren’t using, or if you need them but rarely use them, store them in empty cabinets. For items that you are using, make sure that they’re clean (wipe them down with an all-purpose cleaning spray and microfiber cloth) and in the right areas. If you need zoning inspo, my countertop is split into a tea and coffee facilities area, heavy equipment like my blender and air fryer, and cooking utensils and oils. This makes it super easy to find everything.
Day 7: Spice rack
Our spice rack is one of the kitchen areas we all agreed we forget to clean here at Real Homes. It’s also one of those areas that can get easily cluttered. Keep the core spices that you use regularly. For unopened ones you won’t use, you could donate these to a food bank. I’ve also often bought the same spice twice by accident. Done the same? Decant the spices into one container, then put the excess in a cabinet until you start running low. You can put any spices you don’t use regularly in the cupboard, too. We recommend using a tiered spice rack (like this expandable bamboo one from Target) if you're keeping your spices inside a cabinet.
Days 8–14: Bathroom decluttering
Day 8: Shower
Showers should be a calming experience, and they def aren’t if yours is filled with lots of cleaning products. Remove any shampoo, conditioner, and body wash bottles that are empty and recycle or throw them away. Same for those unusable wobbly soap bars — if you can’t grip them or get a lot of soap off them, it’s time for them to go in the trash.
If your toiletries usually sit pushed into a corner of your shower, then it might be a smart idea to invest in a shower caddy, like this Simple Houseware one from Amazon, which hangs down and keeps your bathing essentials safe.
Day 9: Sink
Got toothbrushes, cotton balls, and cotton swabs all over the place? Put them into their own containers — glass storage containers always look super sleek in the bathroom. Then, organize them neatly on the side of the sink, or put them in your cabinet if they’re taking up too much space. Choosing a glass storage jar with a lid, such as this Amazon bestselling 4-pack, means that dirt and dust won't gather on your bathroom toiletries.
Day 10: Windowsill
I love decorating my bathroom windowsill with candles, decor, and air fresheners (because needs, people). Assess what you have on yours, work out if you’re happy with them, and then either throw them away or replace. For burnt-down candles and near-empty air fresheners, swapping them out with fresh ones will instantly upgrade the space.
A bathroom fave of ours is the Neom Wellbeing Pod Mini (which you can buy from Amazon) as it diffuses essential oils and is cordless. It's all-natural and it comes in black or pink.
Day 11: Towel rack
I often have too many towels on the rack (fresh towels just feel so bougie after a bath), but this can take up serious space and make the towels harder to dry. Put any towels that are taking up too much room in the laundry, and then once they’re washed, store them away. Re-fold the remaining towels and arrange them so they aren’t too close to each other.
Day 12: Bathroom cupboard
I do all my skincare in my bathroom, so my cabinet is filled with bottles of moisturizers and serums, as well as shampoos and conditioners that haven’t agreed with my hair. Empty out the whole cupboard, and see which products you do or do not use. If you have products that haven’t worked for you, see if any friends or family might like to try them instead. If they’re still a no-go after this, just throw them away.
We've got an entire bathroom organizers guide if you're looking for product suggestions.
Day 13: Bath supplies
This sounds quite specific, but I know how much room bath bombs, bubble baths, and face masks can take up. In fact, I have a whole shelf dedicated to my bath time, as it’s real important to me. If you have bath bombs and bubble bath soaks you want to use but just haven’t tried, put them at the front of your bath supply space so you remember to use them. If there are things you just won’t use, you can offer to re-gift them to friends or family. All else fails? Yep, it’s trash time.
Day 14: Toilet
If you have any toilet bowl cleaners or deodorizers that are pretty much falling off, this is the time to remove and replace them. If you want to go all out on the toilet cleaning, our staff writer Beth has put together some incredible cleaning hacks that will make your toilet so fresh (number six is now my go-to).
Days 15–21: Bedroom decluttering
Day 15: Wardrobe
Yes, I’m starting with the big bedroom task first. First, remove all your clothes from your small closet and sort them into piles. Organize things you frequently wear into colder weather and warmer weather tops, bottoms, and full-length pieces (e.g. dresses and jumpsuits). For the things you either don’t fit into or have fallen out of love with, place them in a separate pile (not in the hamper). From here, you can either offer them to family or friends or take them to Goodwill.
Everything else can then be folded and put away neatly with the help of a good closet organizer (or five) to help you squeeze more in.
Day 16: Top of the wardrobe
I’m all about utilizing storage space, which is why I use the top of my wardrobe to store accessories. Remove anything living up there, see if you use them, and then place them in categorized storage cubes before putting back. While you’re there, it’s a good idea to thoroughly dust it — I use this extendable duster from Amazon to get all that top grime off.
Day 17: Vanity
When I’m putting on my makeup in the morning, I tend to do it in a bleary state before work, and then leave everything strewn around until the next morning. This means that not only is it messy, but I also don’t assess what I do and don’t use. Throw away any pieces that you aren’t using (that foundation is never gonna be your shade) and any pieces that are out of date (there should be a logo with a little lid and a number that says). Then, rearrange the makeup so it’s in the right place.
Acrylic organizers, such as this rotating one that's Amazon’s Choice, are really useful for organizing your makeup and seeing what you actually have.
Day 18: Nightstand
Because your nightstand is right next to your bed, you want it to be organized so you can easily access everything you need before sleeping. Remove any trash, and then assess the items on it and see if they are serving a purpose you still have (e.g. eye mask, diffuser, jewelry holder). If not, put them in storage or place them somewhere else where you’ll use them more.
Day 19: Under the bed
I always think if I can’t see it, it can’t cause an issue. Which is why I throw everything under the bed. But it turns out that this idea isn't really true. Start by removing everything and throwing away any trash. Then, store the remaining items in separate bags and boxes. Use under-bed storage bags (we like this Amazon's Choice set) to store clothes, purses, and shoes that are currently out of season.
You can organize these by category, such as bed sheets, clothes, seasonal pieces, and label them on the front so you can see what you’re pulling out moving forwards.
Day 20: Shelves
They can be easy to overlook, but shelves can get messy real fast. Go through shelf by shelf, taking the items off, and removing any books or miscellaneous items that you don’t want or use anymore. Dust them down before going back and re-arranging. You could organize each shelf by purpose, such as different book categories, types of stationery, collections of decorations, or even mix things around.
Day 21: Desk
I don’t know about you, but I always jump away from my desk as soon as I’m done with work. But a clear desk makes for a clear working mind. First, take those coffee mugs and empty plates into the kitchen. Then, throw away any trash, such as wrappers or empty pens. Put any stray stationery that you still need into your pencil case or holder, and stack any notebooks so they’re in a neat pile. If you have stray papers that are important to keep track of, put them in plastic folders and in a binder. Invest in some desk organizers to help you keep the clutter away, too. If you live in a small space, this Amazon bestselling desk organizer is so pretty and perfect for keeping all your desk stationery and papers in one place.
Days 22–28: Living room decluttering
Day 22: Couch
Yes, decorative pillows and blankets are super cute, but you can have too many. Fold and store any blankets that aren’t being used in a basket (next to your couch if you have room) or in a cute piece of storage furniture and re-arrange any remaining blankets. Repeat the process for the pillows, auditing which ones are adding style and which are just taking up space. Remove unnecessary ones. You could always rehome them on your bed, or vacuum pack them and put them into storage.
Day 23: TV stand
I look at my TV all the time in the evening and personally don’t love being distracted by pieces of clutter. Move any stray items, such as remote control batteries, back where they belong. Then, for remote controls, arrange them so they’re tidy and easy to find — there’s nothing worse than scrambling around for the remote when you need to catch up on Love is Blind, trust me.
Day 24: Coffee table
Whether you use your coffee table functionally, have it as decoration, or even use it for both, it can still build up with unnecessary clutter. Move any dirty cups and plates into the kitchen, and put any wrappers and cans in the trash. Then, rearrange any plants and books so they’re looking aesthetic AF. I also put mail on my coffee table, so if you do the same, go through your mail and recycle anything you don’t need.
Day 25: Bookshelves
Bookshelves are such a cute living room addition. But if you have stacks of books that are just building up, they may be taking up serious shelf space. Remove all the books, and sort them into piles of books that you read, want to read, and the books that have sentimental value. Rearrange the books by color or title (mine are in rainbow order). Donate any books that you don’t want and don’t read to Goodwill.
Day 26: Bar cart
Fun fact: my bar cart was the first item for my home that I bought. I’ve had it forever, and always throw on bottles of bubbly and gins that I’ve bought or been gifted. Declutter yours by taking everything off, and arranging what you do and don’t drink. If you have anything you haven’t opened and don’t want, you could always re-gift it (just make sure you aren’t giving it to someone that may have given it to you in the first place!).
Day 27: Plant collection
Plants freshen up the space and look so gorgeous, but they can take up a lot of room. If you have lots of plants clustered together, rearrange them so they fit better in the space. Get creative — plants can look lovely on bookshelves, coffee tables, and even bar carts. For any plants that are goners (RIP), just throw them away and tuck away that lesson for next time. No judgment here — I’m an awful plant mom.
Days 28–30: Hallway decluttering
Day 28: Hallway table
Clutter on the hallway table? We’ve all been there. Sort the clutter into three piles: trash, things that need to stay on the table, and things that need to move. Then, simply put everything where it should be.
For important table pieces, like keys, for example, you could always get a special trinket dish so you don’t lose them. This gold leaf-shaped holder from Walmart is so chic and will make it easy to find any important items.
Day 29: Coat rack
Obvi it’s important to keep cozy when leaving the house, but you probs don’t need your entire coat collection on your rack. Move any coats that you haven’t worn in the past month into storage — vacuum packing them is a great way to contain them and stop them from taking up too much space. BTW, these vacuum storage bags are Amazon's Choice if you need to stock up.
If you have a coat that you do love wearing but is too big for the space, consider hanging it elsewhere in the house, such as on a clothes rail or in your wardrobe if you have room.
Day 30: Shoe rack
Separate your shoes into piles (such as streetwear, workwear, or by person) and then take out any pieces you aren’t wearing right now. If you aren’t wearing them because it’s the wrong season, store them away. For shoes that are looking grimy, read up on how to wash shoes and get them back in mint condition. Throw away any footwear that is beyond saving and can’t be donated.
Woo, you’ve made it to the end of the challenge! Having everything tidy and organized feels amazing, right? If you’ve finished and love the results, be sure to tag us in your pics on social. Now that you've decluttered, you can now go all in on cleaning with our handy checklist. But obvi take a break first — you’ve earned it.

Hi there! I’m the former content editor at Real Homes and I'm now a freelance journalist.. I've been a lifestyle journalist for over five years, previously working as an editor across regional magazines. Before this, I graduated from Nottingham Trent University a degree in journalism, along with an NCTJ gold diploma. For Real Homes, I specialized in interior design, trends and finding the best viral buys.