How to clean a Keurig coffee maker — your 4-step guide to ensure the freshest tasting cup of joe
So fresh and so clean, clean


Get small space home decor ideas, celeb inspiration, DIY tips and more, straight to your inbox!
You are now subscribed
Your newsletter sign-up was successful
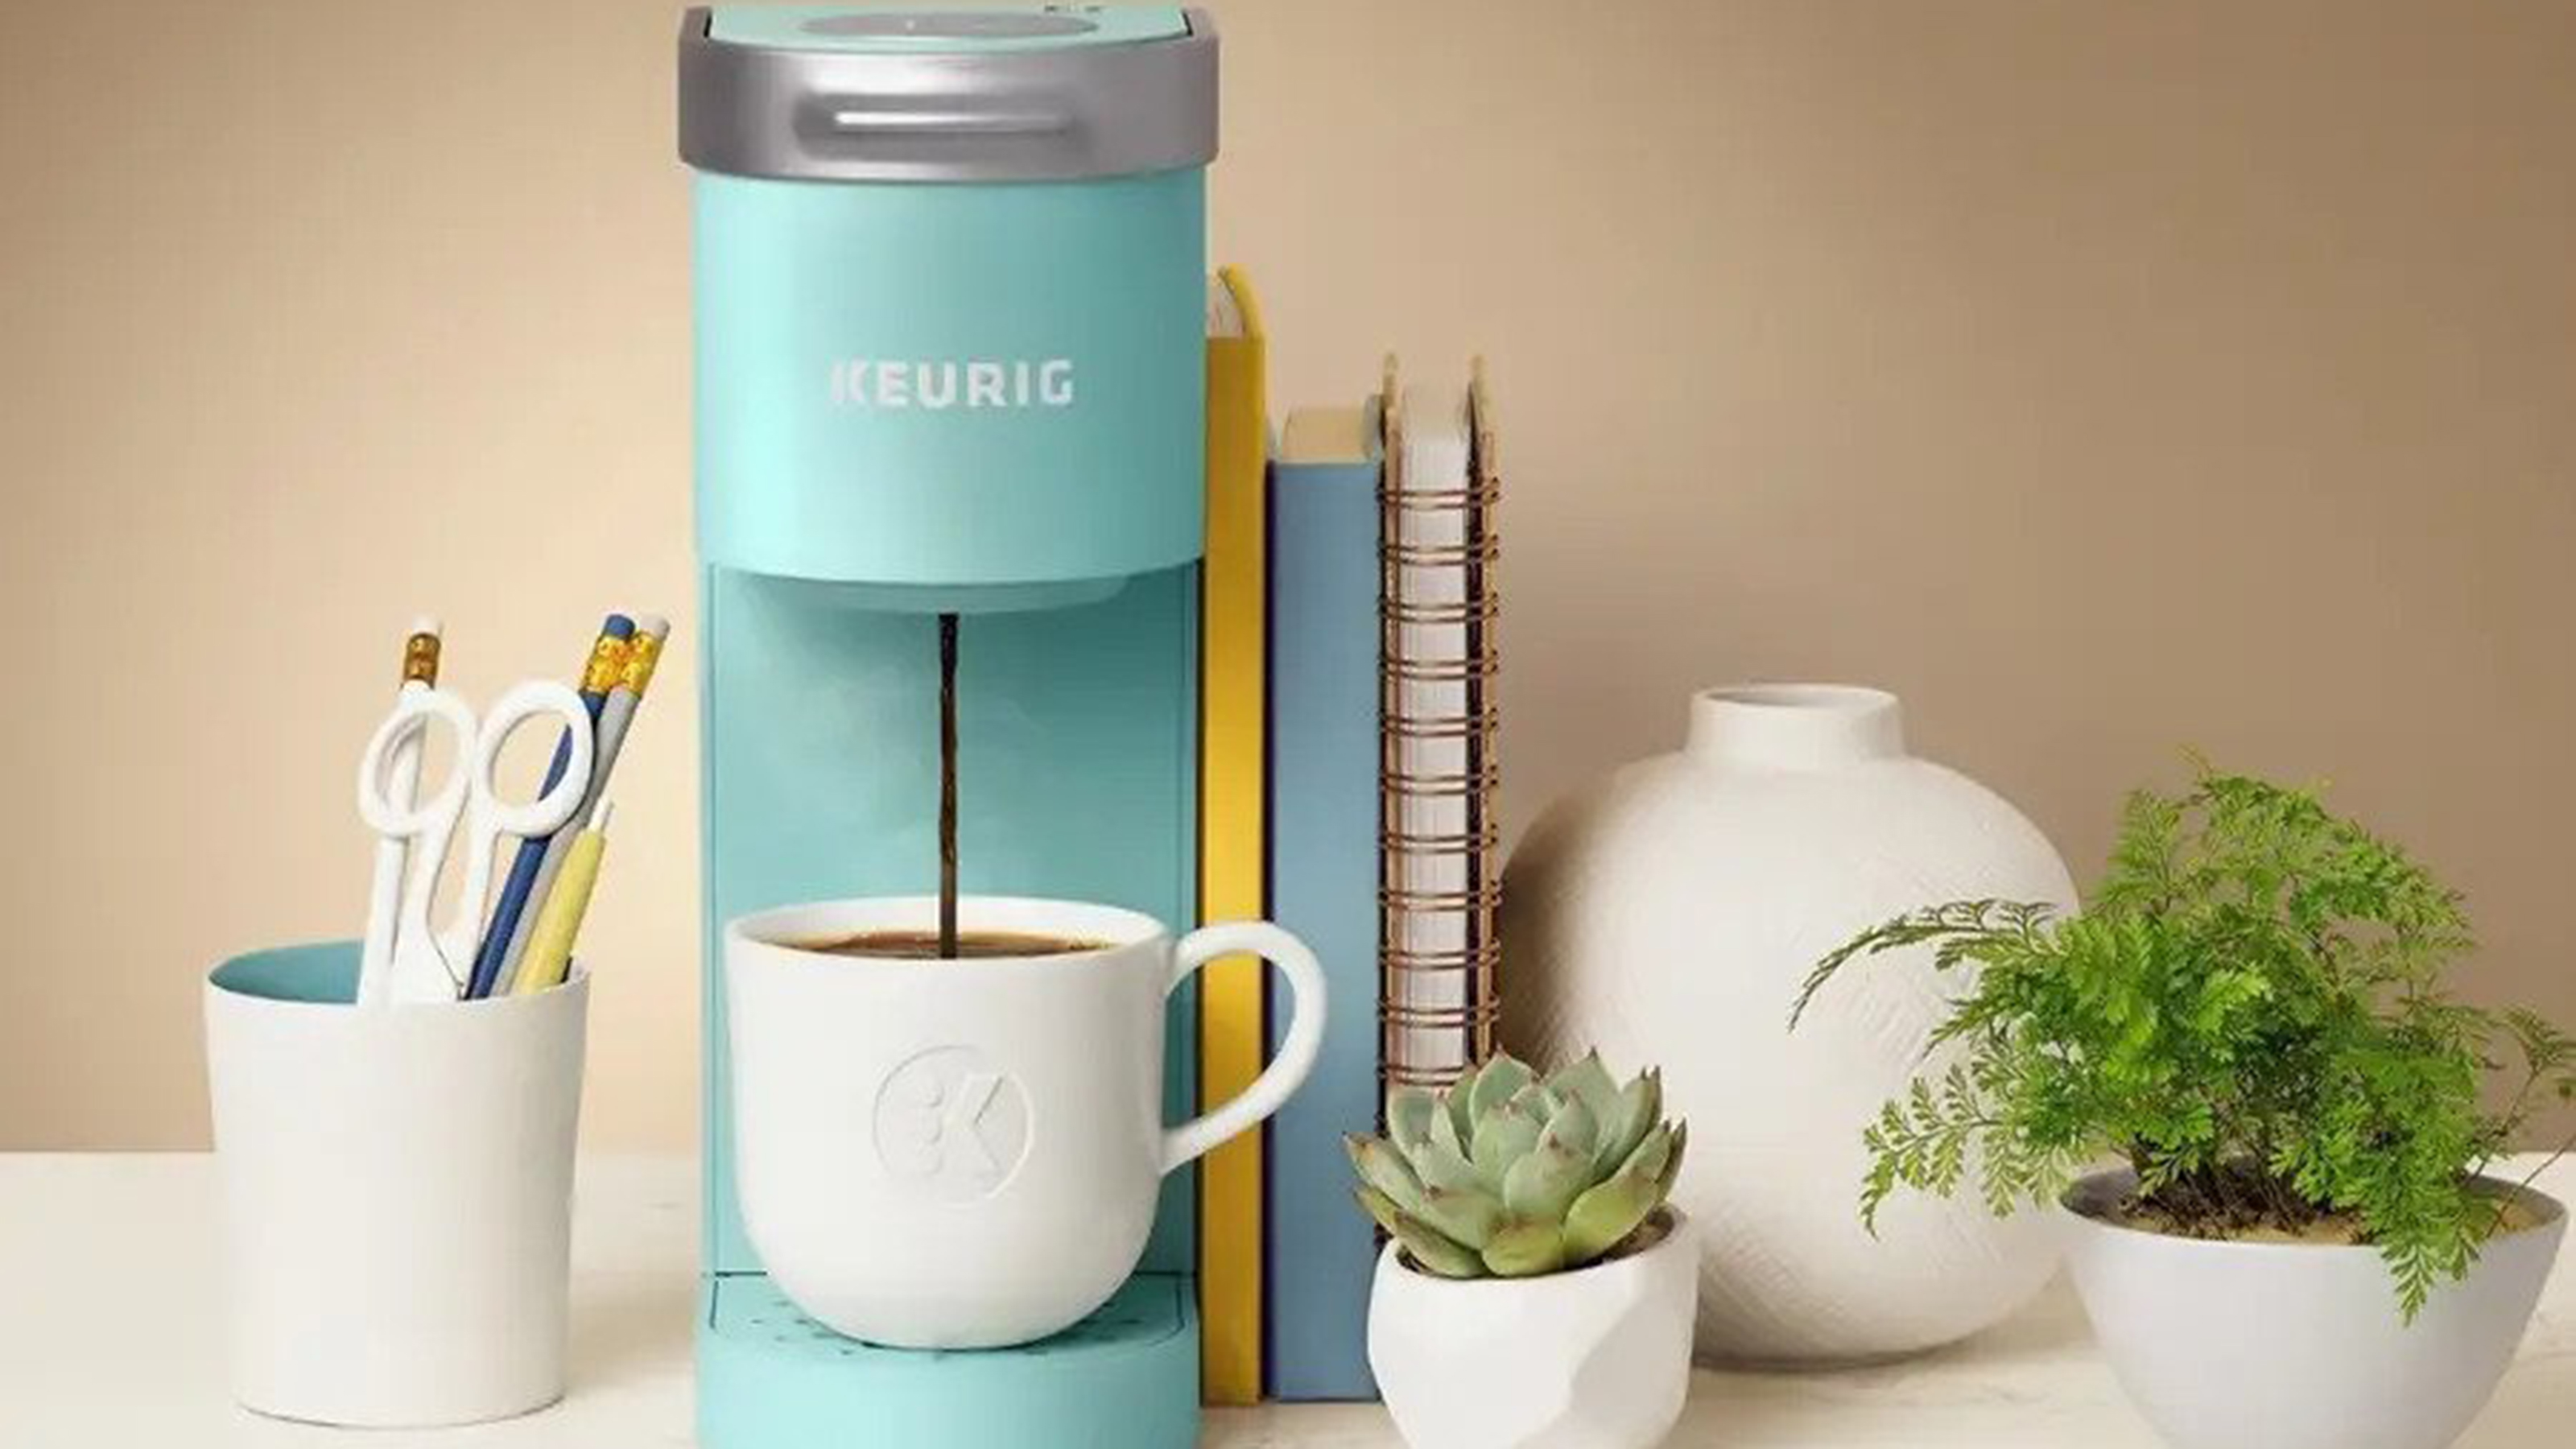
Knowing how to clean a Keurig coffee maker is a non-negotiable if you own one of the best Keurig coffee machines. As a brand, its infamous small coffee maker line includes filter and pod machines so that you can choose which suits your lifestyle best.
Making a coffee using a Keurig machine is one thing — but, part of being an adult is cleaning up after yourself, too. Sure you can remove the capsule (or grounds) and pop it in the trash, but cleaning a Keurig coffee maker (properly) goes further than that.
In four steps, I'll show you how to deep clean your K-Cup-compatible machine by descaling it. Then, we'll go over how to disassemble it to get down and dirty (for sparkling results). The good news is that you don't need an engineering degree to understand the process of maintaining it. And, you only need a handful of cleaning supplies to ensure it remains in good working order for years to come. Got half an hour spare? You will if it helps you save on coffee shop lattes!
Good to know
Time: Around 30 minutes
Difficulty: Easy
Helpful hints: We've based these instructions on what it takes to clean a Keurig K-Mini, which we've reviewed. Of course, if you've got another version, we've reviewed more Keurig pod coffee makers and drip coffee makers, too. See our reviews below, as they'll also instructions on how to clean that particular model:
- Keurig K-Supreme Plus single-serve coffee maker review
- Keurig K-Express review
- Keurig K-Slim + ICED single-serve coffee maker review
- Keurig K-Café Smart review
- Keurig K-Duo single serve & carafe coffee maker review
- Keurig K-Elite single-serve coffee maker review
- Keurig K-Select review
Here's what you'll need
- Access to a faucet
- Descaling solution or tablets — Keurig sells its own on Amazon
- Dishwashing tablets (if using your dishwasher) — Cascade (from Amazon) always comes out on top
- Dish soap — use a non-scented one like Seventh Generation 0% (which you can grab from Walmart) for this task
- A sponge
- A clean lint-free cloth — I've recommended these Amazon Basic ones to everyone
How to clean a Keurig coffee maker
Step 1: Descale your Keurig coffee maker
Cleaning your coffee maker to get rid of calcium and mineral deposits isn't something that needs to be done every day, but rather every three to six months (or when the indicator light tells you to). We've got a whole guide on how to descale a Keurig coffee maker, and there's also general guidance on how to clean a coffee maker with vinegar.
Get small space home decor ideas, celeb inspiration, DIY tips and more, straight to your inbox!
FYI — using vinegar to clean your beverage maker won't make it reek, so don't stress. There's no need to buy a "special" brand either. I always add Heinz distilled white vinegar to my basket on Amazon after using my coffee maker for a little while.
Step 2: Clean the external parts of your Keurig coffee maker
First, unplug your Keurig coffee maker before cleaning any of the components. The brewer housing and other external parts (including the drip tray and drip tray plate) can be cleaned with a damp, non-abrasive, lint-free cloth.
WARNING: Never immerse the brewer in water or other liquid cleaning agents.
Step 3: Clean the Keurig K-Cup holder (including the funnel and needle)
To retrieve the portion pack holder assembly out of the unit, lift the brewer handle to open it. You'll want to grasp the top of the K-Cup holder with one hand. And, with the other hand, push up on the bottom of the K-Cup holder until it pops off. Now, you can either put it in the dishwasher (on the top shelf at a low temperature) or, handwash it using your favorite dish soap and warm water. Remember to use an unfragranced cleaner here. Something strong-smelling is a coffee maker cleaning mistake that can affect the flavor of your next brew.
WARNING: There are sharp needles that puncture the K-Cup above and below the K-Cup holder, so don't put your fingers in the assembly housing.
At this point, it makes sense to inspect the funnel and needle too. The funnel can be removed from the K-Cup Holder by pulling on it until it snaps off. BTW, this can either be cleaned on the top shelf of your dishwashing device, or you've guessed it — manually with dish soap and water.
The exit needle is located on the inside bottom of the K-Cup holder. If this gets clogged up with coffee grounds, you can clean it with a paper clip by extracting the spent java.
To reassemble everything, align the K-Cup holder with the opening using the two front ribs as a guide, and snap it into place from the top. To replace the funnel, just snap it back onto the K-Cup holder assembly.
ICYDN — you don't need to clean the entrance needle.
Step 4: Clean the cold water reservoir
Obviously, you'll want to make sure there's no water in the vessel when you're doing this.
To access the cold water reservoir (aka the water tank), lift the lid. Then, remove the water level guide. From here, you can clean the inside of the container with a damp, lint-free cloth. Replace the guide, and close the lid when you're done.
After everything is squeaky-clean, you can fill it with fresh water (filtered is preferred to avoid hard water stains from building up again). But don't overfill it.
How to empty the internal hot water tank
One way to ensure you have the freshest-tasting coffee is to purge the old water out of the machine. To do this, ensure the coffee maker is plugged in, but switched off. Make sure the cold water reservoir lid is closed. Then, what you'll do is place a mug on the drip tray, and press and hold the BREW button until all the water is dispensed. At this stage, you can also make use of one of the Keurig coffee maker cleaners we recommend below.
WARNING: There will be a delay of around 3–4 seconds before the water begins to dispense.
Products to help clean your Keurig coffee maker

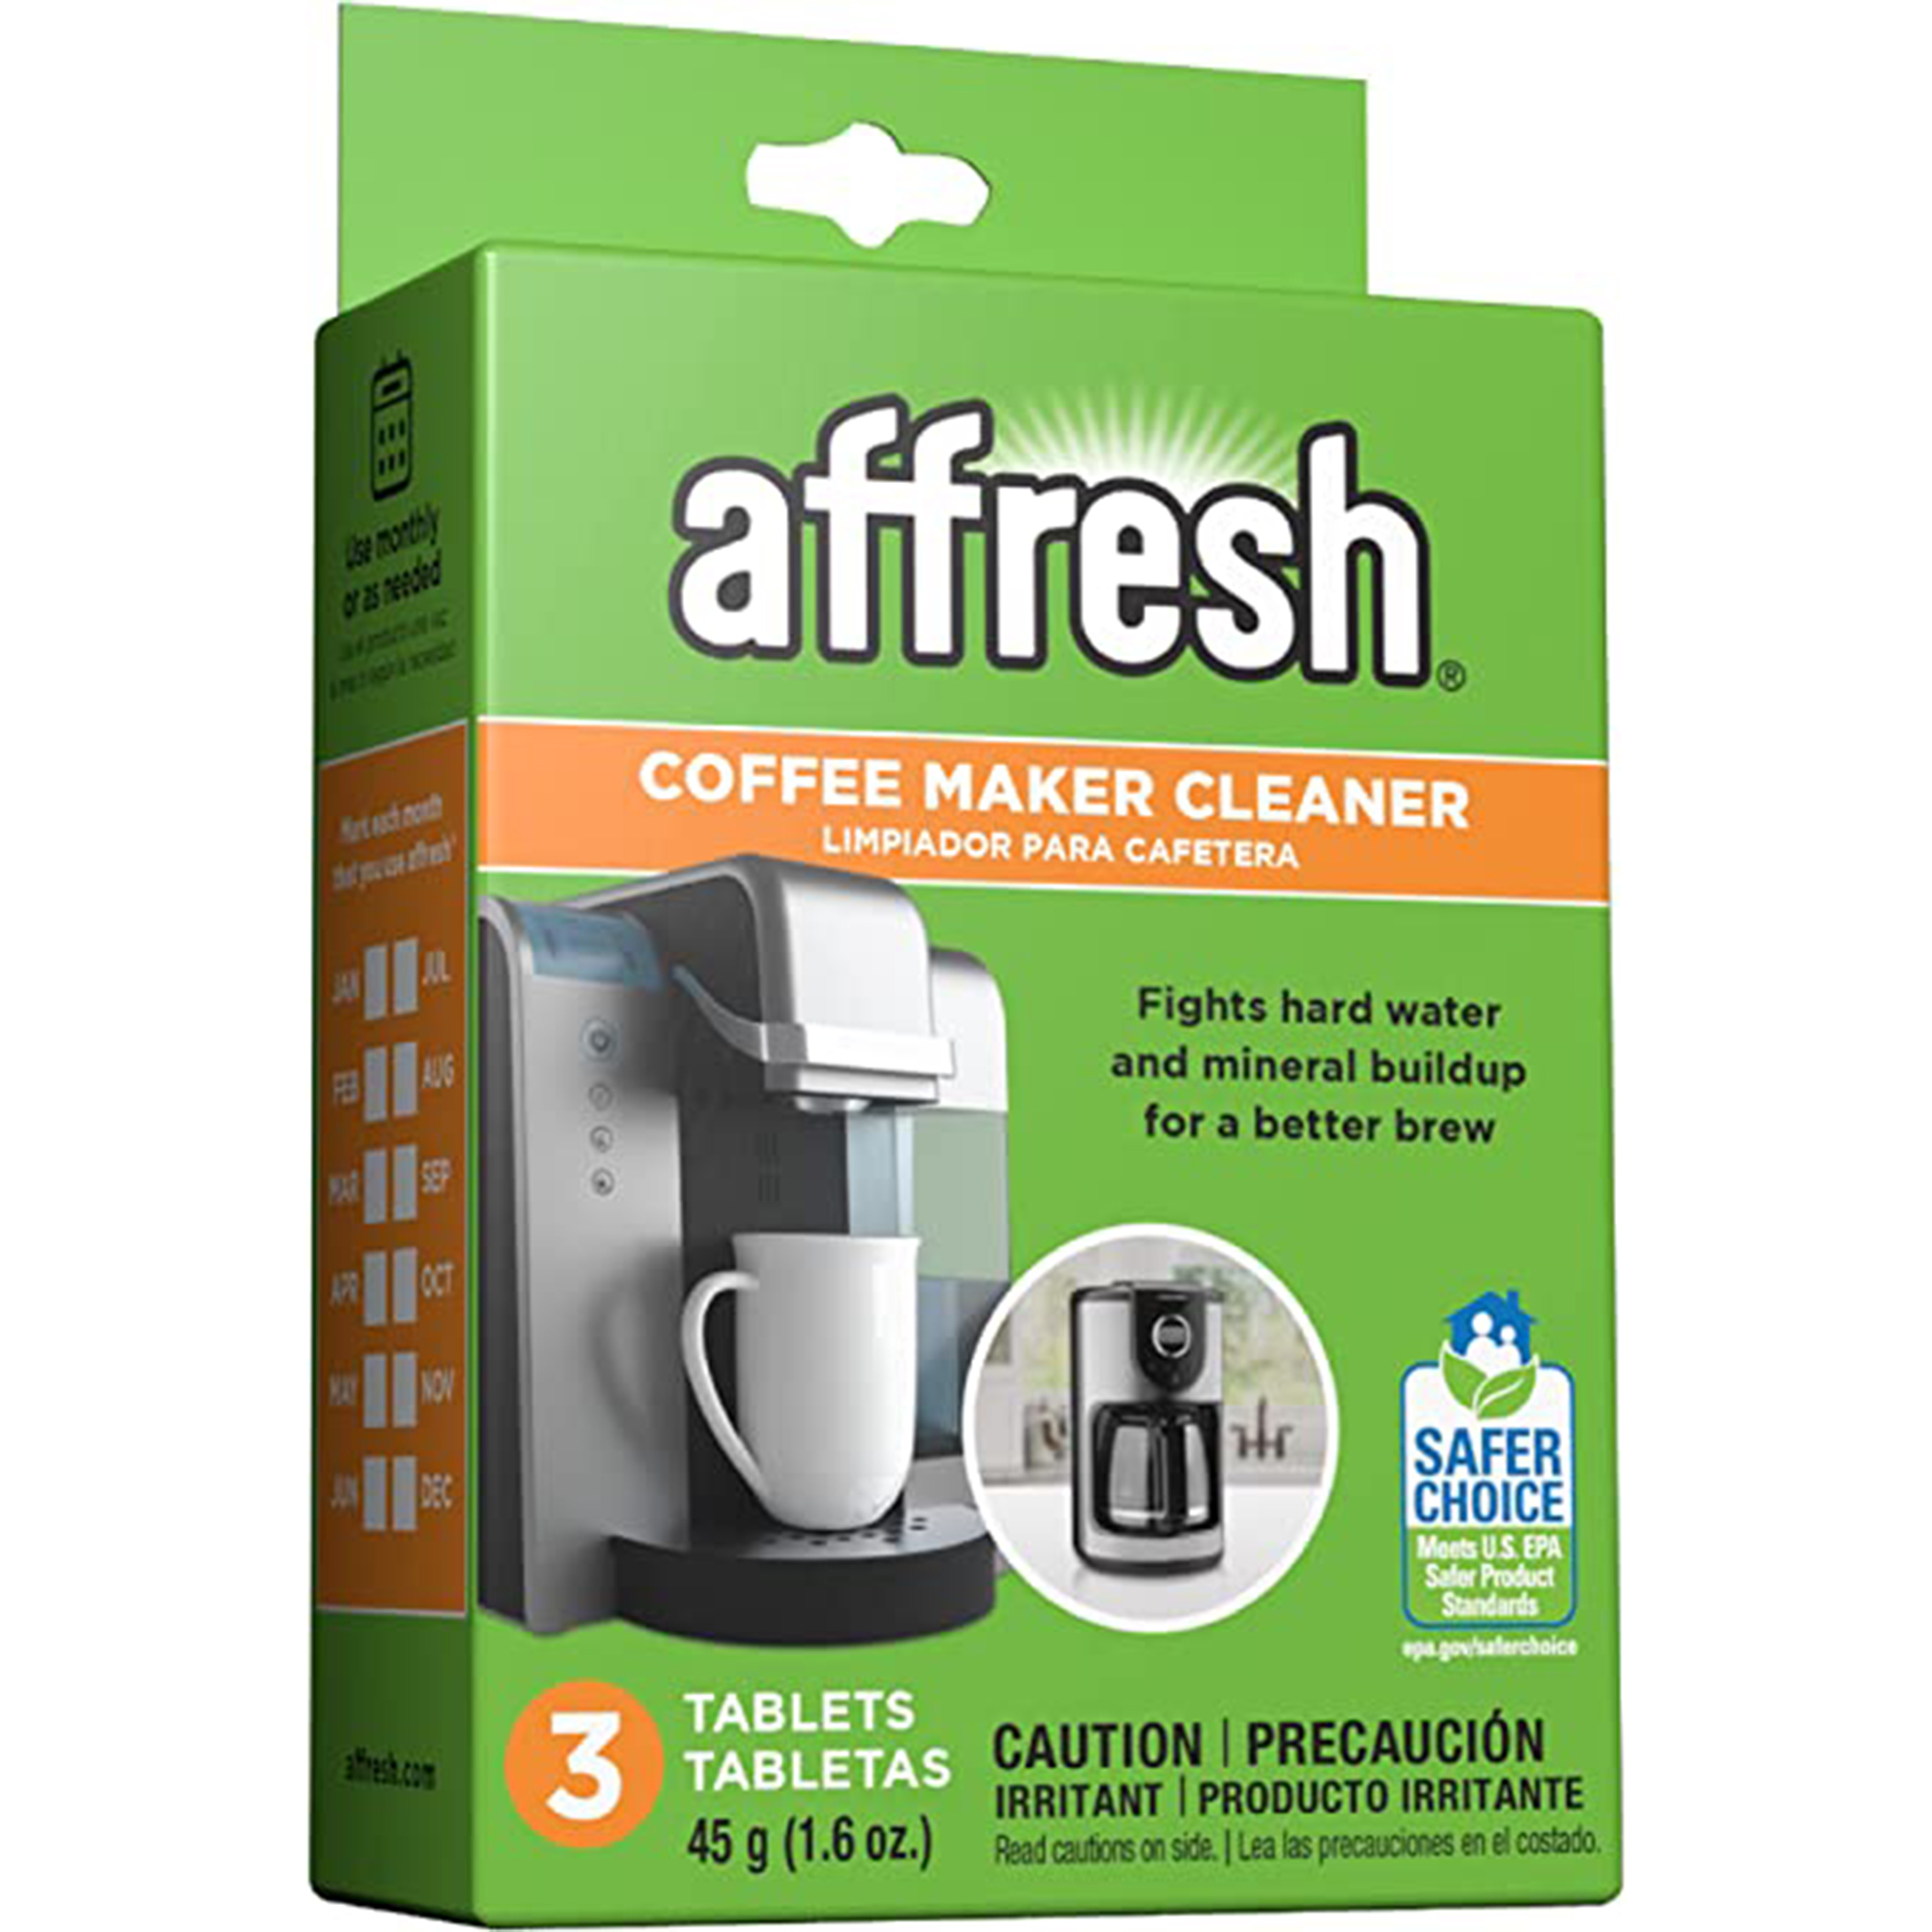
Look after your Keurig coffee maker for under $5 with these easy-to-use tablets. These tabs clean without any vinegary odor if you're worried about strong scents.

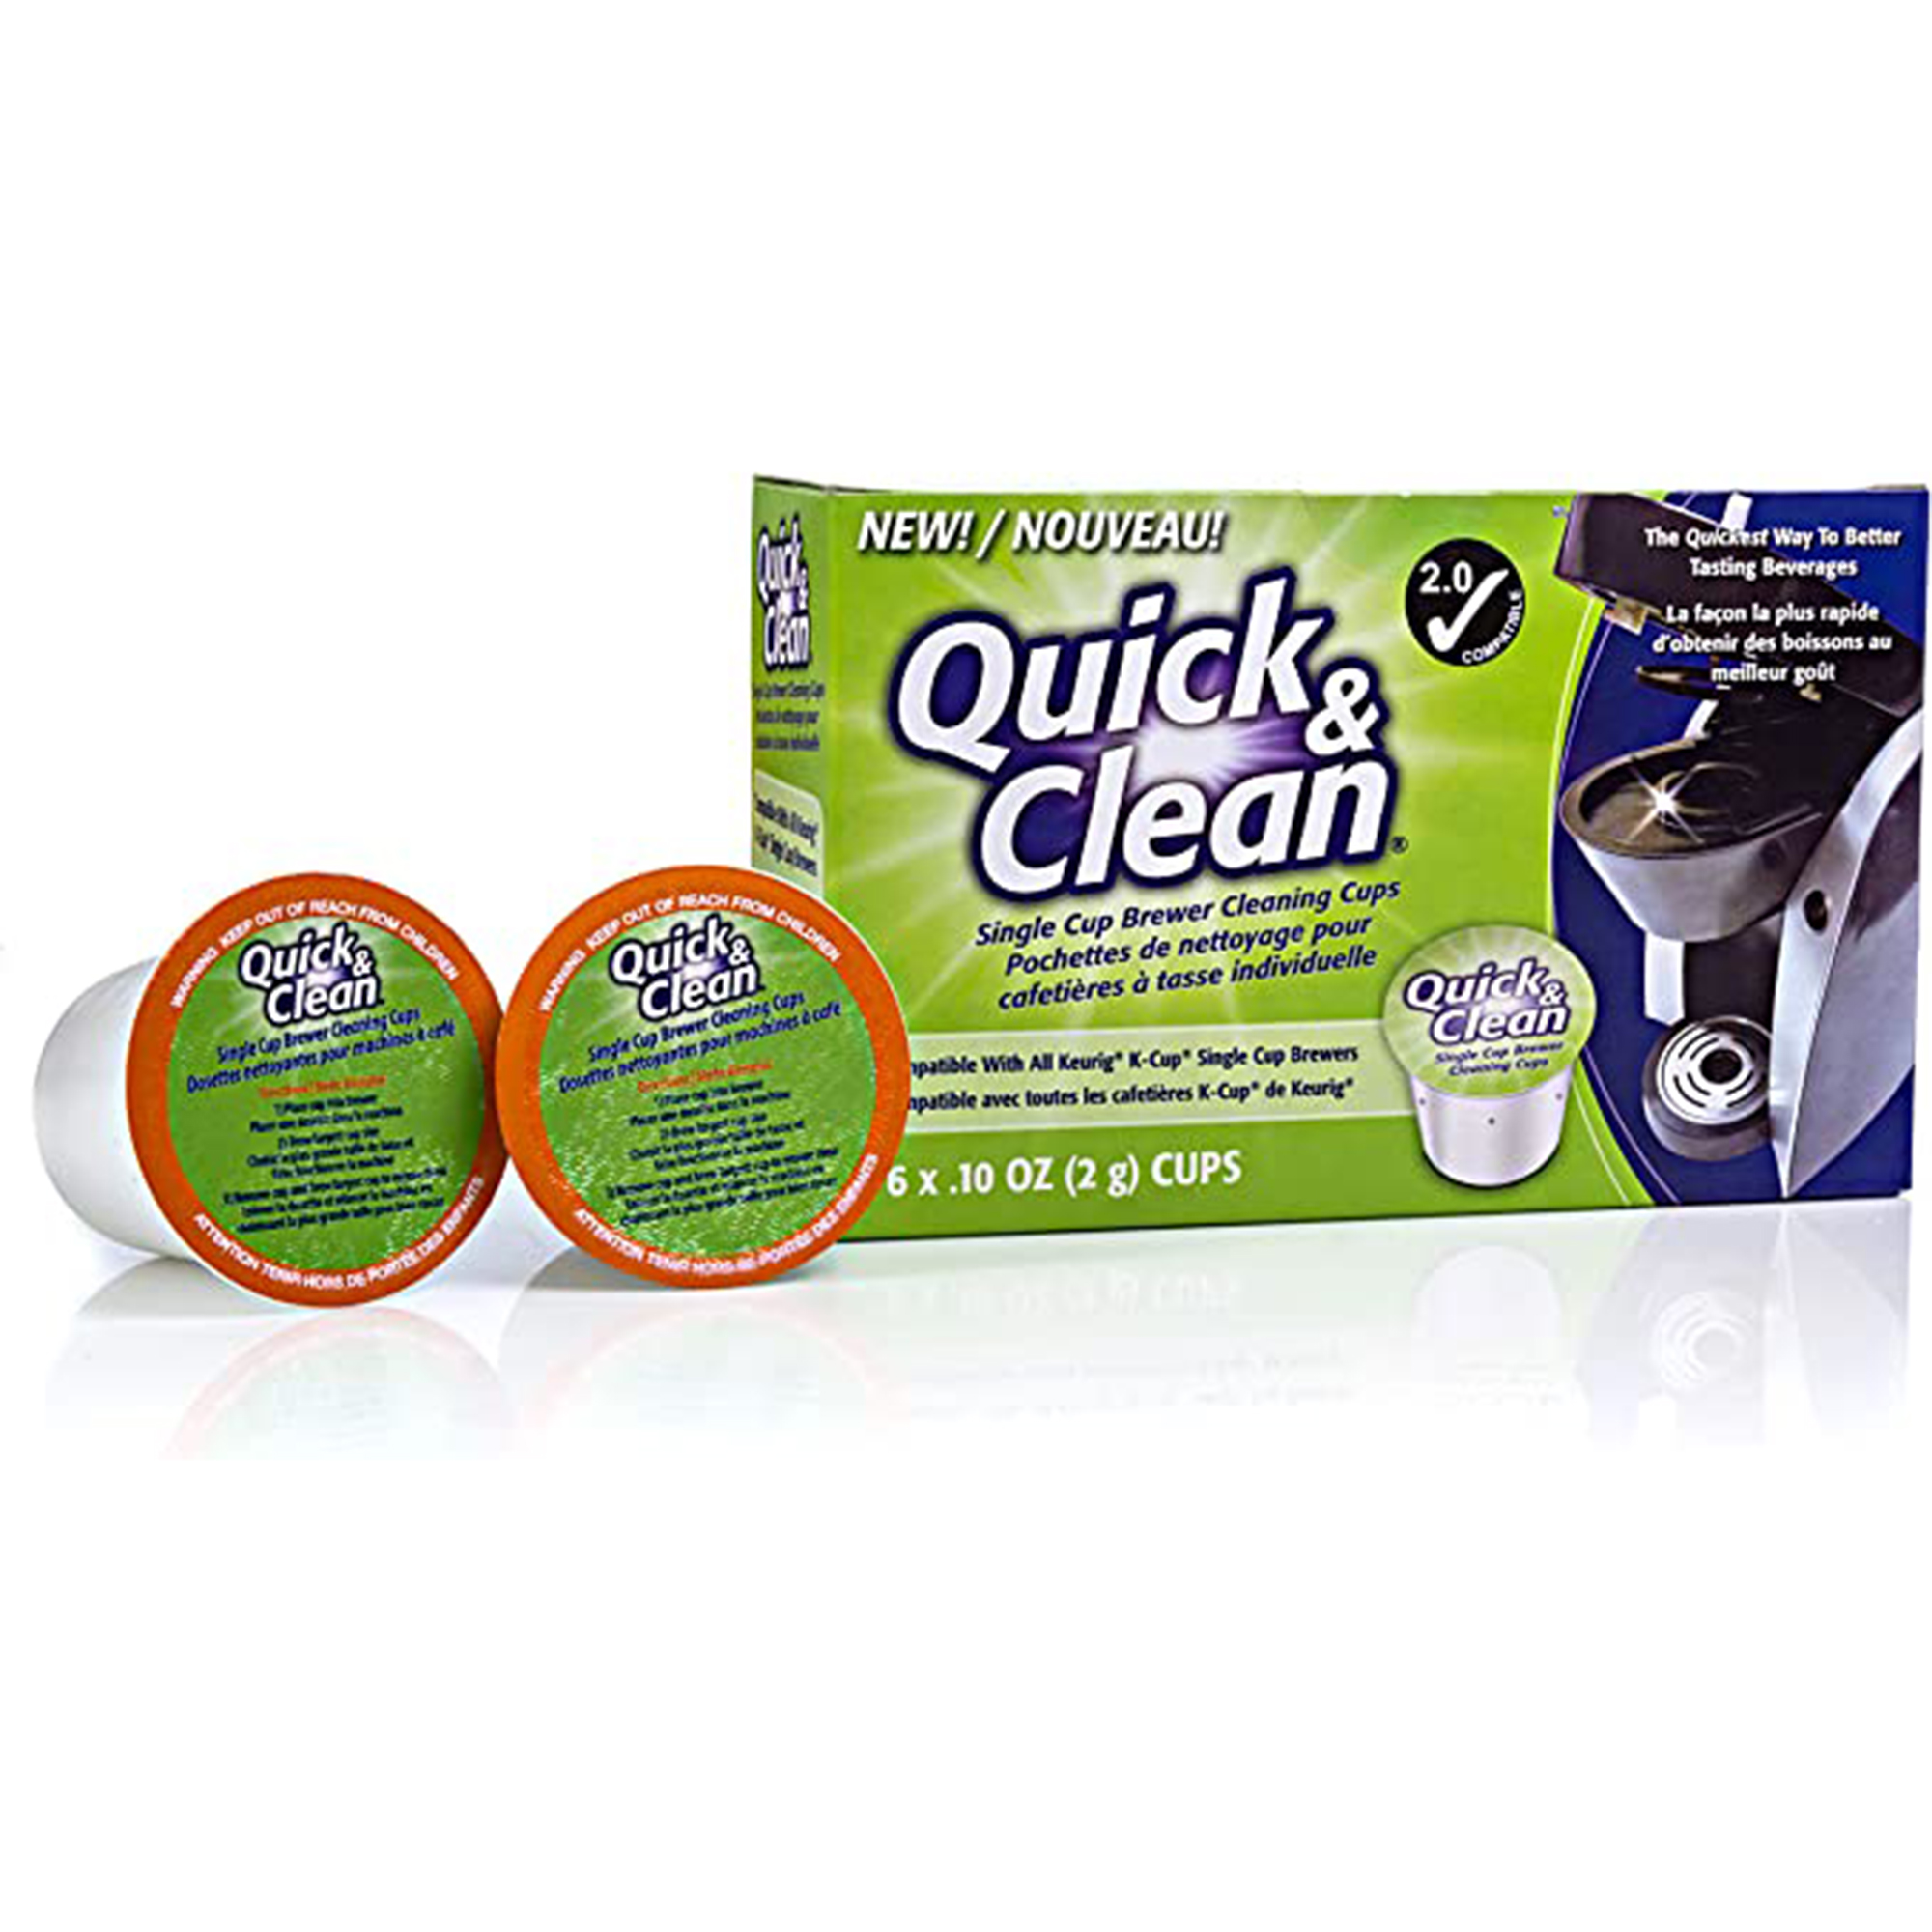
These brewer-cleaning cups improve the taste of your coffee over time by getting rid of organic residue. These six pods will provide 18 months of deep cleaning.

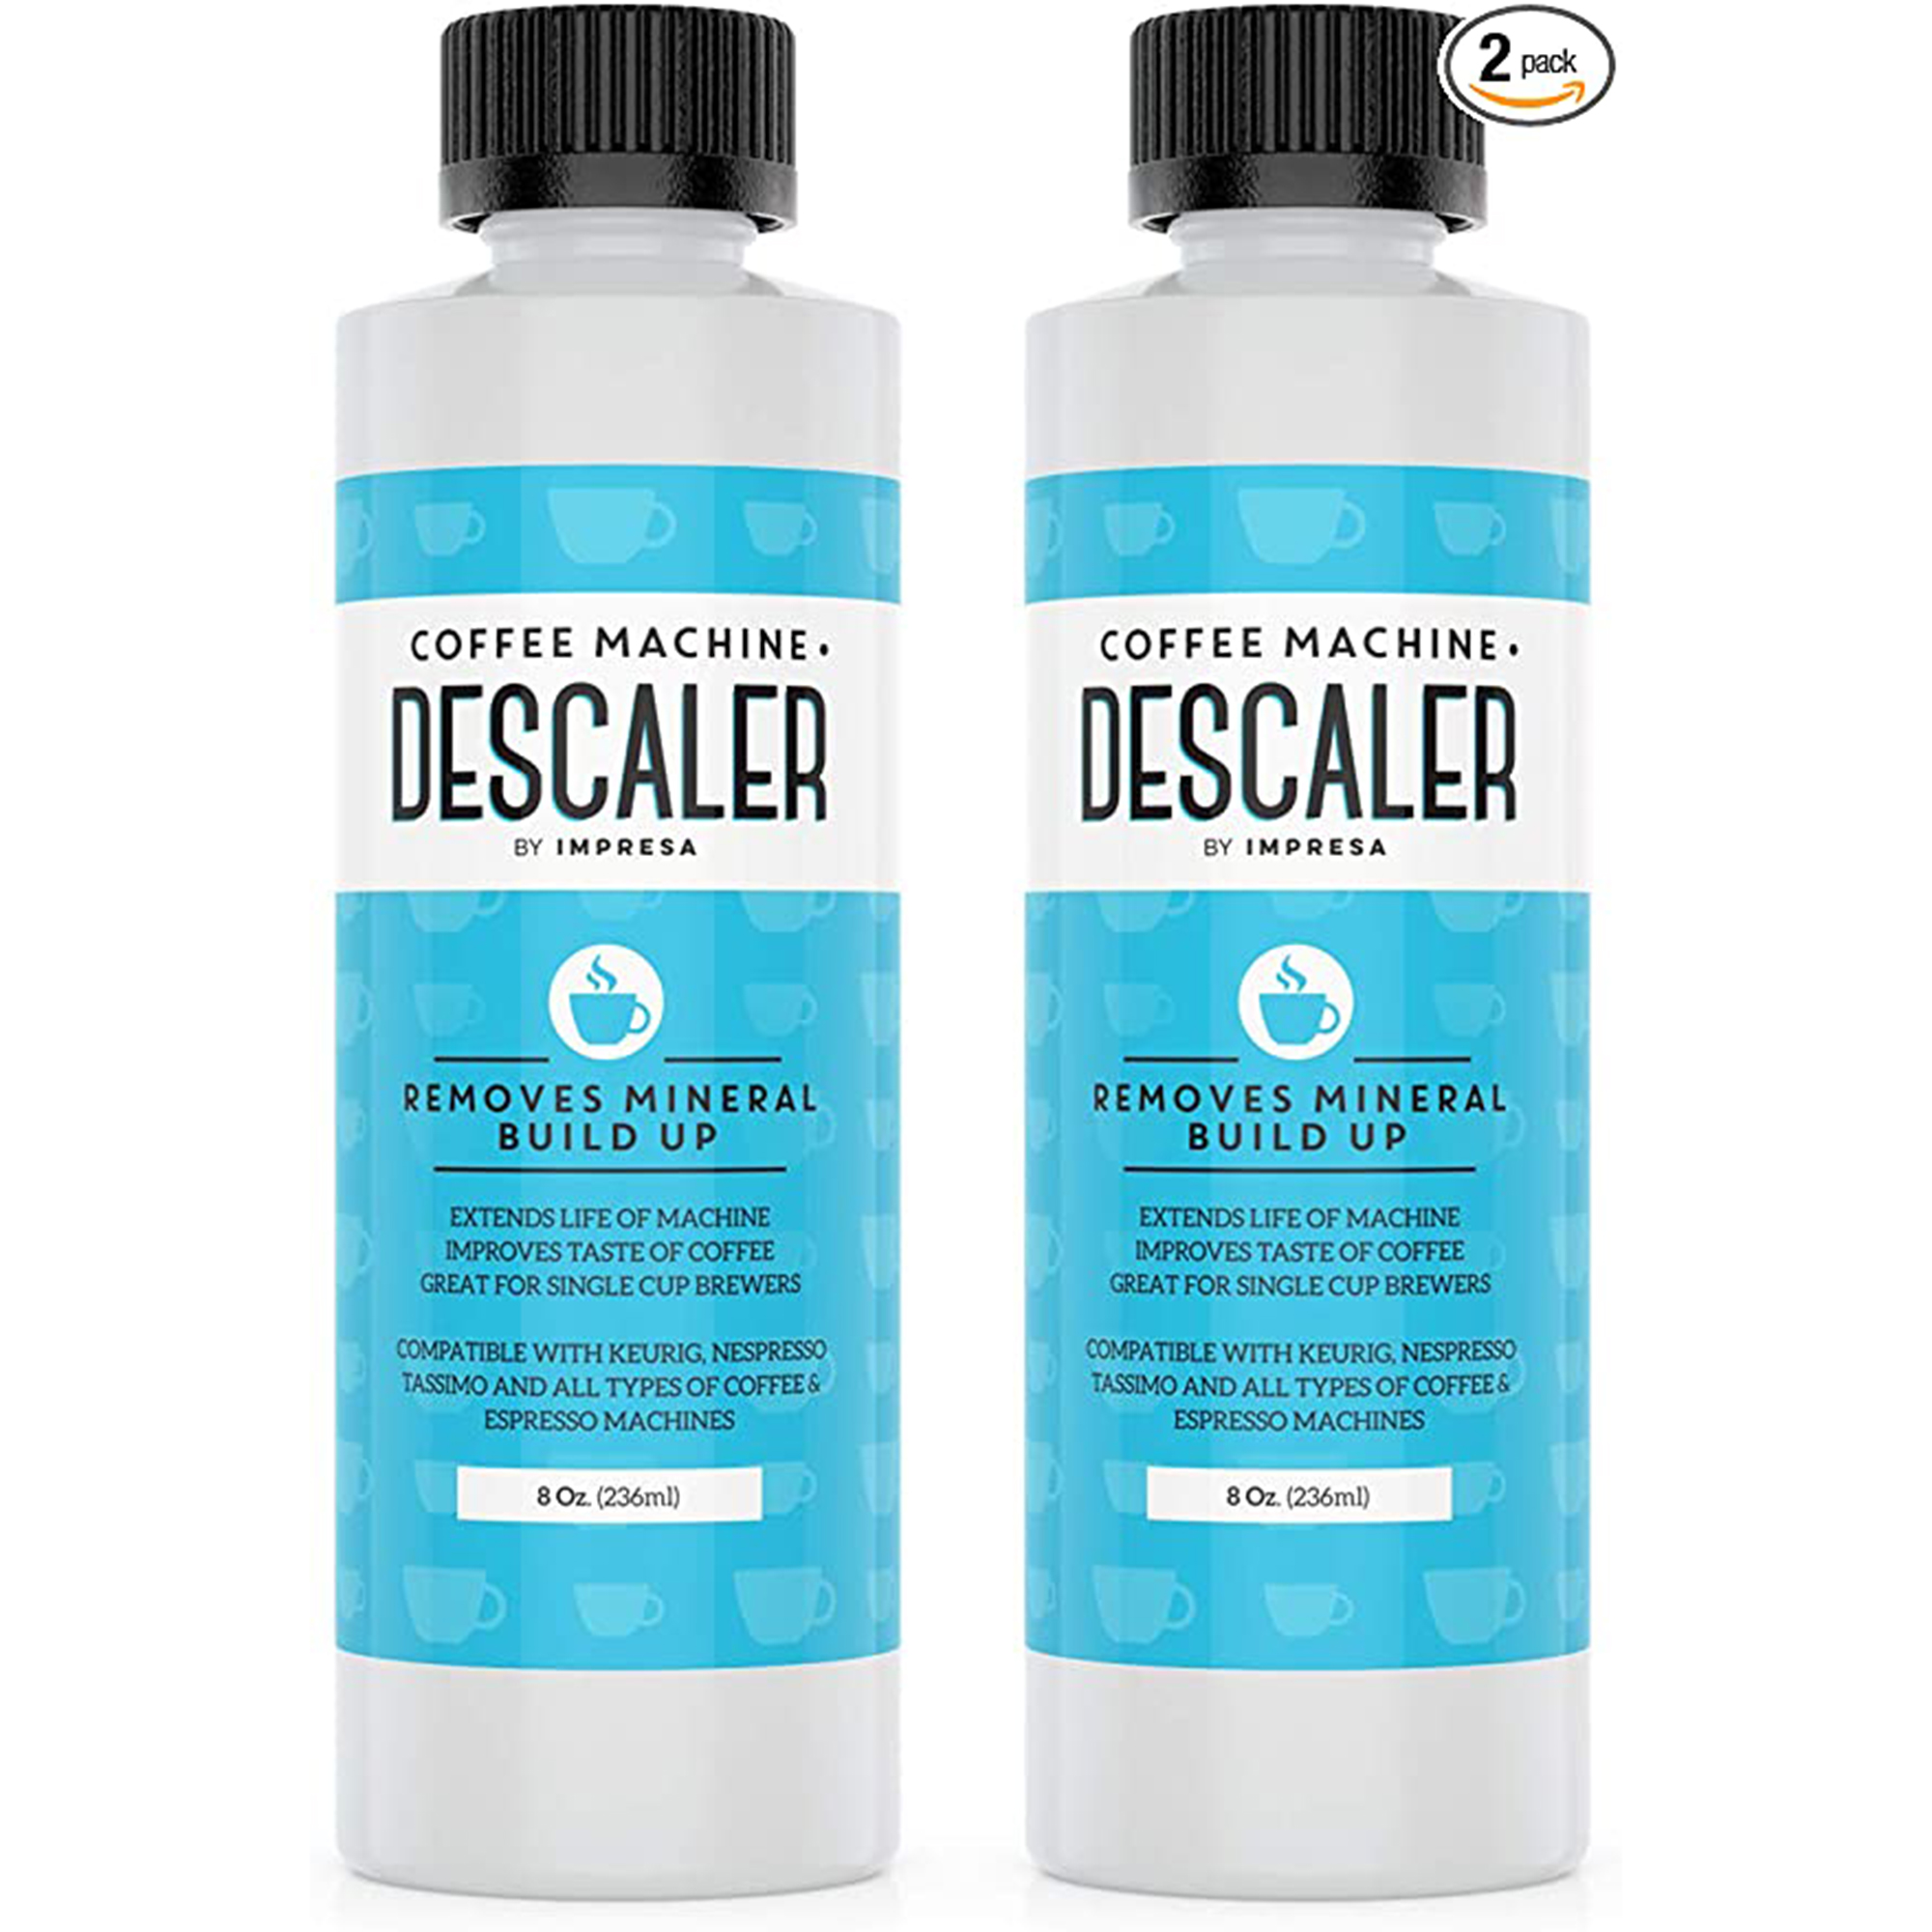
This twin pack of descaling solution is an absolute bargain at under $14! It has over 67,000 highly-rated reviews and is suitable for all Keurig coffee makers. FYI, you get two uses per bottle, so this set will last you a year (if you clean your machine every quarter).
Can you submerge a Keurig in water?
Absolutely not! a) It's not necessary, b) It's a huge electrical risk, c) It could invalidate any warranty you have on your Keurig coffee maker and home/contents insurance policy. Simply wipe it down with a lint-free cloth as suggested, and clean the non-electrical components as we've advised up top.

Hi, I'm the former acting head ecommerce editor at Real Homes. Prior to working for the Future plc family, I've worked on a number of consumer events including the Ideal Home Show, Grand Designs Live, and Good Homes Magazine. With a first class degree from Keele University, and a plethora of experience in digital marketing, editorial, and social media, I have an eye for what should be in your shopping basket and have gone through the internal customer advisor accreditation process.