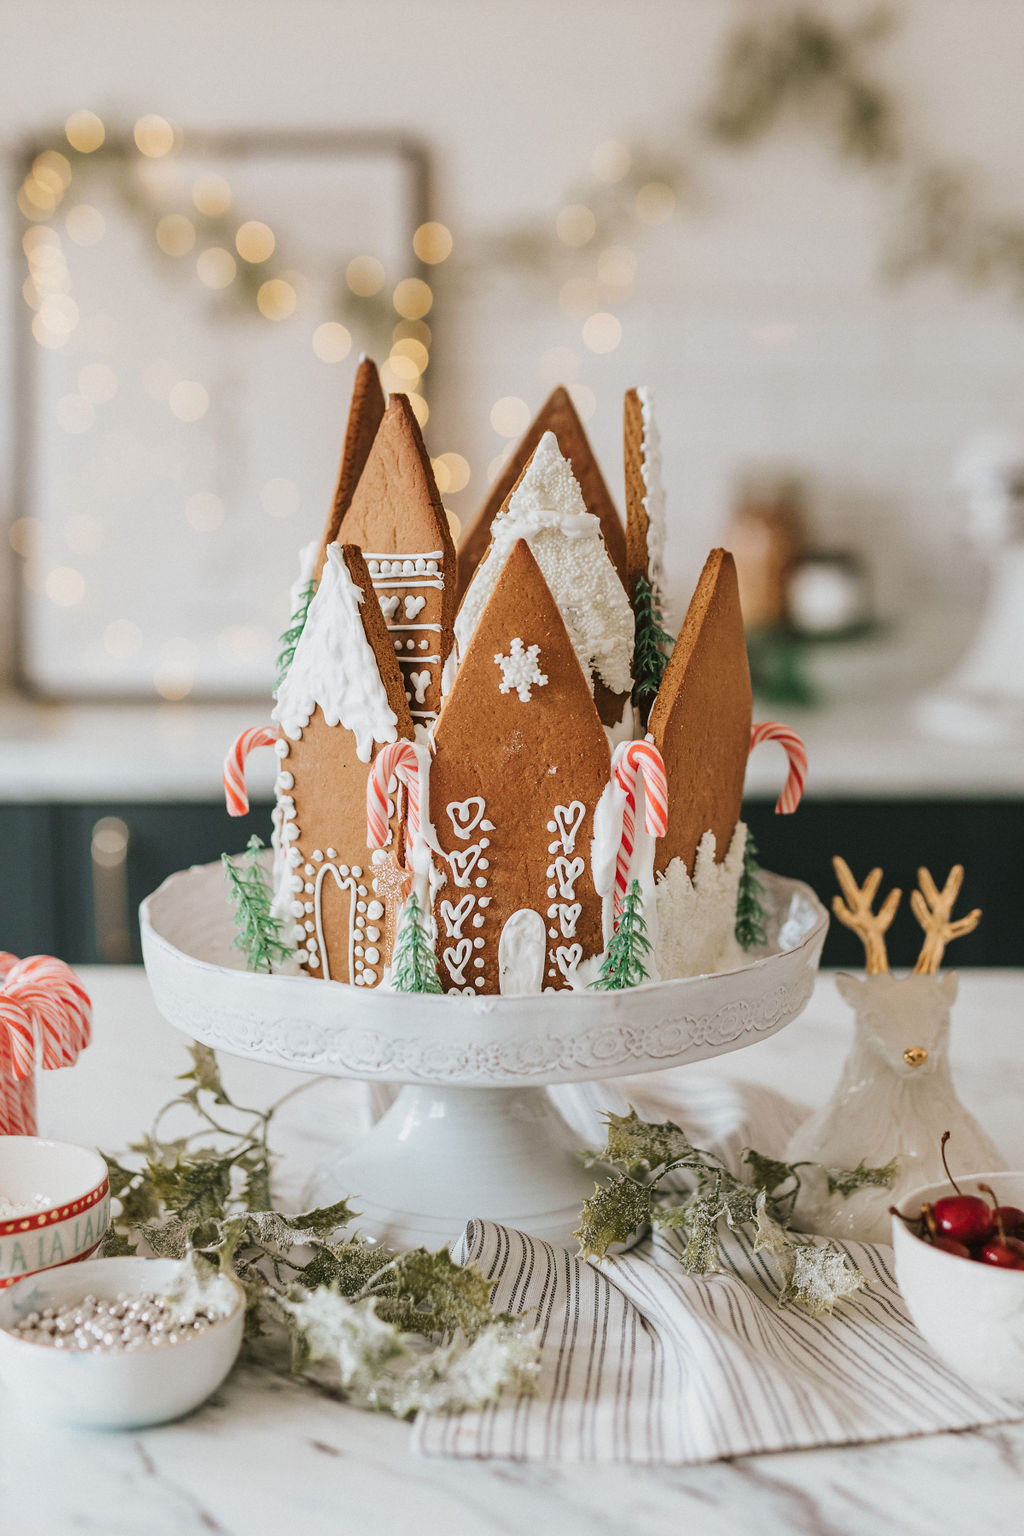
This amazing gingerbread house is all we want to make for Christmas 2020
You always need a gingerbread house at Christmas. This unique recipe and gorgeous display is sure to impress

Get small space home decor ideas, celeb inspiration, DIY tips and more, straight to your inbox!
You are now subscribed
Your newsletter sign-up was successful
A gingerbread house is an intrinsic part of all Christmas celebrations! Beyond delicious, of course – this is one thing – but an elaborately decorated gingerbread house also makes perfect Christmas table decor in itself. With a cake creation this beautiful, it is almost too good to eat, right? But alas, we do always end up eating it!
Half the fun of an epic gingerbread cake is the eating of it of course, but there is nothing quite like decorating a gingerbread house with Wham! or a rendition of Jingle Bells on in the background.
This recipe proves that baking and decorating a gingerbread house really is an art form, but this recipe has all that you need to make yours a success and, you can do it in your own unique way!
- With special thanks to Charlotte Bennett for this gorgeous Christmas recipe and to Elizabeth Rose the Photographer.
How to make a gingerbread house
The whole family will love baking, constructing and decorating this beautiful Christmas cherry and almond cake with gingerbread. From the moist cake to the spiced gingerbread towers complete with gorgeous royal icing deco, candy canes and more, this is our favorite Christmas baking project right now.
This Christmas showstopper gingerbread cake is built with a cherry and almond cake, then surrounded by gingerbread. Serve this up around the Holidays, pre or post your Christmas dinner and smiling faces are guaranteed.

Gingerbread house recipe
Ingredients.
For the sponge:
Get small space home decor ideas, celeb inspiration, DIY tips and more, straight to your inbox!
- 225g unsalted butter (softened)
- 185g caster sugar
- Grated zest of one lemon
- 1tbsp orange juice
- 4 free-range eggs
- 165g self-raising flour
- 100g almond flour / meal
- 1tsp baking powder
- 1 tbsp semi-skimmed milk
- 120g Marzipan, diced 1cm pieces
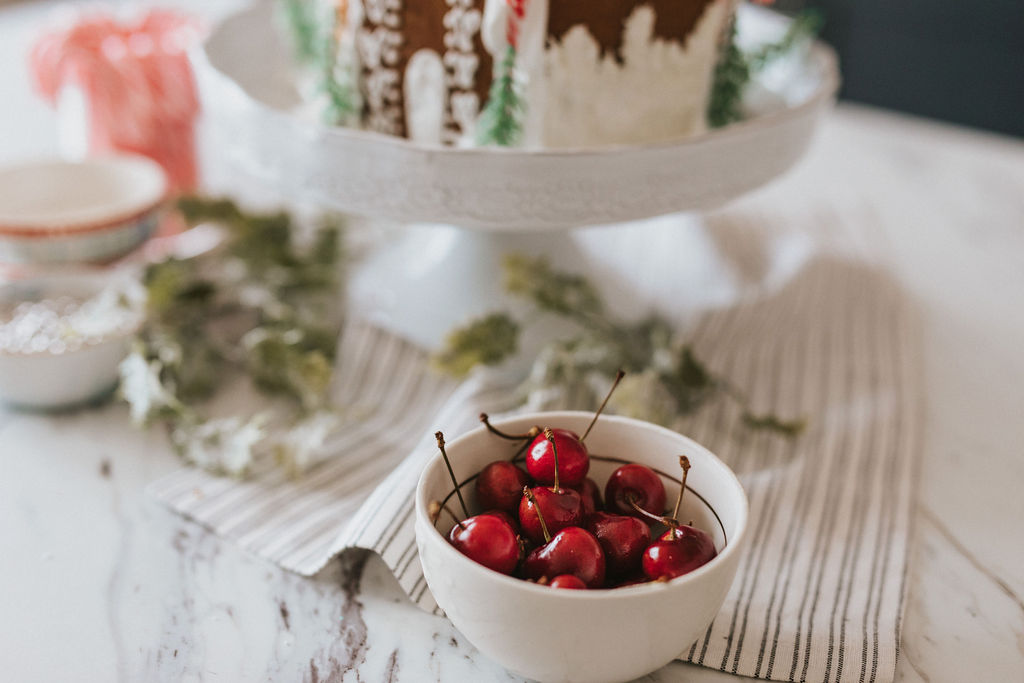
- 200g roughly chopped cherries (pitted)
- Pinch of salt
Utensils:
In this recipe, Charlotte Bennett used a panettone tin for added hight, but she has said that a 20cm spring-form cake pan will be ample.
- Baking tin
- Panettone tin/ 20cm spring-form cake pan
- Food mixer (non essential)
Method:
1. Preheat your oven to 170ºc. Then, lightly grease your baking tin of choice with some butter and line it with greaseproof paper.
2. Line the outside of the tin with foil, which will prevent the batter from leaking. Alternatively, you could sit in a walled baking tray.
3. Add the cherries and marzipan to15g of the flour to coat them, which will help stop them from sinking to the base of the cake. Set them to one side.
4. Beat together the butter and sugar with the lemon zest until thick and pale in colour. Add in the orange juice and mix thoroughly to combine.
5. Add in the eggs one at a time. Crack them straight into the butter and sugar mixture, or crack them into a glass bowl to allow for any shell breakages. You should have a gloopy and loose mixture, once combined.
6. In a separate bowl, mix together the ground almonds, flour, baking powder and salt. If you are using an electric food mixer, start on the slowest speed, gradually add in the flour, folding the mixture together. This will form a simple cake batter mixture. If the batter seams too thick at this stage, add a dash of milk to loosen it. This will help moisten the sponge.
7. Take a third of the cherries and marzipan and fold them through the cake batter. Spread the mixture into your lined cake tin and add in the leftover cherries and marzipan. Push them into the sponge, and make sure the batter covers them. This will help ensure that they are spread evenly throughout the cake.
8. Place the cake into the oven and bake for 15 minutes at 170ºc. Then, reduce the temperature to 160ºc and bake for a further 50 minutes. Insert a wooden skewer to check if the sponge is cooked throughout.
Top tips: If you are using a smaller and taller tin, cook for an additional 10-20 minutes until golden. And, if your cake is turning brown a little too quickly, cover the top with foil to stop it from catching.
9. Once cooked, leave the cake in the tin to cool slightly, before transferring it carefully onto a wire rack. Allow the cake to cool completely before coating it in the butter cream.
For the buttercream:
- 600g sifted icing sugar
- 300g unsalted and softened butter
- Milk – for loosening
- Cherry jam or compote
1. Beat the icing sugar and butter together in a standalone mixer.
2. Add the ingredients into your mixture and cover with a damp cloth, to avoid a cloud of icing sugar. Beat until smooth. Adding a dash of milk for a loser consistency if needed.
3. Cut your cooled cake in half width ways and generously spread the base with cherry compote and butter cream.
4. Sandwich the top back on and generously spread buttercream all over the cake as evenly as possible. Use a palate knife to clean the edges.
5. Once fully coated, place into the fridge to set.
For the gingerbread
- 150g soft light brown sugar
- 4tbsp golden syrup
- 2 tbsp black treacle
- 2 tbsp water
- 2 tsp ground cinnamon
- 2 tsp ground ginger
- ½ tsp ground cloves
- ½ tsp nutmeg
- Zest of 1 orange
- 190g unsalted butter, cut into thin slices or small cubes
- 1tsp bicarbonate of soda
- 450g plain flour
Gingerbread recipe
1. Place the sugar, syrup, treacle, water and spices in a large, heavy based saucepan. Bring this to the boil, then reduce it down to a simmer. Stir constantly until the sugar is fully dissolved.
2. Remove this from the heat and add in the butter, stirring until completely melted and combined.
3. Add in the bicarbonate of soda, stirring constantly. The warm mixture should start to expand and turn a muted brown.
4. In a large bowl, have the flour ready. Add in the hot sugar and butter mixture with a wooden spoon. You can add more flour if needed, but at this stage, try to avoid the temptation as you’ll need a lot of flour for rolling and you want to avoid the mixture becoming too dry. Once mixed together, cover with a damp cloth or clingfilm and leave to cool for 20-30 minutes.
5. Whilst the gingerbread is cooling, preheat oven to 180ºc and cut out your templates.
6. Take some parchment paper and wrap it around the cake tin used for your sponge. This will help to measure your houses exactly.
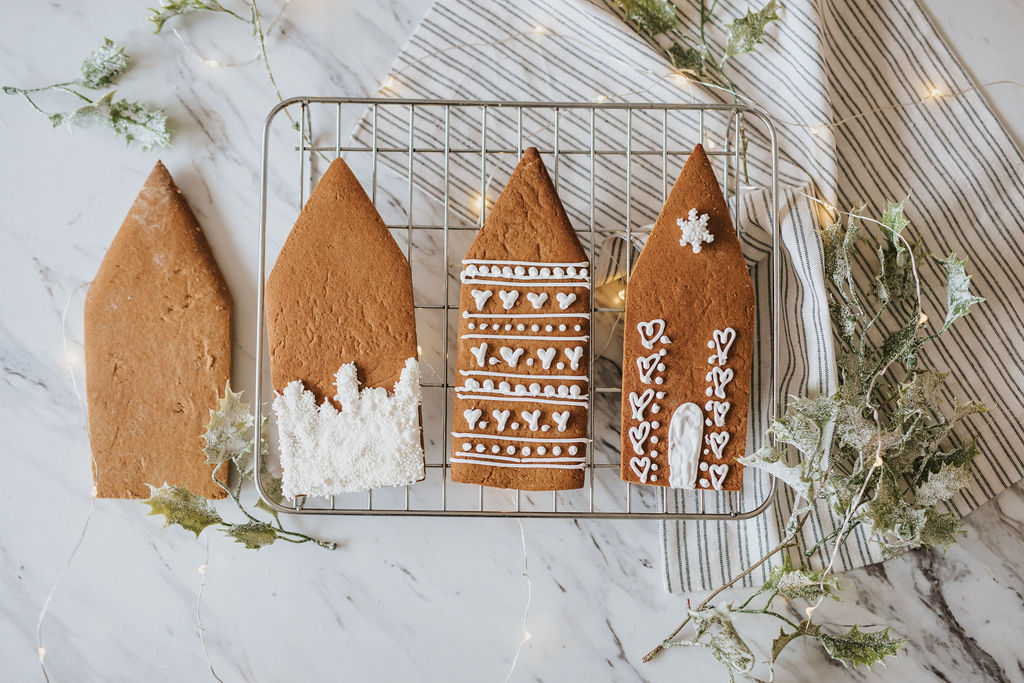
7. Fold it into 6 to get the width of your gingerbread houses. Then cut them to the same or different heights, up to you, and place them to one side – these are your templates.
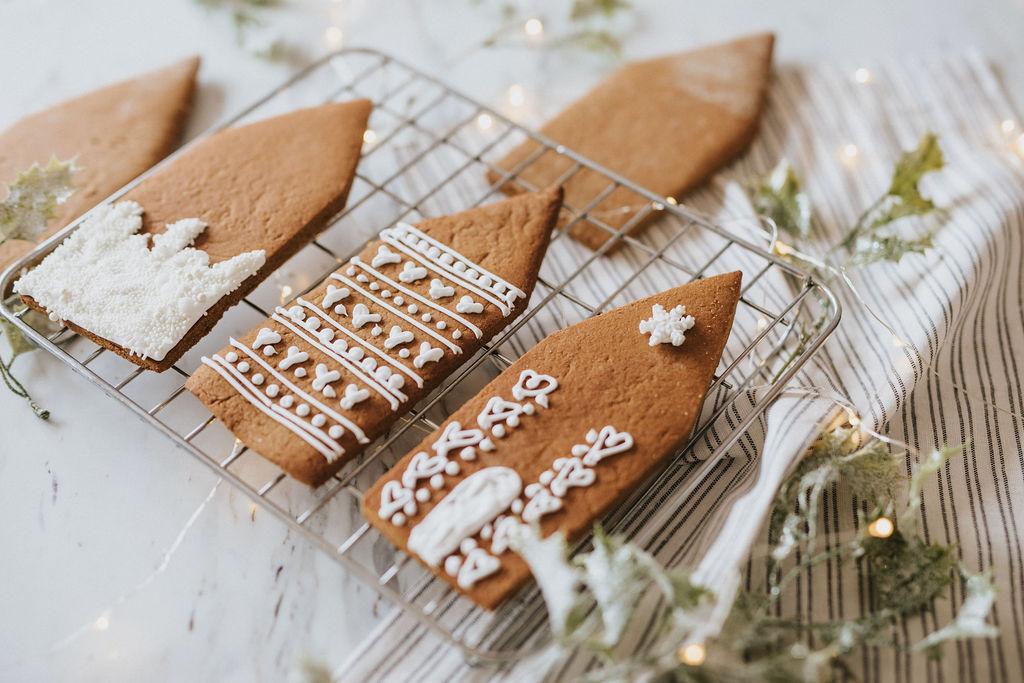
8. Roll out the dough to 3-5mm thickness on a floured surface. Using your templates, cut out the house shapes and place them carefully onto a baking sheet.
9. Bake them for 8-10 minutes, and once cooked, transfer them straight onto a cooling rack to harden.
Top tip: For clean and straight edges, use a grater to carefully file down the edges, or if you prefer a more rustic finish, you can leave them as they are.
10. Once cooled, decorate as you'd like with royal icing.
How to build your gingerbread house
You will need either shop bought or home-made royal Icing to decorate and build your gingerbread house.
To build your showstopper cake:
1. Take one or two layers of cake, your gingerbread and royal icing.
2. Place a generous dollop of royal icing onto the back of each gingerbread cut out and stick them onto the cake.
How to decorate your gingerbread house
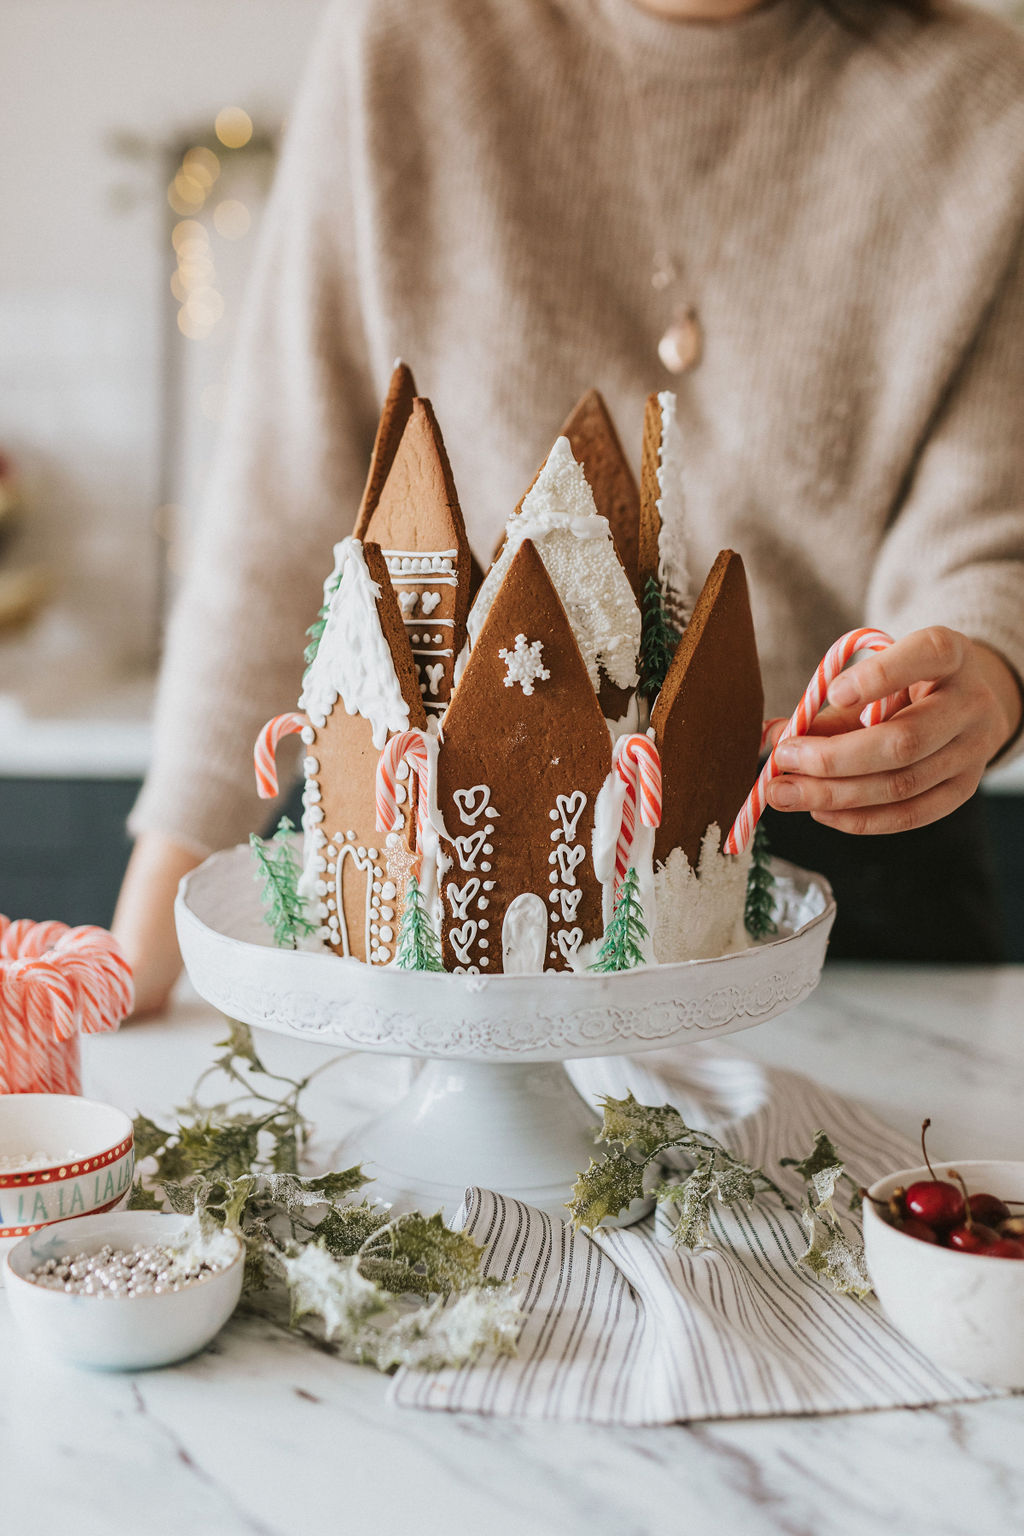
Go to town on your gingerbread house decoration of course! For this showstopper, Charlotte Bennett recommends you decorate it with candy canes, edible gold leaf and miniature Christmas trees, of course, and display it on your favorite festive cake stand. This one is from Anthropologie! Ta-Da and Merry Christmas!


I'm Cam, the former deputy editor of Real Homes who worked on the site from 2020 to 2023. As a renter myself, sharing a home with two friends (and my cat) in London, I know all too well the challenges that this can pose when it comes to creating your perfect setup. As someone who has always loved everything interior design-related, I cannot rest until a home feels right and I am really passionate about helping others get there too, no matter what their living situation, style, or budget may be. It’s not always the easiest to figure out, but the journey is fun and the results are so worth it.
After interior design, travel, art, and photography are my next big passions. When I’m not writing or editing homes content, I’m usually tapping into other creative outlets, exploring galleries in London or further afield, taking photos, scribbling, or drawing!