How to organize a kitchen, in just 7 steps
No matter how chaotic yours is

Get small space home decor ideas, celeb inspiration, DIY tips and more, straight to your inbox!
You are now subscribed
Your newsletter sign-up was successful
Let's face it: getting your kitchen organized is a sign that you are well and truly adulting. Managing both the ability to banish clutter and to actually style your countertops and kitchen cabinets in the process is almost embarrassingly satisfying.
Whether you have a ton of cooking space or just a countertop and makeshift cabinet in a tiny studio, the general kitchen area is in constant flux and gets used every single day. So, it def requires more upkeep than you might think.
If you are chaotic by nature, sure, rummaging through 10 spare packets of wasabi before getting to the salt might feel homey. But sometimes, it's good to bring a li'l order into your space. From streamlining your morning coffee routine to making your space feel guest-ready at any given moment, a tidy kitchen will make life so much easier.
So, scroll on through to find out how to organize your kitchen like a pro...
Good to know
Time: 2 hours, possibly longer if you have more stuff
Difficulty: Easy
Helpful hints: Getting ahold of storage solutions will make using your kitchen so much easier. Also, when deciding what to throw away, be mindful of how much you use it and think if it can be donated inside of trashed.
Here's what you'll need
- A trash bag
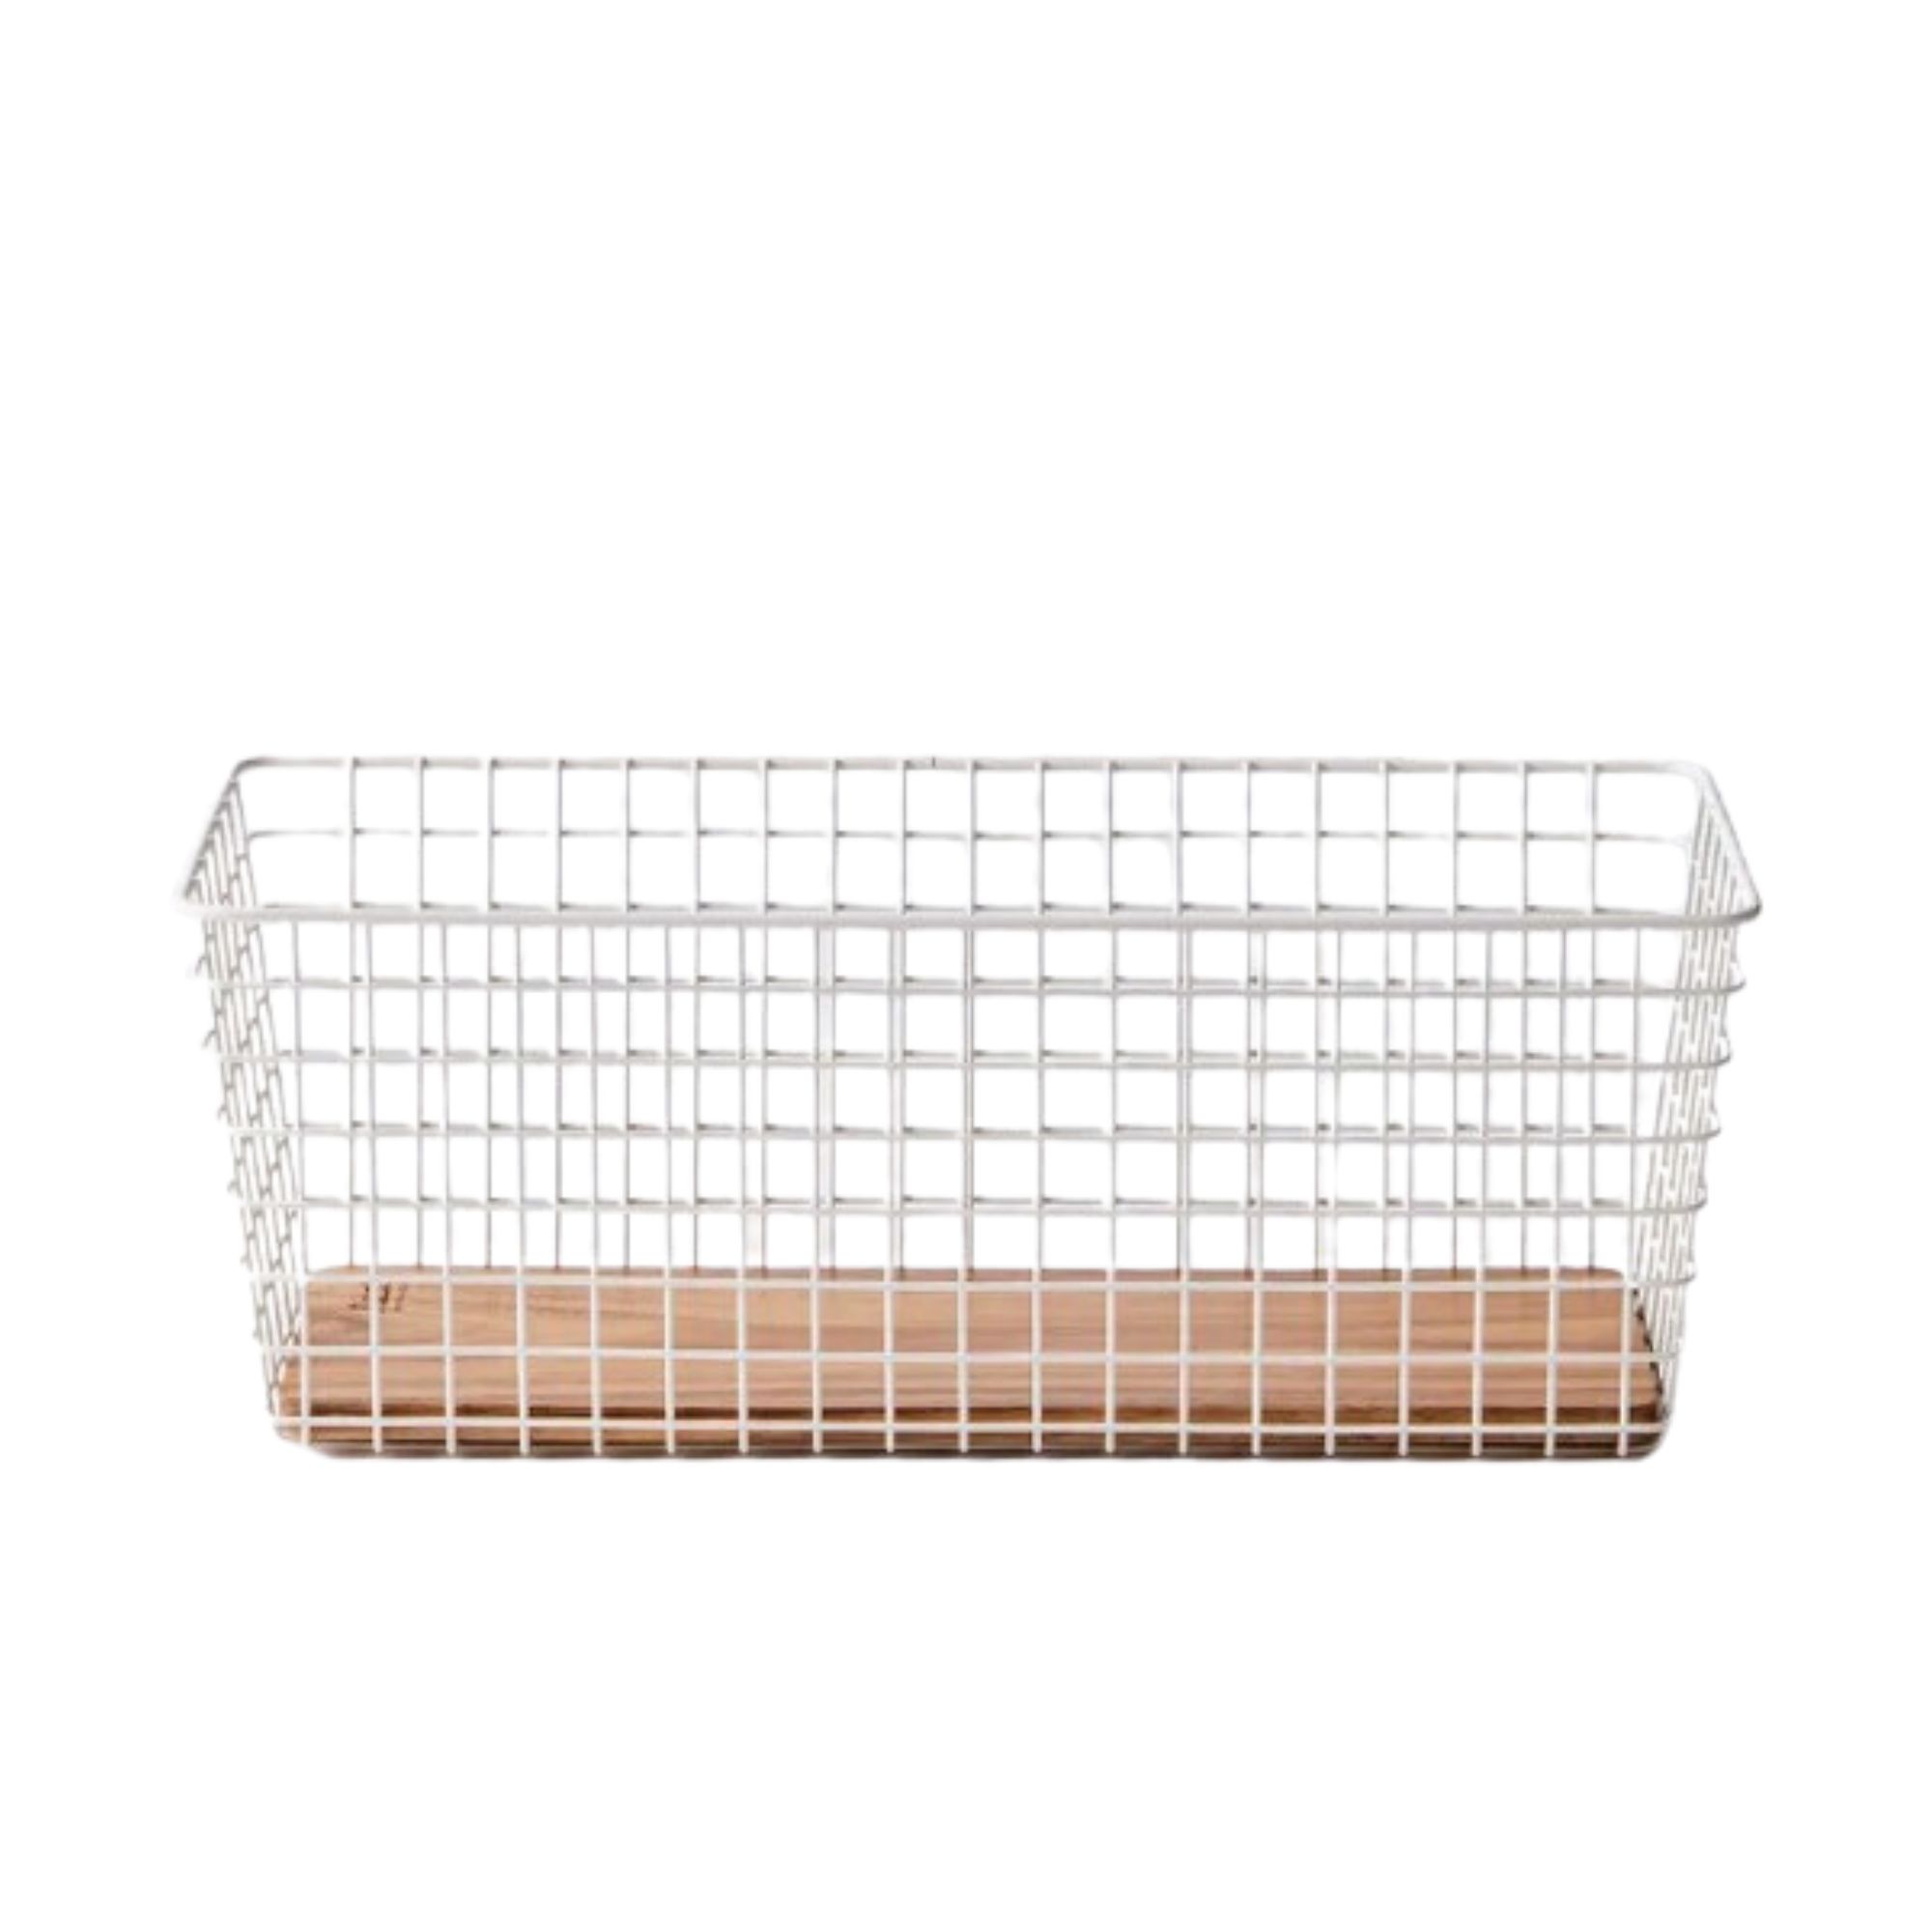
- Storage boxes: Food52 shoppers love the sturdiness and size of these grid storage baskets
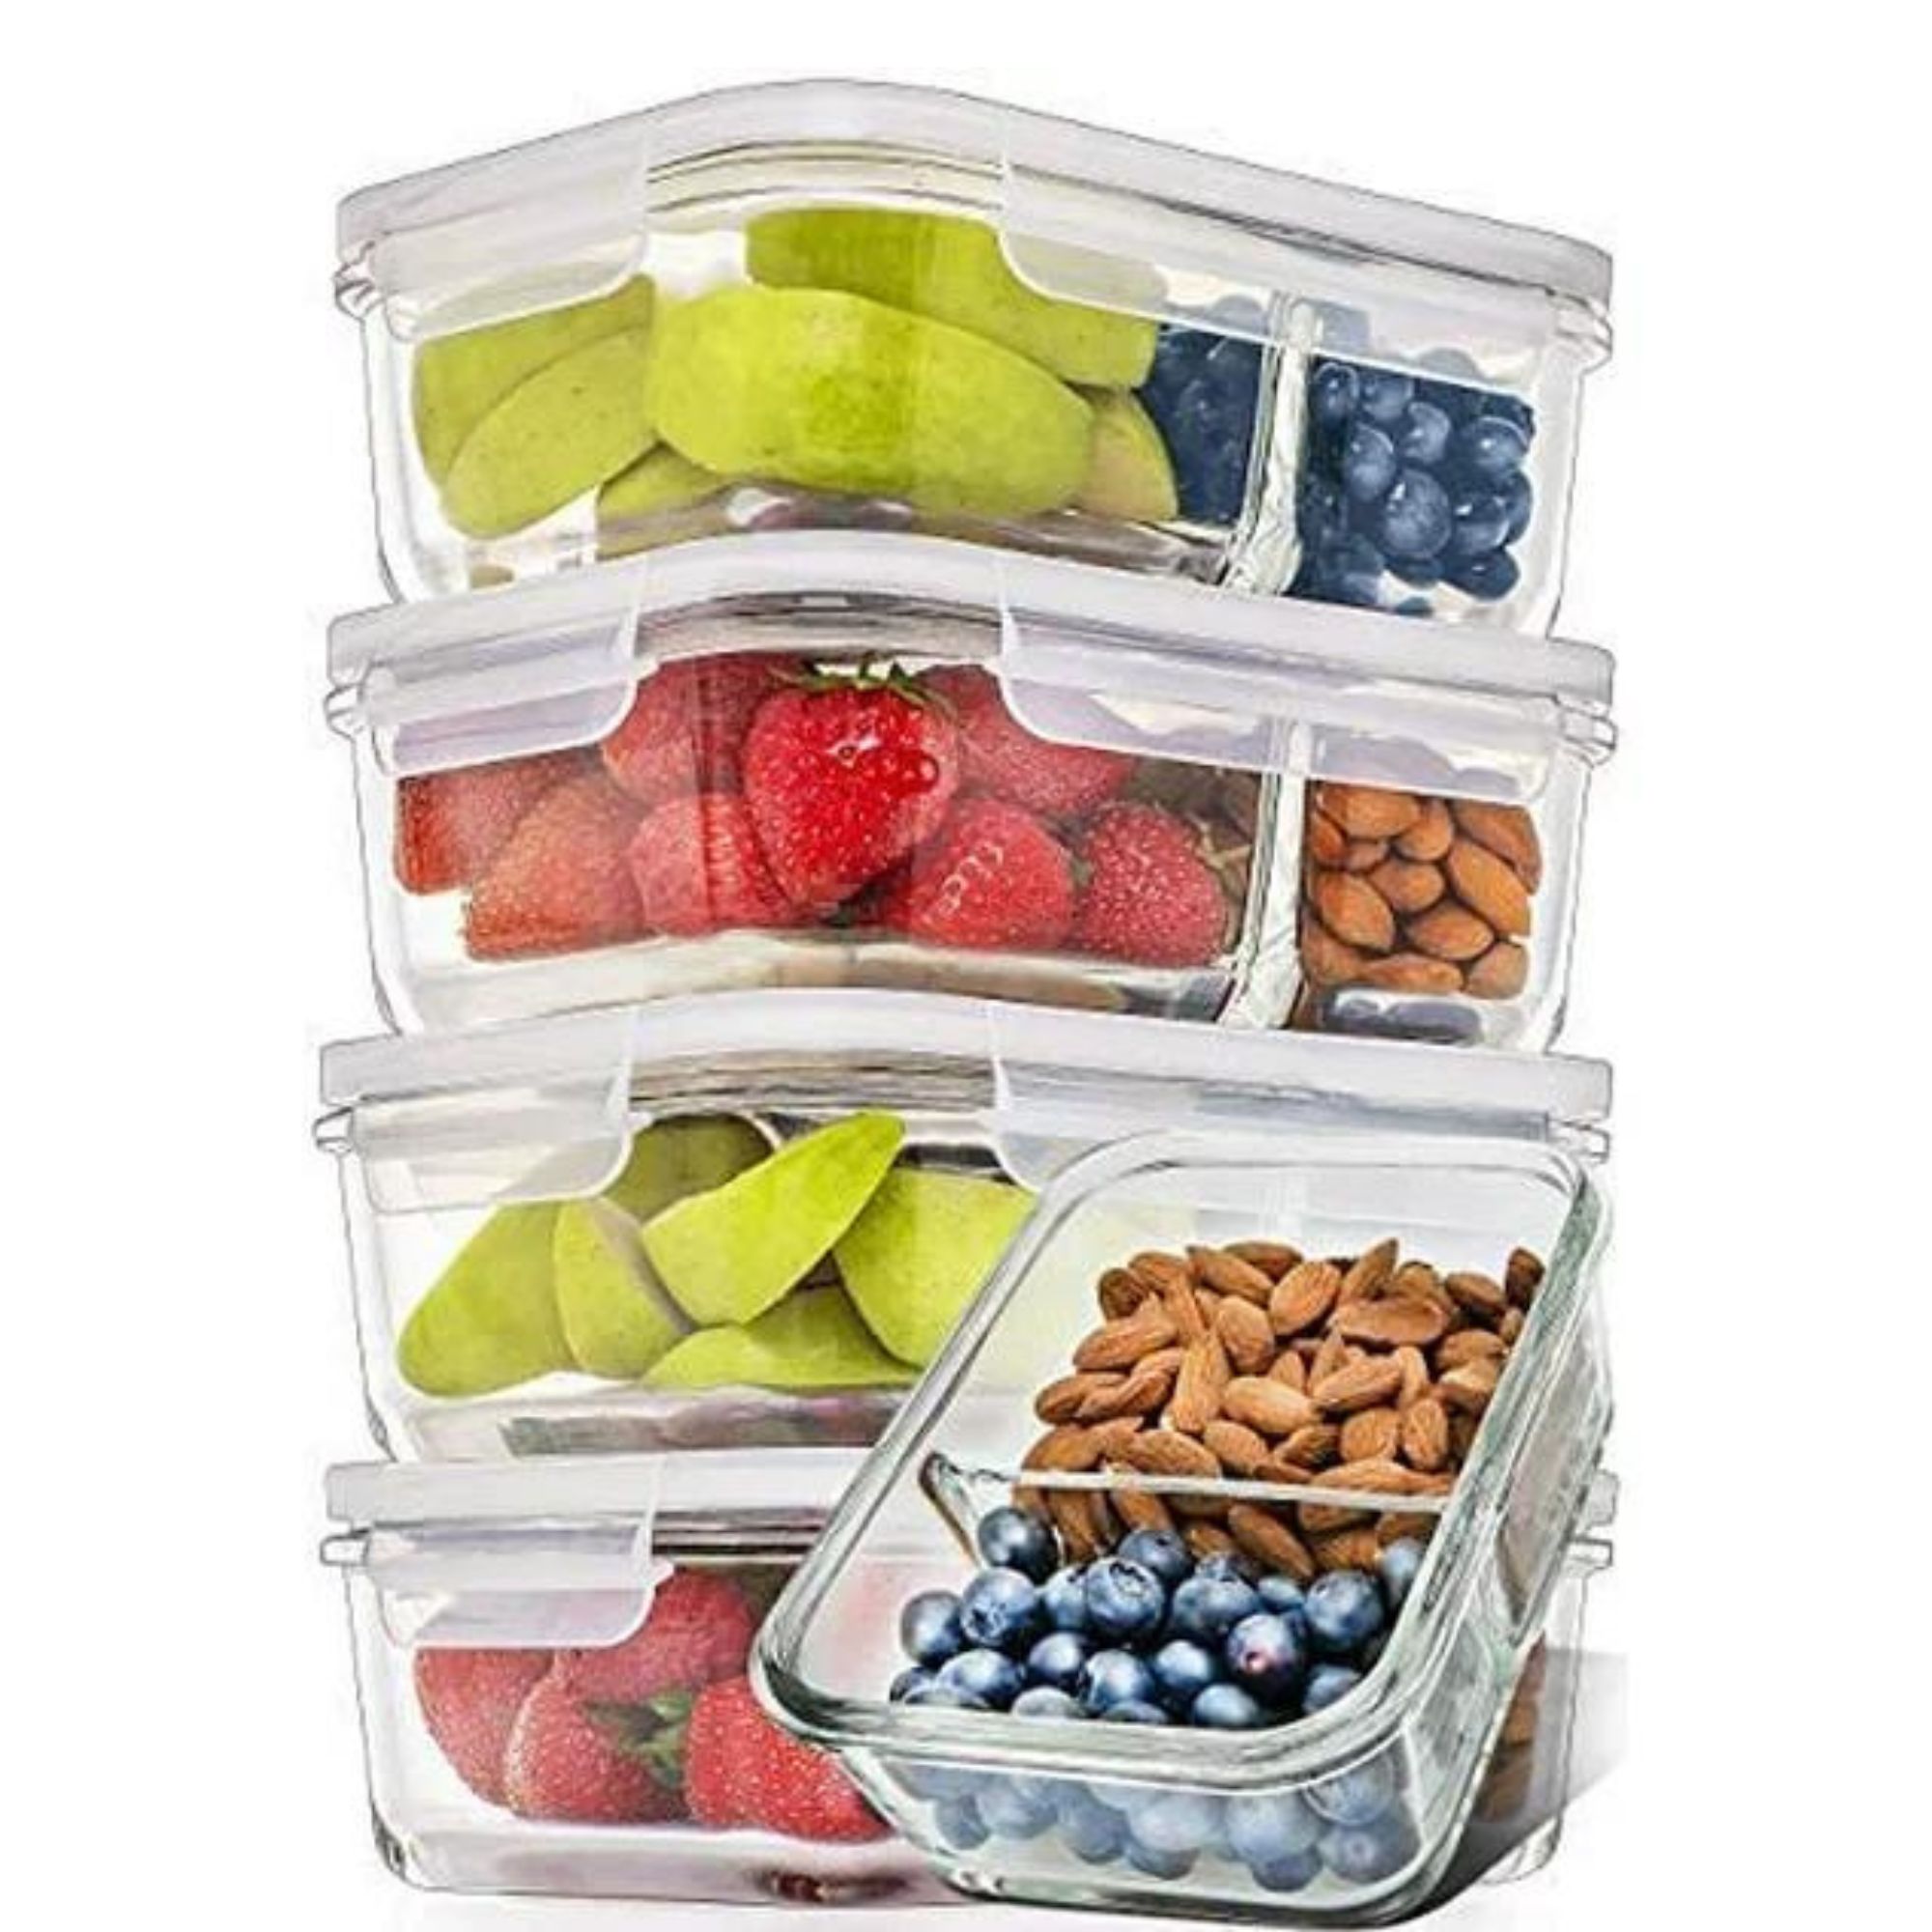
- Storage containers: These Walmart boxes have locking lids, and are clear so you can see exactly what you have
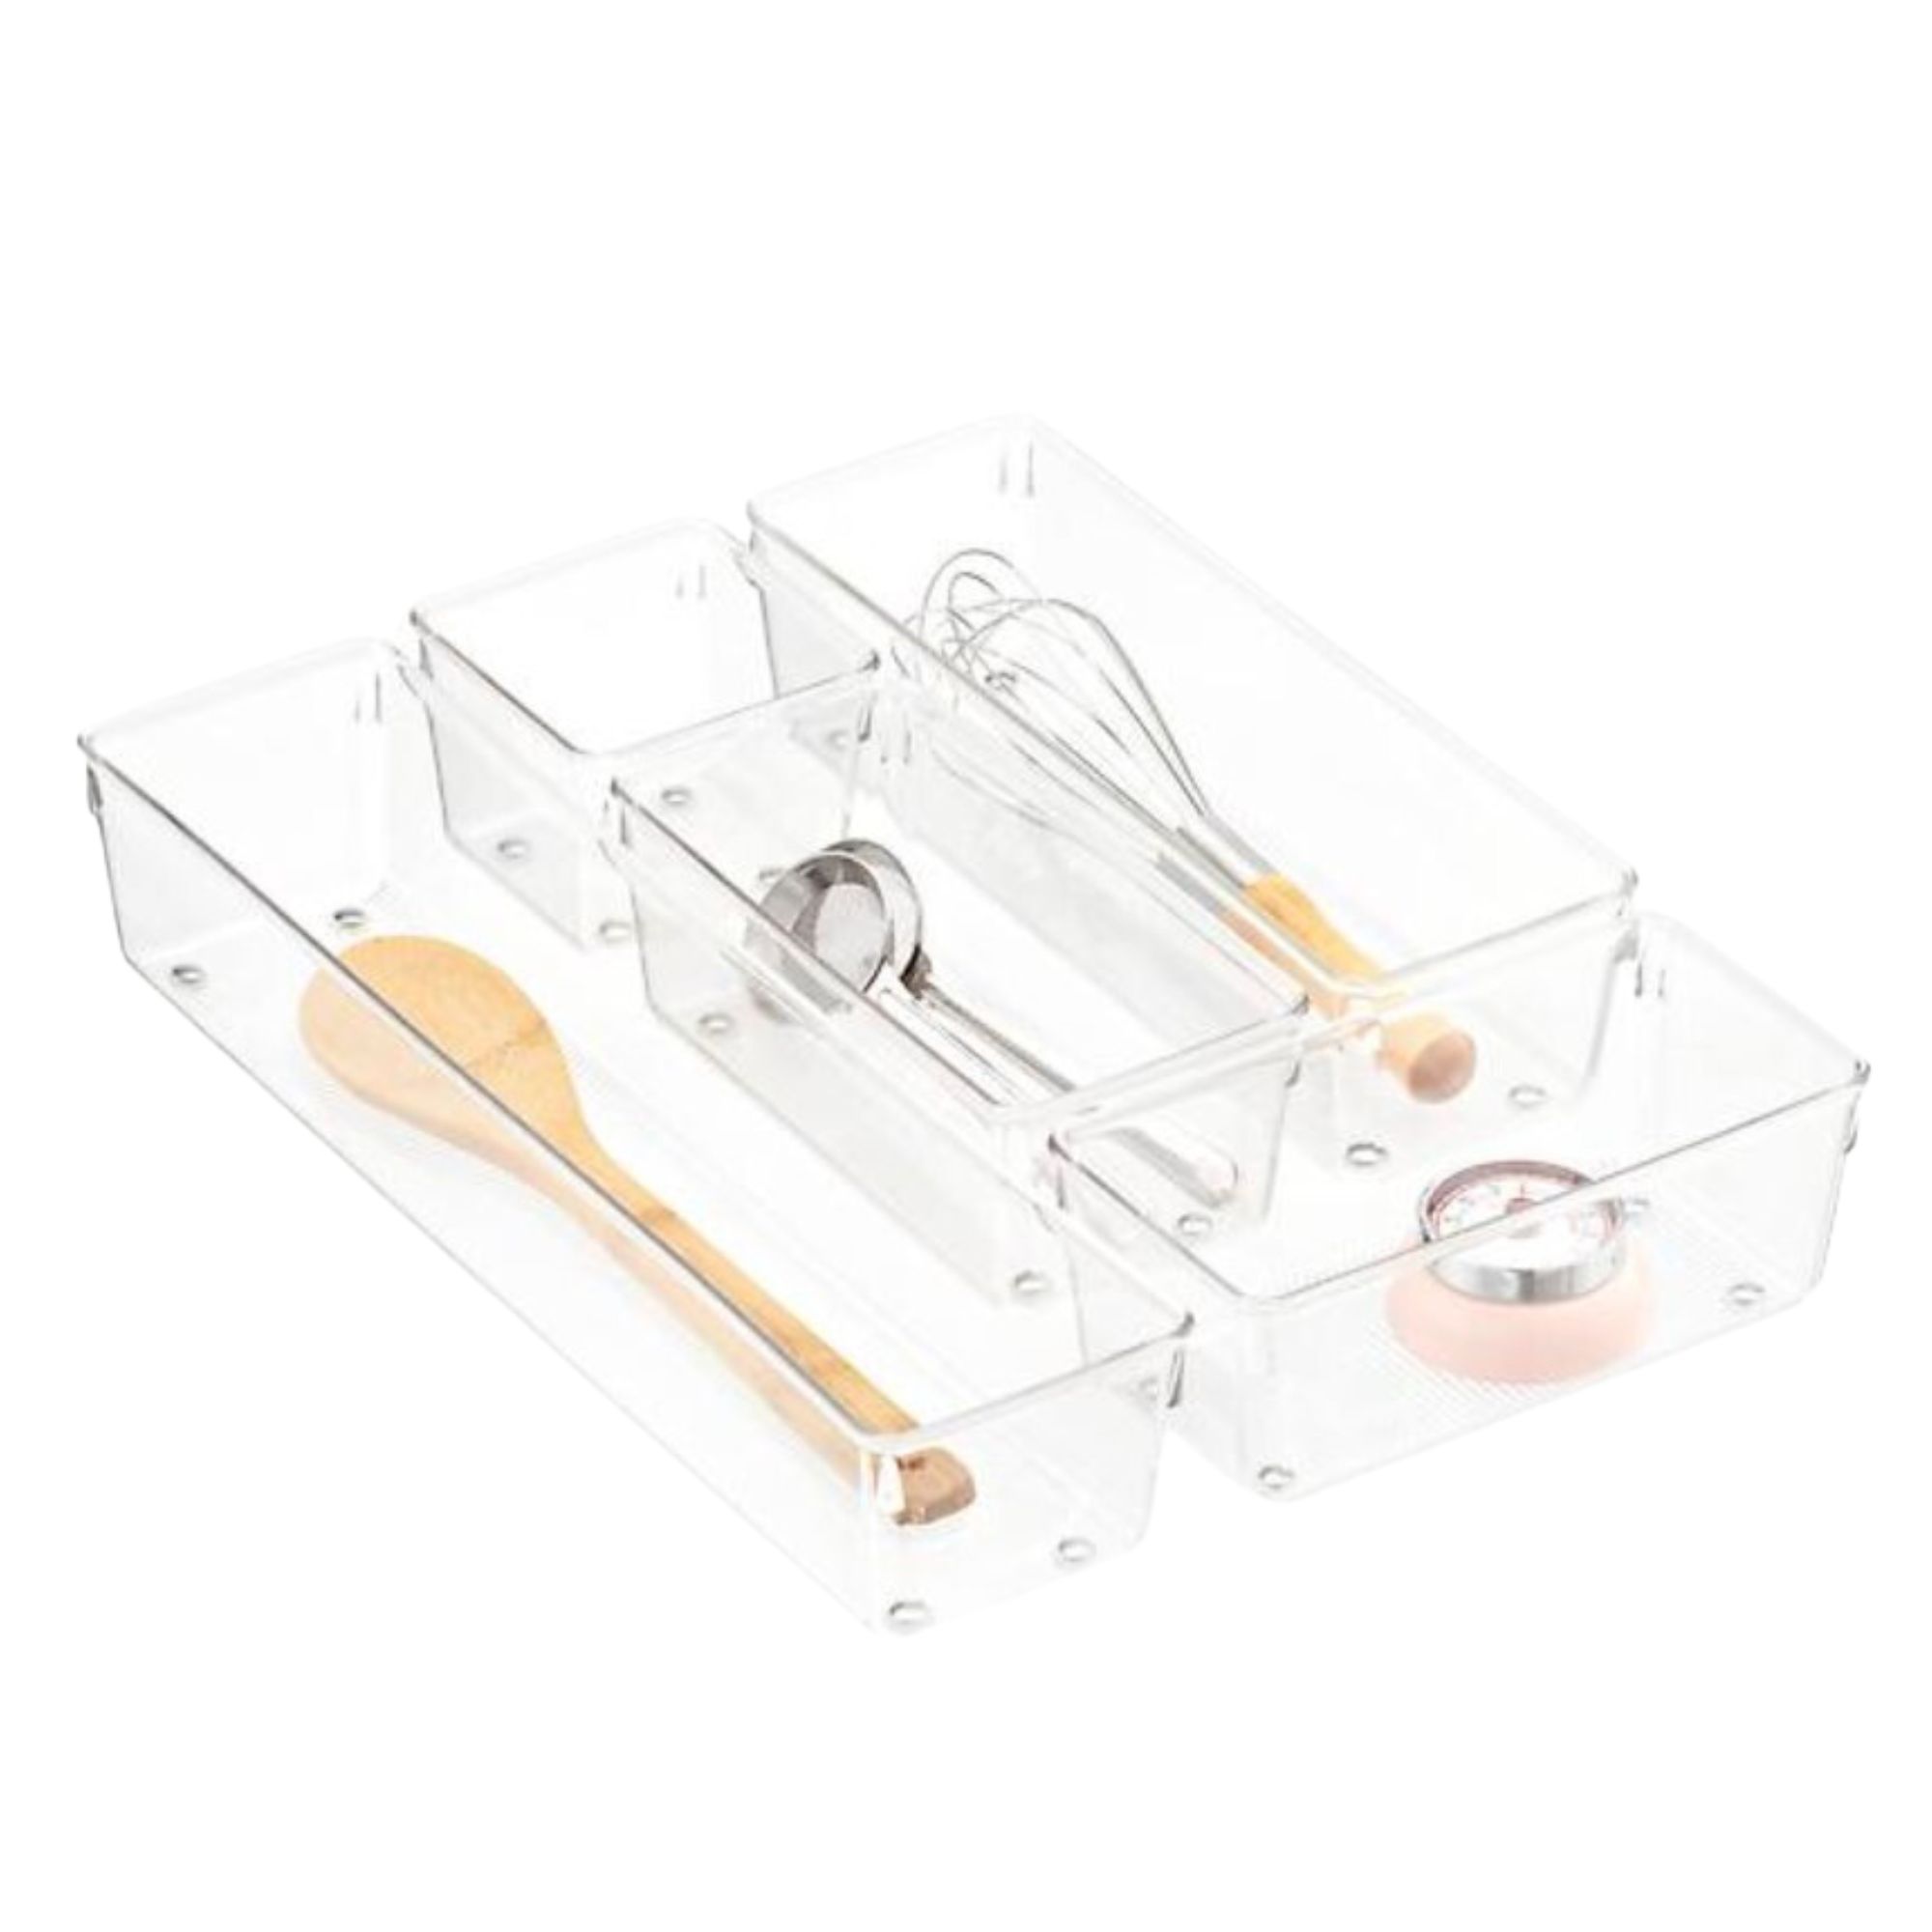
- Drawer dividers: You can build this iDesign set from The Container Store around your drawer shape
How to organize a kitchen
We spoke to a bunch of home organization and improvement experts to get their insights on exactly how to organize a kitchen, from top to bottom.
The prices below were correct at the time of publishing this article.
Step 1: Take everything out
Yes, this is gonna be a big job, but it's important to see what's what. By laying all your items out on the kitchen counter, it will make it easy to see if you have any products you aren't using. "Open every cabinet and drawer, and be sure that you really need or want those items," Rhea Becker, founder of The Clutter Queen says.
Step 2: Declutter before cleaning
Next, you should be pretty ruthless with your decluttering sesh. "Toss out or donate anything you are not using and repeat this process on a regular basis," says Becker. Be sure to throw away any trash or broken utensils and containers as you go. If there's any food items that are in date that you don't want, consider donating these to a local food bank.
Once your kitchen items have been scaled-down, you'll be able to identify any areas that could do with more in the way of kitchen storage. Not to mention, you'll be able to clean the kitchen properly before organizing and putting everything in its place.
Step 3: Curate your countertop essentials
Completely clear countertops are a dream, but it's def unrealistic, especially for tiny kitchens. Reserve these prized spots for those items that you use all the time — be it your AeroPress or your fave air fryer. If you're not sure what should take priority, consider having things like spice racks, large utensils, or kitchen knives within reach. Not only will this make your time in the kitchen far simpler, but it will also create more of a flow while you cook, meal prep, or entertain.
Top tip: If you can, put large items or items that take up space into storage containers that you can label, for a stylish and streamlined approach.
Get small space home decor ideas, celeb inspiration, DIY tips and more, straight to your inbox!
Step 4: Reassess how you're storing items
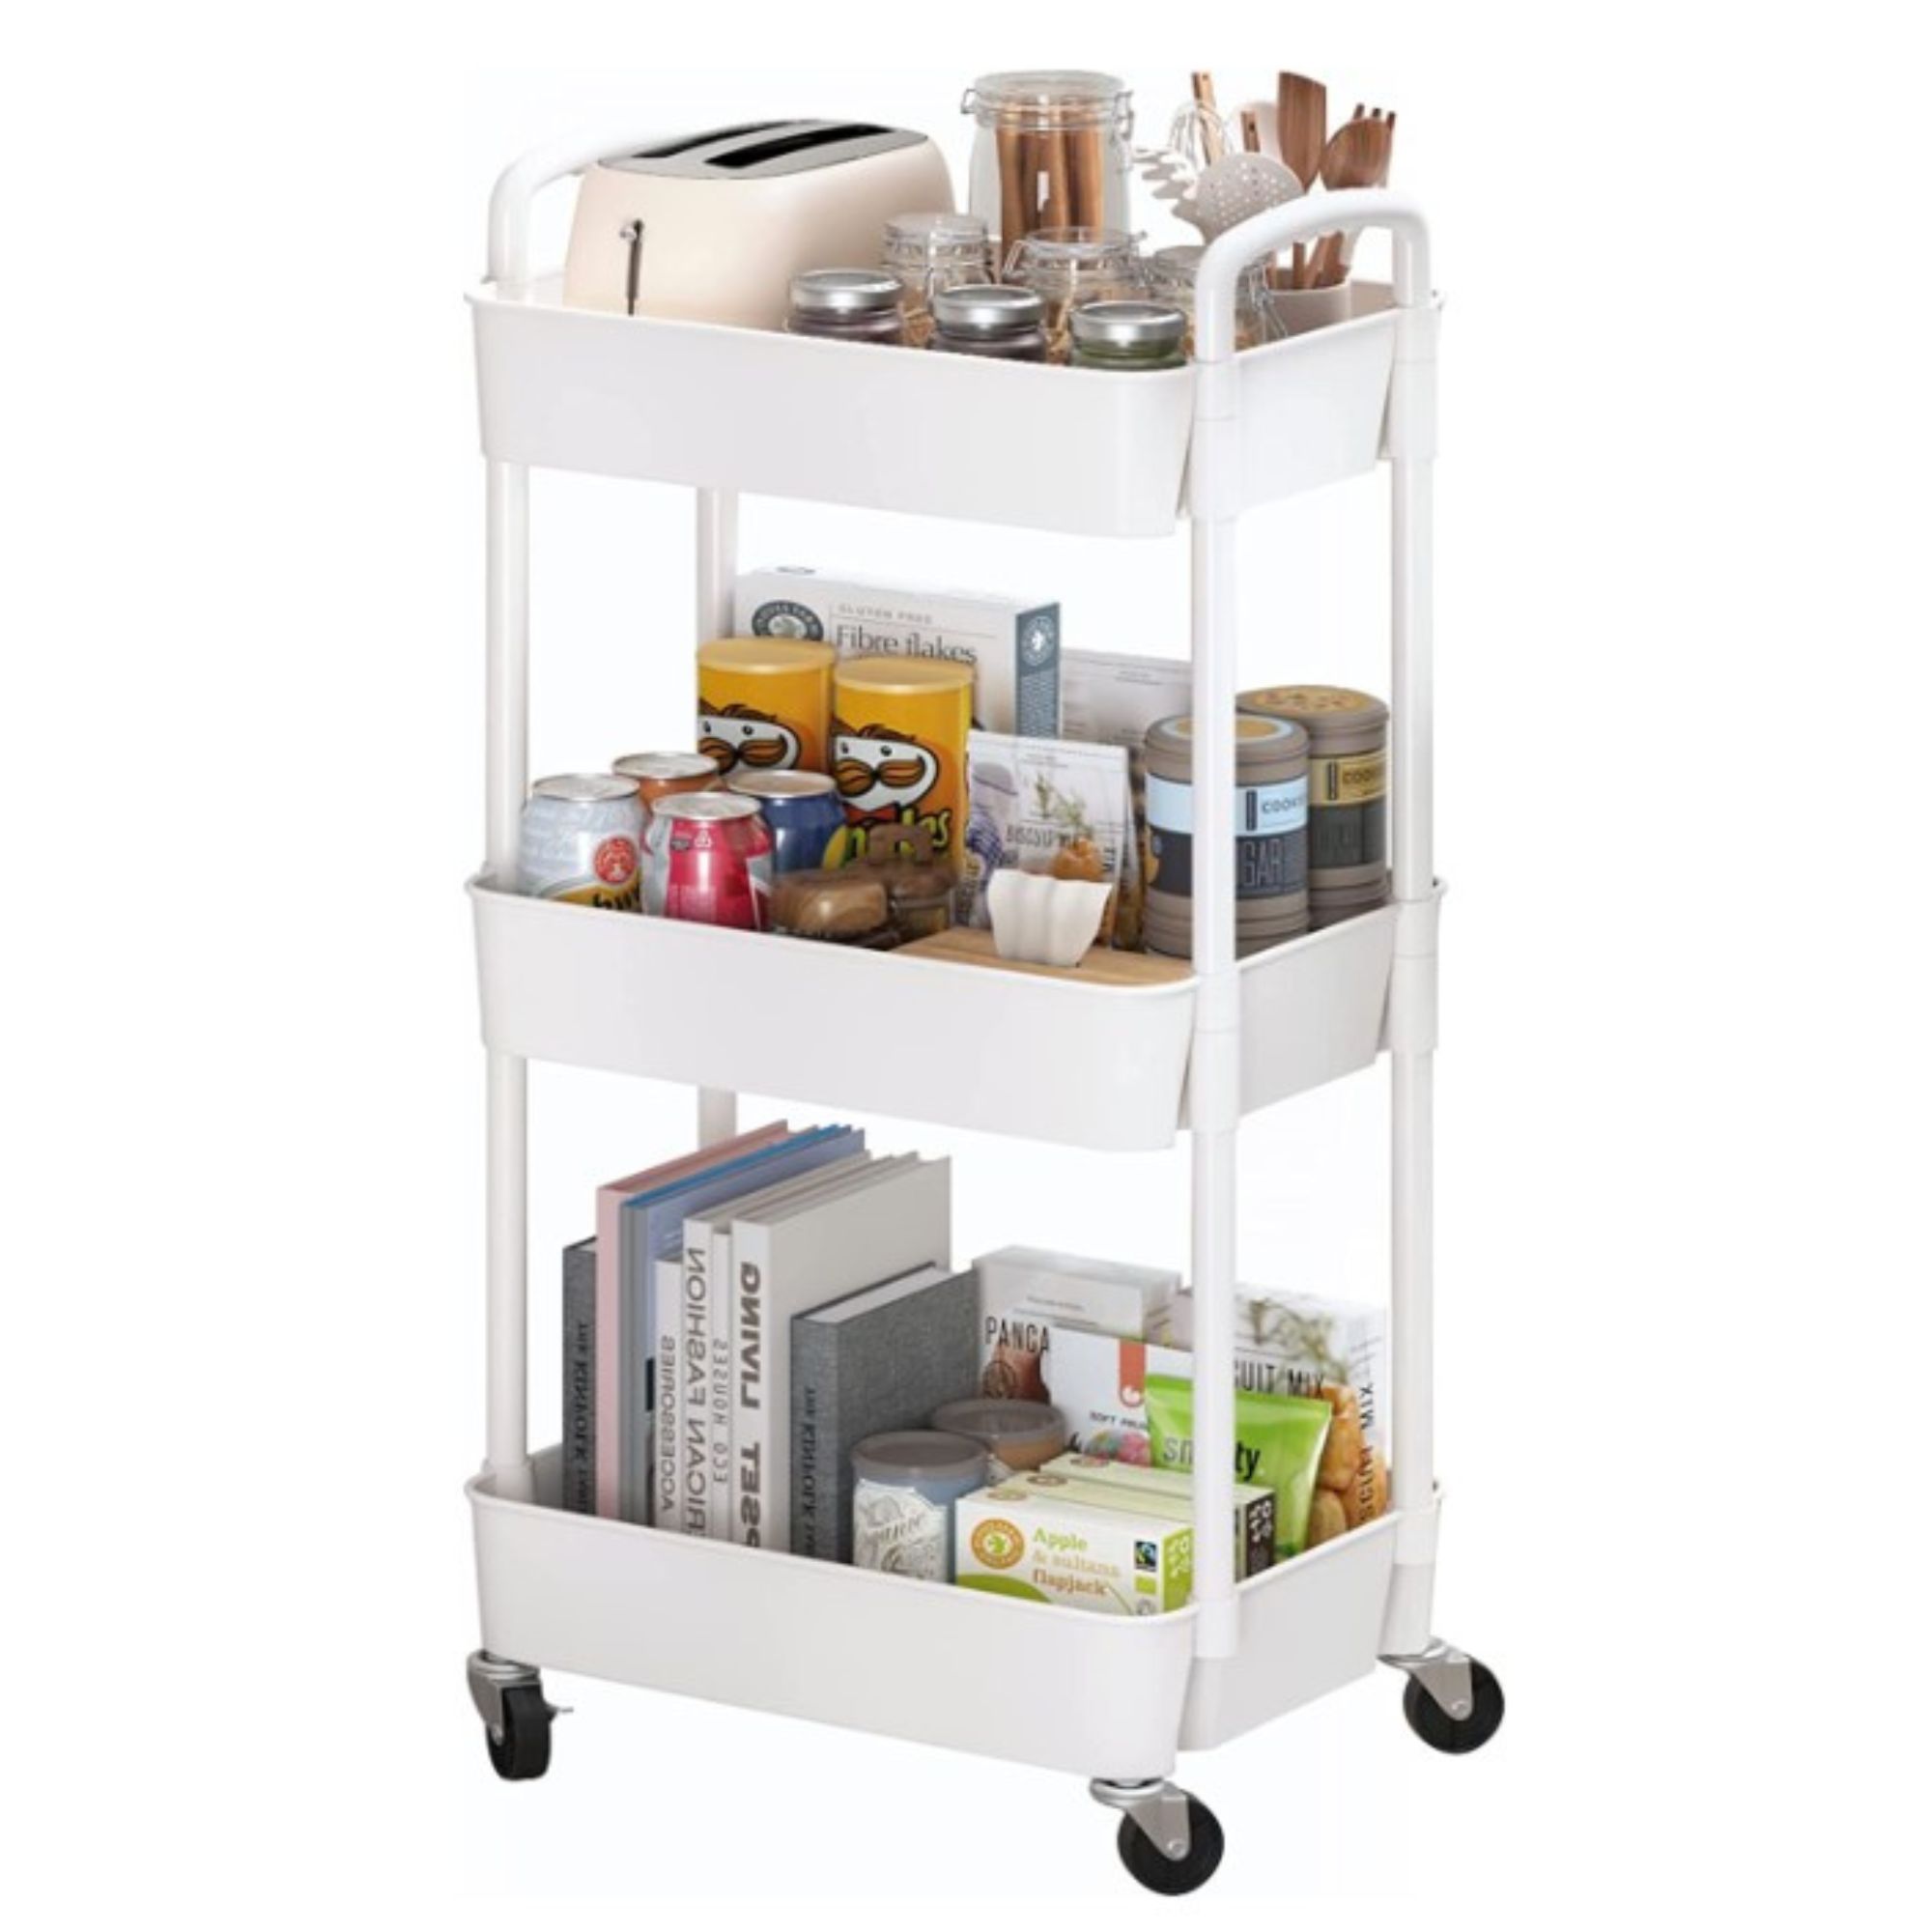
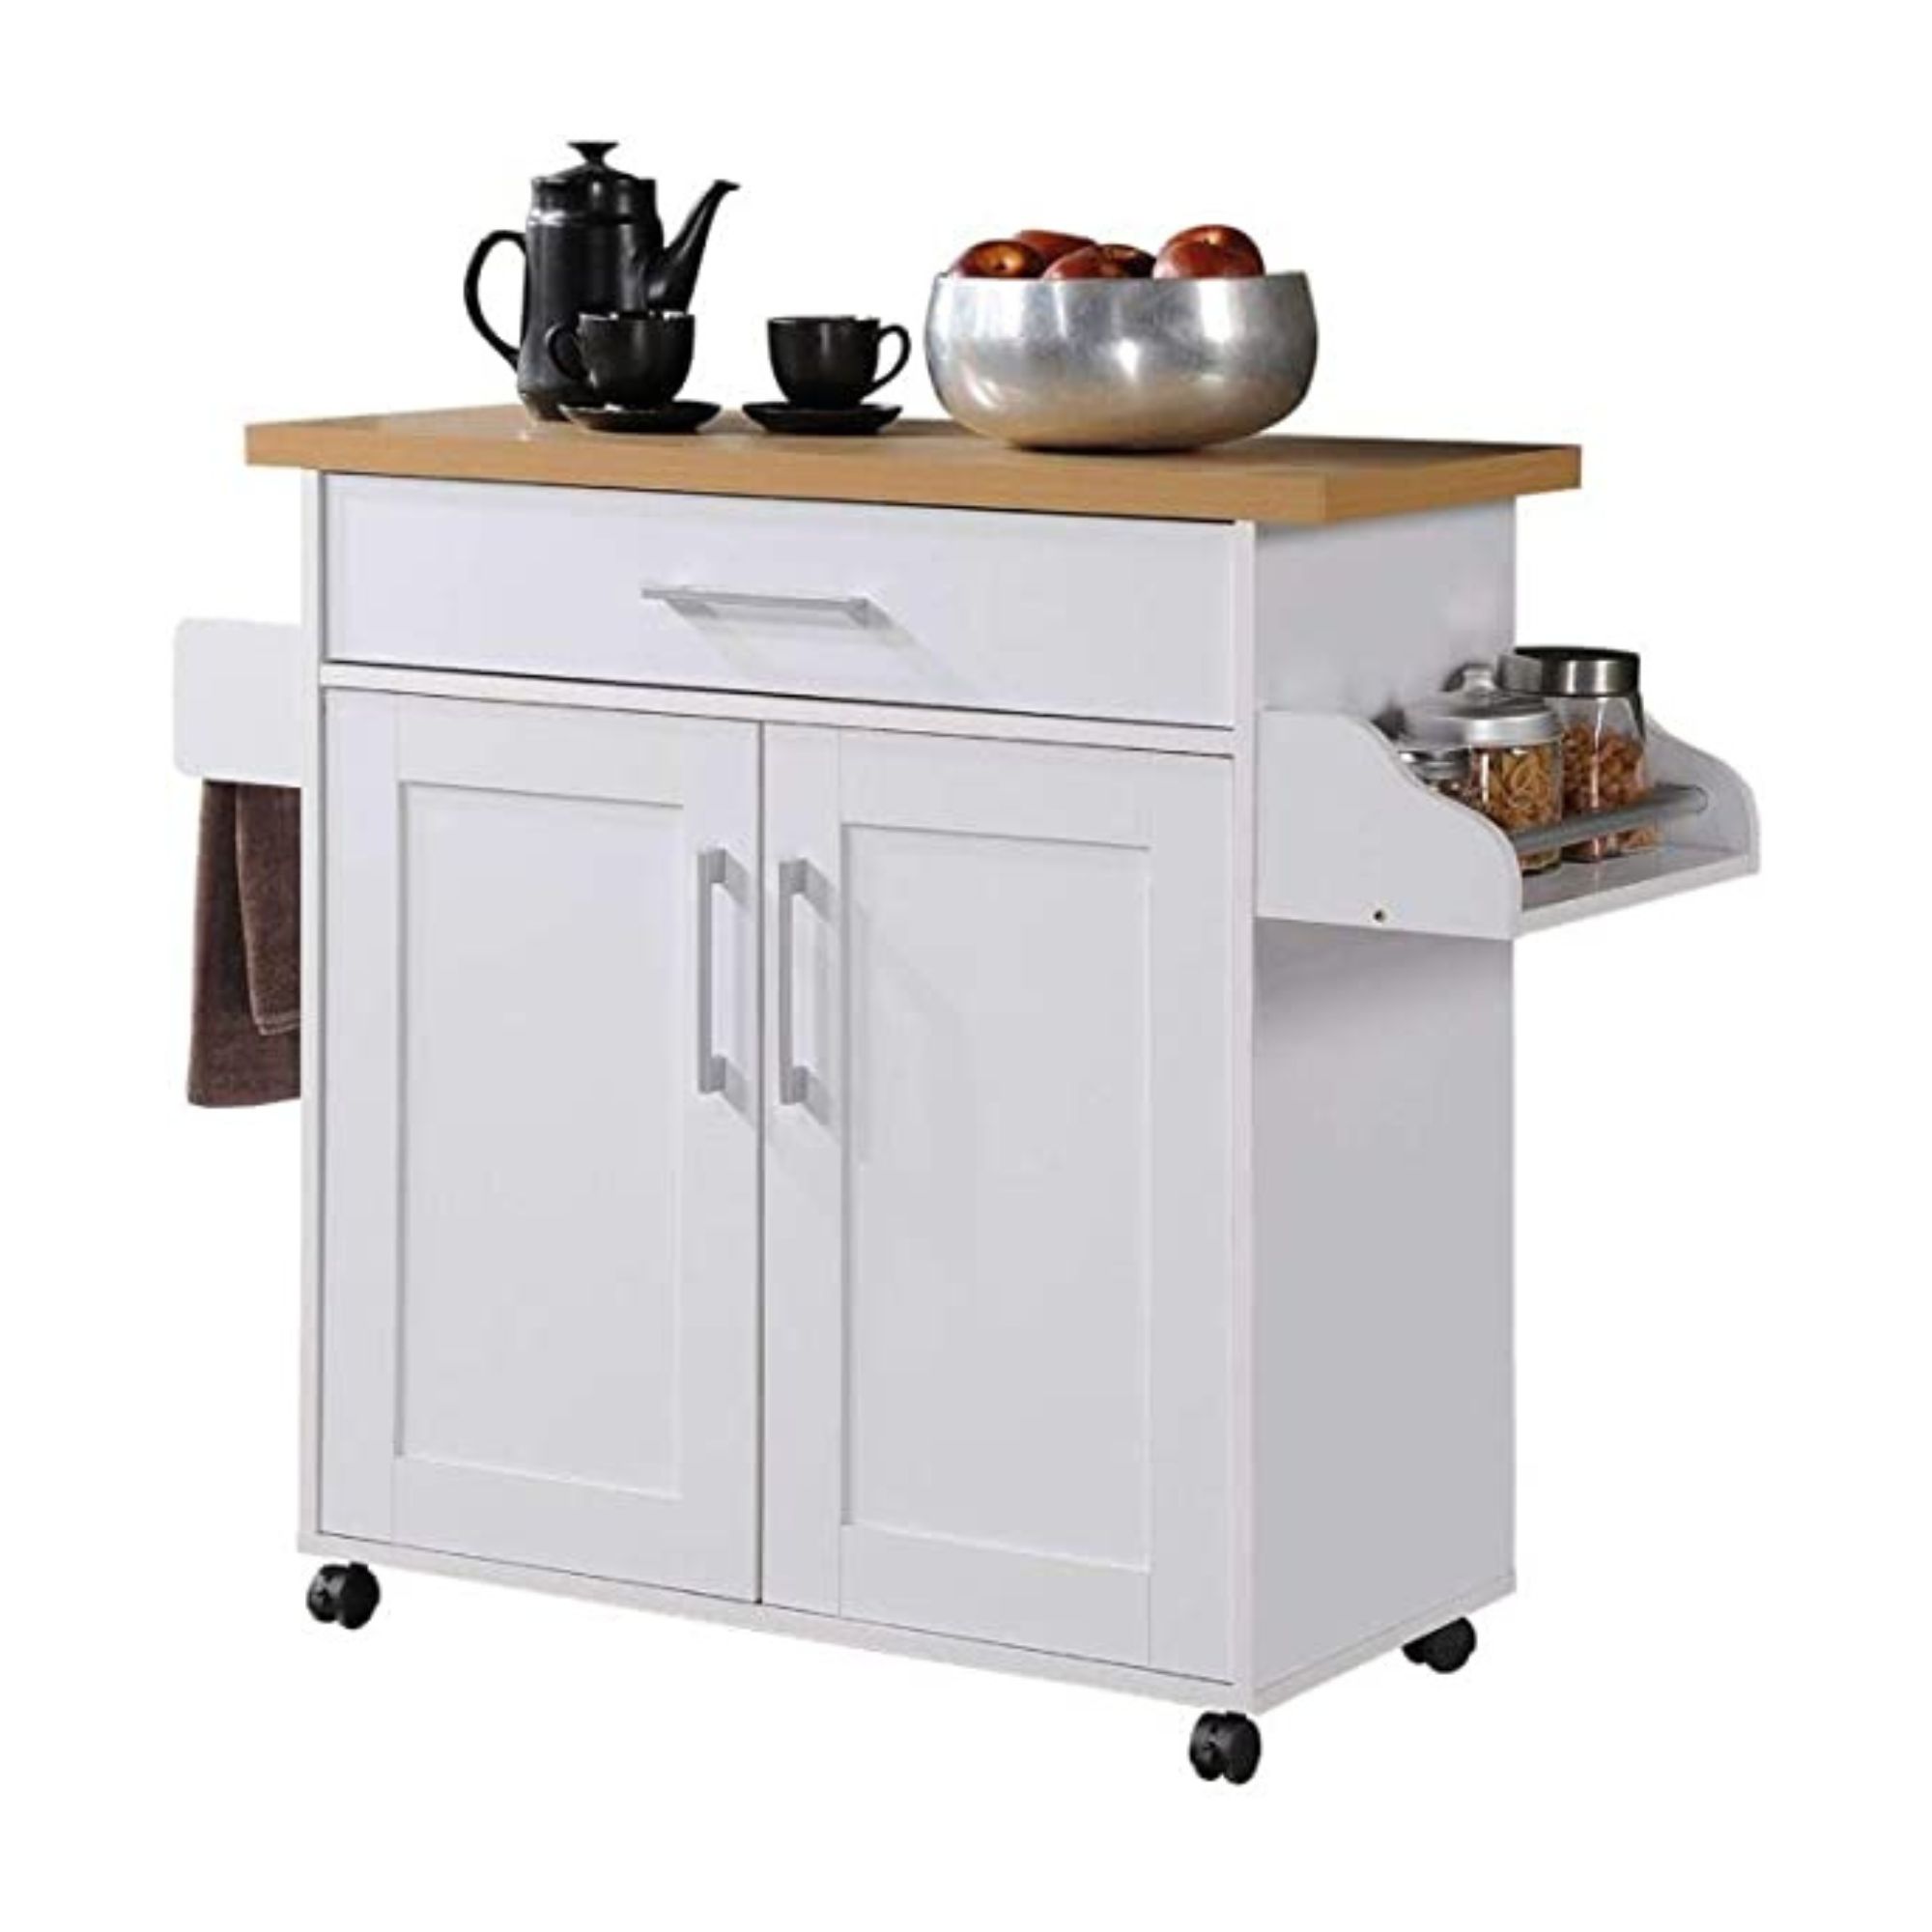
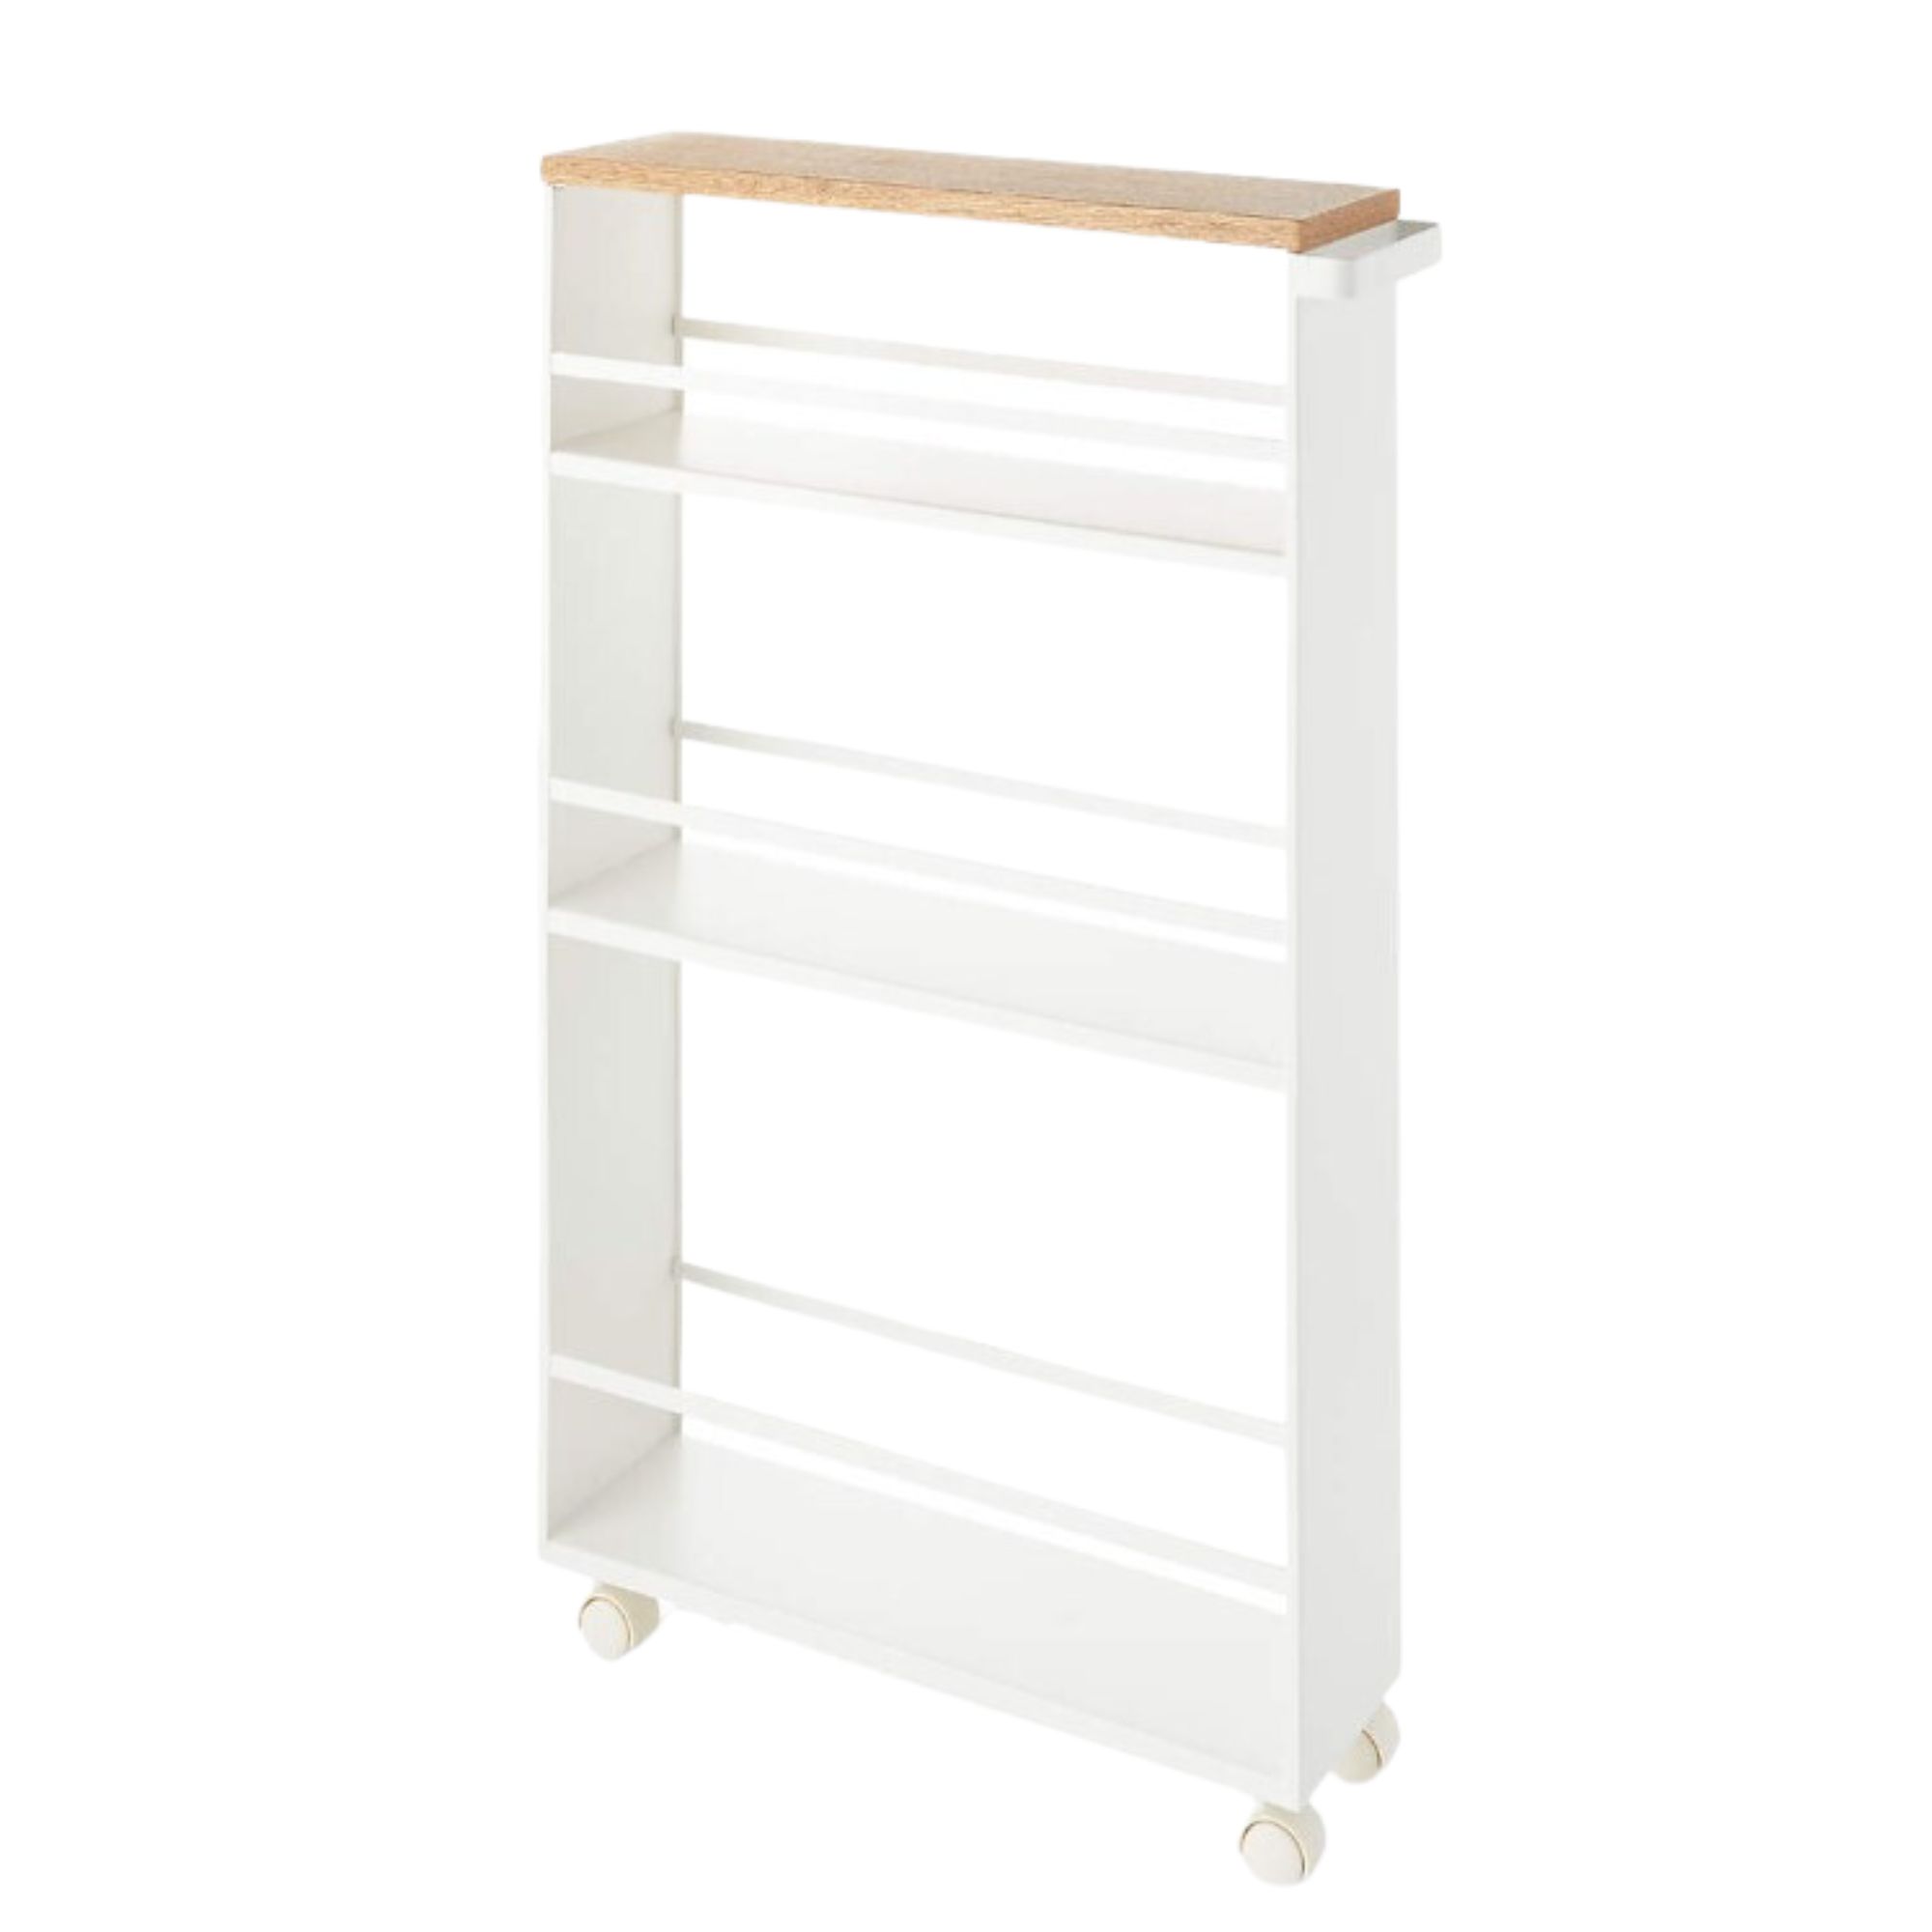
Does your kitchen always feels chaotic? Revisit and check in on your existing kitchen storage, exploring other options that might be better suited to your space and needs. "An organized kitchen gives you more space to get more done," says Dan Wiener, founder and lead interior designer at Homedude. "A great storage system is essential, as it is more time-efficient and makes things easier to find." If you rent and you're finding that you need more storage outside of your kitchen cupboards, consider portable kitchen trolleys and islands.
Step 5: Organize kitchen drawers and cupboards
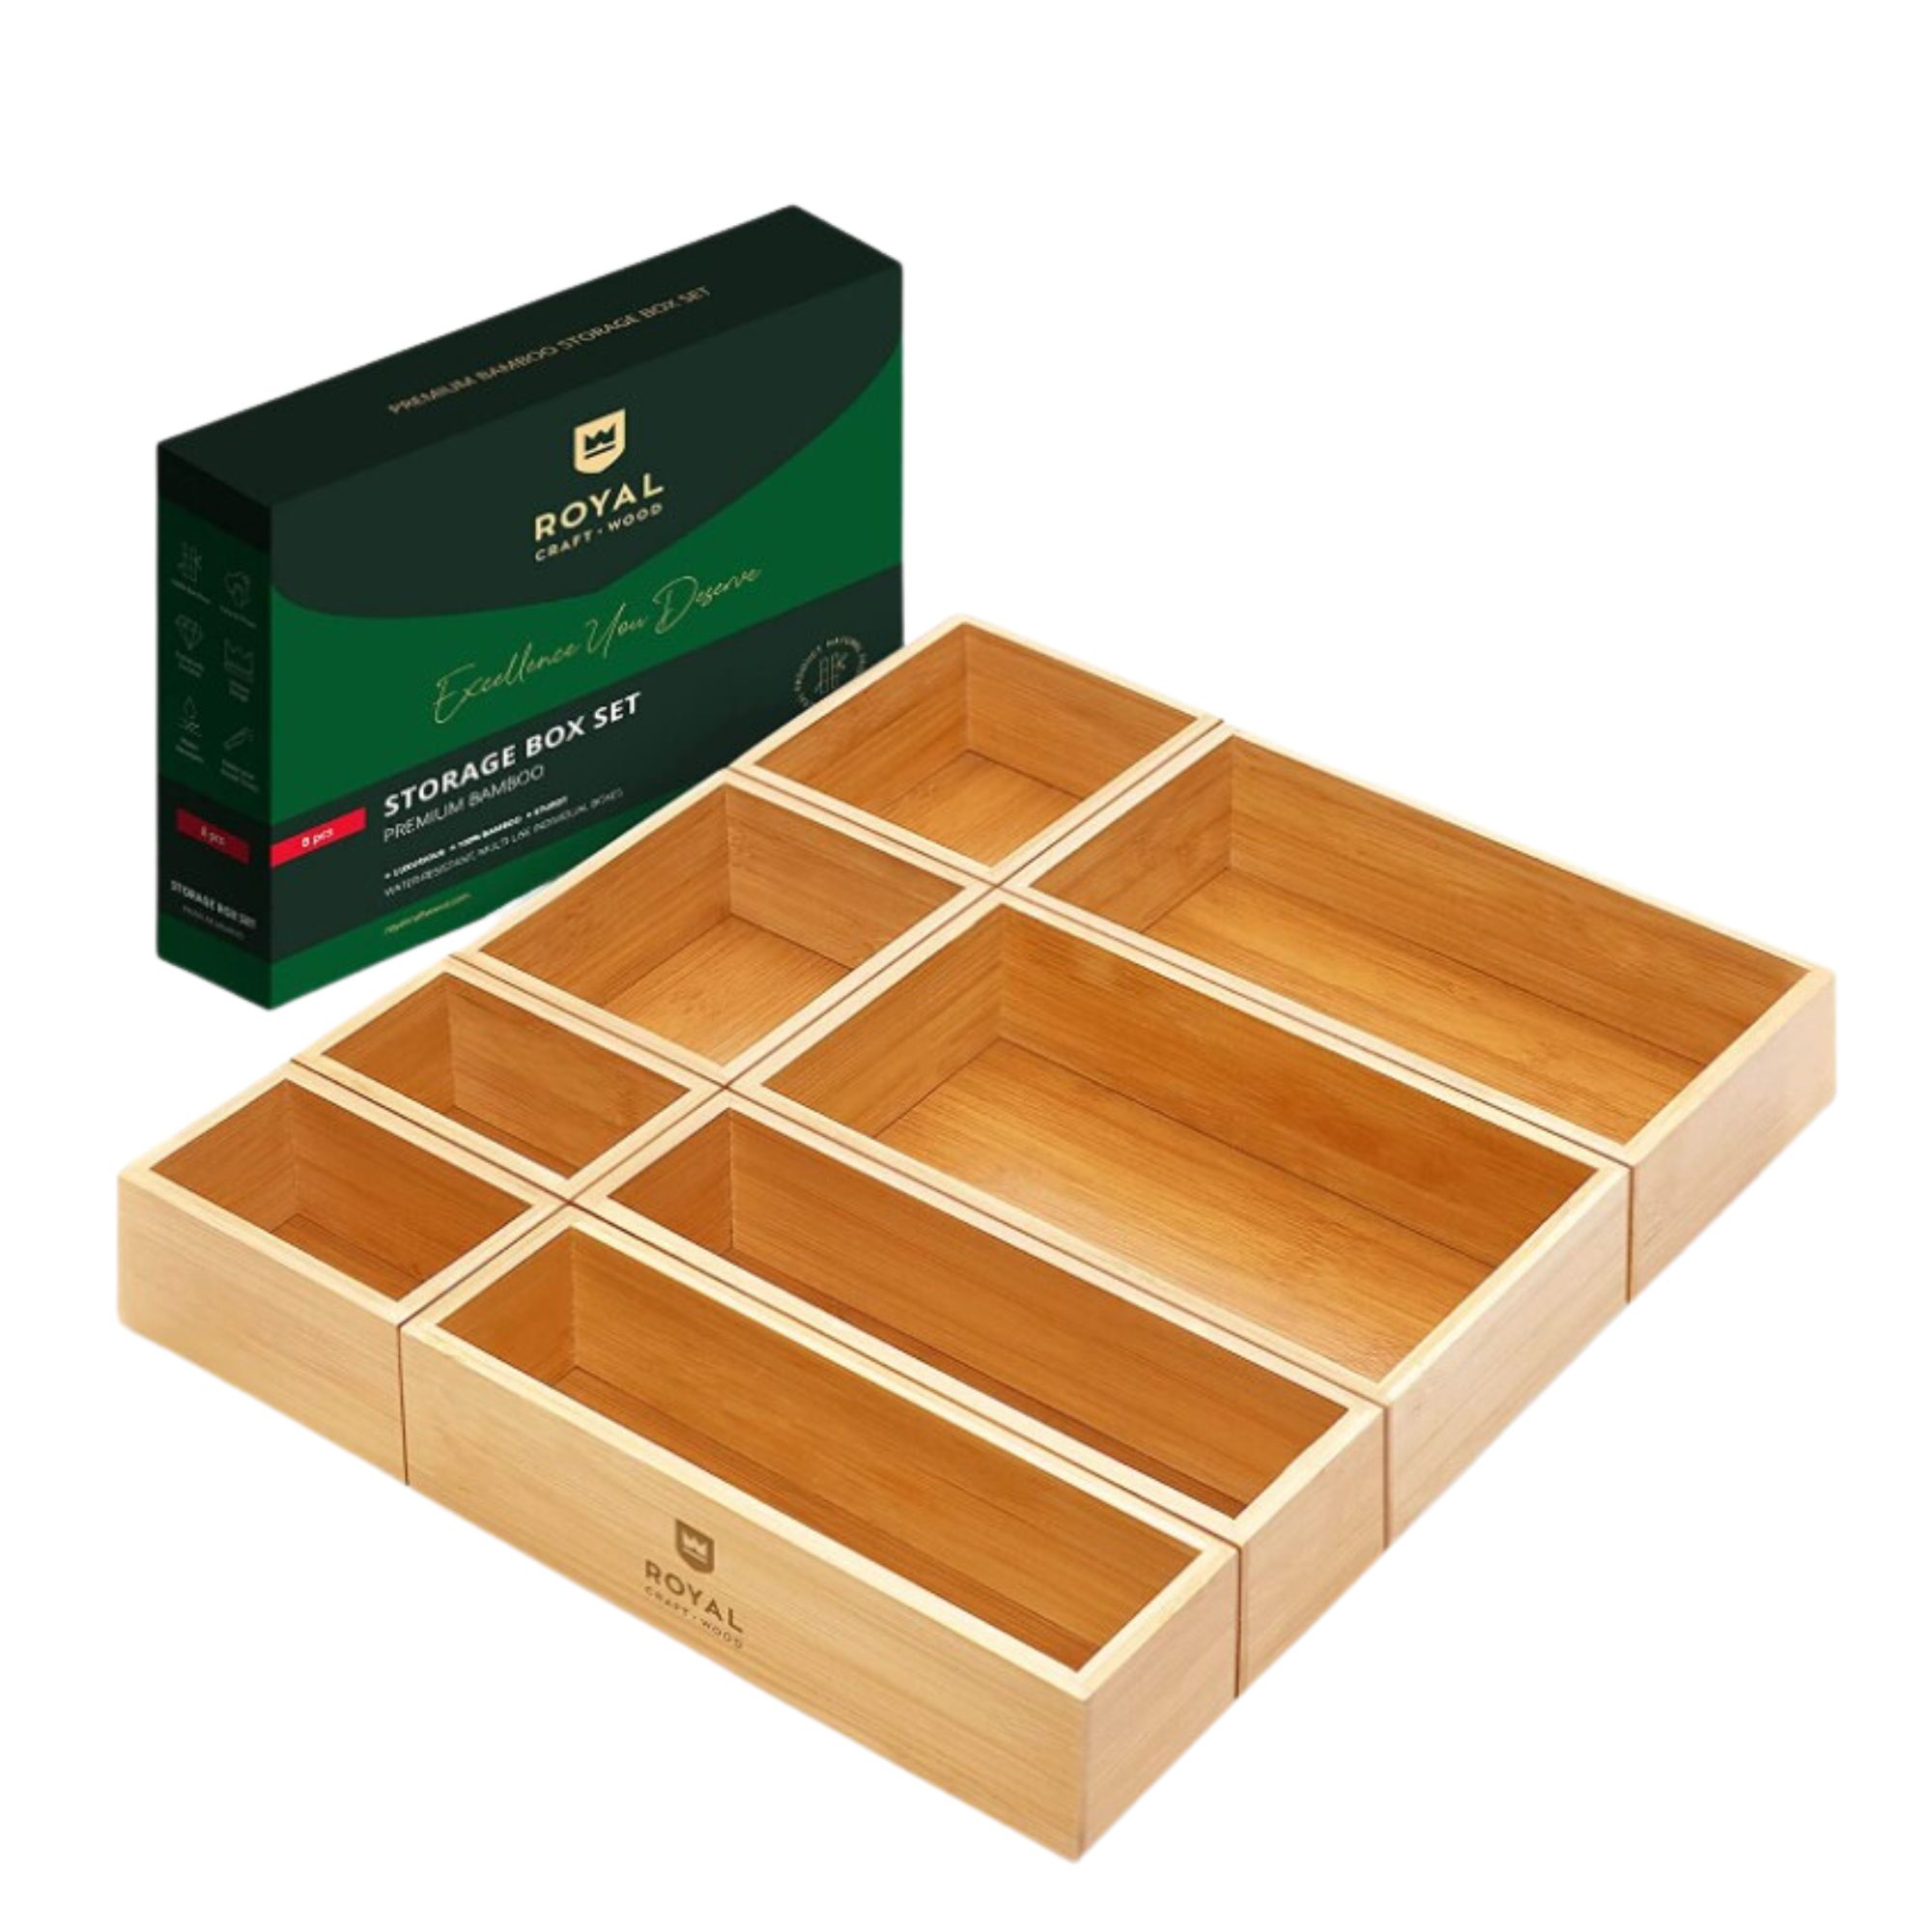
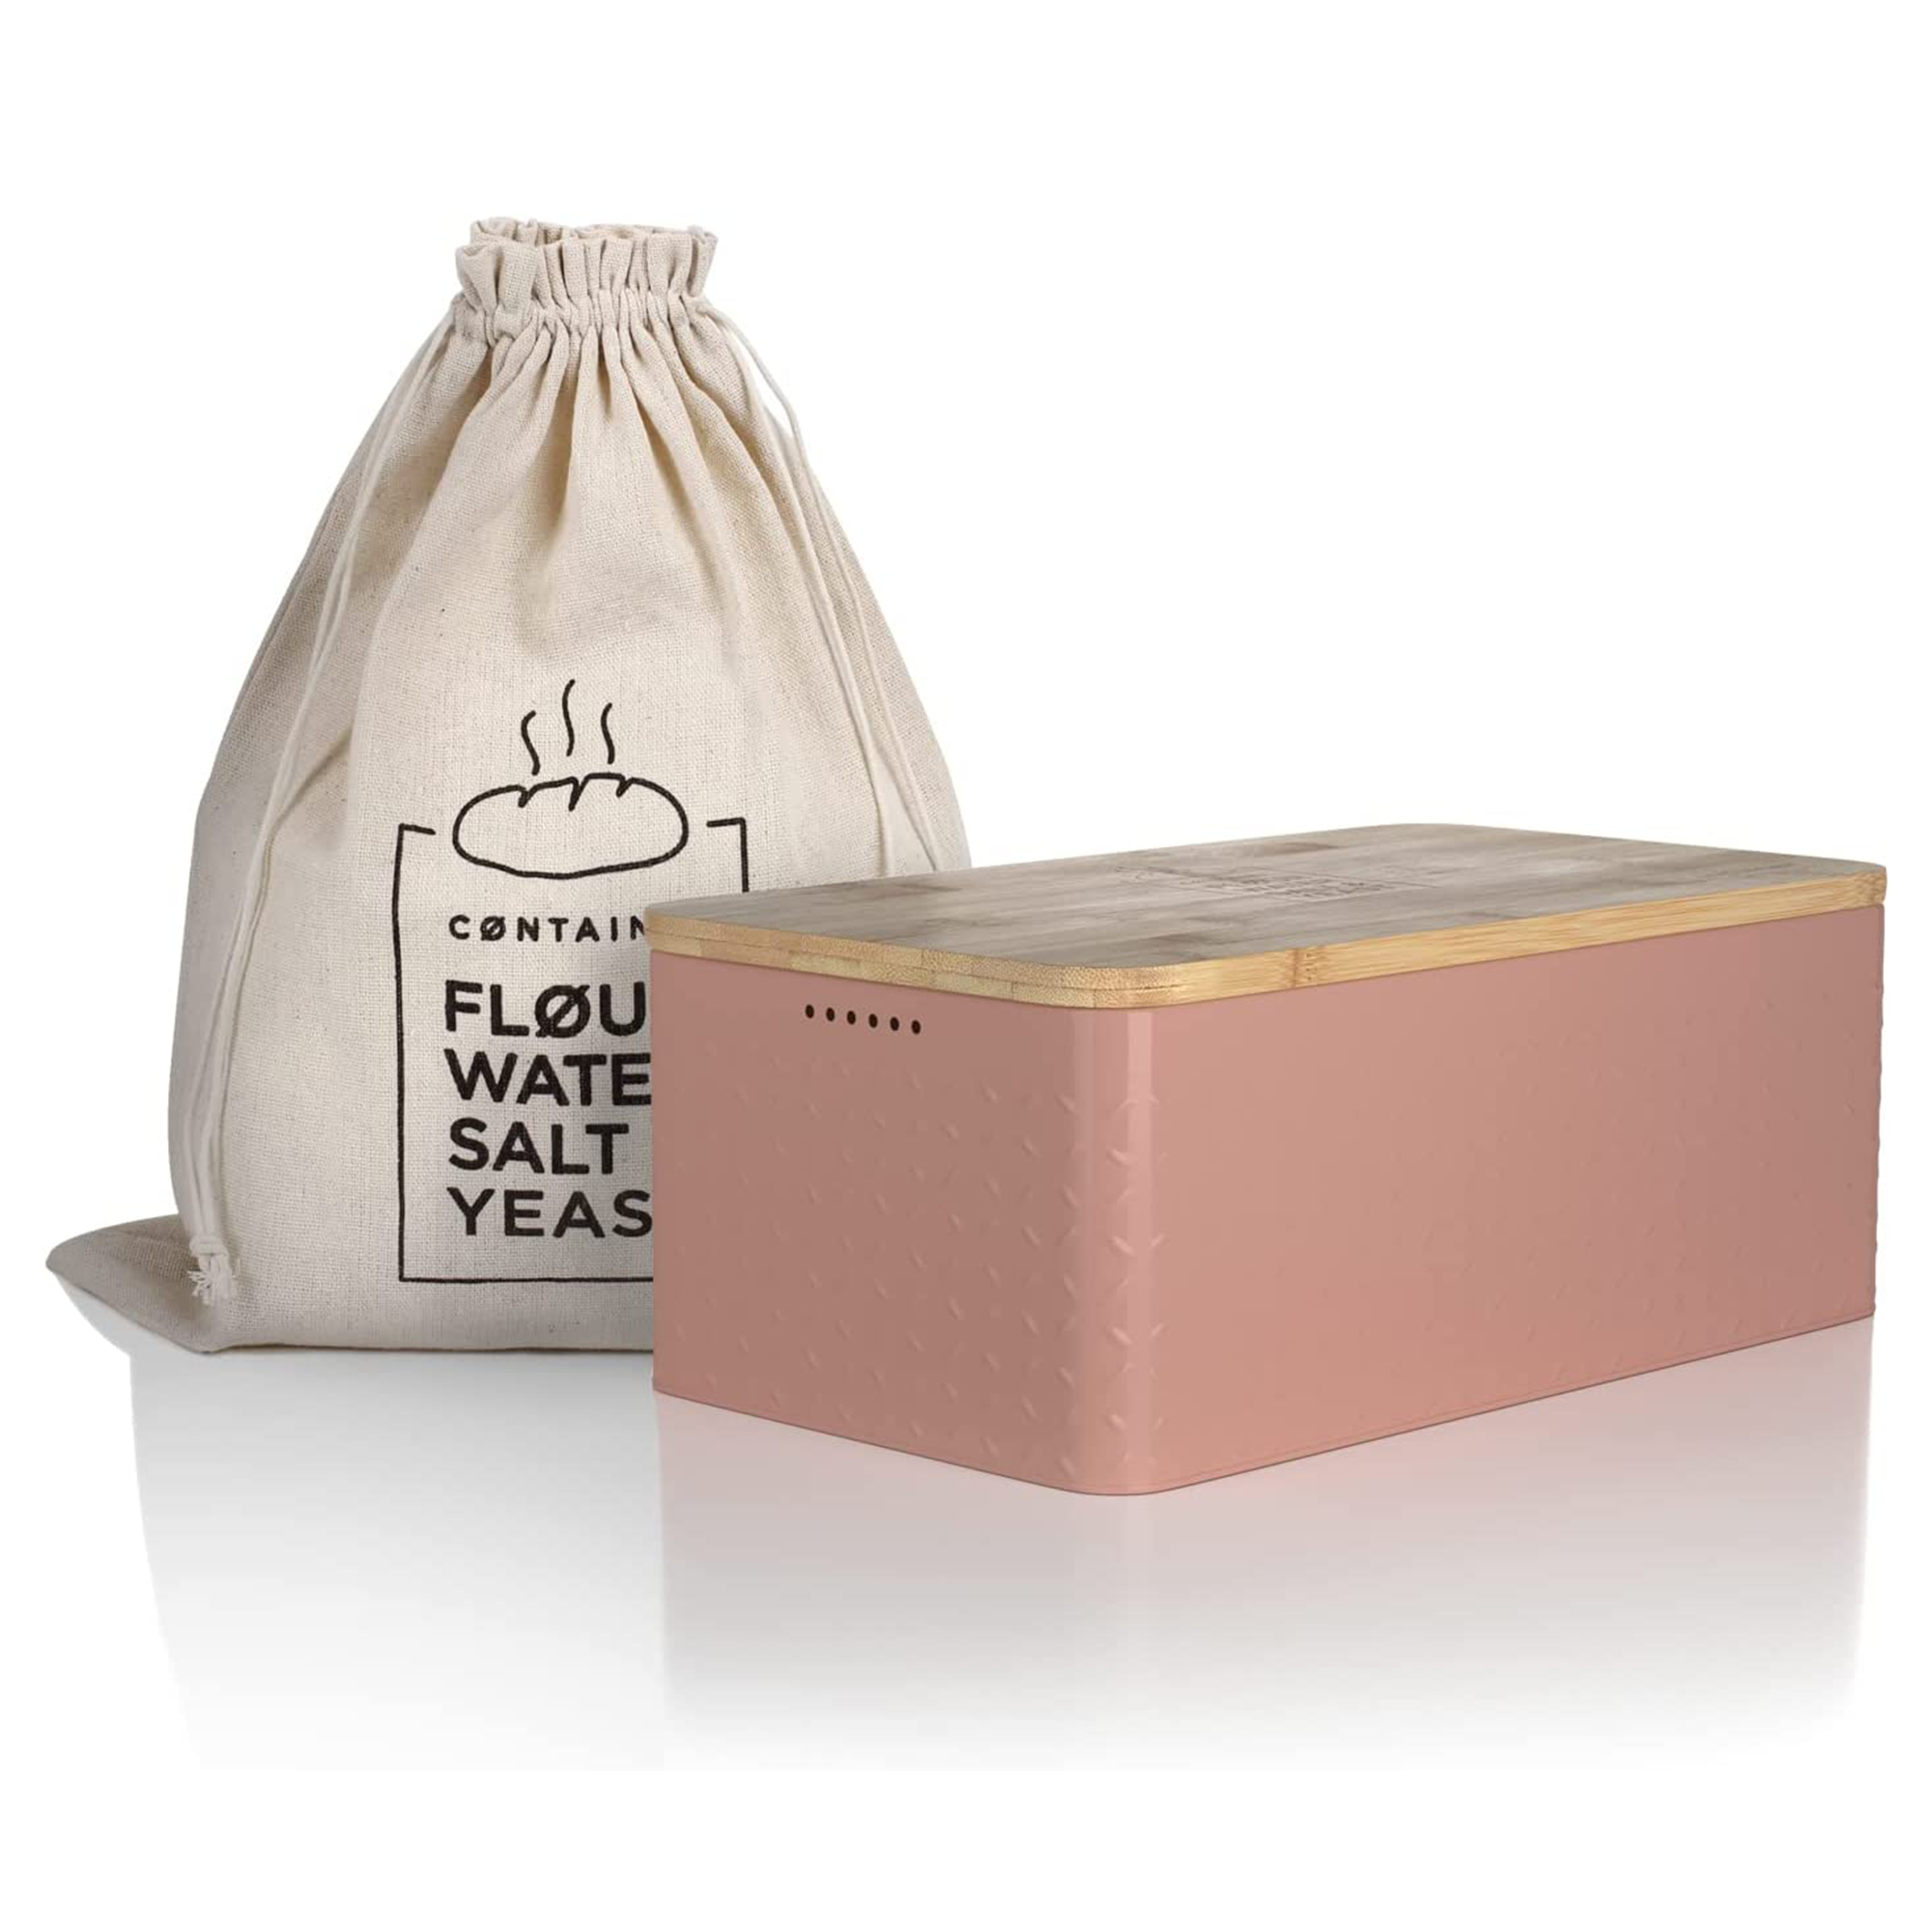
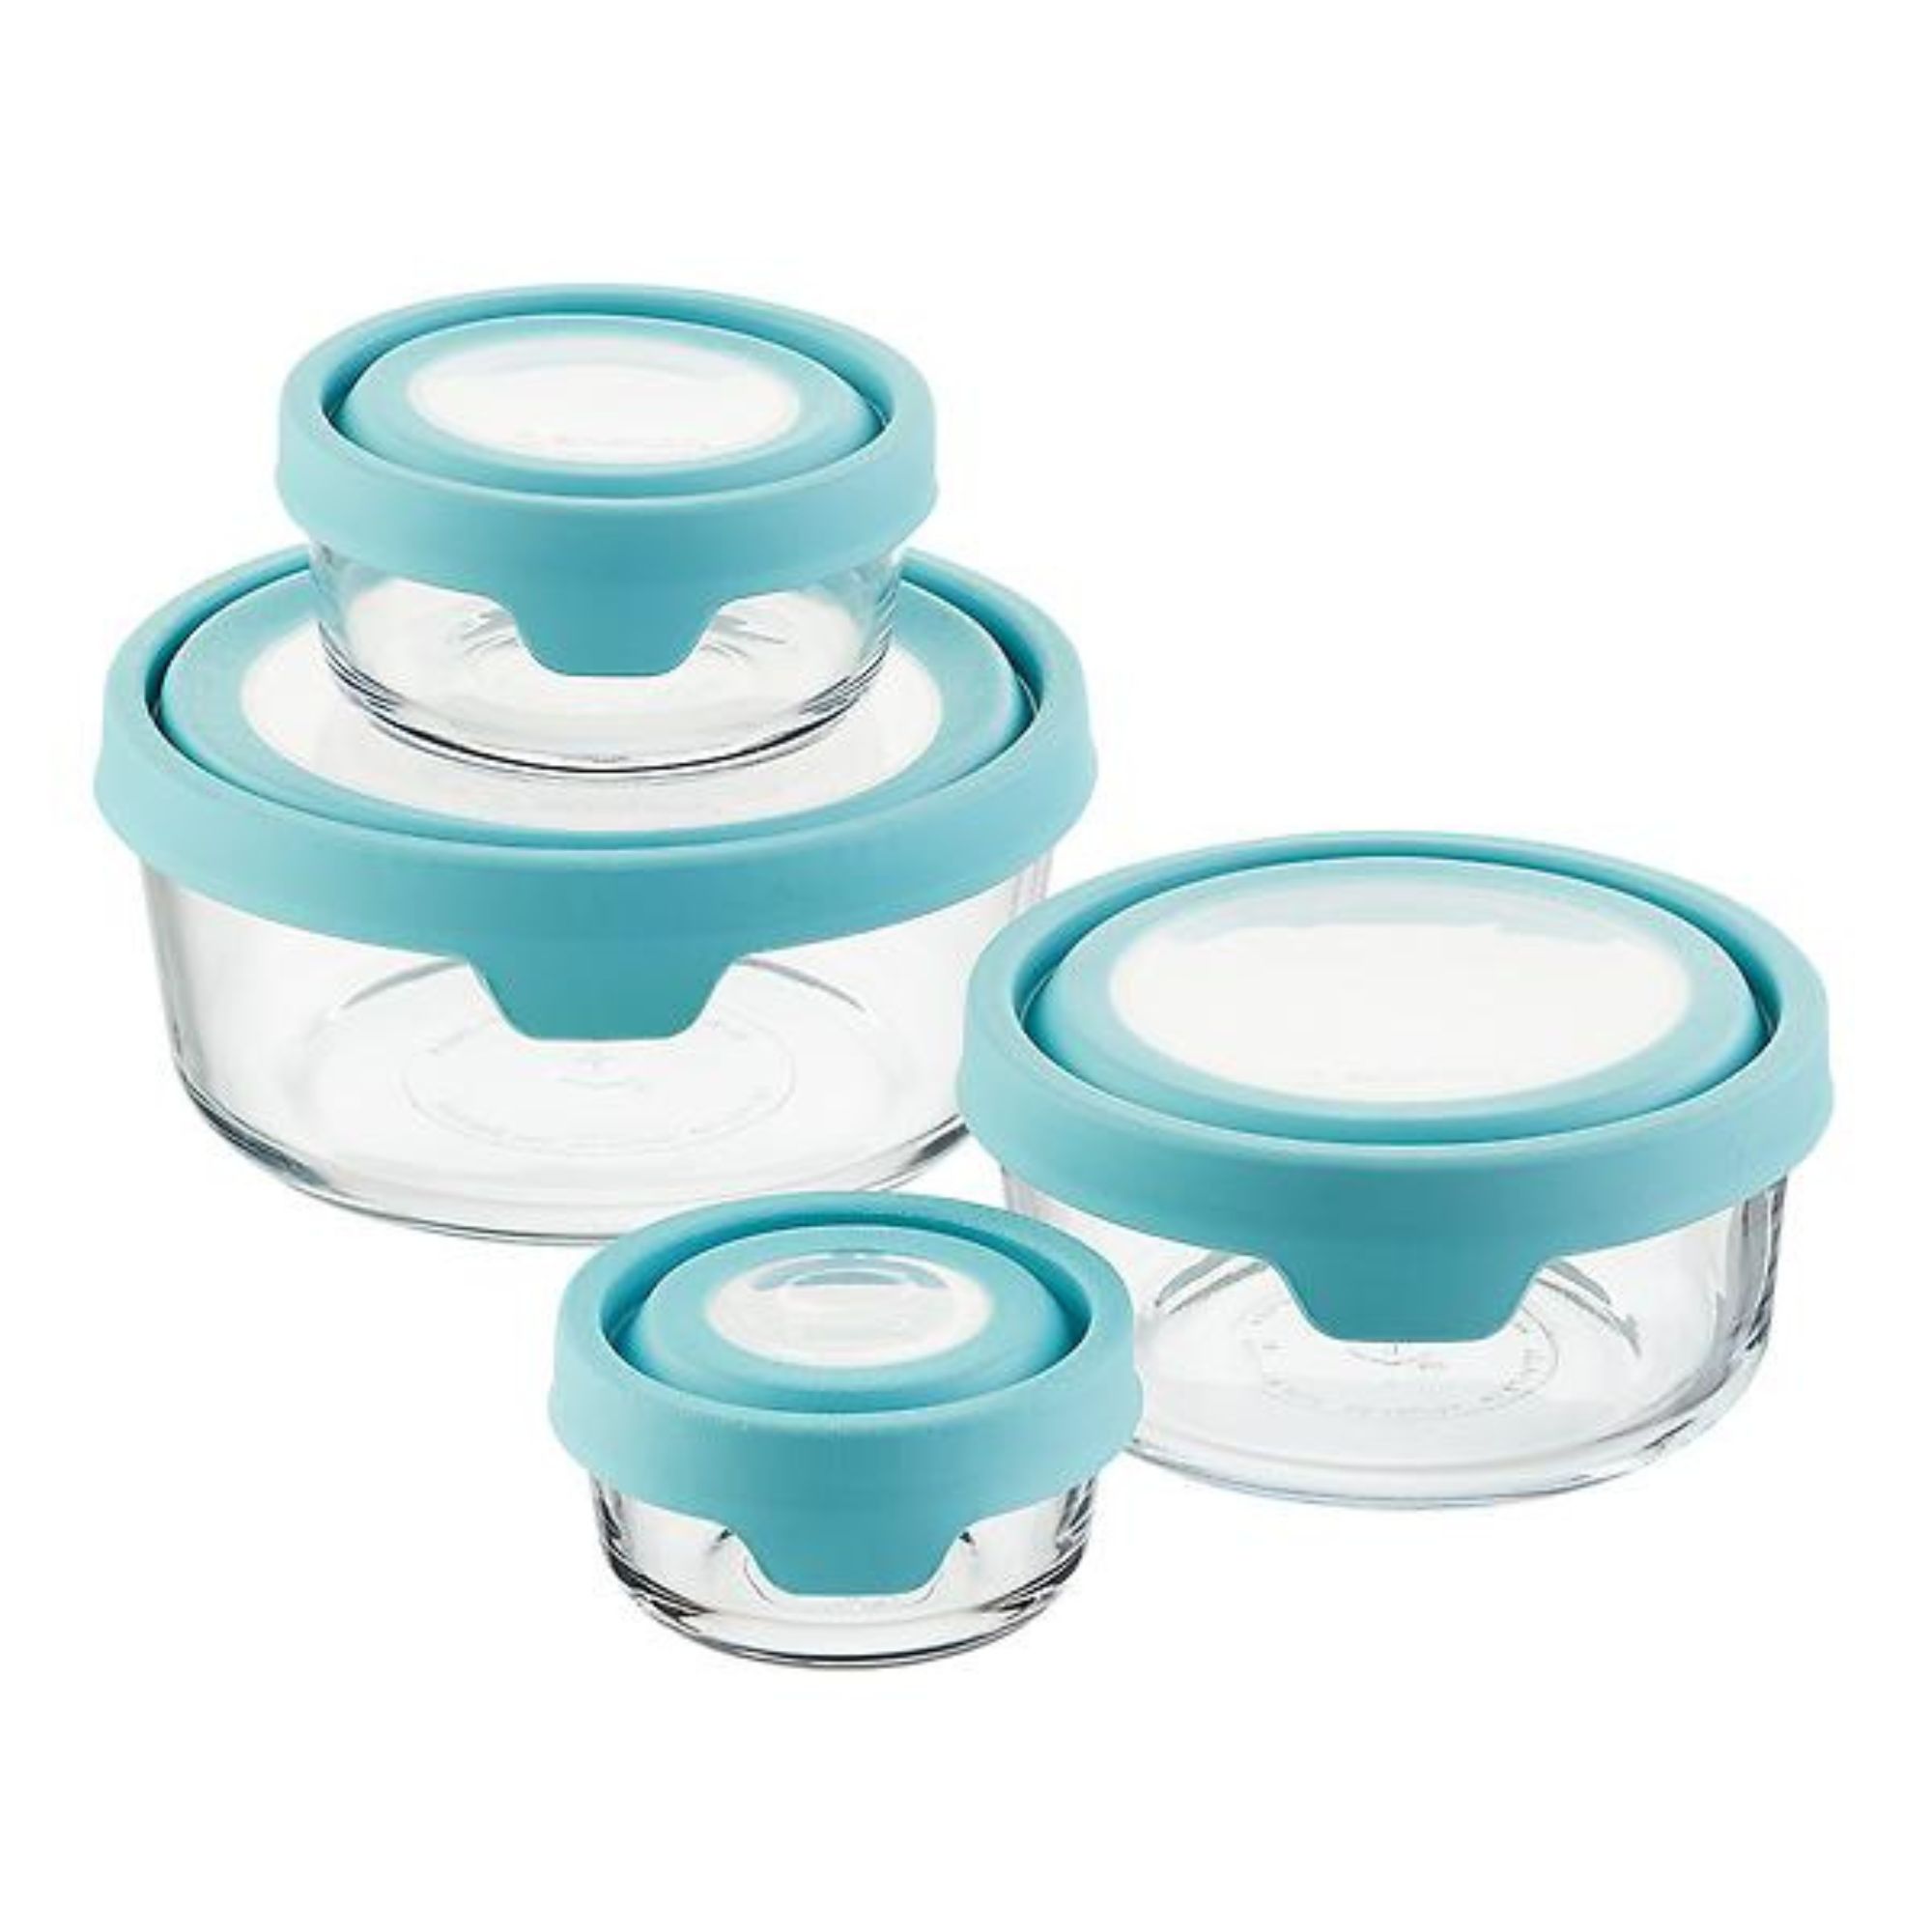
Taking the time to organize kitchen drawers can actually make the whole room look more put together. If you have basic drawers, there are lots of ways to make them work better for your space. When it comes to your cabinets, use an assortment of different-sized baskets or boxes to categorize and keep items looking tidy. Finally, try to decant and store dried ingredients into pantry storage containers to keep them fresh, ready-to-use, and pretty. For instance, have a box for lentils, another for pasta, one for rice, etc.
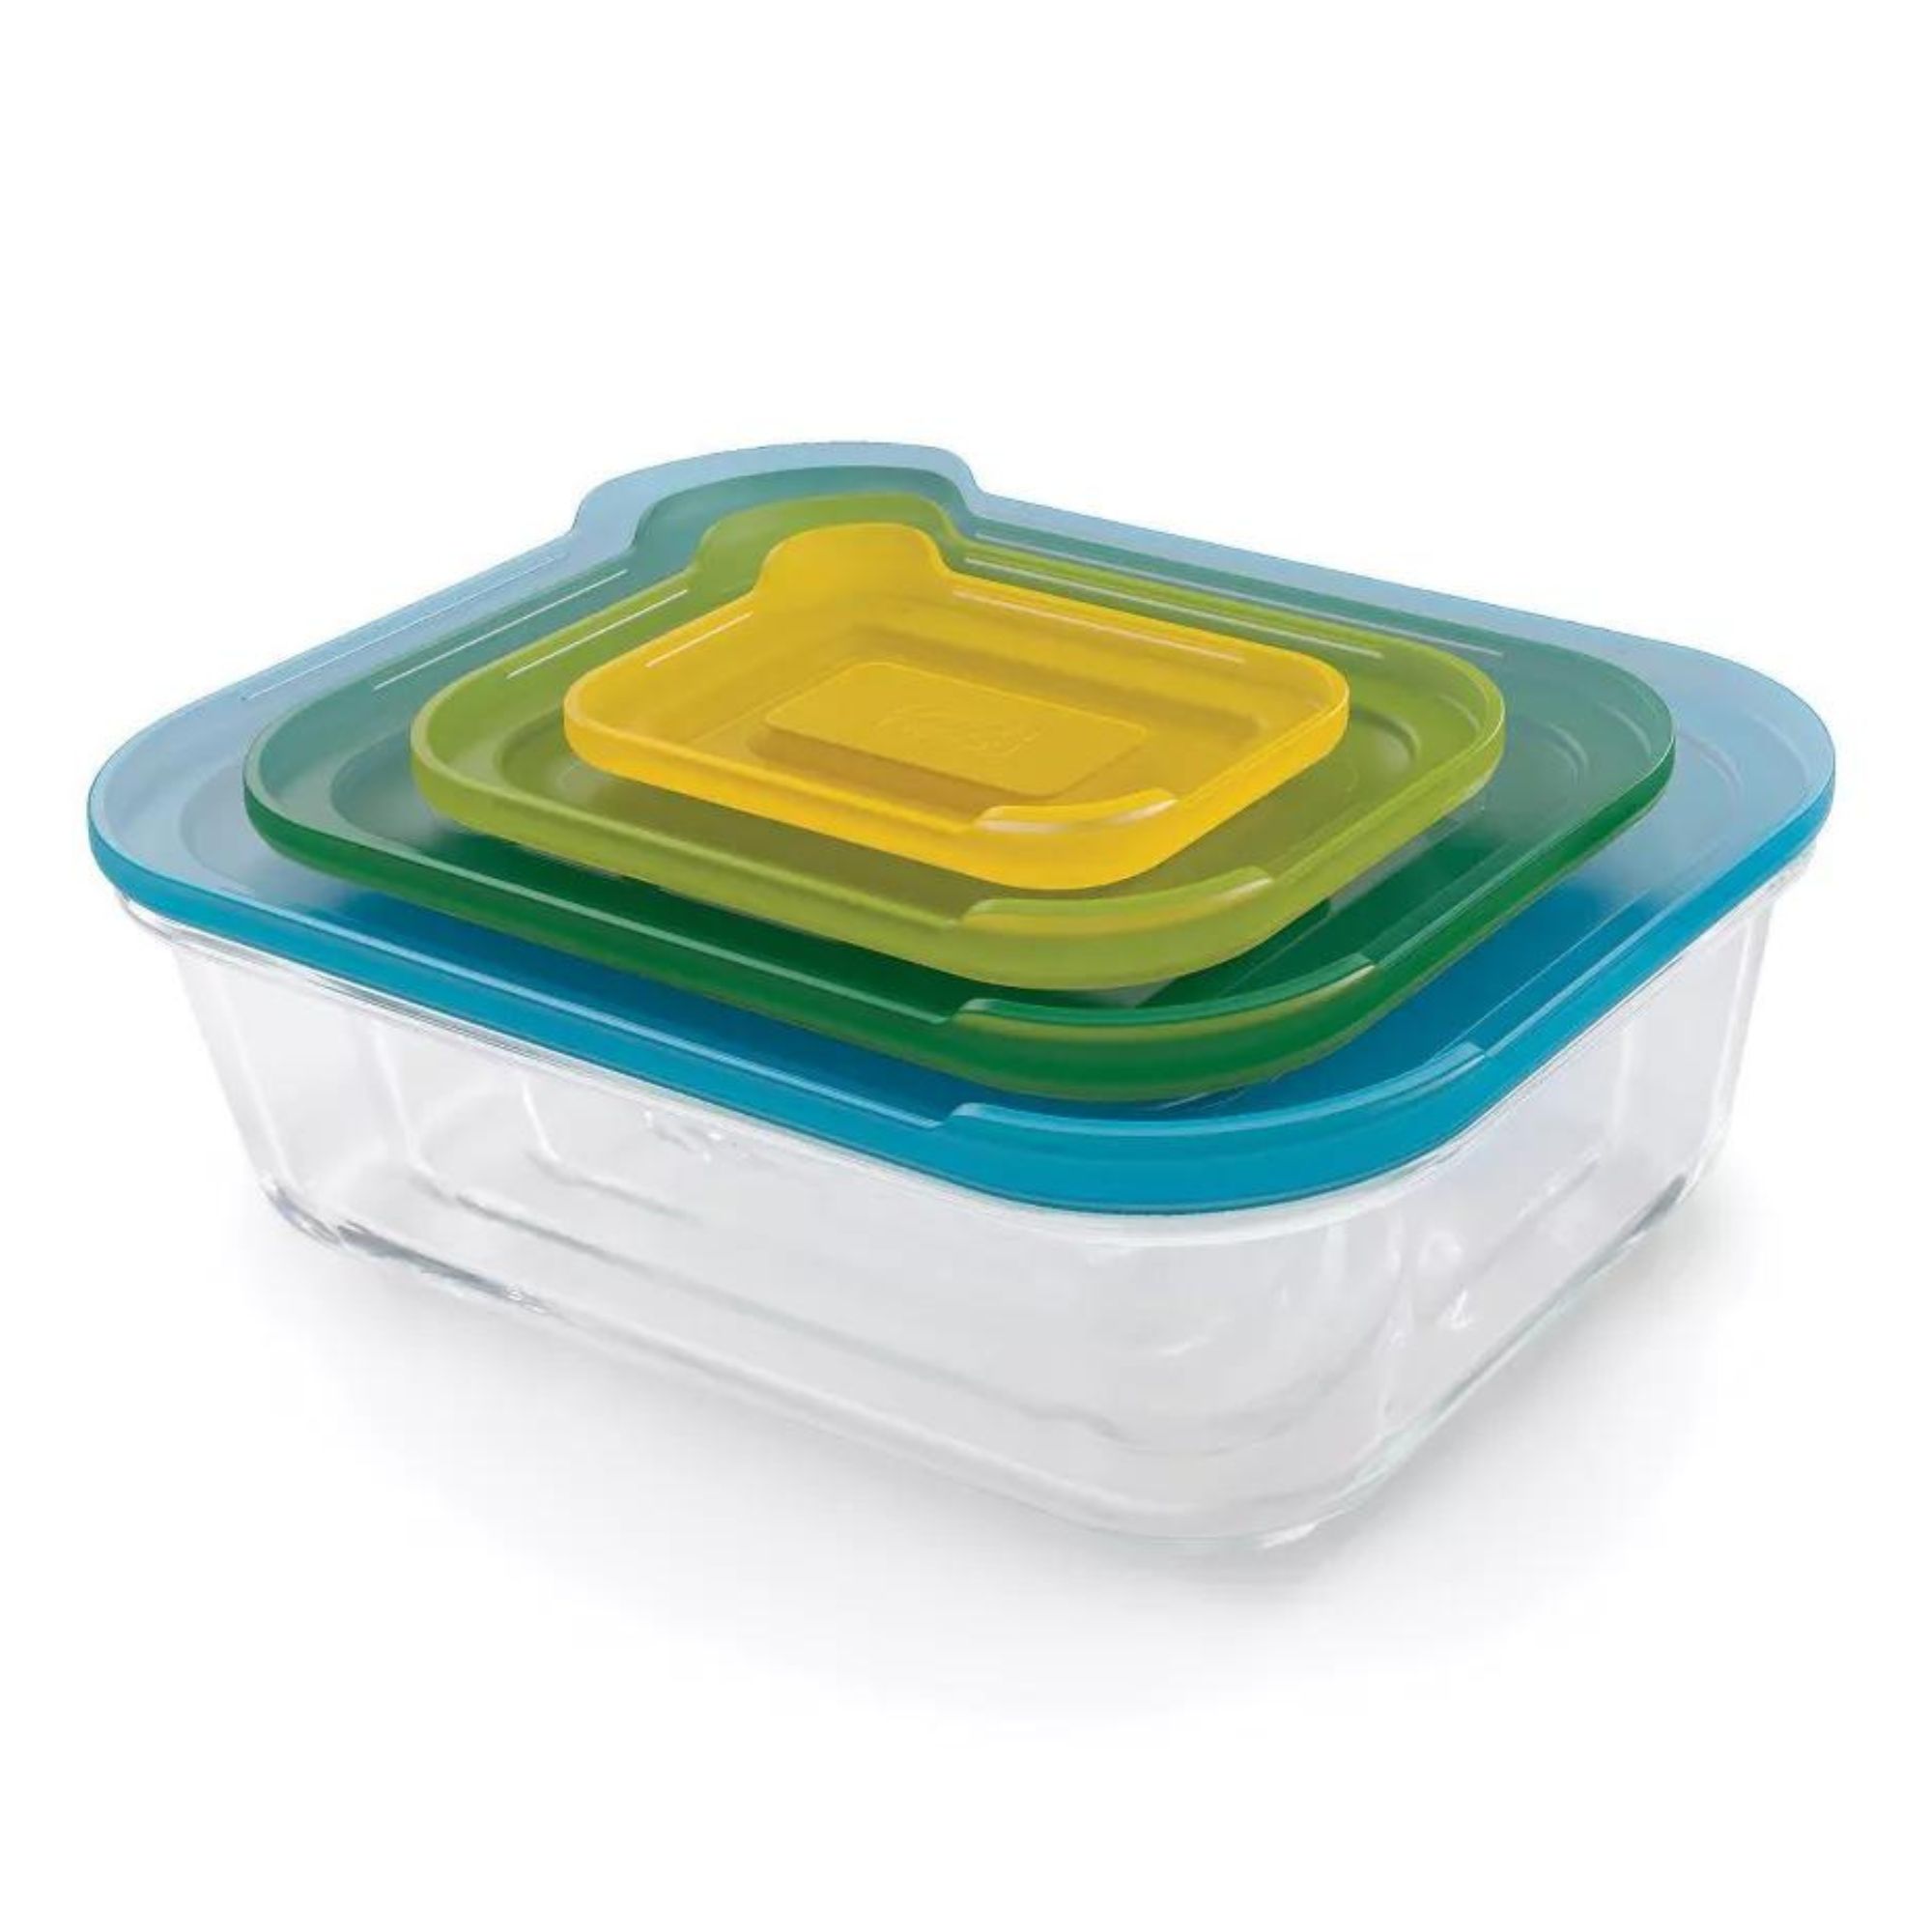
Top tip: Versatile nested and stackable designs allow you to save on space when not in use, whether that's in the cupboard or the refrigerator.
Step 6: Give every last thing a home
The best way to keep your kitchen organized is to take that classic Marie Kondo approach, which will make it easy to remember which parts of the room your materials rest in. That way you'll have that all-important knowledge that the no, the chili doesn't live with the egg cups, or your spatulas with your coffee. Keep all of your kitchen gadgets together, too. Giving all items a home in your kitchen will automatically channel zen, organized vibes.
Step 7: Put boundaries up for items that don't belong
It's no secret that kitchens are multi-functioning spaces, but to keep your kitchen organized all year round, you need to put up some boundaries. If you WFH from the counter all day, make sure your charger and all other work-related items get put away somewhere else. The same goes if you've had family visiting or have been entertaining children. Keep toys and anything not cooking-related in another area.
"Most kitchens have very limited space, so you’ll want to use it wisely," says Brenda Scott, owner and operator at Tidy My Space. Here’s a handy list on exactly where to put things in your kitchen to make the most of the space you do have.
Cabinets:
- Consider using the top upper cabinets for light-weight items that are less used but still needed
- Group like items together
- Adjust the shelves, use risers, under shelf hanging shelves or even purchase another full shelf to accommodate smaller dishes
- Most used items should be at eye level and nearest to the place used. For example, plates should be near the cooking surface and glasses should be near the sink
Drawers:
- Use drawer dividers for utensils, pots and pans
- Place your largest pot in a cabinet with its lid on. Then turn over that lid and place it right back on the pot. The lid forms a relatively flat surface on which to stack your other pots
Lower cabinets/drawers:
- Use lower cabinets for heavier items like larger kitchen appliances that you don’t use often enough to merit a spot on your counter
- Consider vertical dividers for baking sheets, pizza pans and trays instead of stacking them in a drawer
Pantries:
- Store all food that doesn't need to be refrigerated in your pantry
- Get your pantry organization on point by grouping like items together and follow a first in, first out method to avoid expired or stale food
- Label all decanted food (including the label from the original container for food tracing, allergies and ingredients)
- Plan for a step stool in your kitchen plans, this helps to reach items on the top shelf safely
Utensil drawers:
- Utensil drawers should only be used for your day-to-day utensils. Those corn holders you haven’t pulled out since 2007? Might be time to put them in storage
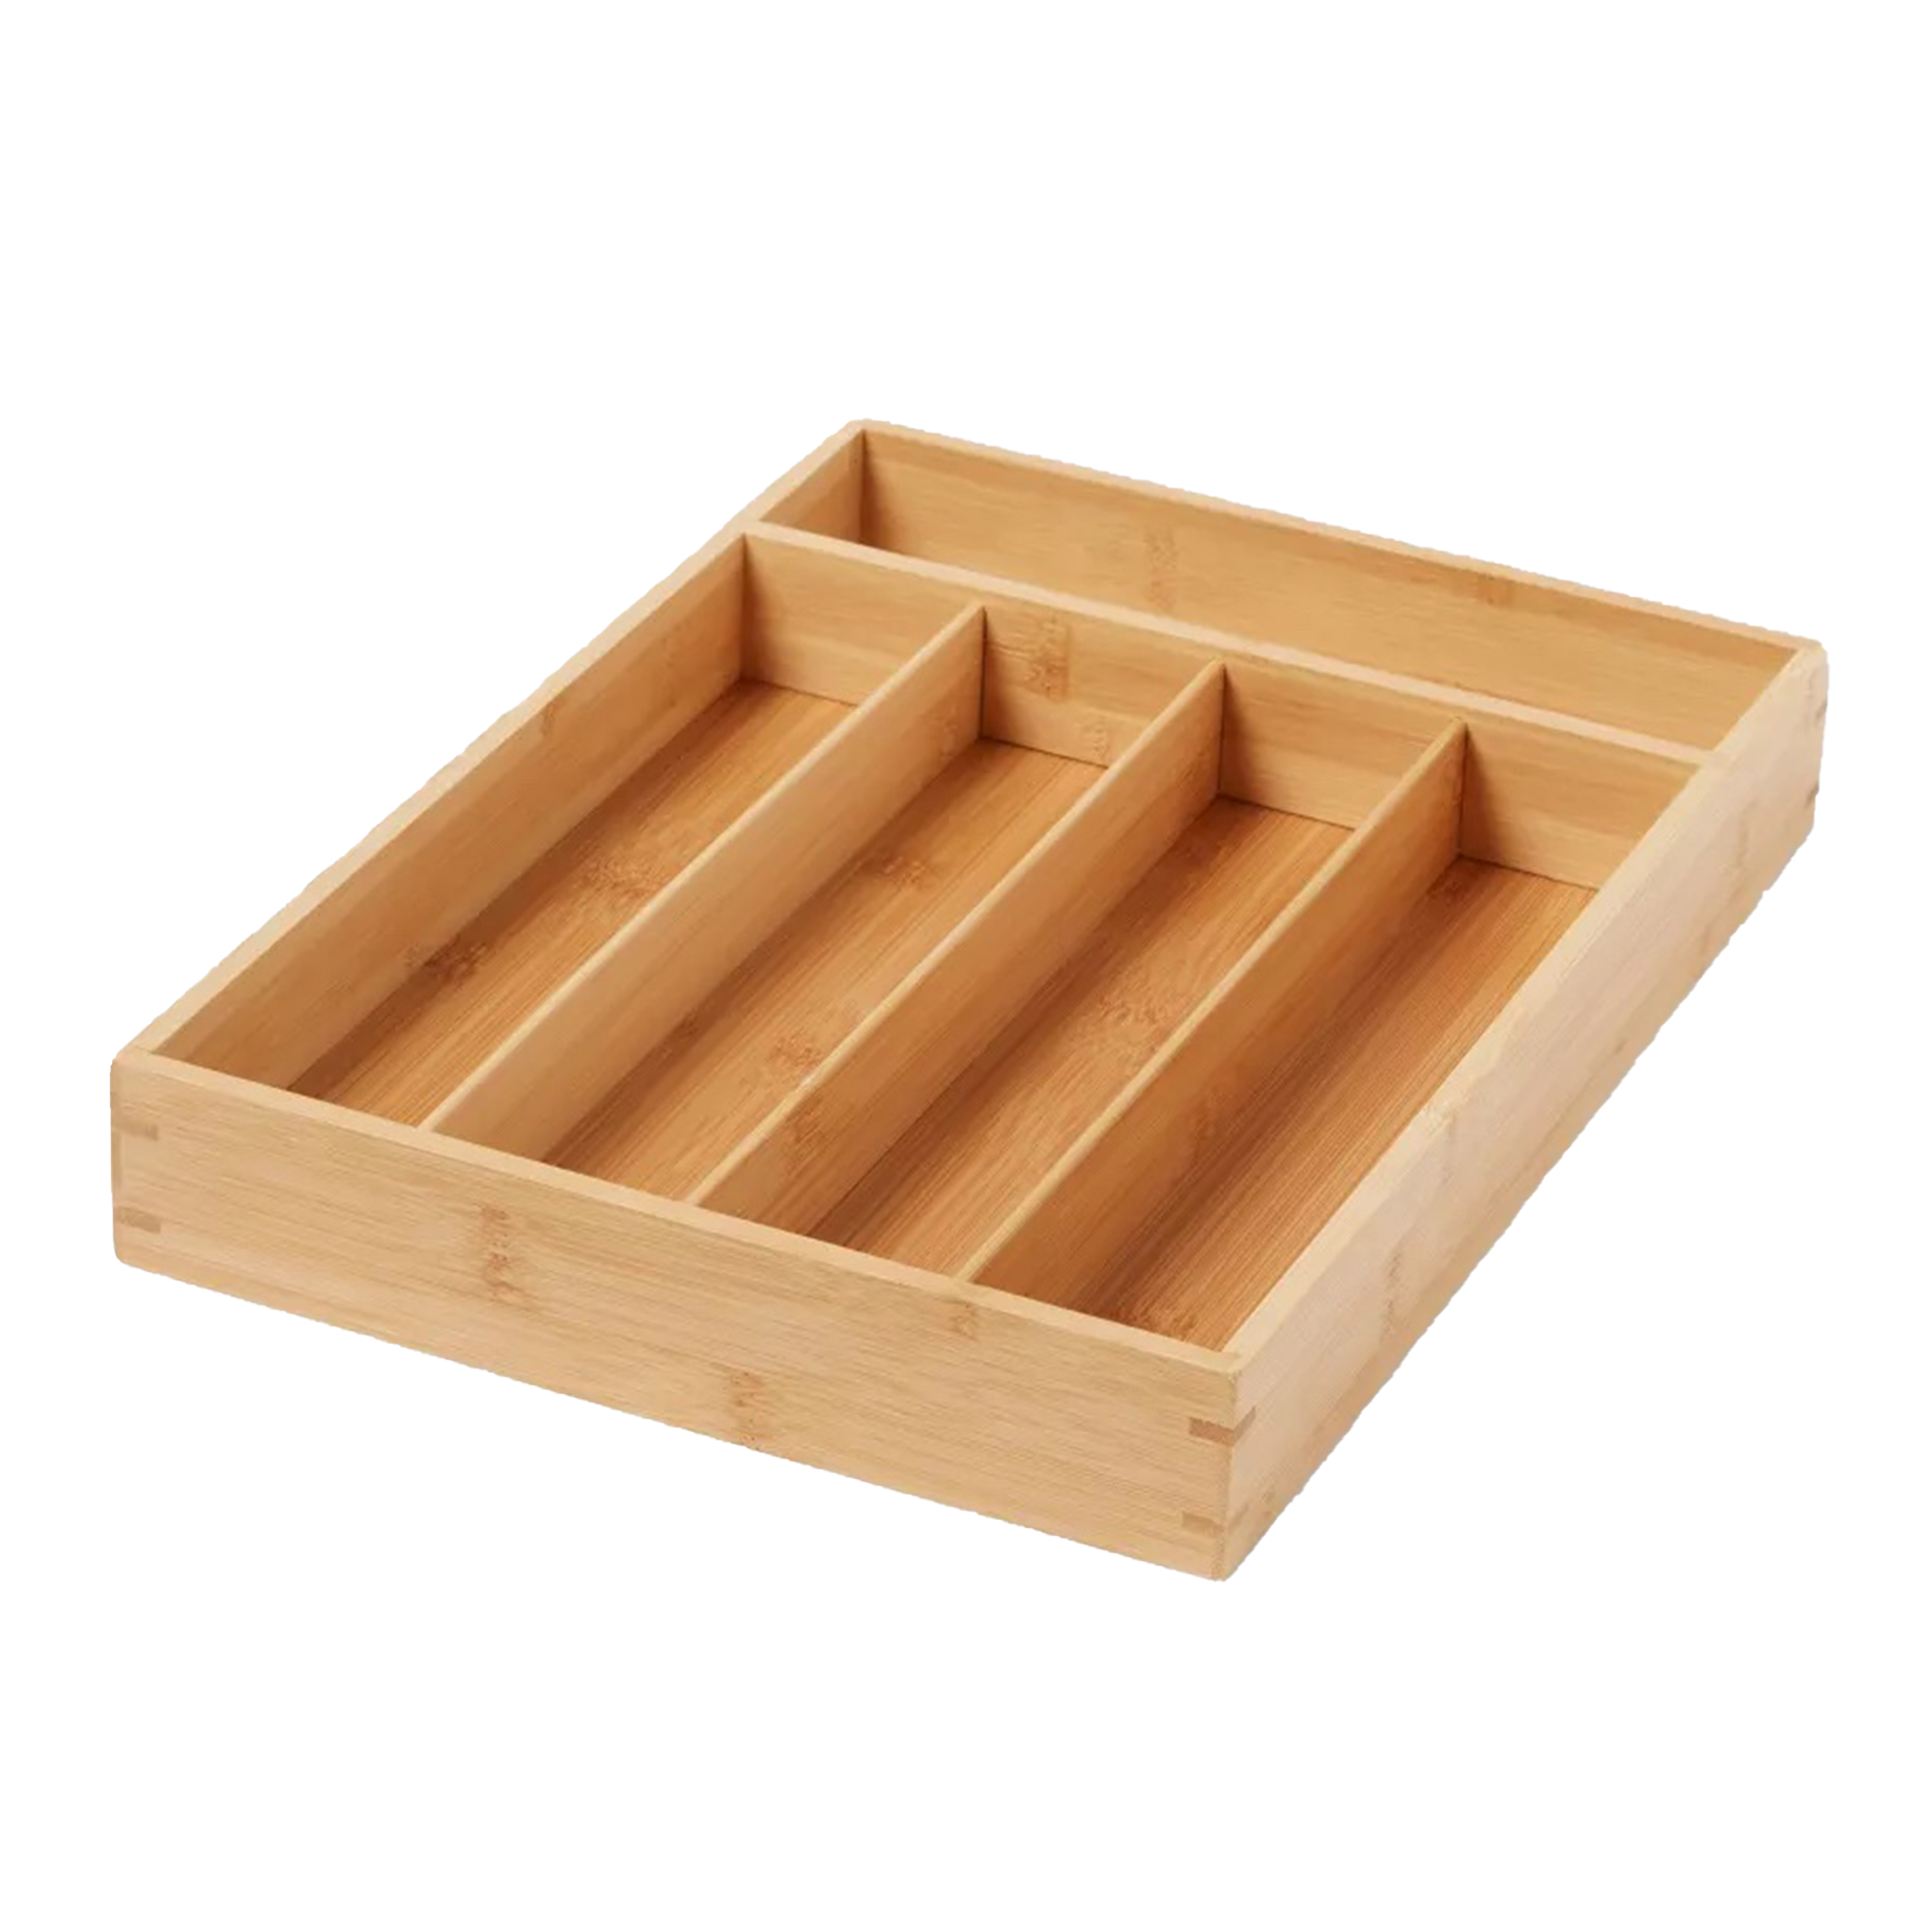
- Invest in a modular drawer organizer with separate compartments for each type of silverware
FAQs
What is the proper way to arrange a kitchen?
The best way to arrange is a kitchen is ensuring your food and utensils are as accessible as possible, and that they work for the space you’re in. You can achieve this with storage containers, drawer dividers, and even trolleys.
Where do I start with organizing my kitchen?
Start by clearing out all your cabinets and drawers, laying out all your items on the kitchen counter. This will make it easy to see exactly what you have.
What should I store above my fridge?
The fridge top is a great place to store larger items that won’t fit elsewhere, as well as items that you don’t need regularly. For example, you could store larger cookware items, fresh tea towels, and seasonal plates.

Kaitlyn is an experienced travel and lifestyle writer with a keen interest in interior decorating and home optimization. An avid traveler, she's currently splitting her time between her apartment in a century-old châteauesque building in Montreal and her cozy chalet in the woods (that she built with her own two hands... and many YouTube tutorials!). Her work has been published in Travel + Leisure, Tatler Asia, Forbes, Robb Report Singapore, and various other international publications.
- Camille Dubuis-WelchFormer Deputy Editor
- Eve SmallmanContent Editor

