How to make a Christmas garland — a foraged design perfect for a mantel
Learn how to make a Christmas garland with this 7-step tutorial

Christina Chrysostomou
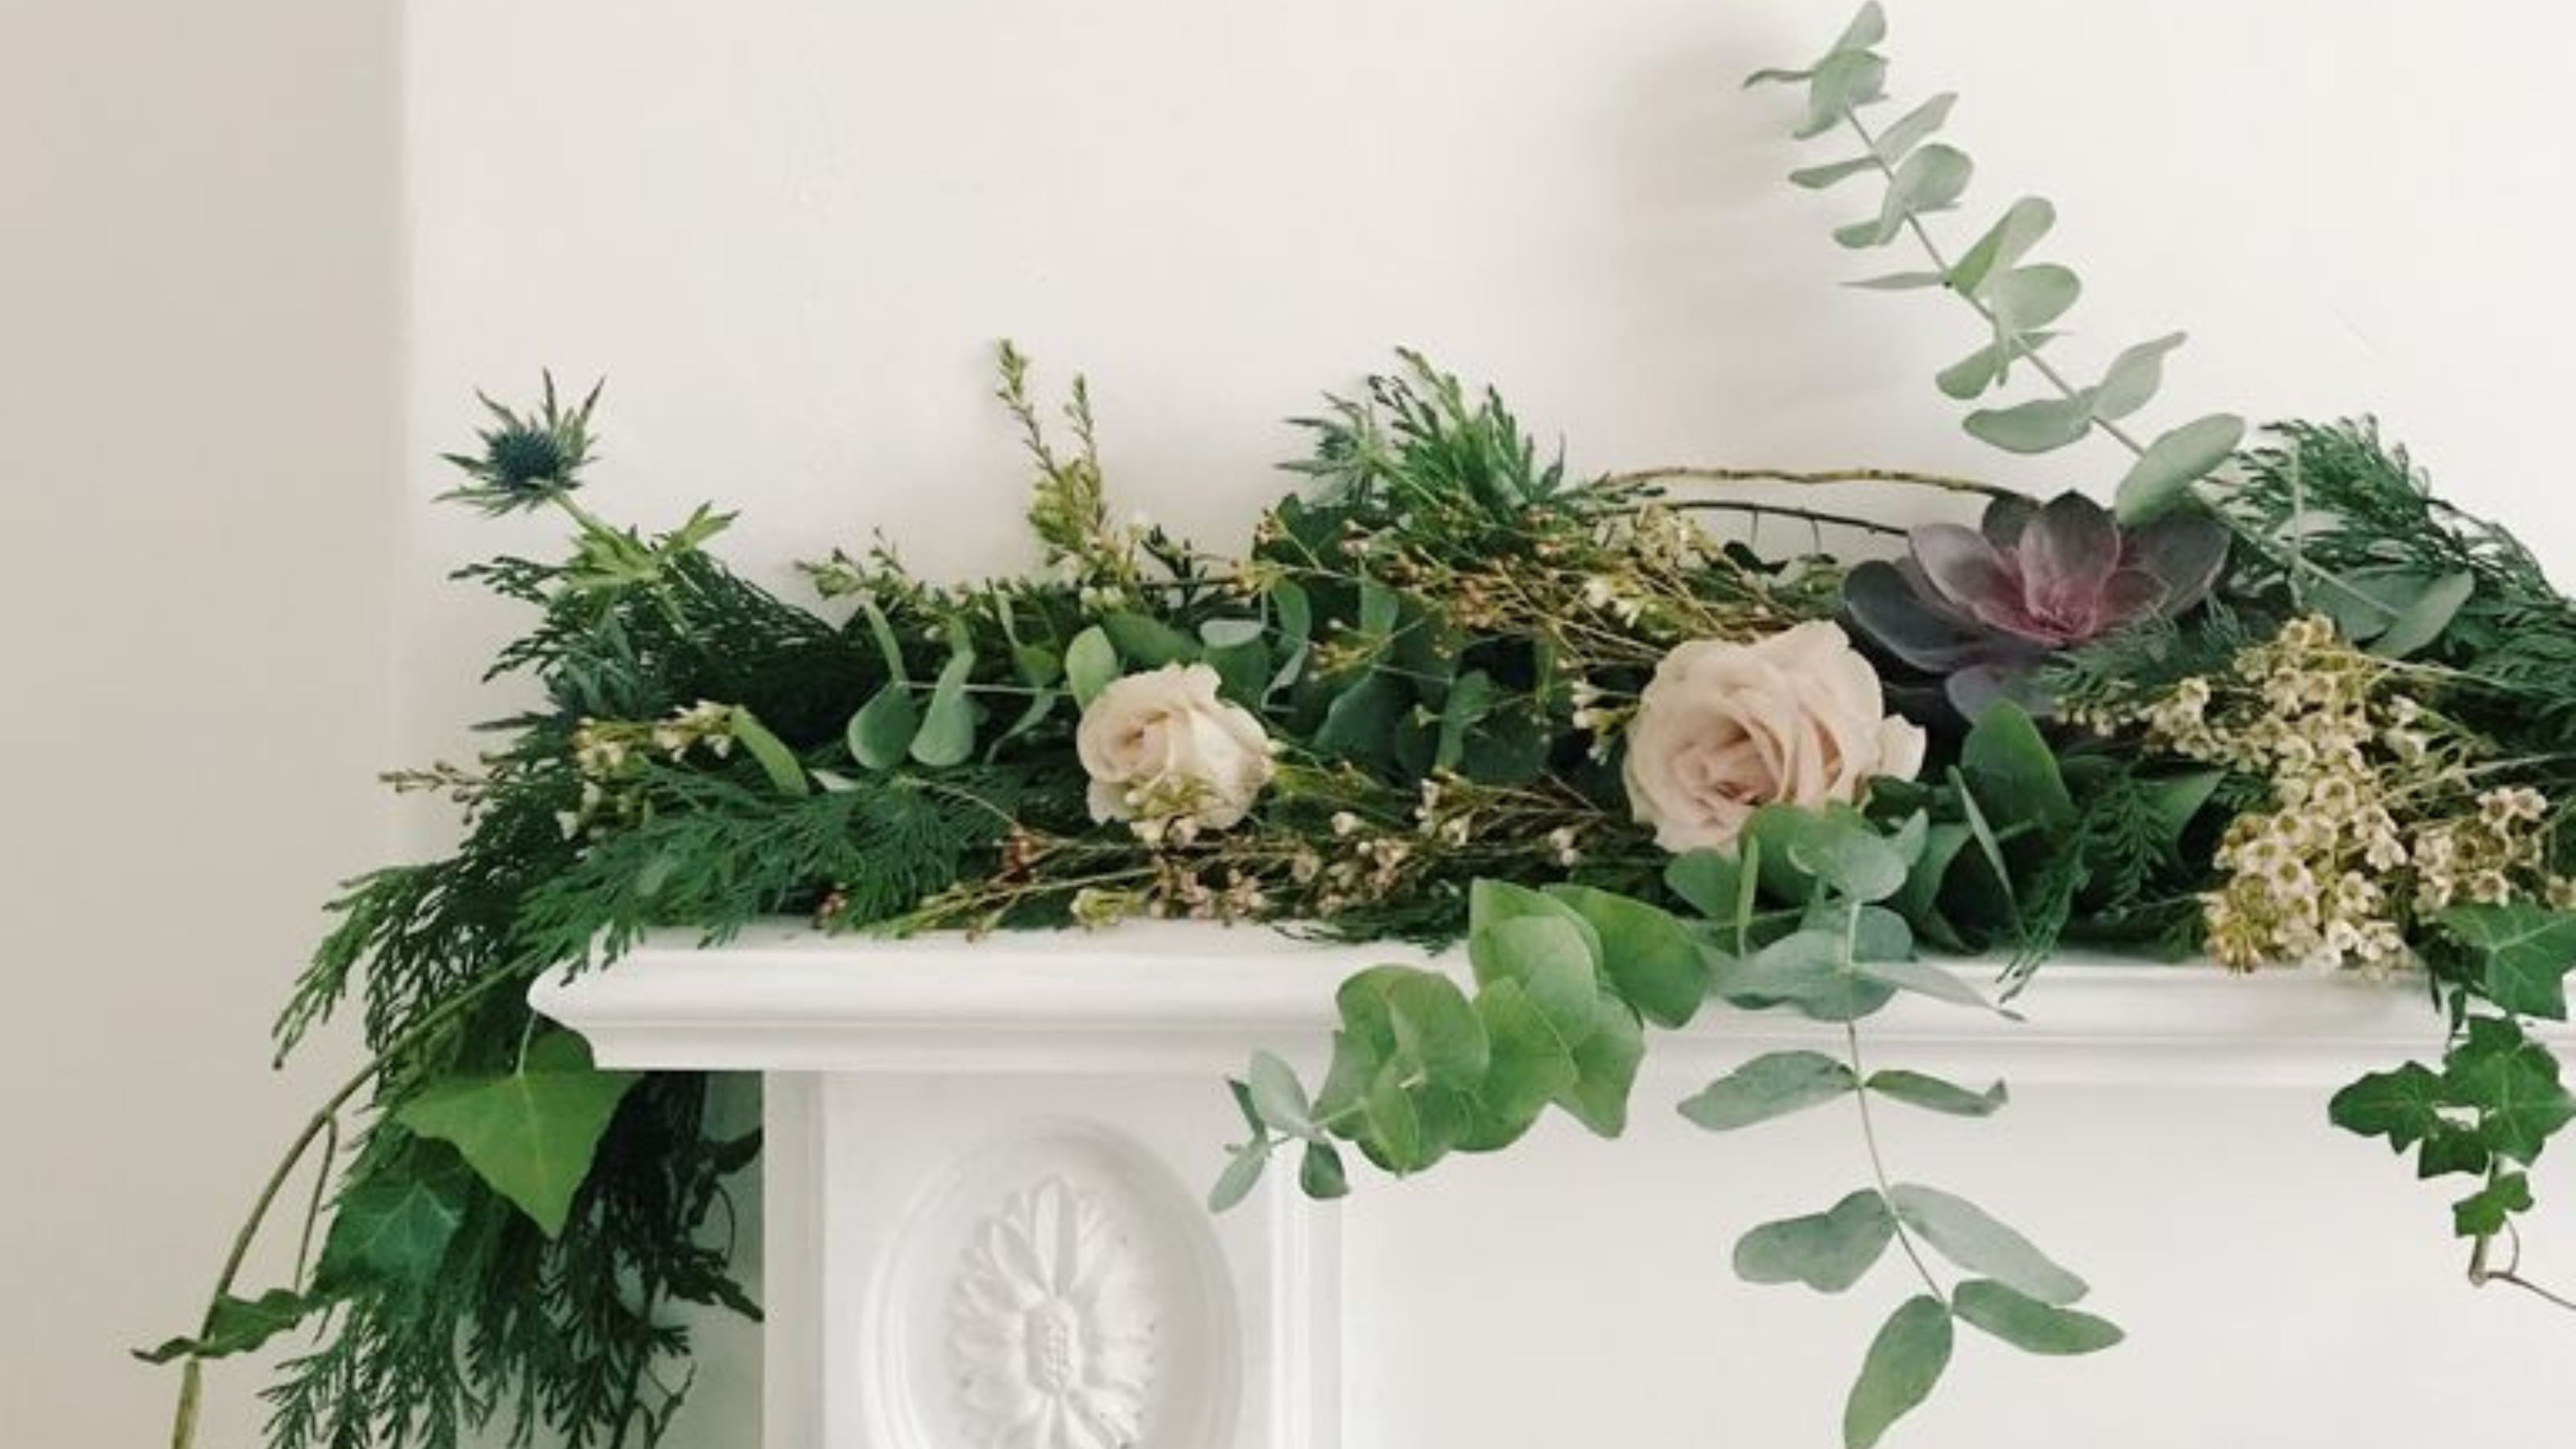
Knowing how to make a Christmas garland that’s naturally full of festive cheer is a must for your repertoire of DIYs to wow impromptu guests and family throughout the holidays. After all, at Christmastime, we all want our homes to look pretty perfect — and Insta-ready — not just for the big day but throughout the season too.
Forego buying a shop-bought garland this year, and learn how to make a garland yourself. This is one of the easiest DIY Christmas decorations going, and you can simply recreate the look using foraged stems like eucalyptus, holly, and more that you'll find in your yard, in a local forest, or even on the likes of Etsy if you live in the city or a built-up area.
How to make a Christmas garland step-by-step
This unique garland is perfect for a fireplace mantel and is sure to elevate your Christmas decorating ideas. It has a loose and flowing feel and is pretty customizable also. You can add to it with traditional festive pieces like pine cones, or even dry oranges yourself (bonus if you use a small air fryer or a Cosori food dehydrator) and wire them in with a few cinnamon sticks for an added holiday scent.
Decorating your home with greenery originates from winter solstice celebrations. The shortest day of the year was met with unease, so to represent the cyclical nature of the seasons, foliage was used to symbolize the idea of perseverance through the winter.
Make the most of the beautiful seasonal greenery in your area and make a Christmas garland to decorate your mantle this festive season.
You will need
1. A good selection of foraged foliage — fir/pine, evergreen stems and ivy
2. Oranges — buy fresh or pre-dried ones from Joann
3. Cinnamon scrolls — buy 2.75-inch sticks from Amazon
4. Wax flower and eucalyptus sourced from a local florist
5. Natural jute twine — available from Amazon
6. Floristry wire — this is sometimes on offer on Amazon
7. Secateurs — these pruning shears from Amazon will do
Measure your mantel
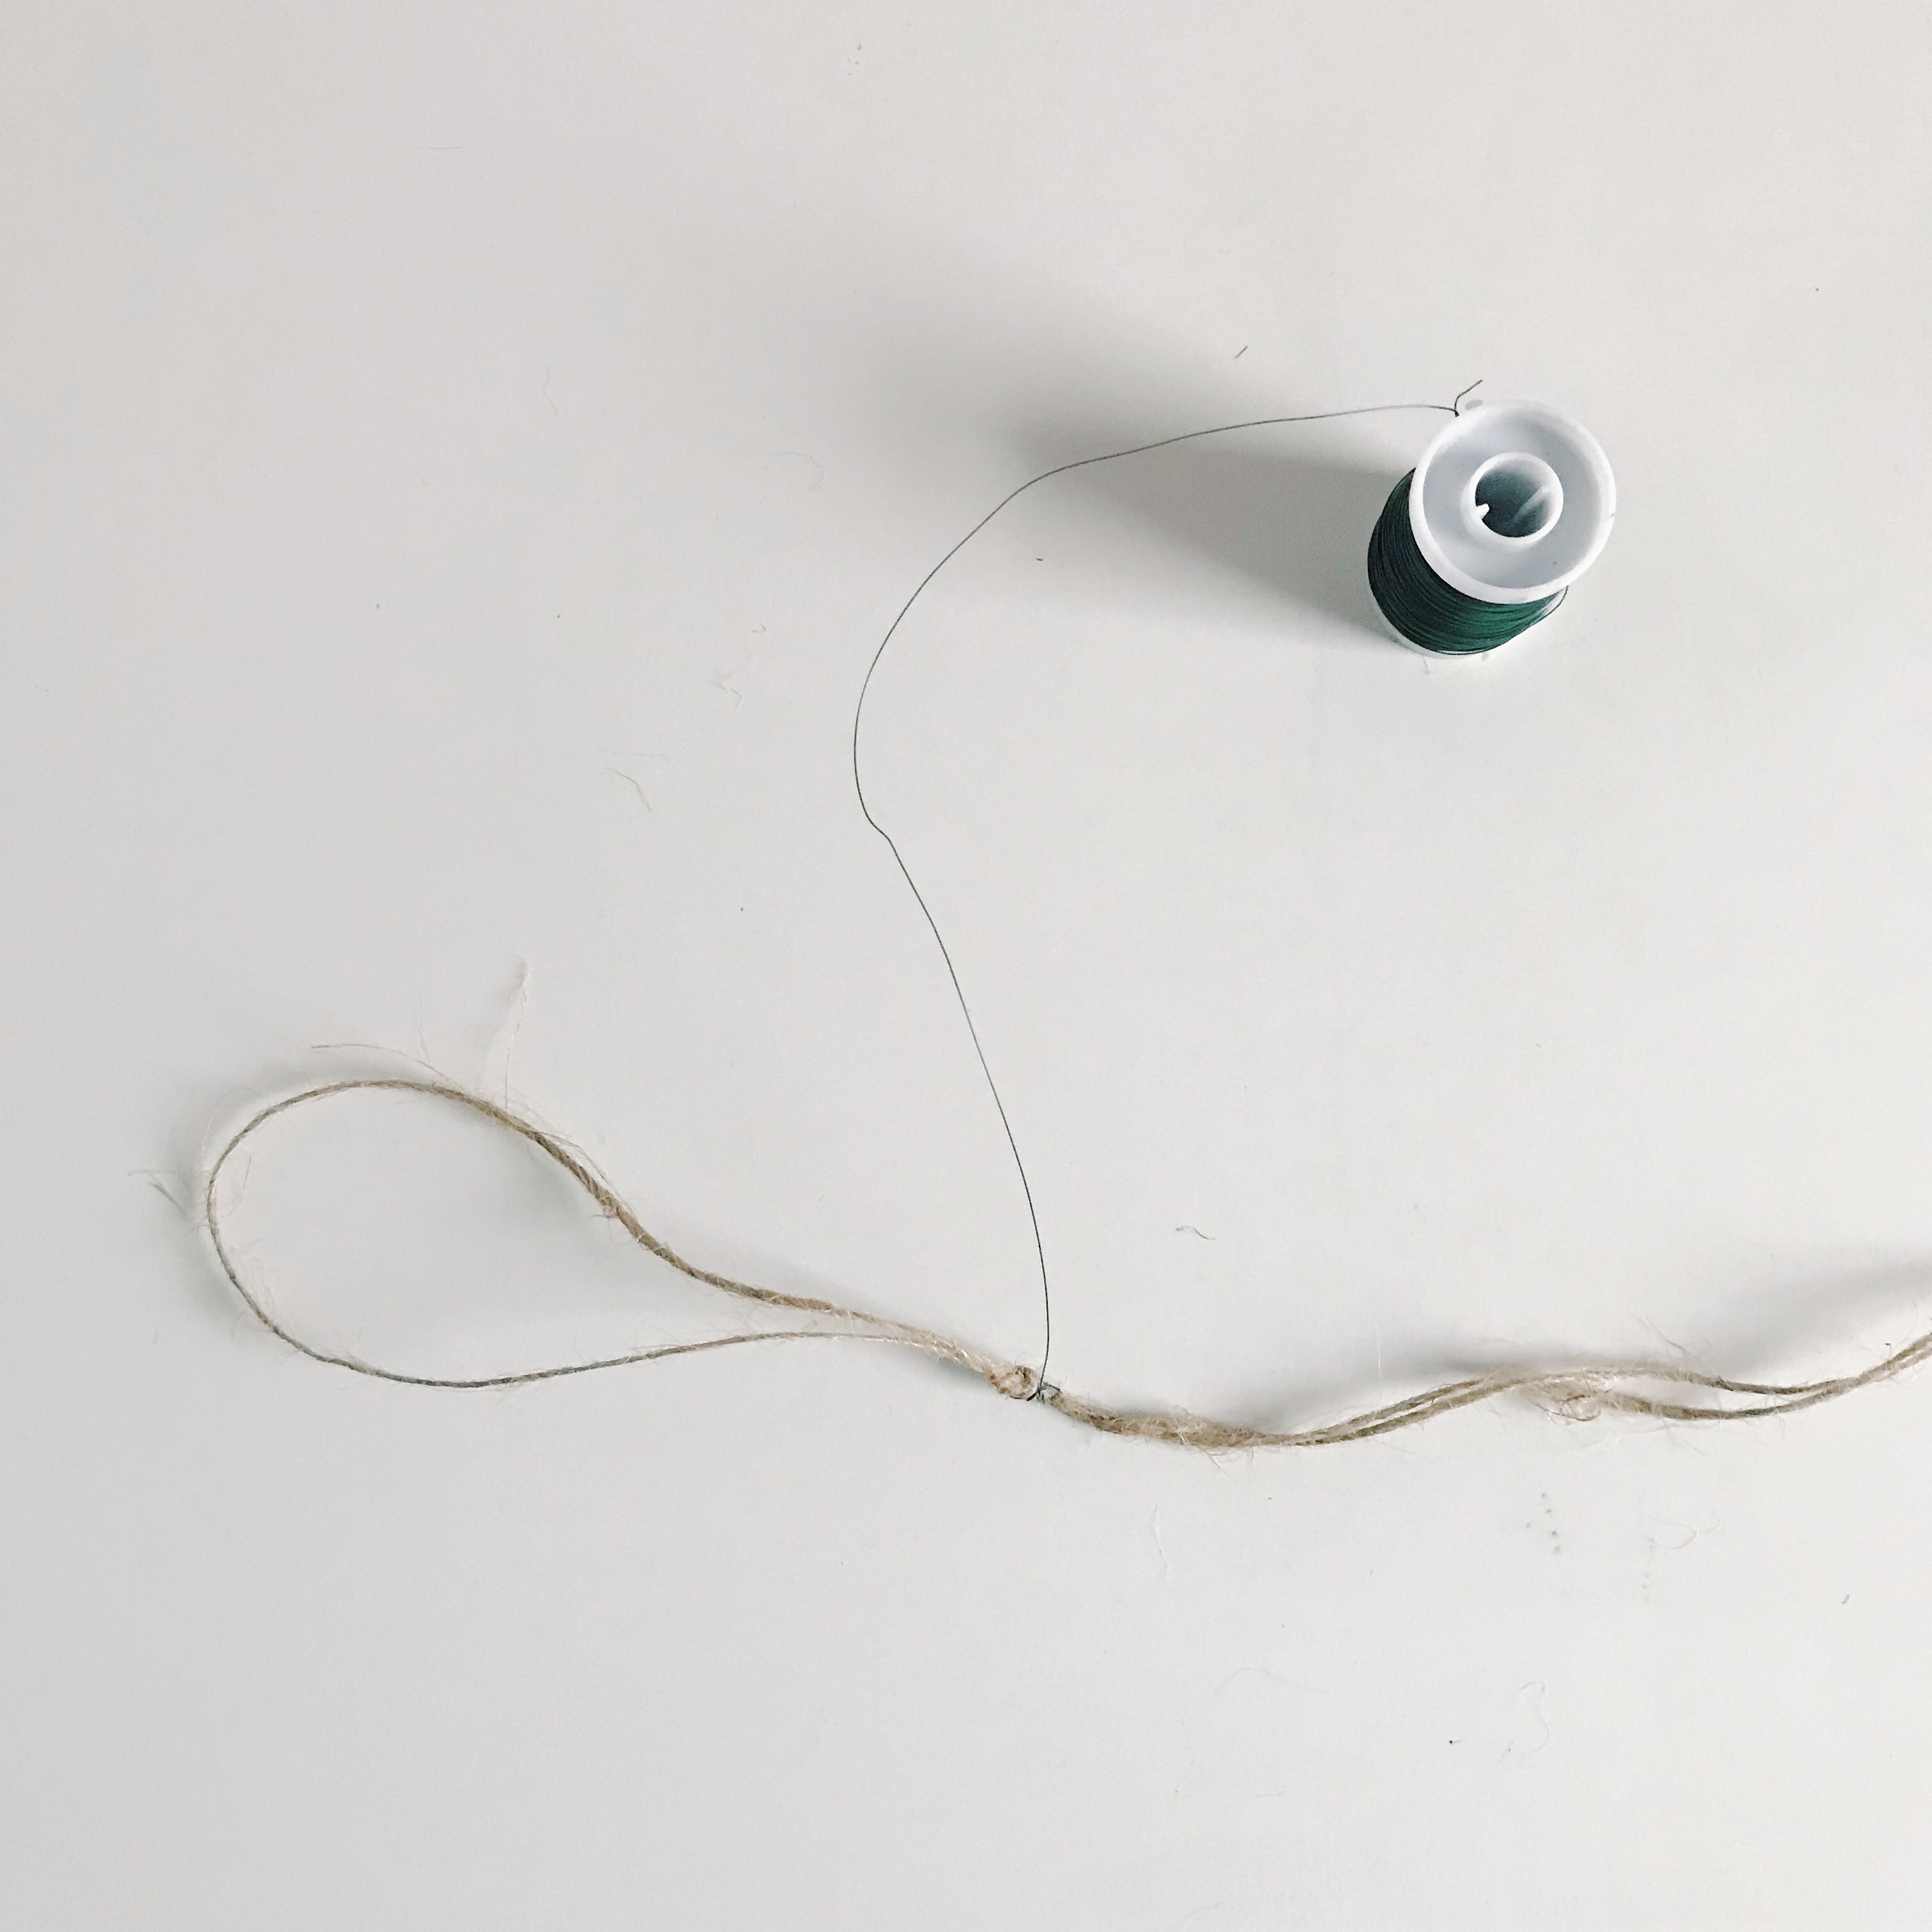
There's nothing nicer than a natural garland at this time of year, and believe it or not, this one is as easy as making a Christmas wreath, and uses the same technique of adding bunches in and wiring them tightly.
The first step is to measure your mantelpiece with a piece of string and factor in some 'overhang', it’s nice to have a trail so add on approximately 12 inches. Once you've measured it, double it up and tie a knot in the string every few inches to keep it together and attach the wire as has been done here.
Get small space home decor ideas, celeb inspiration, DIY tips and more, straight to your inbox!
Choose your foliage
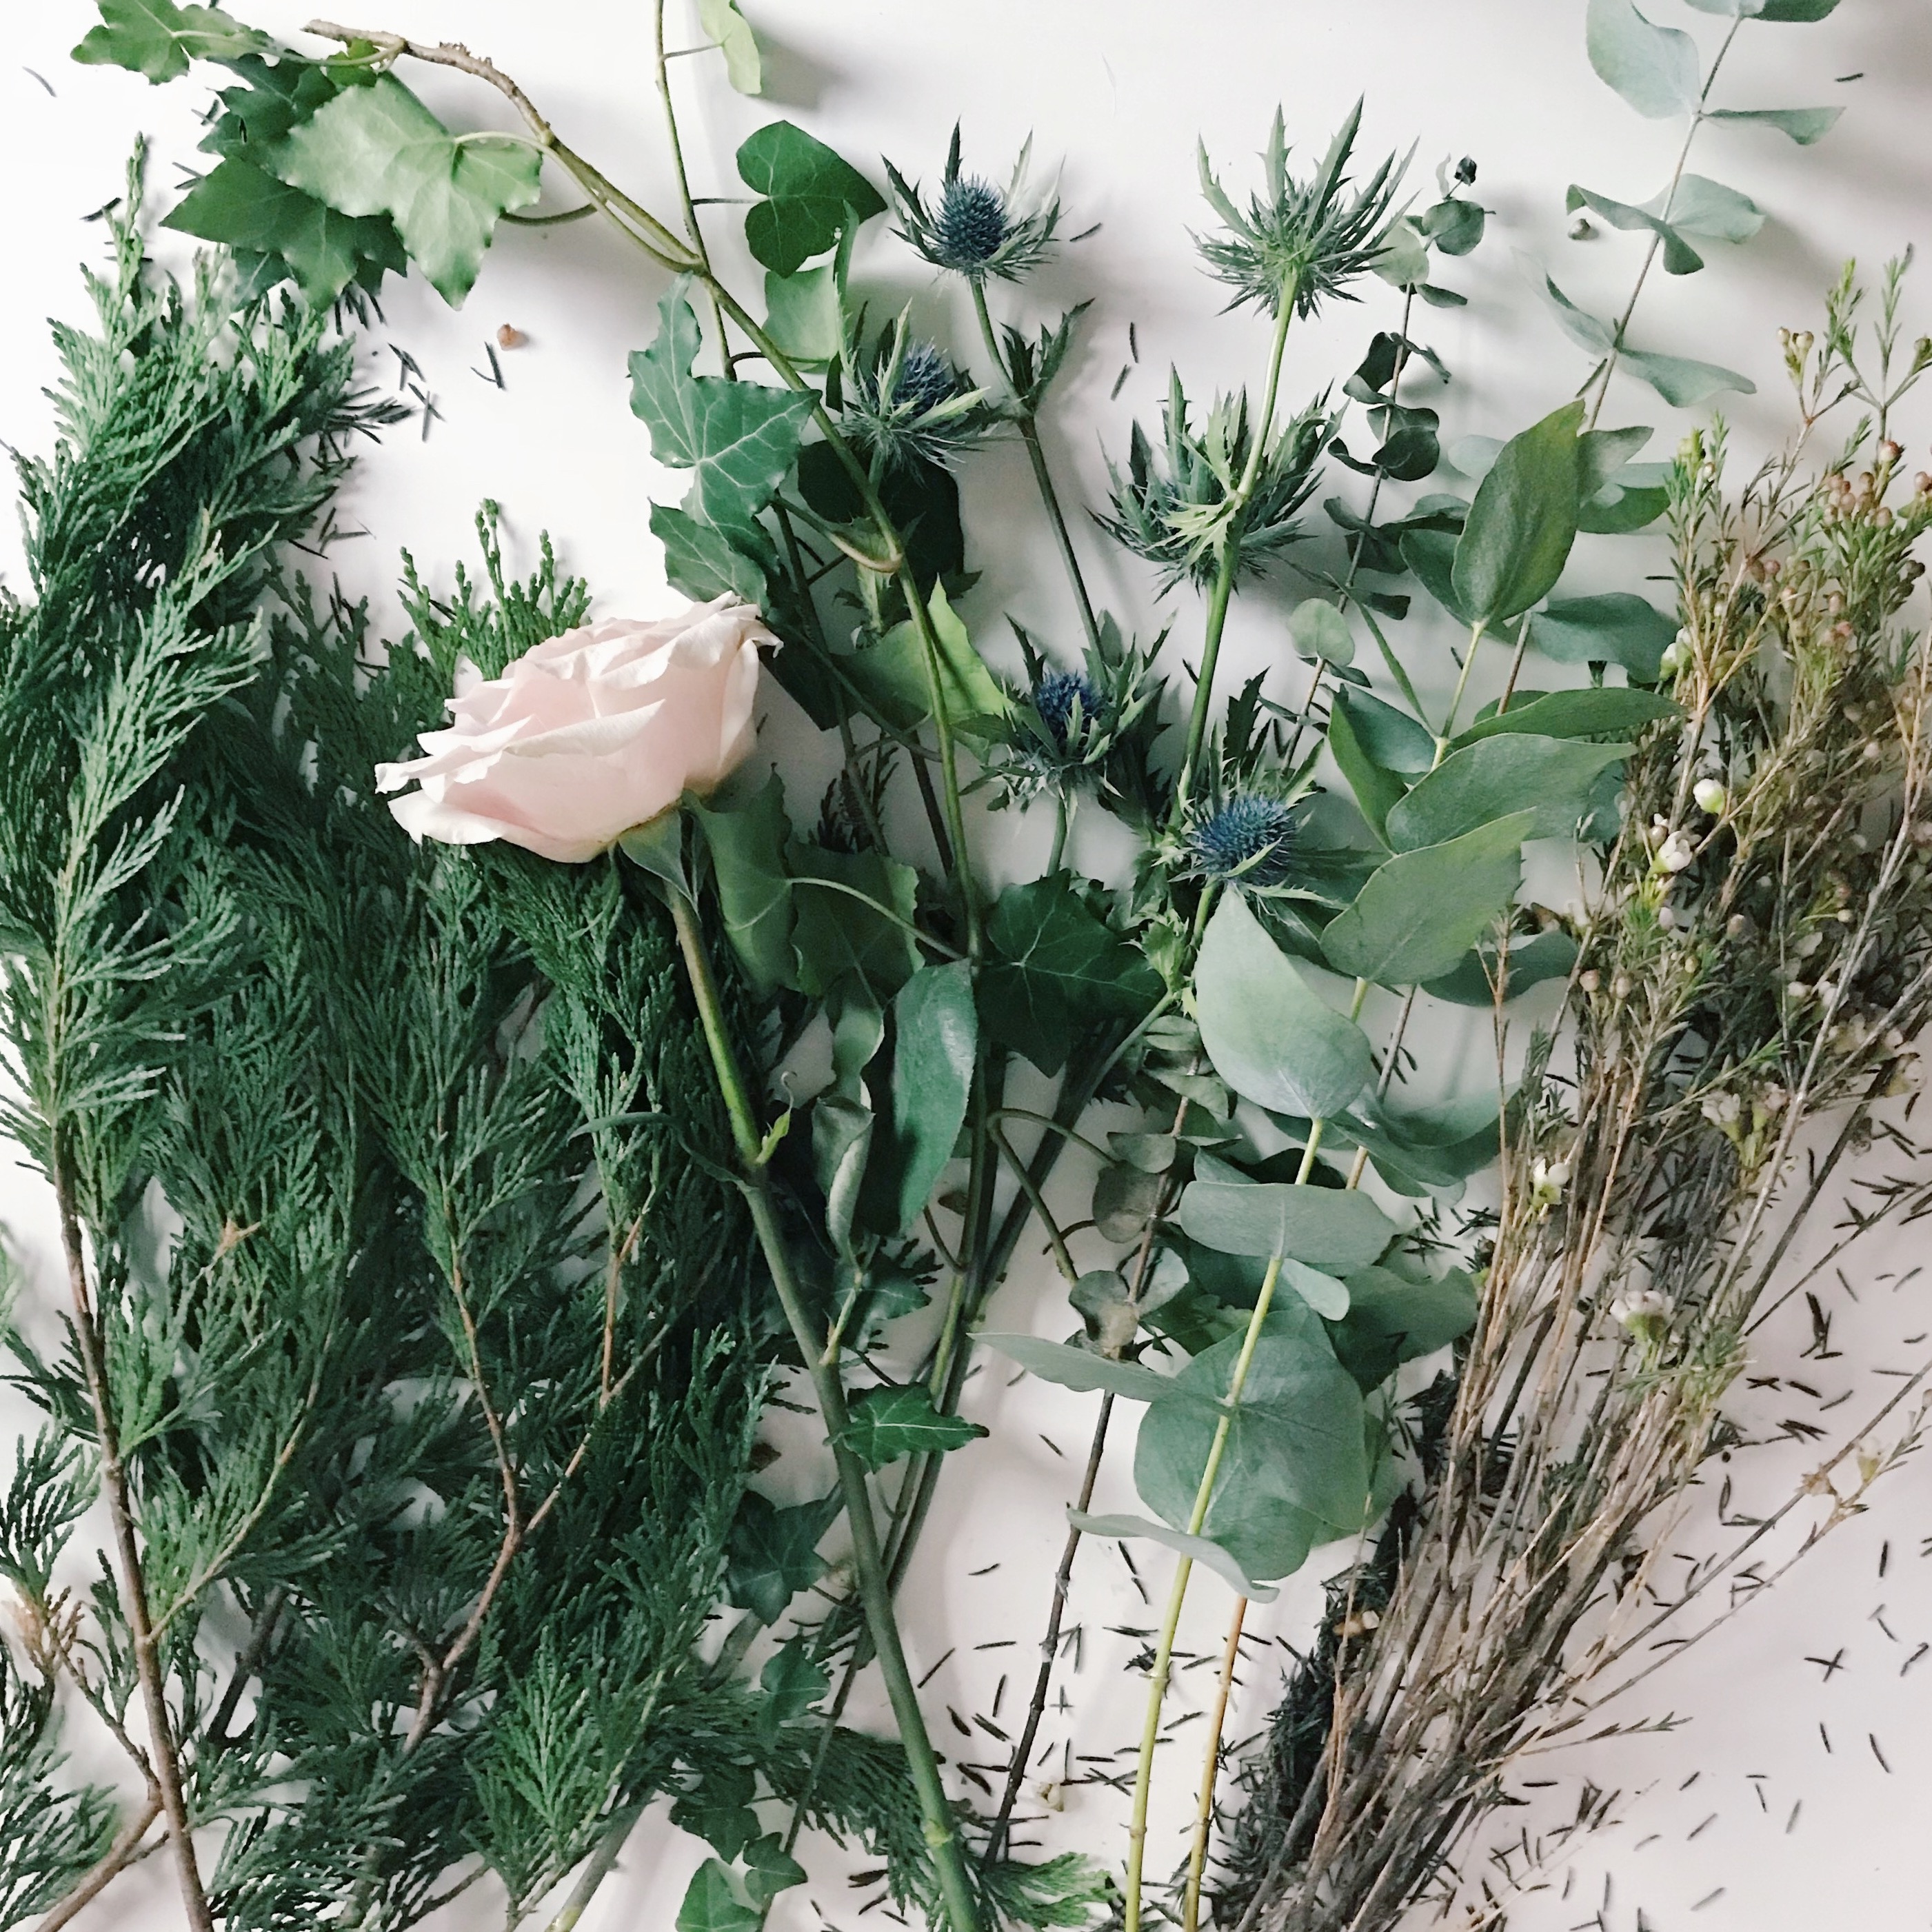
For this garland, we used foraged ivy and pine and some wax flowers, thistle, and eucalyptus. We did add in some roses – note these won’t last long without a water source but, you can buy floral tubes from Amazon then fill them with water, add in the stem, and tuck it between some foliage. Or, simply add in some roses before guests arrive, they will survive a few hours!
Other additions can include a succulent or two, cinnamon sticks, and dried oranges that can be added at the end. Again, you don't have to buy extras, you can gather enough bits and bobs if you are lucky enough to live near a park or an open space. Holly would work, and there are some berries still about that could be used also if you want a little color to bring your fireplace ideas to life.
Cut your stems
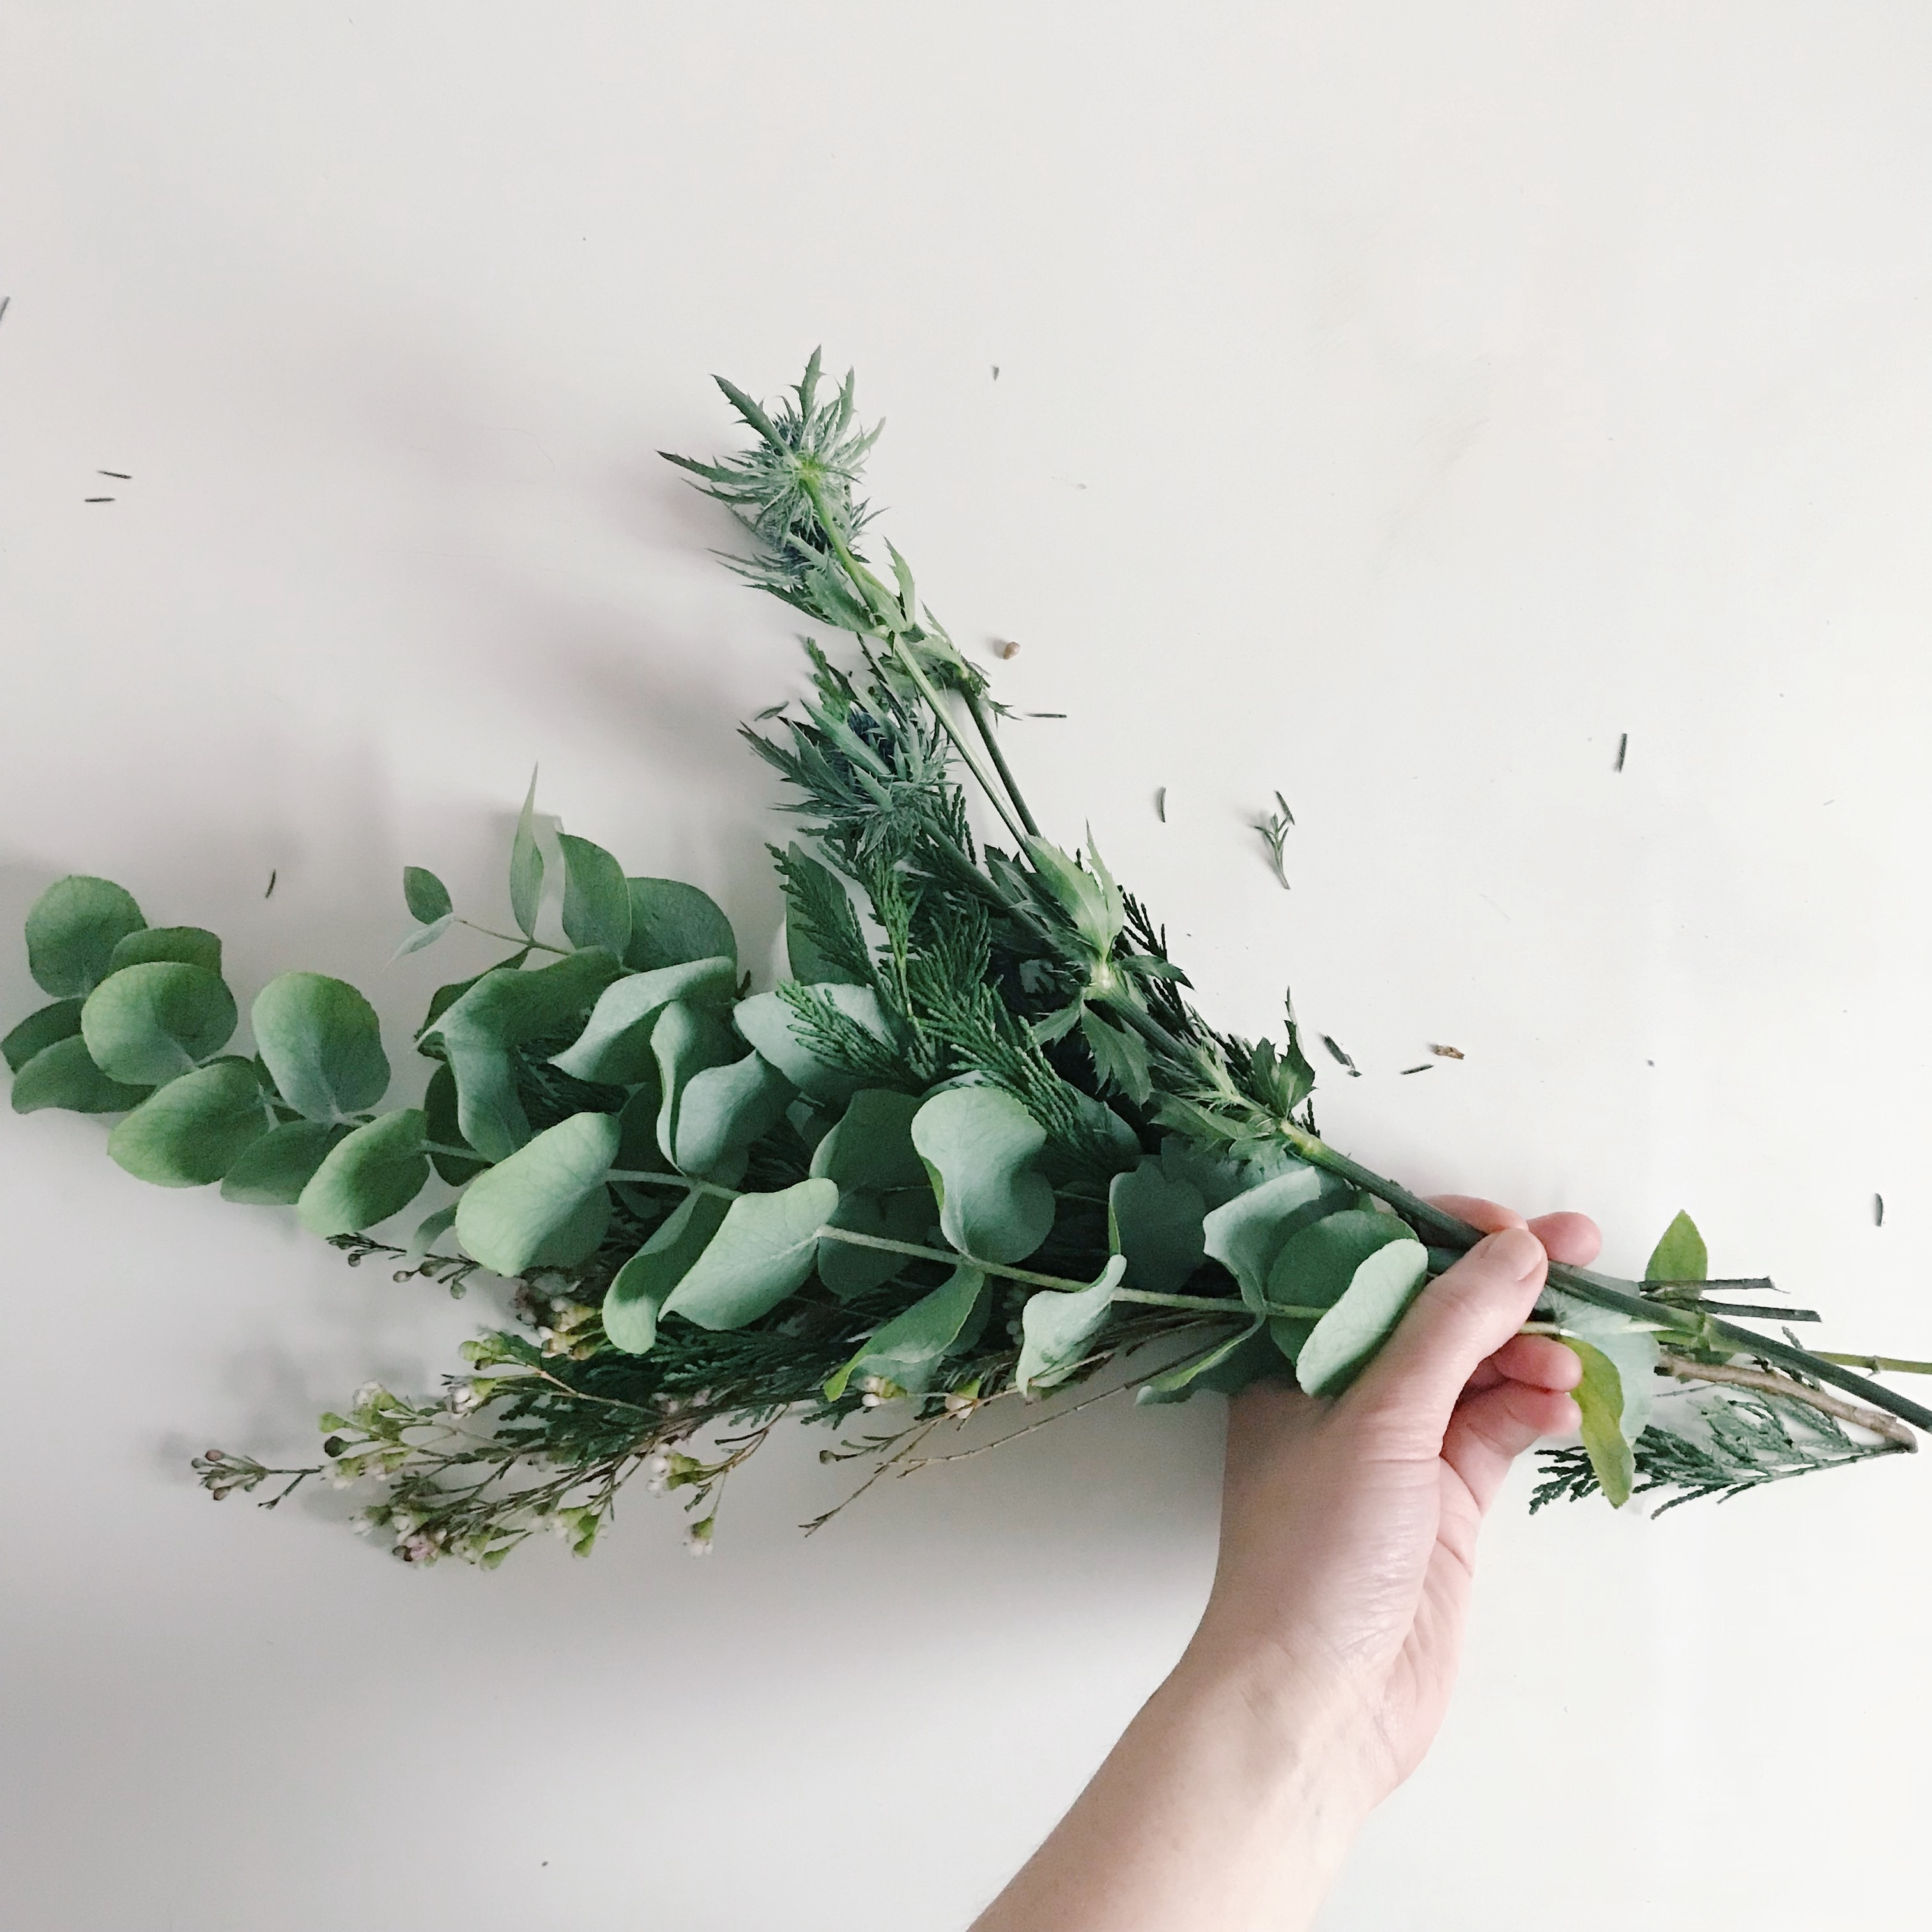
Similar to making a Christmas wreath, cut your stems between 10–12 inches and gather a bunch together. Here, we’ve used four different stems — eucalyptus, pine, wax flower and a nice piece of ivy to trail down as this will be the end of the garland.
Place different stems together
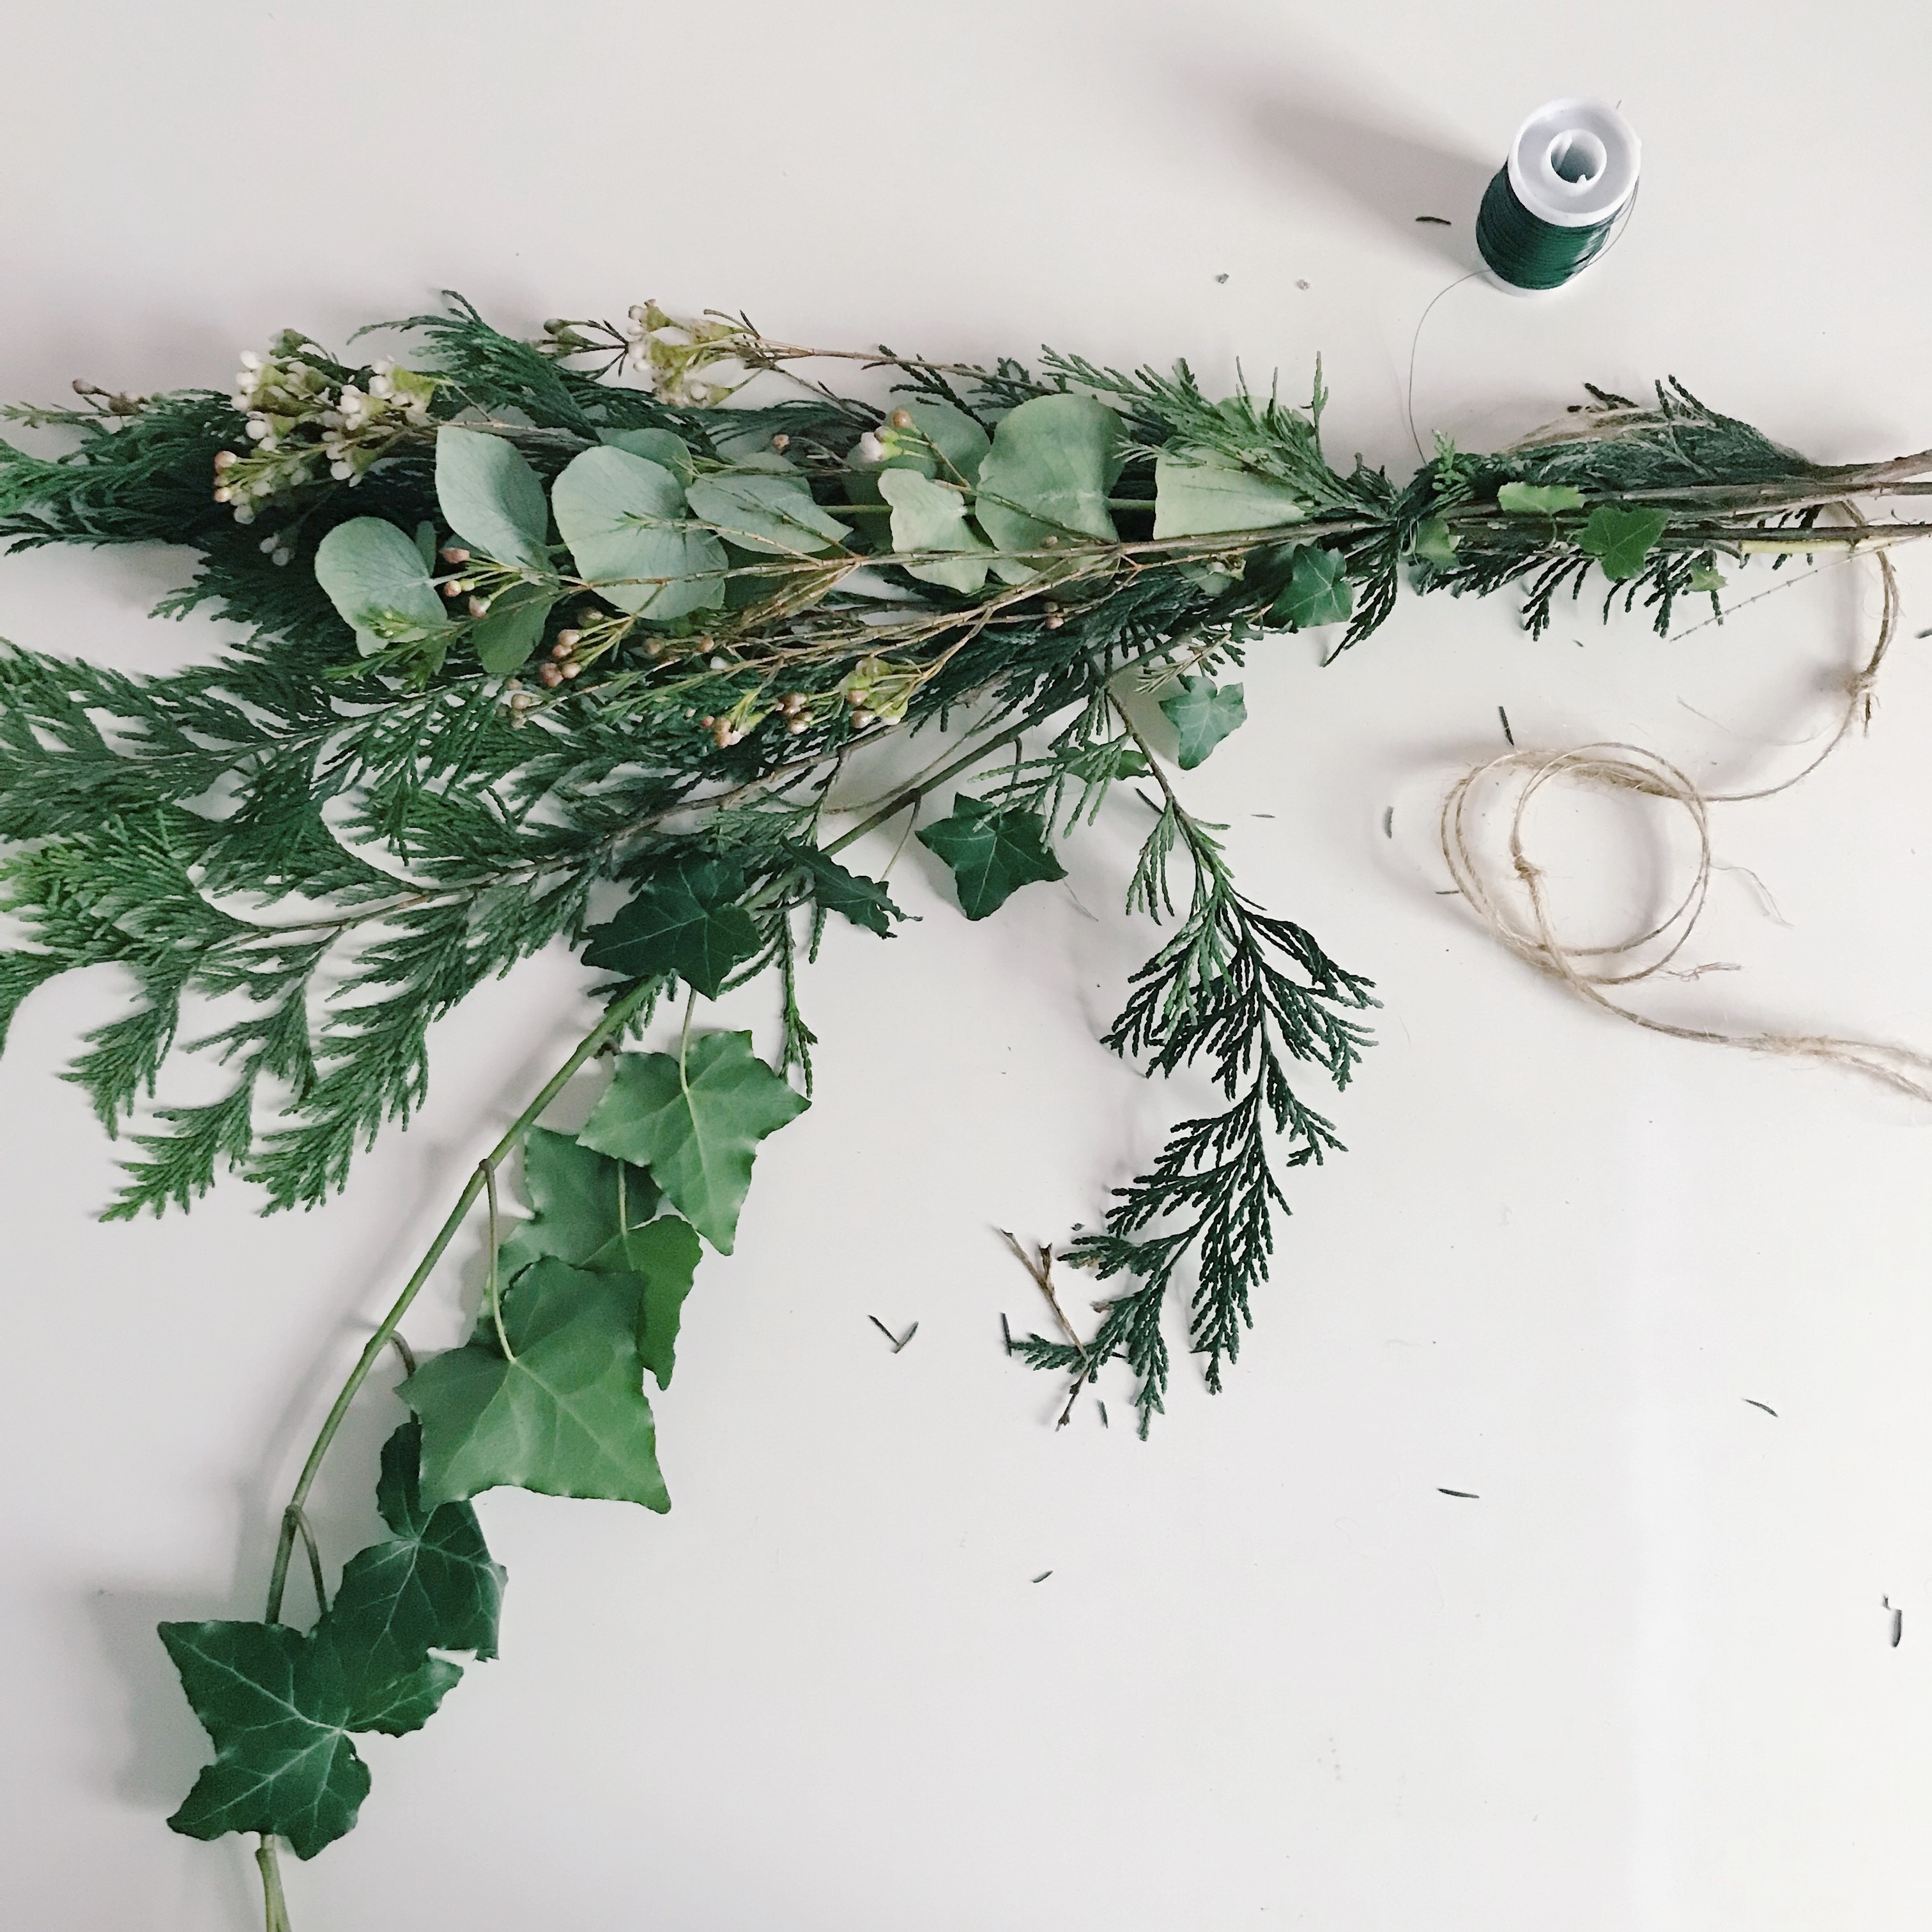
Keep placing different stems together in a bunch and wrap the wire around the stems, covering up the previous stems each time. Work along in this same way building it up with lots of texture and variety.
Continue layering

Once you get about half way along the string, you need to stop and start laying them the other way. To make it easier, you can turn the garland around. Now, if you want, you can carry on along the string with the bunches being added in the direction you started. At the end, you can then add in a couple of trailing bits that go in the opposite direction. There are two choices really, so it's up to you which you prefer.
Tie off the wire
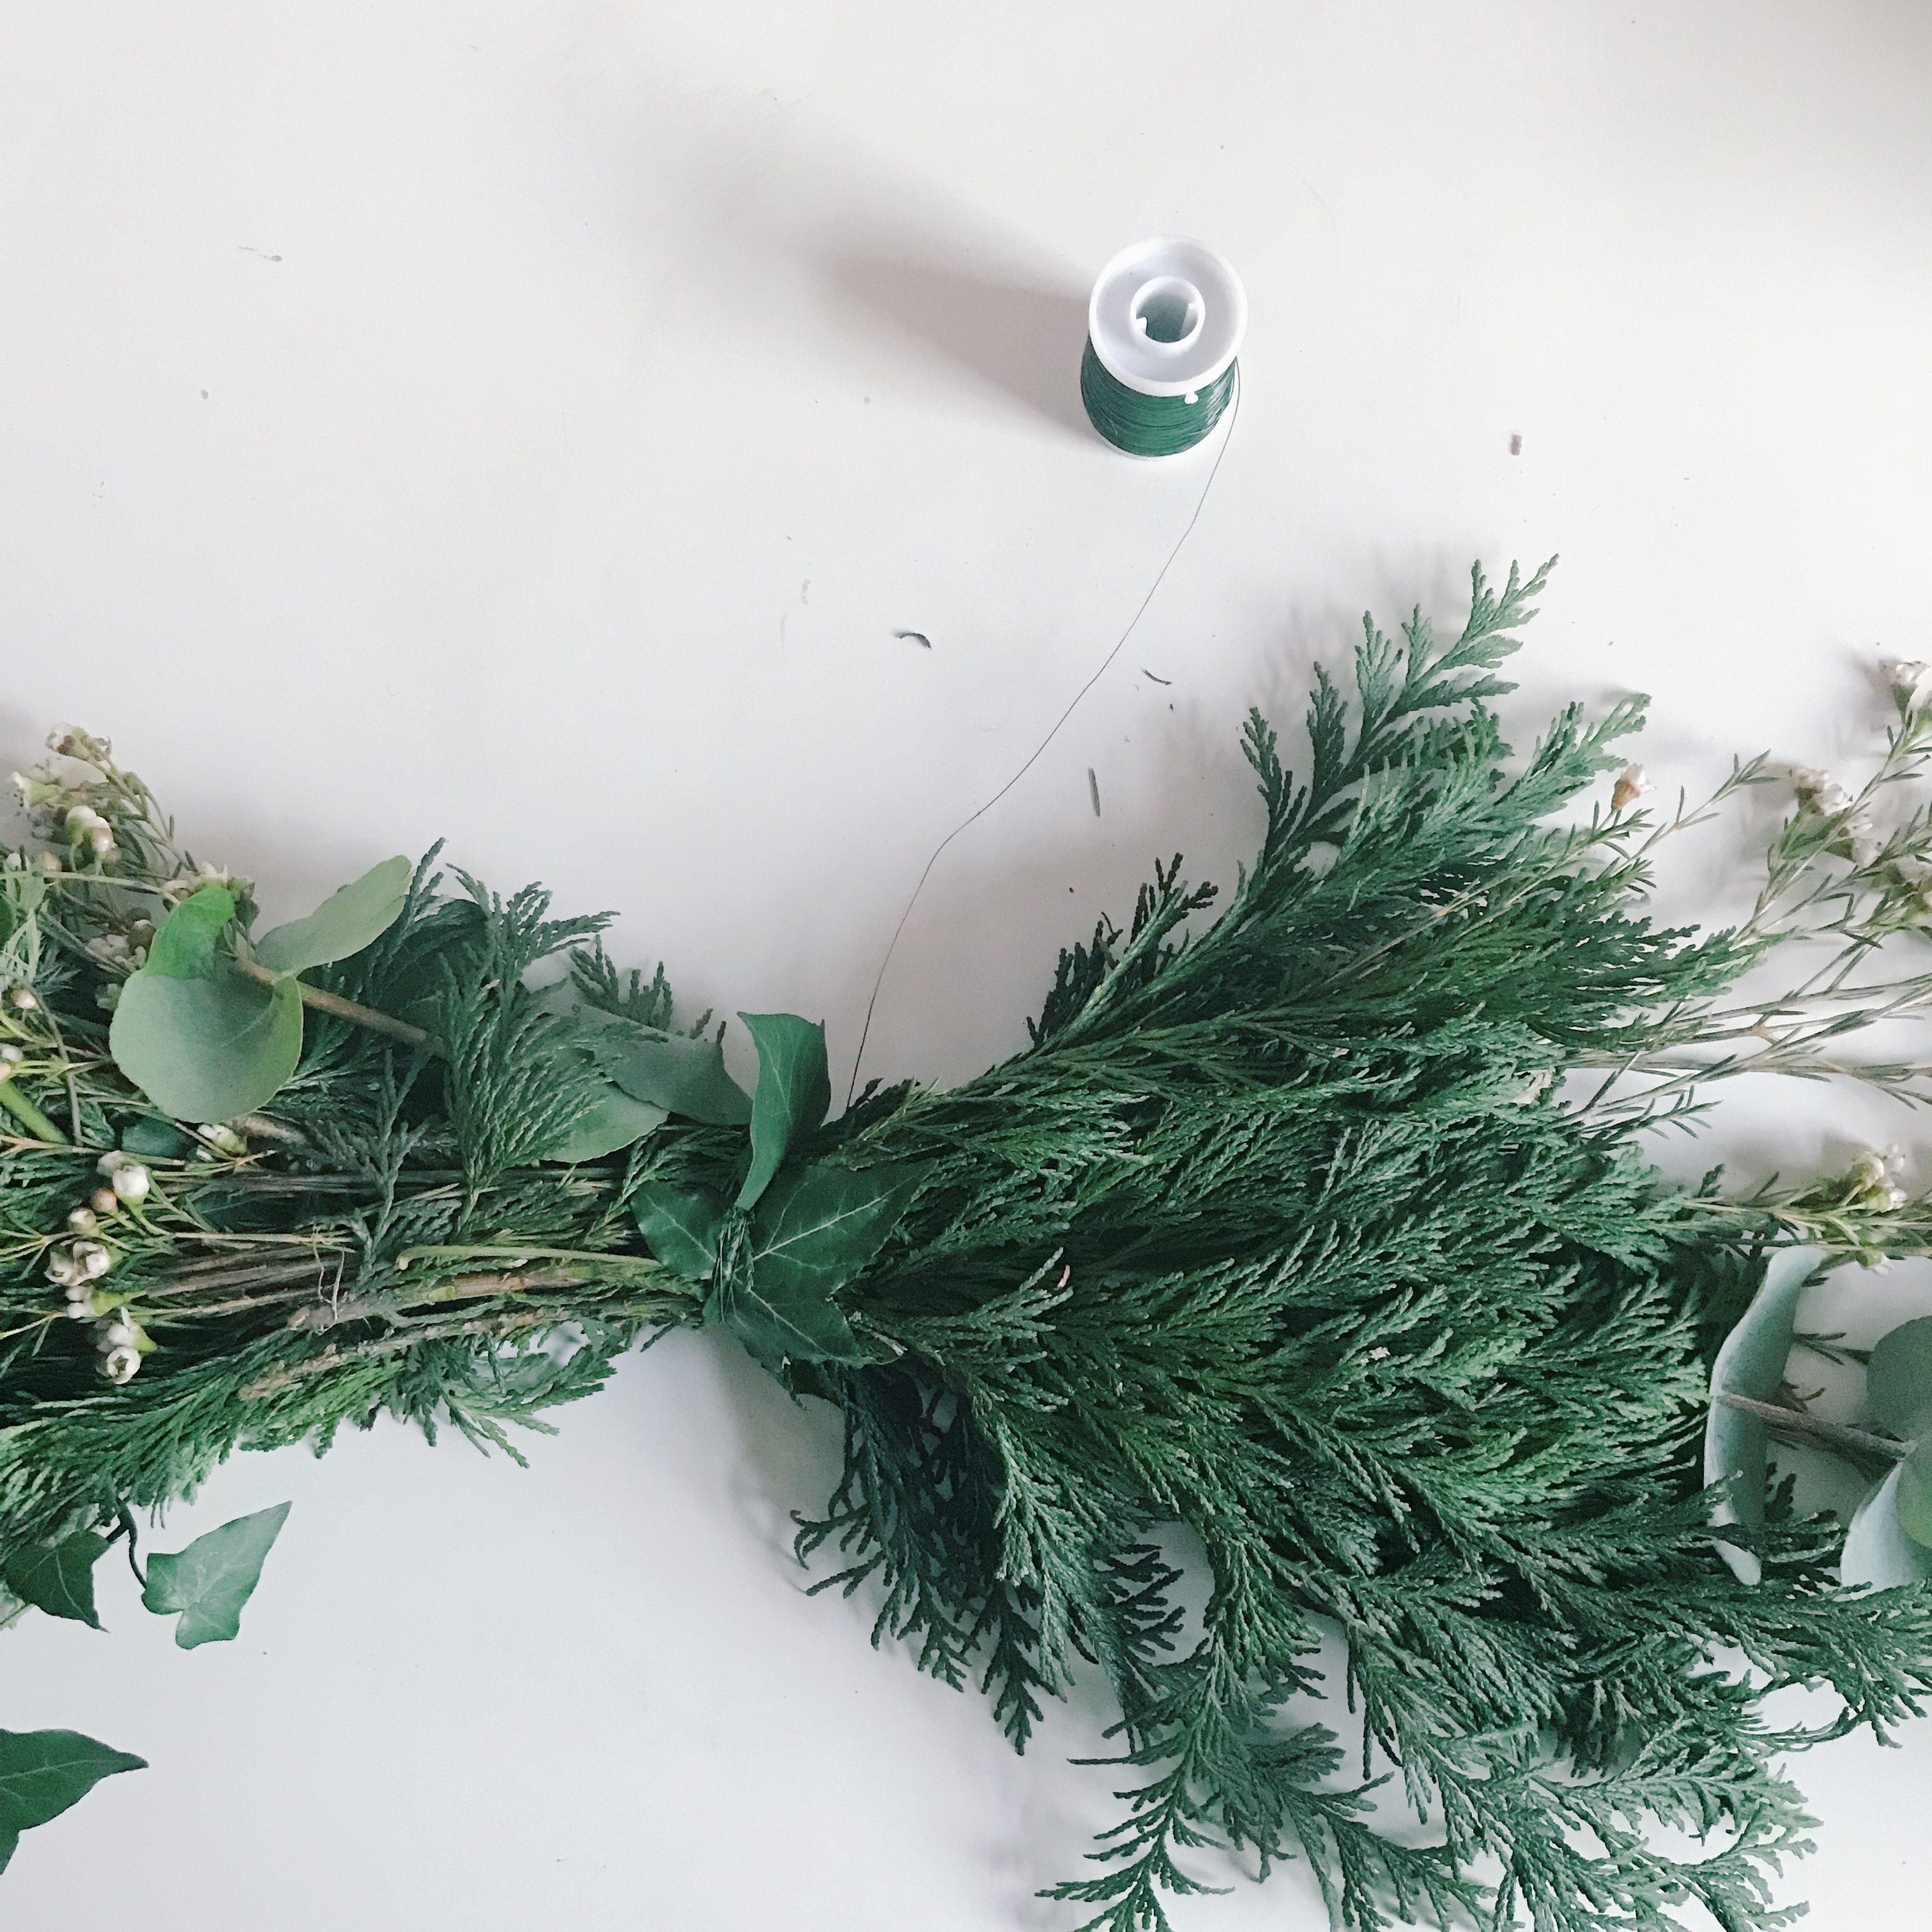
Continue on to the end of the string and allow some long pieces for an overhang if you want to achieve that look. Tie off your wire and fasten well at the back of the garland. Then, go back to the middle and we'll deal with this in the next step!
Tidy and hang
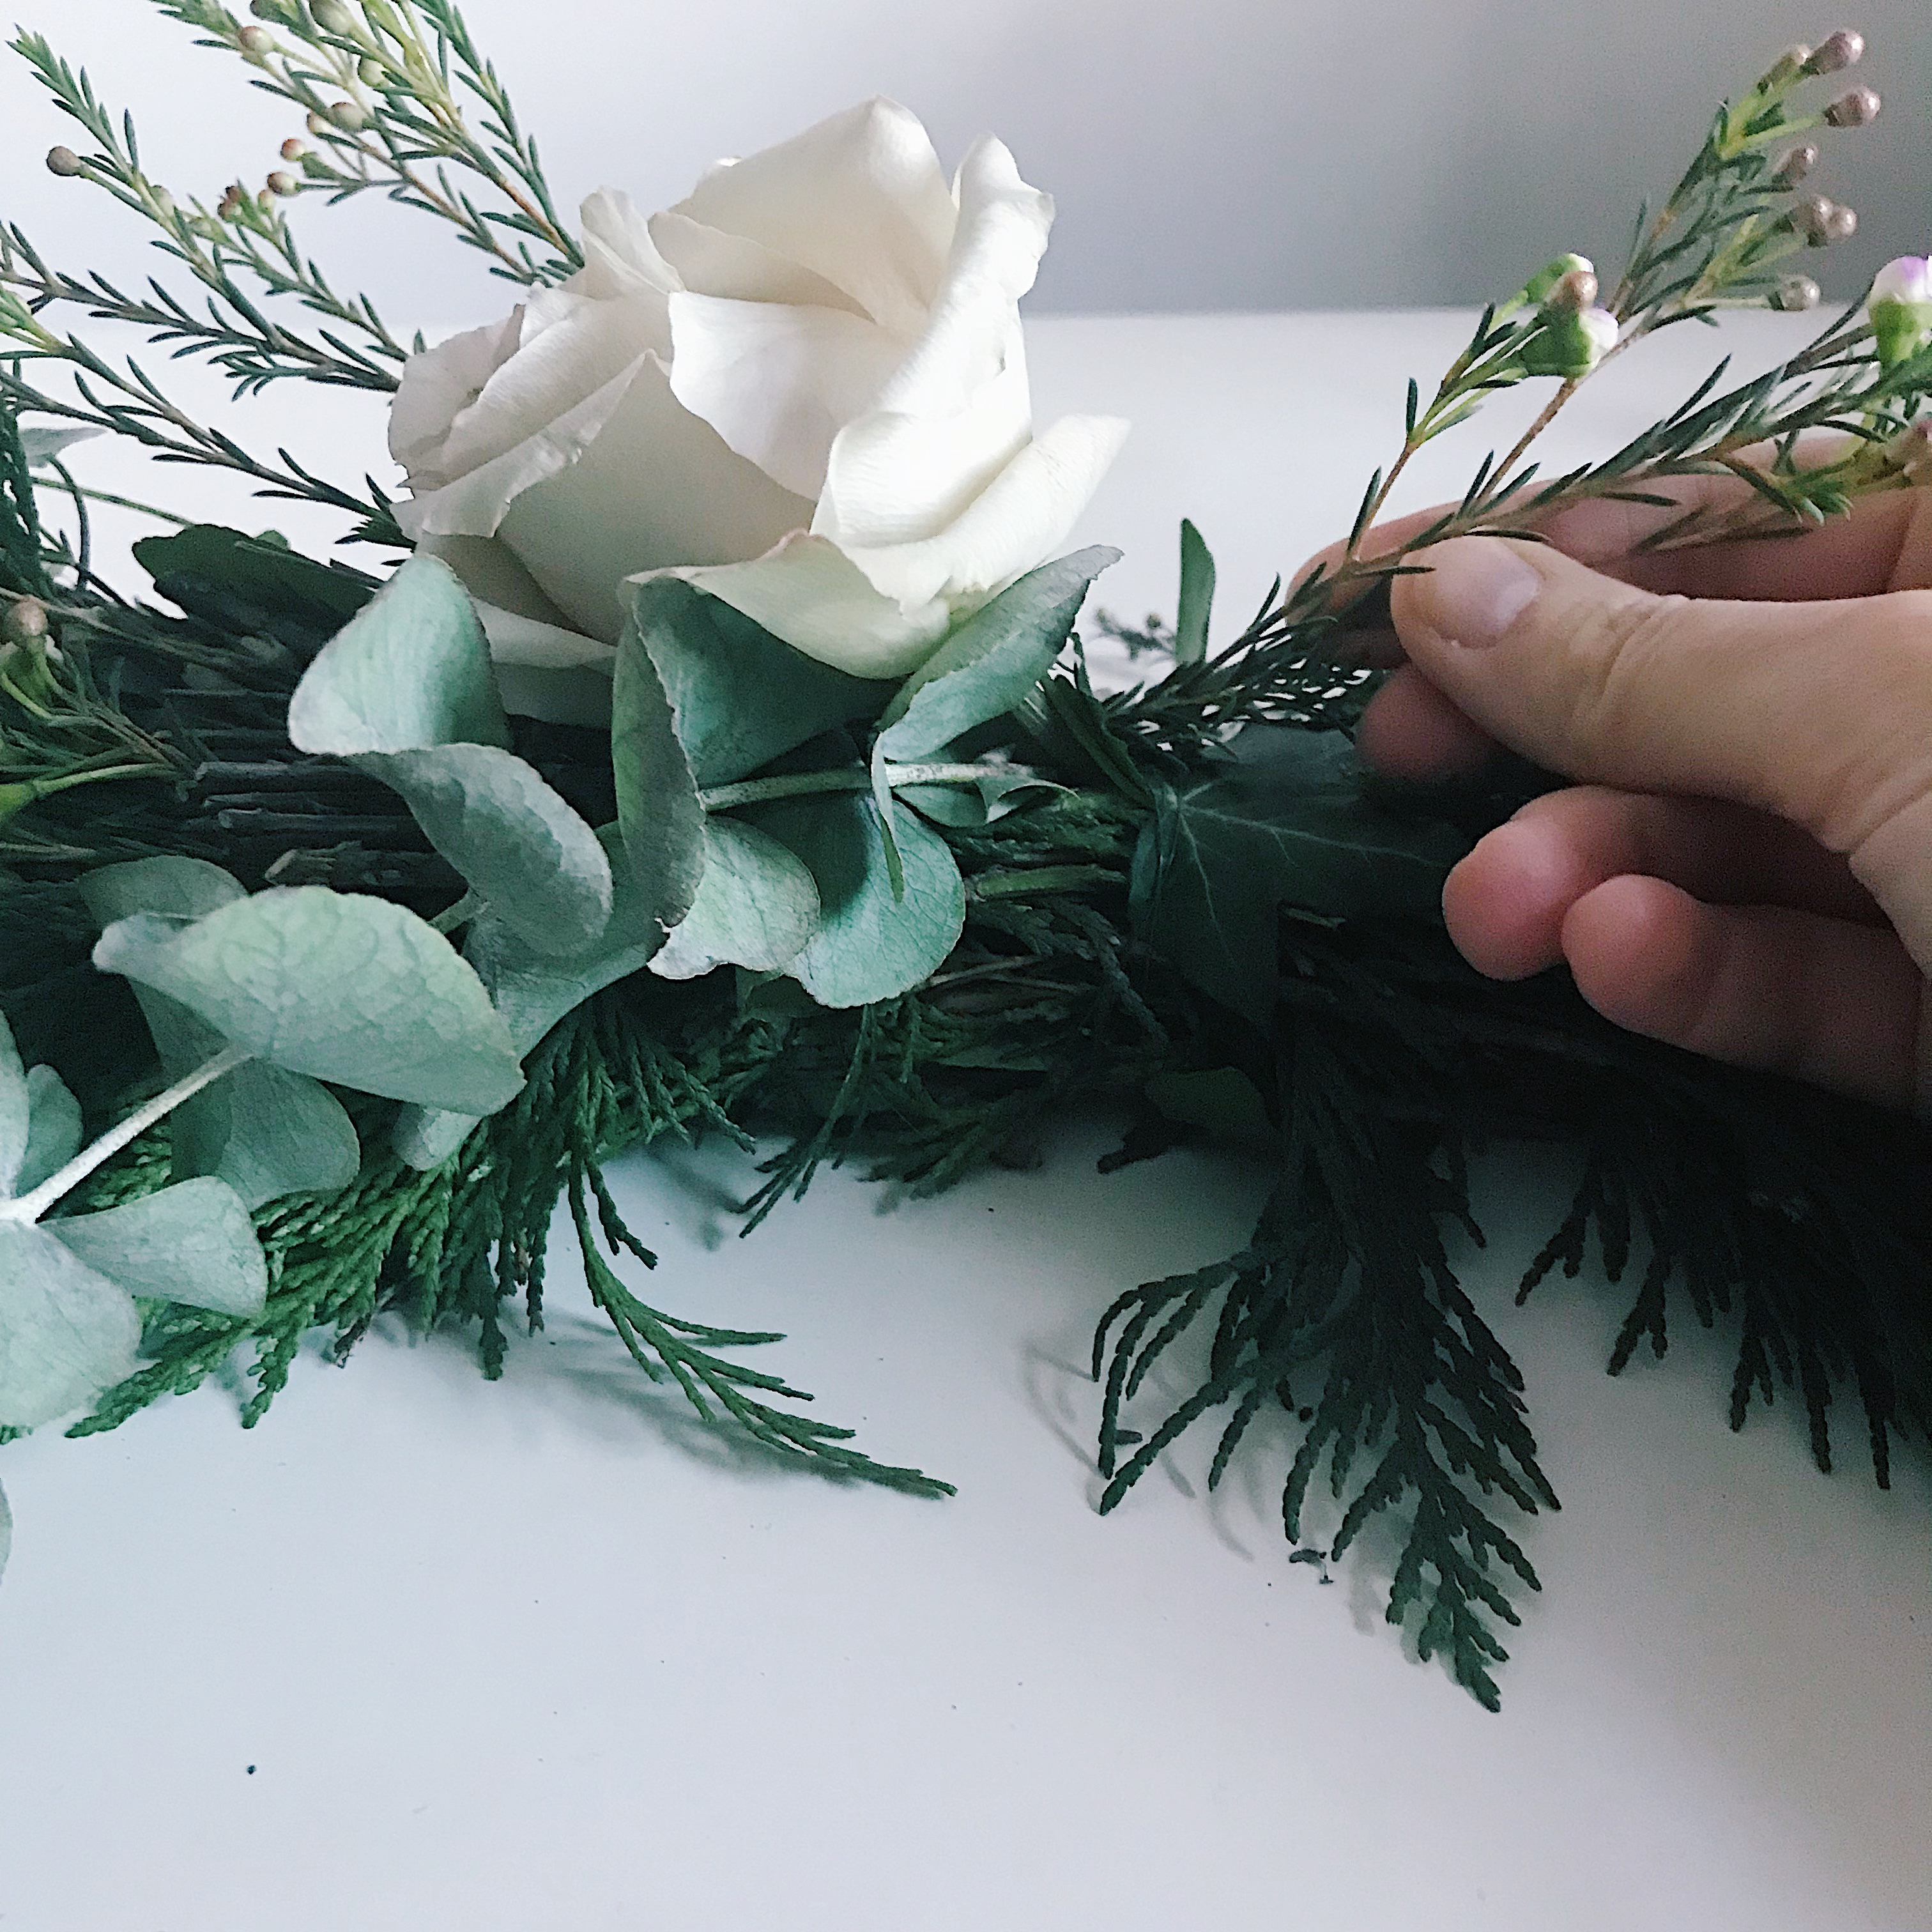
It’s likely that your middle will look like step six — don't panic — cut some stems shorter and poke them into the attached stems like shown here. You can use large ivy leaves, or a flower head to cover up the join and no one will ever know.
Then, place your beautiful handmade Christmas garland along the top of your mantle and enjoy your handiwork!
FAQs
How do you decorate a Christmas garland?
As we mentioned above, there are several ways you can decorate a Christmas garland. As well as the traditional elements of dried fruits and cinnamon sticks, you can also use baubles, bows, and Christmas fairy lights. If using the latter, opt for battery-operated designs as they can easily be woven in and around the garland and the battery pack hidden amongst the greenery. Be as bold or as subtle as you like!
Where can I use my Christmas garland?
Not only can you place your Christmas garland on a mantel, it will also work down the middle of a table as a Christmas centerpiece. It can be woven around your staircase handrail – fasten it with string to keep it in place, or hang in a swag from your mantel instead of on top of it.
Complement your DIY with the best garlands from your favorite stores this year too. We've got a whole round-up on where to buy Christmas decor in 2023.

Sophie has been an interior stylist and journalist for over 22 years and has worked for many of the main interior magazines during that time both in-house and as a freelancer. On the side, as well as being the News Editor of indie magazine, 91, Sophie trained to be a florist in 2019 and launched The Prettiest Posy where she curates beautiful flowers for the modern bride.
- Christina ChrysostomouFormer acting head ecommerce editor