How to dry orange slices for Christmas wreaths, cocktails and more!
DIY your own dried orange slices this weekend and add a little Christmas wonder to your home. Fun, easy and guaranteed Christmas vibes


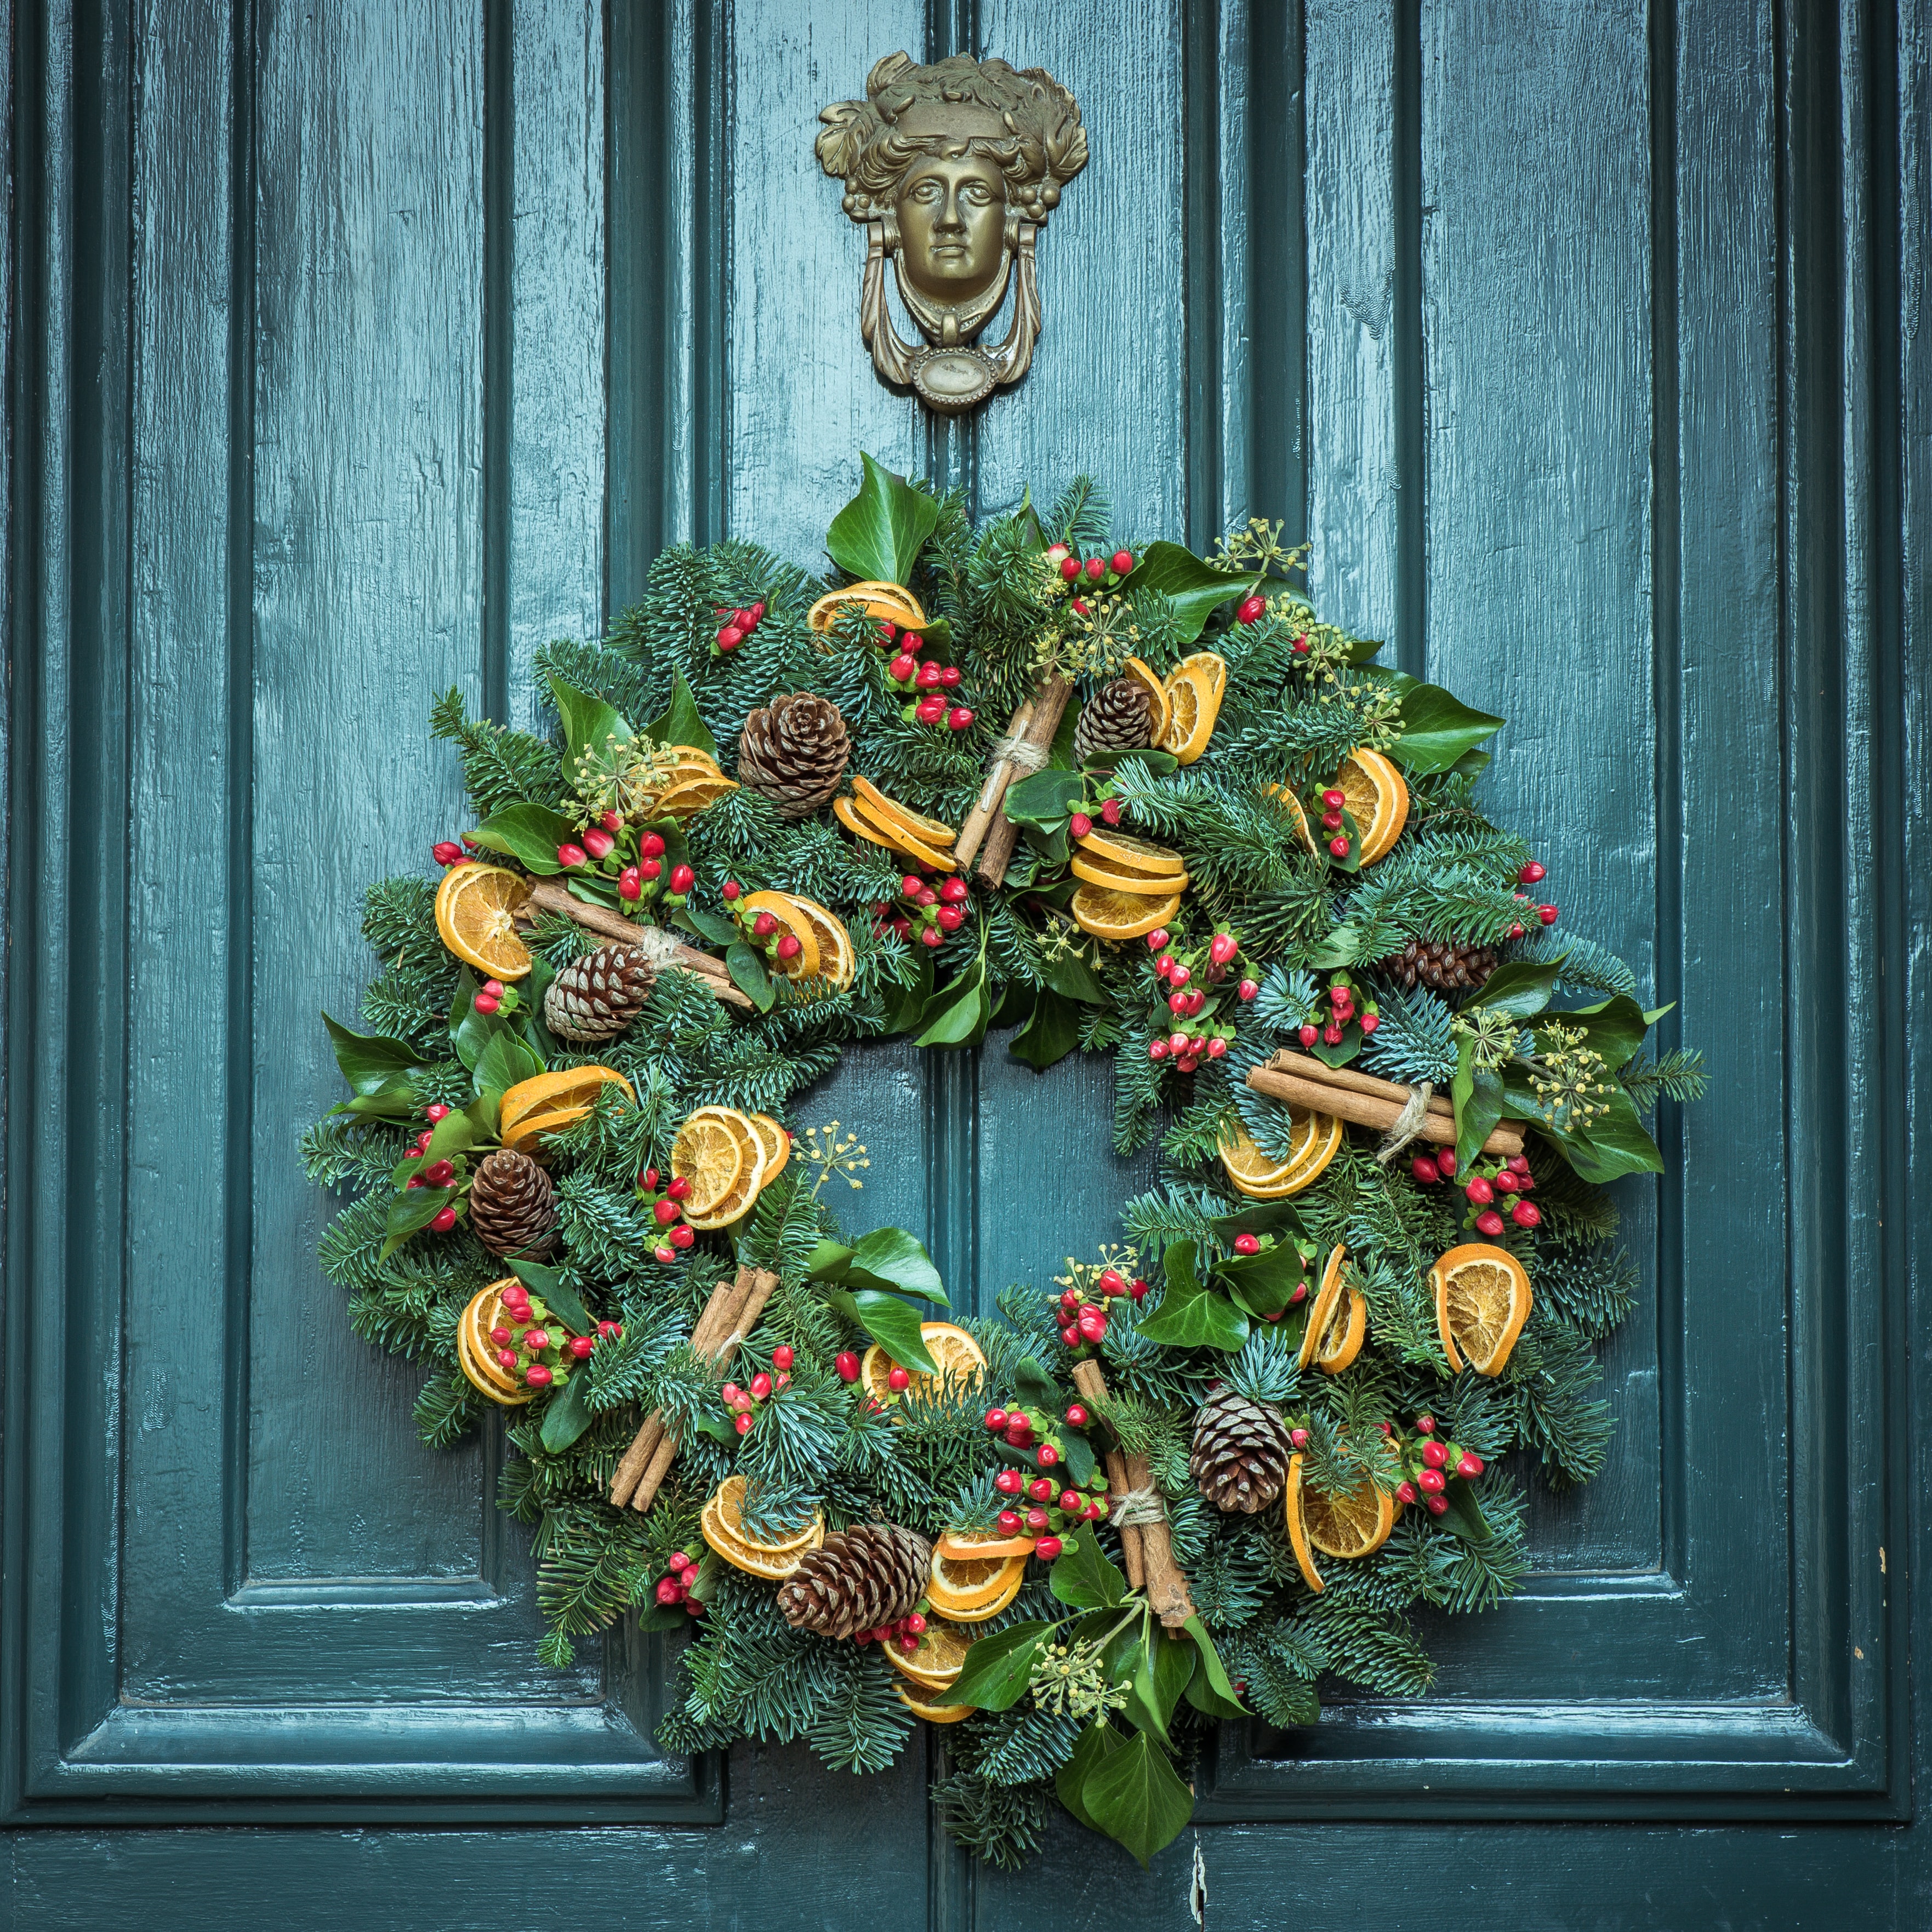
Dried oranges adorn our homes at Christmastime. Whether they are hanging beautifully from your Christmas tree, on your Christmas pudding, in a cup of mulled wine or in a DIY Christmas wreath, they are so festive looking, they can fragrance a room wonderfully (especially when you're the one drying them out!) and they are so versatile.
If you've been buying dried oranges until now, that's okay, but knowing how to dry orange slices yourself opens up a world of Christmas decorating opportunity...
It's an easy craft to do at home and while drying the oranges out is best reserved to adults, decorating the dried orange slices when ready, is something that kids, and the whole family in fact, can definitely get involved with. And the will love it.
As well as including a basic dried orange method for decor, we've also included a quick how-to make dried oranges for decorating your cocktails and cakes with also. This only needs a few more store cupboard essentials, and all you need to get started otherwise is a couple of oranges, and an oven!

How to dry orange slices in the oven
Using the oven is the easiest way to dry oranges out, but the trick, is to dry them out slowly! Not only are they super sticky, but also they can burn if there is a mismatch in oven temperature, and the thickness of your orange slices.
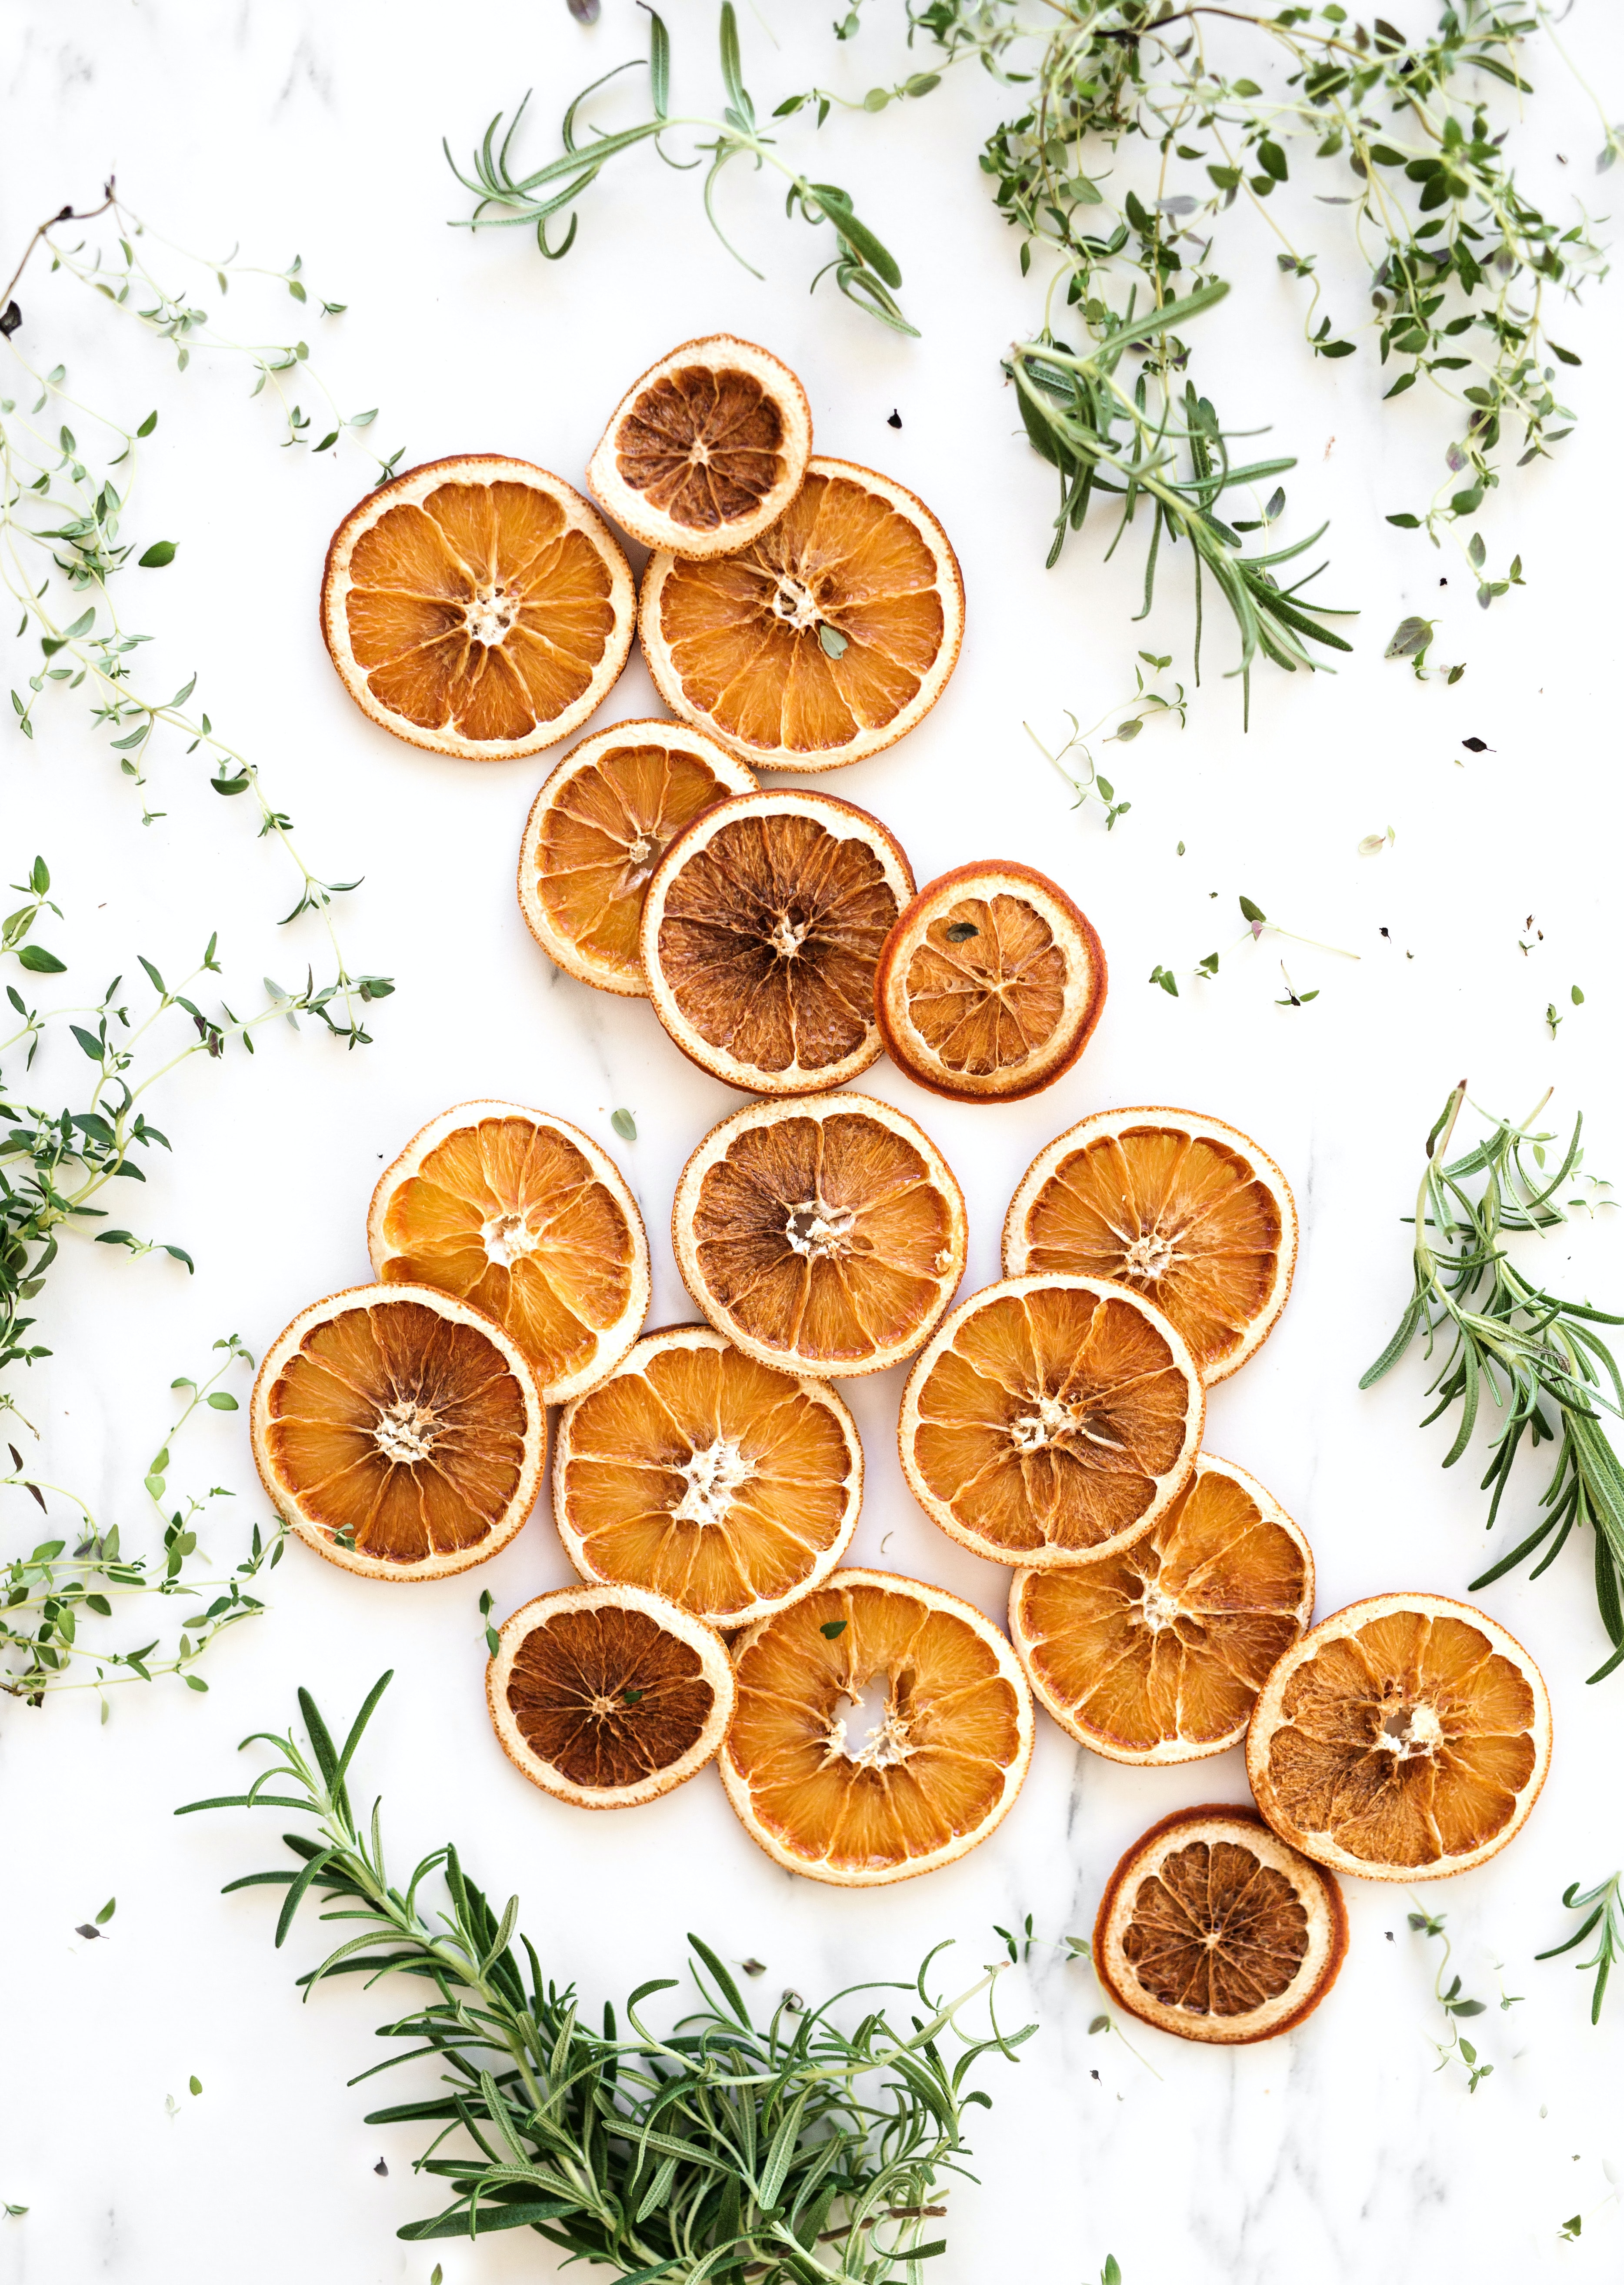
So, we recommend using the lowest setting on your oven, about 90C/200F, if you wish to make thinner slices (about 0.5cm thick), baking them for 2-3 hours, flipping halfway through (as per second edible dried orange method).
If you want to make thicker slices, perhaps your decorating idea is more elaborate, then make them about 1cm thick but bake them a little higher at 120C/250F for 2-3 hours, flipping halfway through (as per first method below ).
Get small space home decor ideas, celeb inspiration, DIY tips and more, straight to your inbox!
Make this one of your go-to DIY Christmas decoration ideas this year and you're guaranteed to feel merry and bright!
You will need:
- A couple of oranges
- A baking tray and sharp knife for cutting
- Ribbon, paint, cloves and more to decorate!

Method:
1. Preheat your oven to about 120C/250F
2. Carefully slice your oranges into about 1cm thick slices
3. Spread these out evenly on a baking tray
Note: They will get sticky!
4. Bake them for 2-3 hours turning a few times throughout cooking as this helps with the stickiness!
5. Let them cool and decorate as you wish!
How to make dried orange slices for cocktails
Dried orange slices decorate all types of festive Christmas cocktails and they are a super simple way to make everything a little more Christmassy.
Whether you put one on your Christmas pudding for show, or add it to warm cup of mulled wine, there are a staple decorating aid during the holiday season!
The main difference between making dried orange slices for Christmas decoration, and to make them for food and drink decor, is that you'll want to sweeten them up a little, and of course, you won't be painting them gold – unless it's edible!
For a couple of trays worth you will need:
- Two oranges (blood oranges look particularly lovely)
- 30g/1/4 cup granulated sugar of choice
- A dash of cinnamon, ginger and nutmeg (to taste)
- A little sea salt

To make the edible dried oranges:
1. Preheat the. oven to the lowest setting, around 90C/200F.
2. Slice your oranges more thinly, so about 0.5cm thick.
3. Add them to a baking tray or rack and sprinkle evenly with half the additional spices and sugar.
4. Bake them for 2-3 hours but check on them to see they are not burning especially if very thin. Halfway through cooking time, flip. them over and sprinkle on the rest of the sugar and spice mixture. Then return to the oven for the rest of the cooking time.
5. Remove them, let them cool and store them in a Ziplo bag until you want to use them!

I'm Cam, the former deputy editor of Real Homes who worked on the site from 2020 to 2023. As a renter myself, sharing a home with two friends (and my cat) in London, I know all too well the challenges that this can pose when it comes to creating your perfect setup. As someone who has always loved everything interior design-related, I cannot rest until a home feels right and I am really passionate about helping others get there too, no matter what their living situation, style, or budget may be. It’s not always the easiest to figure out, but the journey is fun and the results are so worth it.
After interior design, travel, art, and photography are my next big passions. When I’m not writing or editing homes content, I’m usually tapping into other creative outlets, exploring galleries in London or further afield, taking photos, scribbling, or drawing!