How to restore and clean encaustic floor tiles
Discover how to restore and clean encaustic floor tiles in Victorian and Edwardian hallways with this step-by-step guide
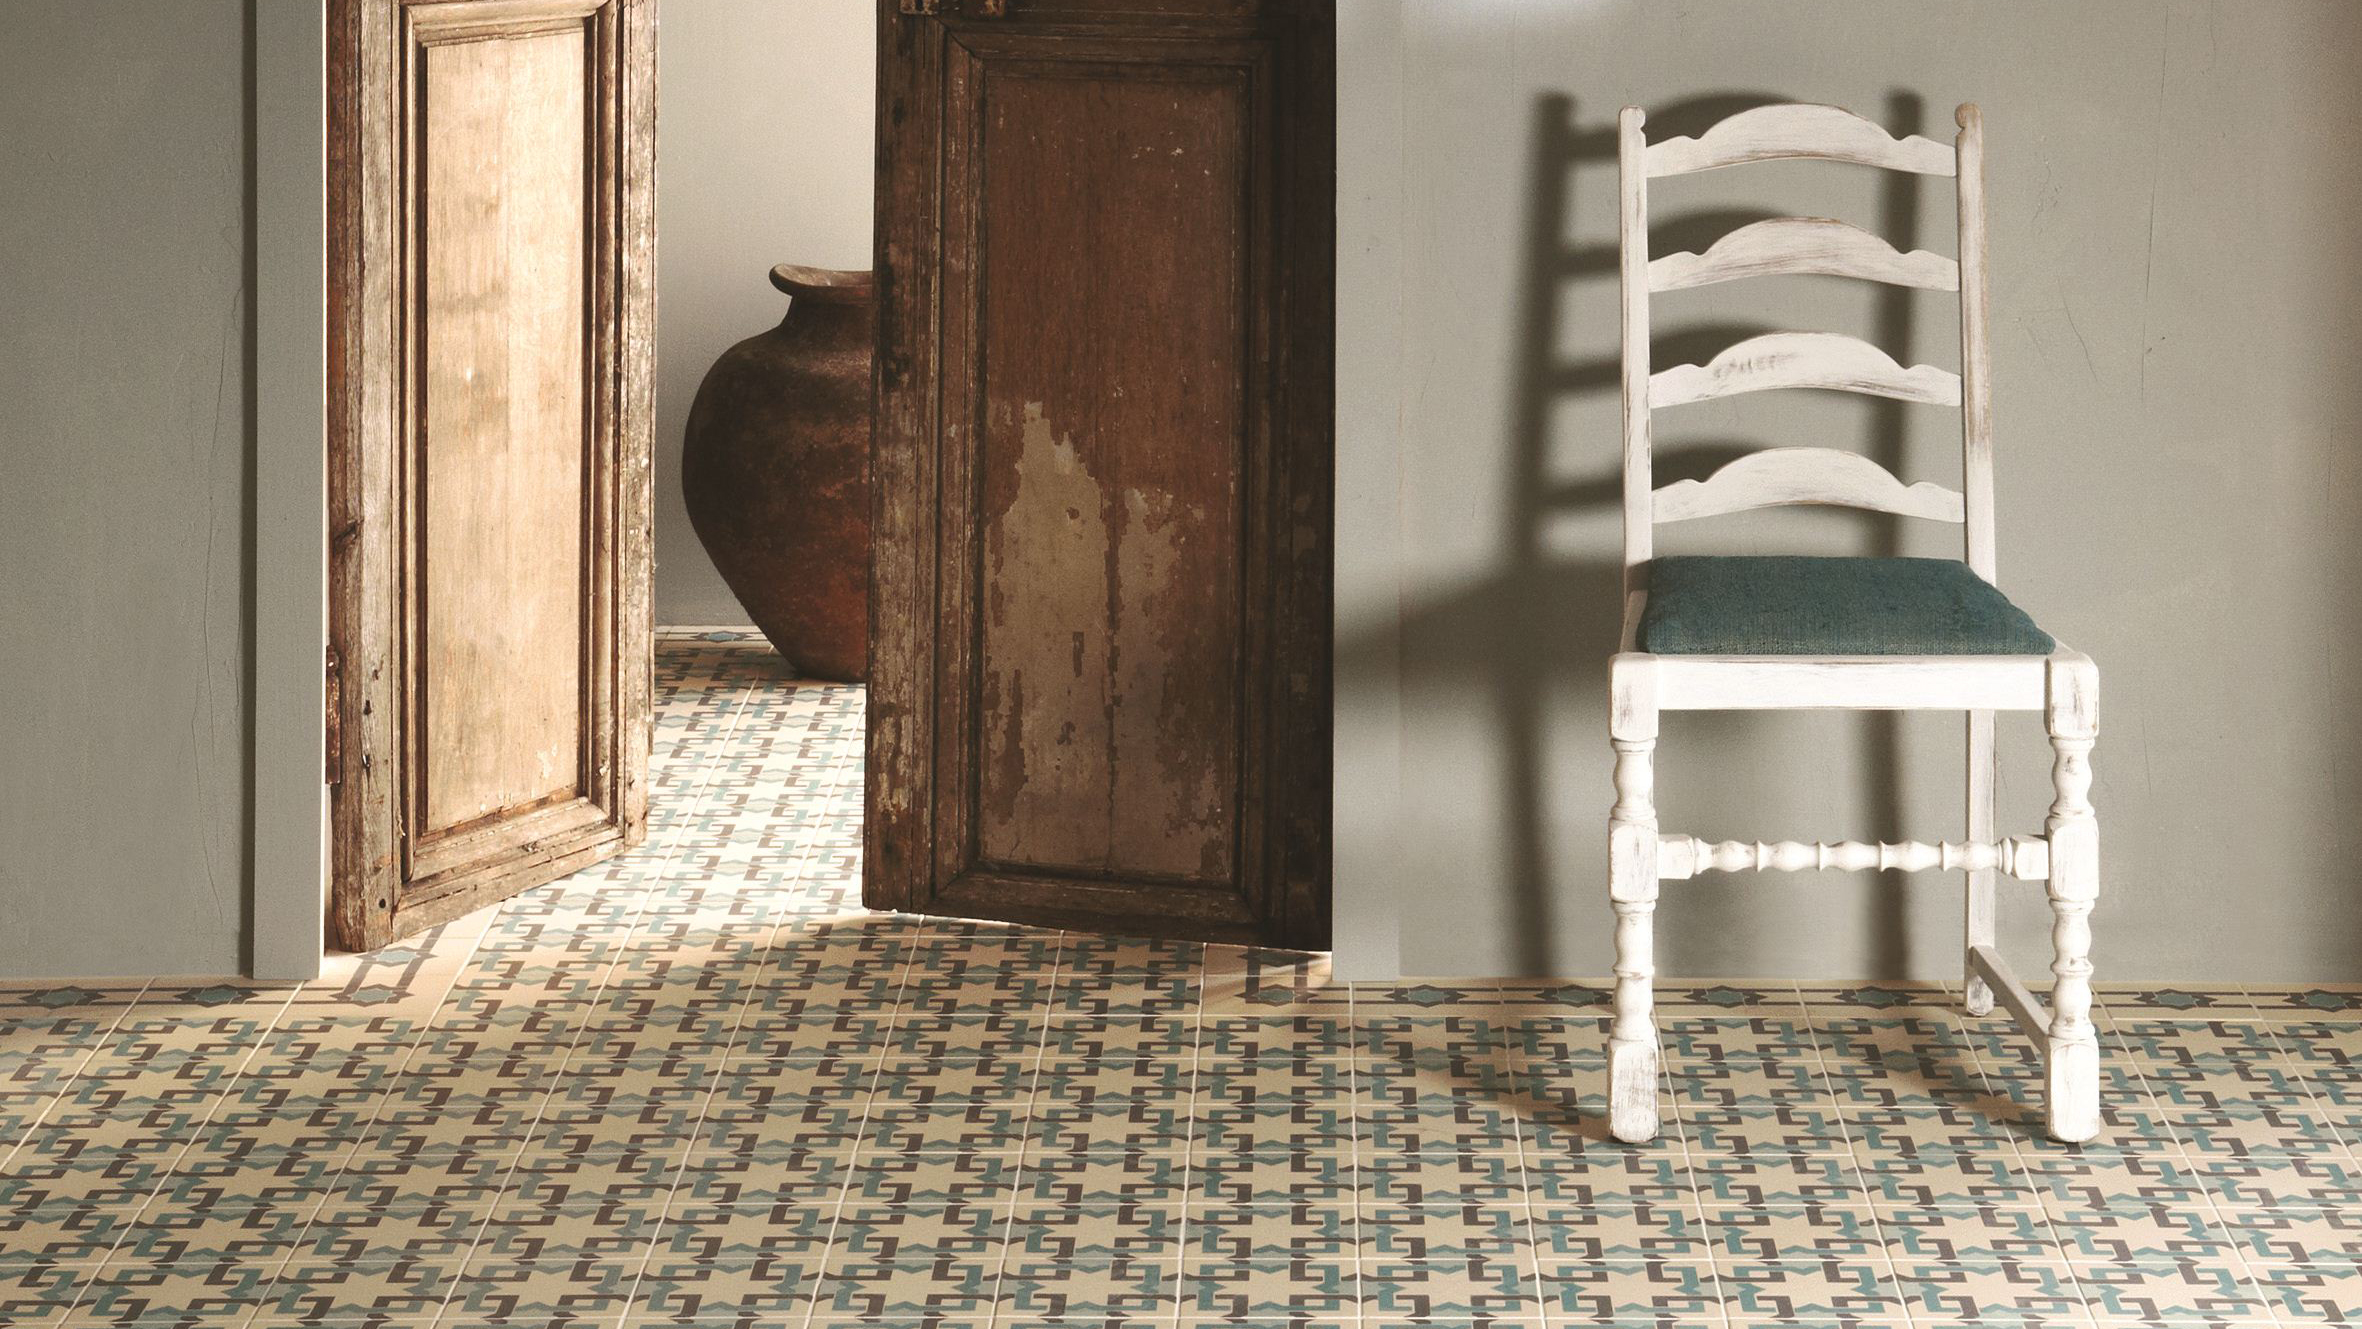
Knowing how to restore and clean encaustic floor tiles is key to keeping a Victorian or Edwardian hallway in top condition.
Encaustic tiles originally referred to patterned, unglazed ceramic floor tiles where the colours came from the natural colours of the clay used, with the colour running all through the tile. The plain tiles in various colours are properly called geometric tiles.
Later versions of encaustic-style tiles are made from a cement mixed with pigment and poured into a mould. Both have the characteristic matt, non-slippery finish that you see in Victorian and Edwardian hallways.
Original encaustic and encaustic-style cement tiles are hardwearing, but they do need some maintenance every once in a while to keep the clean and crack free.
Whether you're in the process of designing a hallway, have noticed the odd loose tile that needs some attention, or simply want advice on maintaining and cleaning your hallway flooring, find the answers in this step-by-step guide.
You can see more cleaning tips, advice and hacks on our hub page. Find out how to restore a Victorian house with our comprehensive guide.
Spotting damage to Victorian tiled floors
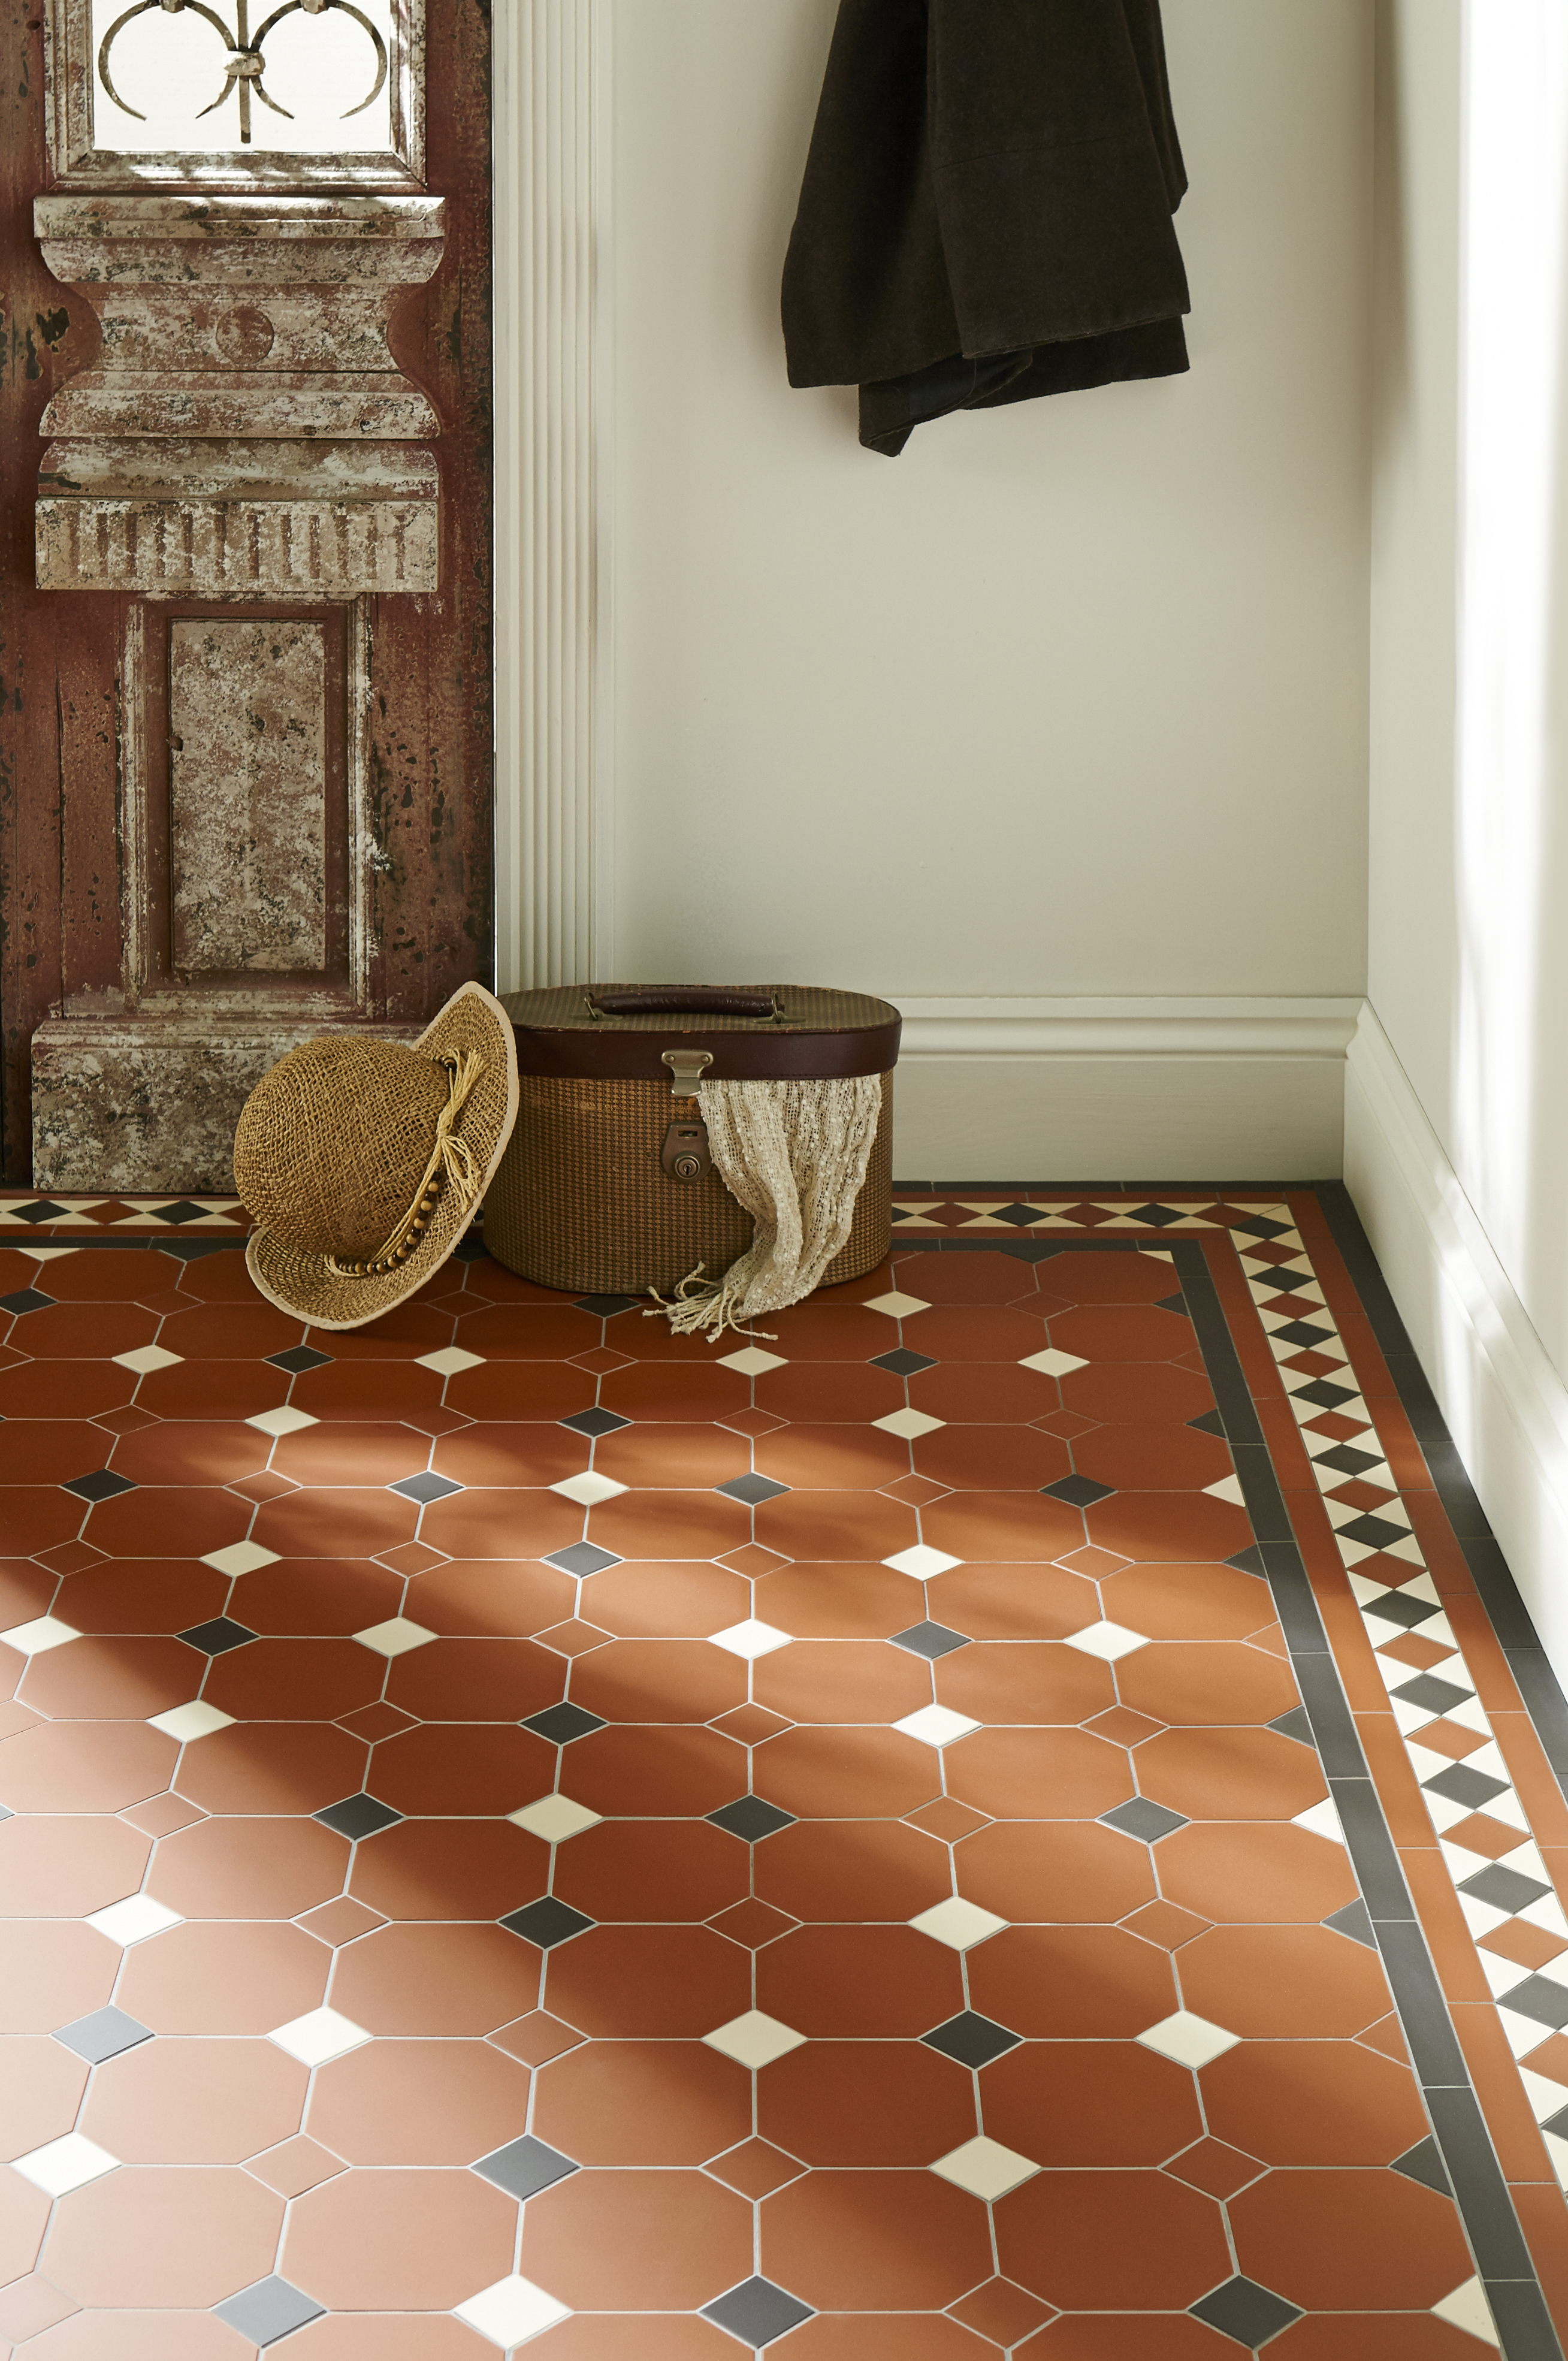
This reproduction encaustic-style floor is by Original Style
Traditionally, encaustic tile schemes were laid without grouting, butted hard against each other on a bedding layer.
Get small space home decor ideas, celeb inspiration, DIY tips and more, straight to your inbox!
Although hard and durable, the fired clay used to form the tiles is brittle and will suffer through impact and they can become loose or chipped. Over time, dirt and grit can also become ground down between the tiles.
It's important to deal with the problems as soon as they occur, as the tiles hold each other together and even a single missing element can cause major long-term damage.
Problems to look out for include:
- Loose tiles
- Cracked, crumbling or missing tiles
- Areas of unevenness
- Bounce in the floor
- Dampness
- Ingrained dirt and paint
- Have grouting elsewhere? This is how to clean grout properly.
Should I restore a Victorian tiled floor myself?
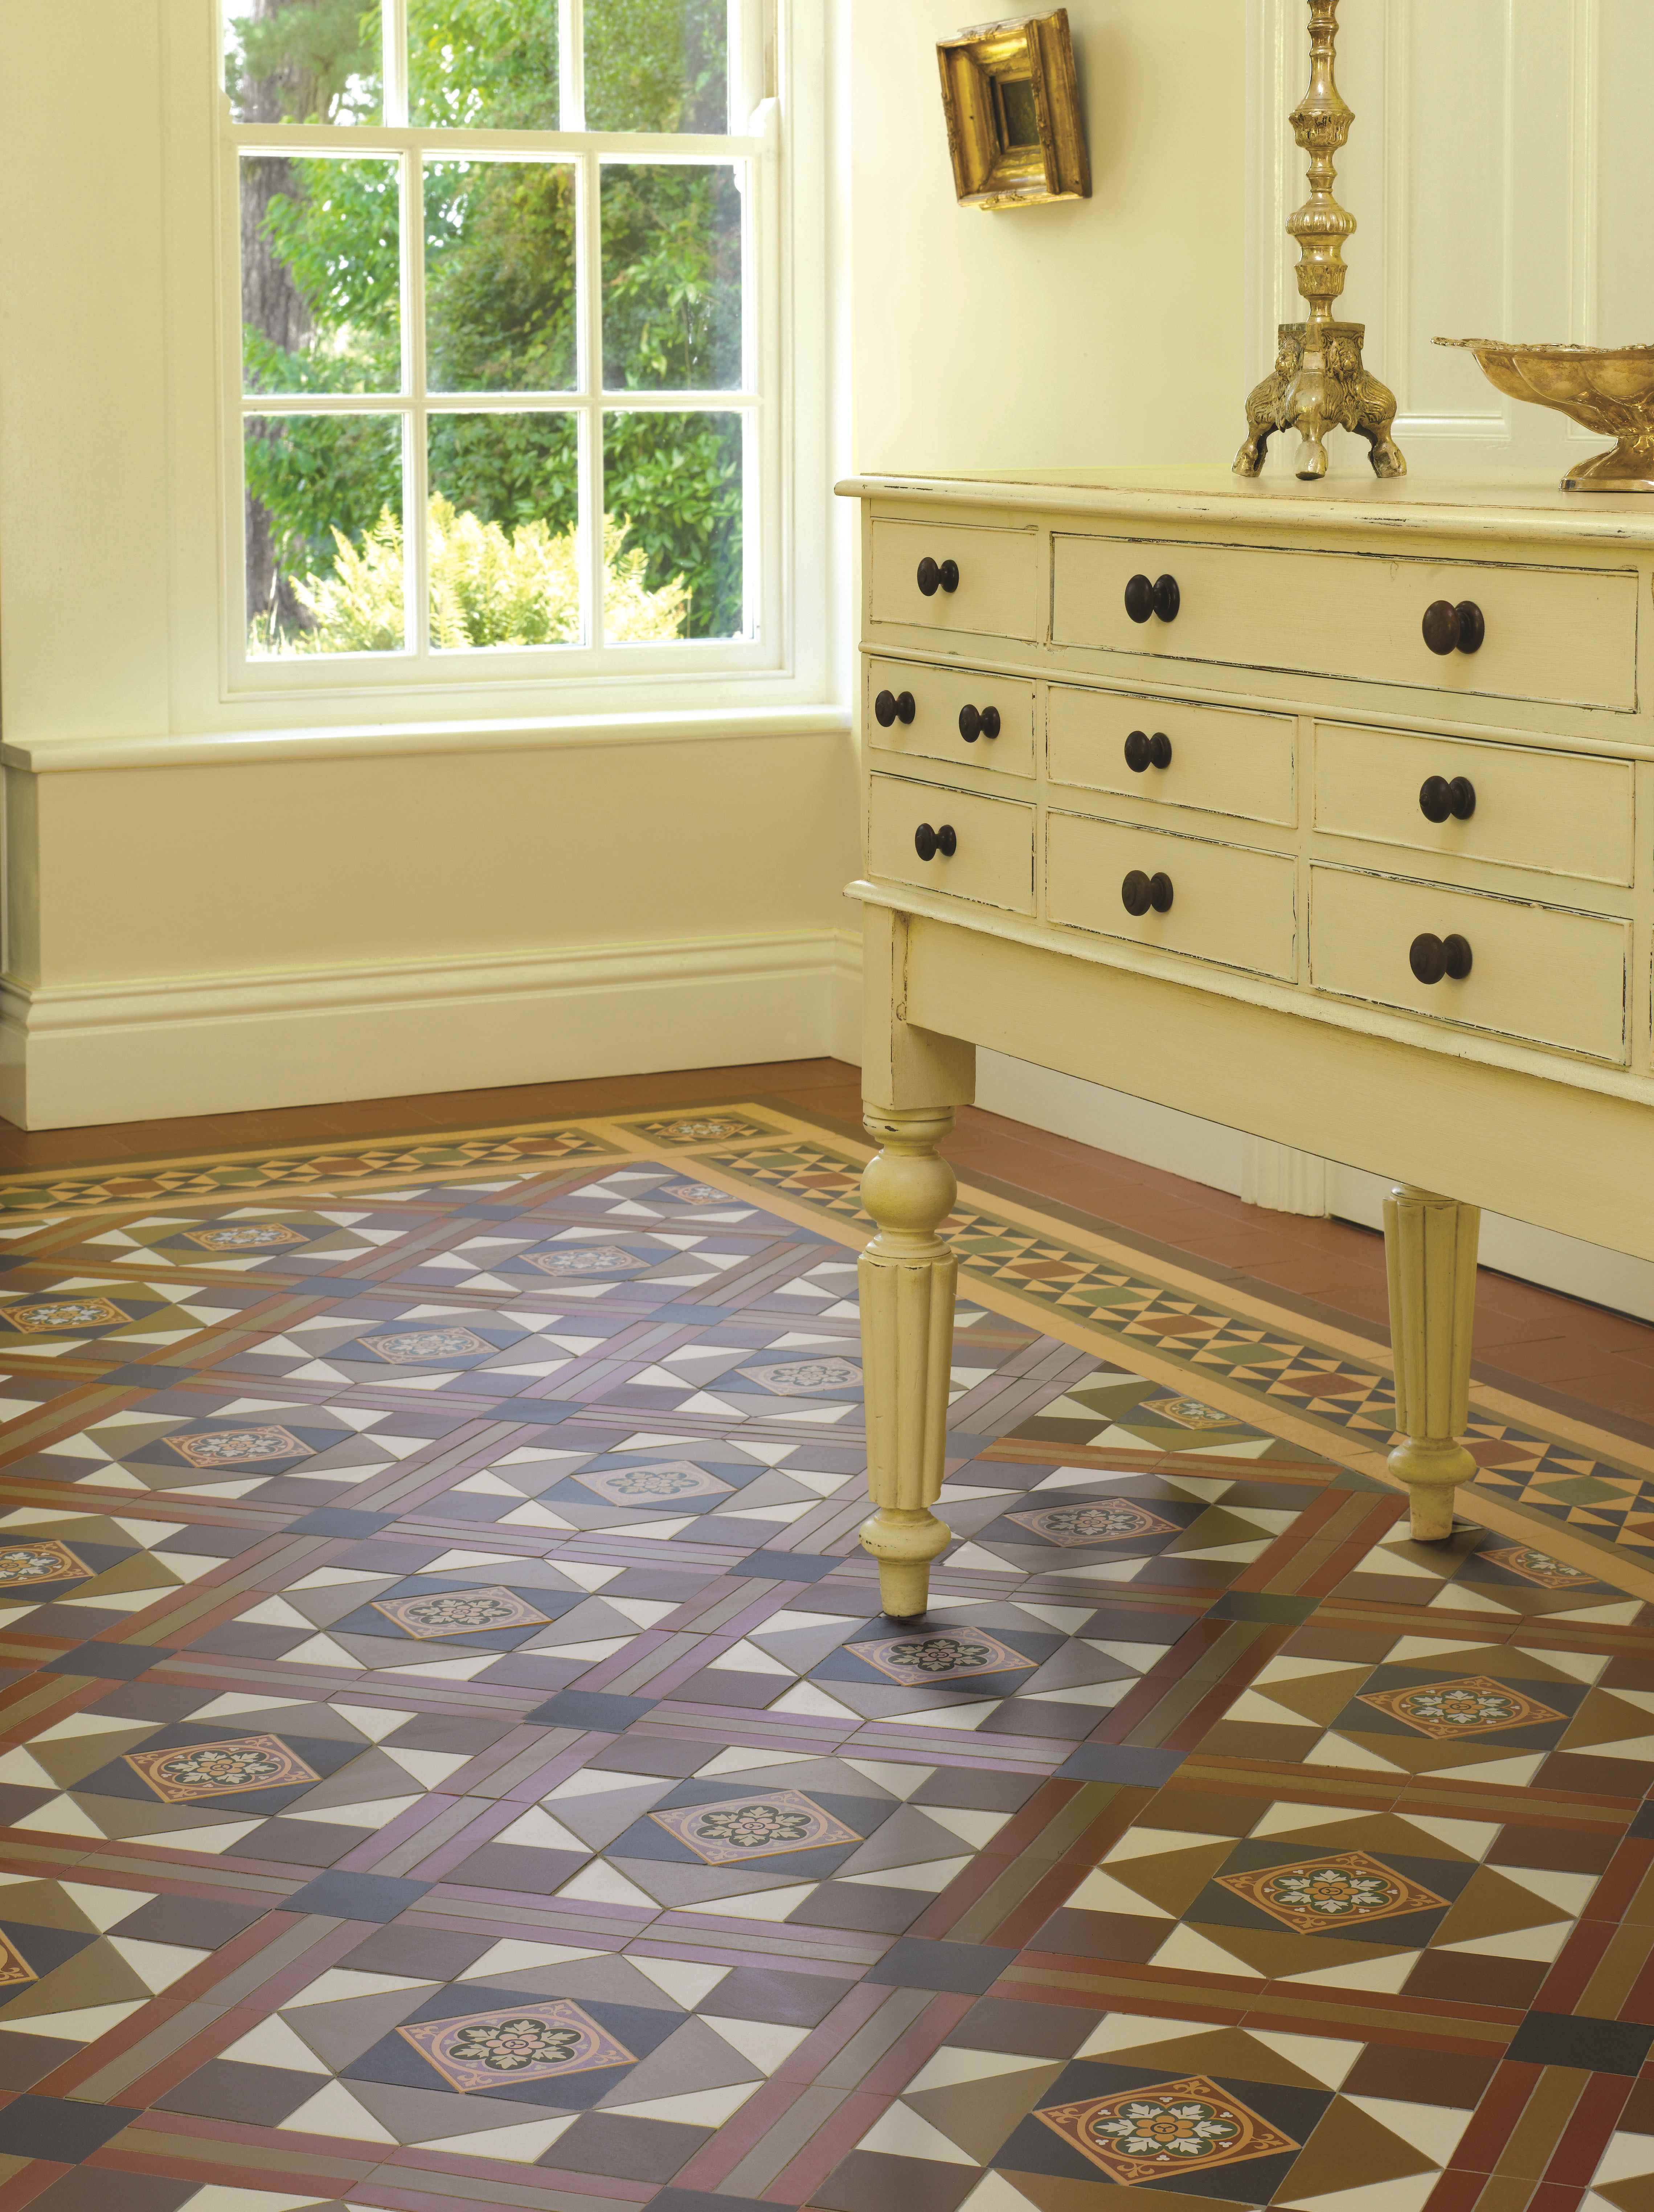
Victorian-inspired floor tiles by Original Style
Over time and as a result of underlying movement and heavy footfall, it's not uncommon for tiles to crack, become loose or go missing. While you can often repair original tiled floors on a DIY basis, if yours is in very poor condition we would advise seeking specialist advice, such as from the Tiles & Architectural Ceramics Society.
More from Period Living

Period Living is the UK's best-selling period homes magazine. Get inspiration, ideas and advice straight to your door every month with a subscription.
When it comes to laying an entire tiled floor, it's important to remember that a concrete floor beneath may need screeding to level it, while a wooden floor will probably require lining with marine ply to strengthen it.
Equally, if you're working with unglazed tiles – which can be porous and need to be handled with care to avoid staining – it is a skilled job, is definitely worth considering a professional tile fitter.
If there isn’t rot, subsidence or another problem in your sub-floor, you can restore old hallway floor tiles yourself by carefully removing the loose or damaged tiles (see below) and replacing them with intact originals, salvaged buys or new tiles cut to match.
If you need advice on choosing floor tiles, or are looking to source replacement geometric and encaustic tiles in authentic period patterns, try specialists such as Original Features or London Mosaic. And consult our advice on how to choose ceramic and porcelain floor tiles.
Where tiles are missing, take an existing tile, or alternatively a photograph, along with the dimensions, and always check sizes and exact colours before purchasing.
Before relaying any floor tiles first:
- Loosely lay out the tiles to check the pattern and sizes before fitting
- Remember that gaps between tiles were generally no more than 2mm
To repair a tiled floor, you will need...
- A brush and/or vacuum cleaner
- Mild conservation grade detergent such as Vulpex Spirit Soap or Synperonic A7
- Soft cotton cloths
- PVA adhesive
- Milliput epoxy putty
- Paint scraper, plastic scraper or plastic pan scourer
- Scrubbing brush
- Mop
- Floor cleaner
- Liberon Liquid Beeswax, if it is required
1. Carefully remove any loose tiles
In many cases older floor tiles will have been laid by being butted up hard against each other and it can be difficult to prise them out without risking damage to the edges. So start by running a hacksaw blade or paint scraper around the tile to loosen it further, and gently ease it out.
Tip: If a large patch is in need of repair, mark each tile and use a photo or drawing to ensure each is returned to its proper place.
2. Clean up the area before getting started
Use a bristle brush or vacuum cleaner to remove dirt and grit beneath the loose tile. With a damp cloth, thoroughly clean the bed and back of tile. If the bedding has crumbled you will need to re-bed the tile in adhesive. Remove some of the old bedding evenly and apply tile adhesive to back of tile. In order to provide a good base for the adhesive, remove at least 6mm of the old bedding.
3. Re-affix the loose tile using glue
Dampen the floor bed and back of the tile. Prime both with one part PVA diluted with five parts water. Allow this layer to dry. Next, apply neat PVA to the floor bed and back of the tile and firmly press back into place. Wipe away surplus glue with a damp sponge and place a weight on top. Leave for 24 hours until fully bonded.
4. Repair chips with epoxy putty
Repair small chips with modeller’s epoxy putty Milliput, available in various colours. Clean the chipped area first, then knead and roll equal amounts from both Milliput sticks for six minutes. Press the resulting putty into the chips. Smooth with a wet finger or finely woven moist cloth. Clean tools immediately.
5. Scrape away paint splashes
Dried-on paint splashes can be removed with a scraper. Choose one that keeps the blade at an acute angle to the tile to avoid scratching or gouging it. Alternatively, use a plastic scraper or plastic scouring pad. Do not use metal scourers, wire brushes or steel wool to repair original tiled floors, as they can damage the surfaces.
6. Remove ingrained dirt from tiles
Give the floor a thorough clean with hot water and mild detergent such as conservation grade Vulpex Spirit Soap. Don’t allow water to pool on the surface as it may find its way down between the tiles. Sponge off the surplus as you scrub away. Finally wipe over the tiles with clean water, rinsing the mop frequently.
7. Consider whether you need to apply sealer
You can apply an impregnating sealer to a floor without a damp-proof membrane because an impregnating sealer allows moisture to pass freely through the tiles.
If your floor does not have a damp-proof membrane do not apply another sealer or beeswax coating because the coating will trap moisture in the tiles, causing the coating to bloom (giving a white/opaque finish) or at worst damage the surface of the tiles.
Where a damp-proof membrane is present and you would like to see a slight sheen, apply Liberon Liquid Beeswax sparingly to the tiles using a soft cotton cloth.
8. Buff up floor to a soft sheen
Wait 24 hours for any finish to dry then buff the floor using a cloth or electric polisher. Sweep or vacuum regularly to prevent dirt and grit from being trodden in. Occasionally wipe over with a damp mop, rather than washing, which may allow water to seep underneath. A rubber doormat outside and a coir one inside will help capture dirt.
How to maintain old floor tiles
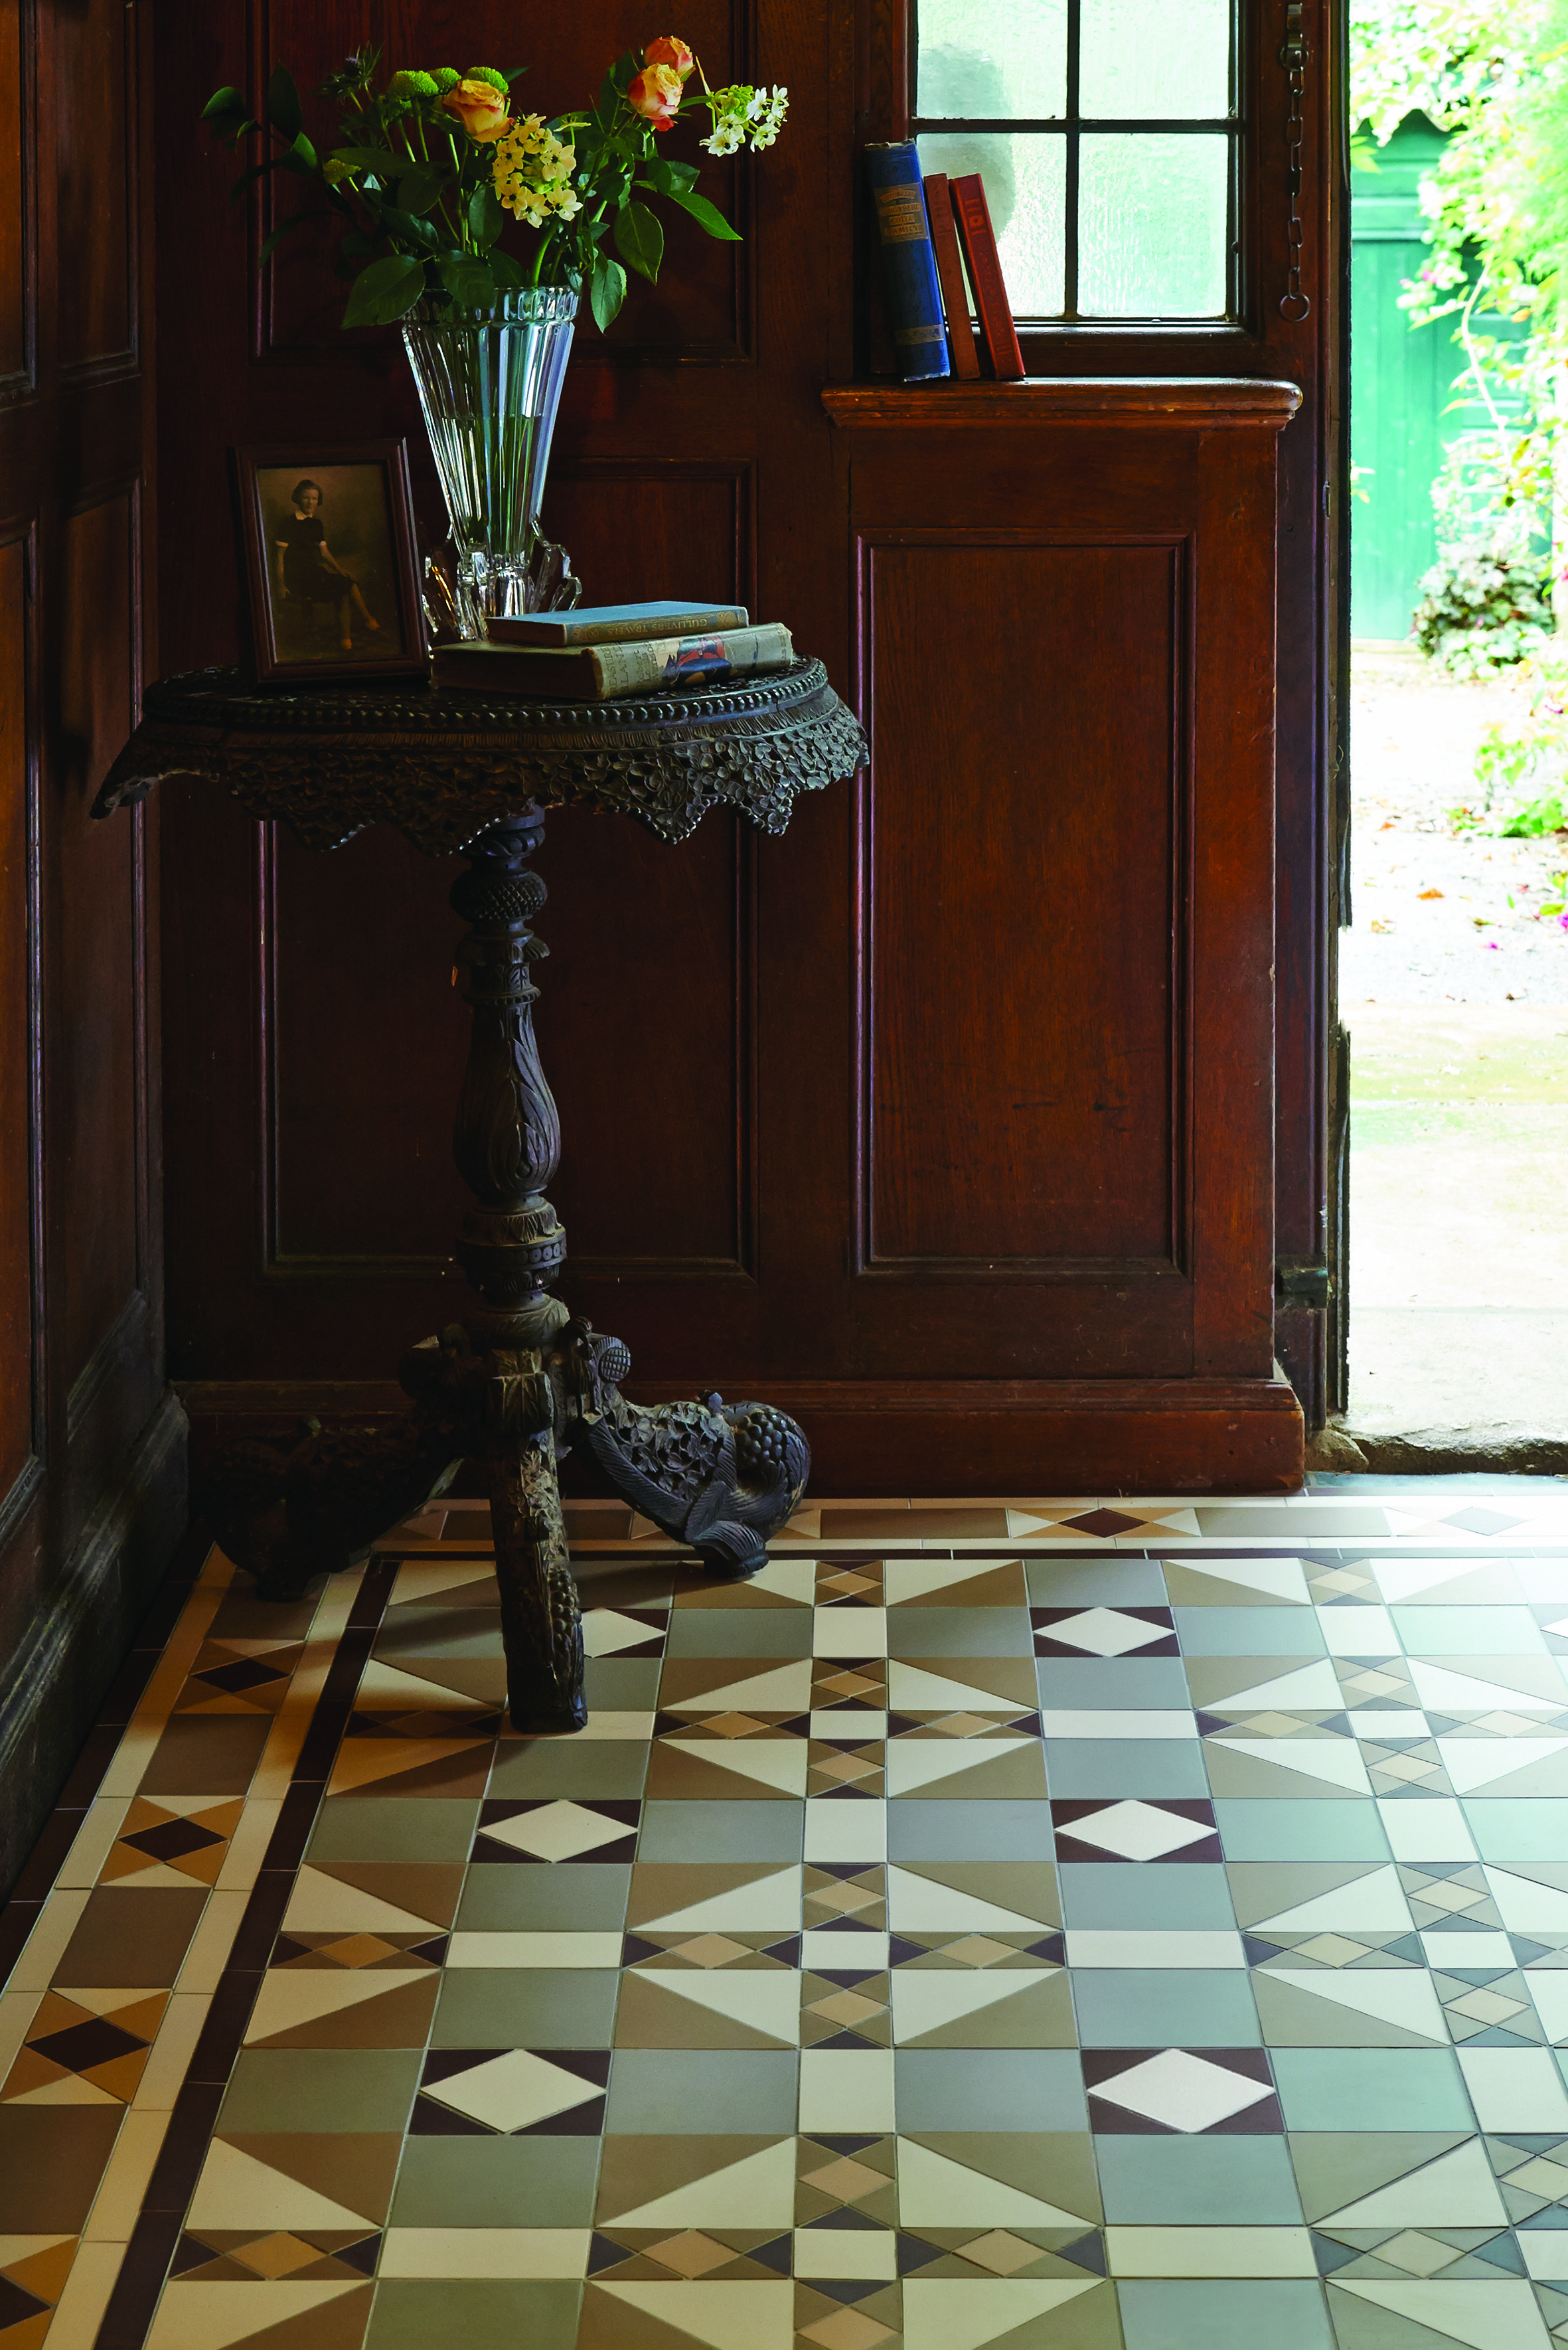
Victorian-inspired tiles by Original Style
Once you've repaired any damage to your old hallway floor, it's important to take steps to maintain it and prevent any future damage.
General care
Whilst tiled floors generally require little maintenance, grit and debris can cause damage while staining can result from objects standing on the floor.
To tackle this:
- Regularly sweep or vacuum.
- Use a doormat to trap moisture and dirt before it reaches the floor – make sure you shake it out regularly.
- Put pads under metal objects standing on the floor to prevent rust marks.
- Wipe up spills promptly.
- Avoid rubber-backed carpets as they trap moisture and can cause sweating on the underside which potentially marks the floor. Tiles are best left exposed, or partially covered with with mats made from natural materials, such as seagrass or jute.
- Stained or dirty tiles can be cleaned with fresh water, detergent or proprietary tile cleaners but never soak them, and avoid wire brushes or other abrasives.
- If tiles have been covered white powdery deposits or efflorescence may be present, caused by salts - never wash them off but brush or vacuum away.
- Protect tiled floors during any building work by covering with plywood or hardboard sheets
Applying finishes
Traditionally tiles would have been largely untreated or oiled, over time taking on a sheen brought about by the polishing action of wear.
Nowadays, we would recommend that you consider the following advice:
- Ensure the floor is clean and totally dry.
- Never use linseed oil or beeswax to seal tiles that are not original red or yellow clay encaustic tiles as the surface will yellow over time and dirt will become trapped.
- Apply products designed for unglazed floor tiles.
- Exterior tiles, such as on steps or balconies, should never be sealed as it may reduce their resistance to frost.
Removing dirt and stains
Although retaining the patina of age is important, floors can become discoloured or dirty due to general wear or tear, the use of inappropriate finishes or building work.
To protect flooring, take the following steps:
- Protect any surrounding surfaces and test all cleaning methods on a small unobtrusive area and refer to the manufacturer’s instructions.
- Sparingly, use warm water or a tile-cleaning product to remove surface dirt. Avoid soaking the floor and mop up while working. Carefully use nylon scourers to remove stubborn marks. Never use abrasives or wire brushes.
- Use specialist tile-cleaning products to remove ingrained dirt and cement deposits – check out out pick of the best floor tile cleaners.
- Clean away spots of paint by carefully applying paint remover; scrape off using a plastic blade.
What is encaustic cement?
Some tiles that are often referred to as 'encaustic' are actually cement tiles. While it's quite easy to tell old Victorian encaustic tiles from newer cement tiles – the former will be matt and porous in finish, while the latter will have more of a natural sheen to it – it can be trickier to tell the difference with older cement tiles, which have been manufactured since the 1860s.
As a general rule, if your tiles are orangey red, yellow, or green in colour, they're probably encaustic clay. If they use multiple colours, then they are more likely the result of cement or concrete processing. If you're not sure, it's best to consult a tile expert, as the type of tile you have will slightly affect how best to seal and clean it.
More information on hallways, tiling, or both:
- How to design a hallway
- How to maintain terracotta floor tiles
- Find out more about cleaning real stone floor tiles