How to paint a bathroom in 5 simple steps for professional looking results
Knowing how to paint a bathroom will help to refresh your space on a budget and it can be an easy job when you have the right tools, materials and technique. Especially when you paint behind the toilet, for crisp, clean results

Painting a bathroom may seem like a daunting task, but it doesn’t have to be. Giving a bathroom a fresh coat of paint is a great way to update the space and make it feel clean. Armed with the right tools and preparation tips you’ll be able to paint your bathroom like a pro.
When you're painting rooms around your home, the bathroom might be last on your list – what with damp concerns and awkward corners to get around. But we’ll walk you through everything you need to know from what kind of paint to use, tips for painting bathroom cabinets and ceilings plus different options for painting around a toilet!
How to paint a bathroom yourself
For the most part, it's all about choosing the right paint to withstand humidity. You then need to carefully prime and prep the walls for smooth, pro results. You want to choose either one of the best bathroom paints or a high-quality regular paint with more solids for better durability.
When painting a bathroom you want to use a semi-gloss finish. This finish repels water and keeps mold from growing, which can be a problem in a bathroom due to the humidity – useful in all homes and most especially if your home is historic.
Of course, it goes without saying that you'll also want to pick a color that will help bring your favorite bathroom ideas to life. And if you’re going with white in the bathroom like we have here, Valspar’s The Perfect White Semi-Gloss Paint is a great option!

1. Gather tools and materials for crisp edges
For an expert finish, you need the right tools too and you won't want to skimp on quality as it could impact the finish, not giving you crisp lines and making it harder to apply paint in the first place. These are the essentials when painting a bathroom yourself:
You will need:
1. Semi-gloss paint: we used Valspar’s The Perfect White Semi-Gloss Paint which is available at Walmart
2. Ceiling paint (if using): we used Behr Interior Ceiling Flat in Ultra Pure White. from The Home Depot
3. Cabinet paint (if doing): we use Valspar Cabinet and Furniture Enamel from Lowe's
4. The best paint roller for the job – roughly 3" depth, woven/another high-quality type
5. Paint brush– 2"/50mm angle sash interior brush is ideal
6. A high-quality trim brush: we used FreeForm 2" All-Purpose Grip-Free Fatigue Reducing Paint Brush from Walmart
7. Paint tray and pan liner (to avoid more messy cleaning)
8. Plastic sheeting/ quality drop cloth
9. Painters tape – 1" Frog Tape is good and some top it with clear caulking for super straight edges
10. Extension pole/stepping ladder for hard-to-reach areas
2. Protect the floor
Put your plastic sheeting down to protect the floors and start taping off baseboards, trim, the sink, and any cabinetry.
Get small space home decor ideas, celeb inspiration, DIY tips and more, straight to your inbox!
Once you’ve laid your protective sheeting on the floor you need to decide if you want to remove the toilet tank so you can paint behind it. Toilets typically come in two pieces so you can remove the tank without removing the base. This will enable you to be able to get a full finish on the back wall without having to paint around the tank, which can be difficult. If you’re not wanting to remove the tank, be sure to tape it off so you don’t get paint on the tank while reaching behind with the paintbrush.
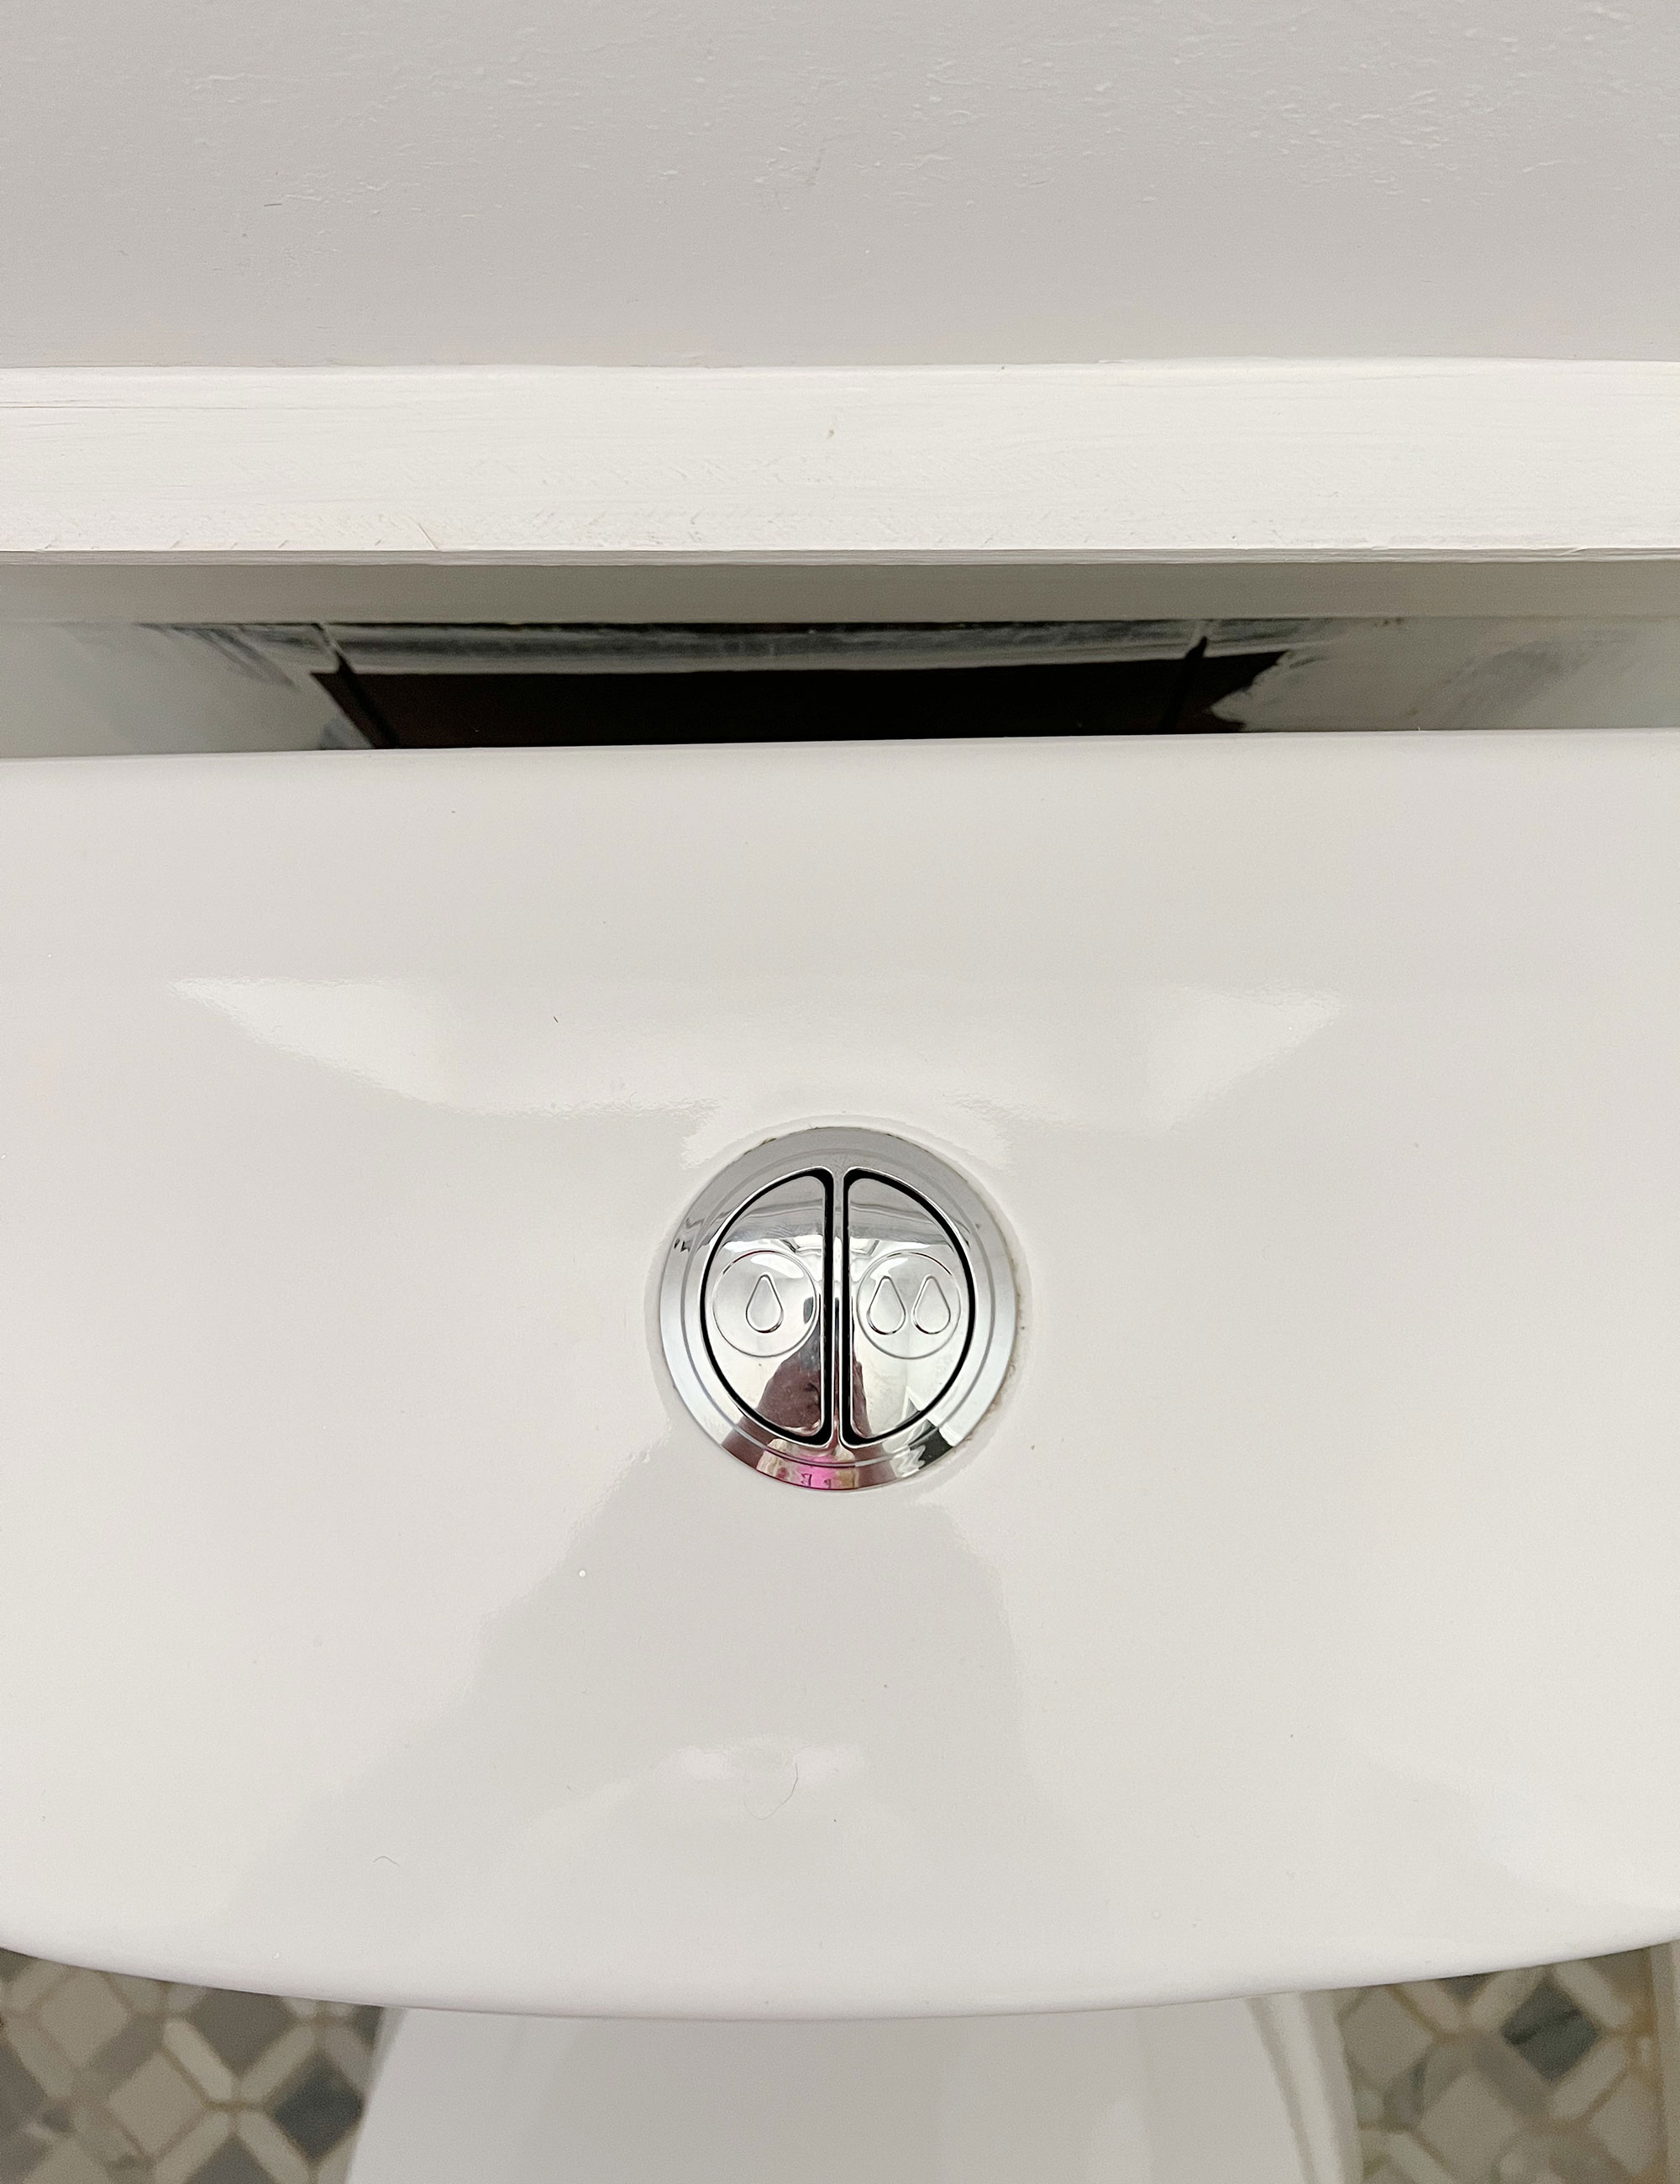
3. Clean and prepare surfaces
Bathroom walls can become filthy over time and a buildup of soap scum is highly likely. You should clean walls as best you can by using sugar soap to remove any residue can you stop the paint from peeling in the long run.
Now you’re ready to tape off the trim and around the shower and vanity so you don’t get paint on these surfaces.
4. Cut in and paint the ceiling
If you’re giving the ceiling a fresh coat of paint along with the walls, you need to purchase a paint that is specifically for ceilings. It typically comes in a flat or matte finish and is made to last for years to come. A great option for ceiling paint is Behr Interior Ceiling Flat in Ultra Pure White.
As with any painting job you'll want to cut in for even distribution. Start this when painting the ceiling of the bathroom. 'After stirring the paint thoroughly to ensure it is fully mixed, apply to the ceiling line, taking care not to leave a thick edge. It’s ok to come down onto the wall at this stage as you will be painting over this with the wall color. Using a roller, start rolling in the ceiling area evenly, overlapping by 50% as you go. Start from your strongest source of light (usually a window) and work away from it until the ceiling is coated.'
If you're using a different color for the walls and ceiling, try to not take your roller down to the walls when painting the ceiling.
You’ll want to give your ceilings at least two coats of paint. If you’re going from a dark ceiling to a light ceiling you may need to prime first.
5. Painting the bathroom walls
First, decide whether a coat of primer is in order. Many paints come with a built-in primer so you may be able to skip this step if the current paint color isn’t drastically different from the new color you’ve chosen. If you’re going from a dark color to a lighter color, you’ll probably need to use a primer.
Note: If your walls are newly sheetrocked, you always need to prime first.
To start on the bathroom walls, you’ll want to cut in around the trim, vanity, and shower using a high-quality trim brush. Once you’ve applied the first coat, move onto rolling the walls.
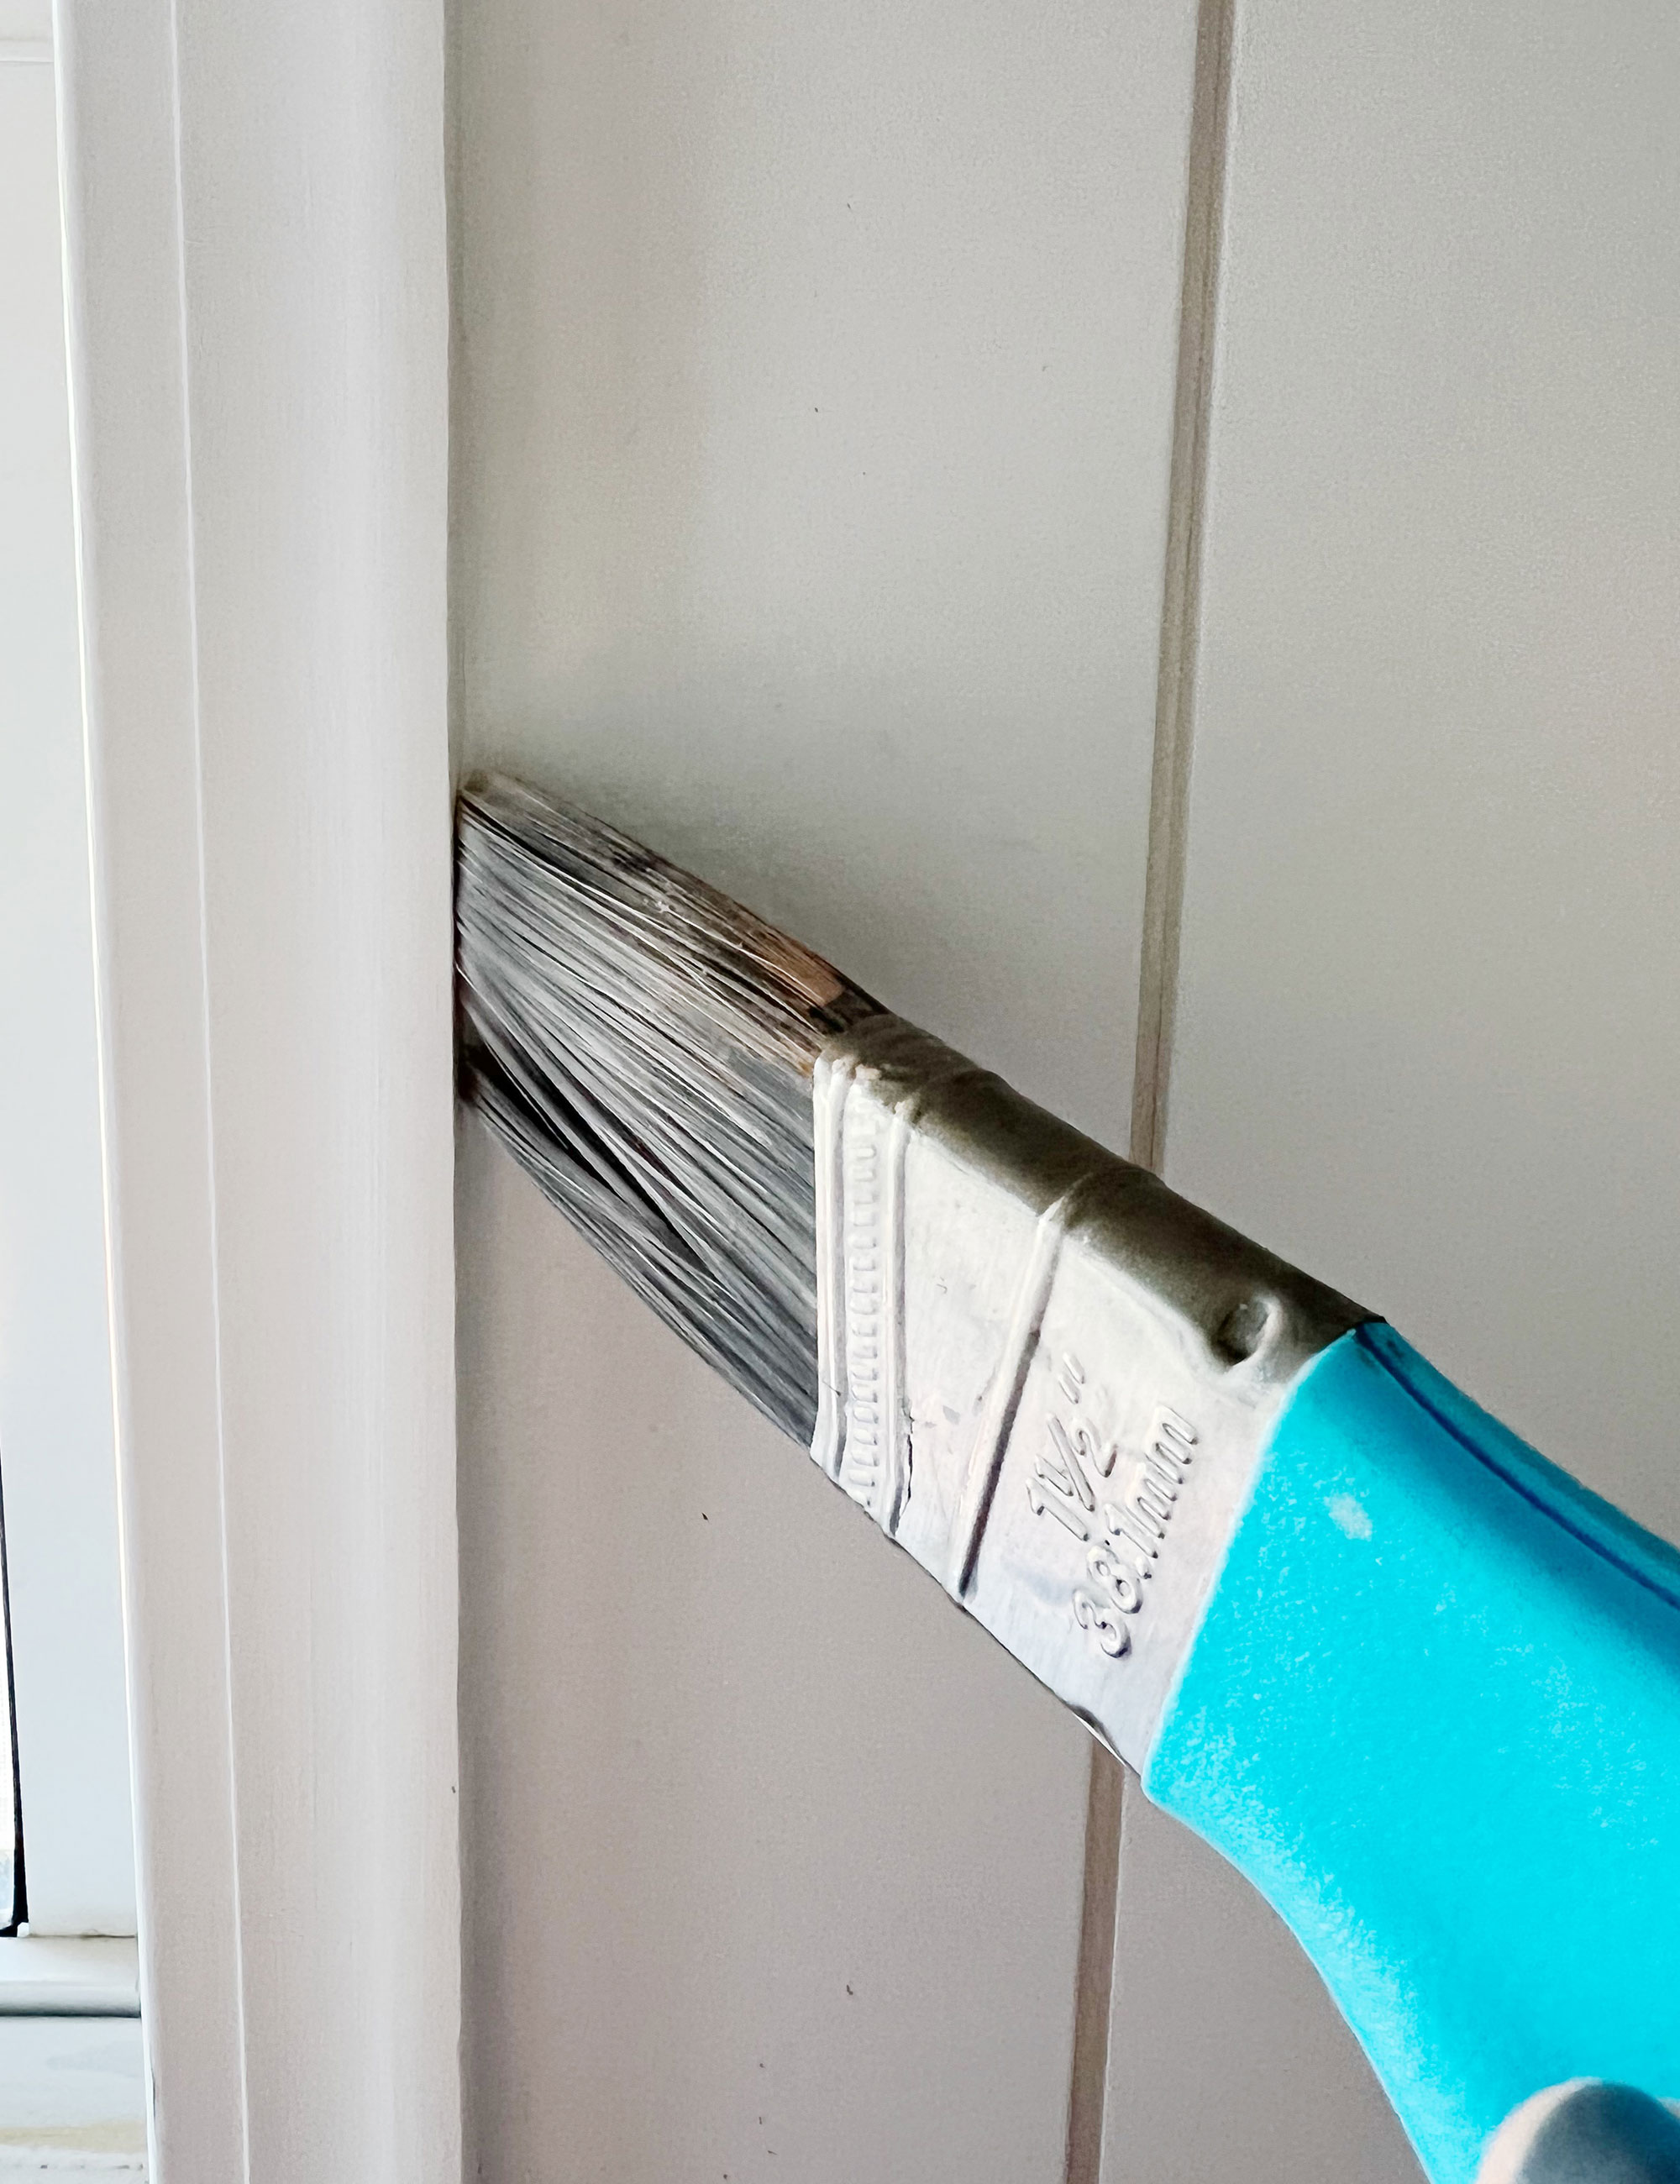
Choose a roller that will work best for the texture on your walls. If your walls are flat you can go with a smaller nap, but if you have a heavy texture on your walls you’ll want to use a thicker nap to get into the details of the texture.
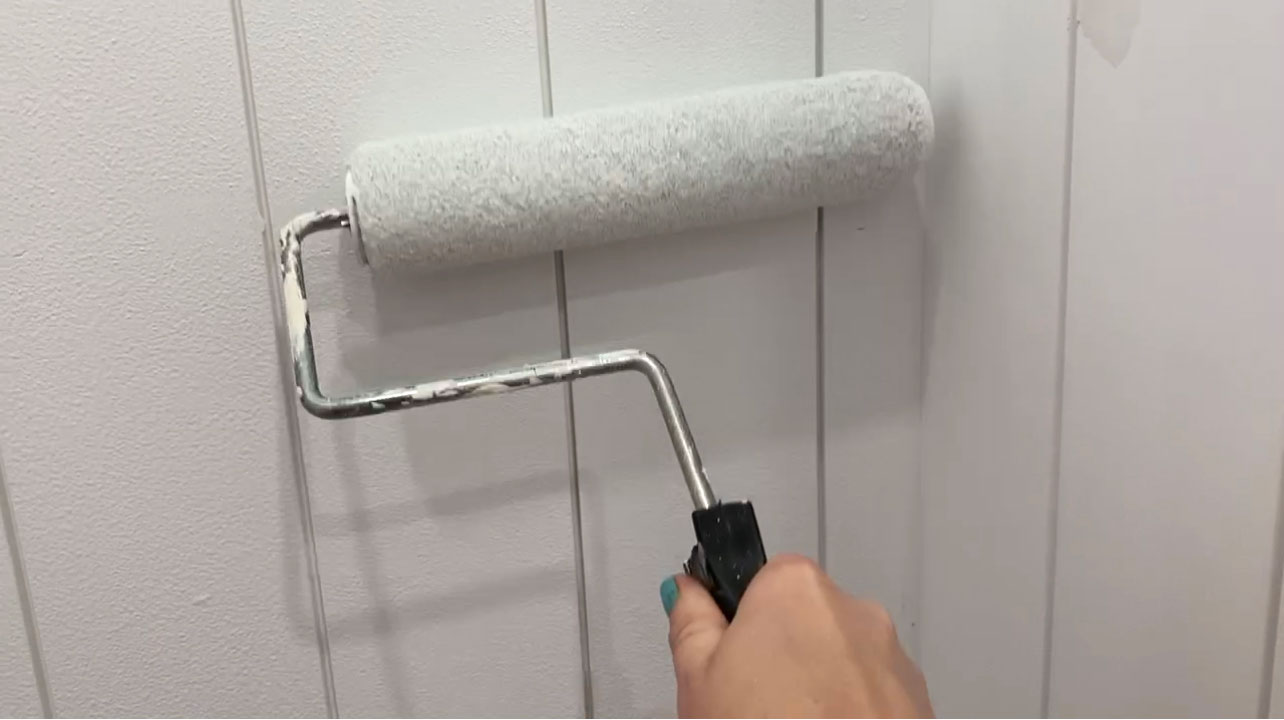
Give your walls a coat of paint and then move back to the trim where you cut in and give it a second coat.
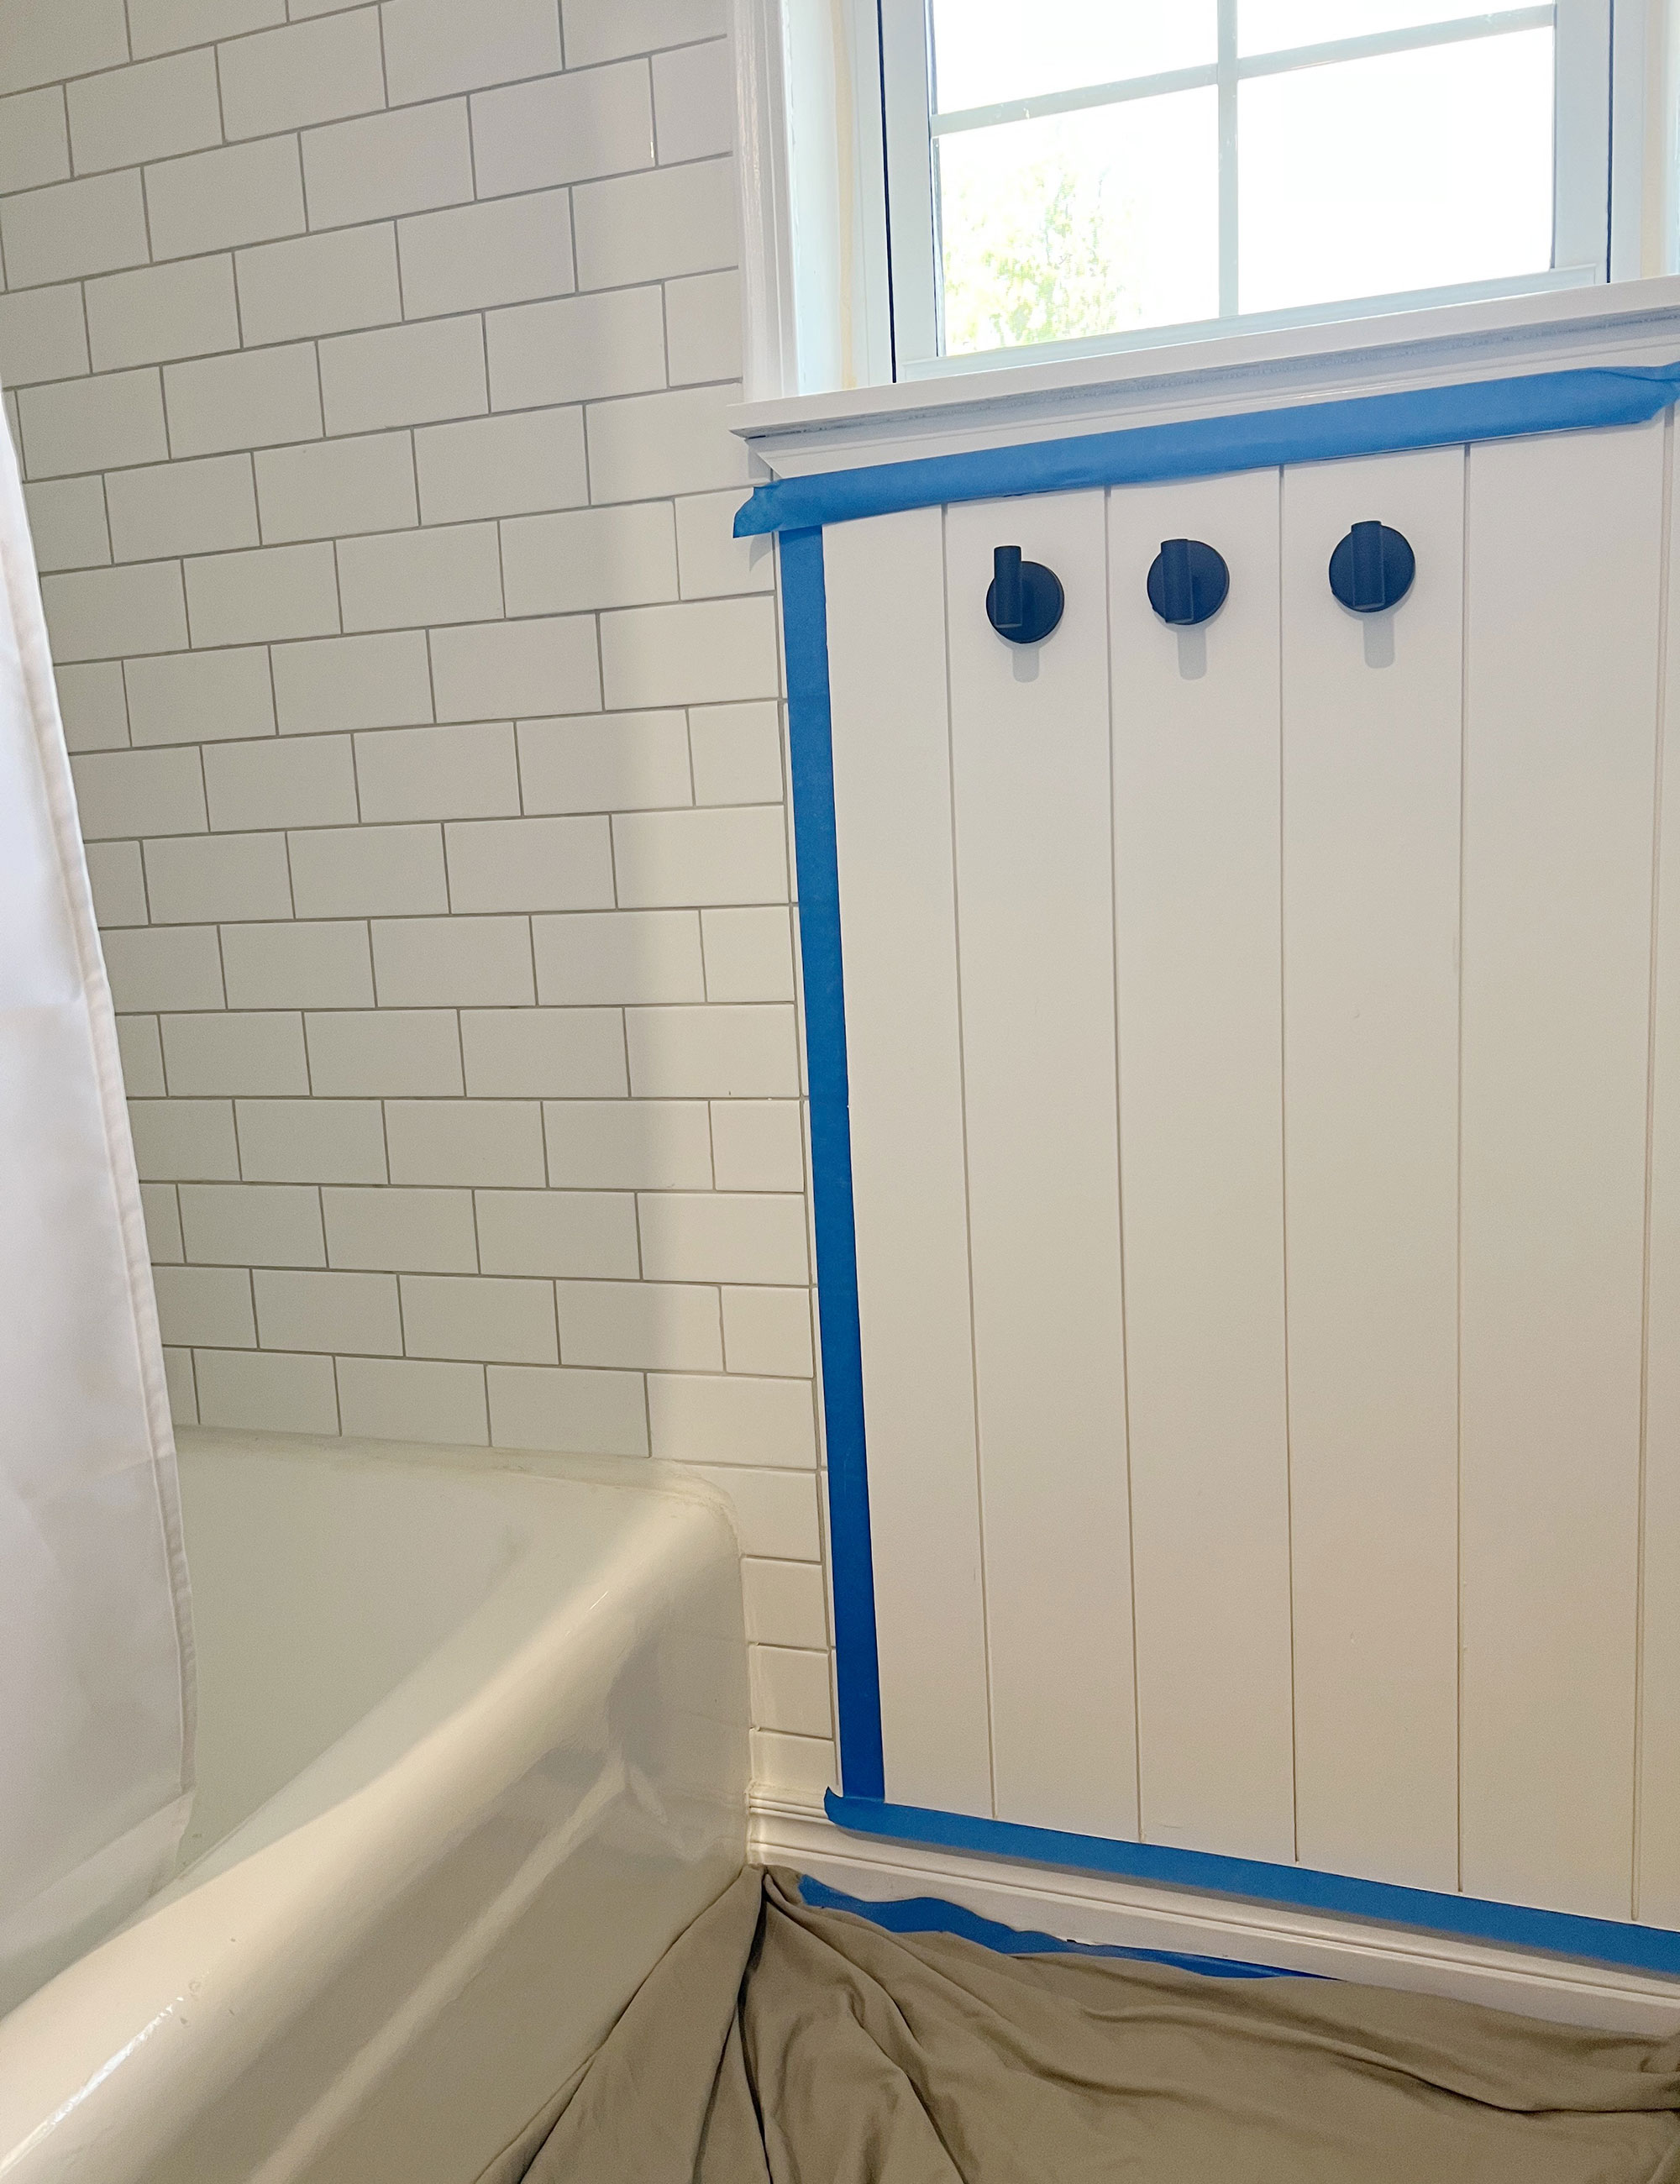
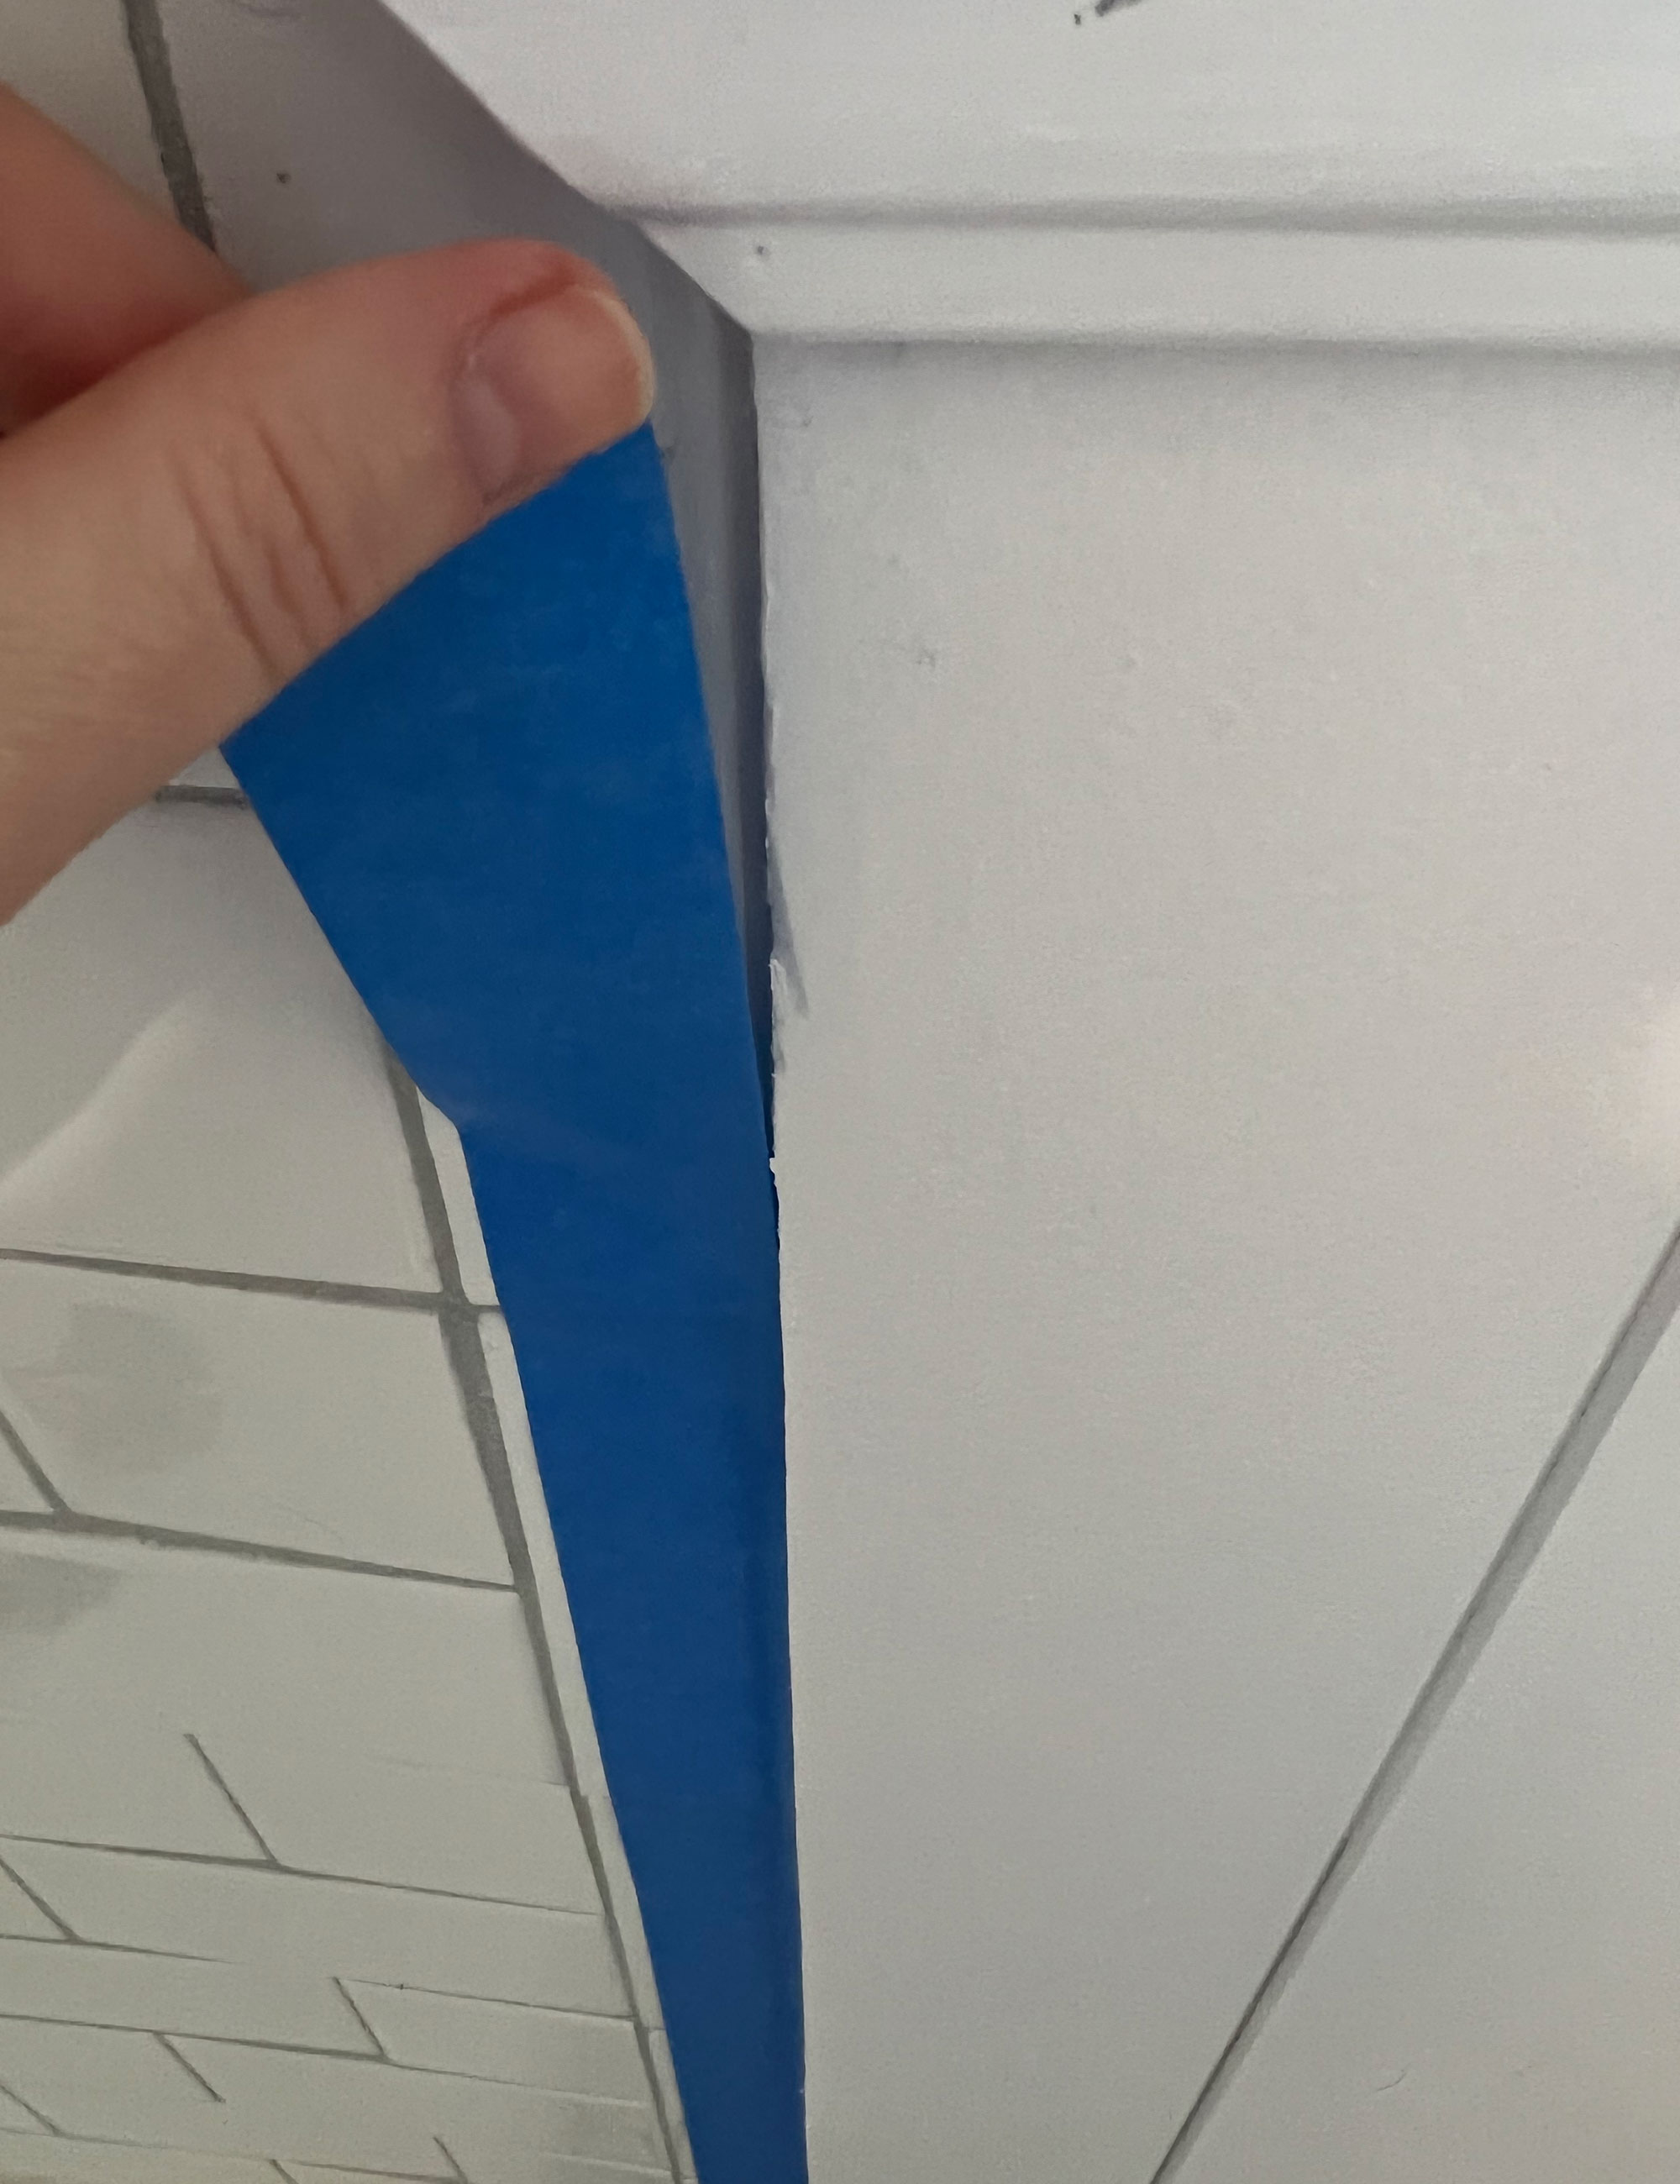
Top tip: While the paint is still wet, remove the tape. This will ensure it doesn’t pull off your fresh coat of paint.
Go back and give your walls a second coat of paint with the roller. Allow the paint to dry and check for any touch-ups that need to be made.
How to paint bathroom cabinets
If you’re also wanting to paint your bathroom cabinets, you’ll need to purchase a paint specifically made for cabinets like Valspar Cabinet and Furniture Enamel.
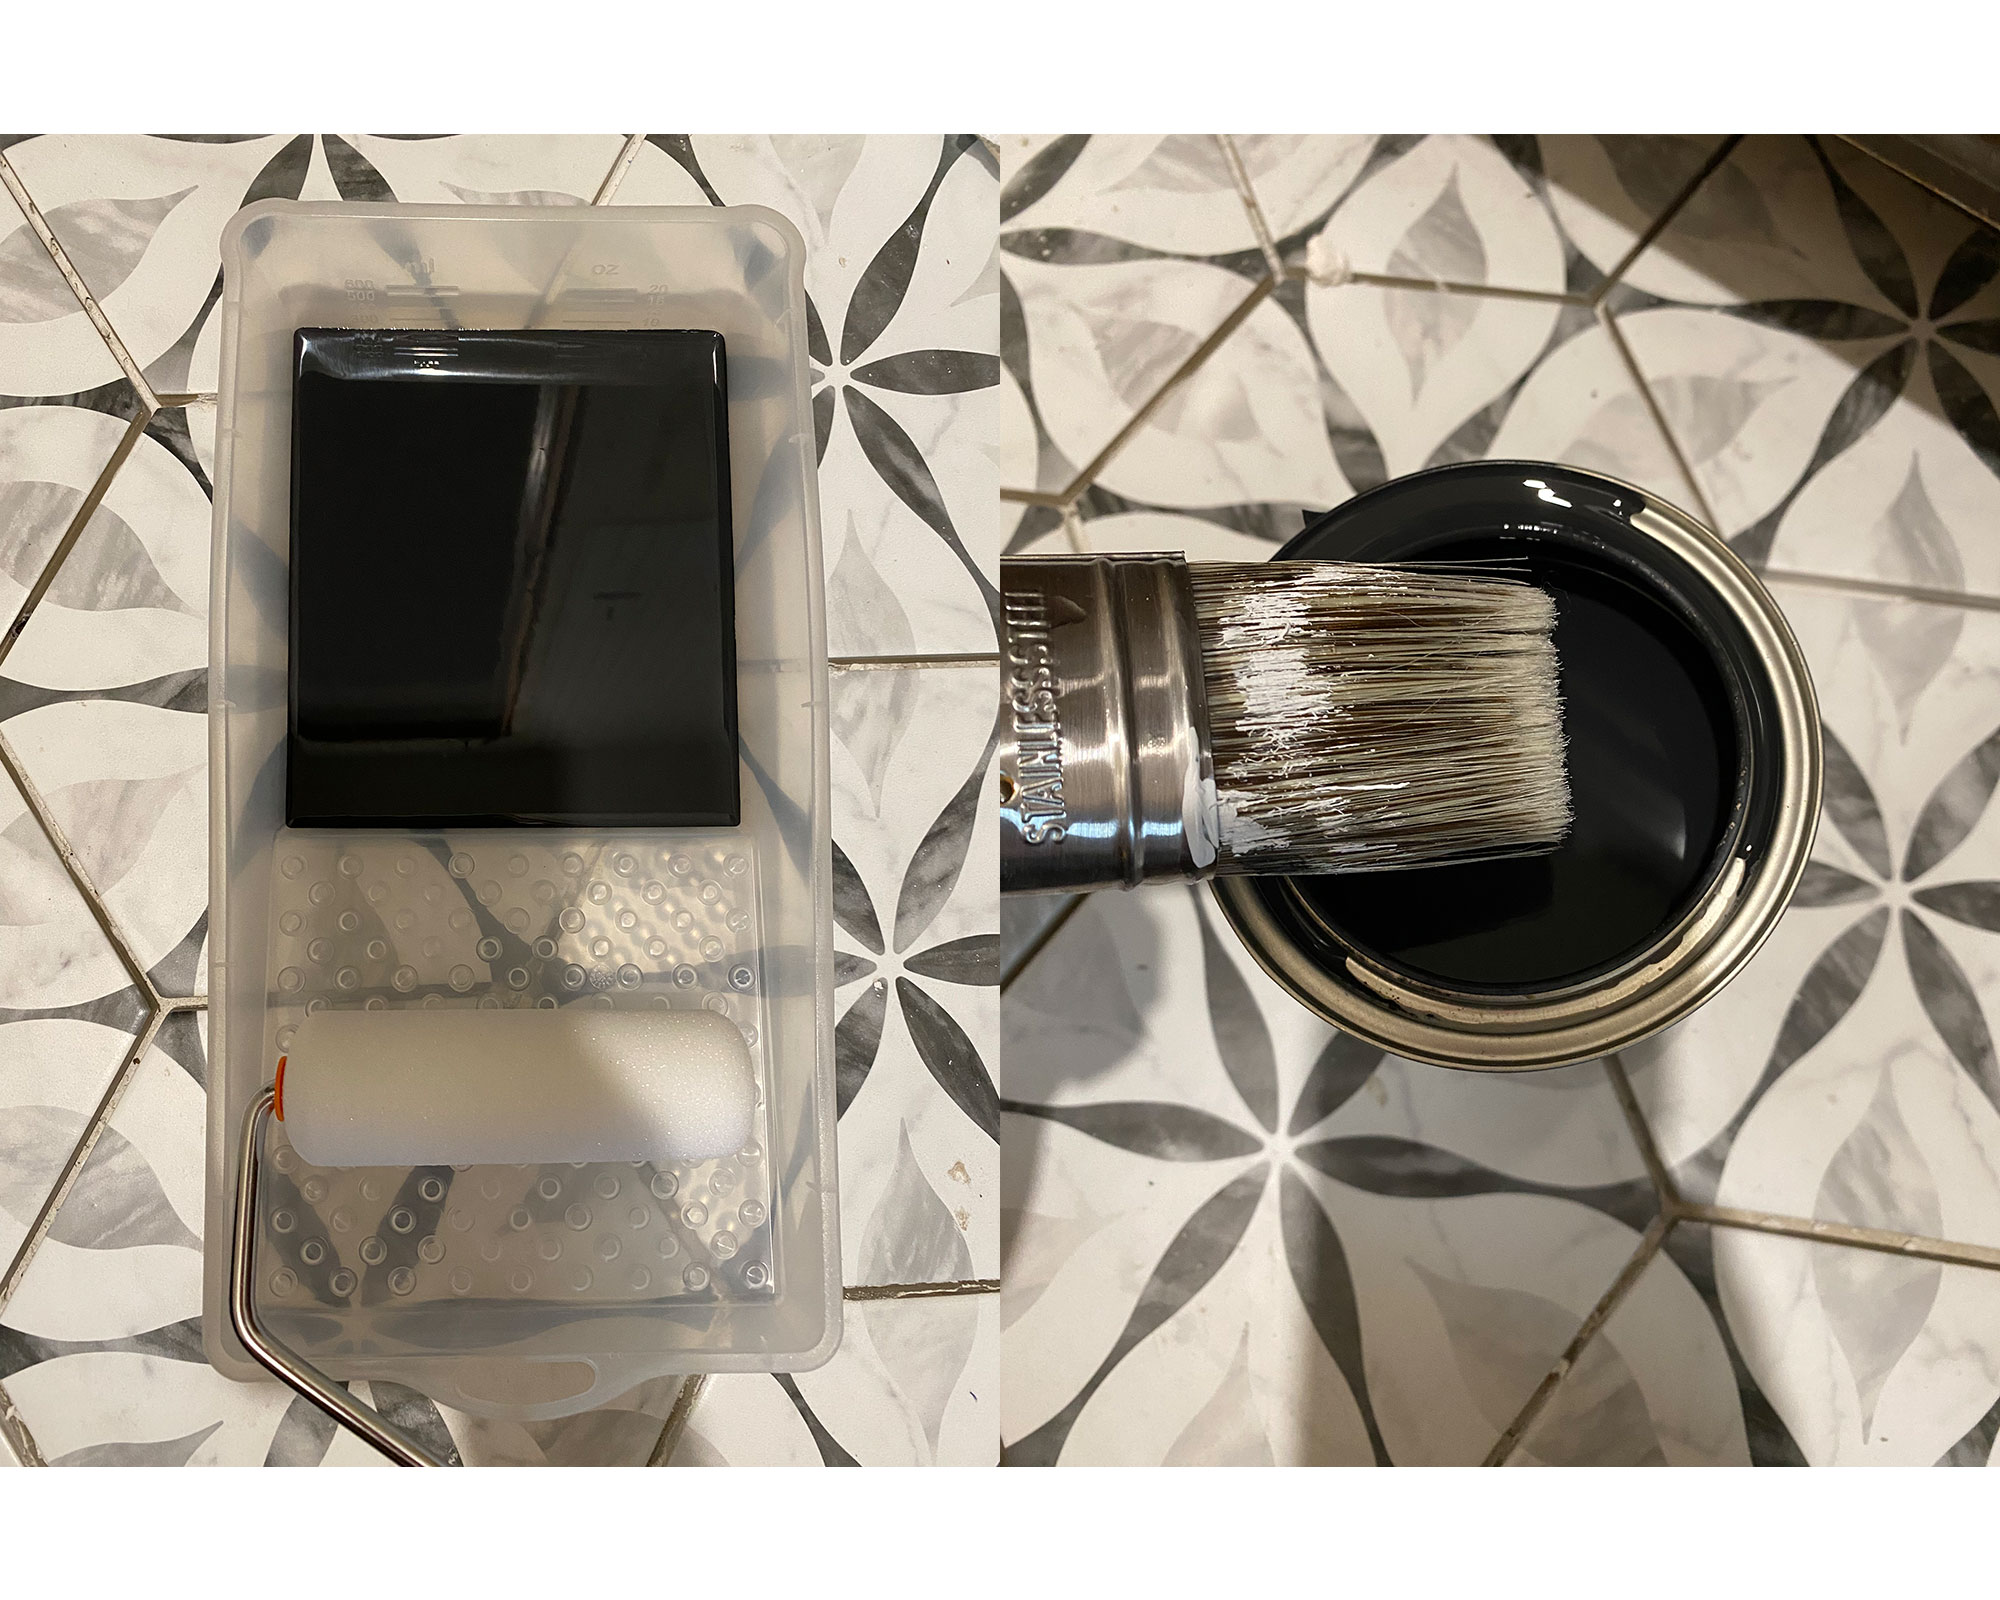
If your cabinets have never been painted before, you’ll want to give them a coat of high-quality primer before you paint them. Remove the doors and drawers and label them to make sure you install them back in the correct place when finished.
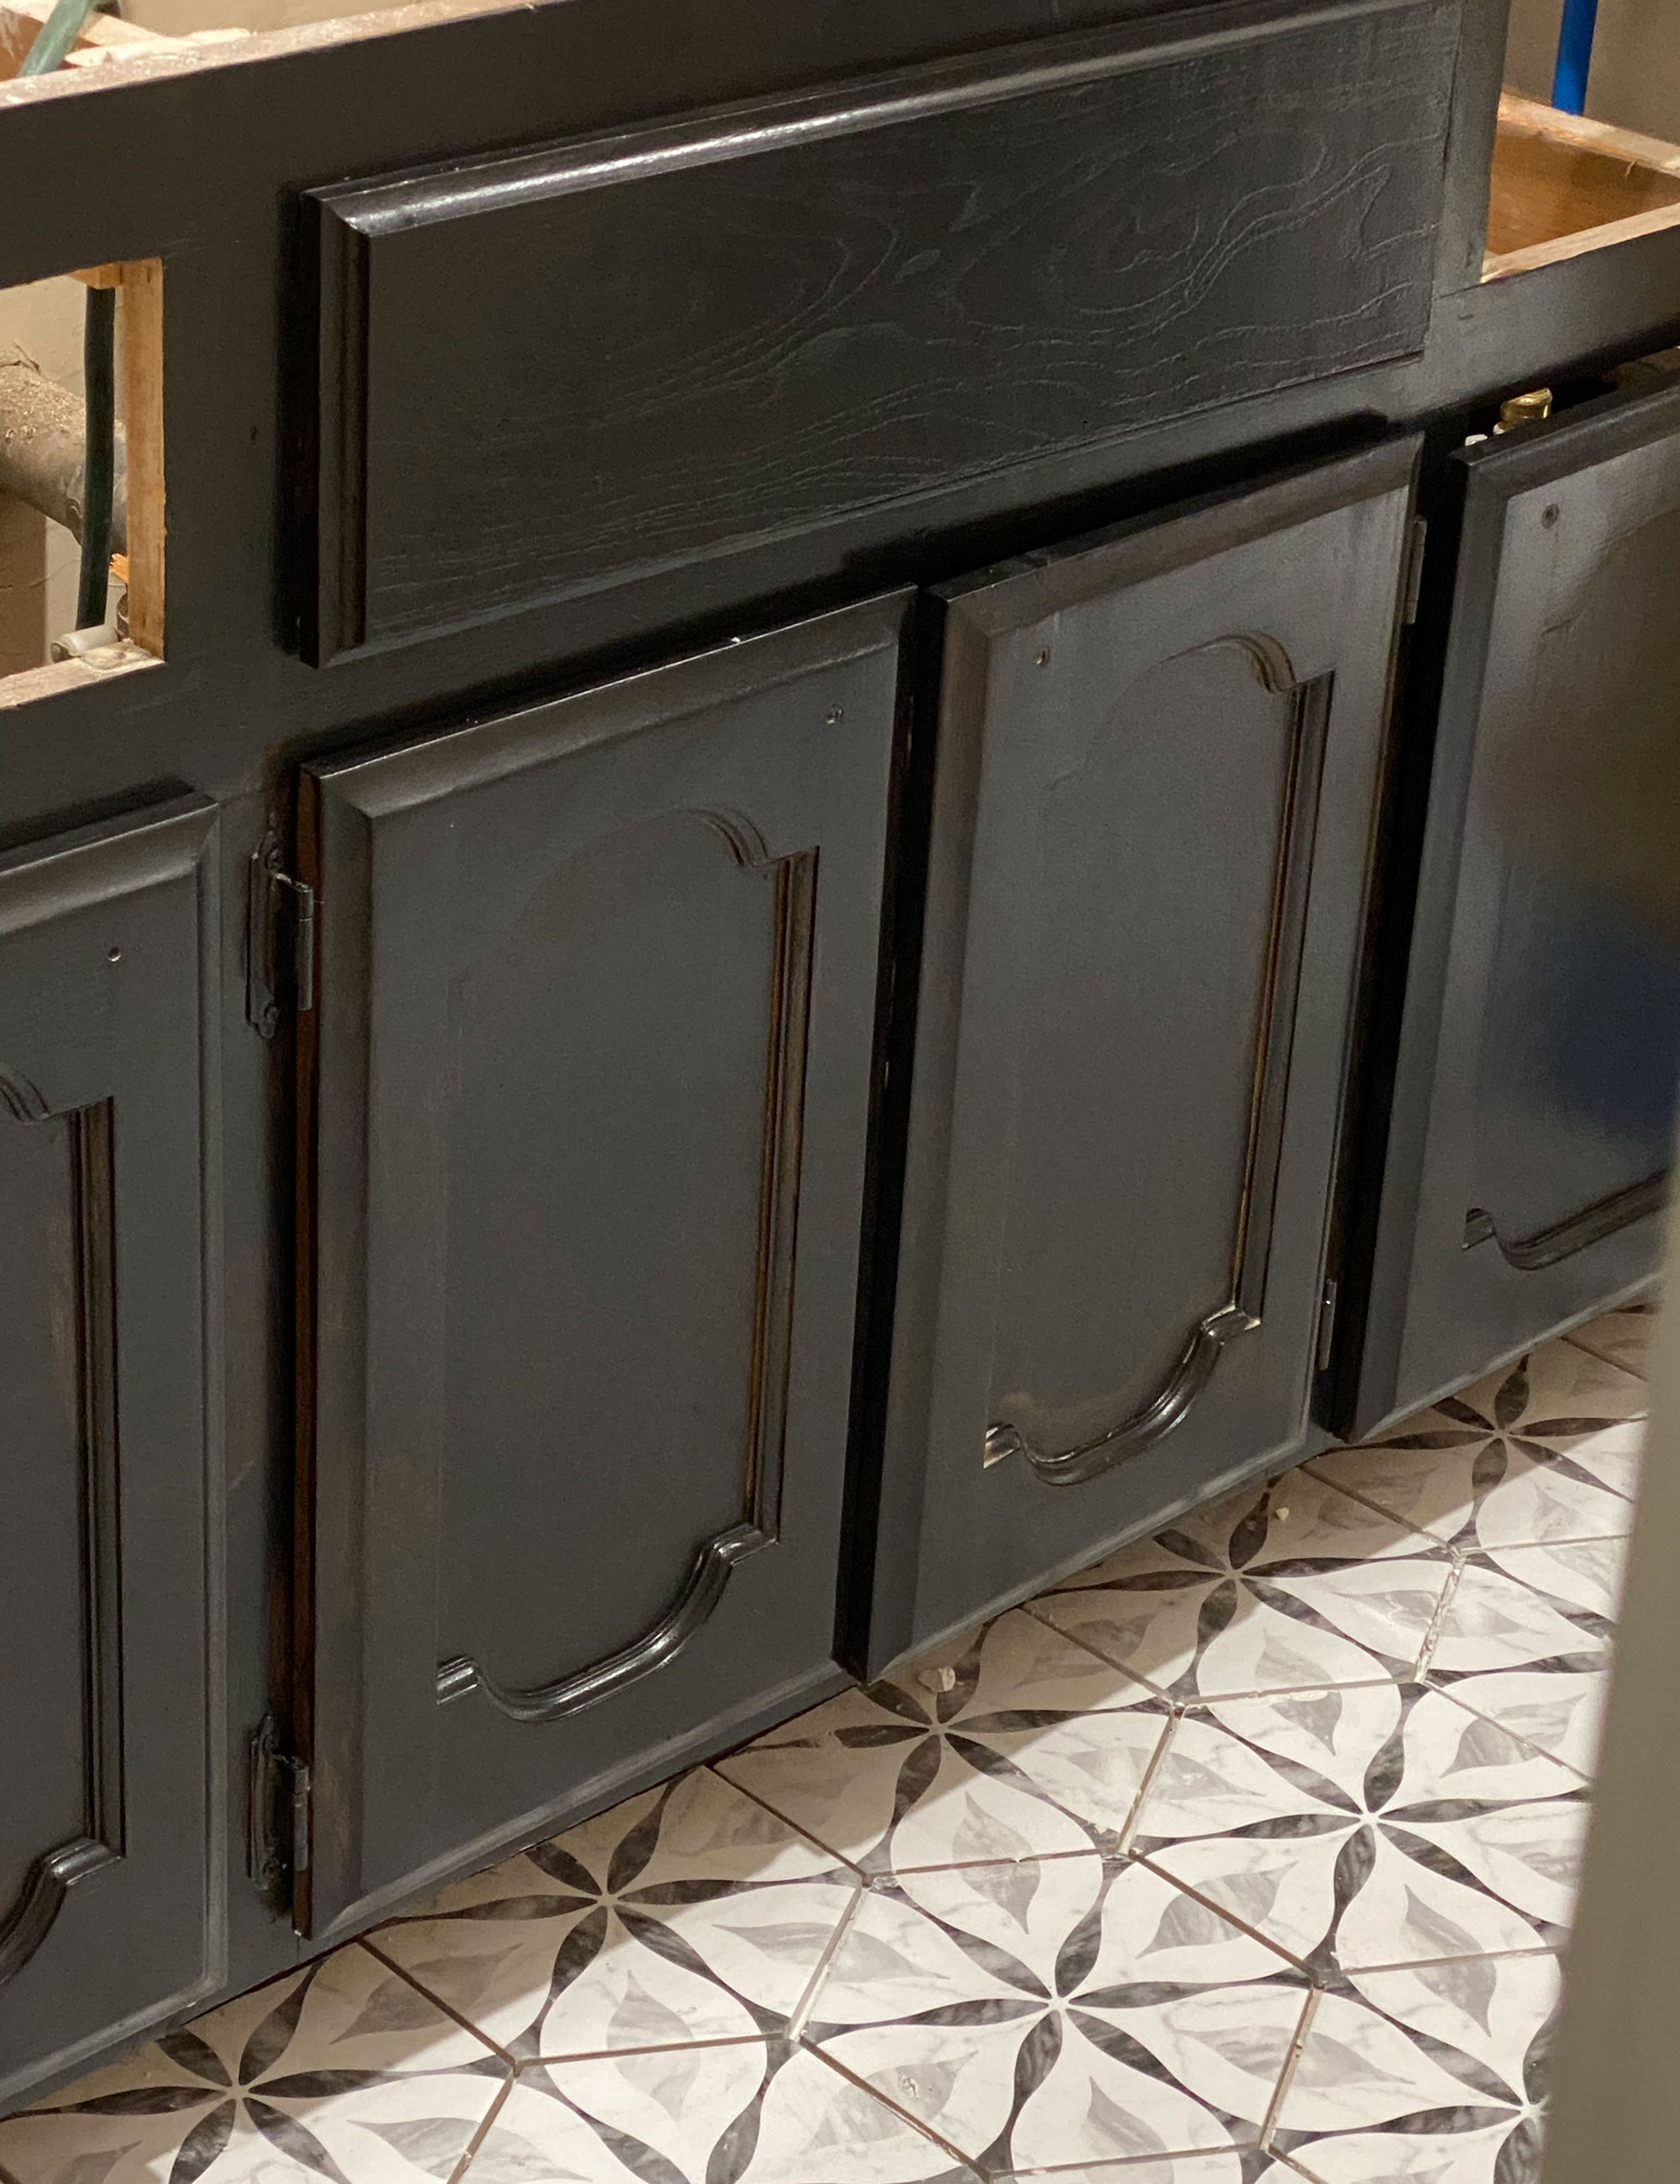
Using a foam roller and trim brush for details will give you the best finish. You’ll want to give the cabinets at least two coats for a flawless finish.
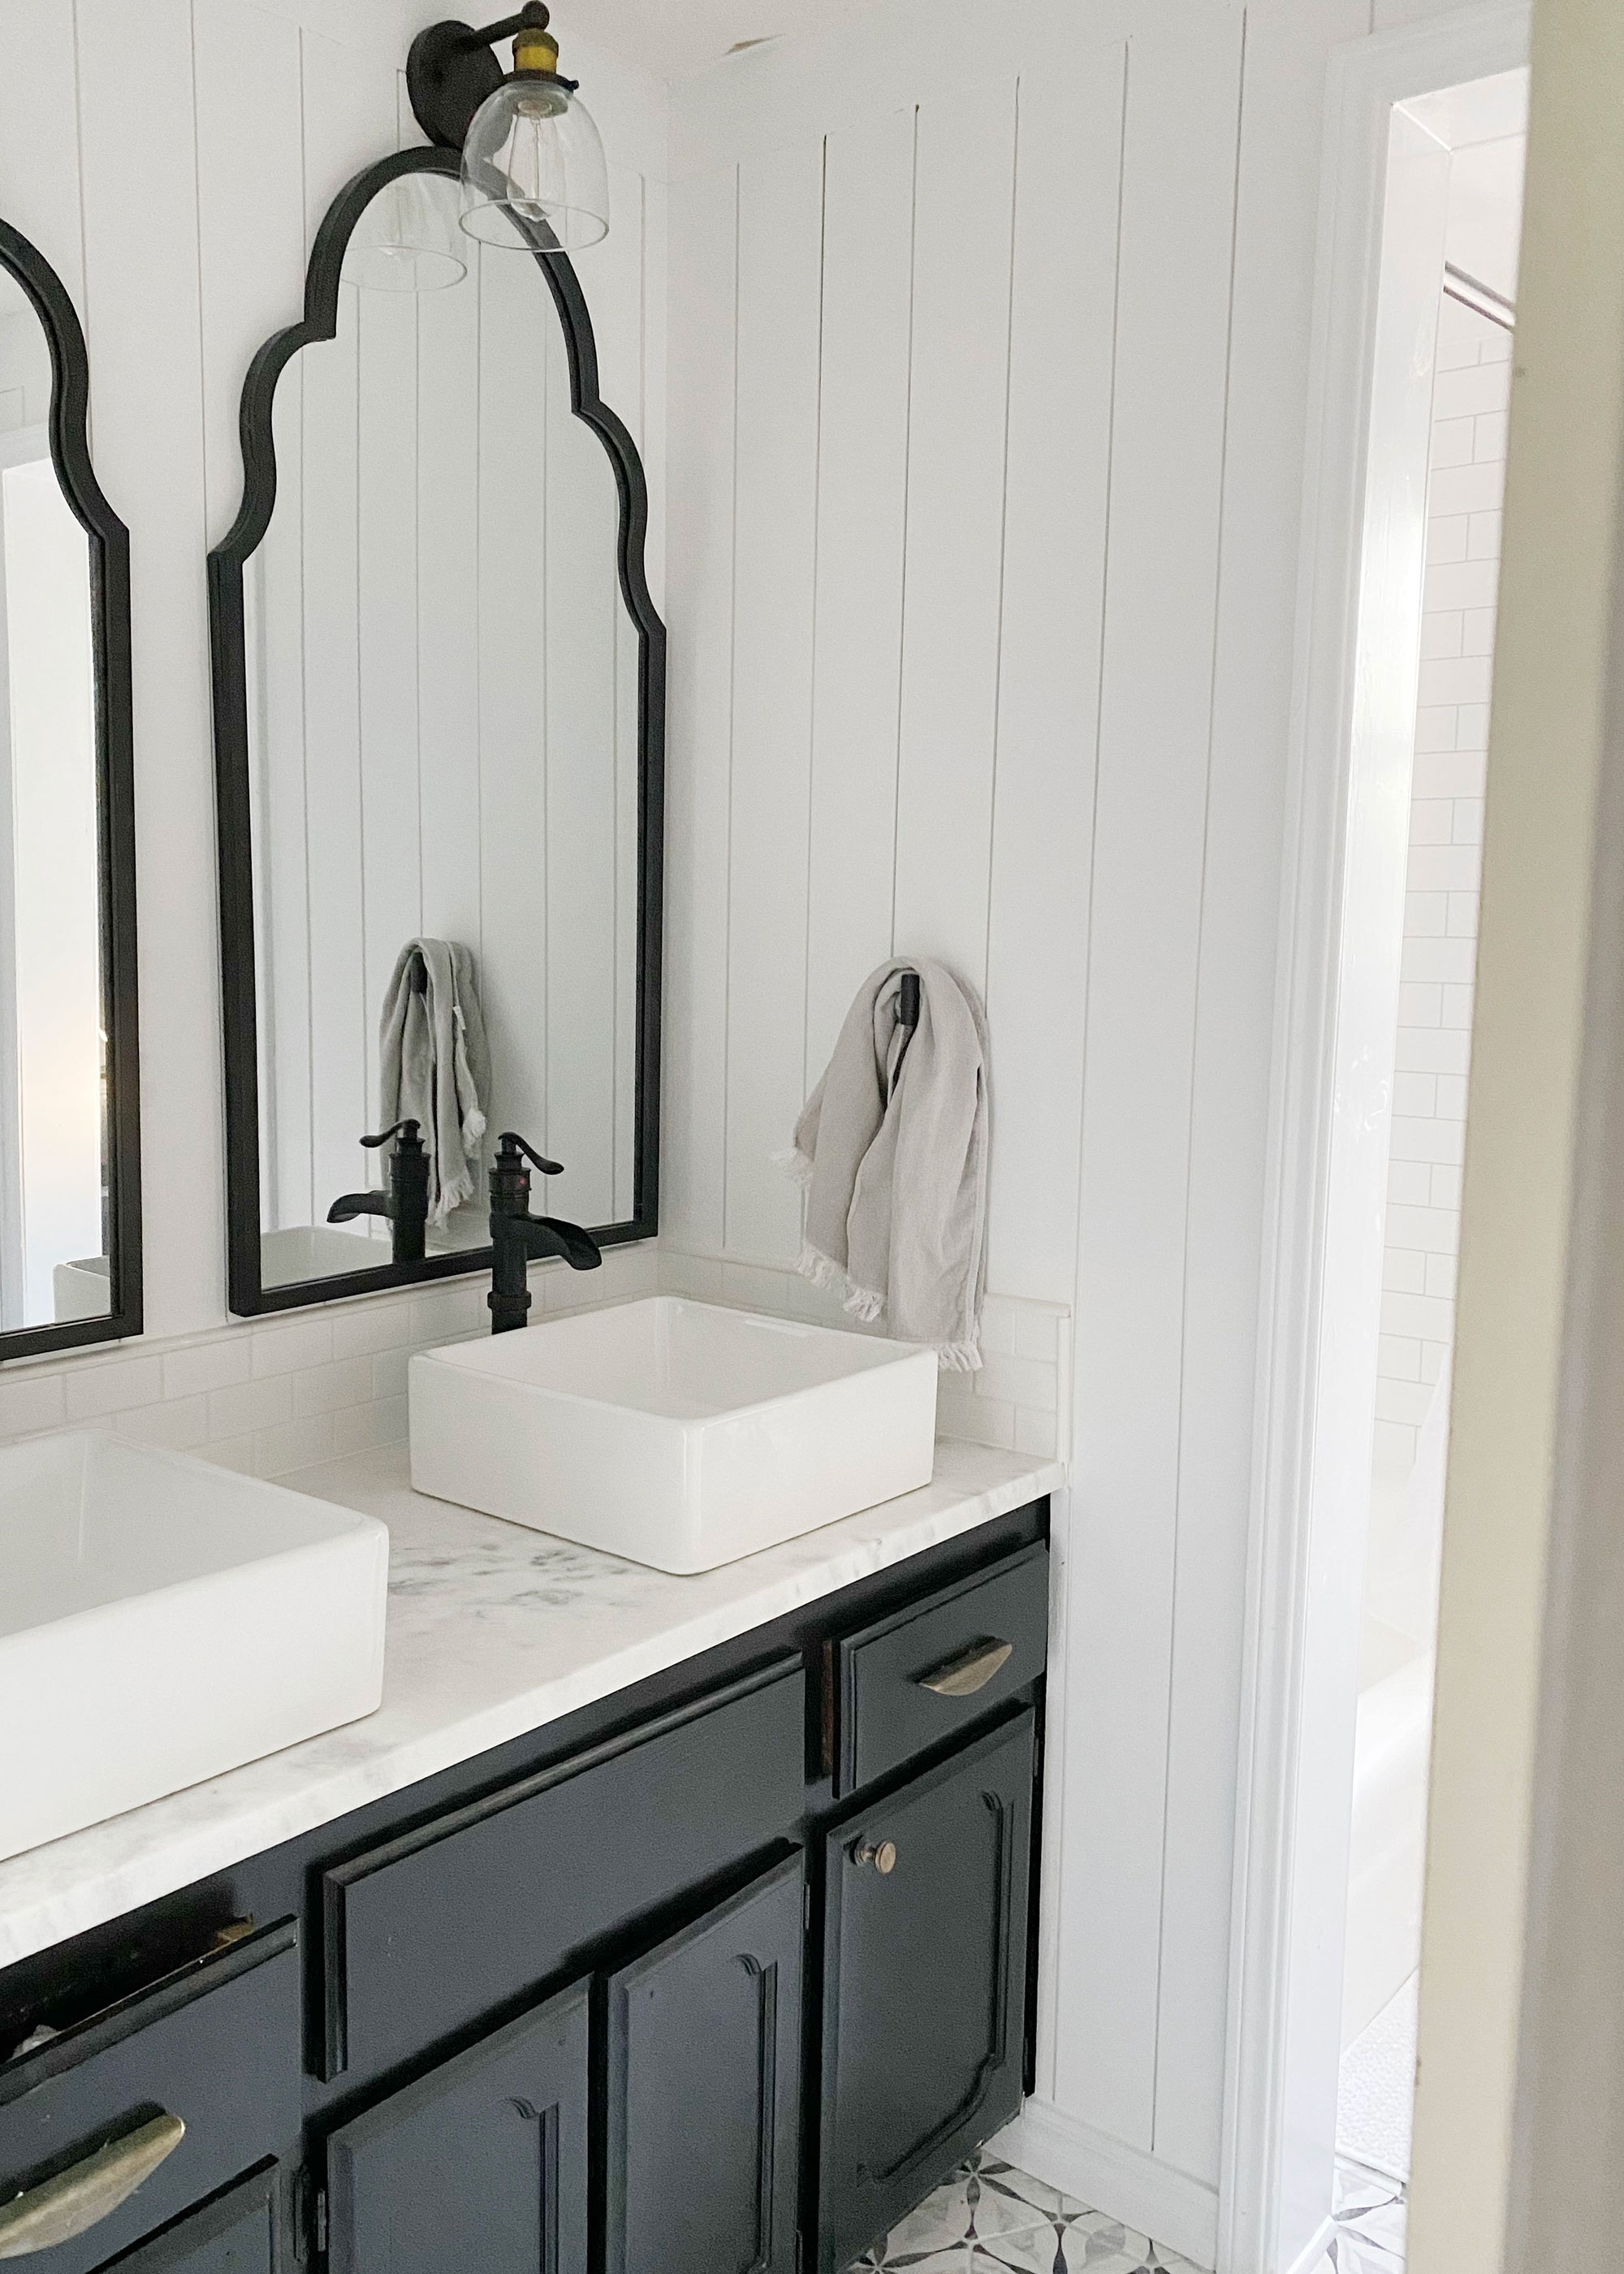
The results:
How do you paint a small bathroom?
You simply need to ensure you have everything that needs protecting well taped off. Neat edges will show the difference between someone who knows how to paint a bathroom like a pro and someone who's rushed through it with not much thought and prep. Some would say a smaller bathroom makes for better-looking results as you're more likely to get the paint on the walls fast, allowing you time to take off the painter's tape before the paint dries to stop any peeling. If your bathroom is small, think about using light bathroom color ideas for a spacious feel and you could even consider painting tiles too for more character. If space is super tight, consider removing the toilet tank for better movement when DIYing.
Do I always need to prime bathroom walls before painting?
It depends on the condition of your walls. You'll need to clean them anyhow and if they are in good shape, a skim coat (very light coating of paint) should suffice. If you're fixing holes in the wall ahead of painting then you may want to consider a bathroom wall specific primer. We spoke to the experts at Farrow & Ball about how to paint a bathroom for professional looking results. 'Before painting starts, all areas should be cleaned to remove any surface contaminants and any imperfections should be sanded down, prepared, and filled at this stage. Priming the walls with one coat of our Wall and Ceiling Primer and Undercoat will create a good base for applying the topcoat and help assist the color change if the walls have been previously painted.'
And, admire your work!

I'm Cam, the former deputy editor of Real Homes who worked on the site from 2020 to 2023. As a renter myself, sharing a home with two friends (and my cat) in London, I know all too well the challenges that this can pose when it comes to creating your perfect setup. As someone who has always loved everything interior design-related, I cannot rest until a home feels right and I am really passionate about helping others get there too, no matter what their living situation, style, or budget may be. It’s not always the easiest to figure out, but the journey is fun and the results are so worth it.
After interior design, travel, art, and photography are my next big passions. When I’m not writing or editing homes content, I’m usually tapping into other creative outlets, exploring galleries in London or further afield, taking photos, scribbling, or drawing!

