How to paint a room – the correct order to DIY for a professional finish
How to paint a room from top to bottom. The best order to DIY for an expert finish – fast – even for beginners.


Get small space home decor ideas, celeb inspiration, DIY tips and more, straight to your inbox!
You are now subscribed
Your newsletter sign-up was successful
Once you know how to paint a room like a professional, you'll never have to pay for a decorator again. It's actually one of the easiest (and most therapeutic) DIY jobs around plus, when you know the correct order of business, you could do it in as little as a day.
In addition to choosing the perfect paint colors for your room(s) at hand, you'll need to prepare the surfaces thoroughly, find the right products for the job and work carefully to make sure you get a finish you are proud to look at. And, once you've sorted the interior or your house, you can move on to painting exterior walls too...
What is the correct order to paint a room?
Once you've prepped your room for painting properly and gathered your materials, you'll want to work from the top down. Starting with the ceiling, moving onto the walls and finishing with any baseboards, trims and woodwork like door frames. Here's what to do from start to finish.

- DIY: Painting windows is another job made easy with Real Homes.
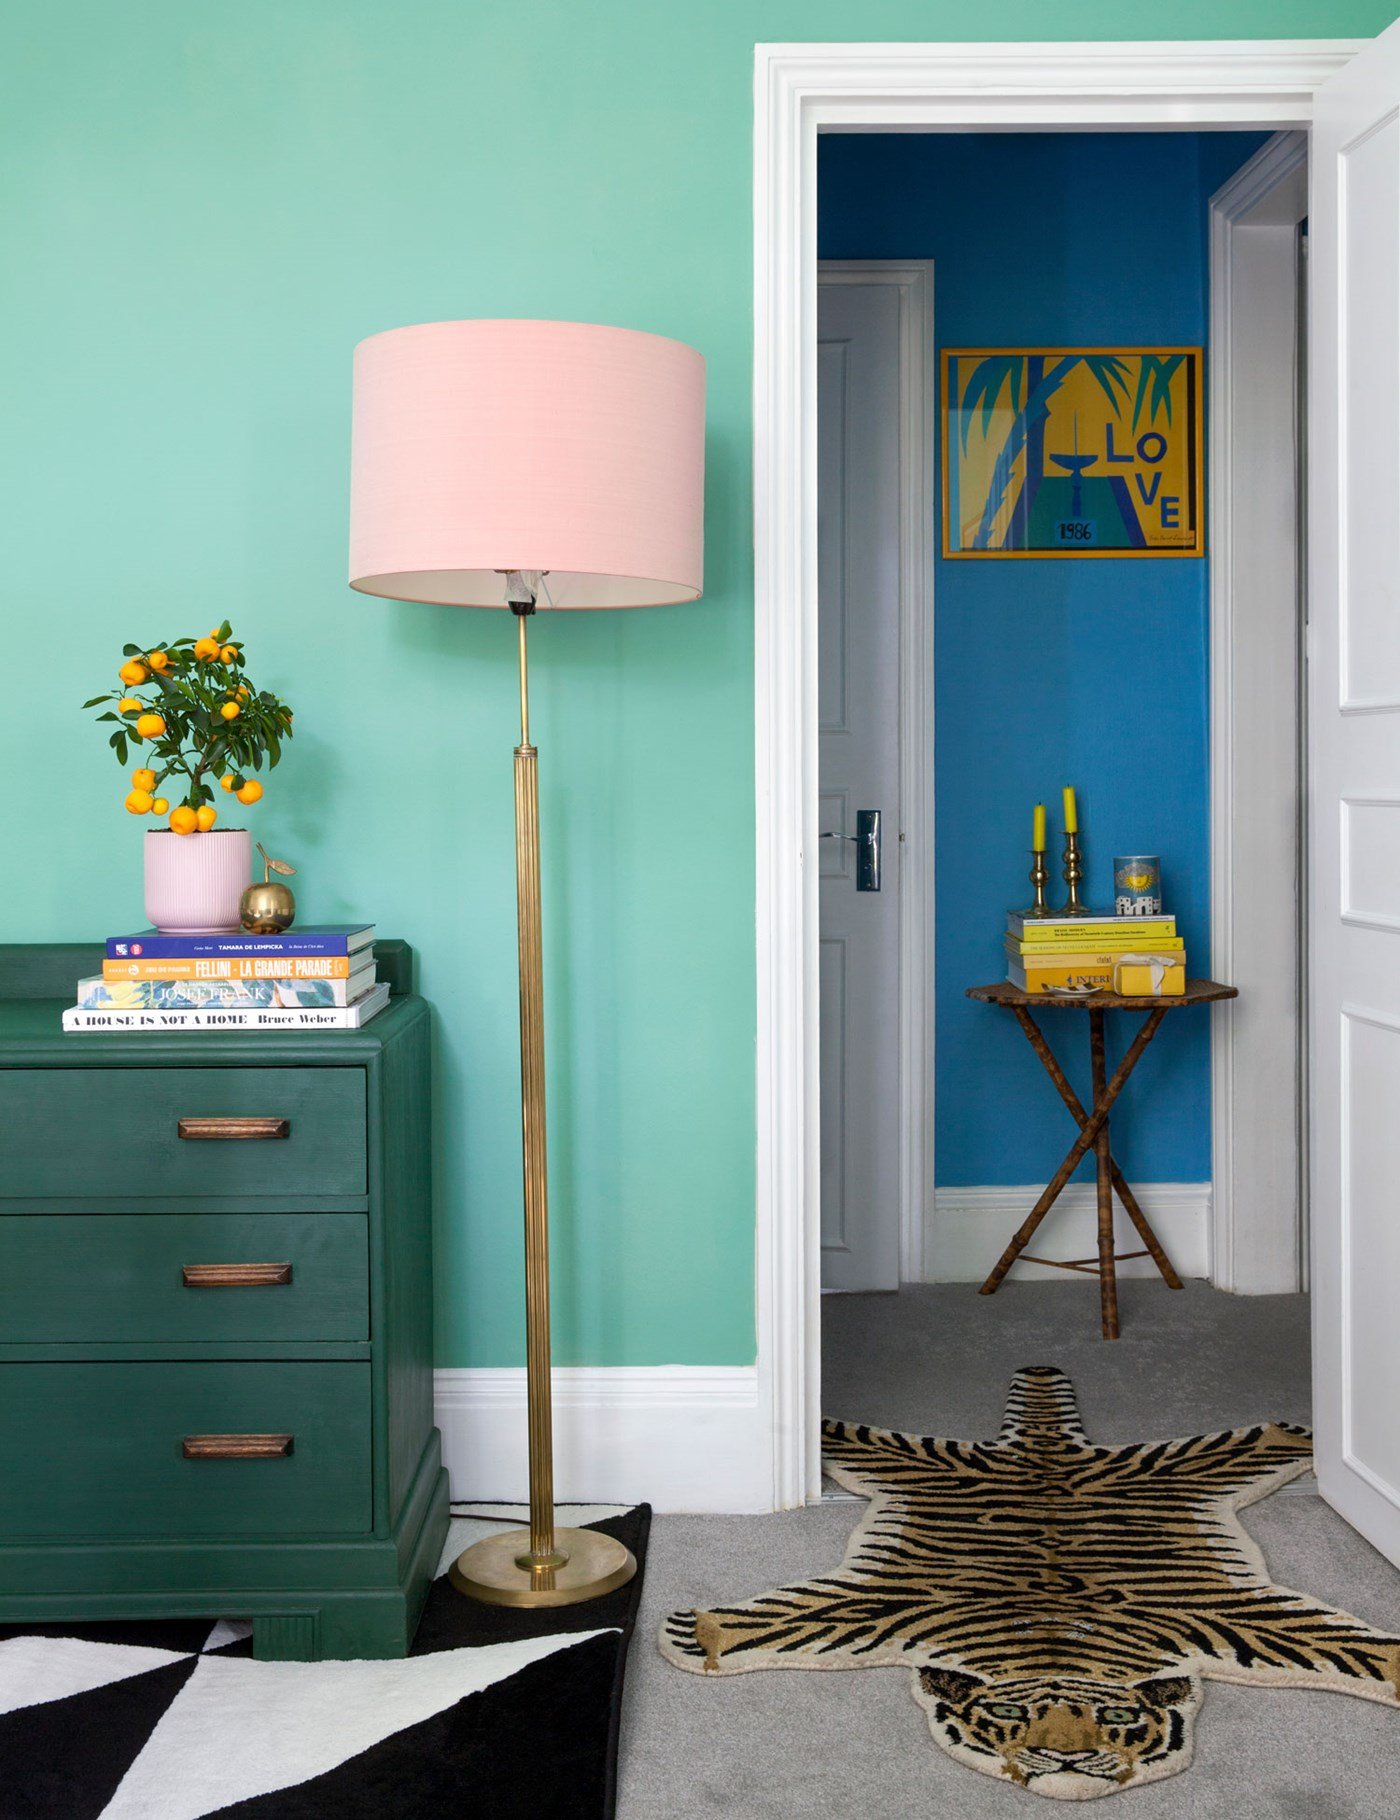
We spoke with Dominic Myland's, CEO of Mylands , about how to paint a room like a pro. 'Before you begin to choose a decorating scheme, it’s a good idea to think about the look you’re aiming to achieve and how you will use the space. If you’re painting a dining room, cloakroom or hallway – where you spend less time or pass through quickly - you can afford to be more daring if you wish. Most importantly, choosing colour is a personal thing. Think carefully about the colours you are comfortable with before selecting a scheme that feels right for you.'
1. Work out how much paint you'll need
Measure your room prior to going to buy paint. Multiply the height of each wall by the width to work out the area. Subtract the area of any openings like windows, but remember that you will want a little extra for wastage.
Paint tins tell you the coverage of the contents. Each litre of paint will cover about 10m2.
Myland adds 'It’s always best to calculate how much paint you’ll need before you start (we have a convenient usage chart to help with this). Remember, it’s best to buy all the paint required for a project at one time, as there can sometimes be tiny colour differences between paint batches.'
Get small space home decor ideas, celeb inspiration, DIY tips and more, straight to your inbox!
- Best bathroom paints: 6 moisture resistant paints
2. Select your paint accordingly
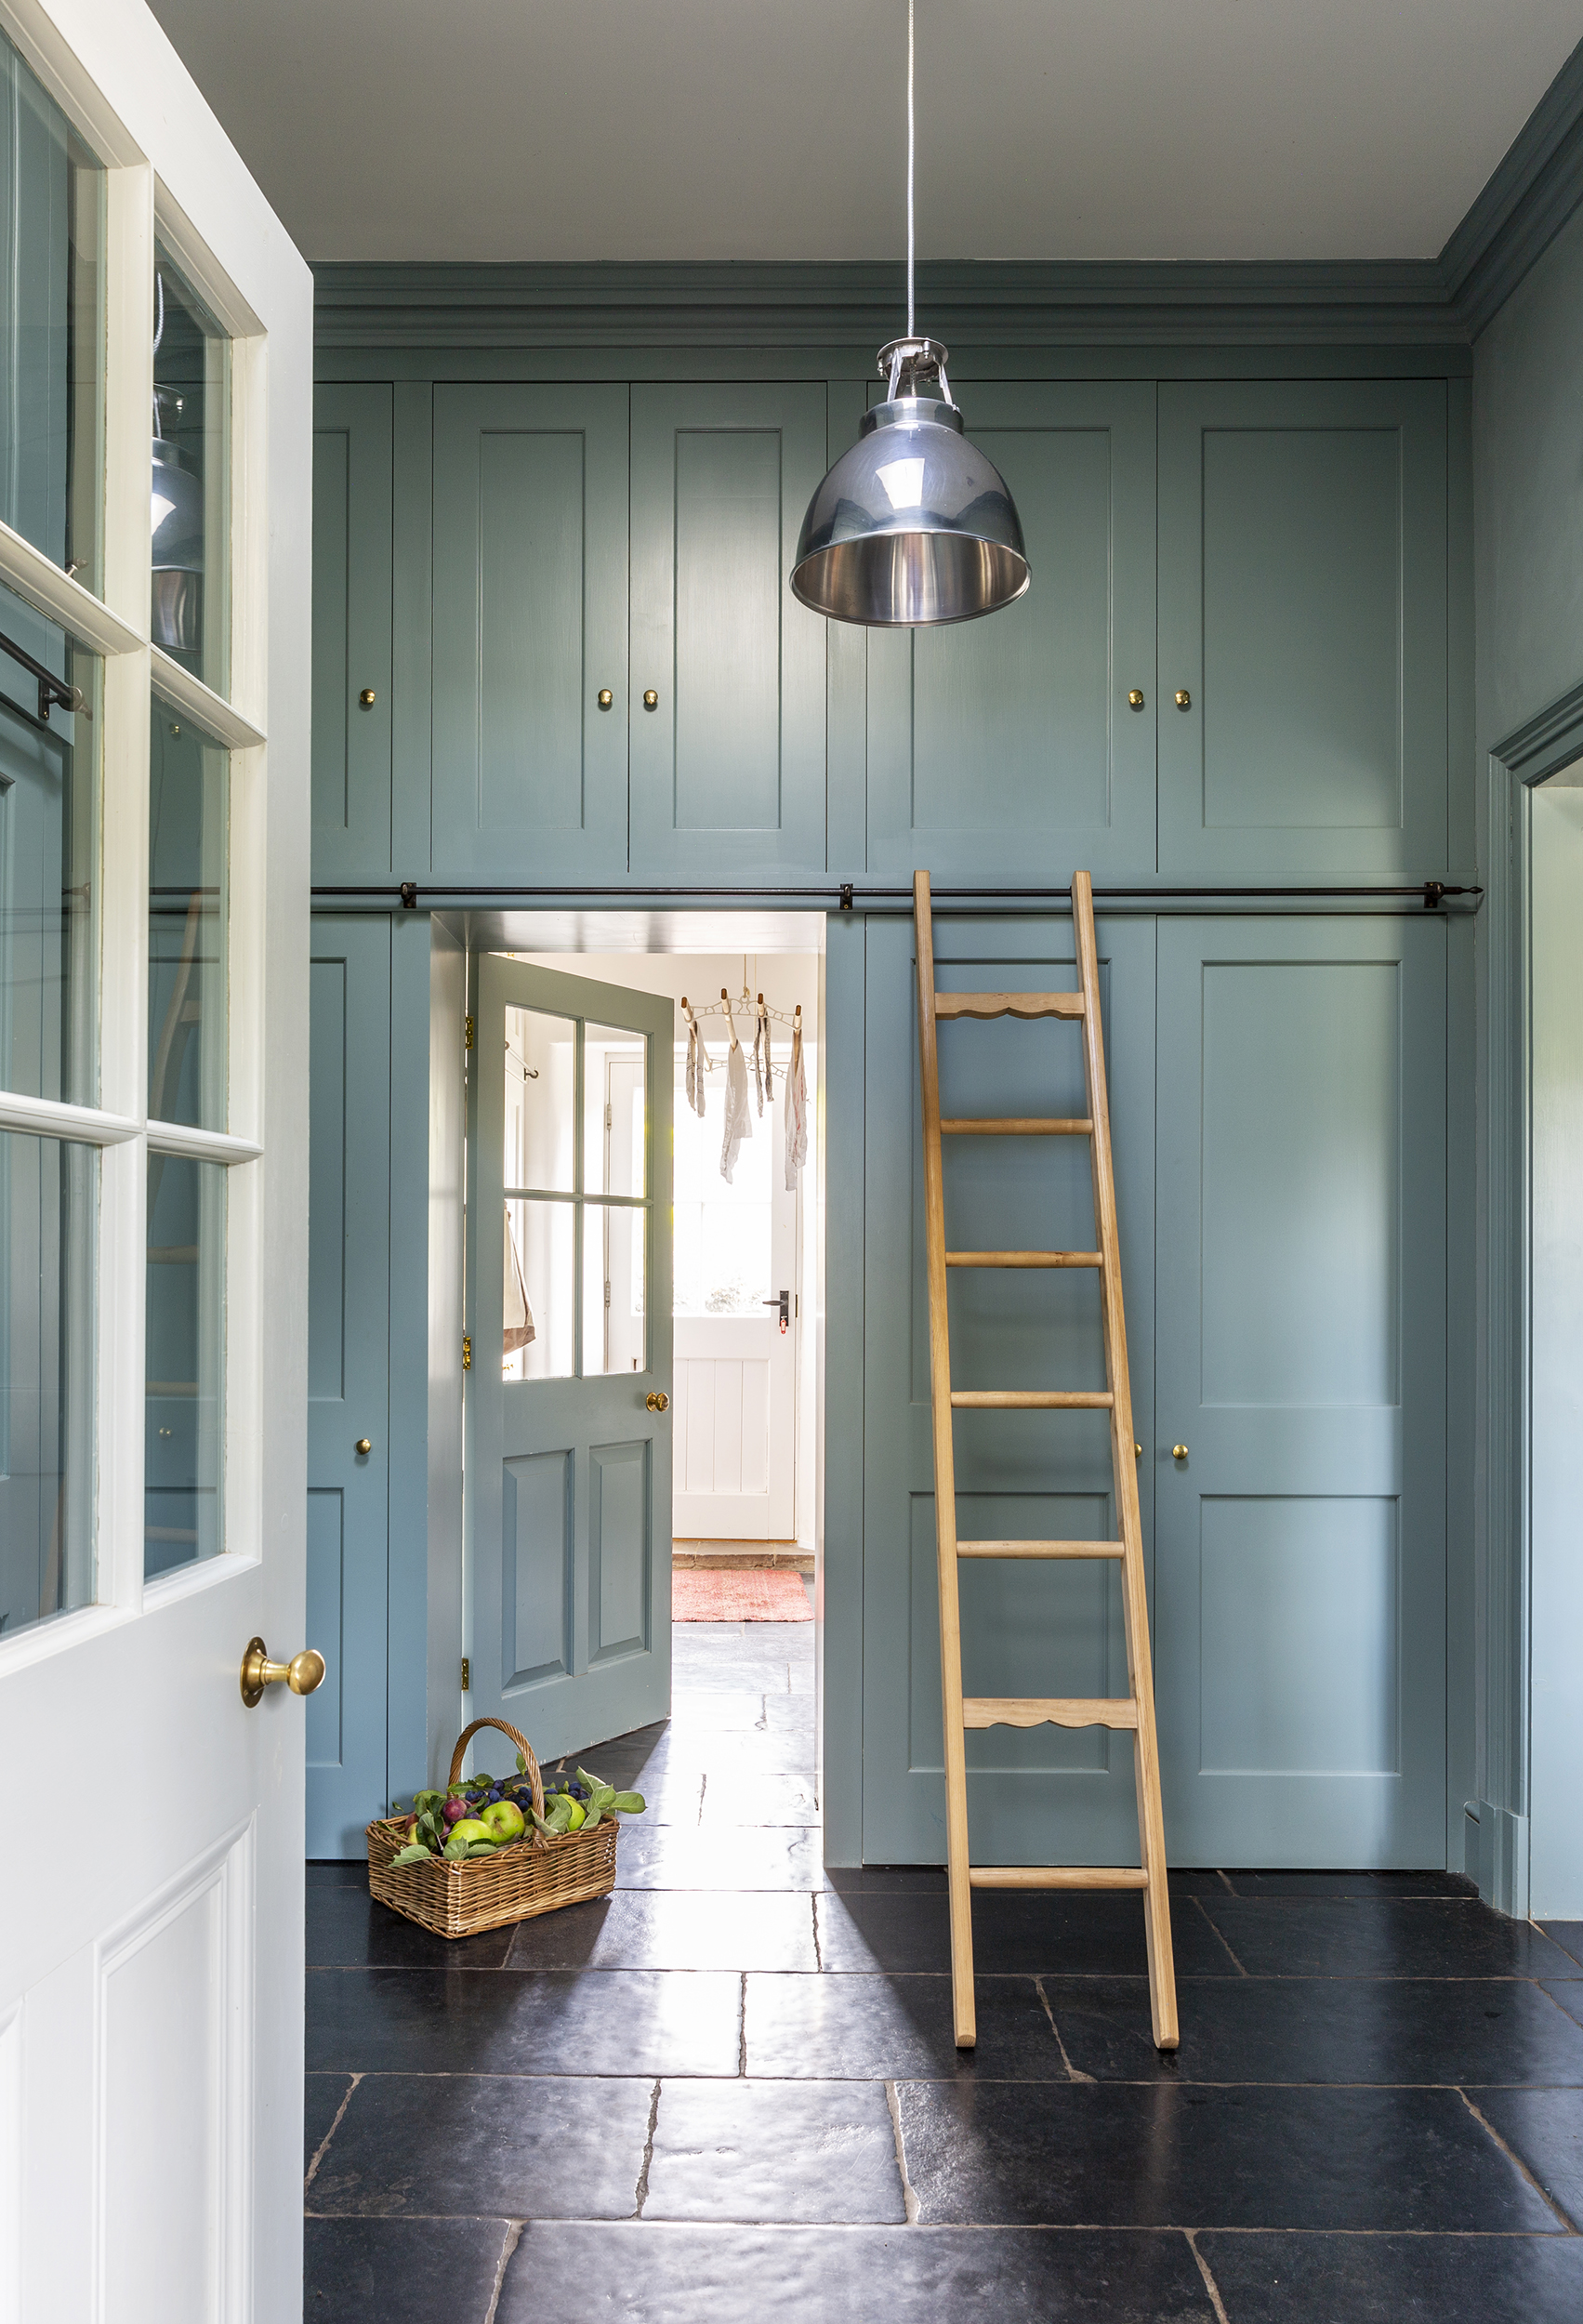
Your paint color and finish will come down to preference and your room's needs.
Wall paint types: Use matt, flat matt or silk emulsion.
Matt and flat matt paints: Offer (quite obviously) a matt finish, and are a great way to hide imperfections, giving walls an even finish of color.
Silk emulsion paints: Give a mid-sheen finish that is light reflecting for a bright and polished look. It is fairly wipeable also, making it an ideal choice for high-traffic areas where fingerprints are likely.
Woodwork paints: Choose eggshell, satin or gloss paint.
As with emulsion, different wood paints have different levels of sheen.
Eggshell: This type of paint has the lowest sheen and reflects the least light.
Satin: Satin paint offers a mid-sheen that cleans easily.
Gloss: For a high-shine, use gloss paint. It wipes down very well, but some prefer the subtler finish of eggshell or satin.
'It’s always best to test your final selection of colours in situ using sample pots. This allows you to view colours in the correct light and situation - throughout the day - to ensure you get an accurate feel for how the room will look. Remember to view the paints horizontally on walls rather than vertically – paint a large piece of paper or thin cardboard and move it around the room to view in various positions; use masking tape to stick them on the wall so you can move around, or, even better, paint it directly onto the wall. If possible, view the colours alongside fabrics and furnishings or swatch samples to help visualise your colour scheme with other important elements of your room.' Says Myland.
- Find the best paint for wood.
3. Gather your materials
To paint an entire room, gather the following:
- Dust sheets
- Filler and filling knife
- Rags and cloths
- Sandpaper
- Masking tape
- Dust mask
- Stepladder
- A range of brushes (make sure you have a mixture of widths and enough to keep different brushes for cutting in and painting woodwork.
- Emulsion paint for walls
- Wood primer
- Paint for woodwork and radiators
- Find the best paint brushes for the job too.
4. Prepare the room you're painting
Remove as much furniture as you can from the room. What cannot be removed should be pushed to the centre of the room and covered with dust sheets. Put dust sheets down to protect your flooring. Tape these to the skirting boards to prevent movement while you work. Sand all surfaces. This will remove any imperfections and help the new coat of paint have something to key on to.
5. Clean and repair any surfaces
Clean the walls with sugar soap and fill any gaps or cracks in walls and woodwork. Once dry, sand walls and woodwork and give all surfaces a thorough wipe down. Allow to dry completely before painting. Put masking tape along the skirting boards and any trim. You will also want to cover light switches or sockets and windows.
'The key to a beautifully painted space or piece of furniture is preparation. Remove any furniture or cover with sheets to avoid marking. Take the time to make sure your surfaces are clean and clear of dirt, grit and dust, make sure any holes or cracks are filled in and always use an appropriate undercoat or primer for optimum effect.' Says Myland.
6. Prime surfaces that need it
If the walls need priming then do this and leave to dry for at least two hours. Remember that fresh plaster always needs priming with a mist coat for the paint to bond properly.
Prime fresh plaster with a watered-down solution of emulsion (70/30 paint to water unless the tin states otherwise). If you are going from a very dark colour to a very light one, you might want to prime walls with a mist coat or two of basic white paint.
7. Paint the ceiling
Get your stepladder out and start at the top as that way, if paint drips onto the walls, it can easily be covered up. Make sure you add a little paint to a small tray to begin with, so that you're not taking the whole can up there as that's a recipe for disaster! Start by cutting in with paint, then cover the rest. You'll need a couple of coats with two hours drying time in between. 'We always advise a minimum of two coats to achieve the perfect depth of colours.' Advises Myland.
- DIY: how to paint a ceiling like a pro.
8. Move onto the walls
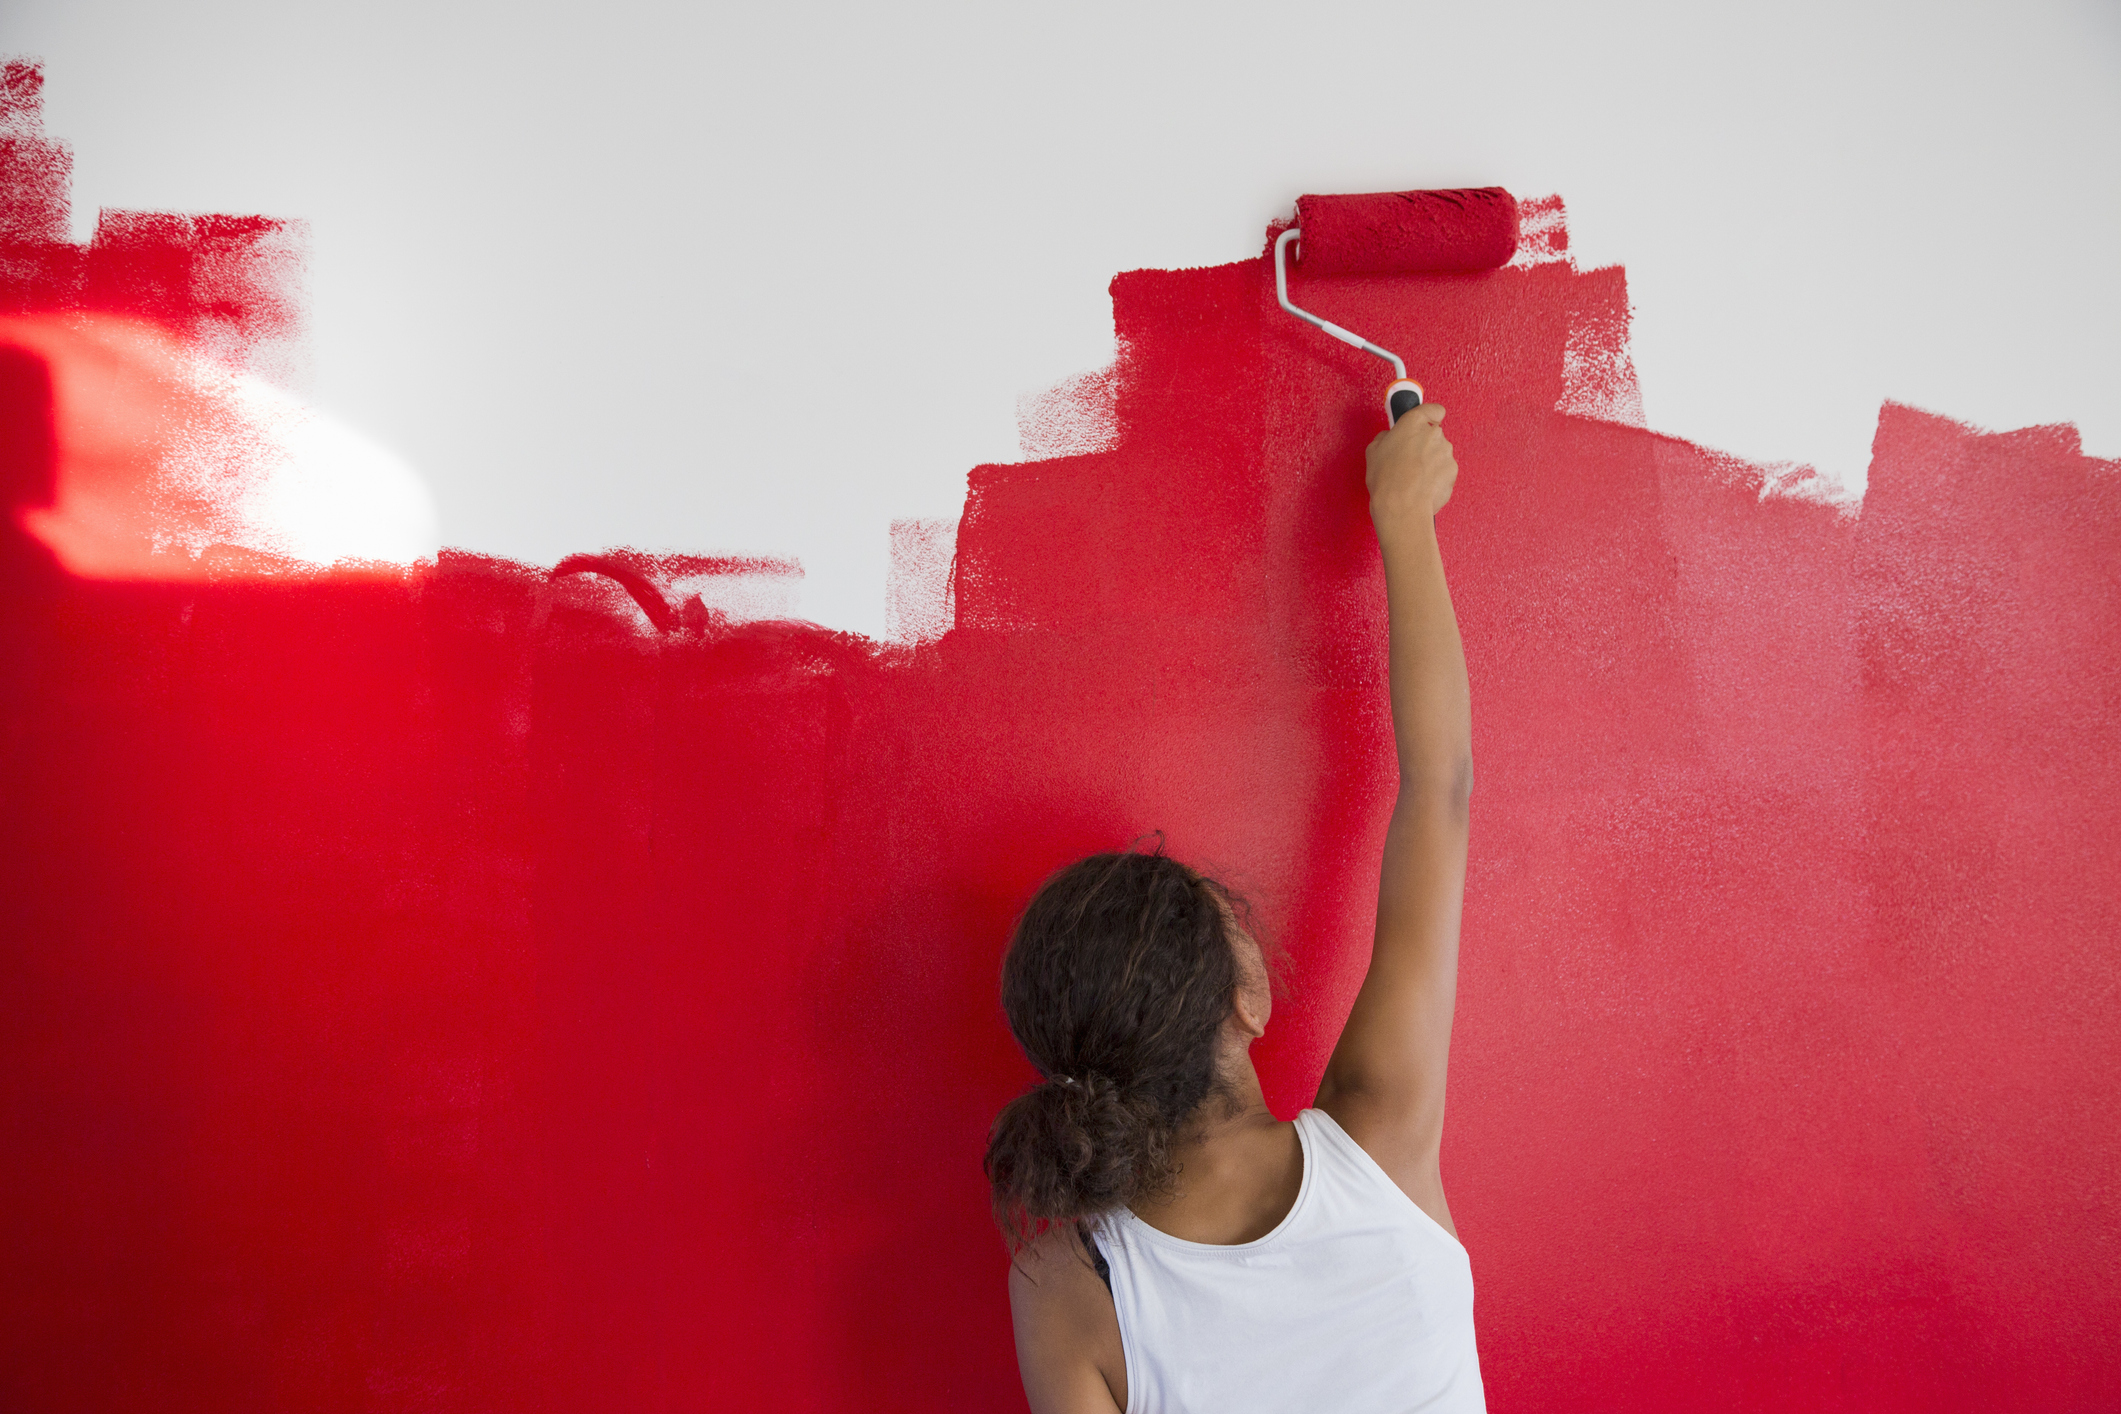
Next, start on your walls. You'll usually need at least two coats of paint, with a couple of hours drying time between each, but the amount of course depends on the finish you want.
To make this job easier, you'll want to find the best paint roller for the job. Rollers have different naps/piles and come in different materials. A shorter pile or foam roller is perfect for smooth, new plaster. You may need a longer pile for a more textured wall and if you are painting woodchip or an artexed surface, you will definitely need long pile to get into all of the crevices.
Top tip: A thin radiator roller with a long handle is really useful for getting behind the radiator and other narrow spaces.

9. Paint any room trim
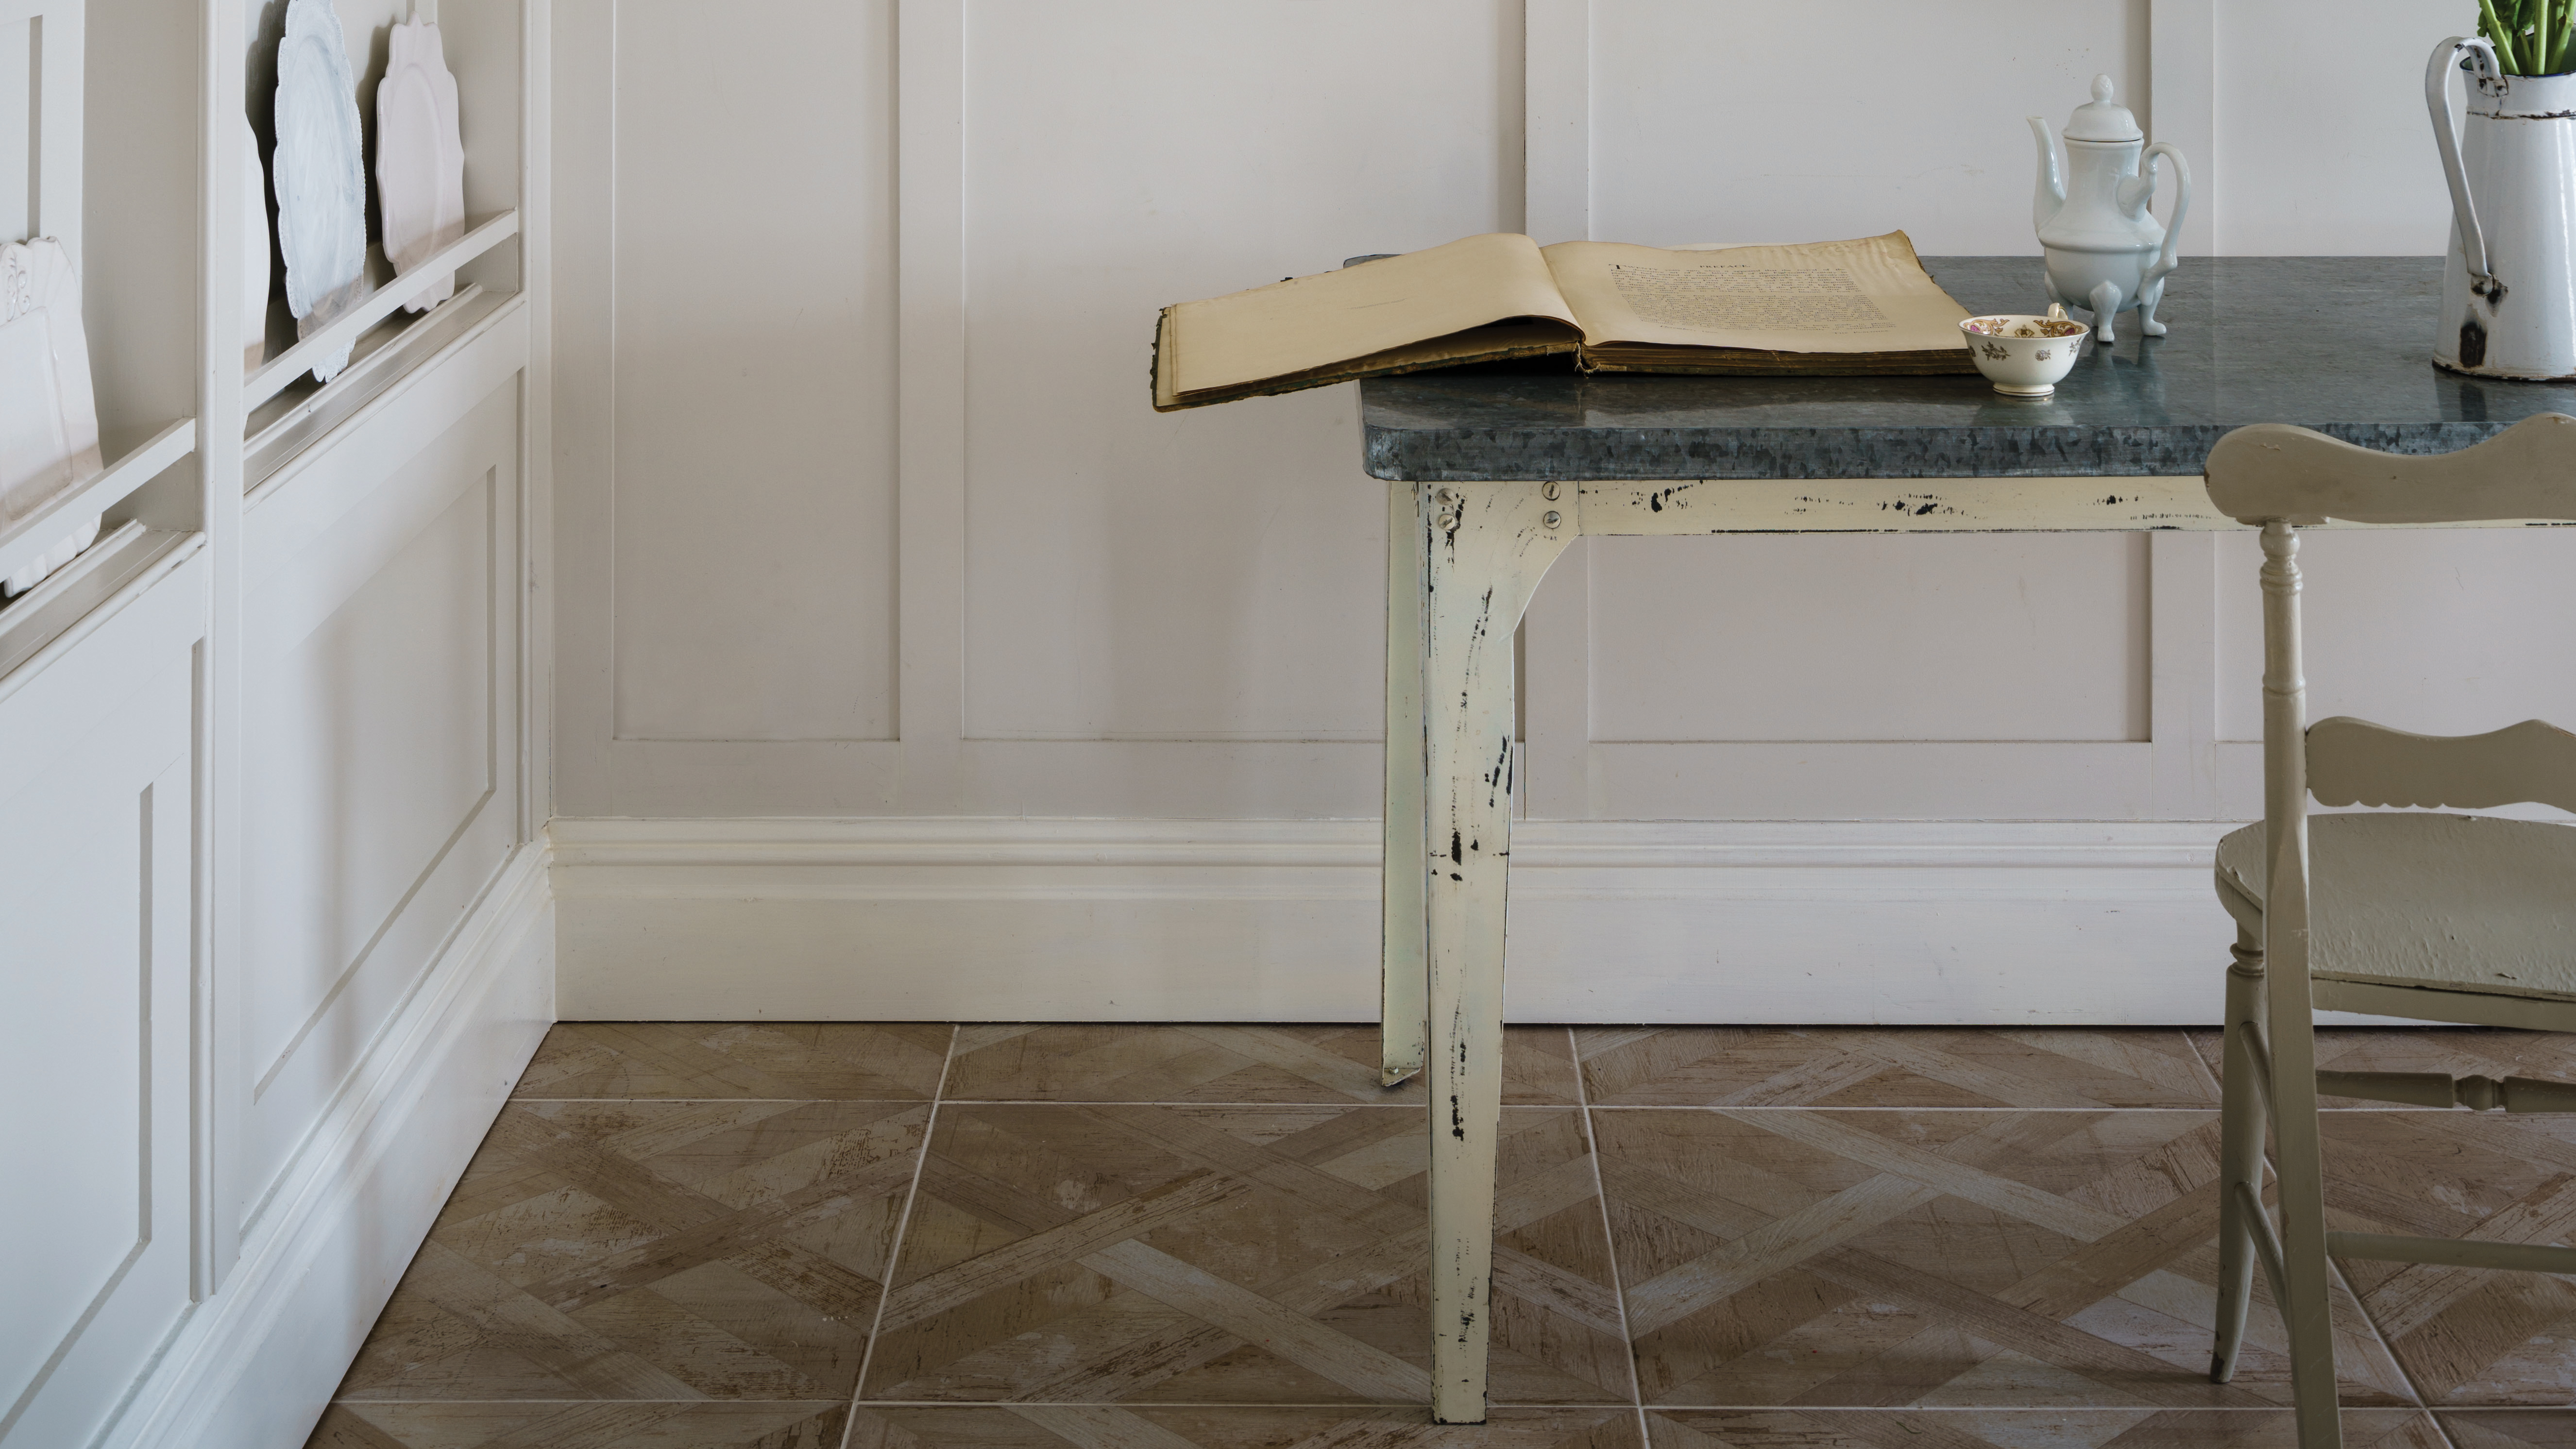
Wait until the walls are completely dry before painting any trim and architrave like baseboards/skirting boards, door frames and any woodwork. You will want to protect your wall with masking tape as if it's not dry, the new paint could be pulled off.
Note:
- Sanding: You should have sanded the woodwork before painting the room. If not, do it very carefully to avoid damaging the walls.
- Paint choice: If you are painting woodwork that was painted with oil-based paint and you are now using water-based you will need to look for an undercoat paint that allows the new paint to key to the surface.
- Priming: Fresh wood will also need priming or paint will just soak in to the surface. Ask your local DIY store for help finding the right products for the job.
- Quick method: Apply the first coat. Be careful not to overload the brush as it will drip. If you do get drip marks, sand out once the paint is dry and apply another coat. Unless you are using one-coat wood paint, you will need another coat for a good finish.

10. Clean your brushes and rollers
When you're done, tidy up as the paint dries – leaving the masking tape in place. Wash brushes and rollers with fresh paint on them thoroughly with soapy water or white spirit to avoid a harder job of removing it once dried.
- Find the best paint for kitchen cabinets.
How much does it cost to paint a room?
This depends above all on the size of the room you're painting and on whether you have to buy new materials or not. The most costly part is likely to be the paint itself. With the good own brand paint starting at about £5/$7 per litre and more expensive paint brands like Farrow & Ball costing around £19/$26.50. Calculate how much paint you'll need then work out your overall budget to see what you can afford for the best results. Plus, think of how much cash you're saving by DIYing it!
Time to paint!

Lindsey is Editor of Realhomes.com and Editor in Chief for Home Ecommerce at Future. She is here to give you aspirational, yet attainable ideas for your home and works with her team to help you get the best buys, too. She has written about homes and interiors for the best part of a decade for brands including Homes & Gardens, Ideal Home and Gardeningetc and isn't afraid to take the inspiration she finds at work into her own space – a Victorian terrace which she has been (slowly) remodelling for the last eight years. She is happiest sipping a cup of tea with a cat on her lap (if only she had a cat).