How to use microcement on kitchen countertops for a seriously cool upgrade
Learn how to create budget-friendly, luxury-look countertops with this step-by-step guide on how to microcement kitchen worktops

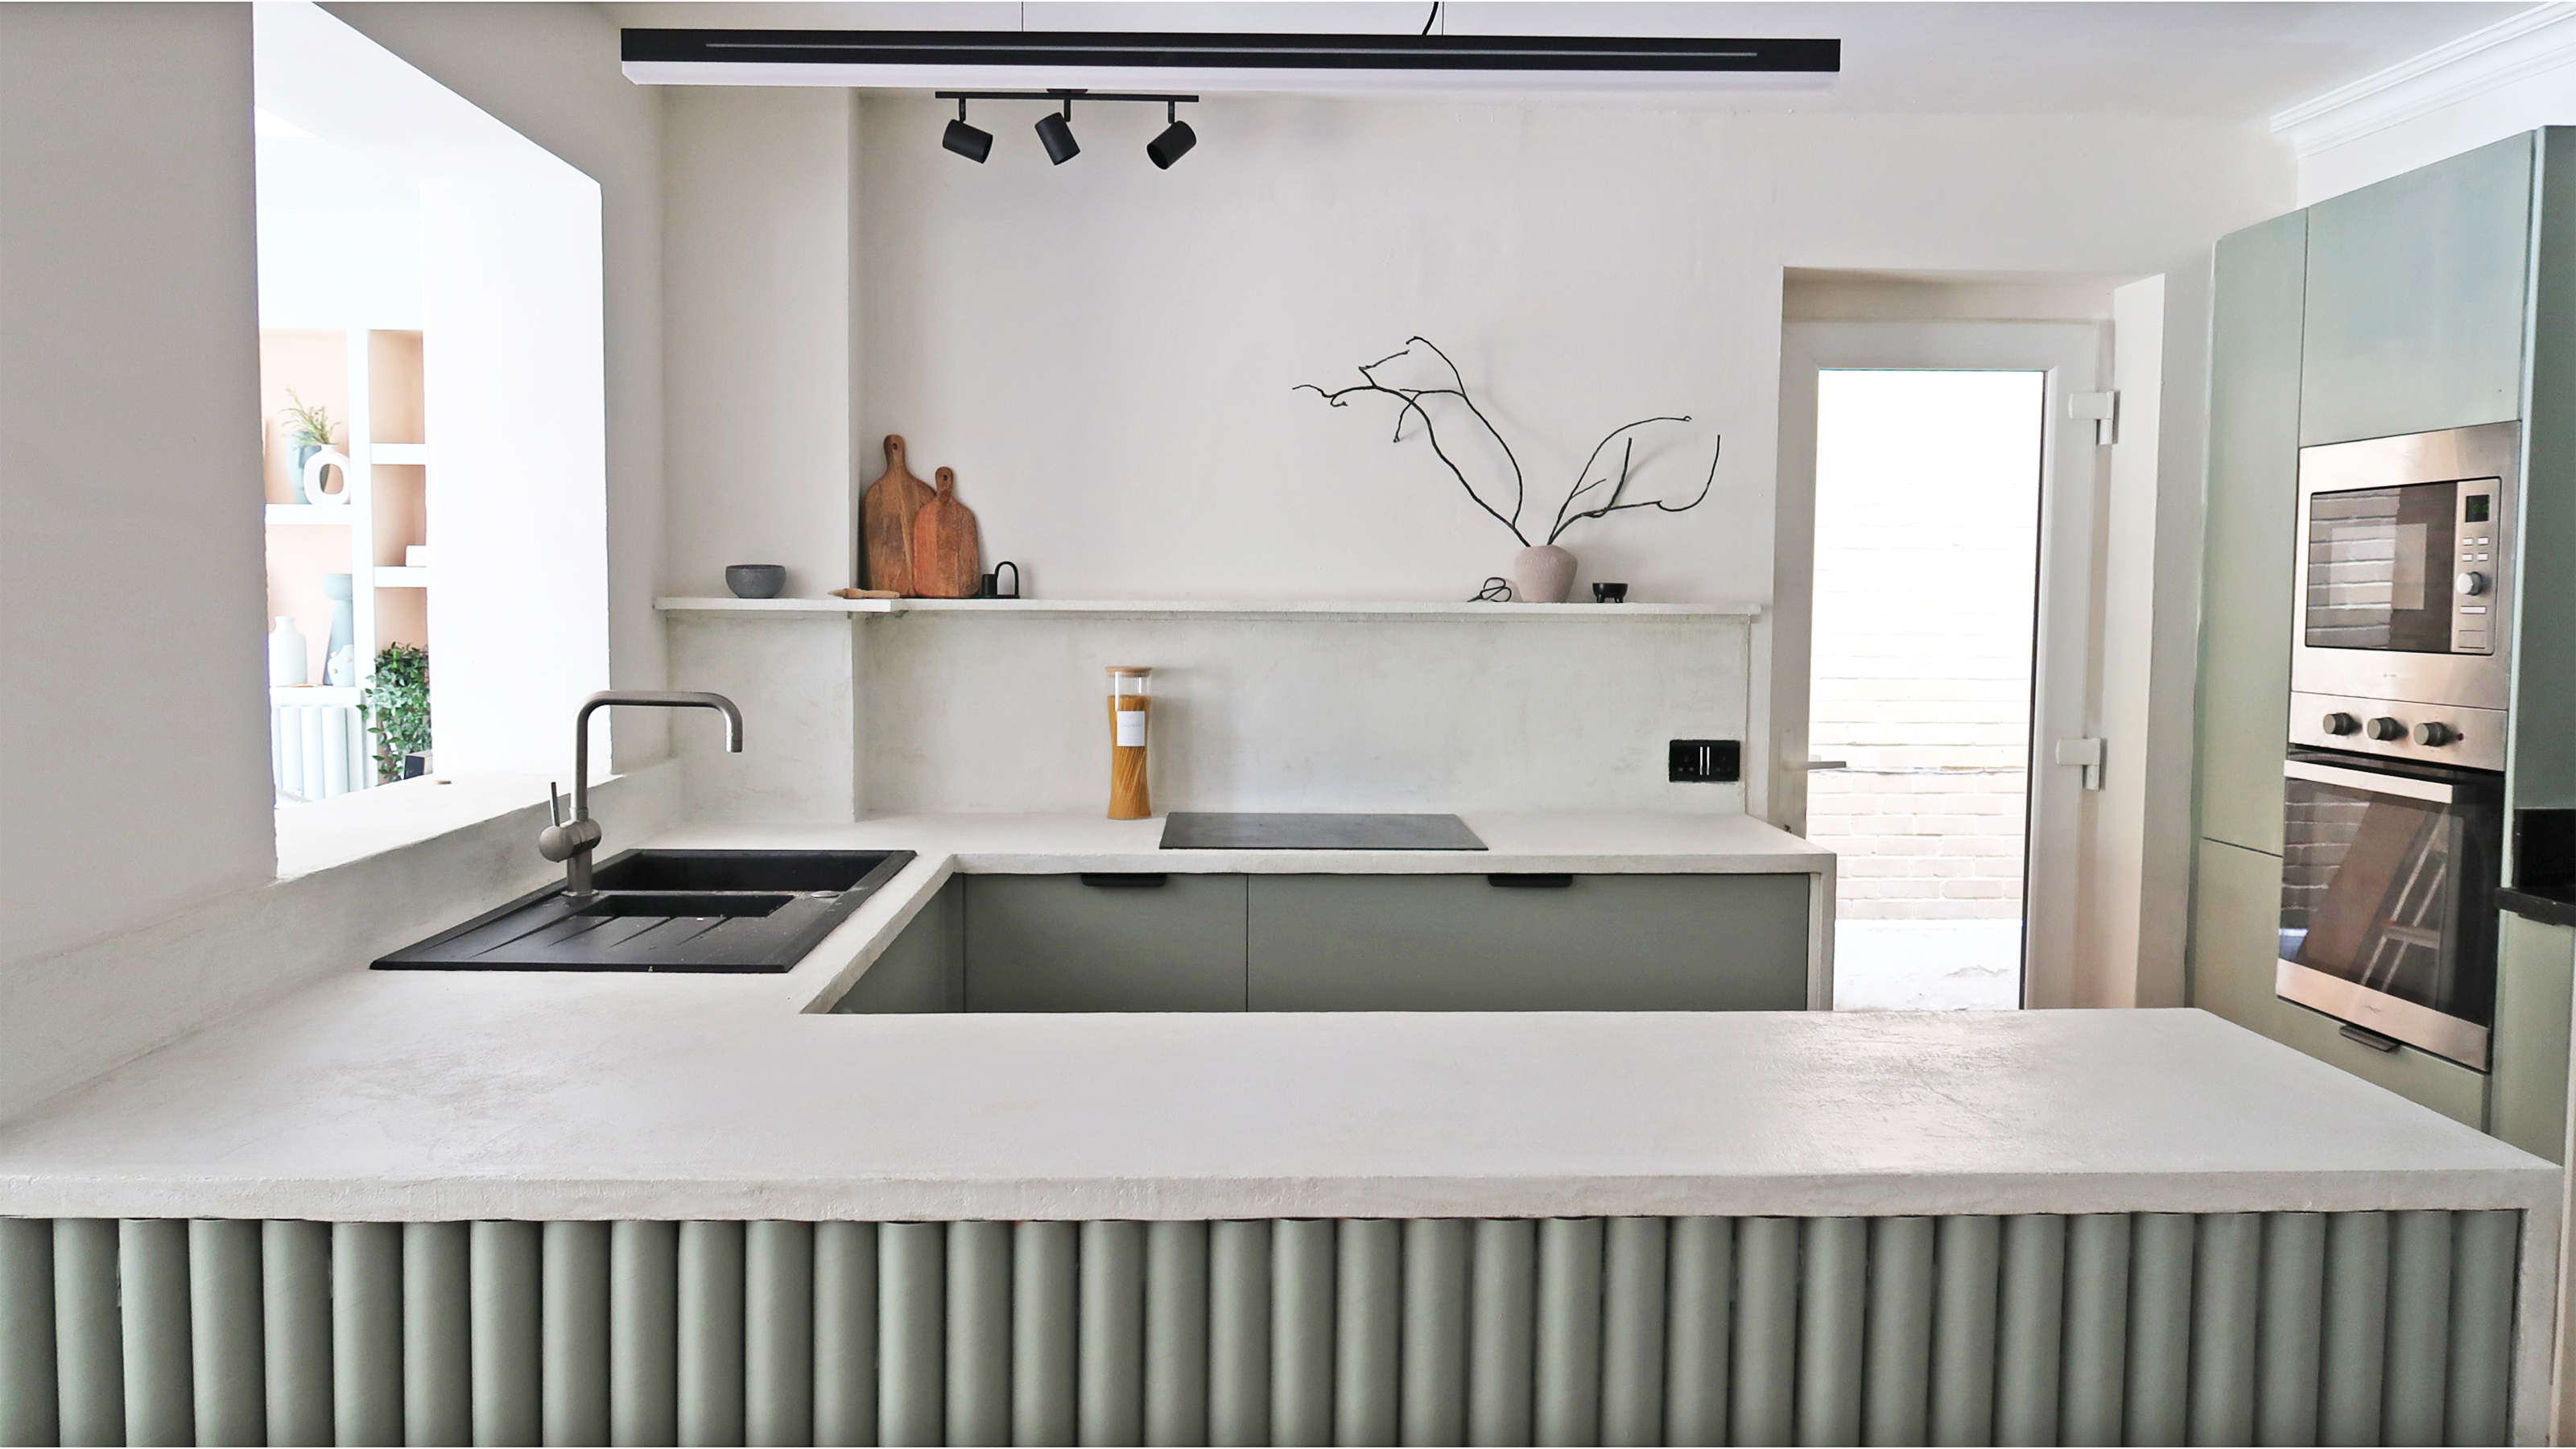
Microcement is a cement-based product that, as the name suggests, you apply in very thin (micro) layers directly onto the surface you wish to cover. The materials are supplied in component parts and mixed at the time of application and can cover almost any hard surface.
In my opinion, using microcement is a total game-changer for DIY project enthusiasts because it can transform those classic problem areas such as tired kitchen countertops and grotty bathrooms, which until now have been firmly on the 'expensive & likely to require outside trades' jobs list.
After experimenting with a Microcement Polished Concrete Kit, I can personally vouch for the below list of 'pros' that might appear too good to be true:
- Doesn't require costly tools to apply
- Forms a strong bonded surface that doesn't crack, if applied as directed
- Is waterproof (once sealed) and slip-resistant
- Is food safe (once sealed)
- Doesn't contact chlorine or highly hazardous chemicals
- Is quick-drying and easy to manipulate
- A word of caution...it's addictive!
Skill level: Intermediate
Time: 3-4 days elapsed time to allow for drying and approx 1 day’s work depending on the size of the area being covered.
Cost: Under £250/$300
DIY Microcement Polished Concrete Countertops
You will need
1. 2 clean buckets
2. Durable foam roller with replacement heads
3. Multi-purpose masking tape – stock up at Amazon
4. Protective gloves
5. Flexible spreading trowel or spatula – this Sharplace pick works well
6. External Corner tool such as this OX Tools pick
7. Orbital Sander – Bosch makes a good investment with a selection of grit pads
8. Protective mask
9. Microcement kit – I got mine from Concrete Lab
10. Microcement sealant likewise from Concrete Lab but you can pick this up from most hardware stores like Home Depot
11/ Measuring syringes for sealant – you'll need an accurate measure so it's worth picking some up
12. Measuring jug
13. Paint mixer attachment for drill like this (or similar means of electrical mixing)
14. Dust sheets
Before you start
A dust mask and vacuum attachment or another extraction method for your sander are very important when you come to sand the dried microcement as they will reduce the risk of breathing in concrete dust which can be harmful to health. Keeping the room well ventilated while you work is also recommended.
Get small space home decor ideas, celeb inspiration, DIY tips and more, straight to your inbox!
The success of your project relies heavily on how well you follow the manufacturer's guidelines so I recommend reading them through a few times and planning the project timeline carefully before you start. Once the microcement has been mixed you have a limited time to apply it before it begins to set, so ensure you prepped the area in advance and have the required tools to hand.
You will need to dilute the liquids that come in the kit eg the primer, the resin mixture which is combined with the microcement powder and also the sealant at the end of the process, be sure to check the quantities of water before you add them.
Make sure your buckets and tools are clean before you start, so as not to accidentally contaminate the mixtures.
1. Prepare your surfaces
Just like when you're microcementing kitchen cabinets, ensure countertops are clean, dry and sound. If covering backsplash/upstands with microcement, ensure the joints which meet the countertop are sealed. Mix primer according to manufacturer instructions and apply to countertops using a foam roller.
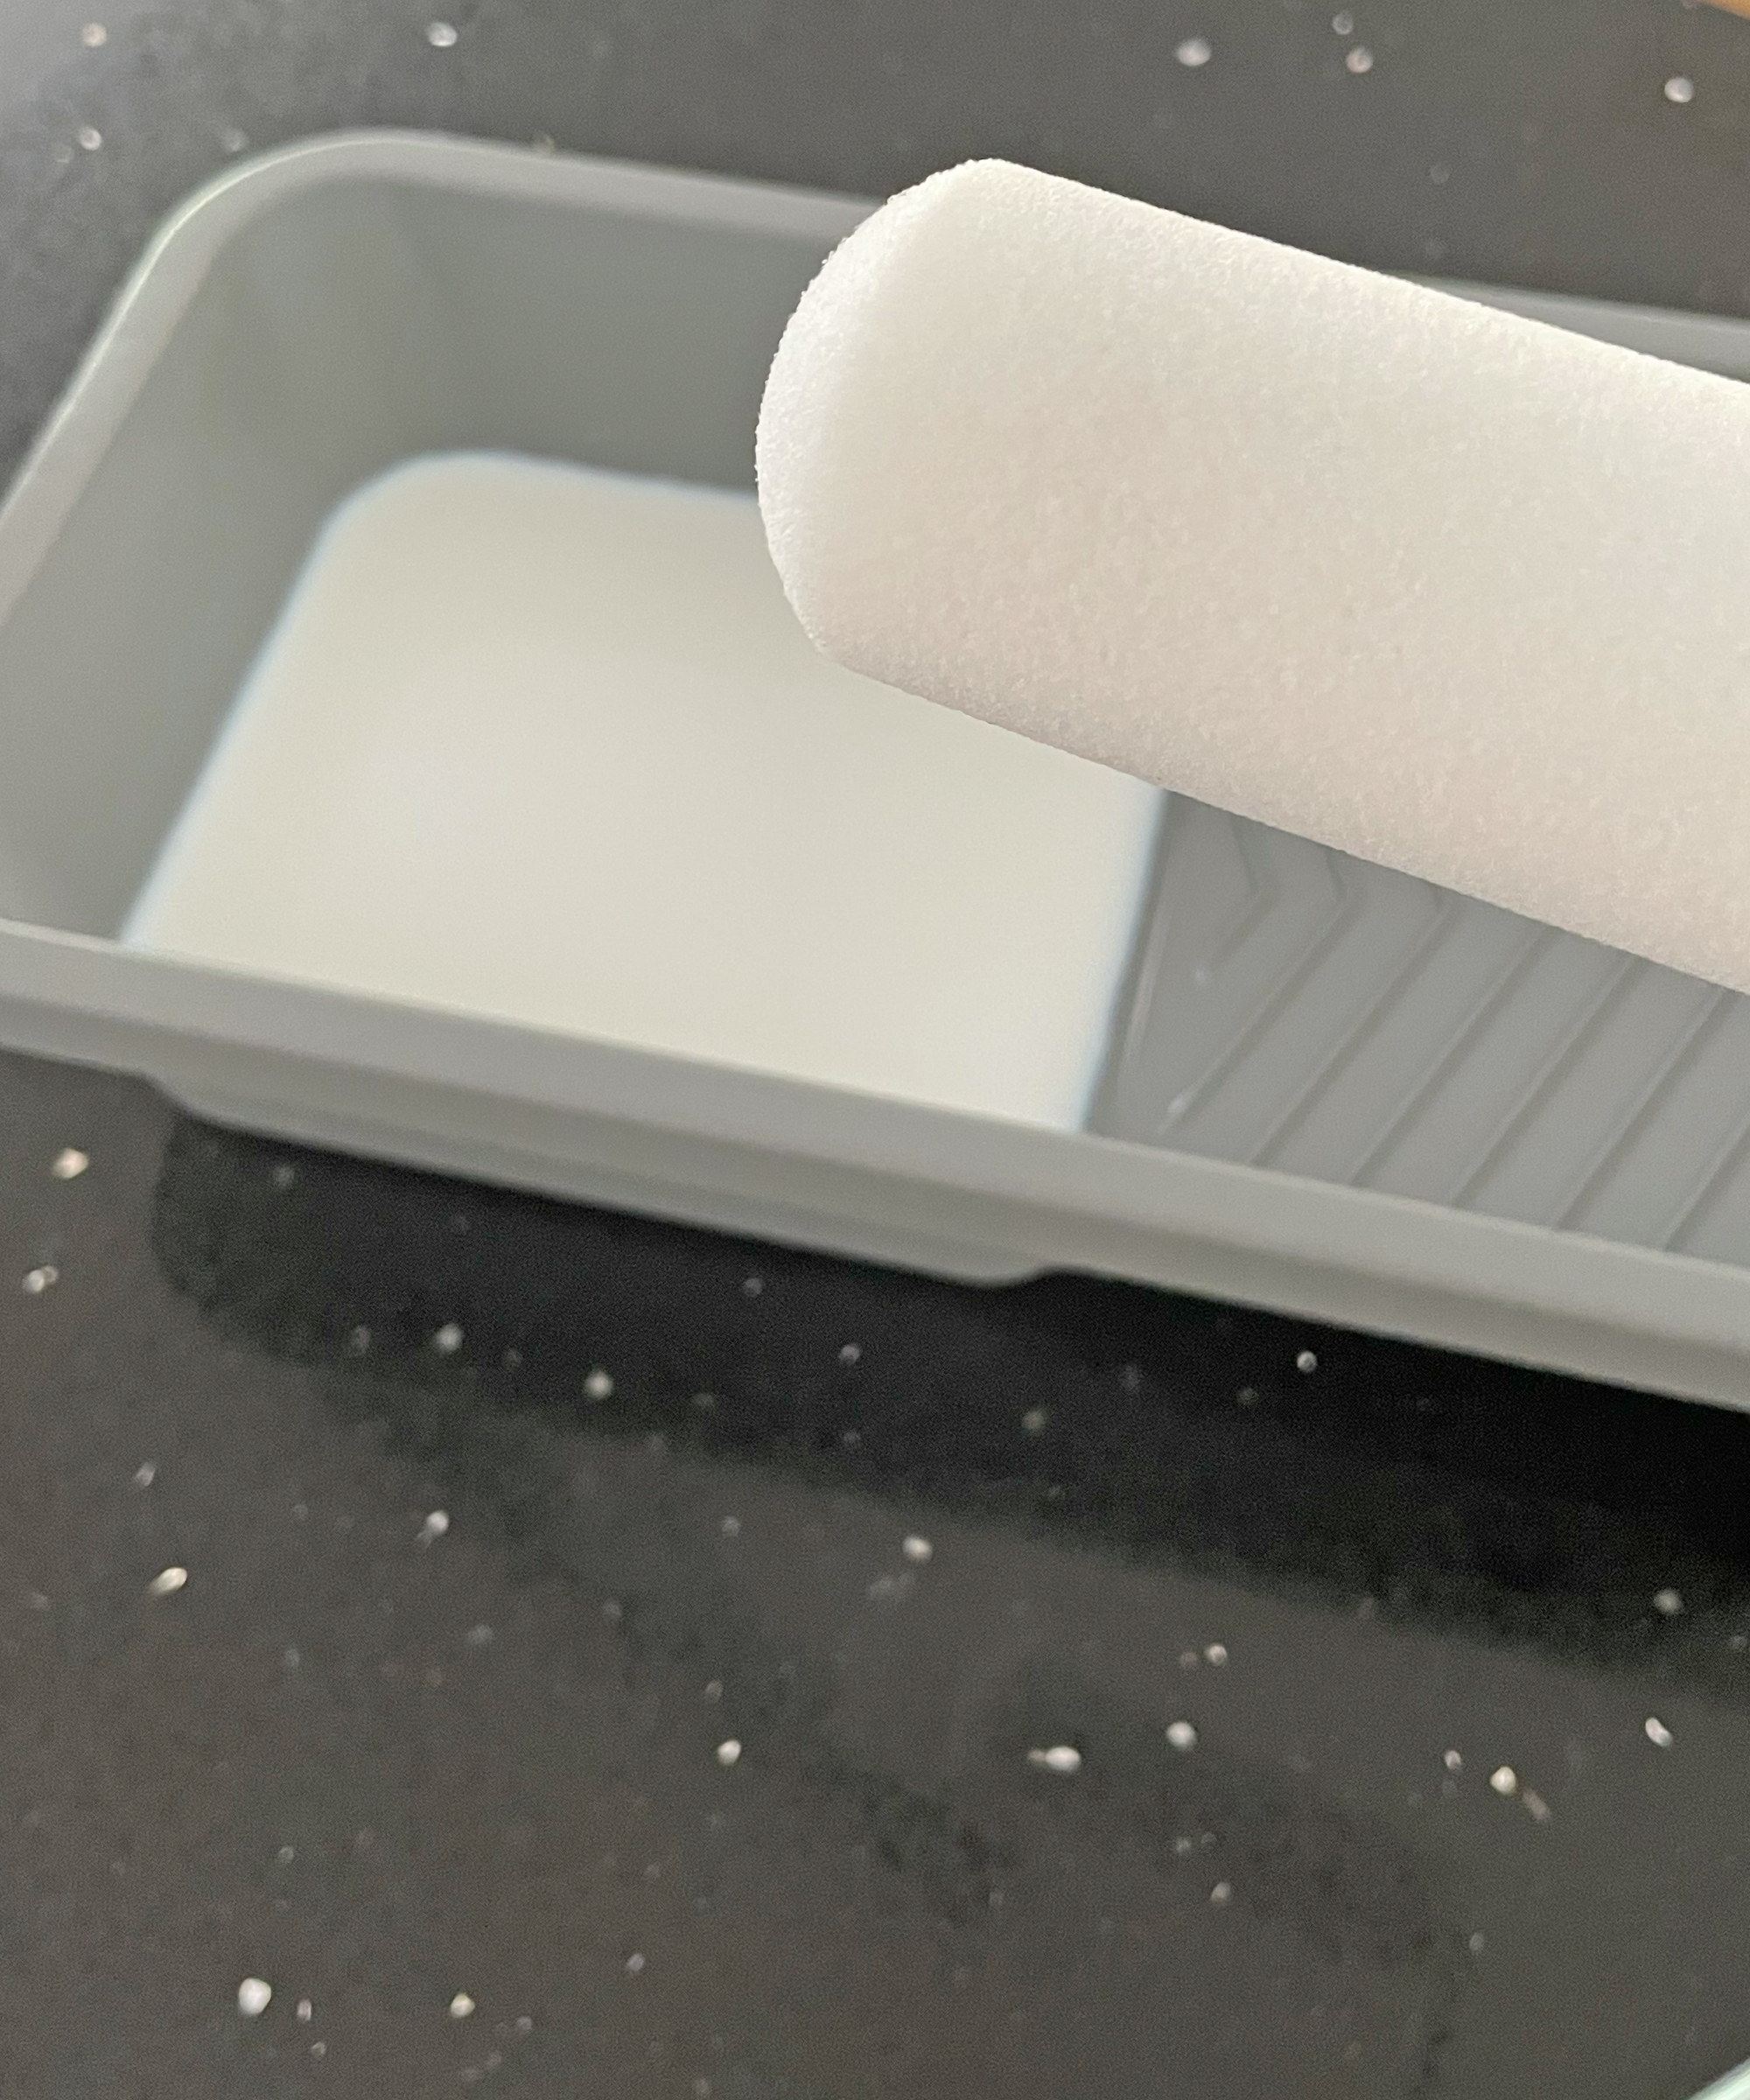
Leave the primer to dry for the manufacturer's recommended duration.
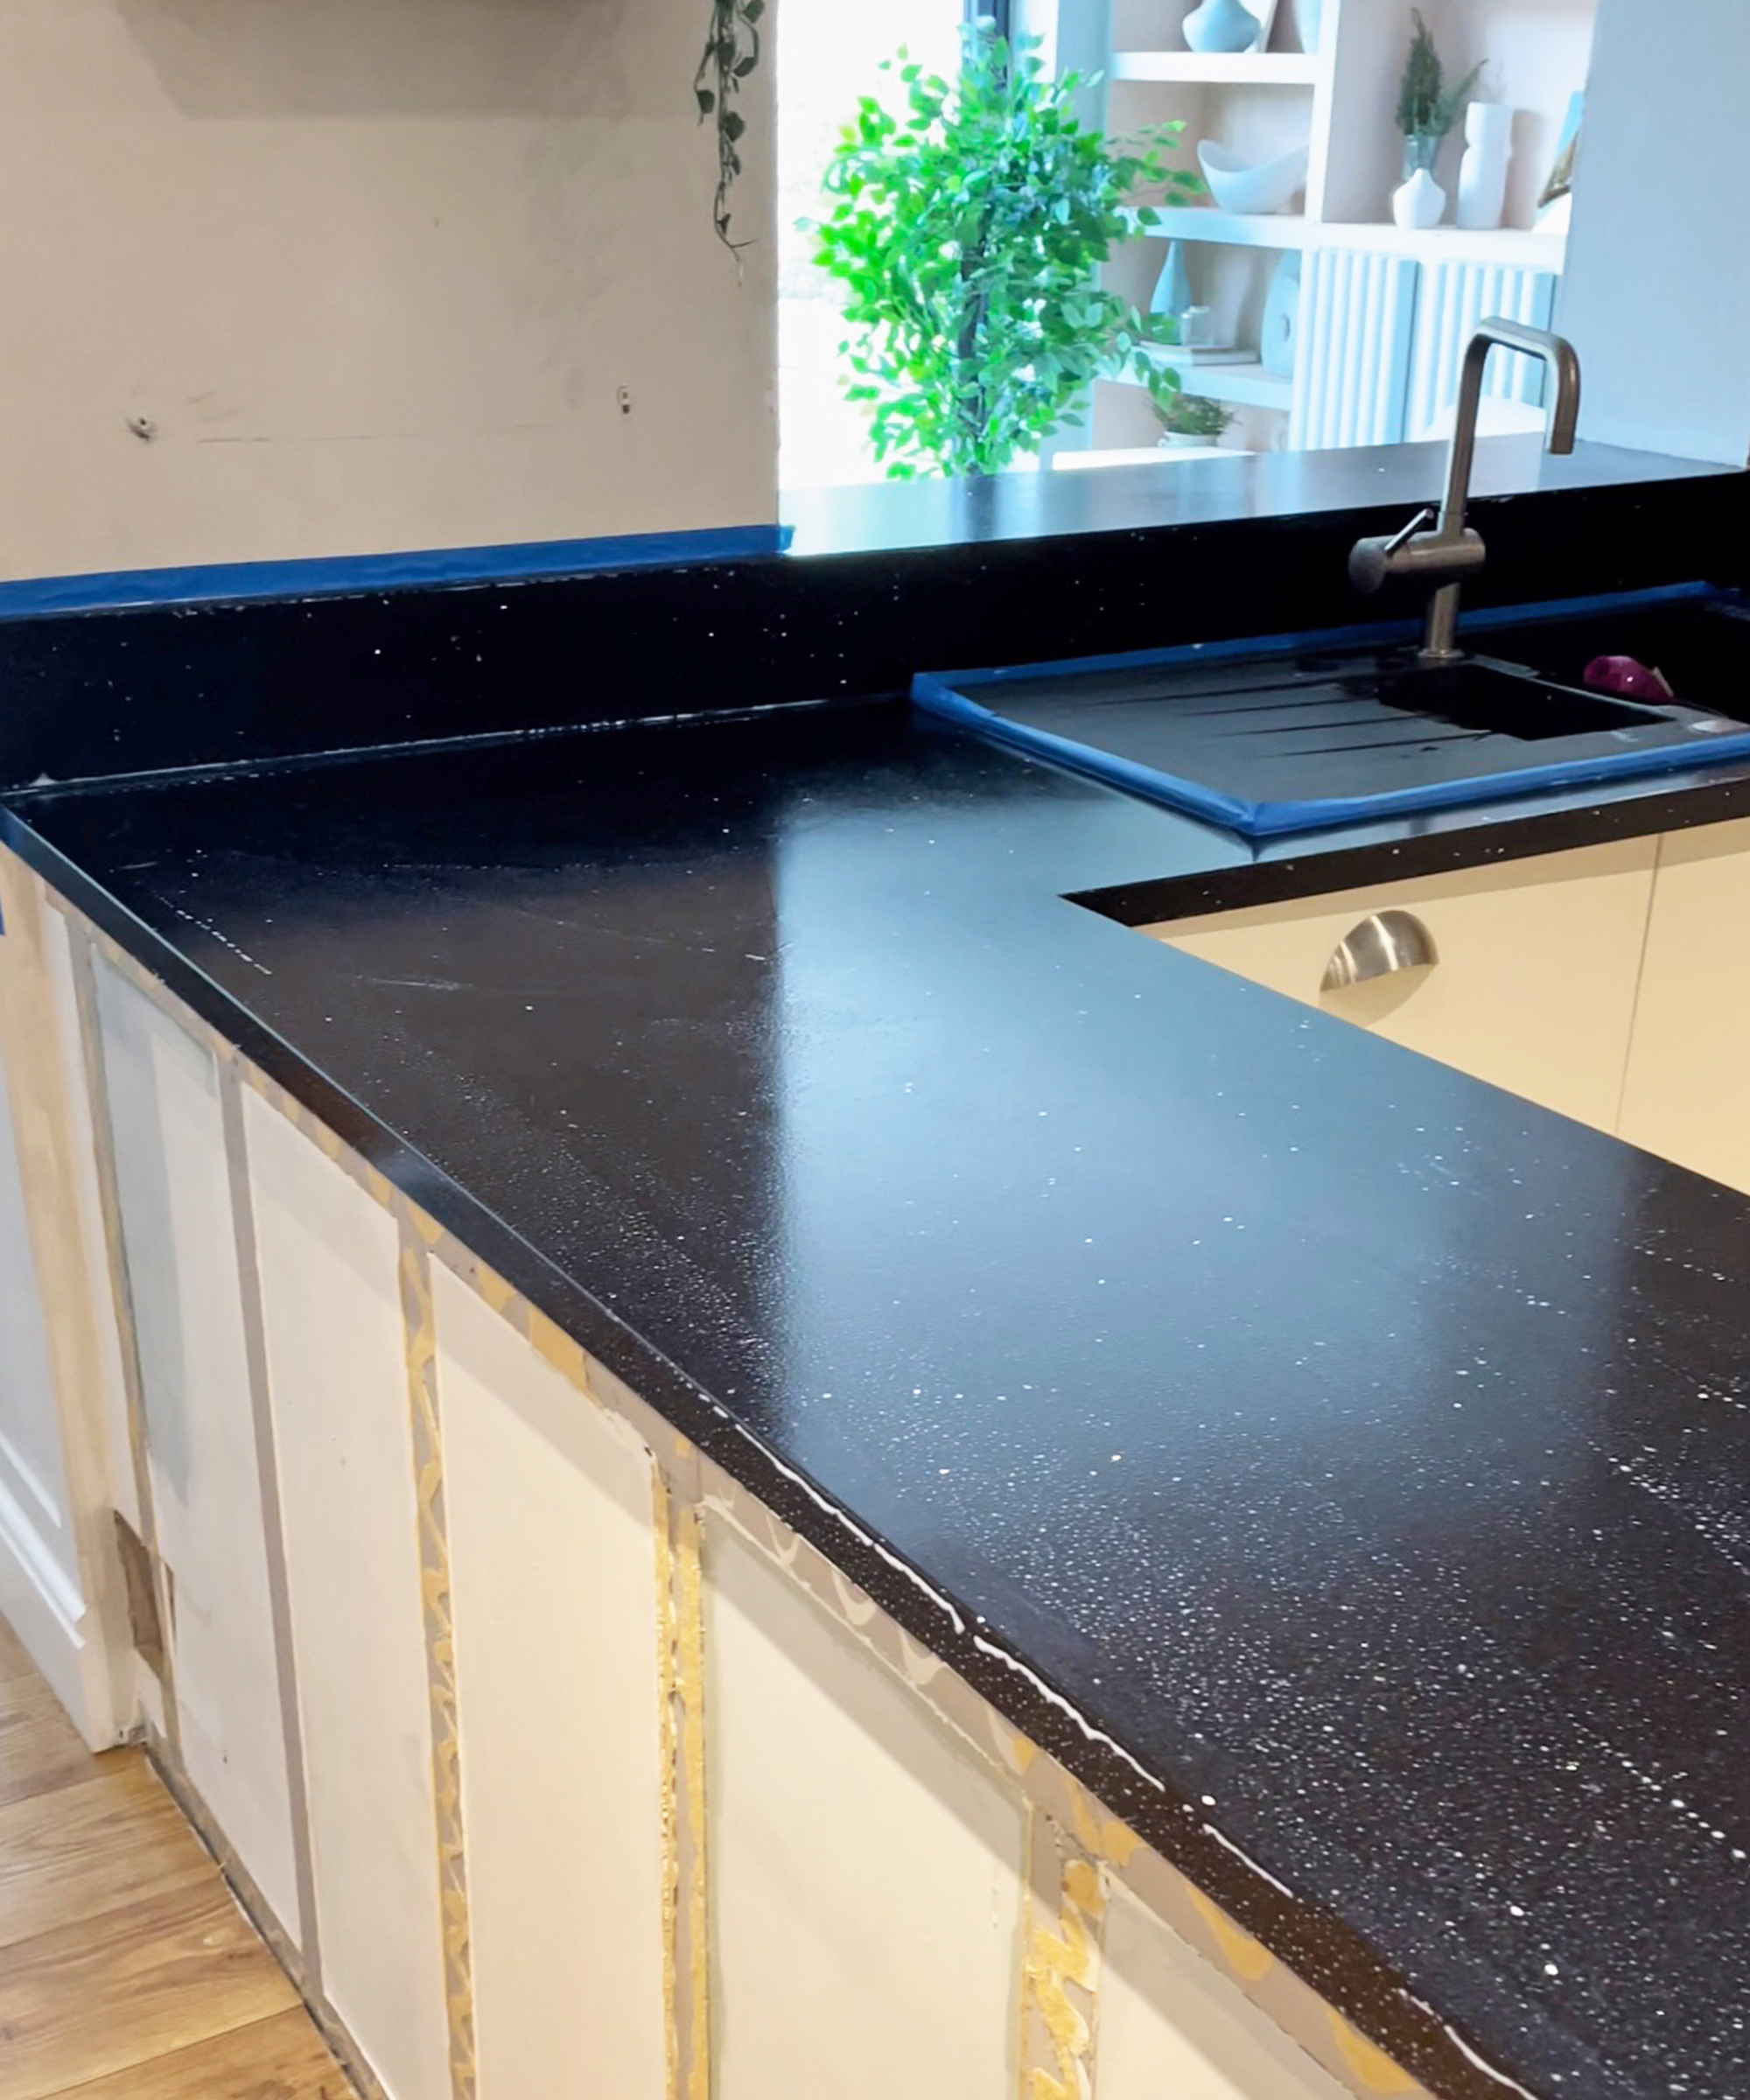
Top Tip: Microcement adheres well to moisture-resistant MDF so you can take the opportunity to add additional features to your kitchen countertops to create a luxury final look. I removed the upstands along the back wall, replacing them with a taller backsplash and ledge style shelf as well as adding ‘waterfall’ ends down to floor level. These adaptations made for a much more impressive and stylish outcome than simply covering the existing surfaces.
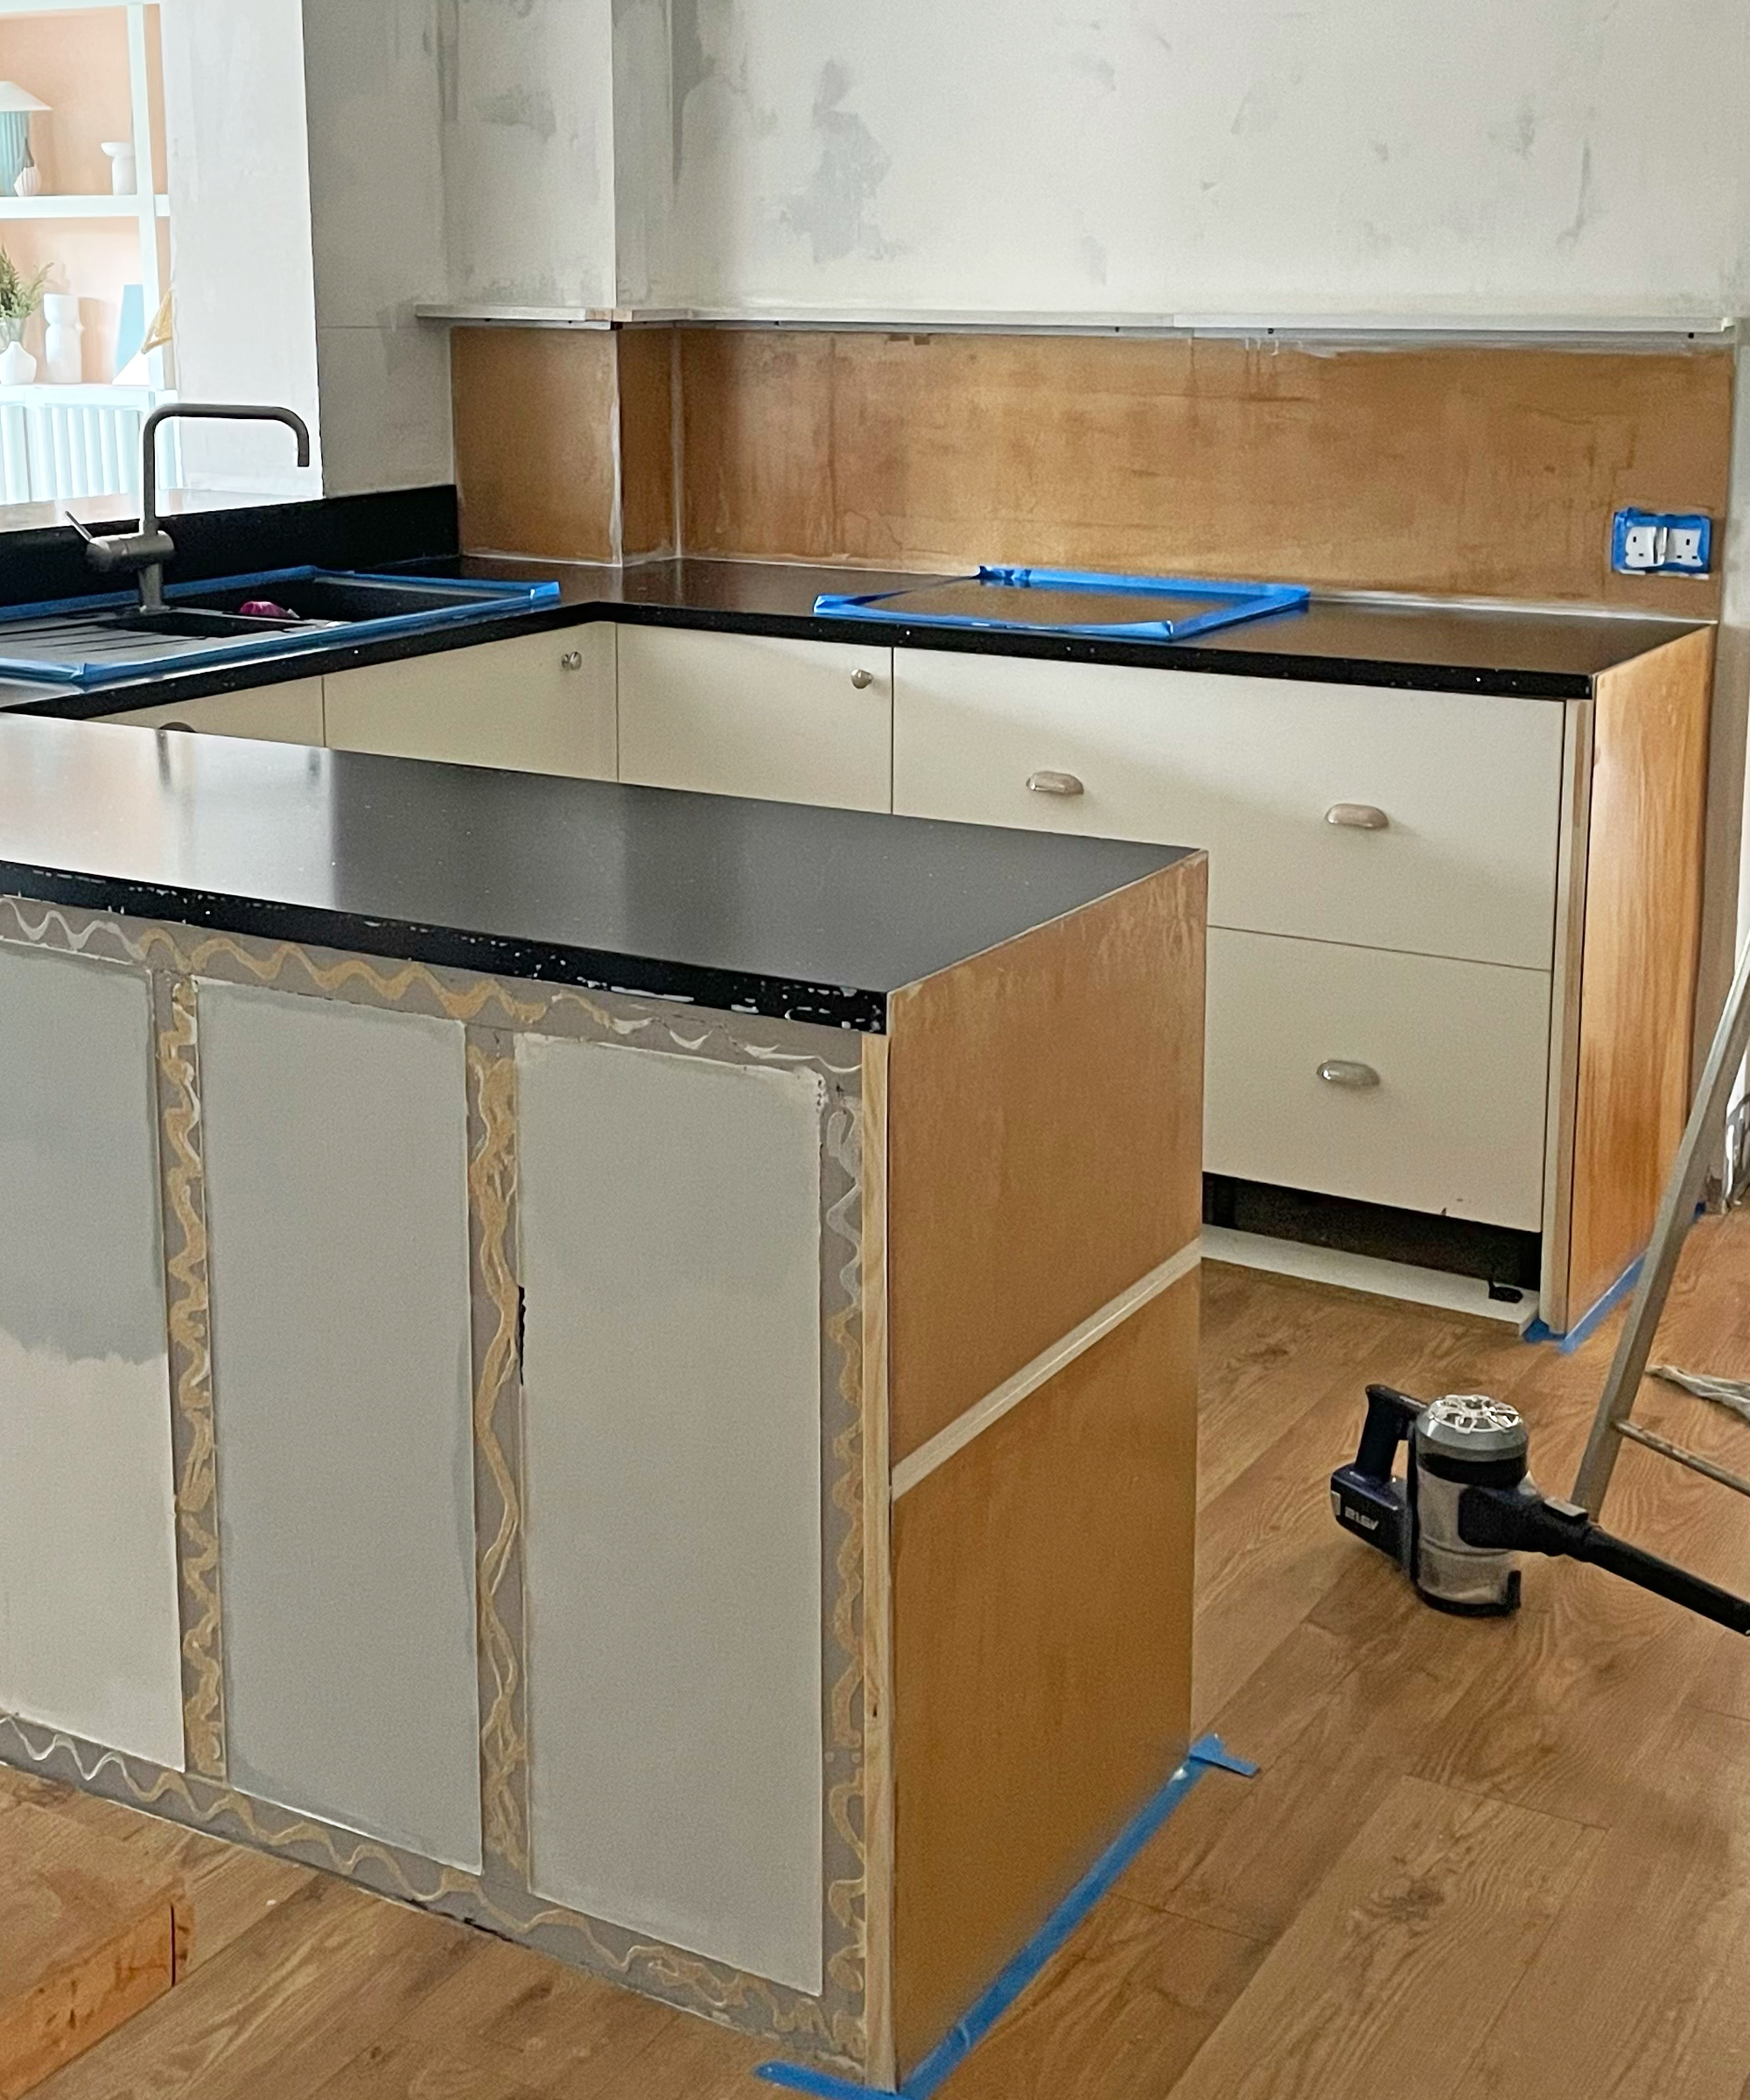
2. Mix the microcement
Mix according to the manufacturer's guidelines.
Pay careful attention to the suggested consistency of the final mixture as this will affect the coarseness of the microcement and the ease of application.
Scrape the bottom of the bucket to ensure all the dry mixture has been incorporated.
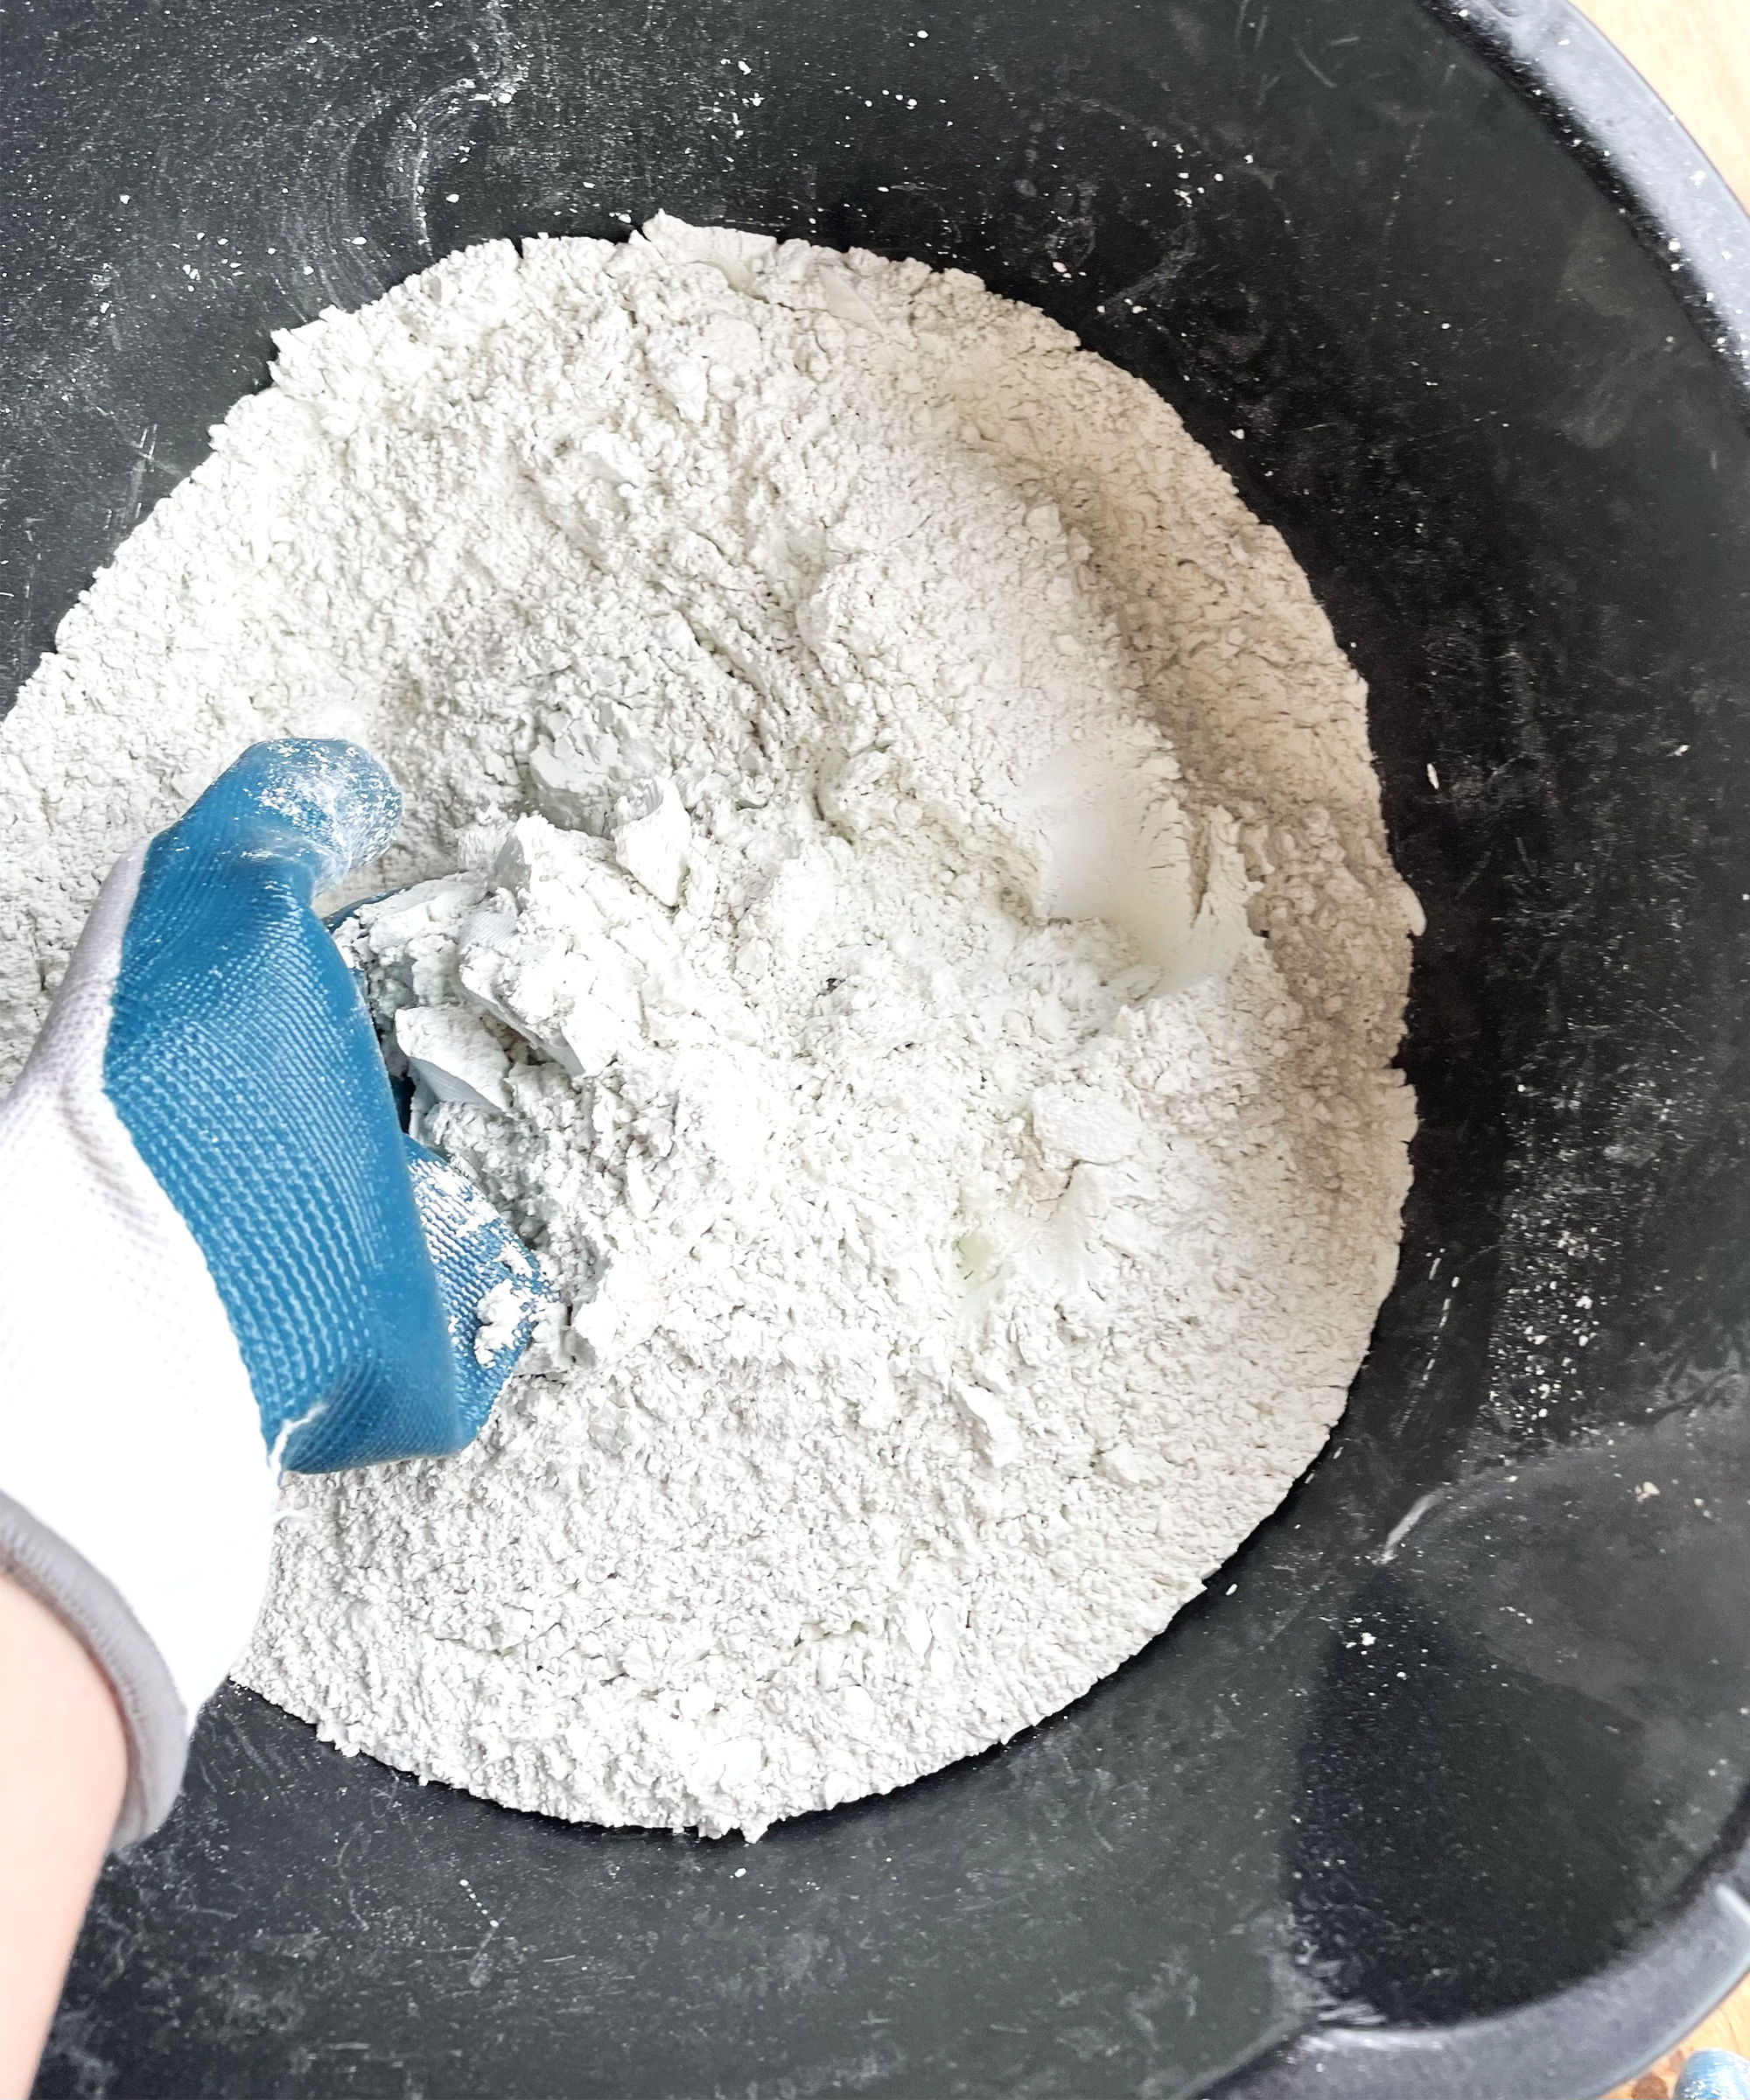
Use a mixing attachment for a cordless drill if you can. Inadequate mixing will result in dry areas when you come to apply it.
Top Tip: Mix the microcement power itself before adding any liquid to ensure it is well combined and lump-free. Wear a mask during the mixing process.
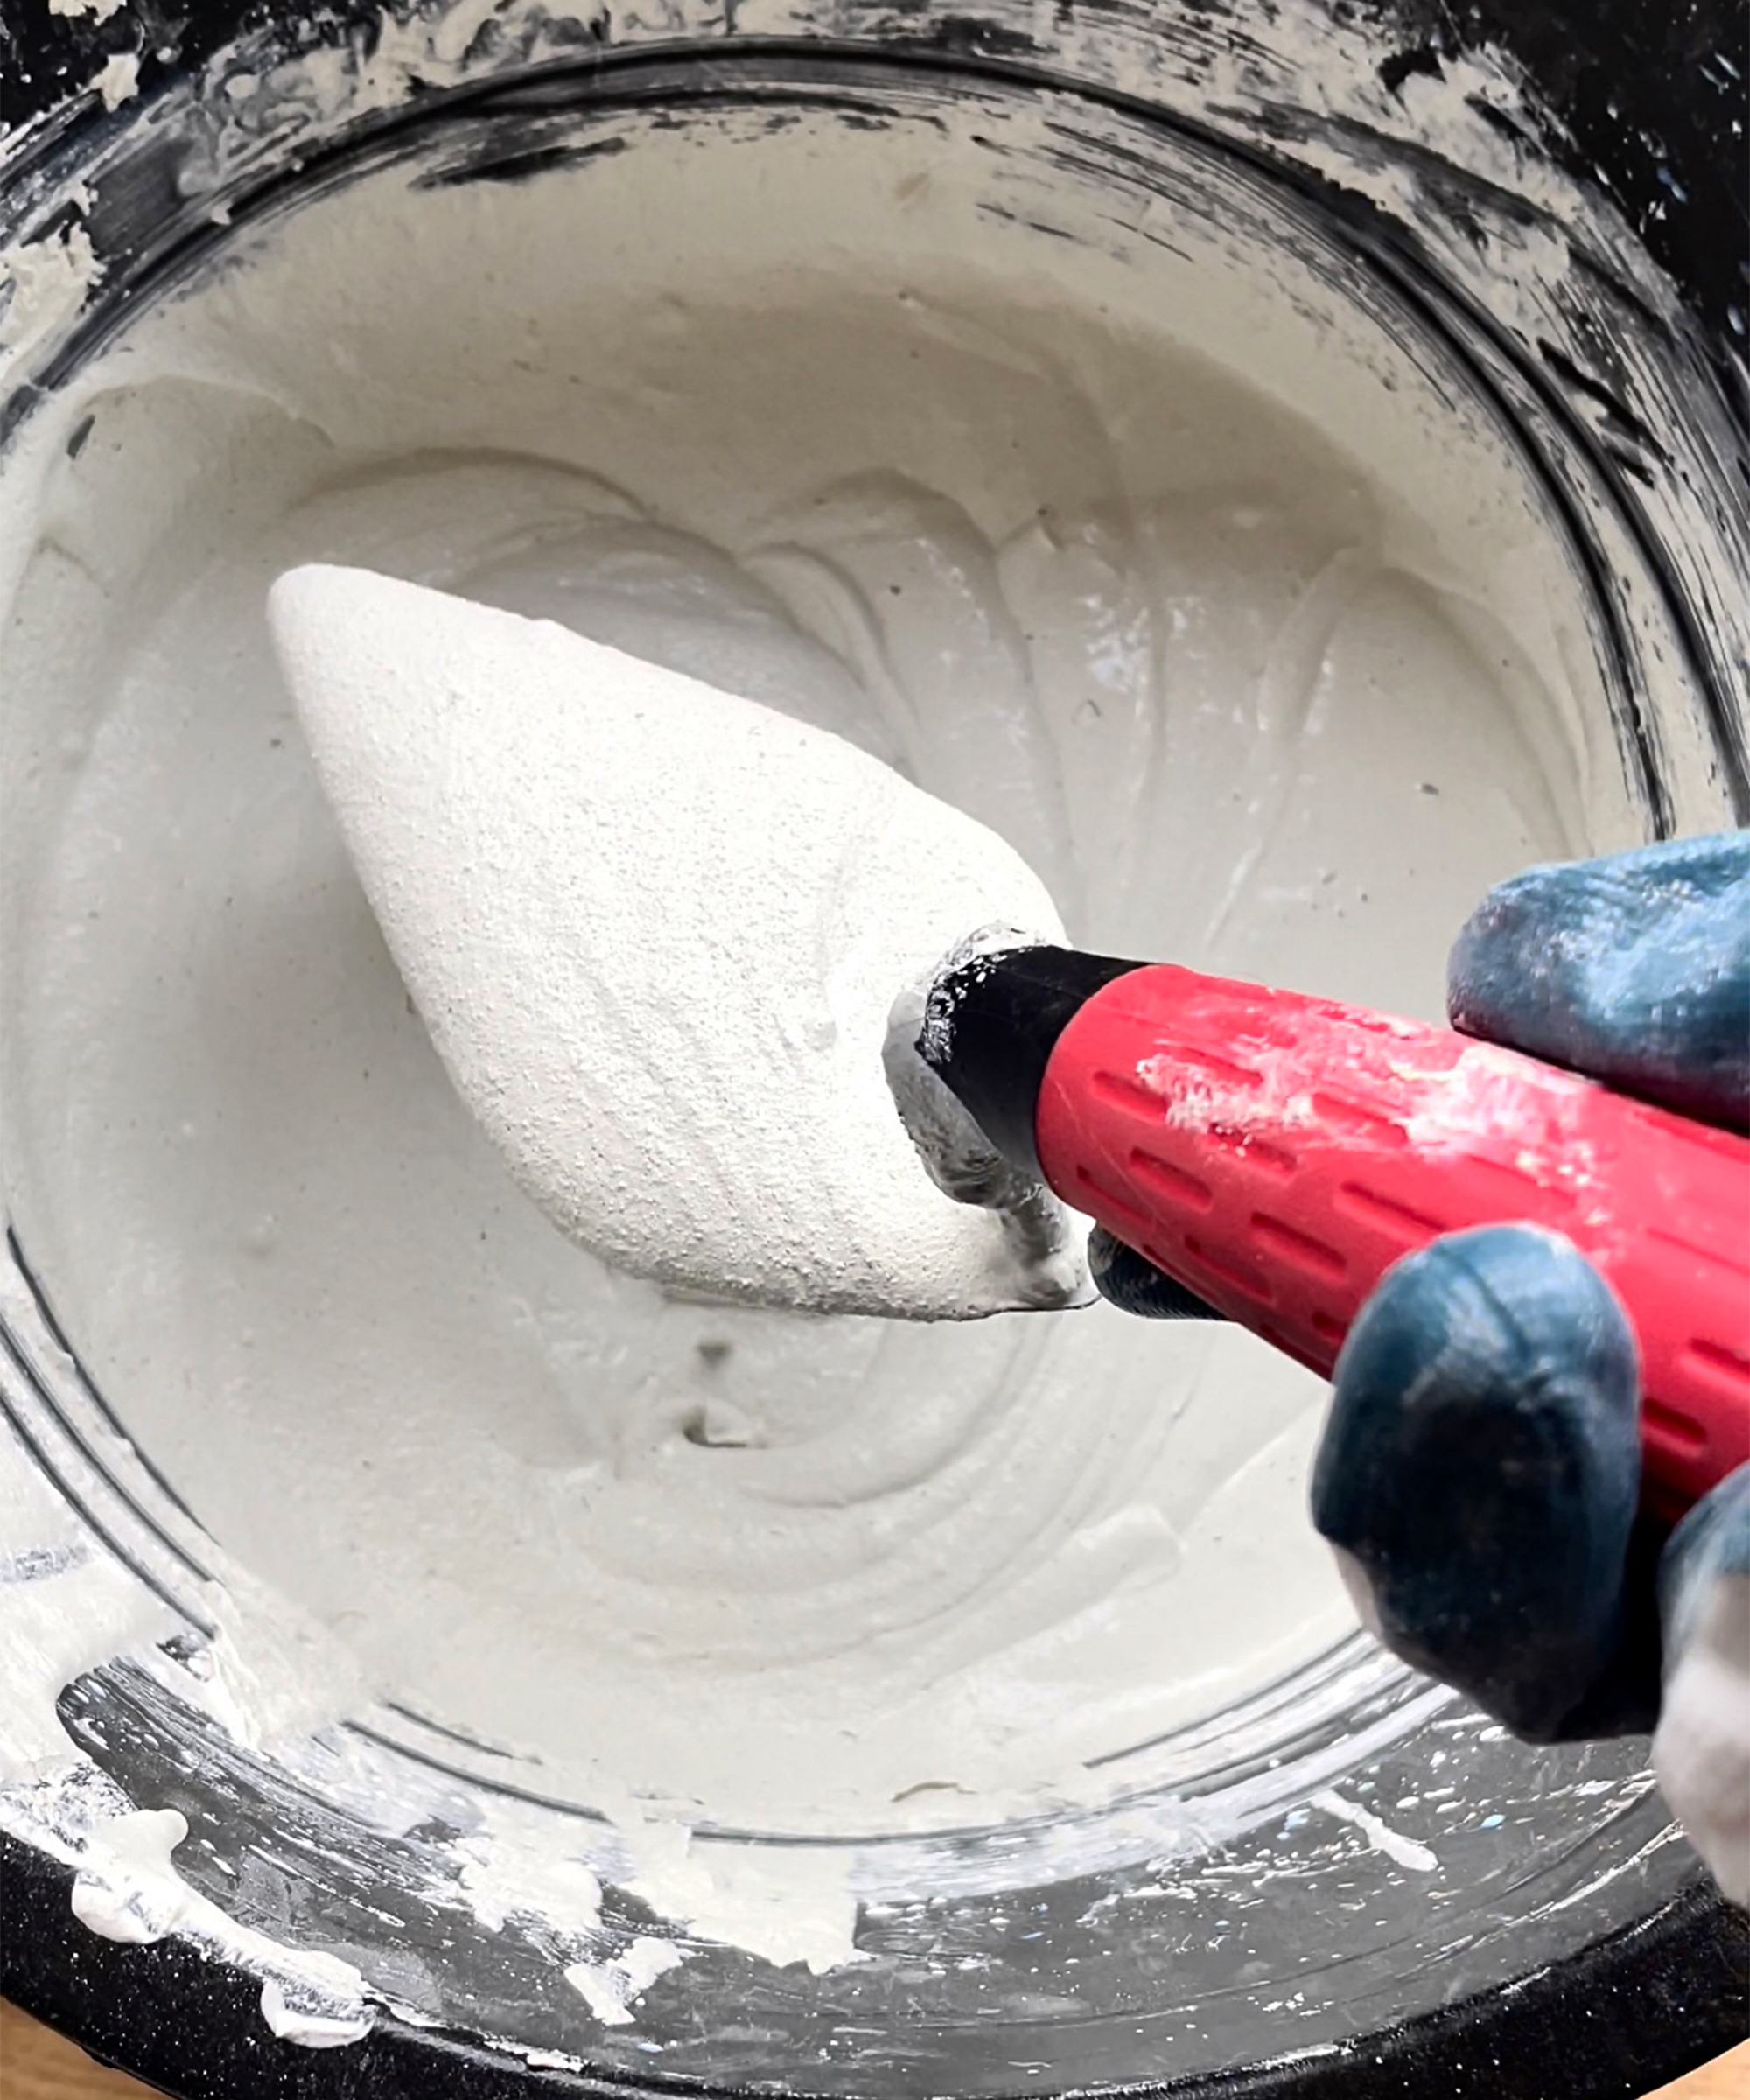
3. Apply the microcement
Apply the first layer of microcement at a thickness of 1-2mm. Less than 1mm thickness will not cover the surface effectively and more than 2mm can lead to cracking once dried. Use a flexible spreader/spatula to create a smooth surface then allow 24 hours for the first coat to dry.
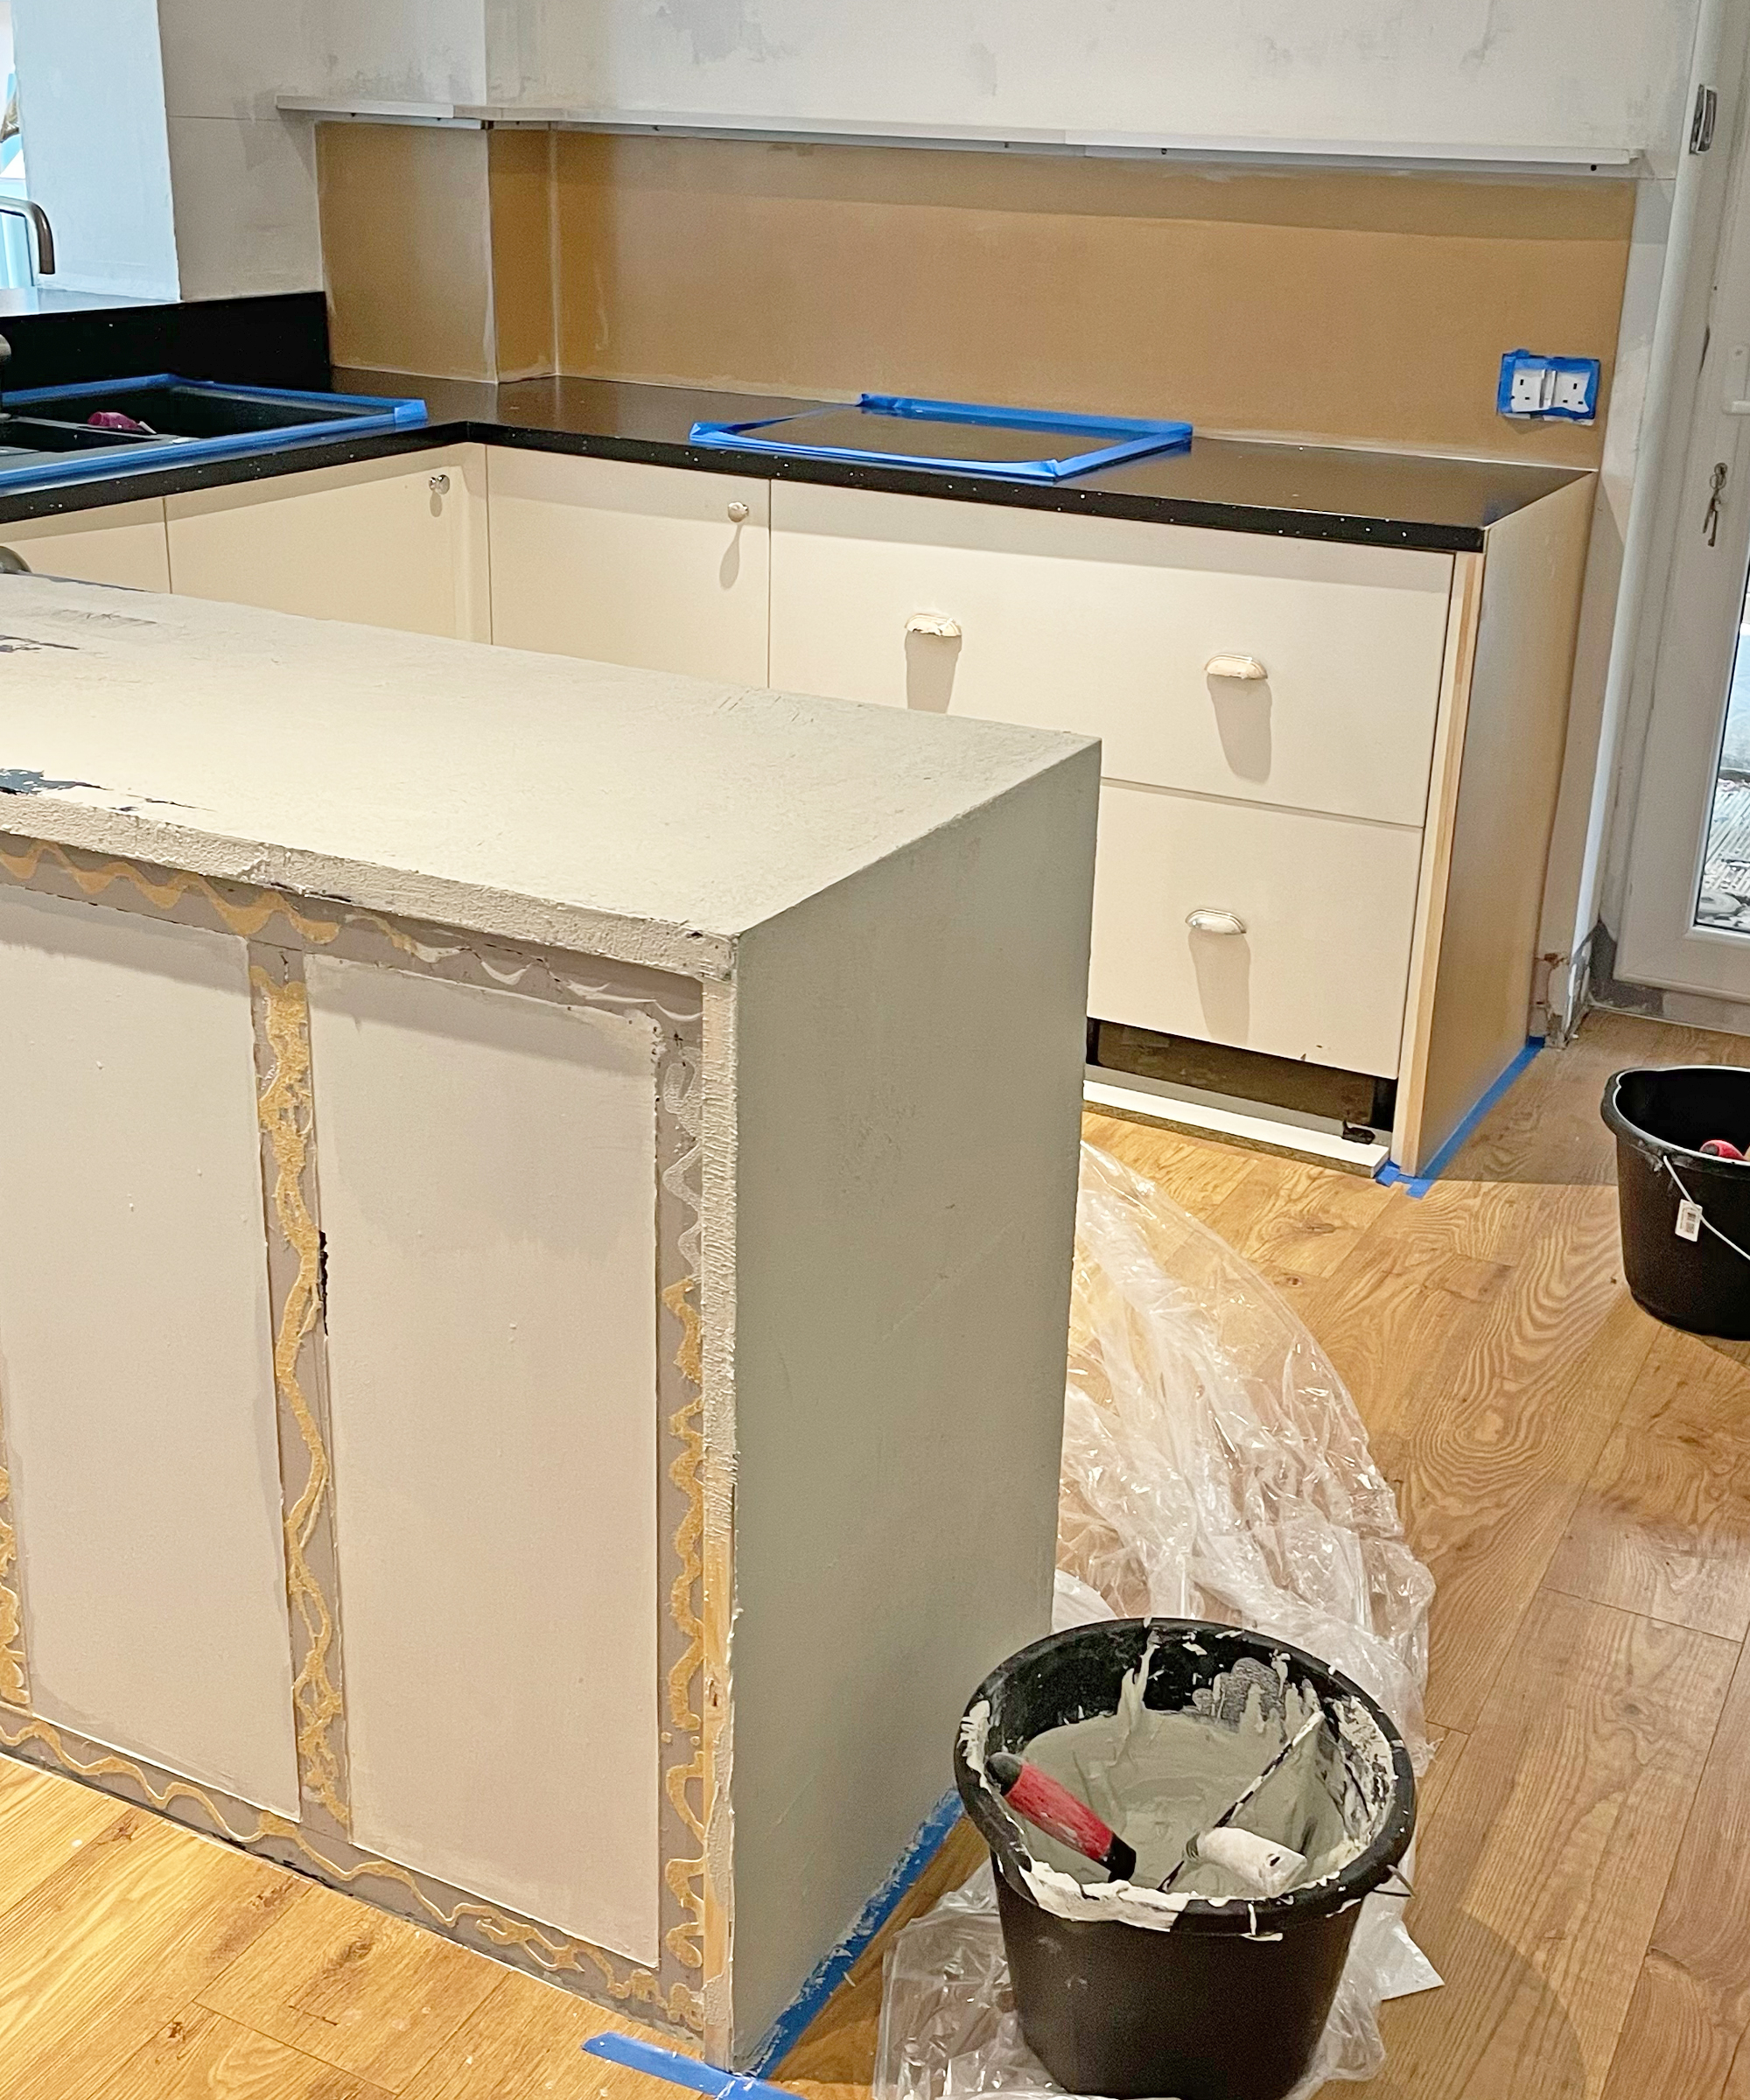
Once dry, use an 80-120 grit pad to sand any undulations, creating a flat surface to apply the second layer onto.
Don't apply strong pressure when sanding and ensure the thickness remains at least 1mm.
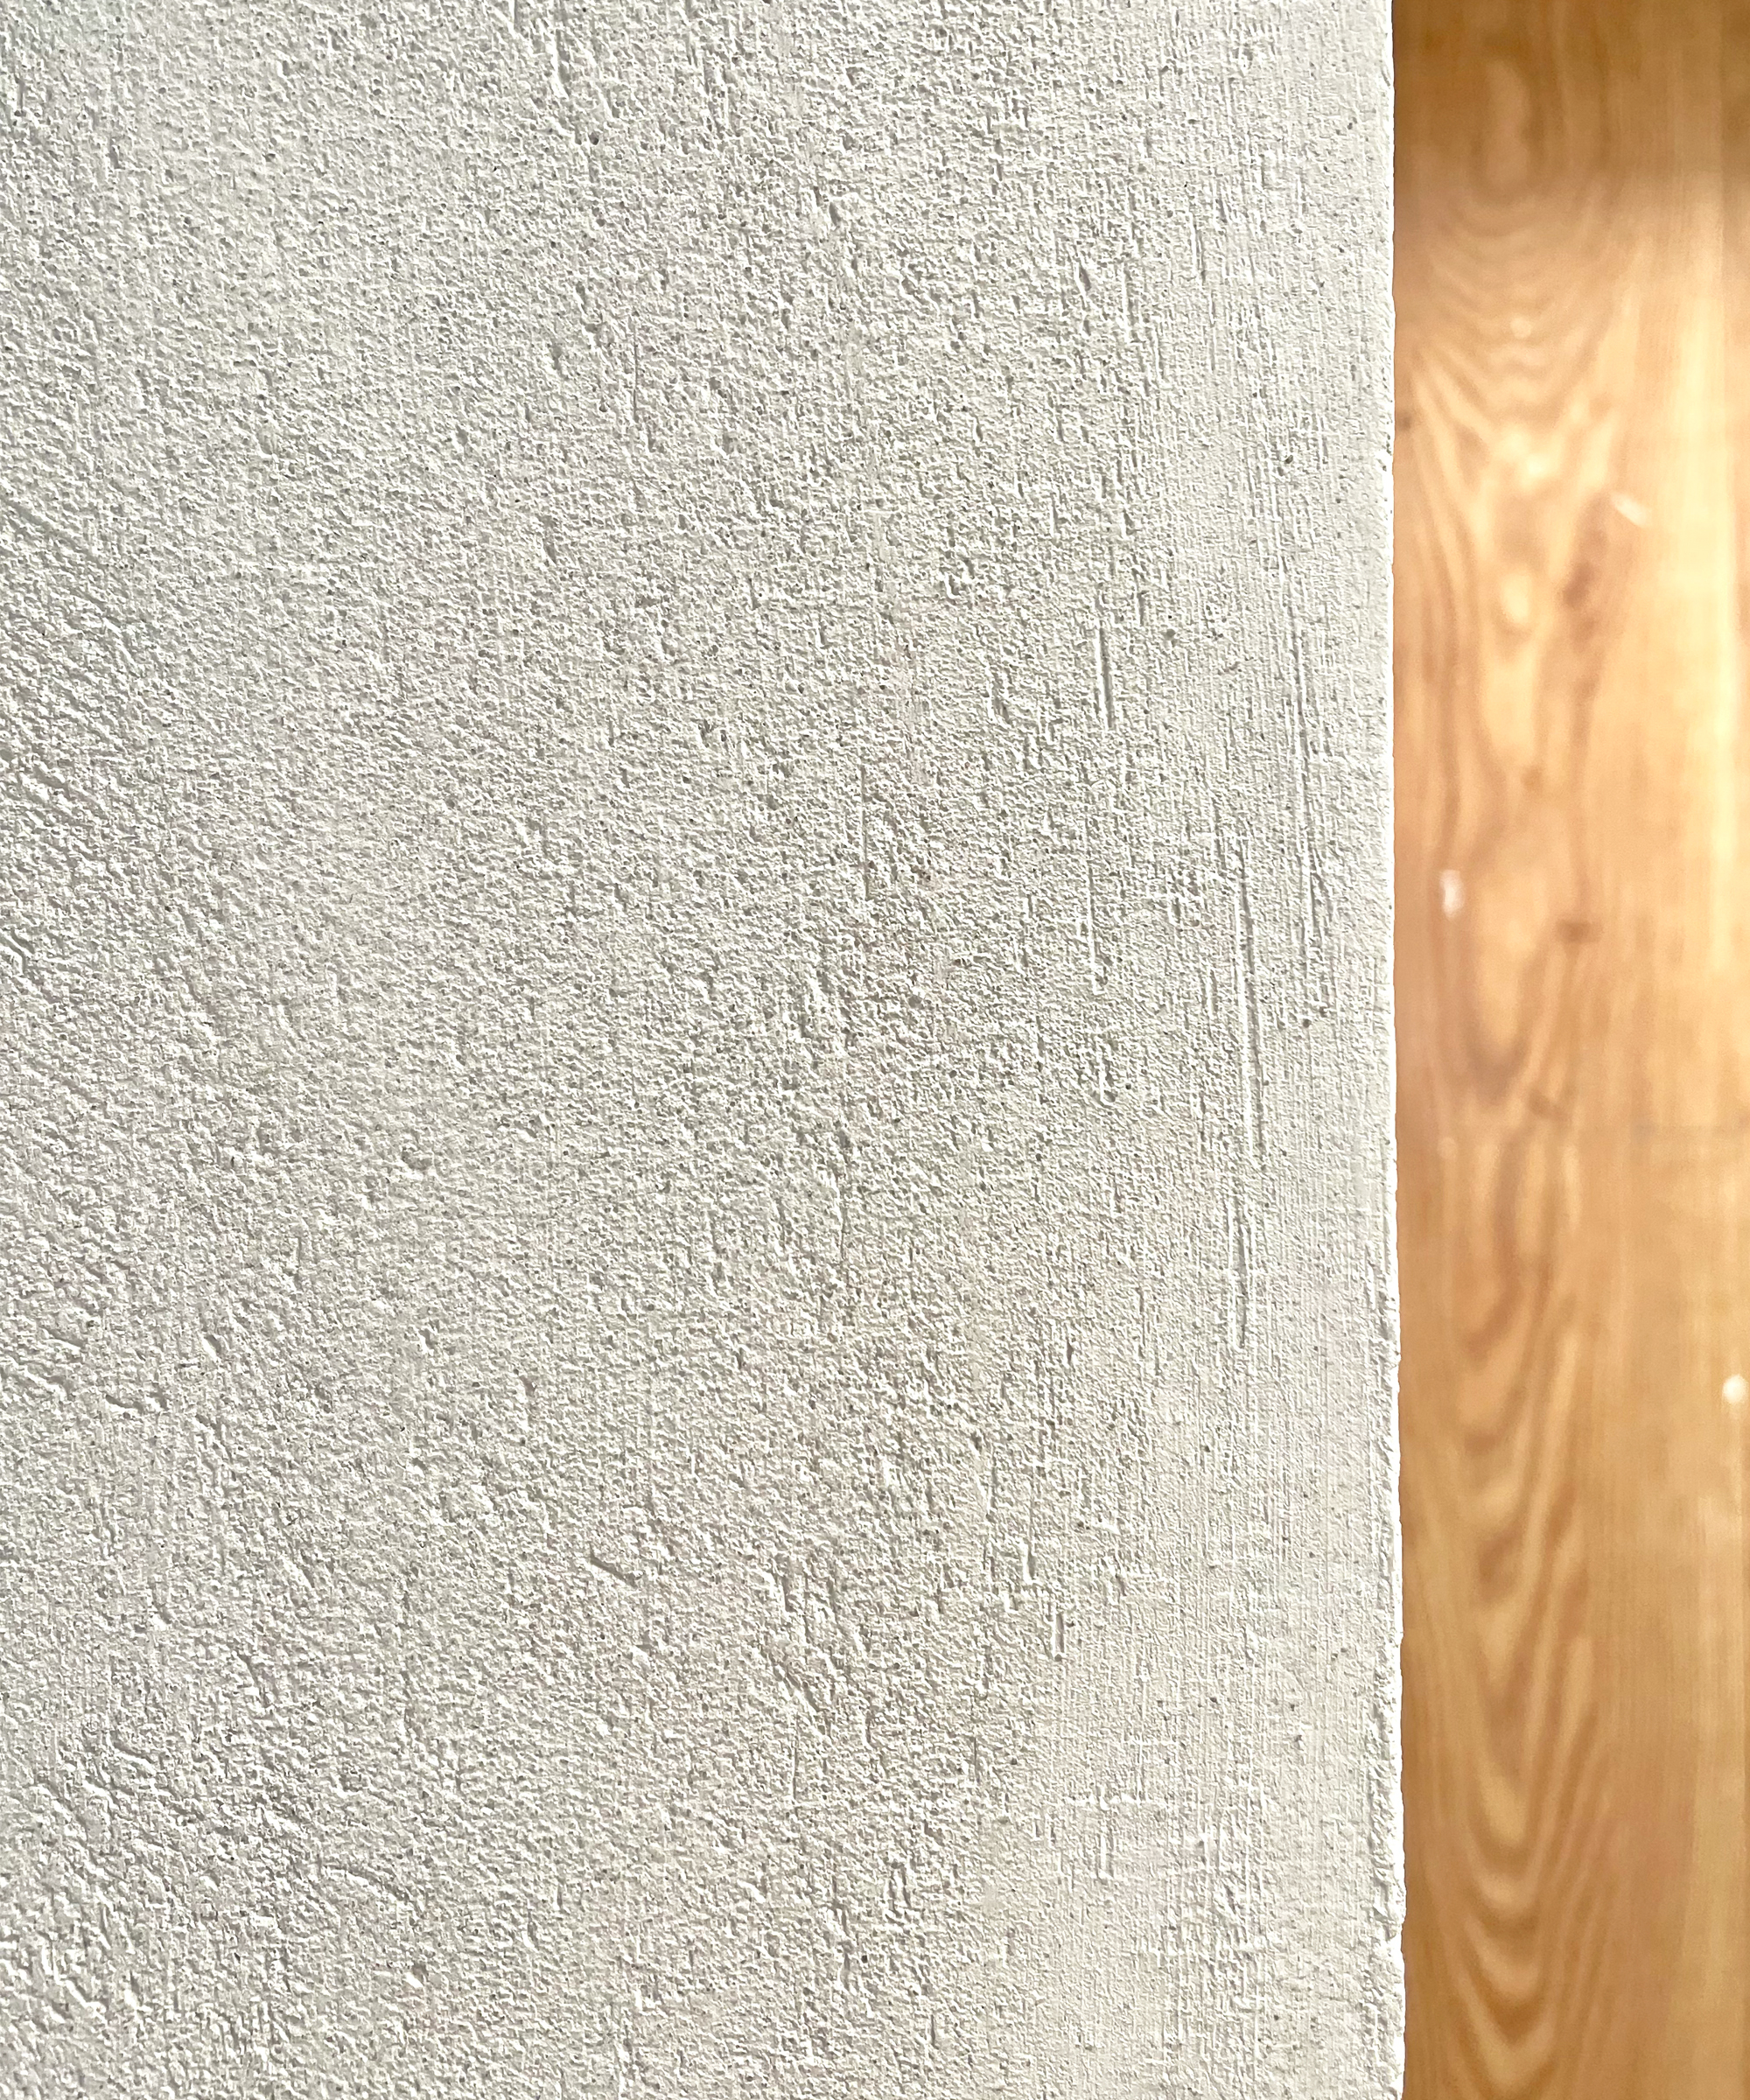
Use your vacuum over the surface to remove all dust.
Apply a second coat of primer (diluted in line with the manufacturer's guidance) and allow to dry for 30 minutes.
While the primer is drying, mix another batch of microcement.
Apply a second layer of microcement, following the same procedure as for layer one and allow to dry.
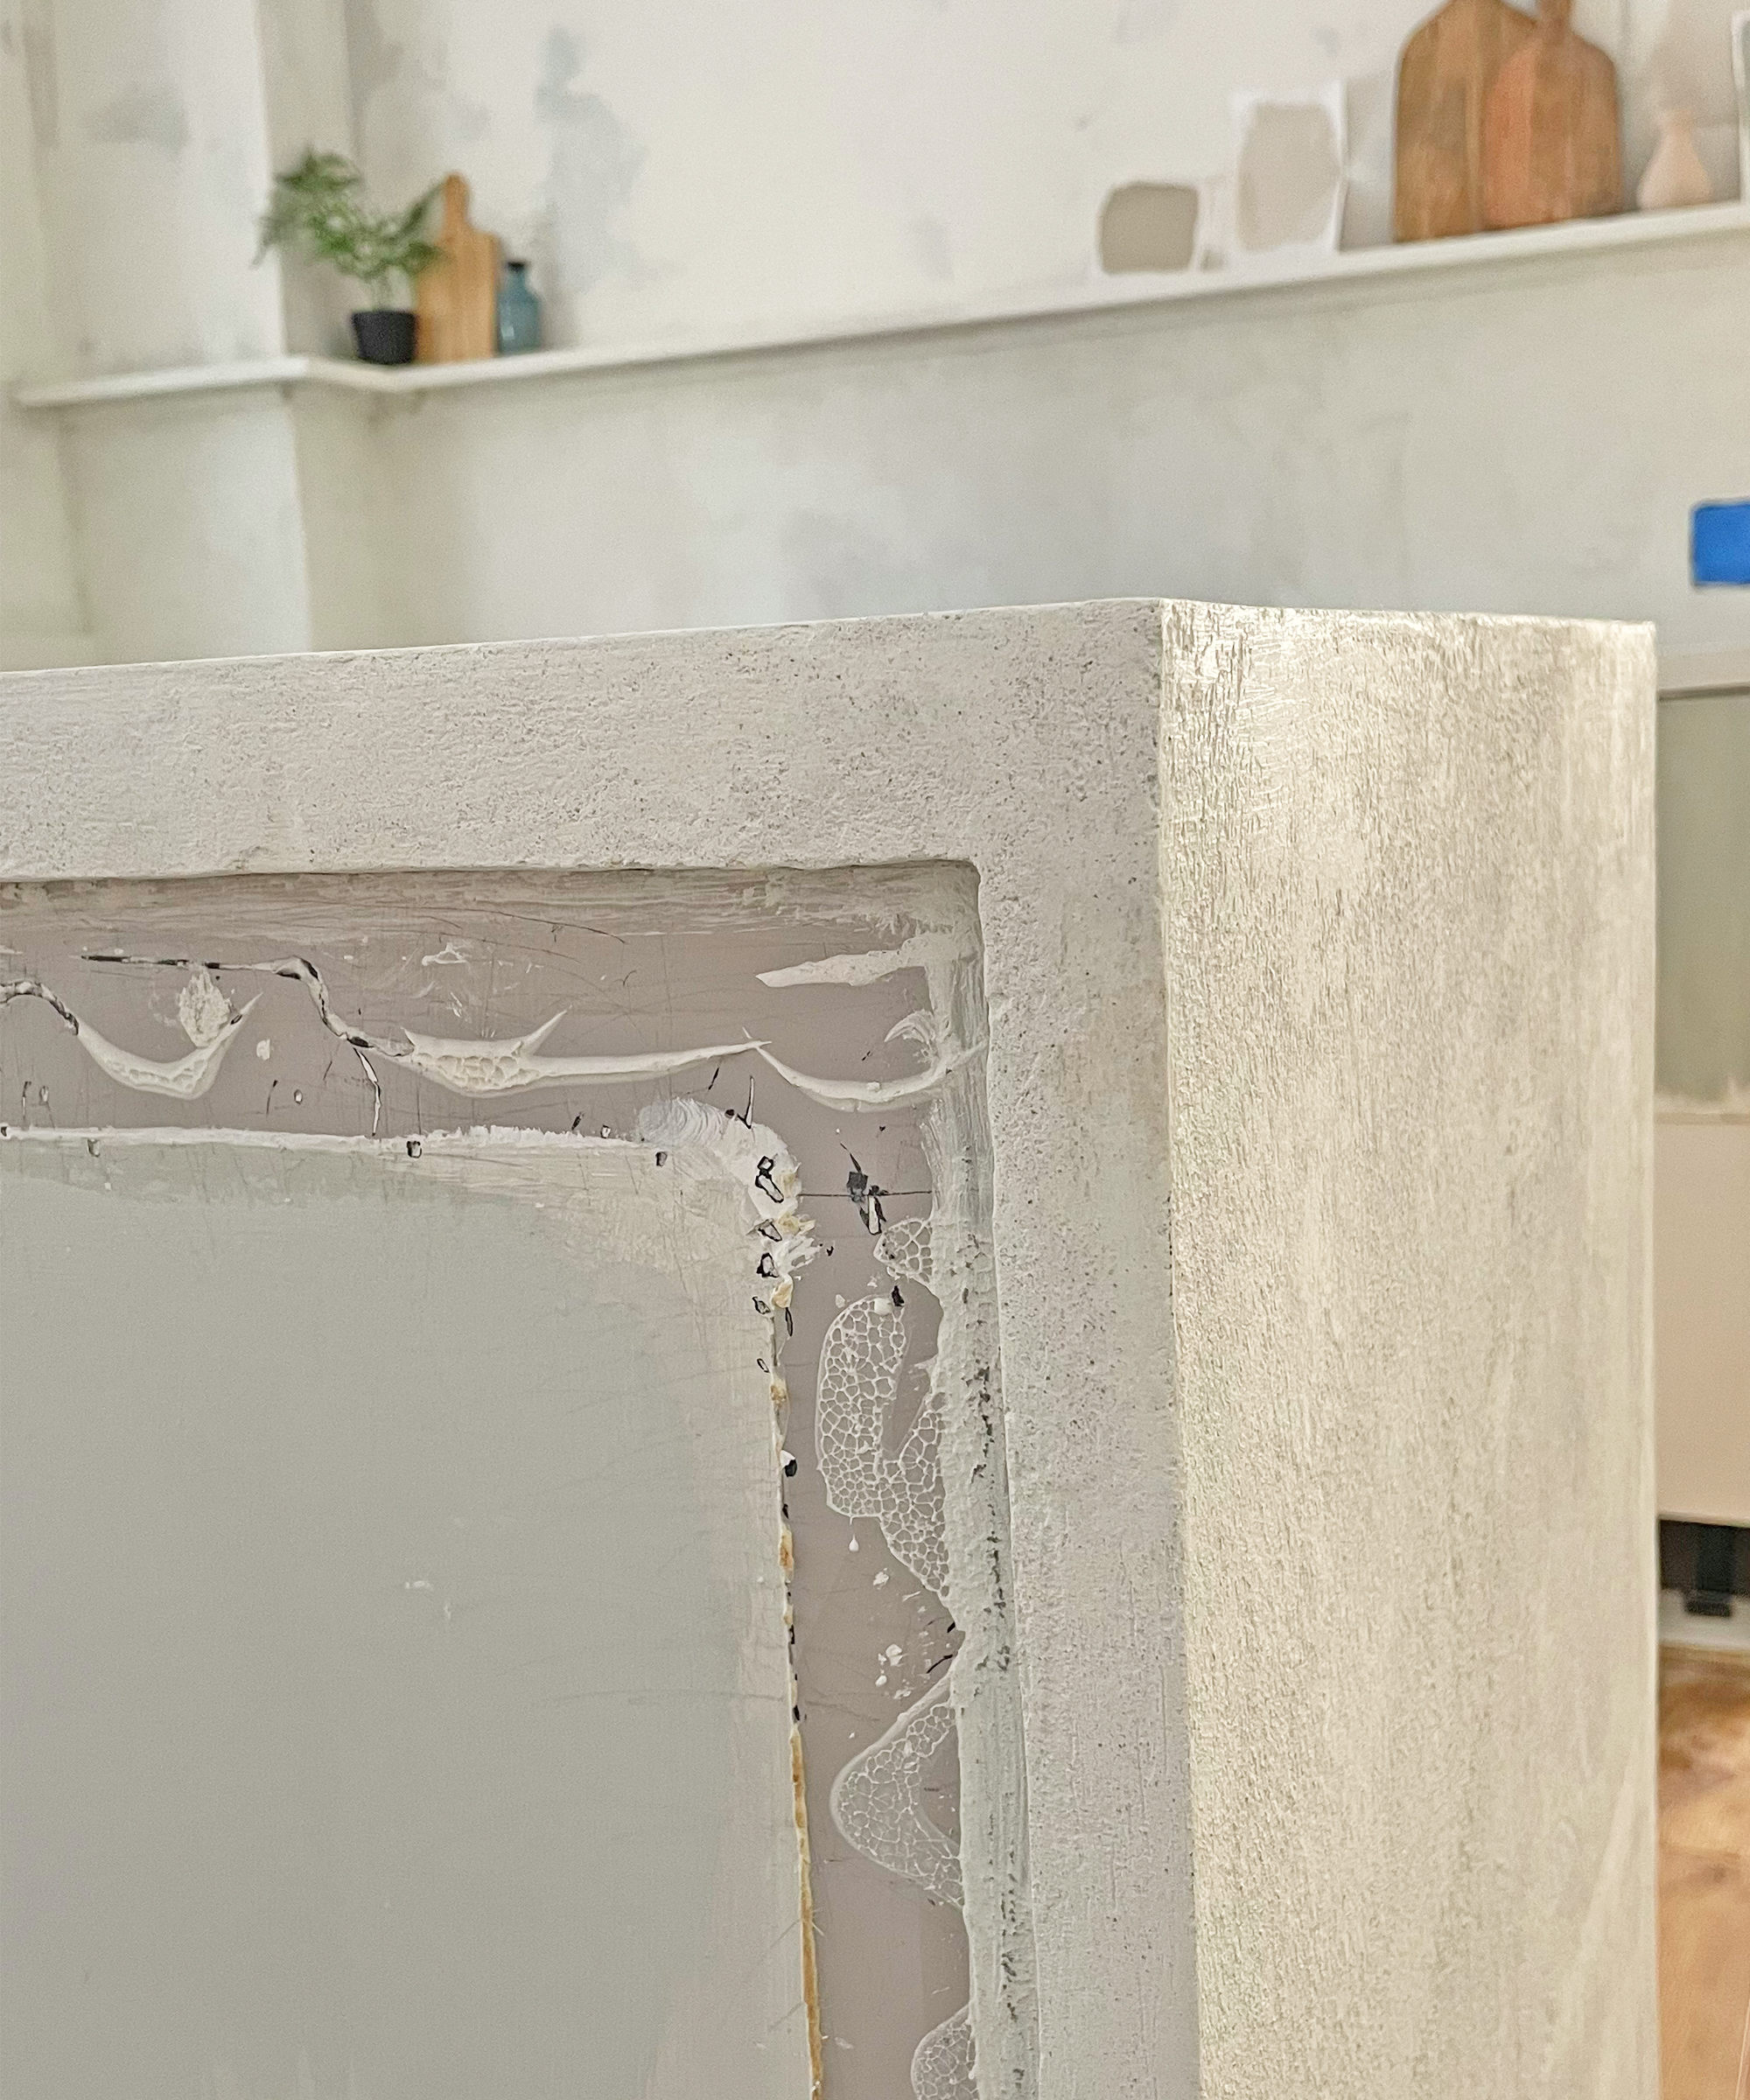
Top Tip: I experimented with various tools to get the best finish for each area. I found a half dowel rod was useful for smoothing the area behind the hob which is too narrow to fit a spreading tool. I found that flexible spatulas/spreaders were very effective in creating a smooth finish and recommend avoiding inflexible finishing or pointing trowels and tools. Work from top to bottom if you are applying to a backsplash over the countertop otherwise, you risk wet microcement falling onto areas you have already completed.
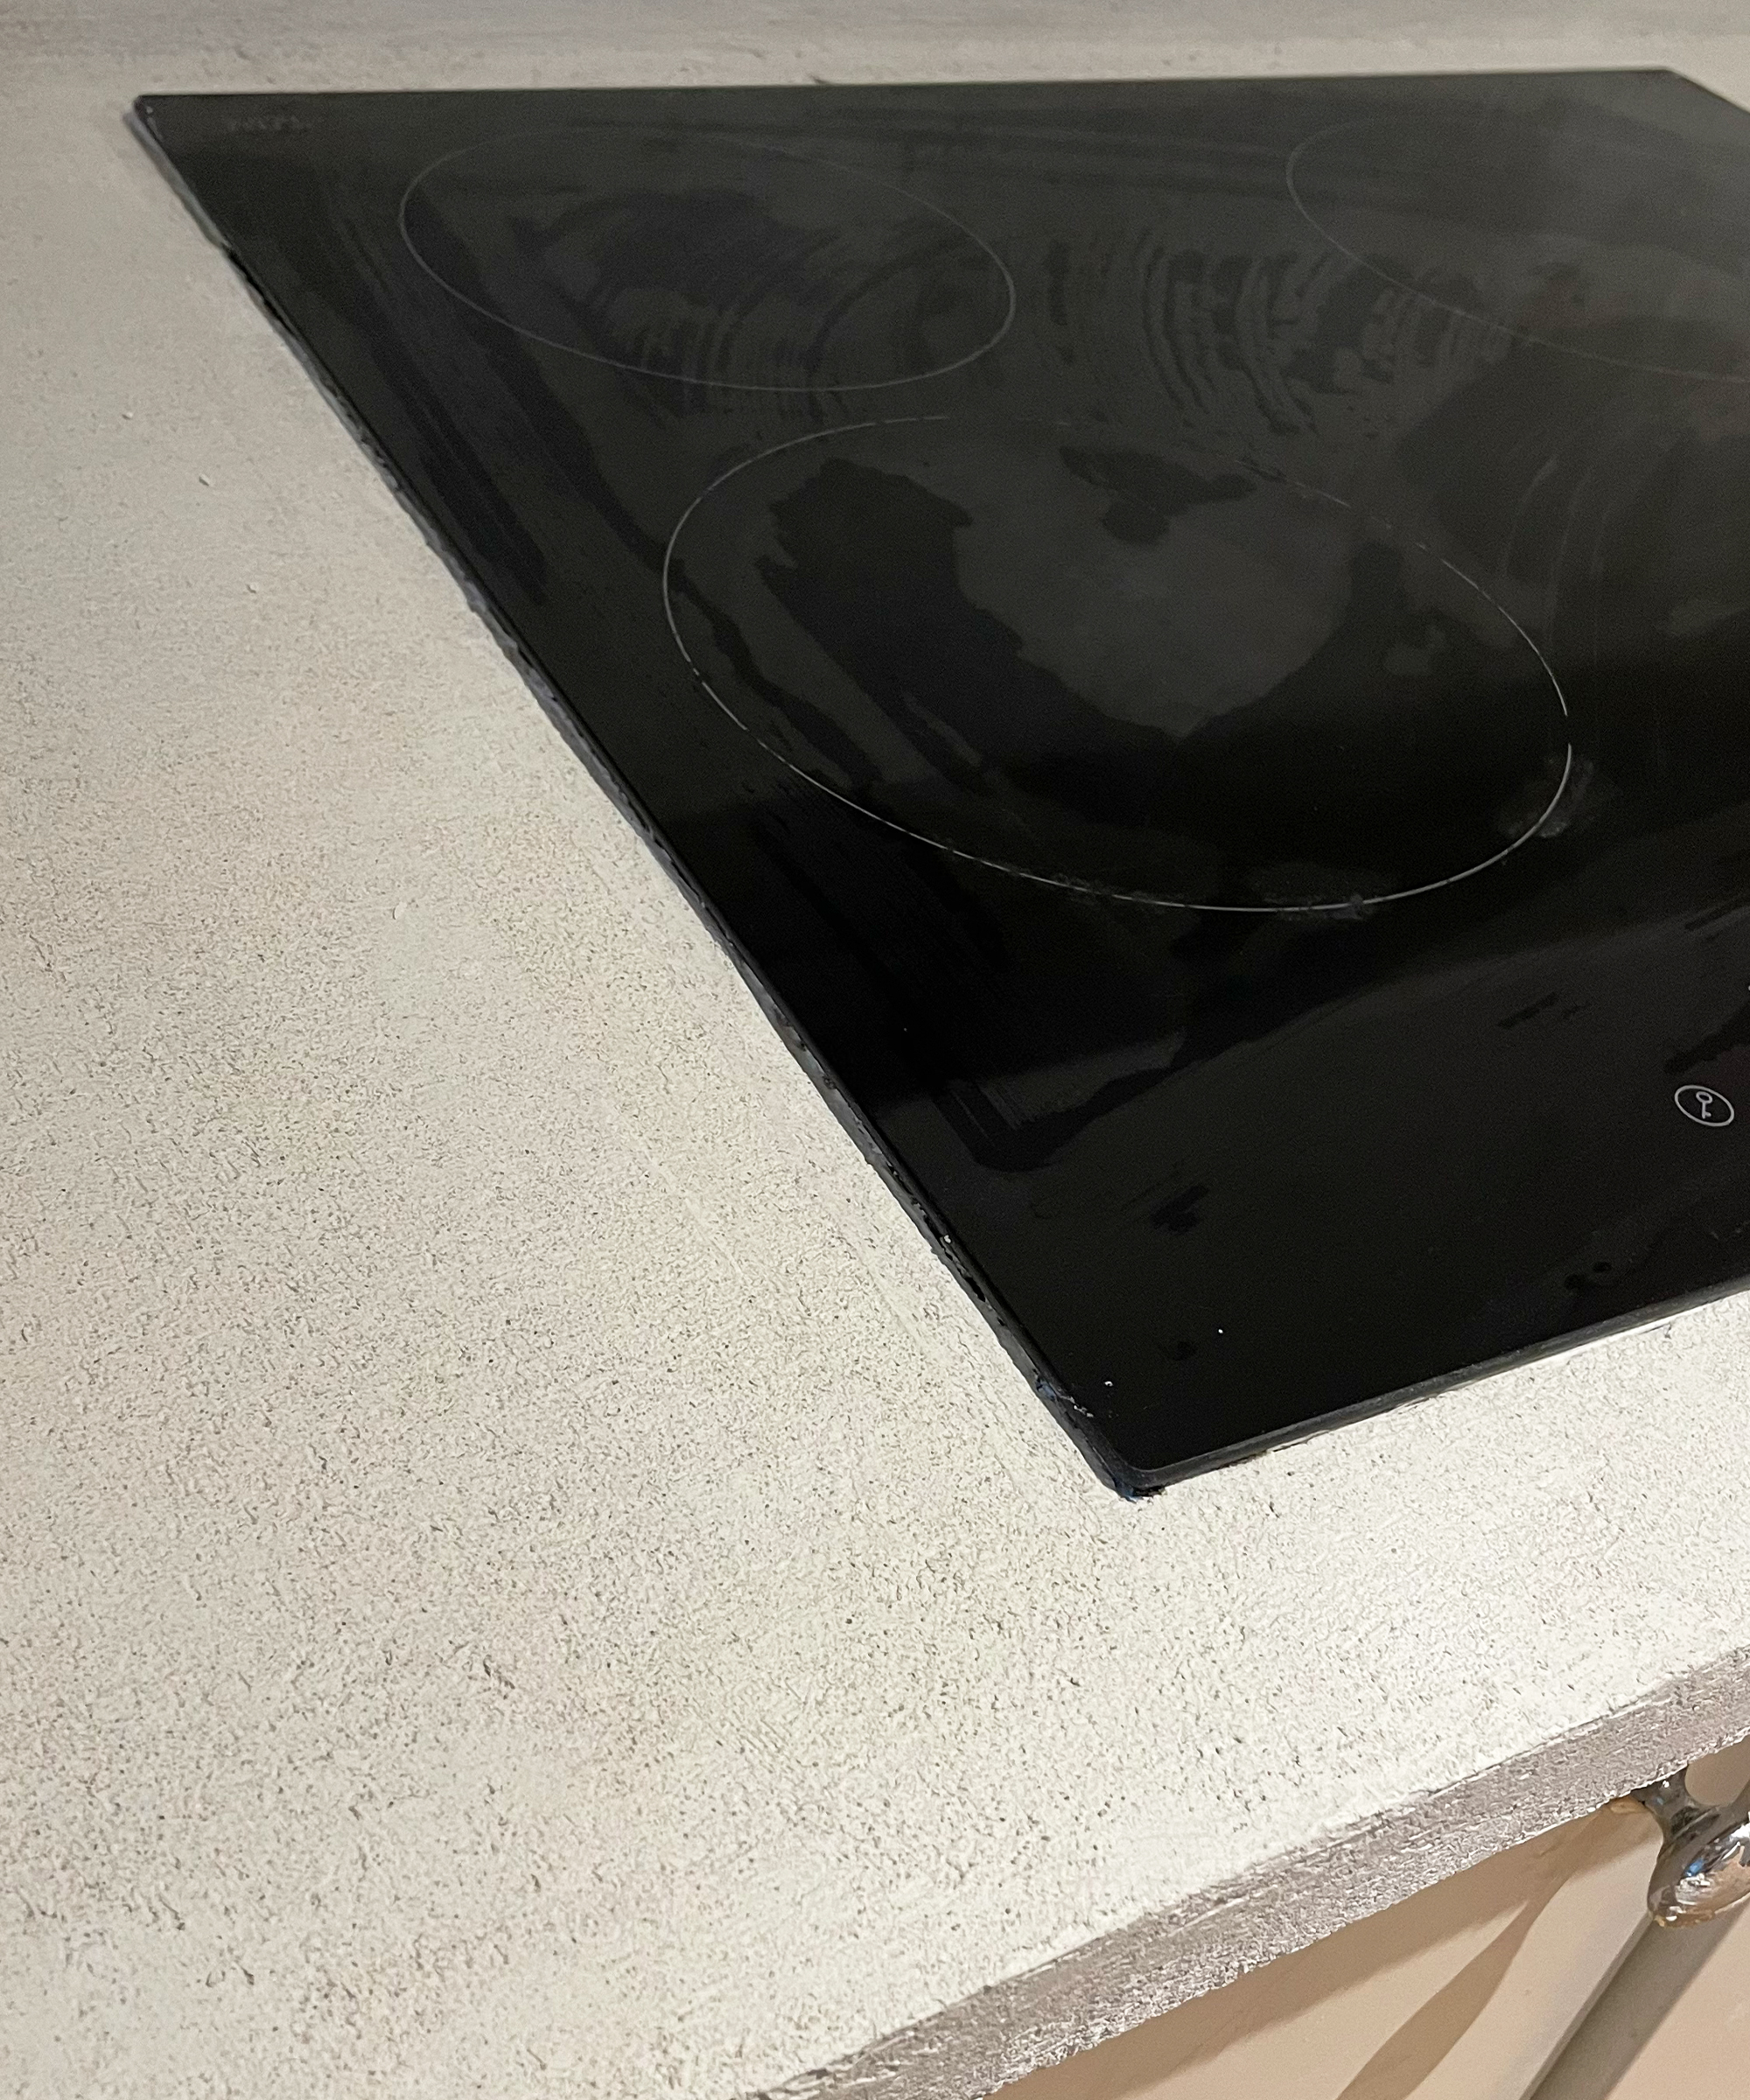
4. Seal the microcement
Left untreated, microcement is very porous and would be impractical for a kitchen environment, therefore, the final stage of the process, applying a sealant, is crucial. Refer to the instructions on your microcement kit for advice on a compatible sealant.
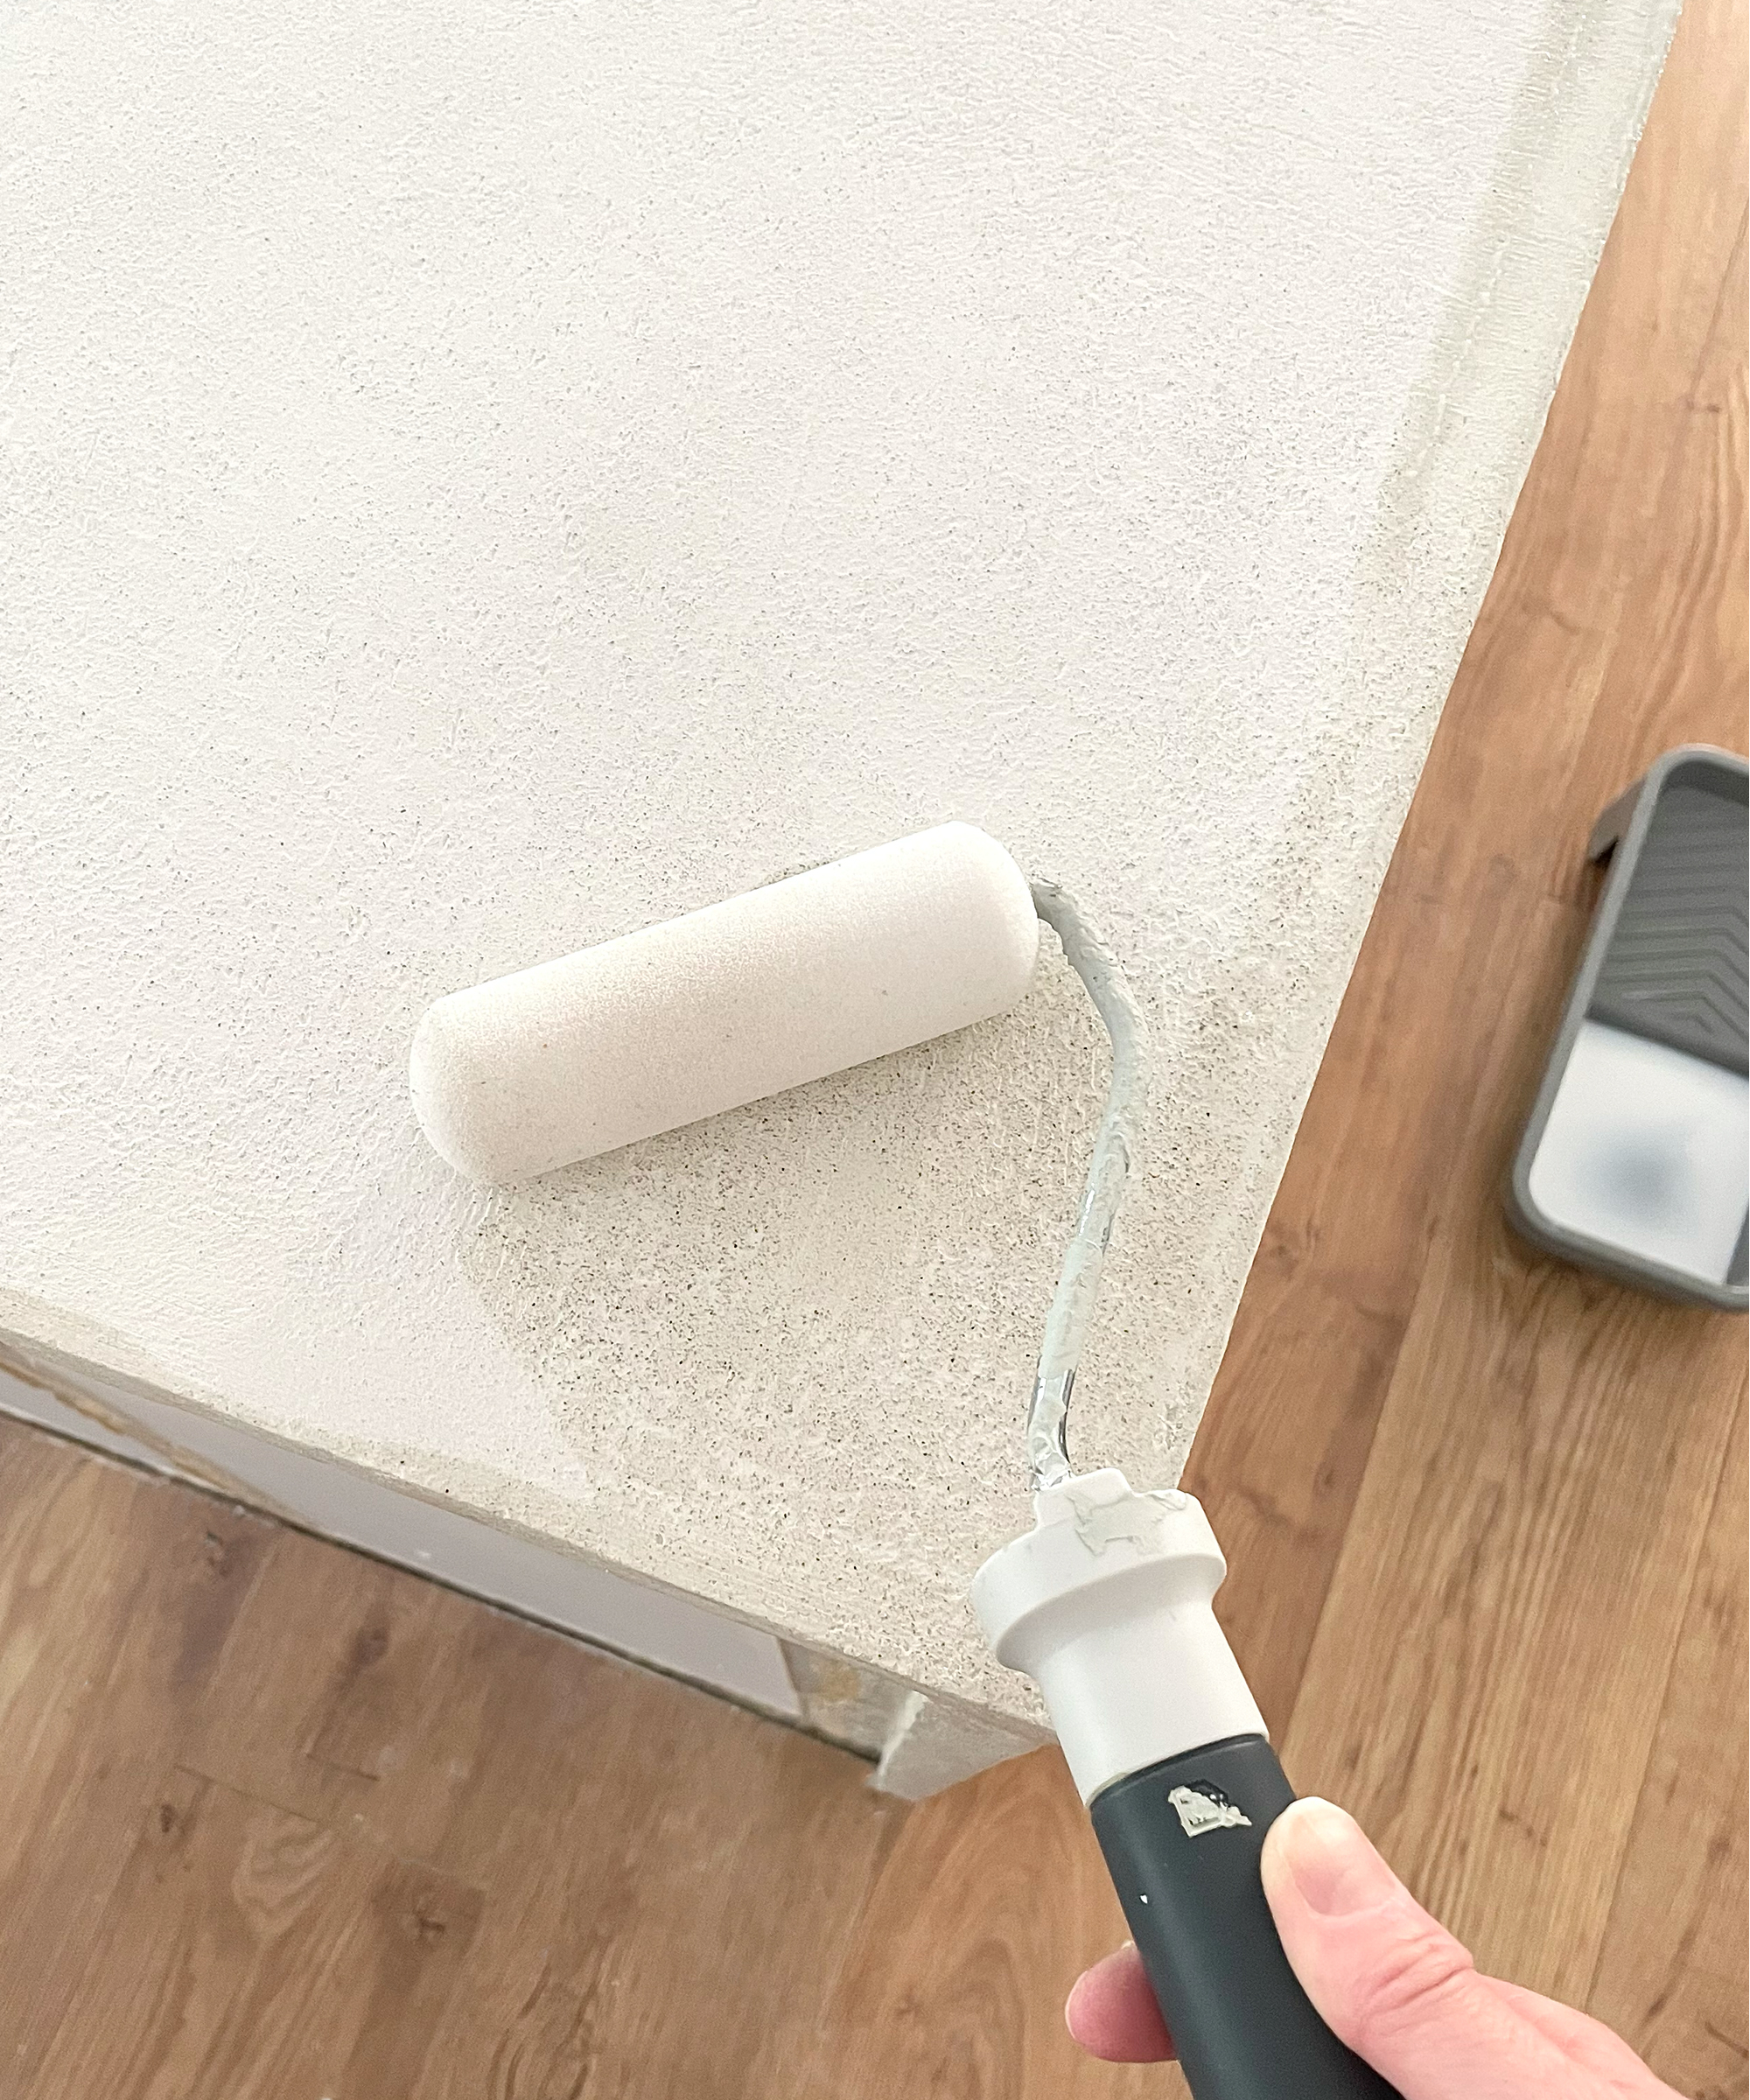
Mix the sealant according to the manufacturer's guidelines. Use syringes for accuracy, when measuring smaller quantities. If combining two parts, use separate syringes for each to prevent mixing in the syringe. Apply the sealant with a foam roller, moving logically from one side of the countertop to the other.
Keep the surface very wet with sealant to allow the porous surface to fully absorb it. Then allow the sealant to dry for the required amount of time.
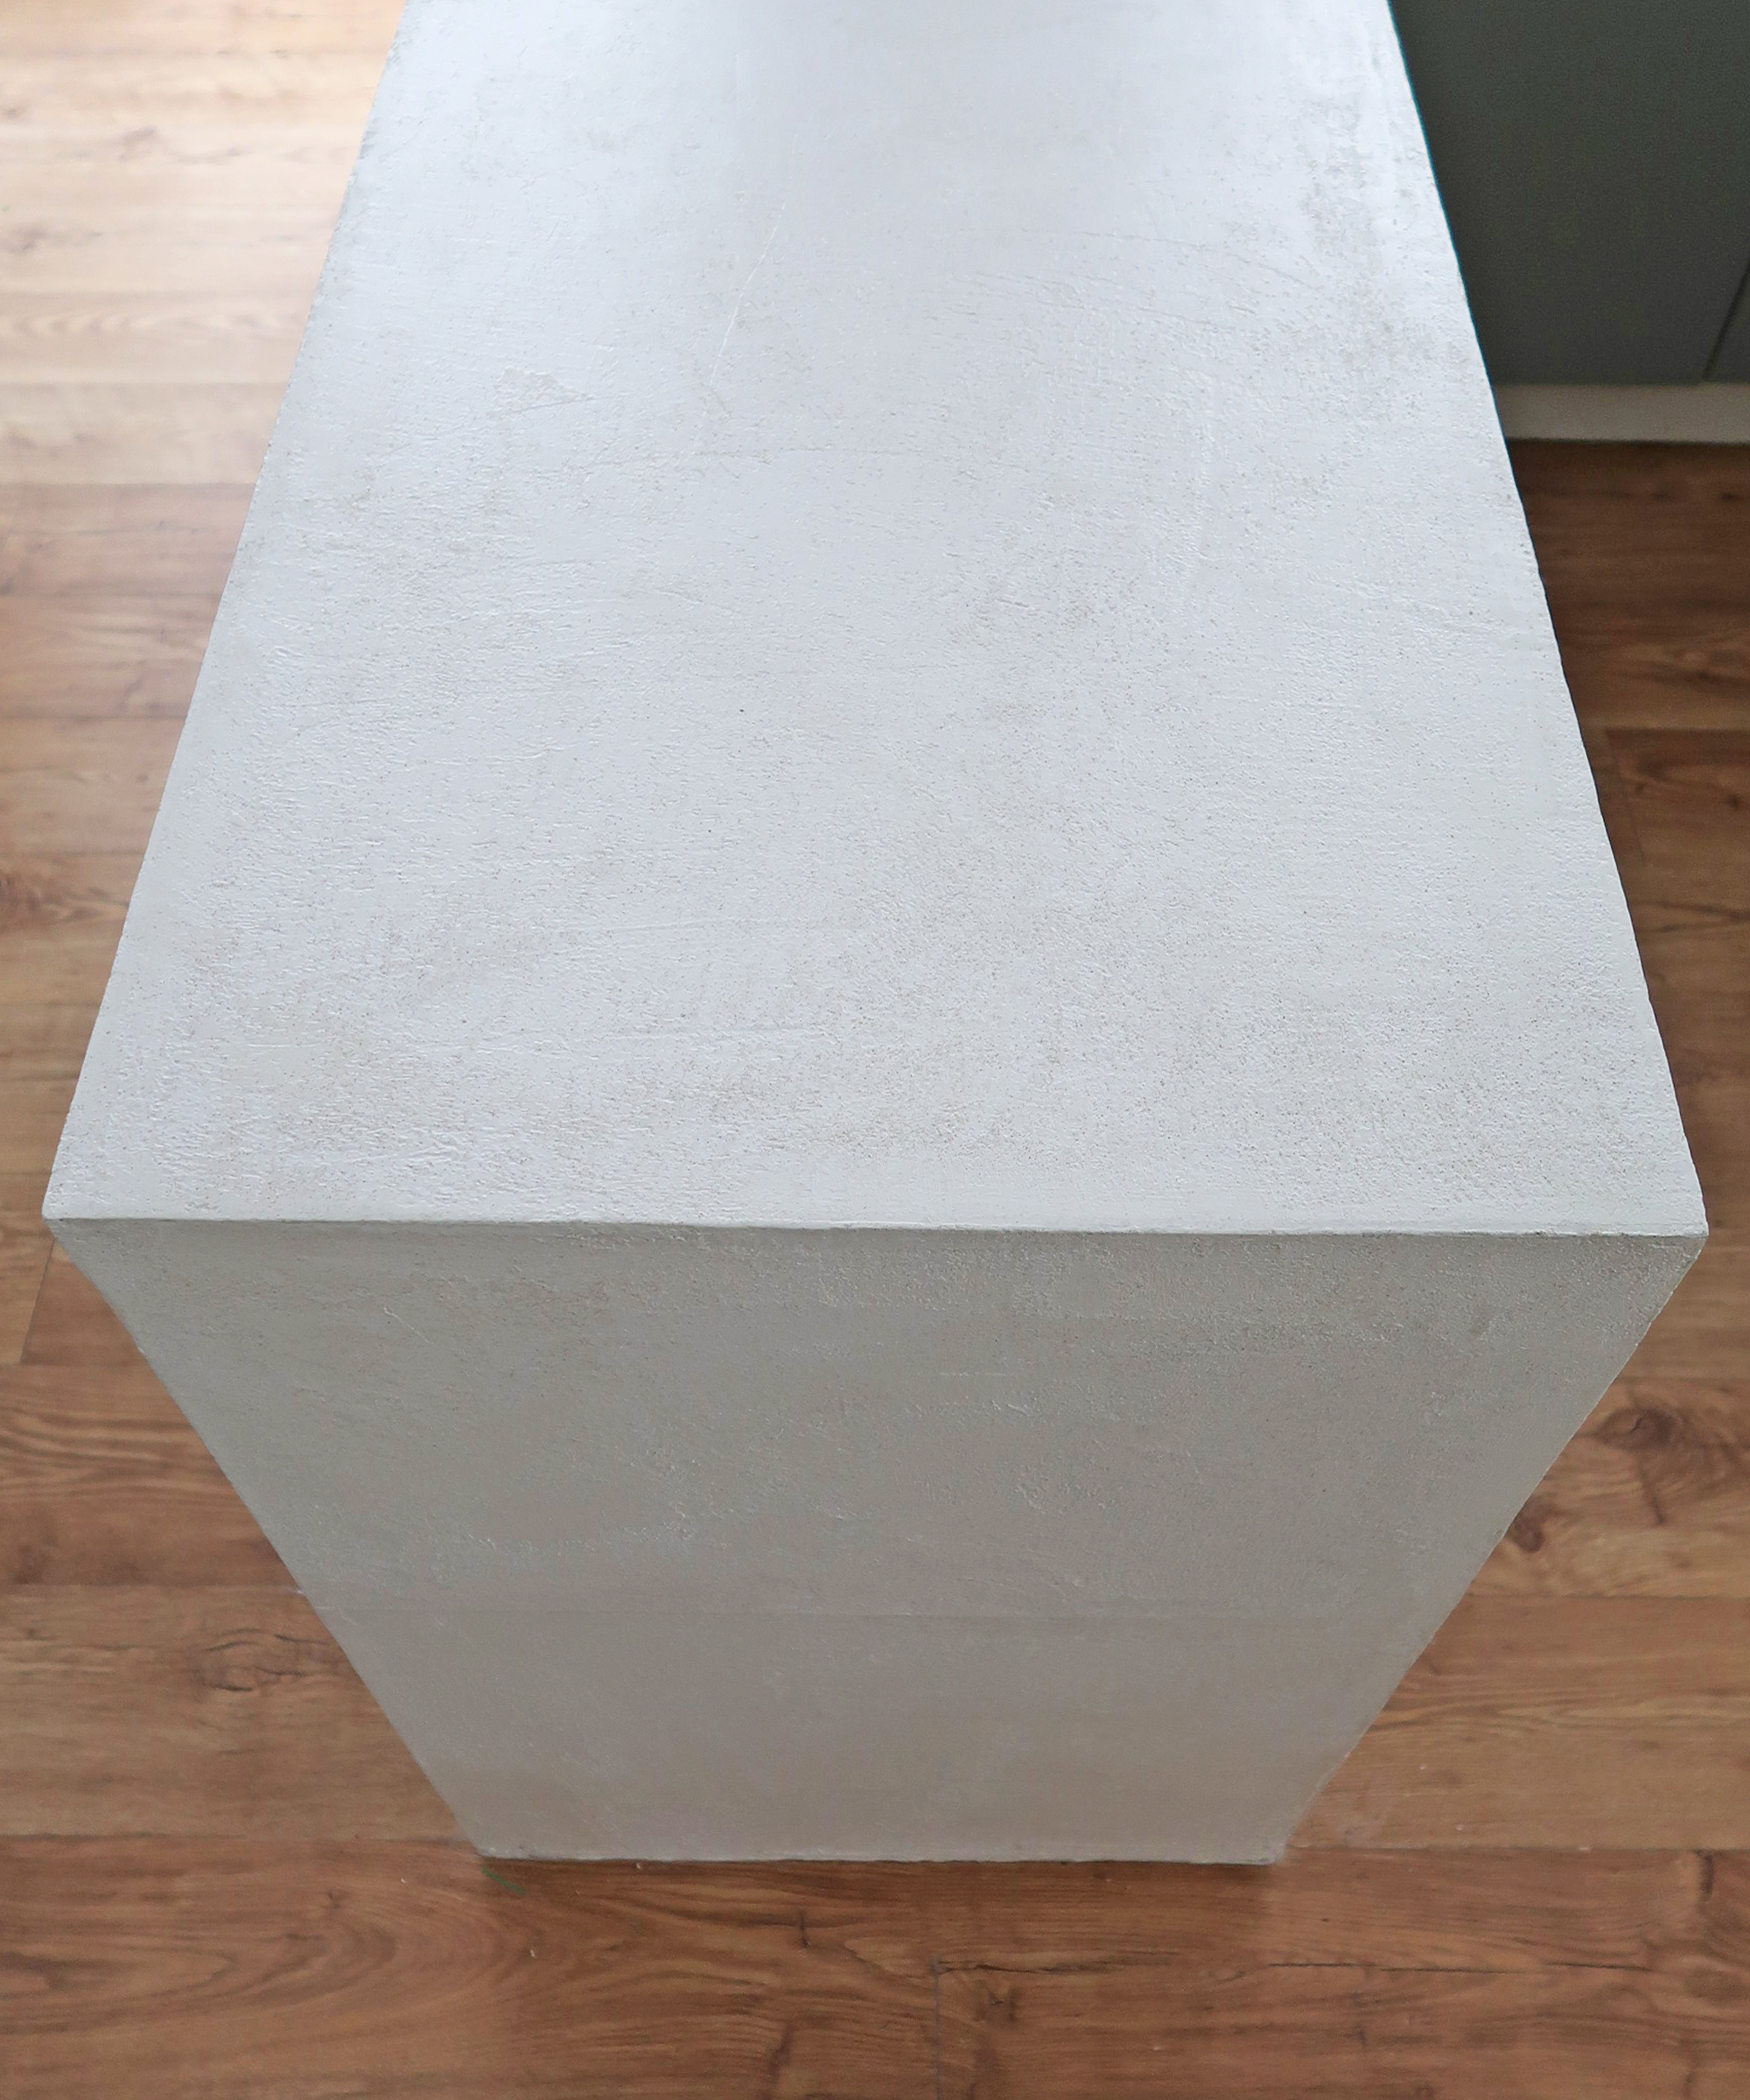
Apply the required number of coats, paying careful attention to the ratios and dilution for subsequent coats as this may change (becoming less dilute for later coats).
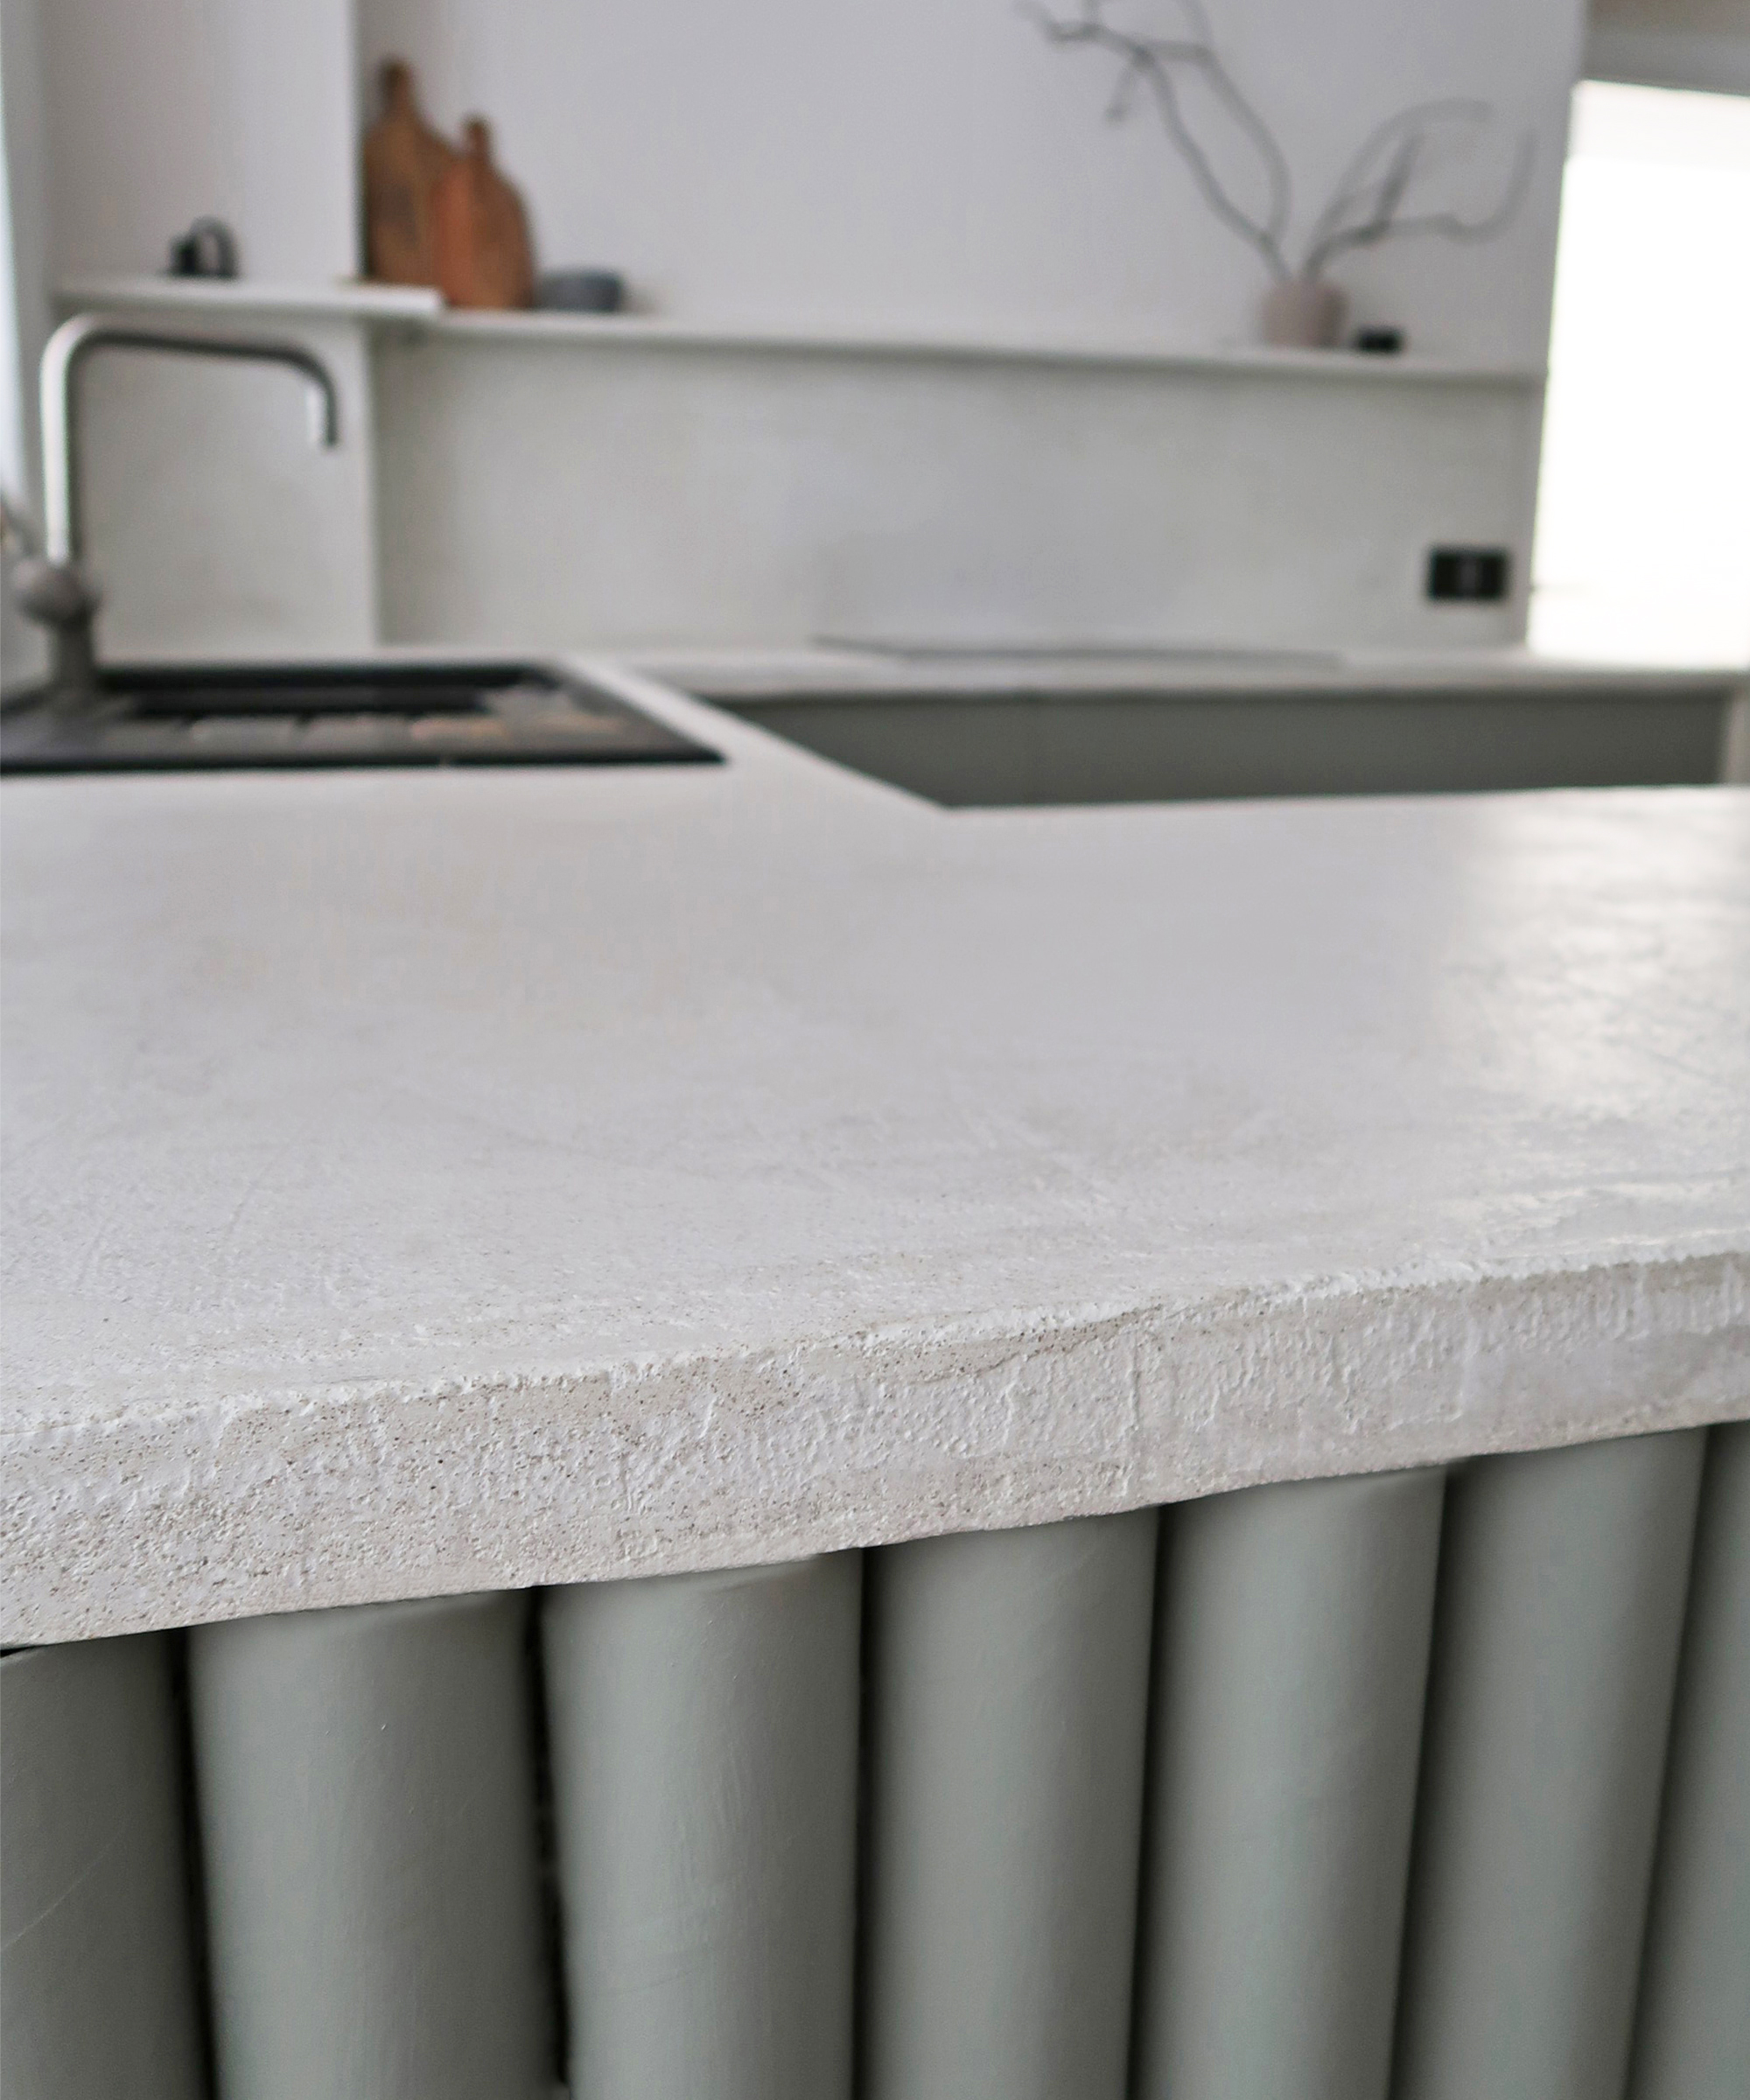
Top Tip: When applying the sealant, work from the bottom up, for example, roller the liquid over the countertop before starting on the backsplash as this will prevent drip marks when sealant has fallen onto a dry area. Keep the surfaces very wet with the sealant initially, to ensure that it is fully absorbed into the microcement.
How long will it take to microcement kitchen worktops?
Each layer of product (primer, microcement and sealant) has a set drying time meaning that the end to end duration of the project will be 3-4 days, but the amount of effort involved will depend on the size and complexity of the surface you are covering. A simple countertop alone, will likely only require 3-4 hours of effort spread over the total duration, with the most part being drying/setting time. More complex projects, multiple countertops with large integrated backsplashes and waterfall ends will take considerably longer to complete.
What will it cost?
The exact cost will depend on the supplier you choose the product from and the size of the area you are covering, but if you are applying the microcement yourself the overall project cost will be dramatically less than the typical costs of replacing your countertops and this was one of the main attractions for me.
I purchased a Microcement polished concrete kit to cover an area of 5square metres from Concretelab.com, along with their recommended sealant which came to £192.60. Roughly $210.
The results
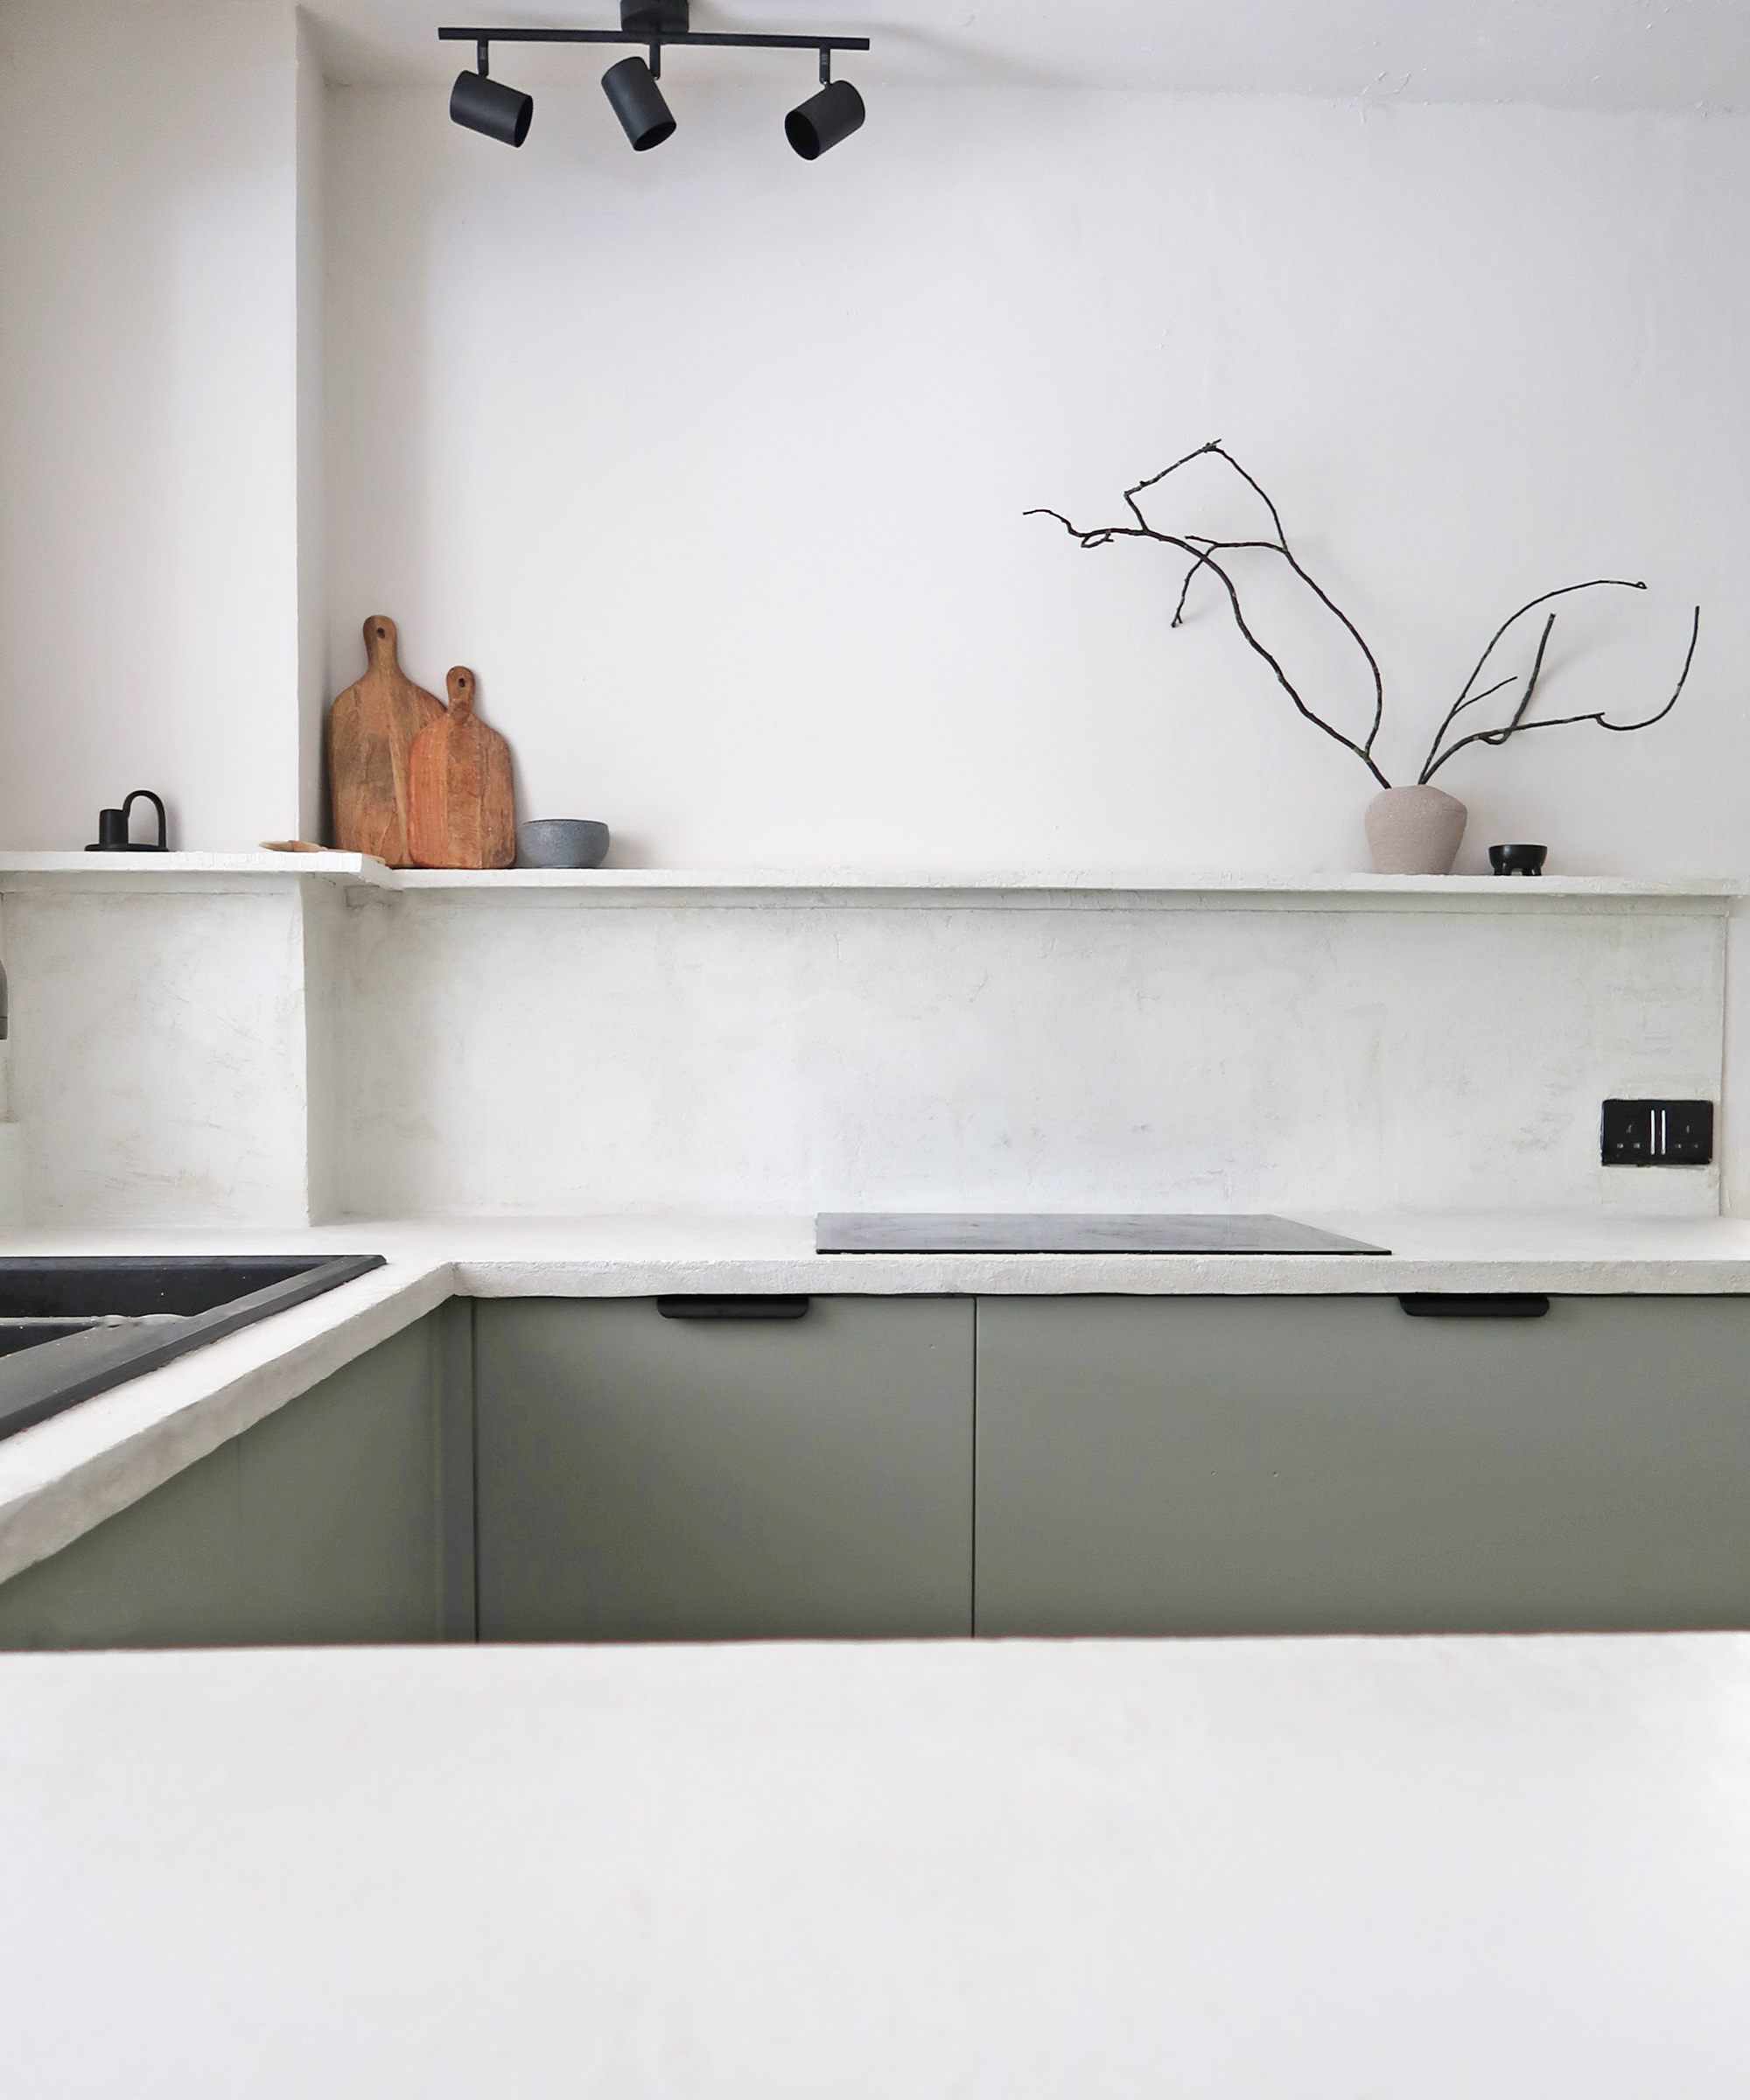
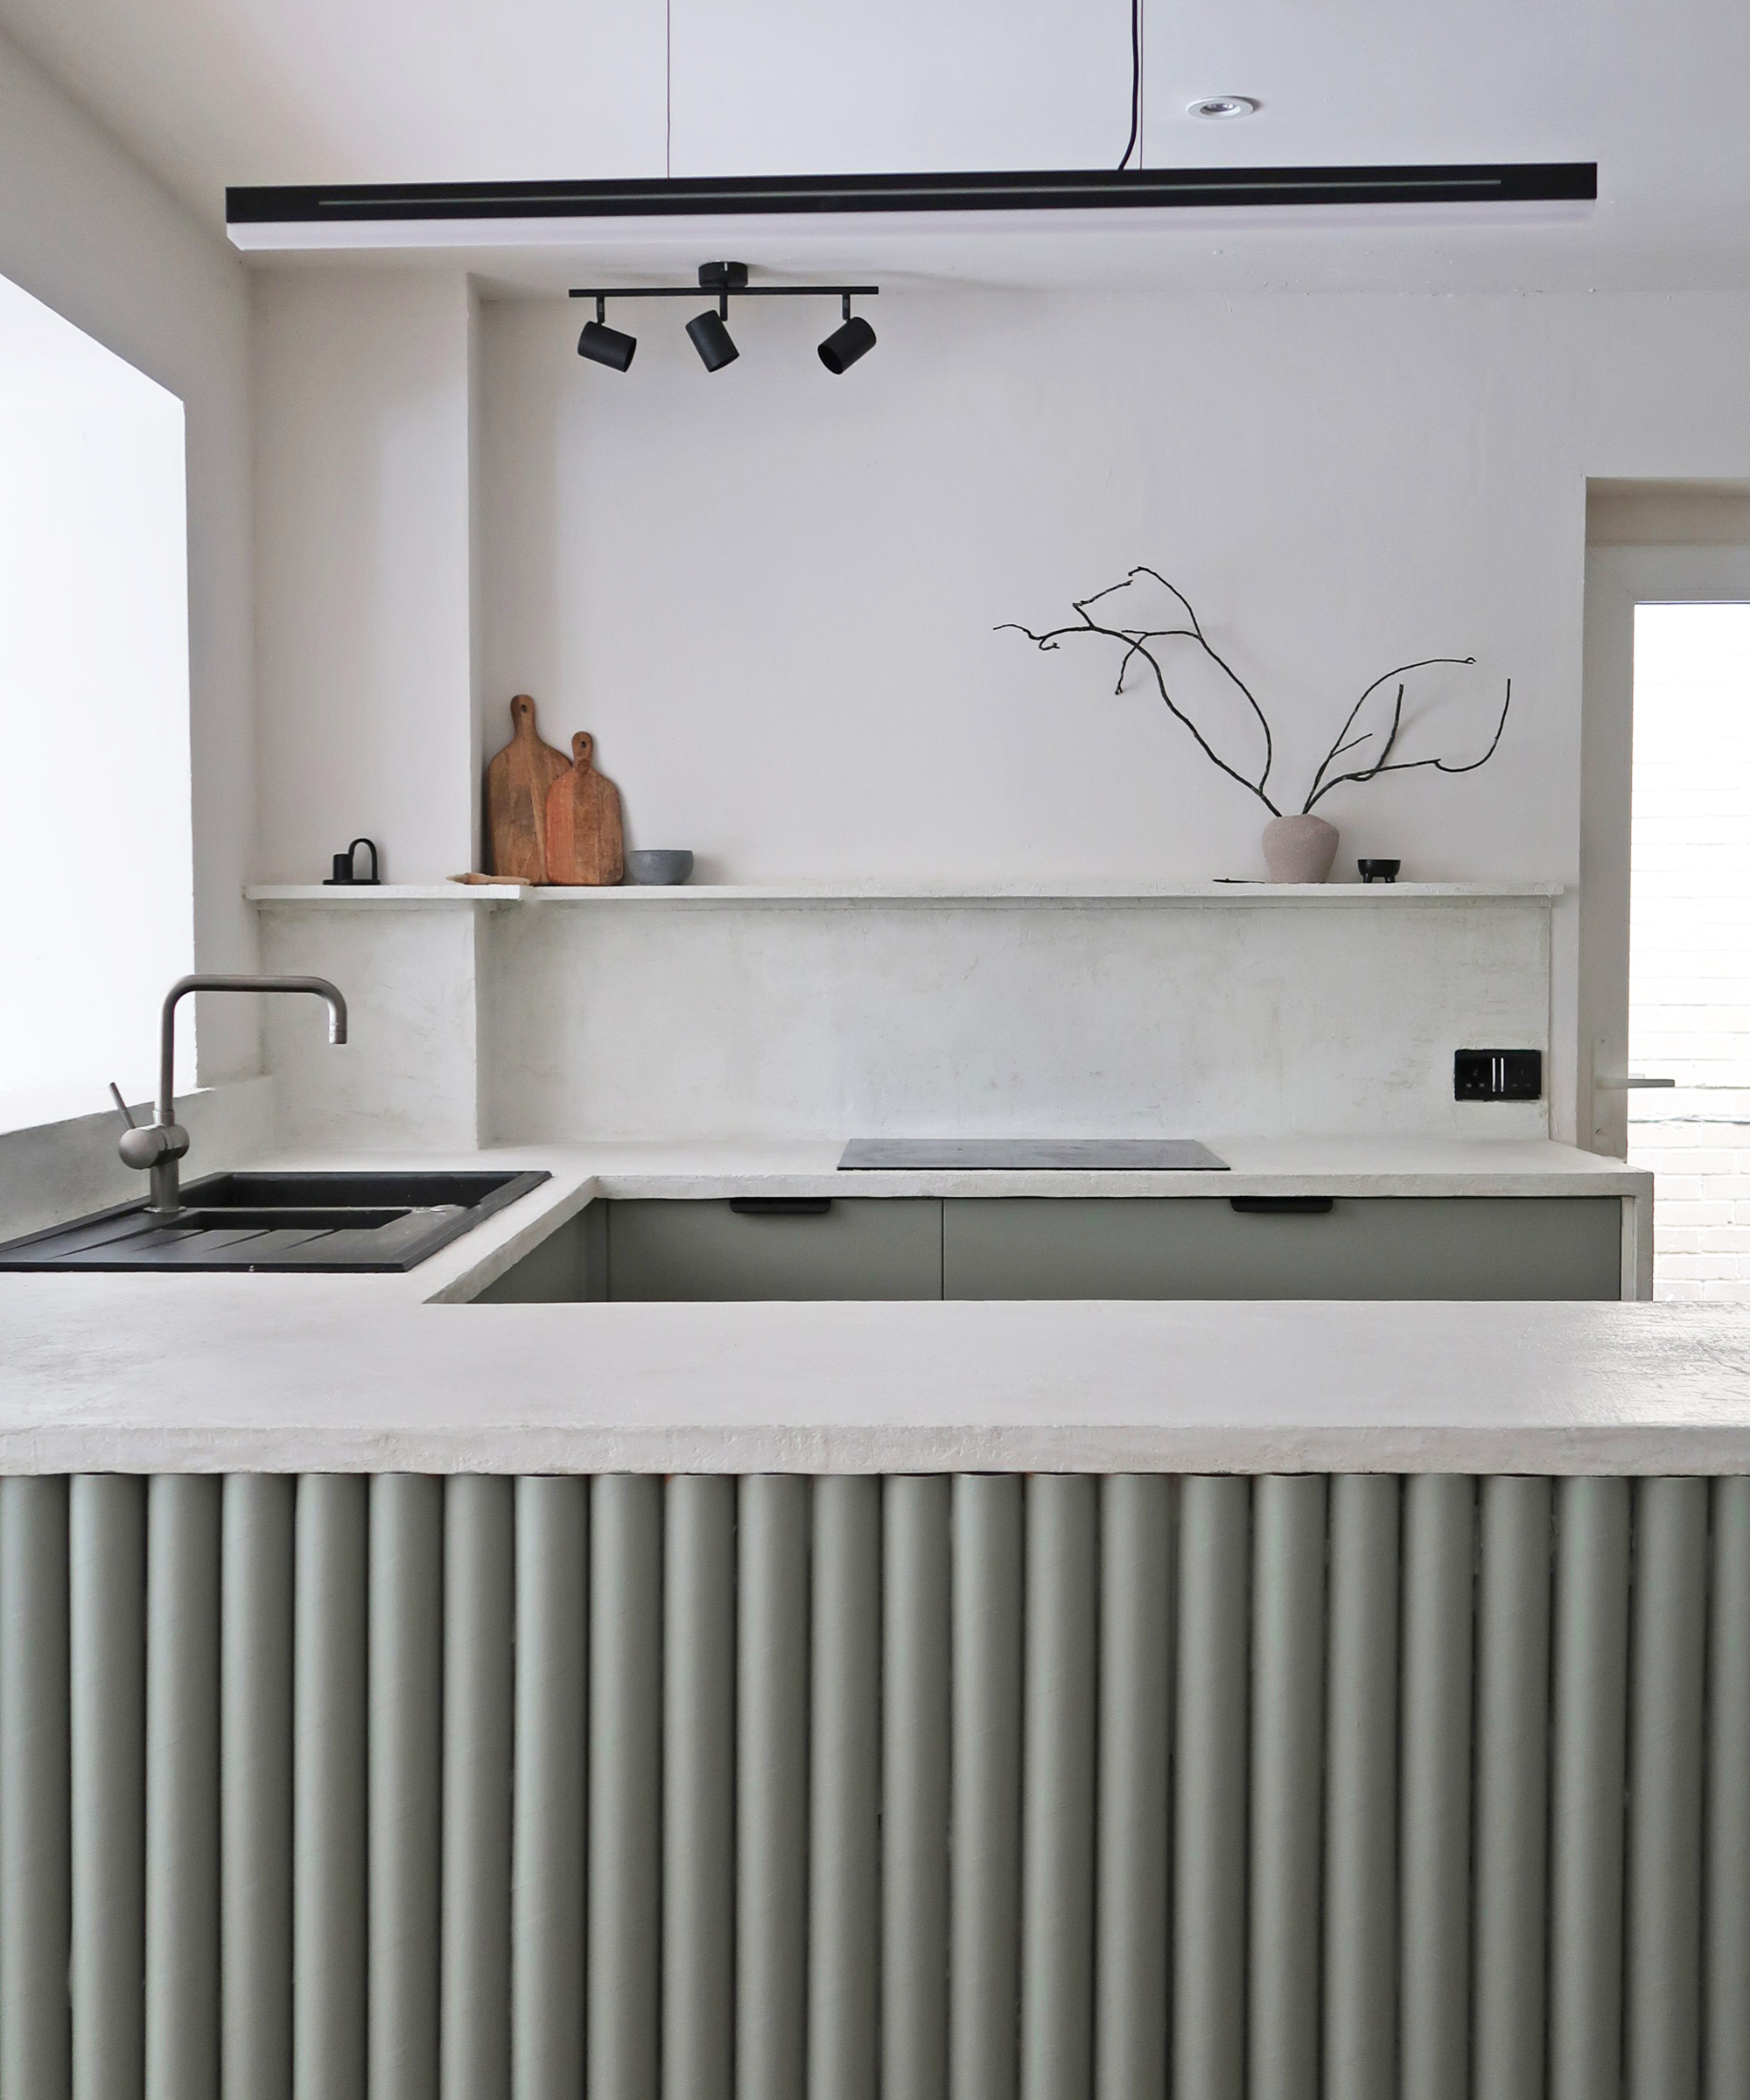
As you can see from these after photos, the new countertops completely transformed the space. The off-white colour made for a much brighter kitchen and the polished concrete finish provides lots of texture and interest.
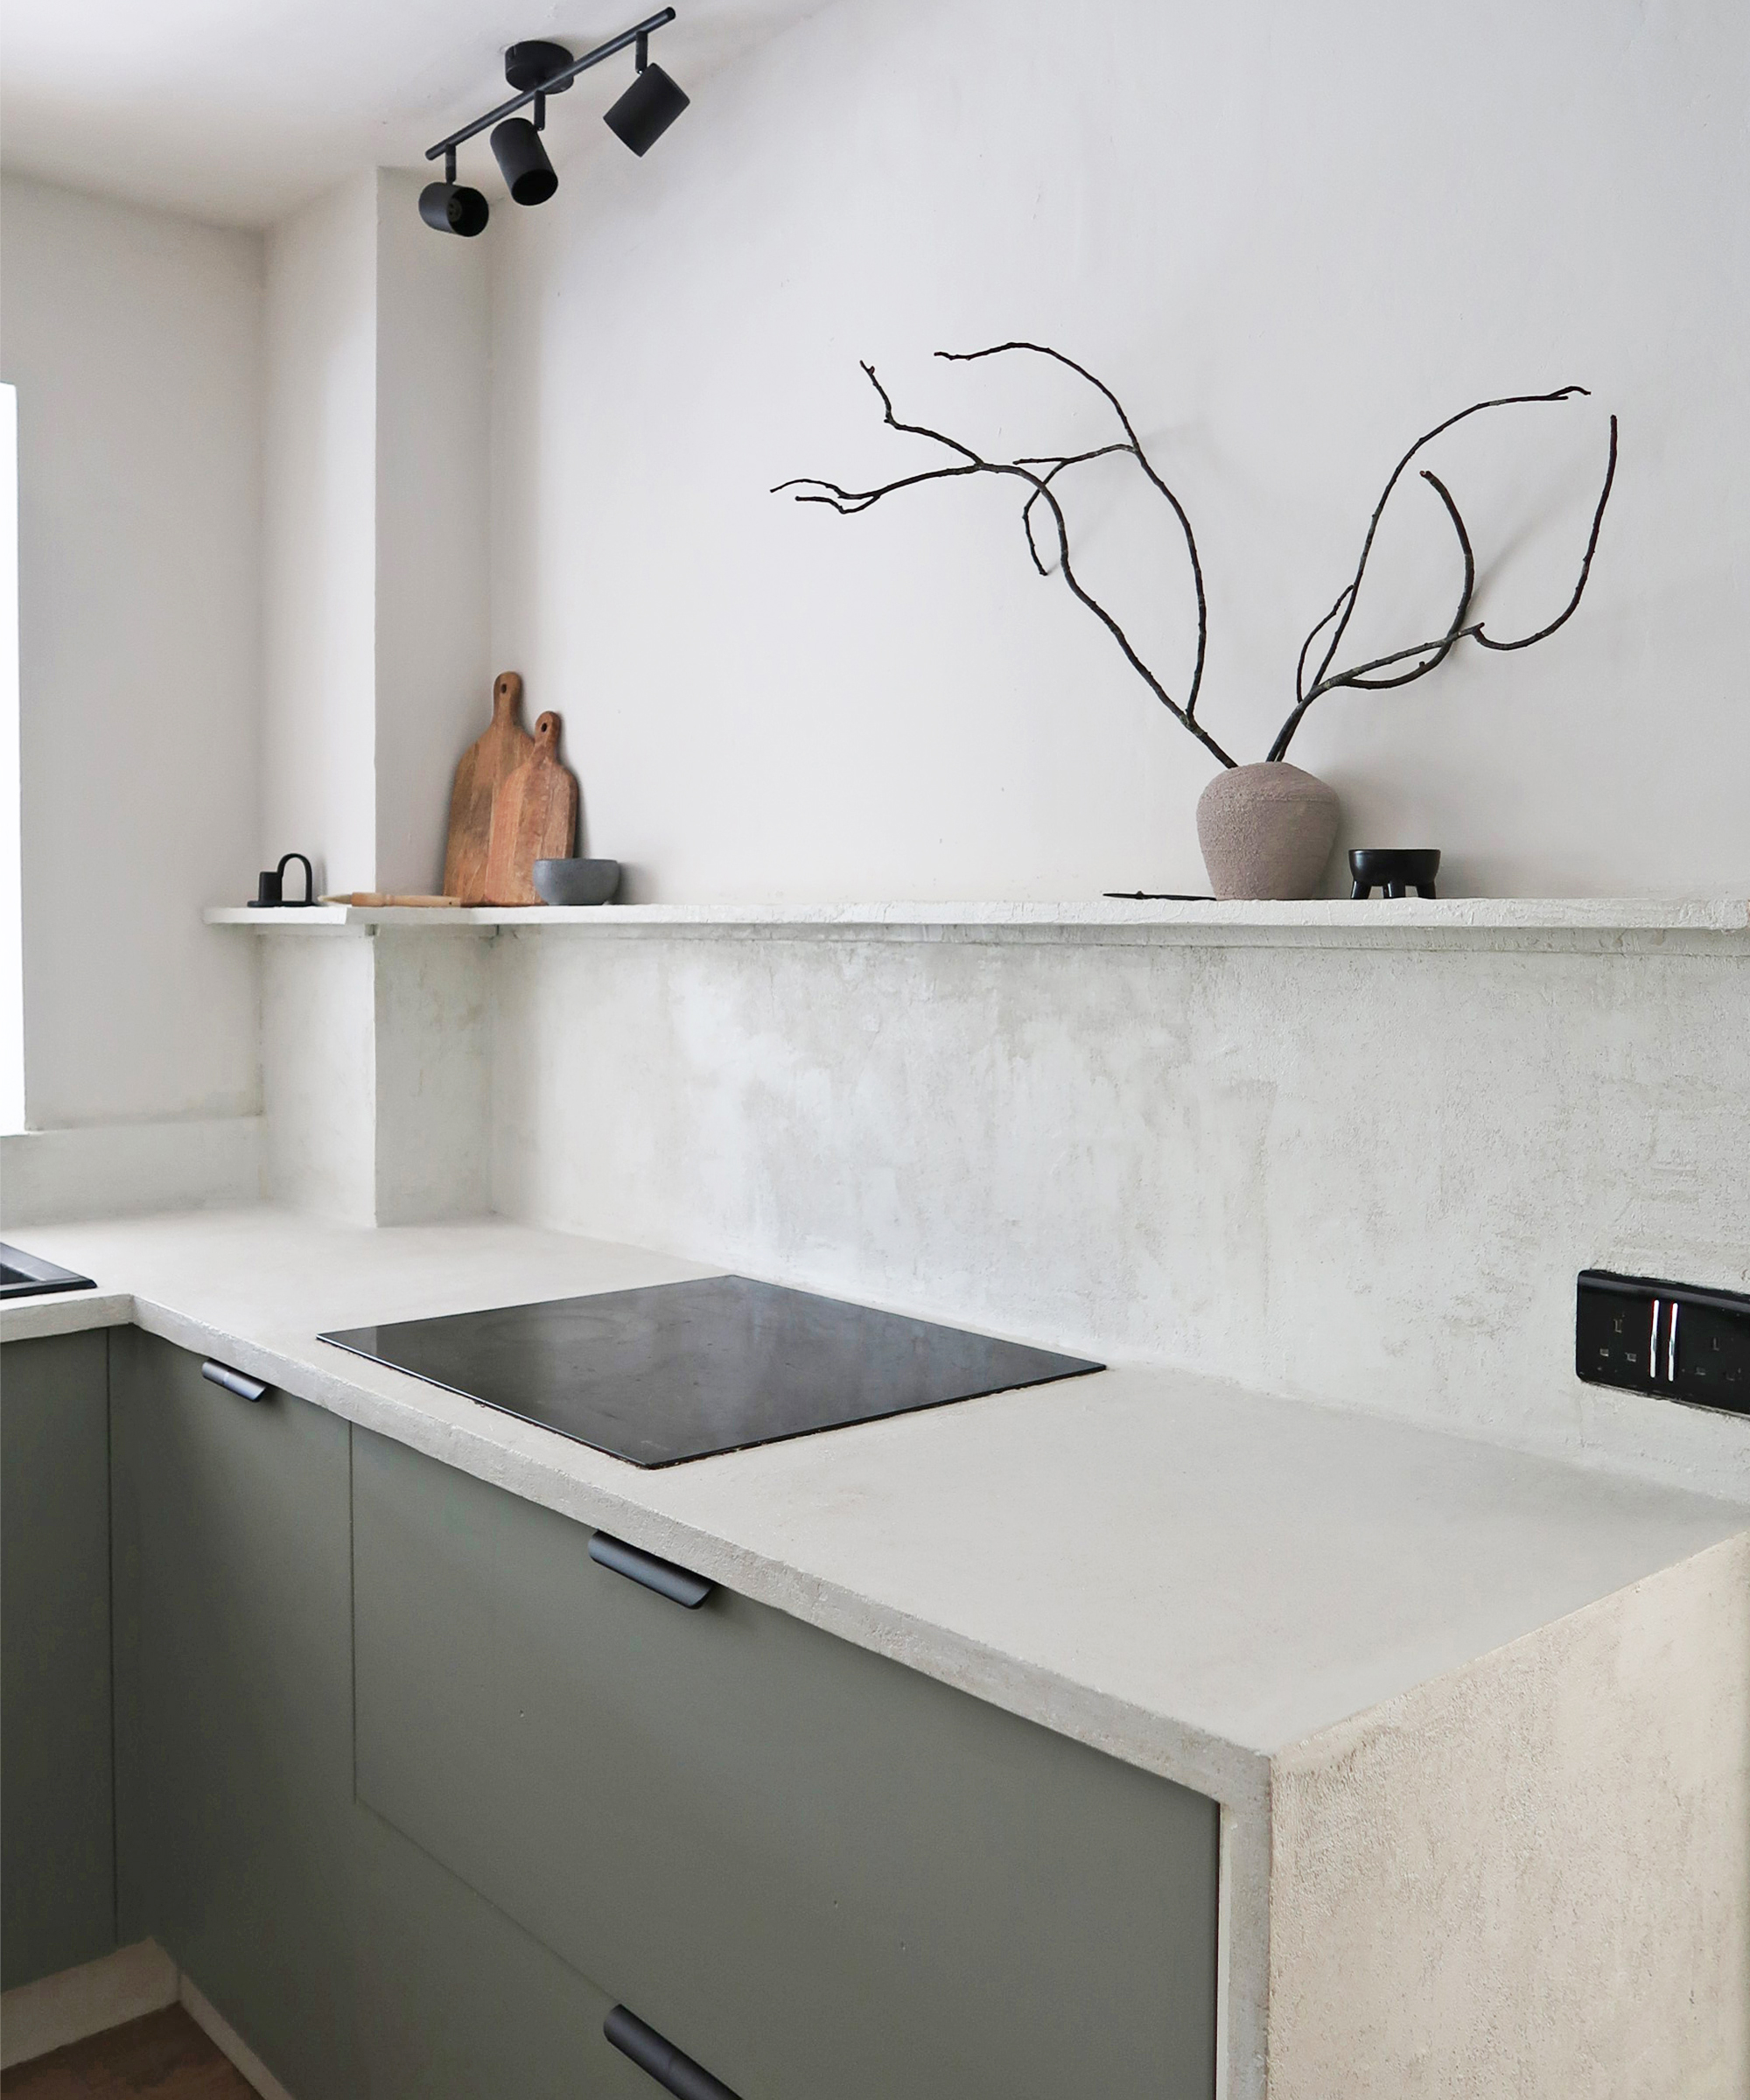
If you are a keen DIYer and don’t mind getting your hands dirty then I highly recommend this project as it’s one of the most satisfying I’ve completed both in terms of impact and value for money.

I'm happiest when I have either a drill or paintbrush in my hand! I specialise in room transformations on a budget and love experimenting with different styles and techniques which I share on my Instagram. I believe that your imagination, not your budget, should be the limiting factor when transforming a room and I love thinking of creative ways to build custom and bespoke-looking furniture using flatpacks or upcycle finds.
I also love writing and my home improvement blog (ClaireDouglasStyling.co.uk) is my passion project where I share creative ideas for interior styling and DIY tips and tutorials.