How to paint a textured ceiling in a day or less
Learning how to paint a textured ceiling requires a slightly different approach to a smooth surface, whether you need to paint a popcorn ceiling or refresh some woodchip

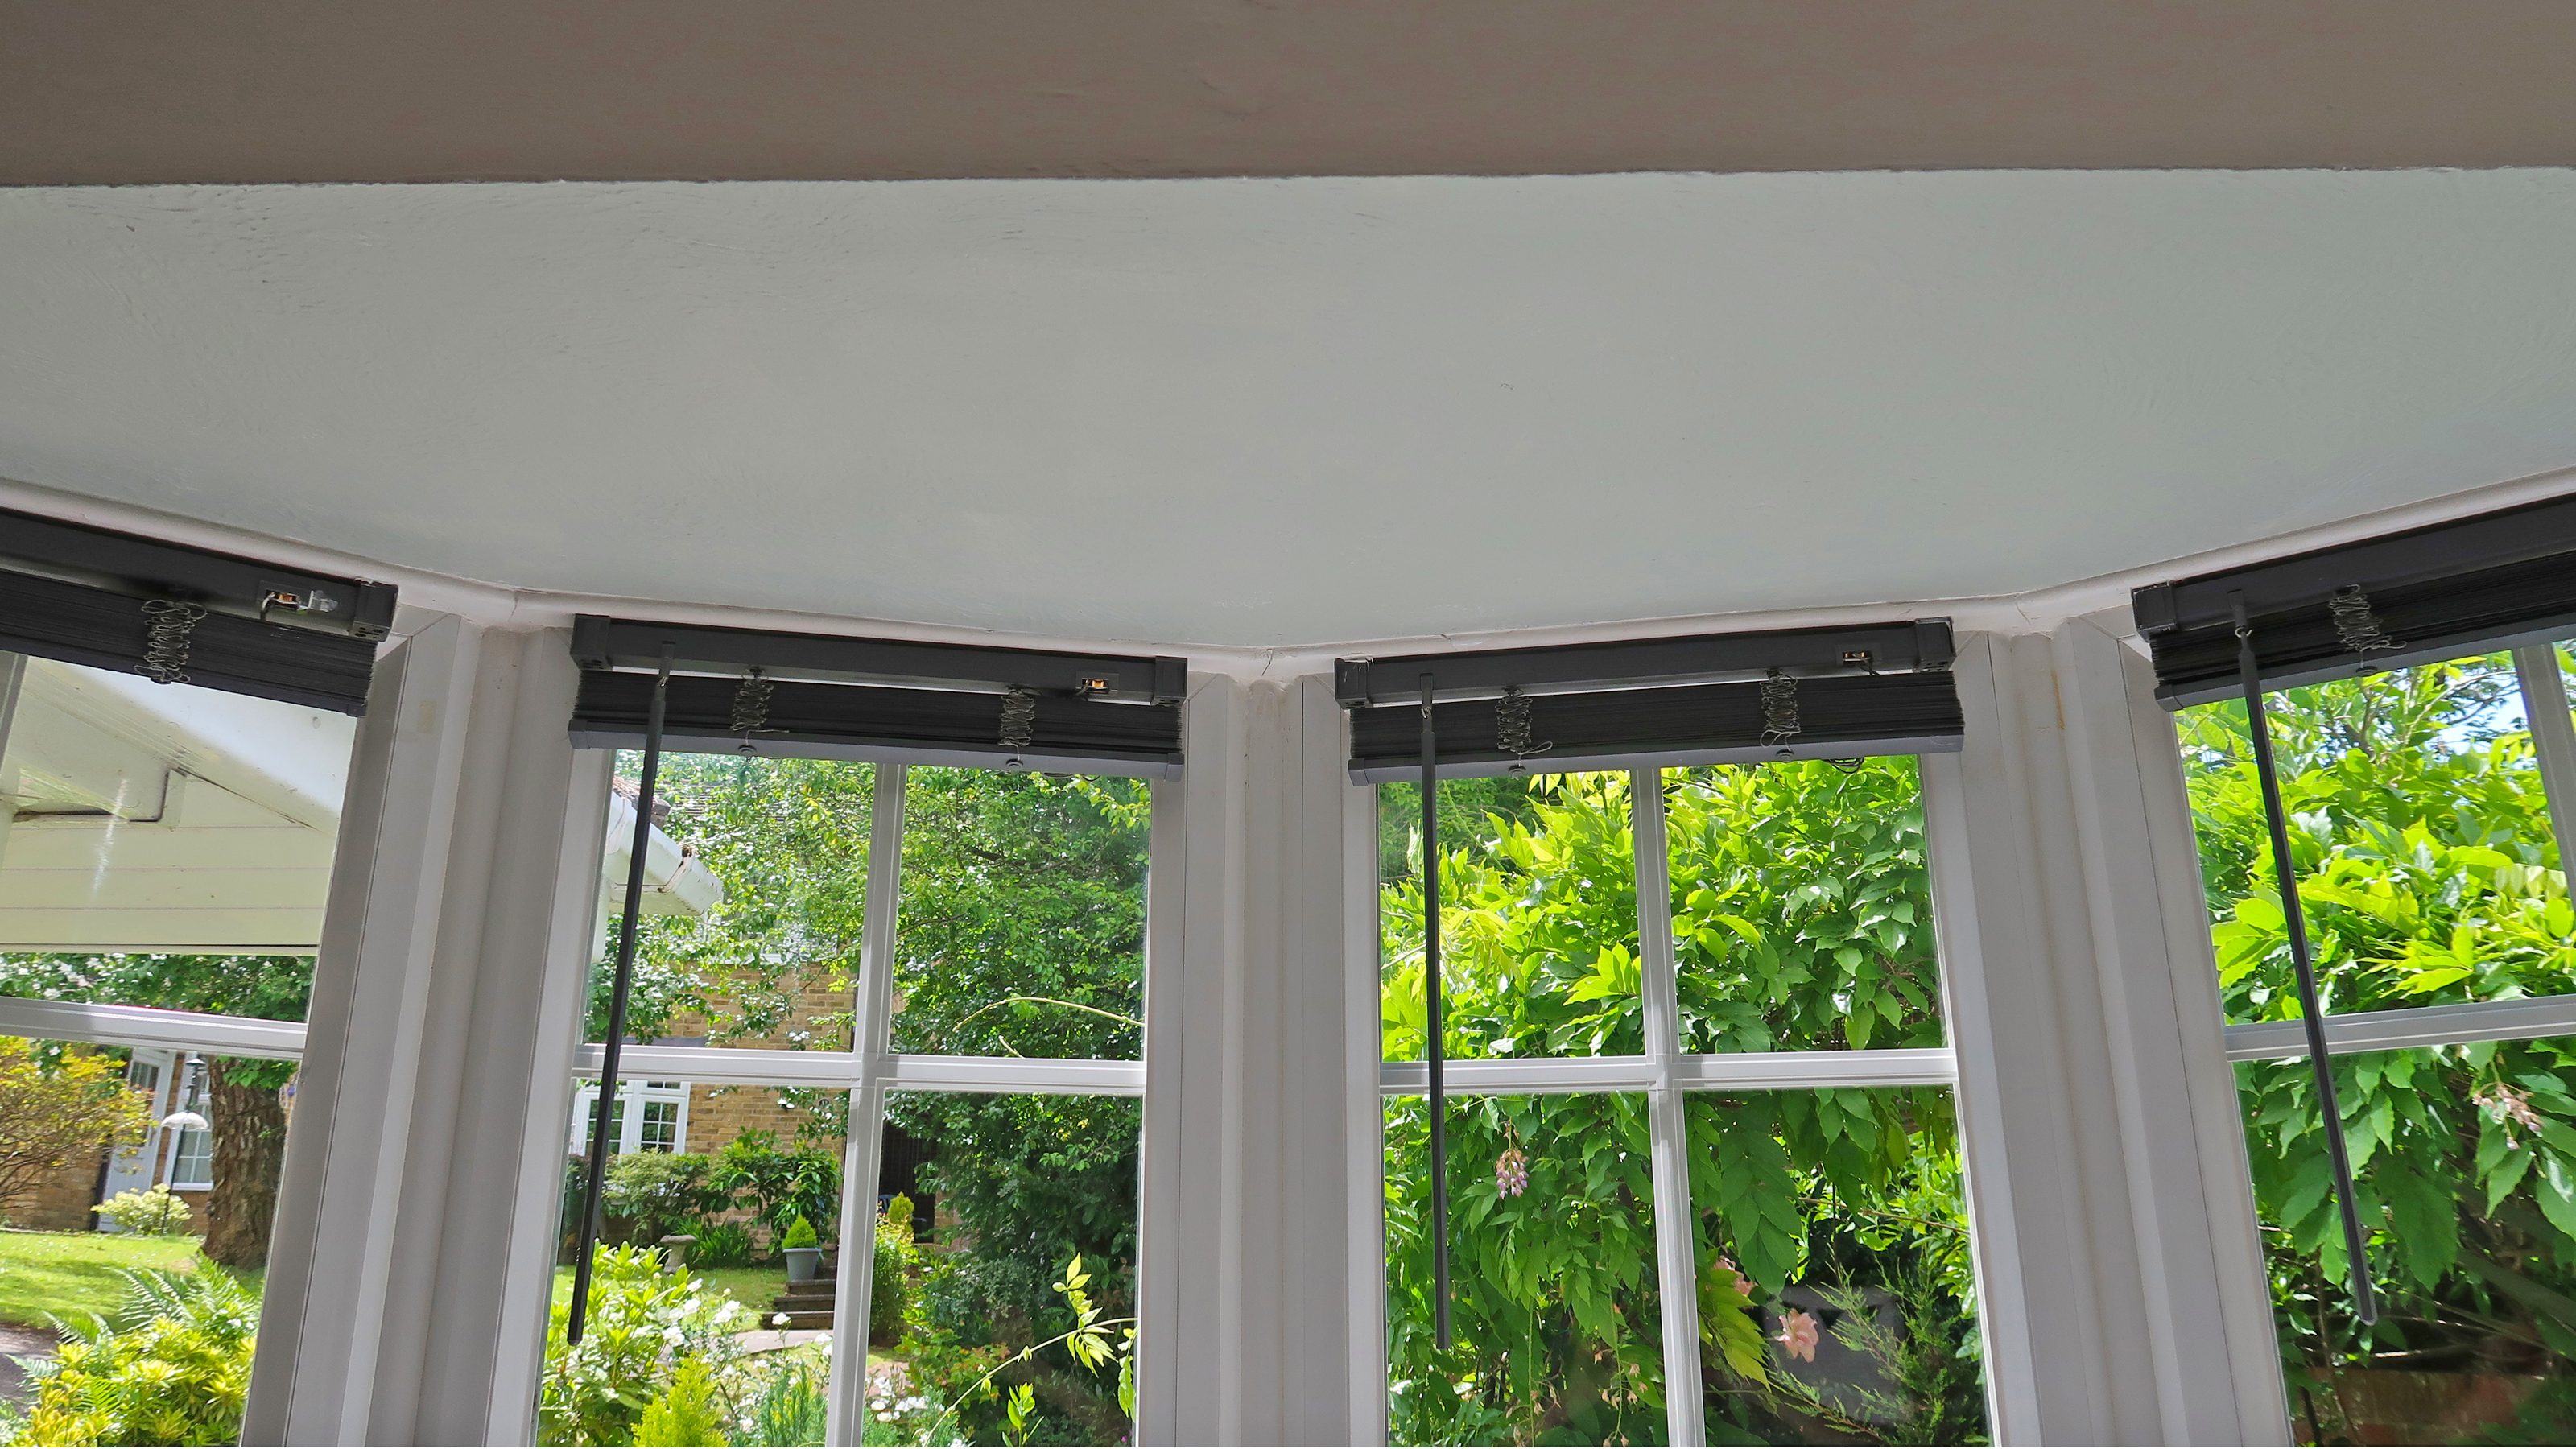
Learning how to paint a textured ceiling might not be high on most of our DIY to-do lists these days.
Textured ceilings may have fallen out of fashion when it comes to on-trend decorating ideas, but the need to engage professionals for sample testing and the inherent risk of asbestos exposure often deters homeowners from considering texture removal, opting instead to skim over them or freshen up by just painting the room instead.
I’m going to cut to the chase, painting ceilings is not my favorite job. The risk of raining paint splats, combined with awkward-angled neck stretching doesn’t make for a relaxing time.
Throw in a textured surface to the ceiling and you’ll see many a fair-weather decorator running for the hills, but with some preparation and the right tools and materials, it’s a job that can be accomplished in a day (or less) and one that you’ll definitely be glad that you put in the effort for.
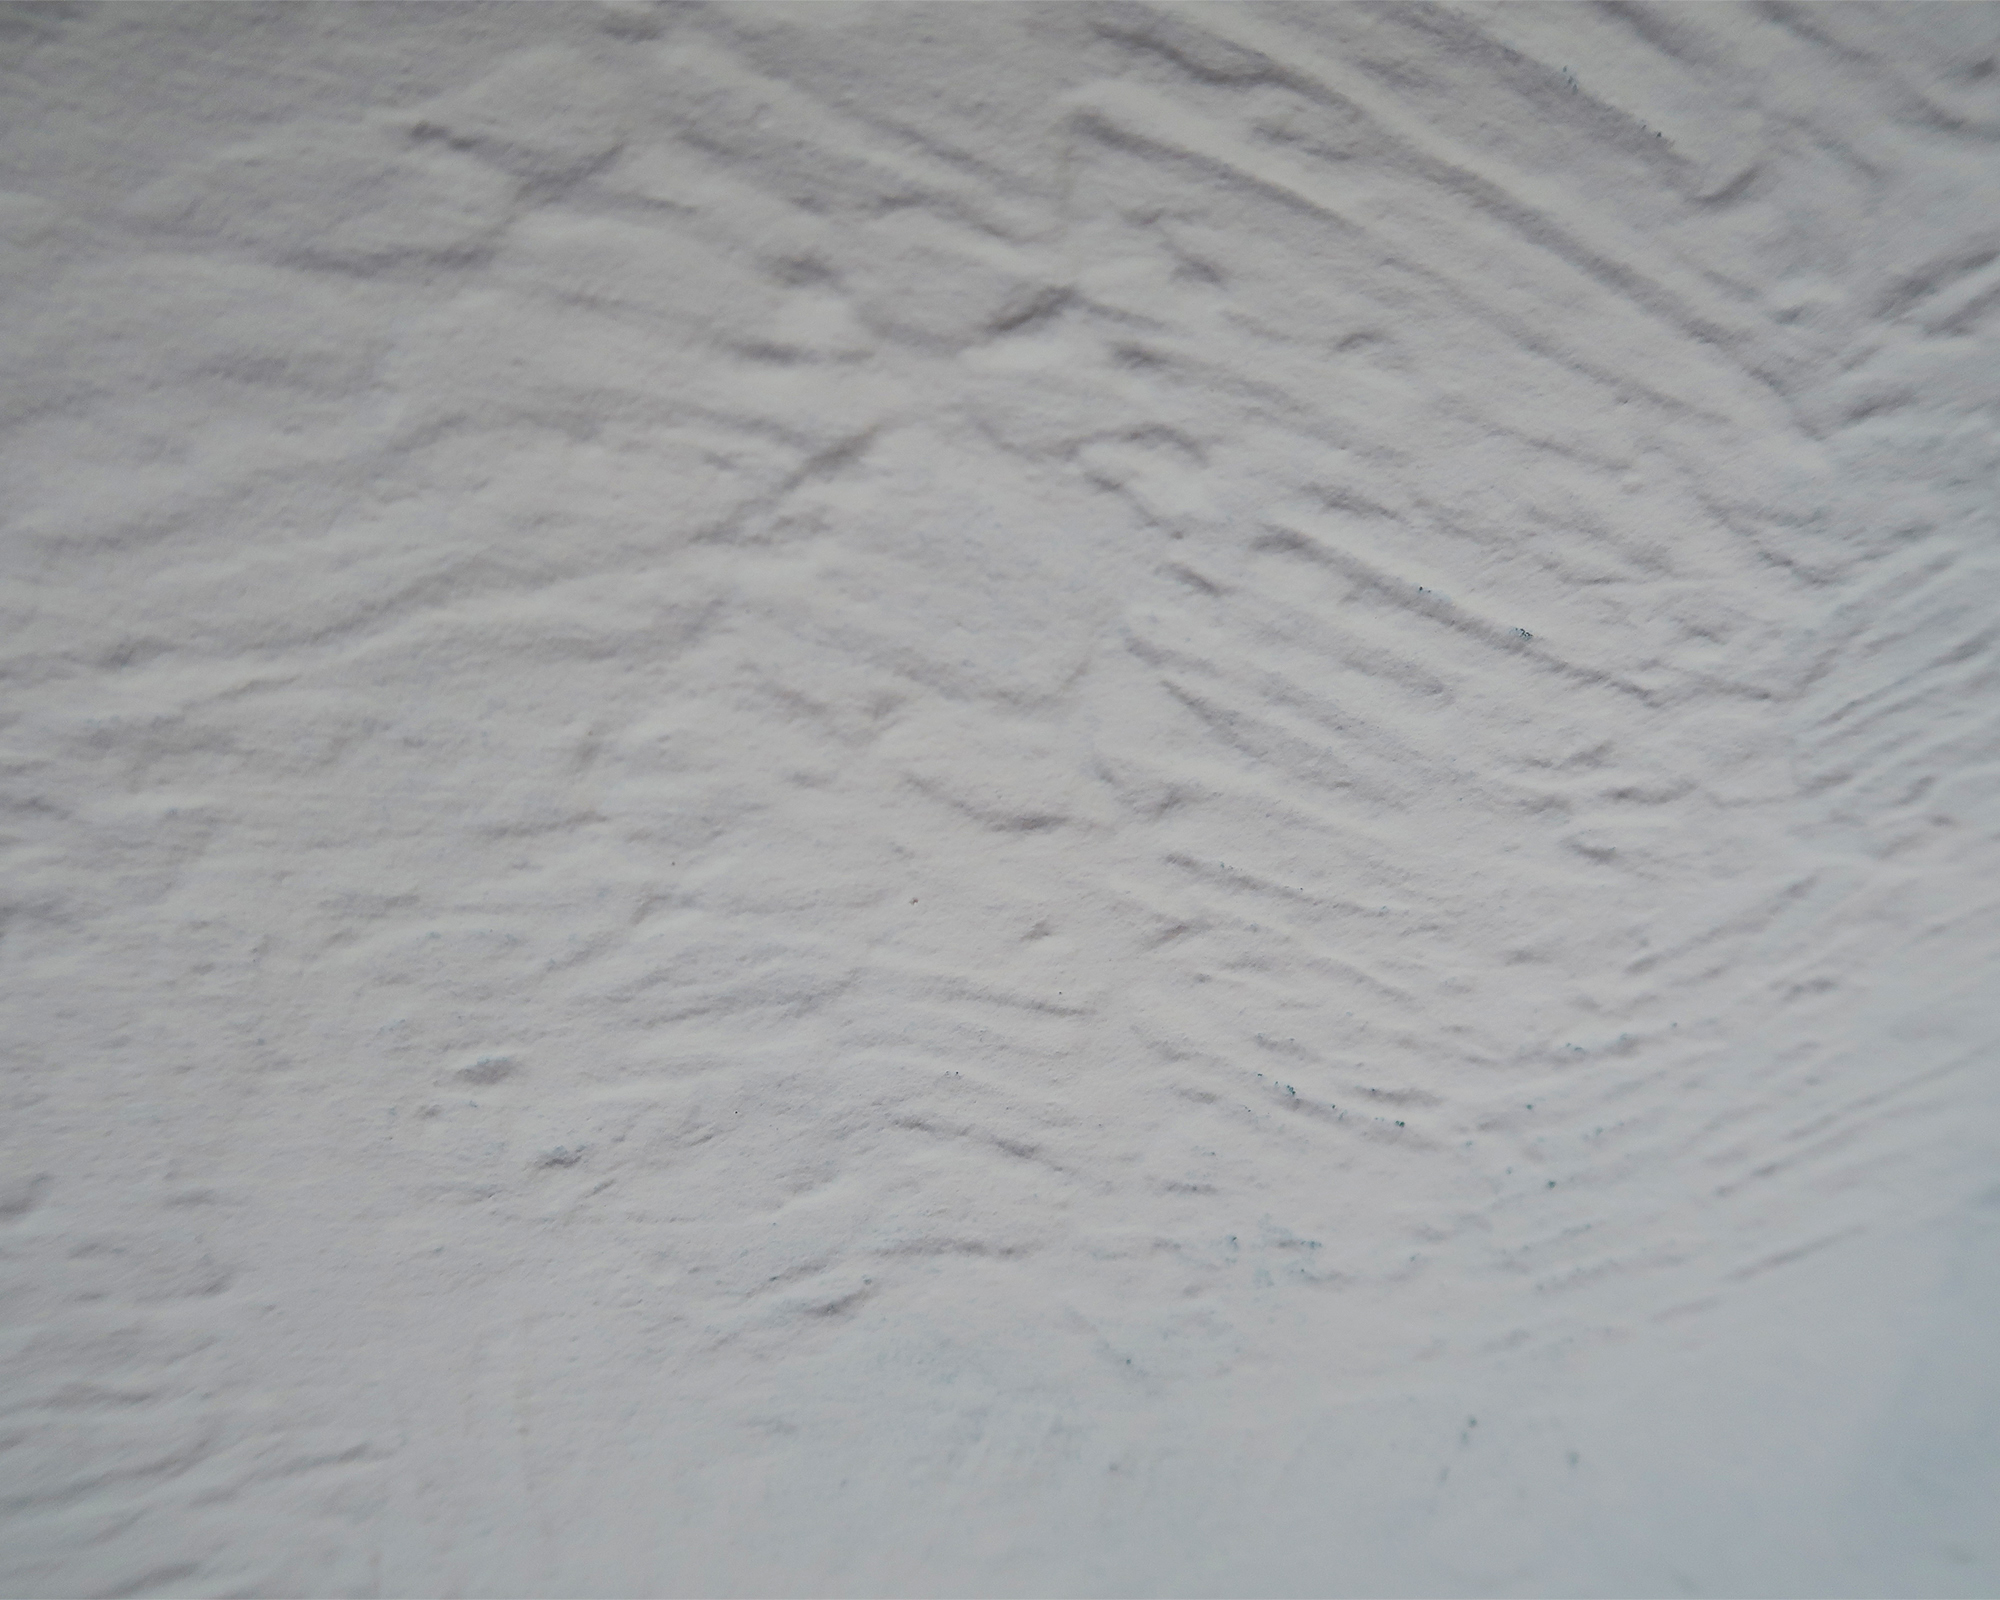
In fact, the only key difference to painting any other ceiling is that your roller needs a longer, denser nap to get into all of those crevices.
Shopping list:
1. Vacuum and duster
2. Damp sponge
3. Sugar soap or degreaser: this one rates well
4. Medium pile roller: browse on Amazon
5. Paint: I used this one
6. Paint tray: find one to fit your roller
7. Paint brush: this Hamilton cutting in brush is great
8. Painter's tape: we recommend Frogtape, 3M or Scotch
9. Dust sheets: use old bedding or grab some on Amazon
Textured or ‘popcorn’ ceilings were very popular from the late 1950s to the 1990s due to their improved acoustic properties and ability to hide imperfections.
The power of a fresh coat of paint shouldn’t be underestimated, especially with textured ceilings which can start to look dated and tatty without attention. Carefully chosen paint colors can help blend a textured ceiling in with the room and when part of a cohesive and considered interior scheme, a textured ceiling definitely feels less like a hangover from the ‘80s.
Get small space home decor ideas, celeb inspiration, DIY tips and more, straight to your inbox!
While there are ways to make a ceiling or walls smooth without plastering, time, effort and budget can mean a lick of paint is the way to go. So how do you tackle painting a textured ceiling?
Why is painting texture different to a smooth ceiling?
The first potential issue is that the texture can start to detach from the ceiling if it gets wet or in this case too saturated with paint. This can be prevented by not overloading or overworking the surface with the brush or roller and minimizing the number of passes over the same spot.
The second challenge is that grooves and ridges in the texture make it harder to get good coverage and can result in patchiness requiring multiple coats. This issue can be reduced by going slow and steady and choosing suitable paint.
Helen Johnson, Owner and Director of Decorating Centre Online advises, ‘The Tikkurila anti-reflex paint is fantastic for ceilings and comes highly recommended by decorators. It is high opacity so requires fewer coats, and has a non-dripping/splashing formula which should prevent any mess. It’s also good for preventing flashing so you shouldn’t see any patchiness once painted.’
Should I use a roller or a brush on a textured ceiling?
You actually need to use both to paint a textured ceiling. Choose a good paint brush for cutting in around the edges of the ceiling which you can't do neatly with a roller. The main body of the ceiling should be painted with a synthetic roller with a medium pile (nap) to get the best coverage of paint over the uneven surface.
Consider using an extension pole to save climbing up and down and moving a step ladder around the room, or even a painter’s scaffolding frame if you have very high ceilings. Painting a ceiling can be an uncomfortable job and your neck and back will thank you for planning ahead and investing in the right tools.
Ok, so now you’re psyched up and ready to go, here’s a handy step-by-step guide to help you achieve professional-looking results.
Before you start
The products, such as Artex, that were used to create textured ceilings often contained Asbestos which was added for strength. Asbestos is not harmful if undisturbed, it’s only in fine-dust form (resulting from sanding for example) that it becomes a potential threat, as the fibers can be breathed in and go on to cause life-threatening health conditions.
Asbestos was banned in 1989 in the US and 1999 in the UK and ceilings installed prior to those dates have a high risk associated with them. Therefore, unless your textured ceiling has been professionally tested, or you know for certain that it doesn’t contain asbestos you should take great care when painting not to disturb the textured surface.
You will need:
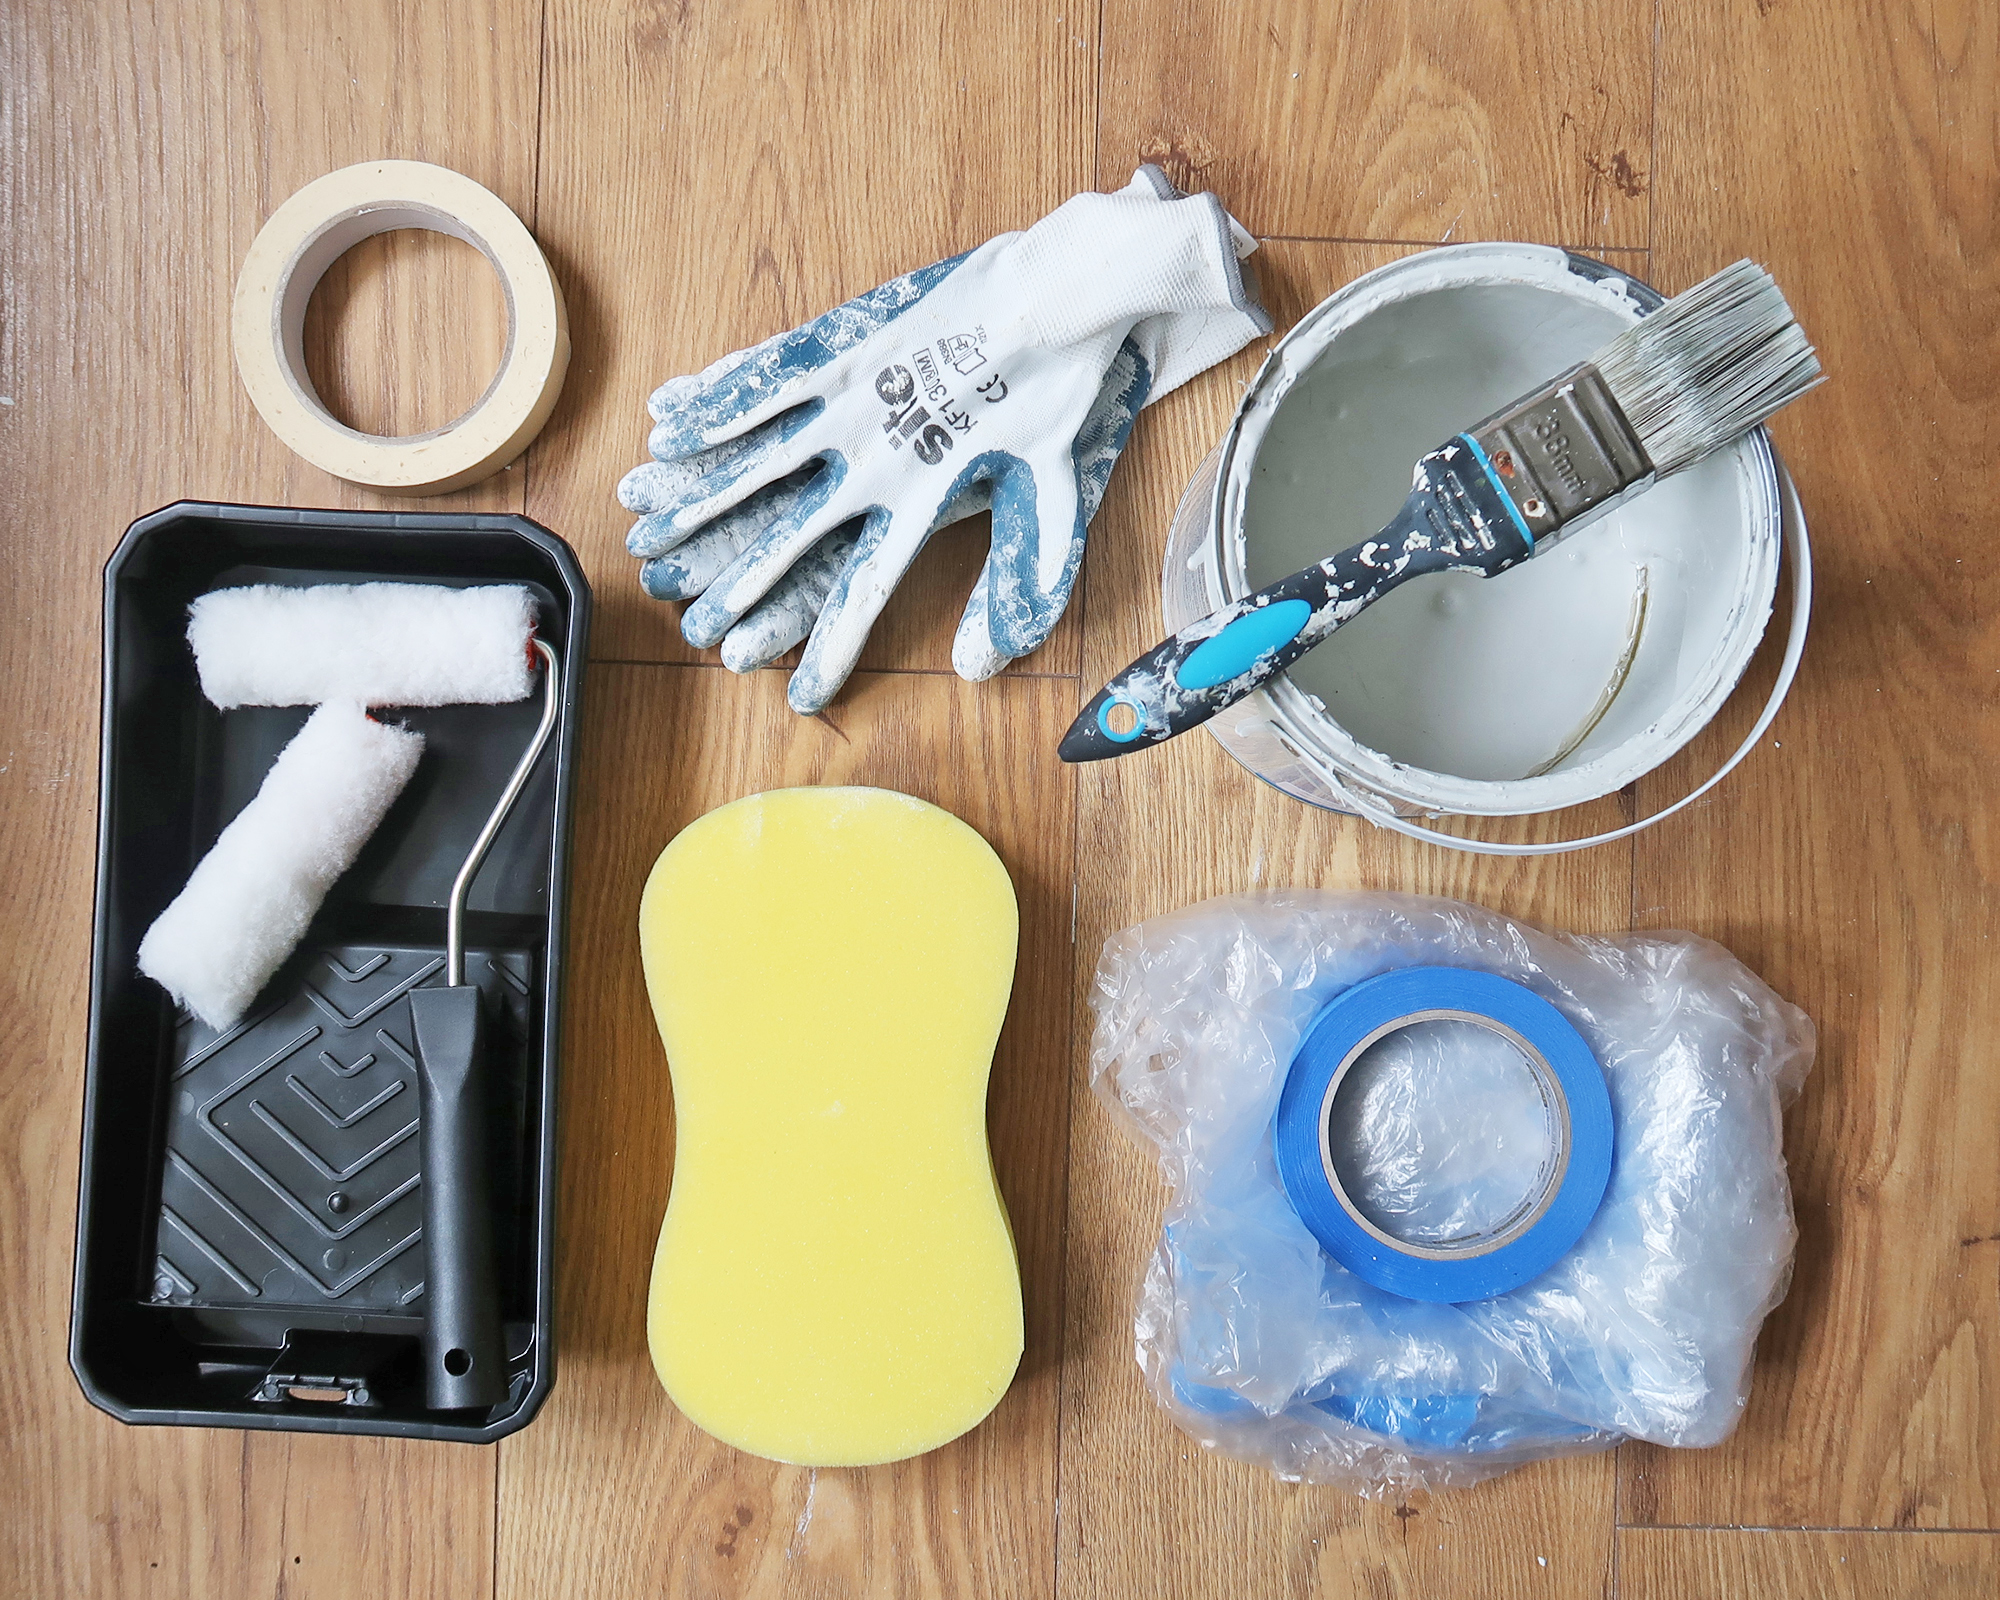
- Vacuum for duster
- Damp sponge
- Sugar soap or degreaser
- Medium pile roller and frame (I used this one)
- Paint (I chose Tikkurila Anti Reflex White Matt from the Decorating Centre)
- Paint tray
- Paint brush (we love this Hamilton cutting in brush)
- Painter's tape (ScotchBlue multisurface was the right adhesion in my case)
- Dust sheets/drop sheets
How to paint a textured ceiling: step-by-step
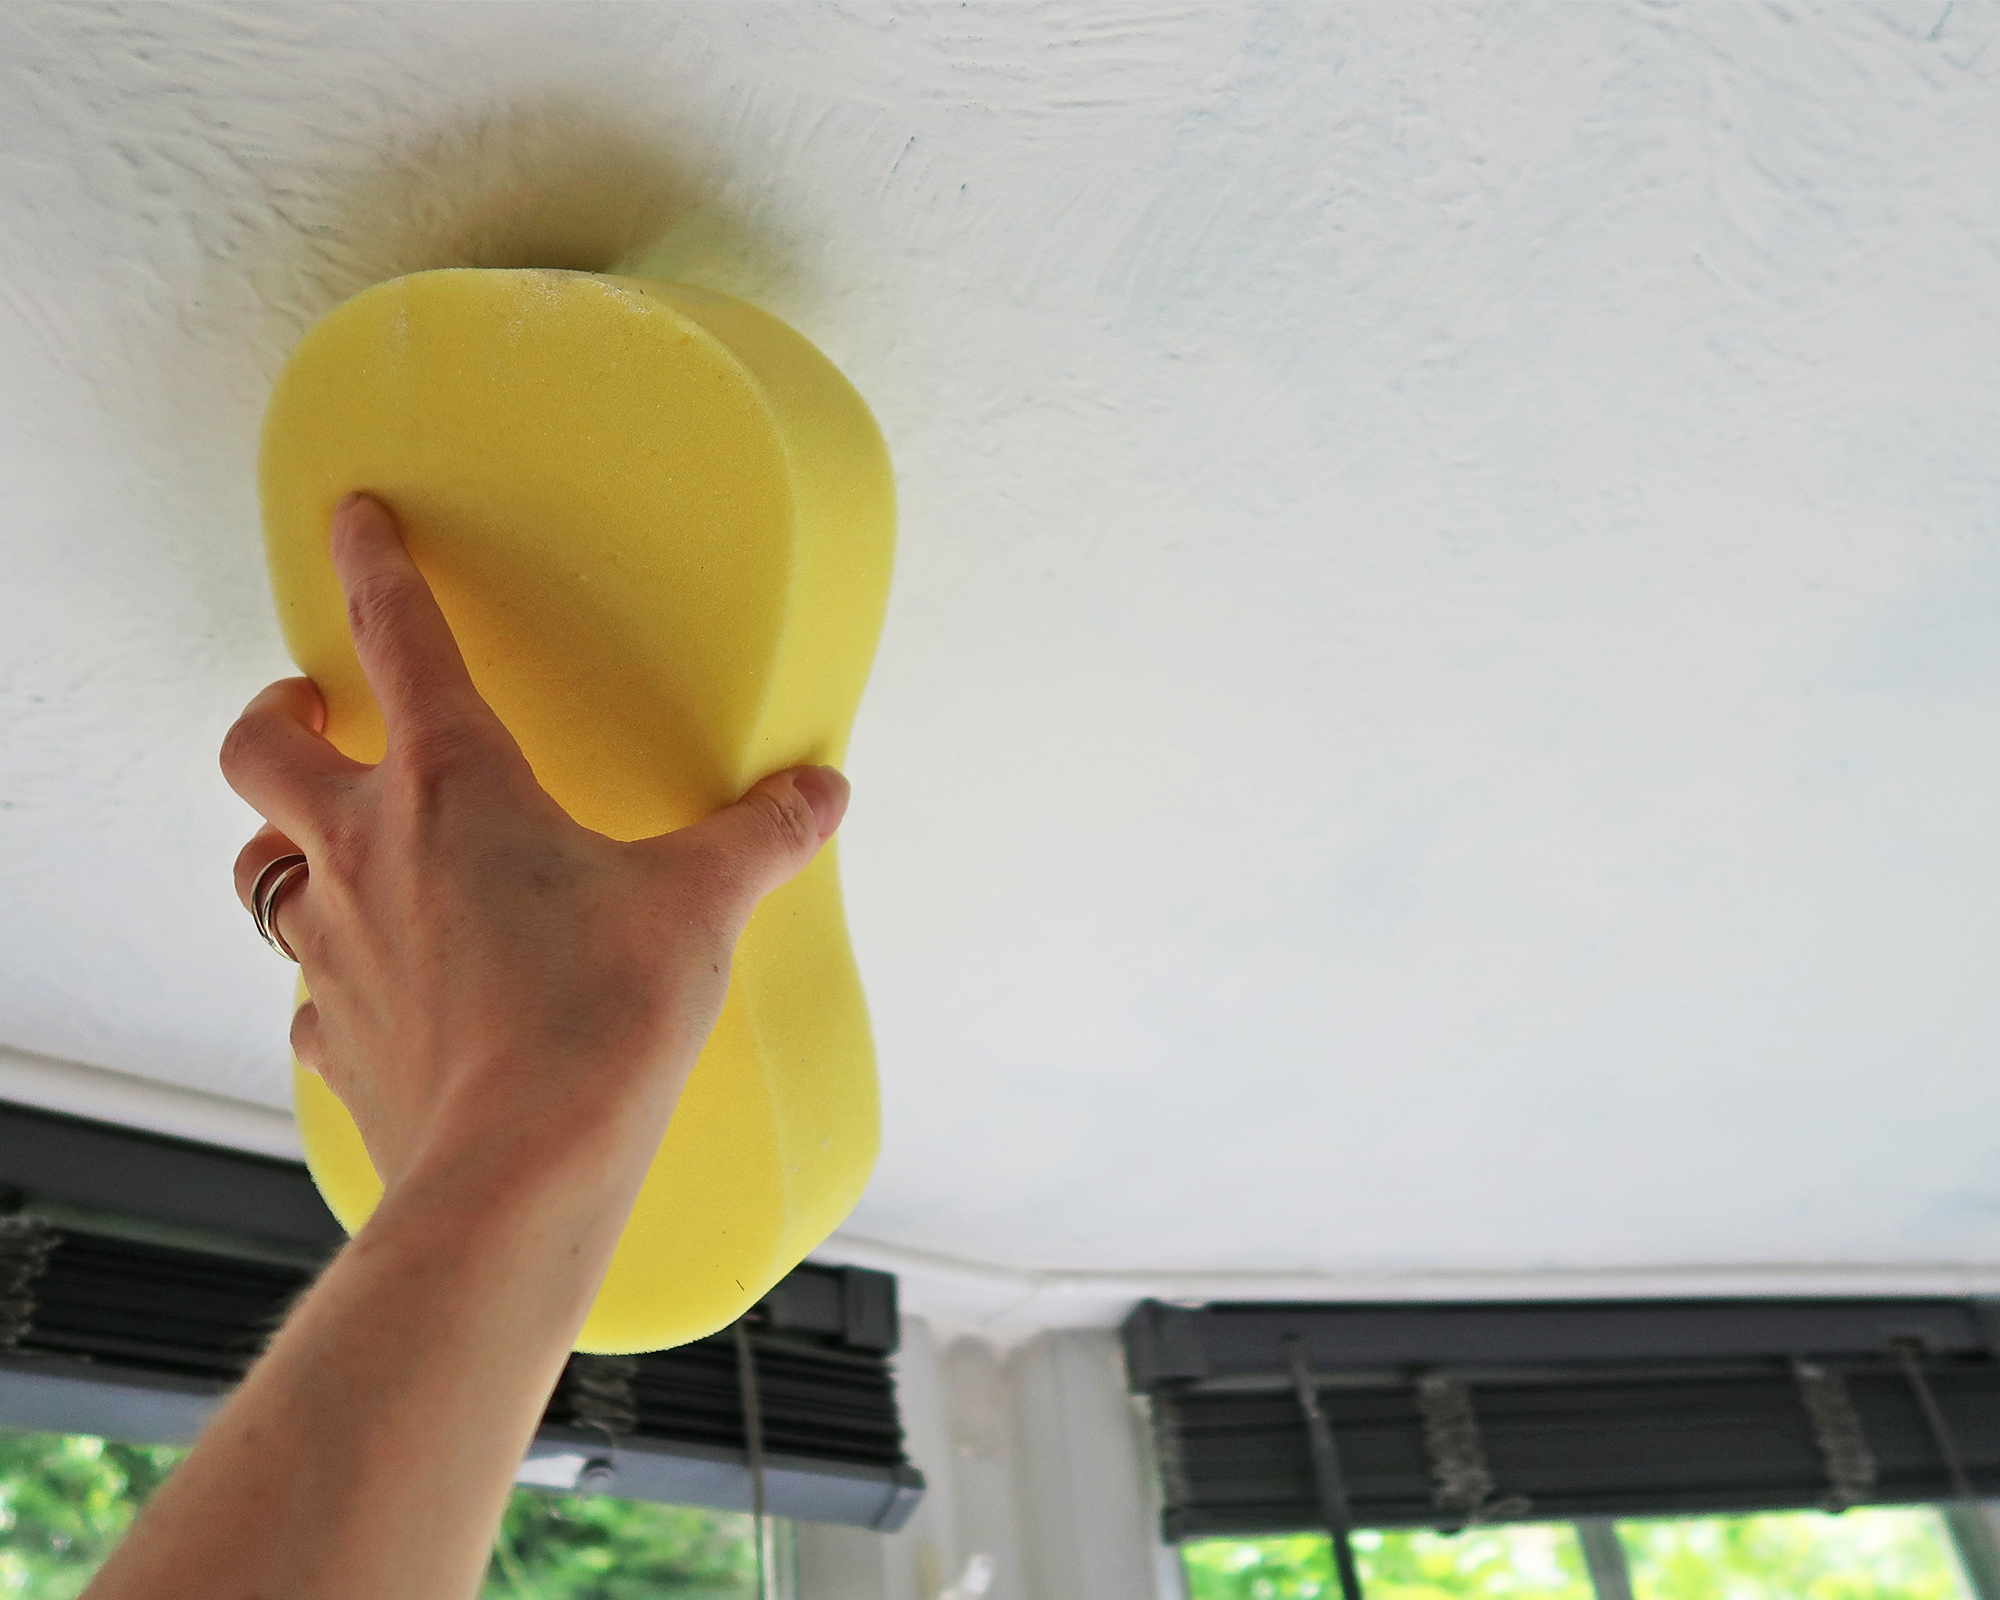
1. Cleaning the ceiling
Remove surface dust by vacuuming the ceiling area with a soft brush attachment if you have one. Alternatively, a microfiber duster will work and can be attached to the end of a pole if required for high ceilings.
Once dusted, it’s a good idea to wipe over the surface with a cleaning detergent to ensure any grease or grime is removed, as this will prevent the paint from adhering well. The key is not to soak the ceiling, so spray the degreaser onto your cloth or sponge and lightly wipe the textured surface before allowing it to dry.
This should do the trick, but find out how to clean painted walls (or ceilings) for stubborn staining.
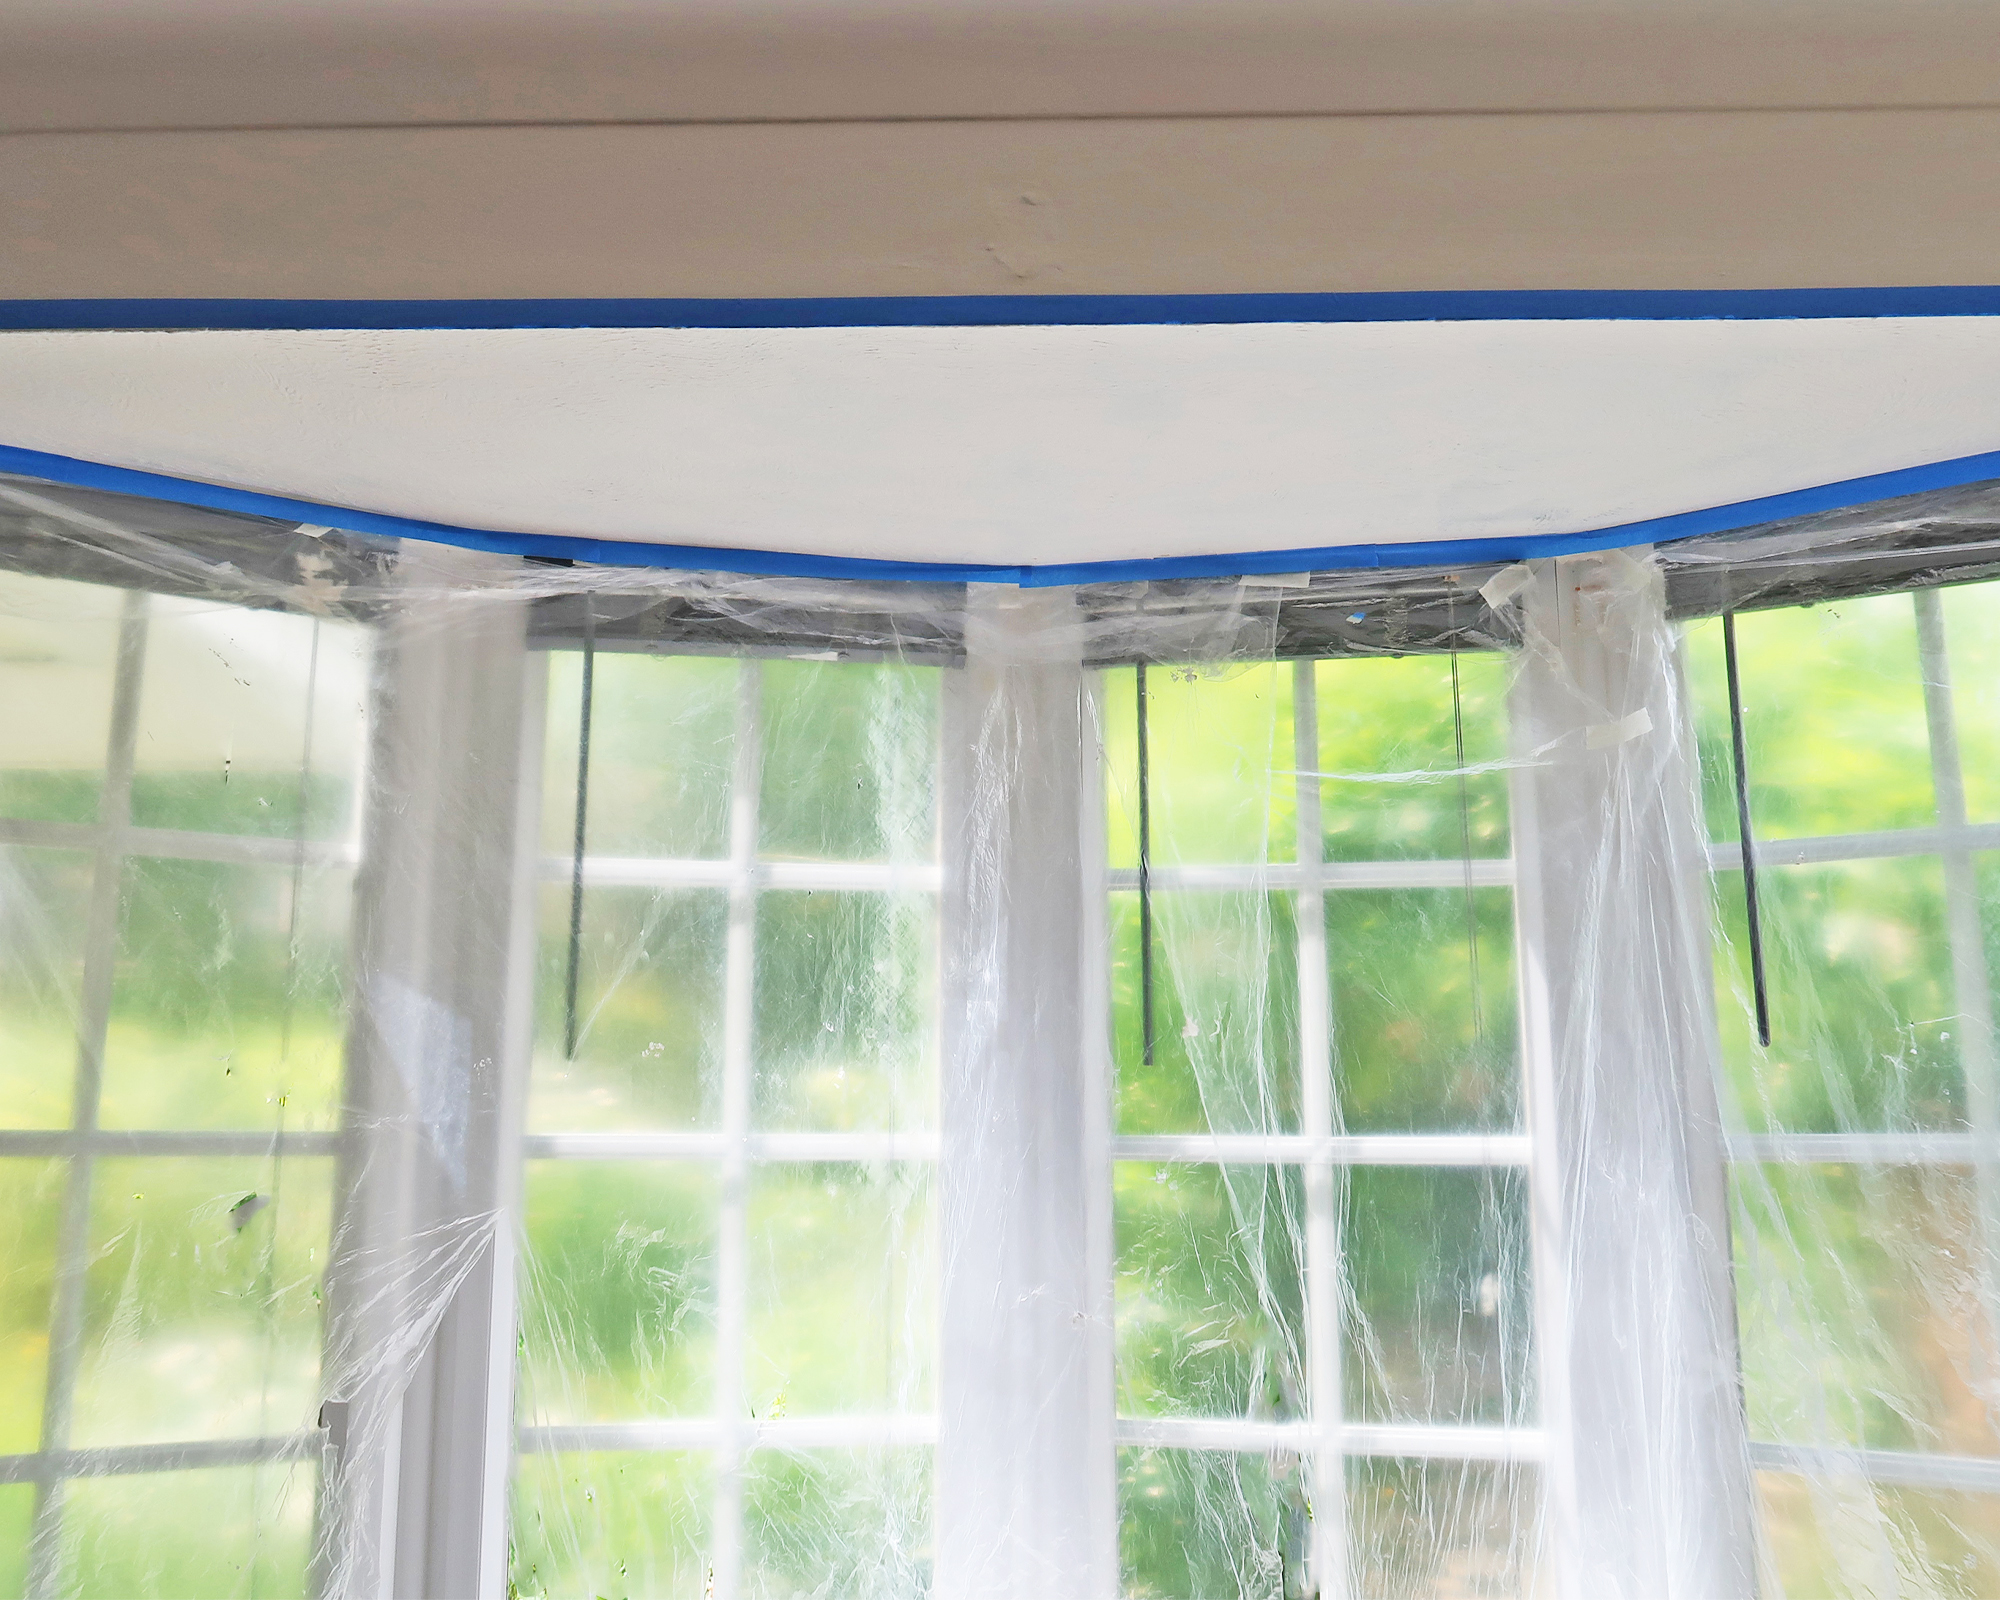
2. Protect your room
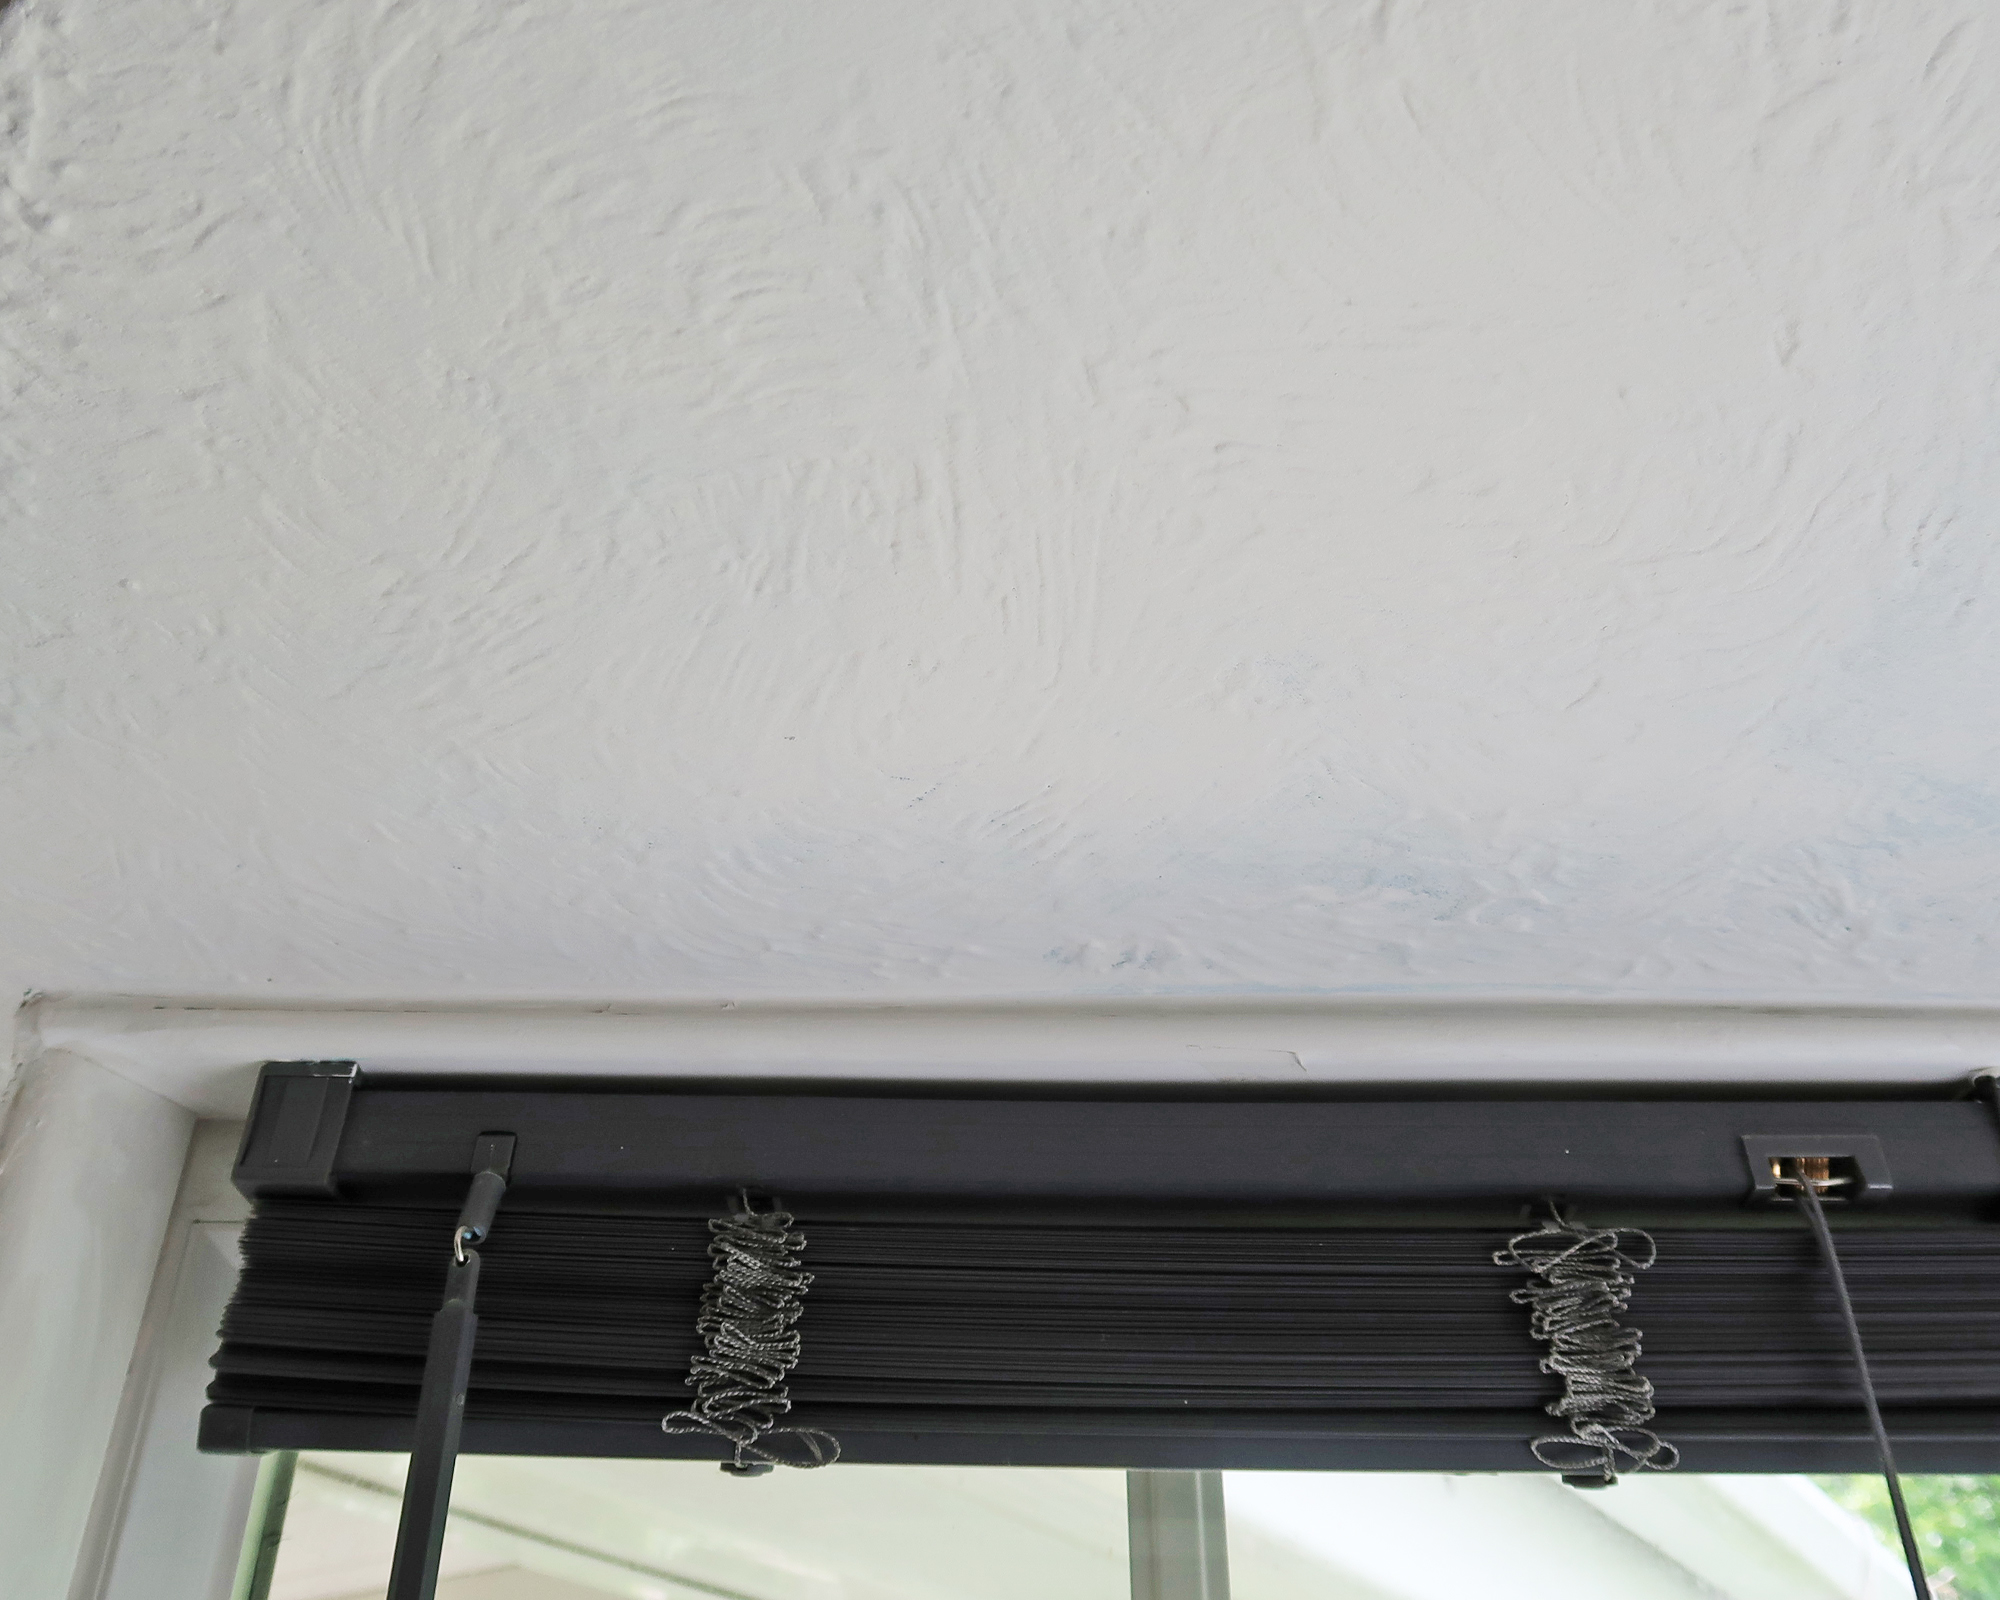
Protect the walls and floor with dust sheets. Masking tape around the perimeter of the ceiling and along adjoing walls.
Top tip: Use masking tape to attach dust sheets to the wall to cover items that cannot be removed i.e. wall lights. You can also cover things like this with a plastic bag, held on with tape.
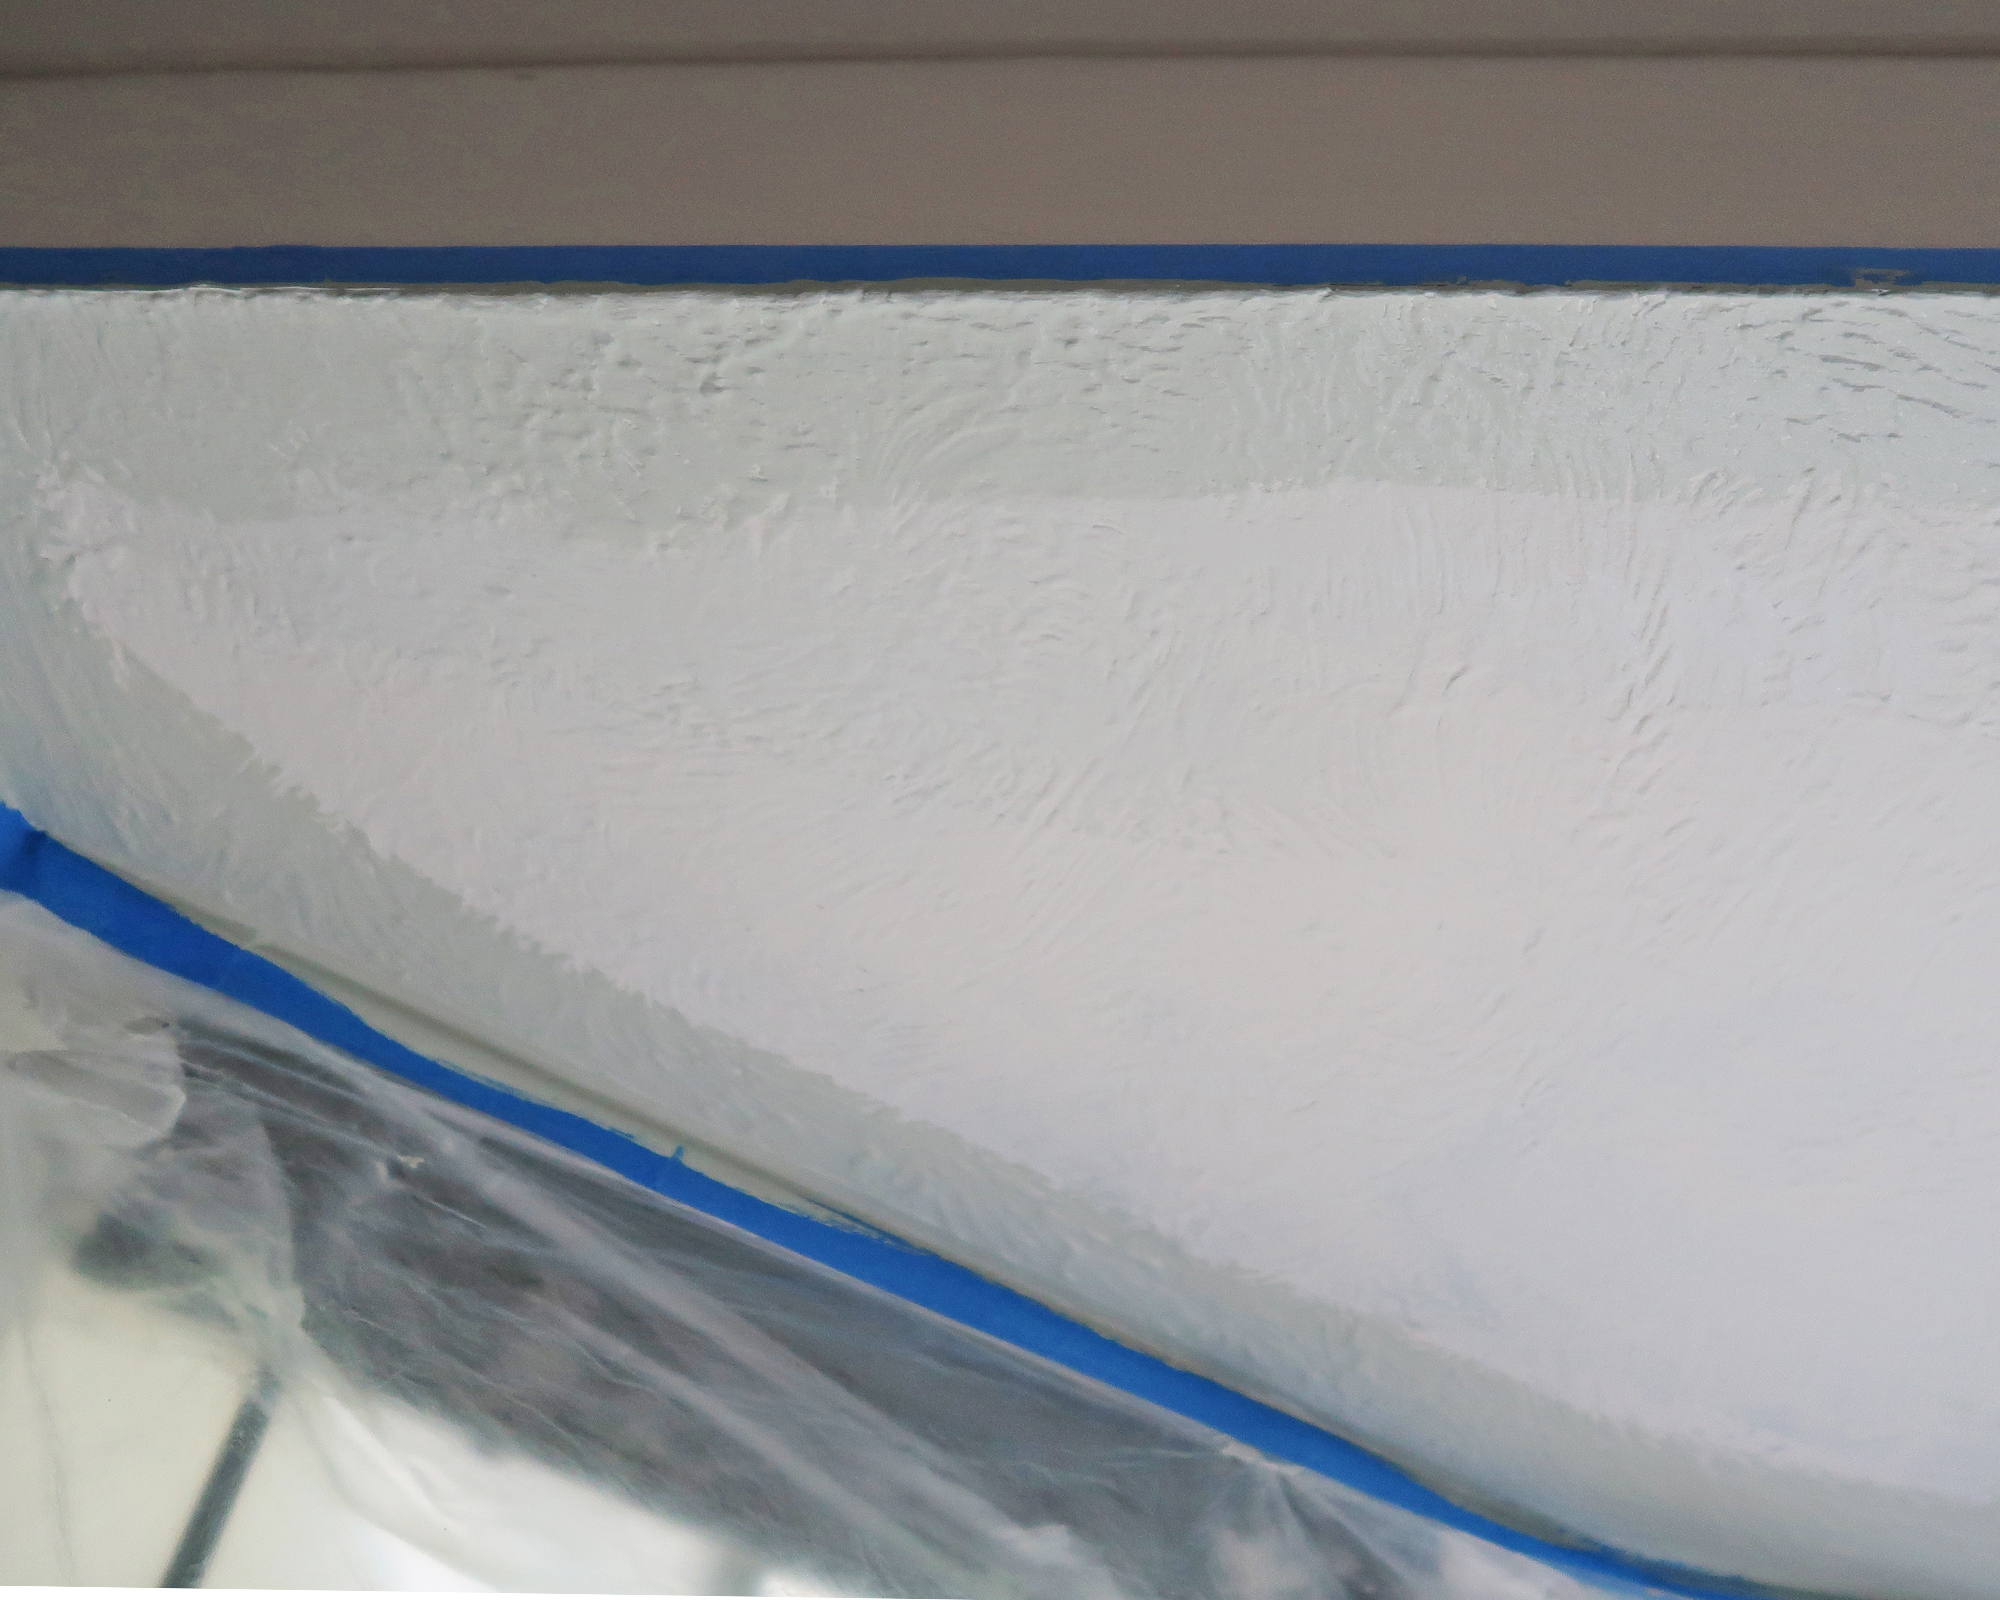
3. Begin painting by cutting in
Use a paint brush to ‘cut in’ around the edge of the ceiling. Apply gentle pressure and don't saturate any textured areas, as this could cause them to disintegrate.
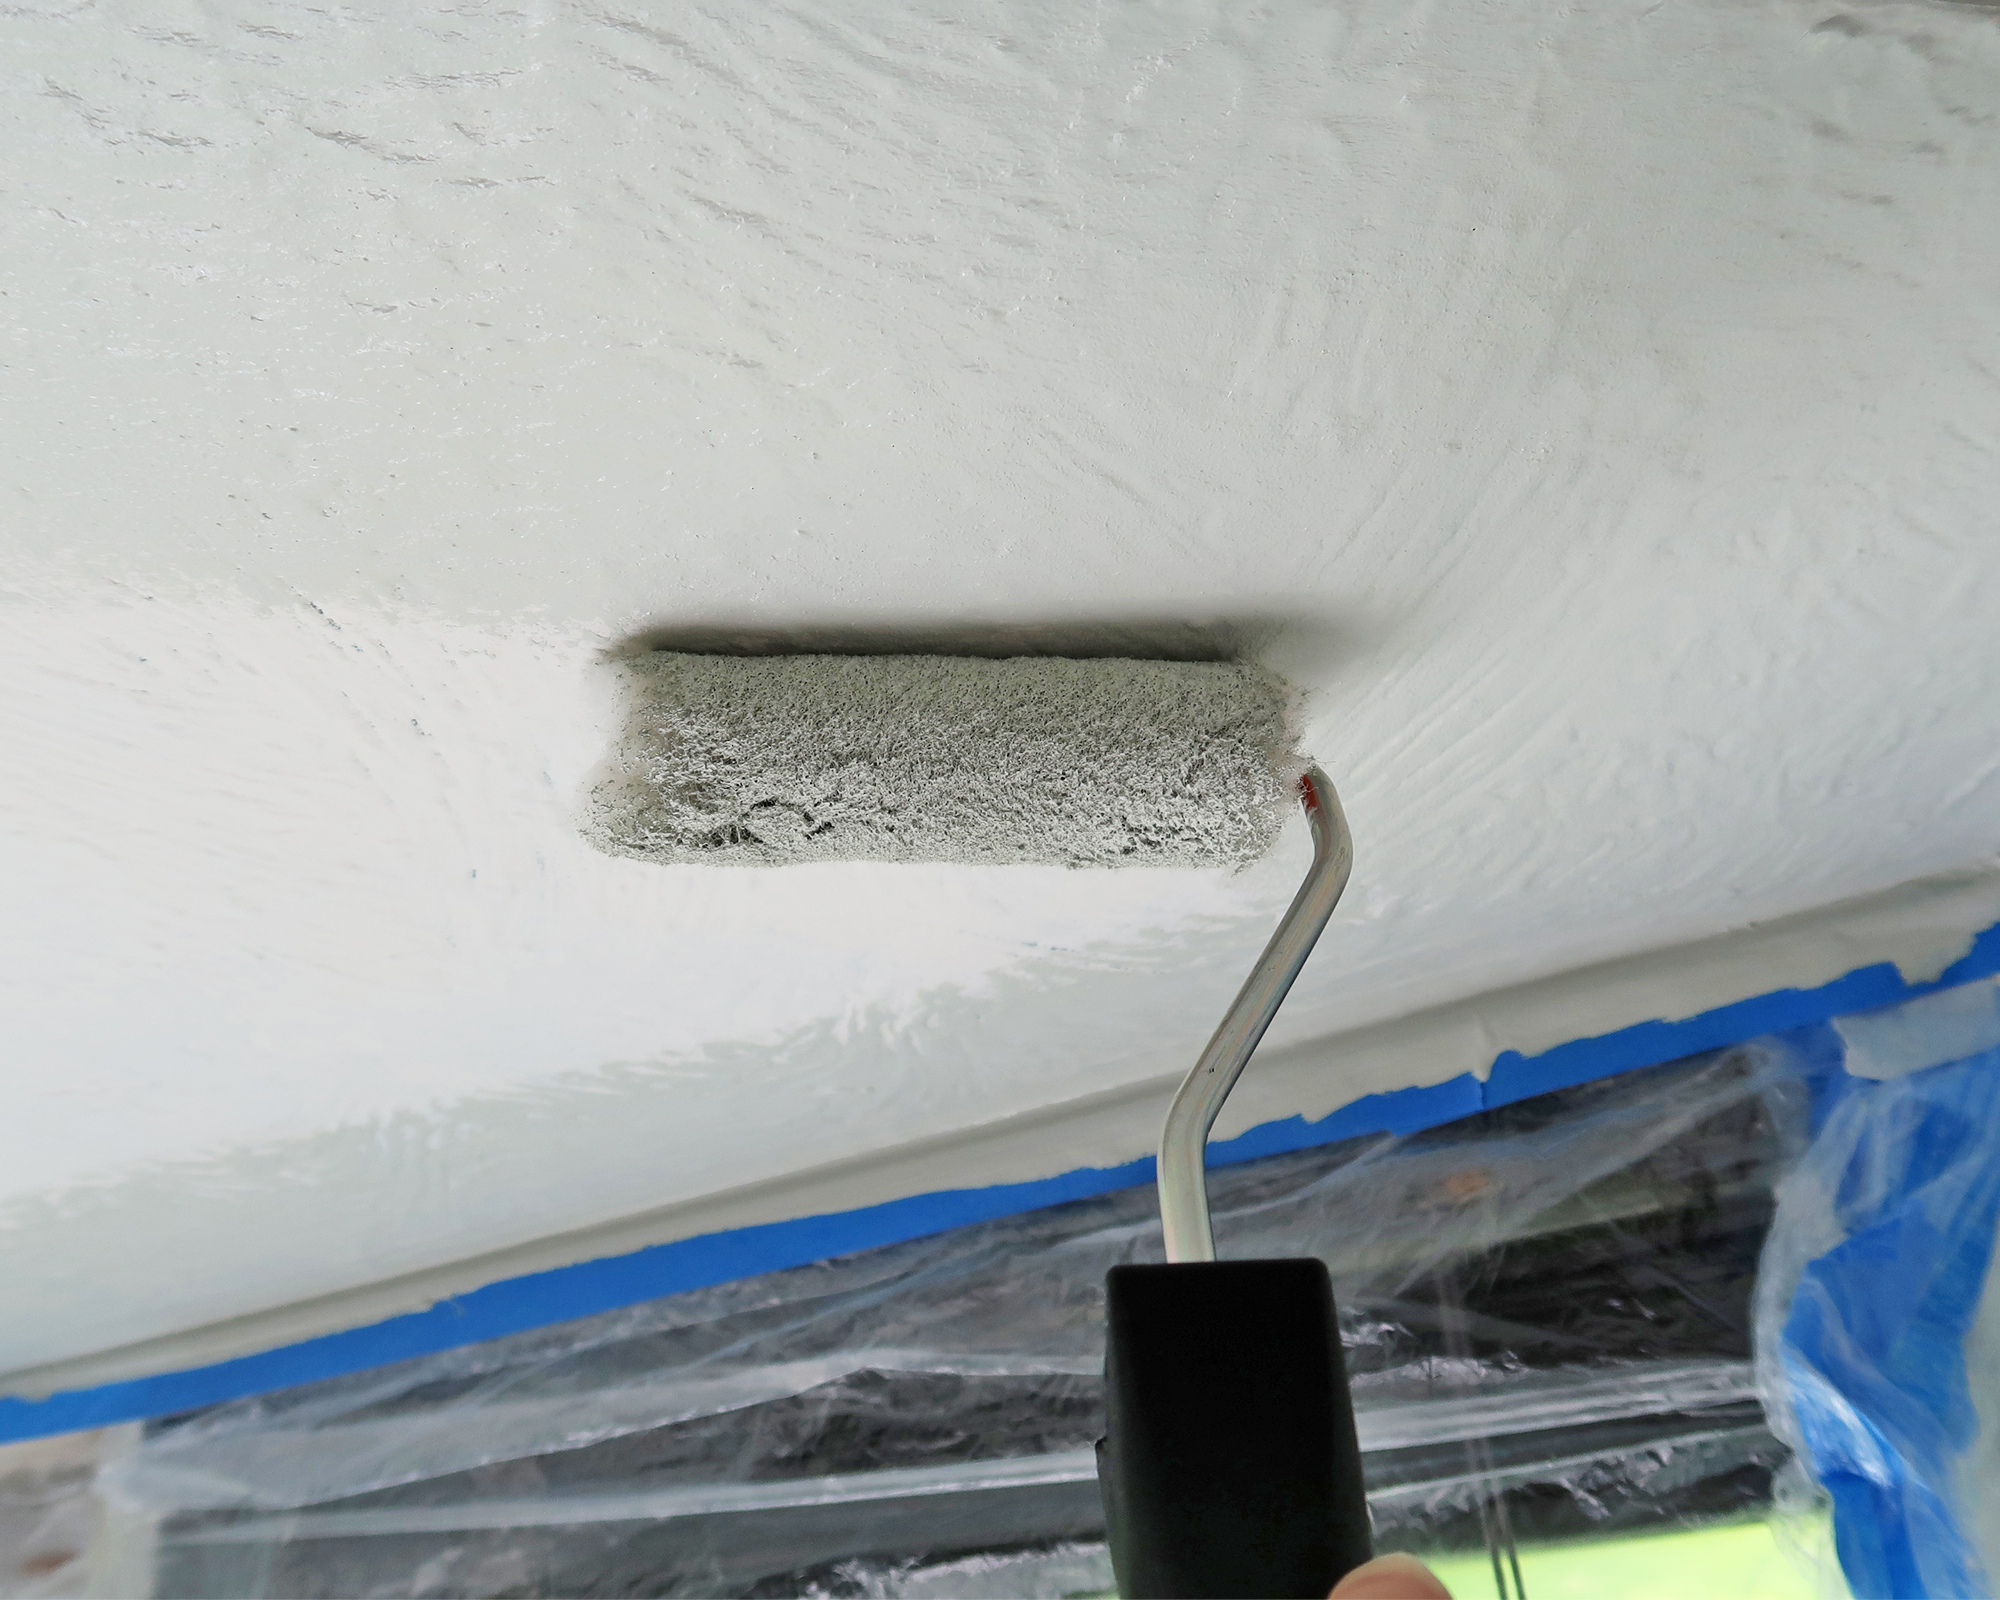
4. Paint with the roller
Load the roller up with a good amount of paint and apply enough pressure to cover the texture in a single sweep if possible.
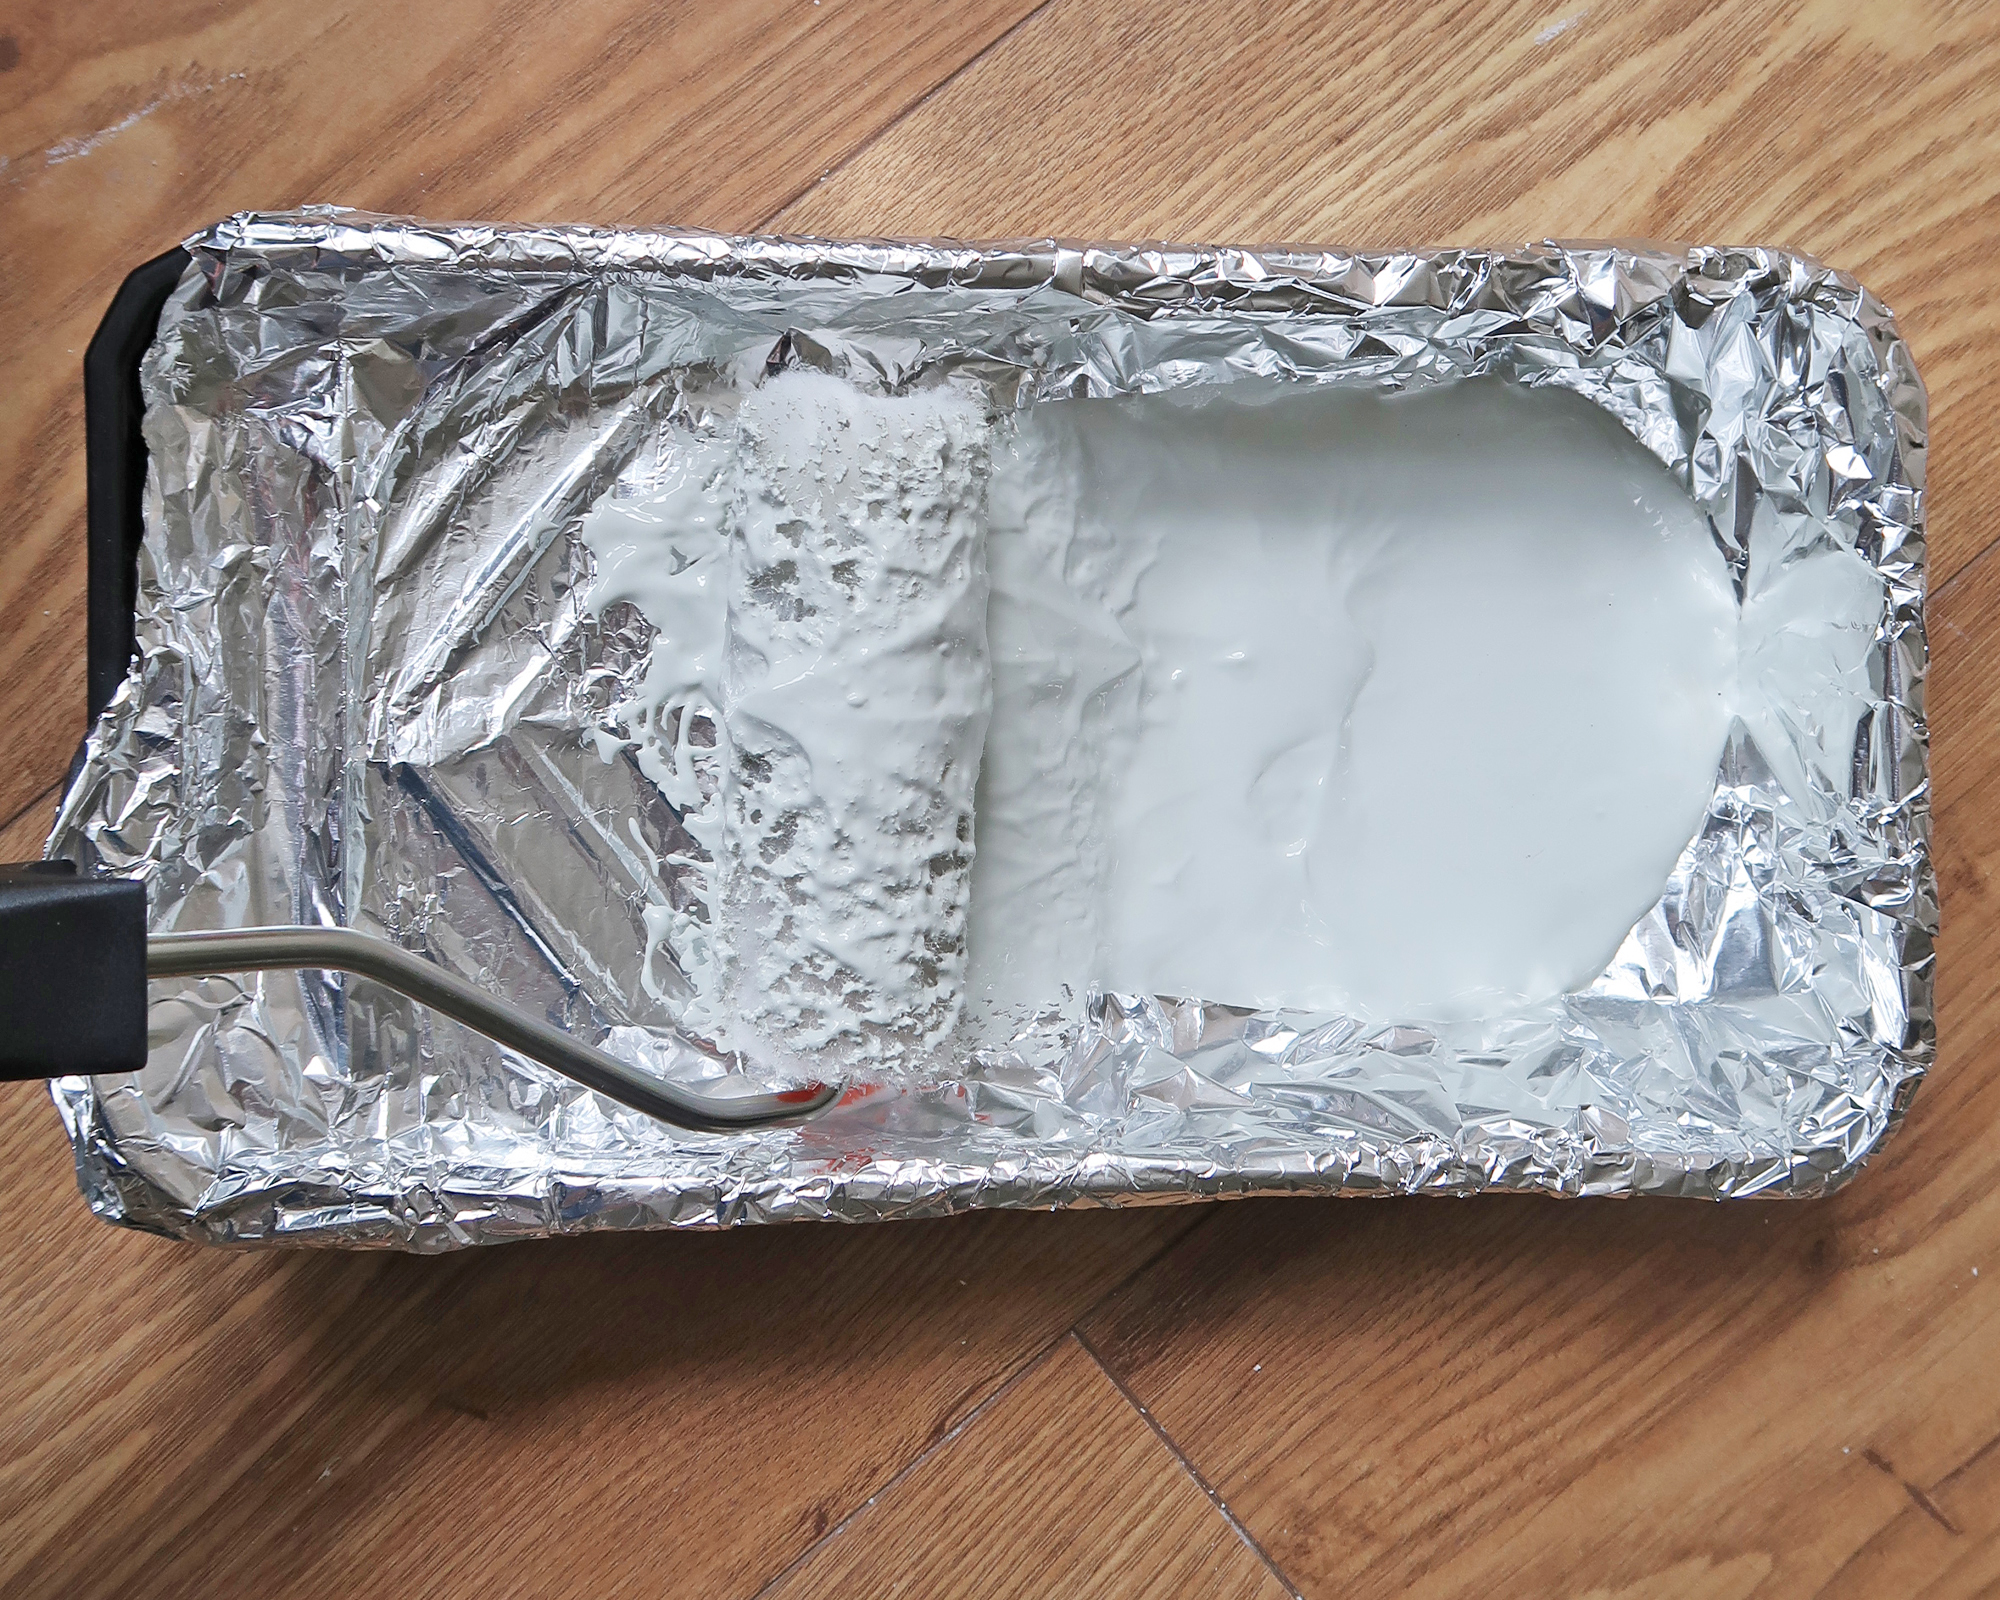
Top tip: Line your paint tray with foil to make cleaning up a breeze and save washing any leftover paint down the sink.
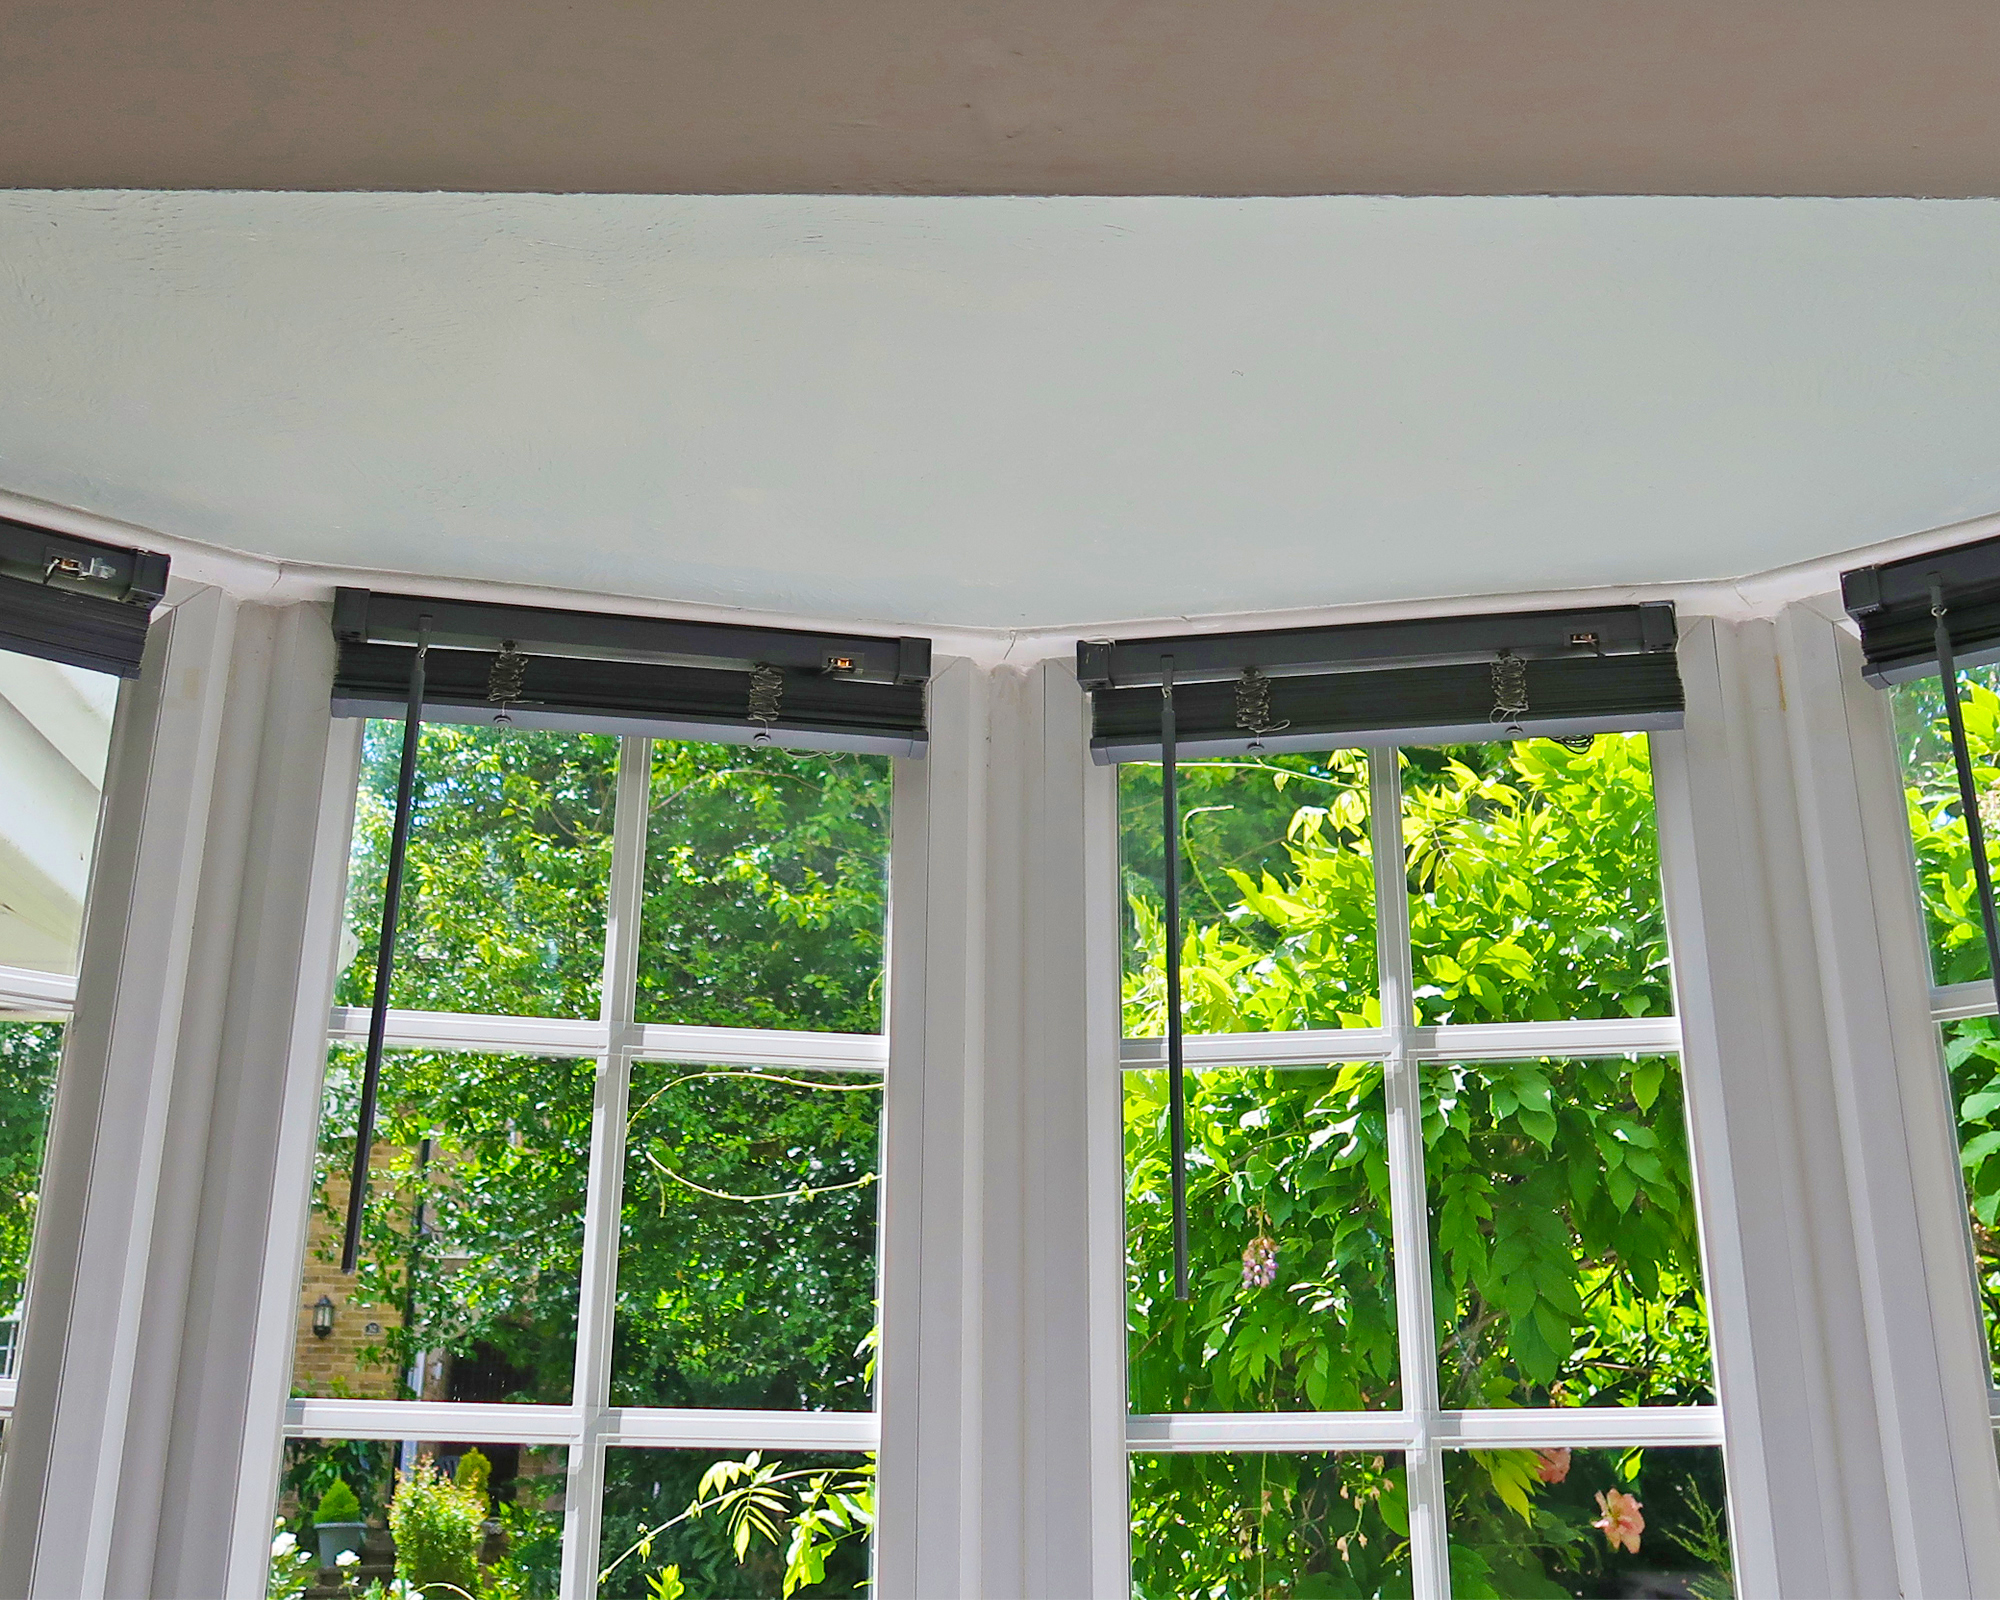
5. Check the results
Once the paint has been applied, carefully check the whole surface for patchiness or missed spots before you start clearing up. There is nothing more annoying than spotting a rogue patch which didn’t get properly coated with paint later down the line and the shapes and shadows of the texture can make it harder to spot than on a smooth ceiling.
Top tip: Check the ceiling with the room lights turned on and off as the change in light can make it easier to spot missed areas.
6. Clean up
Once you are happy with the finish you can remove the masking tape and dust sheets and pack away your tools and materials. Don't forget to clean your rollers and wash your paint brushes. Then it’s time to put your feet up and admire the results of your hard work.
Painting a popcorn ceiling
There are all sorts of textured surfaces in older homes. Sometimes it might just be a rough plastering job with a bit of character, but in other cases, you will find textured finishes like Artex, woodchip, and – one of the most infamous – popcorn ceiling.
If you'd rather not remove a popcorn ceiling and simply paint over your textured fifth wall, you'll need to tackle it slightly differently to a smooth surface.
Anna Franklin, interior designer and founder of Stone House Collective comments 'If you have a heavily textured, popcorn ceiling, extra precautions will need to be taken when preparing to paint. Before painting, make sure you are mindful of the amount of paint on the paint roller, and practice on a test board, etc. to ensure you know how much paint you are adding to a roller before starting. These types of ceilings require a thick coat of paint, but if you use too much and soak the ceiling “popcorn,” the texture can weaken and potentially fall.'
Real Homes' blogger and DIY expert Carol J Alexander adds, 'If you opt to leave the popcorn ceiling, you can paint it or cover it with another material. Before painting, vacuum well with a brush attachment to remove dust and cobwebs. Next, choose a paint specifically designed for ceilings but purchase about 20 percent extra to cover the texture. Applying the paint is easier with a paint sprayer, but use a roller if you’ve never used a sprayer before. Benjamin Moore suggests a ¾”-1” nap for textured ceilings.' You can find a variety of ¾”-1 naps on Amazon.
What is the best paint for a textured ceiling?
You can use the same paint as your walls, but we recommend choosing a higher viscosity paint if possible. If you go for a thinner paint, you will find it flicks off the roller more easily and is more likely to create a mess of adjoining walls or the floor.
The paint finish you choose will depend on the look you want. Most people choose a matt finish as it reduces the reflection of light which can emphasize the texture of the ceiling. Anything with more sheen will bring out the texture.
In a moist environment such as a bathroom or kitchen, you will need paint that is suited to the humidity though, so this may have more of an eggshell or satin finish.

I'm happiest when I have either a drill or paintbrush in my hand! I specialise in room transformations on a budget and love experimenting with different styles and techniques which I share on my Instagram. I believe that your imagination, not your budget, should be the limiting factor when transforming a room and I love thinking of creative ways to build custom and bespoke-looking furniture using flatpacks or upcycle finds.
I also love writing and my home improvement blog (ClaireDouglasStyling.co.uk) is my passion project where I share creative ideas for interior styling and DIY tips and tutorials.