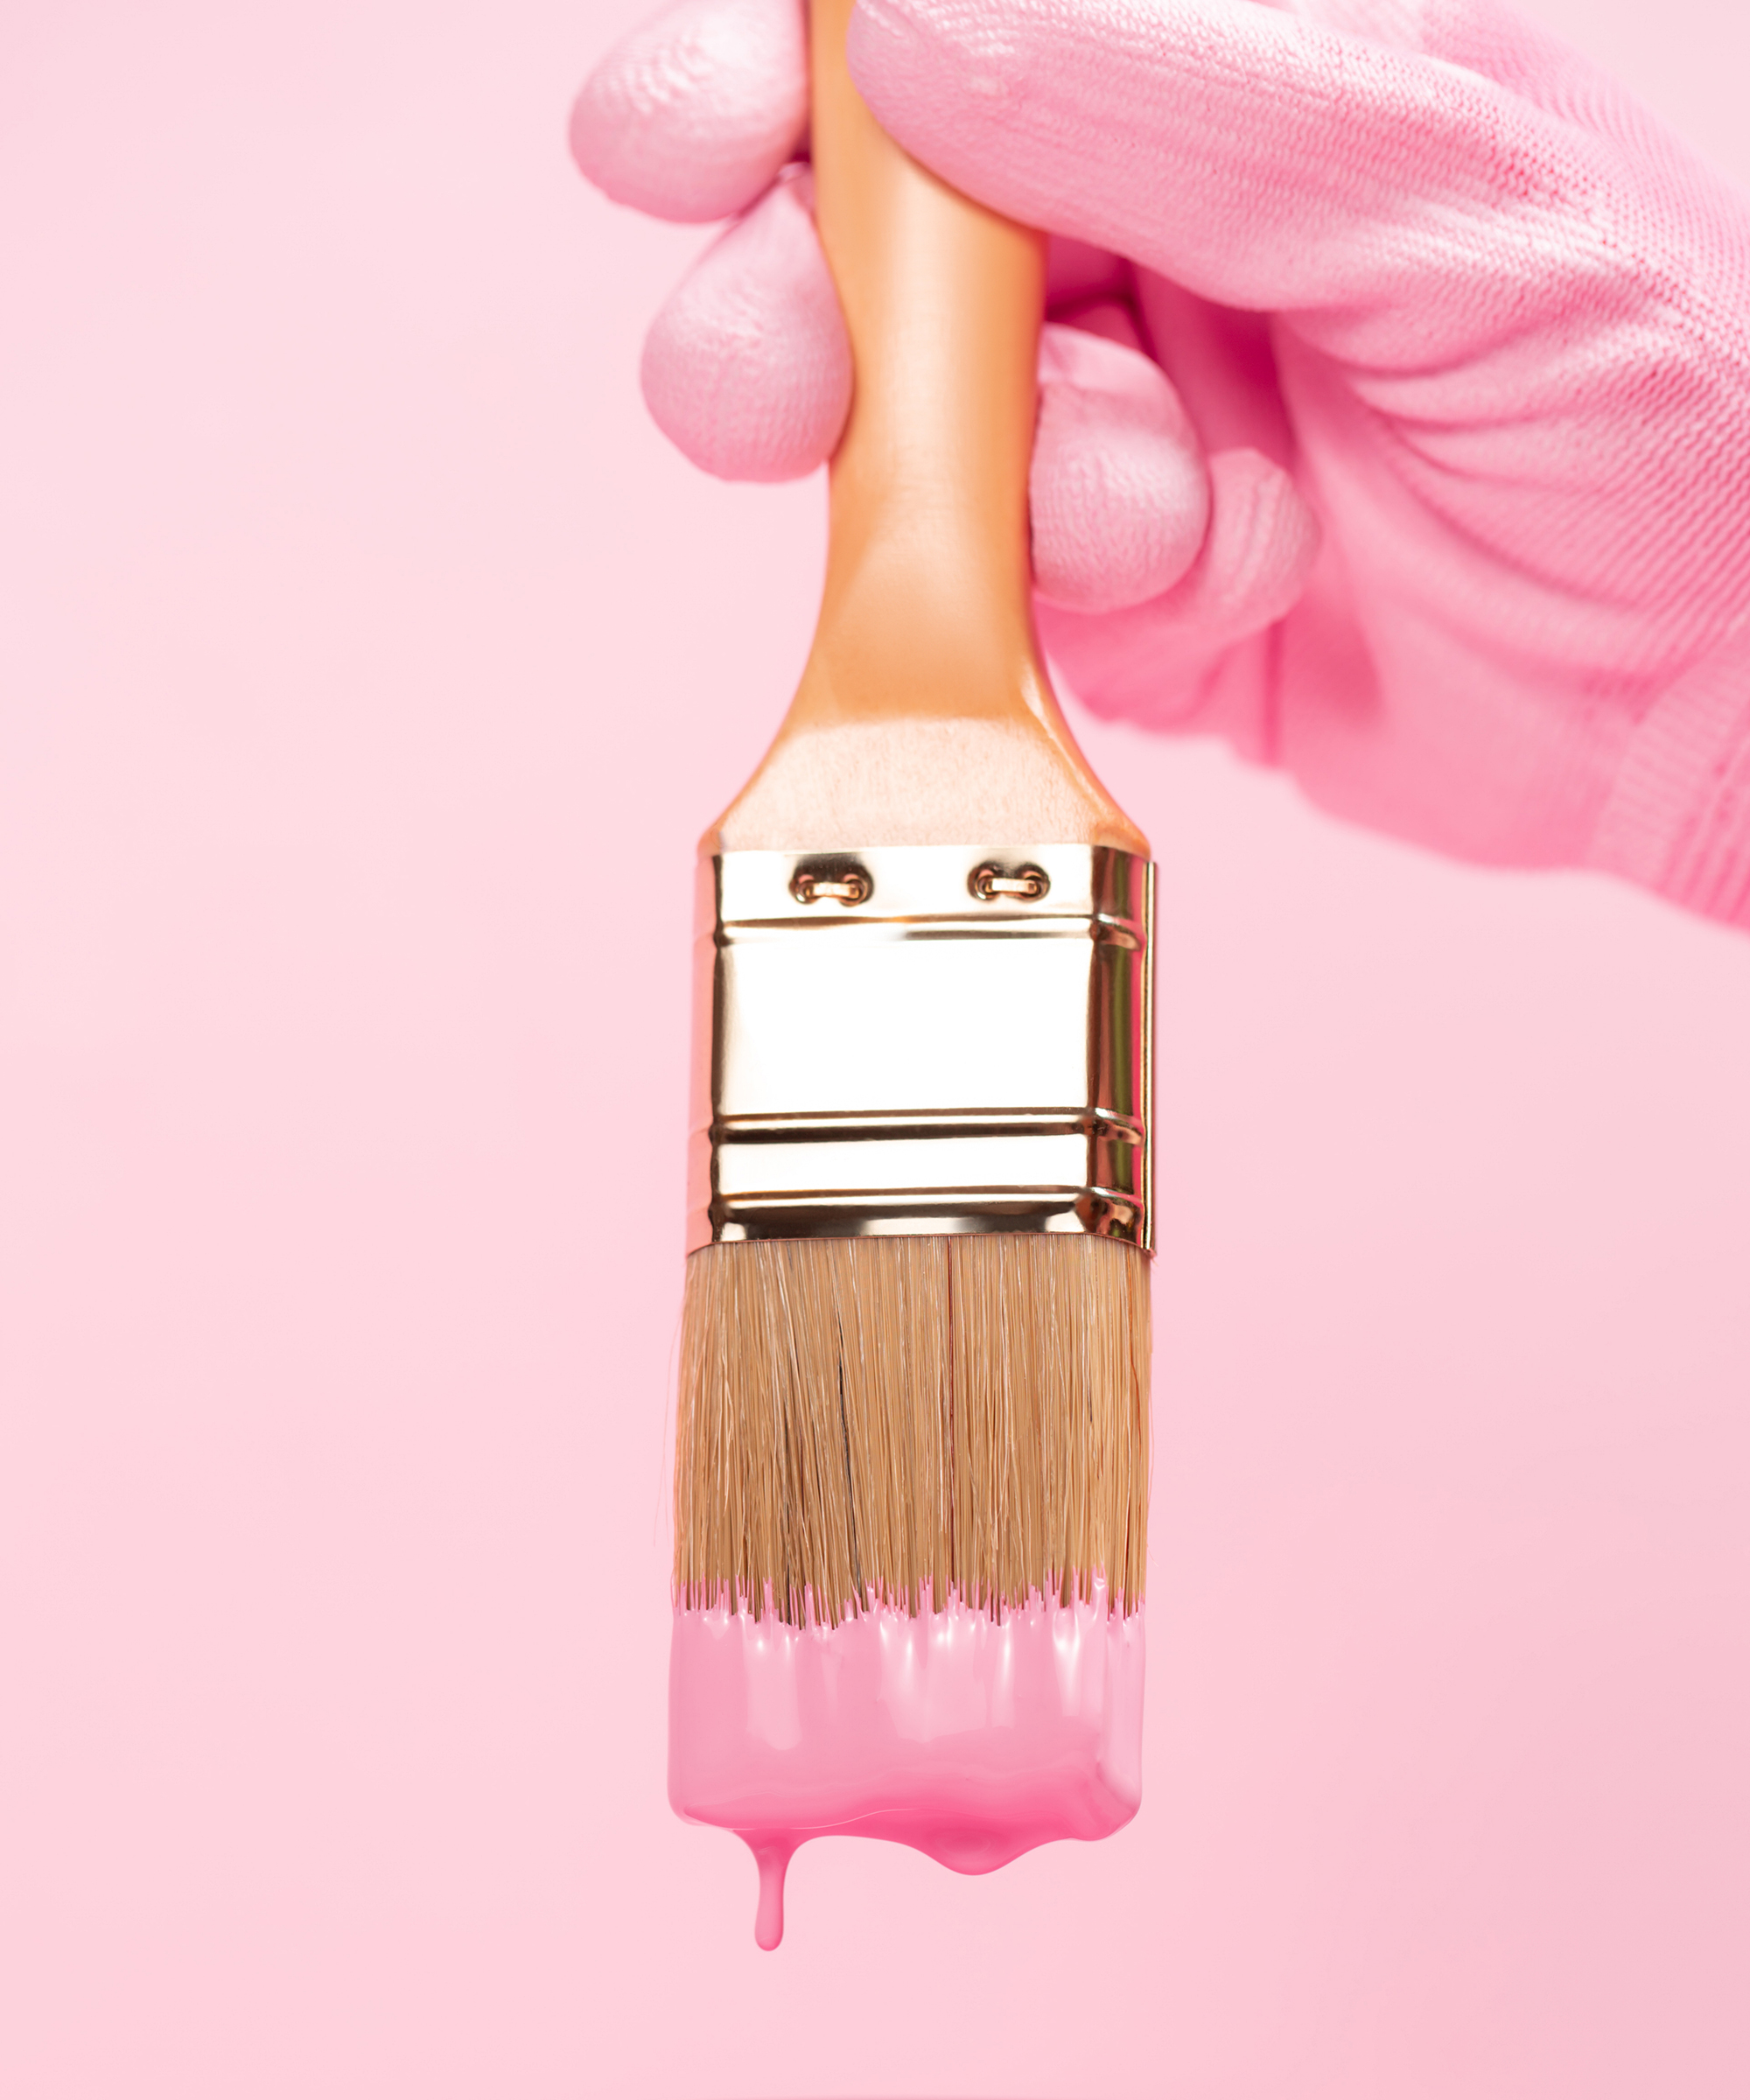
How to clean paint brushes – remove oil or water-based emulsion from brush bristles
Discover how to clean paint brushes using dish soap, white spirit or even vinegar so you don't have to buy new bristles each time you decorate with latex, oil or water-based emulsions.

Learn how to clean paint brushes to make them last longer, and to keep taking on all manner of DIY and upcycling projects. Sure, cleaning paint brushes might not be the most fun task, but the results are rewarding and it will save you some cash on buying replacement tools too.
You won't want to throw away your best paint brushes after one use, after all, as they are fully intended to last and be used for multiple DIY projects – which is often reflected in the price too... So whether you're painting a deck or the whole house, keep these essential decorating tools in good nick and you'll be able to take on anything.
Whatever your emulsion is oil or water-based, matt, eggshell, chalk or gloss, we'll show you the best ways to get every inch of gunk off your brushes. By removing all paint residue on the bristles from a previous job, you can ensure that the results in the room you're decorating are going to be spot-on. This is especially important when painting a room, as you wouldn't want dirt, debris or old paint from your last project ruining your walls.
Along with other painting mistakes, there are right and wrong methods when it comes to cleaning paint brushes. So 'brush up' on this skill before you end up breaking or damaging your brushes.

How to clean paint brushes – removing emulsion
When weighing up the costs to paint a room, you will know that doing the job yourself instead of outsourcing a professional decorator will cost far less. But if you want pro results time and time again, you've got to look after your tools.
'Not cleaning painting tools, like paintbrushes or roller covers, can make them unusable for future projects,' warns Helen Shaw, UK director of Benjamin Moore.
'The extra money spent on premium applicators is a wise investment, but only if you can get several uses out of them. Make sure you store your paint in a cool, dry place away from direct sunlight.' Whether you're using the best white paint or a shade or gree, Shaw continues, 'Keep in mind that opened paint typically has a shelf life of two years, and possibly longer, when stored correctly. If you’re in the middle of a project or just haven’t cleaned your tools, wrap them in clear plastic wrap to not expose the paint to air.'
Get small space home decor ideas, celeb inspiration, DIY tips and more, straight to your inbox!
You will need:
- Scrap paper
- Bucket or bowl
- Dish soap
- Water
- Clean cloth
1. Use good quality paint brushes to start with
'Buy good tools to start with.' insists Sam Bramley, lead color consultant, Lick.
'Do you know the quality of your brush affects the finish of your paint? Look for SRT, (solid round tapered) synthetic is good, and go for tipped and flagged for a beautiful lay off and clean cutting in. For extra eco points, look for FSC/carbon neutral/recycled and avoid plastic packaging.'
2. Care for them mid-project
'In the middle of a painting project and want to keep your brushes fresh overnight?' asks Marianne Shillingford, creative director, Dulux
'Simply wrap the head of your paintbrushes and roller in clingfilm or secure in an airtight plastic bag. Seal around the handle with masking tape and store in a dry place for up to two days.' This will make cleaning them far easier.
3. Scrape excess paint off
Whether you're cleaning emulsion or oil-based paint off of paint brushes, you'll want to remove as much excess paint from the bristles as possible.
So when you’ve finished painting baseboards or what have you, scrape as much paint as possible from the brushes into the tin using the edge of it. You can even work it into some scrap paper.
'Other than using water and soap, I would suggest using a putty knife to scrape excess paint from a roller to ensure none of the paint dries and hardens on it.' says James Greenwood, paint and wallpaper expert, Graham & Brown.
4. Soak in soapy water and rinse
Get a bucket or bowl of soapy water and leave your brushes to soak for a couple of hours. Refill with soapy water and wash the brush, working the paint out of the bristles with your fingers. Shake off the water and paint into the bucket. Shaw notes to not use too much soap as any residue can affect how effective the brush bristles are.
Next, repeat and fill the bucket/bowl with water and rinse the brush in it, again working any leftover paint out with your fingers. Shake off the excess. Repeat until the brushes look clean.
Top tips: Note that the temperature of the water you use plays an important role when cleaning your paintbrushes thoroughly. 'Most products that require cleaning are water-based so the best way is the rinse the brush/roller out with cold water first, removing as much of the remaining paint as possible before using warm water with a small amount of detergent.'
'Hot water too soon tends to quickly congeal/set/dry certain paints within the brush/sleeve making cleaning more difficult,' says Kevin O'Donnell, technical demonstrator, Crown Paints.
'The brush filaments do need to be manipulated (squashed) to help remove all the paint and up-side-down under the tap to help get into the stock. Ie: the bit where the filaments are attached too.'
5. Dry thoroughly
Dry the brushes on a clean cloth. Lay them flat with the bristles smooth in one direction so that they dry that way. Shaw adds 'Once clean, dry the brush with rags and lay flat. Be sure to soak the rags in water when you’re finished to avoid a potential fire hazard.'
How to clean oil-based paint off paint brushes
You'll need:
- An old glass jar
- White spirit, easily available at Amazon
- Clean cloth
- A trash can
Method:
- If you’ve used a gloss paint, scrape as much of the brush and back into the tin as you can. Fill an old glass jar with white spirit and put the brush in, pressing it against the sides to work the liquid into the brush.
- Leave to soak for a couple of hours. Refresh the jar if necessary and work the brush around again (use a fresh jar of white spirit if needed) until the brush is clean.
- Remove and rinse the brushes under the tap. Dry with a clean cloth and store.
- DON’T pour the leftover white spirit down the sink. Leave it in the jar and allow the paint to settle in the bottom. Pour off the clear liquid into a container so it can be reused. Let the paint dry into a solid lump then dispose of it in the rubbish bin.
How to clean paint brushes using vinegar
If the thought of using white spirit makes you shudder, there are gentler, more natural ways to remove paint off of your brushes including cleaning with vinegar. If you've got pets or children in the home, you might want to use this non-toxic alternative to commercial brush cleaners.
Saying this, if you do have little ones or animals living in the home, the best washable paints tend to be low VOC and can be rinsed with water, as above.
You will need:
- Vinegar
- An old pot
- Saucepan
- Stovetop
- Tongs
- Brush comb (optional)
- Water
- Soak the brush with hardened paint in vinegar for an hour. If the bristles don’t bend, soak for an another hour.
- If it needs more loosening after two hours, submerge the paint brush head in vinegar in a pot, place the pot on a stove and bring to a boil.
- Afterwards, remove it from the heat and allow it to cool off. Remove the brush with care and use tongs and thermal gloves if needed.
- Once cool, comb out bristles with your fingers or a brush comb.
- Rinse out the loosened paint with water and repeat as necessary.
How to clean paint brushes dipped in chalk paint
Unless you've been living under a rock, you'll know how to use chalk paint to transform furniture. It's the perfect way to add texture and a matt tone in upcycling projects. But if rinsing off this chalky emulsion is putting you off using it, rest assured the process is super easy.
'After painting with Chalk Paint™, squeeze out as much excess paint from your brush as you can, then wash it well with warm water to rinse out all the color,' says Annie Sloan, color and paint expert.
'Hang to dry with the bristles pointing downwards to avoid rust and glue deterioration. Harsh detergents may shorten the life of your natural bristle brushes.'
And Pam Gruhn, founder of Frenchic says: 'Frenchic is a water-based paint so cleaning your brushes is really easy. After using the brush, do not let the paint dry.'
'Instead, pop them under a warm tap with a mild detergent (washing up liquid is fine) and simply wash your paint away until you get a clear rinse. Once the paint is washed out, either lay flat or hang out to dry. This is super easy and can be done with your paint brushes and rollers!'
How to protect paint brushes after cleaning them
'For best results, return the clean, dry brush to its original packaging to maintain bristle shape,' says Shaw.
'If you don’t have the original packaging, you can protect the shape of your brush by wrapping it in a paper towel or newspaper, or placing it between two pieces of cardboard and securing it with a rubber band or tape.'
While Ruth Mottershead, creative director, Little Greene says: 'Good brushes have a hole in the handle, this is so they can be stored hanging up.'
'Don’t let them dry ‘bristles-up’ as excess water is then fed onto the ferrule and handle which reduces the brush’s longevity and performance. Ideally, protect dry brushes in their original card sleeves.'
Can you save a dried paint brush?
Thankfully, yes. So don't go throwing away pricey DIY or arts paint brushes just yet. If you've been using latex paint you shouldn't need to resort to such harsh cleaning agents as the acrylic paints will soften in warm water and dish soap.
Prepare a soapy water mixture in a clean container and suspend the brush in it, submerging the bristles. Work the bristles and then suspend again and let it soak for a half hour or so. Use a stiff brush to rub along the lines of the bristles to remove the softened paint and rinse until the water runs clear. Repeat if necessary.
For stubborn dried on paint that is water-based you may have to resort to a paint thinner (available on Amazon), followed by the warm soapy water method and it may take a couple of goes.
Be sure to take precautionary measures when using paint cleaners as the fumes and vapor are flammable. Soak the bristles directly in a small can of thinner, keeping it out of reach of children, and covering the can as your paint brush soaks. Do this in a well-ventilated area for about 30 minutes or until you see the paint settle.
Top tip: Keep the can of paint thinner to use on any future paint brush cleaning!
How to store paint brushes mid-DIY
You may already know how to paint a wall like a pro, but if you're doing the job on your own, you may have to do the job in stages. In some cases this may mean postponing your paint job for a couple of hours or even days. So it's important to know how to store brushes that are going to be re-used.
We've seen all sorts of tips for storing paint brushes, from wrapping them in cling film (not very eco-friendly) to submerging them in solvent (works only if you're pausing a DIY job for a couple of days).
As Shaw mentioned, the method we swear by is simply wrapping your paint brushes in old newspaper once they are completely dry, and securing with rubber bands. Now they're ready to be stored in your shed.
How to dispose of leftover paint
After cleaning paint brushes, you may be left with paint that you can't pour back into the tin. The Environmental Protection Agency (EPA)estimates that about 10 percent or 65 to 69 million gallons of house paint purchased each year in the United States is discarded. Paint can contain hazardous materials that can leak into the environment. Therefore, it is important that leftover paint is disposed of properly and not, for example, poured down the drain and into our water system.
So we spoke to Matt Kunz, president of Five Star Painting, a Neighborly company who shared his top tips on discarding paint correctly. He says:
- To dispose of latex paint, leave the paint can open to allow the remaining paint to harden. Depending on the amount of paint, this may take anywhere from a couple days to a few weeks. One the paint is hardened, set the paint can on the curb next to the recycling bin.
- For large amounts of paint, line a cardboard box with plastic lining and pour in one-inch-tall layers, allowing each layer to dry before pouring the next.
- Check with your local government; many communities offer a hazardous-waste collection or pick-up service that accepts leftover paint.
- Donate any unused paint to local programs and organizations such as community improvement initiatives, graffiti removal or Habitat for Humanity.
Other top paint cleaning tips
Cleaning paint brushes and rollers is just half of the task in some instances. If you've decanted the best paint for furniture from a tin to a rolling tray to apply emulsion with a roller, chances are you'll also need to clean this too – unless you follow this paint hack beforehand.
'Line your rolling tray with tin foil.' says O'Donnell.
'That way you save water when cleaning your tray and likely won’t be wasteful with paint.'

Alison is Assistant Editor on Real Homes magazine. She previously worked on national newspapers, in later years as a film critic and has also written on property, fashion and lifestyle. Having recently purchased a Victorian property in severe need of some updating, much of her time is spent solving the usual issues renovators encounter.

