DIY pumpkin vase ideas – 17 ways to give your Jack-O-Lantern a gorgeous glow-up
These DIY pumpkin vase ideas are a boujie update to your conventional autumnal bouquets

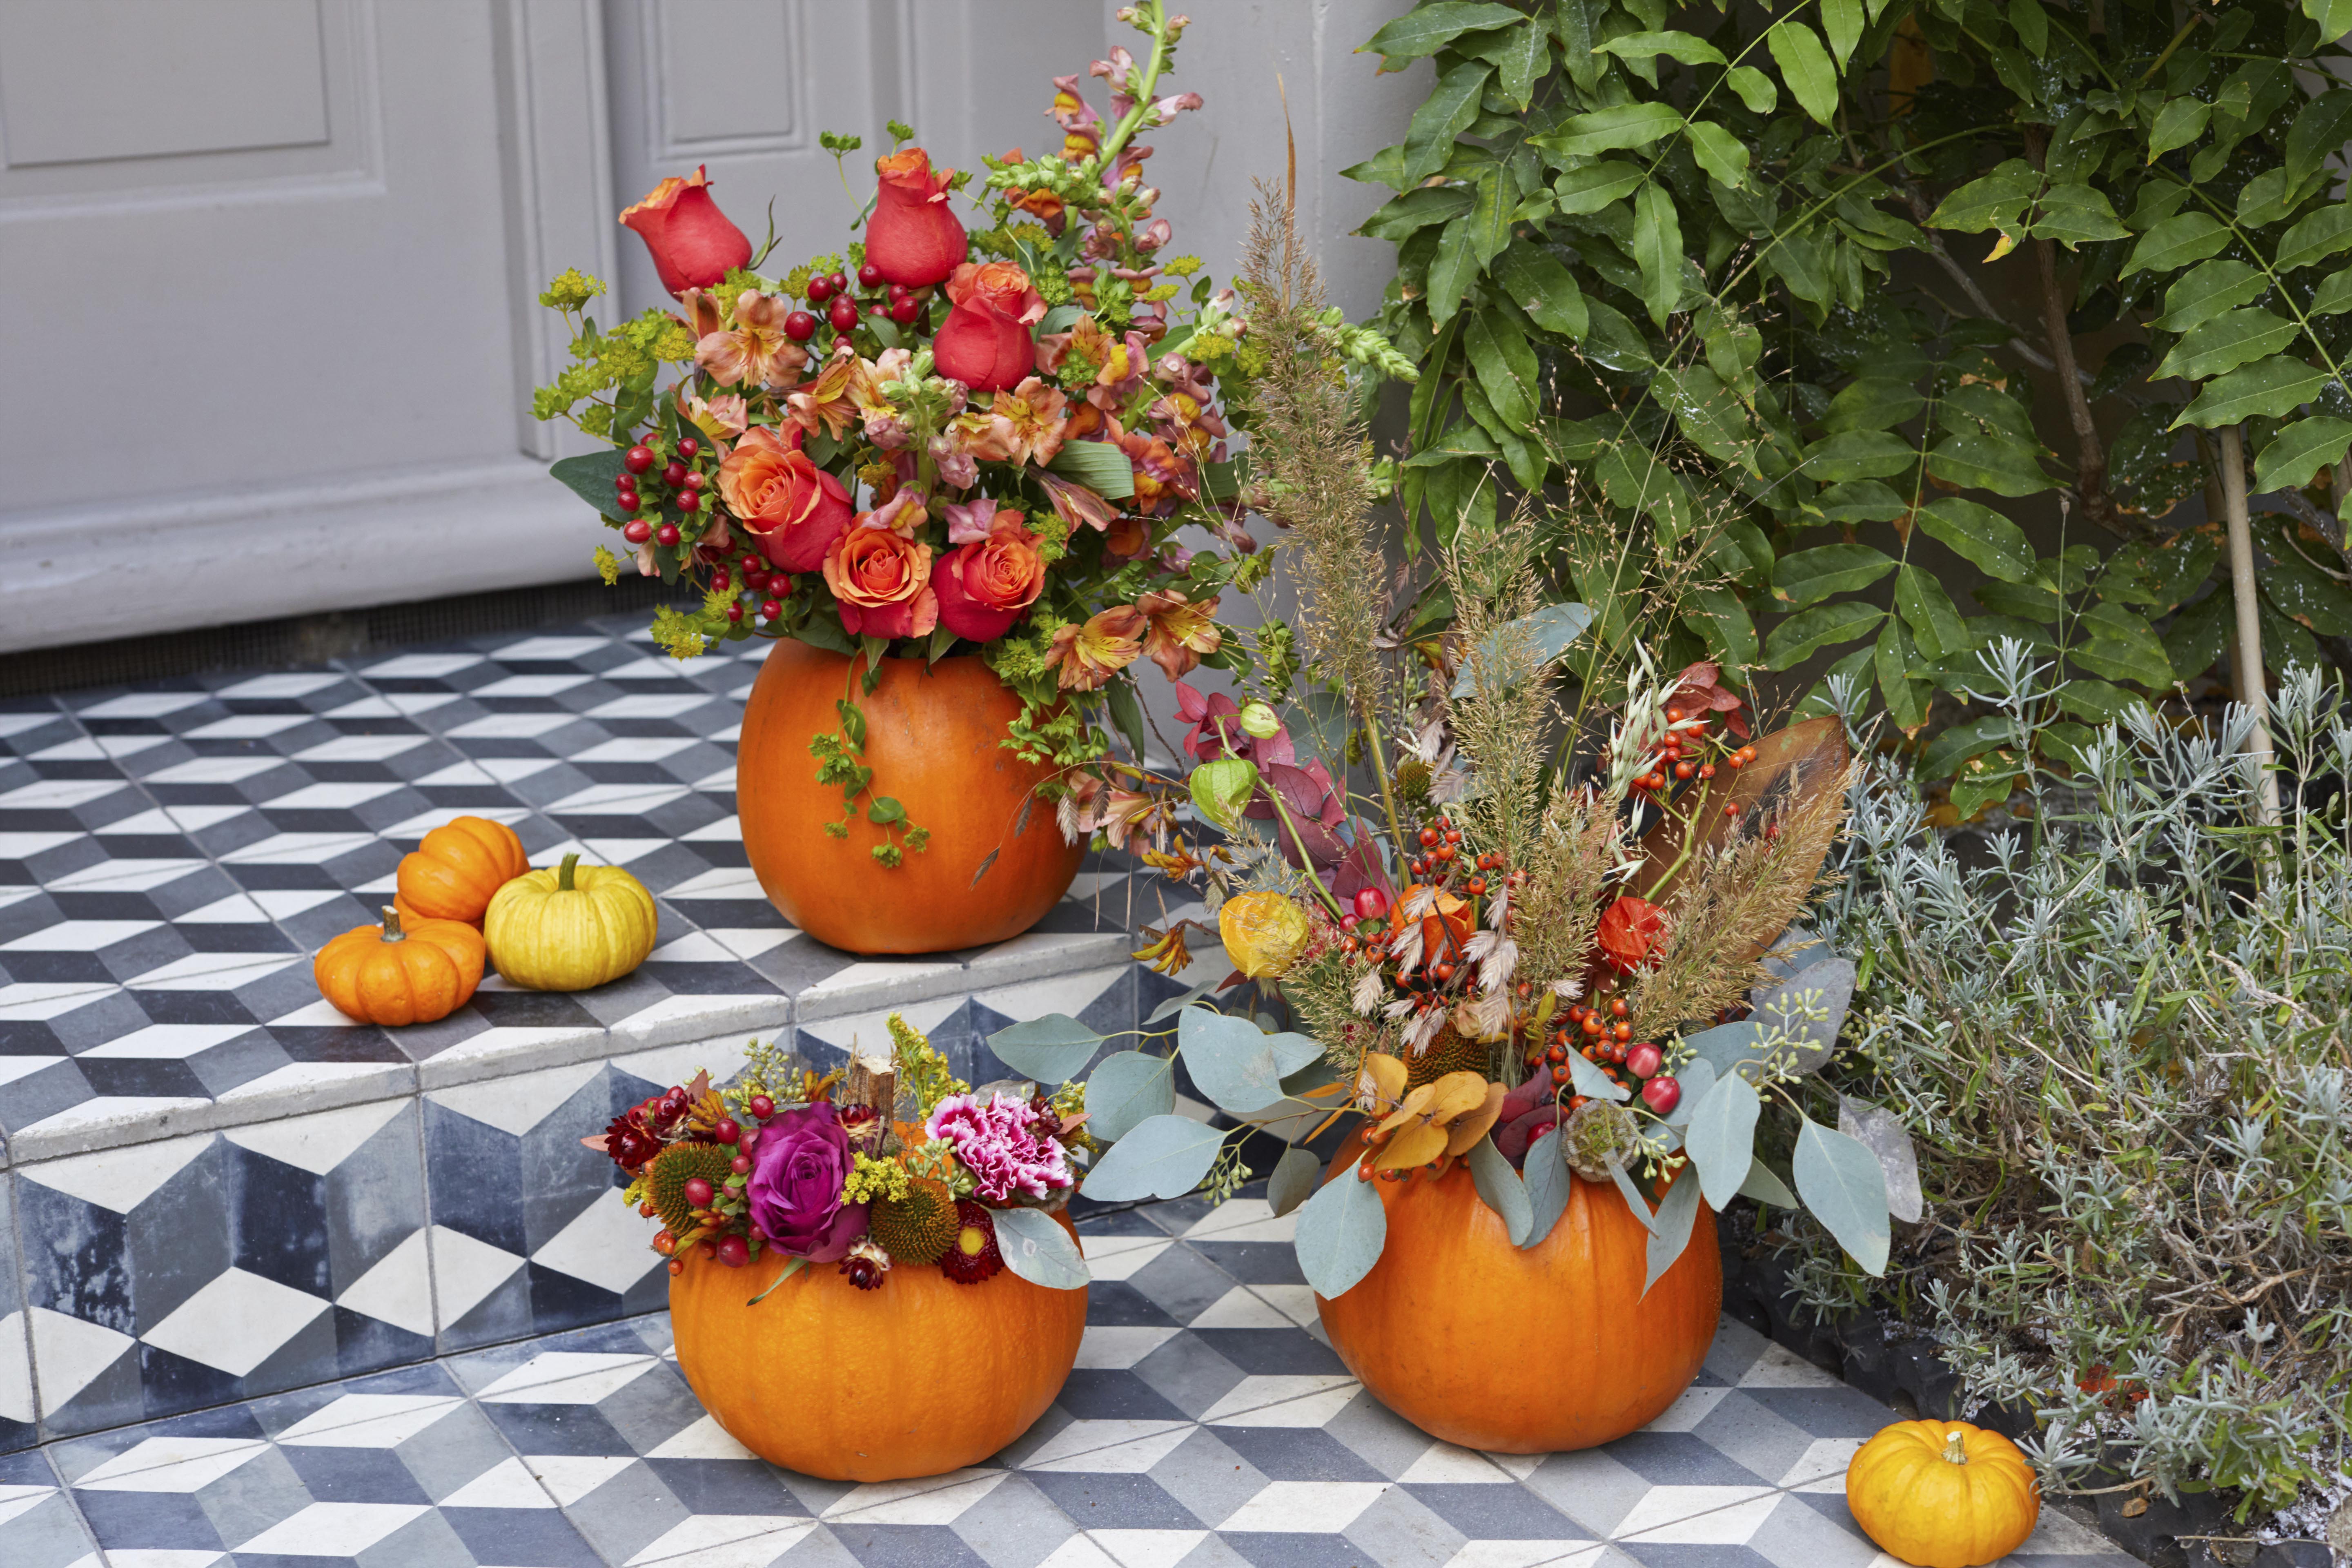
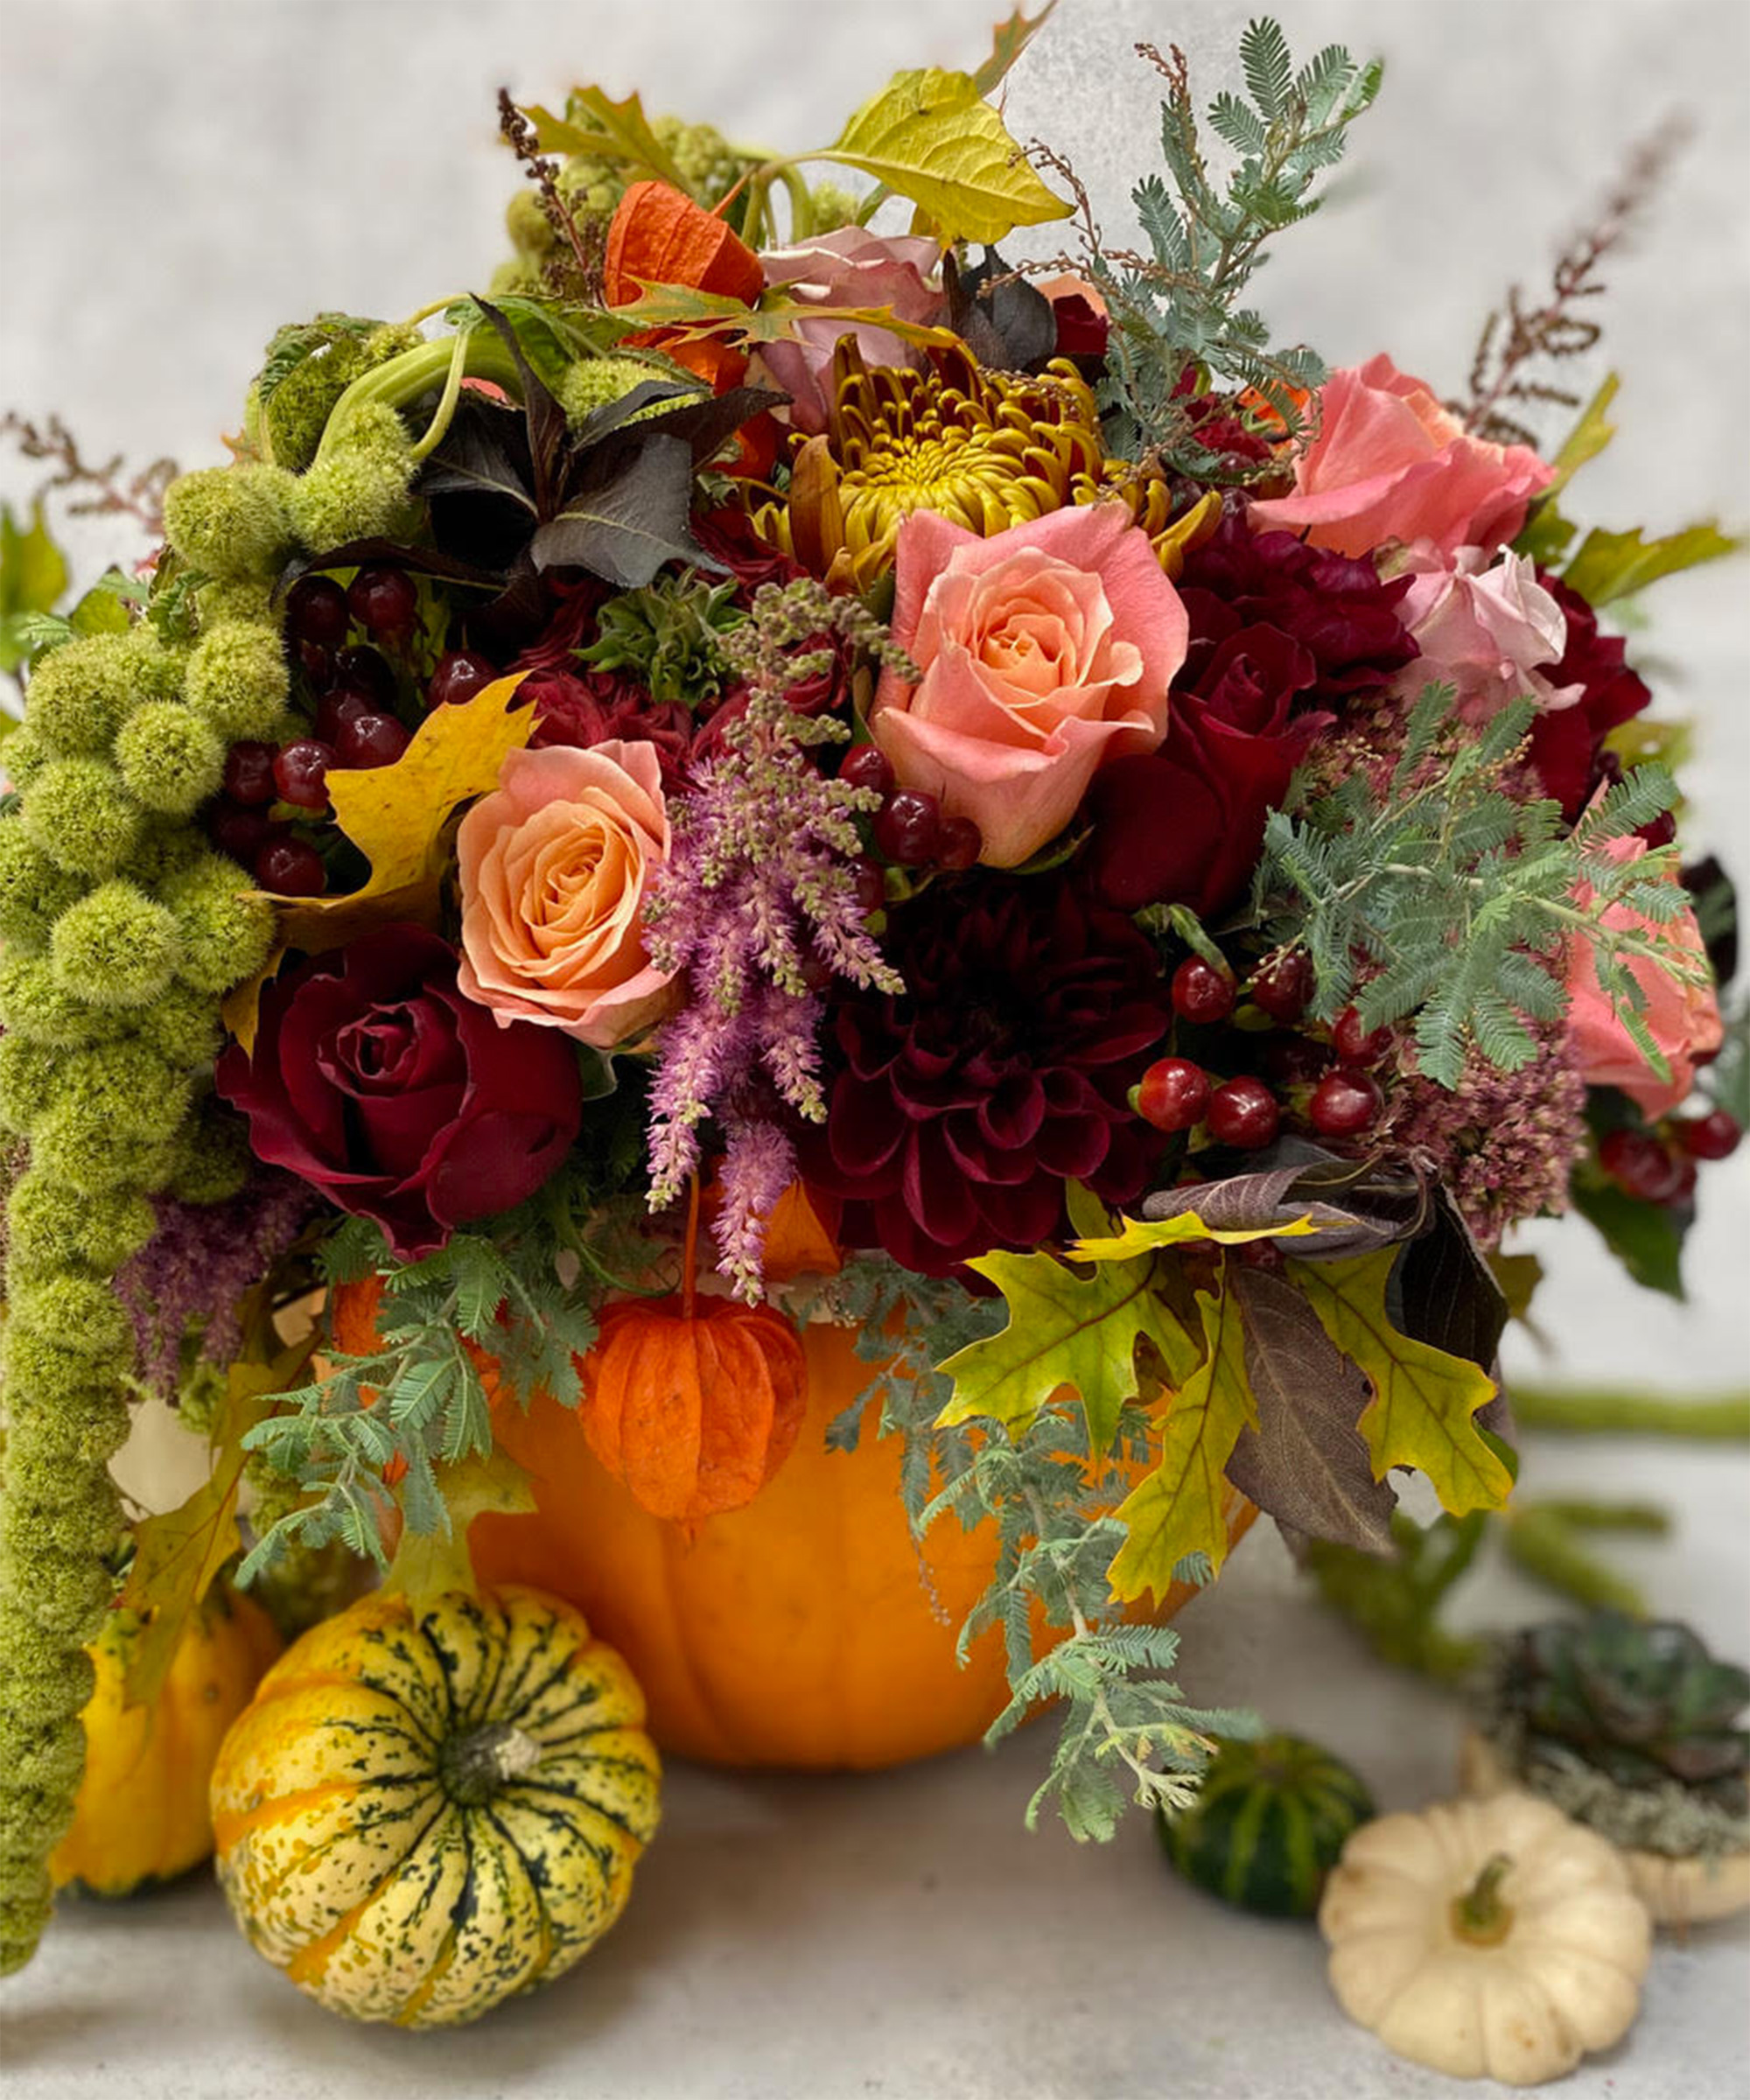
DIY pumpkin vase ideas are the only way we are getting to grips with gourds this year.
Forget carving out an intricate design that never even looks like the Pinterest one you were copying anyway. So quick and so easy and yet a pumpkin vase for flowers looks so Instagrammable.
To bring these DIY halloween decoration ideas to life, we have two step-by-step guides for you, both slightly different designs but both super easy.
So if you too want beautiful flowers blooming out of your pumpkin, and to adorn your vase with a crown - you're in for a treat!
For a basic pumpkin vase you will need:
- A pumpkin
- Flowers (here the gorgeous Orla bouquet from Bloom & Wild has been used)
- A knife for carving
- A spoon or an ice cream scoop
- Floral foam
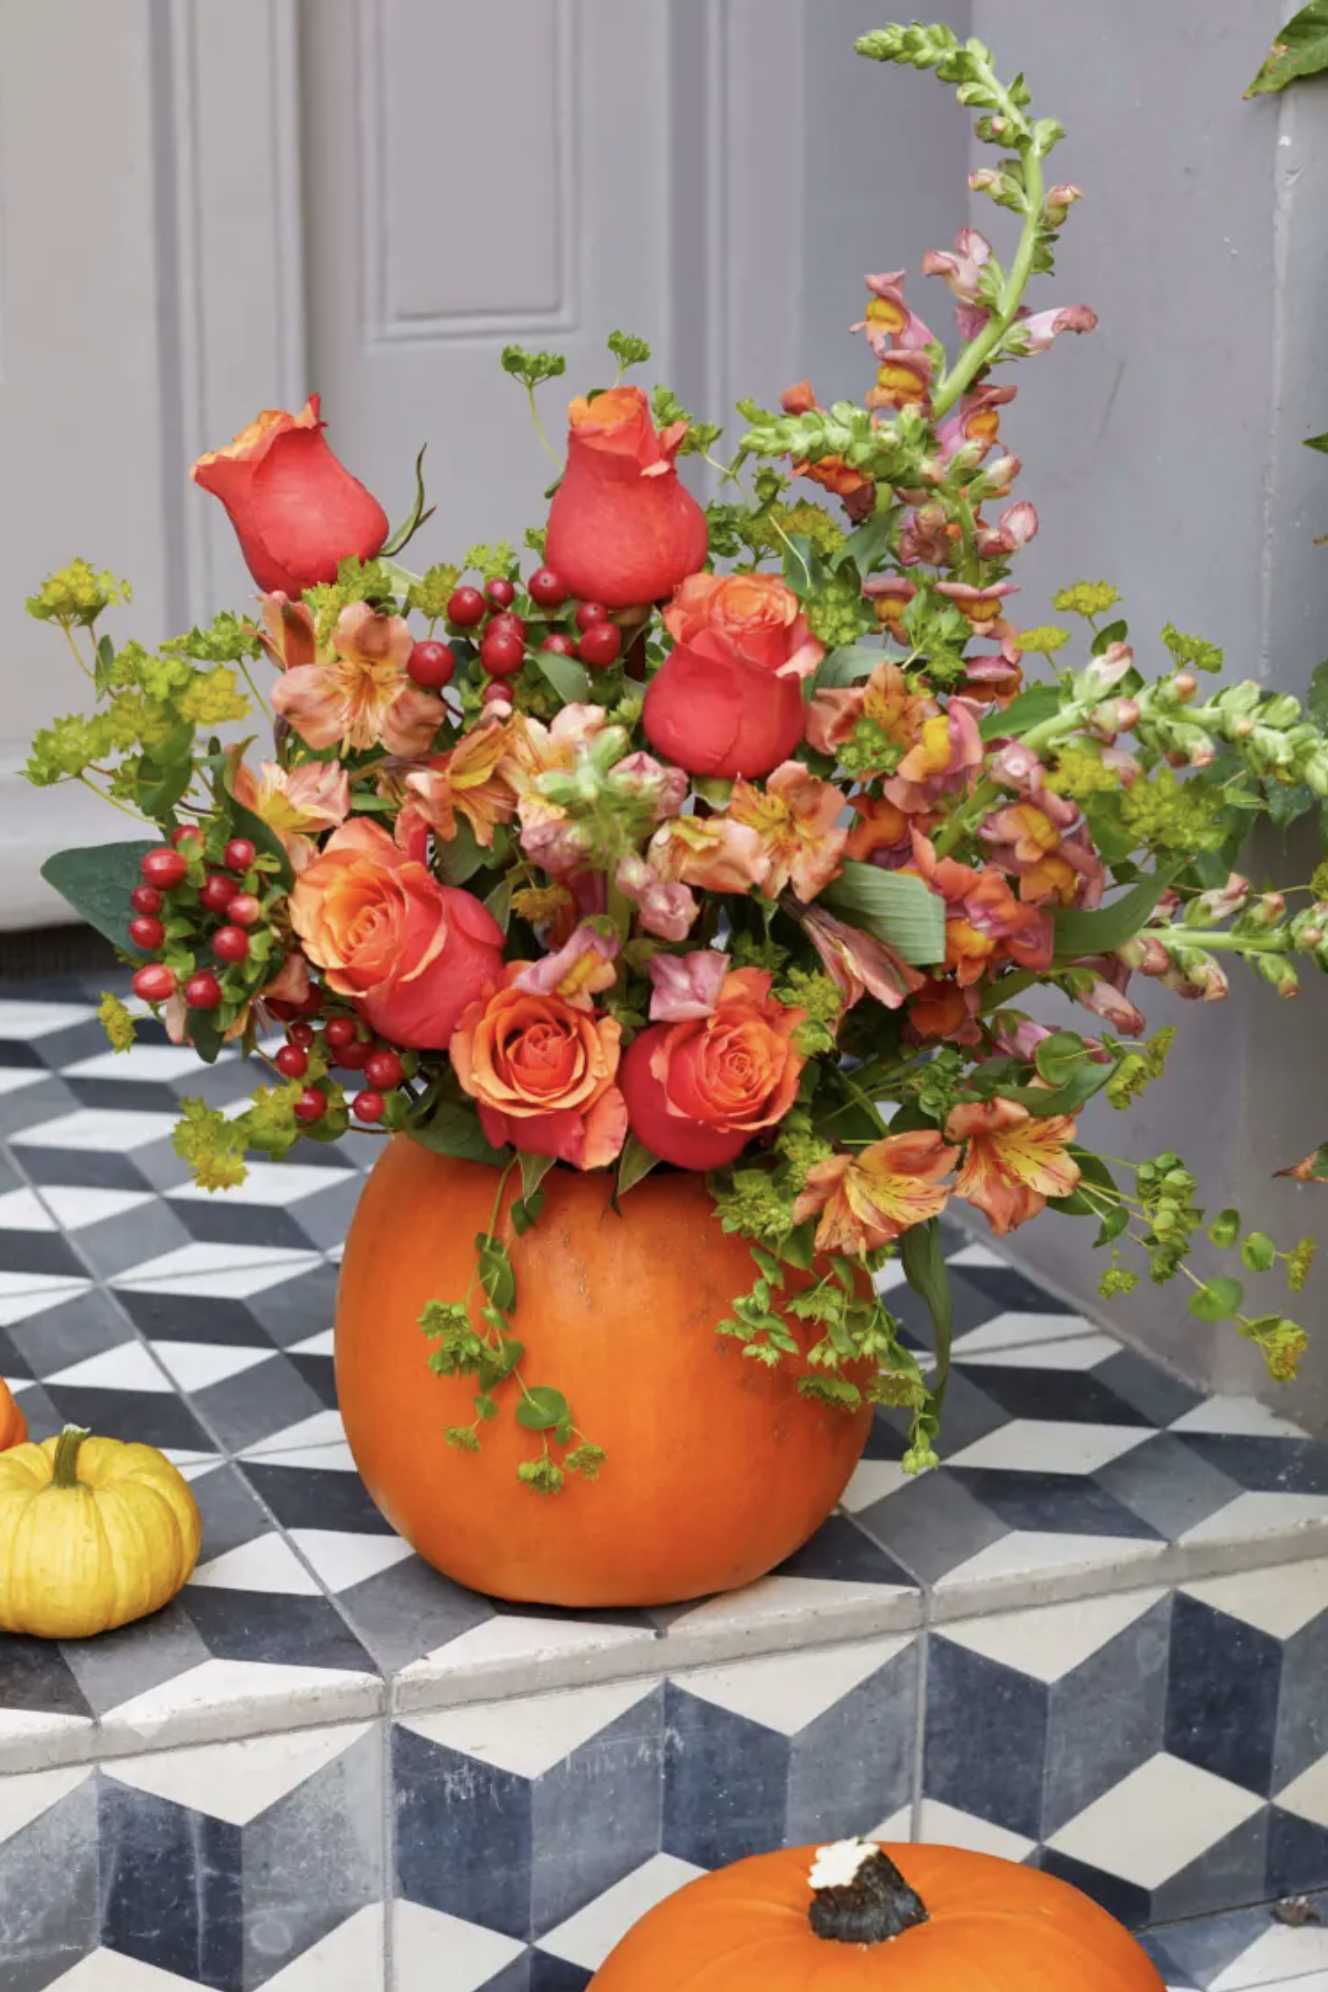
How to create a pumpkin vase
As you usually would, cut a hole in the top of your pumpkin using a sharp knife. If you aren't too confident in your pumpkin carving abilities use a red wipeable marker to draw out the circle first.
(N.B: If you're not a dab hand at slicing open a squash, our how to carve a pumpkin guide can prove helpful).
Next, scoop out the insides using a spoon or an ice cream scoop and then place your soaked florist's foam into the middle of your pumpkin.
Get small space home decor ideas, celeb inspiration, DIY tips and more, straight to your inbox!
Arrange your blooms in the foam, just as you would if you were arranging them in a normal vase. And voila you are all done!
How to make a flower crown pumpkin vase
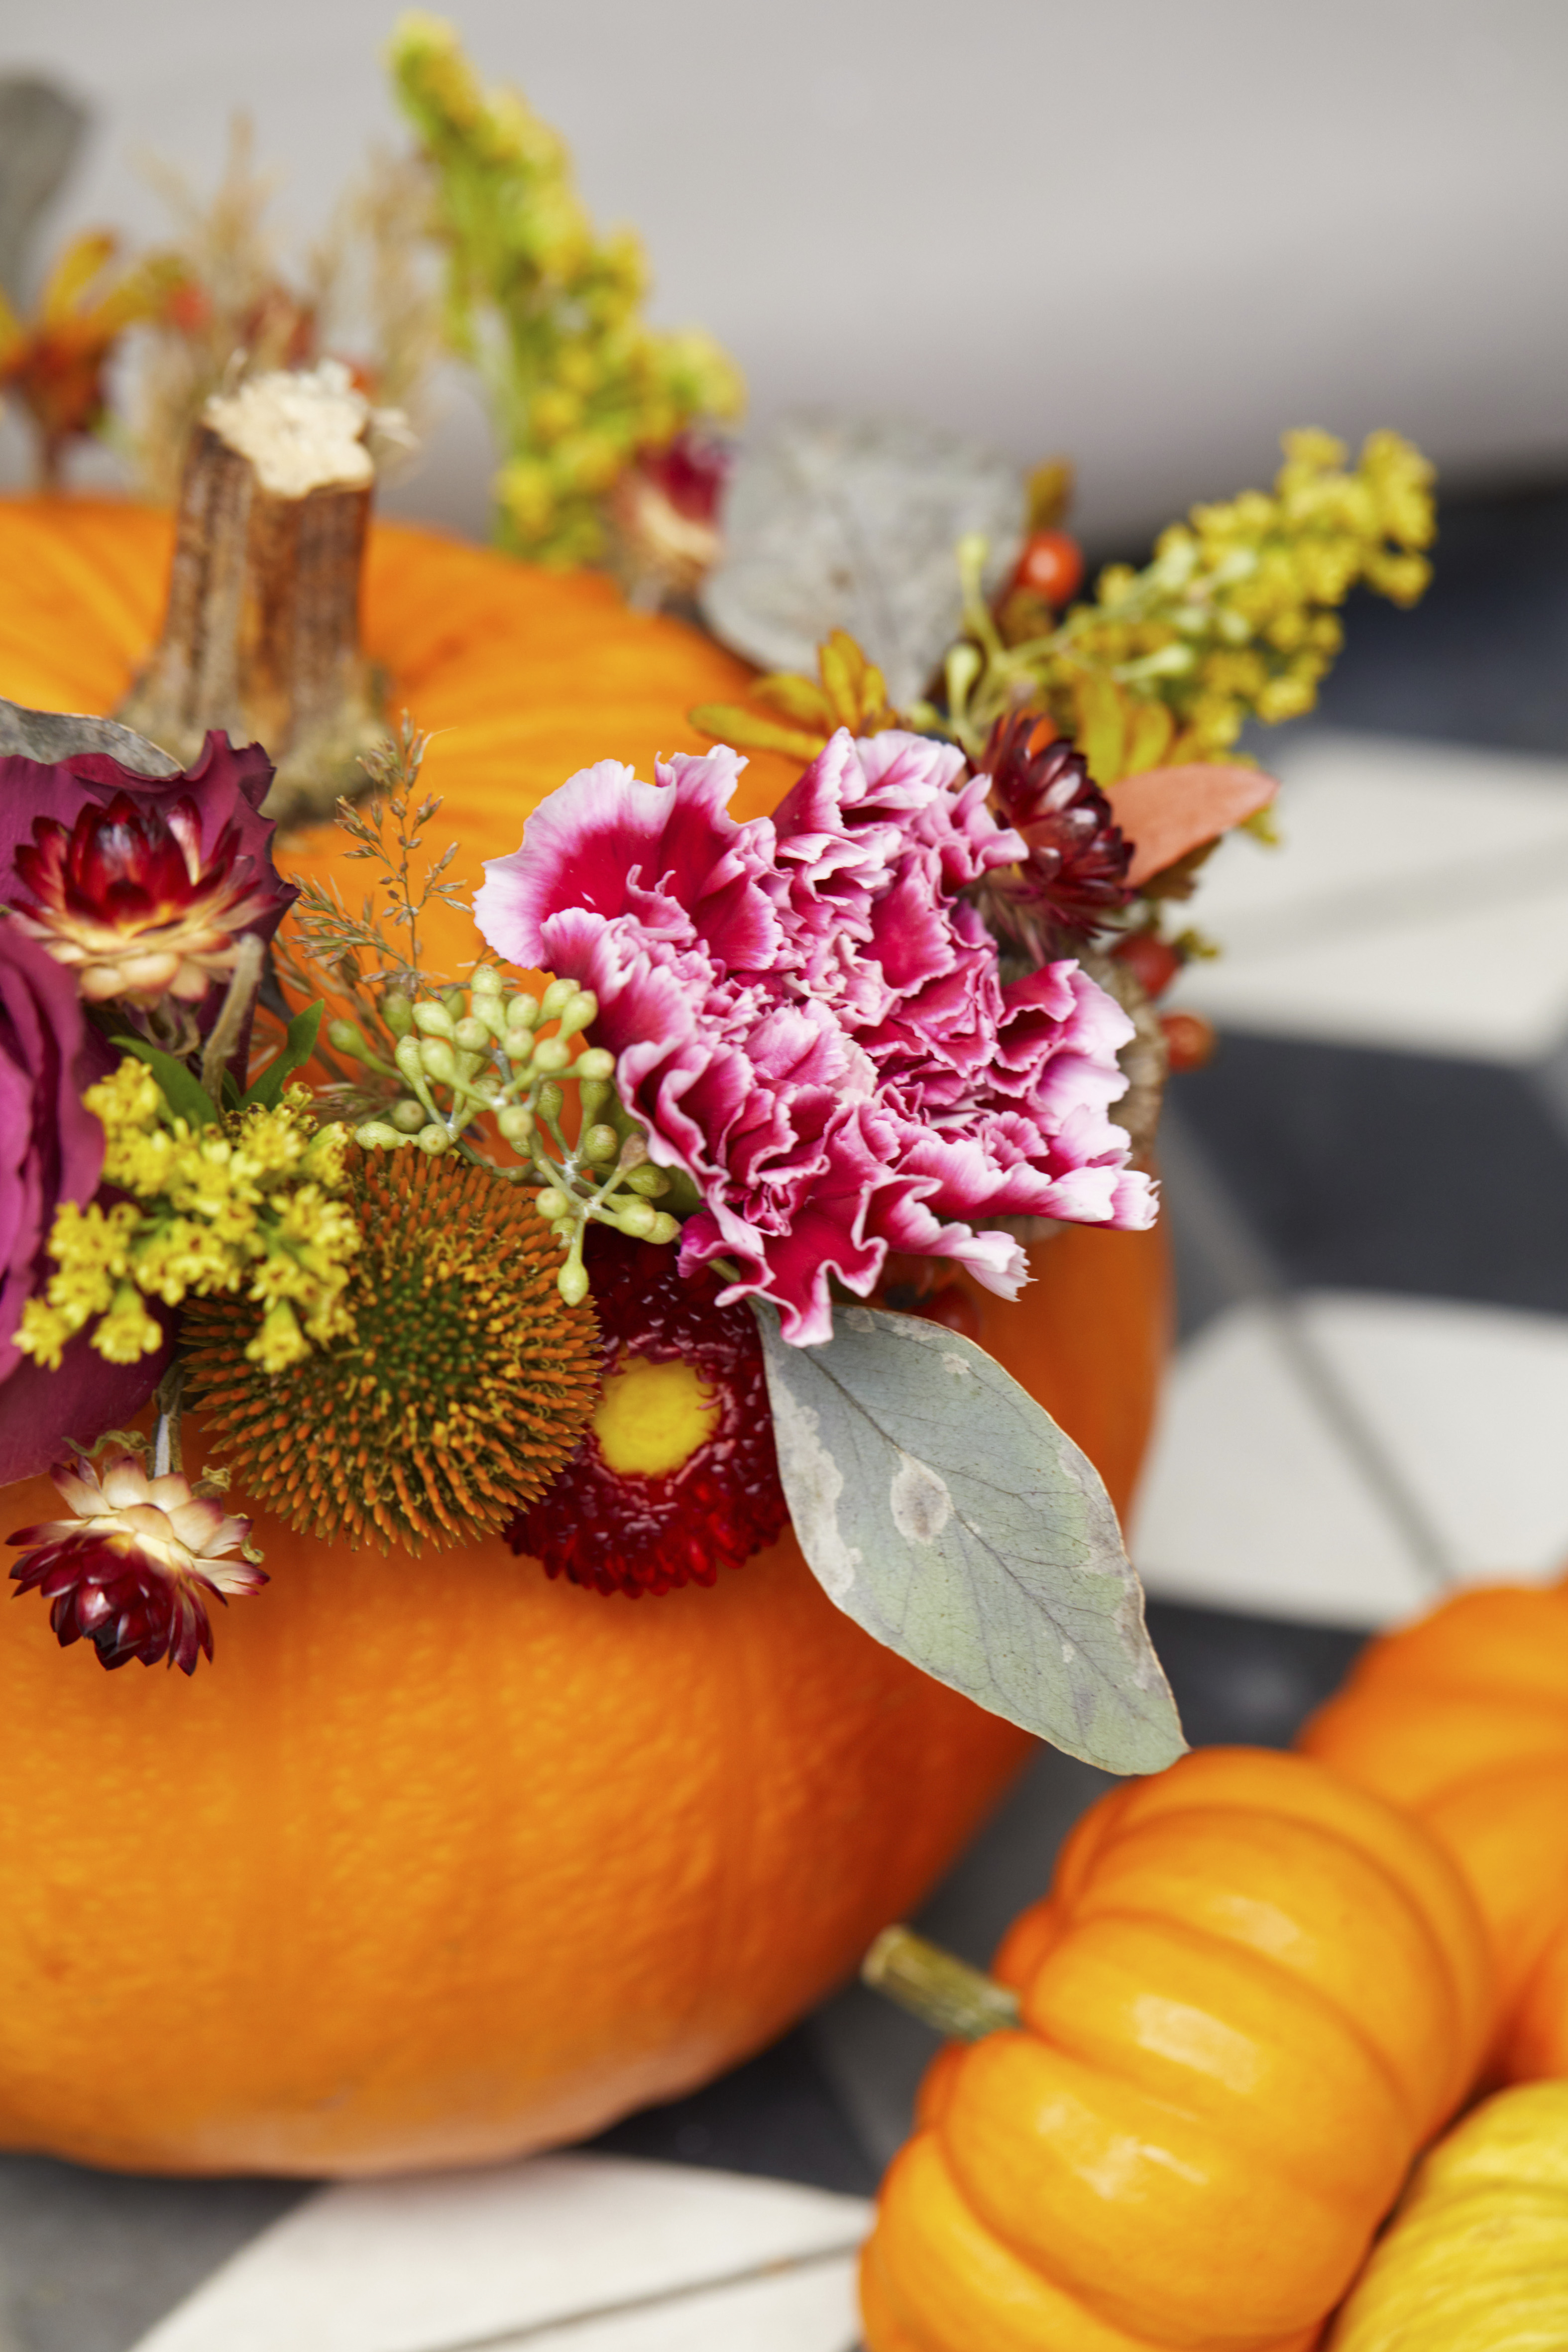
This is another cute take on pumpkin decorating ideas! It gives your pumpkin a crown of beautiful blooms – again, super-easy but really effective.
You will need:
- A pumpkin
- Flowers
- A marker pen
- A metal skewer
- Scissors
Again, use a wipeable marker to draw a line of dots around your pumpkin where you would like your flowers to sit. Take a metal skewer and poke holes in the dots, making sure the holes are big enough to push a stem into.
Then, trim the stems of your flowers so they are at an angle and then poke them into the holes. All done! One of many no carve pumpkin ideas that looks pretty AND of course, without dissecting its innards - no clean-up required.
How to keep your DIY pumpkin vase fresher for longer
As well as using a red wipeable marker as a guide for your florist foam, there are some other pumpkin carving hacks that'll increase the longevity of your pepo.
One of our favorites is to use Vaseline or good-old own brand petroleum jelly (that you can get from the drug store) around the edge of the hole you made to pop the flowers into. This'll stop your pumpkin going droopy - witchcraft right?!
DIY pumpkin vase ideas that differ from boring blooms
1. Choose a bouquet with on-theme florals
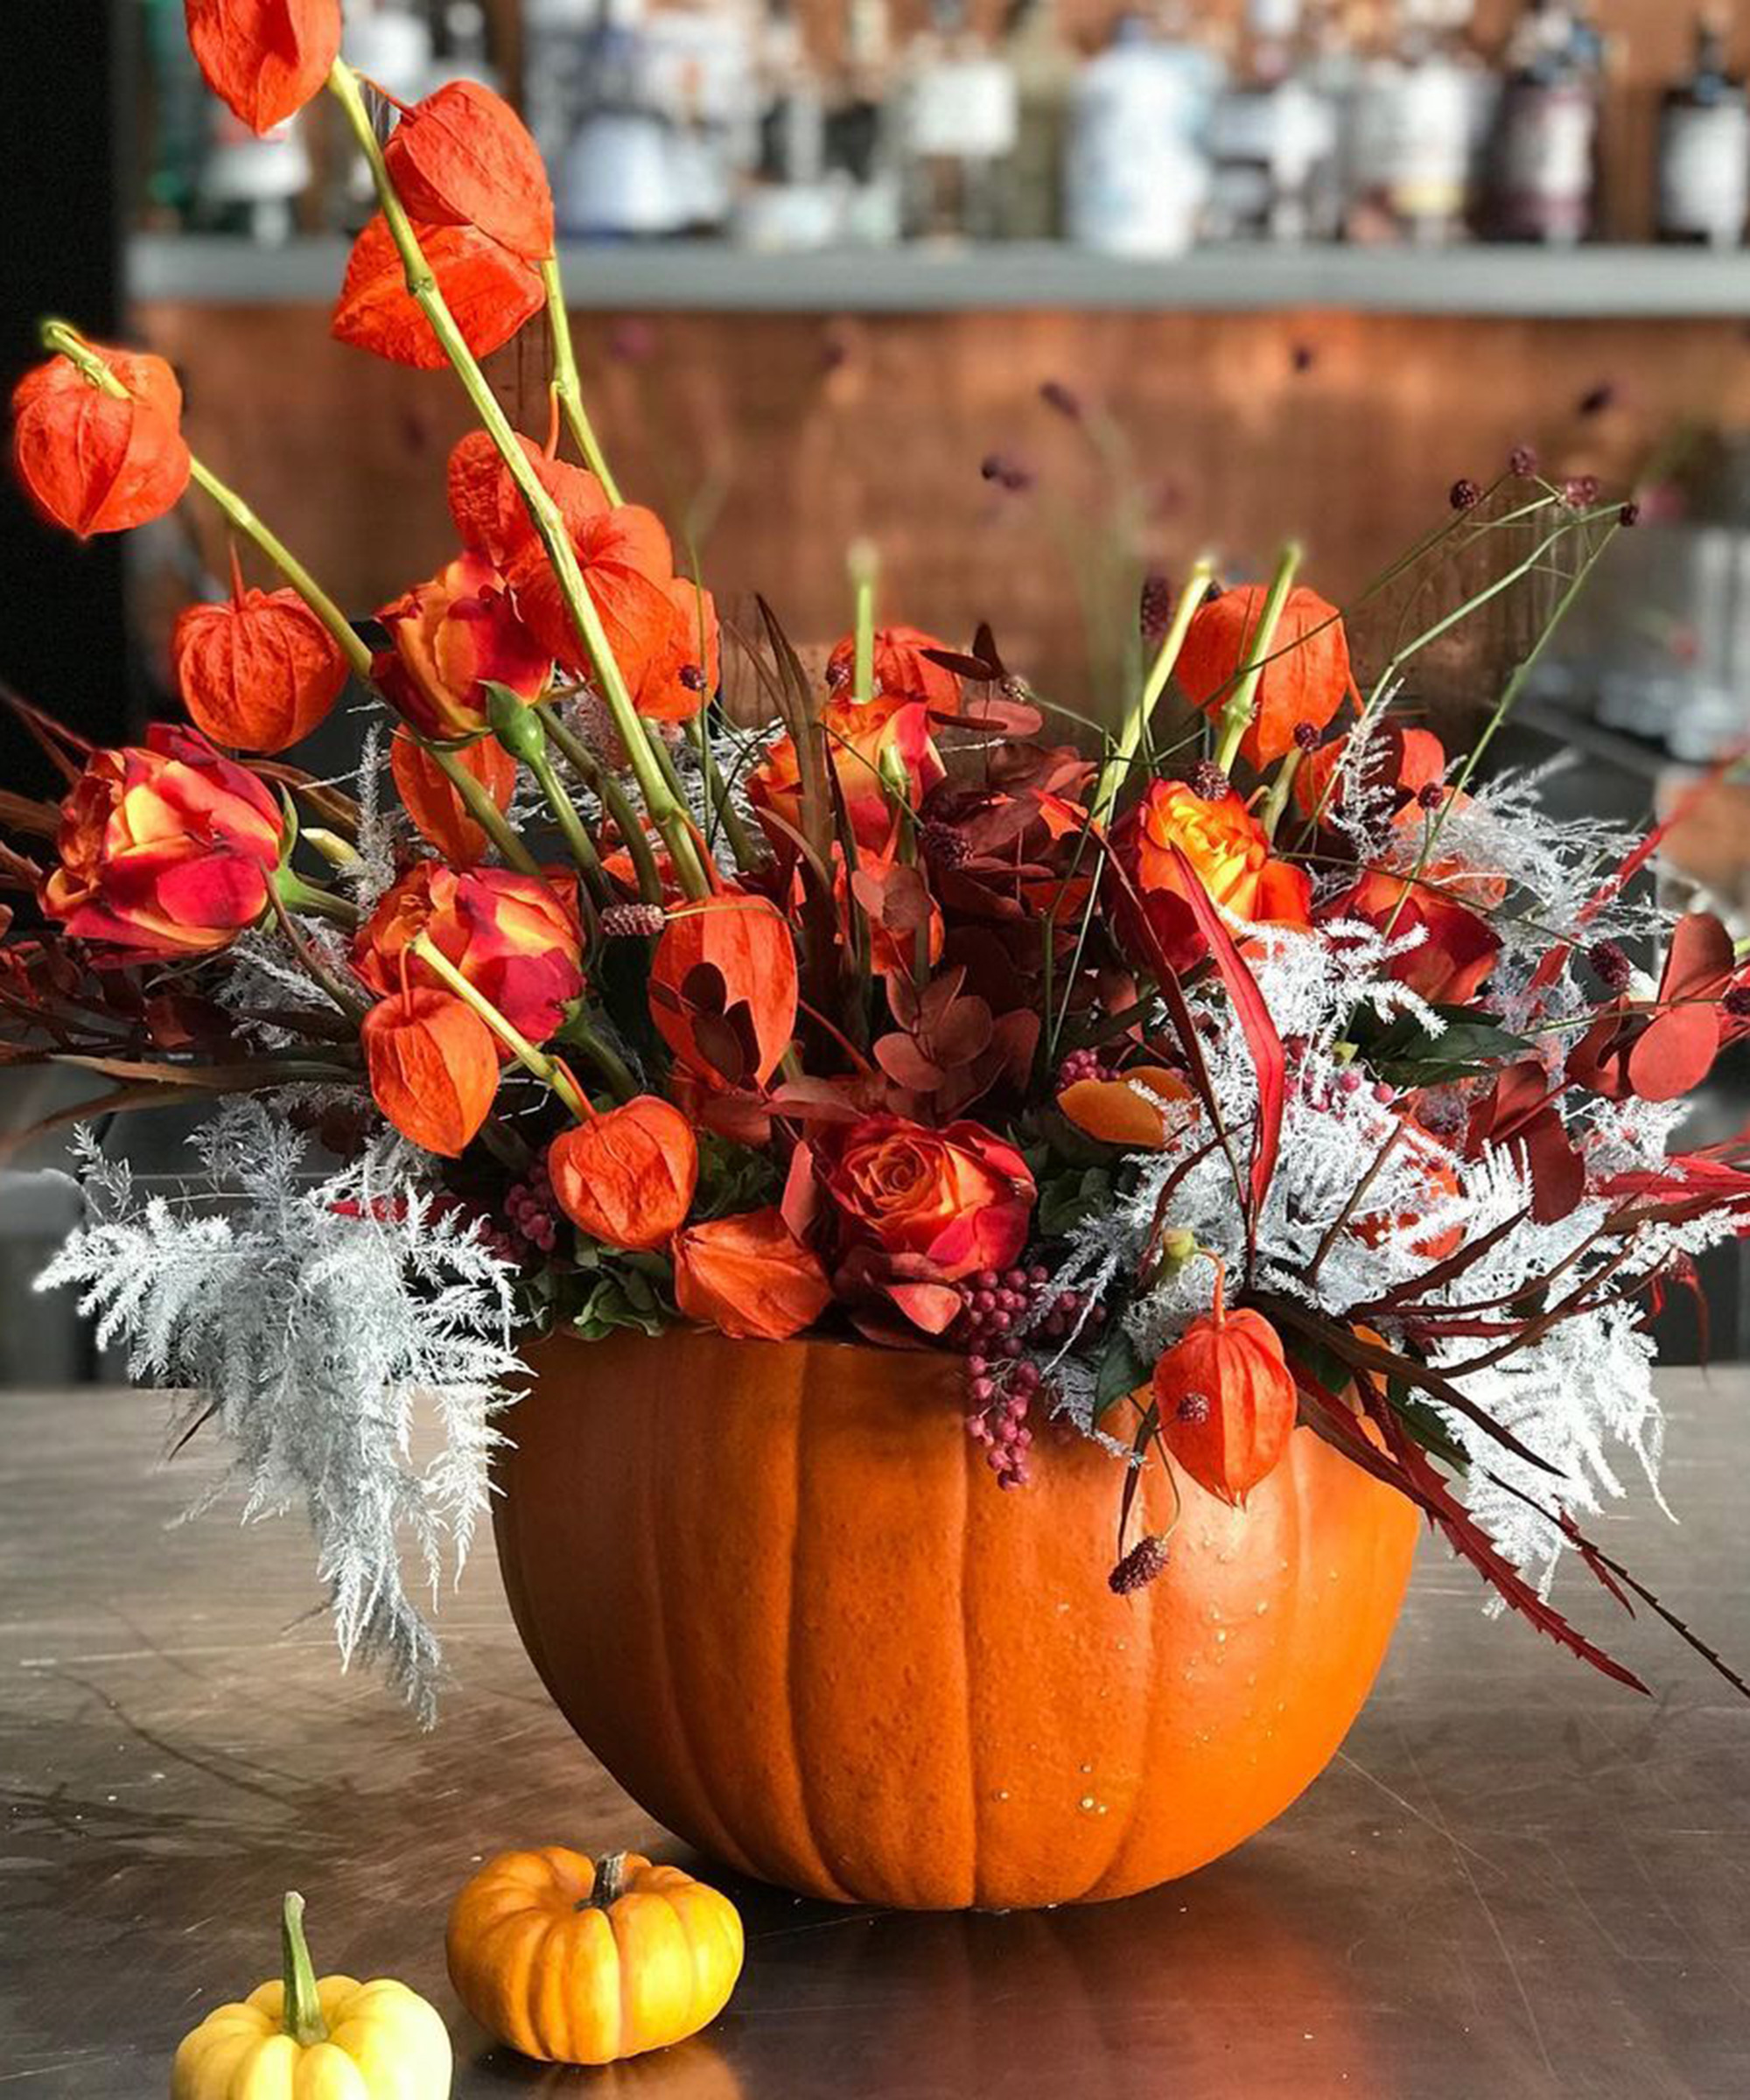
Spruce up your DIY pumpkin vase ideas with flowers and plants that have spooky names too. Atomic roses and ghostly white asparagus fern add color and interest, while grevillea (AKA spider plant) and pepperberries add spicy style.
We love the little physalis fruit which look like little lanterns and have a lovely transparency. Use LED lights to show off their papyrus-like textures.
2. Pumpkin vase + stained glass = Gothic goals
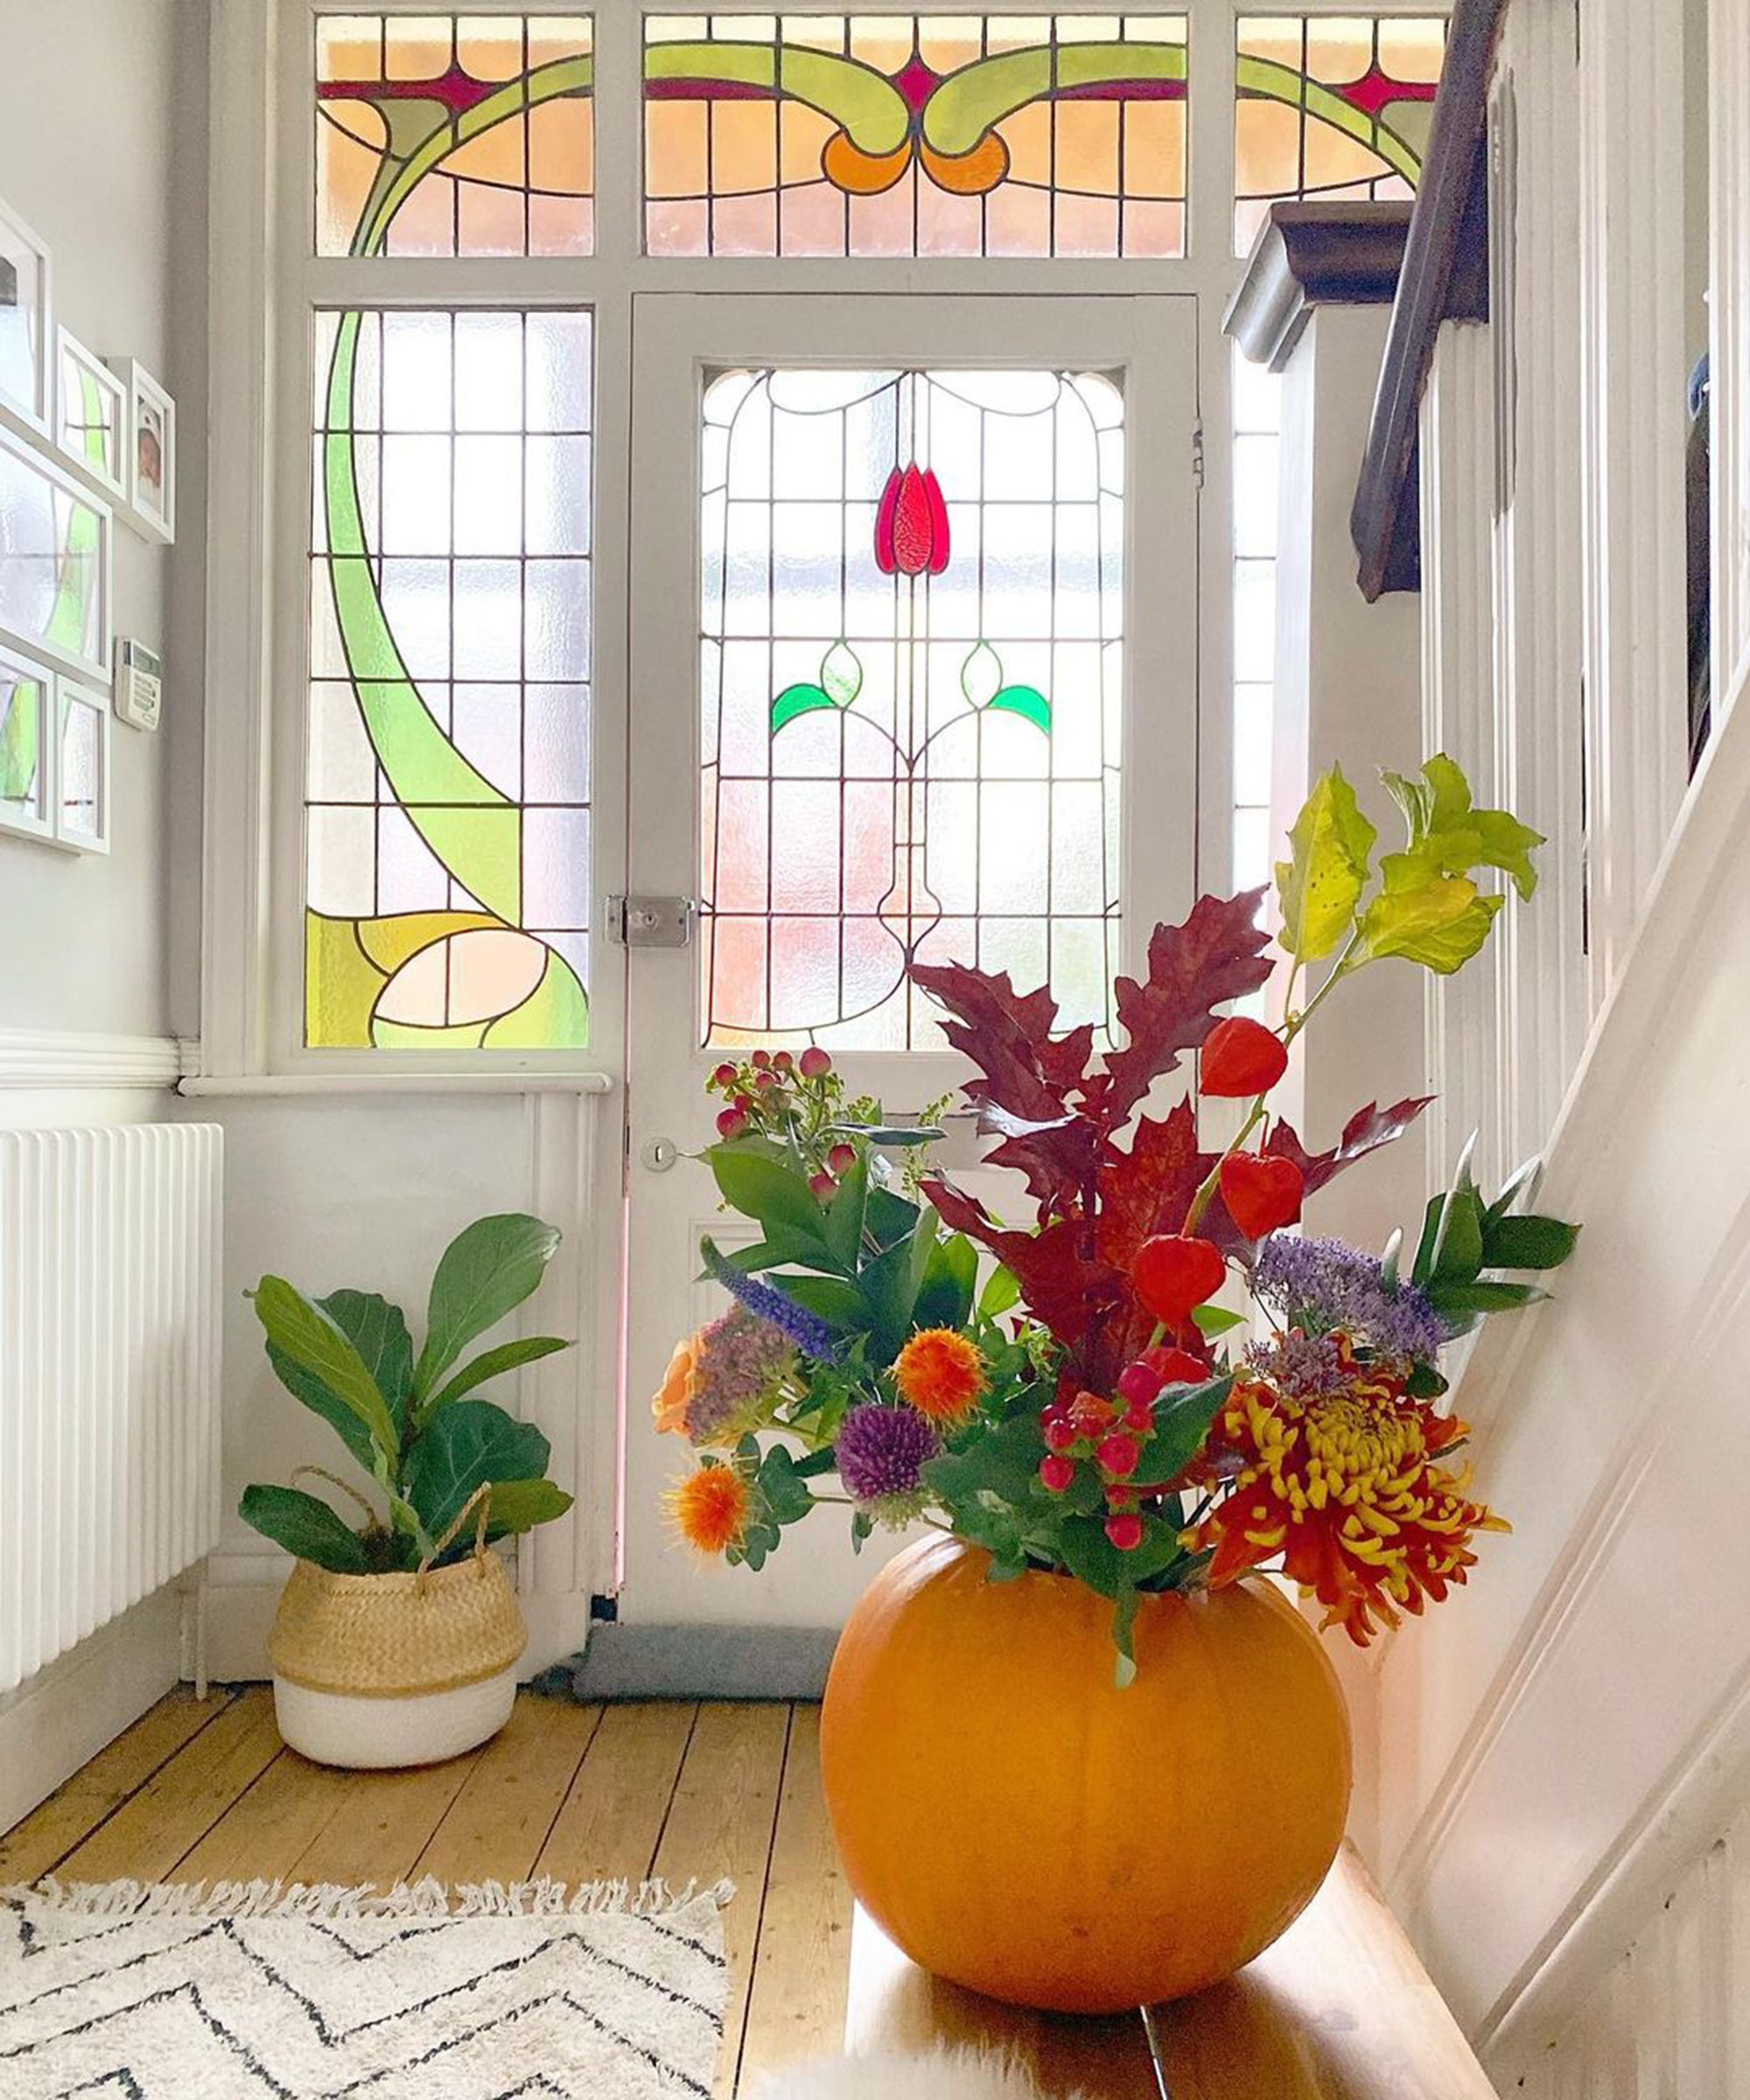
If you're looking for halloween decorating ideas with a touch of class, and aren't at all tacky, this DIY pumpkin vase idea, placed in your hallway is a little nod to the spooky season without going OTT.
'As someone who doesn’t celebrate Halloween, I sure have embraced the pumpkins this year...painting them, making soup out of them, drinking numerous pumpkin-spice lattes and now a giant pumpkin vase.' says Hannah, Instagram home renovator and owner of account, @little_edwardian_semi.
'I got this stunning autumnal bouquet from Blue Door Flowers and it’s so pretty, my son is mesmerized looking at it!'
3. Paint your pumpkin white for a minimally chic look
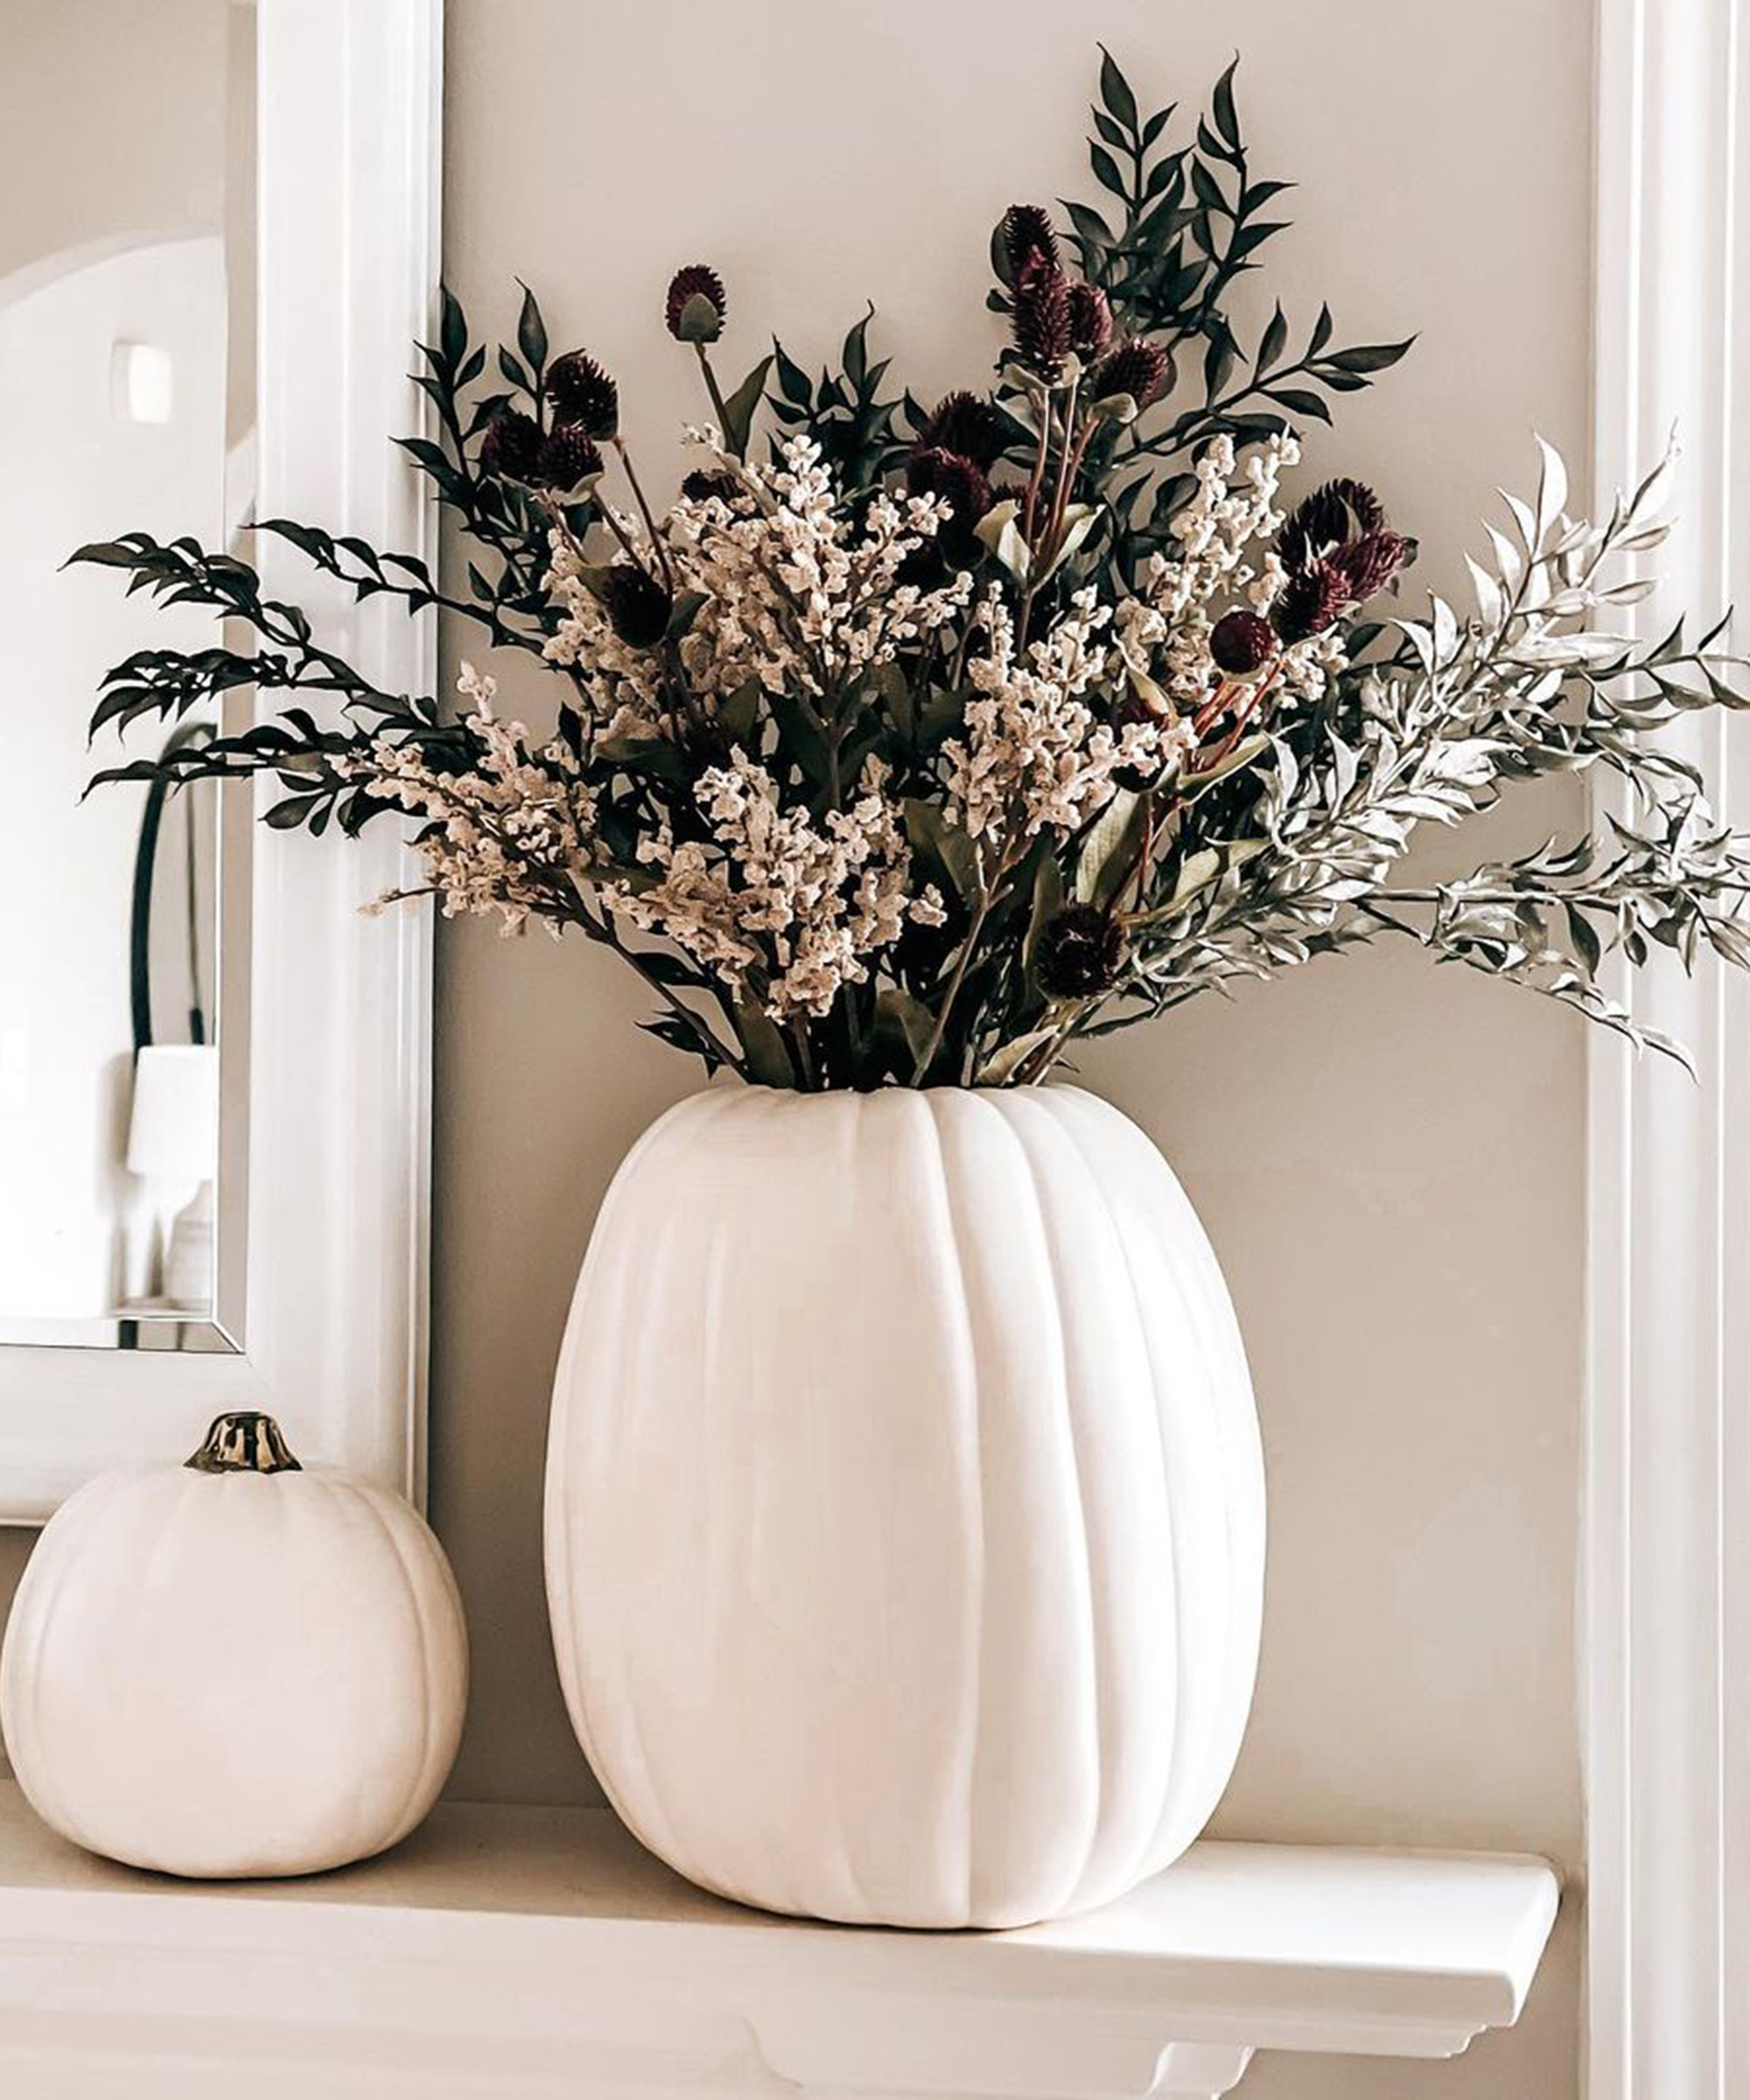
Contrary to popular belief, pumpkins don't have to be painted elaborately, or carved with a quintessentially expressive face.
Sometimes, less is definitely more, so if you don't fancy sketching out a scene from Joker, or giving your visage that needs a visit to the dentist, simply paint it white for minimalist chic or Scandi vibes. Be sure to pick out a pumpkin that has no scuffs or bruising to ensure it's as Instagrammable as possible.
However, if this idea is a little sparse for your liking, there are other pumpkin paint ideas to try out as one supermarket expert explains:
'Medium orange pumpkins make the perfect canvas for some spookily cool creations,' says Heather Taylor, food editor, Marks & Spencer.
'To create a bold finish, try using neon paint and experiment with different designs: splatter the paint, Jackson-Pollock-style, across the pumpkin; draw graphic stripes and shapes; paint a thick layer across one half and let it drip down; or go for spooky faces.'
Love the look of this DIY pumpkin vase idea? Find similar stems at Michael's Stores.
4. Or instill some black magic with dark paint decor
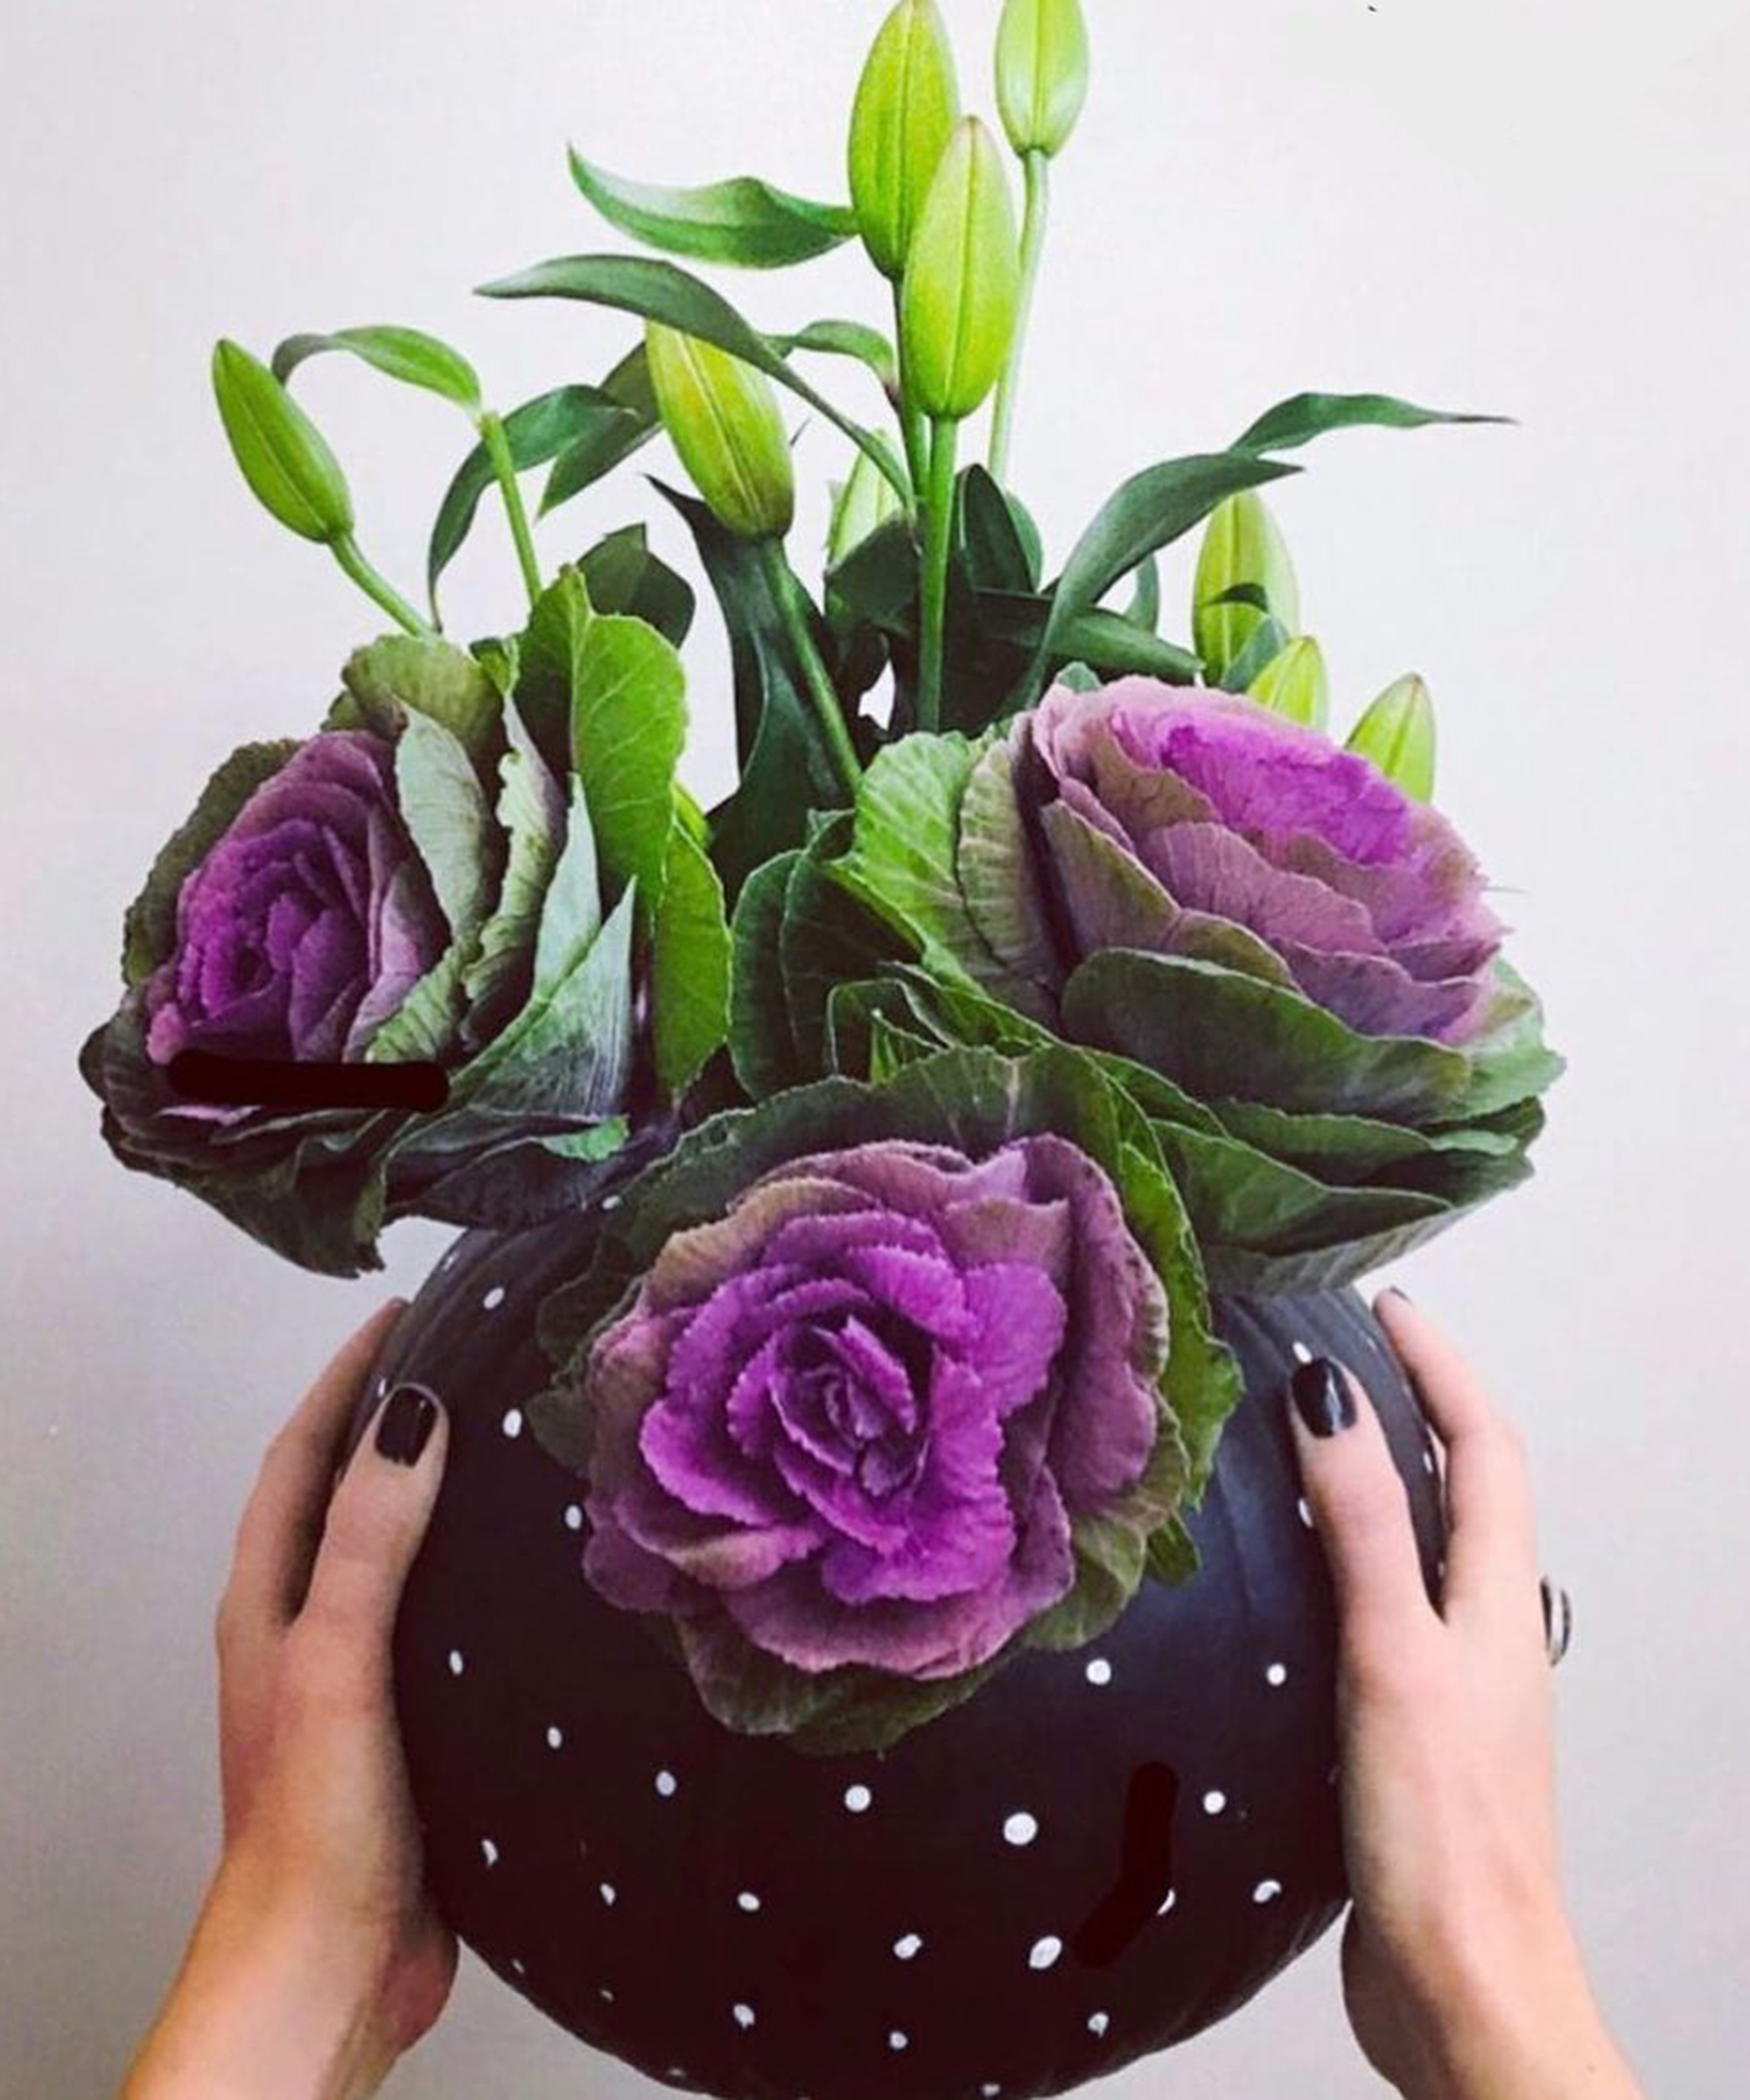
Hocus Pocus, The Addams Family and The Witches are some of the most memorable halloween movies made.
And they all have a heavy dose of black decor. So pay homage to these 90s classics by painting your pumpkin with dark emulsion. Here, Rachel Smith, owner of Etsy calligraphy service, RhubarbandCustardCo, has done just that with a cute spotted motif - and boy, are we dotty over it!
There are so many types of paint you can experiment with to create different finishes. Why not try using a chalk paint from Frenchic or Annie Sloan?
5. Paint your pumpkin vase in day of the dead decor
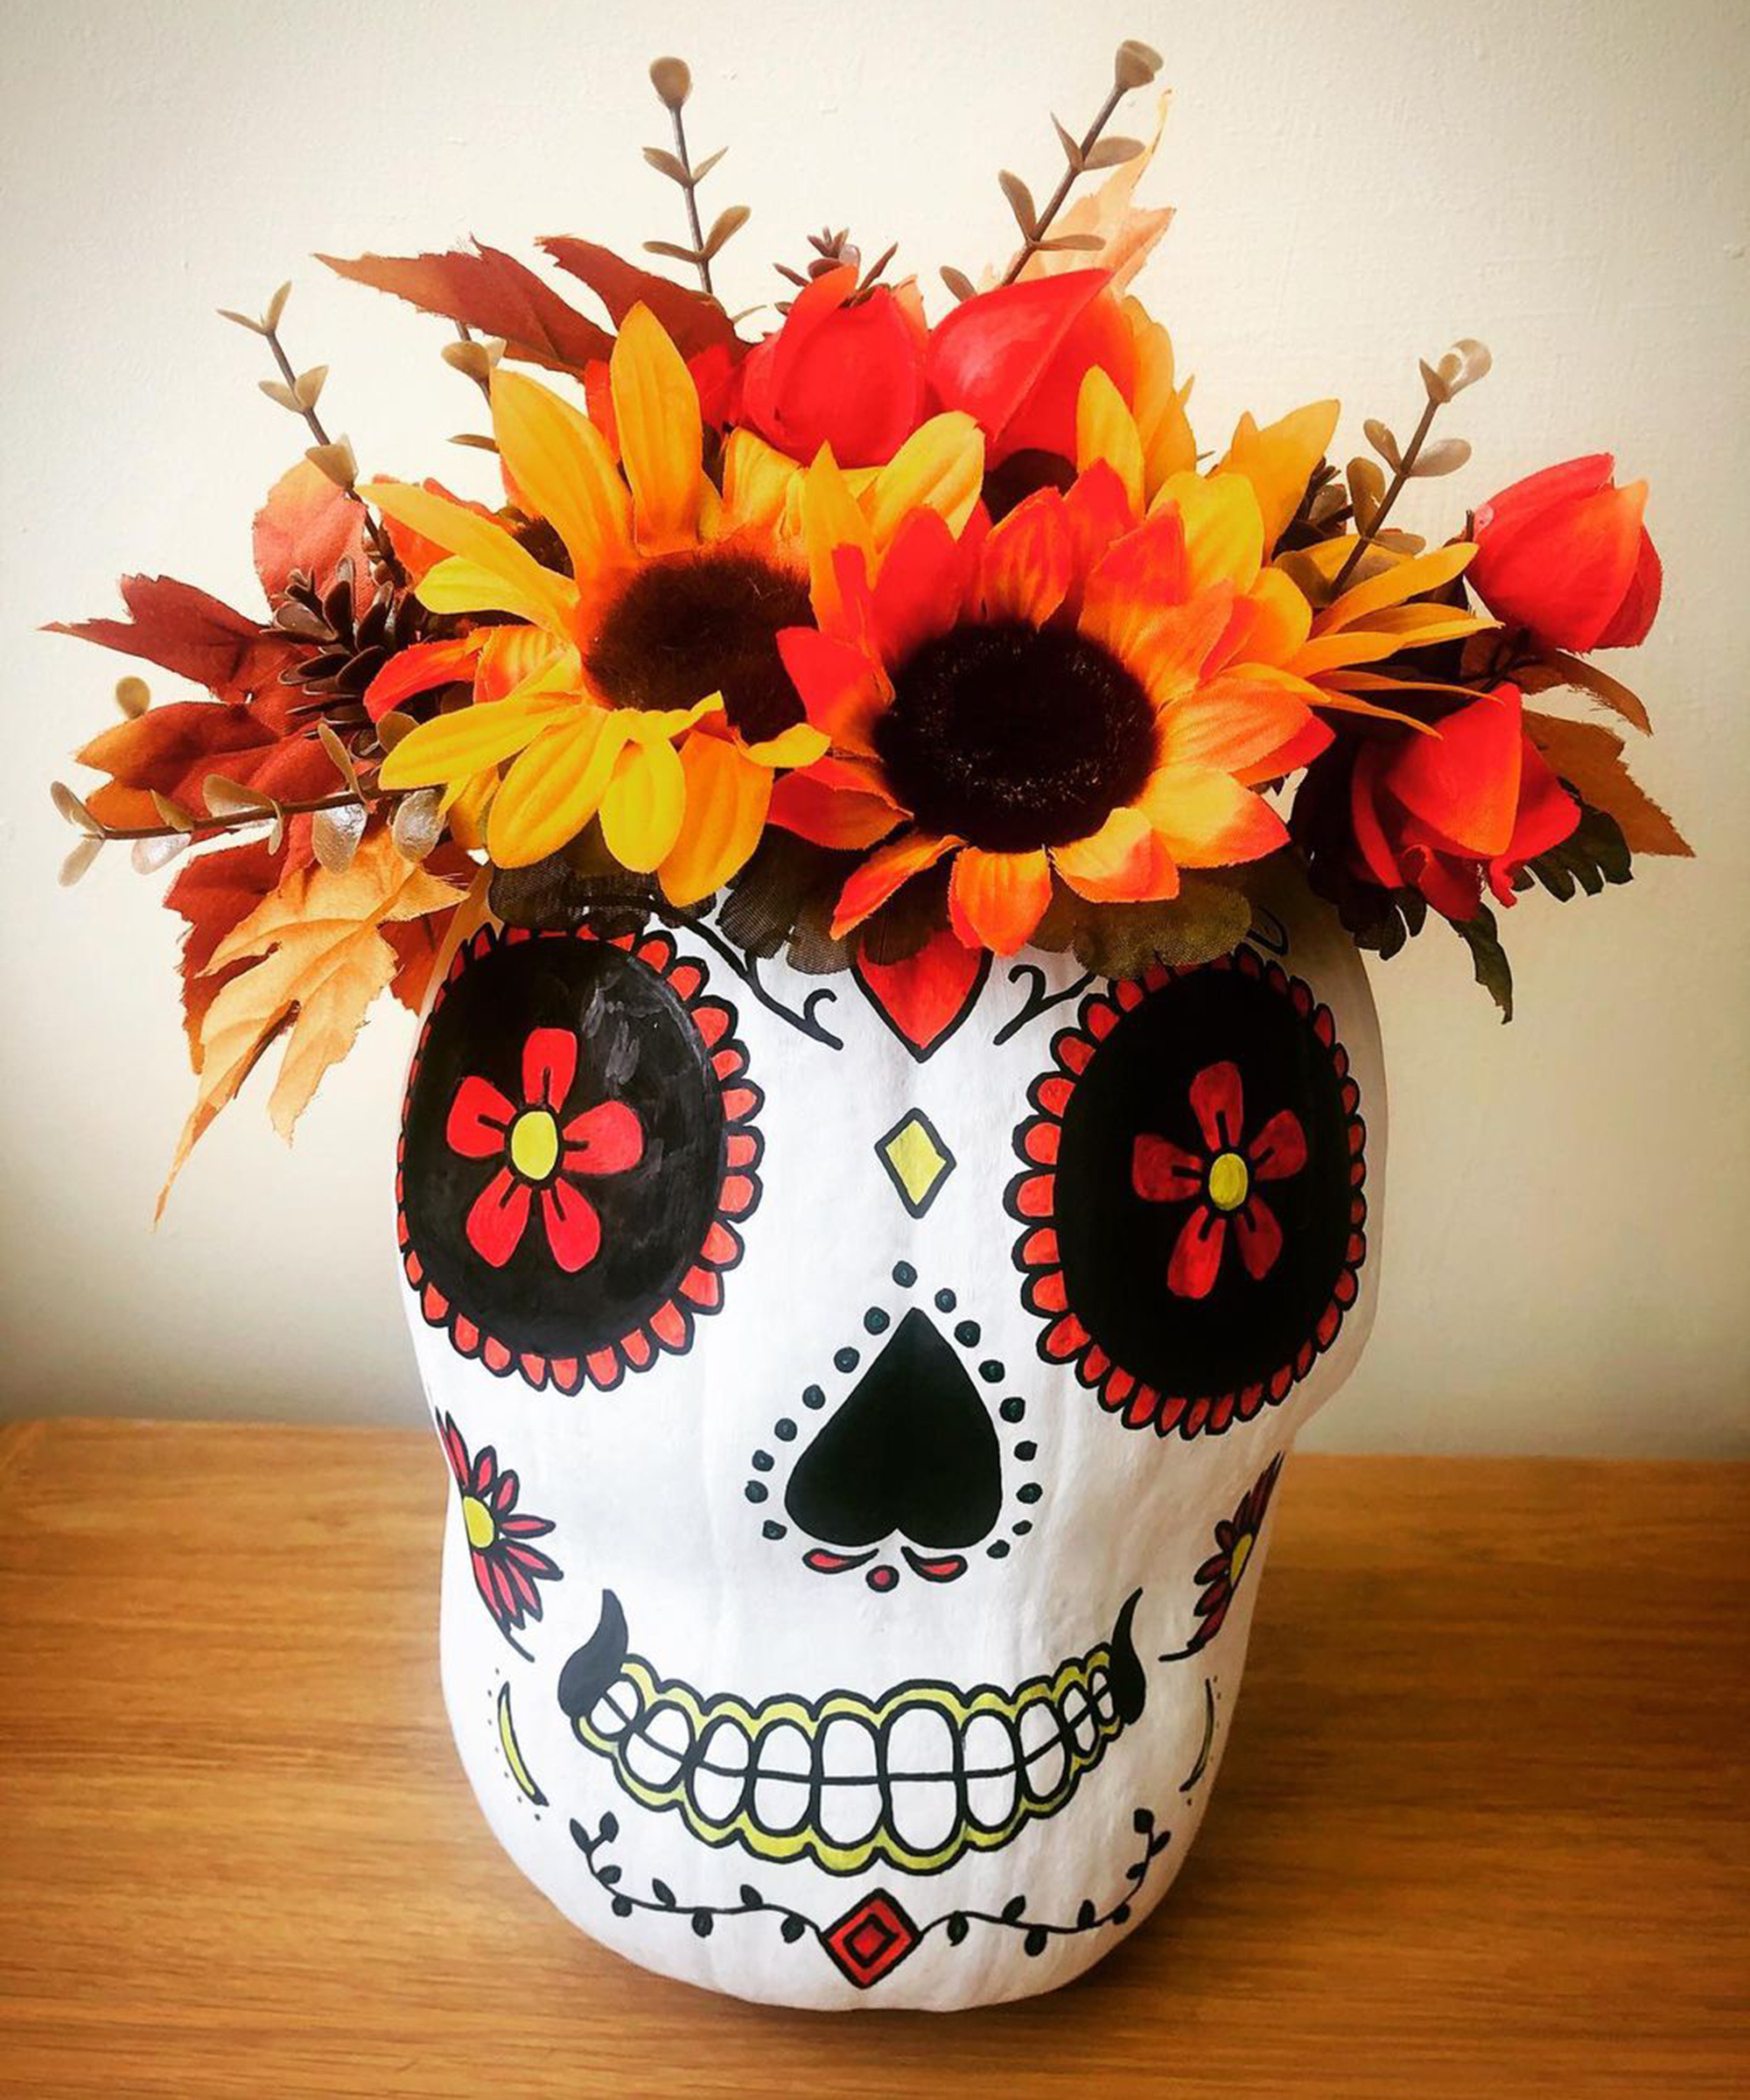
Injecting a Mexican 'dia de los muertos' theme into our DIY pumkin vase ideas, this is definitely top of our list of Halloween activities for kids and is perfect for those rainy school holidays indoors, because the devil gives work for idle hands, so up the ante for your little ghouls and turn this into a little painting competition.
Go wild with stick-on gems and feathers for an even more full-on effect. Because pumpkin faces can be on fleek too, right?
6. Glam up your pumpkin vase with glitter paint
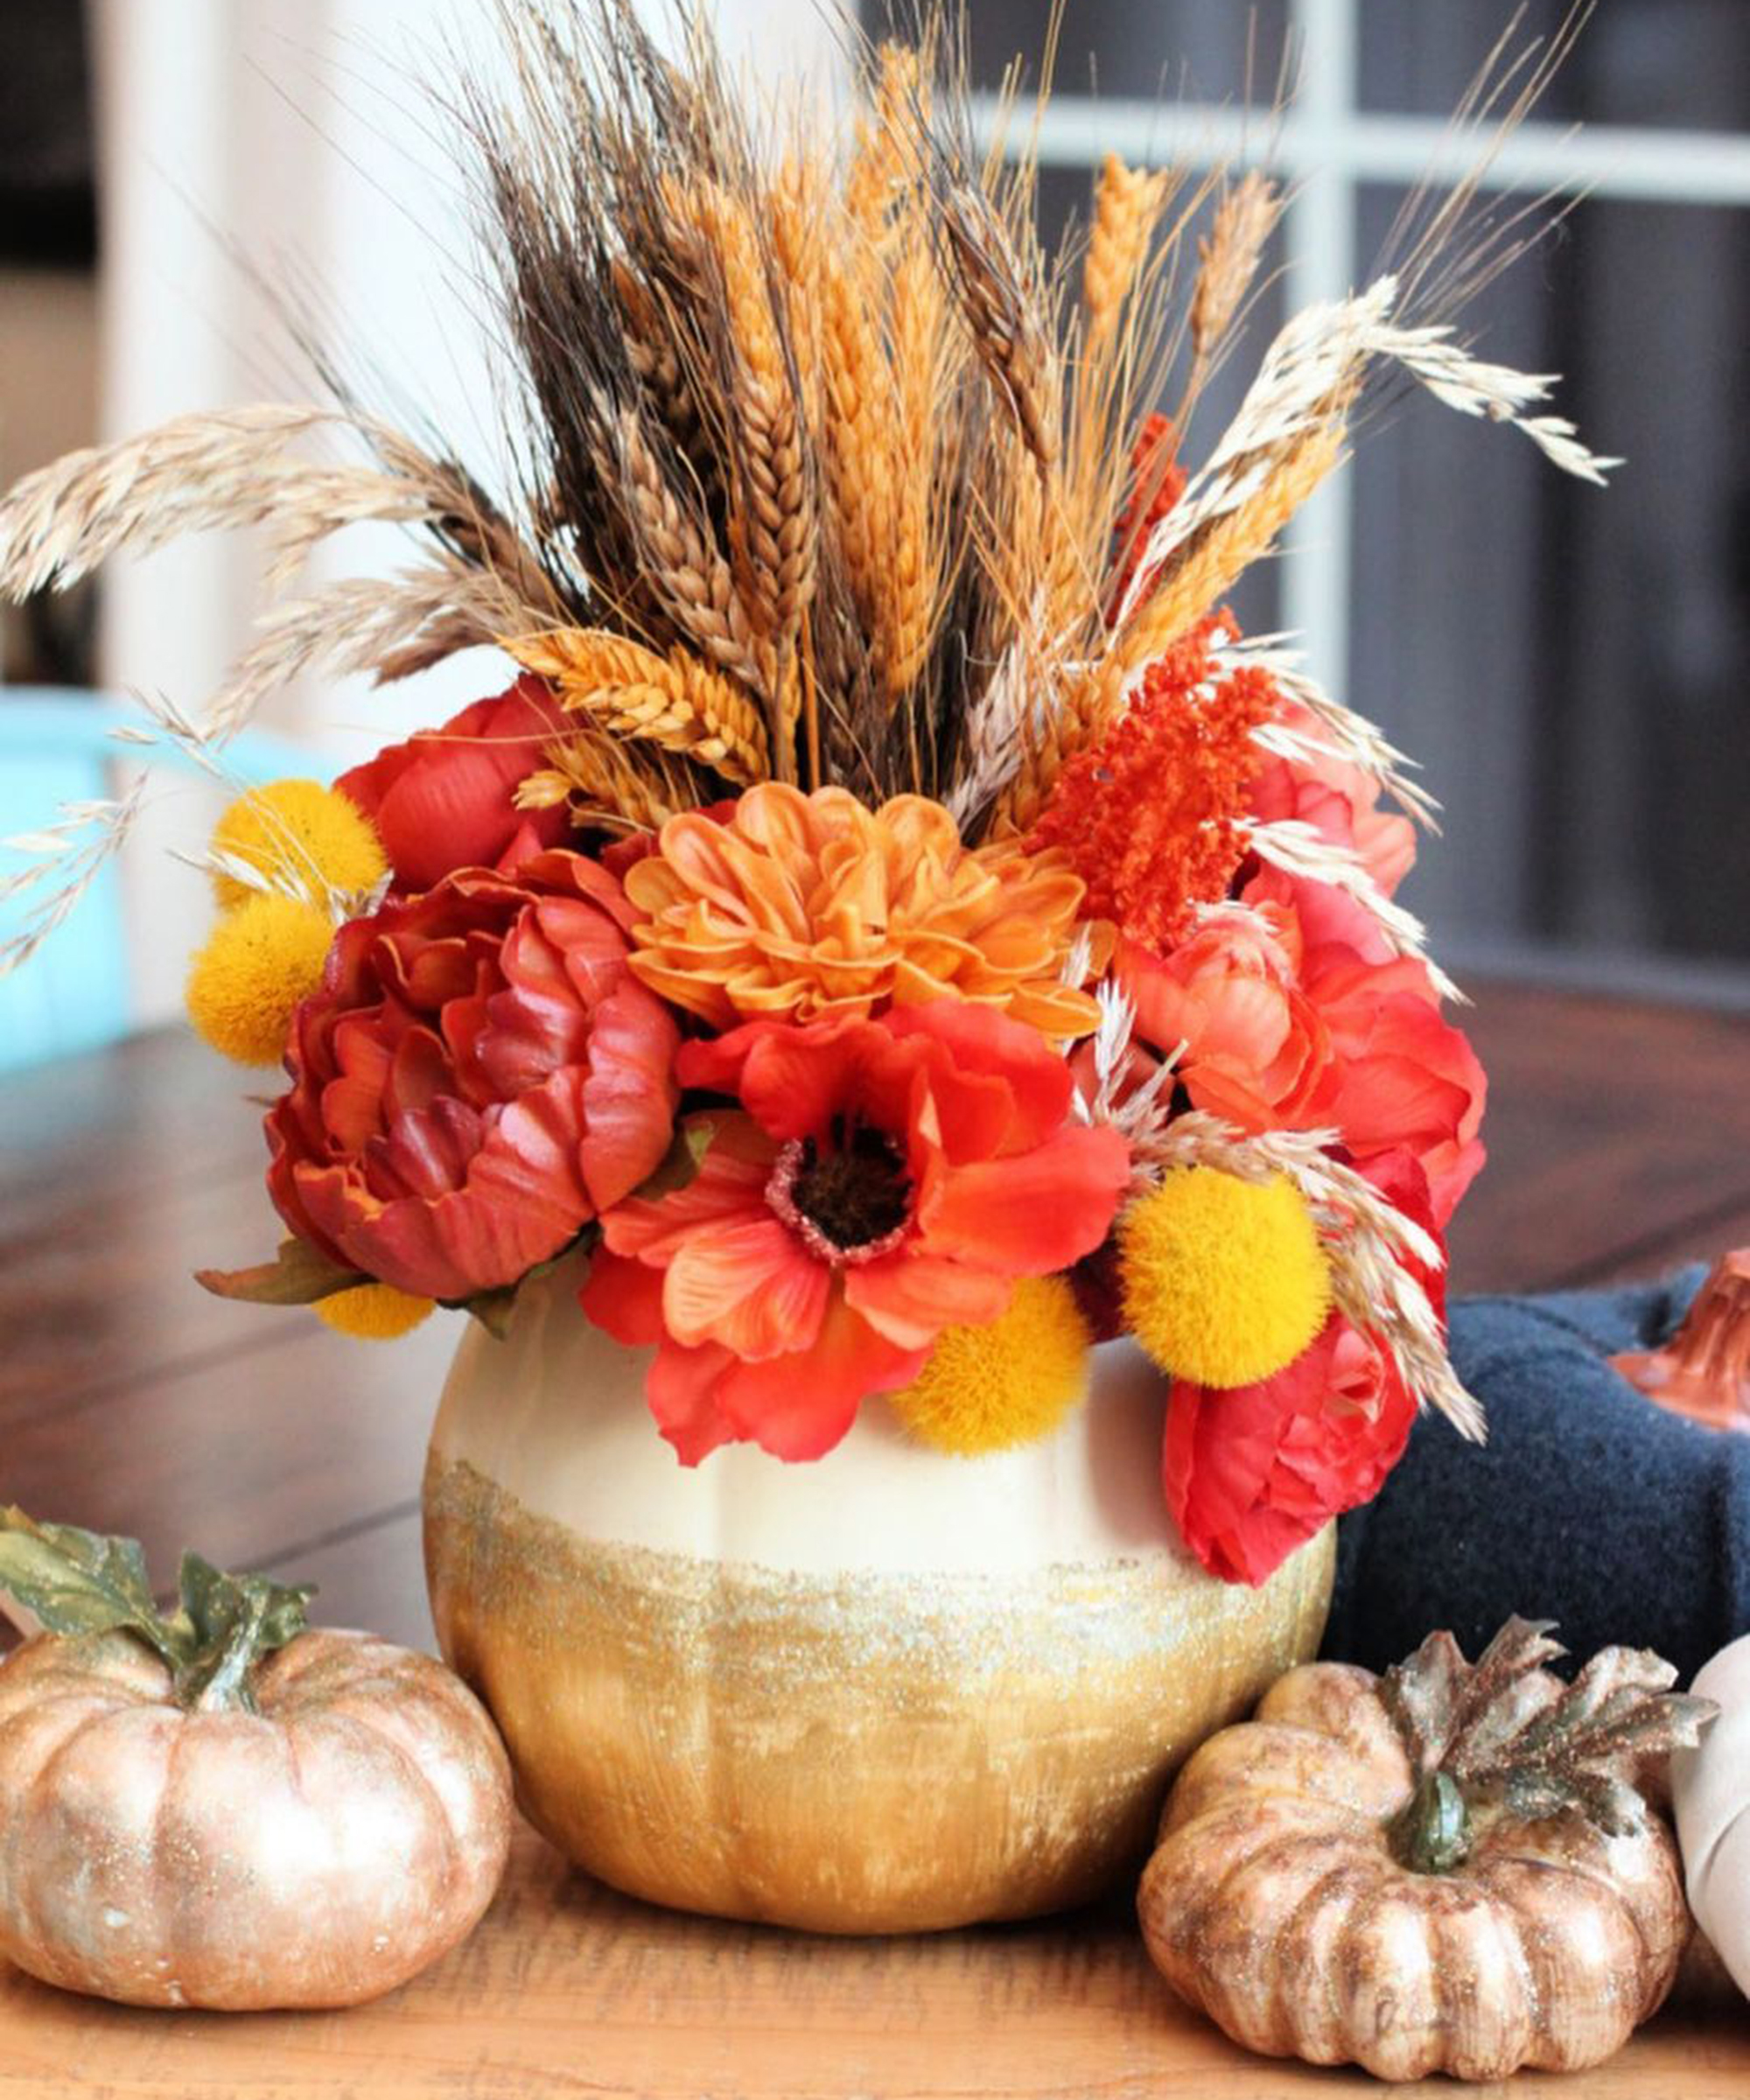
Yes, it can be messy, but glitter works a charm to instantly add a glam touch to your DIY pumpkin vase ideas. As you've already scooped out the guts of your gourd at this point, it's worth putting on clothes that you don't mind getting dirty and laying your surfaces with garbage bags or newspaper.
'Adding a little bit of sparkle to our fall decorations with this super easy gold glitter pumpkin vase. I used Deco Art glitter paint and love the extra bit of glam it adds to my table.' says Mariah Yardley Leeson, Dallas lifestyle blogger and owner of Instagram account, giggles_galore.
The devil's in the detail for this glitter painted design, so Mariah has kindly shared all of her wisdom in her tutorial.
7. Choose a gnarly pumpkin for texture and character
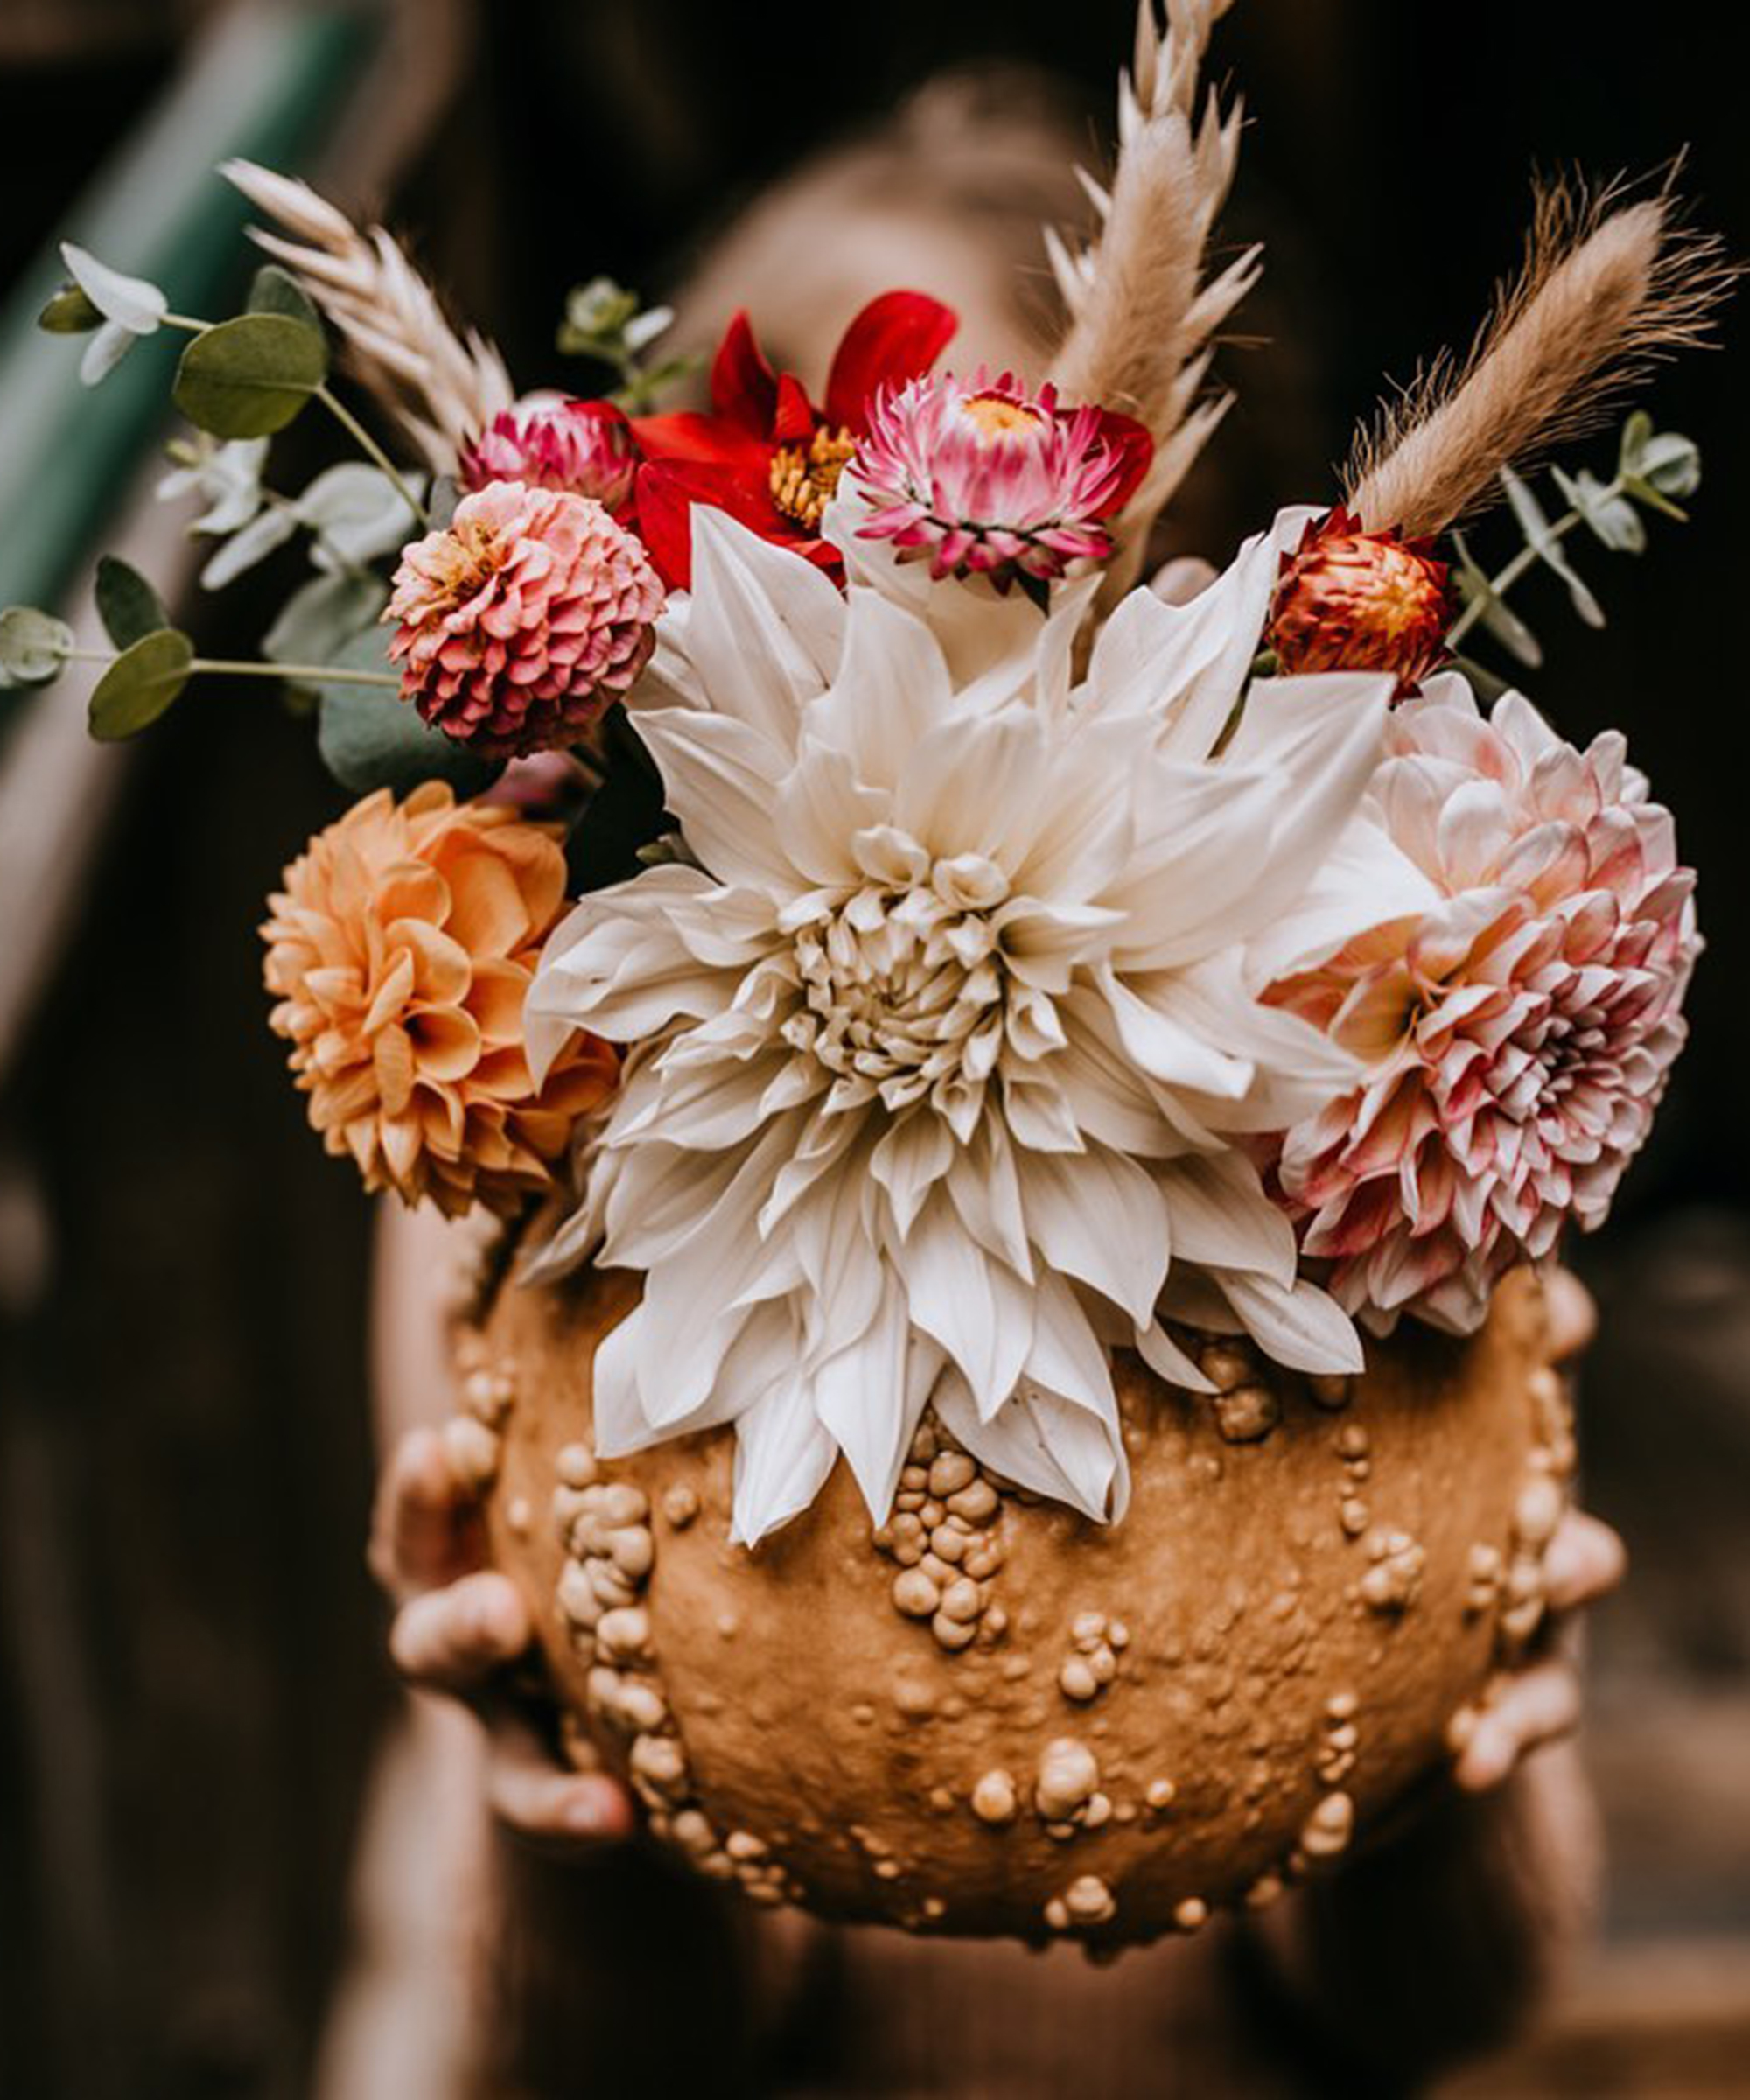
While we live in a world where you can filter your pictures to blur spots, zits and so-called imperfections, it's always nice to embrace Mother Nature for the produce she provides.
Rather than going for a conventionally smooth gourd, why not choose a knucklehead pumpkin? These varieties have bumpy and wart-like lesions that are specifically grown to look this way.
It'll certainly stand out when displayed as part of your front porch ideas.
8. Keep things traditional with a red bouquet
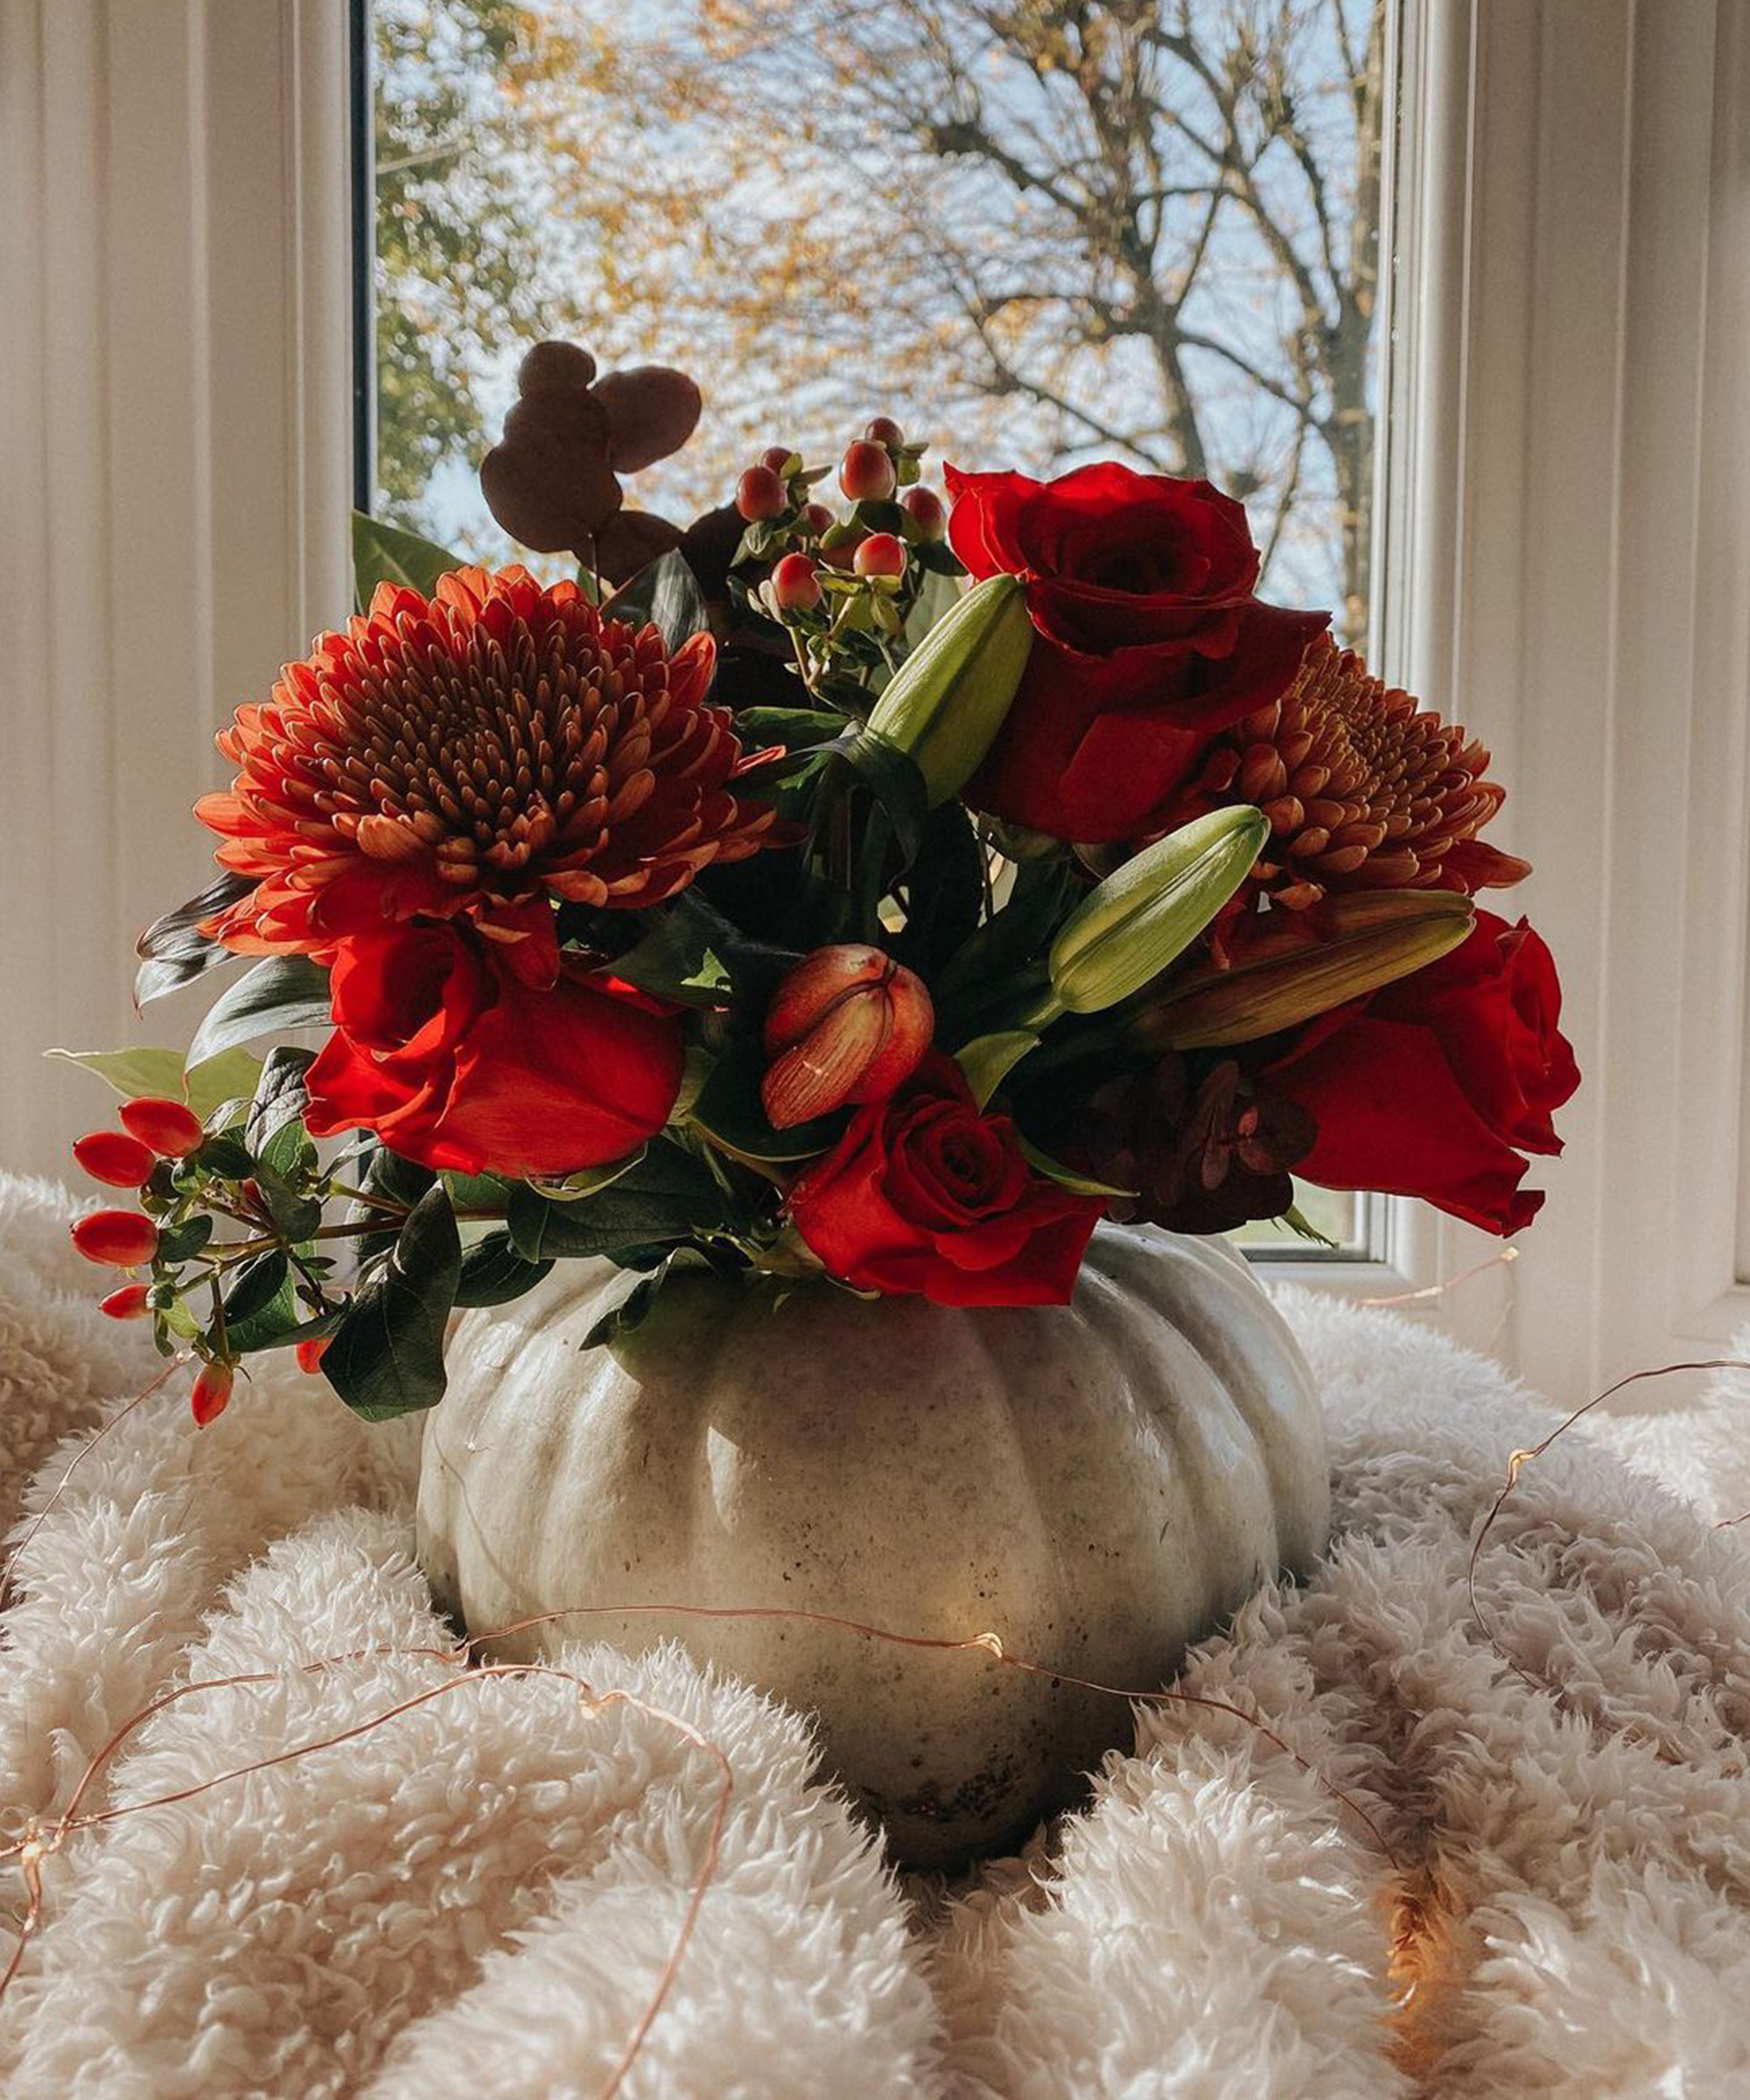
No color is more quintessential for the colder months than red, so it's only right that if you do want to incorporate a theme into your DIY pumpkin vase ideas, you go for something seasonal.
Here, mum to one, Amy Lewis has used red roses and lilies in her floral assortment which is an idyllic contrast to her ghost pumpkin and faux fur accessory. With the nearly-bare trees as a backdrop, this gets A* for effort and Instagrammability.
9. Or choose interesting blooms that are in season
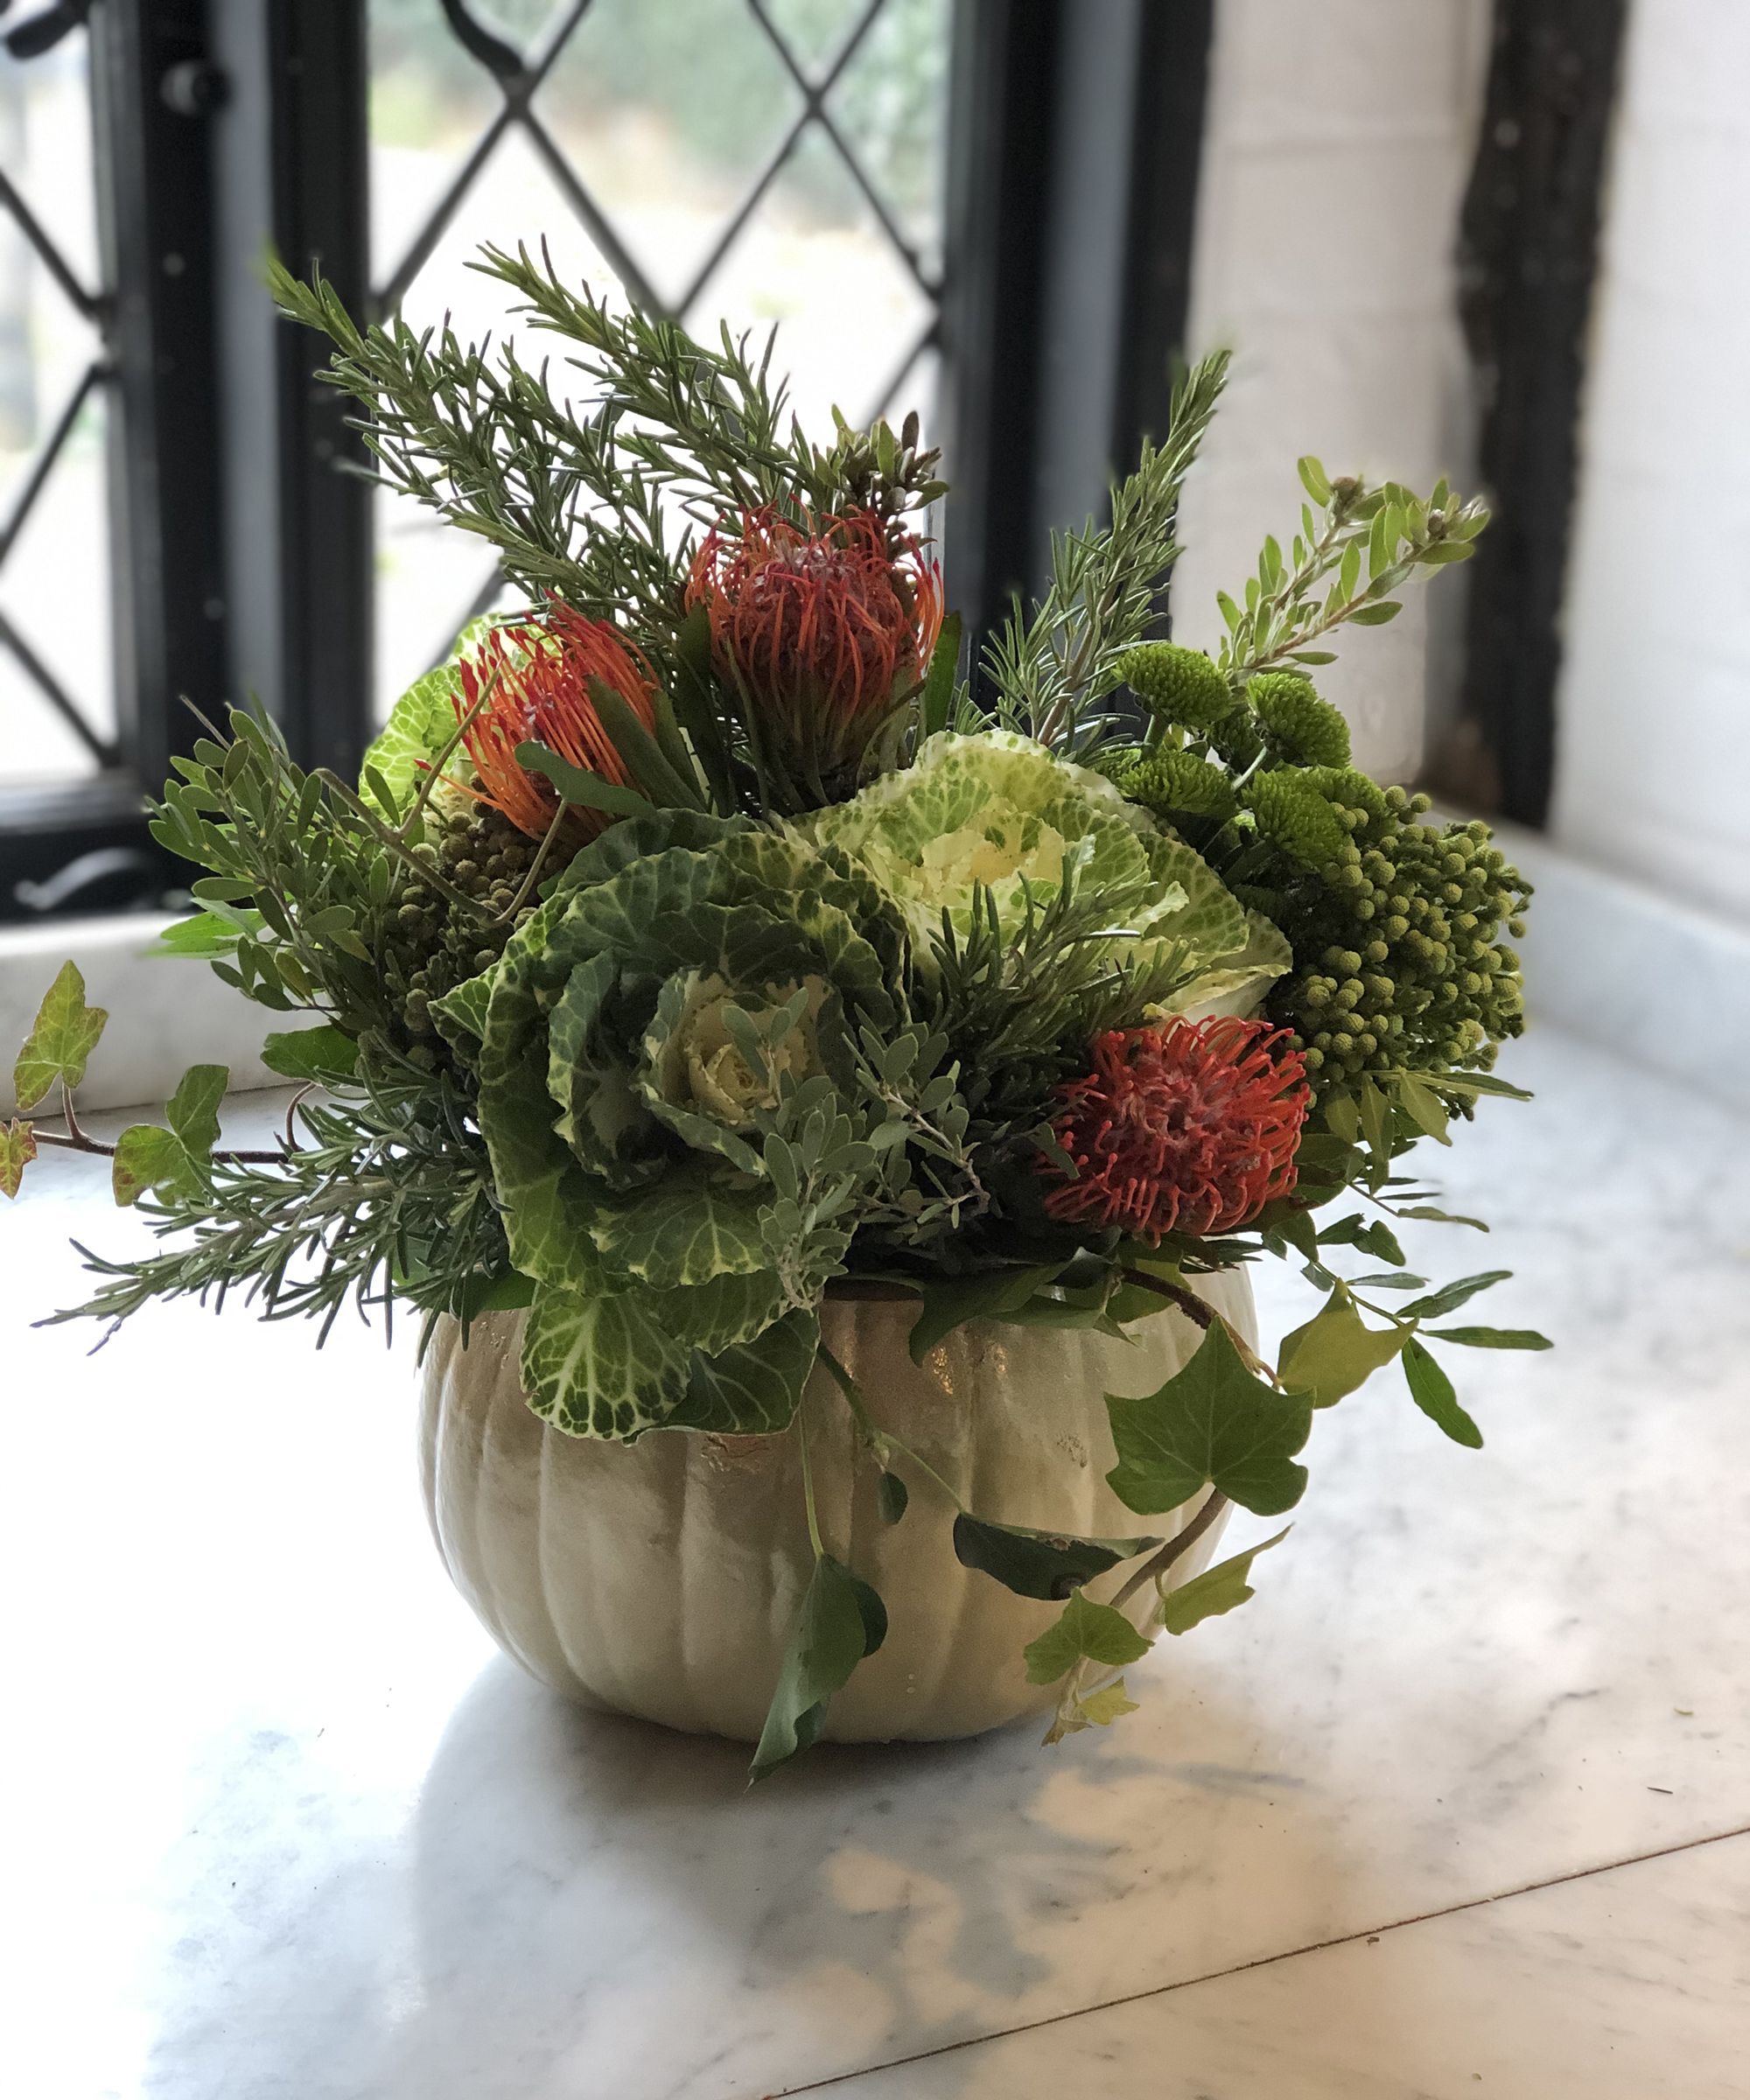
If you're not partial to a bit of red decor, or just want something different, green foilage can look fabulous in a DIY pumpkin vase idea, as one expert explains.
'I like to use flowers that are in season and in autumnal colors, to create a really eye catching display,' says Lynne Lambourne, celebrity interior designer, stylist and upcycler.
'The one I made uses Cabbage Brassica flower and Dahlias and Spider Mum Flowers. Mint Chrysanthemum look fabulous too, the green of the flower looks lovely against the orange pumpkin.'
'If you are popping them in floristry oasis don't forget to top up the water regularly. You can forage ferns and other green foliage on walks to add to your display too.'
For more creative home and garden ideas, follow her on Instagram
10. Use your DIY pumpkin vase to house plant varieties
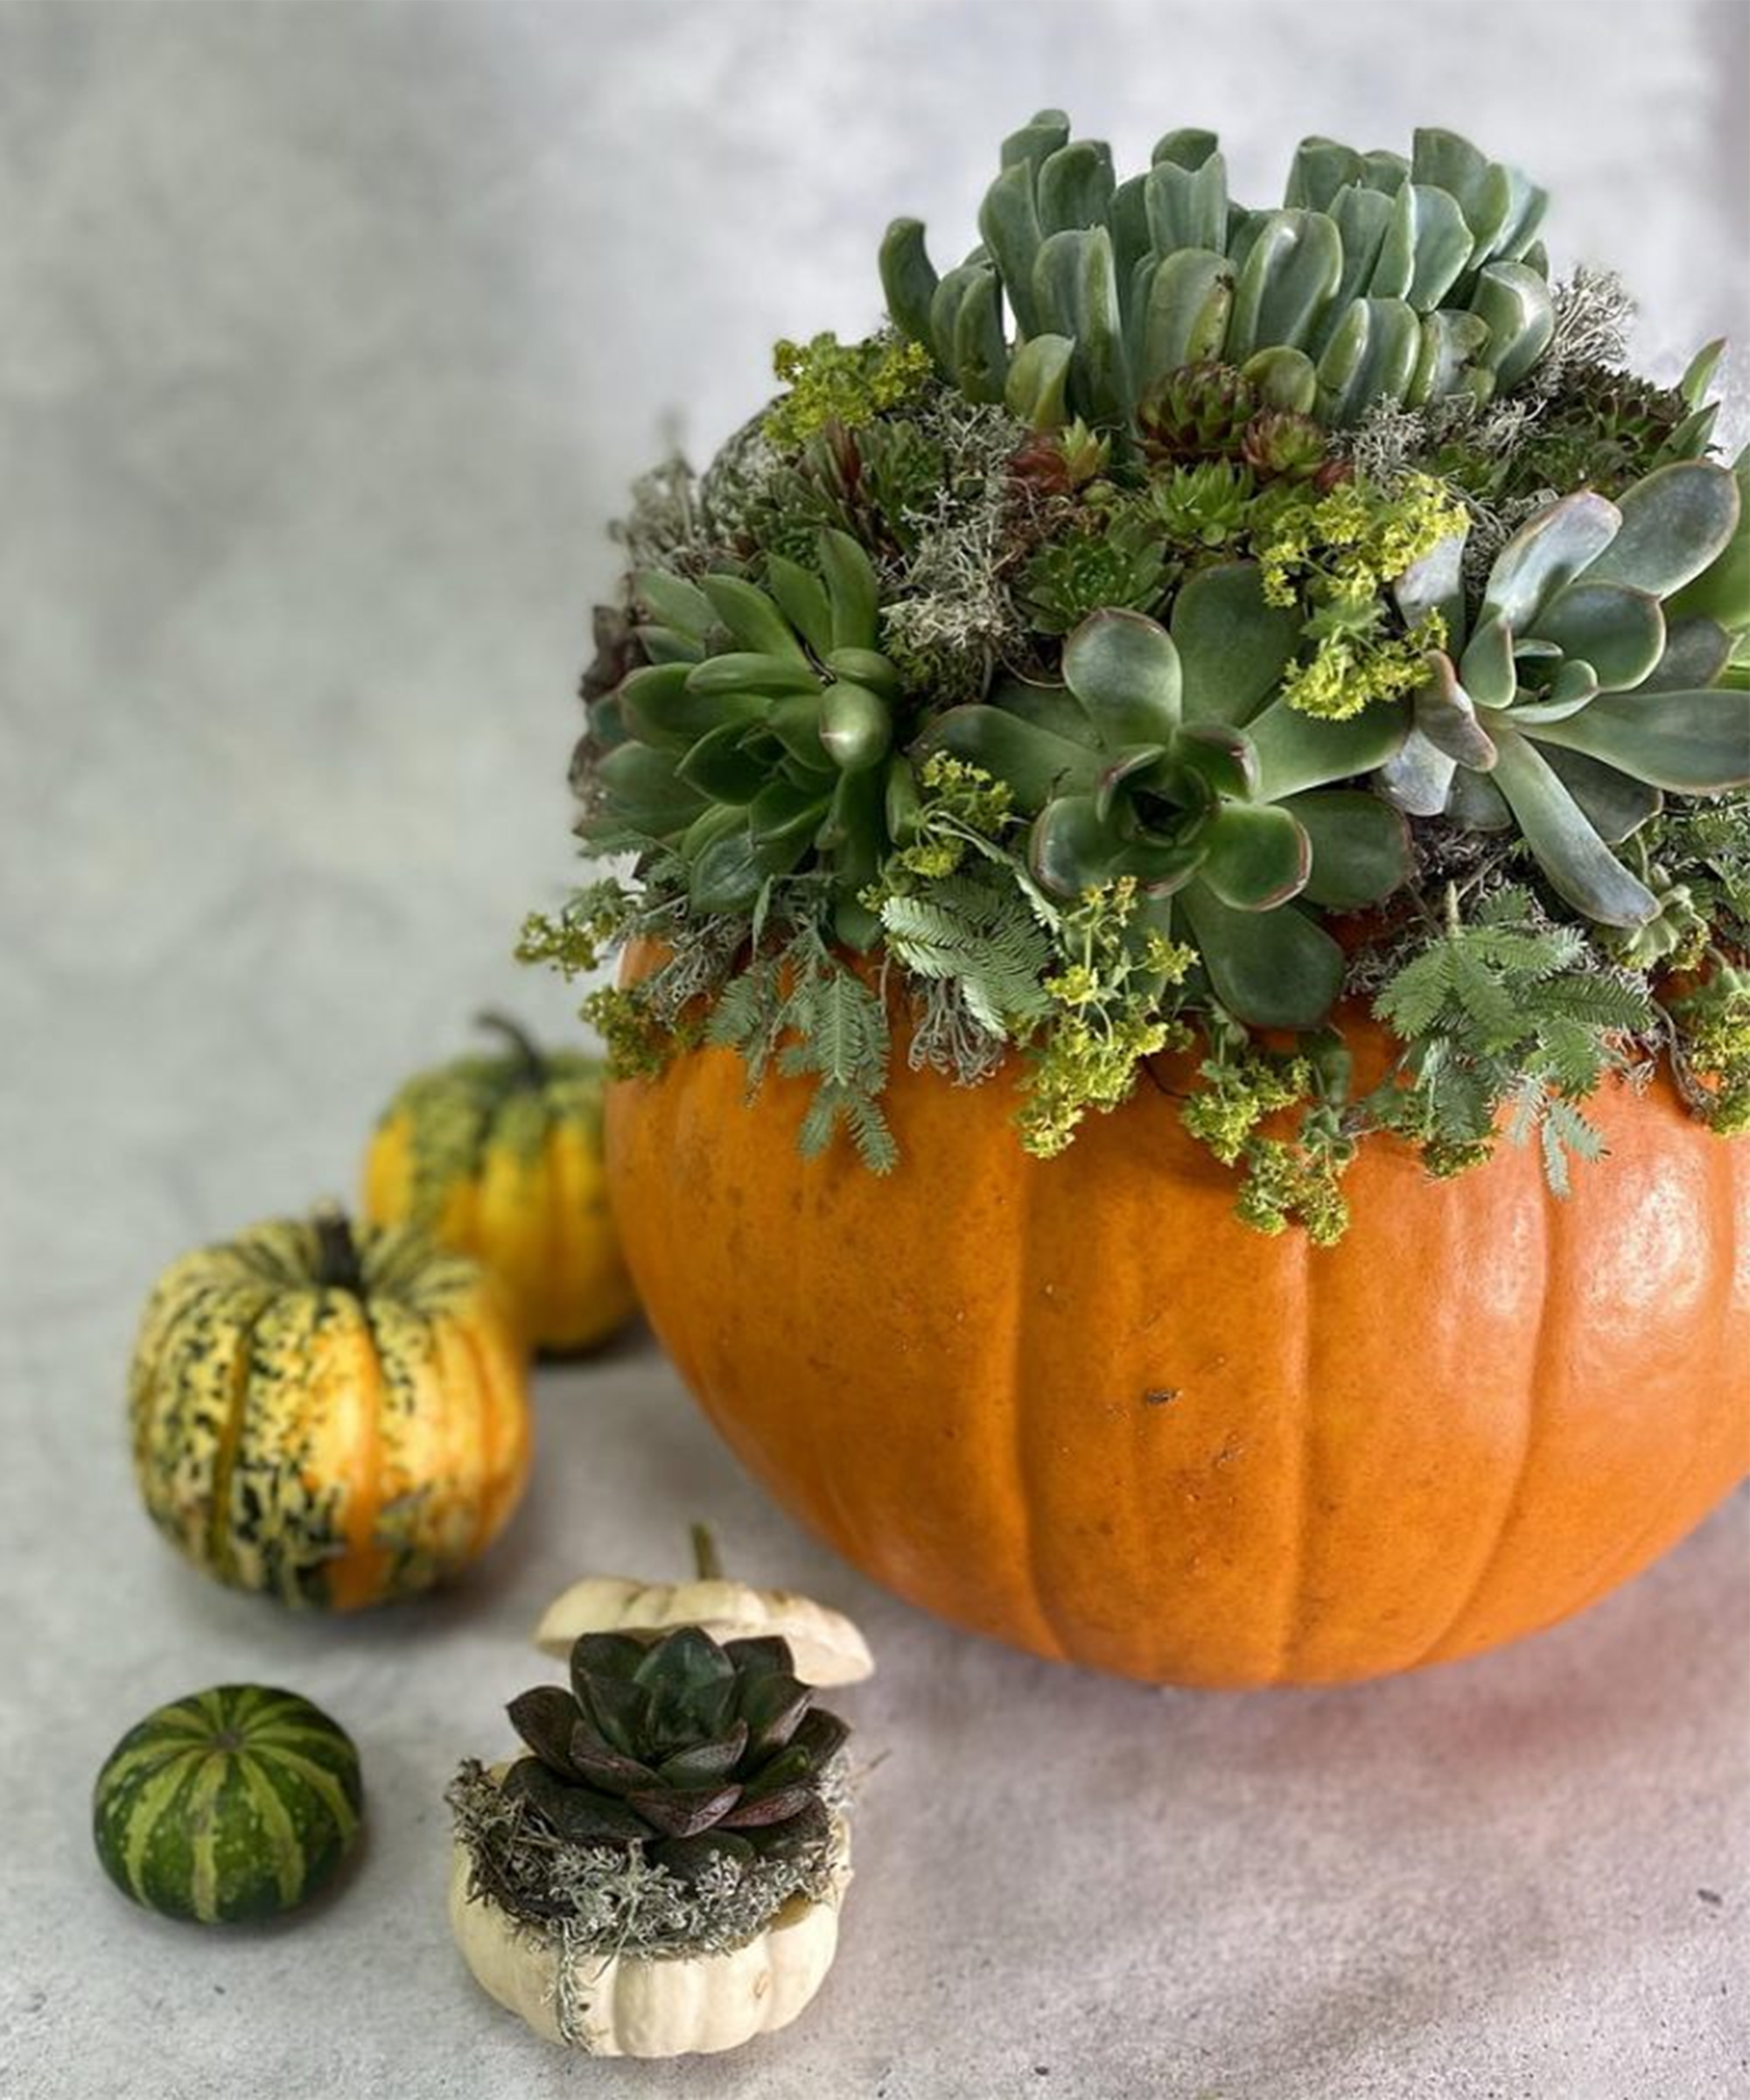
DIY pumpkin vase ideas are a long-shot from picking up a pre-arranged bouquet of flowers on your weekly shopping trip. They are a great way to show off your creativity and inject some personality into your indoor and outdoor spaces like as a cute fall porch idea.
'With many shoppers having rediscovered their green fingers in the last year, use pumpkins as planters and showcase these skills. Add colorful succulents, twigs, moss or whatever you fancy to make beautiful planters for both inside and outside the home.' says Wood.
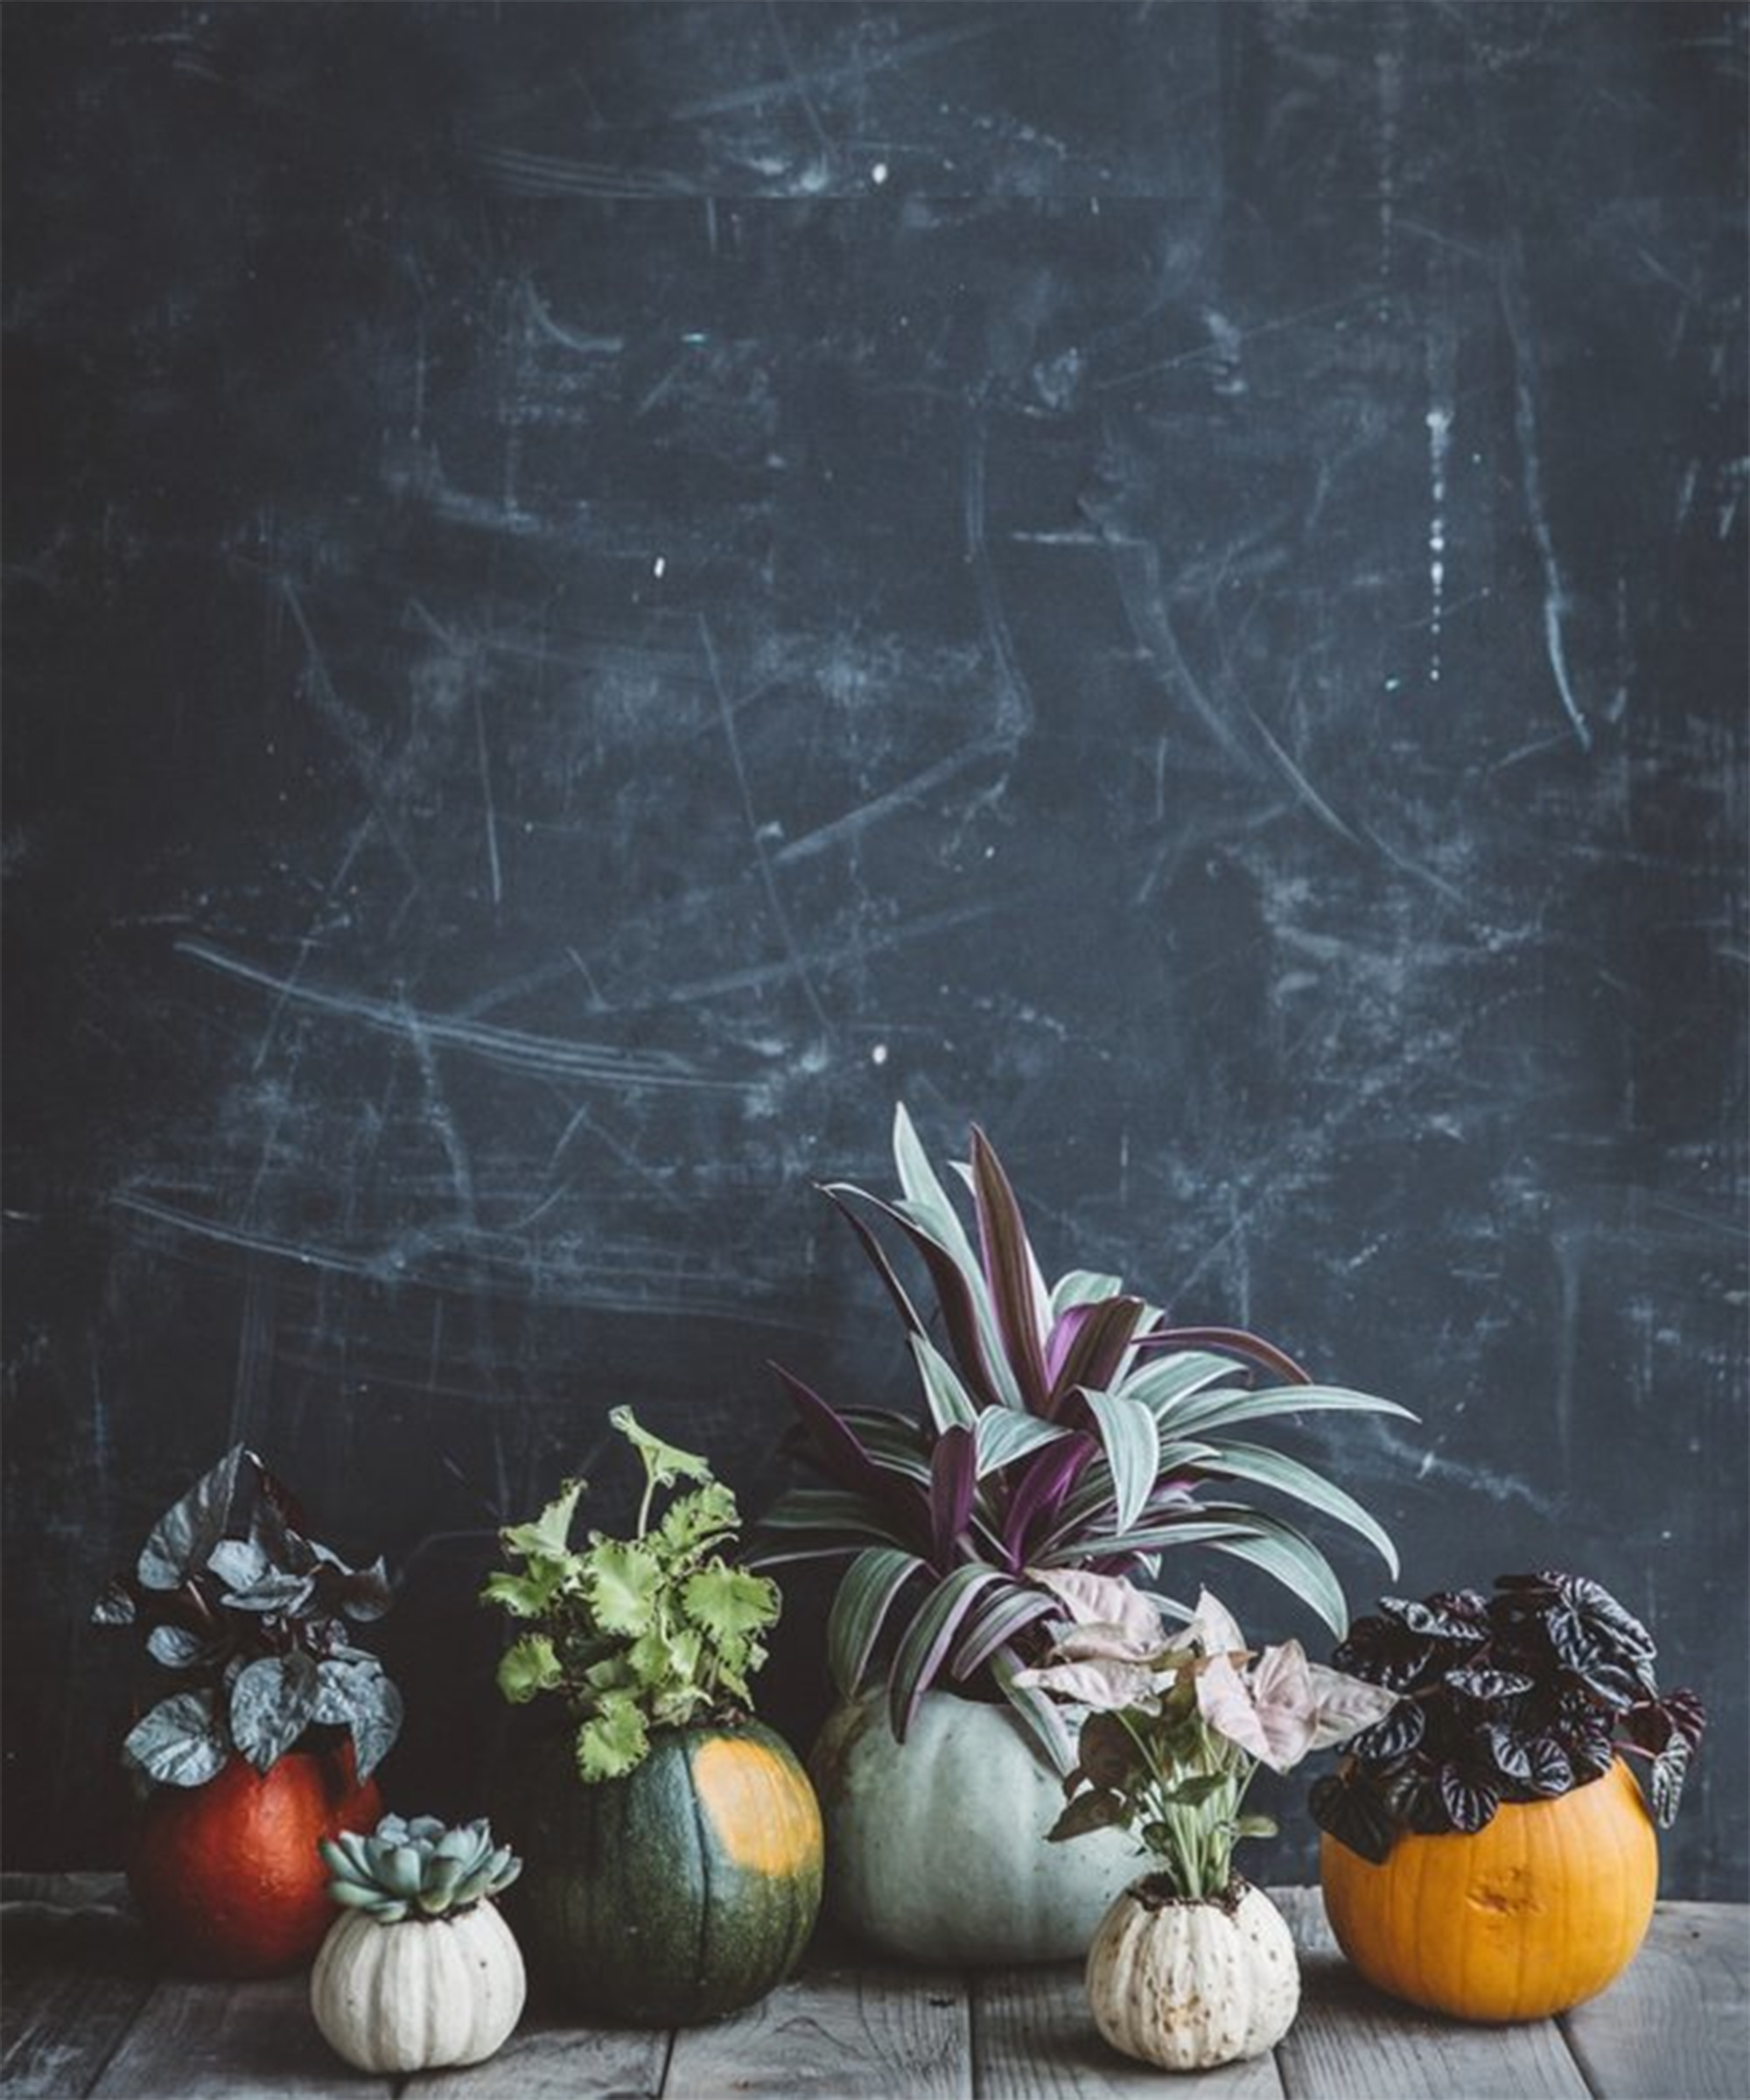
11. Suspend your pumpkin vase from above
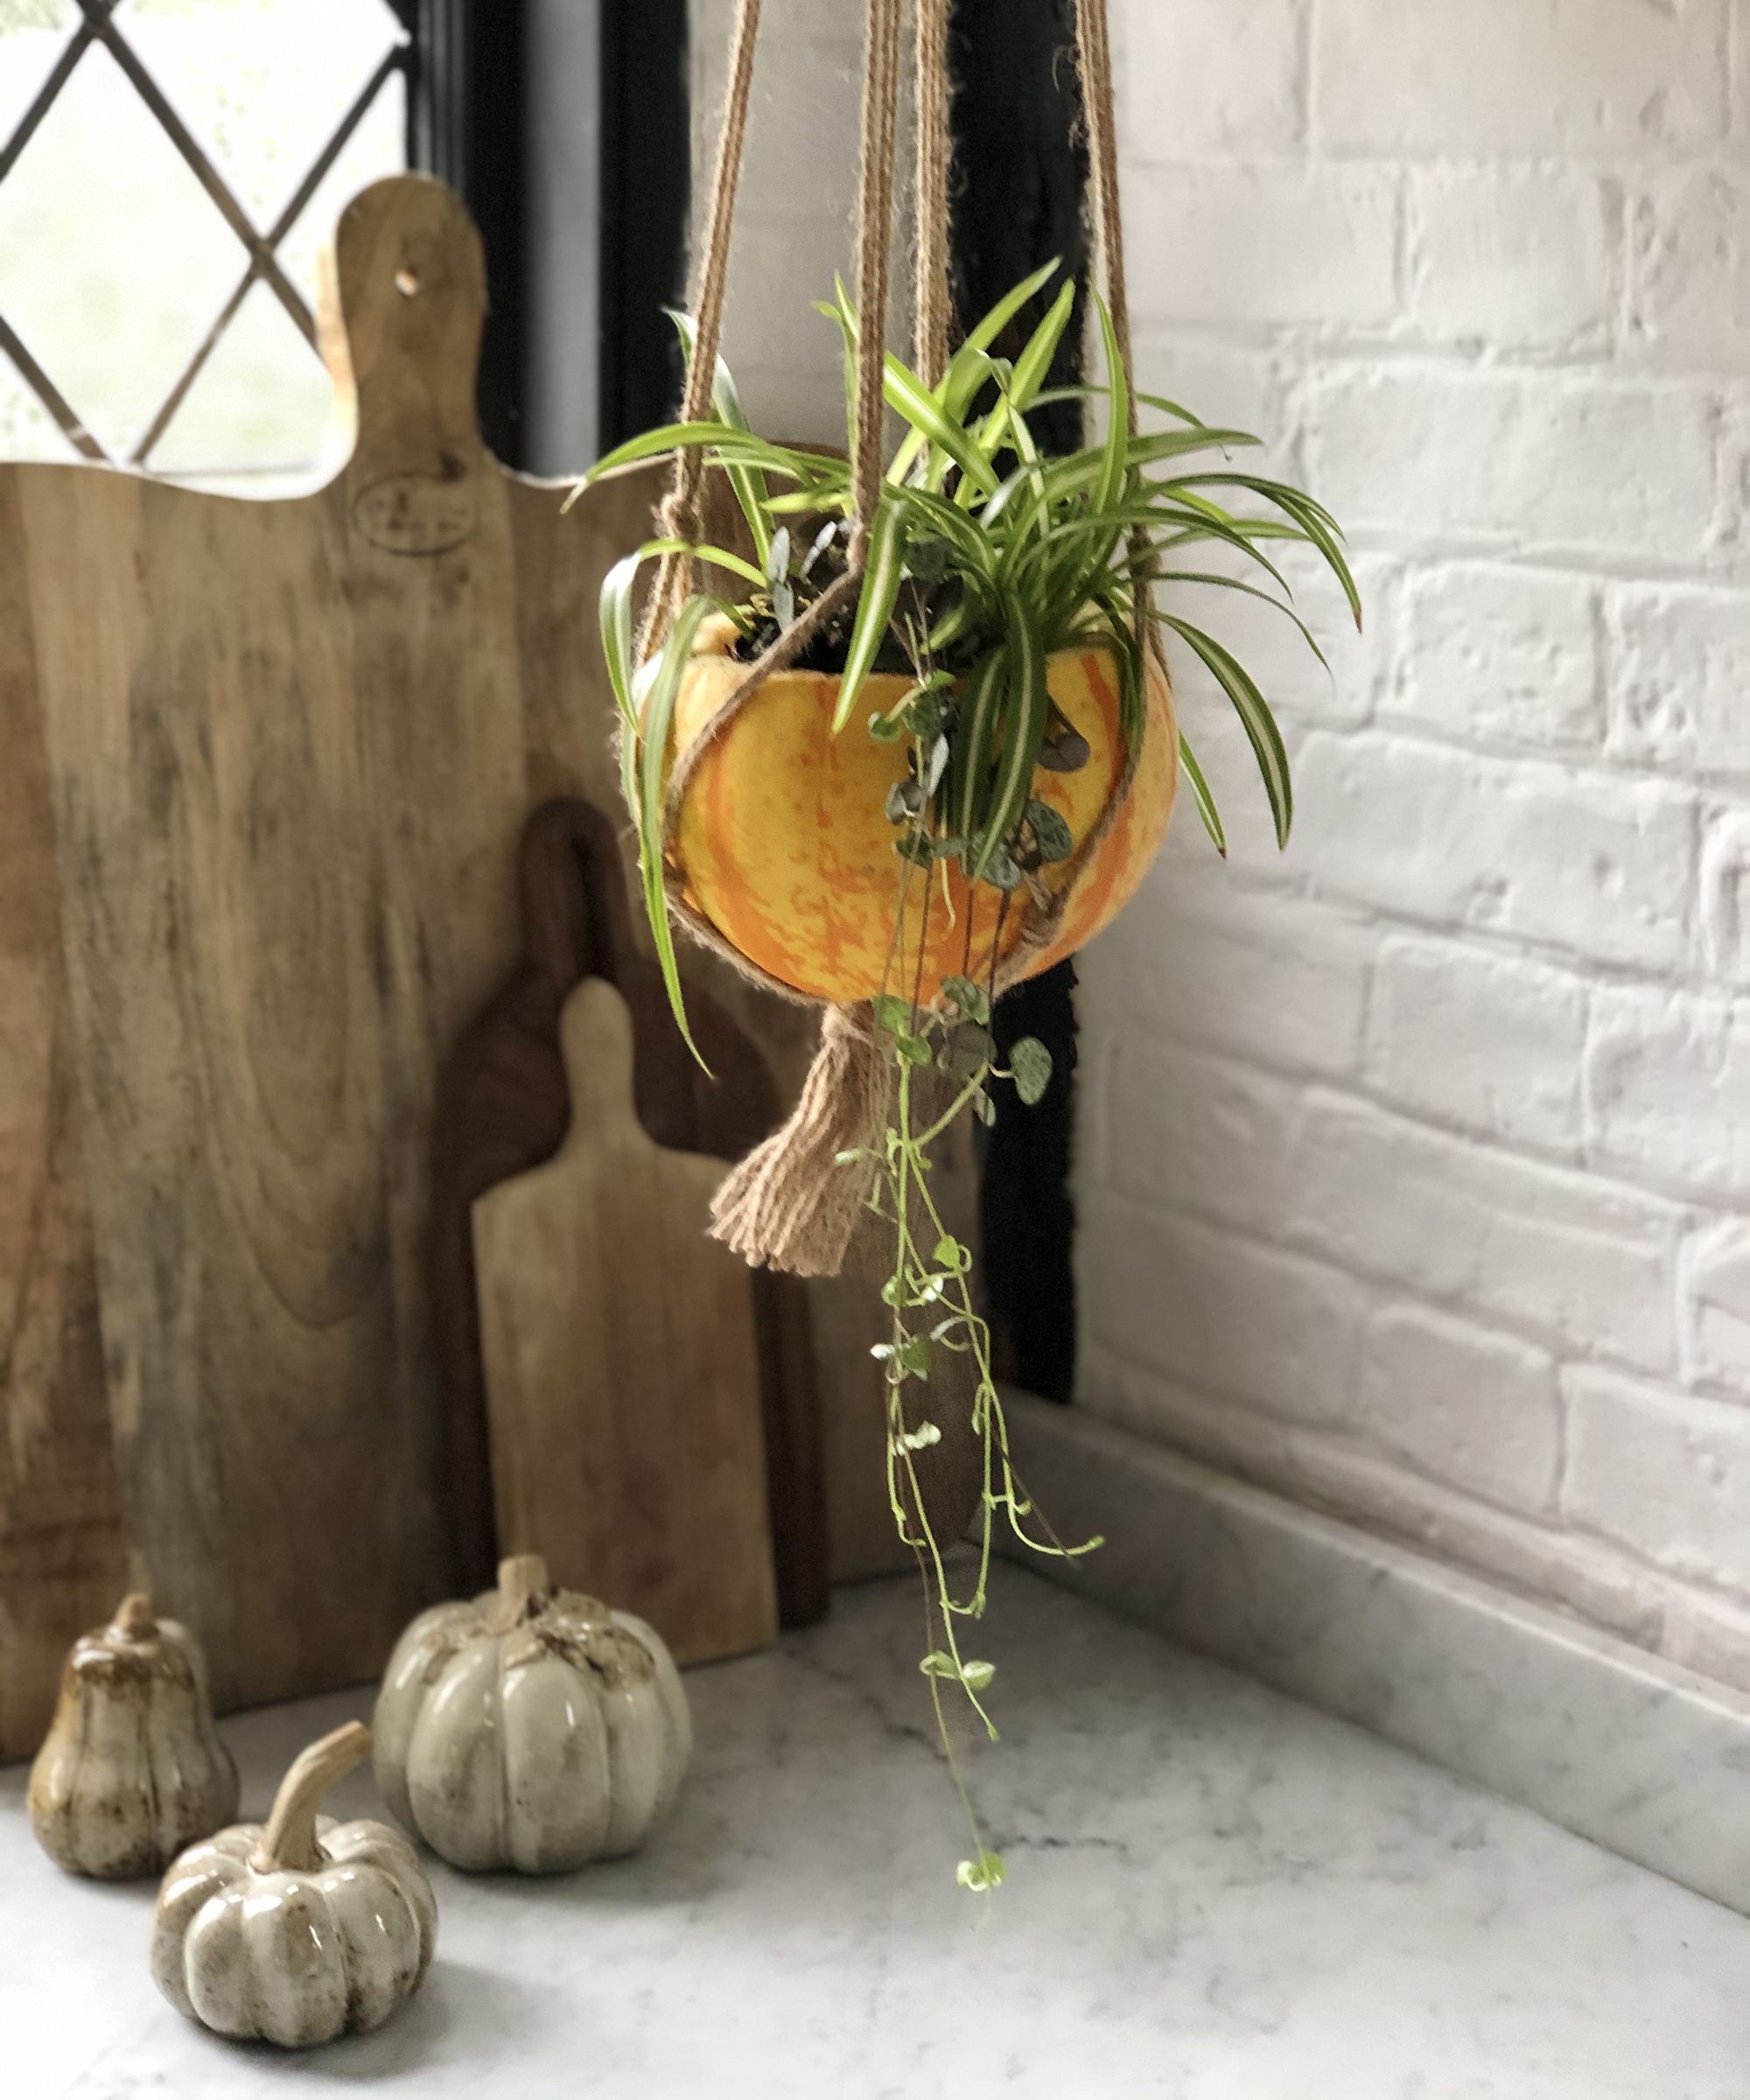
Macrame and bohemian floristry isn't just for the warmer months, so instead of restricting your hanging plants to spring and summer, try out this DIY pumpkin vase idea.
This miniature pumpkin idea adds interest to your windowsills, especially if you're using it in a small kitchen idea.
12. Not a fan of fresh flowers? Choose dried instead
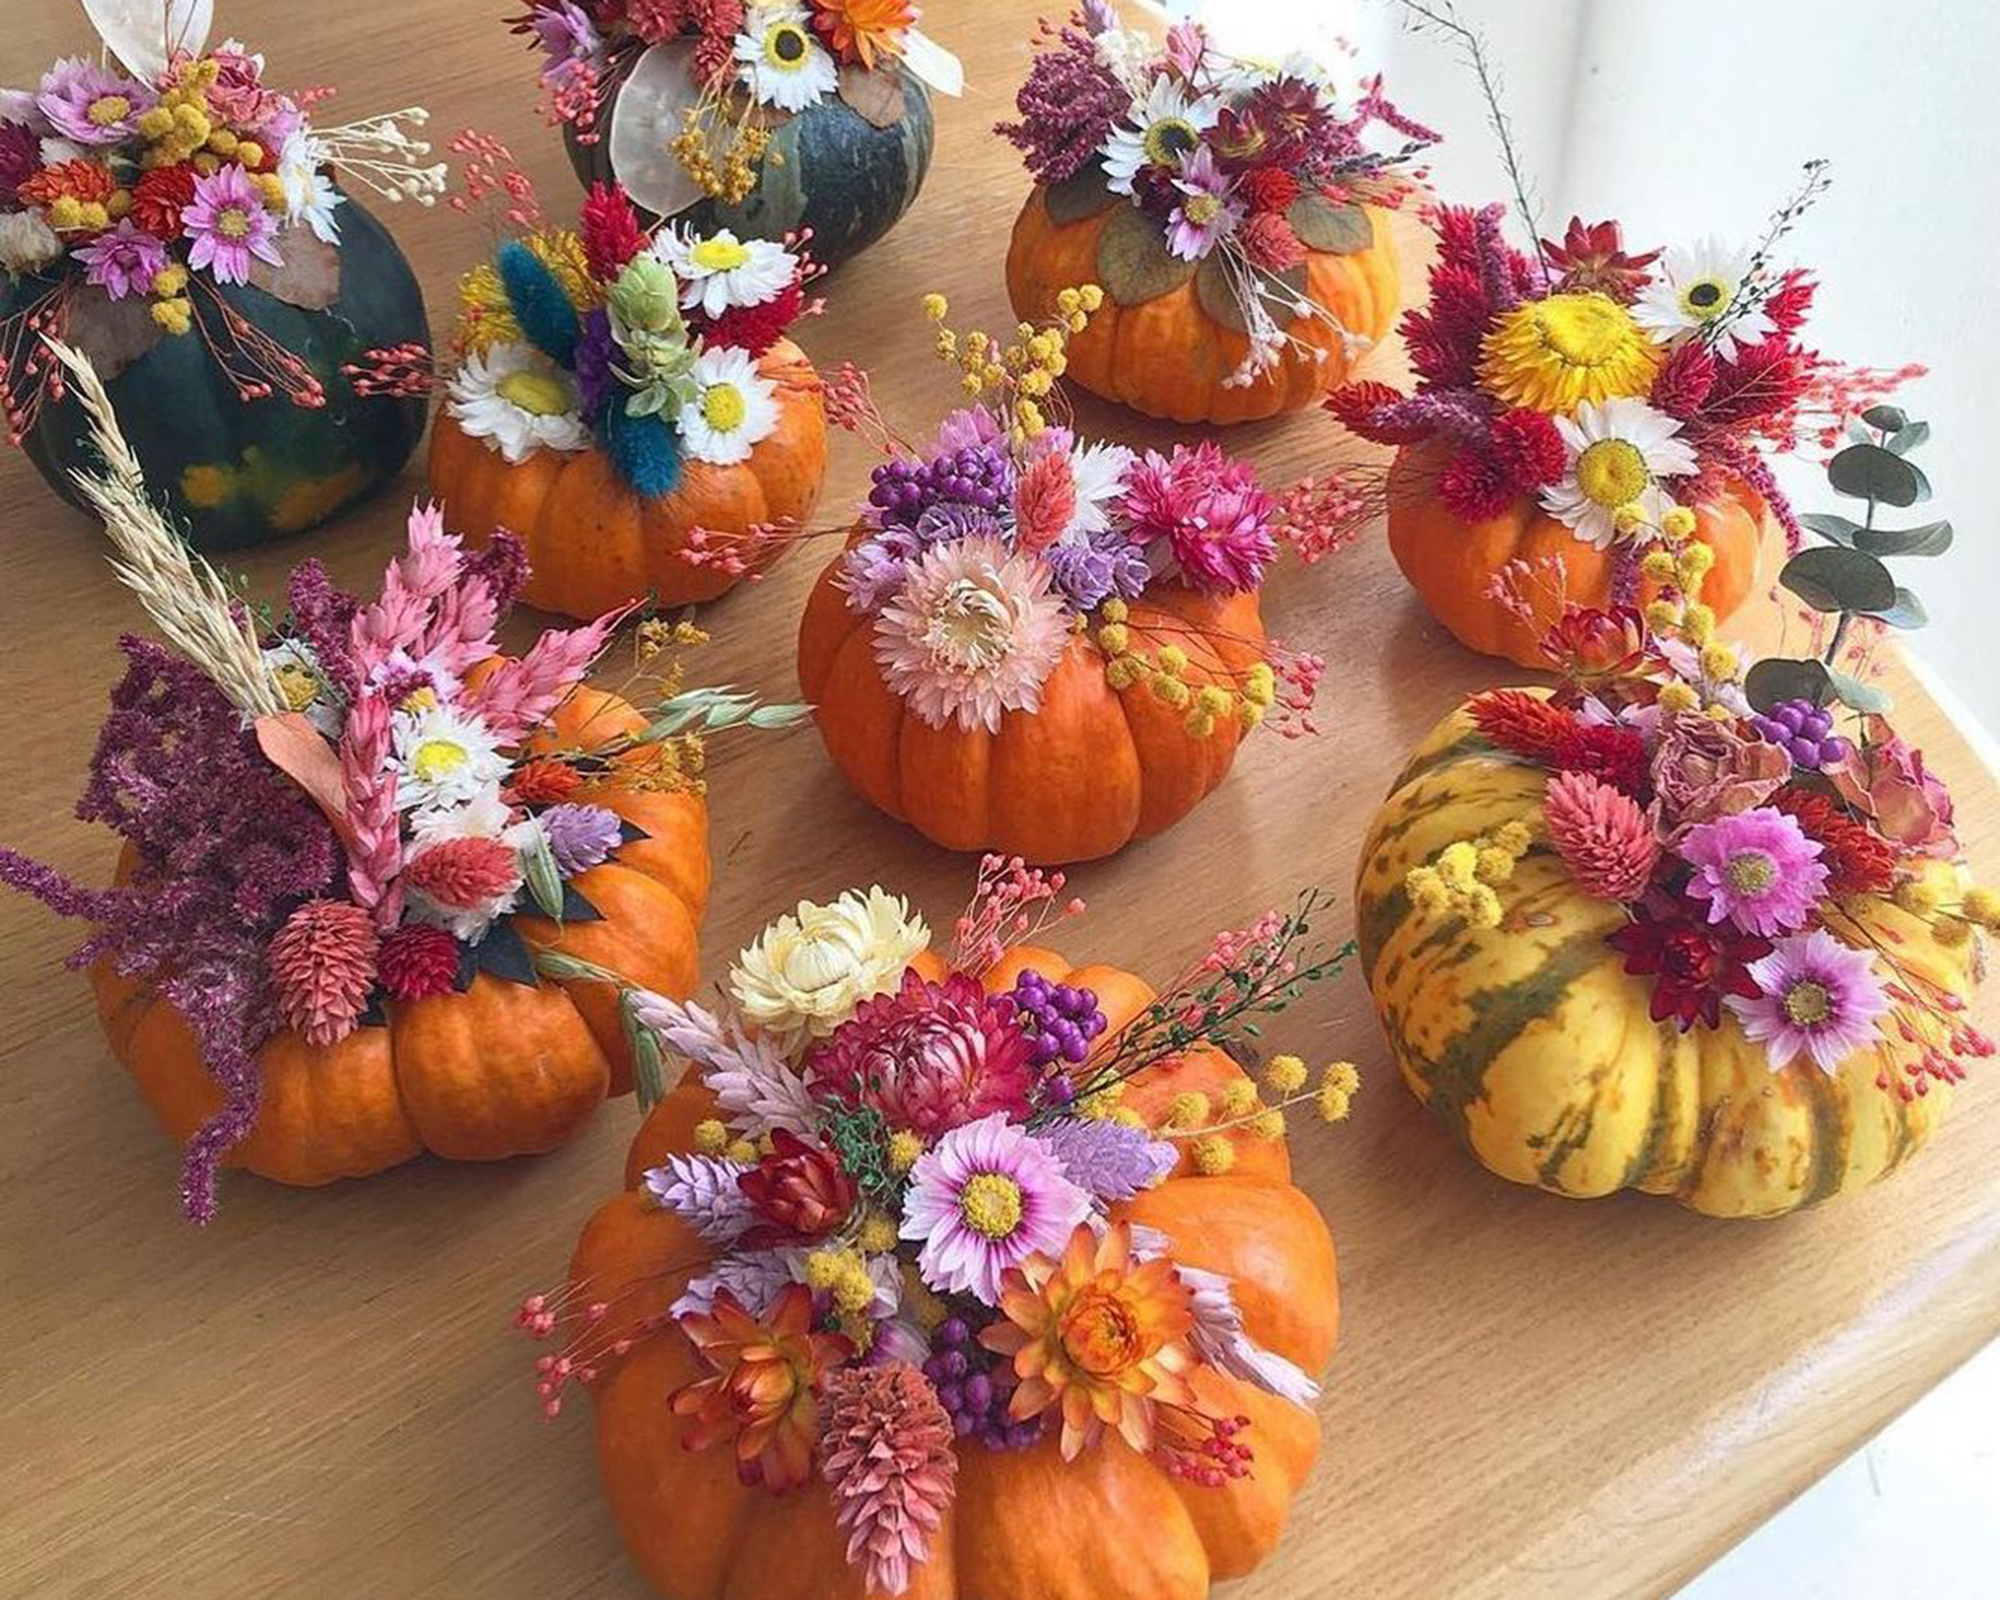
Whether you or your family have allergies, live at home with pets or want a low-maintenance DIY pumpkin vase idea that lasts that little bit longer, choose dried flowers instead of their freshly-cut floral counterparts.
However, if you aren't a dab had with do-it-yourself projects, consult an independent retailer on Etsy so create a professional looking, vibrant vessel.
Liana Ruscombe-King, founder of Illbringyouflowers creates handmade miniature flower holders which are delivered in tissue paper and a square cardboard box, small enough to keep your pumpkin safe during transit.
As well as Etsy, find her on Instagram at @ill.bring.you.flowers.
13. Out of floristry oasis? Use a glass instead
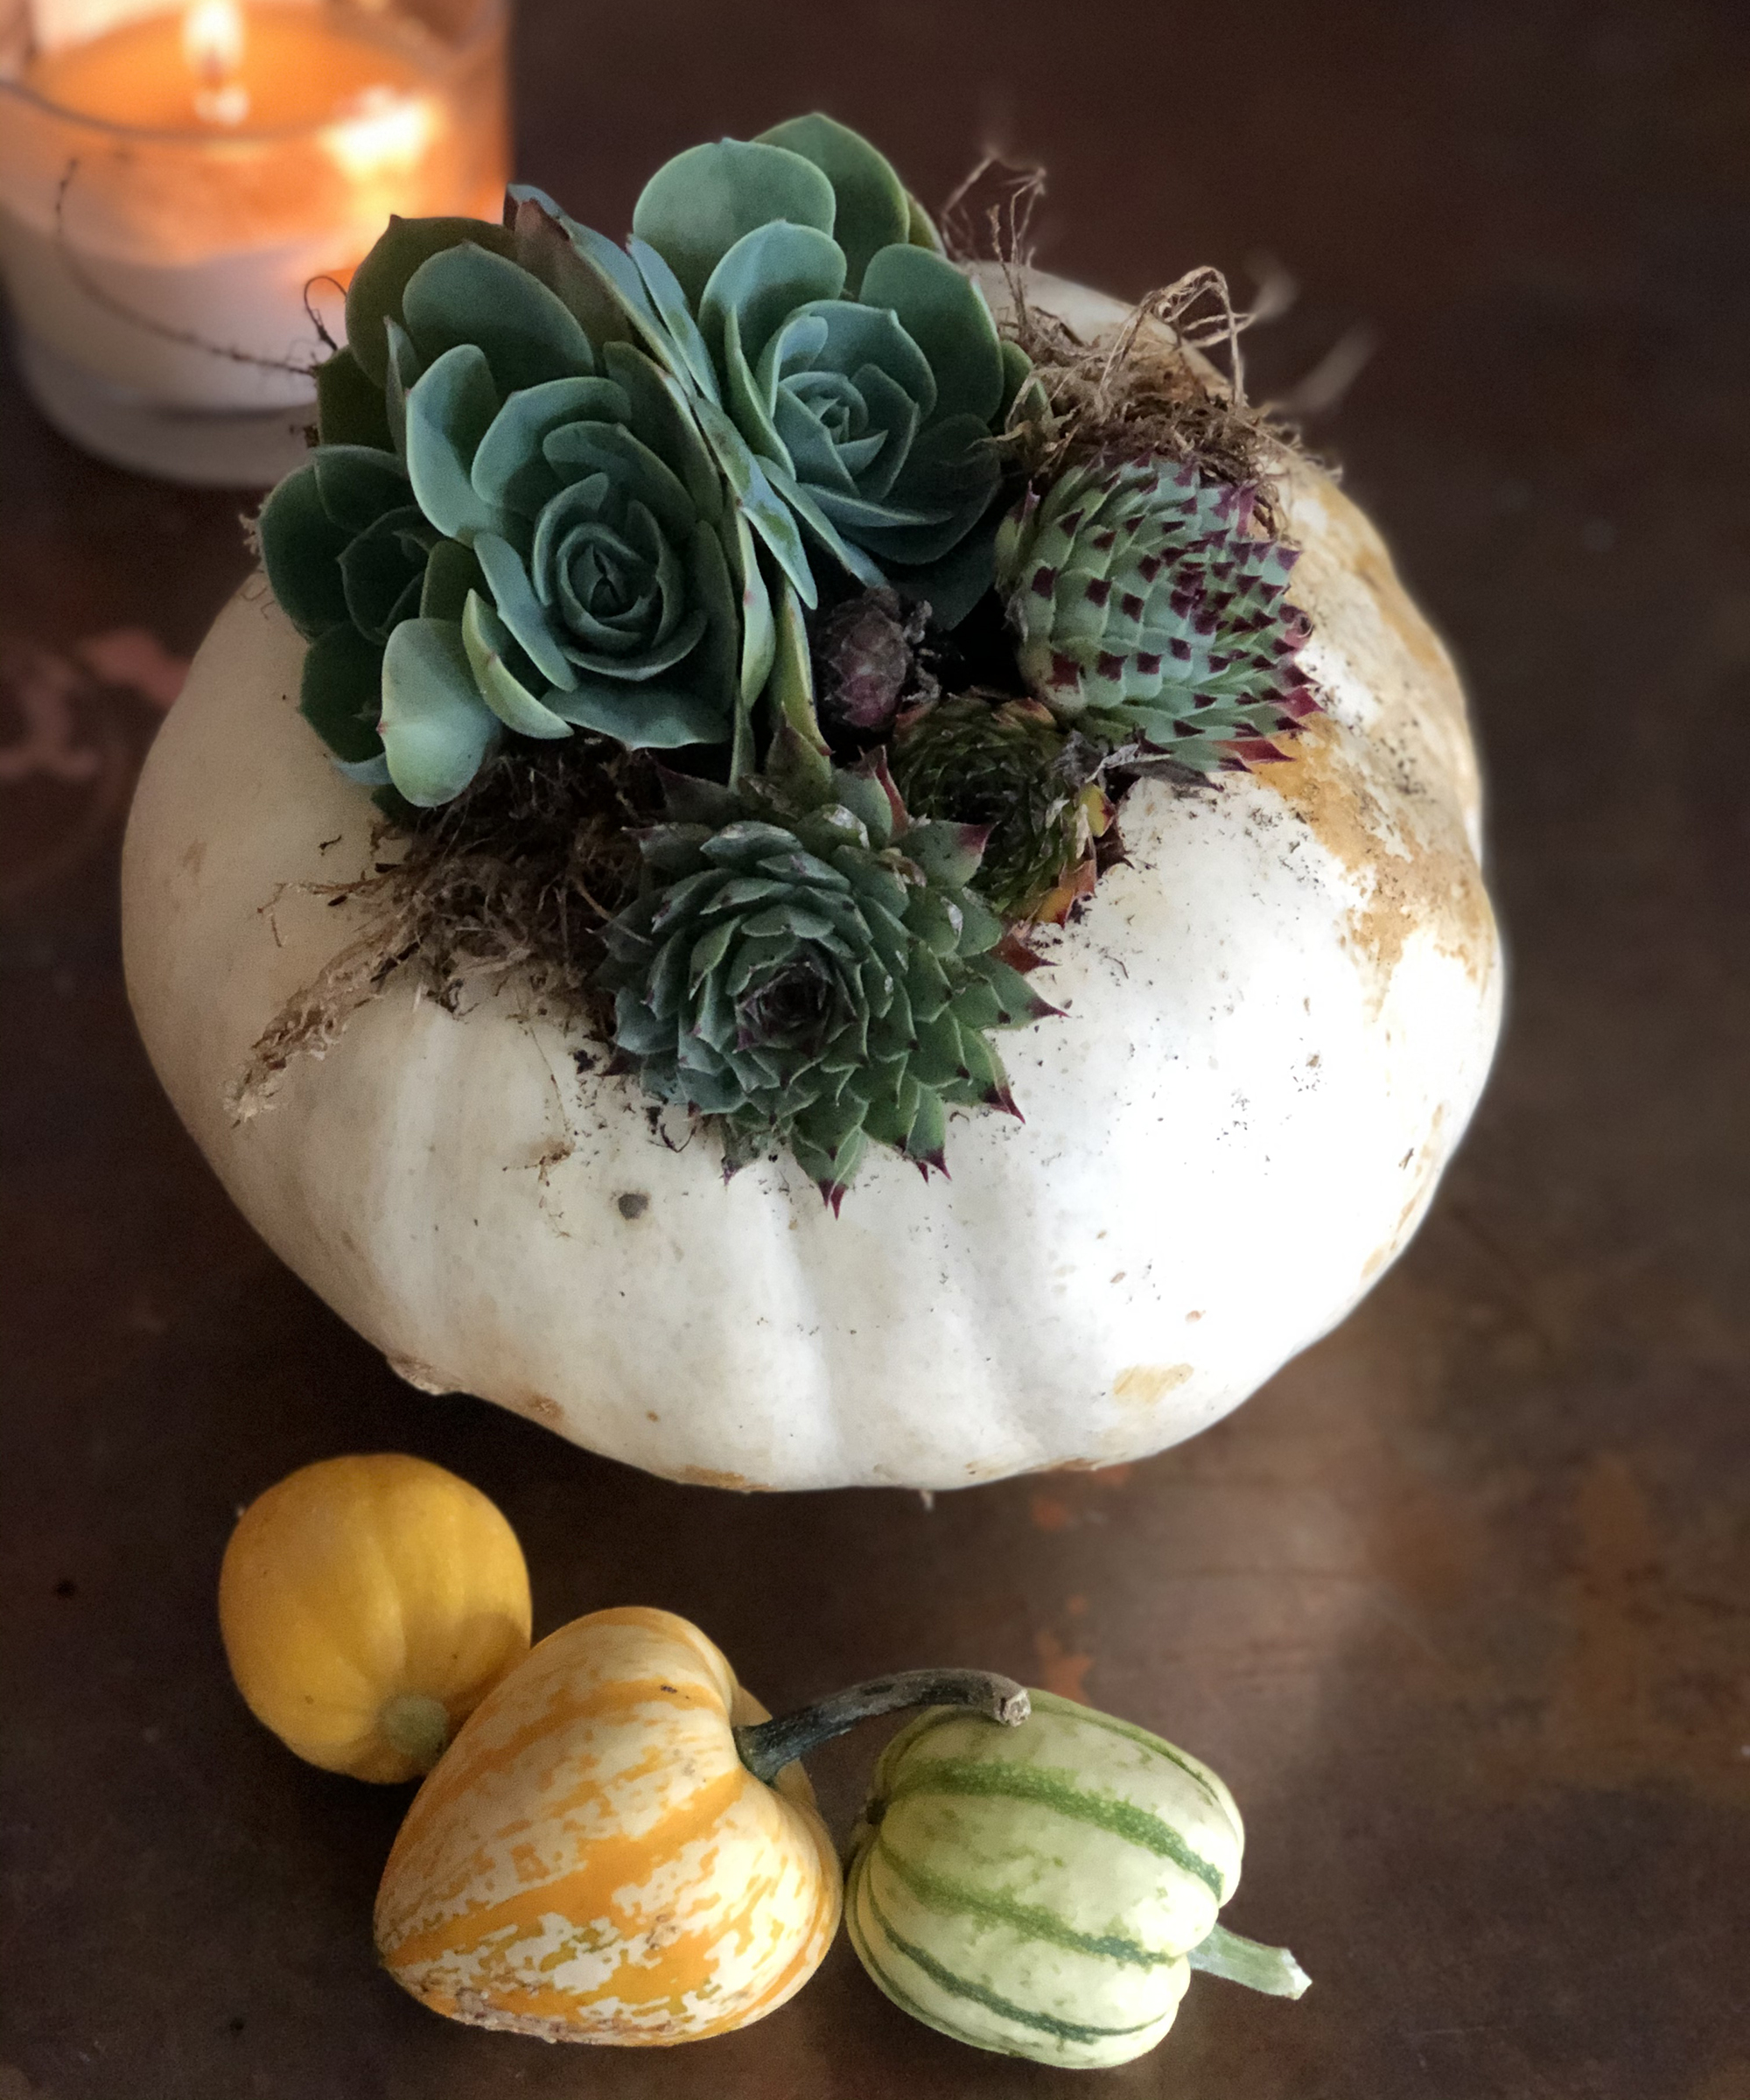
There are many reasons why you may not want to use floristry oasis when creating a DIY pumpkin vase idea. It can be messy, you may not be able to source it, or, you perhaps don't like the squeaky stuff. So, you'll be pleased to know there are alternative methods to housing your flowers.
'I hollow the pumpkin and then place a plant pot in the space which I have planted up with several succulent plants,' says Lambourne.
'I then fill in any of the gaps with moss so that you hide the earth. They make lovely table displays for Halloween dinner parties or as displays on your hall tables.'
14. Better still, sit flowers in an aluminum tin can
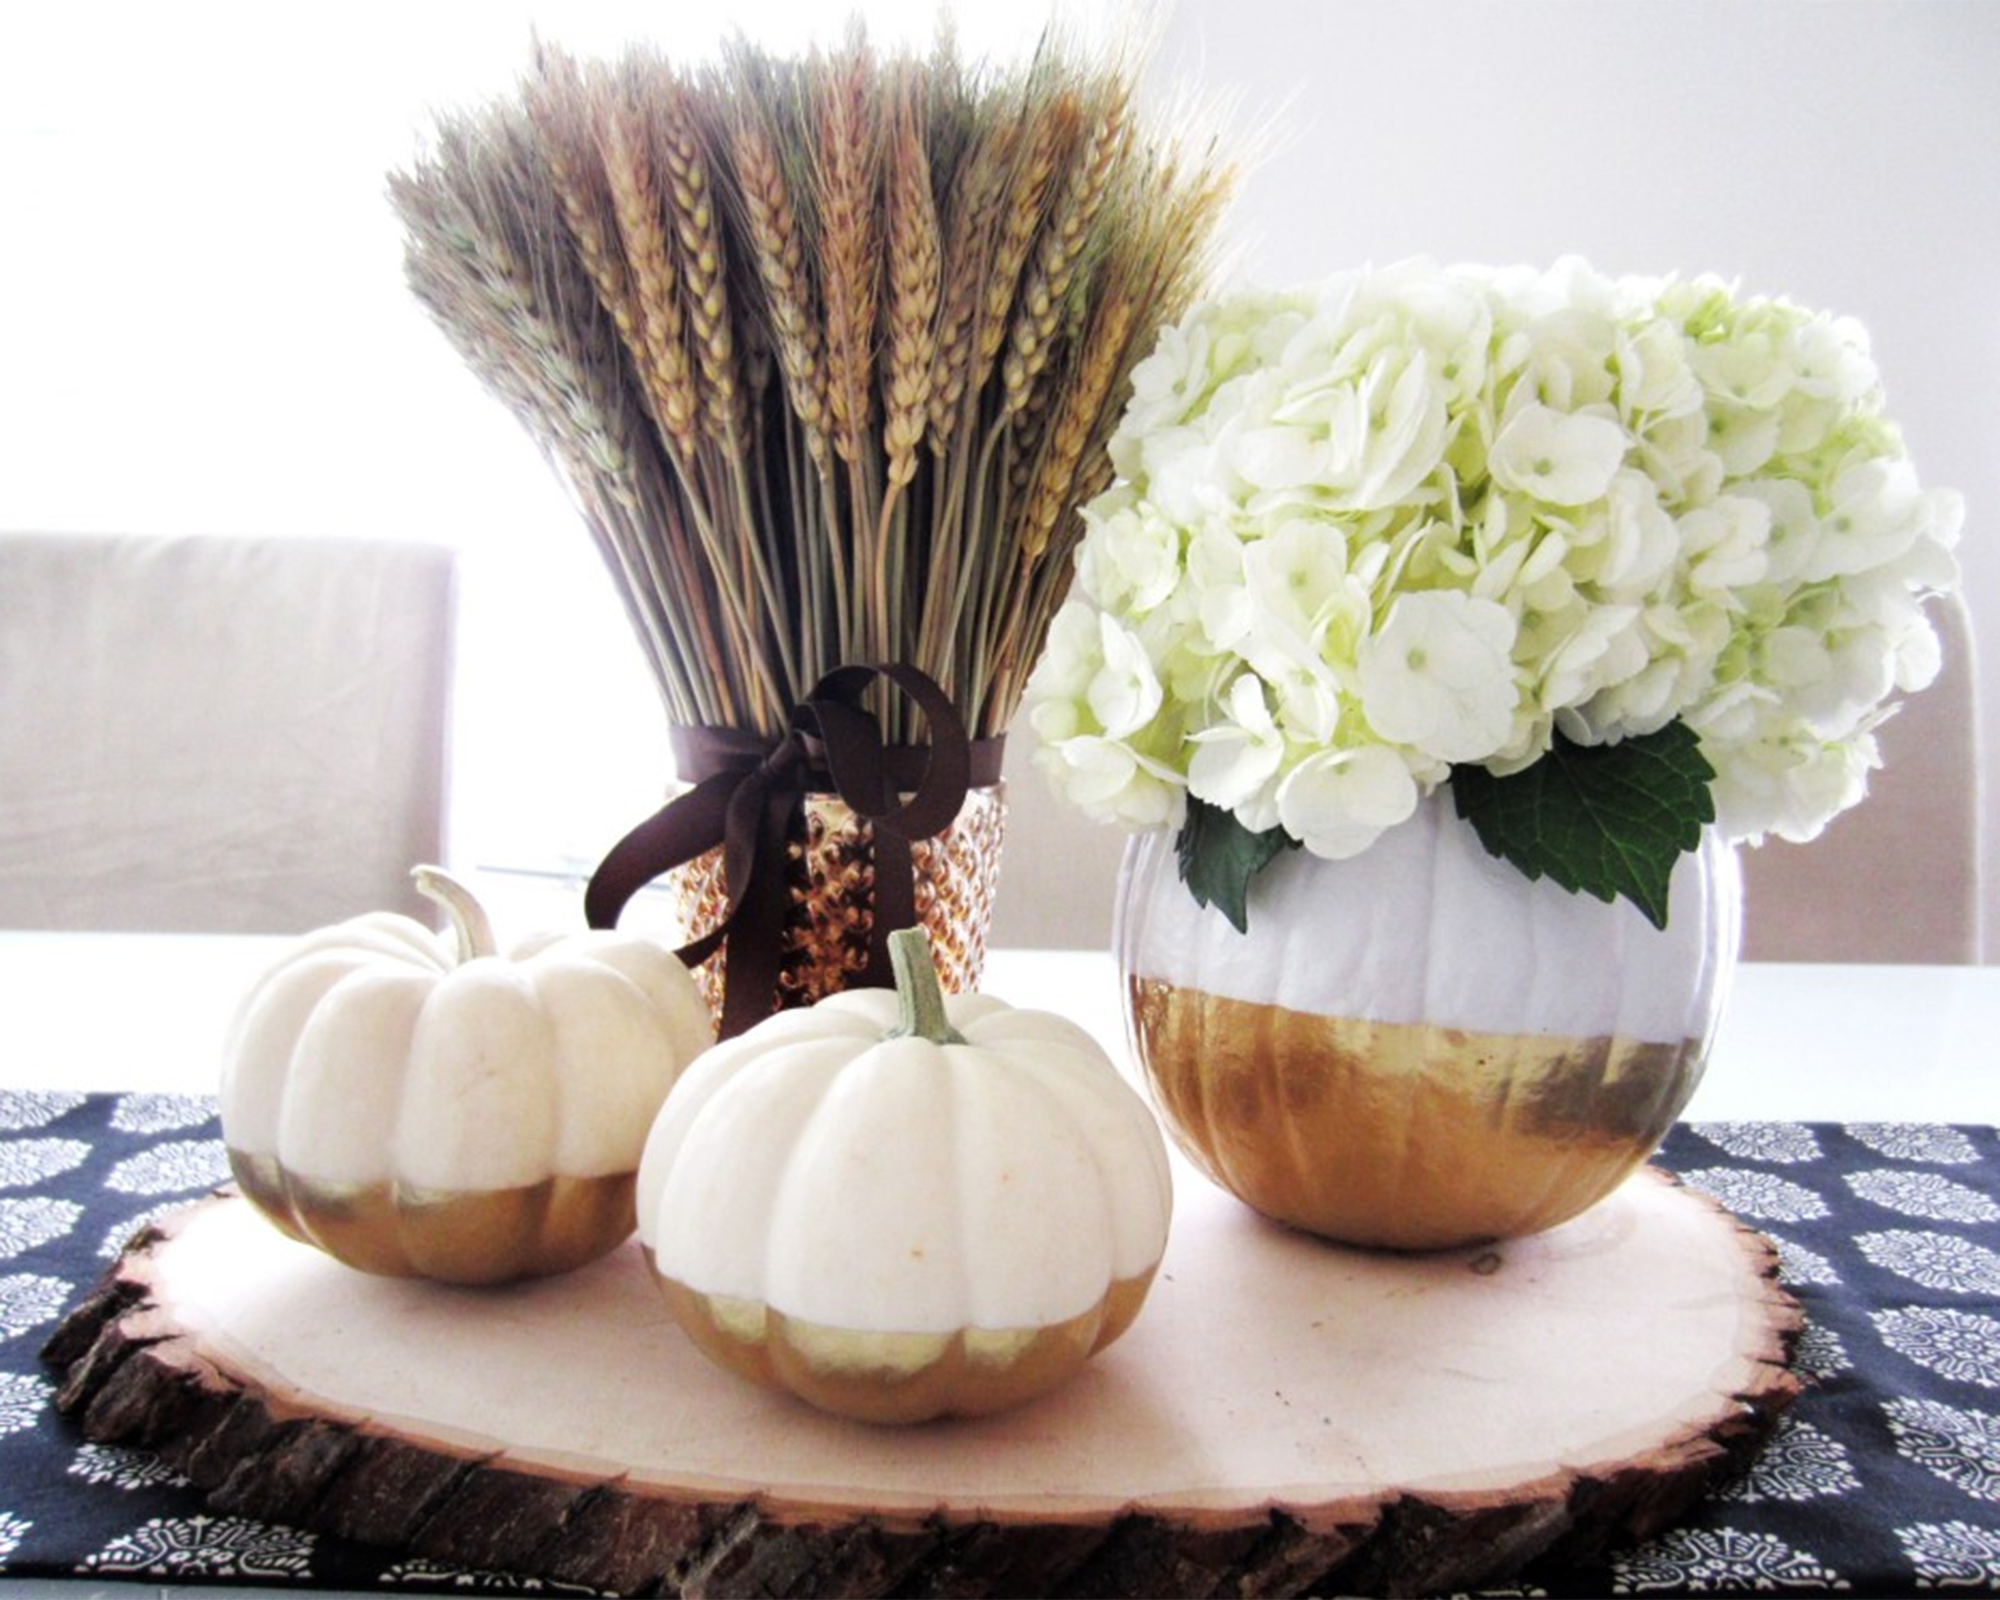
We are loving this dreamy setup that uses Rust-oleum's Harvest Gold glitter paint in a dipped-effect design. As well as your conventional yellow gold, the international paint retailer have some great colors to experiment with, including Silver, Copper and an Iridescent clear finish.
'I love fall decorating with hydrangeas. They are so elegant and happen to fit nicely with my new pumpkin vase,' says Amy Kim
'I picked up this tip from Pinterest to place an aluminum can inside the pumpkin for your flowers to sit in. GENIUS. Not only will you not have to fill up the entire pumpkin with water, but the can helps keep the flowers arranged and contained better.'
15. Attach your flowers with pins instead
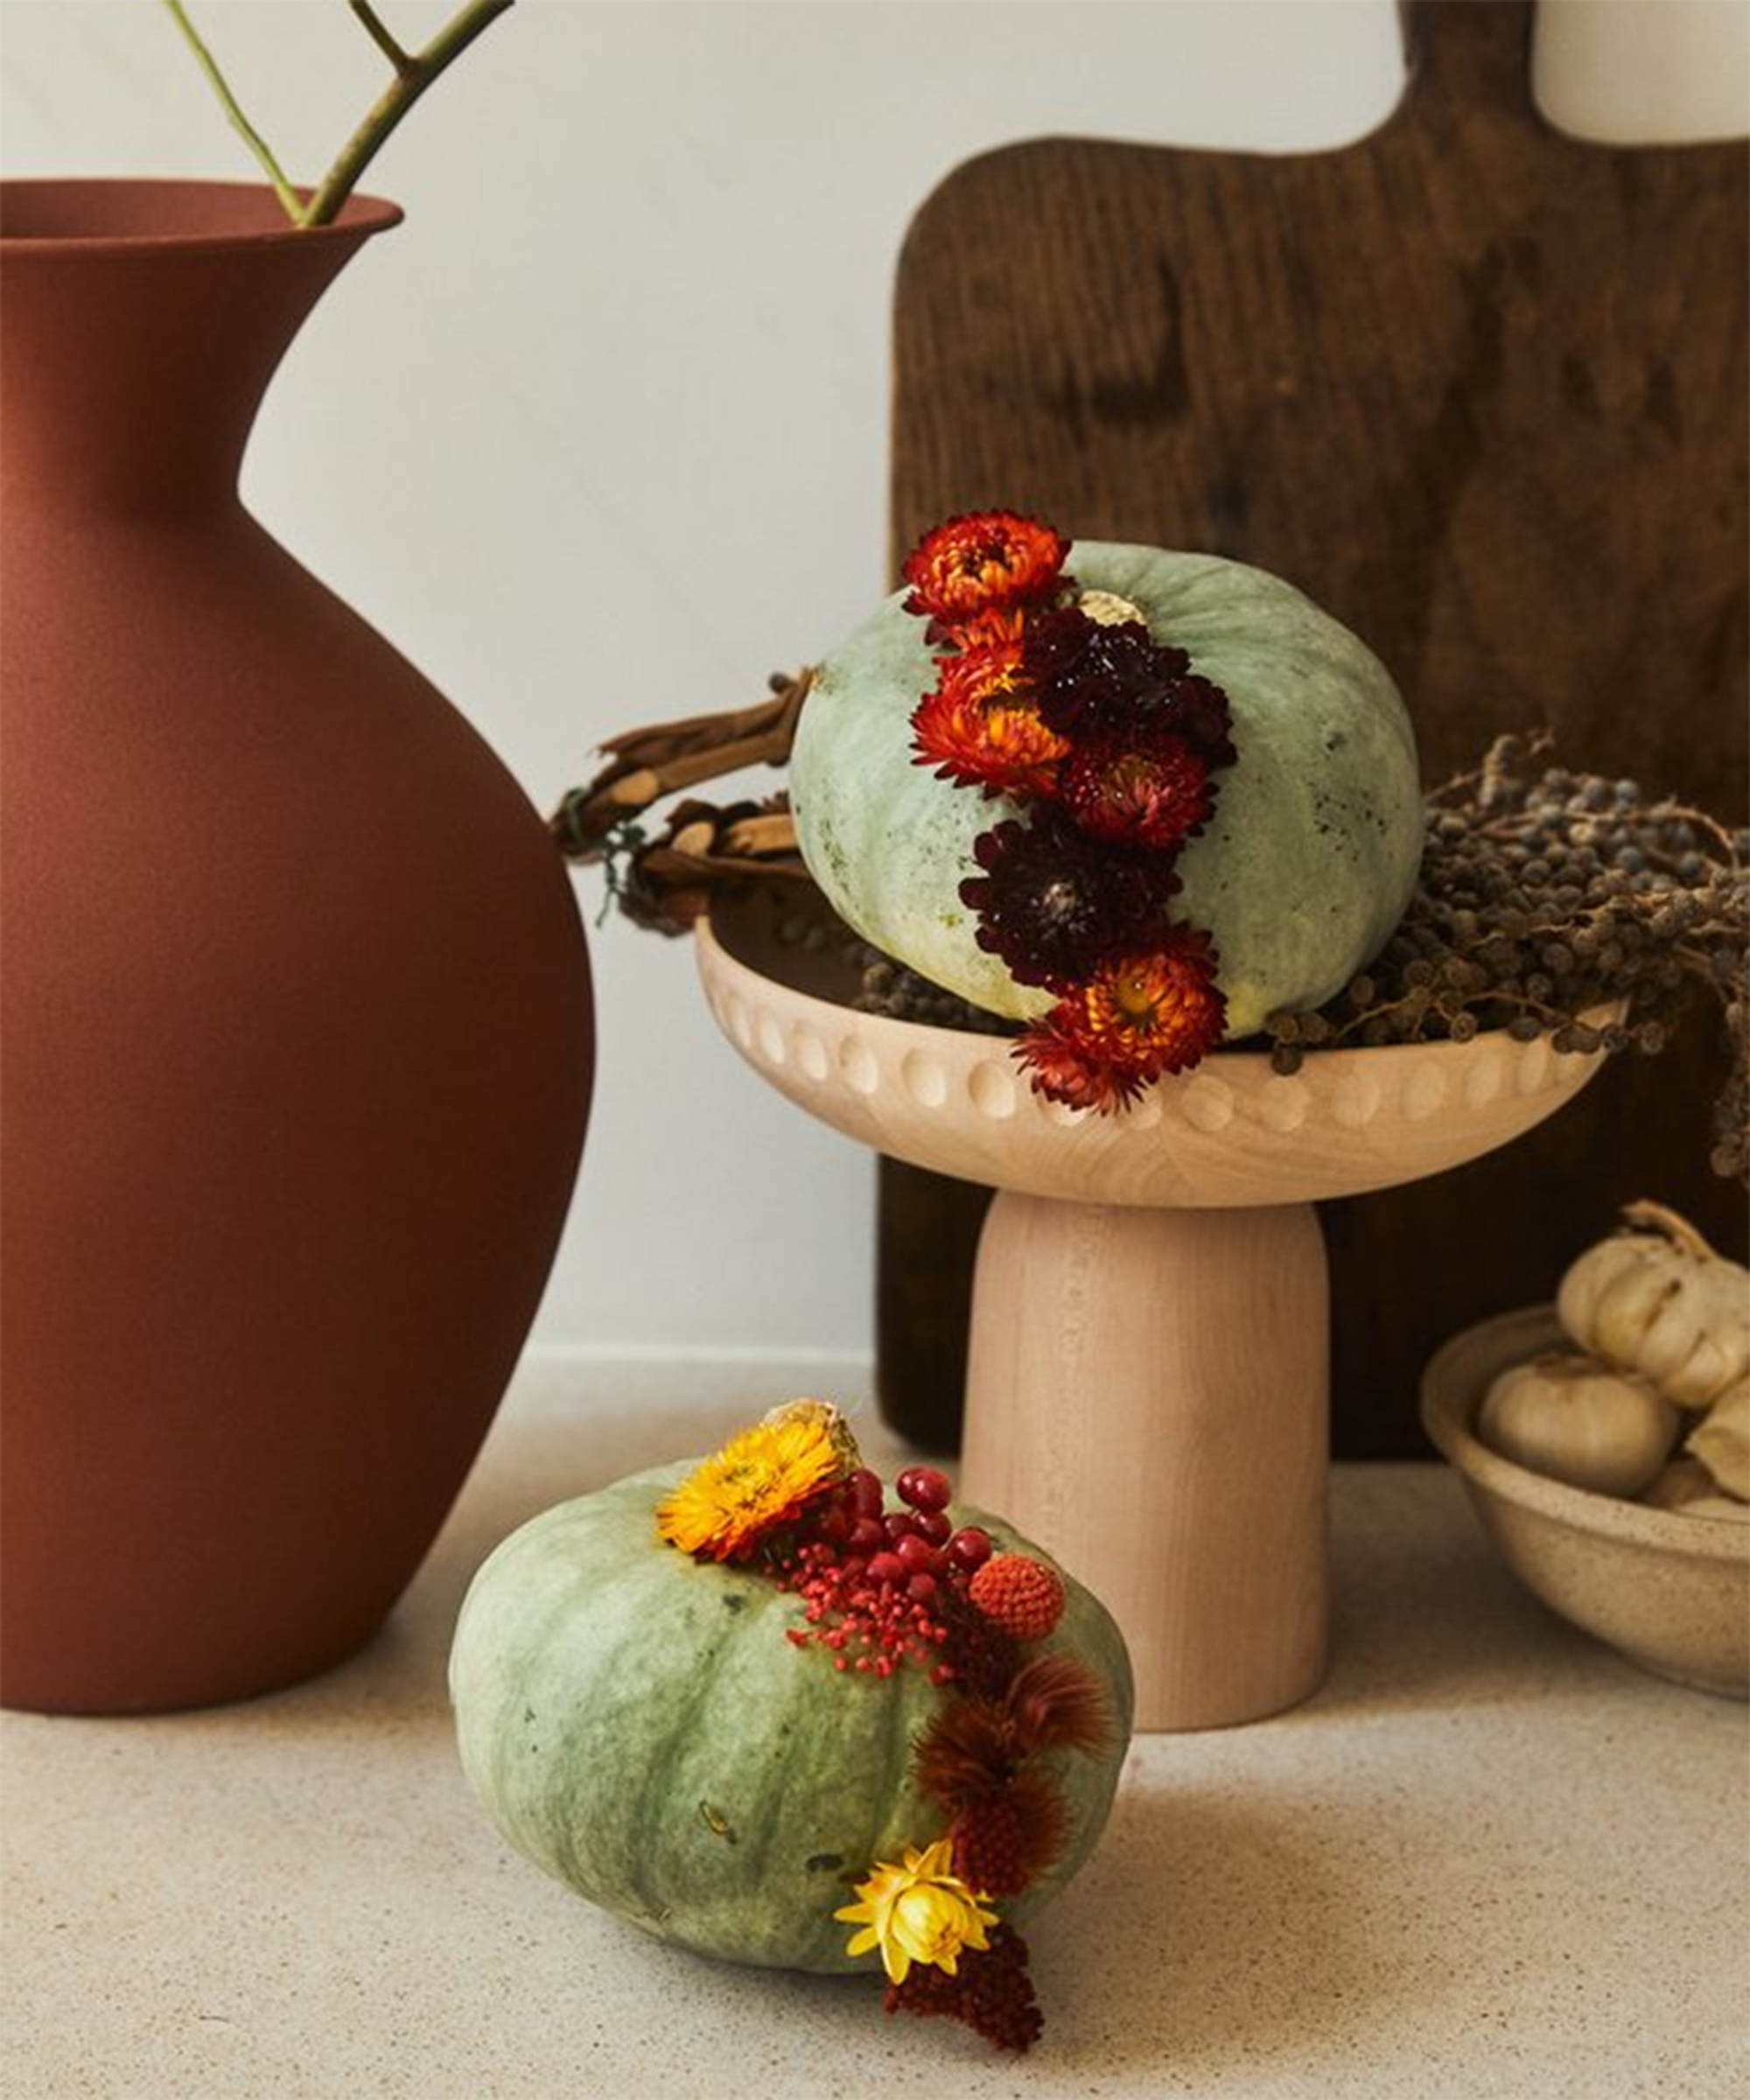
OK, so this one isn't a DIY pumpkin vase idea, perse, but it beats sticking pins into a voodoo doll any day! This design comes from the botanical experts, How Flowers Do That.
Here, they use a mix of dried and flowers including: helichrysum, broom bloom, hypericum, clematis seed and lagurus to turn their small green Japanese pumpkins from 'freak to chic'.
When planning your design, it's good to think about what you want to make. Do you go for subtle autumn flowers that you let meander over the pumpkin and place it on the table as a stylish centerpiece? Or do you choose deep red colors as a wink to horror and gore during this exciting party night?
16. Spruce up a country dresser with a simple design
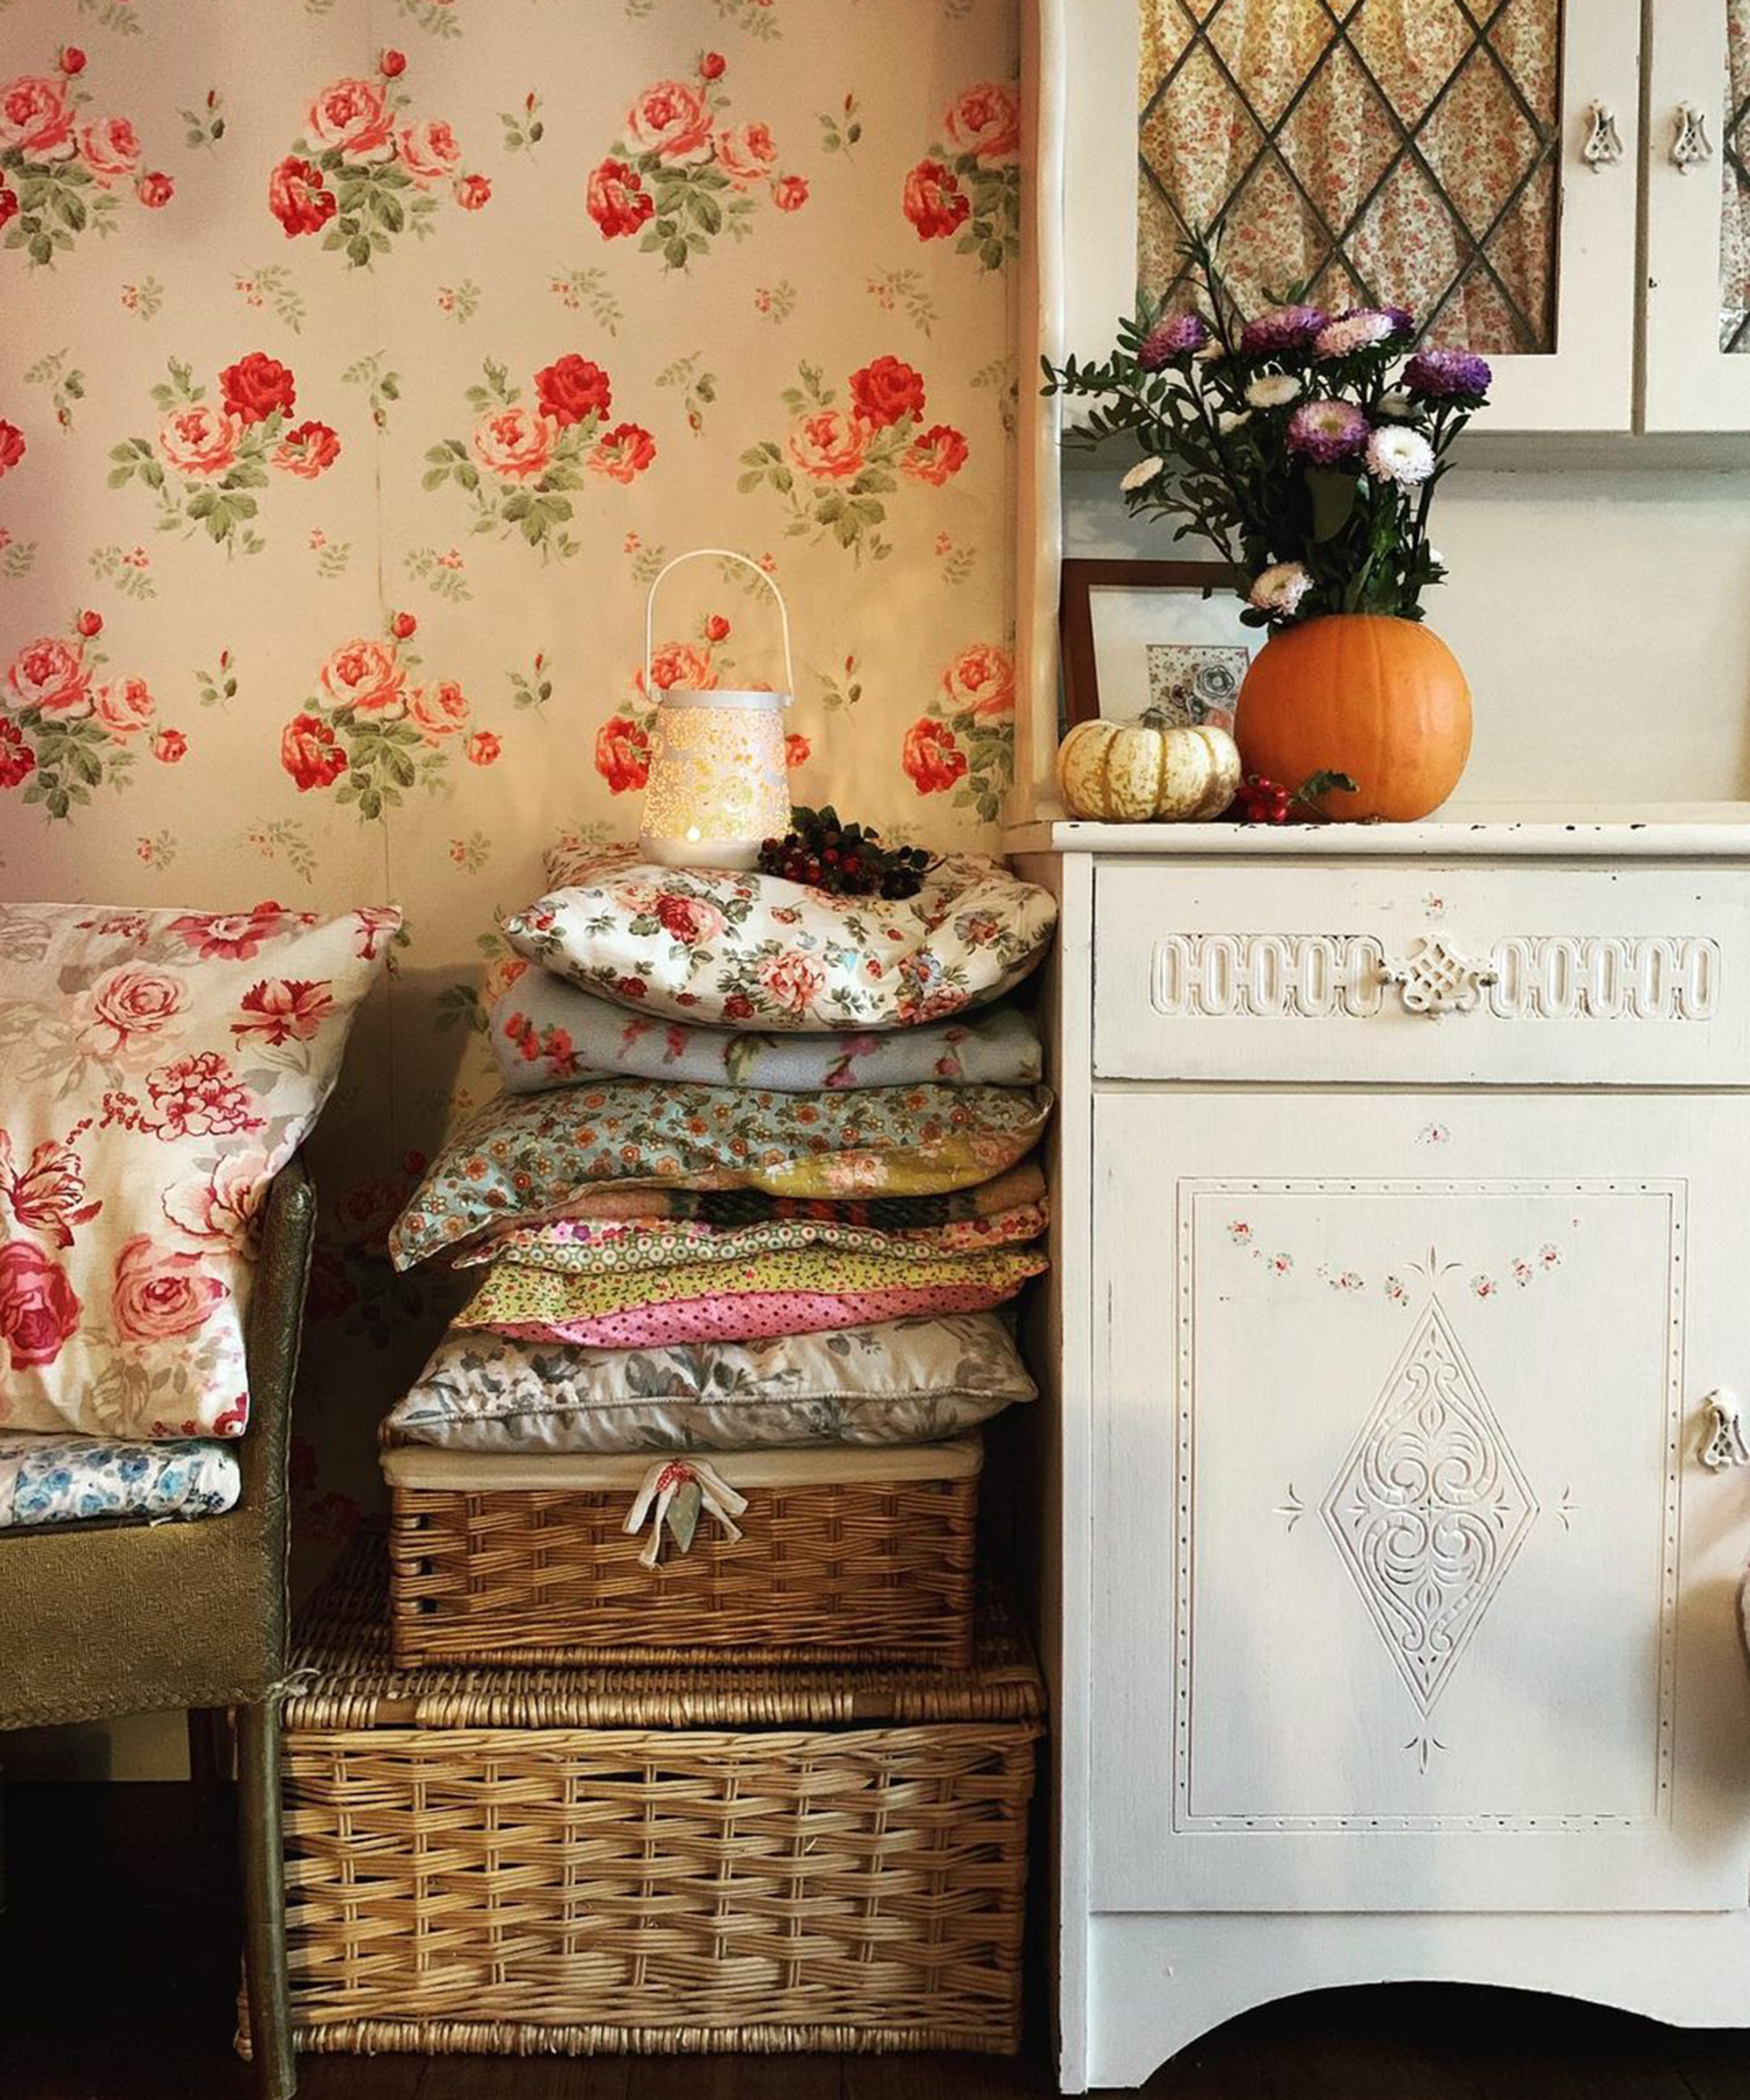
Floral design is synonymous to cottagecore, goblincore and other country-inspired trends, so it only makes sense to create a DIY pumpkin vase idea for this scheme.
To make this work as hard as it can, pair flower-printed fabrics with busy, chintzy wallpaper ideas and use a charming dresser to pop your pumpkin bouquet on.
17. Experiment with moss and vines
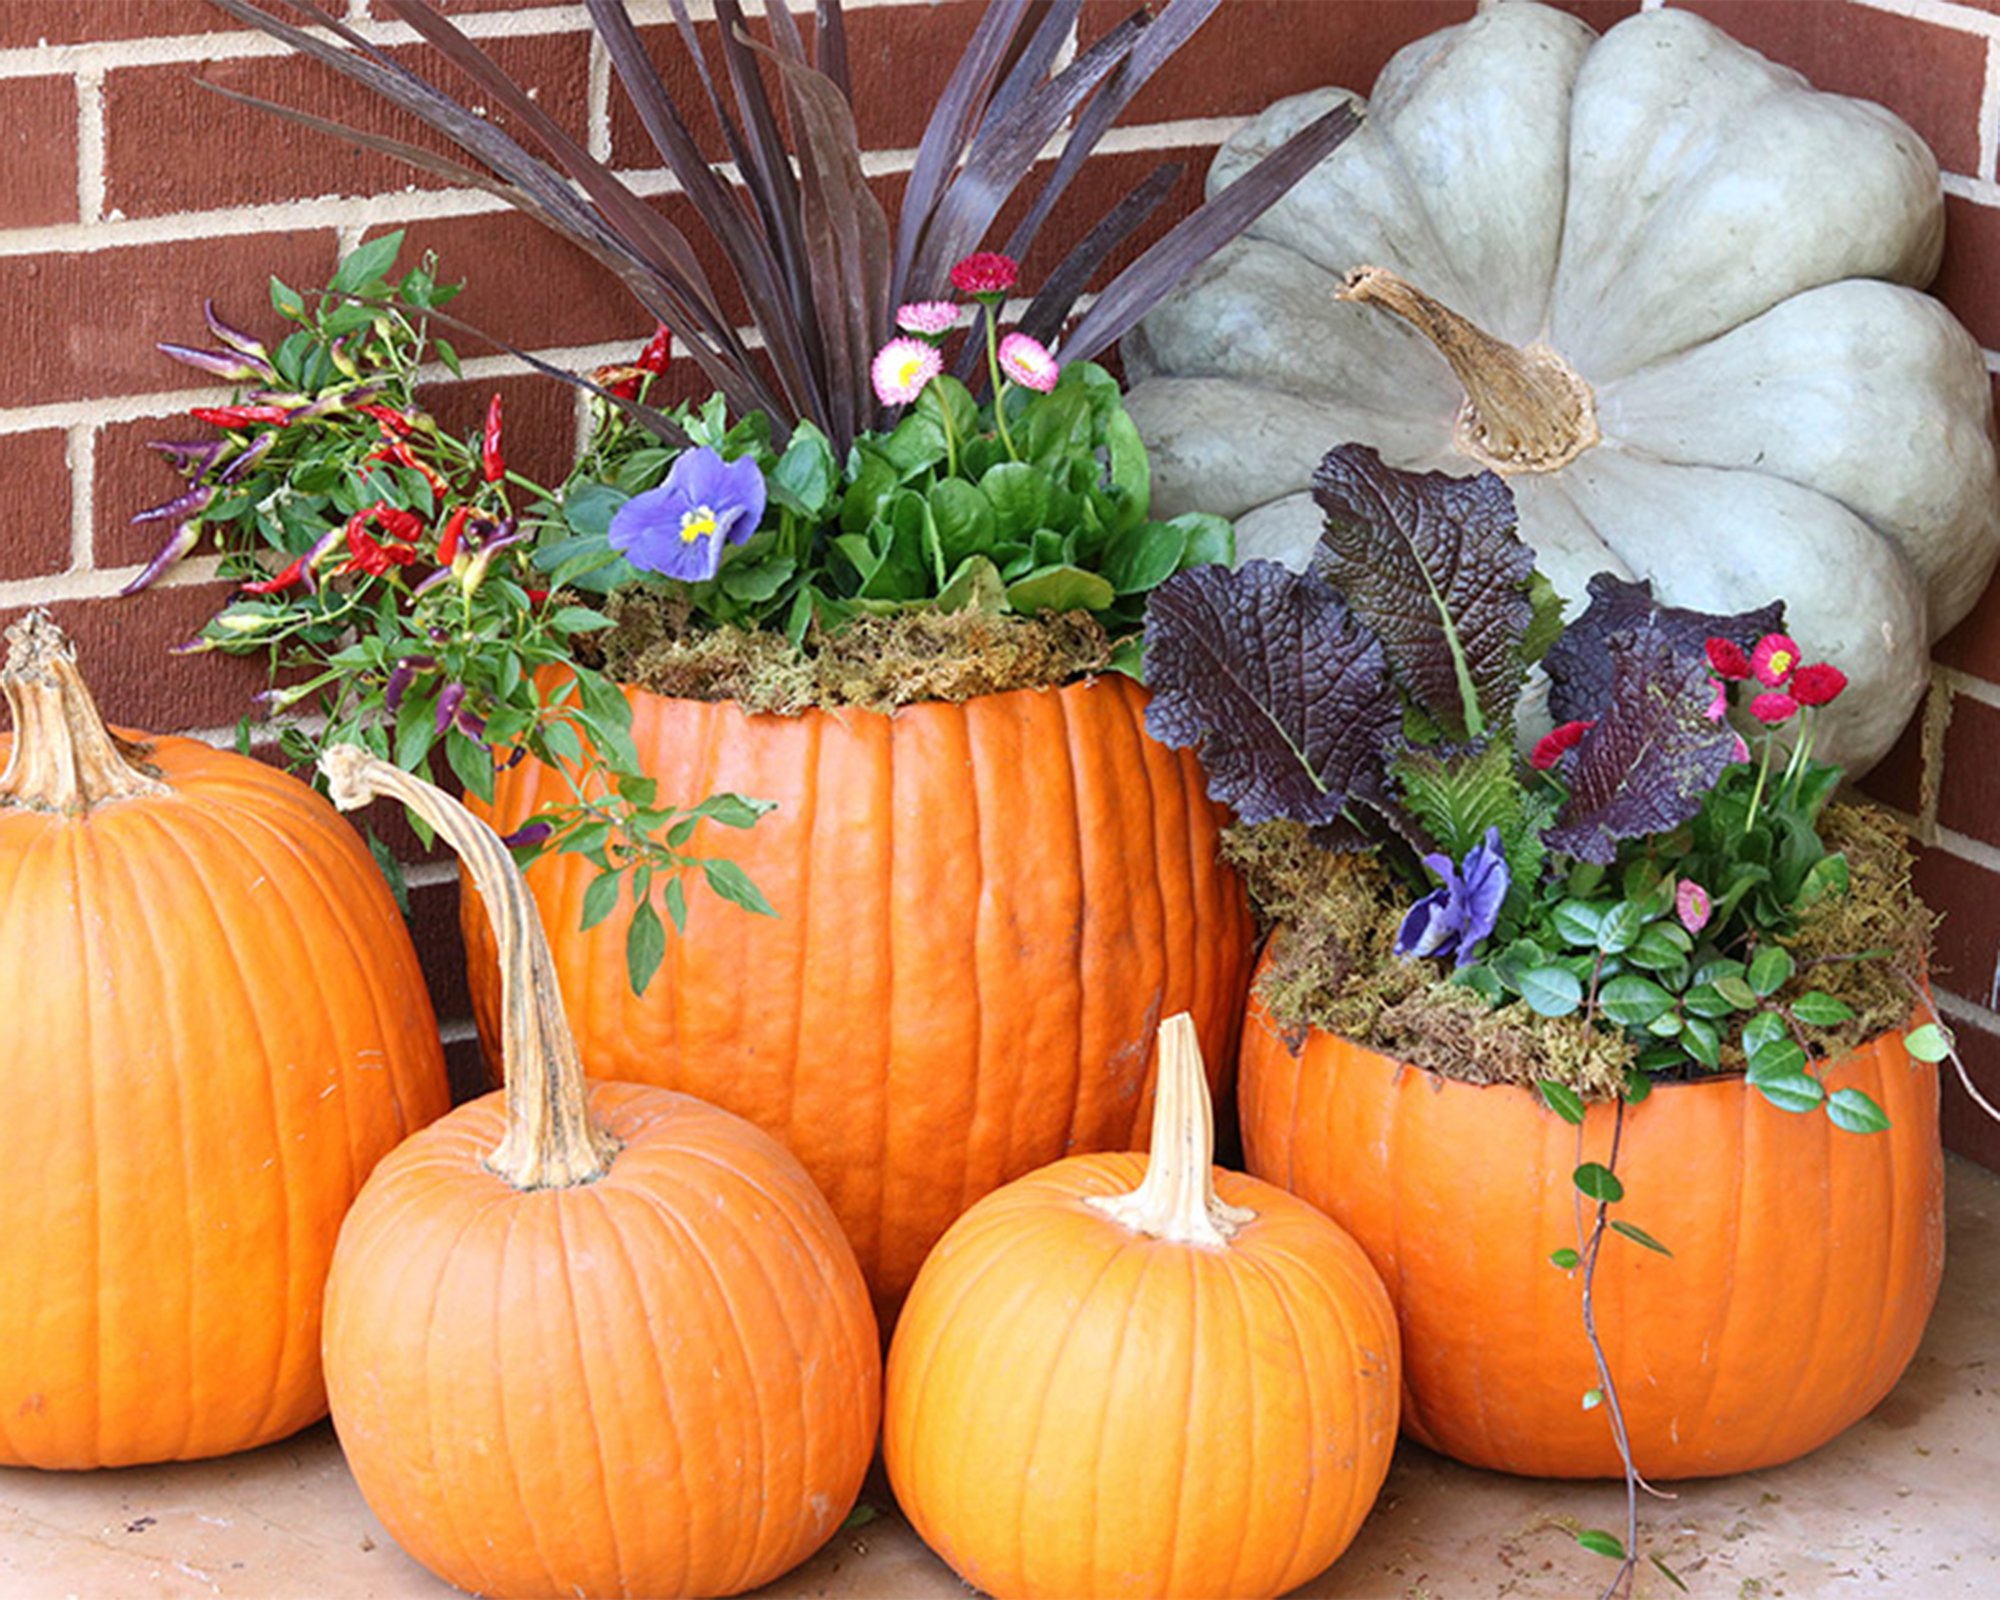
'Carve out your pumpkin and turn them into planters for a simple way to decorate for fall. These pumpkins look beautiful filled with seasonal arrangements of flowers, edibles and other plants, such as vines. Or use your pumpkin planter for succulents,' says Sarah Fishburne, director of trend and design, The Home Depot.
'Pumpkin planters look amazing in your outdoor space or as a festive centerpiece for a console or dining table. Try decorating for fall with pumpkin planters and a cluster of other types of pumpkins and gourds in a corner nook of your porch or by the hearth of your fireplace.'
How should you arrange flowers in a pumpkin vase?
'They can go everywhere and anywhere,' says Michael Perry AKA Mr Plant Geek, hortpreneur, gardener and QVC influencer of the year.
'The design should look voluptuous and overflowing with flowers - plus, every pumpkin vase should look very different. To finish off the design, add your personal touch with a final decoration. The lid of the pumpkin can be wired and pushed back into the floral foam.'
'Spiders, skeletons and cobwebs can be tacked to the side of of the pumpkin or pushed into the floral foam. Then, enjoy looking at your new pumpkin vase!'
How long should a DIY pumpkin vase last?
'A pumpkin with the florist oasis in can last up to 10 days,' explains Lambourne.
'Water the floristry oasis regularly but don't over-water so that the base does not become too soggy. After you carve your DIY pumpkin vase to make it last longer and not mold and rot, dip it into a bucket of cold iced water which has a little bit of bleach in it.'
'This will help keep the mold away longer. Make sure you dry it off thoroughly and then you can rub petroleum jelly over the edges of the pumpkin. I always use battery candles inside them as the heat from real candles make the pumpkin collapse.'
Additional words by Hebe Hatton

Hi, I'm the former acting head ecommerce editor at Real Homes. Prior to working for the Future plc family, I've worked on a number of consumer events including the Ideal Home Show, Grand Designs Live, and Good Homes Magazine. With a first class degree from Keele University, and a plethora of experience in digital marketing, editorial, and social media, I have an eye for what should be in your shopping basket and have gone through the internal customer advisor accreditation process.