A 9-step guide to installing kitchen cabinets yourself, for a pro finish
You can install kitchen cabinets yourself no problem. Measure carefully and take it one step at a time when replacing base and wall cabinets to upgrade your cooking space.

Claire Douglas
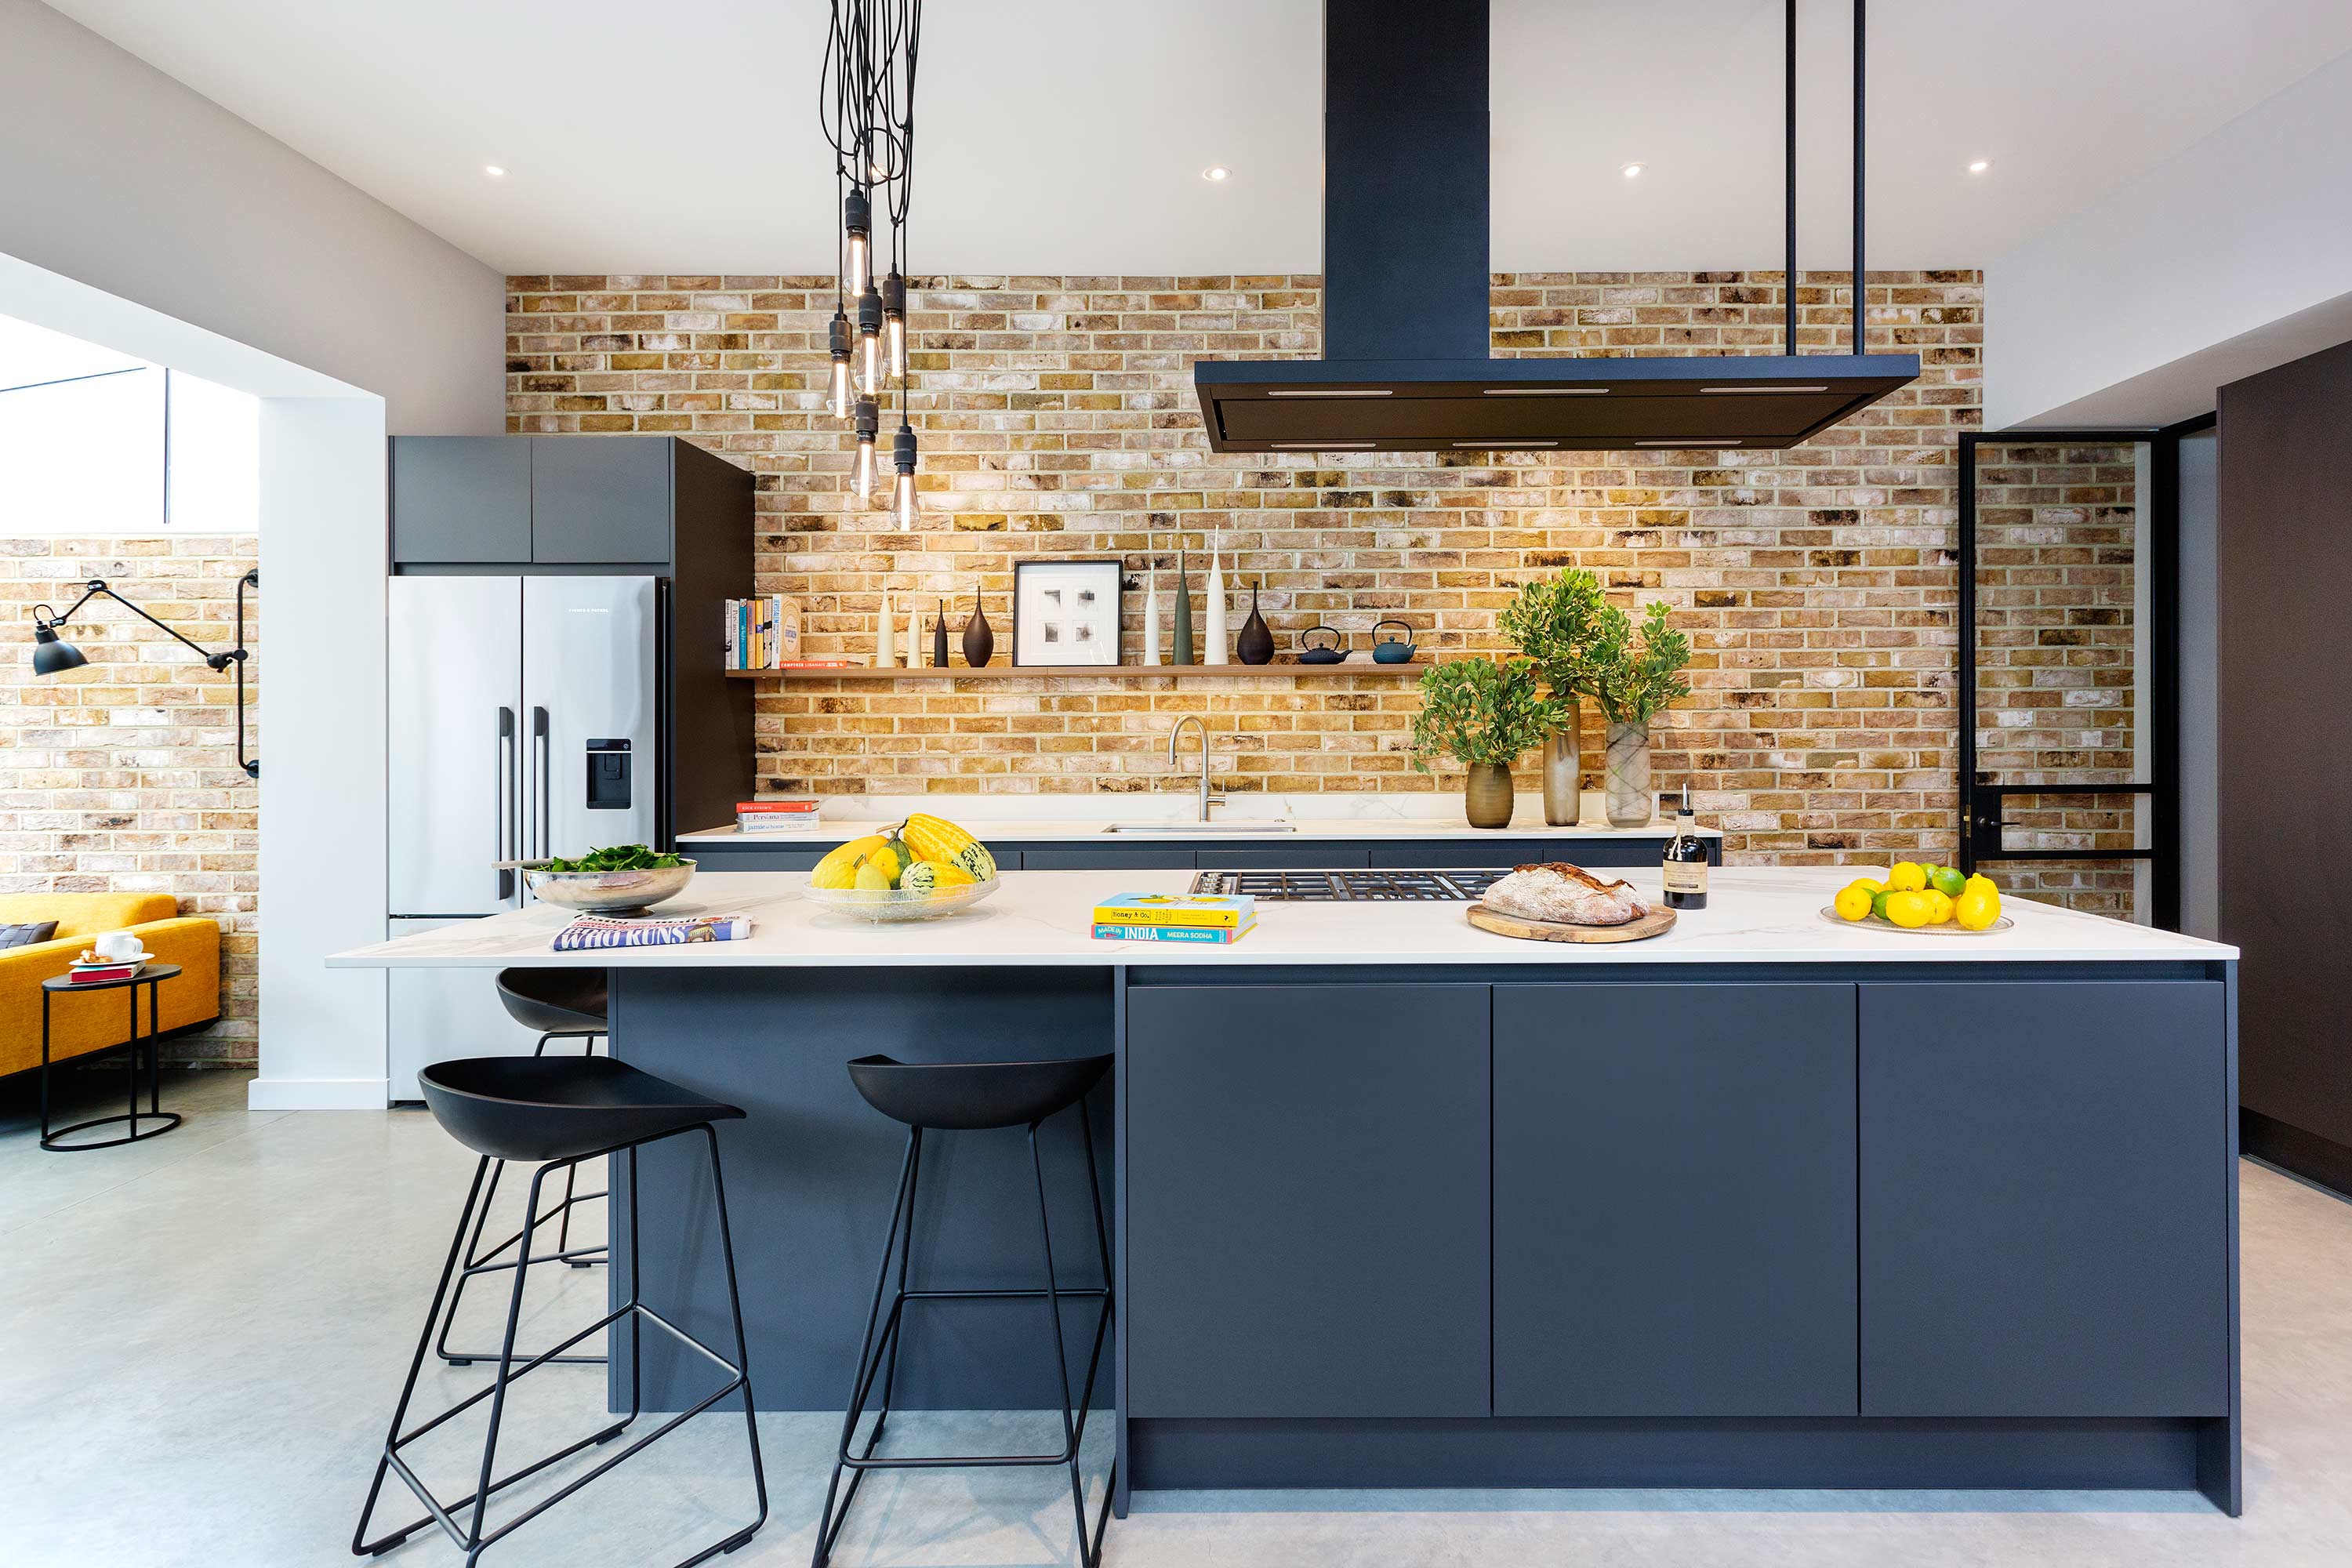
Installing new kitchen cabinets can completely transform a space. Taking it from tired and dated to modern and polished, adding more storage to cater to your household needs also.
Of course, renters' hands are usually tied with this type of home DIY project however, if you've got your own place and want to save some of your budget for other elements of a kitchen remodel, it's worth considering taking a more hands-on approach.
And honestly, it might seem complicated but fitting both wall and base kitchen cabinets can be done with ease, helping you to save on usual kitchen remodel costs in the process.
How to install kitchen cabinets yourself
Bringing your favorite kitchen cabinet ideas to life in your home is easy with a huge range of designs available for DIY fitting.
Measure carefully and approach the job one step at a time to enjoy the satisfaction of upgrading your room, yourself. Real Homes' resident blogger Claire Douglas walks us through the process she took in her own UK home, and we've drawn on some advice from other experts, too.
Note that you should still check the individual manufacturer’s instructions as some designs can vary.
You will need
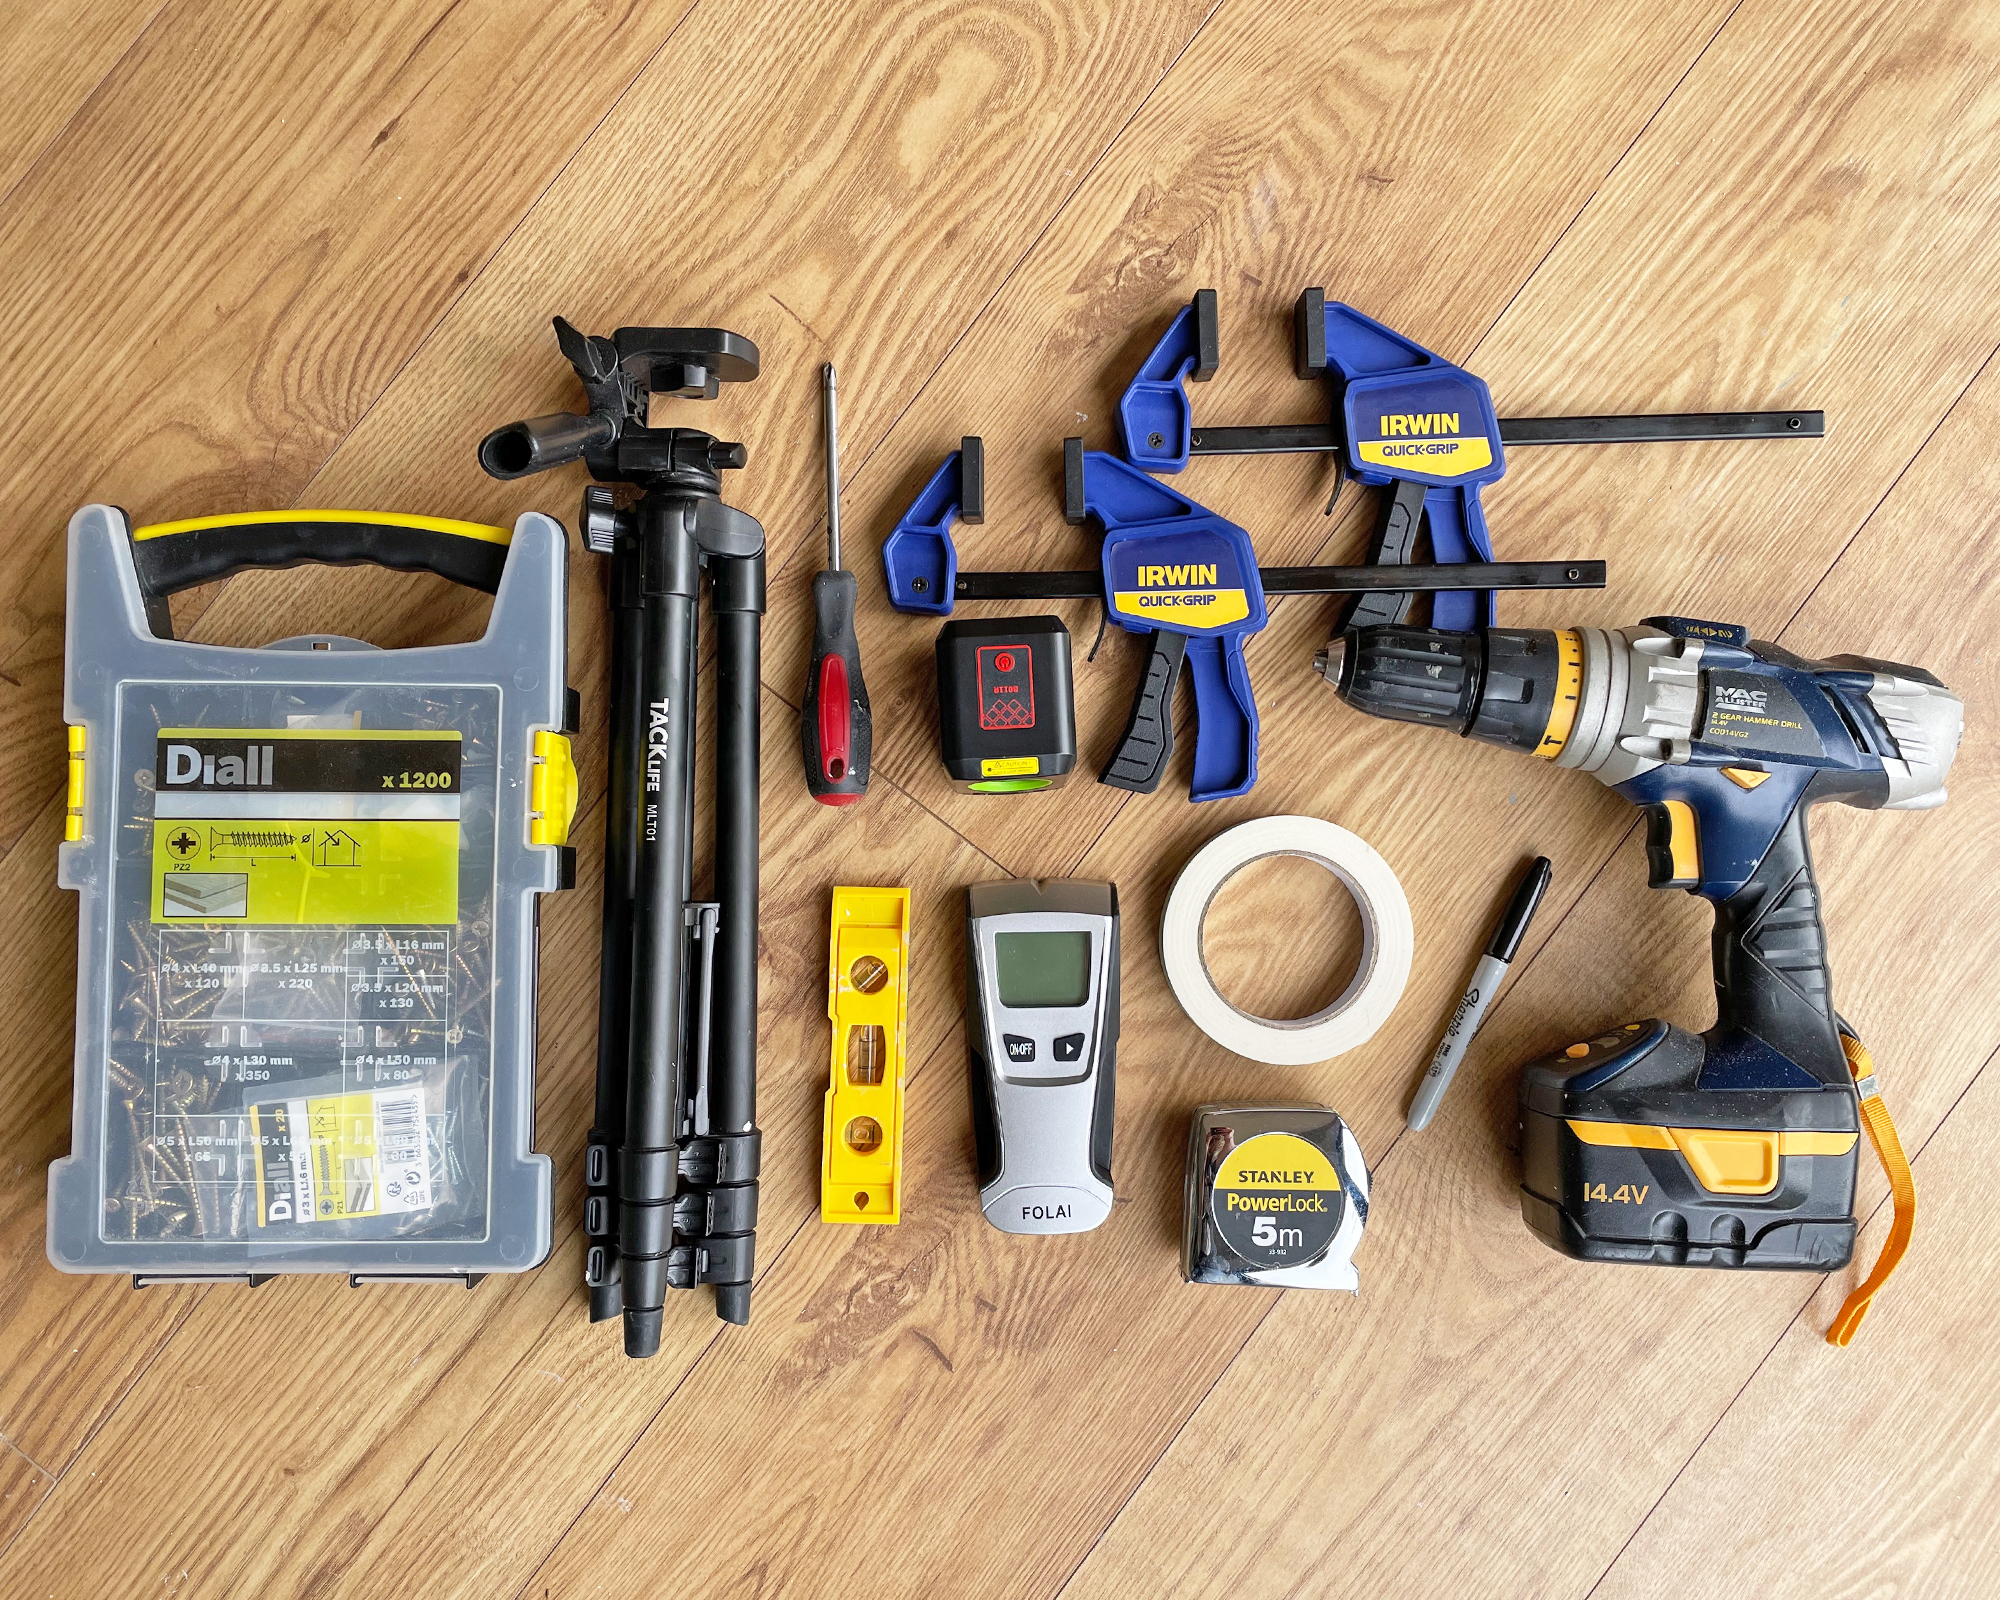
1. Drill with relevant drill bits for your wall type
2. Clamps - these are a handy size from Amazon
3. Stud, cable and pipe finder: this 5 in 1 Stud Detector Detector Beam from Amazon is ideal
4. Laser level: the RockSeed Cross Laser Level is good value
5. Level
7. Pen or pencil
8. Tape measure
9. Screwdrivers: a selection is handy if you are assembling cabinets as well as installing
10. A selection of different-sized screws including cabinet screws
11. Shims are a great help: I used cedar wood ones
1. Prepare the kitchen
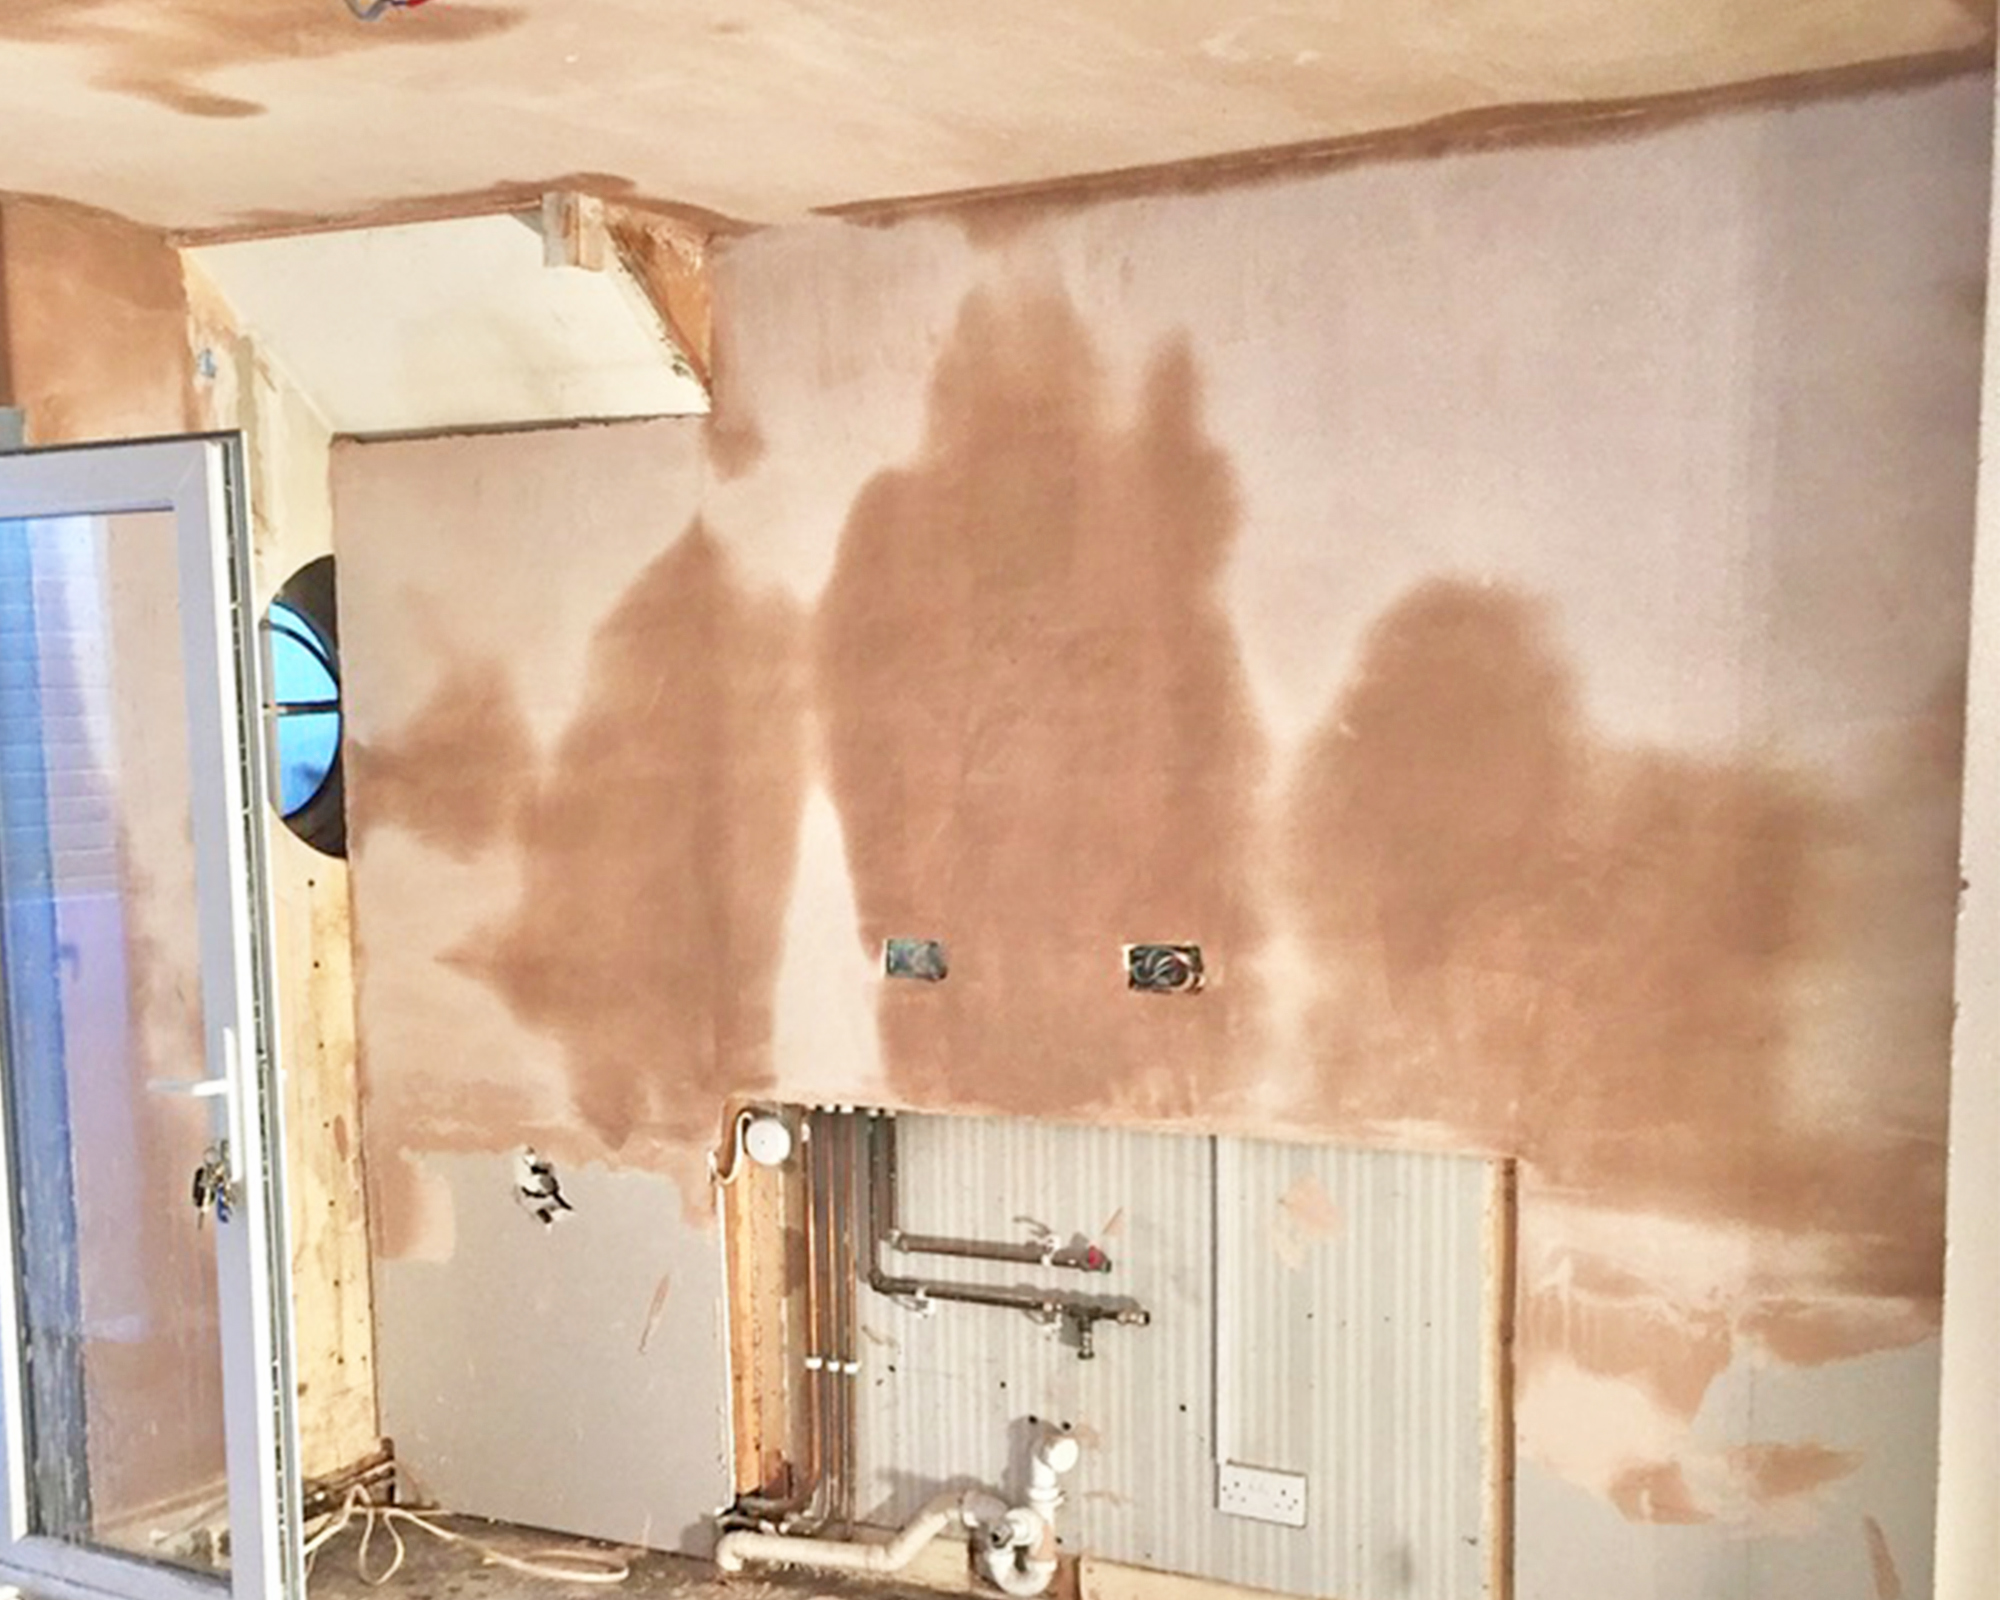
Before you start, it’s important to fix any damage to walls or flooring. You might also want to paint the room accordingly, applying the first coat of paint to the walls and ceiling.
Get small space home decor ideas, celeb inspiration, DIY tips and more, straight to your inbox!
Turn off electricity, gas, and plumbing lines to the kitchen.
If you are installing kitchen cabinets as part of a full kitchen reno, be sure to allow any fresh plaster to dry fully before you start.
2. Mark guidelines
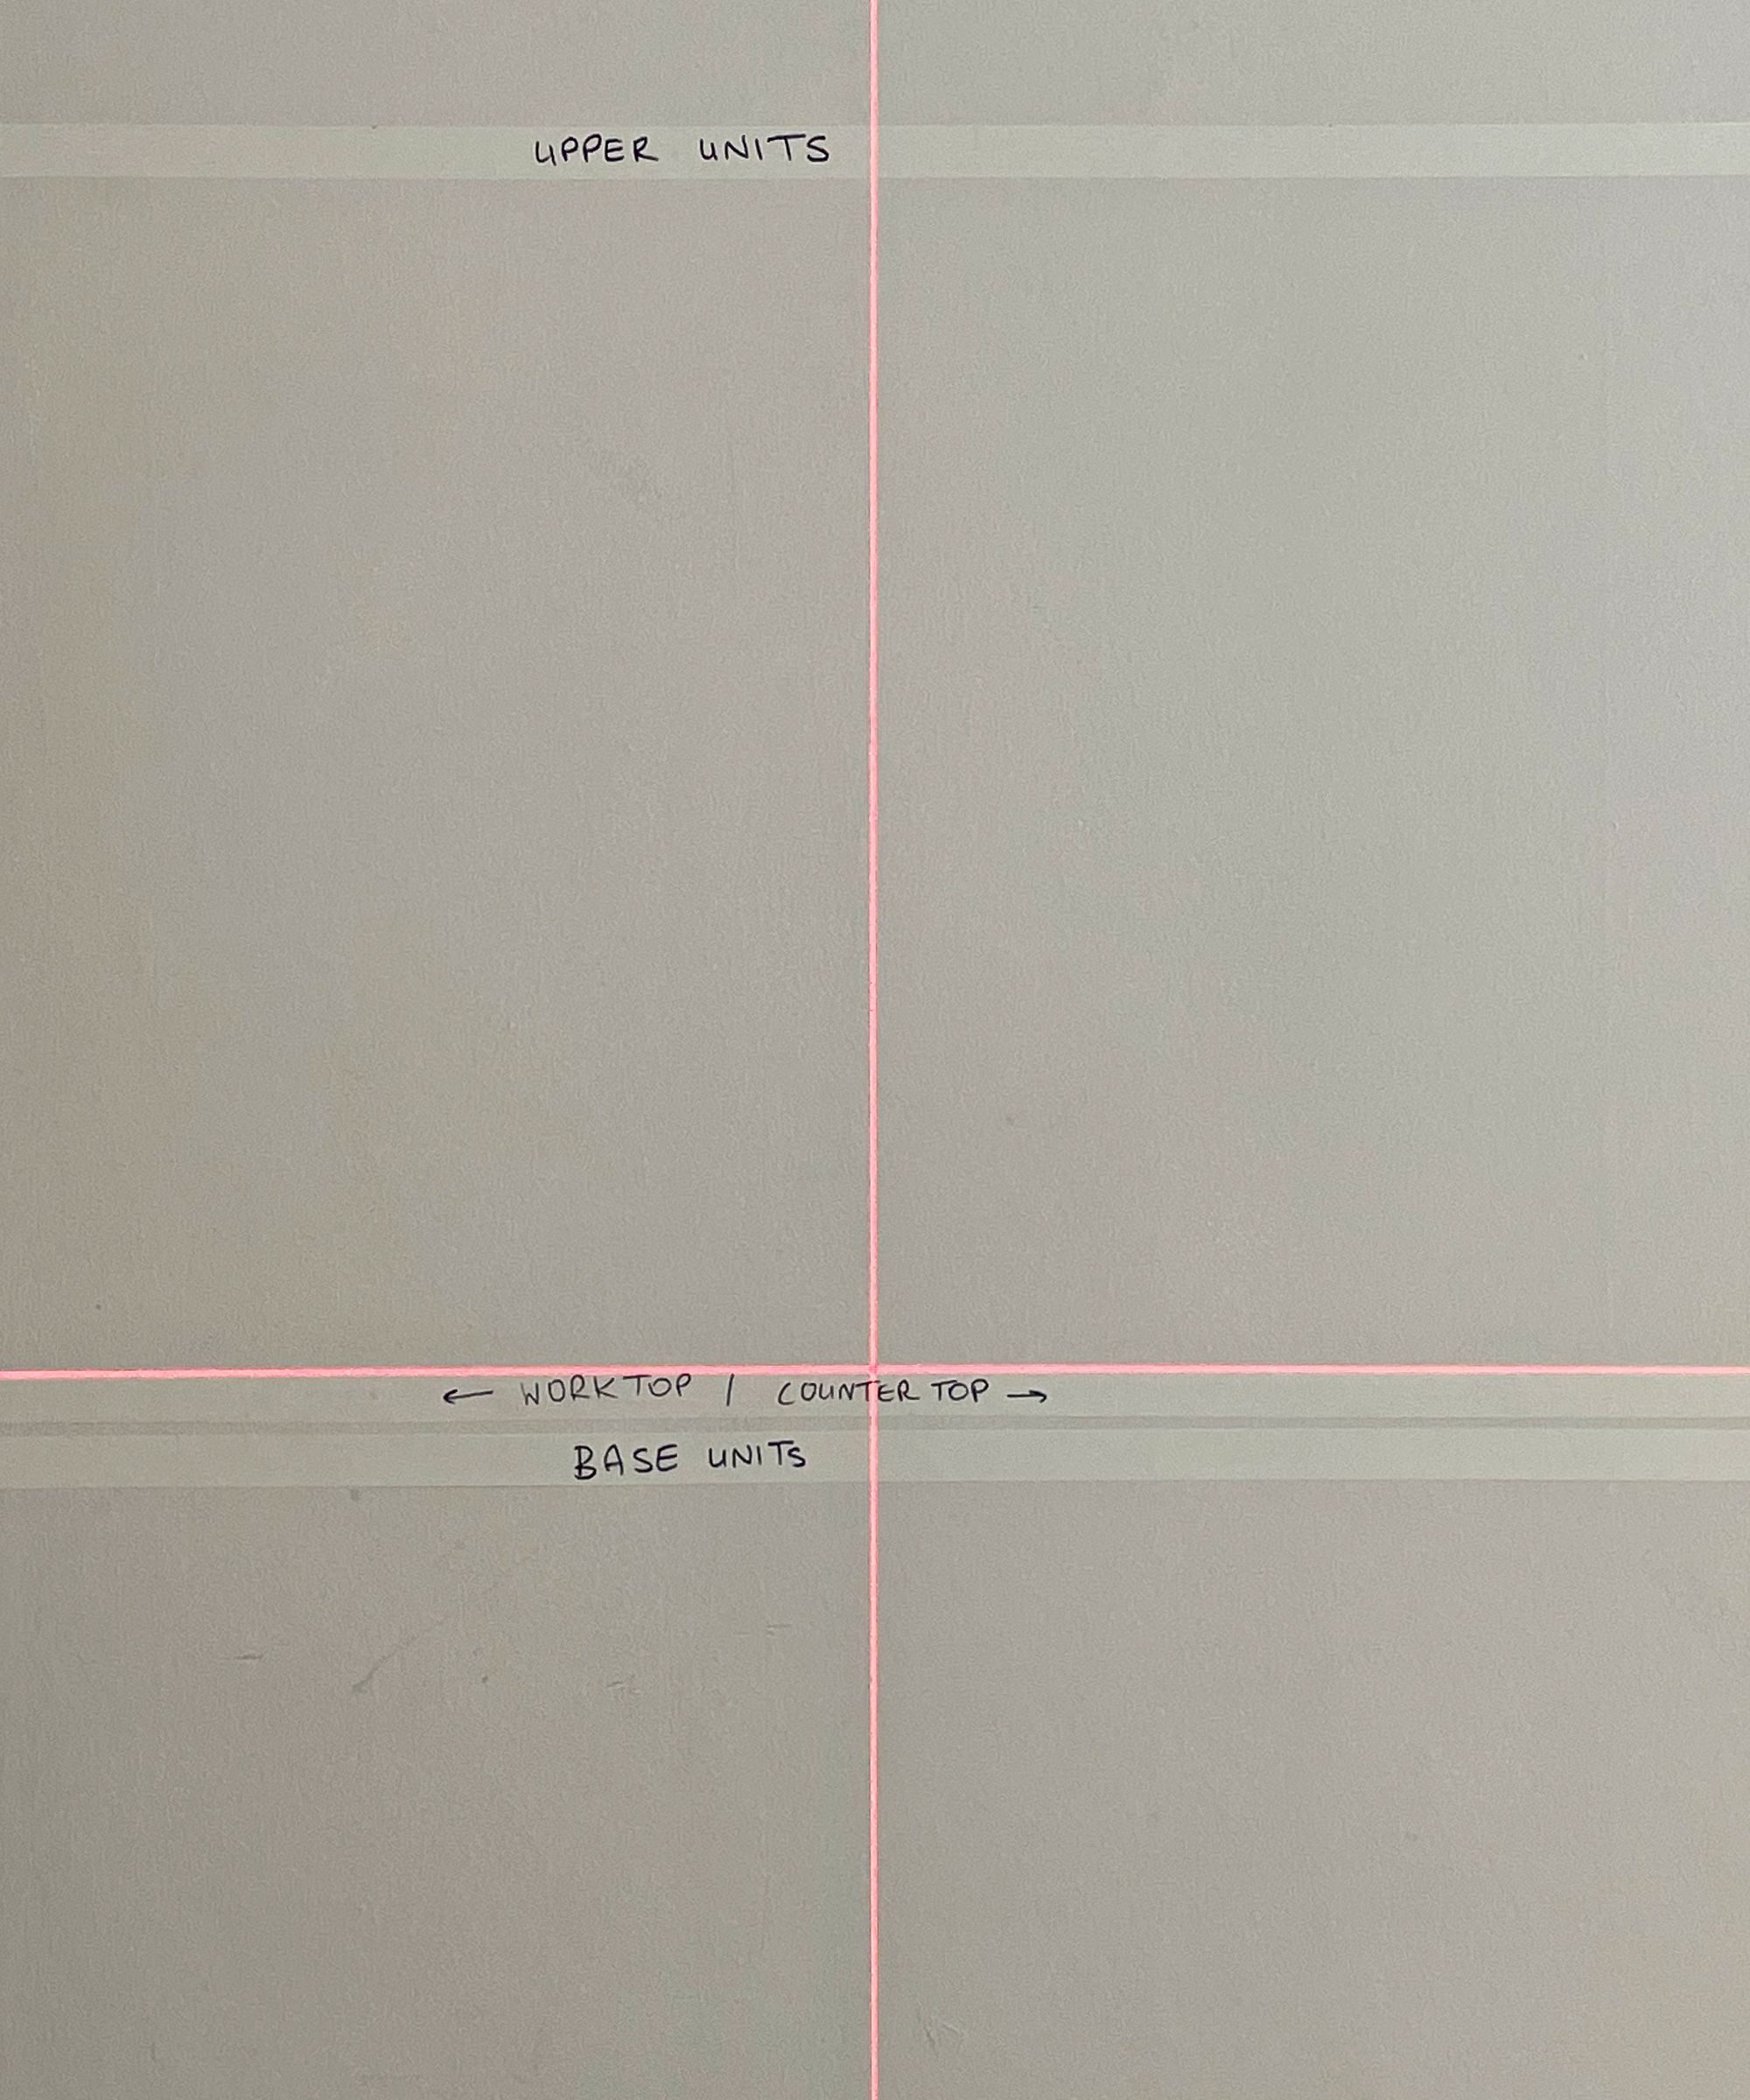
Use painter’s tape to mark where the base cabinets will be positioned on the floor. Next, use a level to find the highest spot on the floor. From this spot, mark the cabinet height on the wall and extend it as a line. Allow for the height of flooring if you are installing the cabinets before it is installed.
Measure and mark a line 18 inches (46cm) above this line to show where the bottom of the upper cabinets will be positioned. Make sure not to forget the countertop. ‘Upper cabinets are mounted typically 18 inches above the height of your countertop – so make sure you have accounted for your countertop thickness before setting these,’ says Teri Simone, the chief kitchen designer for Nieu Cabinet Doors.
Then measure up from this line by the height of the upper cabinets. If the cabinets aren’t all the same height, be aware that the tops should all line up.
Locate and mark studs on the walls.
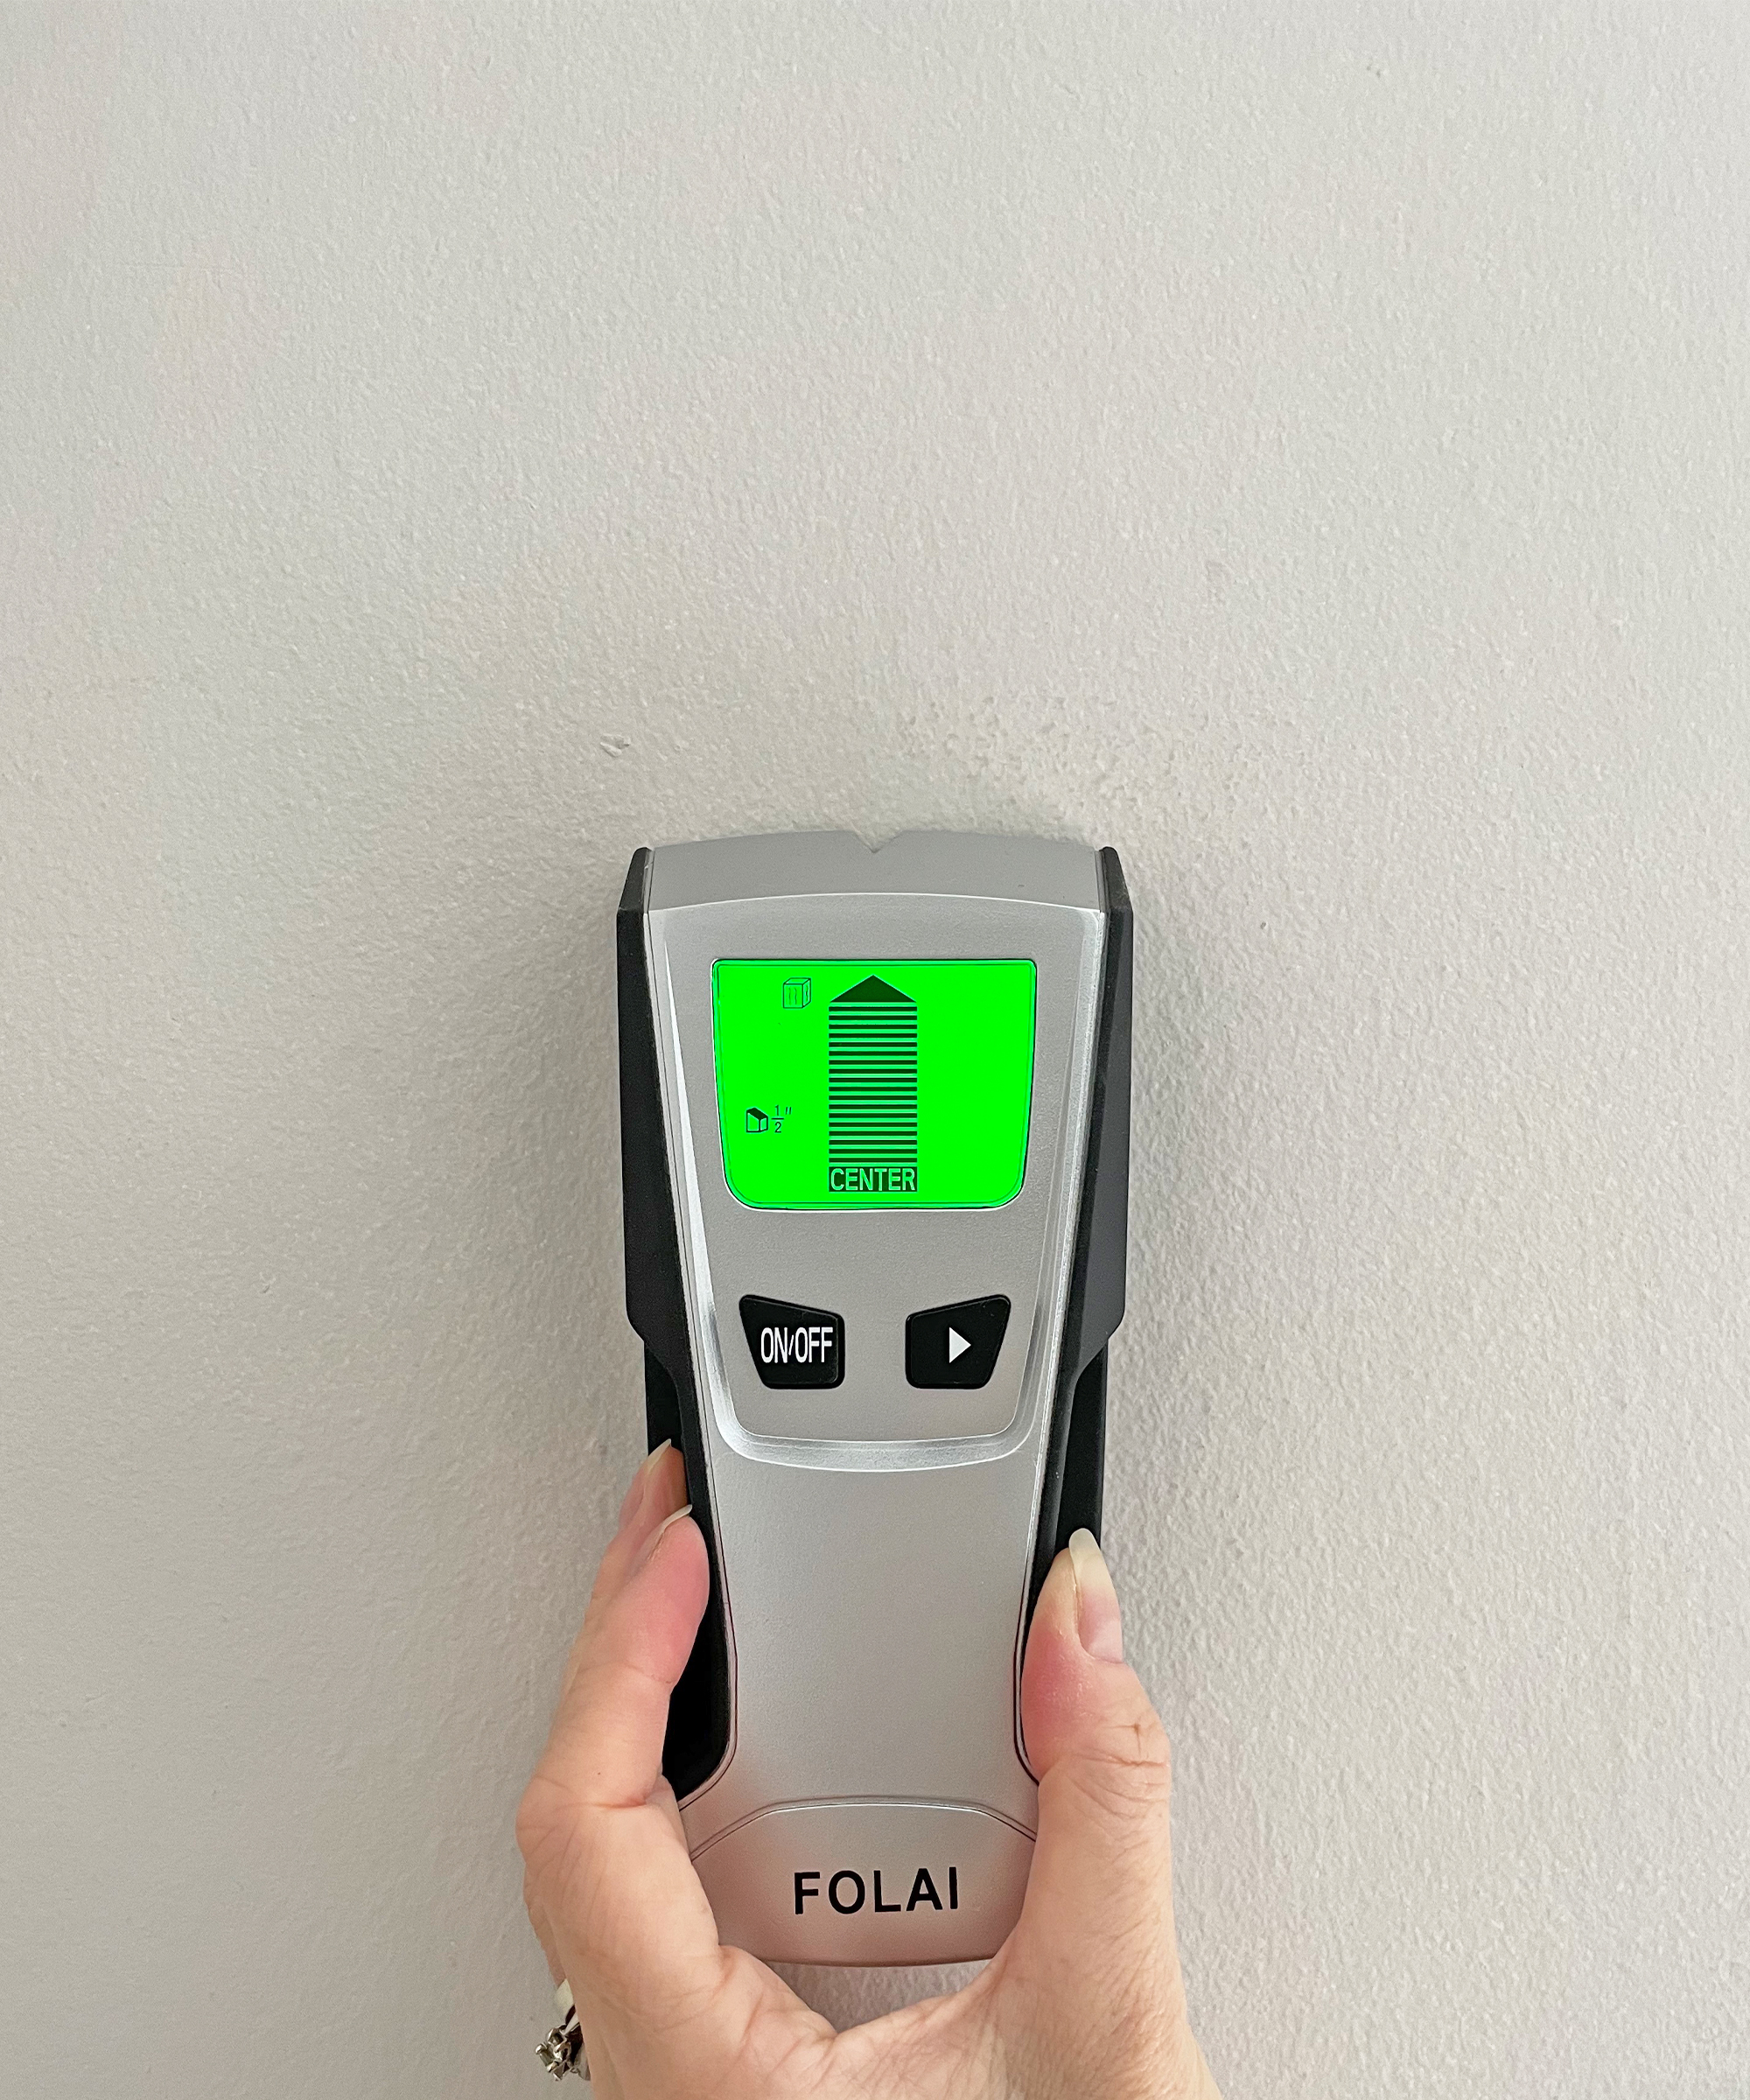
3. Fit supports for upper cabinet installation
To support the upper cabinets during installation, fit 1 by 2 or 1 by 3 furring strips into the studs below the line marked for the bottom of the wall cabinets. This will support the wall cabinets during installation. Check the support is level.
4. Assemble the cabinets
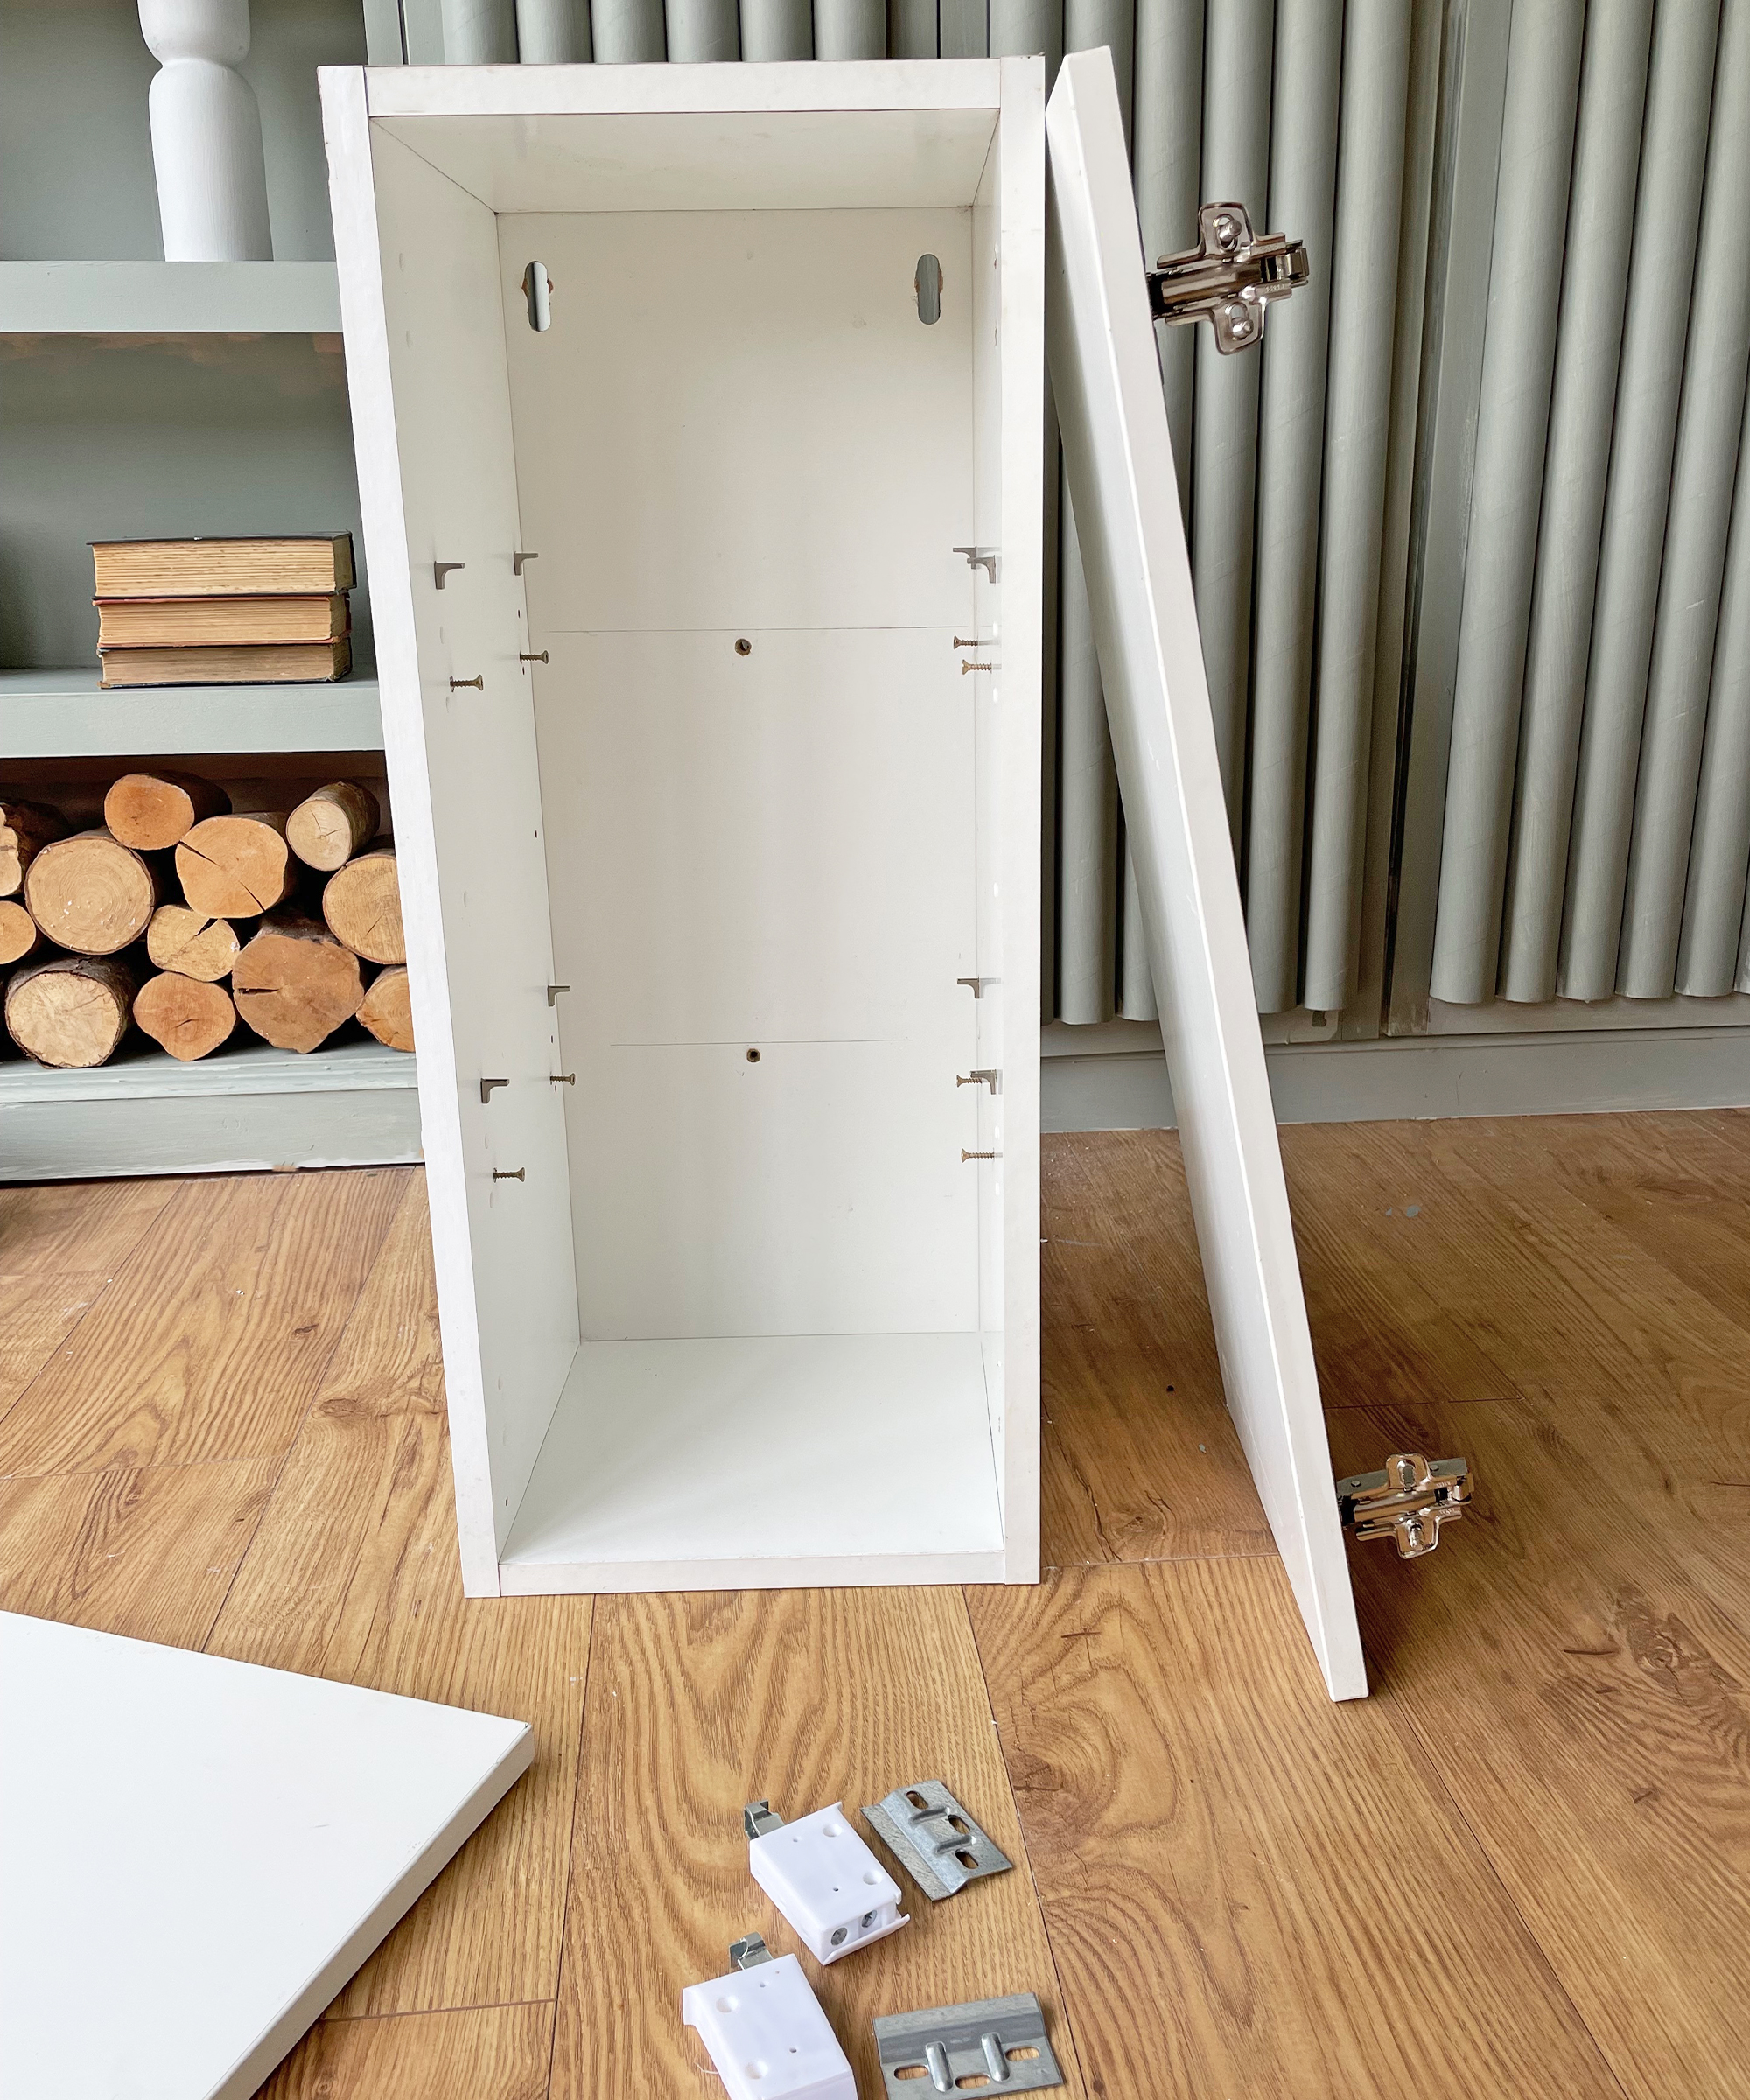
It’s easiest to assemble cabinets one by one to avoid the parts getting mixed up. Follow the manufacturer’s instructions to assemble them. Start with the wall cabinets, which you’ll install first.
To speed up the process, ‘You can also streamline your cabinet installation by ordering your cabinets preassembled, but know that this option is more expensive and is more likely to be damaged during shipment,’ explains Martha McNamara, the head of design at Vevano Home.
5. Install wall cabinets
Our preferred method is to start by fixing the wall cabinets.
Begin with a corner unit, or from the far left if you don’t have a corner unit, and mark the locations of the studs on the back. Drill pilot holes at top and bottom of the cabinet. Repeat for all the upper cabinets.
Set the first cabinet in place on the wall and use the mounting screws to fix it to the wall. However, only tighten them enough to hold it in place for the moment.
Check that the first cabinet is level and plumb and shim behind it if necessary.
6. Continue mounting wall cabinets
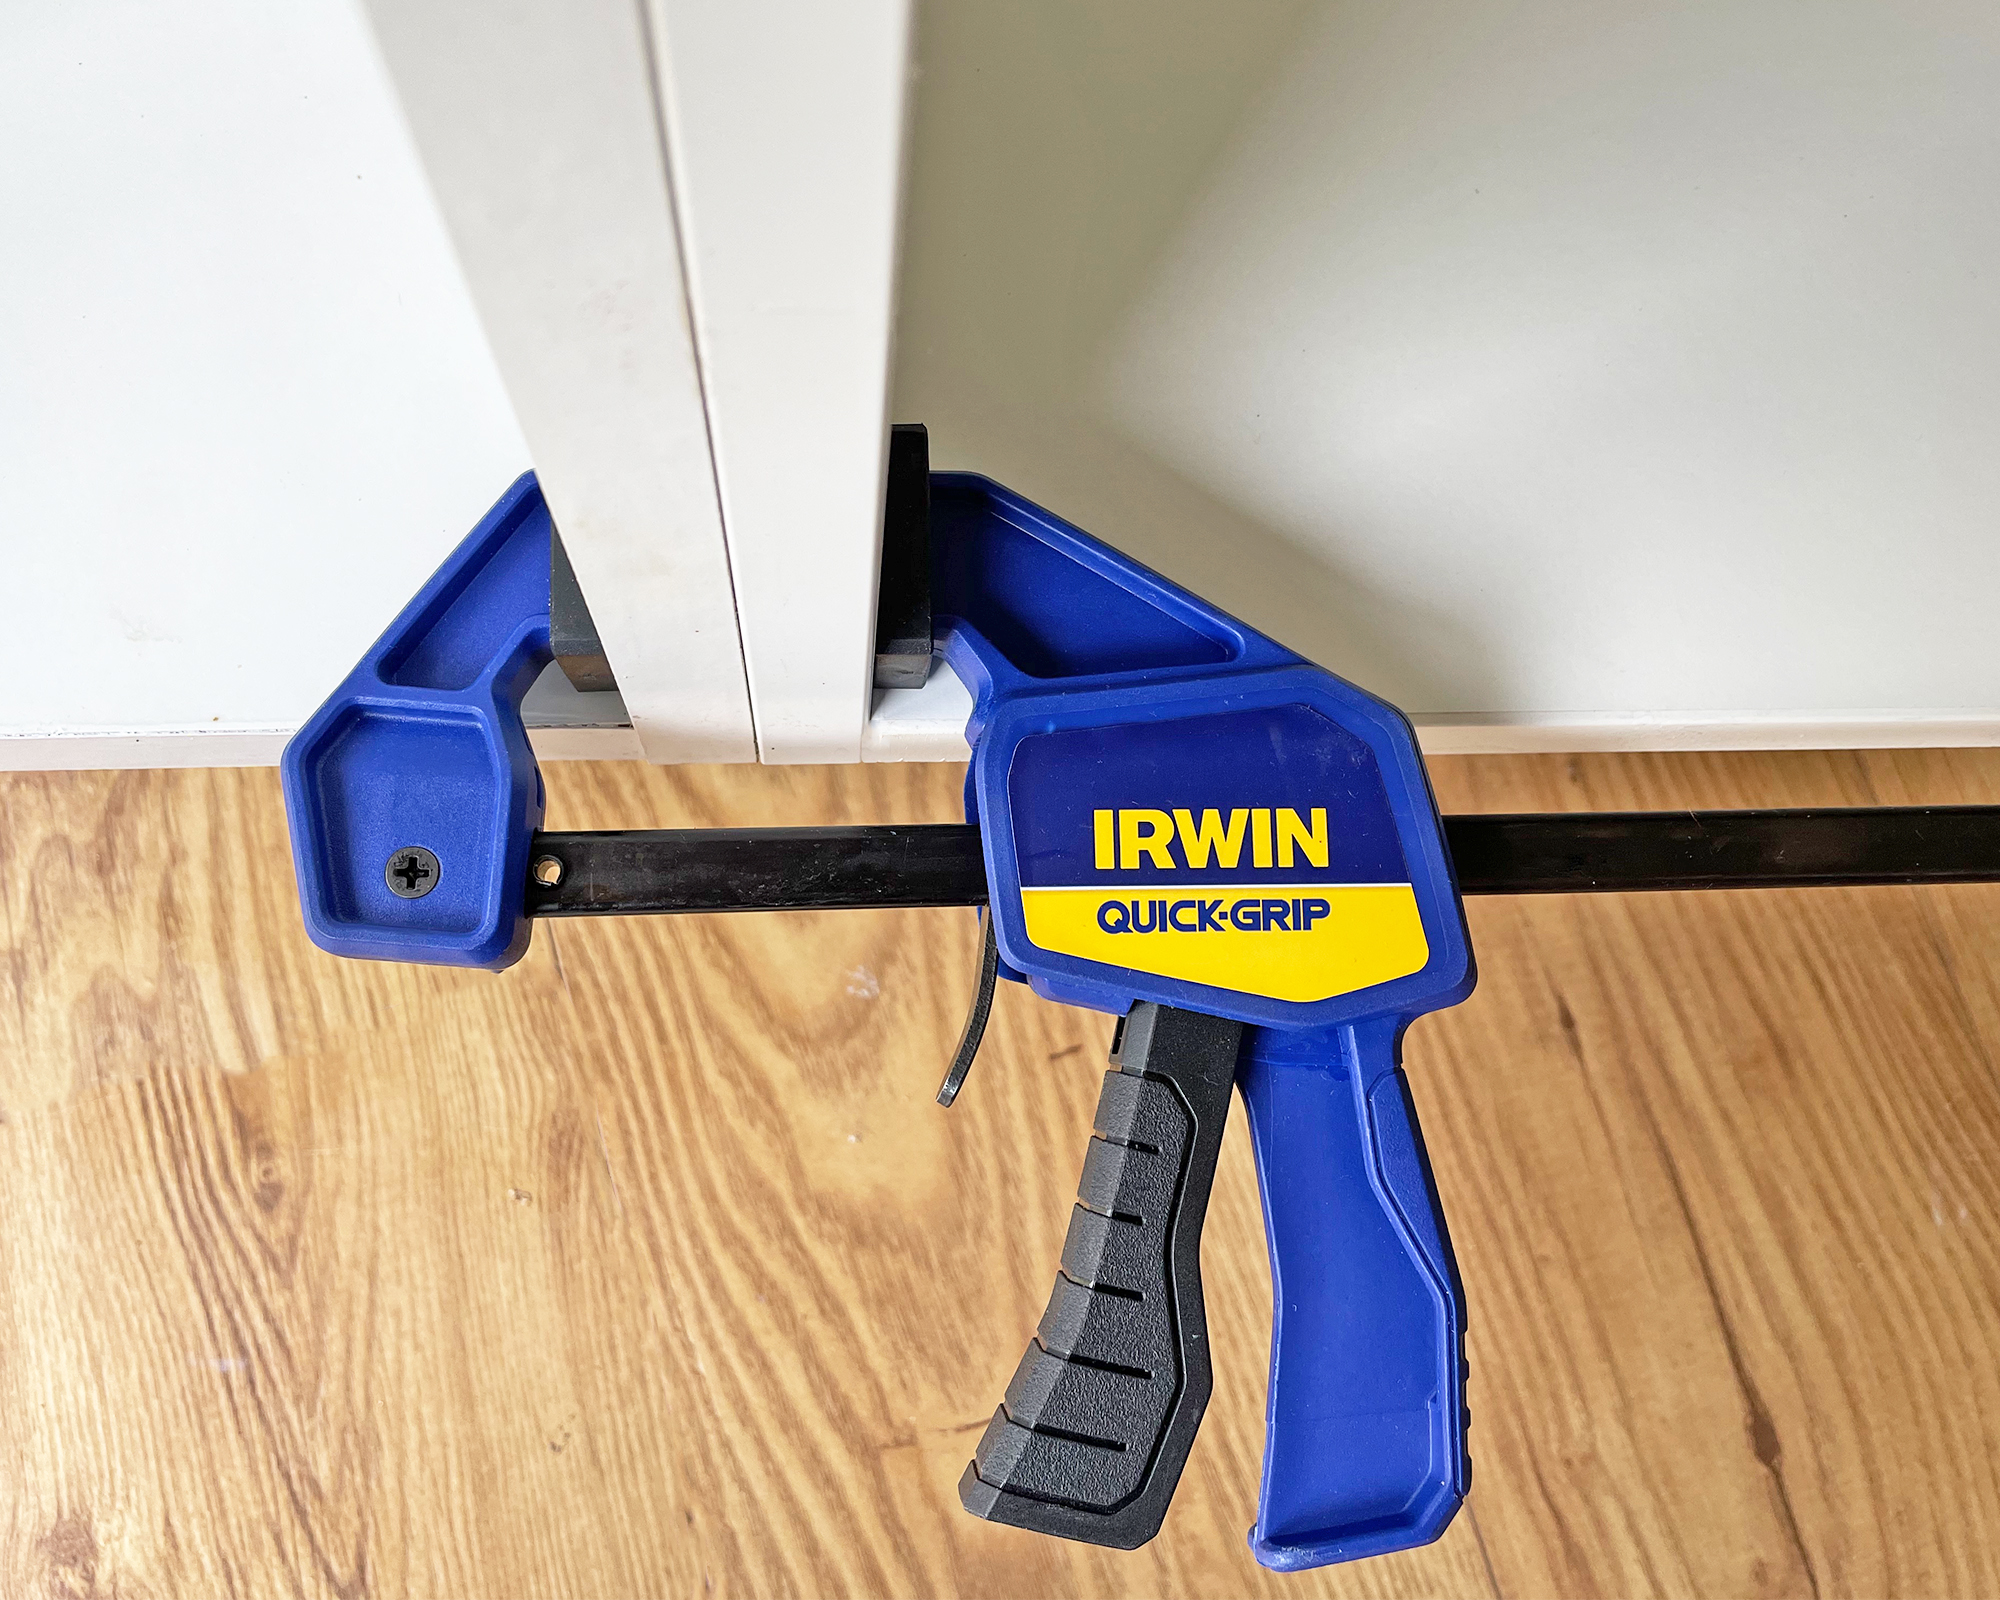
Put the second cabinet next to the first, ensuring it is aligned. Hold the cabinets together with clamps and use screws to fix the second cabinet in the same way as the first – that is only tightening the screws sufficiently to hold it in place, and using shims to make it plumb if required.
Connect the upper cabinets using a drill with a countersink twist drill bit and the cabinet screws.
Continue in the same way for the row, making sure to check the cabinet faces and edges are even as well as level as you work. If there’s a gap at the end, use a cabinet fill strip to complete the row.
When the wall cabinets are all in place fully tighten the rear screws, remove the clamps, and remove the support below. Repair any damage to the wall as necessary.
7. Install first base cabinet
Just like with the wall cabinets, start fitting the base cabinets from a corner. Use the marks on the wall to mark the stud locations on the cabinet, then drill holes. Put the first cabinet into position using the horizontal line on the wall as a guide, and check it is level and plumb. You may need to use shims below or at the back. Screw in place, tightening just enough to hold it in place.
8. Continue fitting base cabinets
Drill pilot holes in the back as before and put the second cabinet in position next to the first. Even faces and shim if necessary. Clamp the two cabinets together and screw the second cabinet in to just hold it in place.
Connect the two cabinets as with the wall cabinets. Continue to fit the base cabinets along the wall in the same way. Note that you will need to cut holes for plumbing where the sink will be located.
Use a filler strip if there is a gap at the end, then tighten all the screws and remove the clamps.
9. Fit doors and trim
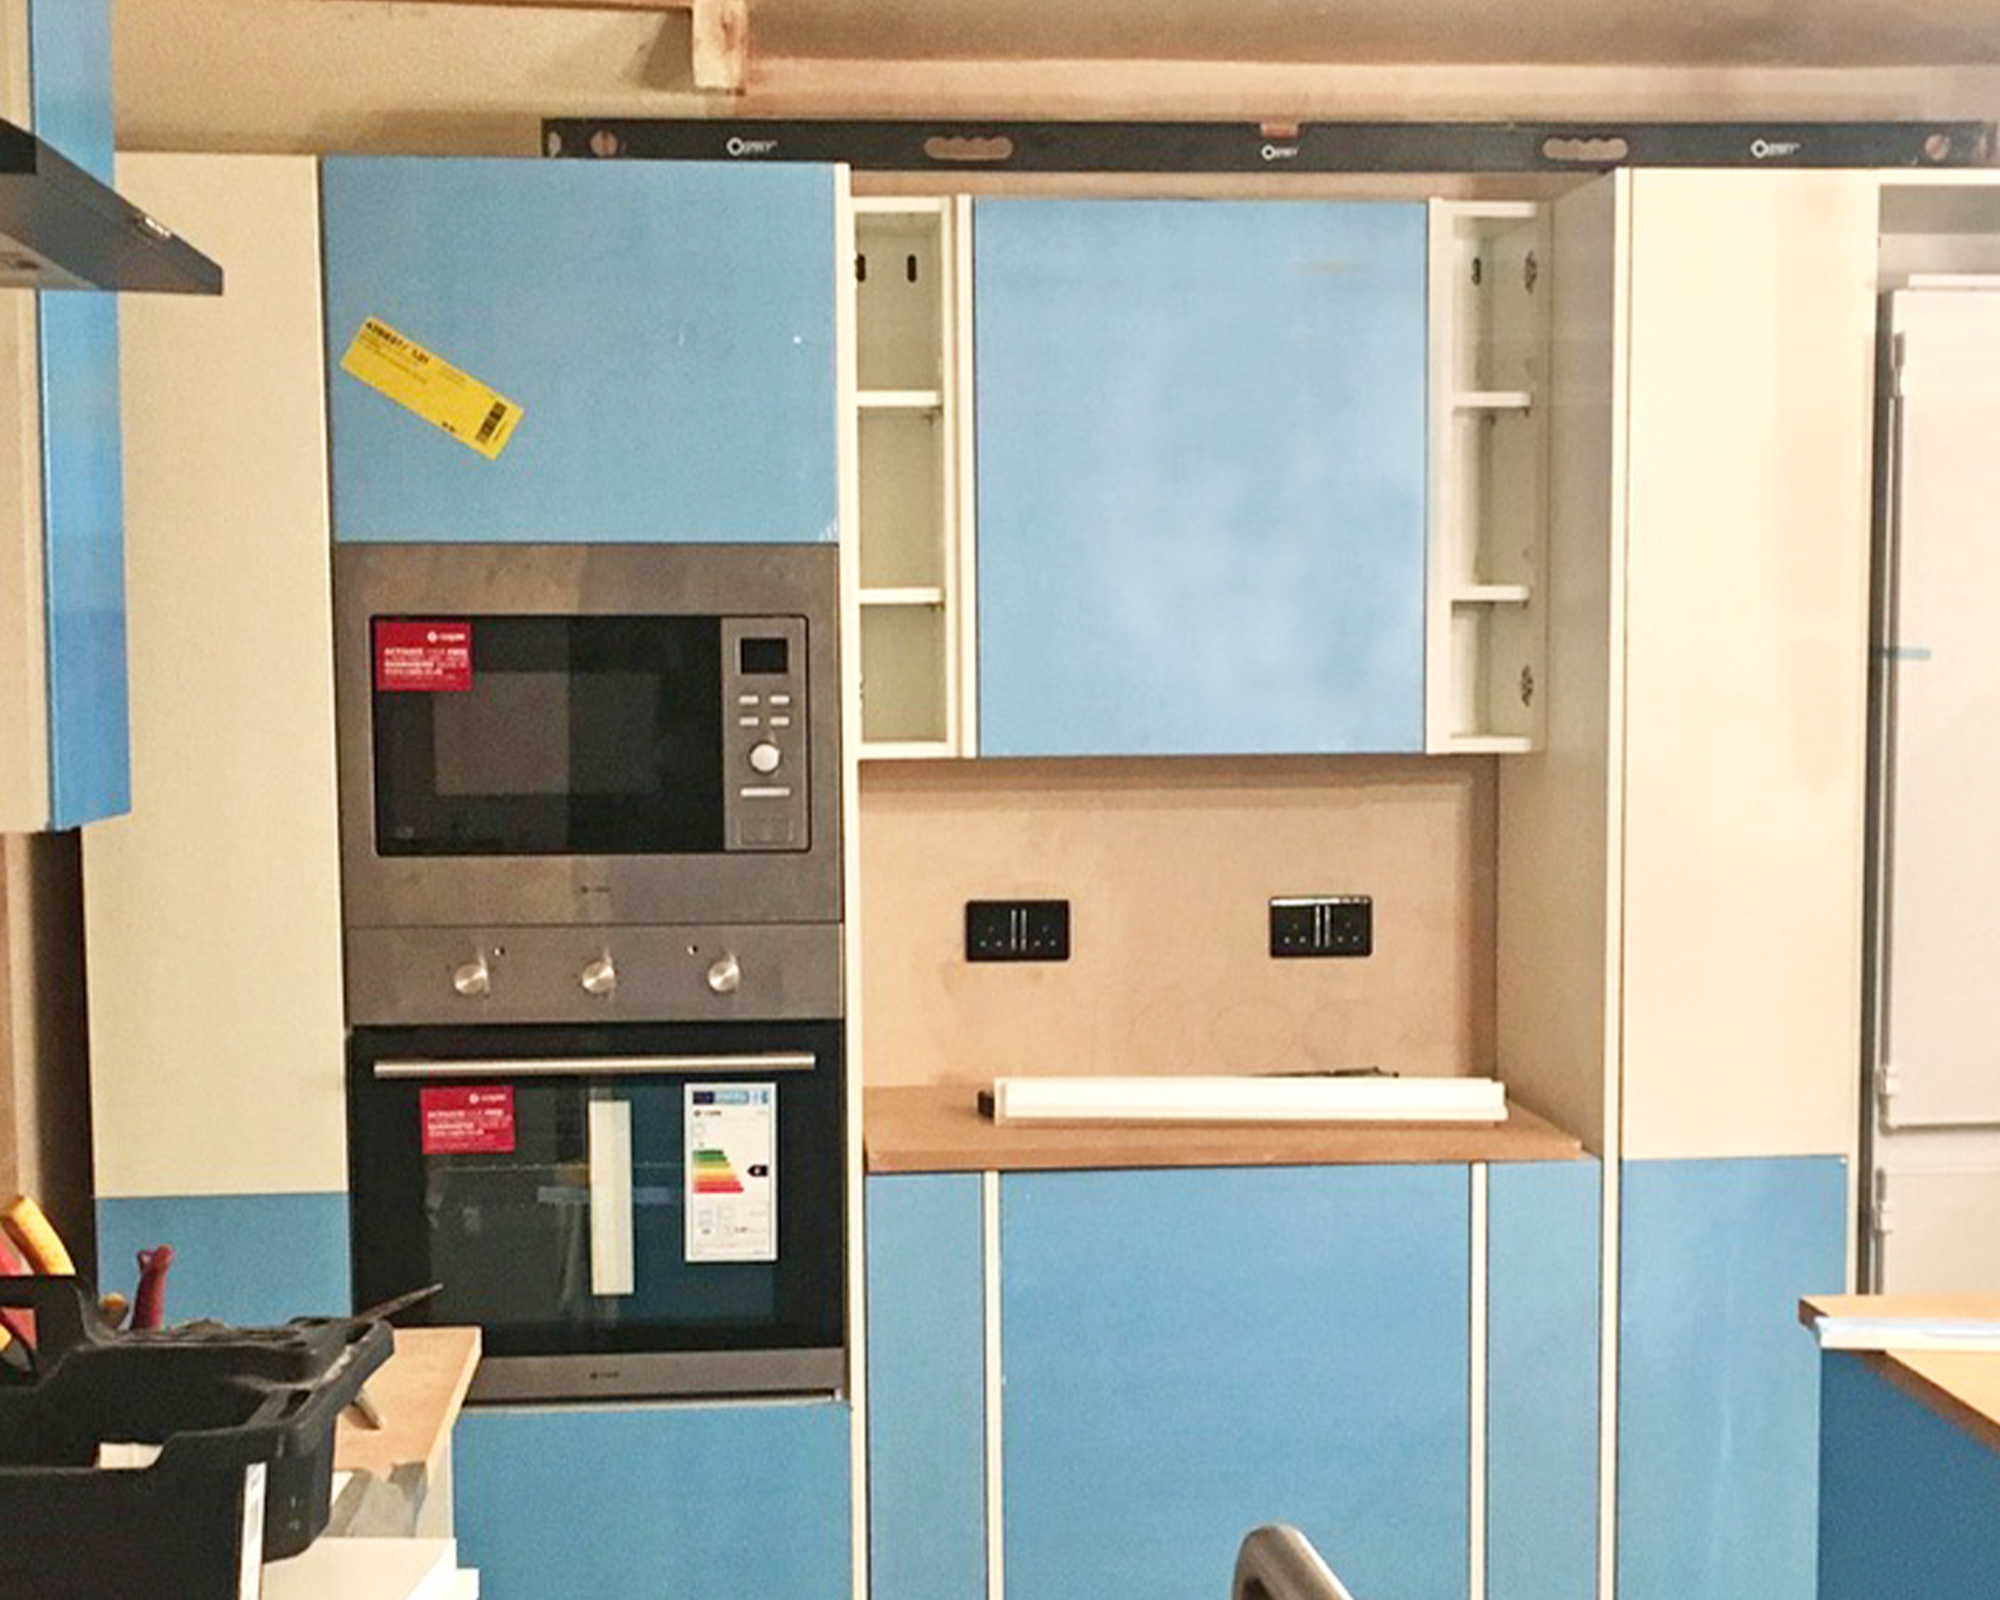
To finish, fit the cabinet doors, and set drawers into tracks.
Cut and attach the toe kicks. ‘Typically, they'll be 4 inches (10cm) wide, but if your floor is irregular, you may need to cut them narrower,’ says Zac Houghton, CEO of Loftera. ‘For the best results, add a base shoe contoured to fit the floor if there are bad gaps between the toe kicks and the floor.’
Don't forget to peel off the protective coating that usually comes attached to the cabinet fascias, it is often blue as seen in the image above.
Do you install upper or lower cabinets first?
It can be helpful to fit upper cabinets first, and it’s the order we’d recommend because it is easier to access the wall if the base cabinets aren’t in place. However, the issue isn’t cut and dried.
‘Whether upper or lower cabinets should be installed first is up for debate and depends on circumstance,’ says Ralph Severson, owner of interior remodeling company Flooring Masters. ‘Most cabinet installers prefer to hang wall cabinets first so they may be placed on stands or to make it easier for a coworker to hold them in place. I have also seen the floor cabinets installed first because other work needed to be completed on the walls by other subcontractors.’
Is it hard to install your own cabinets?
Installing kitchen cabinets requires DIY skills of an intermediate level. You don’t need a whole lot of tools, and the cabinets themselves are in essence boxes that need to be screwed to the wall and joined to one another.
What is crucial to success is careful measuring and taking the time to keep everything plumb and level throughout.
Common questions about installing kitchen cabinets
Douglas shares her wisdom on some general problems you might run into if this is your first time installing kitchen cabinets yourself.
What if my floor isn’t level?
When installing kitchen cabinets, the base units must be level; an uneven floor makes this trickier. Small differences in floor level can be counteracted by using adjustable cabinet legs and/or shims, but if there is a large variation then it is advisable to level the floor.
What is a shim?
A shim is effectively a wedge to fill a gap between a cabinet (base or upper) where the mounting surface (wall or floor) is uneven.
What if my walls are uneven?
Variances in the wall can usually be accounted for by inserting shims behind the cabinets.
Why don’t the cabinet doors line up?
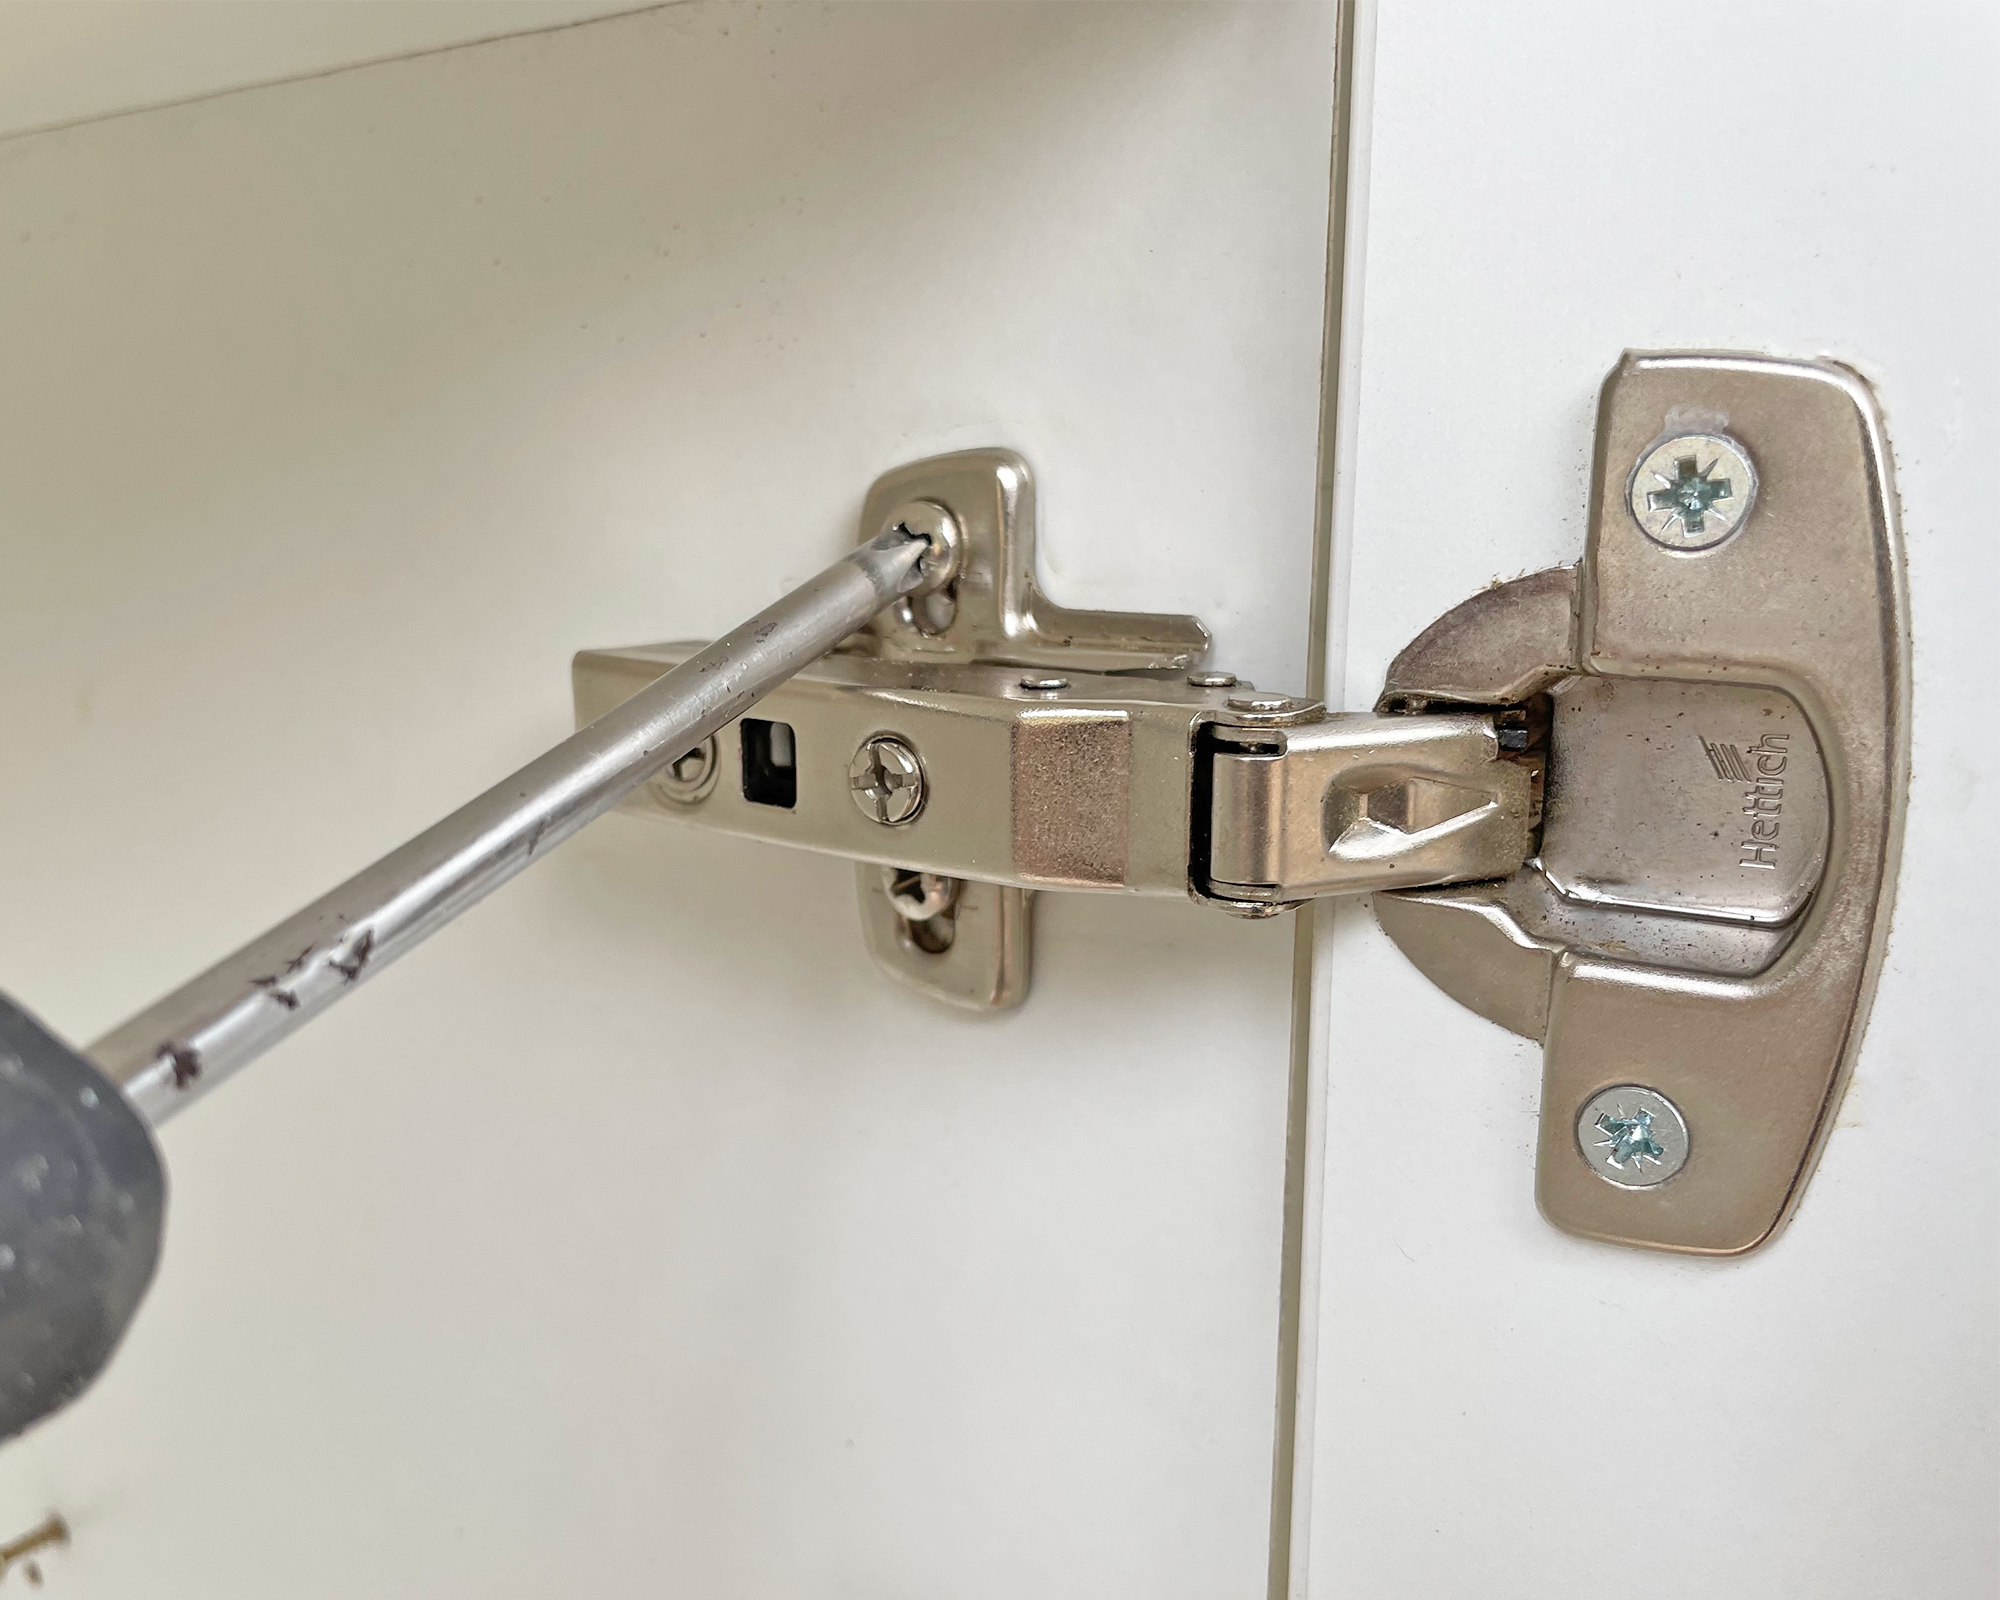
After you’ve fitted the doors, the hinges will need adjusting to ensure the doors fit flush to the cabinet carcass and are level with adjacent doors.
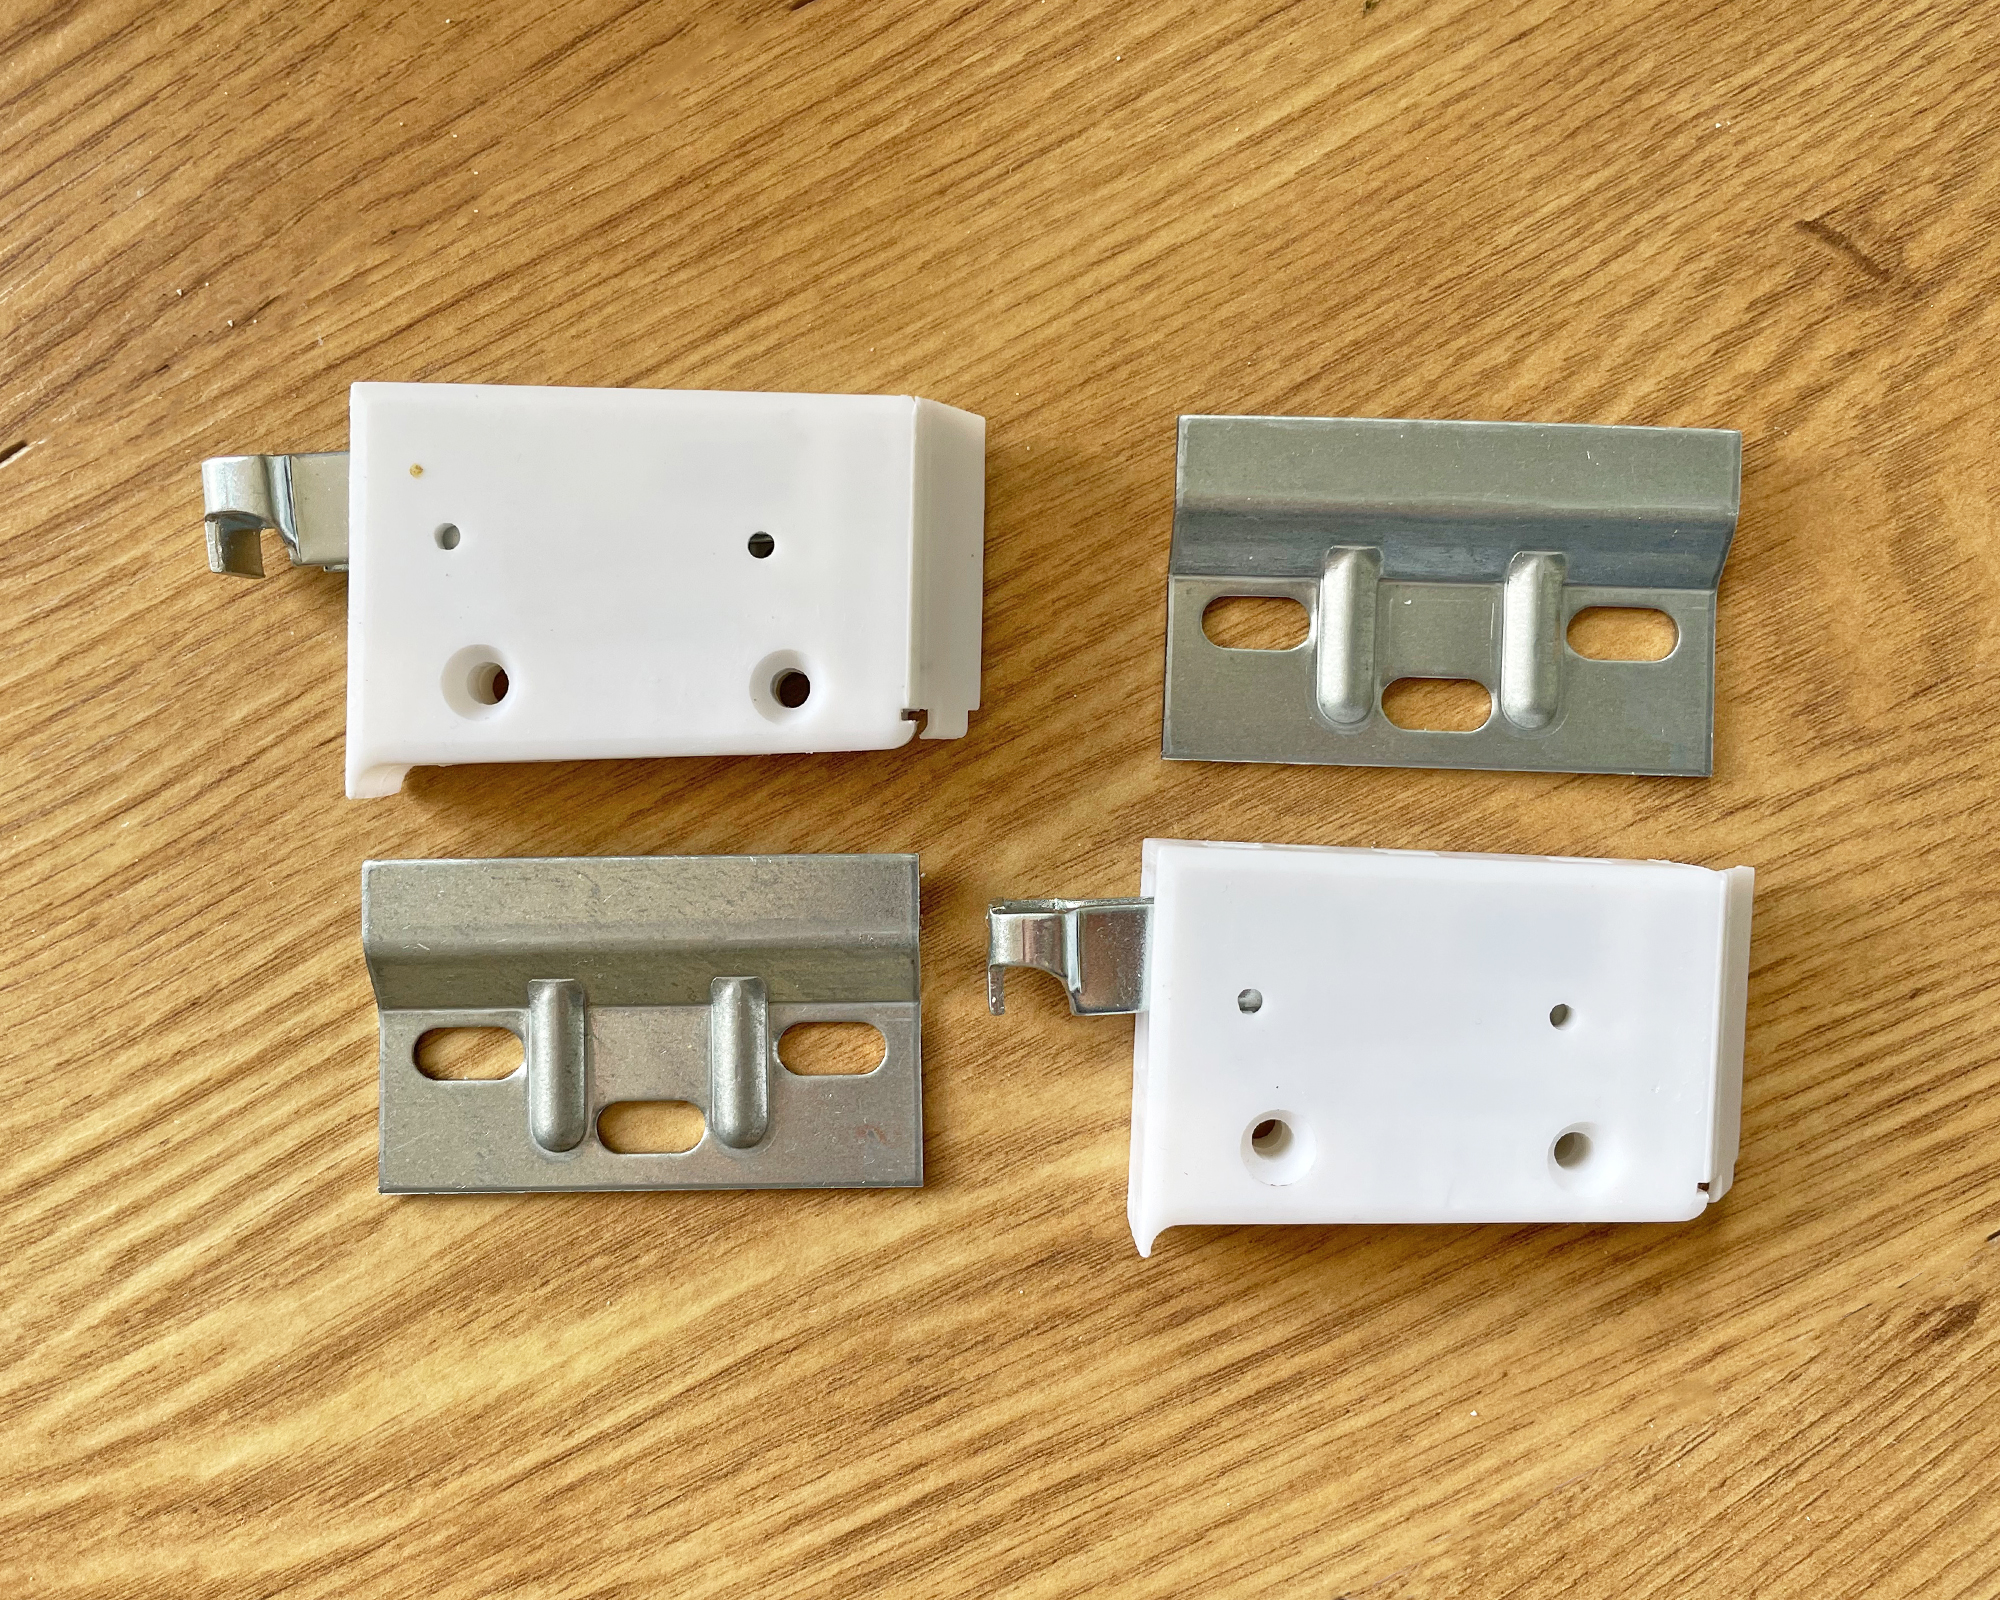
What are concealed cabinet hanging brackets?
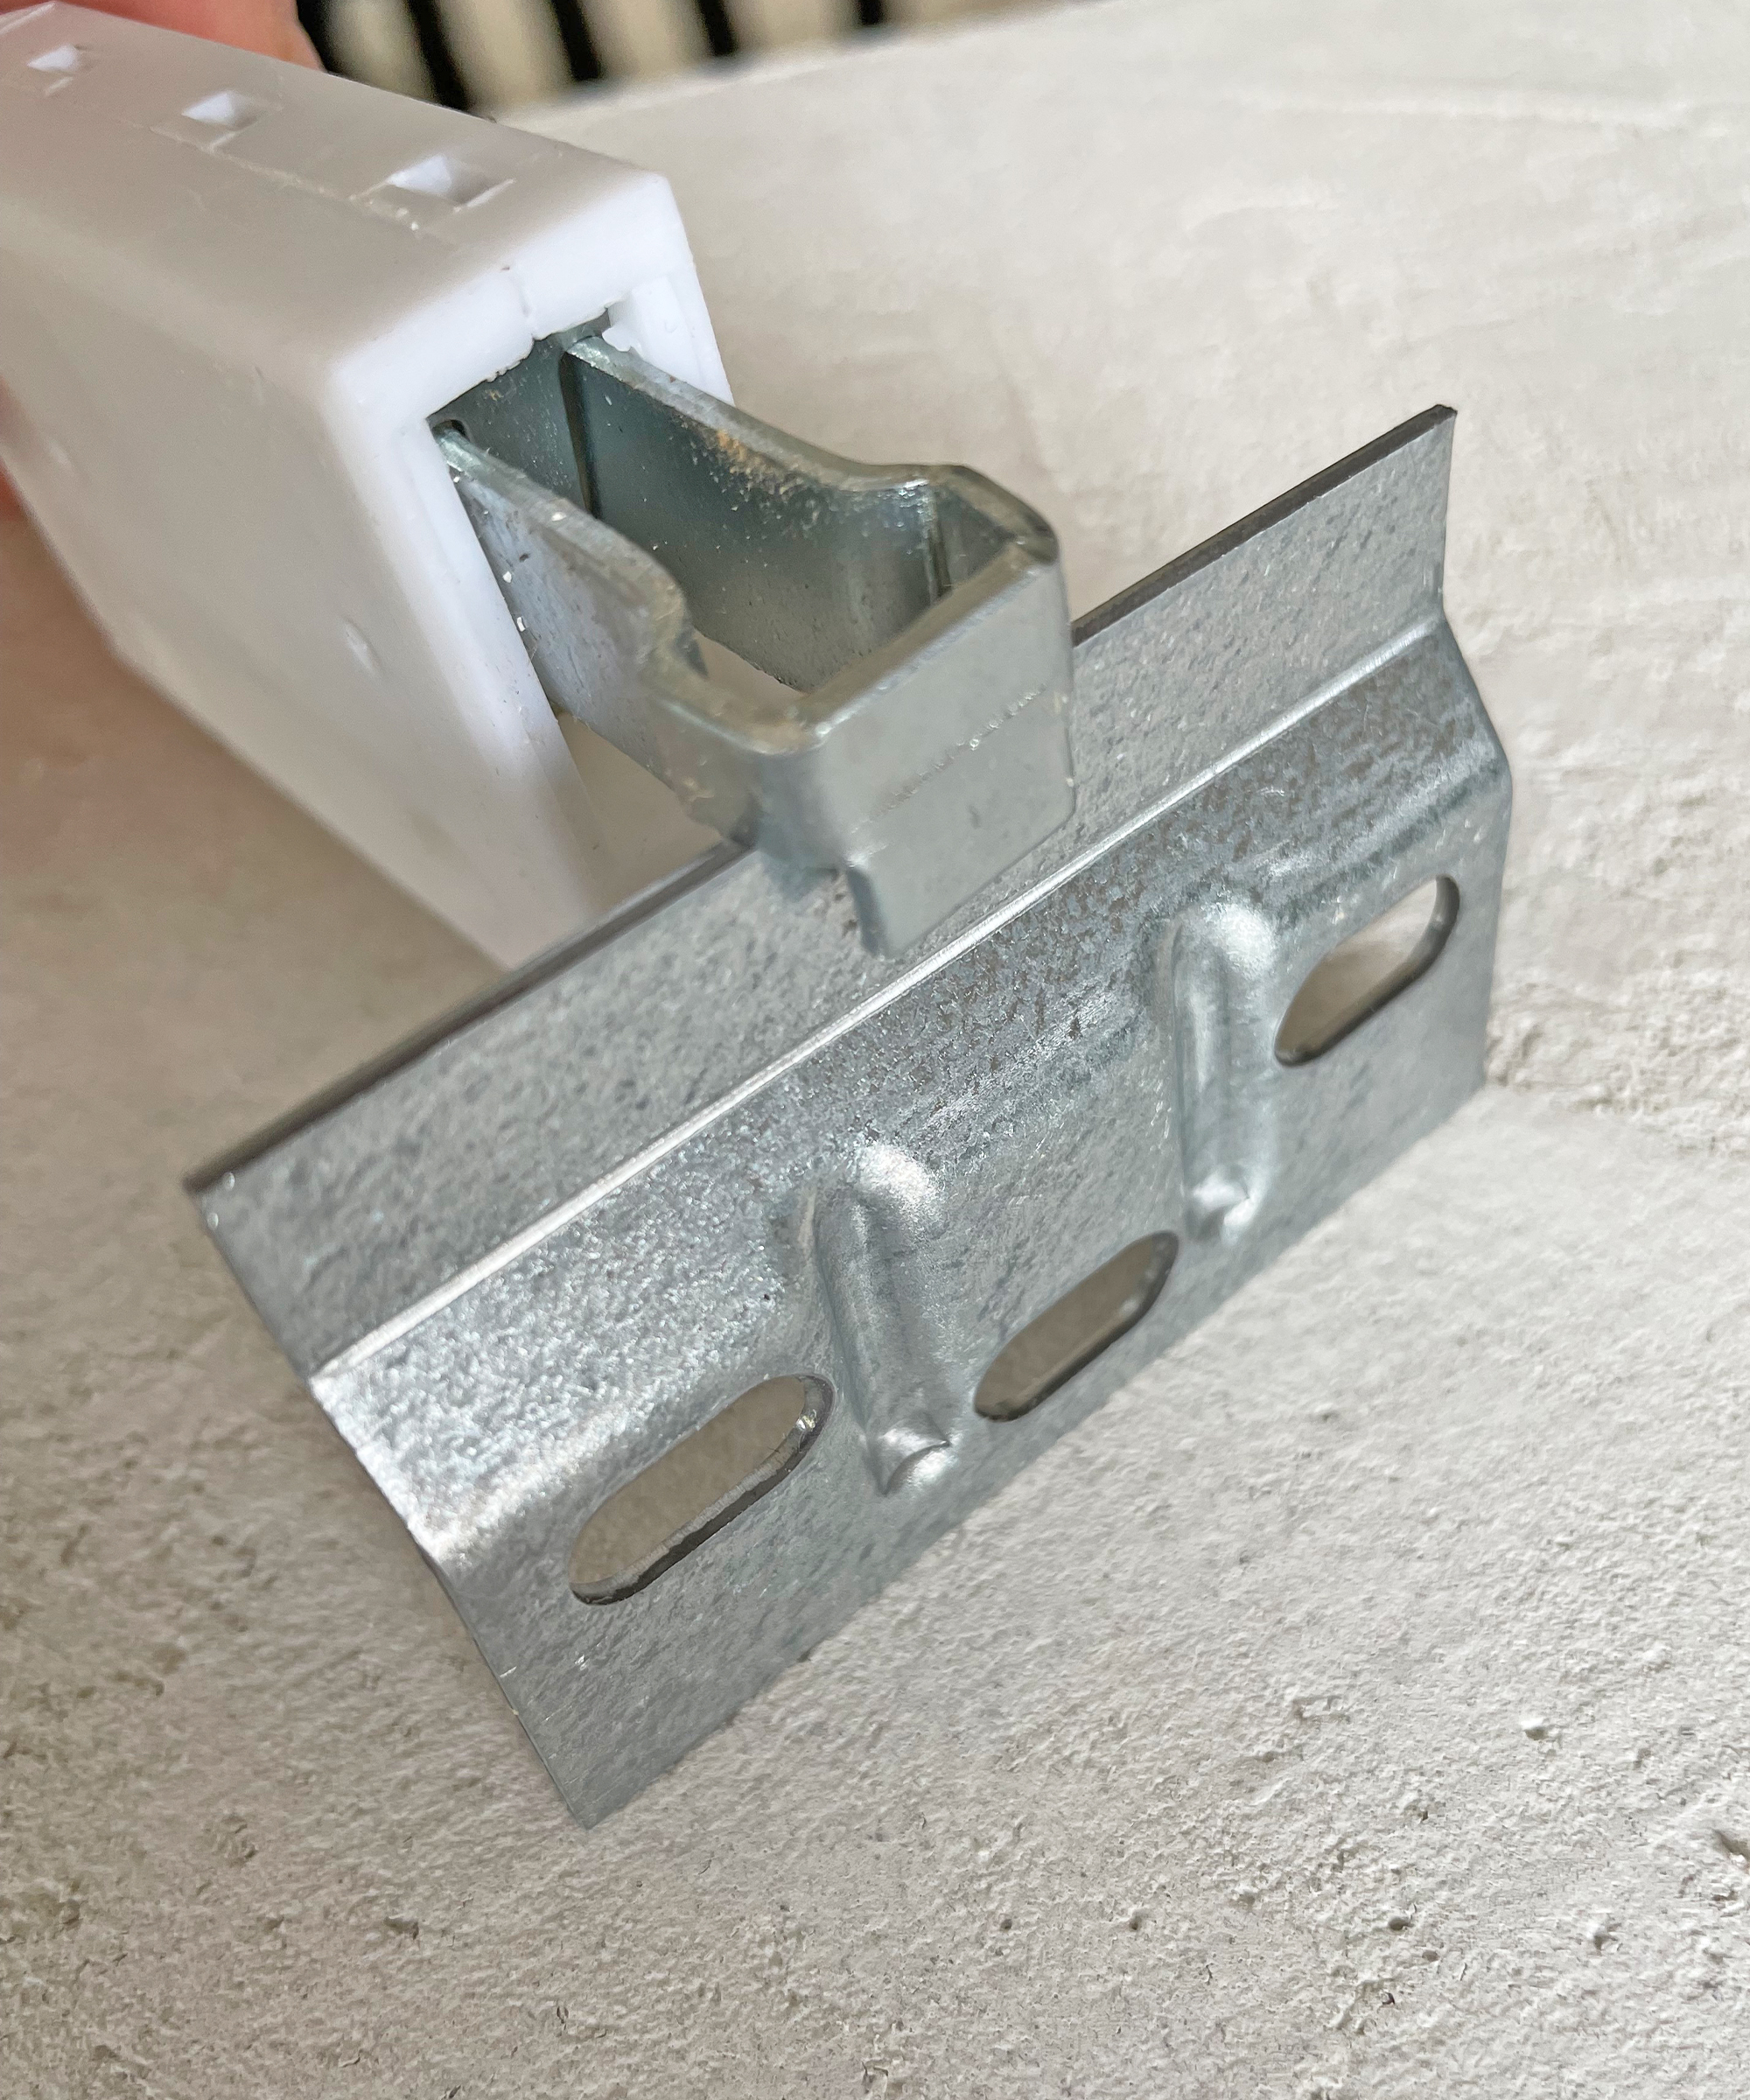
These are cleverly designed fixing methods that fit into the top corners of your upper cabinets providing hooks that can then be inserted into the metal hanging bracket that you attach to the wall (as shown in the image below).
The inner section of the fixing is adjustable so once you have hooked the cabinet onto the hanging bracket you can turn the screws to move the cabinet.
Do I have to screw into the studs?
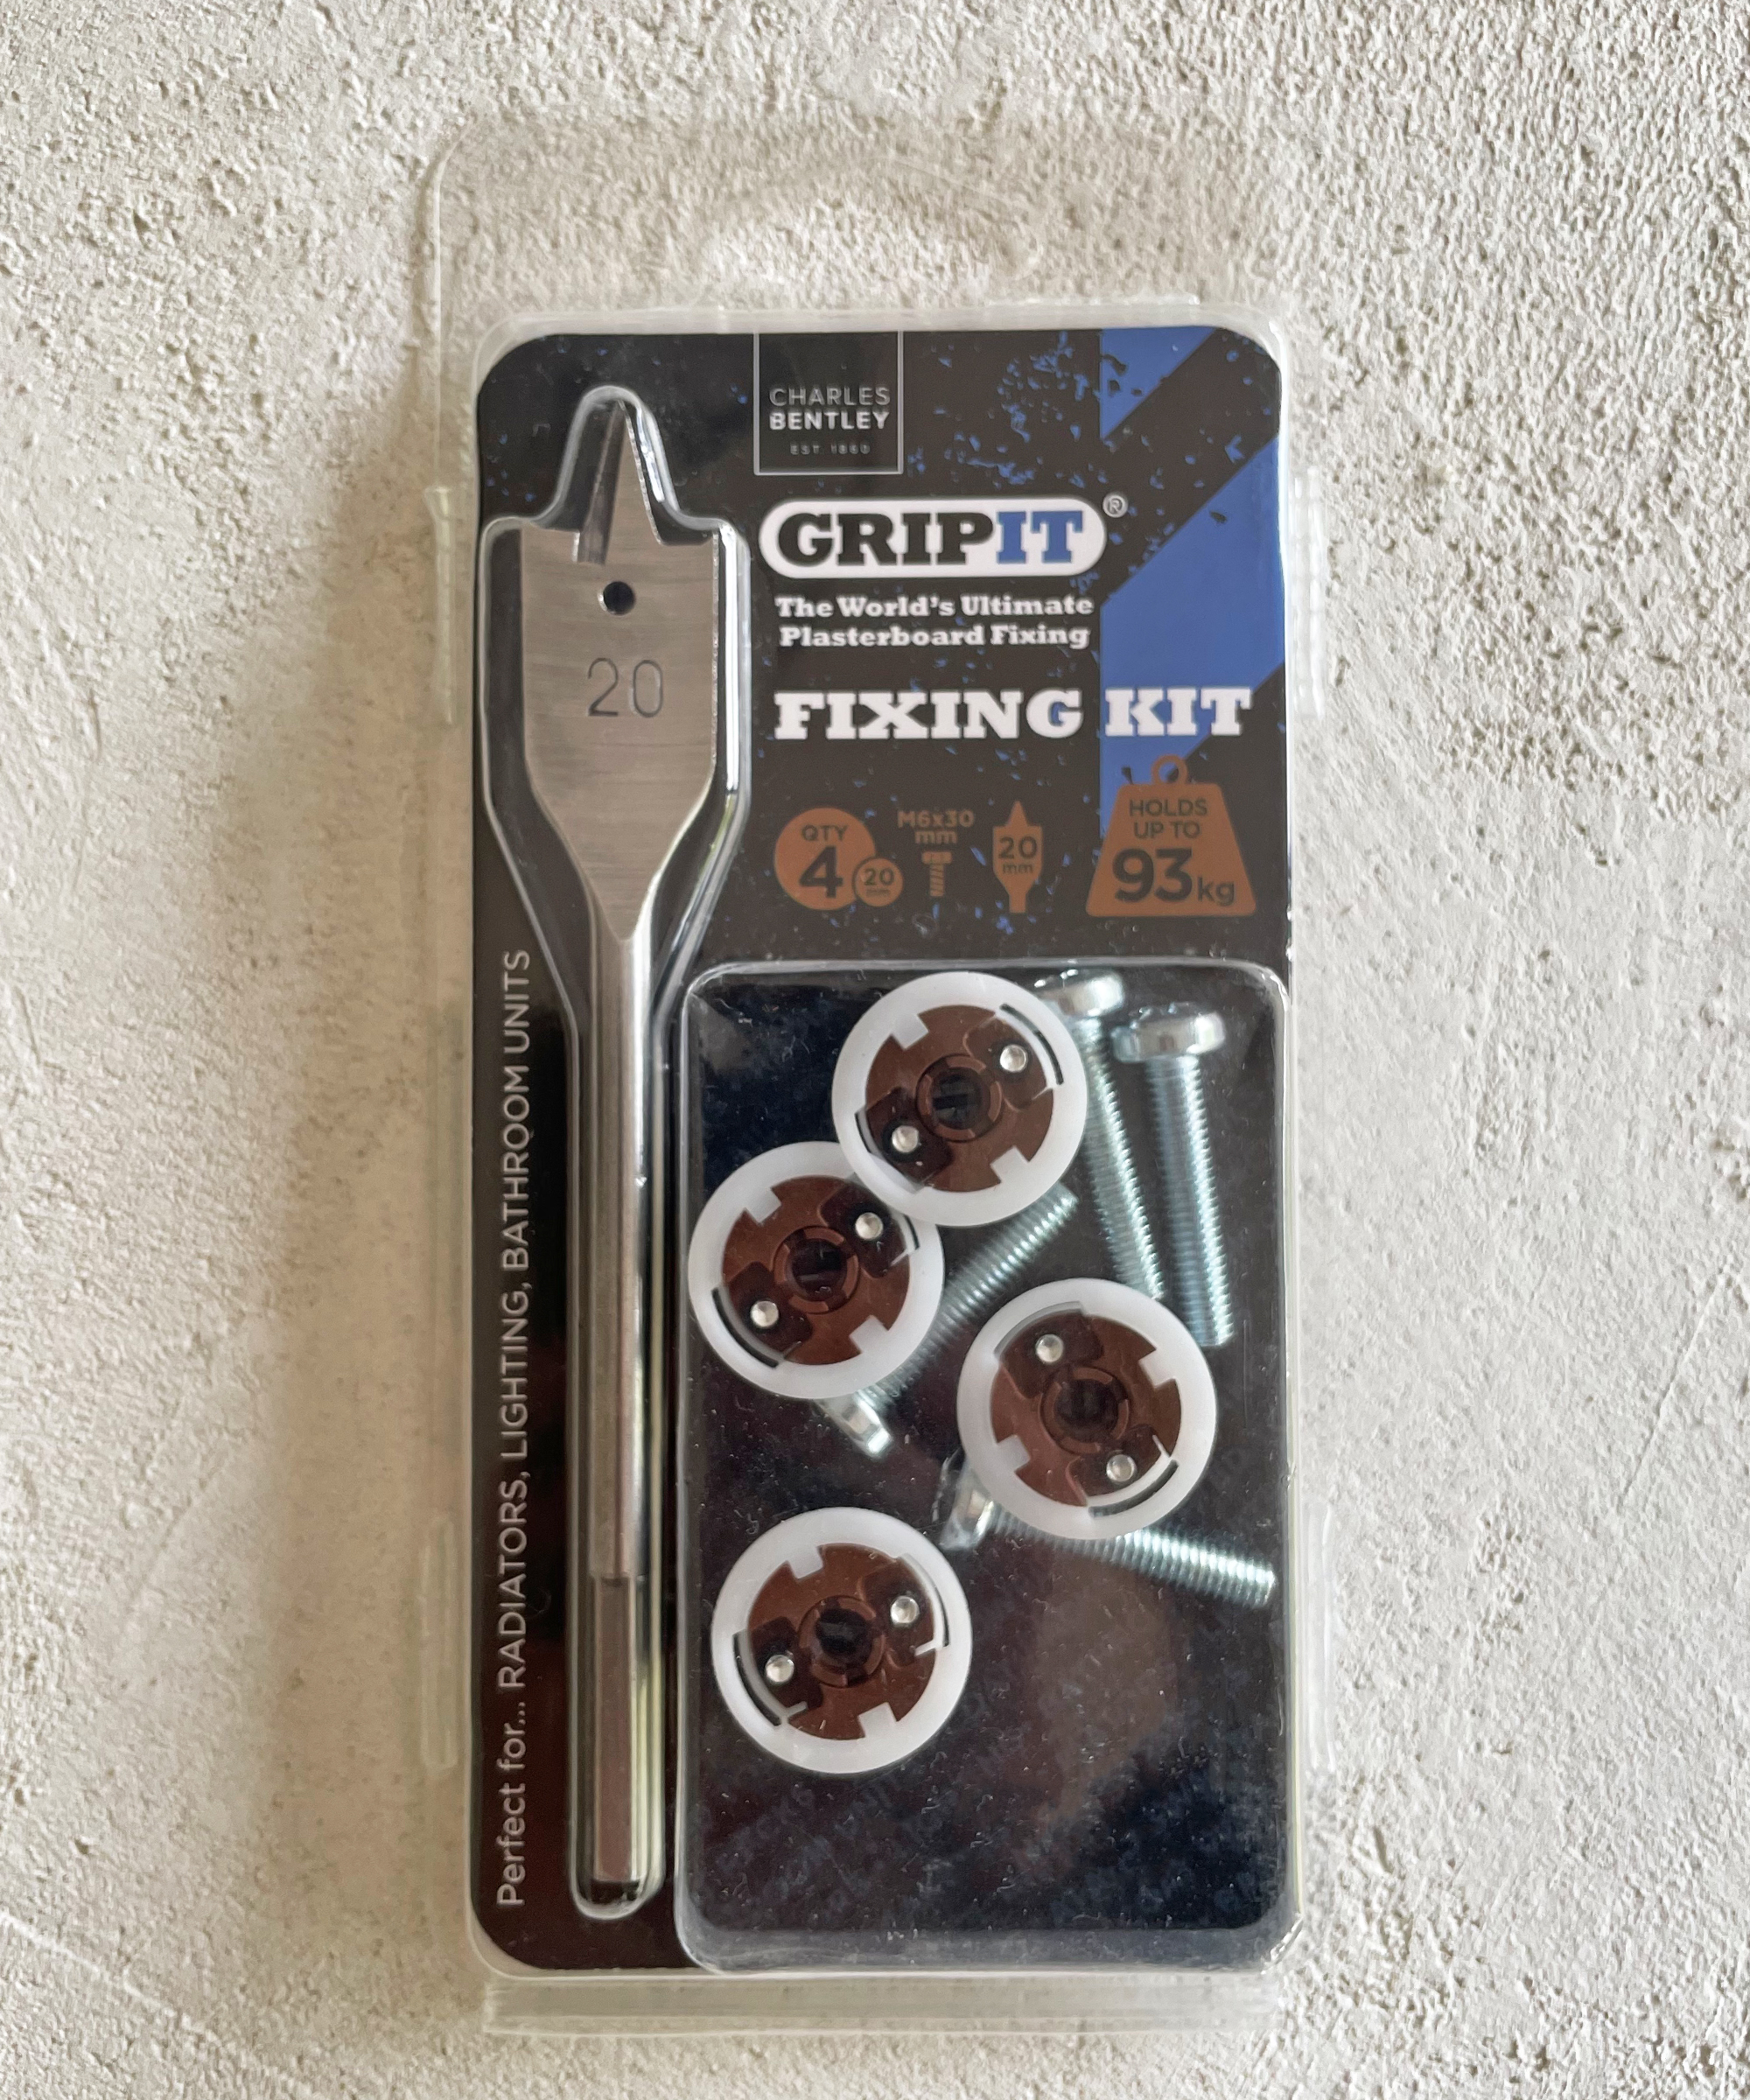
Screwing into the studs is always advisable if possible, but if it really isn't an option these handy GripIt fixings have been specially developed to hold heavy-duty cabinets mounted in plasterboard alone. They have a special drill bit and a cleverly designed install process. Be sure to buy the correct GripIt for the final weight you need supported and this obviously includes the cabinet, doors, and contents too.

Sarah is a freelance journalist and editor writing for websites, national newspapers, and magazines. She’s spent most of her journalistic career specialising in homes – long enough to see fridges become smart, decorating fashions embrace both minimalism and maximalism, and interiors that blur the indoor/outdoor link become a must-have. She loves testing the latest home appliances, revealing the trends in furnishings and fittings for every room, and investigating the benefits, costs and practicalities of home improvement. It's no big surprise that she likes to put what she writes about into practice, and is a serial house revamper. For Realhomes.com, Sarah reviews coffee machines and vacuum cleaners, taking them through their paces at home to give us an honest, real life review and comparison of every model.
- Claire DouglasGuest blogger