I learned how to decoupage and it's so easy to do in 7 simple steps
Learning how to decoupage is so easy, making it the perfect weekend DIY project to add flare and personalization to your space

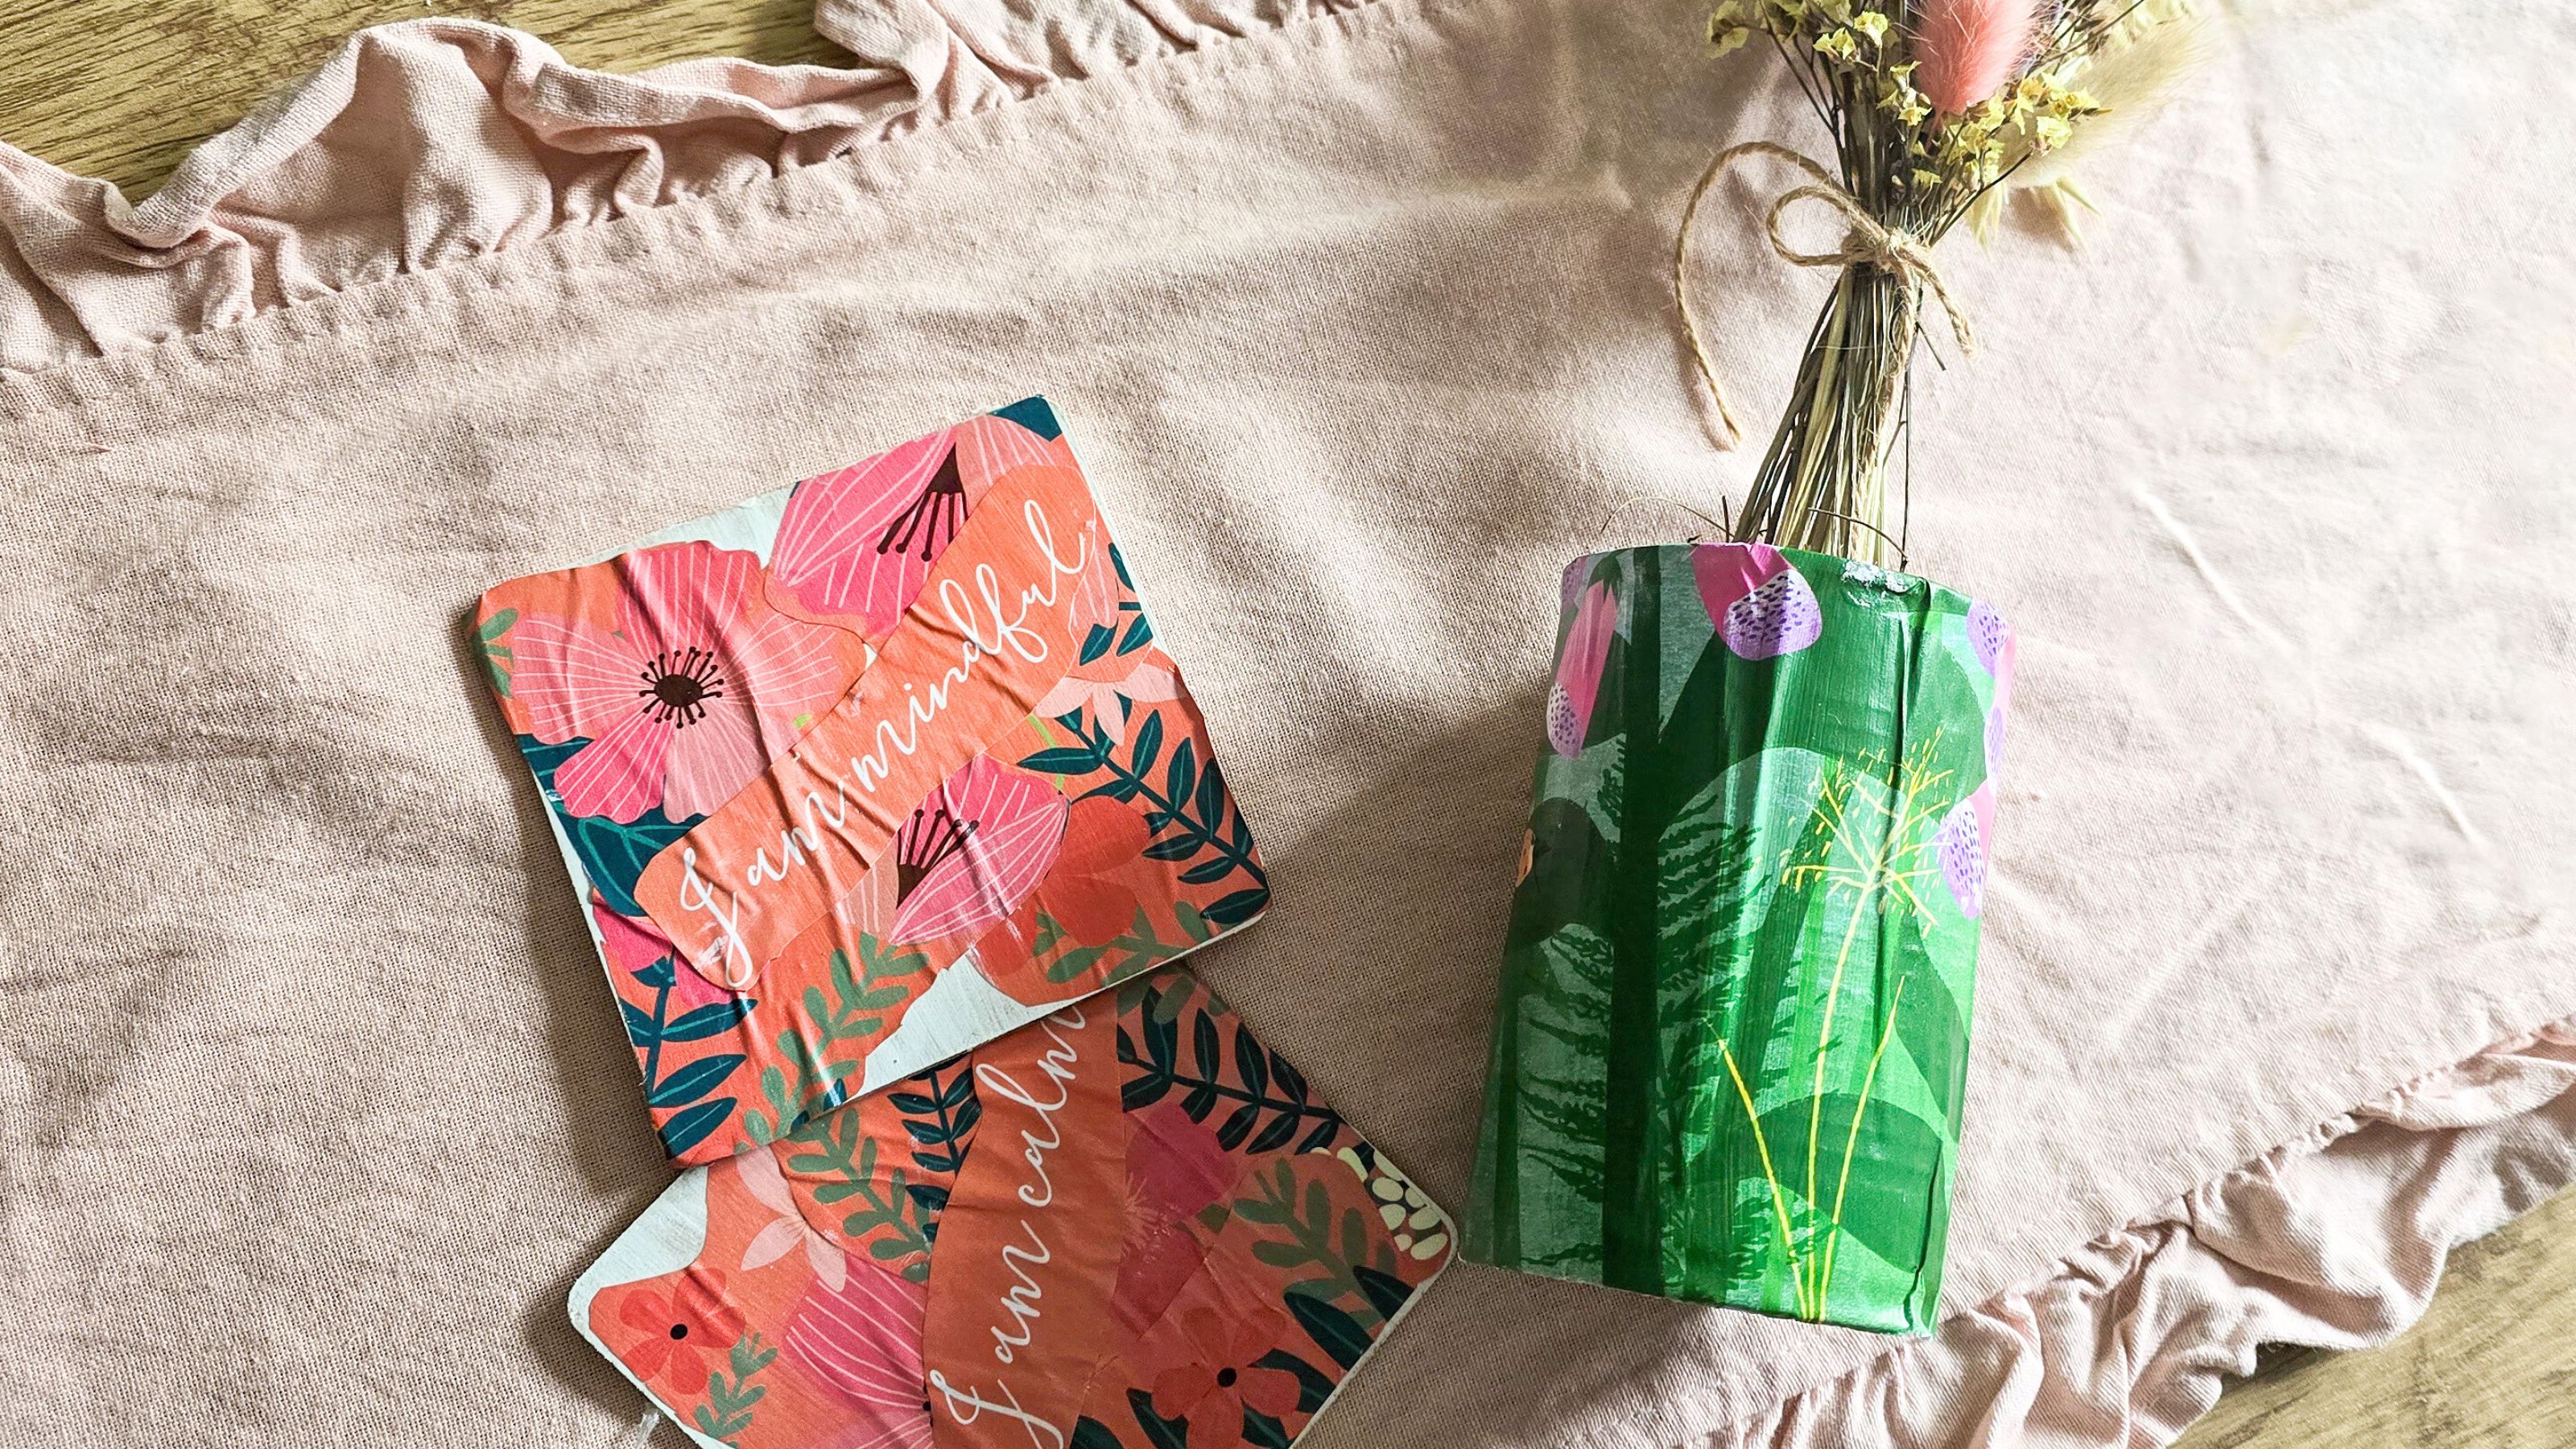
Wondering how to decoupage? The paper crafting technique is back on trend, with more people making mindful makes in their homes.
I tried out the technique myself, and trust me when I say it's so easy to do. I'll guide you through the steps on how to do it with a tin can and coasters, but you can decoupage many surfaces — even furniture (yes, really)!
If you're looking for small space DIYs, decoupage is renter-friendly, fun to do, and the result is very rewarding, too.
How to decoupage in seven easy steps
Decoupage is the craft of decorating an object with cut-out paper pieces by gluing them onto the surface. I love this as an easy spring DIY idea to bring floral prints into the home, but you could definitely decoupage for any season.
You'll also find shoppable products you'll need to for this crafty DIY indicated throughout my guide.
The prices below were correct at the time of publishing this article.
Step 1: Gather your supplies
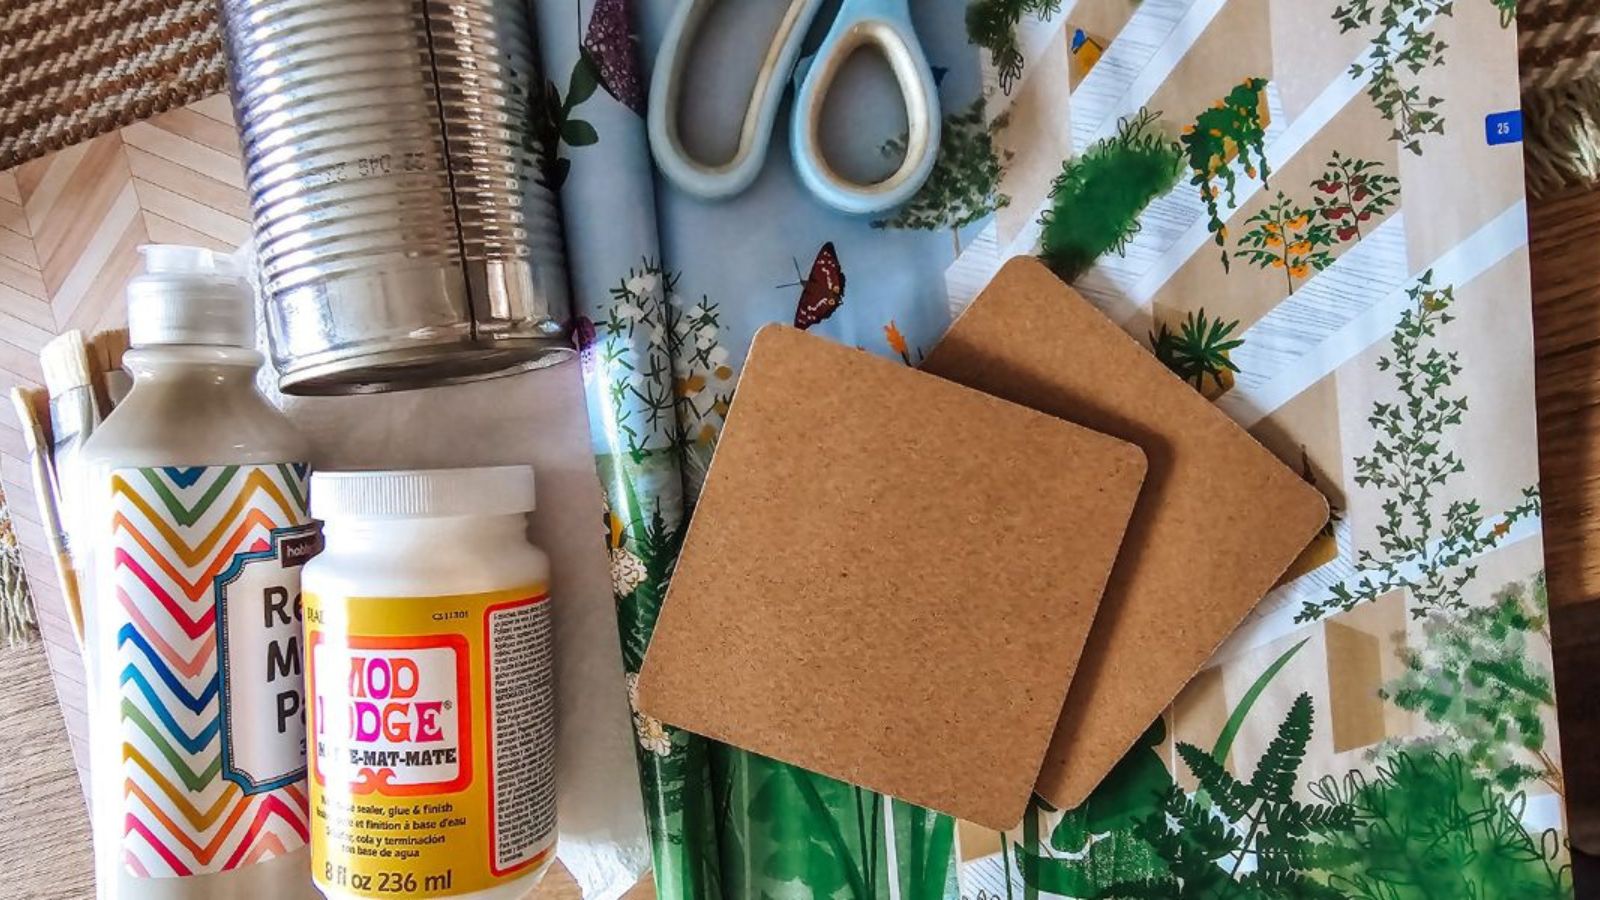
You don't need too many supplies for this — in fact, you can even recycle items you have around your home.
Get small space home decor ideas, celeb inspiration, DIY tips and more, straight to your inbox!
You will need:
- Your decoupage item — I used both a washed tin can and a set of coasters similar to these Goh Dodd Coasters on Amazon.
- Decoupage paper — you can buy specific paper, but I recycled an old magazine. You could also use newspaper, tissue paper, and rice paper.
- Paint — I recommend using an acrylic paint, such as this Angelus Acrylic Paint with over 29,000 reviews on Amazon.
- An all-rounder glue, sealer, and varnish — I used matte Modge Podge from Amazon.
- Decoupage paint brushes — these Modge Podge Brushes are Amazon's Choice.
- A plate for the paint.
- Scissors — I like how budget-friendly these Westcott Scissors from Walmart are.
- Kitchen towel.
Step 2: Paint your items
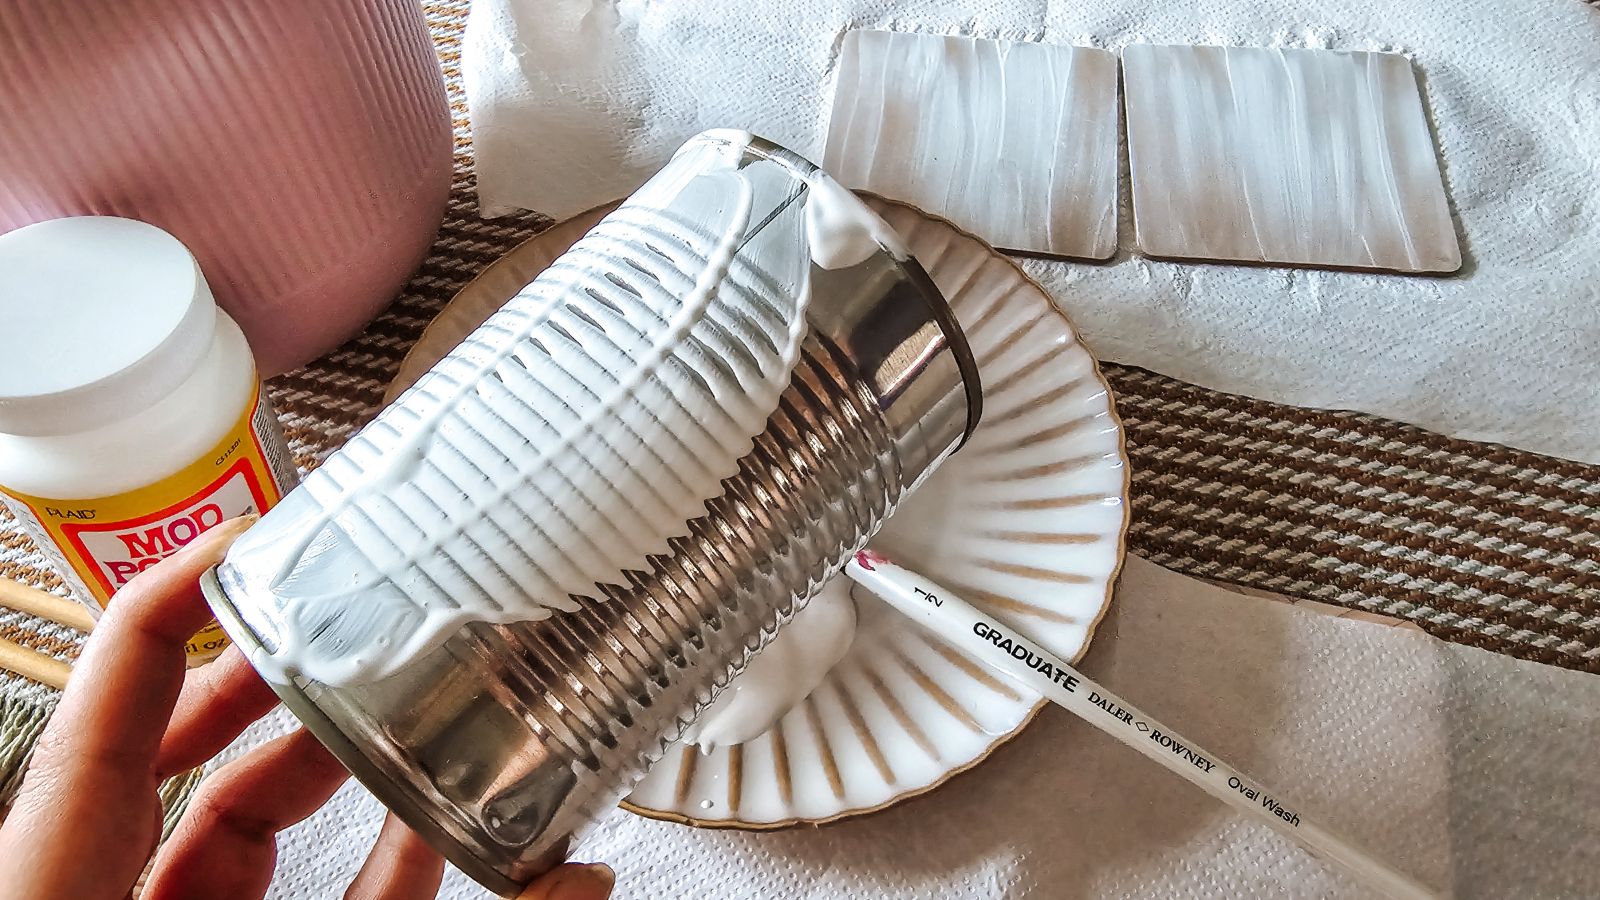
I decorated a tin and coasters in our tutorial, but there are other items you can use decoupage on.
“Other items suitable for decoupage include vases, jars, plates, planters, and old photo frames,” explains Amy Tuntasood, home designer, DIYer, and founder of Salem Home Designs. You can even transform the appearance of a lamp base with decoupage.”
Once you've chosen your item, lay it out item on some kitchen towel to protect your surfaces and then give it a coat of paint. Squeeze the paint onto a plate you don't mind having paint on, dab your brush in, and get going.
If you're creating a collage on your decoupage piece and think you might have some of the surface peeking out, you can paint it a solid color such as white (this Apple Barrel Acrylic Paint from Walmart is just under a dollar).
Alternatively, you can use your all-purpose sealer as a primer instead, if you want to leave the surface bare.
Step 3: Cut out your paper pieces
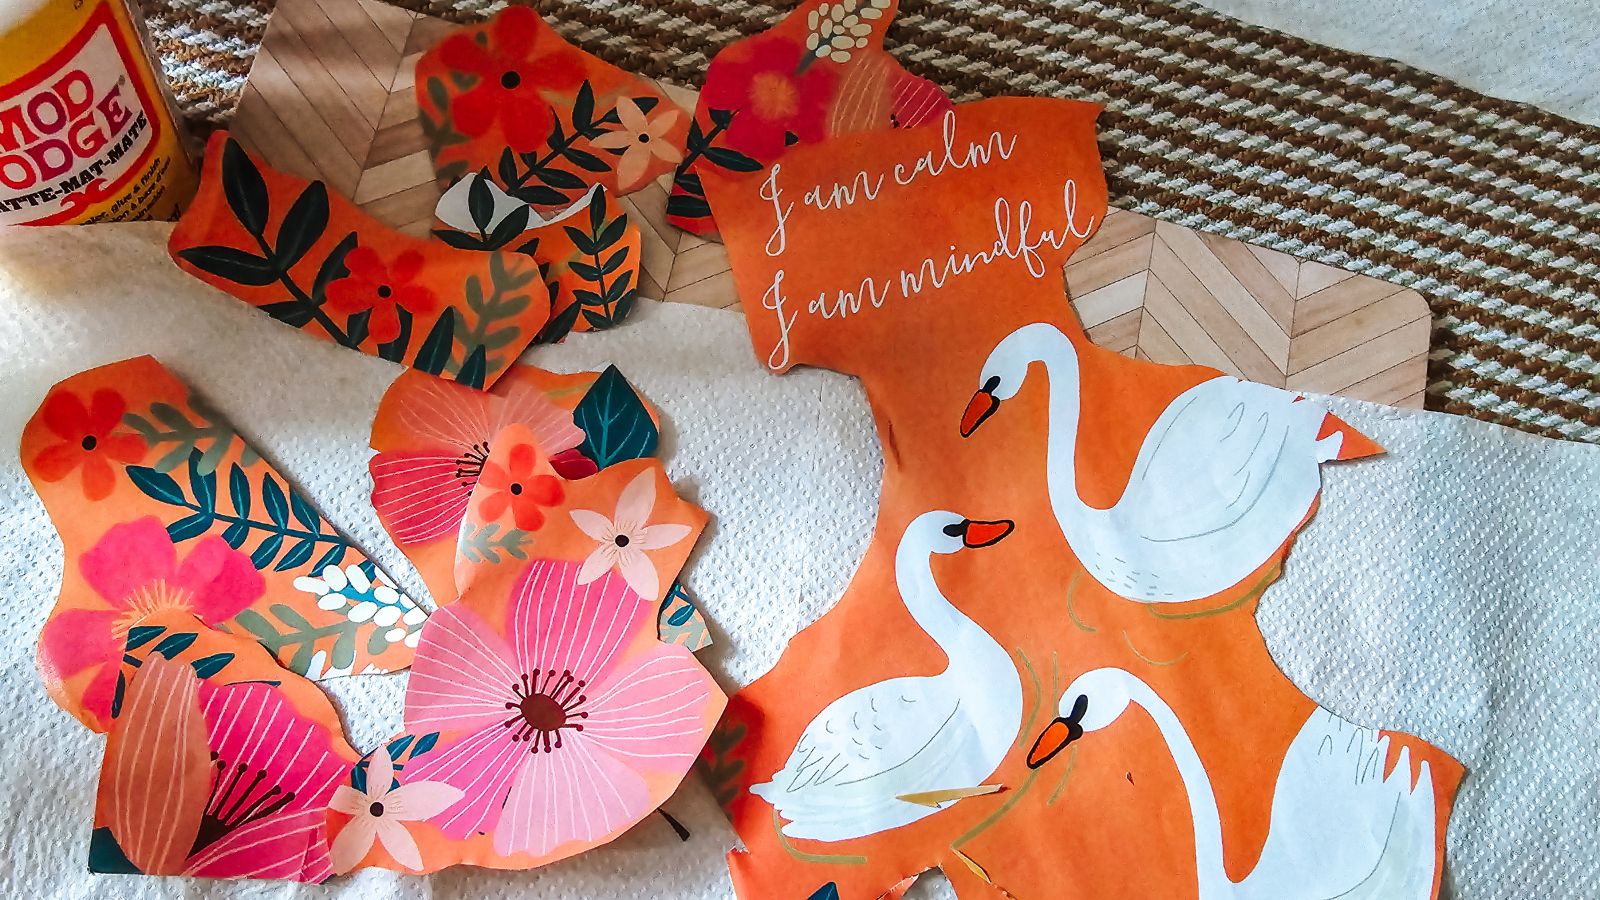
Find the piece of patterned paper you want to use for decoupage (I like this floral Perkoop Decoupage Paper Set from Amazon) and cut it accordingly.
You could use a solid piece of paper and cut it to size to wrap around your piece like we did on the tin can. As well as this, you could always cut out individual elements of the paper to create a collage on your piece, such as what we did with the coasters. If you do this, be sure to cut them out neatly for a clean finish.
From here, lay out the paper pieces next to the item you want to decoupage so you have a clear idea of what's going to go where.
Step 4: Stick on your pieces
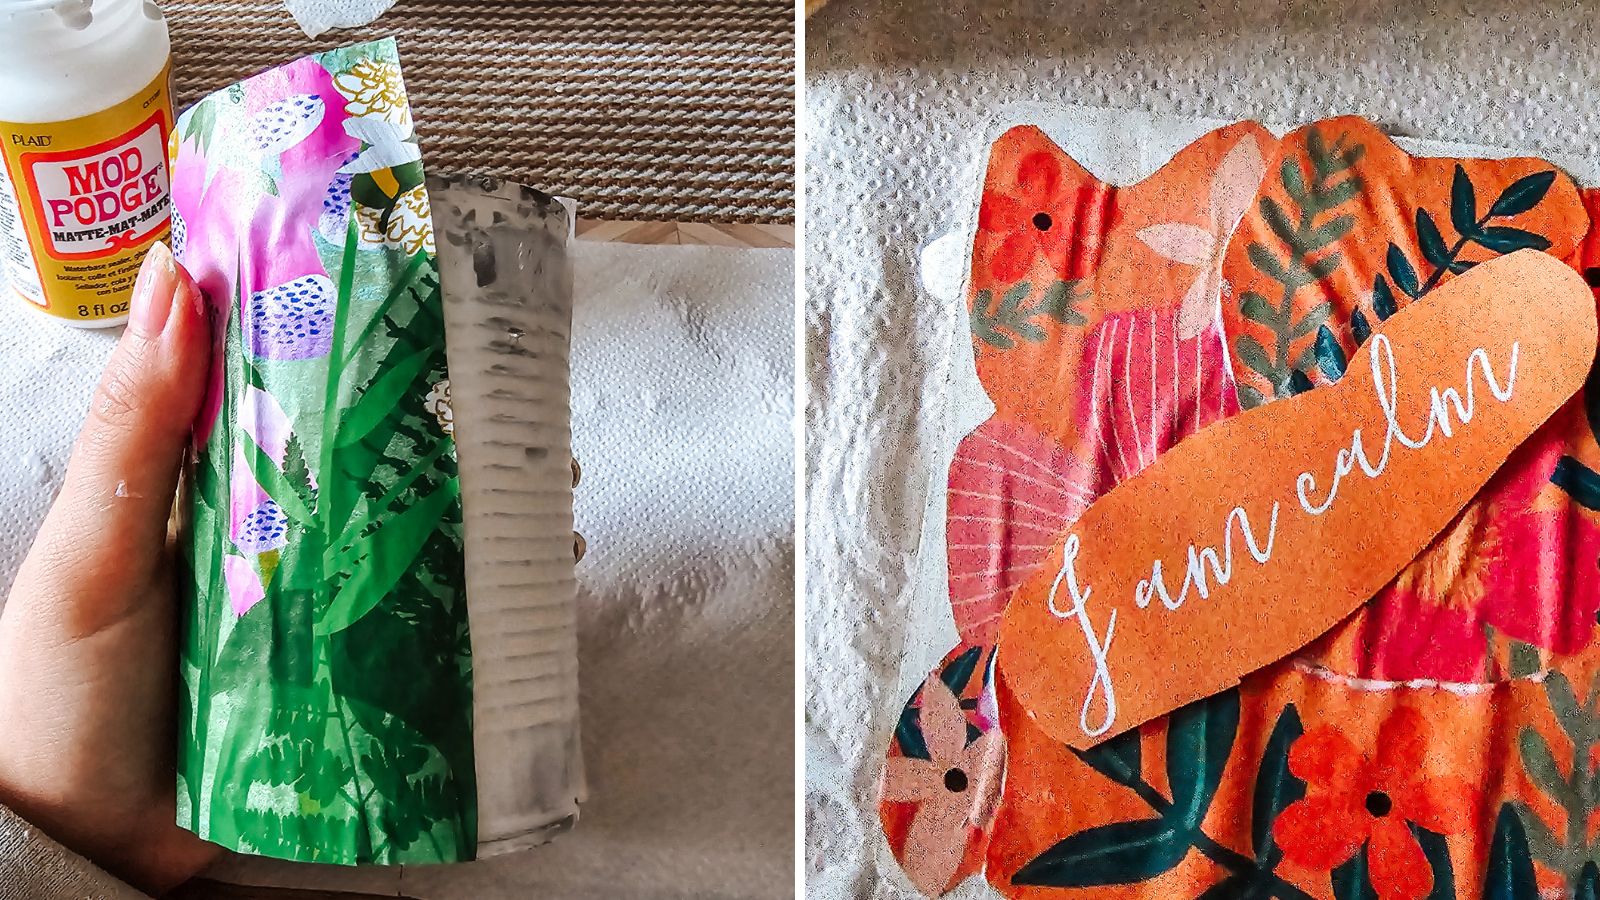
Dip your decoupage brush carefully into the glue and wipe off any excess before doing this. Then, flip the piece of paper you want to stick onto your item and paint the glue onto the back.
You'll want to make sure the surface is fully covered, rather than just doing a couple of dabs, so it sticks on properly.
Then, lay it onto your item carefully. Be sure to use your finger to smooth out pieces wherever possible. We could have done a neater job of this!
Repeat this step for each piece until your decoupage item is fully covered.
Step 5: Paint on finish glue
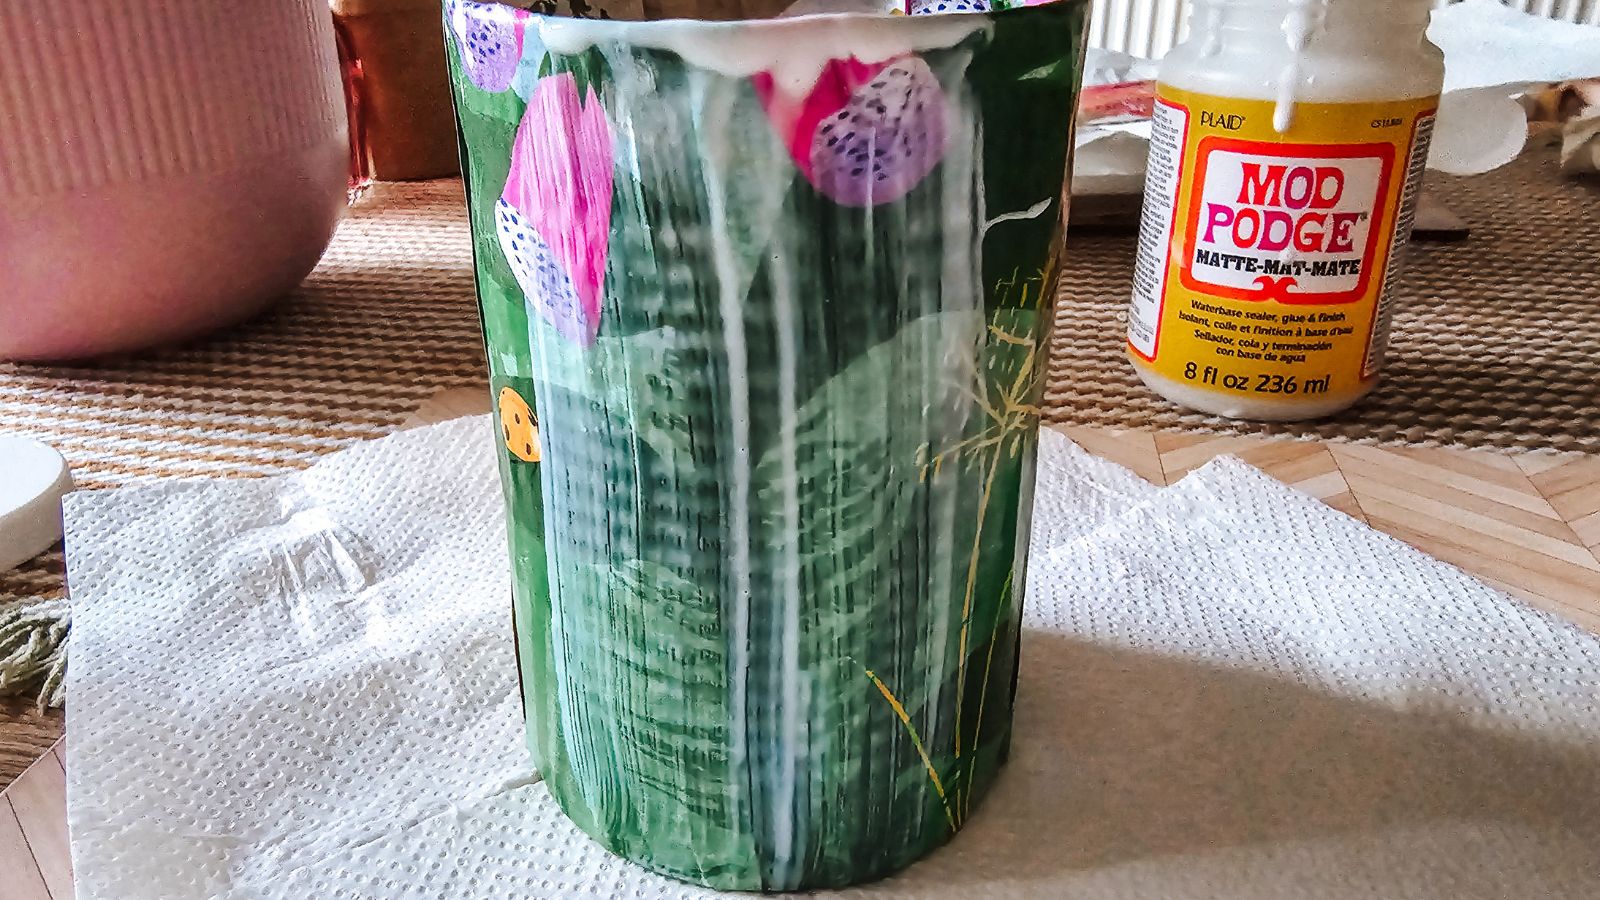
This step is a little bit similar to adding a glaze to pottery. It makes sure the finish is smart and the paper is fully smoothed down.
Using a larger decoupage brush, brush the whole surface with your finish glue. A finisher like Mod Podge will fully dry clear, so don't worry about it looking white when you paint it on.
Step 6: Leave to dry
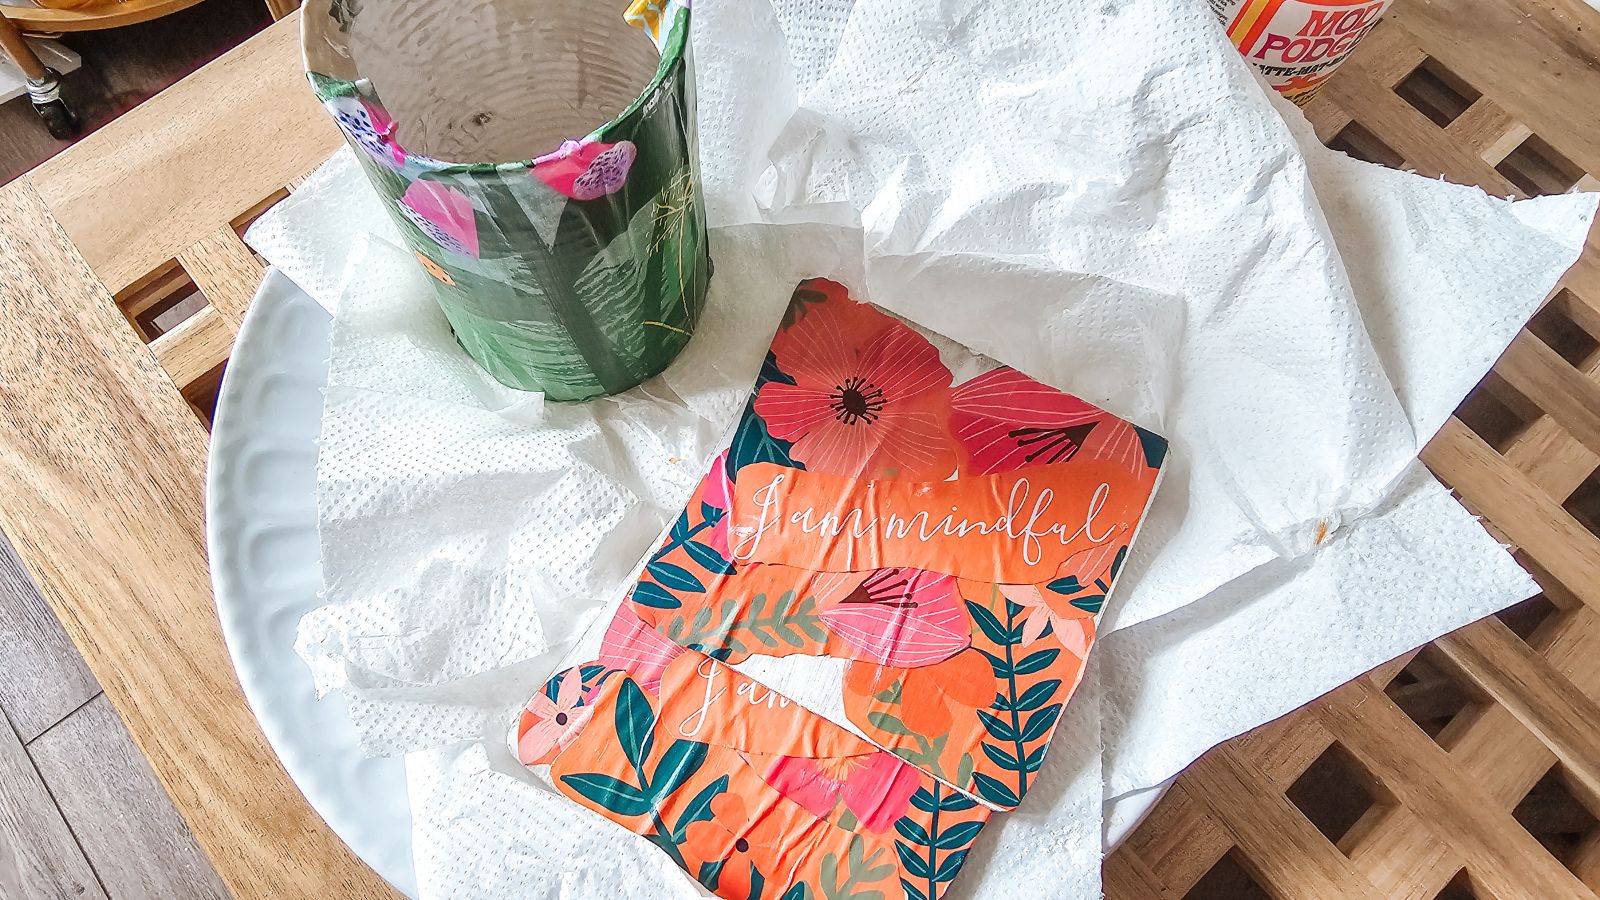
You'll want to leave your decoupaged item to dry before doing anything else. I left mine for 12 hours to ensure they were fully dry and placed them on a plate with a sheet of kitchen towel in case any excess glue dripped off.
You can dab your finger carefully onto the item to check if it's tacky or not before moving it to your desired place.
Step 7: Decorate as you please
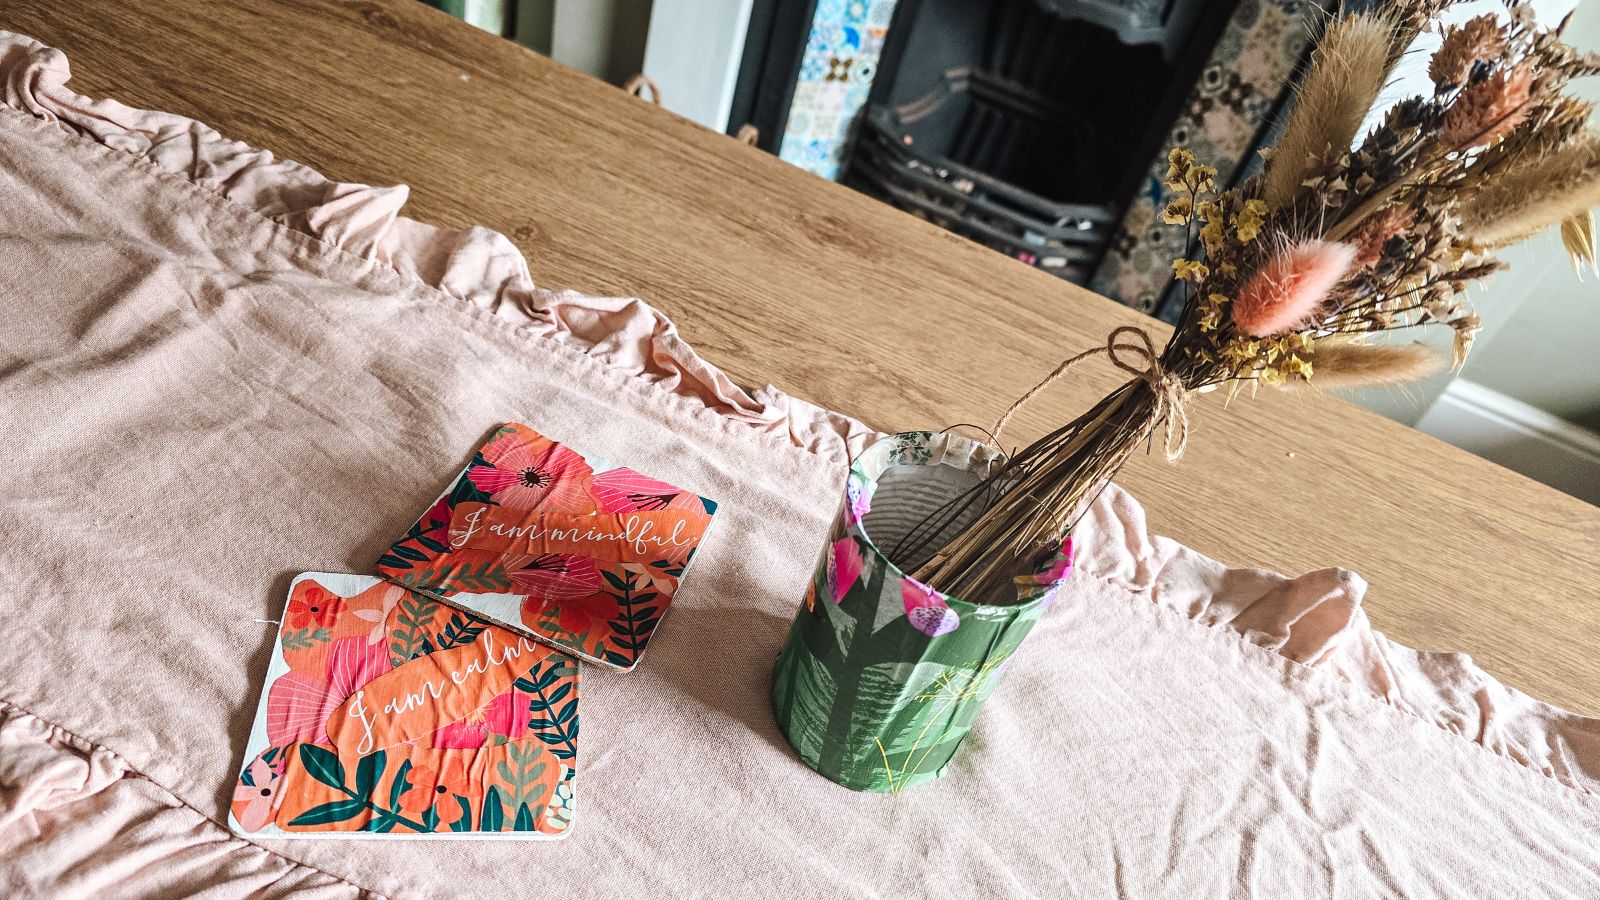
Voila — your decoupage piece is done!
I placed some dried flowers in my tin can and laid it next to the coasters as cute spring decor on the dining table, but you can also use your objects as small kitchen ideas and small office ideas.
FAQs
How to decoupage furniture?
As well as smaller pieces such as the vase I carried out this DIY decoupage project on, you can also decoupage larger items such as furniture.
“Begin by sanding down or buffing the furniture to prepare it. Then, apply chalk paint in a color of your choice,” says Amy.
For decoupage, Amy advises using Mod Podge (such as this dishwasher-safe Mod Podge from Amazon) as a go-to adhesive due to its ease of use.
“Apply a layer of Mod Podge, followed by your chosen floral or patterned material,” she says.
Then, let it dry before adding a finishing layer of Mod Podge.
Learning how to decoupage is useful for creating beautiful pieces throughout your home, whether you're looking for spring mantel decor ideas or want to learn how to upcycle a furniture piece with a vintage look.
If you want to carry on crafting and making pretty pieces, find out how to make a spring wreath.

Hi there! I’m the former content editor at Real Homes and I'm now a freelance journalist.. I've been a lifestyle journalist for over five years, previously working as an editor across regional magazines. Before this, I graduated from Nottingham Trent University a degree in journalism, along with an NCTJ gold diploma. For Real Homes, I specialized in interior design, trends and finding the best viral buys.