How to upcycle furniture for a vintage look
Want to create a vintage-style piece of furniture from a junk shop find? Instagrammer and upcycler Sarah Parmenter shows you how with découpage and gold leaf

Love the idea of upcycling junk shop bargains into truly beautiful and useful pieces of furniture you can show off in your Insta-worthy home? Creating unique pieces isn't as tricky as it looks and they make a great weekend project.
And who better to take on the task than Instagrammer and upcycler (to name just a few of her identities), Sarah Parmenter who, using Pearl Lowe's latest range of wallpapers and fabrics for Woodchip & Magnolia, has taken this cabinet from junk to funk. Why not copy her techniques and advice to create your own masterpiece?
About Sarah Parmenter
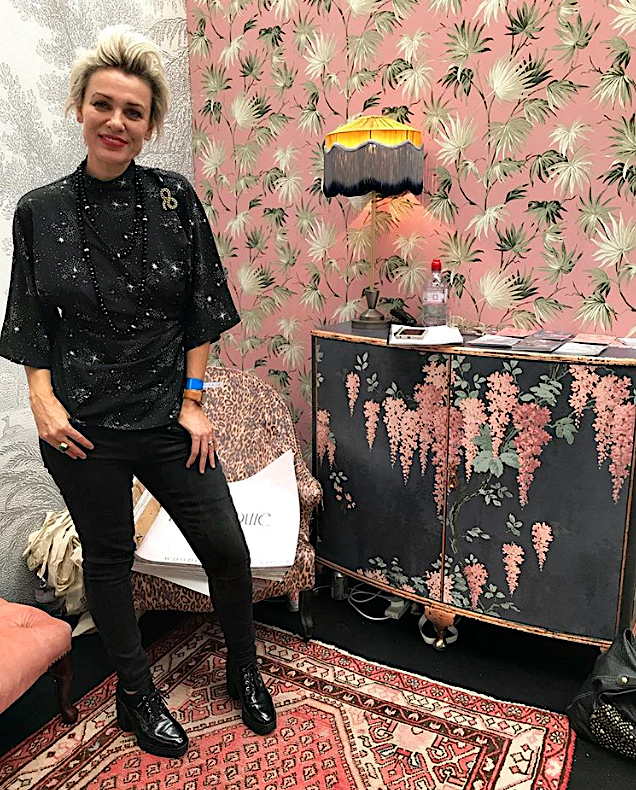
Sarah is an award-winning PR, mum and revamper of glam, upcycled furniture. You can find her at @relovedmcr on Instagram.
'When one of the coolest wallpaper brands on the planet, Woodchip & Magnolia, invited me to create a one-off piece of upcycled furniture for the launch of its new collection of wallpapers with the über fabulous Pearl Lowe (@pearllowe, the original vintage queen, designer, former rock goddess, mother to supermodel Daisy – basically one of my faves), I jumped at the chance!
'I've long been a fan of revamping old furniture, using all sorts of techniques, but one of my absolute favourites is the medium of découpage. Découpage originated in France in the 17th Century and the word comes from Middle French découper, meaning "to cut out". Using paper – any paper more or less – découpage is the process of sticking it on to a surface and then sealing it with a clear top coat or glaze.
'For this challenge, I selected the utterly gorgeous new Wisteria wall mural, inspired by the sublime, wisteria clad walls at Pearl’s Somerset home. Because this piece was all about showcasing the new Pearl Lowe wallpapers at London Design Festival, I also chose to découpage the interior of the cabinet, using a super pretty fern pattern called “Va Va Frome.”
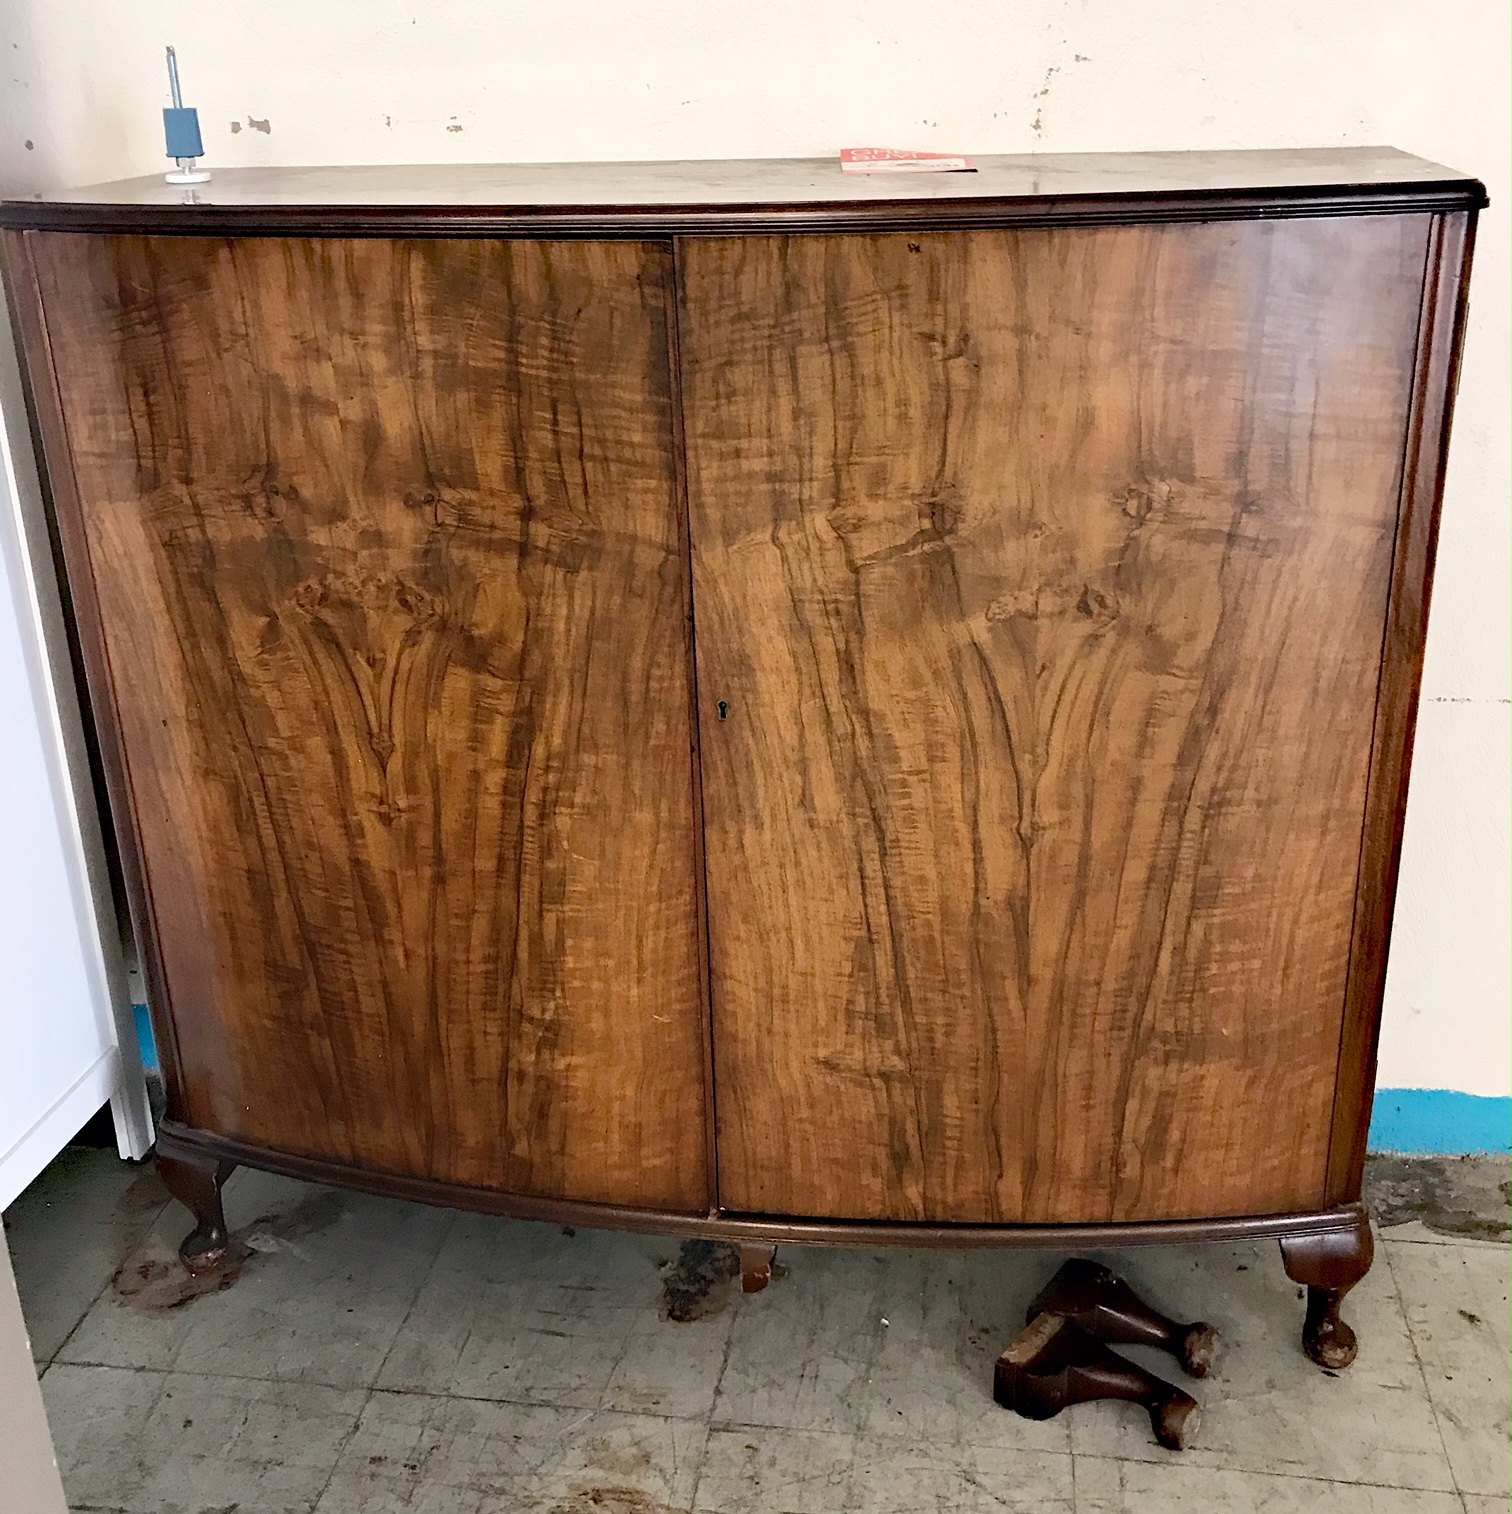
'The solid wood cabinet I picked out had to be both pretty and practical, with shelves and space to hide non-aesthetic but essentials items on the Woodchip & Magnolia show stand. I was chuffed to snap up this cute mahogany veneer number for just £20 at a charity shop. The legs were wobbly and the veneer was cracked, but I knew it had the makings of a beauty!
'Want to know how I did it? Read on!'
Get small space home decor ideas, celeb inspiration, DIY tips and more, straight to your inbox!
You will need:
- Craft knife with very sharp blades
- PVA glue mixed with water (I use about four parts glue to one part water)
- Soft sponge or brush
- Tin of satin or gloss clear varnish. For this piece I used Johnstone's Interior Wood Varnish in Gloss
- Wallpaper or other decoupage-friendly paper
- Wood and metal paint or spray. For this piece I used Annie Sloan chalk paint in Graphite
- Gold leaf sheets
- Gilding glue
1. Remove the handles
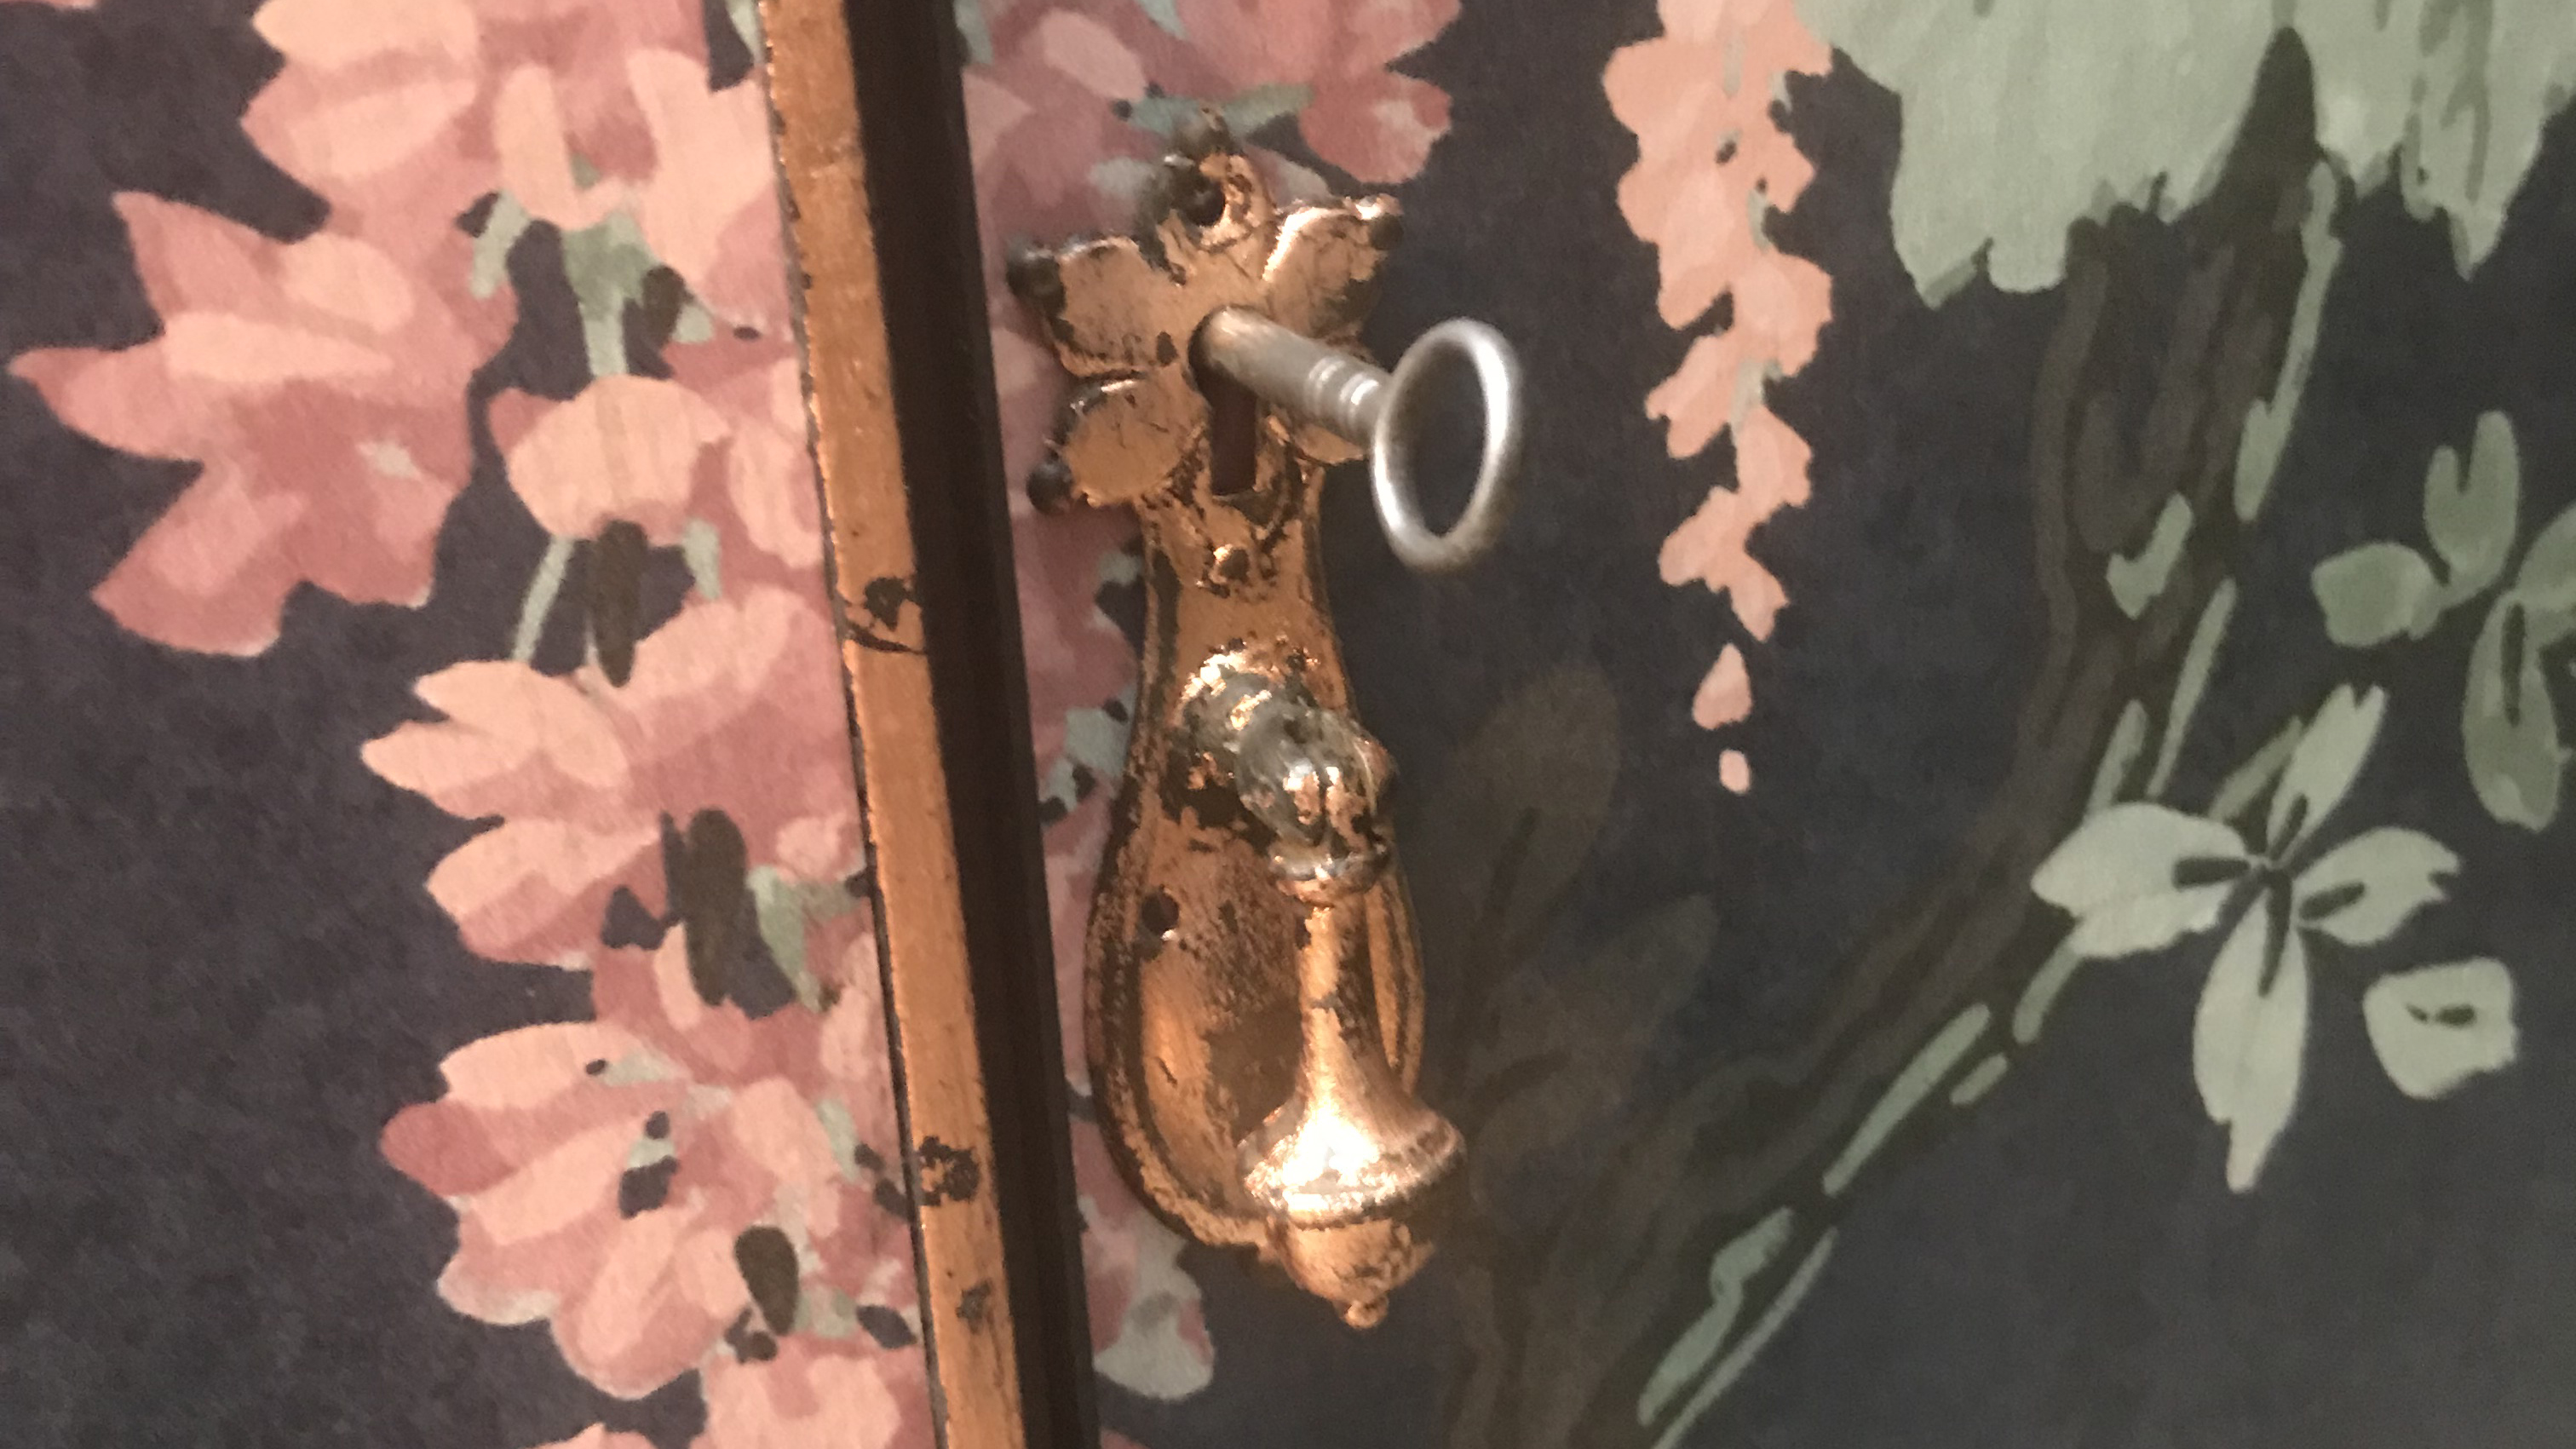
If you are doing this at home – TIP – do not lose them! I usually keep original handles but replace them if you don't like them. This cabinet didn’t actually have a decorative handle, just a key hole, so I used a really pretty handle from another vintage piece I had in storage.
2. Prep and paint the cabinet (or chest of drawers...)
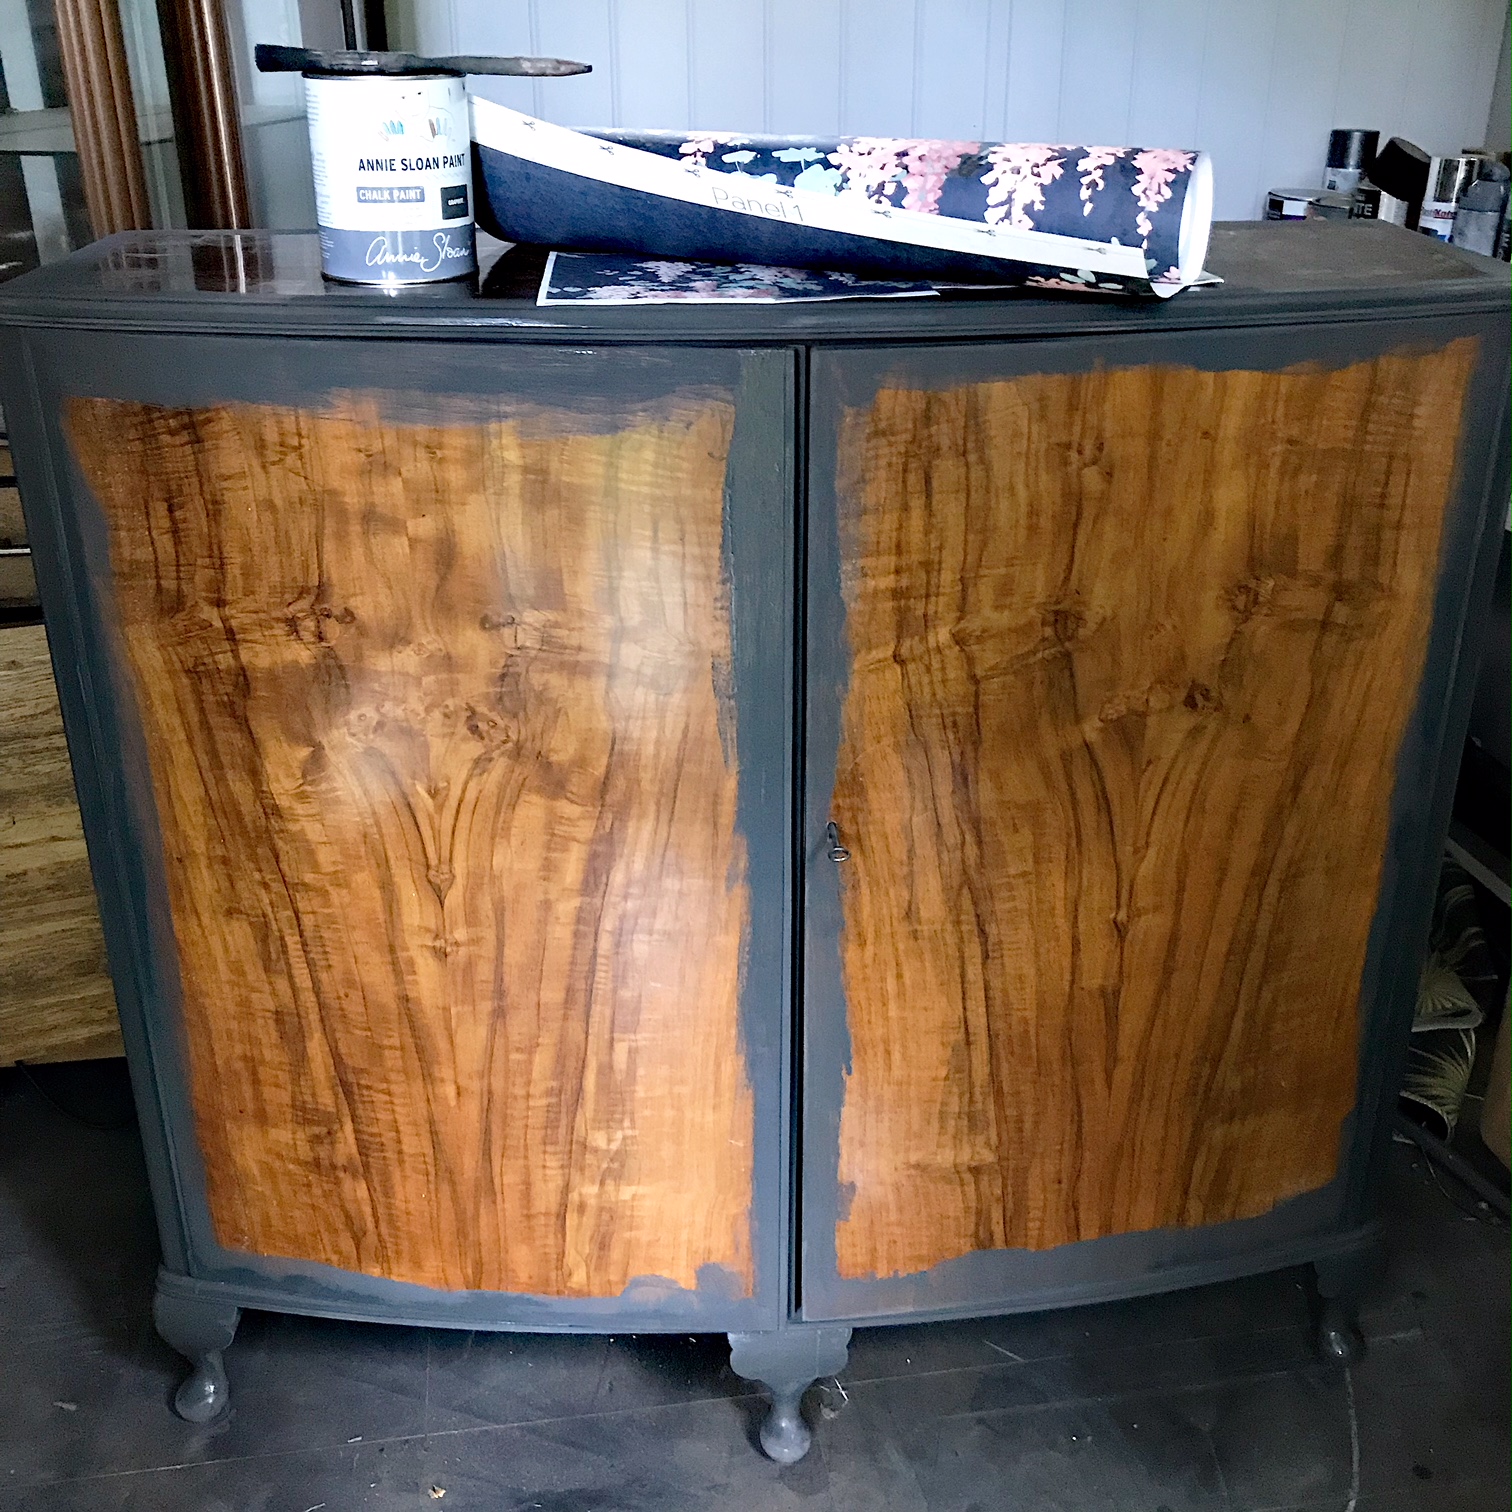
The beauty of using Annie Sloan paint was that I was able to skip the boring prep phase. No sanding or primer needed, which if you’re using regular wood and metal paint, is not a step you can miss out. Winner! I just cleaned the cabinet inside and out and then set to with the painting.
For this piece, I used Graphite, a fabulous flat chalky grey/black shade, and simply brushed it on evenly around the edges, interior shelves and legs. I thinned it slightly with water to create a smoother finish and applied two coats.
3. Découpage: the easy way
I used Pearl Lowe’s Wisteria wall mural, which I laid out on the kitchen floor in strips to get a proper overview of the pattern as one piece.
Starting with the two central panels, I applied the sections which featured the most prominent blooms, making sure they were slap bang in the middle of the cabinet doors. Be careful when cutting the paper to size… craft knives are lethal!
For the sides and top of the cabinet, I matched up the adjoining panels of the mural to ensure the full impact of the pattern was in view from all angles,
Application is easy using the PVA/water mix, as long as you brush on evenly.
Next, I took a clean sponge to smooth out the paper towards the edges, making sure there were no air bubbles or PVA paste lumps.
4. Gold leafing – for a glam finish
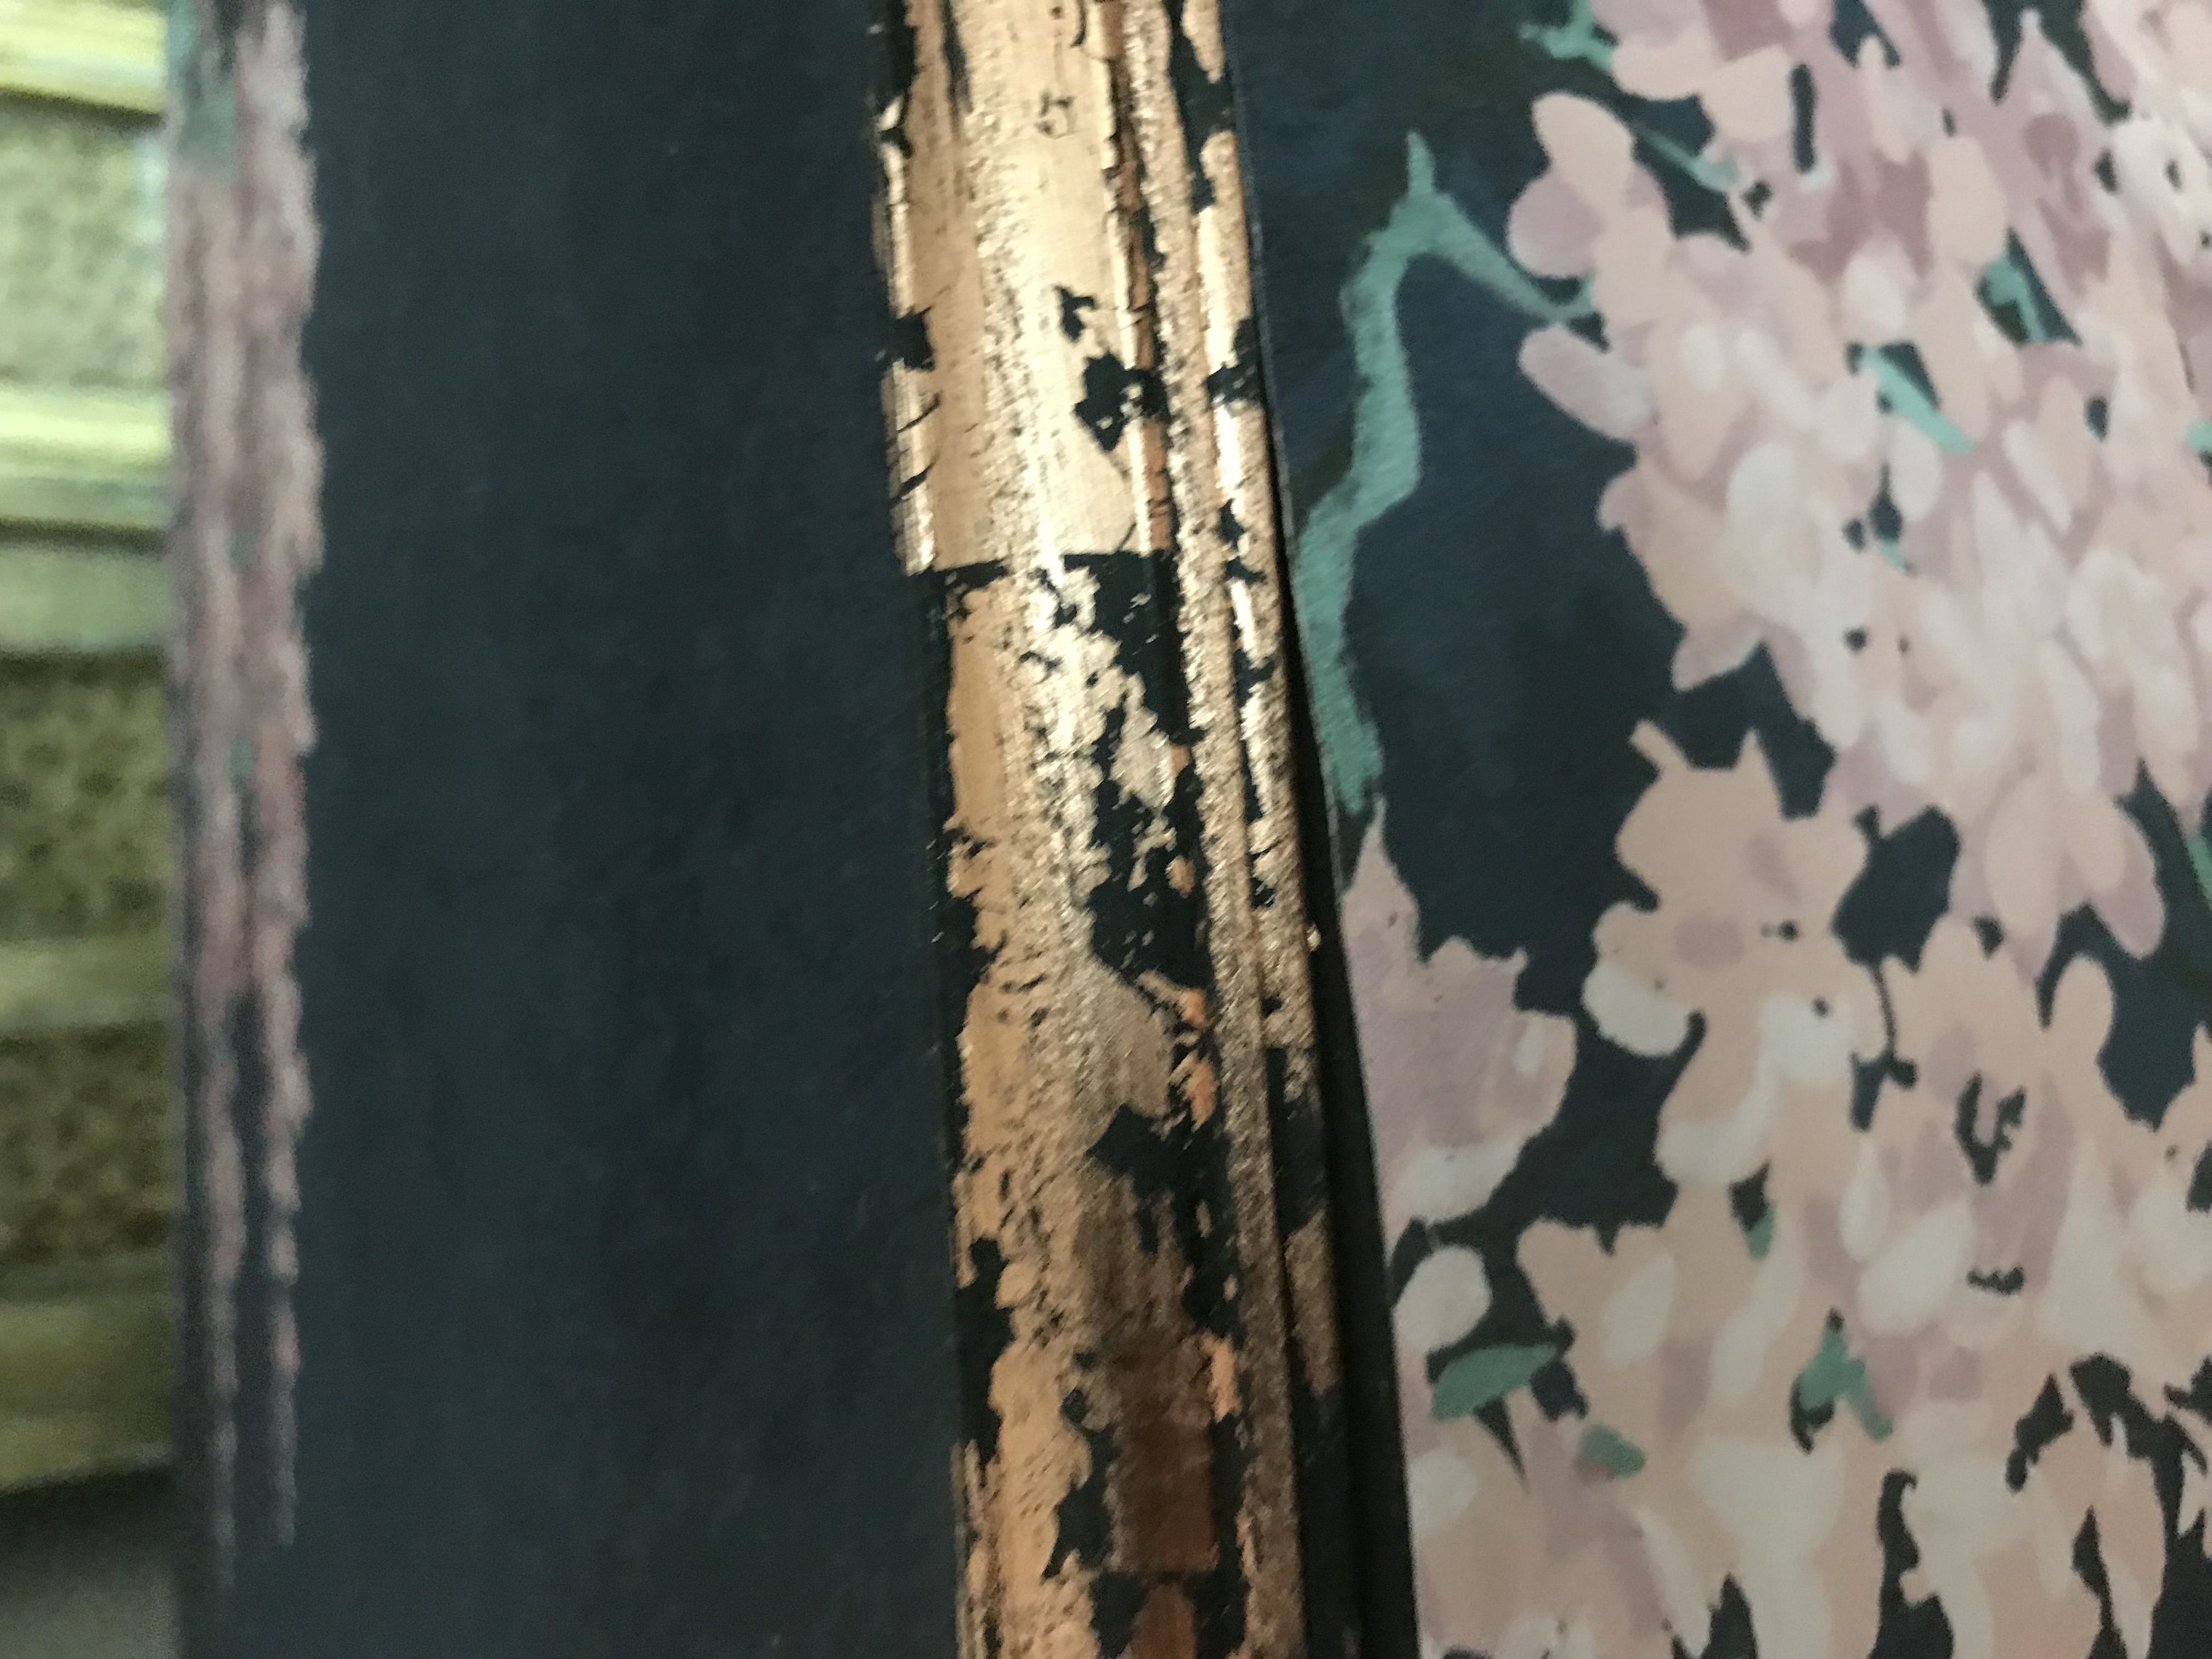
I wanted this piece to ooze glamour and decadence, so the addition of lightly distressed gold leafing to the edges and legs of the cabinet was a no-brainer. I opted for rose gold, to tone in with the pink in the paper. The main tip with this technique is to allow the thin white glue to go completely clear before you apply the gold leaf. This takes about 15 minutes.
Faded glamour is what this piece was all about, so I distressed the leafing with a small stiff paint brush until I got the effect I was after.
5. Varnish the finished piece
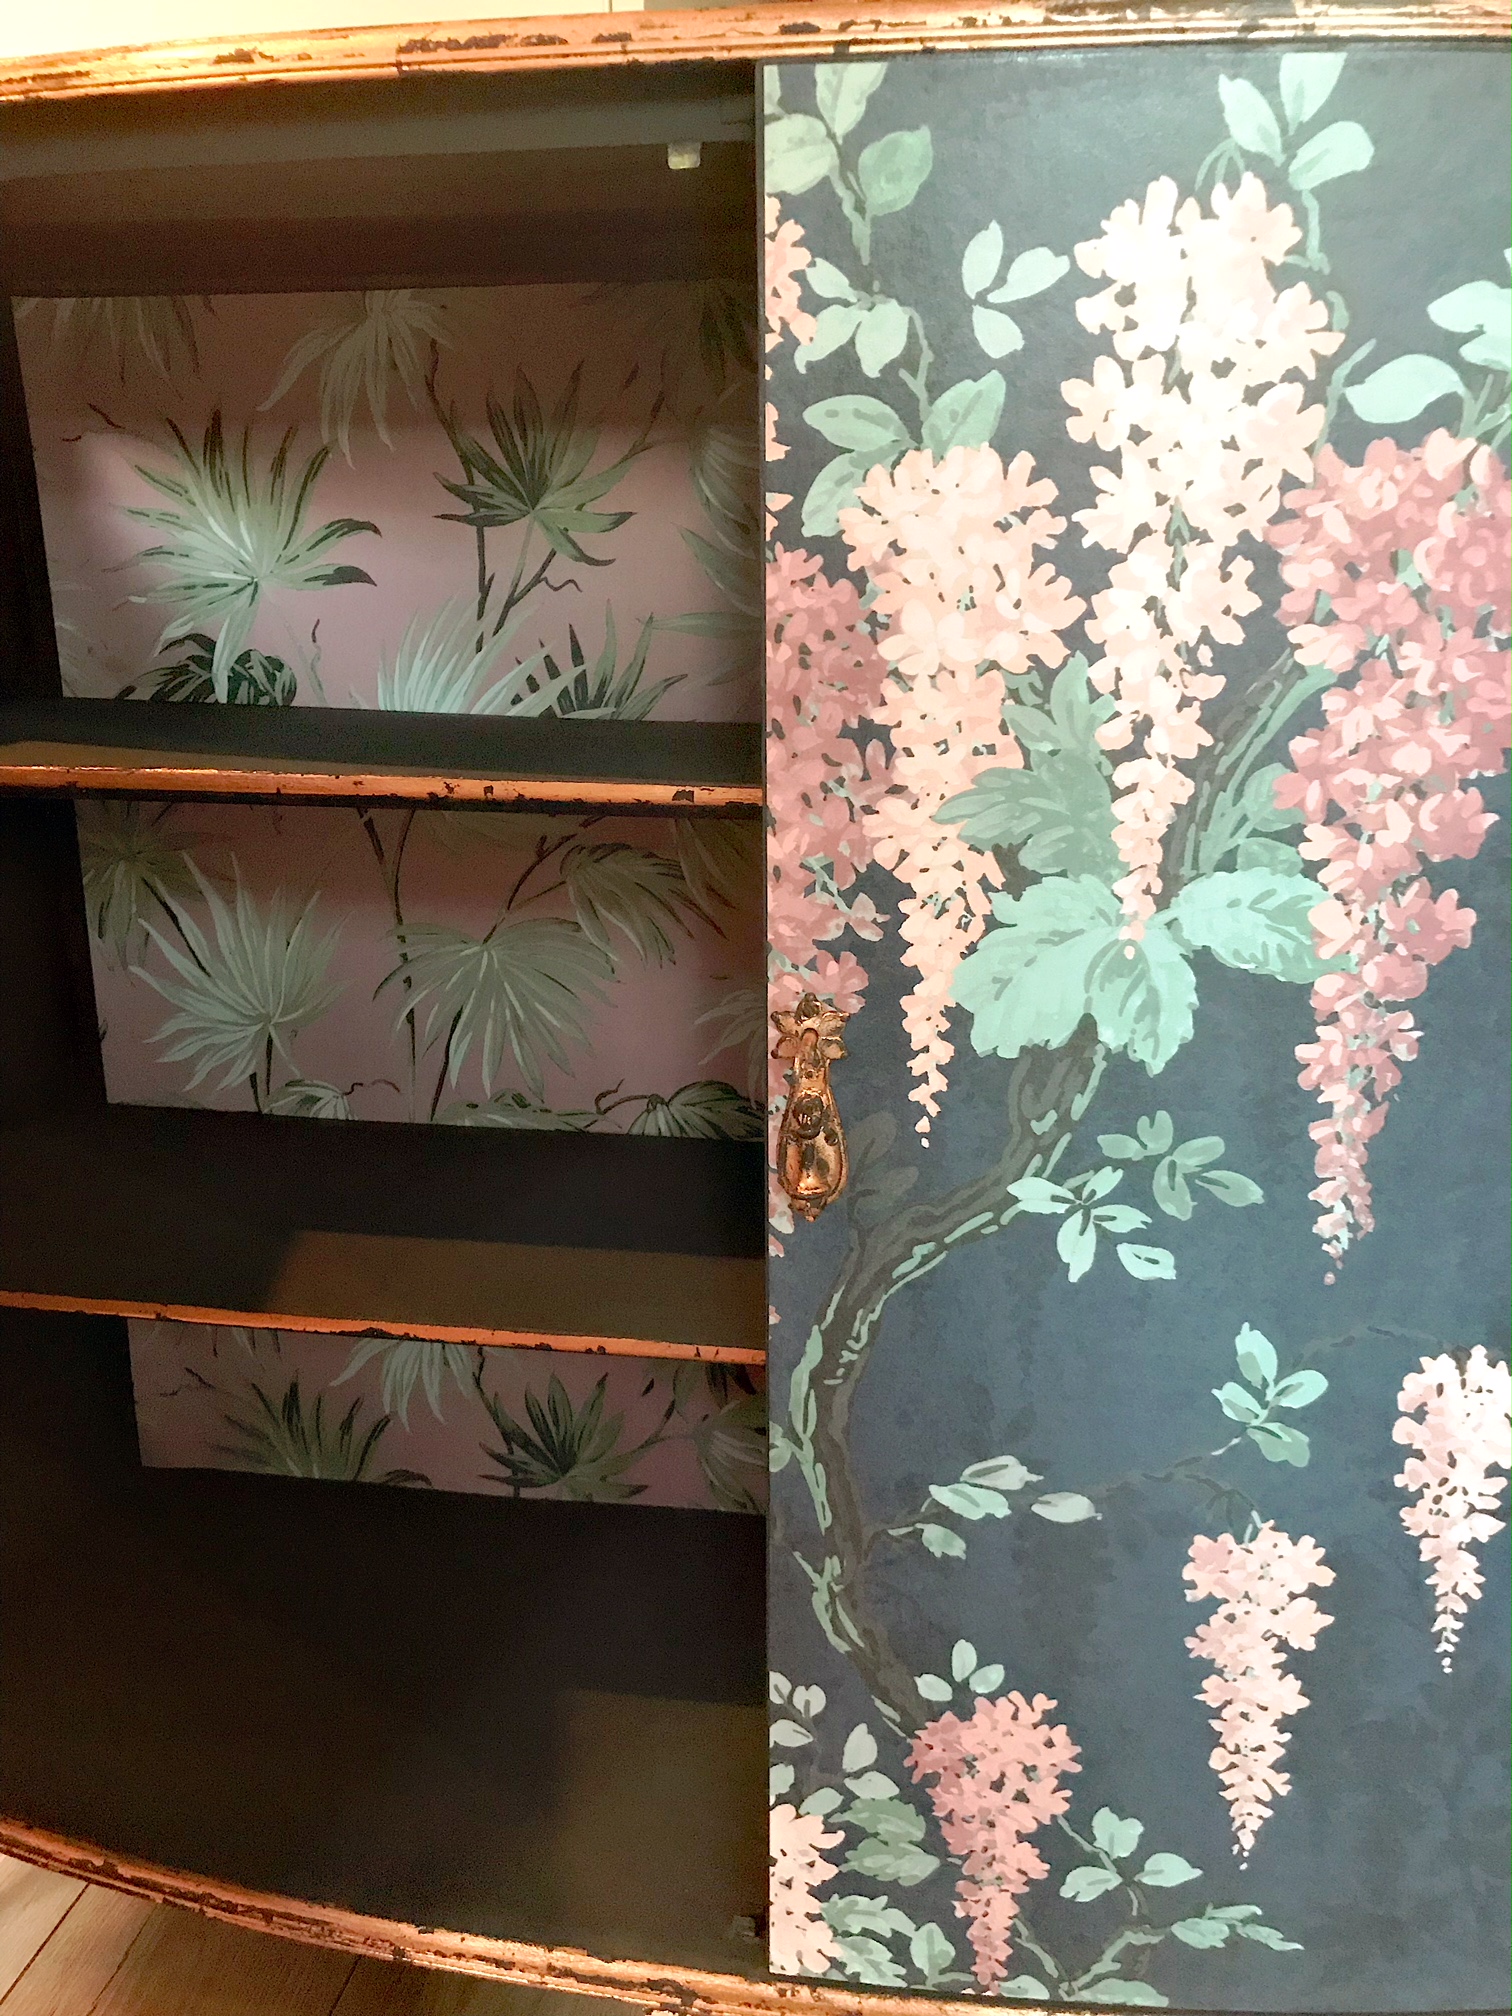
I applied five coats of clear varnish all over the entire piece – inside and out – using a soft paint brush, being careful to choose a brush which didn’t shed bristles. Each coat took about an hour to dry. This piece was being transported from Lancashire to London and back, not to mention being poked, prodded and perused by hundreds of interior gurus at London Design Week. It needed to be rock solid and bash-proof.
6. Attach the handles
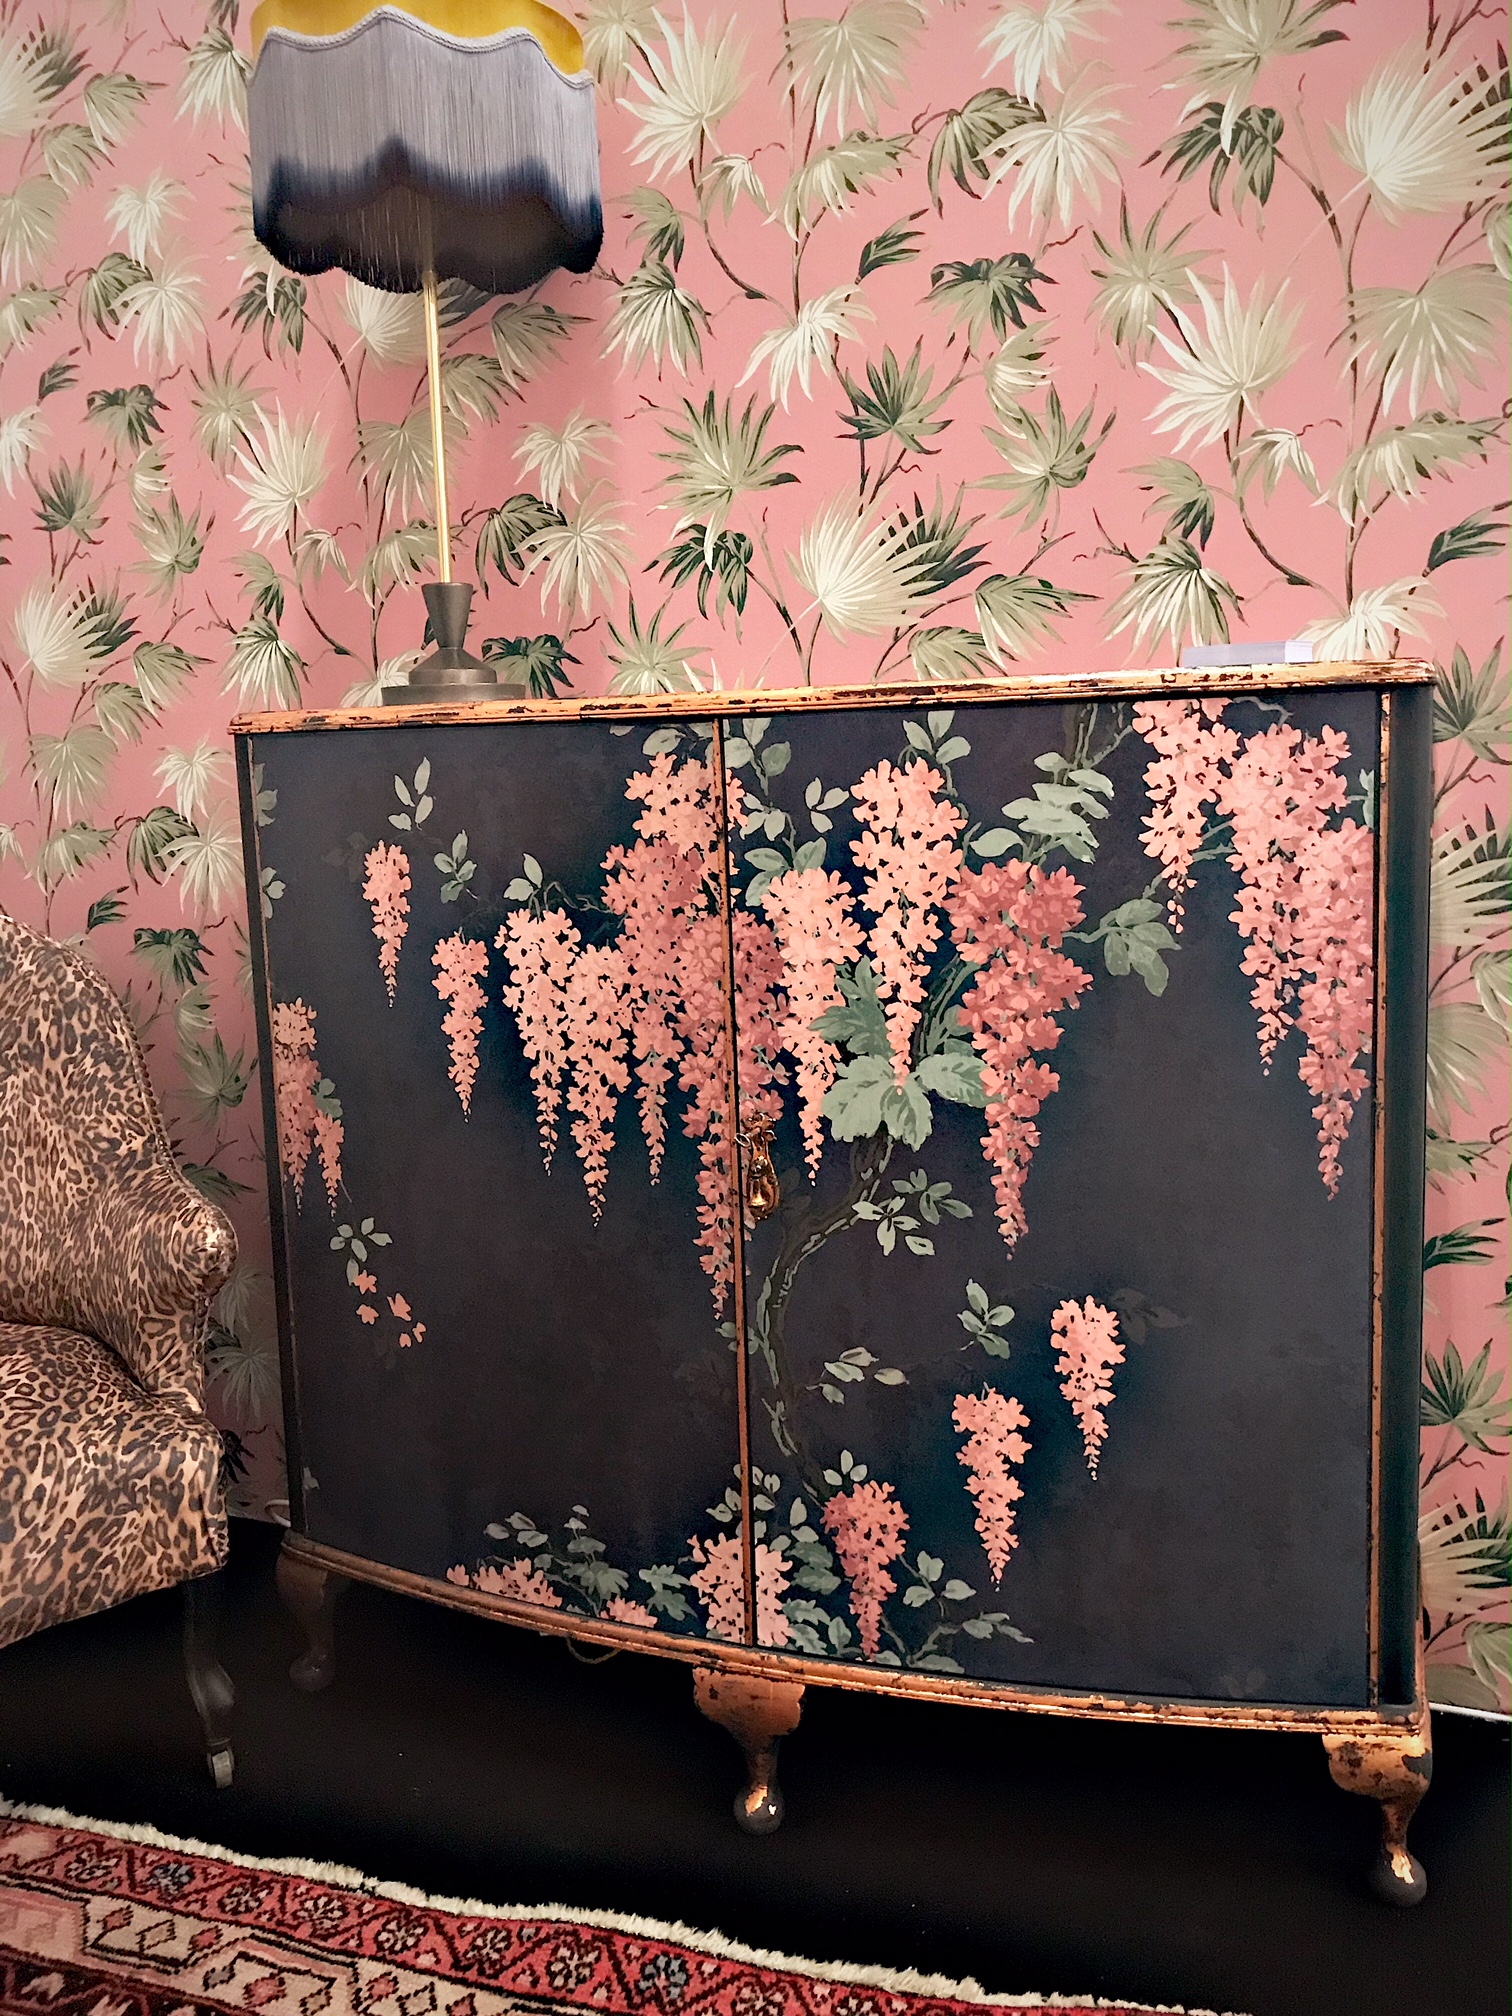
Once the varnish was completely dry, I popped the handles back on and voilà! My re-imagined piece of vintage furniture was ready for its close-up!
More on upcycling furniture:

Lucy is Global Editor-in-Chief of Homes & Gardens having worked on numerous interiors and property titles. She was founding Editor of Channel 4’s 4Homes magazine, was Associate Editor at Ideal Home, before becoming Editor-in-Chief of Realhomes.com in 2018 then moving to Homes & Gardens in 2021. She has also written for Huffington Post, AOL, UKTV, MSN, House Beautiful, Good Homes, and many women’s titles. Find her writing about everything from buying and selling property, self build, DIY, design and consumer issues to gardening.