How to hang pictures and fill wall space with art
Knowing how to hang pictures on the wall, with or without nails, will let you decorate your space with art and stunning prints in no time.


Get small space home decor ideas, celeb inspiration, DIY tips and more, straight to your inbox!
You are now subscribed
Your newsletter sign-up was successful
Knowing how to hang a picture on the wall can seem a little complicated at first, especially if you rent or, aren't super fond of using power tools. No need to panic if you are in dire need of color and texture on the walls as canvases, prints and more are easier to put up than you might think – even without nails...
So if your favorite Hockney print or recently framed wedding photos are still propped up against empty wall space, that's about to change – even if you’re a total novice in the DIY world. Rest assured, anyone can hang framed or frameless pictures, canvas prints and more successfully and securely with the right knowledge and tools, recreating the ultimate gallery wall ideas.

The basic steps of hanging pictures and wall art
We spoke with Jamey Seaman, Sales Responsible Textiles at IKEA Group who reassures us that, 'You needn’t have a wealth of tools and equipment to ensure frames and mirrors are securely fixed to the wall. A few essential items can be enough to get your walls looking full and exciting.'
You will need:
1. Tape measure: A self-locking measure is easier to work with.
2. A level (absolutely vital)
3. Pencil
4. Hanging mechanism of choice: command strips, nails, screws and so on (choose your method first)
5. A hammer
6. Screwdriver (if using screws)
7. A drill (for masonry walls): we like the Ryobi One+ Cordless 18V drill and driver
8. Painter's tape (optional)
1. Selecting your location
You need a vision to achieve that look perfectly. So start by considering the different places where you’d like to hang your artwork and photos. This will help kickstart the DIY process.
When hanging art, the experts at Green Lili swear by the 145 cm / 57” rule to hang canvases, saying 'No matter the size or style of your artwork, if you hang it so that the centre point of your art is 145 cm / 57” from the floor, it's guaranteed to look aesthetically pleasing.'
Art galleries and museums use this measurement to represent the average human eye level making it the ideal height to appreciate art.
Larger art hanging above a bed, sofa or fireplace can sit higher than the 145 cm / 57” rule. 15 - 20 cm above furniture works best.'
Get small space home decor ideas, celeb inspiration, DIY tips and more, straight to your inbox!
2. Choosing the best hanging mechanism (and checking your wall is suitable)
The type of wall you’re hanging pictures from, plus whether your piece of art of picture is framed or not, will determine the tools and hanging mechanisms you need and the process you need to follow to achieve those professional results. Consider your picture weight also.
A wall stud is the most secure spot to hang your picture, and using a stud detector can help you find one. Once you've found a stud, you should then be fine with a single nail, so long as it goes in at a slight angle.
If you can’t find a wall stud or if using one would make your photo off-center – often the case – you’ll need to use a wall anchor to ensure your art stays put.
If your wall is plaster over brick or block, you can use pin picture hooks, so long as the plaster is in good condition. If it’s not, there is a chance it will splinter.
Drywall is an easier wall type to work with when hanging pictures, as it’s softer and less brittle compared to a plaster wall which you’re more likely to find in period homes.
Green Lili experts add 'When hanging a large canvas, consider the type of wall to hang on. Generally, if your canvas is heavy, a masonry wall (brick, stone or concrete) is best so that it can withhold the weight.
Lightweight canvas can hang on a stud wall (wooden frame covered with plasterboard panels), which is great given that most modern houses are built this way.'
With brick and other masonry wall types like concrete, you’ll need to use a masonry drill bit or a hammer drill with wall anchor and screws. You can drill into the mortar but if you’re hanging heavy frames, it’s best to drill straight into the brick.
Note: Install a rawl plug, then you’ll want to add the screw but leave the head exposed by a few millimeters from which you can hang your frame.
If your pictures are framed, they will likely have a hanging cord. If there is nothing, adding wire is a wise idea. You can buy sets of screw eyes and picture-frame wire easily on Amazon.

3. Settling on the height for your pictures
Knowing how high to go when hanging pictures leaves many a little confused. It depends on the look you want but as a general rule, when you’re hanging one picture frame, you want your eye line to be roughly two-thirds of the way up the picture. However, this might not work with your room’s dimensions or with the furniture you have in your room, so it’s also about trusting your gut instinct too. If it looks like a good height to you, then you’re probably on the right track.
Green Lili experts recommend you try before you commit using painter's tape which is a great tip, 'before committing to hanging a piece or drilling a hole is to outline the piece's dimensions on your wall using masking tape or sheets of paper.
Take a step back, or even leave it on your wall for a day or two. It will help you get a good feel for the size and know if that’s the right placement for the piece.'
4. Preparing to hang your pictures
To be on the safe side, especially if you are using nails, it’s worth investing in a pipe and cable detector which are often part of modern stud detectors like this pick from eBay. Follow the instructions on how to use your stud finder, but otherwise, run the detector along the wall to identify any hazards. If you get the all clear you’re fine to continue. Of course, this need only apply if you’re drilling or nailing something into the wall. If that’s not the case, you have nothing to worry about.
Mark the center position at the top of the frame, then flip the picture frame around and measure the distance between the hanging wire or cord and the top of your picture frame. Ensure you pull the wire or cord taught when measuring the drop so that you get an exact measure of the tension depth. Then, mark the fixing position, adjusting it a little higher so that this isn’t exposed once hanging up there.
5. Hanging your pictures
With the right location chosen, and your screw or nail in the wall. you can finally hang your picture frame. Ensure it is straight by using a level. It's really not worth risking a wonky picture – you (or someone else) will notice!
How to hang a framed canvas
These are the simplest methods to hang stunning canvas art according to Green Lili experts:
- Using the 145 cm / 57” rule, mark this point on your wall with a pencil
- Measure from the top of the frame to the sawtooth hanger (usually fitted on the backing board of framed art). Make a note of this measurement, e.g. 6 cm
- Measure the total height of your framed canvas art and half this measurement, e.g. if the art is 50 cm, note 25 cm
- Take away the distance from the top of the frame to the sawtooth hanger from the total height of your framed canvas, e.g. 25 - 6 cm = 19 cm
- Come back to your 145 cm / 57” mark on the wall. Measure 19cm above and make another mark. This is where your fixing will go to ensure your art sits at the correct height.
- Hammer a nail or drill a screw into your second wall mark
- Place the sawtooth hanger on the frame over your wall fixing, and adjust to straighten the canvas

How to hang an unframed canvas
Green Lili experts note how 'Canvas art can be hung directly from the wooden frame so that the artwork sits flush with the wall. This is the best method if you have good walls.'
- Follow the same steps as above to mark where your piece will sit on the wall
- Select a masonry wall double, checking for pipes and electrical wiring
- Drill a hole in the second marking using a power drill
- Insert a wall plug
- Screw a double-headed hanging screw into the wall plug - this will leave the double head for you to hang the canvas on
- Position the wood frame on the canvas so that it sits on the screw and adjust to straighten
How to hang pictures without nails
If you’re hanging pictures without using nails then you’re probably going to be using Velcro Command strips or hooks. The size you'll need will depend on the weight of your artwork, so always weigh your artwork first (framed) then check the packaging to ensure you buy the correct ones. But otherwise, these provide a really sturdy workaround. Note that the same process applies when it comes to where to hang your frames for an aesthetically-pleasing display.
Seaman adds 'For those lighter wall hangings there’s not always a need to screw into walls. The ALFTA self-adhesive hooks from IKEA are perfect for those lightweight frames, without the need for nails or screws, making it quick and easy to decorate your walls with pictures. Each pack is comprised of 2 hooks and 4 self-adhesive strips and each hook can hold up to 2 kg. Suitable for most wallpaper and painted drywall, the hooks can then be effortlessly removed if needed, without leaving marks, sticky residue or damaging the wall.'
How to hang groups of pictures
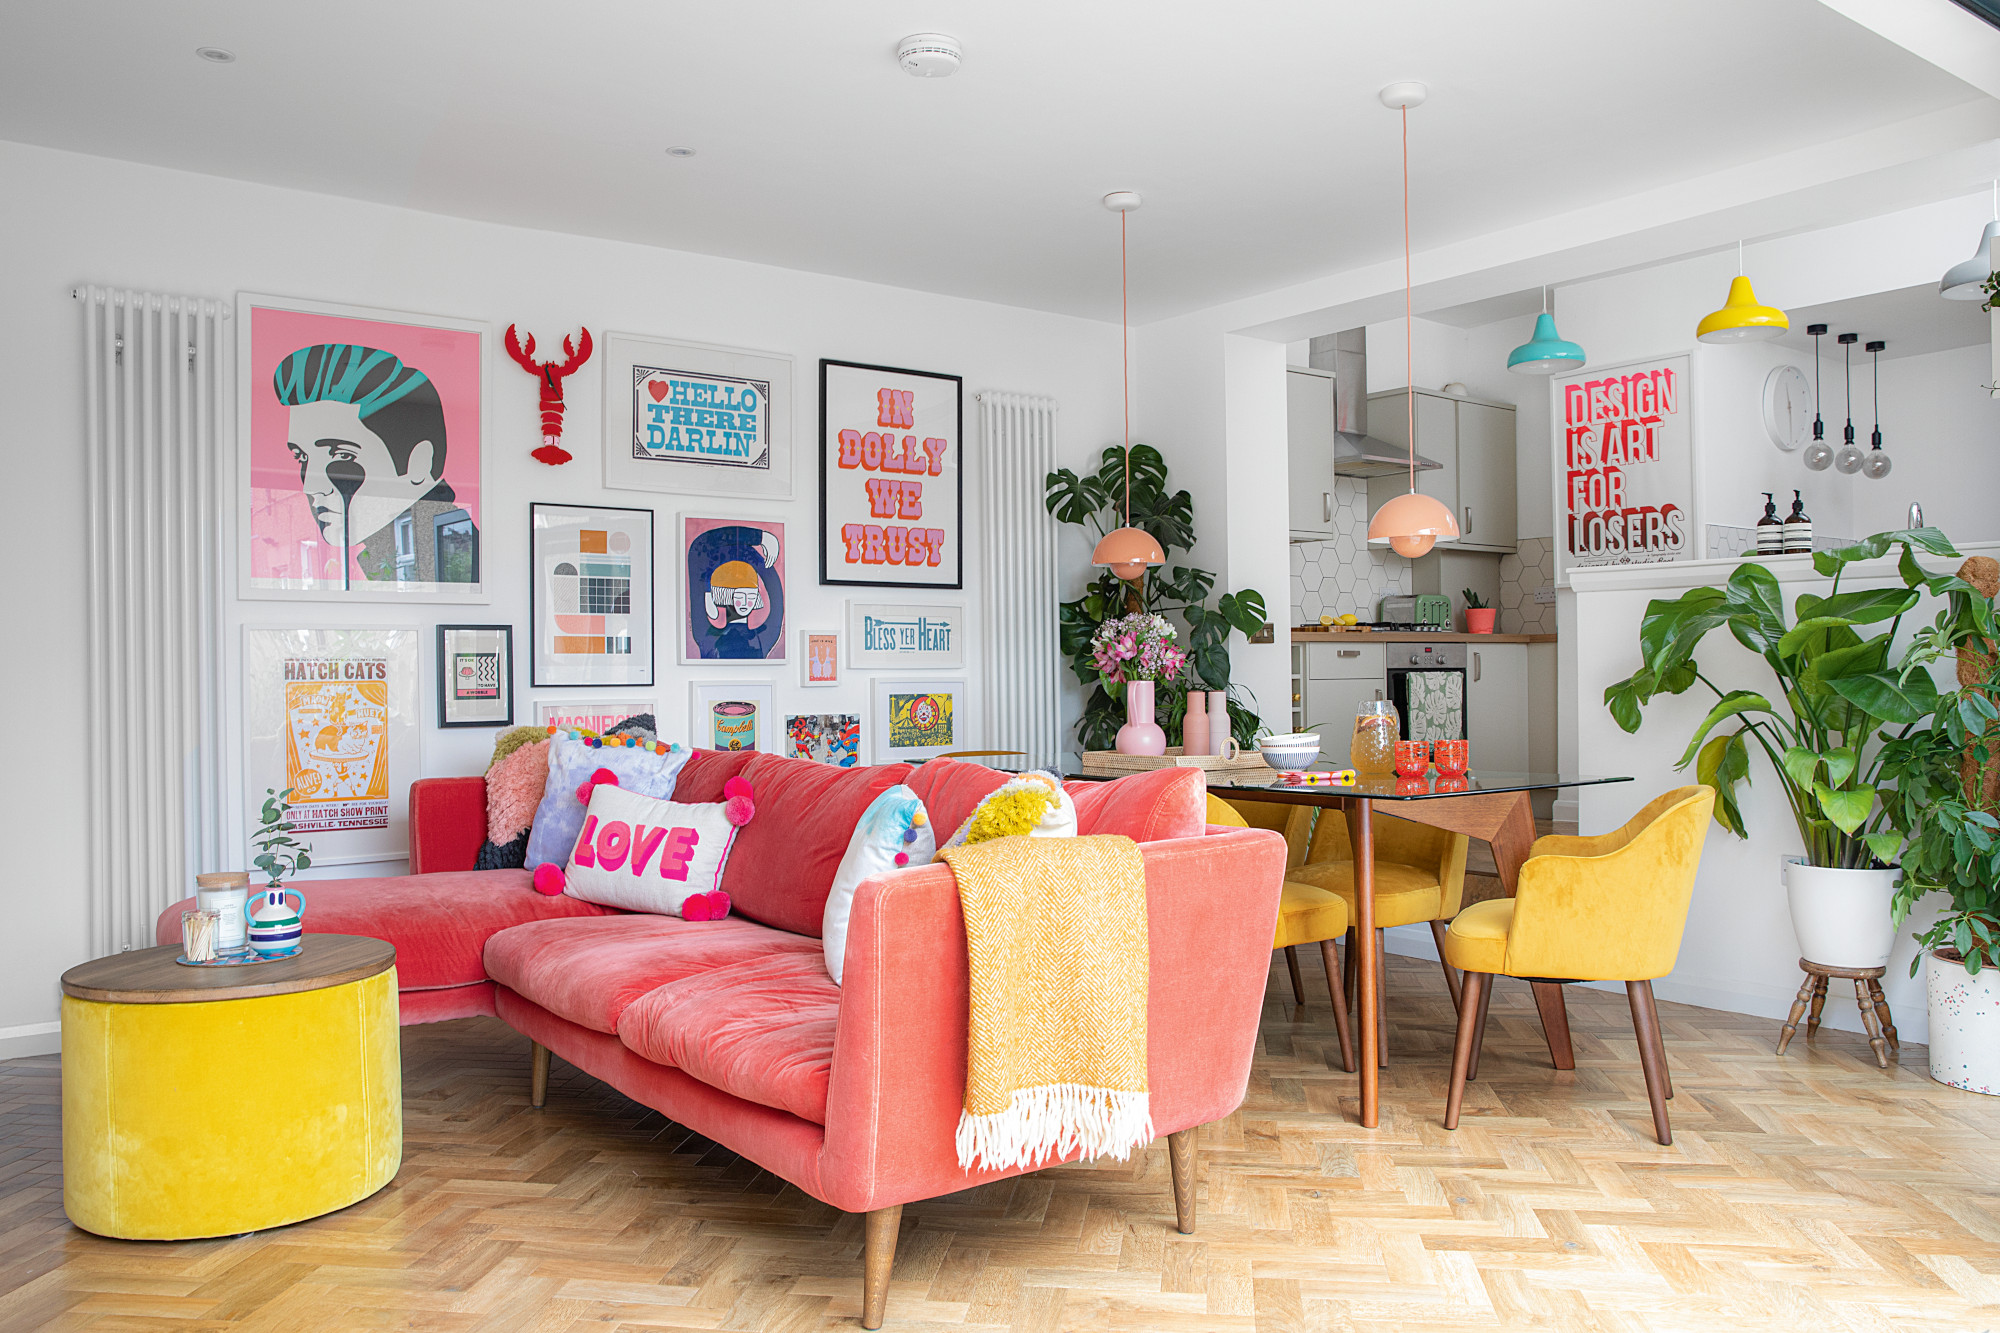
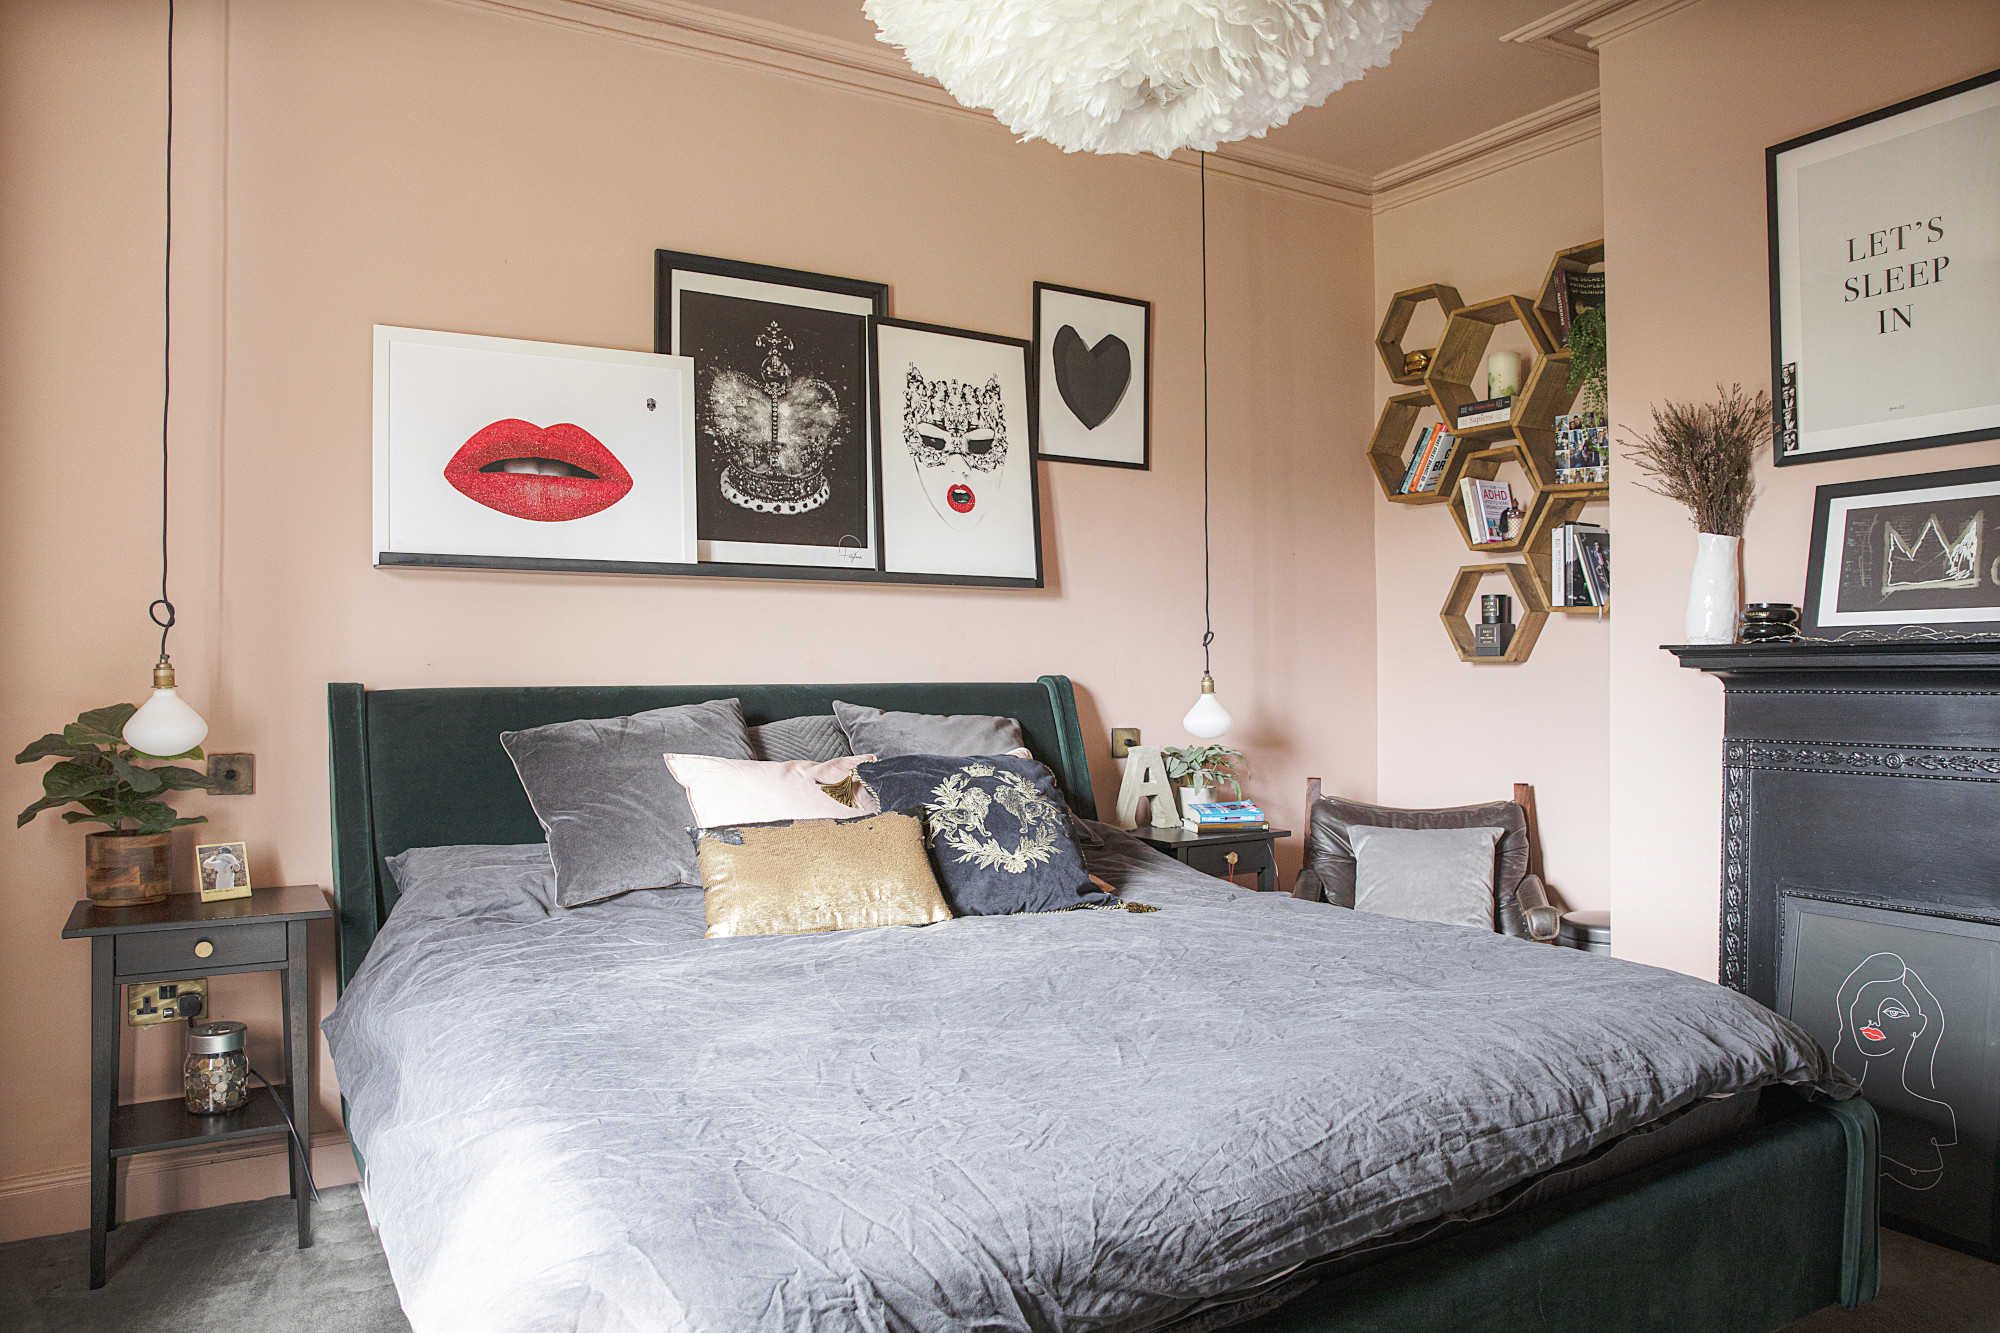
You should follow the same process as above to hang groups of artwork. Hanging three picture frames in a row makes a great focal point and wall decor idea in a lounge or bedroom, and using the empty wall space along your staircase is an opportunity to get creative by hanging different-sized pictures on different levels for interest. For a gallery-esque finish.
There are no set rules will hanging a gallery wall, but we recommend aiming for regular spacing between frames for a more thought-out look.
Seaman adds 'IKEA’s FIXA 102-piece hooks and hanging set has all the tools and equipment you need to get your home just the way you want it. For those newer to home DIY projects this starter kit will set you up for all your future projects. The screws and hooks are made of galvanized steel to protect against corrosion to protect your walls, and can be stacked with other boxes in the FIXA series for those more ambitious home renovation projects. The assorted hook and screw eyes can be used for hanging decorations, textiles and pictures on walls made of wood, including hook driver and steel wire. The S-hook can be used to join two screw eyes together or with a chain, while the hook driver makes it easier to screw hooks straight and firmly into walls or ceilings without hurting your fingers.'
Remember, If using a drill ensure you read and understand the instruction manual of your specific model and always take necessary precautions. Only use power tools you are comfortable with and we would always recommend using a stud finder and live wire cable detector when drilling or hammering nails into any walls around your home. Wear safety gear when drilling or hammering to prevent eye and hand injury.

I'm Cam, the former deputy editor of Real Homes who worked on the site from 2020 to 2023. As a renter myself, sharing a home with two friends (and my cat) in London, I know all too well the challenges that this can pose when it comes to creating your perfect setup. As someone who has always loved everything interior design-related, I cannot rest until a home feels right and I am really passionate about helping others get there too, no matter what their living situation, style, or budget may be. It’s not always the easiest to figure out, but the journey is fun and the results are so worth it.
After interior design, travel, art, and photography are my next big passions. When I’m not writing or editing homes content, I’m usually tapping into other creative outlets, exploring galleries in London or further afield, taking photos, scribbling, or drawing!