How to oil a deck step-by-step: protect and enhance your outdoor living space
Bring tired and faded decking back to life with our no-nonsense guide on how to oil a deck

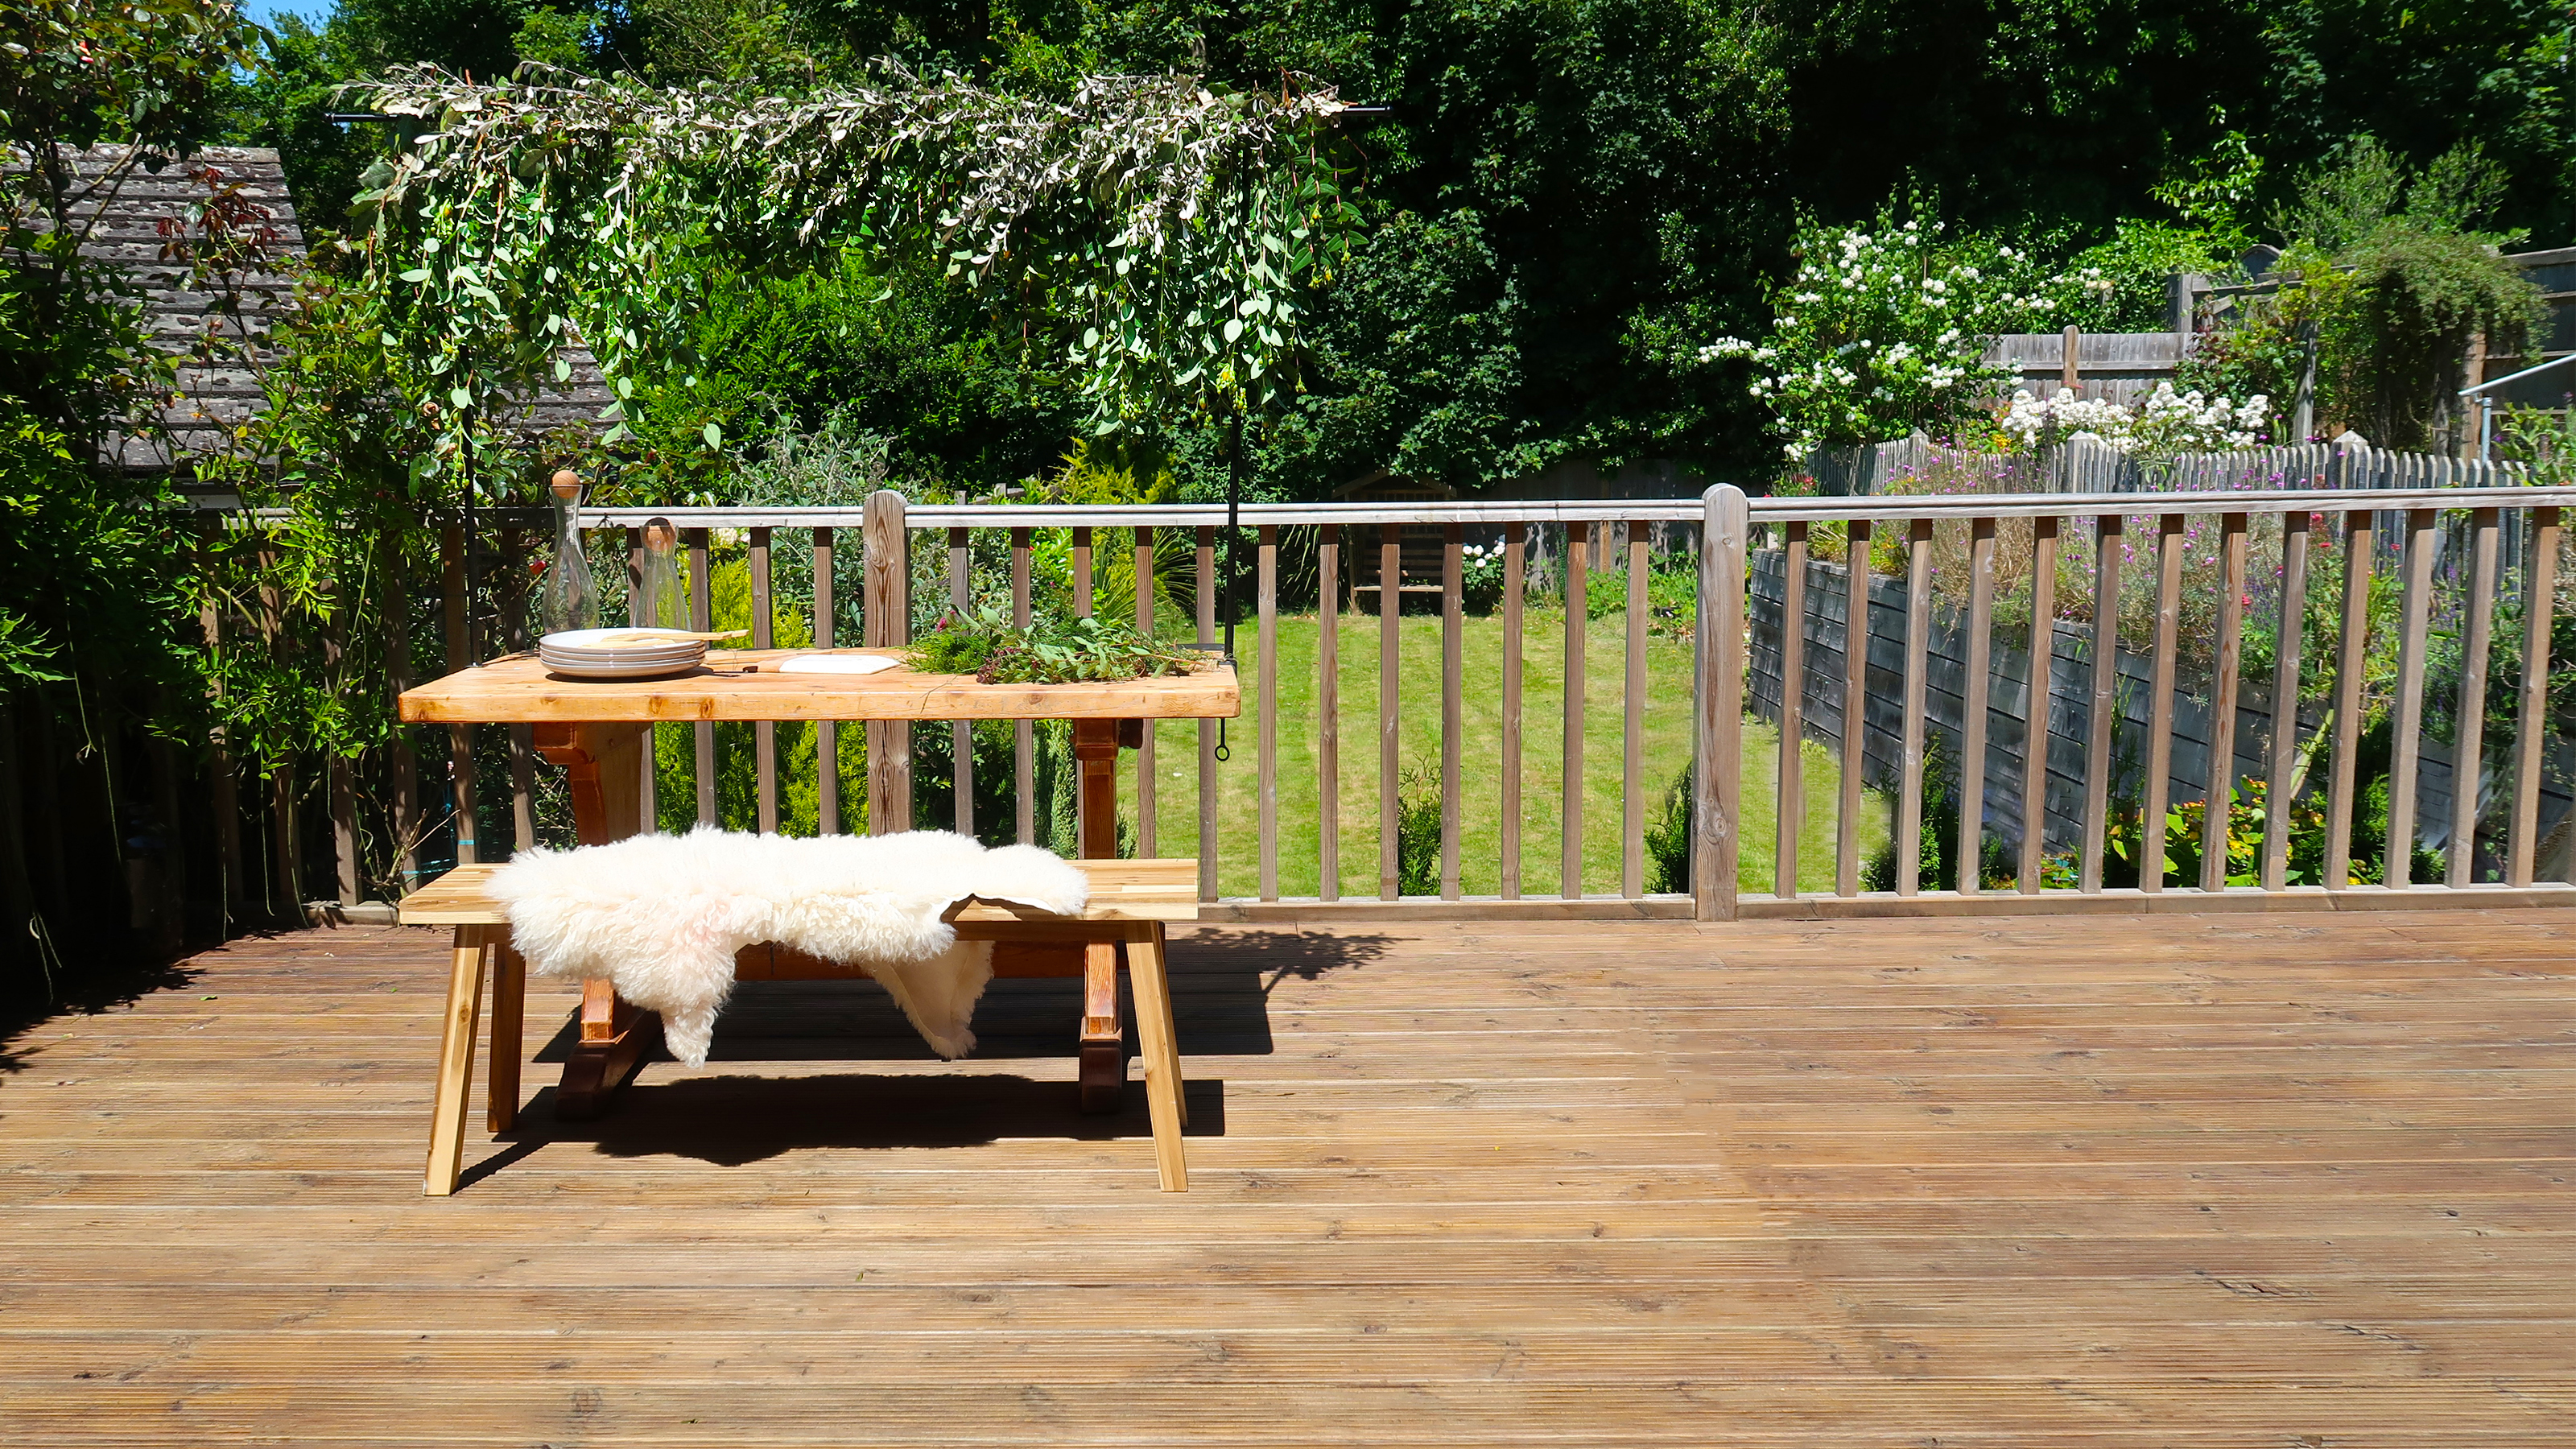
A timber deck is a backyard staple and it’s no wonder considering how versatile and cost-effective decking can be. Knowing how to oil a deck could help yours last a lot longer than if left untreated, as a deck can last for fifteen years or more if properly cared for and regular maintenance really is the key to success.
With a bit of elbow grease, the right decking oil and other materials, you'll be able to take this bit of outdoor space from grotty to gorgeous. And, if you’ve fallen behind with your maintenance schedule or perhaps inherited a neglected deck, not to worry, as another attribute to wooden decking is its ability to be restored and revived.
How to oil a deck
Whether you choose to oil or stain a deck is mostly down to personal preference. A stain will edit the color, while oiling a deck will increase its longevity.
Here’s everything you need to know if you fancy giving it a go. But if you enjoy recreating the best looking deck ideas then you are going to love this project.
- DIY level: Novice
- Time: Weekend
- Budget: Low
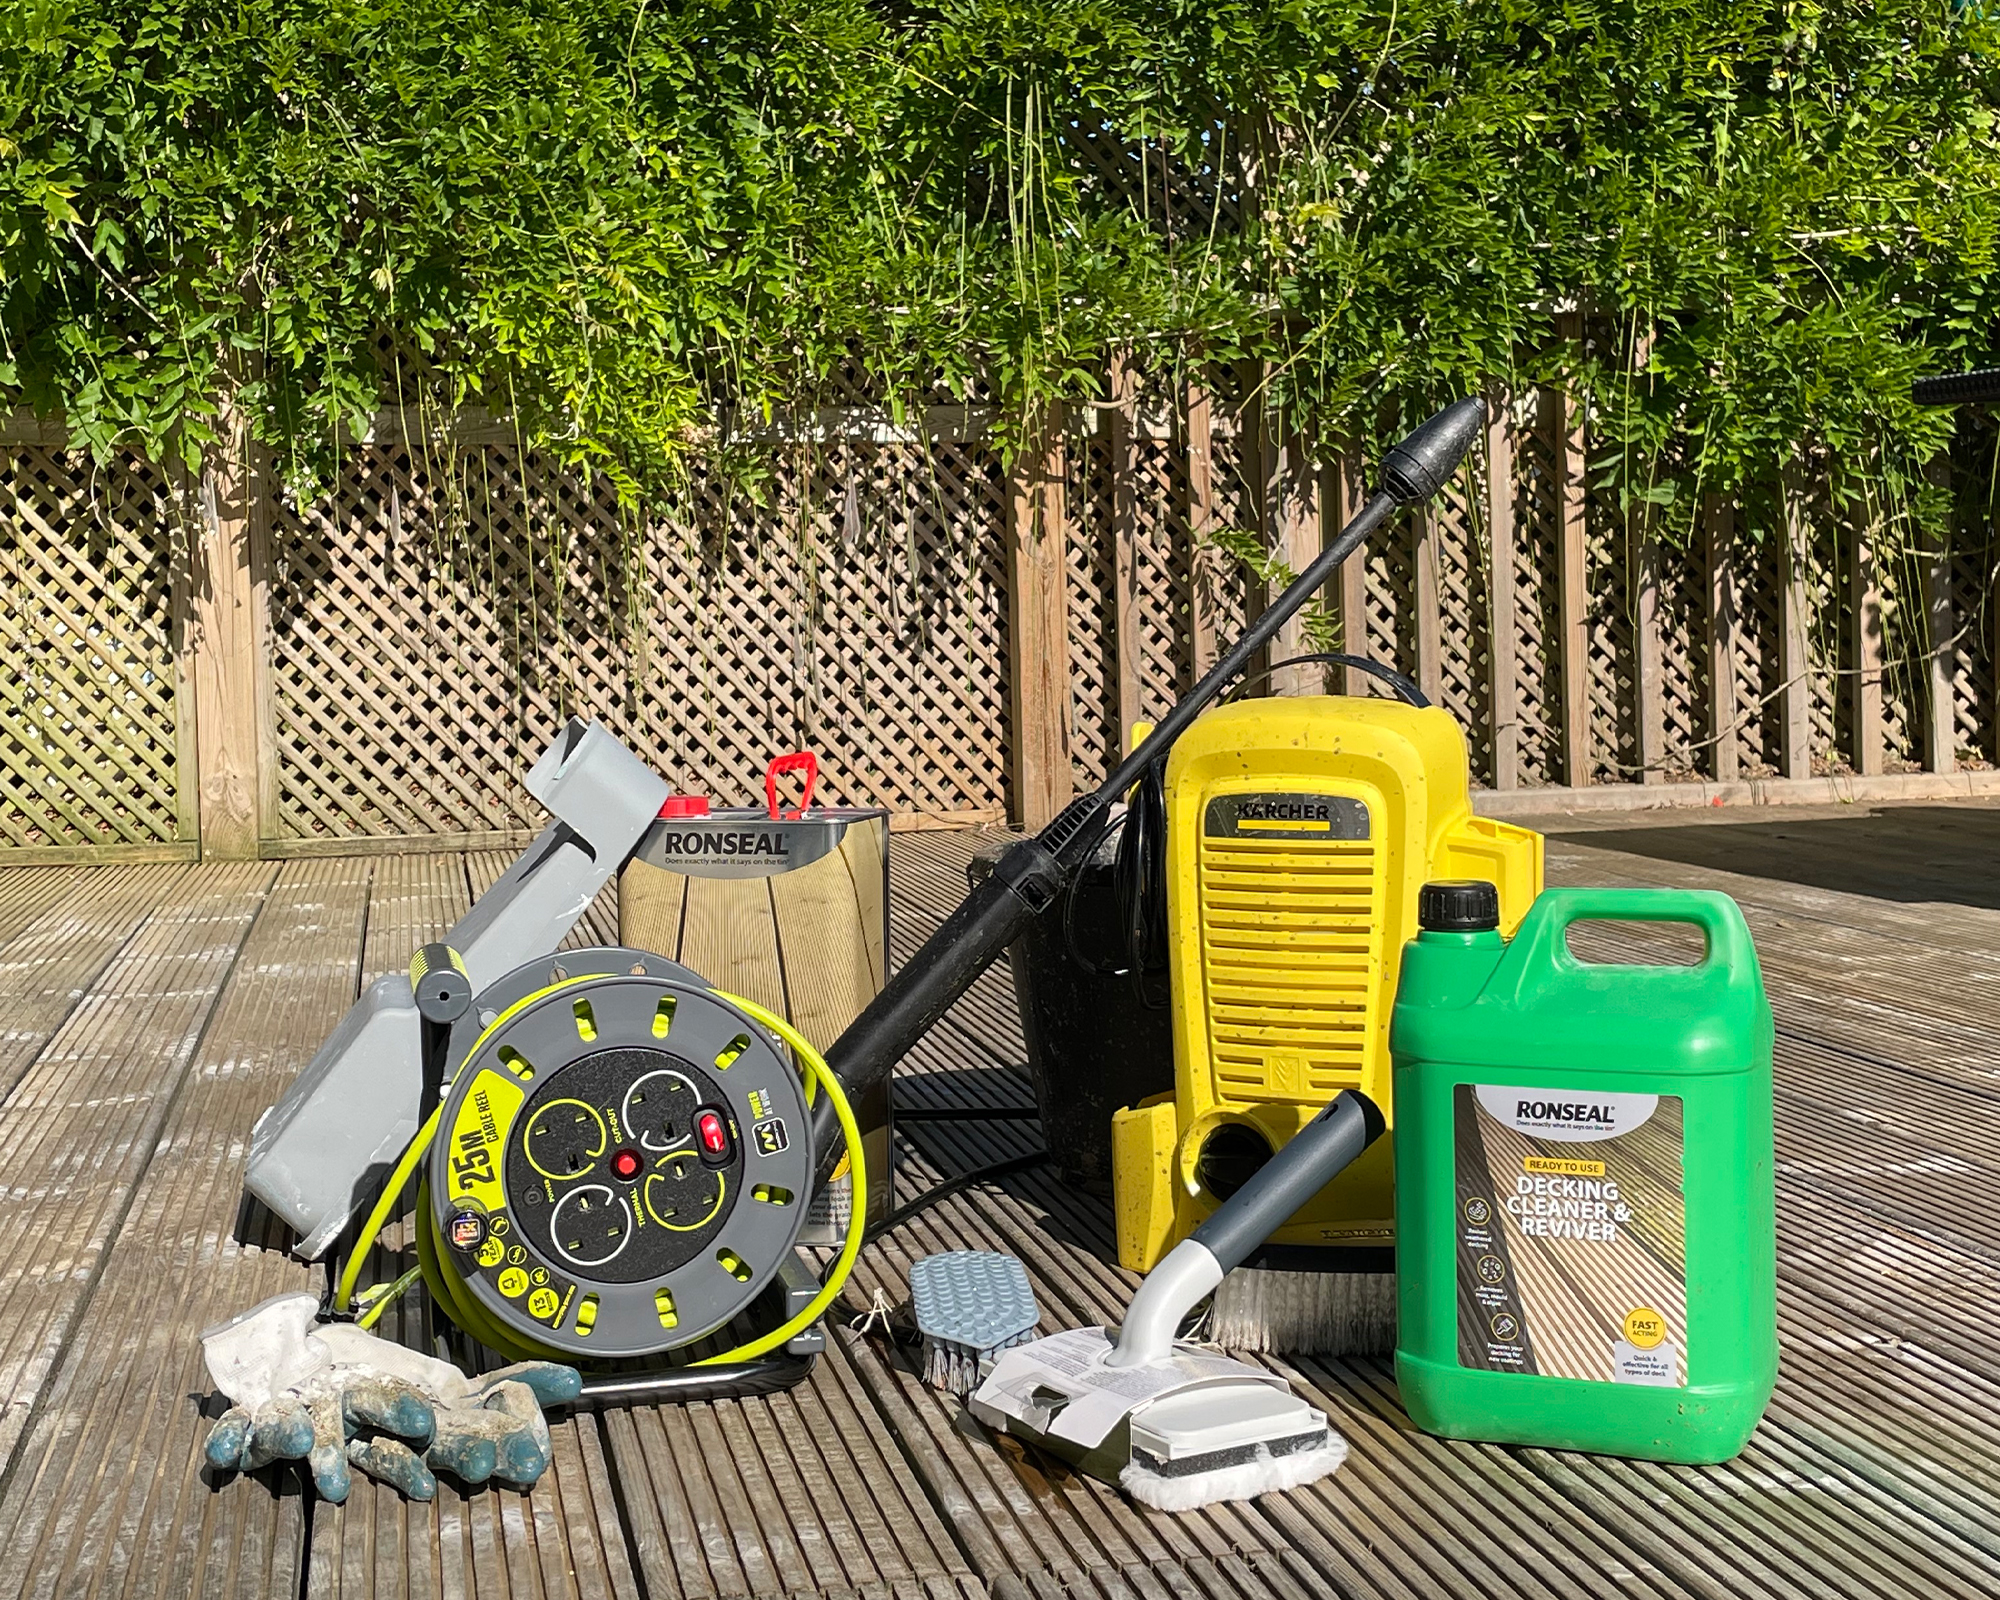
You will need
1. Pressure washer or hose: Kaärcher is my go-to
2. Scrubbing/ stiff-bristled brush
3. Decking brush or just a different head
4. Bucket
5. Decking cleaning solution
6. A good decking oil: I used Ronseal's decking oil in natural
7. Soft brush or decking pad for applying oil this handy kit ticks all the boxes
8. Gloves: basic work gloves are fine
9. Kneeling pad
1. Sweep the deck
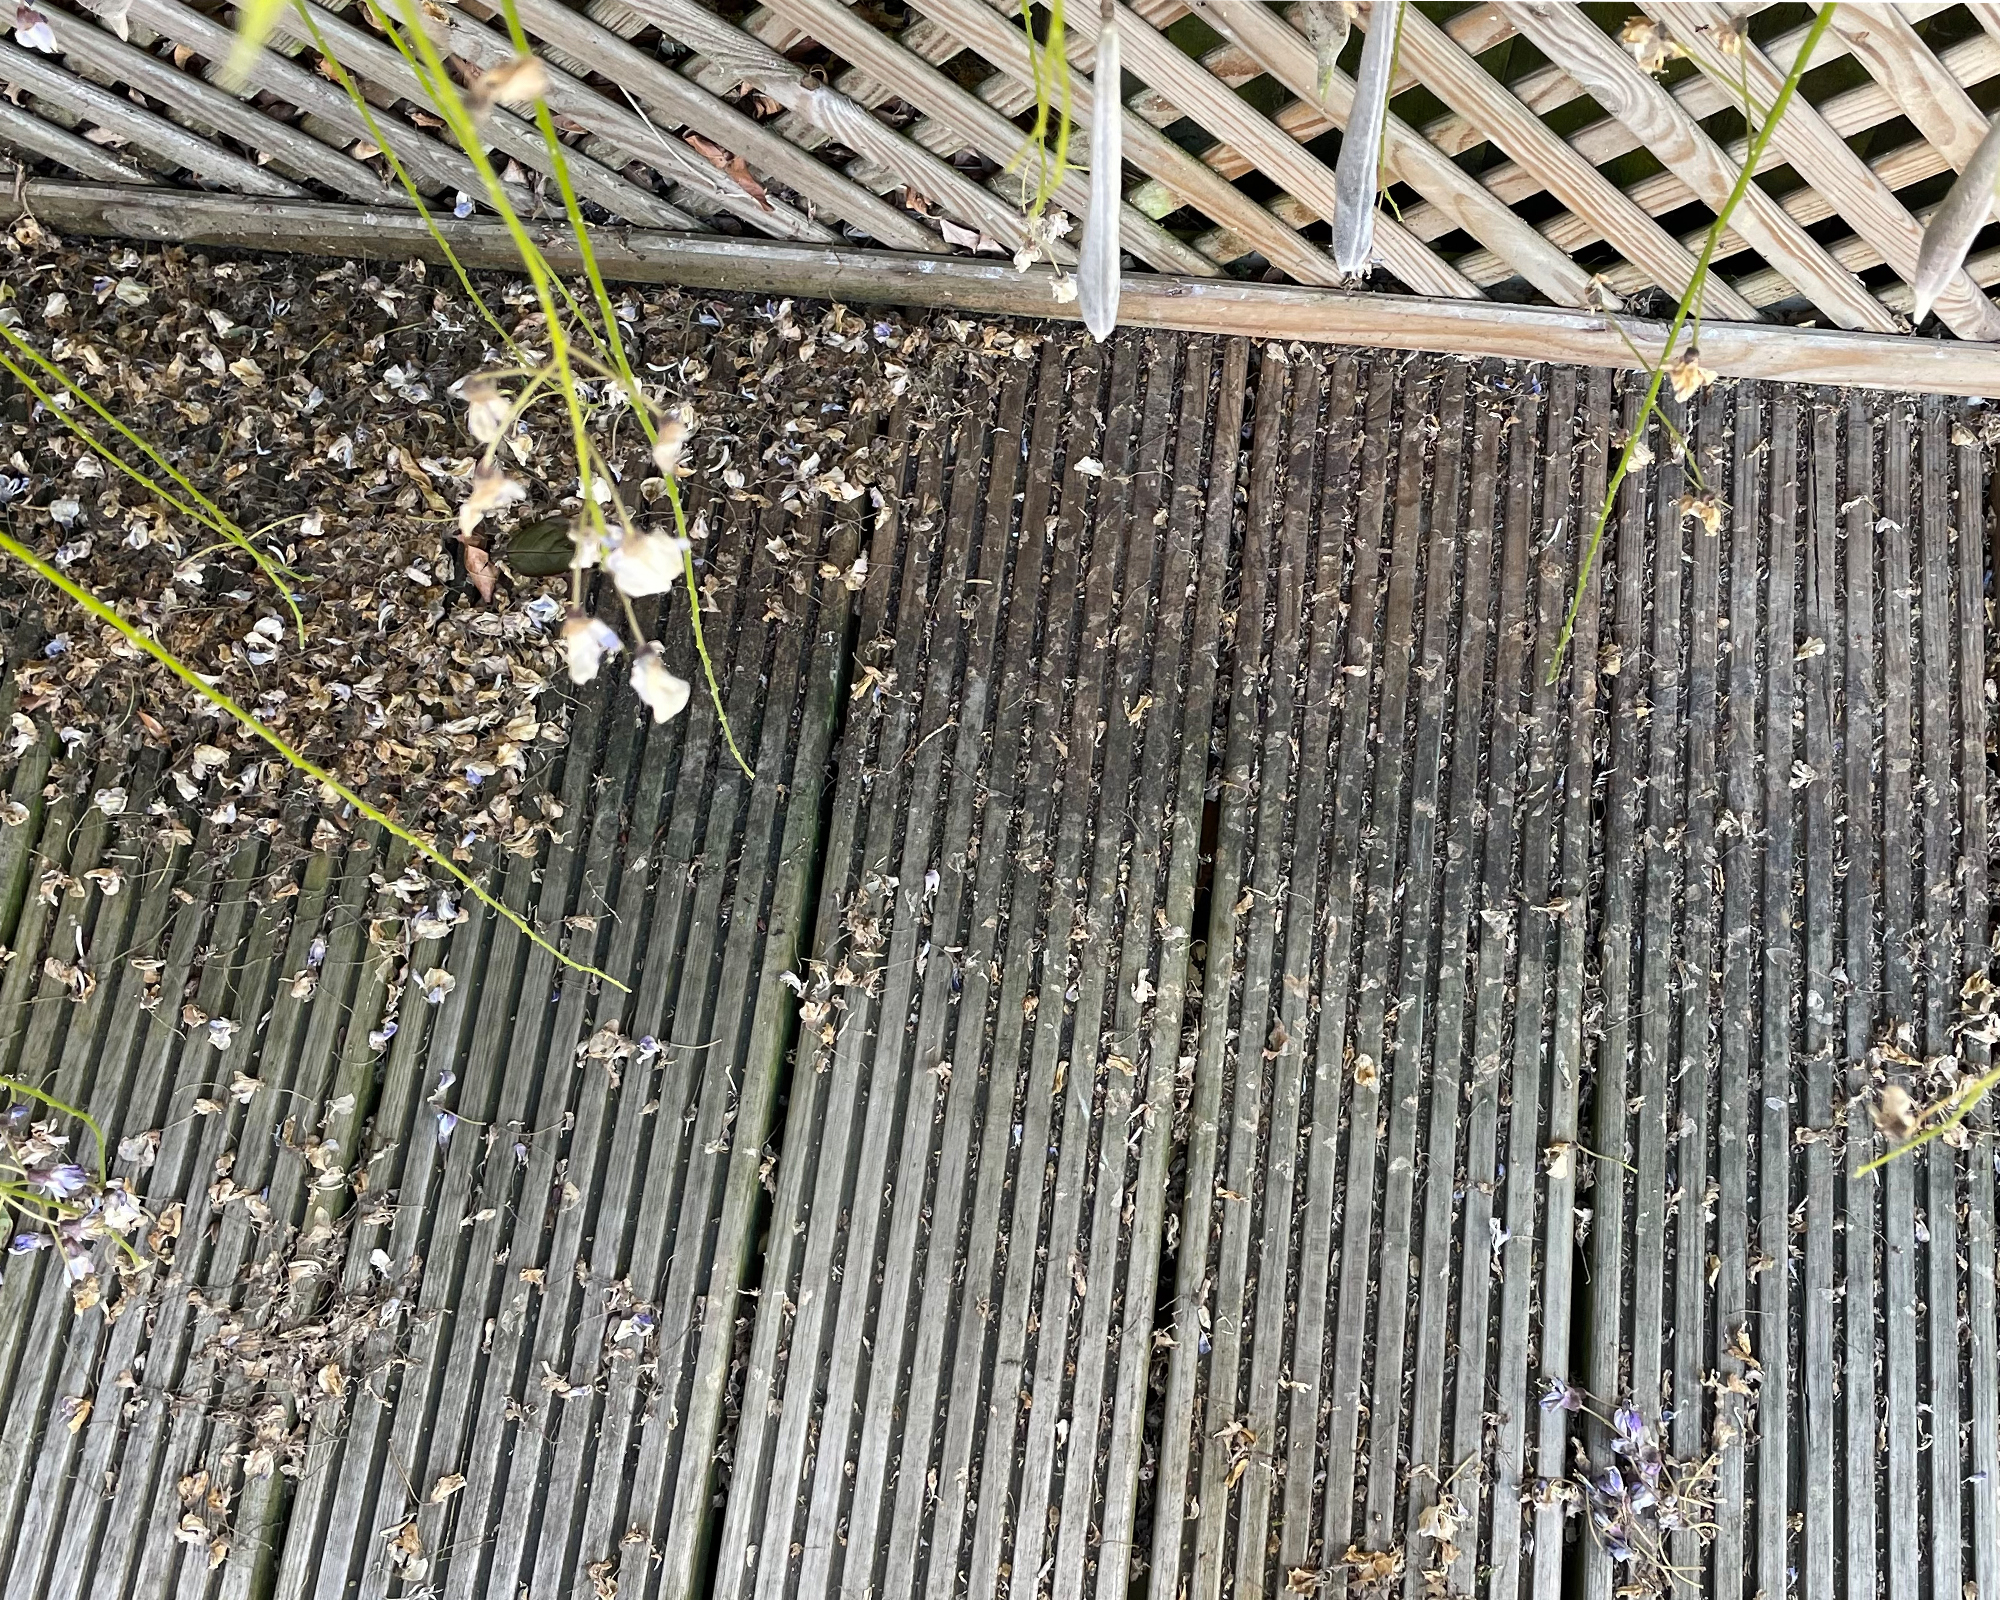
It’s important to remove any loose debris and clean the decking before you start scrubbing as grit and sand can damage the decking boards and make it a lot harder to clean. Kids’ play sand and dirt can get stuck in the grooves so sweep from one end of the deck to the other going in the same direction as the boards.
2. Hose down
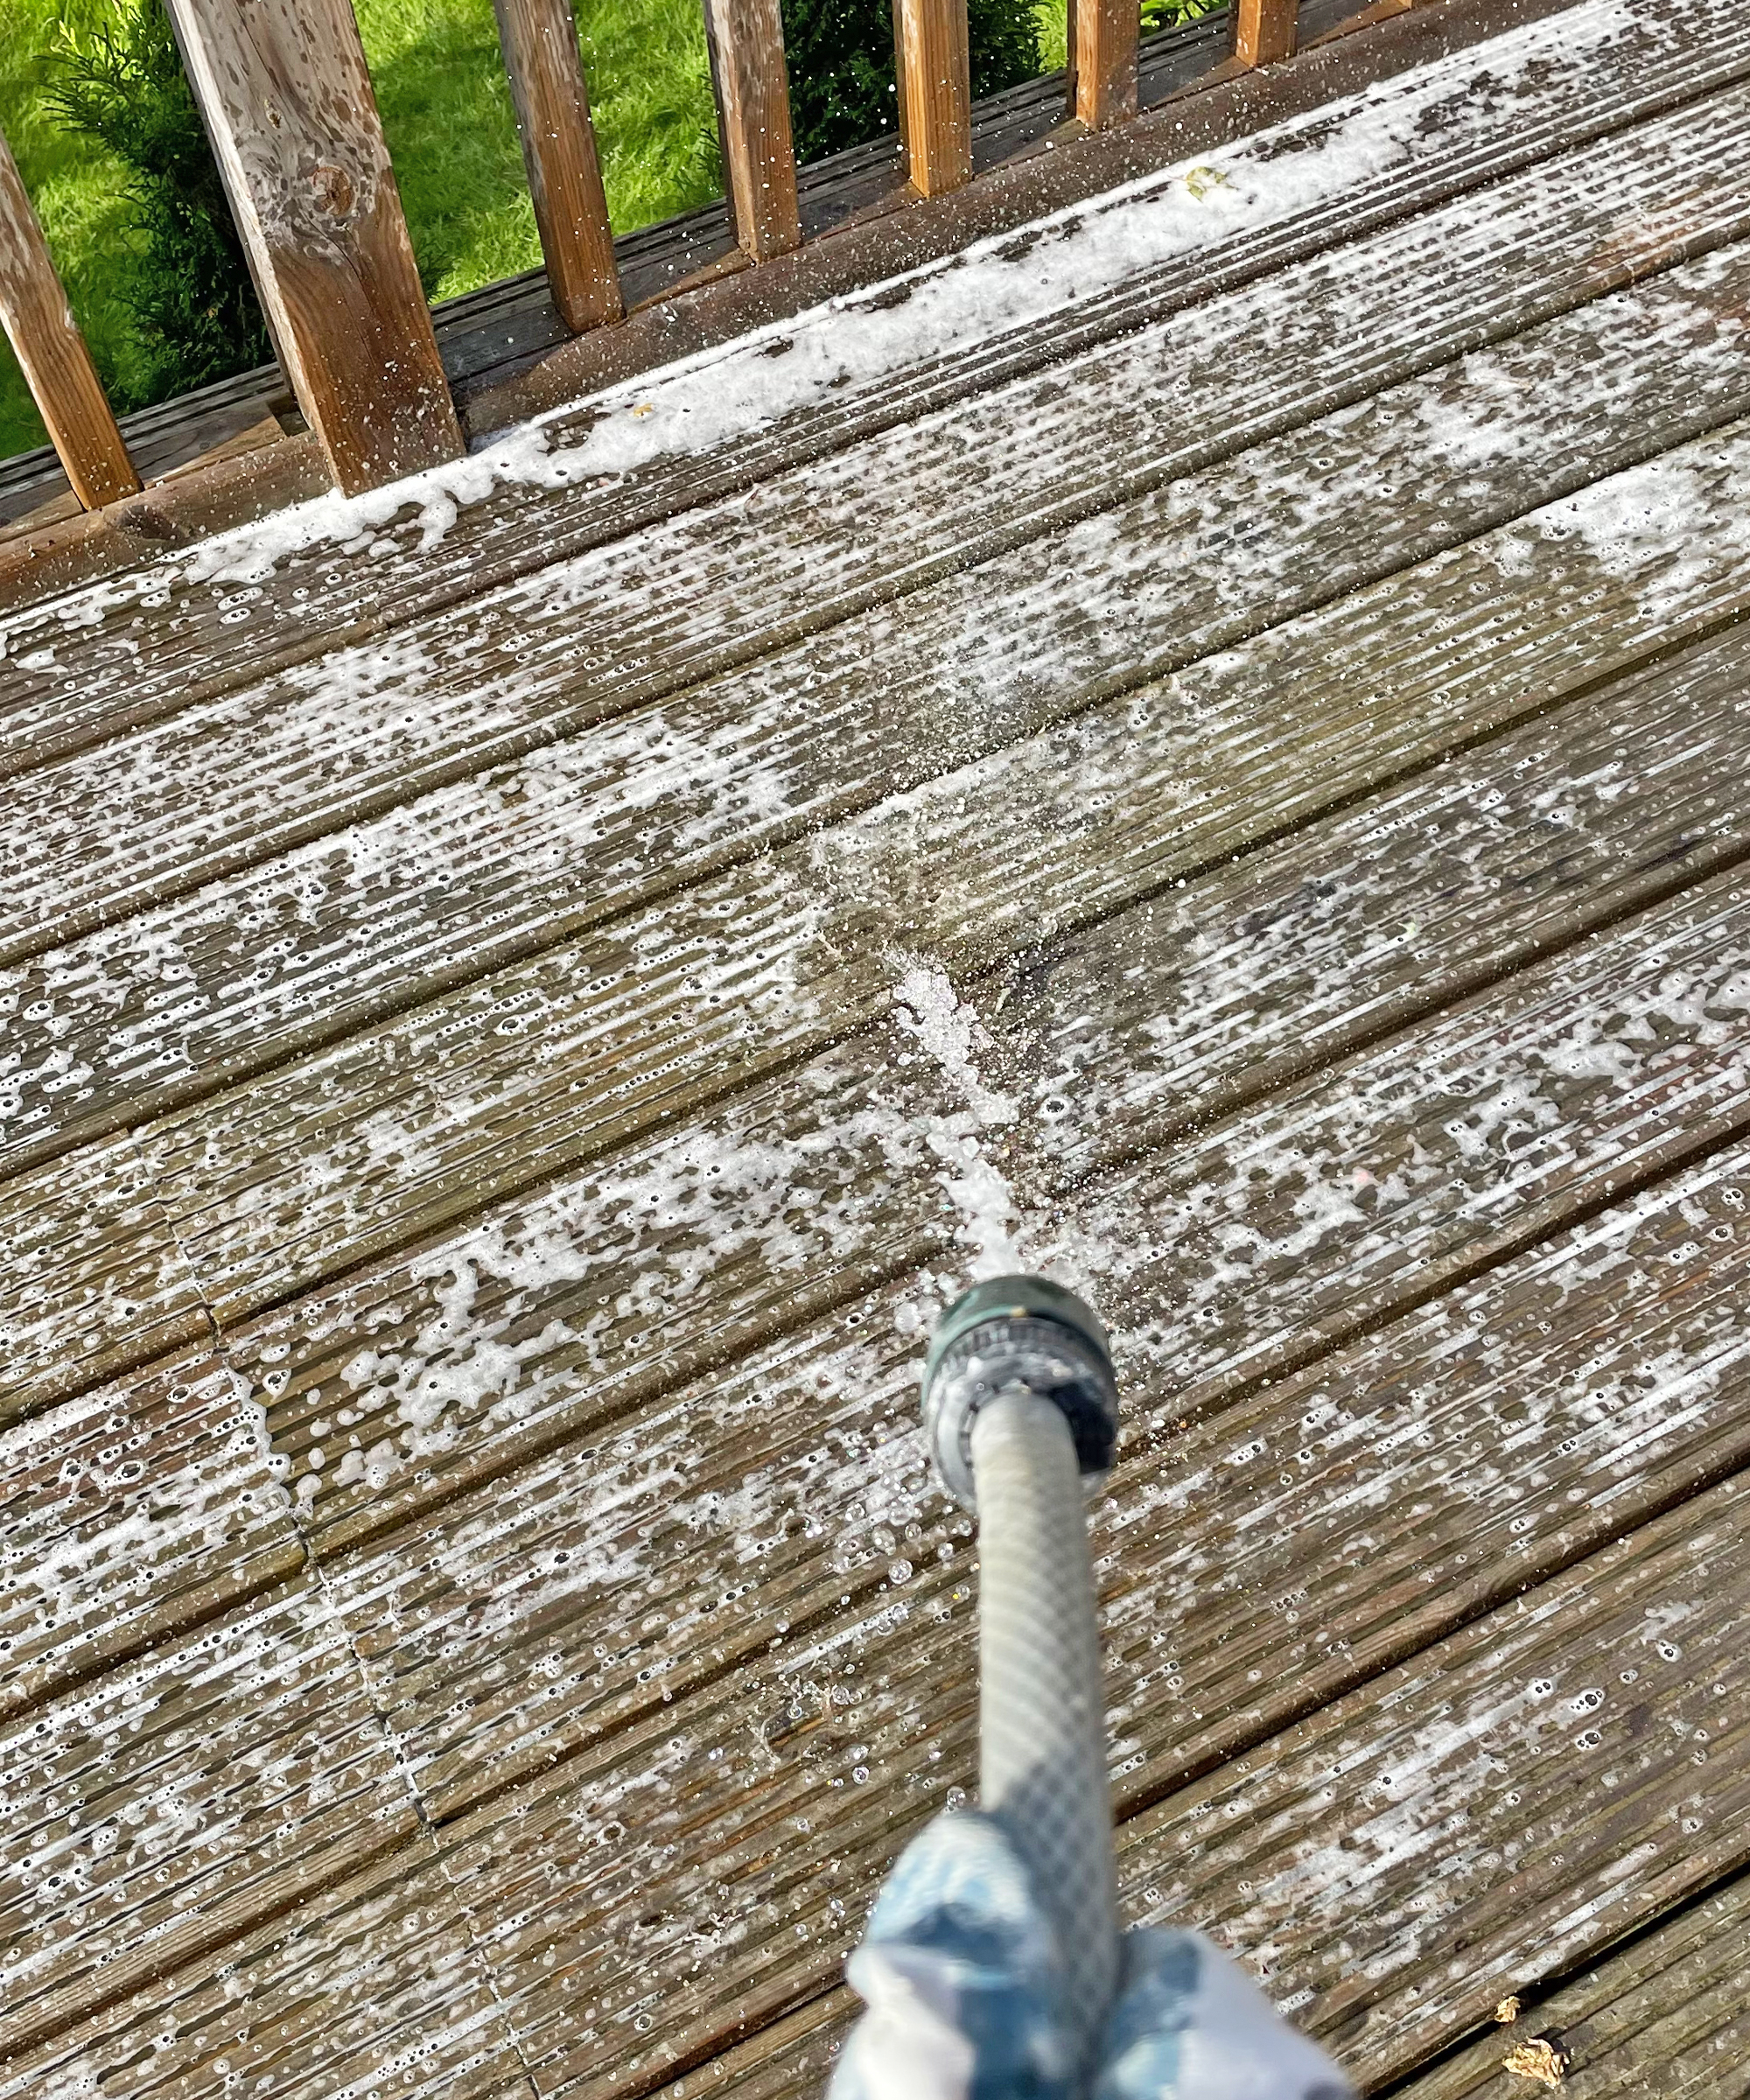
Once you’ve removed all the loose dirt and debris it's time to hose off the deck. A pressure washer is ideal if you have one, but take care not to hold the nozzle too close to the timber as this can cause splintering and damage. Use a decking cleaning attachment if possible.
3. Scrub
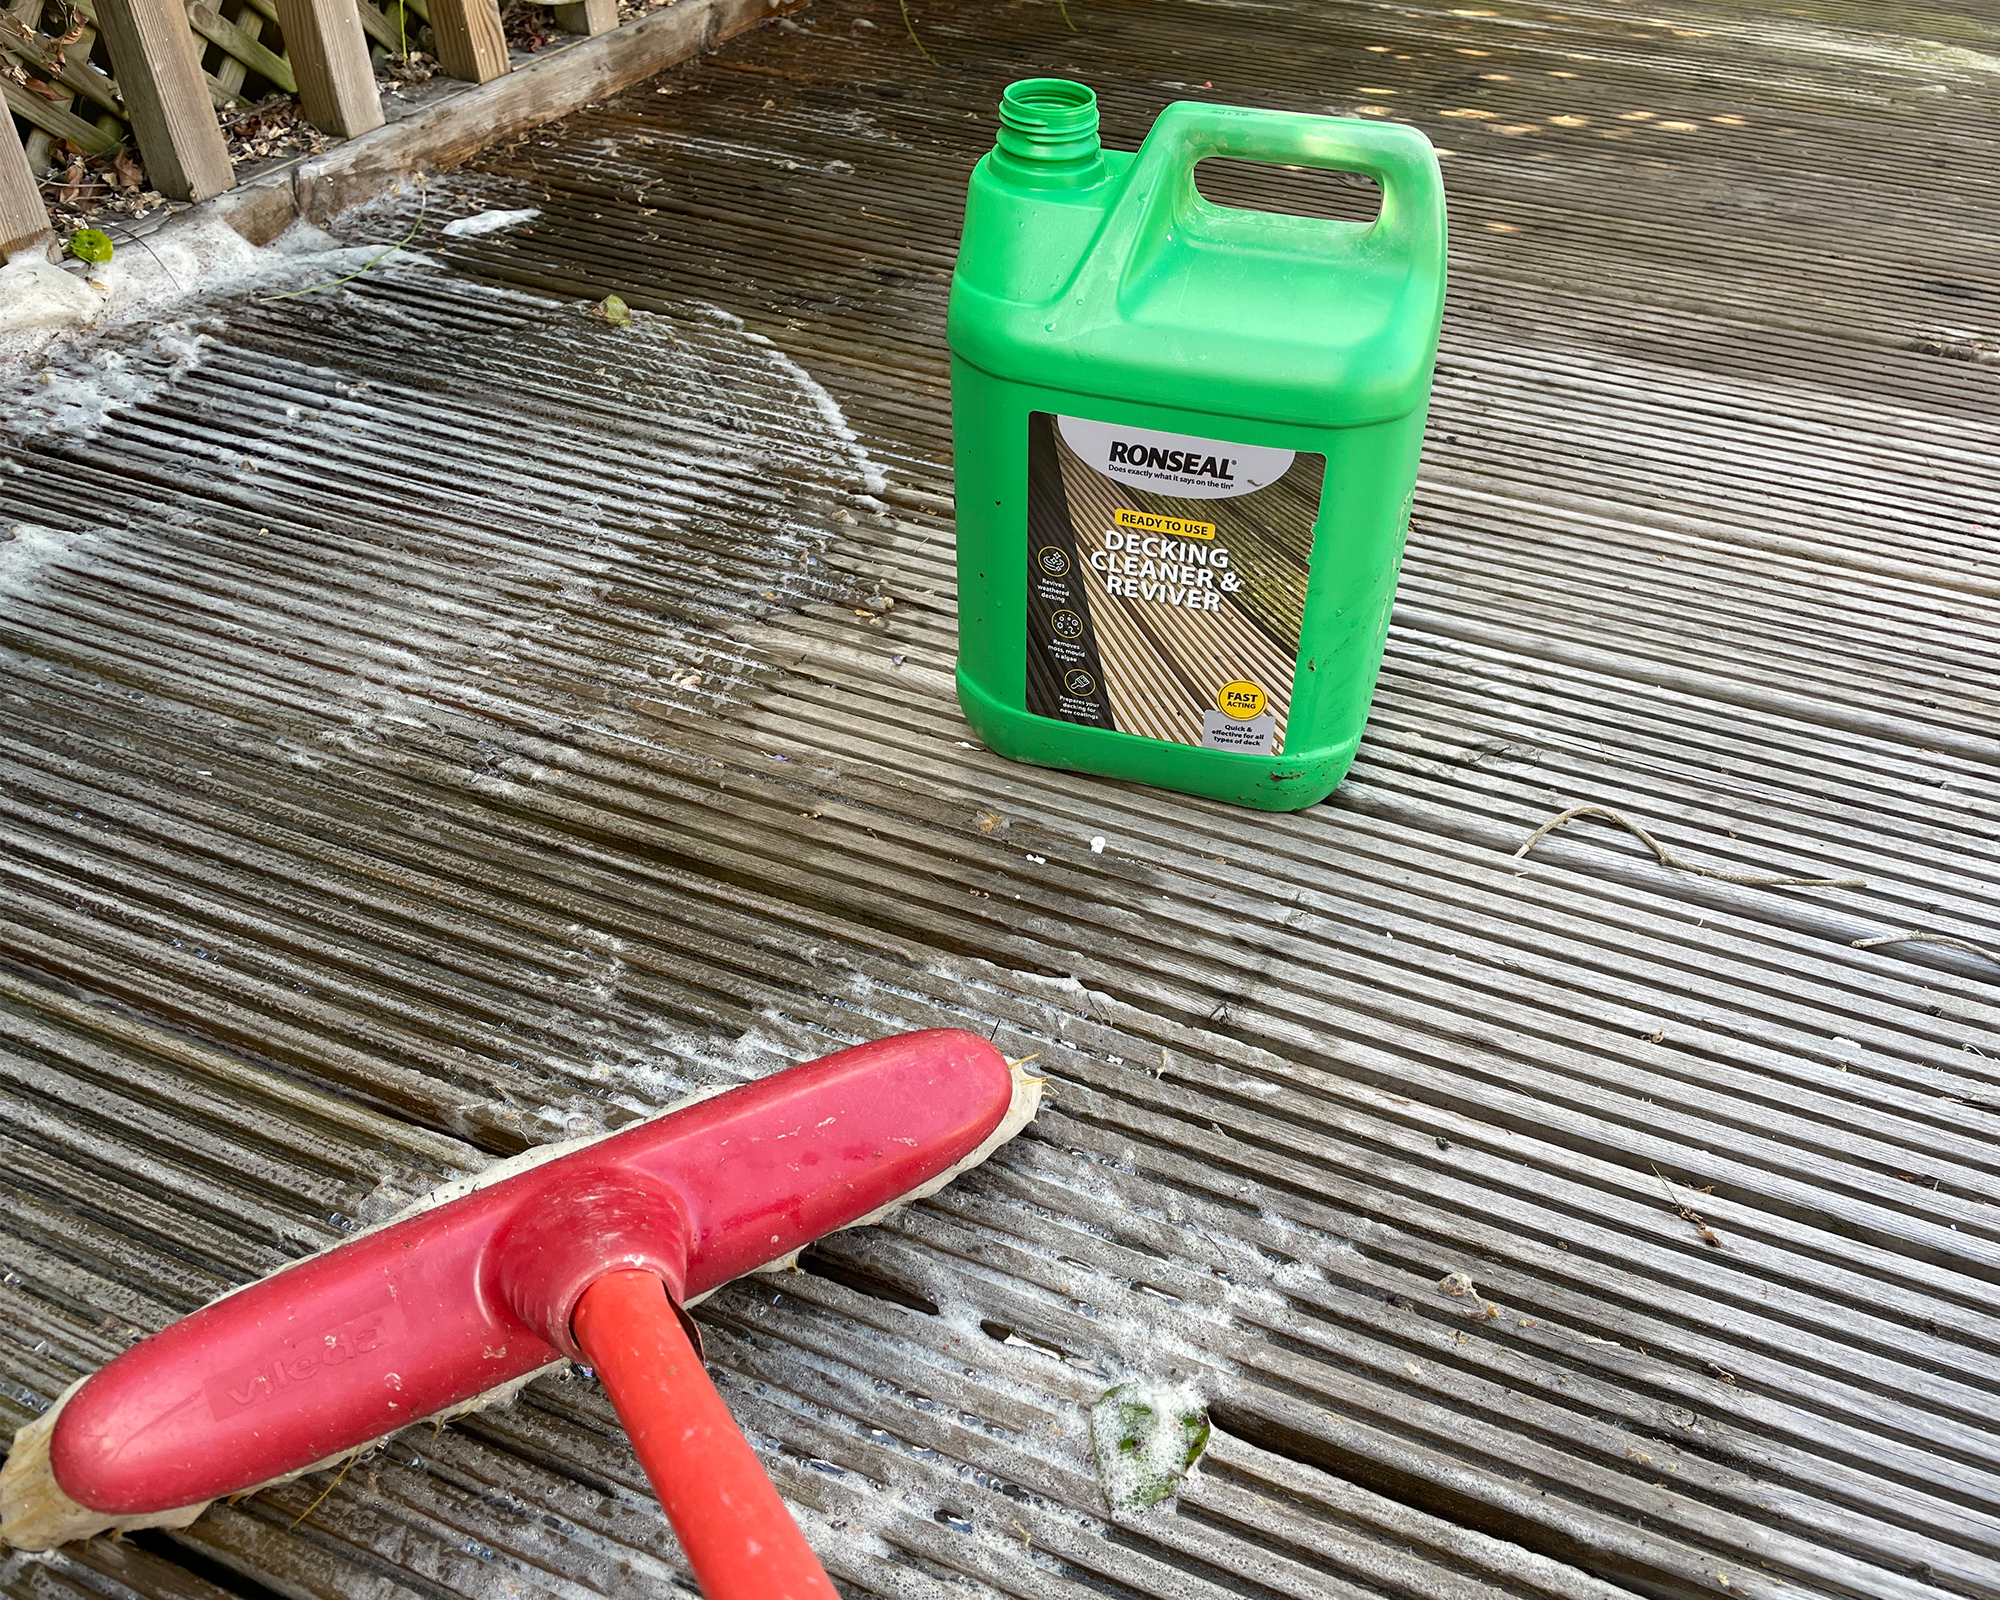
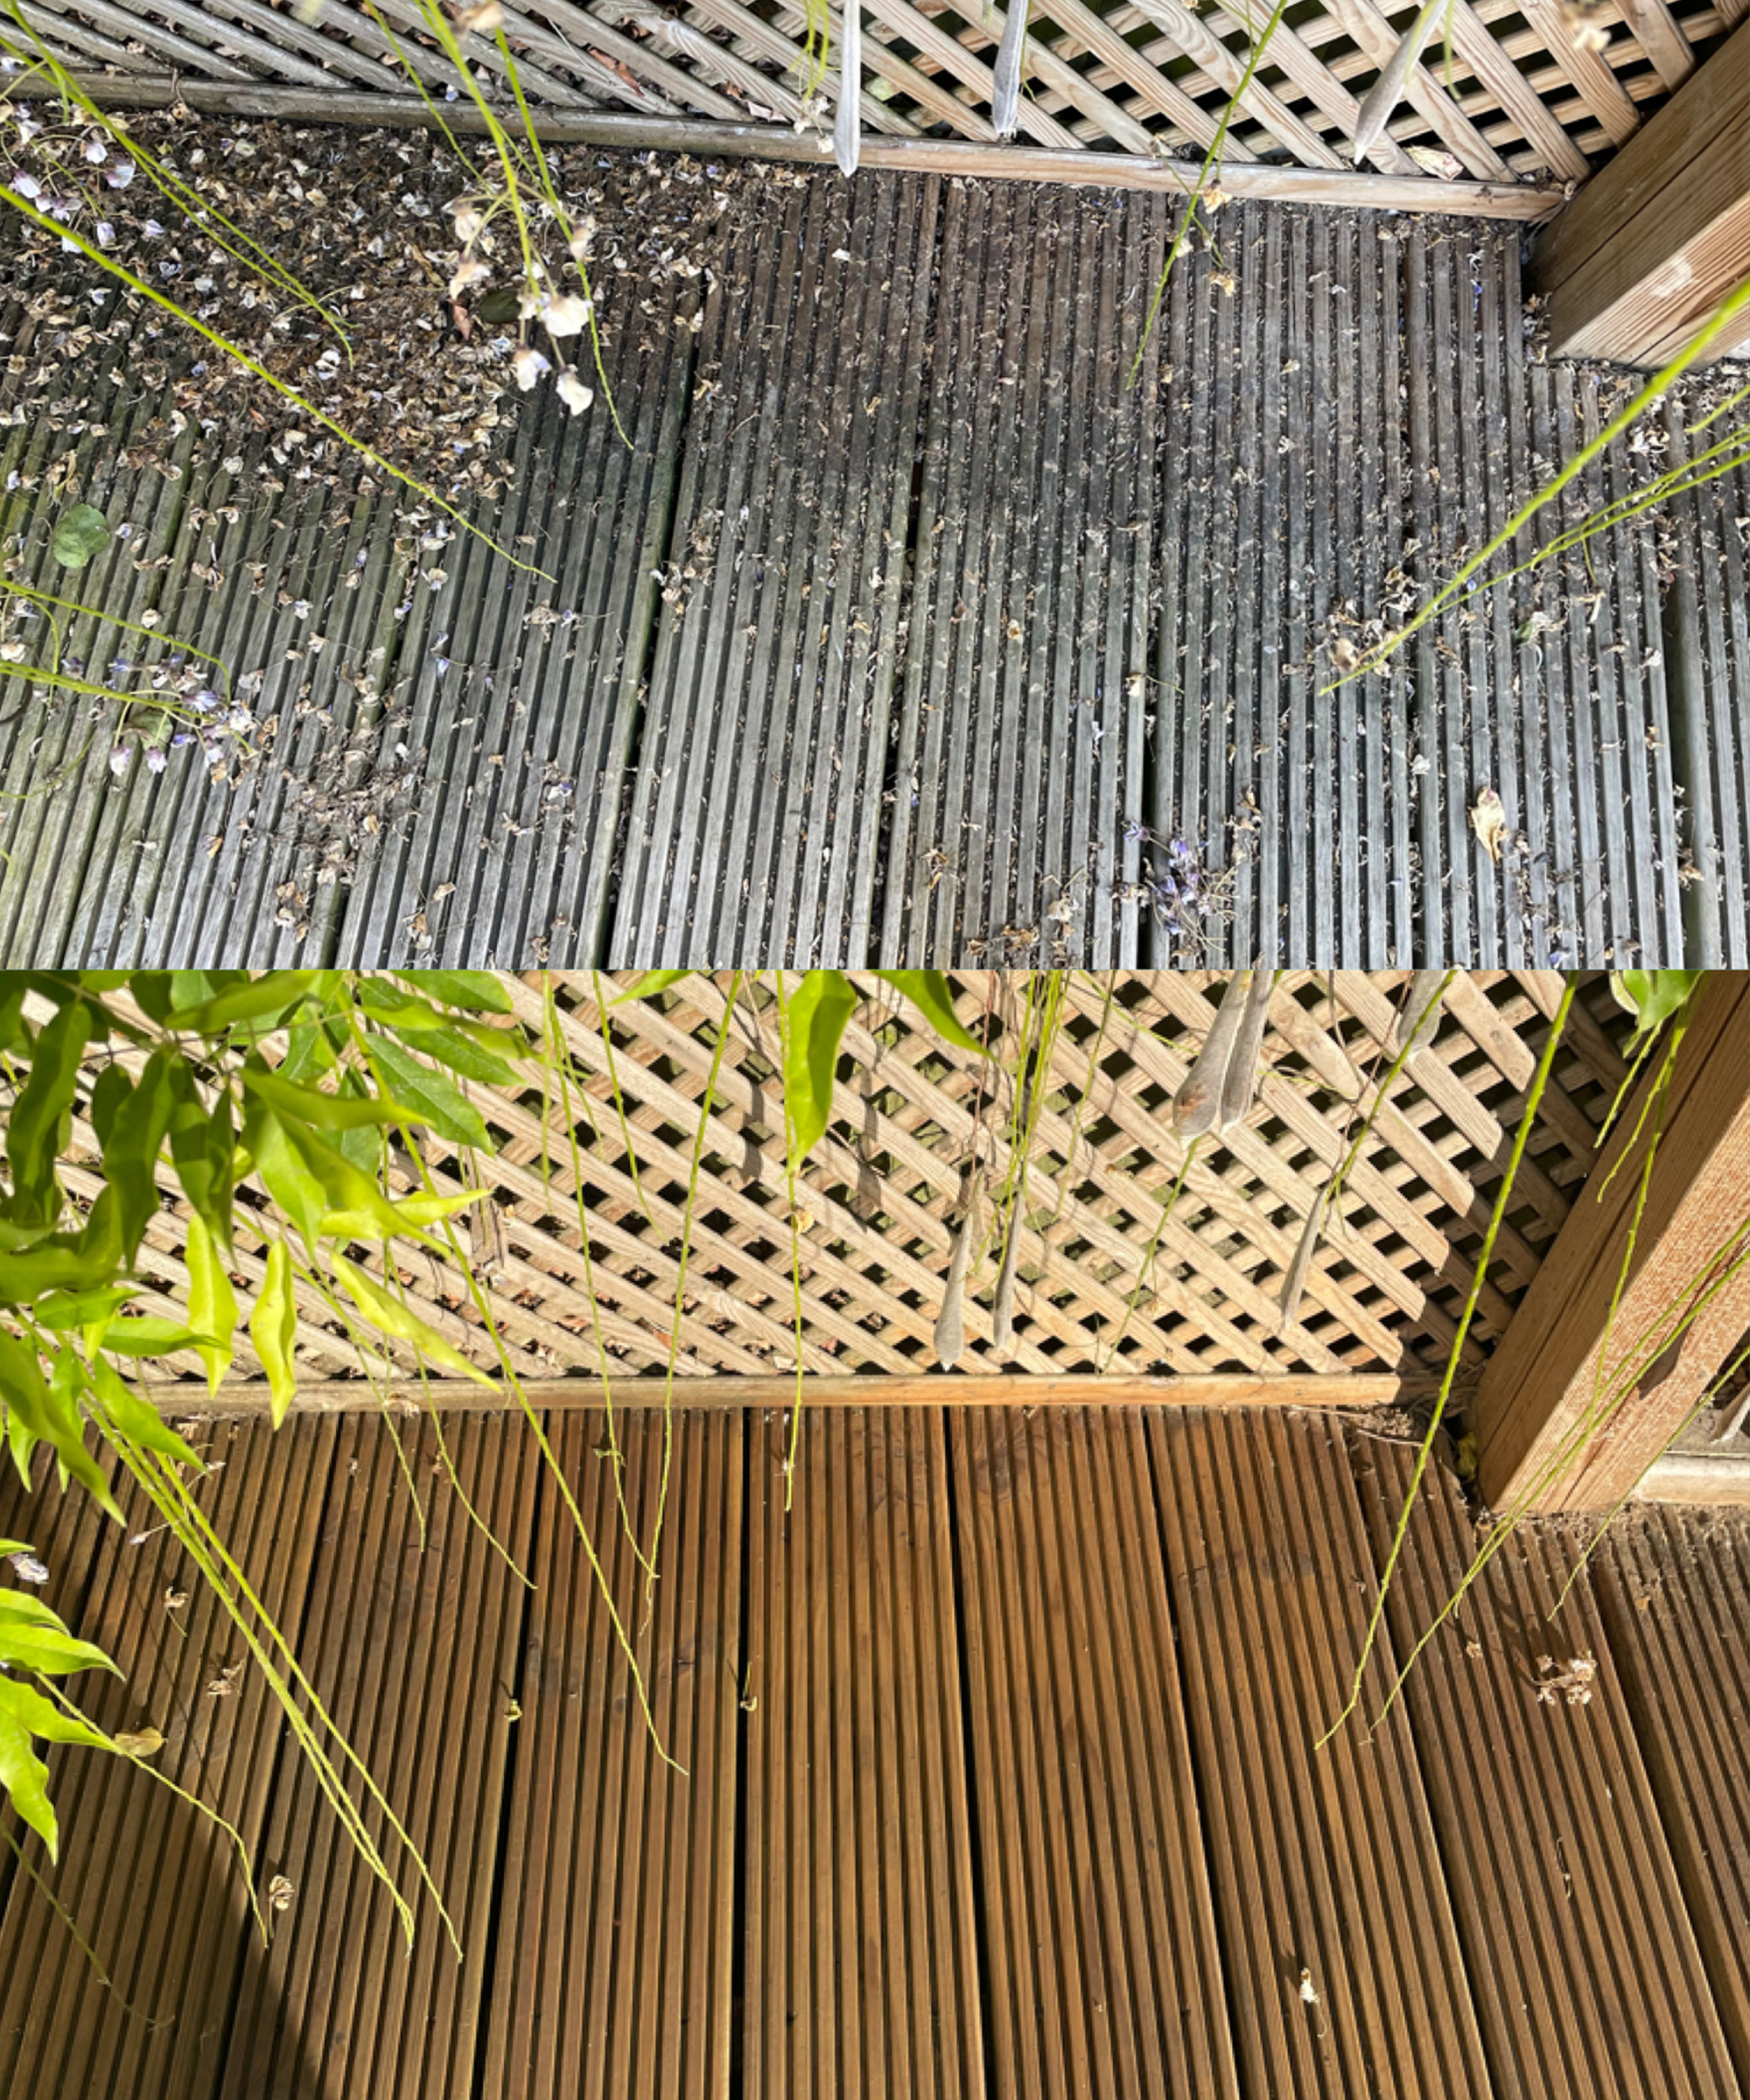
Once the boards are wet it’s time to get scrubbing. You can use a decking cleaning and restoring solution, alternatively, diluted dish soap works well. The more effort you put in here the better the end result will be, so it’s worth taking the time to get the boards and grooves clean. Keep a bucket of clean water close at hand to wash your scrubbing brush in. You should see the dirt lifting as you scrub, if not add more water and cleaning solution and leave to soak for a few minutes before trying again. The key to success is applying even pressure with the brush, covering every visible part of the boards, and not scrubbing too hard that you damage the surface.
Get small space home decor ideas, celeb inspiration, DIY tips and more, straight to your inbox!
Top Tip: Use a kneeling pad if scrubbing with a small hand brush, your knees will thank you!
4. Rinse
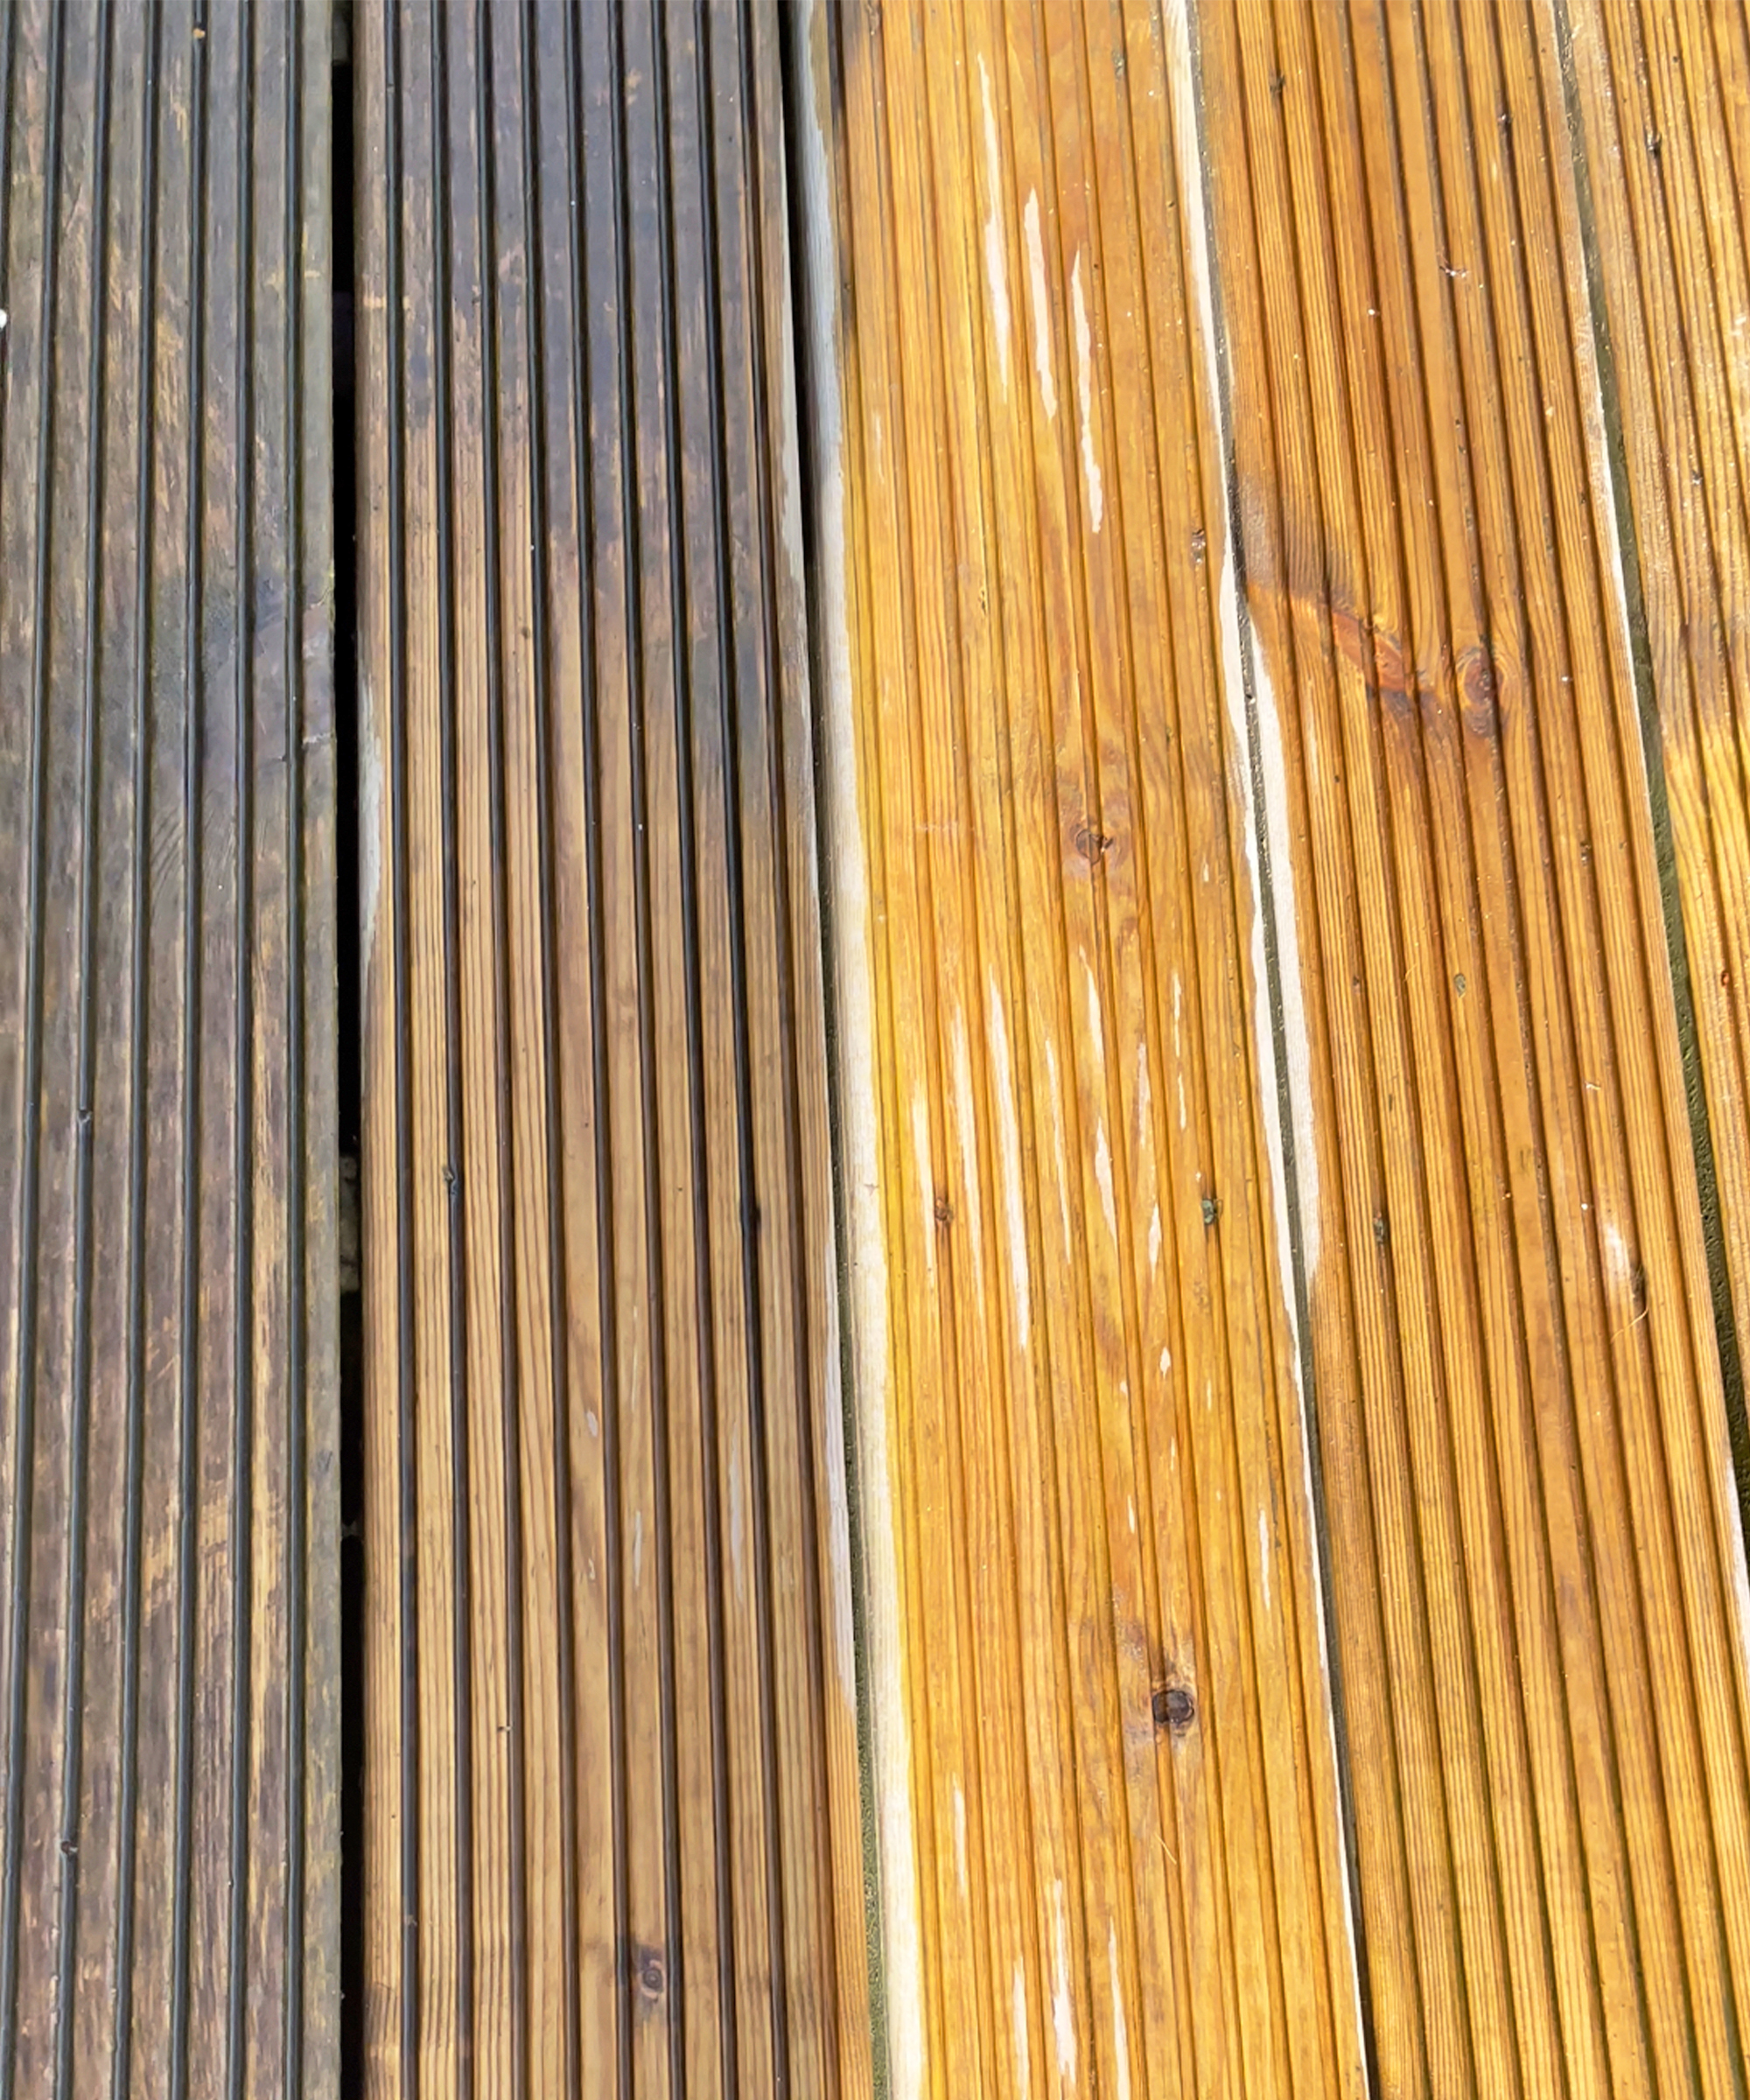
Once the deck has been thoroughly scrubbed, rinse again with the hose or pressure washer and check the results. Repeat the scrubbing on any areas which haven’t come up clean, as patches will ruin the end result.
5. Repair
Now the deck is clean, it’s time to repair any cracks or minor damage by sanding down and using wood filler. Broken or rotten boards should be replaced completely so we are only talking about superficial damage here.
6. Oil
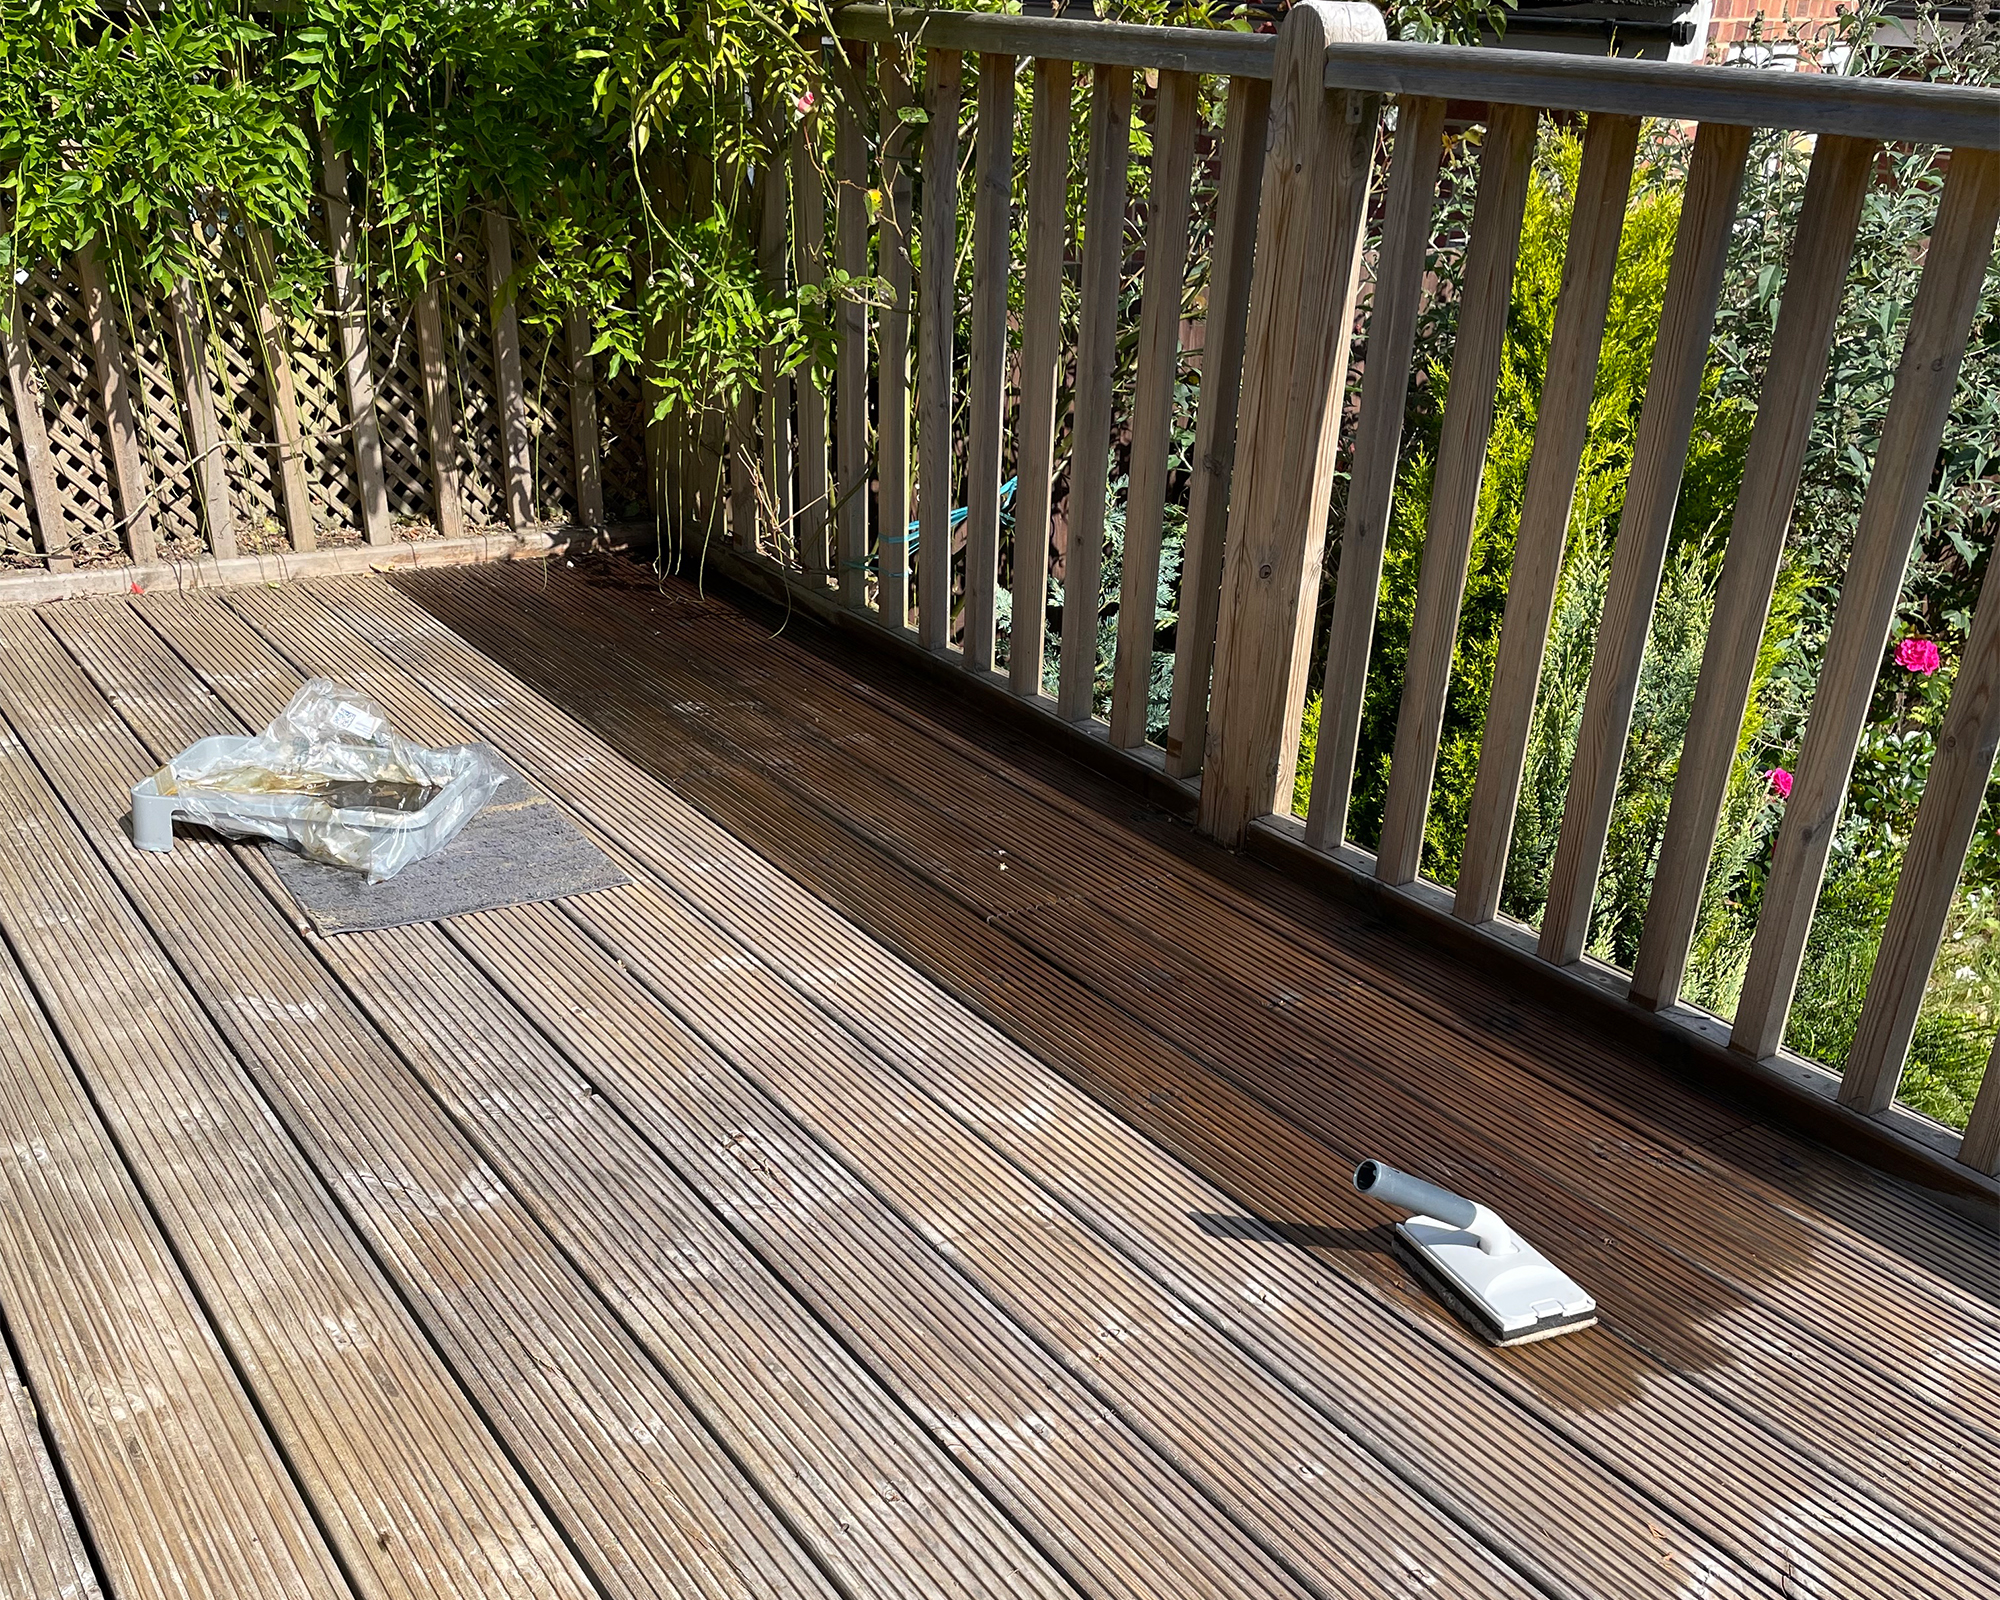
So, you’ve done the hard bits, you’ve scrubbed and scrubbed, taken layers of dirt off, given the whole deck a new lease of life, (and promised yourself that you won’t let it get that bad again – or was that just me?!) so now comes the fun bit, applying your chosen decking oil. I used Ronseal's in natural which you can find on Amazon. Refer to the manufacturer’s guidelines for specific application instructions but here are my general tips.
7. Avoid splash marks
When you pour the oil out, don’t place your container on the deck as the oil can splash out and leave marks on the boards which are hard to cover.
8. Line the container
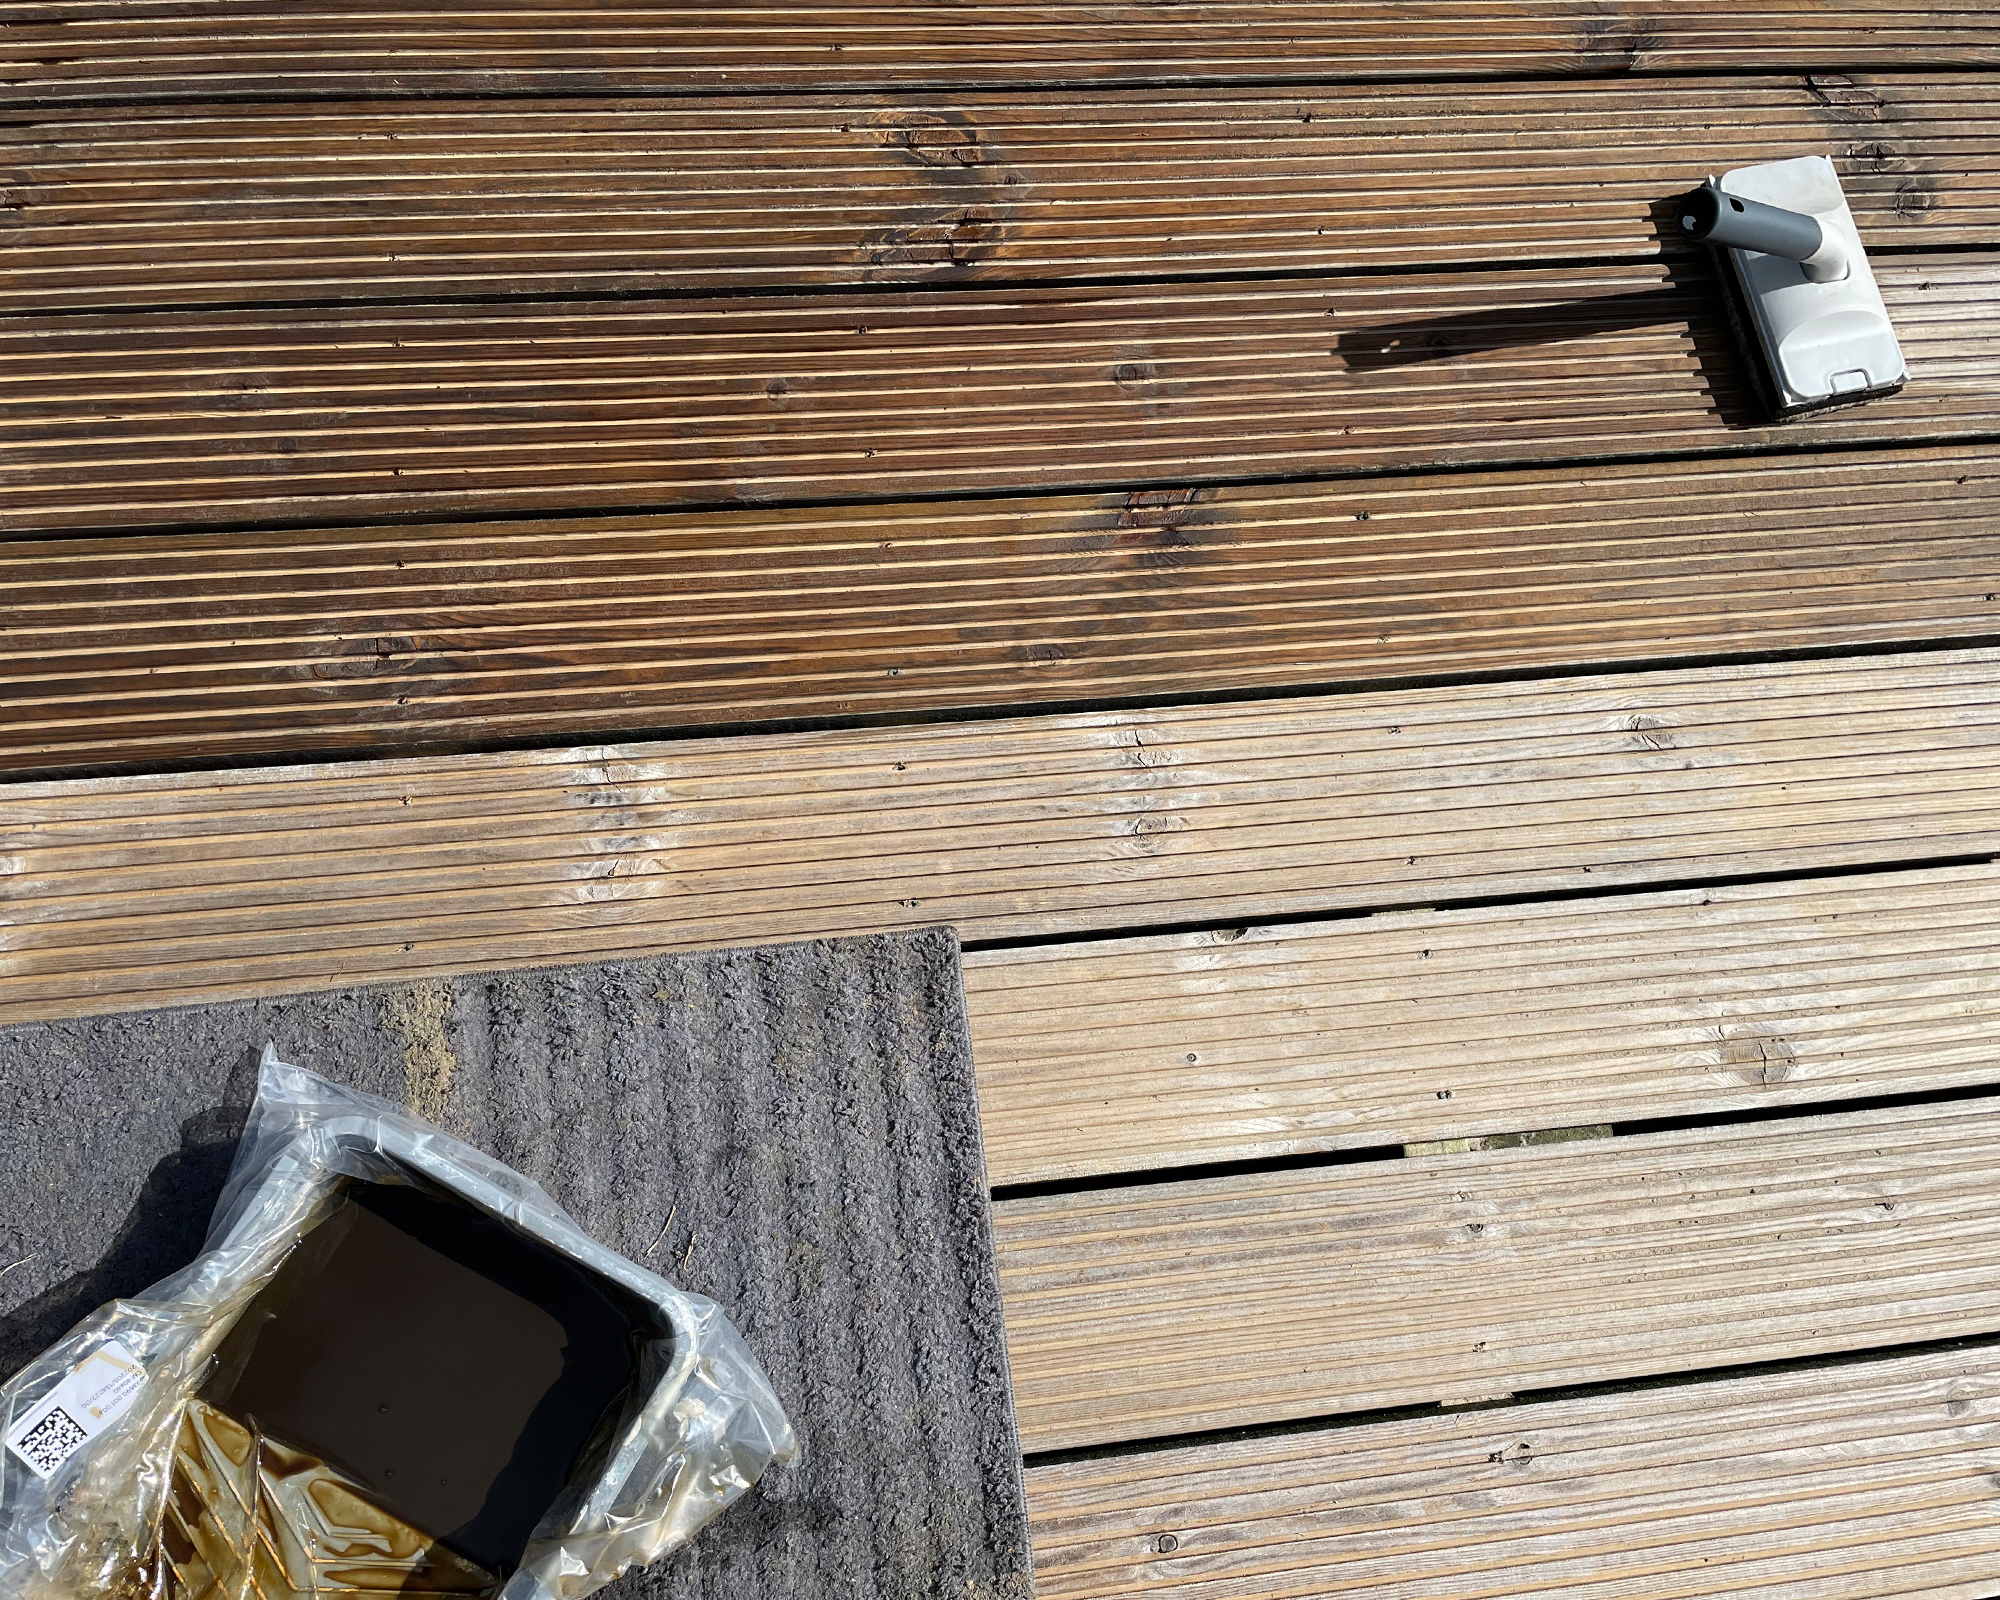
I don’t like to wash any oil (or paint for that matter) down the drain, so I only pour small amounts out at a time and I place a bag over the container holding the oil. That way when I’m finished I allow the last of the residue to dry on the bag ready to take it off and place it in the bin with no washing required.
9. Use a brush
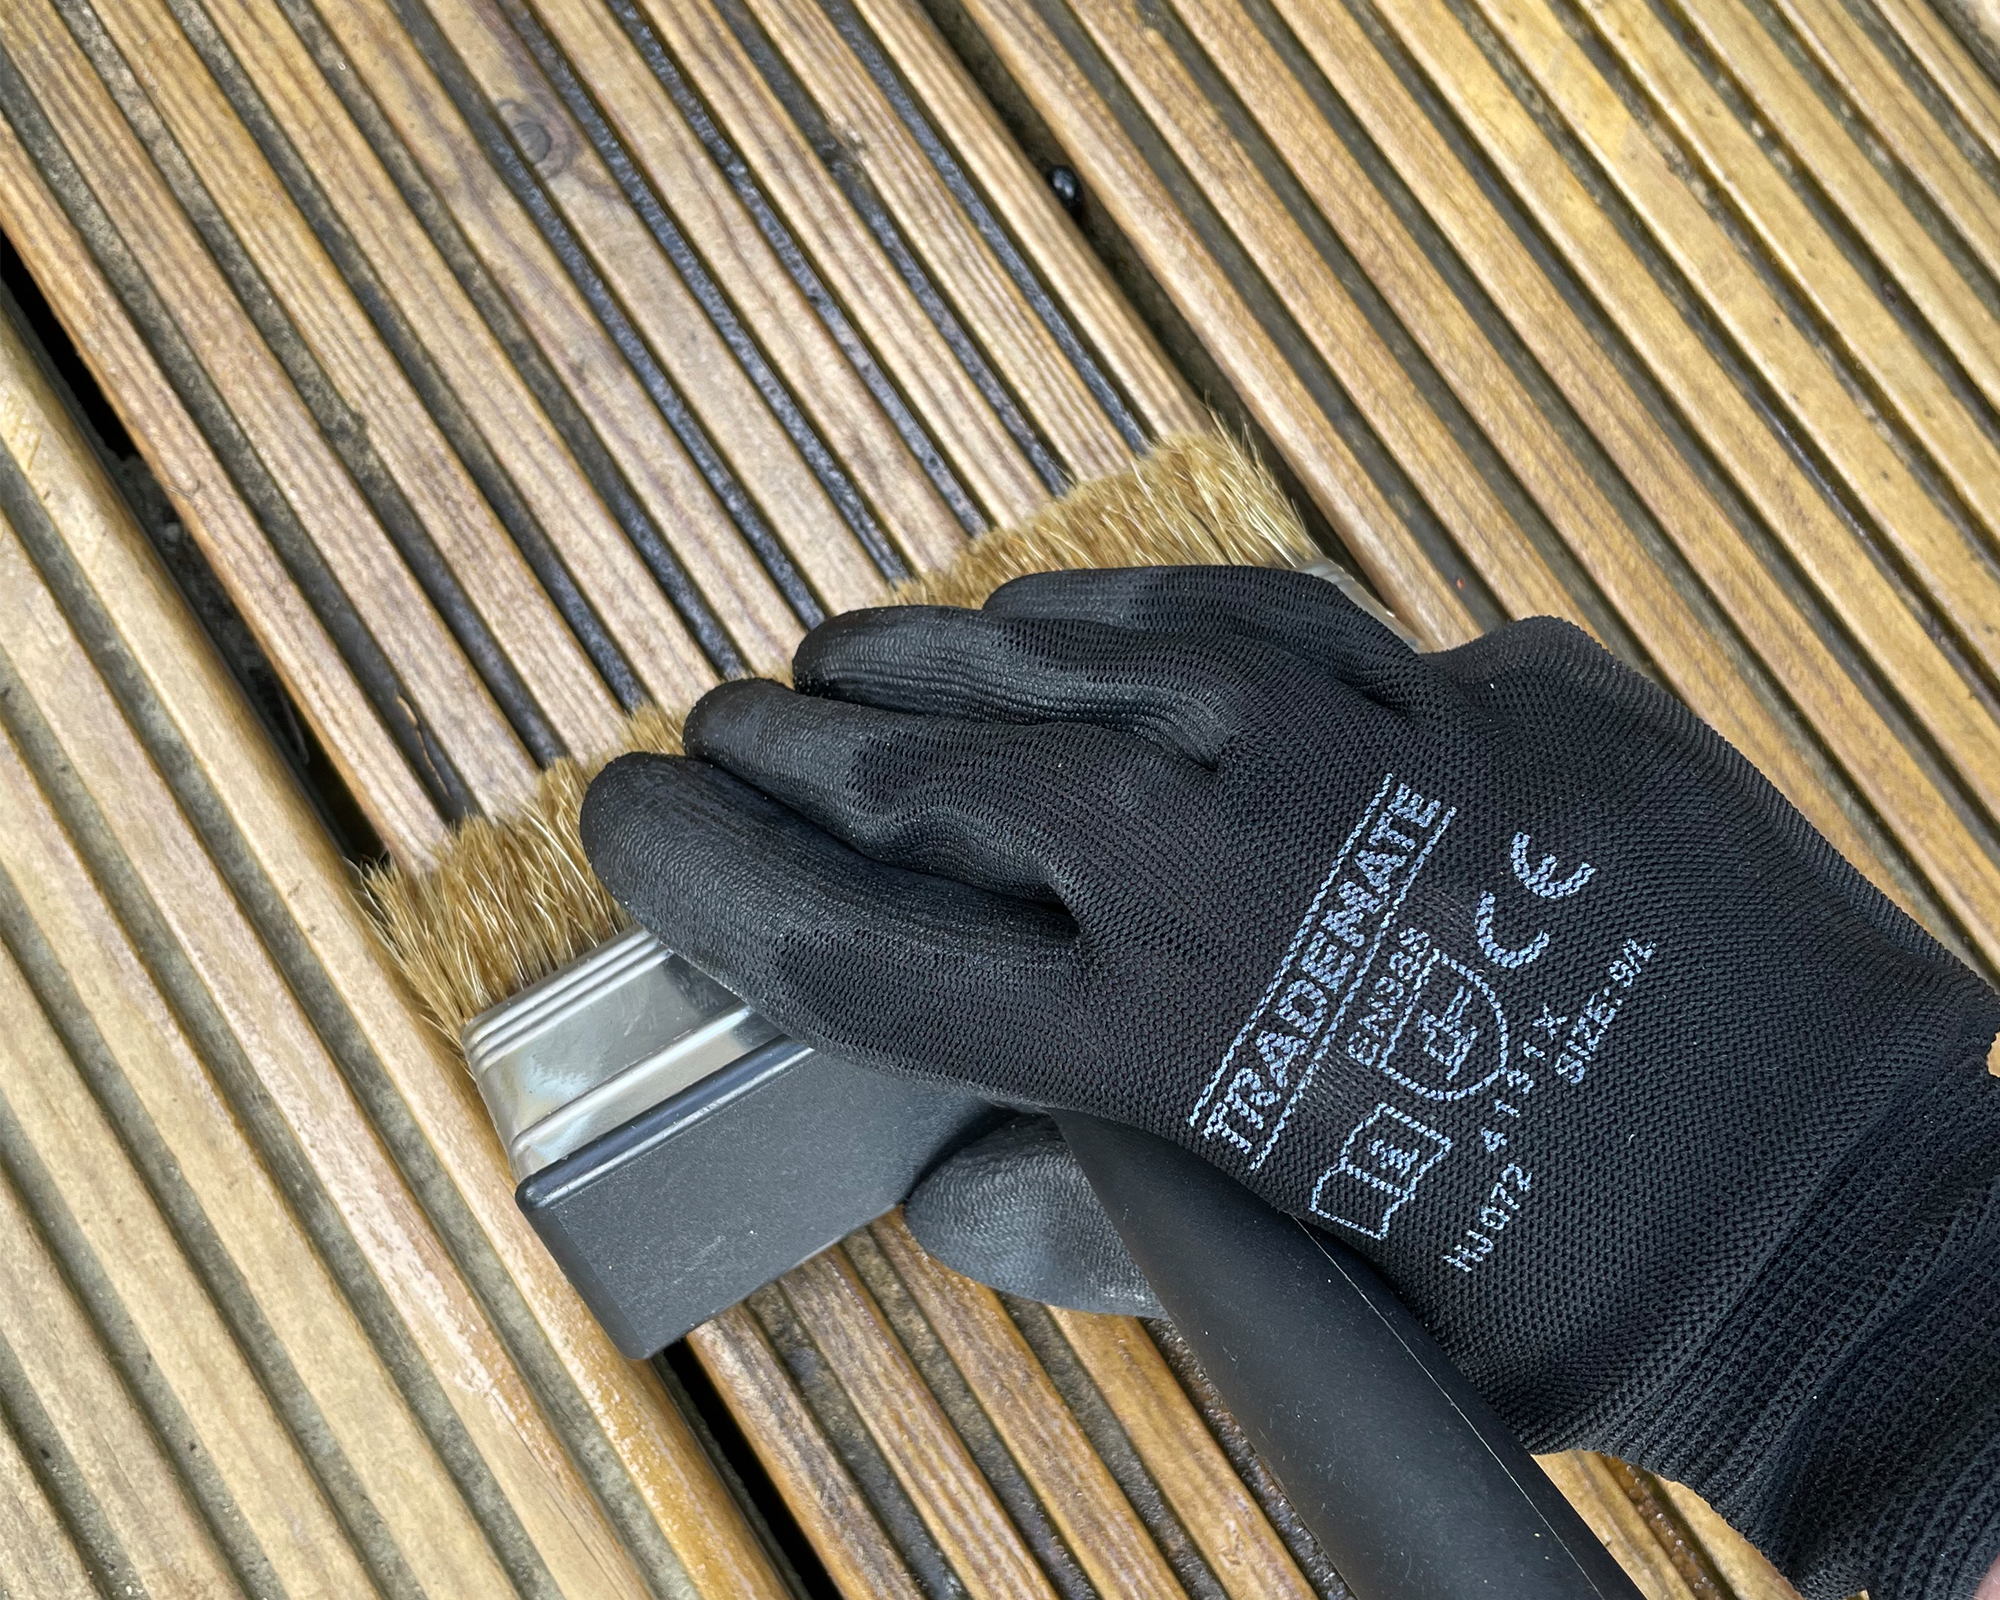
Using a soft-bristled brush (I got mine from a set) makes light work of oiling grooved decking boards. Wipe excess oil off the brush first to prevent an uneven finish.
10. Patch test first
Test the oil in a discrete place before applying it widely to the deck, to ensure the color is as expected.
11. Make a plan
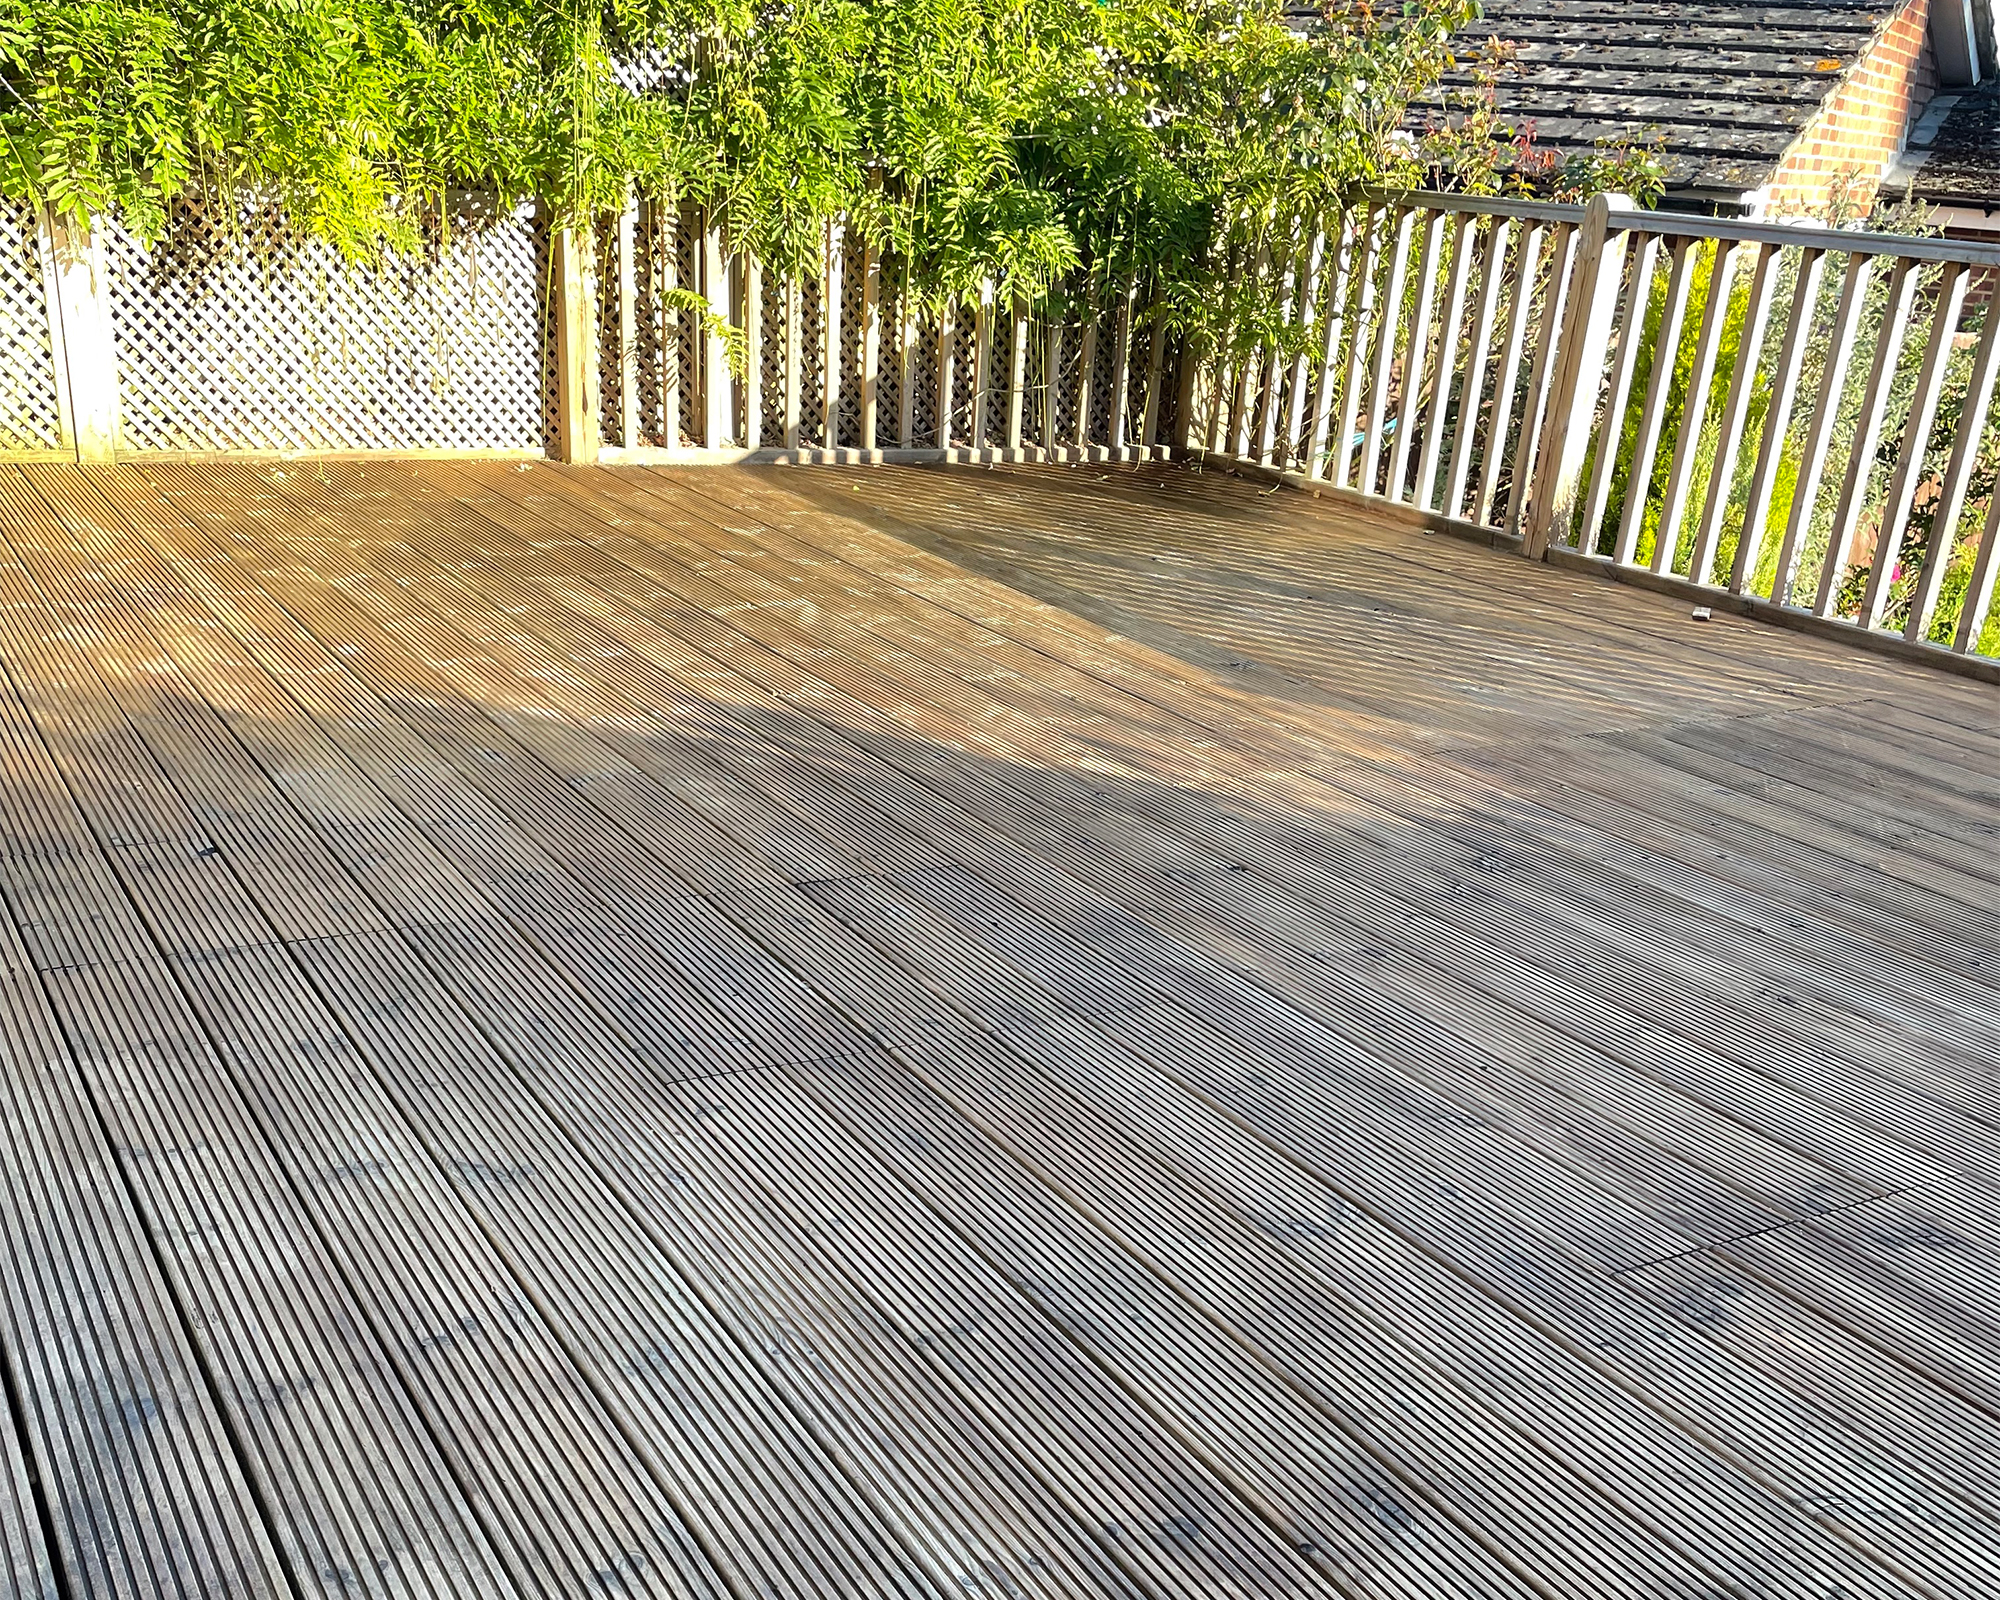
Don't get trapped in a corner! If your deck is raised or has balustrades or dancing around it, plan the order in which you apply the oil to the decking boards and work towards the entrance/exit, so you don’t end up trapped in a corner meaning you have to walk over the boards you’ve just oiled to leave the deck...
12. Don't overlap
Apply the oil to a few boards at a time and work from one end to the other to avoid lines or overlap which will result in a patchy, uneven finish.
The results:
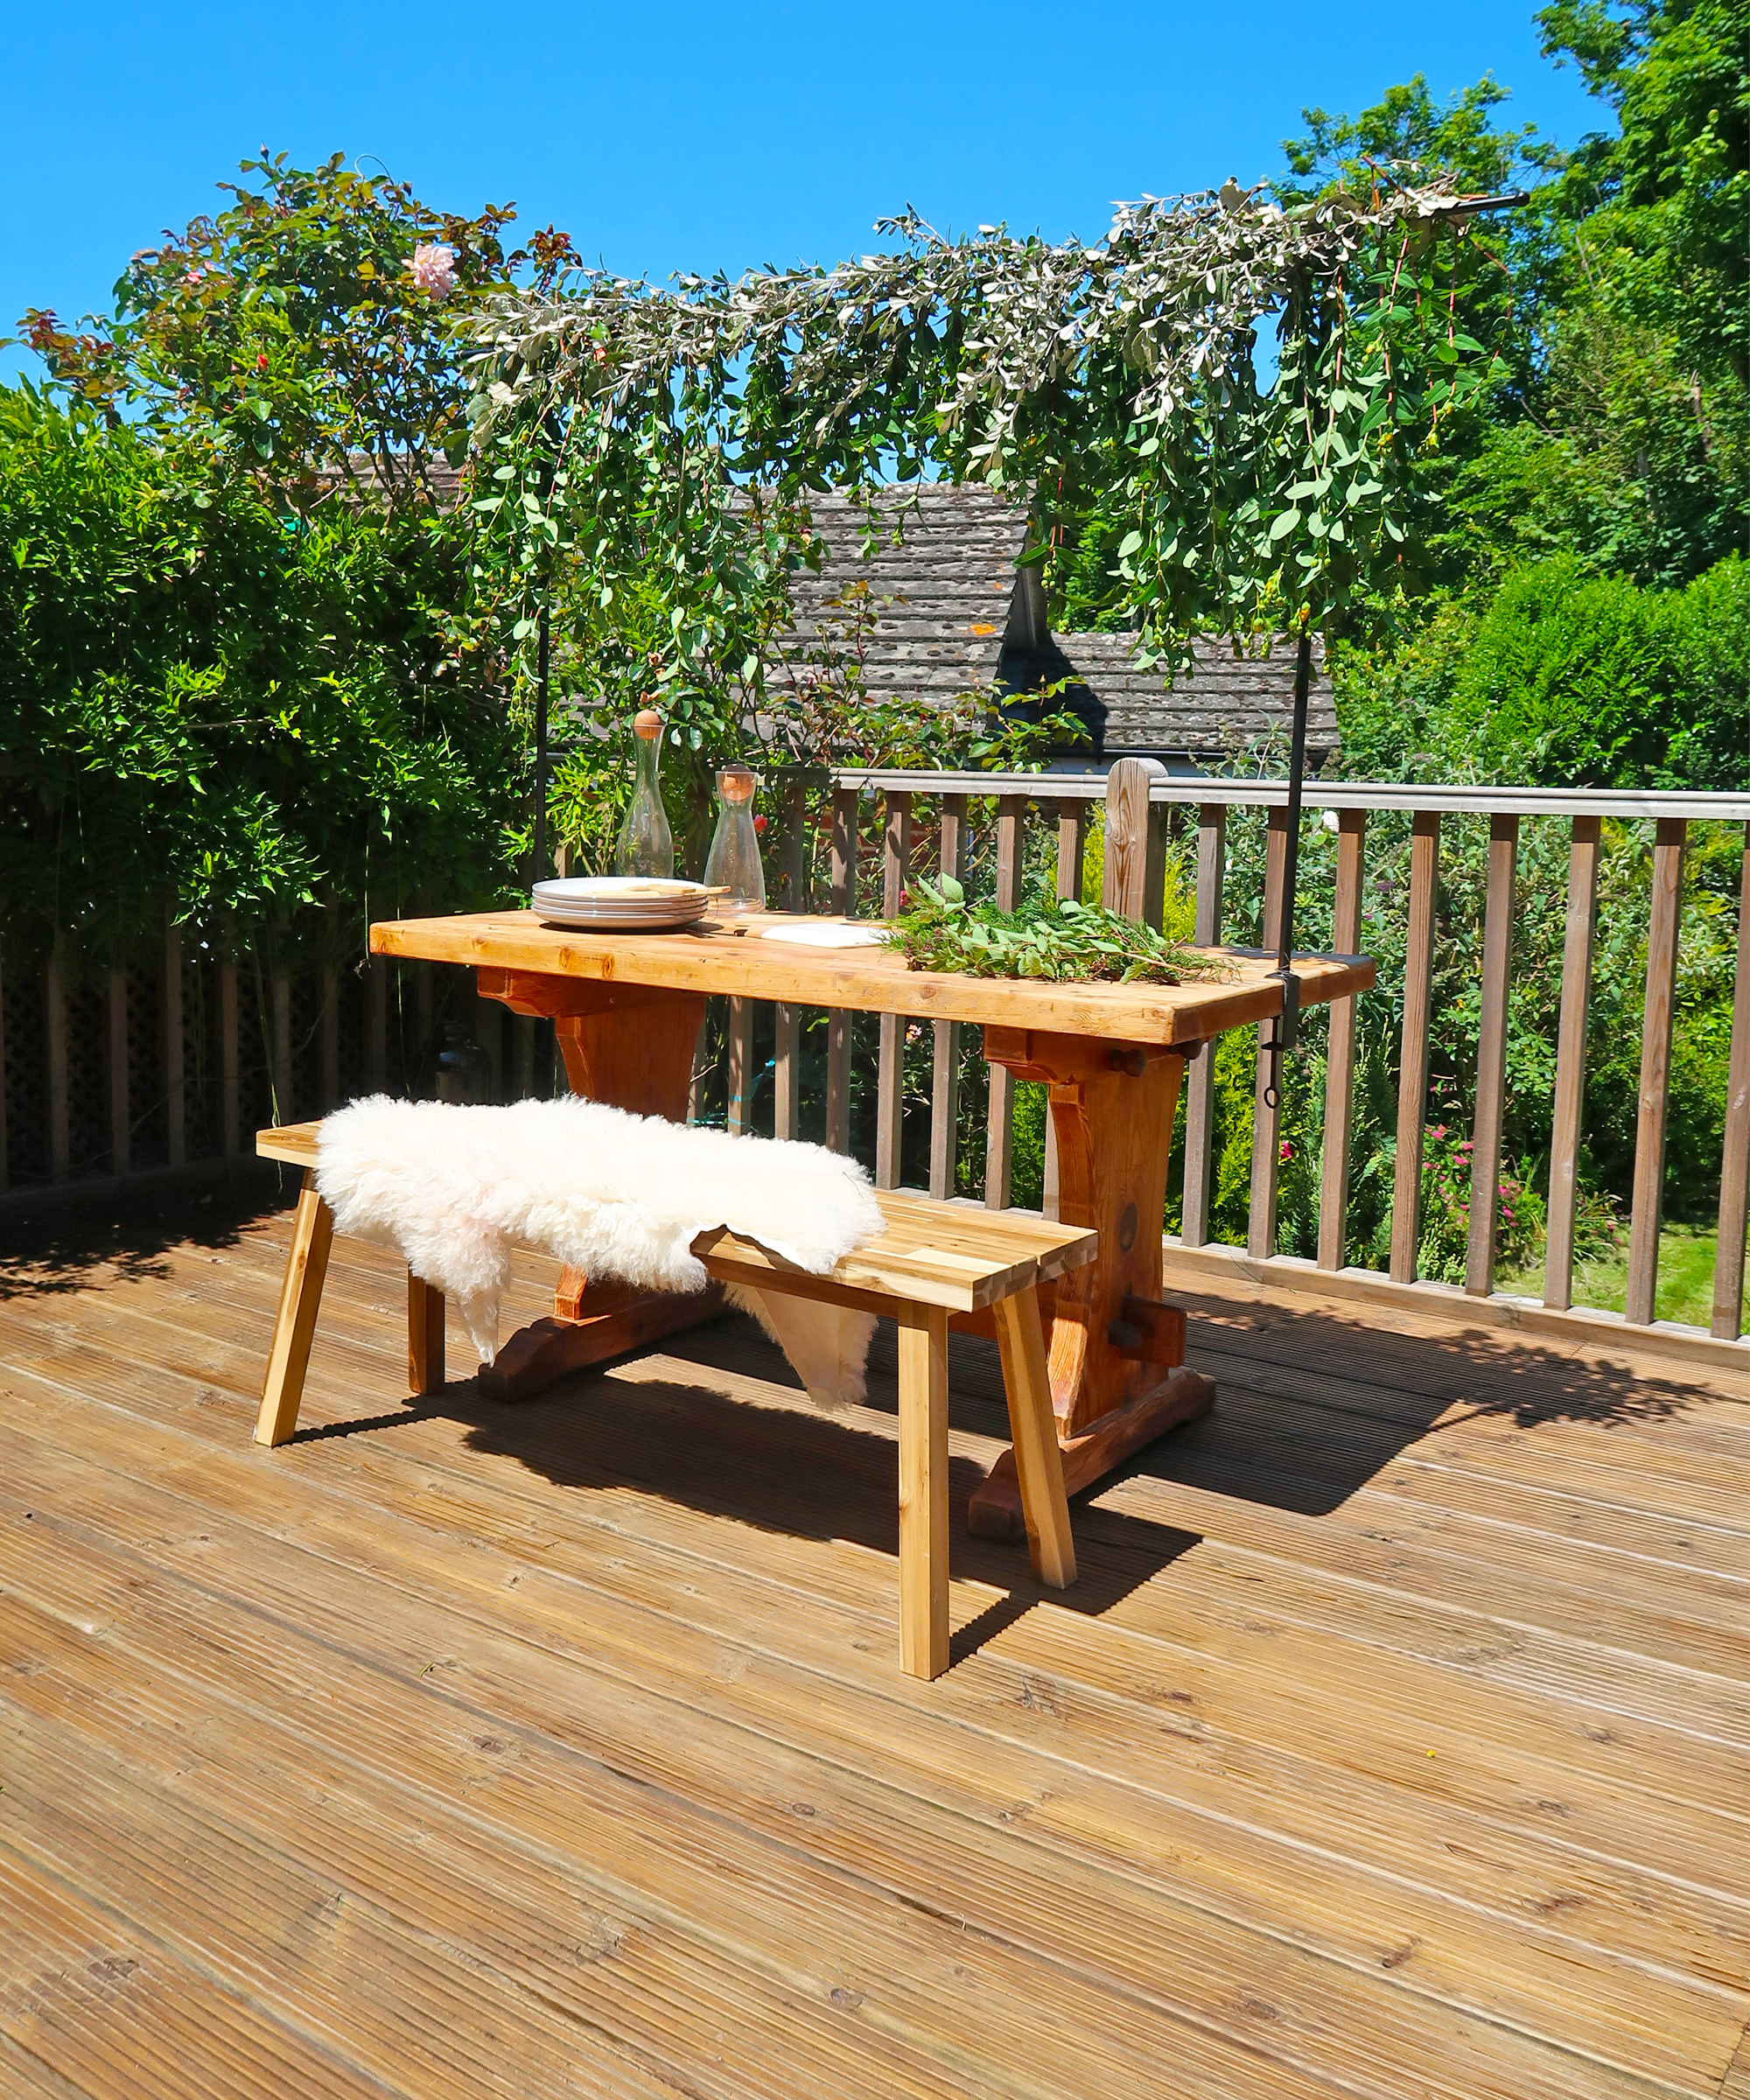
Looks pretty nice huh? I love the results and it's such a simple DIY that will be so beneficial in the long run – especially if you live somewhere where it rains often! Add your favorite patio furniture to the scene and you have the perfect outdoor living space, fit for enjoying in all seasons.

I'm happiest when I have either a drill or paintbrush in my hand! I specialise in room transformations on a budget and love experimenting with different styles and techniques which I share on my Instagram. I believe that your imagination, not your budget, should be the limiting factor when transforming a room and I love thinking of creative ways to build custom and bespoke-looking furniture using flatpacks or upcycle finds.
I also love writing and my home improvement blog (ClaireDouglasStyling.co.uk) is my passion project where I share creative ideas for interior styling and DIY tips and tutorials.