What to do with leftover candle wax: 15 ways to reuse extra candle wax
Got lots of near-empty candle jars? Learn what to do with leftover candle wax to make use of every last drop


Wondering what to do with leftover candle wax once the wick has run out? A scented candle is are an instant way to add extra light, fragrance, and ambiance in your home.
So rather than bin your best home fragrances, learn how you can reuse, repurpose and recycle the contents in your candle jar. There are so many easy craft projects to try at home and even some hacks to save you time and money from dishing out on items you don't necessarily want to spend money on.
From refurbished shoelaces to teeny tealights, pest repellents to skateboard lubricant, there are so many ways to use soy, bee, and paraffin wax in and around the home. So if you don't want to pour the cooled remains of your container into the bin, discover what to do with extra candle wax from right here.

1. Create some DIY wax melts
When deciding what to do with leftover candle wax, wax tarts immediately spring to mind. If you don't know how to make DIY melts already, we've got the simplest 6-step tutorial to step-by-step images to guide you through the process.
Use them with a wax burner to gently fragrance the air with your favorite scent. If the scent from your scrap candle wax is a little weak, you can top up the top notes with a drop or two of essential oils. Better still, check out our essential oil recipes to create a complex blend for that luxury spa feeling at home.
Like the marbled wax burner pictured? This expensive-looking accessory can be sourced from EQUSUPRO store on Amazon, and is cheaper than you think!
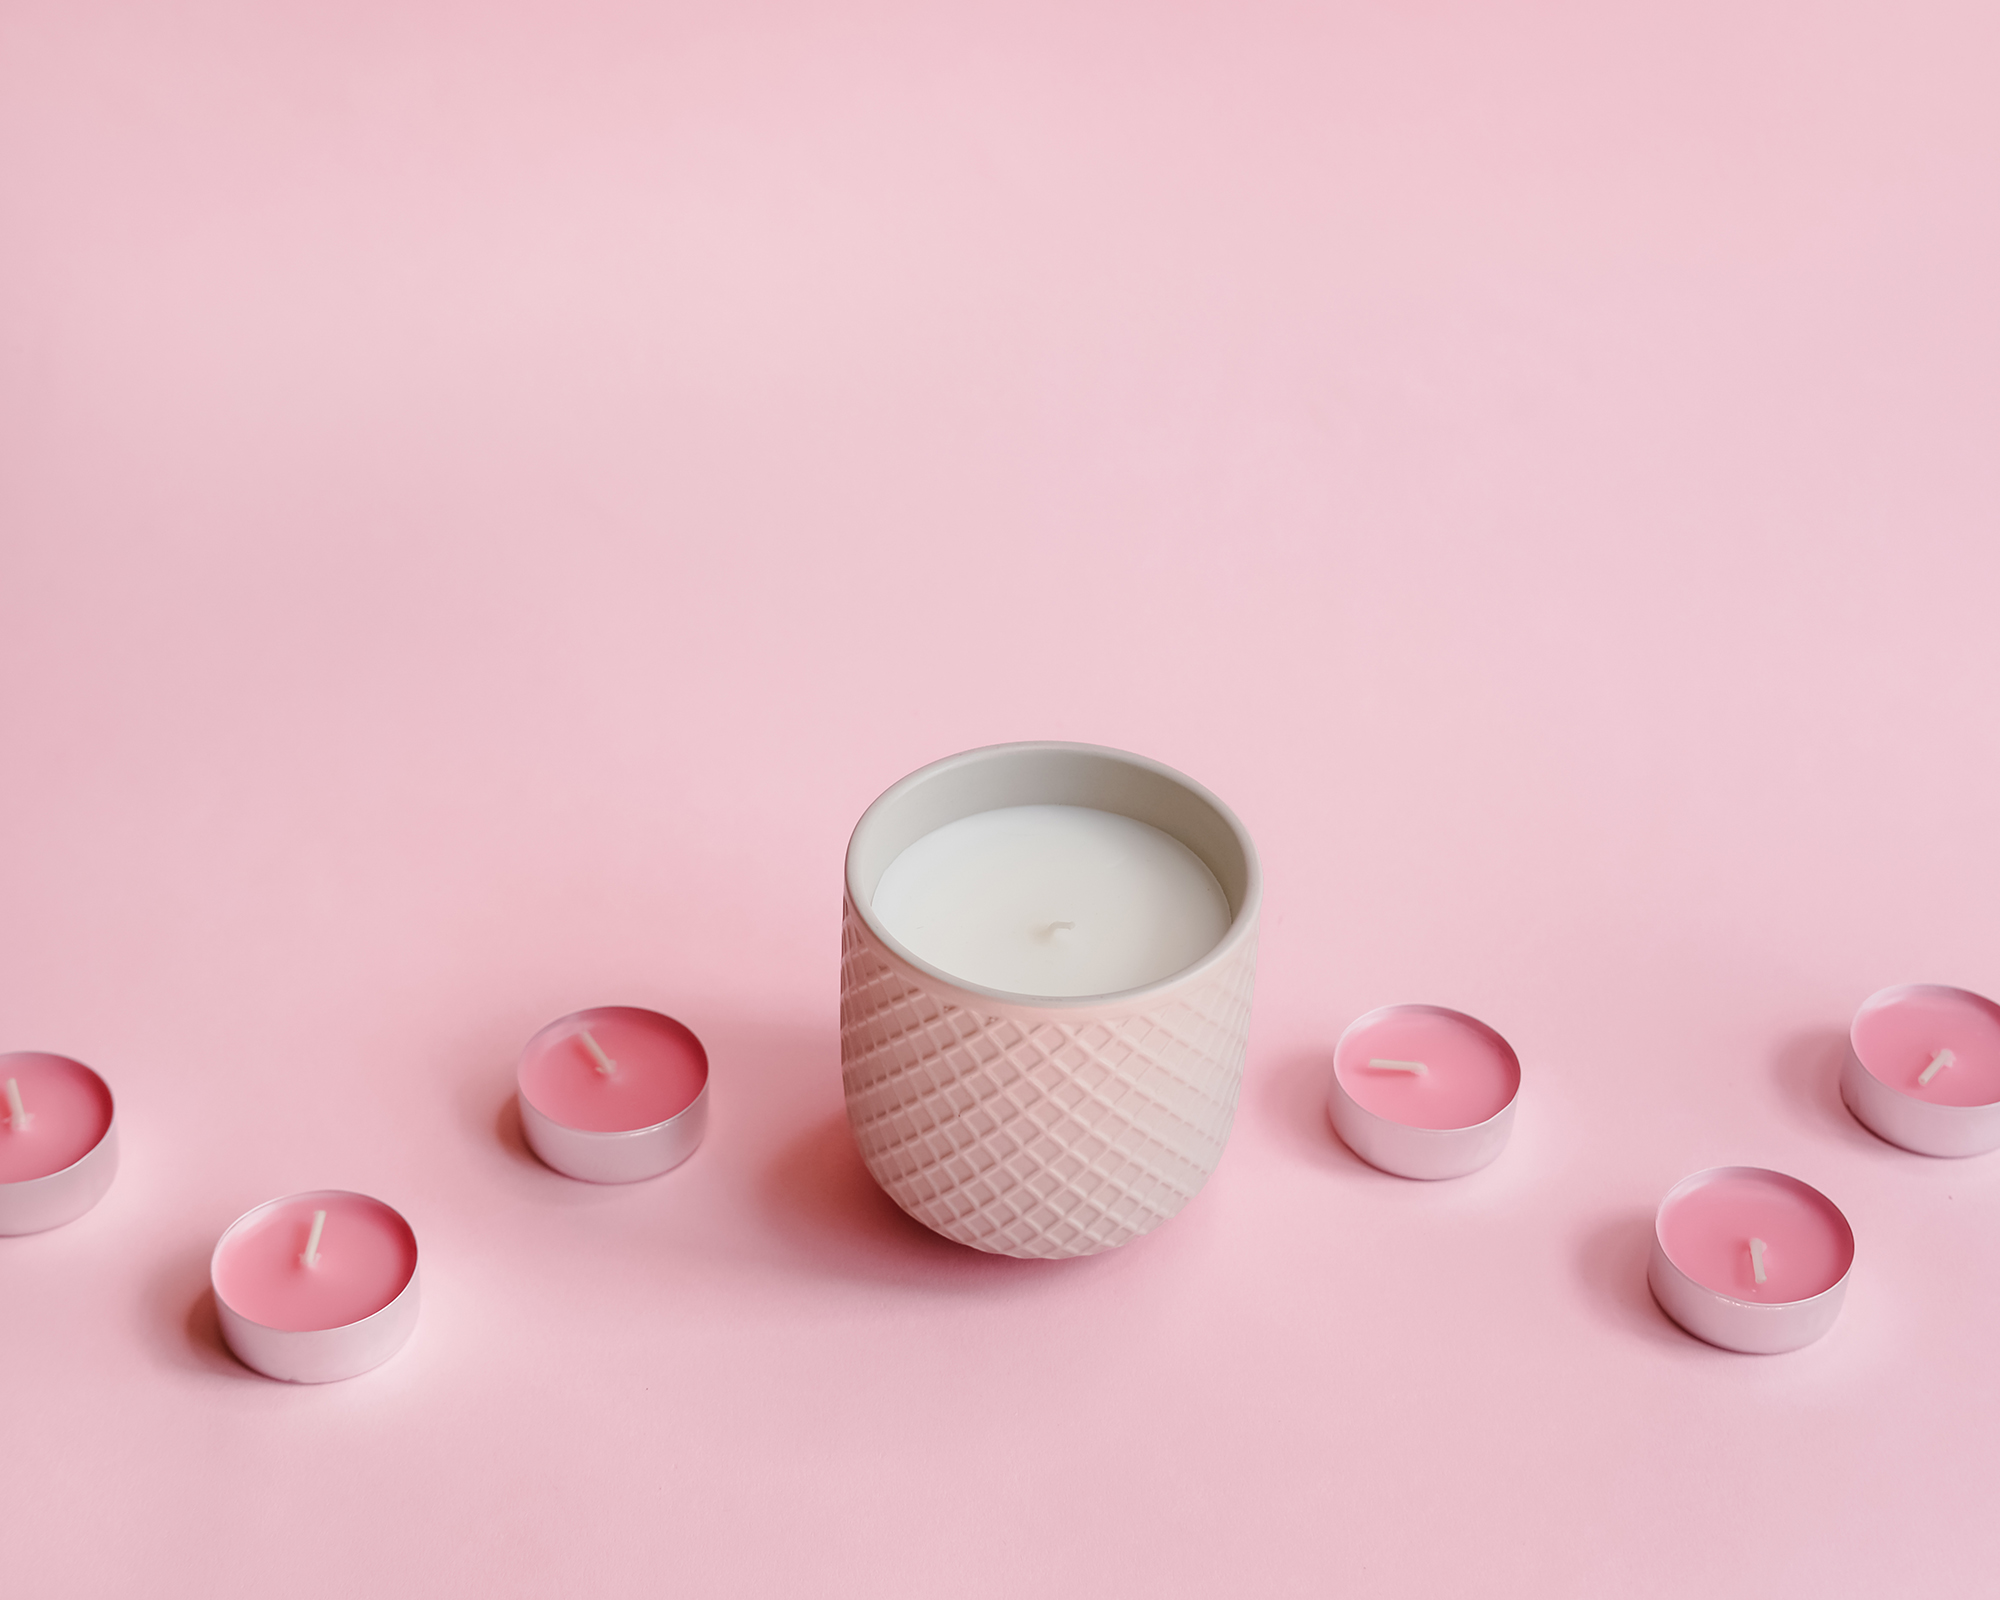
2. Turn leftover wax into tealights
- Plastic or metal tealight cases - both available on Amazon
- Votives or a tealight container (optional) - both available on Amazon
The best candles can burn for hours, but when they've been burnt down to the base – don't waste the residual wax. Instead use every last drop to make miniature versions of your favorite wicked waxes.
Get small space home decor ideas, celeb inspiration, DIY tips and more, straight to your inbox!
'Tealights are basically miniature candles in a shallow metal or plastic cup.' explains Teri Johnson, founder, Harlem Candle Company.
How to:
'All you need to make one is some leftover wax, an empty tealight cup, and a small tealight wick. The cups and wicks are very inexpensive and can be purchased from your local craft store or on Amazon,' says Johnson.
'To make a tealight from leftover candle wax, just remove the wax from its jar and then melt it into the new tealight container.'
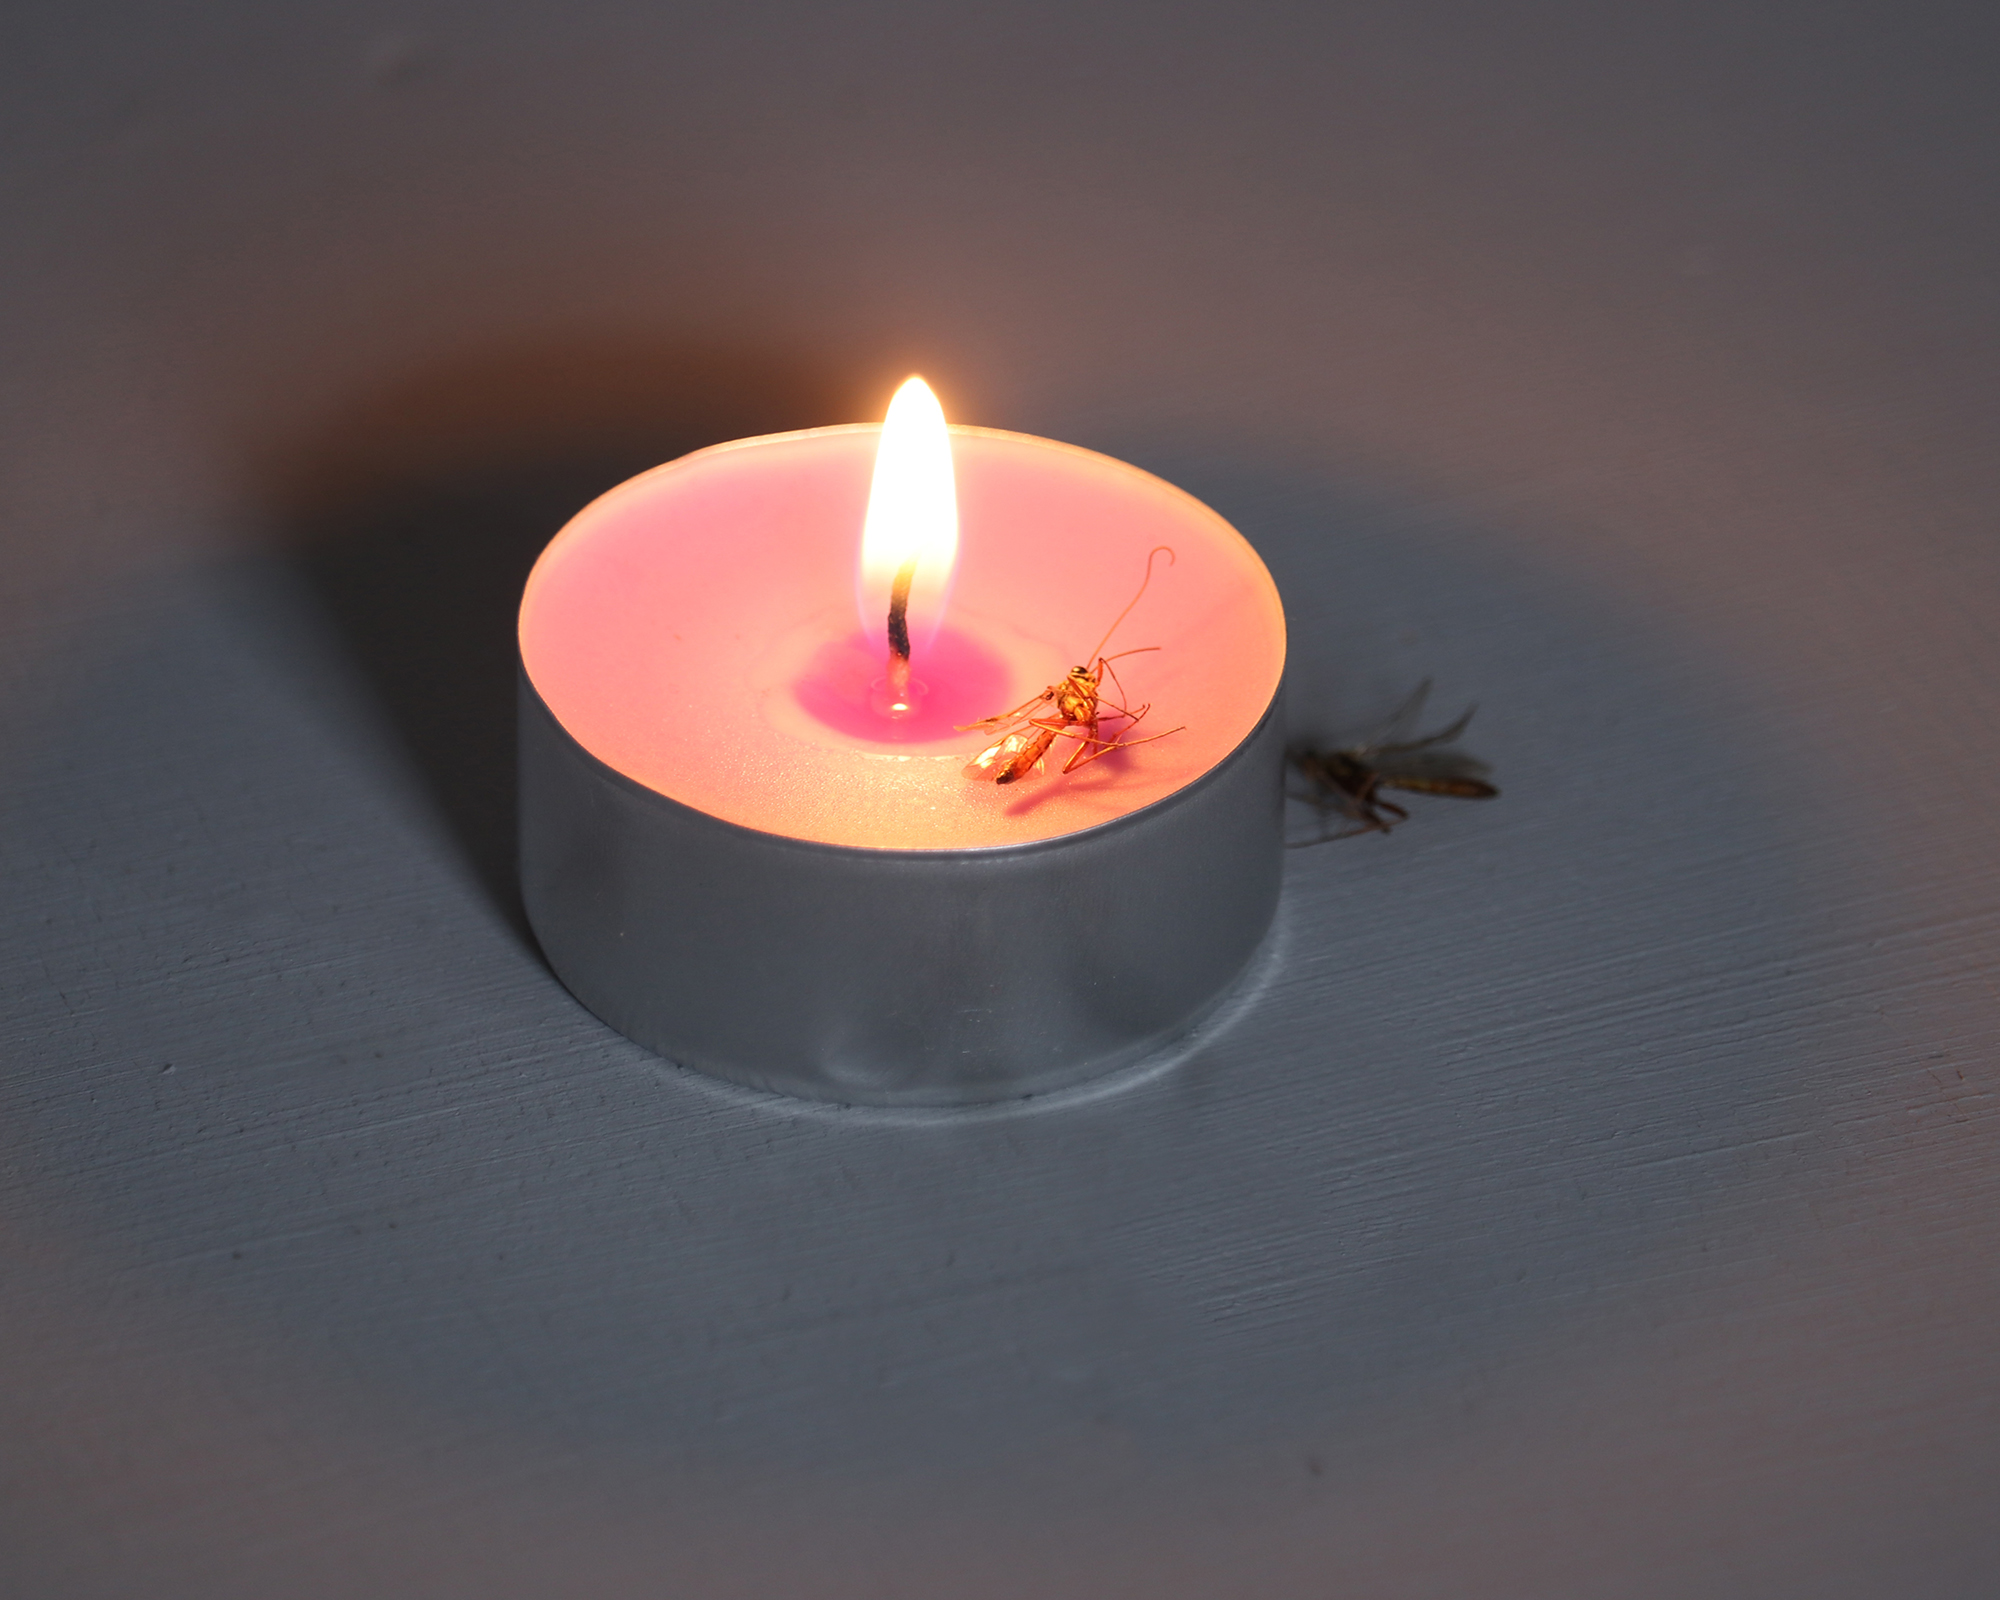
3. Mosquito repellents
You will need:
- Leftover candle wax
- Tealight containers
- Mosquito-repelling essential oils
If you're wondering how to get rid of mosquitoes in the home, there's usually an array of repellents available at retail stores and online. But, these usually come at a premium price.
Instead, you can ward away these pests by producing your own citronella-scented candles using surplus soy wax and Citronella oil (which you can buy from Gya Labs on Amazon).
Mosquitoes also hate lemon eucalyptus oil, as well as lavender, cinnamon, geranium, thyme and tea tree. So you can also create an assortment of single-oil repellents or blend your own essential oil recipes to combine with the candle wax.
This treatment tends to work well with candles that are either unscented, fragrance-free candles or wax lights that are perfumed with oils that compliment the scent you're going for.
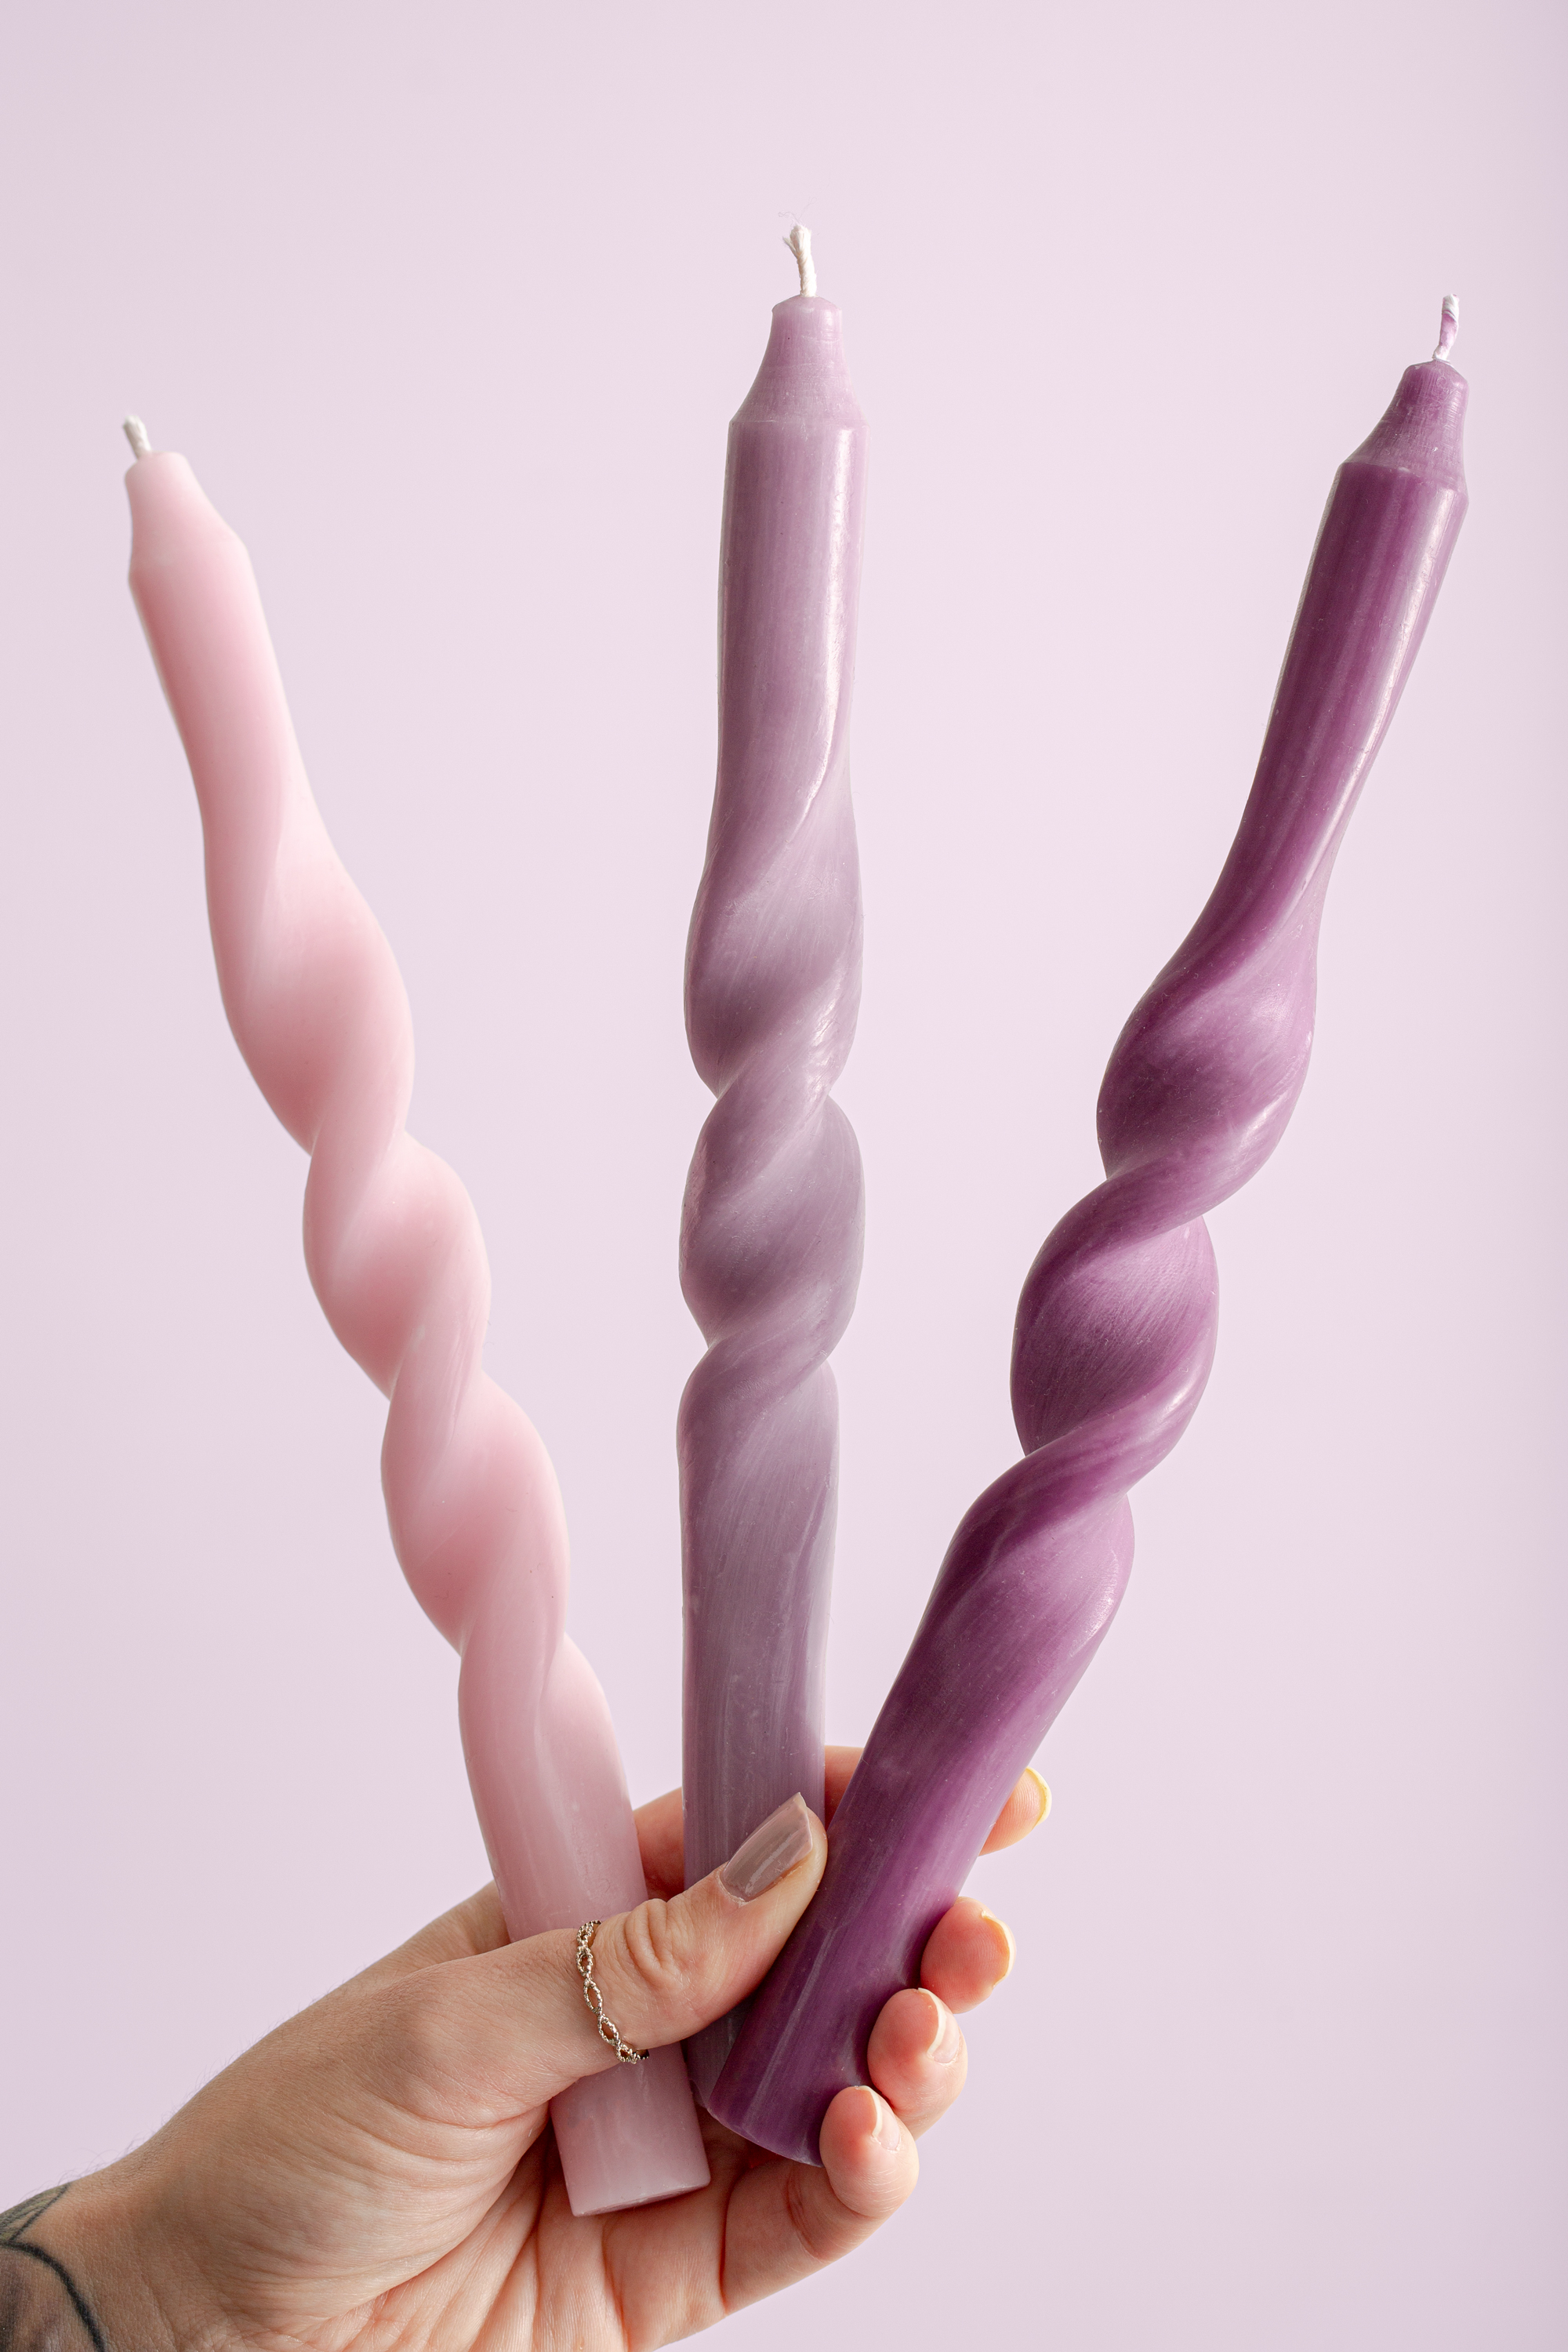
4. Transform wax into twisted candles
The twisted candle trend went viral on TikTok, so if you don't have budget to spend on Paddywax twist taper candles from Urban Outfitters - make your own.
If you've got some tall taper candles (like these from Amazon) left over from a formal dinner party, don't chuck them in the trash can. With a little hot water, and some careful molding, learning how to make twisted candles takes a matter of minutes. It's also a lot cheaper than the UO product and you're not restricted to green or gold colorways they have on site.
5. Fragranced drawer pouches
If you're finding holes in your lingerie and socks (that you haven't made) – you may have moths. But while moth balls can do the job to get rid of moths, they aren't very stylish (and contain toxic chemicals)
On the other hand, textile pouches filled with scented candle wax in your underwear and hosiery drawer are a chic alternative. Find pre-made bags online, or use off-cuts of your favorite fabrics (or get them for free at Neptune) to suit your scheme. While linen is a crisp option for contemporary bedrooms and dressing rooms, burlap works well for traditional or rustic rooms.
'Another way to relish your favorite candle fragrance is to turn the leftover wax into lovely fragrance pouches. These are great for adding pleasant scents to small spaces like closets, clothing drawers, or even inside your car.' says Johnson.
Alternatively, if you're looking for how to get rid of pantry moths, store these bags in your food cupboard to shoo these pests from your store cupboards. Just be sure that your foods are stored in air-tight containers so that they don't absorb the smell of the essential oils.

6. Sealing stationery with a wax seal
Bring some royalcore (ahem, Bridgeton-esque) vibes into your stationery setup by sealing your letters with a personalized wax seal. Heart seal wax stamps from Hobbycraft make the perfect DIY wedding invite add-on, or for a more bespoke touch, shop your initial from TELOSMA on Amazon.
Lady Whistledown would be most impressed with your artistic skill.
You will need:
- Leftover candle wax
- A wax seal stamp OR wine cork
- Teaspoon
- An old saucepan
How to:
- Melt the remaining wax in your candle: Heat your leftover candle wax in an old saucepan and let it cool a little.
- Pour a dollop onto your envelope: You may want to freehand pour this from saucepan to paper (especially if your pan has a spouted end). Alternatively, take a teaspoon's worth of melted wax and transfer it to the envelope. Whichever you decide to do, be very careful as hot wax can cause scalding burns.
- Press the wax into your envelope:Before the wax has a chance to harden, press on it with a wax seal stamp for a few seconds, allowing the pattern to emboss into the liquid wax, then carefully lift your stamp to reveal the pattern or initial design.If you don't have a stamp handy, you can also use a wine cork or the back of a spoon to press the wax into your desired shape.

7. Scented fire starters
There's nothing like getting your best firepit going for relaxed summer entertaining and autumnal evenings. But there is a way you can really max out of this experience – fragranced firestarters.
These igniters act almost like an outdoor incense stick and firelighter, scenting the air around you with drops of spiced essential oil for a pleasant and uplifting experience.
'Like little candles, they burn long enough to turn stubborn firewood into a blazing inferno. Plus, they make the cutest gifts. Just stack a few together and give them to all your girlfriends.' says Stephanie Pollard at HelloNest.
You will need:
- Leftover candle wax
- A saucepan
- Cupcake or muffin cases (in the baking section on Amazon)
- A cupcake tray or muffin pan (keep things stable with this baking essential)
- Essential oils (optional) - this cinnamon oil from Amazon will keep the bugs at bay!
- Rosemary sprigs / foliage (optional)
- Kitchen paper (optional)
- Whole dried spices (optional) - cloves, cardamom and star anise can be bought on Amazon
How to:
- Melt your wax: In an old saucepan, re-melt your leftover candle wax and add a few drops of essential oils (if using).
- Line your cupcake tray or muffin pan with cases: Depending on the size of your cases, you can make a lots of shallow fire starters or a few deep-filled ones. If using kitchen roll, tear small pieces and place them into the pastry cases. At this point, you can also fill your cases with cinnamon sticks, rosemary sprigs and cloves. These small paper towel and herb/spice extracts will give your fire starter a combustible boost!
- Pour the wax into pastry cases: Carefully transfer the hot wax from your pan and allow to cool. Once they've cooled down a bit, you can pop them in the fridge to speed up the hardening process. Top tip: If you can't get any cake cases – an old egg carton will do.
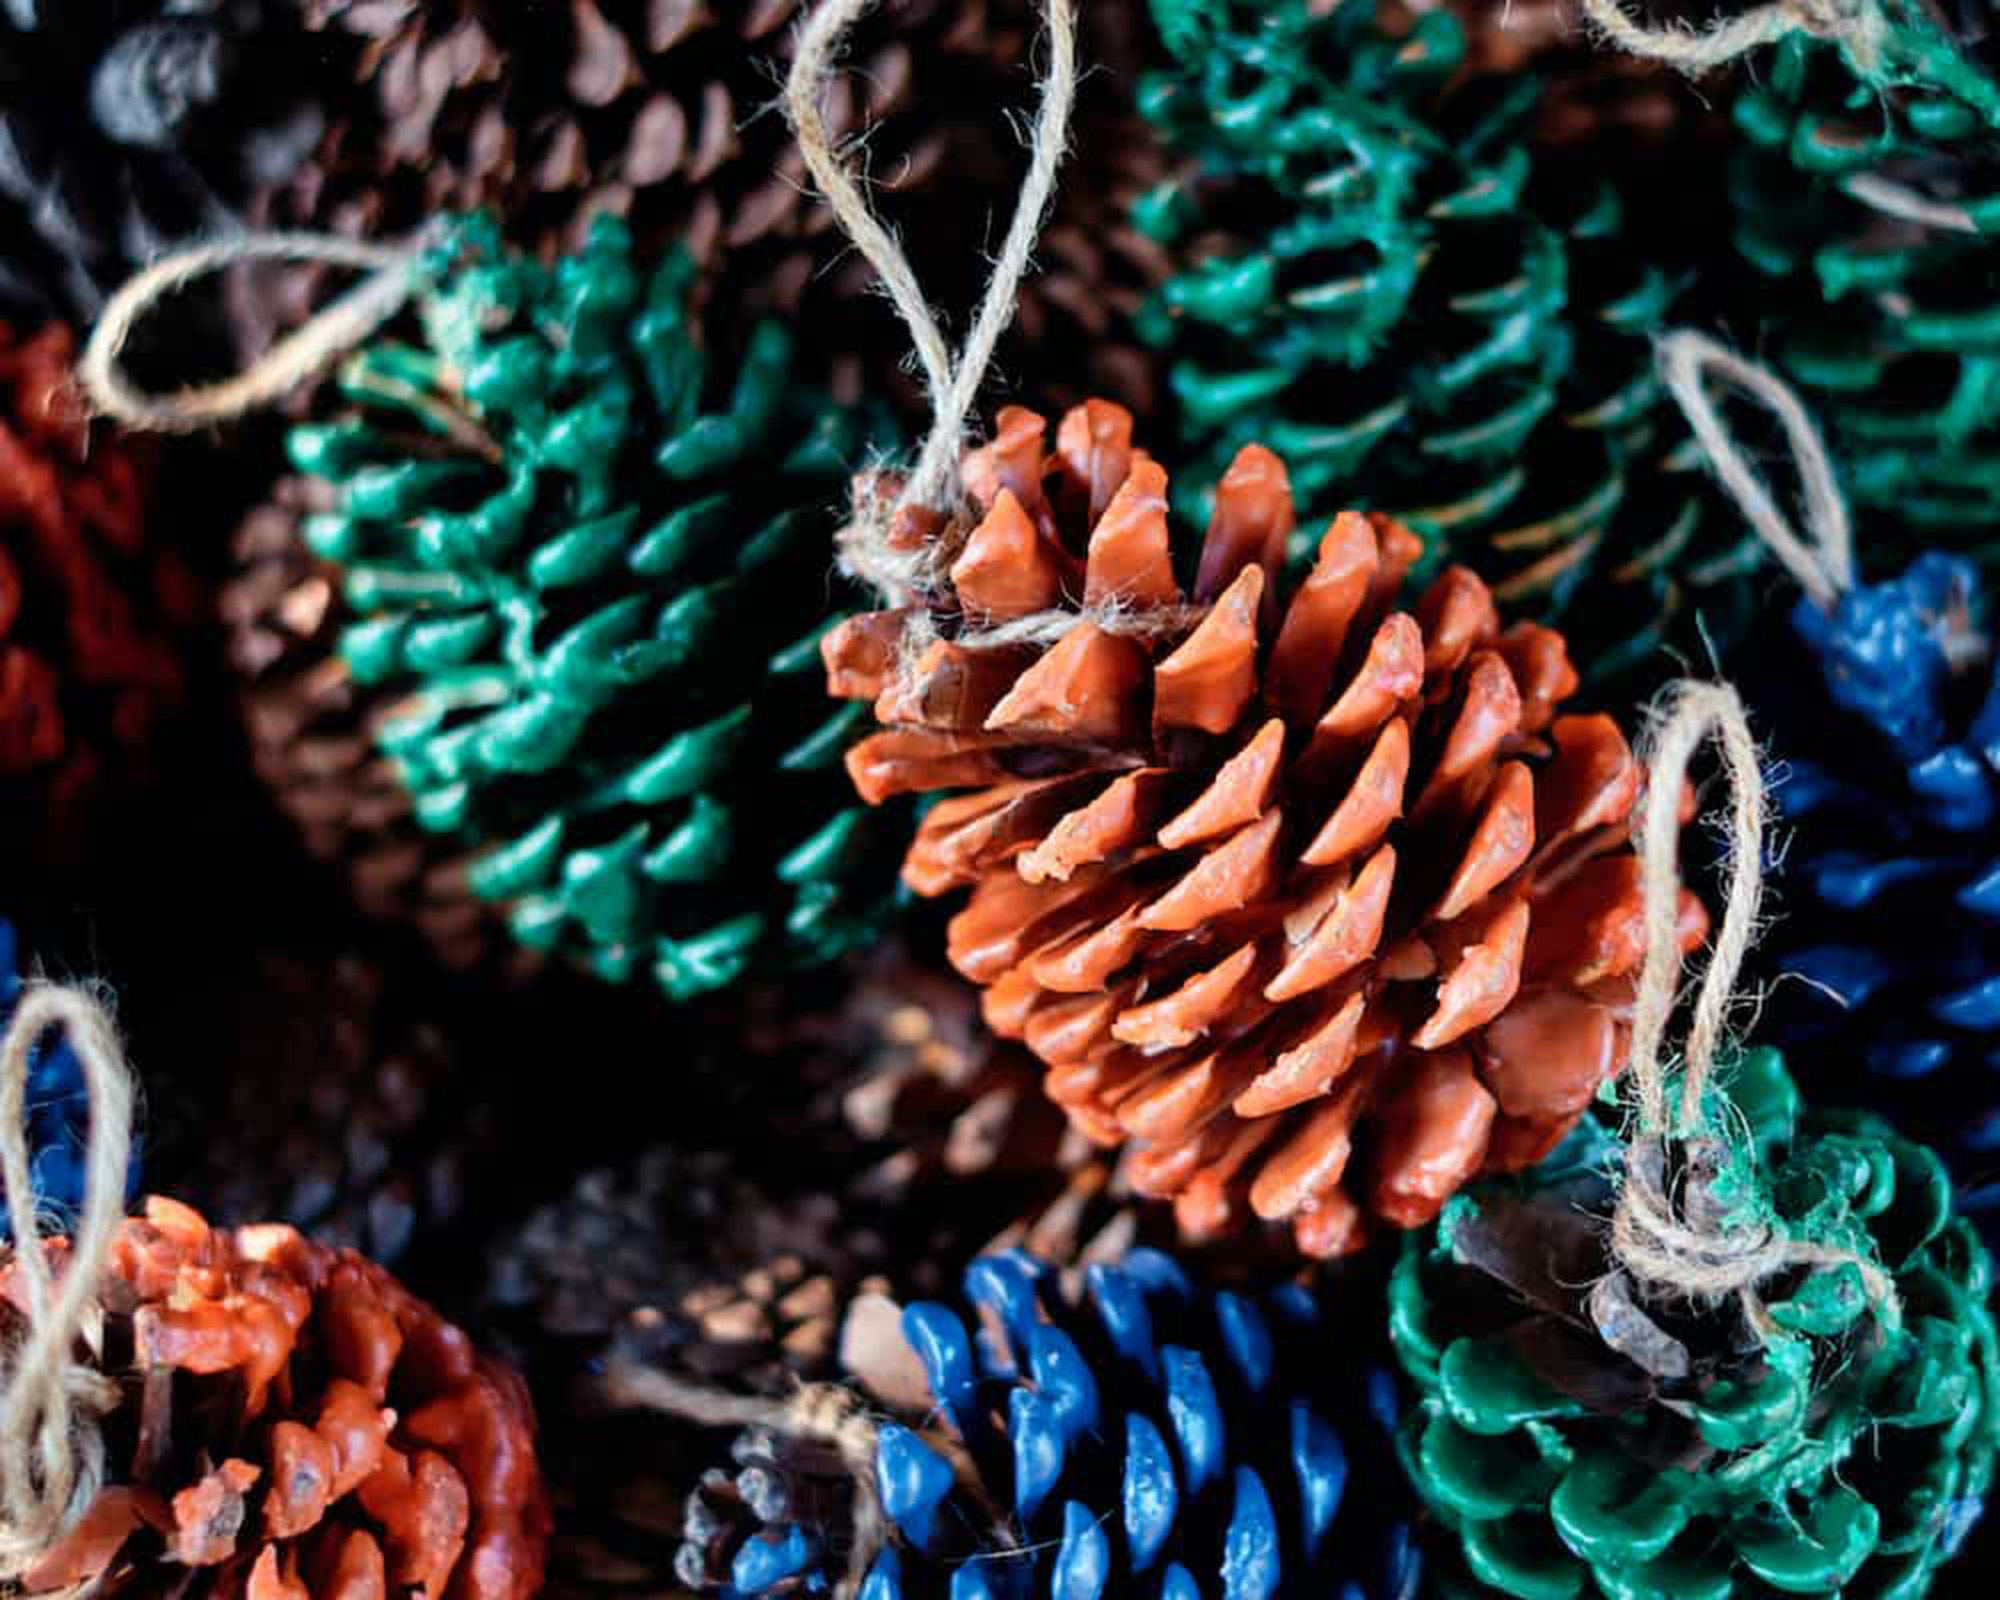
8. Wax-dipped outdoor pine cone fire starters
If you really can't source any cupcake cases, and your diet means you don't consume eggs (therefore you can't grab a carton), look to nature for vegan-friendly firestarters to add interest to your backyard bonfire.
These animal-friendly bonfire boosters were originally created by Kim Button, co-owner at Single Girls DIY blog, and we think they look super cute. We've adapted the tutorial slightly to swap out beeswax for soy wax to eliminate the use of animal-derived ingredients.
Though not necessary, the addition of an essential oil (or custom-blended essential oil recipe) will bring the smell of the holidays to your fire, no matter what month you're cozying around the pit.
Alternatively, bring them to a housewarming as a handmade present. Button says: 'Package them up in a basket, or wrap individually in cellophane, for a great gift.'
You will need:
- 8-10 pinecones (forage in the forest or get some from JOHOUSE store on Amazon)
- Leftover soy candle wax (equivalent to 6 cups)
- An old saucepan
- Candle dye (this assortment from Amazon has all the colors you'd need)
- Twine or string (rope some in from KINGLAKE's store on Amazon)
- Seasonally-scented essential oil (pine needle or orange oil can be found on Amazon)
- Parchment paper (these pre-cut sheets from Reynolds at Amazon are easy to use)
- Disposable aluminum bowls (these take-out trays from Amazon will also work well)
How to:
- Tie some string around your pine cones: Take about one foot of your twine string and wrap it around a pine cone. Tie it at the top with a loop. Repeat this process for the rest of the pine cones.
- Melt the wax: Melt the wax in a saucepan that you don’t mind getting waxy.
- Portion out the wax: Divide the wax into disposable aluminum bowls and add candle dye and essential oil of your choice. You'll need approximately six drops of essential oils per bowl.
- Dip the pine cones in the wax: Using the knots as 'handles', immerse each pine cone individually into your colored wax mix and let dry between coats. Kim did two coats and that worked well for her.
- Allow to dry: Line your waxed pine cones on a parchment paper and allow to dry.
9. Sealing shoelaces
What is it with kids and sneakers? If they've returned from the outdoors with muddy footwear – don't sweat, because we've got a whole guide on how to wash trainers. But, if the laces look a little worse for wear, there's no need to replace them. Similarly if your tennis shoes have taken a battering from the gym or the daily commute, here's a low-cost way to fix those frayed ends.
- Frayed shoelaces
- Leftover candle wax
How to:
Dip the frayed edges of laces in a little melted wax to help bind the fibers together.
Top tip: If you wanna be a super cool mom, experiment with colored wax to create a high-contract effect.
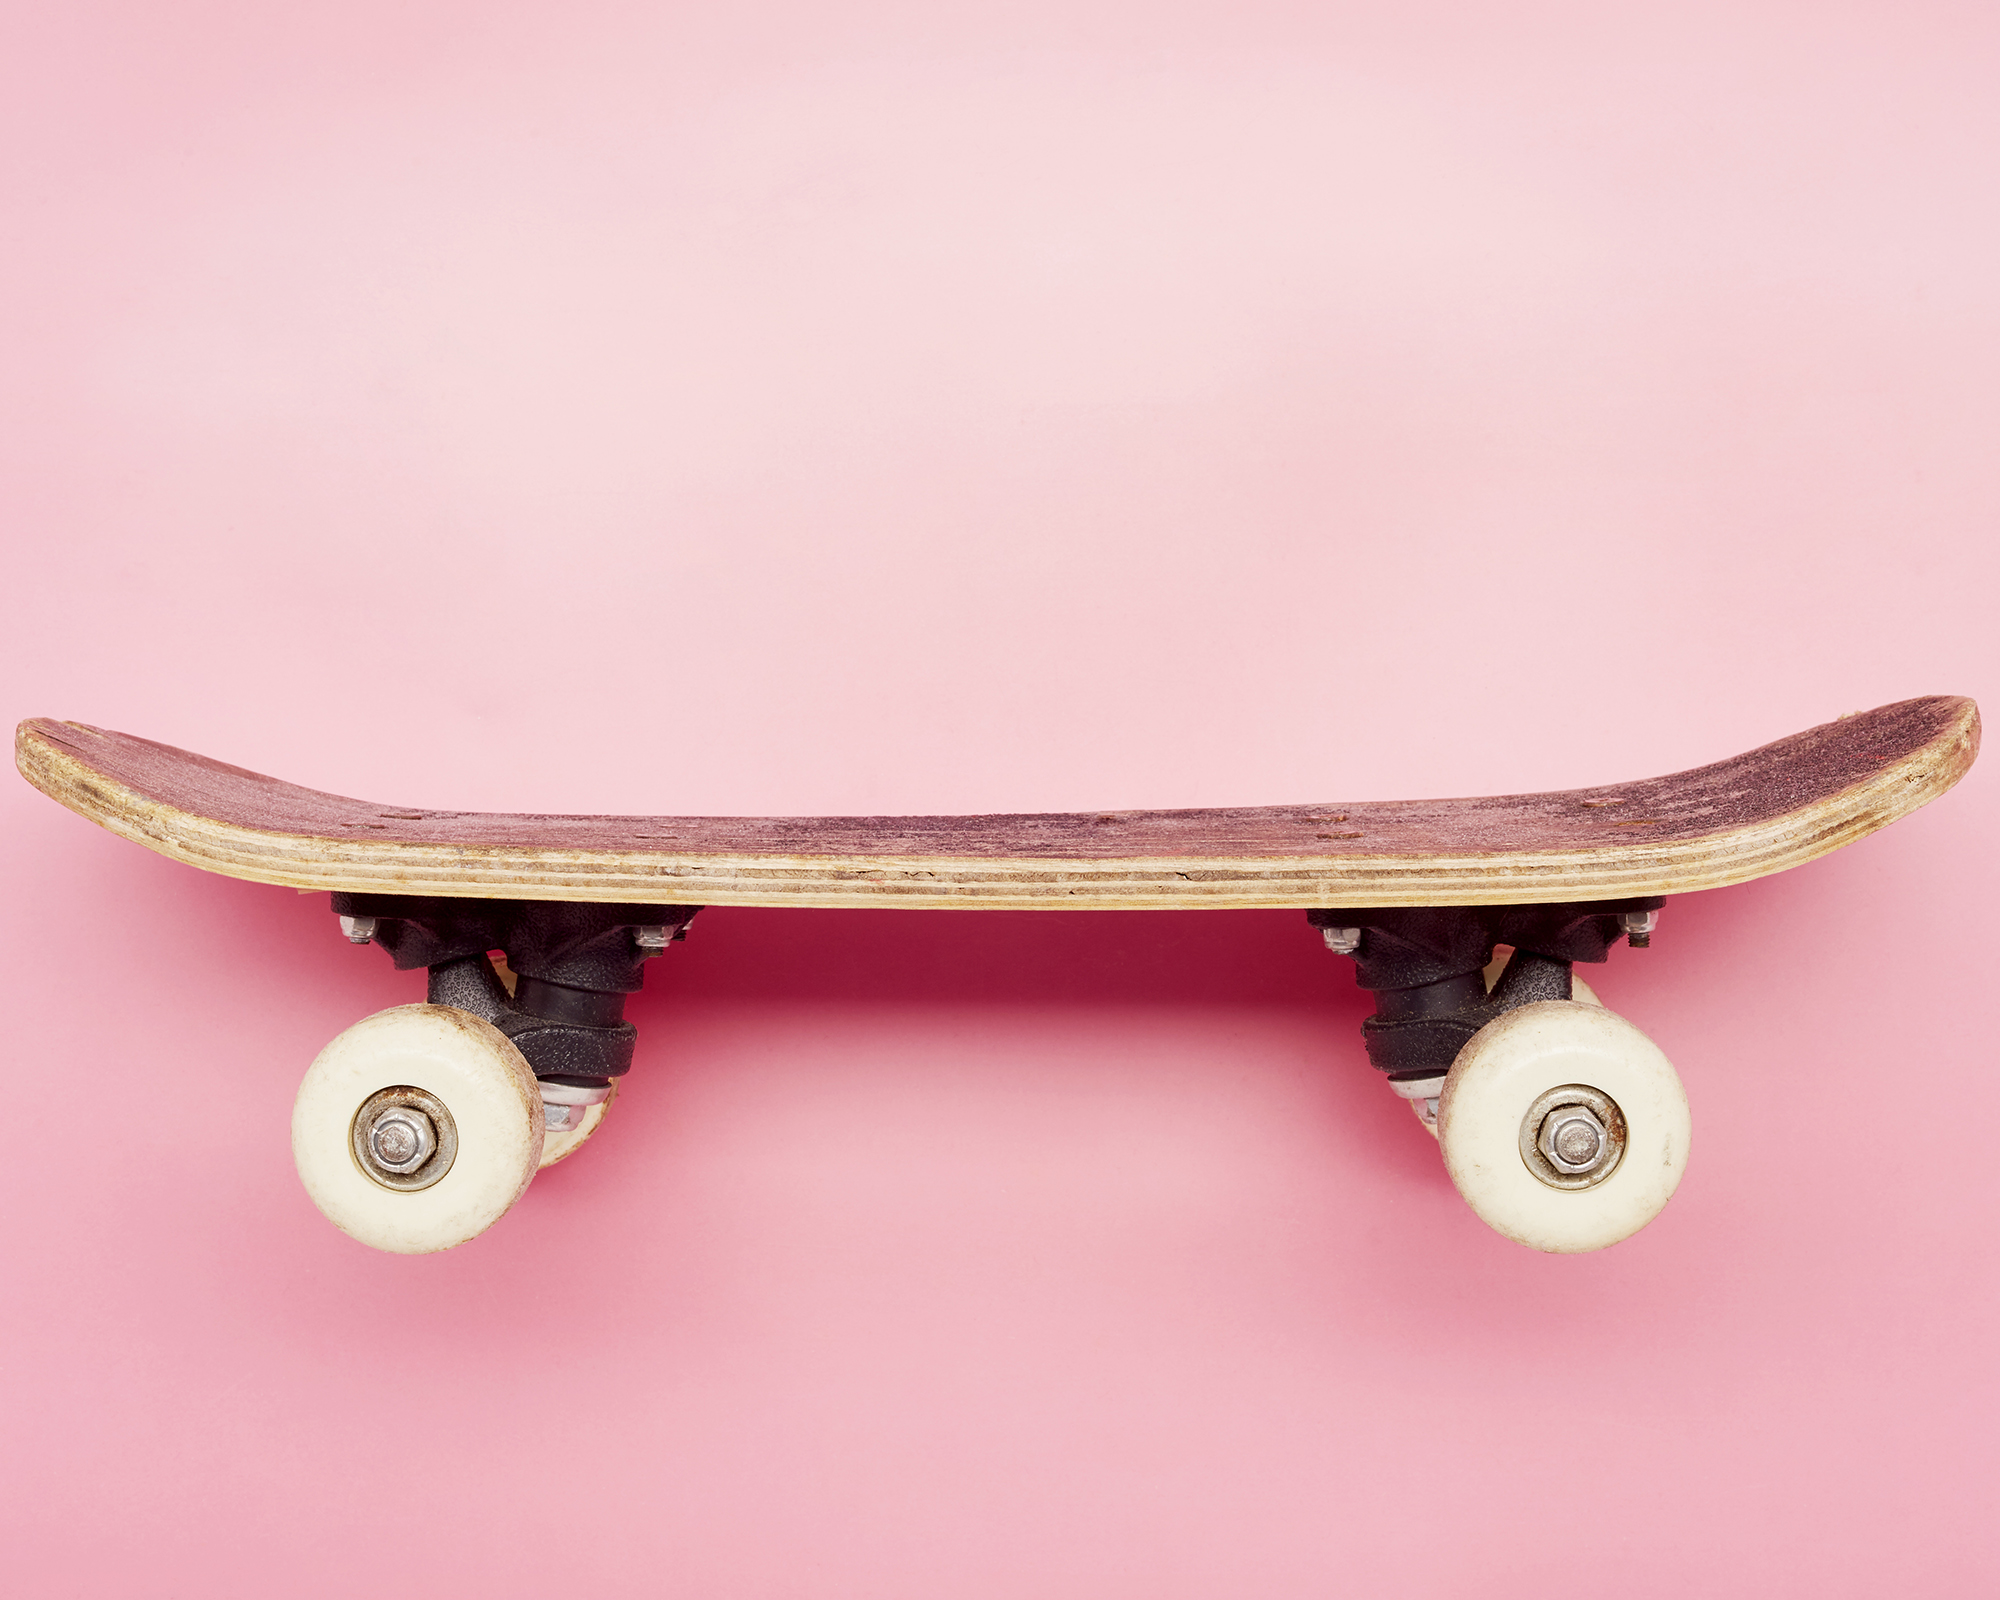
10. Make your own skateboarding wax
Do your kids consider themselves the next Tony Hawk? If you've allowed your tween to own a skateboard, skate wax will stop their board sticking to concrete and metal. But unless you want them pestering you for pocket money, teach them how to make their own DIY lubricant (under adult supervision of course).
You will need:
- Leftover candle wax
- A teaspoon of cooking oil
- Oven gloves (optional)
- An oven-safe vessel (ie: a Pyrex pie dish, available from Amazon)
- Access to an oven
- Access to a freezer
How to:
- Preheat your oven: Set your oven to 300-350F (150-180C) and allow it to heat up fully before making your skate wax.
- Combine wax with cooking oil: Combine the cold wax with a teaspoon of neutral cooking oil in an oven-safe vessel. Almond, sunflower, grapeseed or canola work well, while olive oil can be a bit smelly, owing to its low(er) smoking point and green hue.
- Pop your vessel in the oven: 10 minutes should do the job to melt your wax and distribute the oil. Top tip: Adding oil stops your skate wax from becoming brittle when you apply it to the board.
- Remove from the oven and decant into molds
- Transfer molds to freezer to chill: Allow your silicone molds to cool down for a while, before transferring them to the freezer. Your skate wax is ready when it has fully cooled which will take approximately two hours.

11. Make some crayons for the kids
Candle-making tends to be a hobby reserved for adults and bigger kids. But your pre-schooler shouldn't have to miss out on any fun! If an all-encompassing Crayola set on Amazon is a little too expensive - you can create an unlimited collection of colored crayons at home for them to play with.
If you're unsure whether your little one likes drawing with colored wax, this is a sure-fire way to try and see if they have an artistic streak - without spending bucks on a full set.
You will need:
- An old saucepan
- A crayons-shaped mold (we like the DLUCKY from silicone mold from Amazon)
- 2-3 disposable cups per crayon (Hefty Cups on Amazon cost a few cents per cup)
- Stirring sticks (these wooden ones from Amazon are good for popsicles too)
- Leftover wax (8-10 grams per crayon type)
- Pigment (Sargent Art colored chalk sticks on Amazon are a cheap idea that'll do)
- Measuring scales (the Etekcity kitchen scales on Amazon are a bestseller)
How to:
- Decide how many colors you want: Stereotypically speaking, it's good to have some purples and pinks for girls and blues and greens for boys. But you can create a whole rainbow of colored crayon shades from brights to more muted pastel tones.
- Measure out your pigment: Weigh out 2-3 grams of colored pigment per crayon type and decant into separate cups. If you want super vibrant results, measure out more chalk or food coloring.
- Melt your wax in the saucepan: This should be done over a low heat, so that your leftover candle wax gently melts but does not boil. Although we've requested you use an old saucepan we don't want anything to burn! Once the wax has melted, reduce the heat.
- Combine the wax and pigment: Carefully pour the wax into the cup that has the pigment in it and quickly stir it. Make sure to pop your saucepan back on your gas or electric hob, since the wax does quickly harden.
- Pour into crayon-shaped molds: As soon as the wax has taken the color of the pigment, pour this mixture into the molds and let the wax mix harden for at least two hours.
- Repeat the process to create other colors: Go wild with different single-colored wax pens or try making a double-ended crayon with two different shades. You could even add an essential oil to the colored wax mix to make your crayons smell nice but if your child is likely to chew on them and you're wondering 'are essential oils safe?' - it's better to go without.
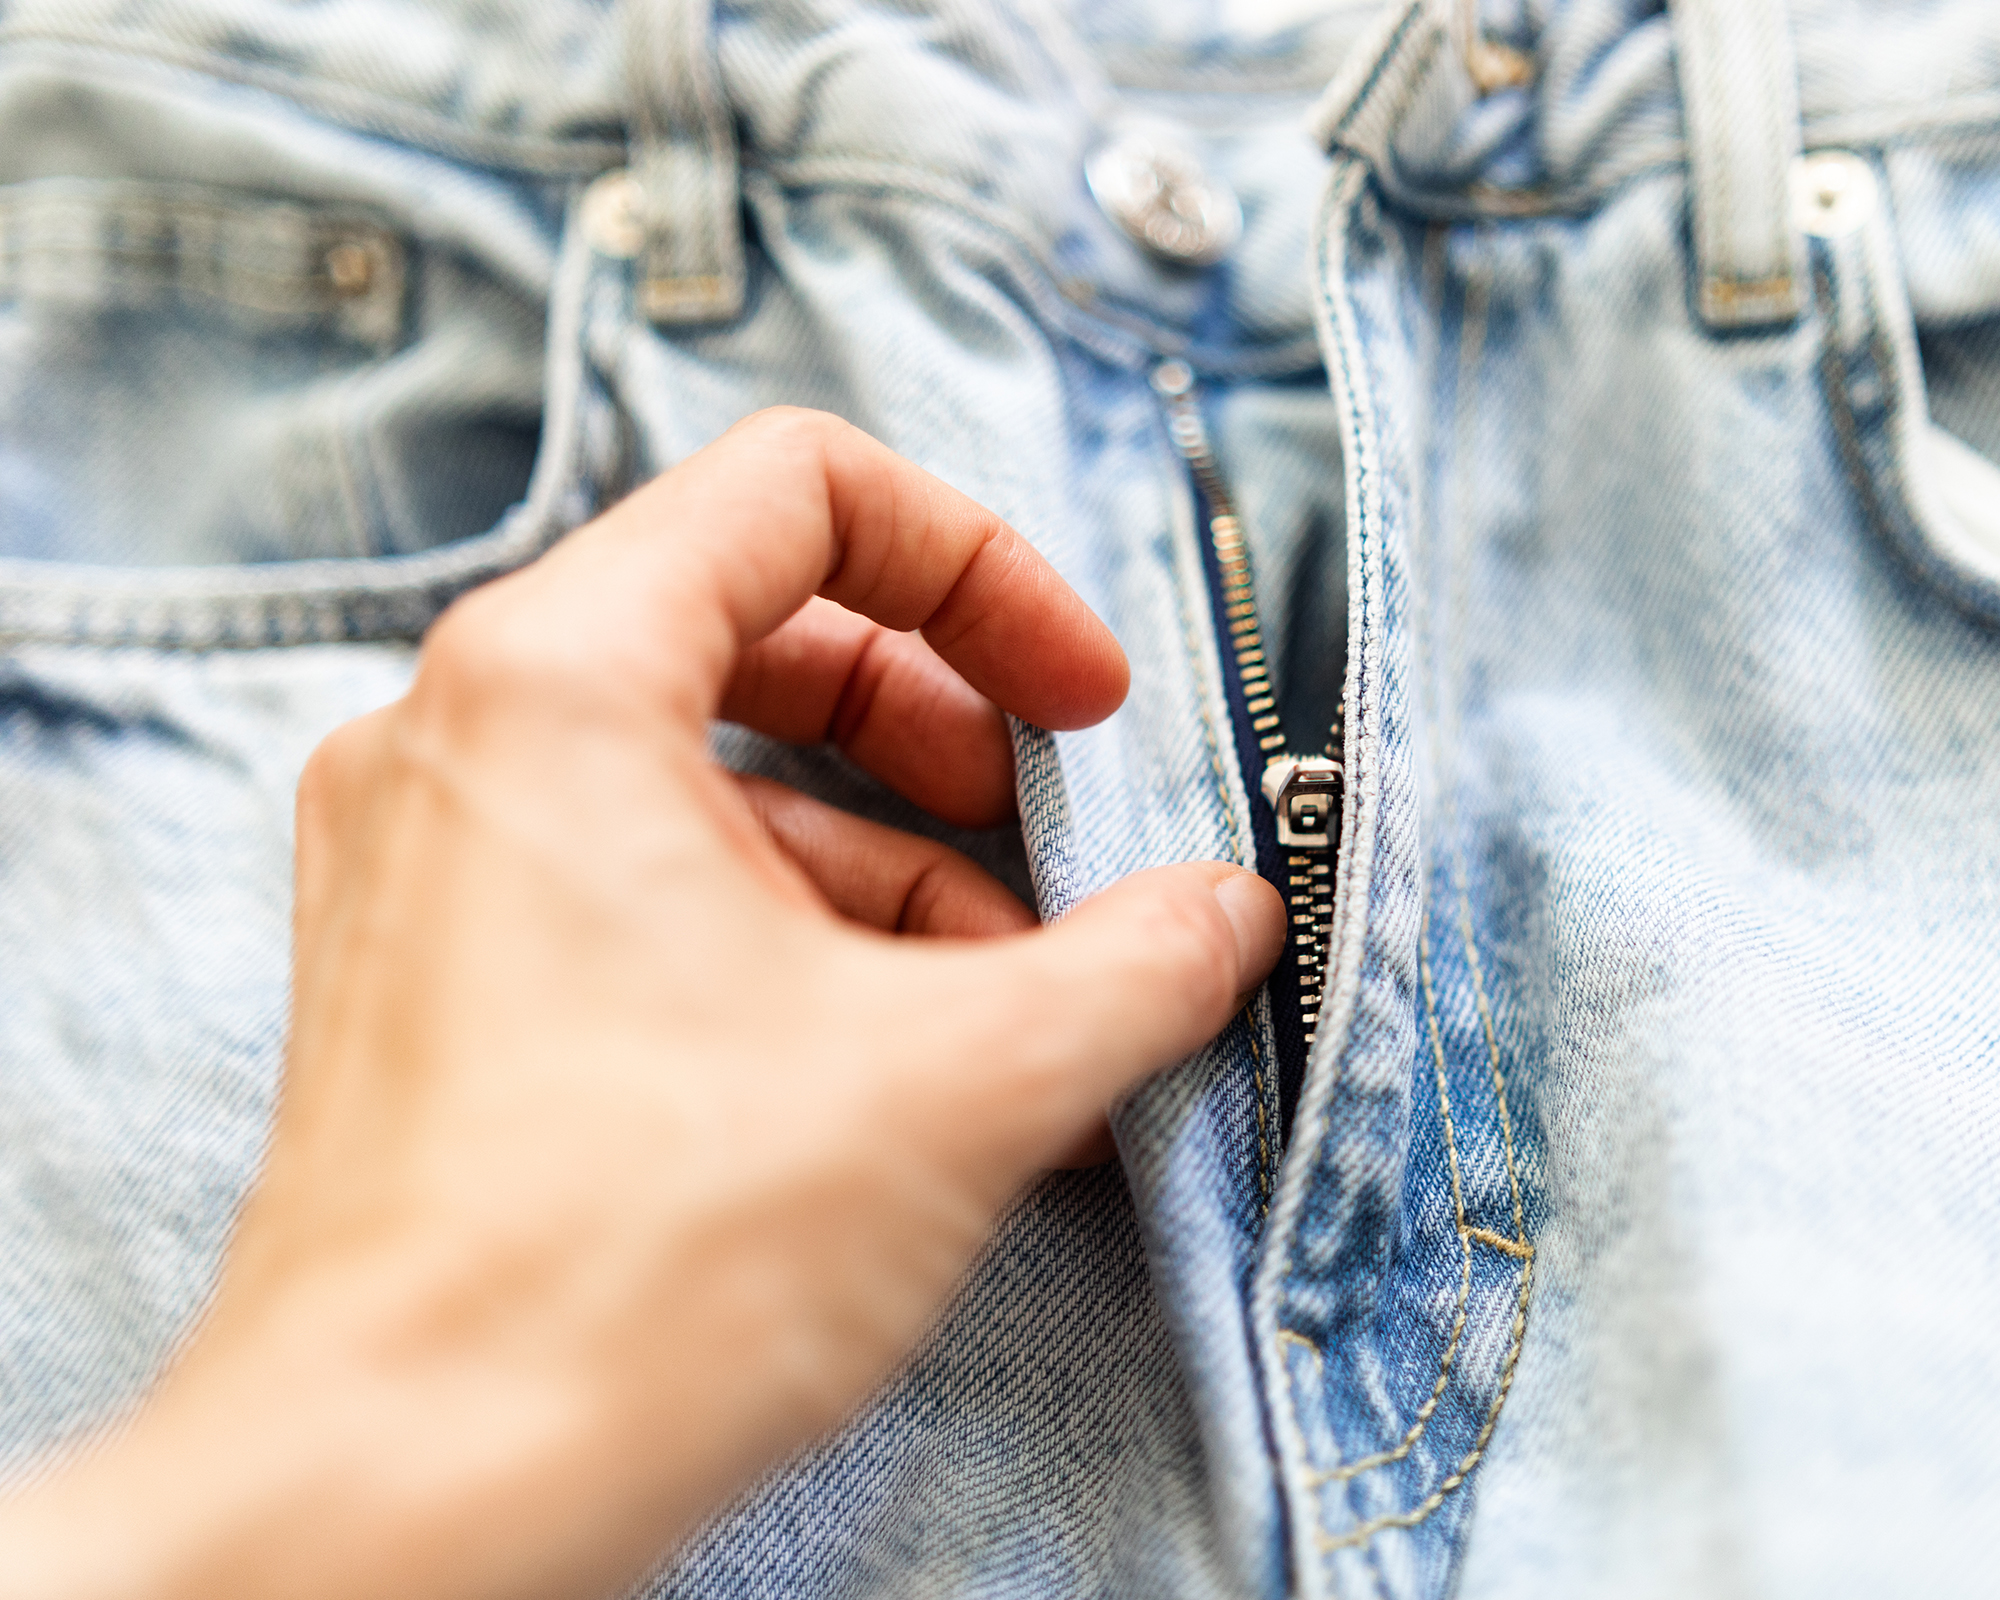
12. Repair a broken zip
You will need:
- Cotton swabs - no need to queue for Q-tips, buy them from Amazon
- Leftover candle wax
Got a dodgy zip that won't budge? If your favorite skirt, dress or pants won't do up – you don't need to take it to the tailor.
How to:
Rub a little melted wax with a Q-tip alongside the zipper to help the teeth move up and down easily.
13. Temporarily fix a drafty window
Damaged window frames can cause all sorts of havoc in the home. From high-pitched wind whistles to drafty cold spots, you'll want to fix the problem fast. But if you're waiting for an appointment with a laborer (or simply don't have the budget for one), leftover candle wax is a short-term solution that'll save you money.
How to:
Use it in the same way you'd use caulk to seal holes and air leaks. It's one of many ways to reduce your energy bills if insulation is out of the question.

14. Mask scratches on wooden furniture
You will need:
- Leftover candle wax
- A furniture marker (the EXACT MATCH pens by Rejuvenate have over 15,000 Amazon reviews)
Whether you've run your fingernails accidentally along your best coffee table or your pet is using the furniture legs as it's new scratching post, no one wants to see unattractive scratch marks on their new or vintage wooden buys. But rather than sending it to the recycling facility or putting it up as an eBay listing, disguise dents and blemishes with leftover candle wax.
How to:
All you need to do is rub the wax (we'd recommend white wax for universal use) over the affected area to 'fill' the scratch, then follow up with a furniture marker to truly cover up or camouflage the concern.
Also works a dream on the best types of wooden flooring if your new high heels are the culprit!

15. DIY batik home furnishings
You will need:
- Leftover candle wax
- A pencil
- An iron
- An ironing board
- Newspaper sheets
- A table
- An old saucepan
- Plain accessories - these cushion covers by Encasa on Amazon are good for beginners
- Batik canting pen - available on Amazon
- Fabric dye - use Dylon cold water fabric dyes (on Amazon) for pigment-perfect results
- An old bucket
- An artists' paintbrush (Soucolor's store on Amazon does a 20-piece set for cheap)
- A DIY paintbrush - like this budget brush from Grip Tight Tools Store on Amazon
- Access to water
Add some exotic flair to your home with batik cushions, curtains and wall hangings galore. This textile technique might be something you learned in your home economics class at college, but if you don't know how to add this wax-resist dye design to your home fabrics – it's so easy and fun to do.
How to:
- Remove the outer cover of your cushion and iron: If you're decorating a cushion cover, you'll want the surface to be as flat as possible, so use an iron and ironing board to straighten out any kinks and creases if any.
- Lay your cover on a flat surface and get designing: Using a flat surface such as a table, use a pencil to draft your design onto the white cloth. You can draw a landscape, a dotted pattern, or go completely abstract!
- Melt your wax and apply: Heat your wax on medium heat until melted. Then, using your batik canting pen, apply the wax over your penciled design. Be aware that the wax will provide a resist, and so anything that's covered with it will end up white in your final design. Allow the wax to dry and harden.
- Immerse fabric in dye: Now, you can go about this in two ways. You can either create a dye solution according to packet instructions, place this in the bucket and immerse your fabric to create a dye bath. Alternatively, you can use your paintbrush to apply the dye or multiple dyes to the fabric. Leave to dry outside.
- Seal your design in a layer of wax: Next, you'll want to reheat your leftover wax again and apply this all over the cushion cover to seal your design. Two coats is recommended, but one will suffice if you don't have time. Once dry, you can create an attractive 'crackle effect' by manipulating the fabric, or for a 'cleaner' result, proceed to the next step.
- Removing the wax: Taking off the wax isn't as simple as peeling it off with your fingers. Instead, you should take time and care to do this with a combination of newspaper sheets and an iron. Place your batik design between layers of the printed paper, then iron over the piece. The news sheets will absorb the liquid wax as it heats up. Once your newspaper is fully saturated with your leftover candle wax, replace the sheets and repeat the process. It might take a bit of time, but the results are worth it!
How to reuse candle wax without a wick
Now while this sounds too good to be true, you can make even more candles with leftover candle wax. If you're the homebody that likes buying the same type of candle for multiple areas of the home, you can use drips and drabs collected from each container to make one full-sized candle.
With a few glass votive candle holders (love this vintage teal choice from Amazon), and a few printed labels (invest in a Cricut Joyfor pro results), you can pass your homemade candle off as a designer brand or be smug in your DIY craftsmanship.

Hi, I'm the former acting head ecommerce editor at Real Homes. Prior to working for the Future plc family, I've worked on a number of consumer events including the Ideal Home Show, Grand Designs Live, and Good Homes Magazine. With a first class degree from Keele University, and a plethora of experience in digital marketing, editorial, and social media, I have an eye for what should be in your shopping basket and have gone through the internal customer advisor accreditation process.