How to tile a shower: Get a pro finish from this straightforward DIY job
Tiling a shower yourself can save big money and give your bathroom a whole new look. Here's how to do it.
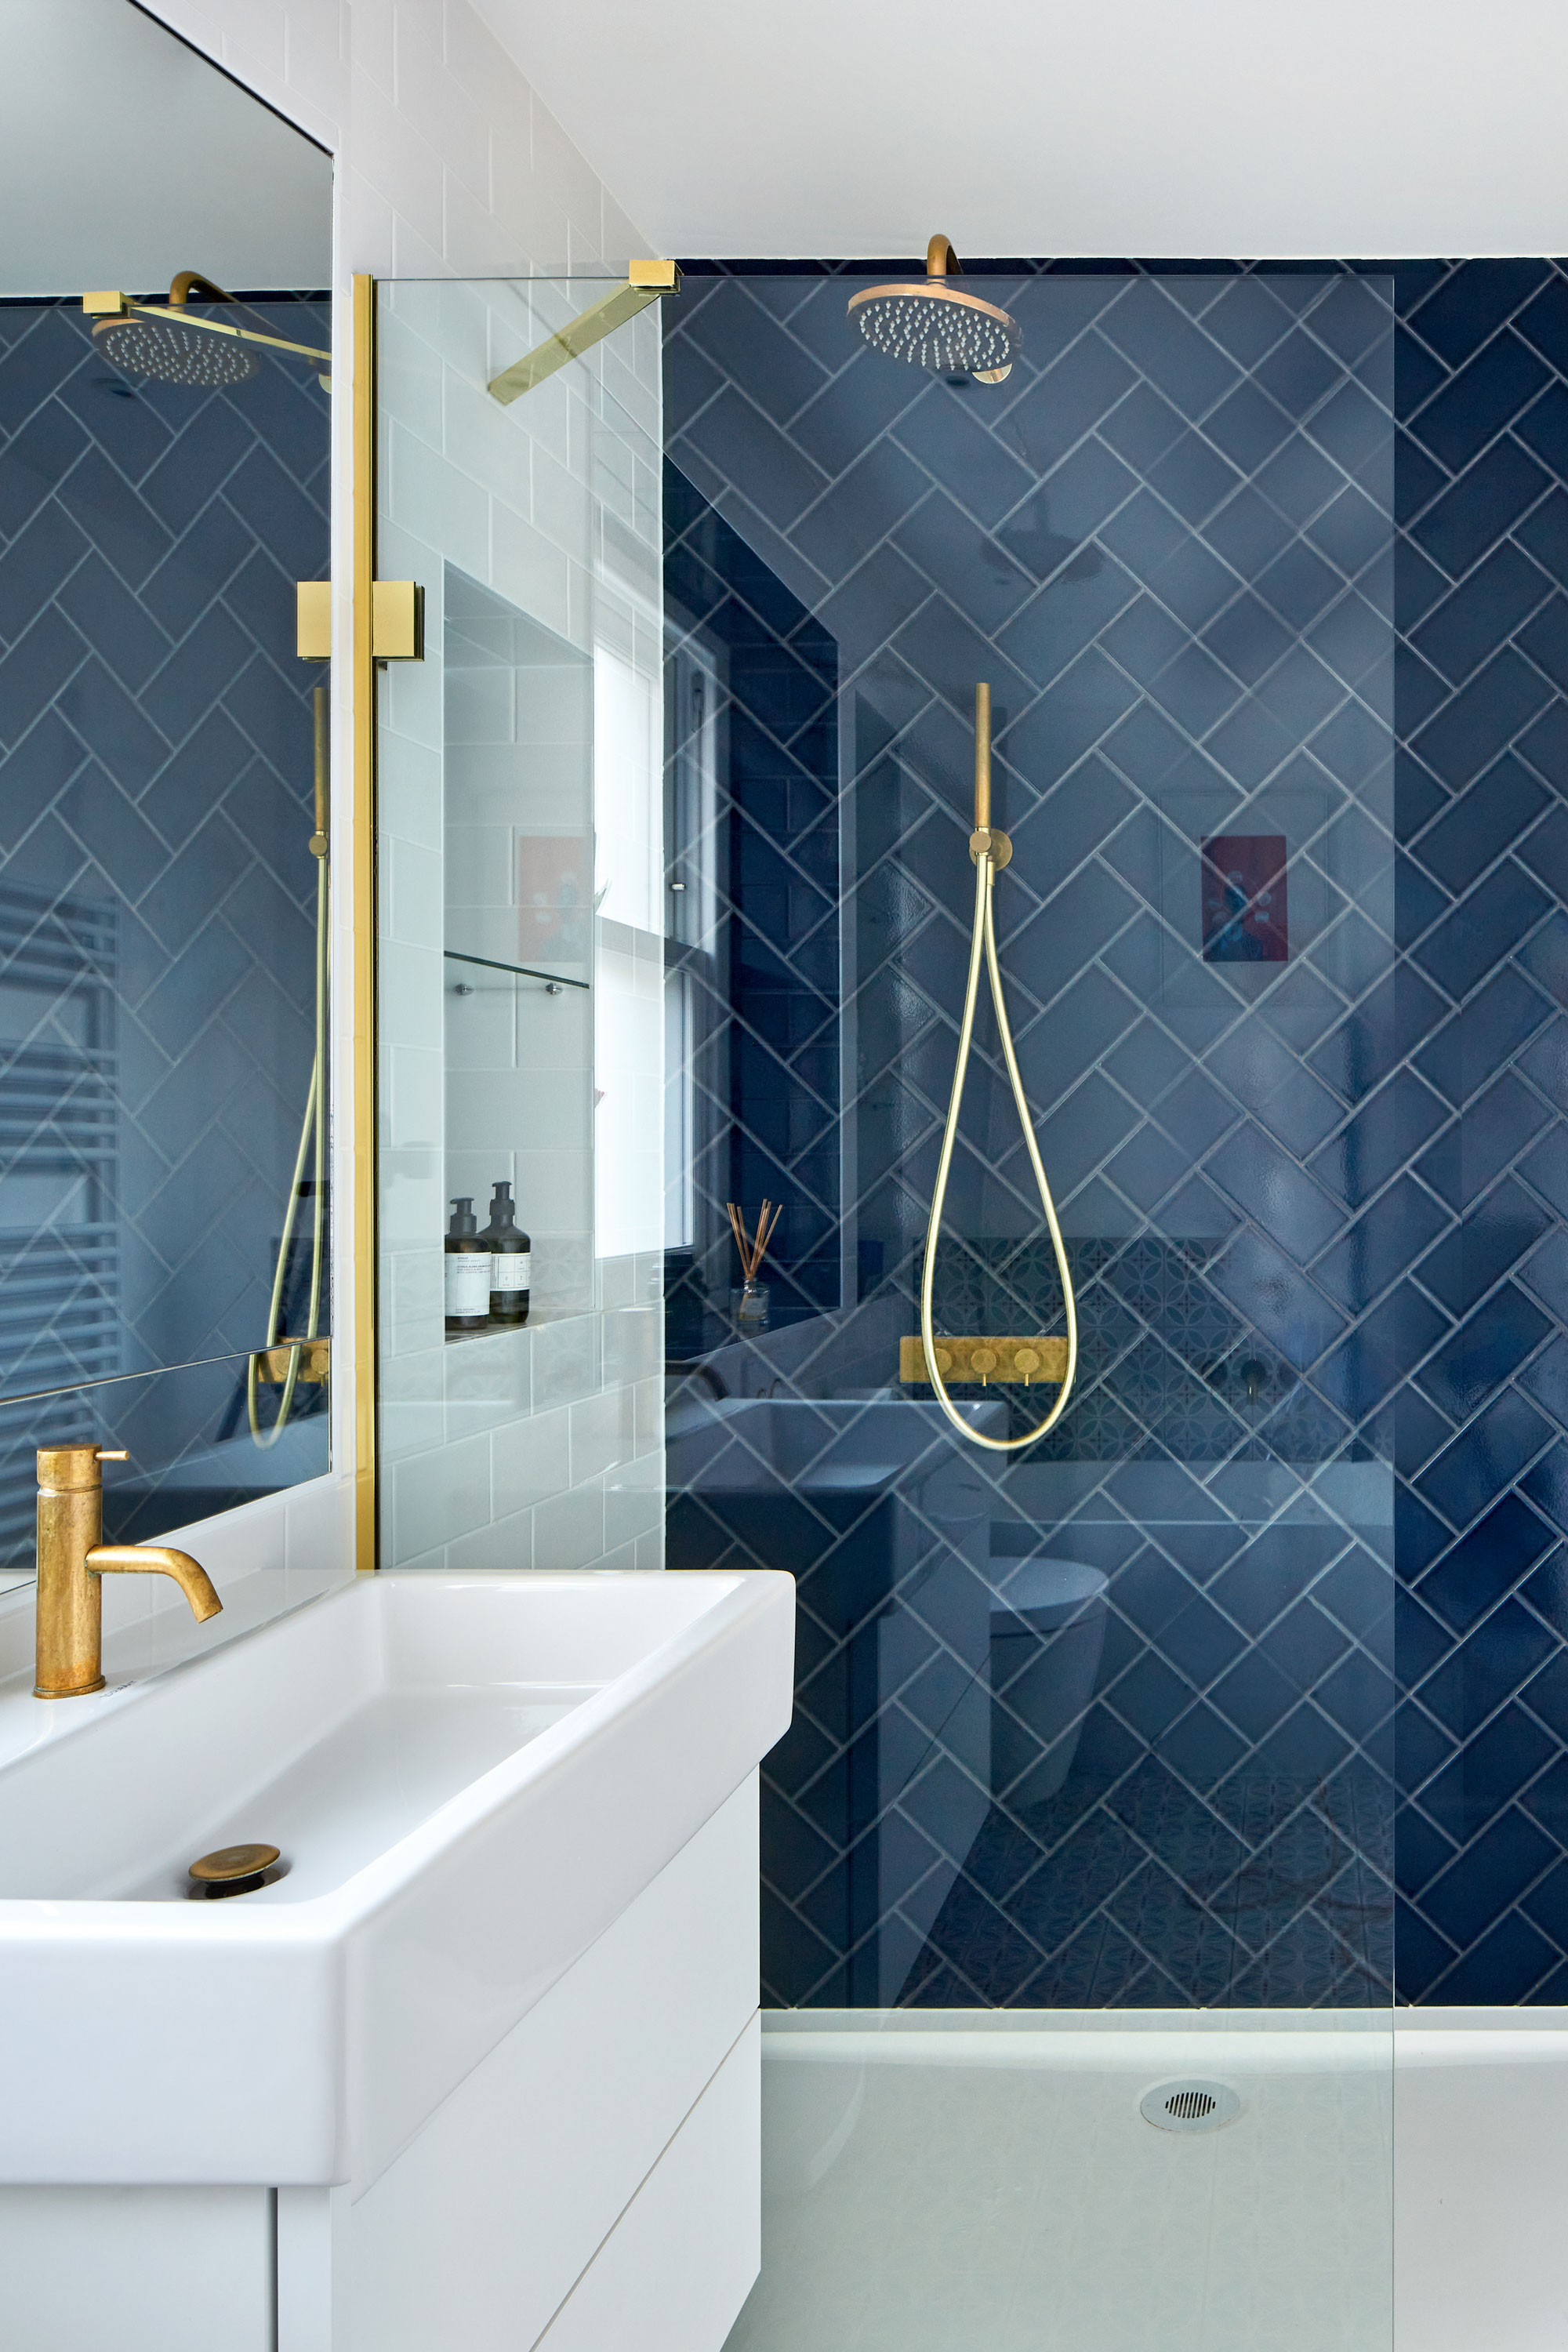
Bathroom remodels are pricey, but you can save money by learning how to tile a shower yourself with our expert advice.
Per square foot, a bathroom remodel is just about the most expensive space to makeover. From the construction to the plumbing, and the cost of the finishes, it’s easy to how a budget disappears quickly. But there is at least one way to save—tile the shower yourself. Because it occupies so much wall space, tiling around a shower can completely transform the look of a bathroom.
Tiling the shower walls in a bathroom is similar to tiling a backsplash in the kitchen. But there are some extra precautions you’ll need to take because the tile on shower walls is constantly exposed to water and you have to prevent any from sneaking past the tile and grout.
- See also: How to grout tiles
Can I tile a shower myself?
Yes, the tools and materials required are basic and easy to buy or rent from just about any home center. Setting tile isn’t strenuous or difficult, but it can get frustrating if you rush dialing in the layout and knowing where the cuts will be. While tiling walls around the tub is an intermediate job, not all the tiling in the bathroom is. Tiling a shower floor is a little trickier because the pitch down to the drain has to be perfect, so you might want to leave that to a pro. (Because of that, we're going to focus here on tiling shower walls, which is a much more straightforward job with less chance of causing leakage or water seepage issues over time.)
There is one key consideration: time. If you’re not that experienced with tiling it will likely take you longer to complete the project. If you’re tiling the only shower in a house, you might want to consider hiring a pro who can get you and your family back to using the shower quickly.
It helps to have the tile on hand to avoid delays once the surround is waterproofed and ready. Calculate how many tiles you need, measure the height and width of all three walls. Then add the three wall areas together. Tack on about 10 percent extra to account for cuts and mistakes. If you’re buying tiles off the shelf, look for boxes that have the same dye lot number marked on the side of the box. That helps keep the color consistent, but it's always good practice to pull tiles from a few boxes at a time as you’re installing them to even out any unusual color issues.
- Keep reading: Bathroom tile ideas- 32 beautiful looks to inspire your next makeover
How to tile a shower
Step 1: Demo
Cover the tub with a heavy canvas drop cloth or a piece of plywood. Wearing safety glasses, a mask, and gloves, use a pry bar and a hammer to pull off the existing tiles. Work on one wall at a time, top-down, disposing of the debris as you go.
Get small space home decor ideas, celeb inspiration, DIY tips and more, straight to your inbox!
If it’s an older home, you might find drywall behind the tile or, in a newer home, cement board. In either case, it’s best to remove it and start with a clean slab of cement board, often called backer board, because it’s impervious to water, it's stable, and it bonds well tile. Use a reciprocating saw and cut away the walls around the tub, but leave any drywall above the showerhead. It’s unlikely that area will get soaked in water.
Step 2: Inspect the structure
Have a look at the three walls around the shower. If you notice any mold on the insulation, behind it, or on the studs, you should call in a professional to remediate it. If you have fiberglass bat insulation, which is relativity inexpensive, replace it with some fresh insulation.
Step 3: Add new backer board
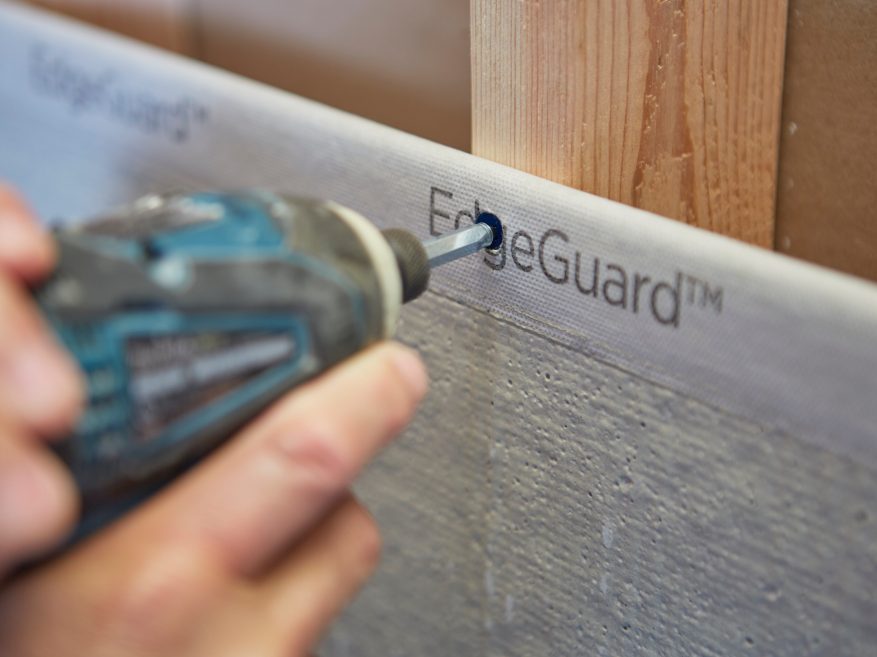
Buy enough backer board to extend from the tub deck up to the height of the showerhead on all three walls. Typically, you'll tile to the showerhead or just above it on all three shower walls. Pick a backer board that’s the same thickness as the remaining drywall in the shower surround so the transition between the two materials will be seamless.
Cut the cementitious backer board with a utility knife and a straight edge—similar to how you’d trim drywall. Score and snap the pieces to length. Use a hole saw or a reciprocating saw to cut around any exposed plumbing parts like the valve, tub spout, and showerhead.
Shim the backer board up off the tub surround by about 1/4 inch, which leaves enough room to caulk the gap between the tub and the tile along all three walls. Use ceramic coated screws, usually on the shelf near the backer board, to fasten the pieces in place.
Mix up enough thinset mortar, which you can find in a tub or a bag at the home center, and use a putty knife to force it into the gaps where the backer board sections meet. Then press fiberglass mesh tape into the wet thinset before smoothing it out with a putty knife. Pay attention to avoid an excessive build up of thinset at the joints, which creates a hump that will telegraph through the tile.
Step 4: Waterproof the shower
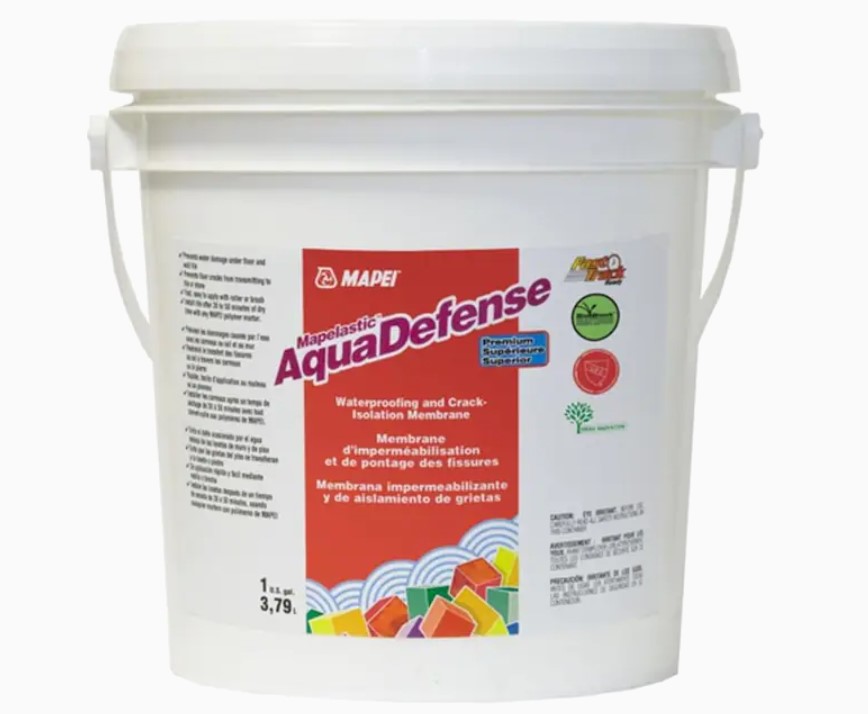
Once the thinset is dry, cover the cement backer board with two coats of a roll-on waterproofing membrane. It applies like wall paint, and you can find it at the home center or tile shop.
Use a disposable brush first to pay attention to corners where water might settle, and the seams between the backer board panels. Then use a paint roller to fill in the field, making sure you cover the heads of the screws. Once the first coat is dry, apply the second the same way.
Step 5: Plan the layout vertically first
Coming up with an accurate game plan now makes the tiling go much faster. Grab a 4-foot level, a marker or pencil that will show up on the waterproofing layer, and a measuring tape. Start by measuring the height of the back wall, which is the longest, from the tub deck to the top of where the last tile will be. Divide that number in half and mark that number on the wall.
Now measure your tiles. Determine how many tiles it takes to get from your mark on the wall down to the tub deck. If the layout leaves you with less than half a full tile at the tub deck, move your mark on the wall towards the tub deck enough that the first tile up from the tub is a full one and half a tile or more ends the wall up at the top. At this adjusted mark, draw a level line across all the wall.
Step 6: Now plan the layout horizontally
Still working on the back wall, measure the width, cut the number in half, and mark the wall. Calculate the tile again, left to right, off this mark. If it leaves a tiny sliver on one end, adjust the mark so the cut tile on each side is about the same width. Once you have the wall marked, go back and use the level to draw a plumb line up the entire wall crossing over your first horizontal line. Your goal is to turn the back wall into four quadrants.
- Protect a job well done with our guide on how to clean grout
Step 7: Spread the thinset or mastic
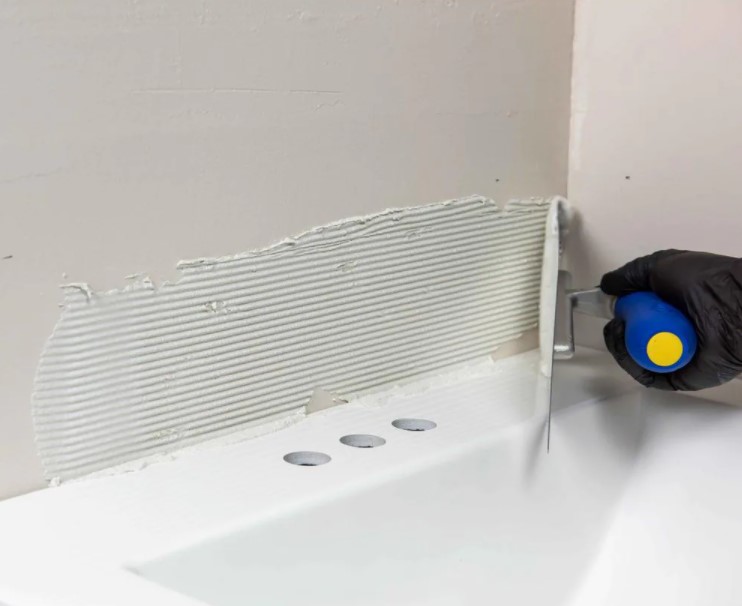
With the back wall marked up grab a 5-gallon bucket, a mixing paddle, a drill/driver, and blend some thinset mortar following the directions on the bag. Alternatively, you can use a premixed tile mastic, which is much grabbier than thinset so tiles won't slide down the wall.
Starting in one of the four quadrants just above the tub surround, spread the thinset with a trowel. Apply it with the smooth edge, then rake in the ridges with the notched end. Be careful to leave your layout lines visible. Work in an area about 2 or 3 square feet large to prevent the thinset or mastic from drying out.
Step 8: Start laying tile
With the thinset notched, rest the corner of the first tile at the intersection of the layout lines. Press the tile into the wall with a slight twisting motion, making sure the edges are aligned with the layout lines. Place the second tile next to the first and press it into position. Now the third under the first tile. Repeat this process setting tiles along both layout lines working down toward the tub deck and out to the end wall. Some tiles have bumps along the edges that act as spacers, but with mesh matt-backed tiles like mosaics, you might want to use spacers to keep the joints consistent.
Step 9: Cut tiles
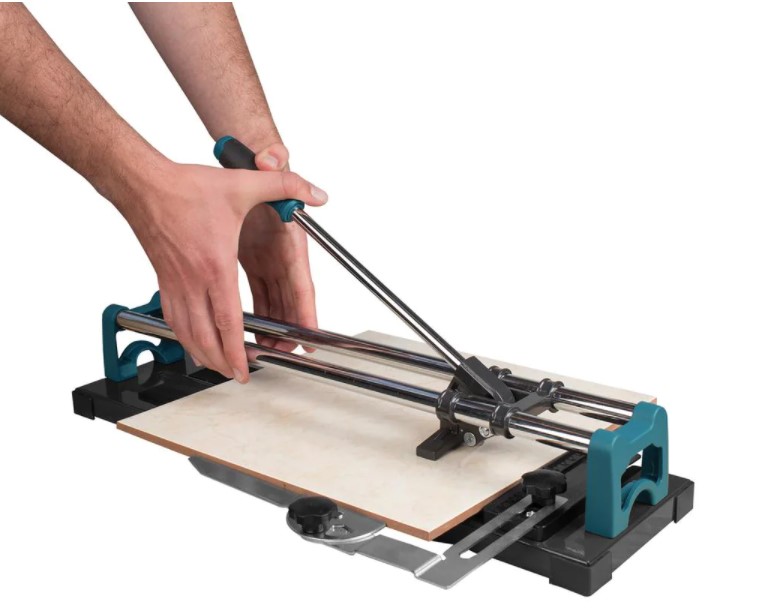
Eventually, you’ll need to cut tiles. To trim a tile to fit, hold a full piece in place and mark where it needs to be trimmed. Use a manual cutter or a tile saw, you can rent either from the home center, to trim the tile to fit. Once you’ve cut the tile, set it just like a full-size one, making sure the cut end faces into the corner.
Step 10: Set the tile in the other quadrant
Return to the other side of the quadrant's lower section and tile that just like the first side. Work down and across, saving the cuts for the end. Then carry the tile up the back wall vertically by filling the upper two quadrants.
Use the level to carry the vertical line out and over the two end walls. Then strike each end wall with a perpendicular plumb line using the layout in step 6. Using steps 7 and 8, set the tile on the end walls working one quadrant at a time.
Step 9: Cut around plumbing
There are two ways to cut the tile to fit around plumbing parts. If the plumbing falls along the edge of a tile, use nippers to bite away the straight edge and accommodate the pipe. If the penetration is in the middle of the tile, drill through it using a diamond-coated hole saw.
Step 10: Finish the edges
Add a finished edge to the end walls that face into the room with a bullnose tile. It can be easier to back butter the tile itself, with a small putty knife, and stick it in place. Once all the tile is set let it cure for 24 hours.
Step 11: Fill with grout
Use pre-mixed grout or blend up a batch of fortified, unsanded grout. If you’re mixing it from scratch, add some latex additive to give the grout strength and combine it until it’s about the consistency of mayonnaise. Using a rubber trowel, apply the grout by holding the tool at roughly a 45-degree angle to the wall. Pull it to you and diagonally across the joints. This smearing motion forces the grout into the joints between the tile. Repeat the process until all three walls are coated. Keep the joints in the corners, and those between the walls and the tub deck, clear of grout. You’ll fill those with silicone later.
- Keep reading: How to choose a grout color to complement your tile
Step 12: Rinse, buff, and seal
Following the direction on the grout product, wait about 10 minutes (or longer) then wipe the excess grout off the tiles with a sponge and clean water. After 24 hours a haze forms on the tile. Use the sponge and clean water again to remove that. Then paint on a grout sealer to the grout lines.
Sept 13: Fill the joints
Standing in the tub so your weight forces the floor to deflect a little, squeeze silicone caulk to the corners where the walls meet and where the walls meet the tub deck. Tool it smooth with your finger.
Where do you start when tiling a shower?
It’s best to start with the full tiles leaving the cuts for the end. Typically, that means starting on the wall just above the tub deck and working down to it and across to the end walls. This leaves the cuts to the narrow tiles filling in along the ends of the back wall.
Do I need to waterproof shower walls before tiling?
Yes. You’ll always need a form of waterproofing behind the tiles that protect the structure in the wall and inhibits mold growth. Often, that means rolling on a waterproofing membrane, though some new backer boards come with a coating that blocks water. With this type of product, you’ll still need to address water getting past the joints. Another option is applying a felt-backed waterproofing membrane to the substrate. There are pros and cons with each system, but for most DIYers, a roll-on waterproofing that applies like paint is the easiest option.
Sal Vaglica has been covering all aspects of home improvement for over 10 years, for publications like The Wall Street Journal, This Old House, and Men's Journal.