How to grout tile – 5 steps for success
Grouting tiles yourself is an achievable DIY. Start with the right type of grout, usually cement-based, for the job, practice your technique and be sure to let the grout set for long enough for best success.

Camille Dubuis-Welch

Knowing how to grout tile will allow you to spruce up your shower area or even just a kitchen backsplash in a matter of hours. Ideal if you're on a budget and looking for a way to save on the cost of calling in a professional to freshen up any tiled surface around the home. Beautiful and functional, of course, if grout is cracked or mold-ridden, it's worth taking on this quick fix.
Whether you are re-grouting a tired-looking tub, tiling a wall from scratch or in the final stages of a full bathroom reno, add this to your DIY repertoire and you're golden.
How to grout tiles: step-by-step
Edward Jones, Founder of HomeCareHow notes how choosing the best grout and tools for the job is where you need to start:
It’s important which type of grout is best suited for your needs. Here are the three main types of grout:
- Cement-Based Grout: It’s the most common type of grout and is also the easiest to use.
- Epoxy Grout: They’re the most expensive type of grout and are generally two-part solutions with color additives and solids. Epoxy grouts are mainly used for commercial projects.
- Urethane Grout: They’re expensive but not as expensive as the epoxy grout. Urethane grouts are premixed but take longer to cure than others.'
Amanda Telford, Marketing Manager at CTD Tiles in the UK agrees, 'When it comes to grouting your tiles, it is particularly important to ensure that you are using the appropriate grout for your home. It’s especially fundamental to ensure that you use a flexible grout for floors and to avoid using a wall only grout on the floor.
It is also beneficial to use a high-quality grout rather than an already mixed grout and fix. This will result in a stronger finish that lasts longer and much easier to keep clean.'
Make sure sanitaryware is covered in tarp sheets and protected. Any, taps and fixings nearby should be covered, too. We'd also advise wearing gloves.
Get small space home decor ideas, celeb inspiration, DIY tips and more, straight to your inbox!
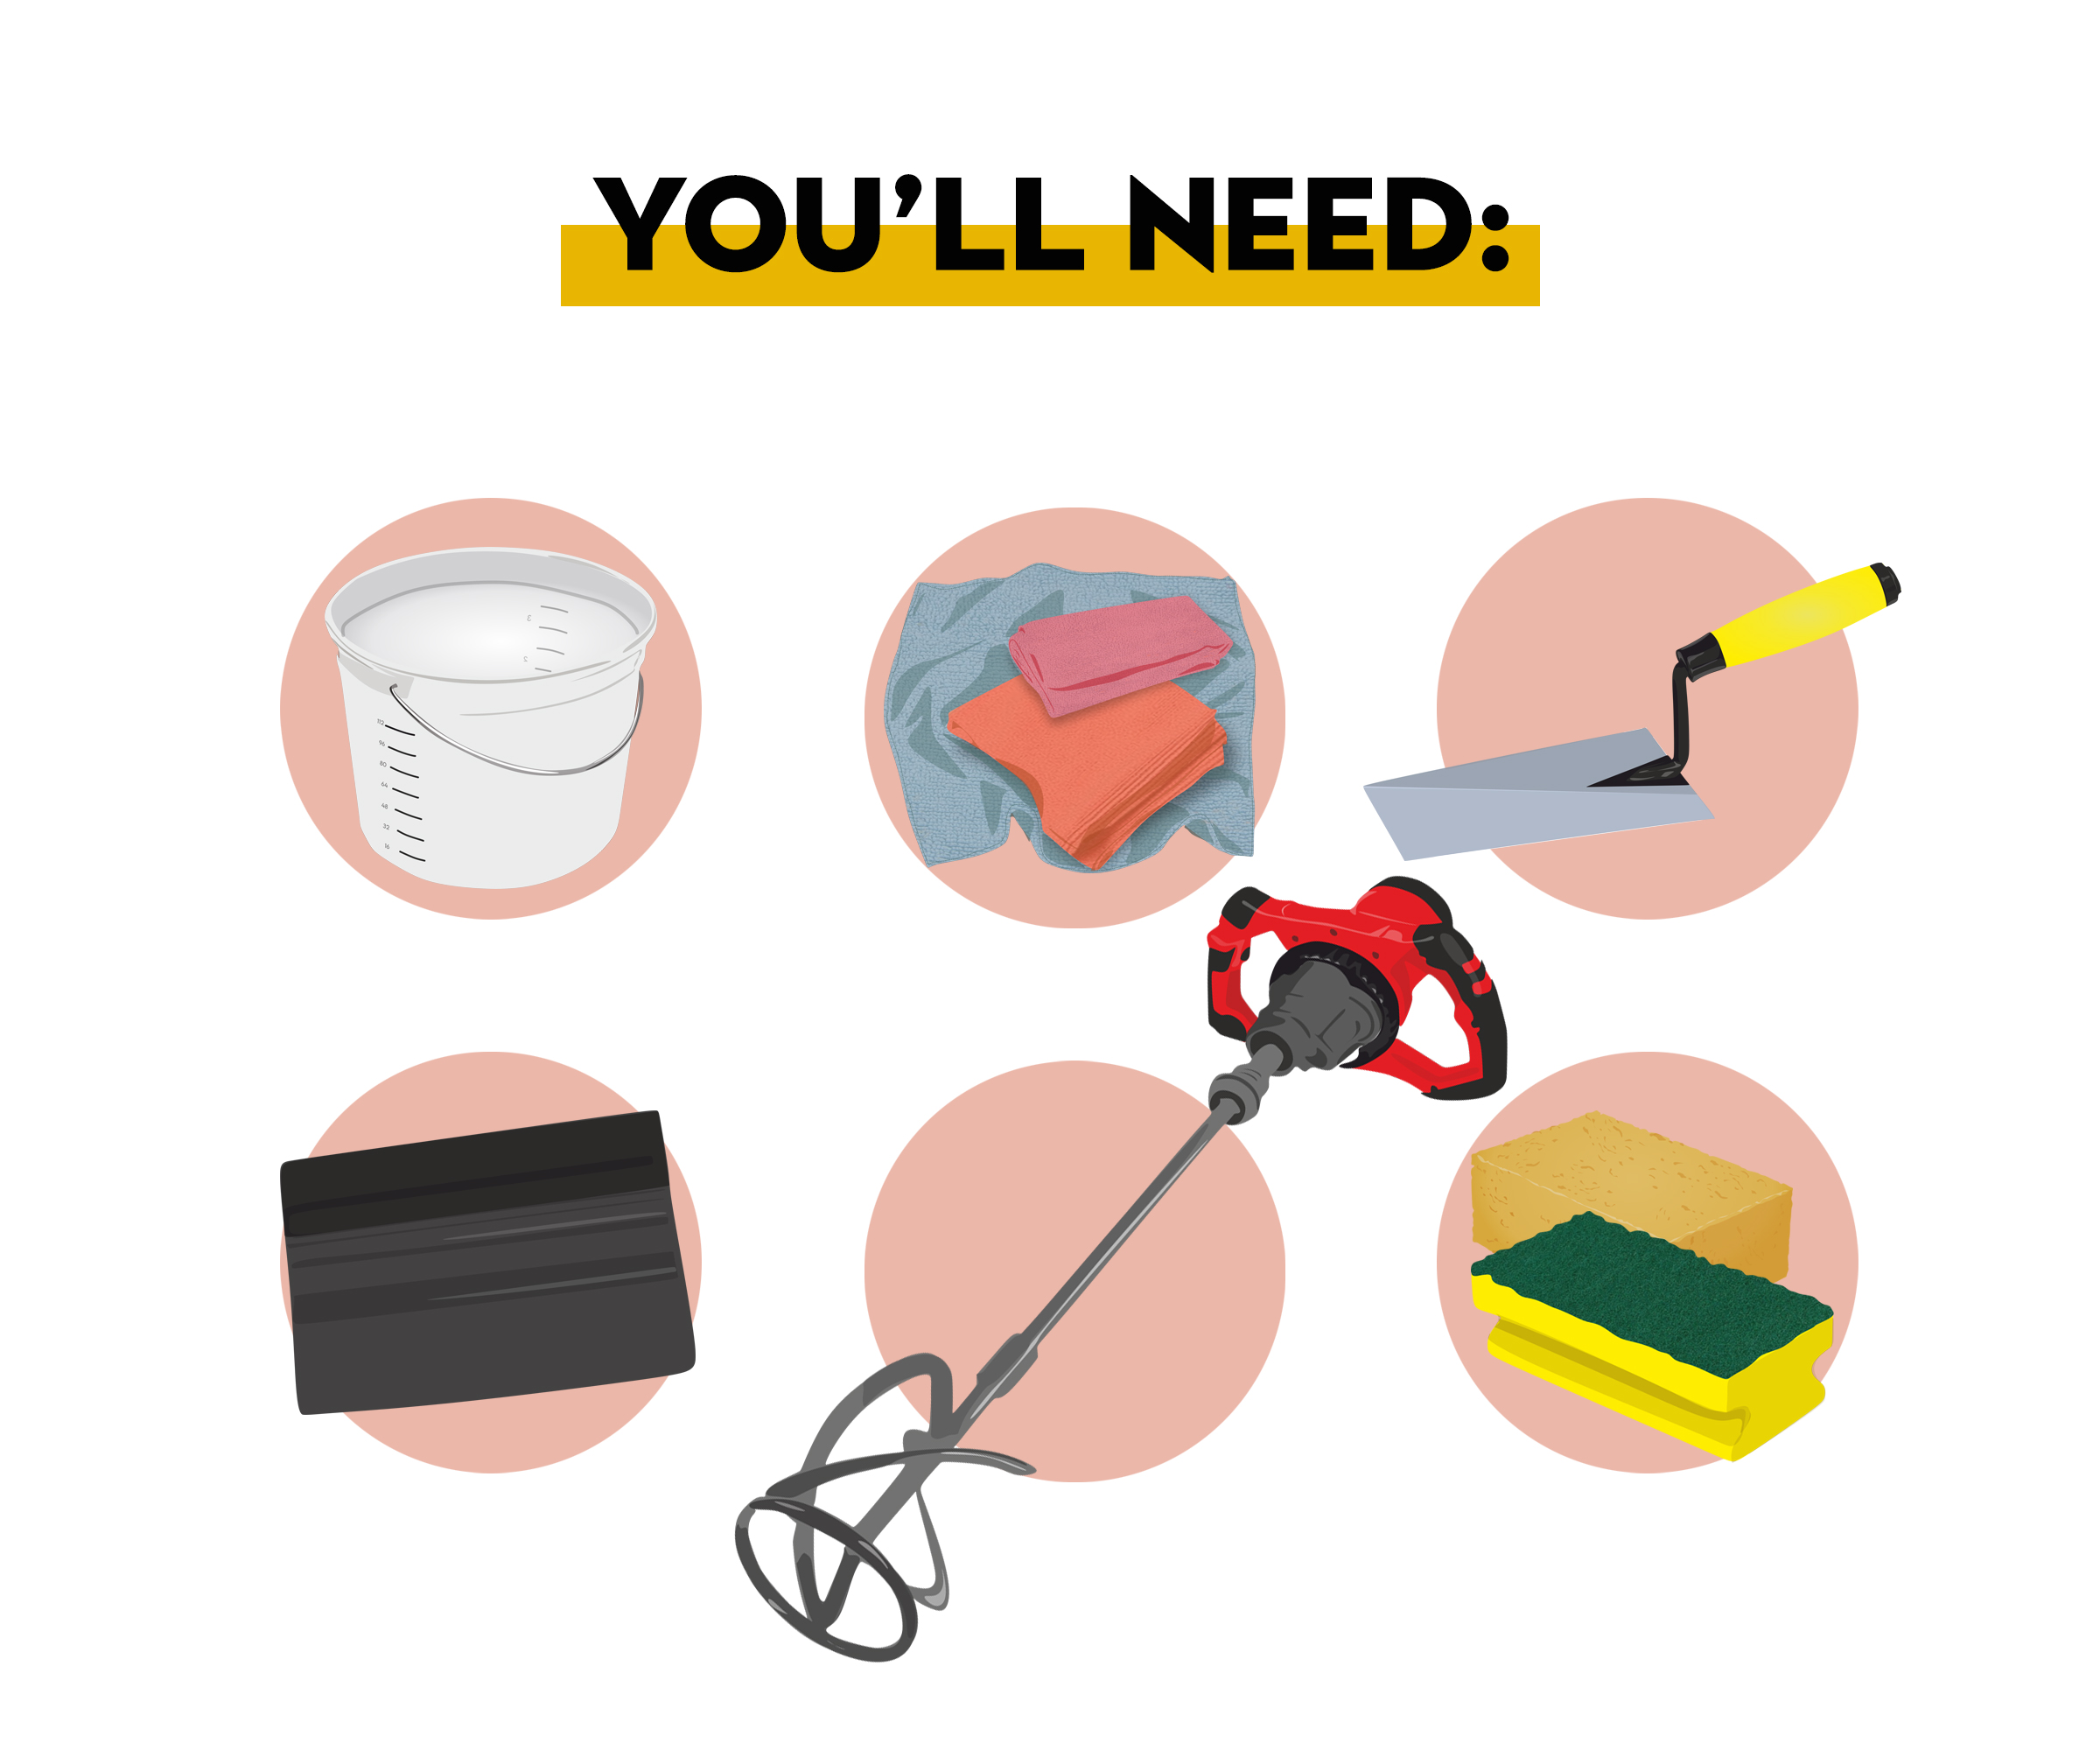
Telford and Jones recommend the following full list of materials for a professional finish when grouting tiles yourself.
Jones notes to 'Avoid using a putty knife to apply your grout. Using one will only damage your tiles.'
- Your choice of grout
- Measuring buckets, Jones recommends 4 in total
- Cleaning mixing bucket
- Microfibre cloth, Jones recommends using a cheesecloth
- Scourer
- Grout sponge
- Grouting washboy
- Grout float /squeegee
- Mixer
- Bucket/margin Trowel
- Cleaning/Polish Cloths
- Scourer Pads
- Cement Residue Remover
1. Mix the grout
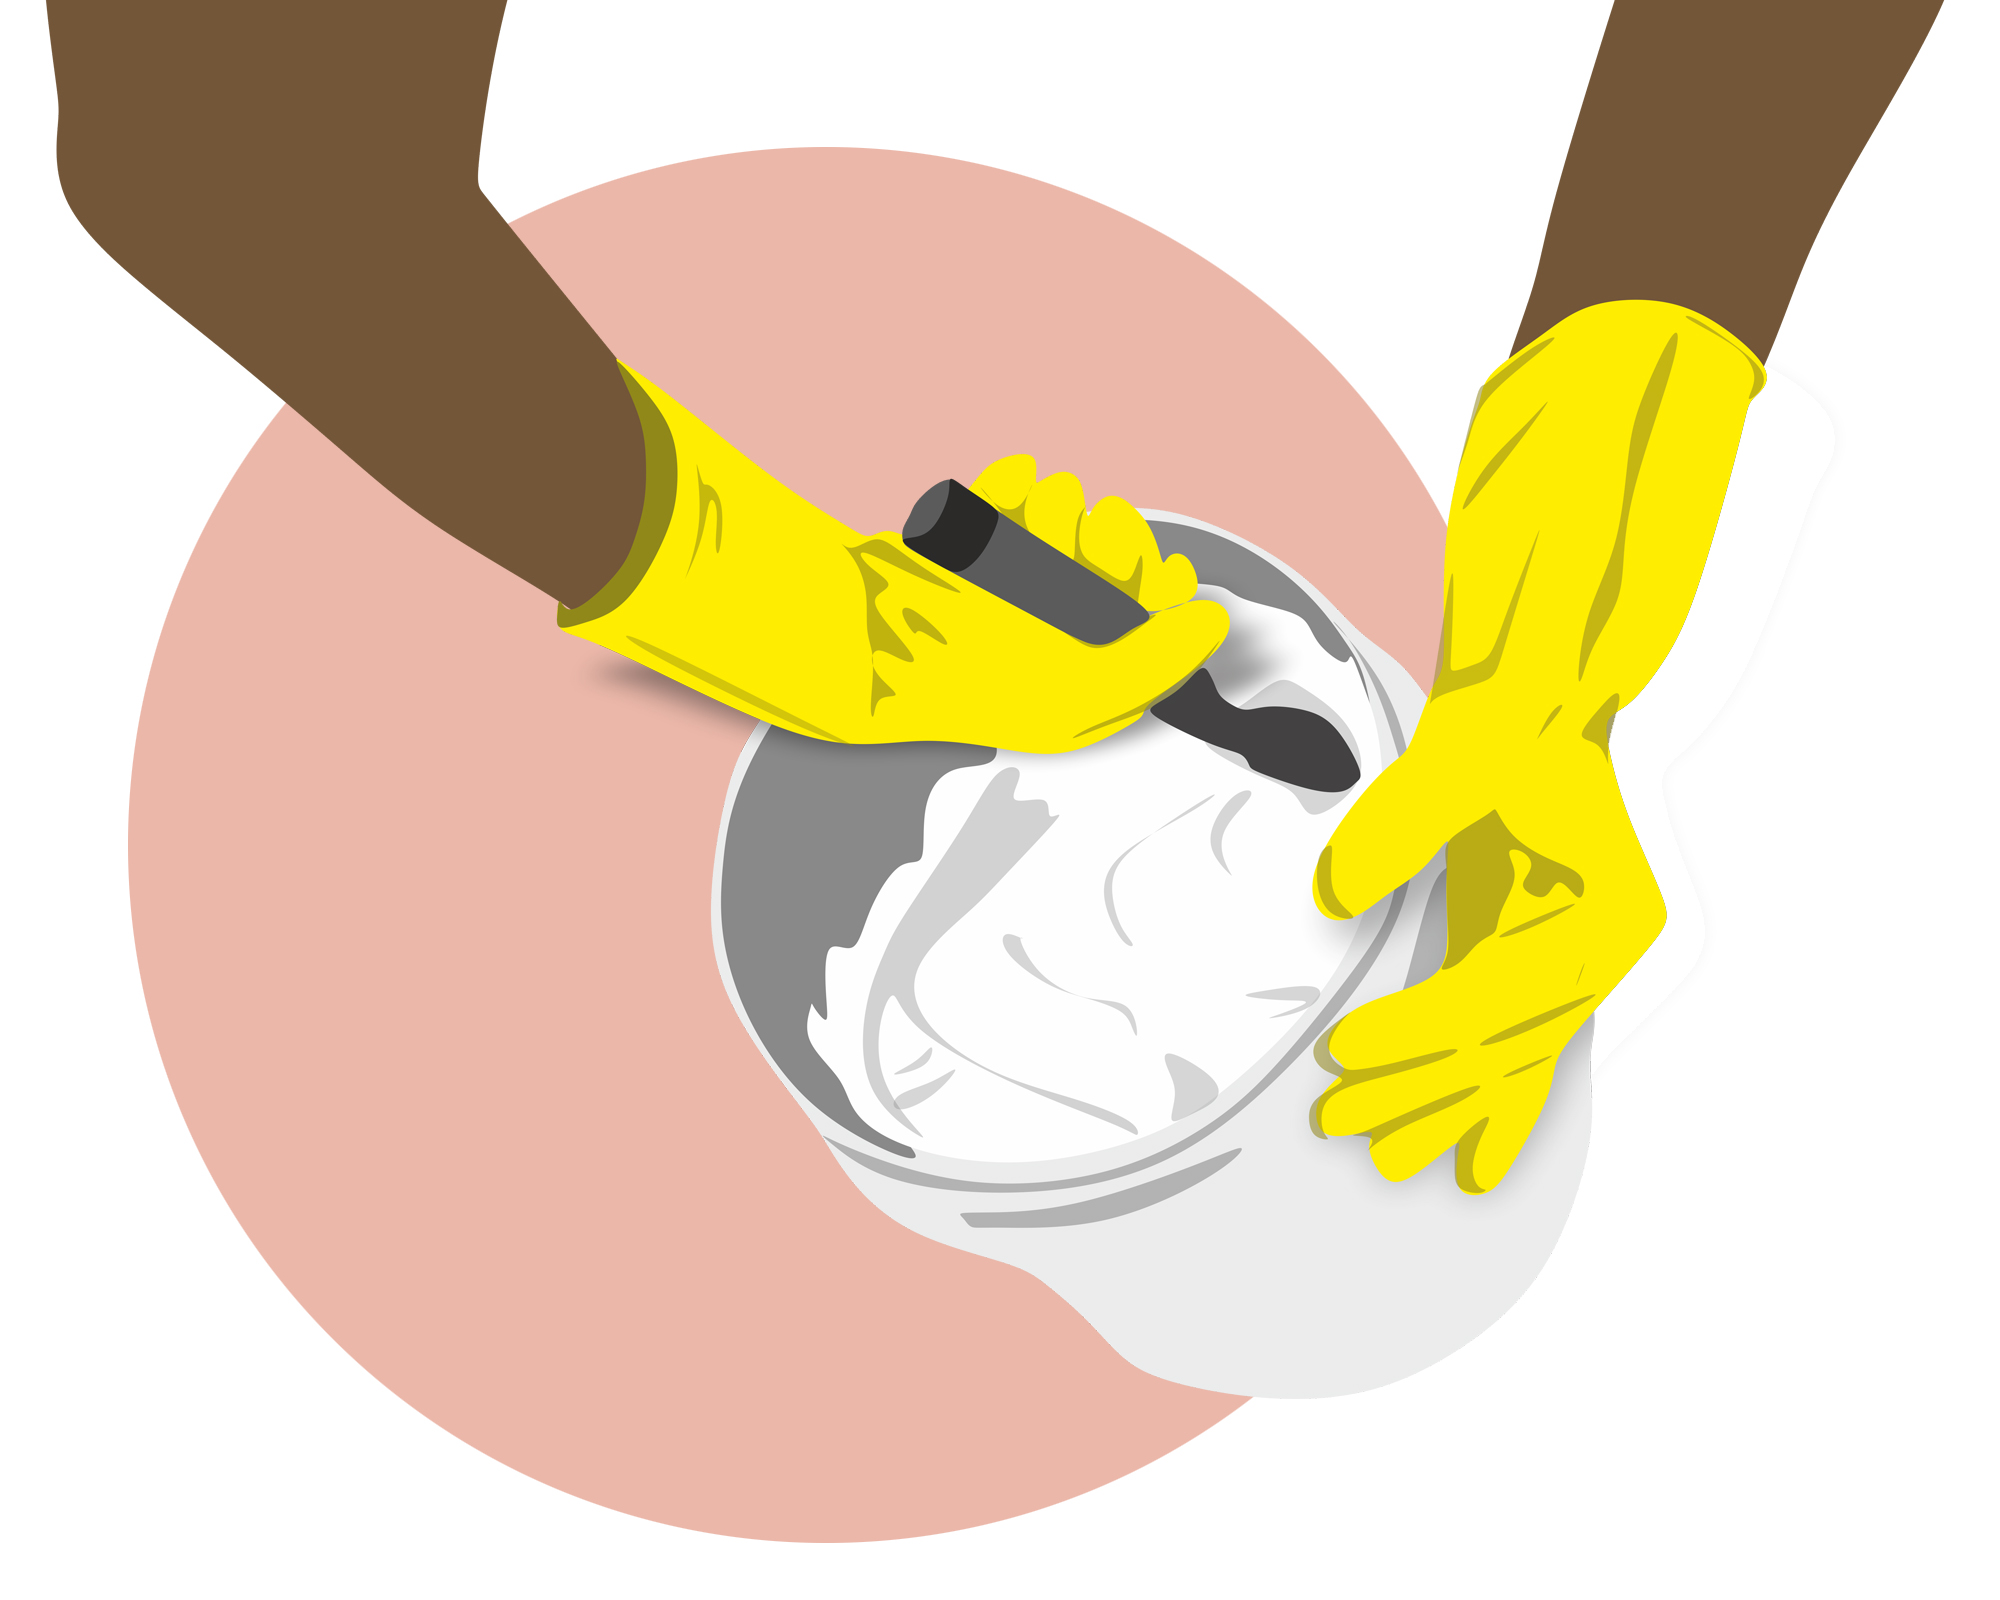
If you are working with a powdered grout your first step is to mix it. We recommend using a bucket with a pourer for this. Follow the instructions that come with your grout to get the water to powder quantities right. If you are using something like caulking grout that comes pre-mixed you can skip straight to the next step.
'Unless you’re going to use urethane grout, you need to mix your grout. Make sure to carefully read the manufacturer’s instructions. Follow it to the letter so you can make the most out of your grout.' Notes Jones.
2. Practice, then apply the grout in small sections
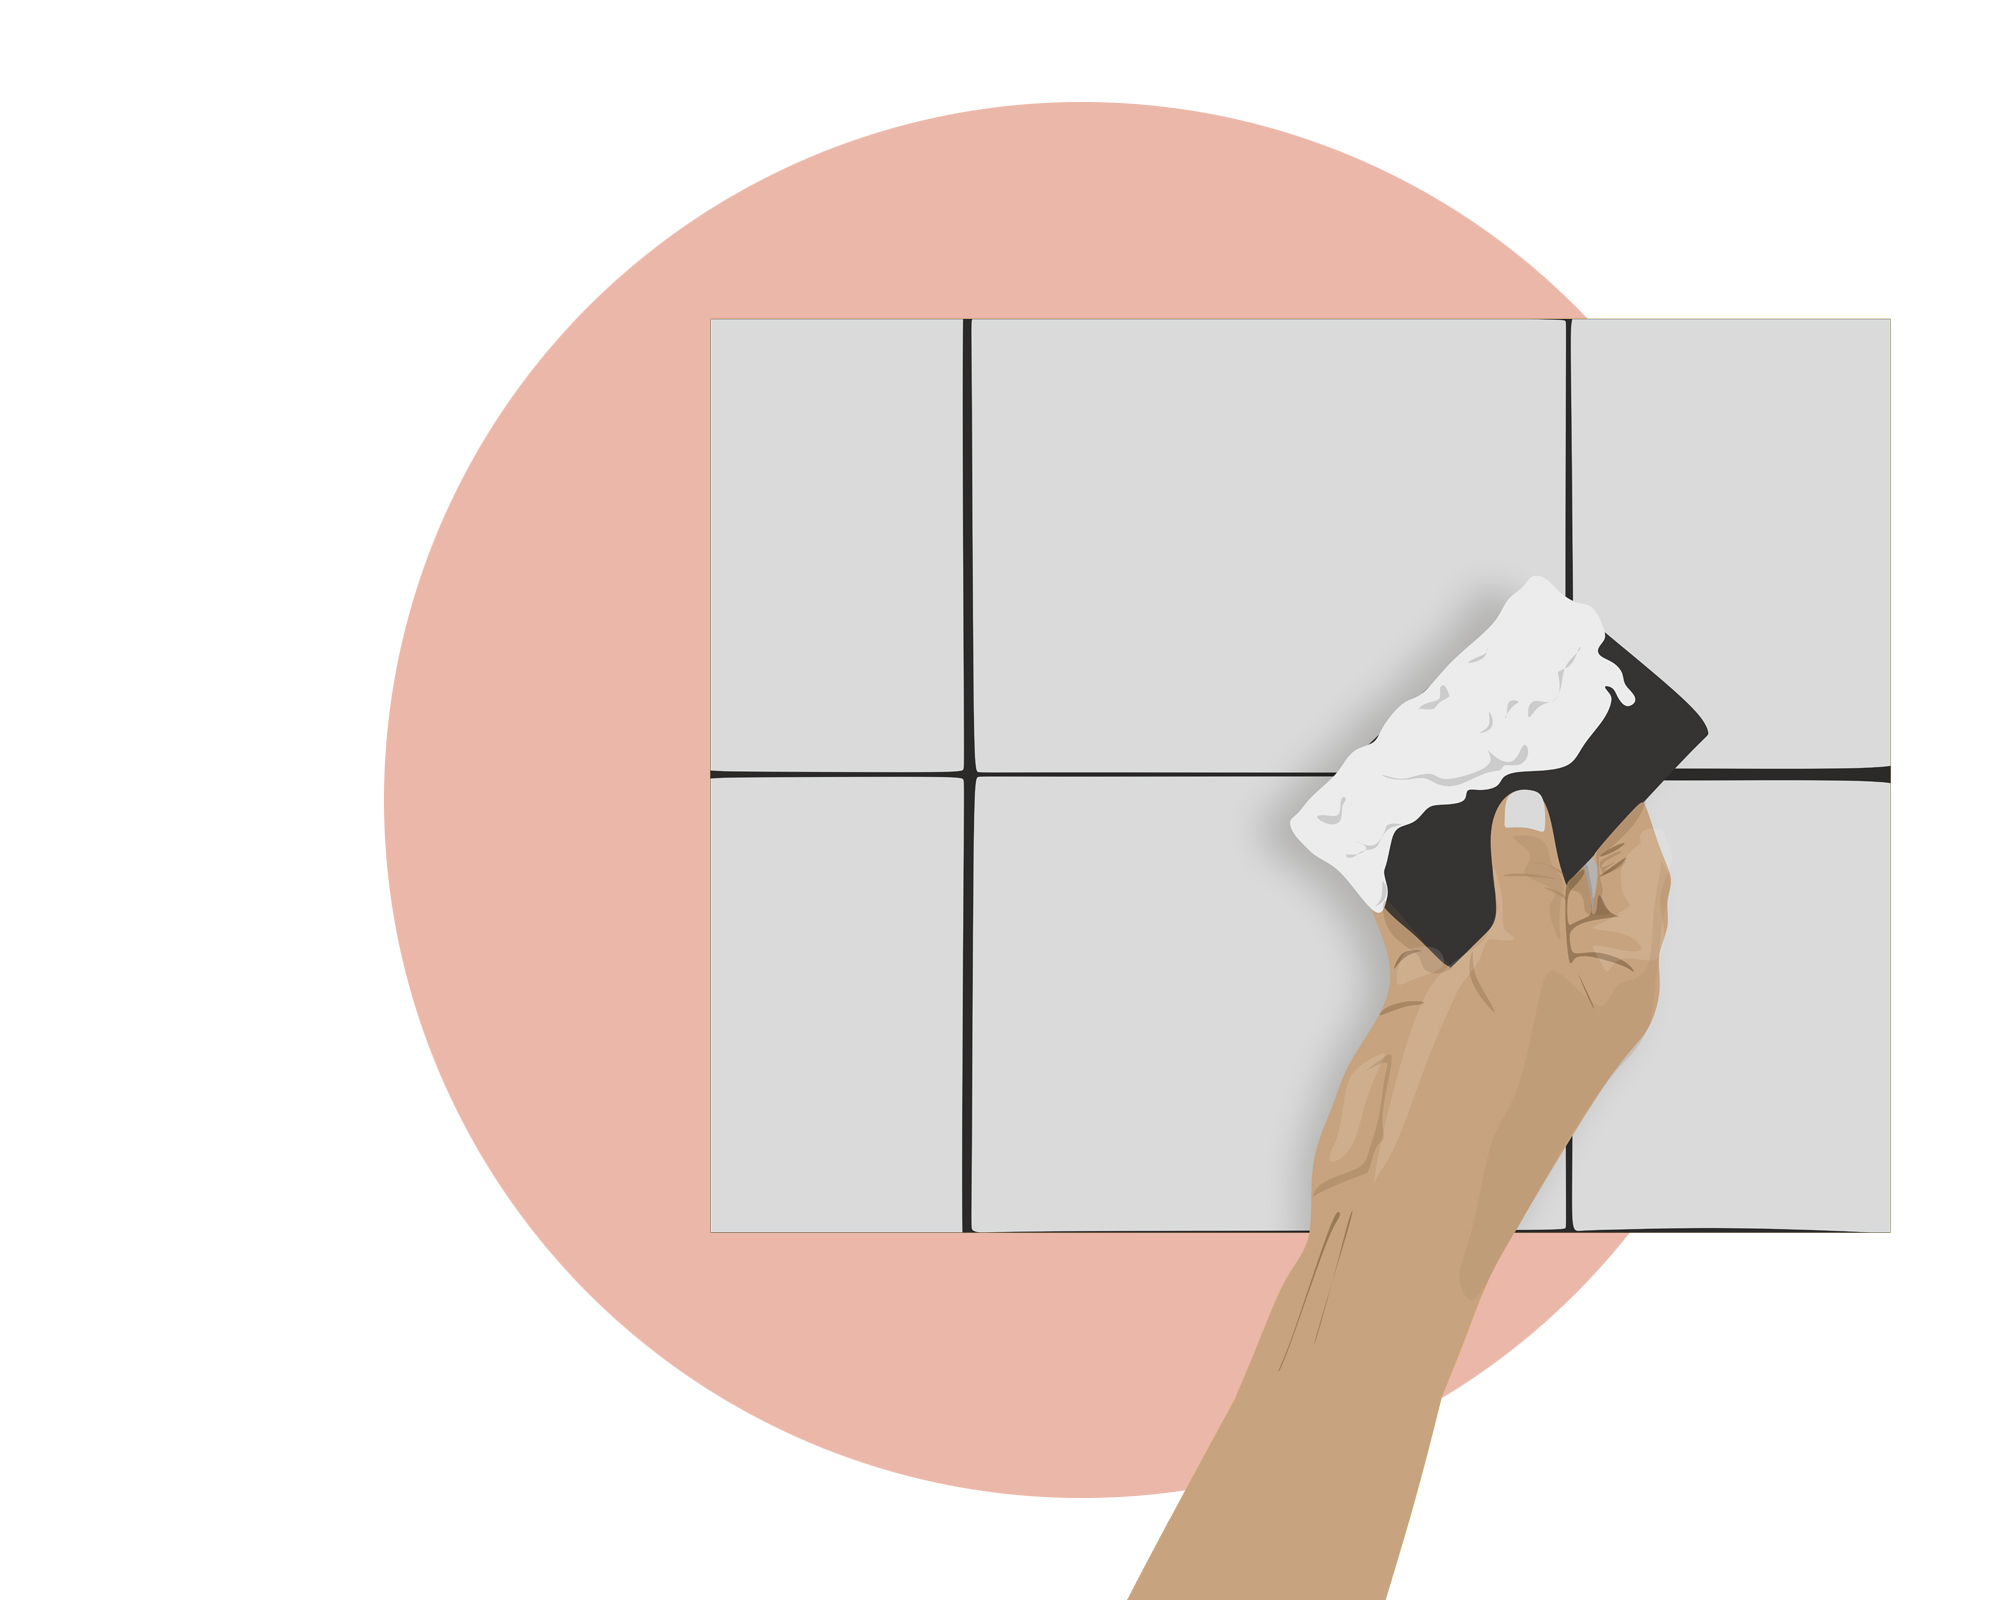
Work in small sections for the best results and Jones actually advises a few practice rounds on another surface to get your technique right before tiling a backsplash, shower wall or floor directly. 'If it’s your first time grouting tiles, it’s best to practice before starting. You can use a board with tiles installed. Practice until you found a technique you’re most comfortable with.'
When you're ready, pour, or squeeze, a small amount of grout on to the tiles and start working it into the joints in the tiles using a grout float. Work in sweeping arcs, making sure the grout fills all the spaces. 'Make sure your float is on a 45-degree angle or your tiles would set in an awfully bent manner' advises Jones, 'While applying your grout, wipe any excess as you go. Work on your tiles slowly but efficiently.
3. Clean off excess grout from tiles
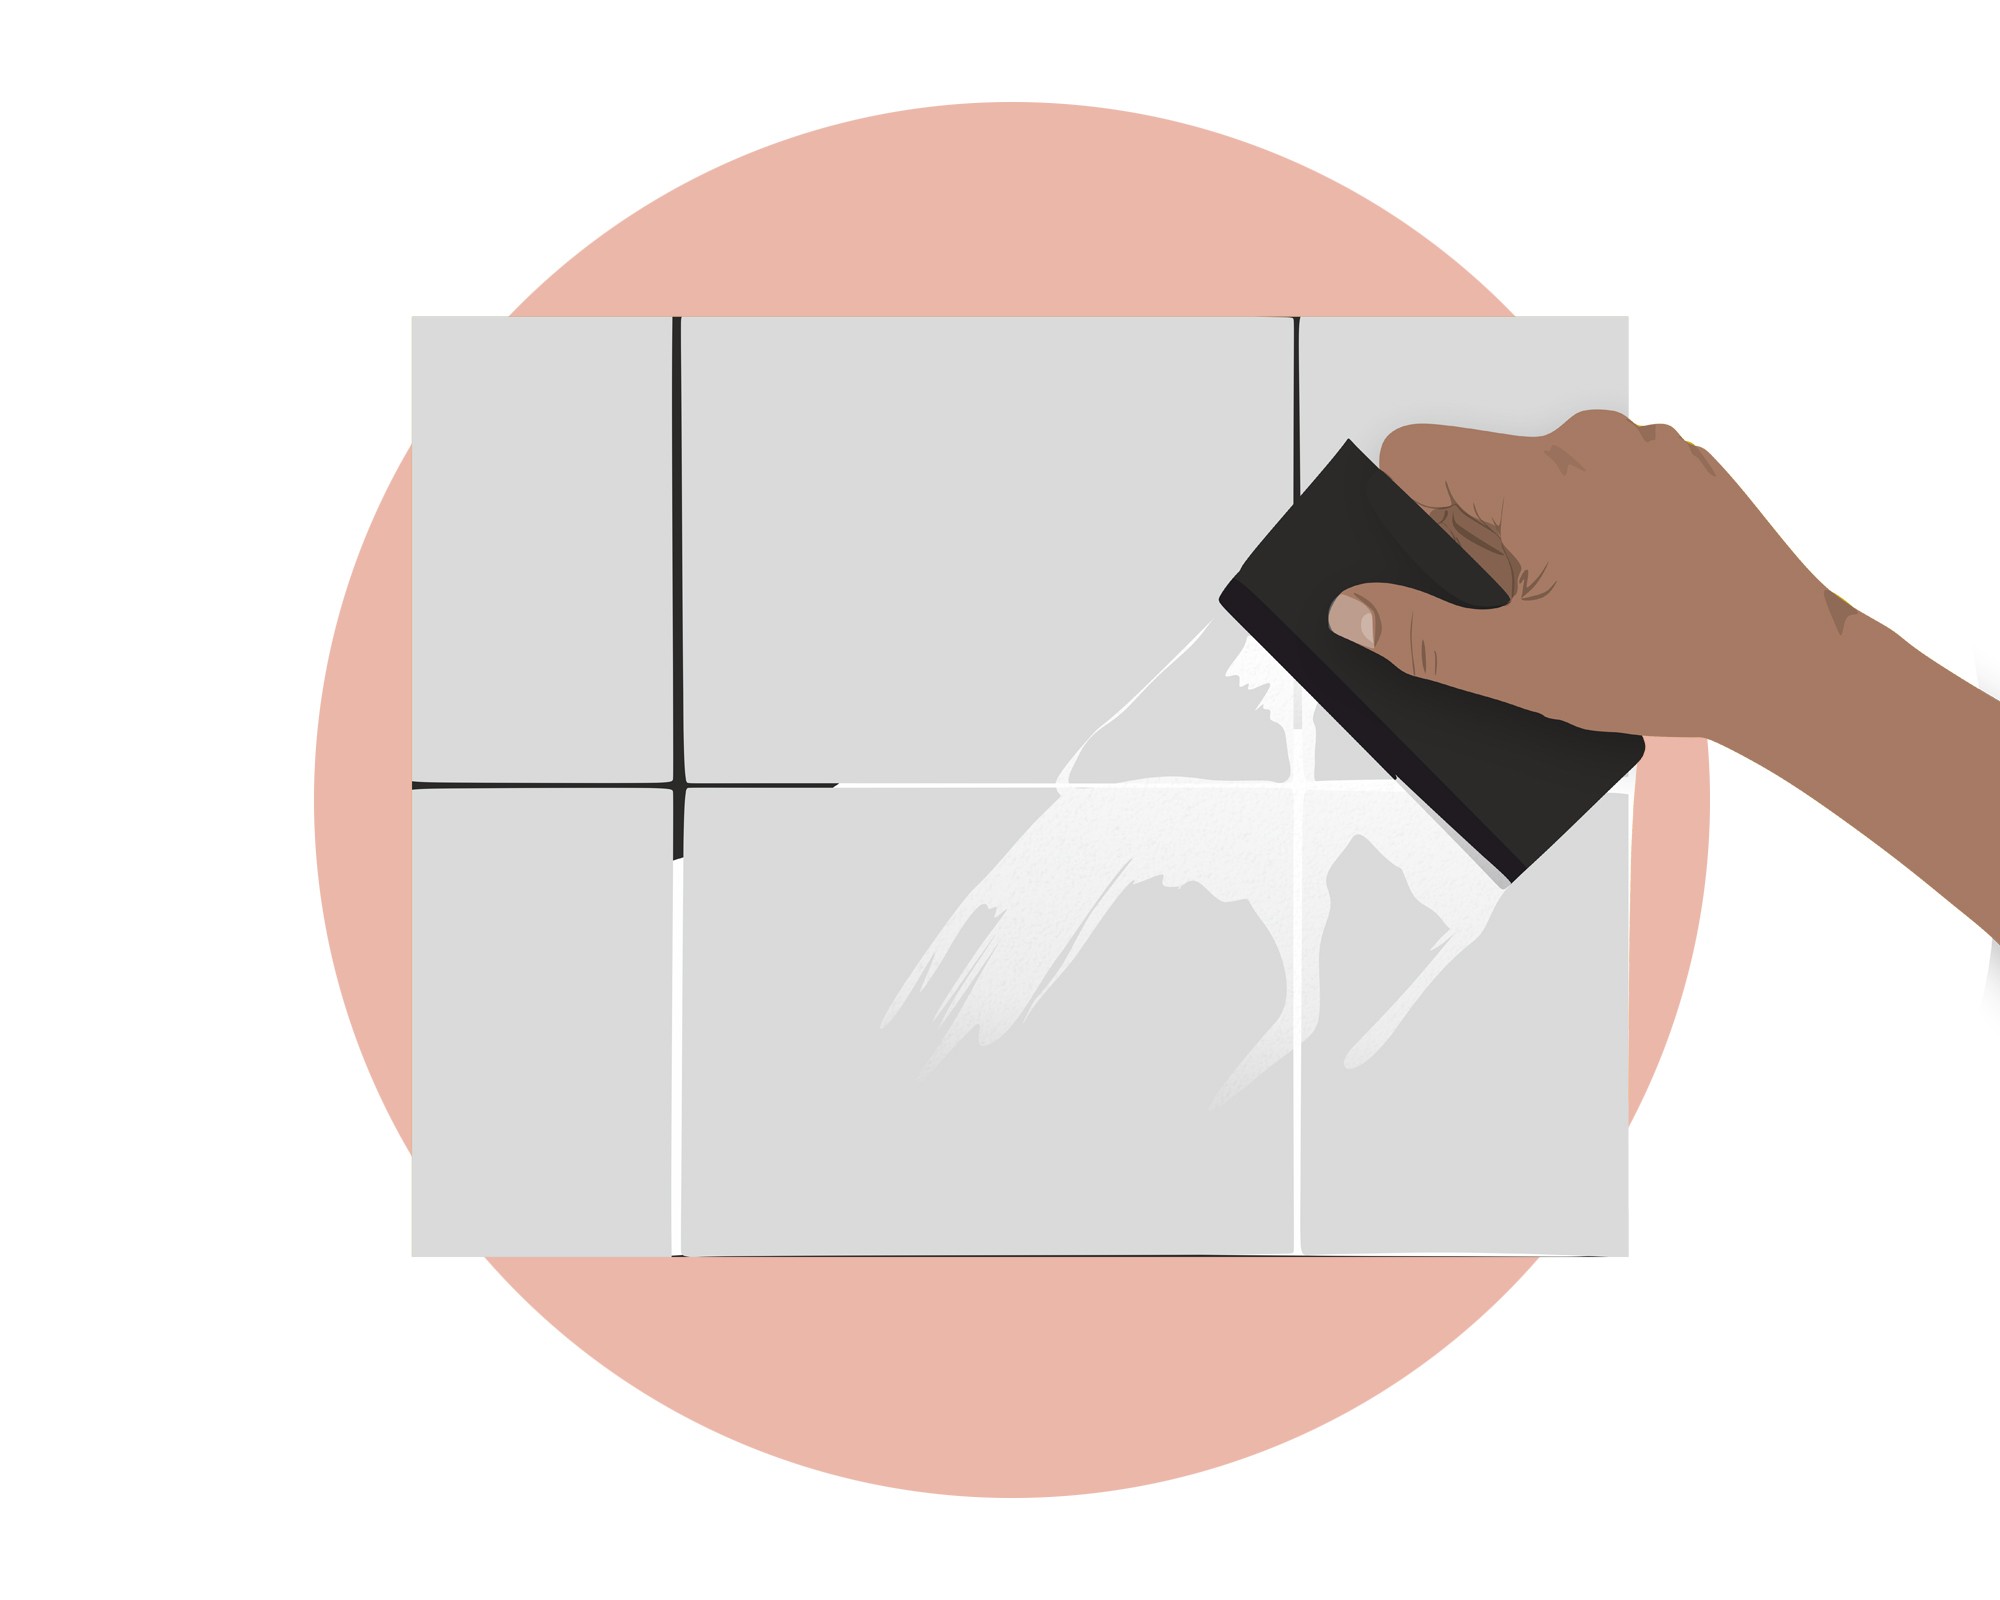
Once you have let the grout set for at least 15-30 minutes, you can start gently cleaning off the excess using warm water and microfibre cloth. Jones tends to use a grout sponge.
'Once done, use a damp wet sponge to clean down the surface whilst making sure that you do not over wash the grout, as this will cause it to go patchy.' Says Telford.
'If there’s any grout haze, wipe it off using a damp grout sponge. Do not use too much water or your grout will end up too watery. You should also clean your other tools. It’s also wise to dispose of the water properly.' Says Jones.
So, be sparing with the amount of water you use as you don't want to wipe away the grouting in between the tiles. Make sure you change the water often too and keep your sponge clean. Wait 10 minutes and then go in and clean again, repeat this until your tiles don't look cloudy.
Grout is water-resistant, but not waterproof, so if you're tiling a shower for example, and nefd to make your grout waterproof you will need to seal it with grout sealer. Grout & Granite Penetrating Sealer from The Floor Guys is an Amazon bestseller so worth trying if you can, but whichever you choose, follow the instructions as different brands and types of solution will have unique application processes. Just be sure to quickly clean away any drips.
4. Leave the grout dry
All that's left to do is let the grout dry, again check the instructions on the grout you are using and go by the time they recommend but this will usually be about three hours total. Ensure there isn't a lot of excess grout or sealant on the tile face or outside the grout line.
5. Clean up!
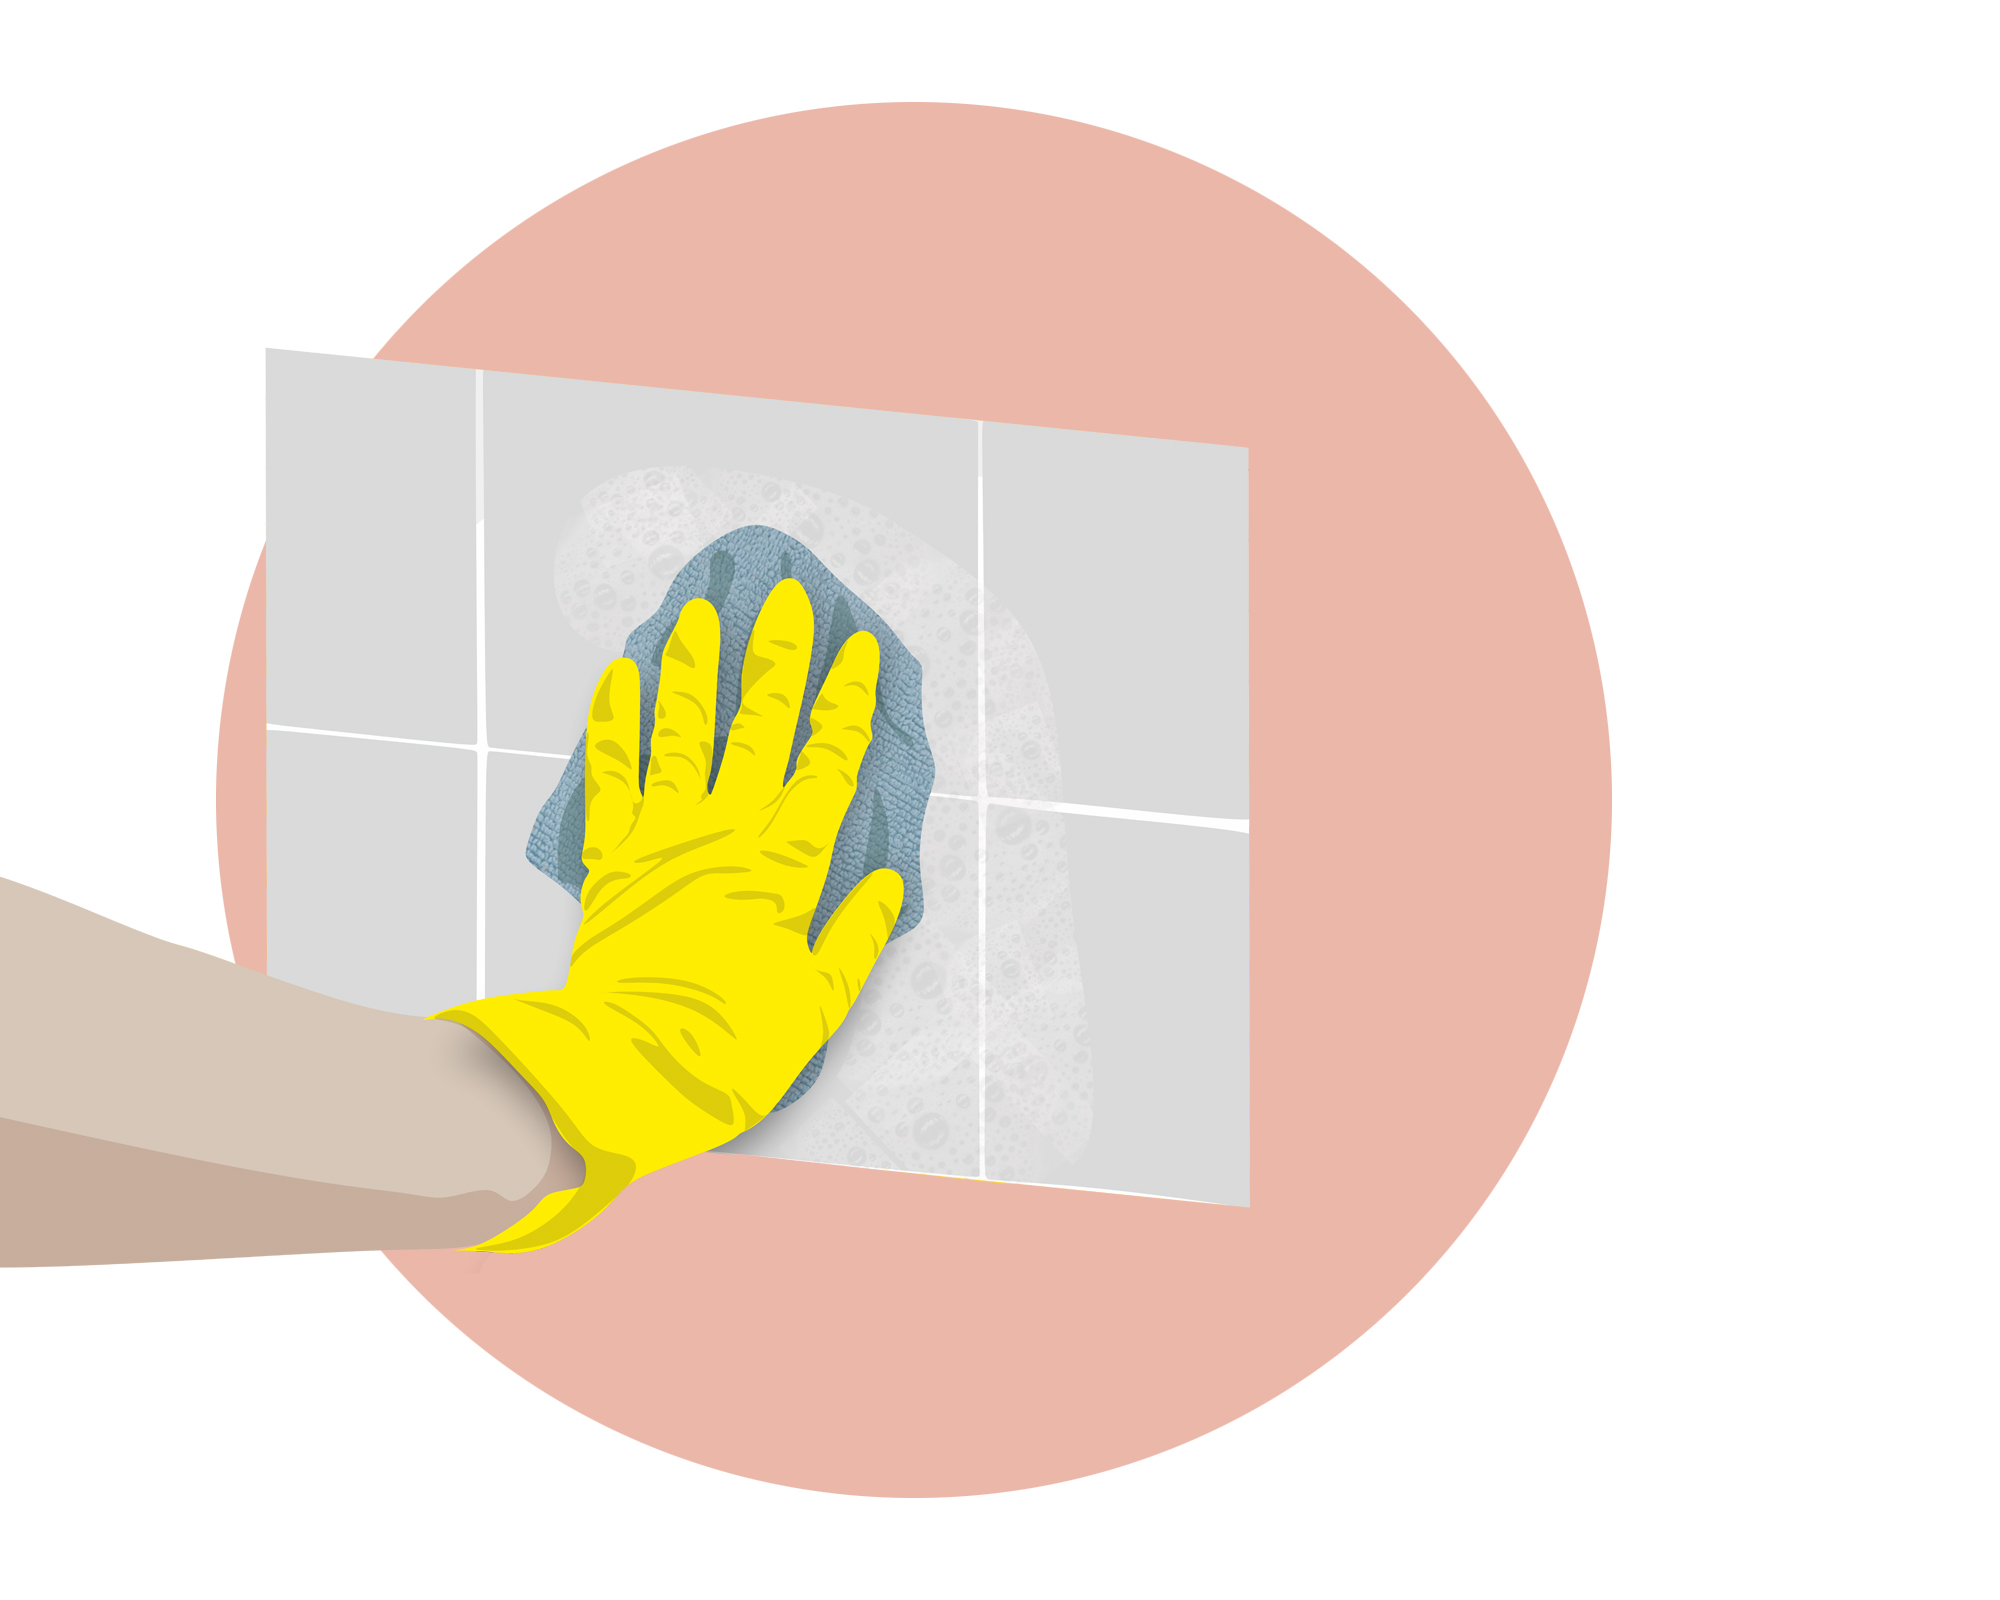
Once dry, you'll want to clean that hazy film of grout off the surface of your tiles shower or kitchen surface – trust us, it will be there. Start with a dry towel and sweep up the residue that comes off. Then you can move on to using warm water and a microfibre cloth to buff it up for that pro looking finish. When it comes to the best tile cleaners for later down the line, there are some good options to pick from. And, naturally, overtime you will want to keep your grouting job looking fresh also, so getting clued up on how to clean grout properly is a must.
How long should you leave grout before wiping?
Jones notes only a couple of minutes is needed for some grouts, but we would recommend at least waiting at least fifteen minutes for fresh grout to dry, as does Telford, 'Once the grout has been filled in, it is important that you wait fifteen minutes until the grout is touch dry.'
Chris Alexakis, Contractor and Co-Founder of Cabinet Select advises waiting a little longer, 'Ideally, you should leave the grout on for about 20 minutes before you start to wipe it off. However, if some of the grout seeps into the joints, you will need to leave it longer before wiping because it can then take a few days for the grout to dry and harden.'
When it comes to leaving your grout to fully harden, this will take a few hours but as per usual, check the instructions to be sure.
Can you grout over existing grout?
'It is possible to grout over existing grout' says Telford, 'however it isn’t as simple as mixing new grout and putting it into the joint'.
Alexakis adds, 'Yes, you can cover old grout with modern grout. However, if the old grout is chipped or cracked, it would be good to remove it and replace it with new grout.'
If you want to know how to re-grout old tiles there are are few steps you need to know about.
You will have to remove the old grout beforehand. 'If customers do decide to do this, it is important that most of the grout has been removed with a grout removal tool first, this is to ensure that the new grout has something to hold onto.' For this you will need a grout rake, which you can find easily on Amazon and to work methodically removing the grout between each tile by moving the rake up and down all the gaps. You can now find electric grout rakes that makes the job quicker.
'Once the old grout has been removed, you will need to clean the area of any loose bits of grout and dust. You can then mix your new batch of grout and follow the instructions stated by the manufacturer.' Continues Telford.
Be patient and take your time so you don't damage the tiles themselves, and once you have removed the grout, clean up any dust and debris before you start the regrouting.

Hebe joined the Real Homes team in early 2018 as Staff Writer before moving to the Livingetc team in 2021 where she took on a role as Digital Editor. She loves boho and 70's style and is a big fan of Instagram as a source of interiors inspiration. When she isn't writing about interiors, she is renovating her own spaces – be it wallpapering a hallway, painting kitchen cupboards or converting a van.
- Camille Dubuis-WelchFormer Deputy Editor