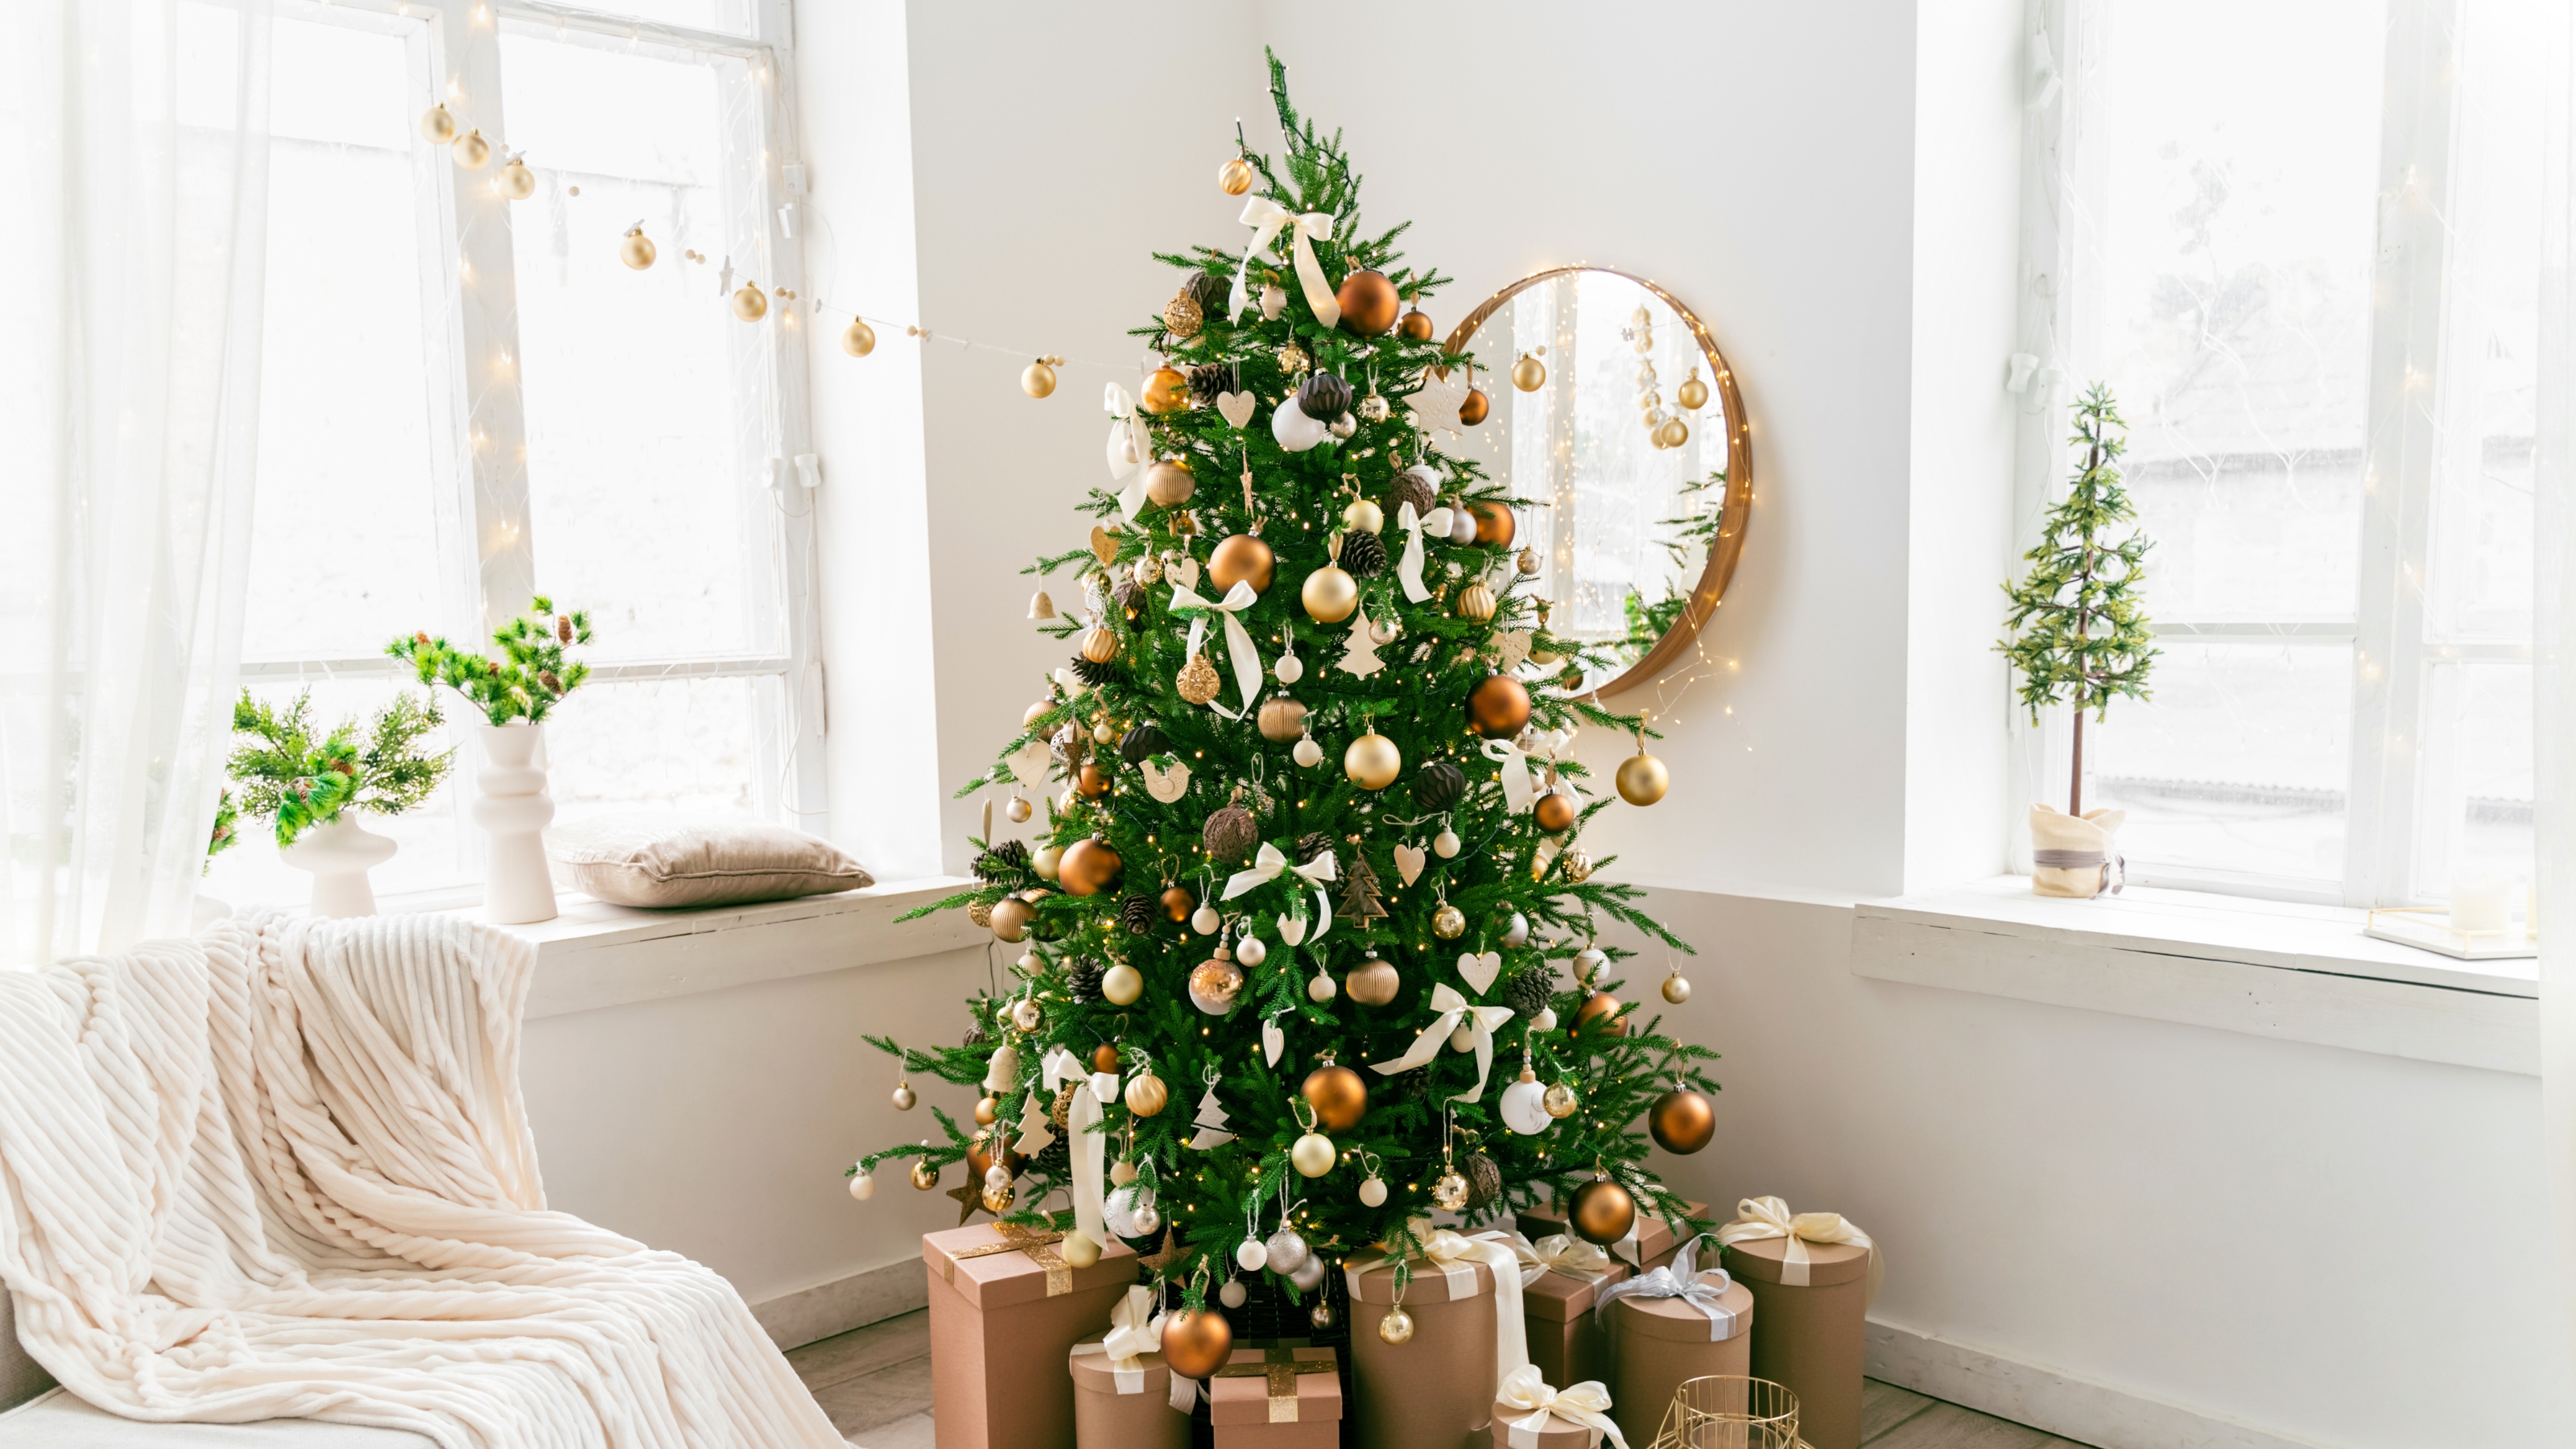
How to fluff a Christmas tree
Easy hacks for fluffing your Christmas tree ahead of decorating

Get small space home decor ideas, celeb inspiration, DIY tips and more, straight to your inbox!
You are now subscribed
Your newsletter sign-up was successful
In the process of setting up your decorations for Christmas but struggling with how to fluff your Christmas tree to ensure it looks full, luscious, and as realistic as possible? Whether you’ve just taken your tree out of storage or you’ve treated yourself to a brand-new one, you’ll want to ensure that you know how best to approach the process of fluffing your Christmas tree.
Admittedly, knowing how to approach fluffing a Christmas tree can be more challenging than you might think, especially when it looks completely flat and unrealistic.
The reality is that when it comes to decorating your home for Christmas, setting up your Christmas tree can be one of the more complex parts, especially when it comes to how to approach the fluffing process. The good news is that, once you know the best steps to take to fluff your Christmas tree it becomes a fairly easy process.
How to fluff an artificial Christmas tree so that it looks more realistic
When it comes to setting up your artificial Christmas tree, from cleaning your Christmas tree to choosing where to put it, you'll want to ensure that you take the time to properly fluff your tree before decorating it.
Leslie Kilgour, Professional Organizer and founder of Get It Straight, says: “Fluffing a Christmas tree is an essential step in creating a visually appealing holiday setup in your home.”
The question is: what's the best approach to fluffing a Christmas tree?
1. Get all of the essentials together
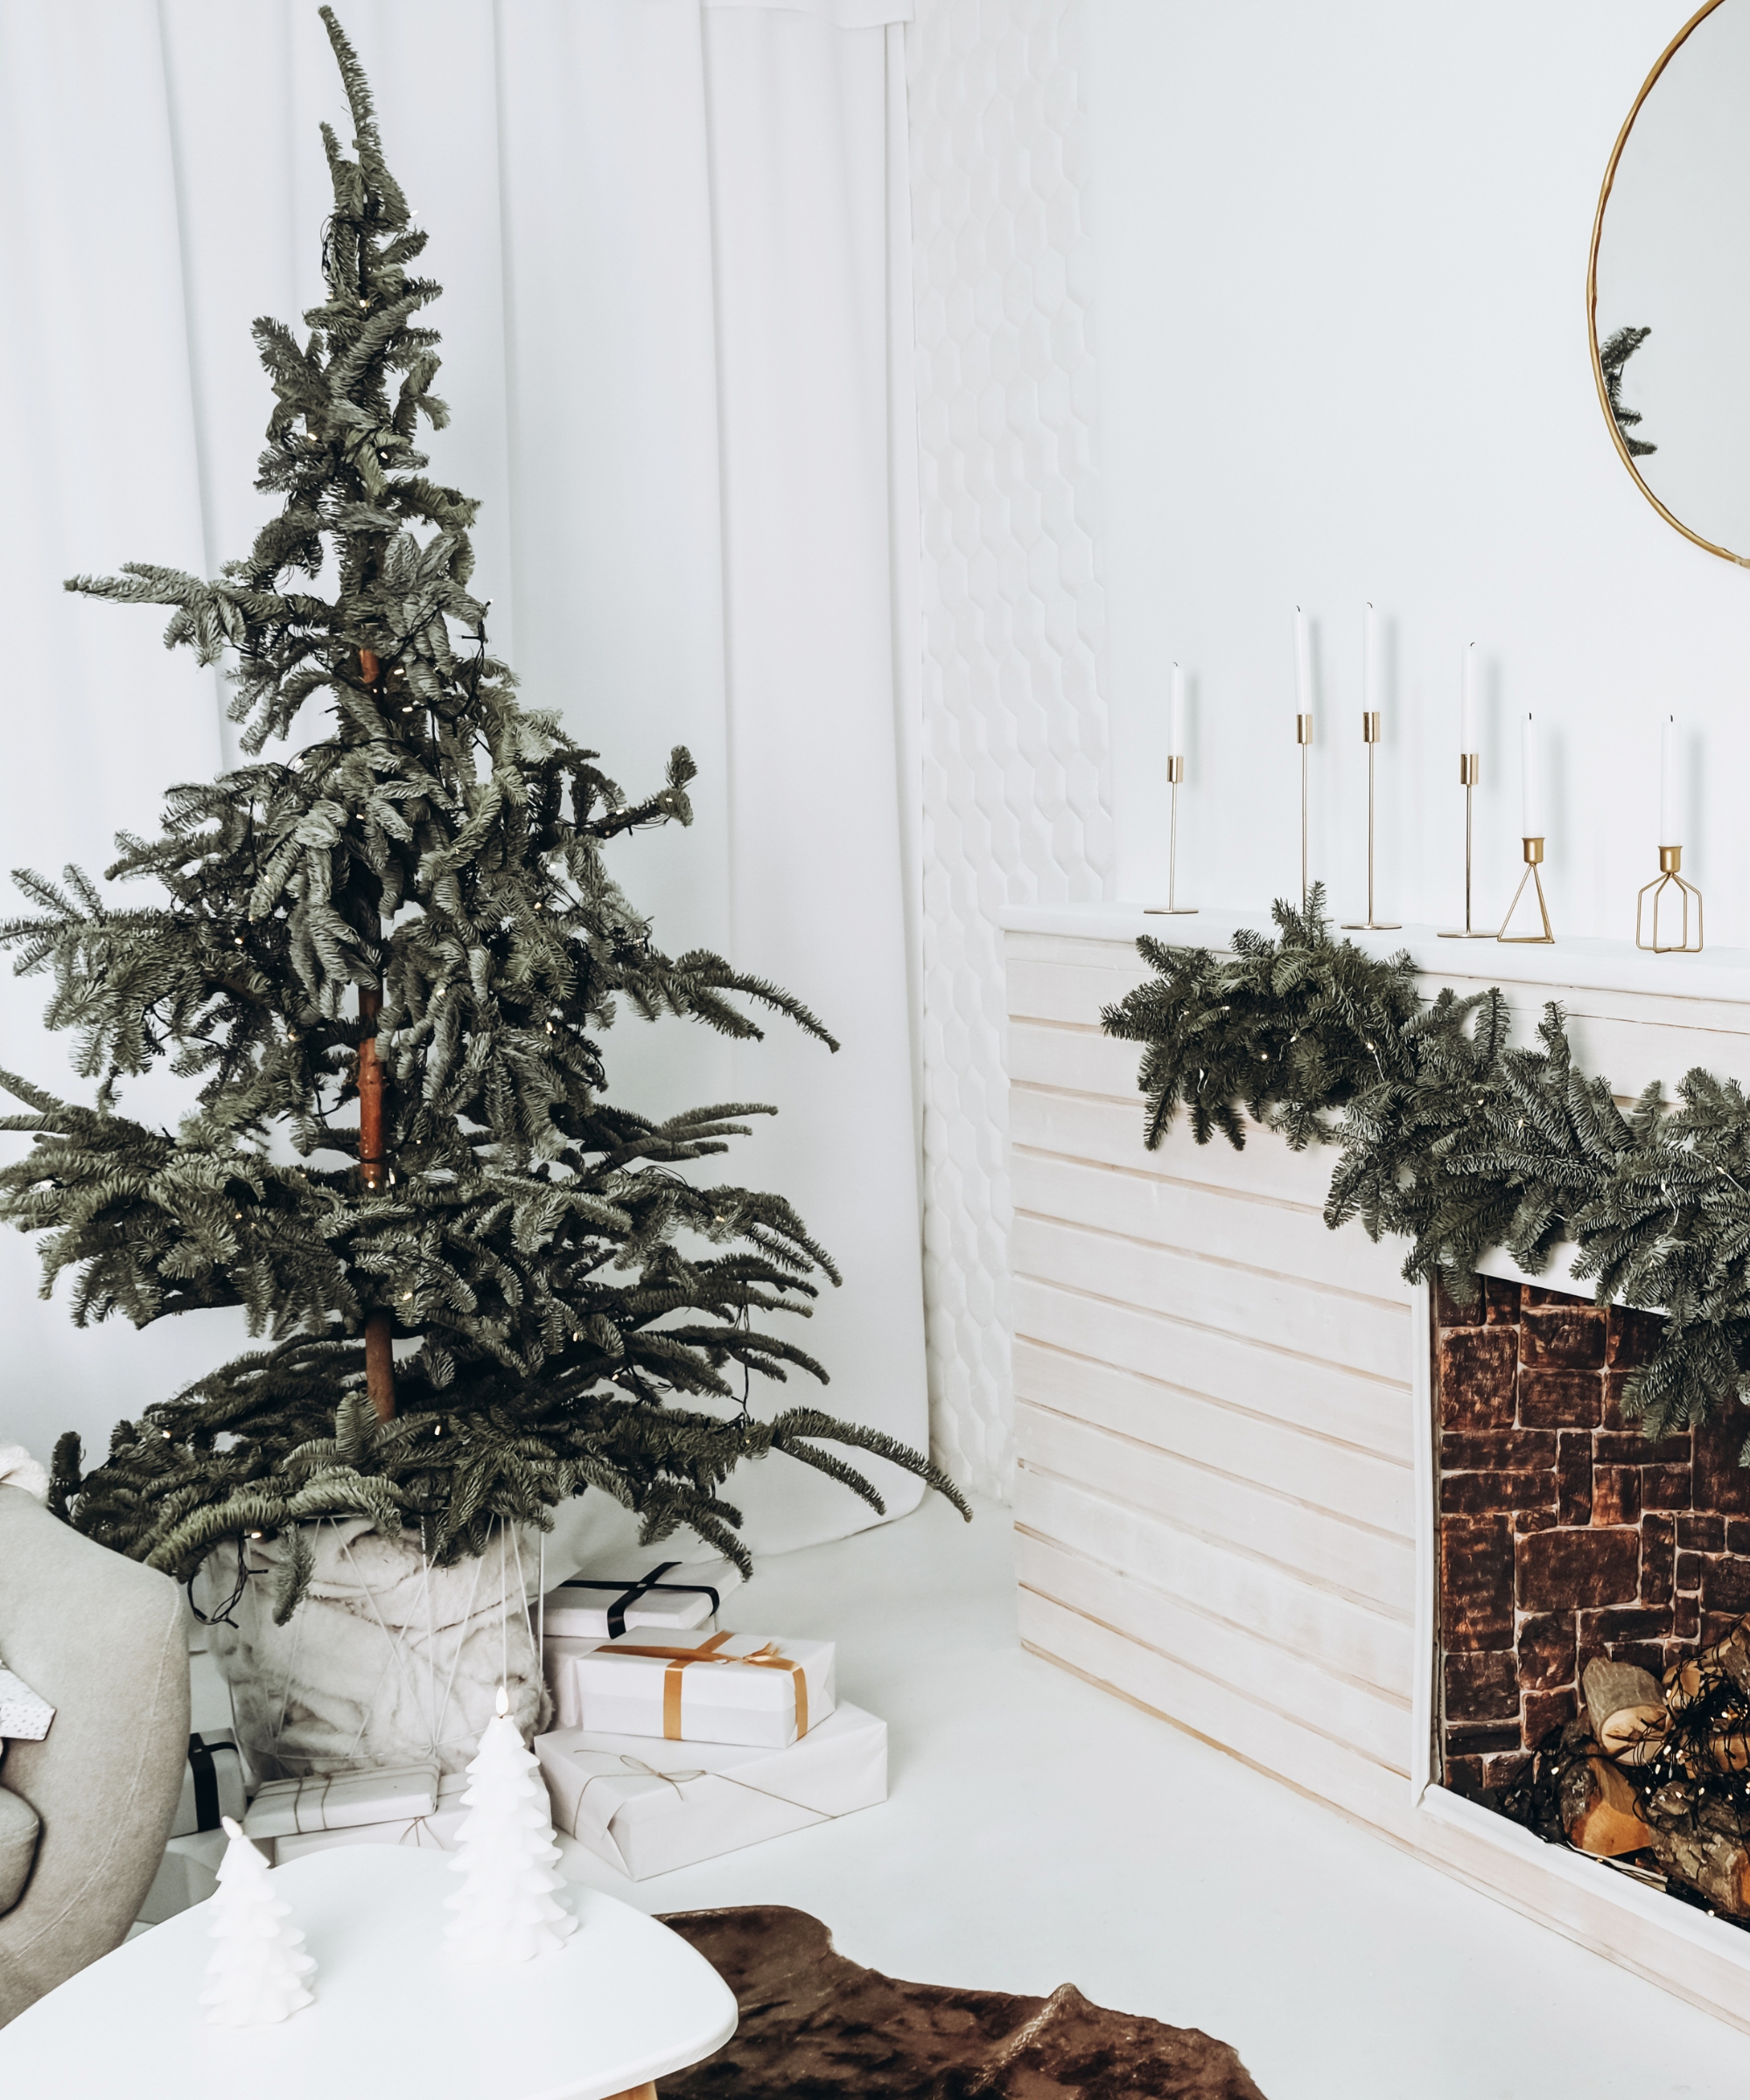
To make the process of fluffing a Christmas tree easier, your first port of call should be to gather all of the essentials that you need together to fluff the Christmas tree that you chose.
Get small space home decor ideas, celeb inspiration, DIY tips and more, straight to your inbox!
Ideally, you’ll want to have a broom (this Mr Siga rubber broom from Amazon would be ideal) or vacuum cleaner (the Miele Boost from Amazon has a handy suction nozzle that would be ideal for picking up any dropped needles) to hand, a pair of gardening gloves (like these gardening gloves from Amazon), and a soft bristle brush (like this bristle brush from Amazon).
A handy tip for easier and less messy fluffing, is to fluff your artificial Christmas tree in a room with hard flooring so that any dropped faux needles don’t end up embedding themselves into the carpet. And, make sure that, when you’re fluffing your tree, it’s positioned somewhere that it’s easy to clean any dropped needles from.
2. Start with the bottom of your Christmas tree
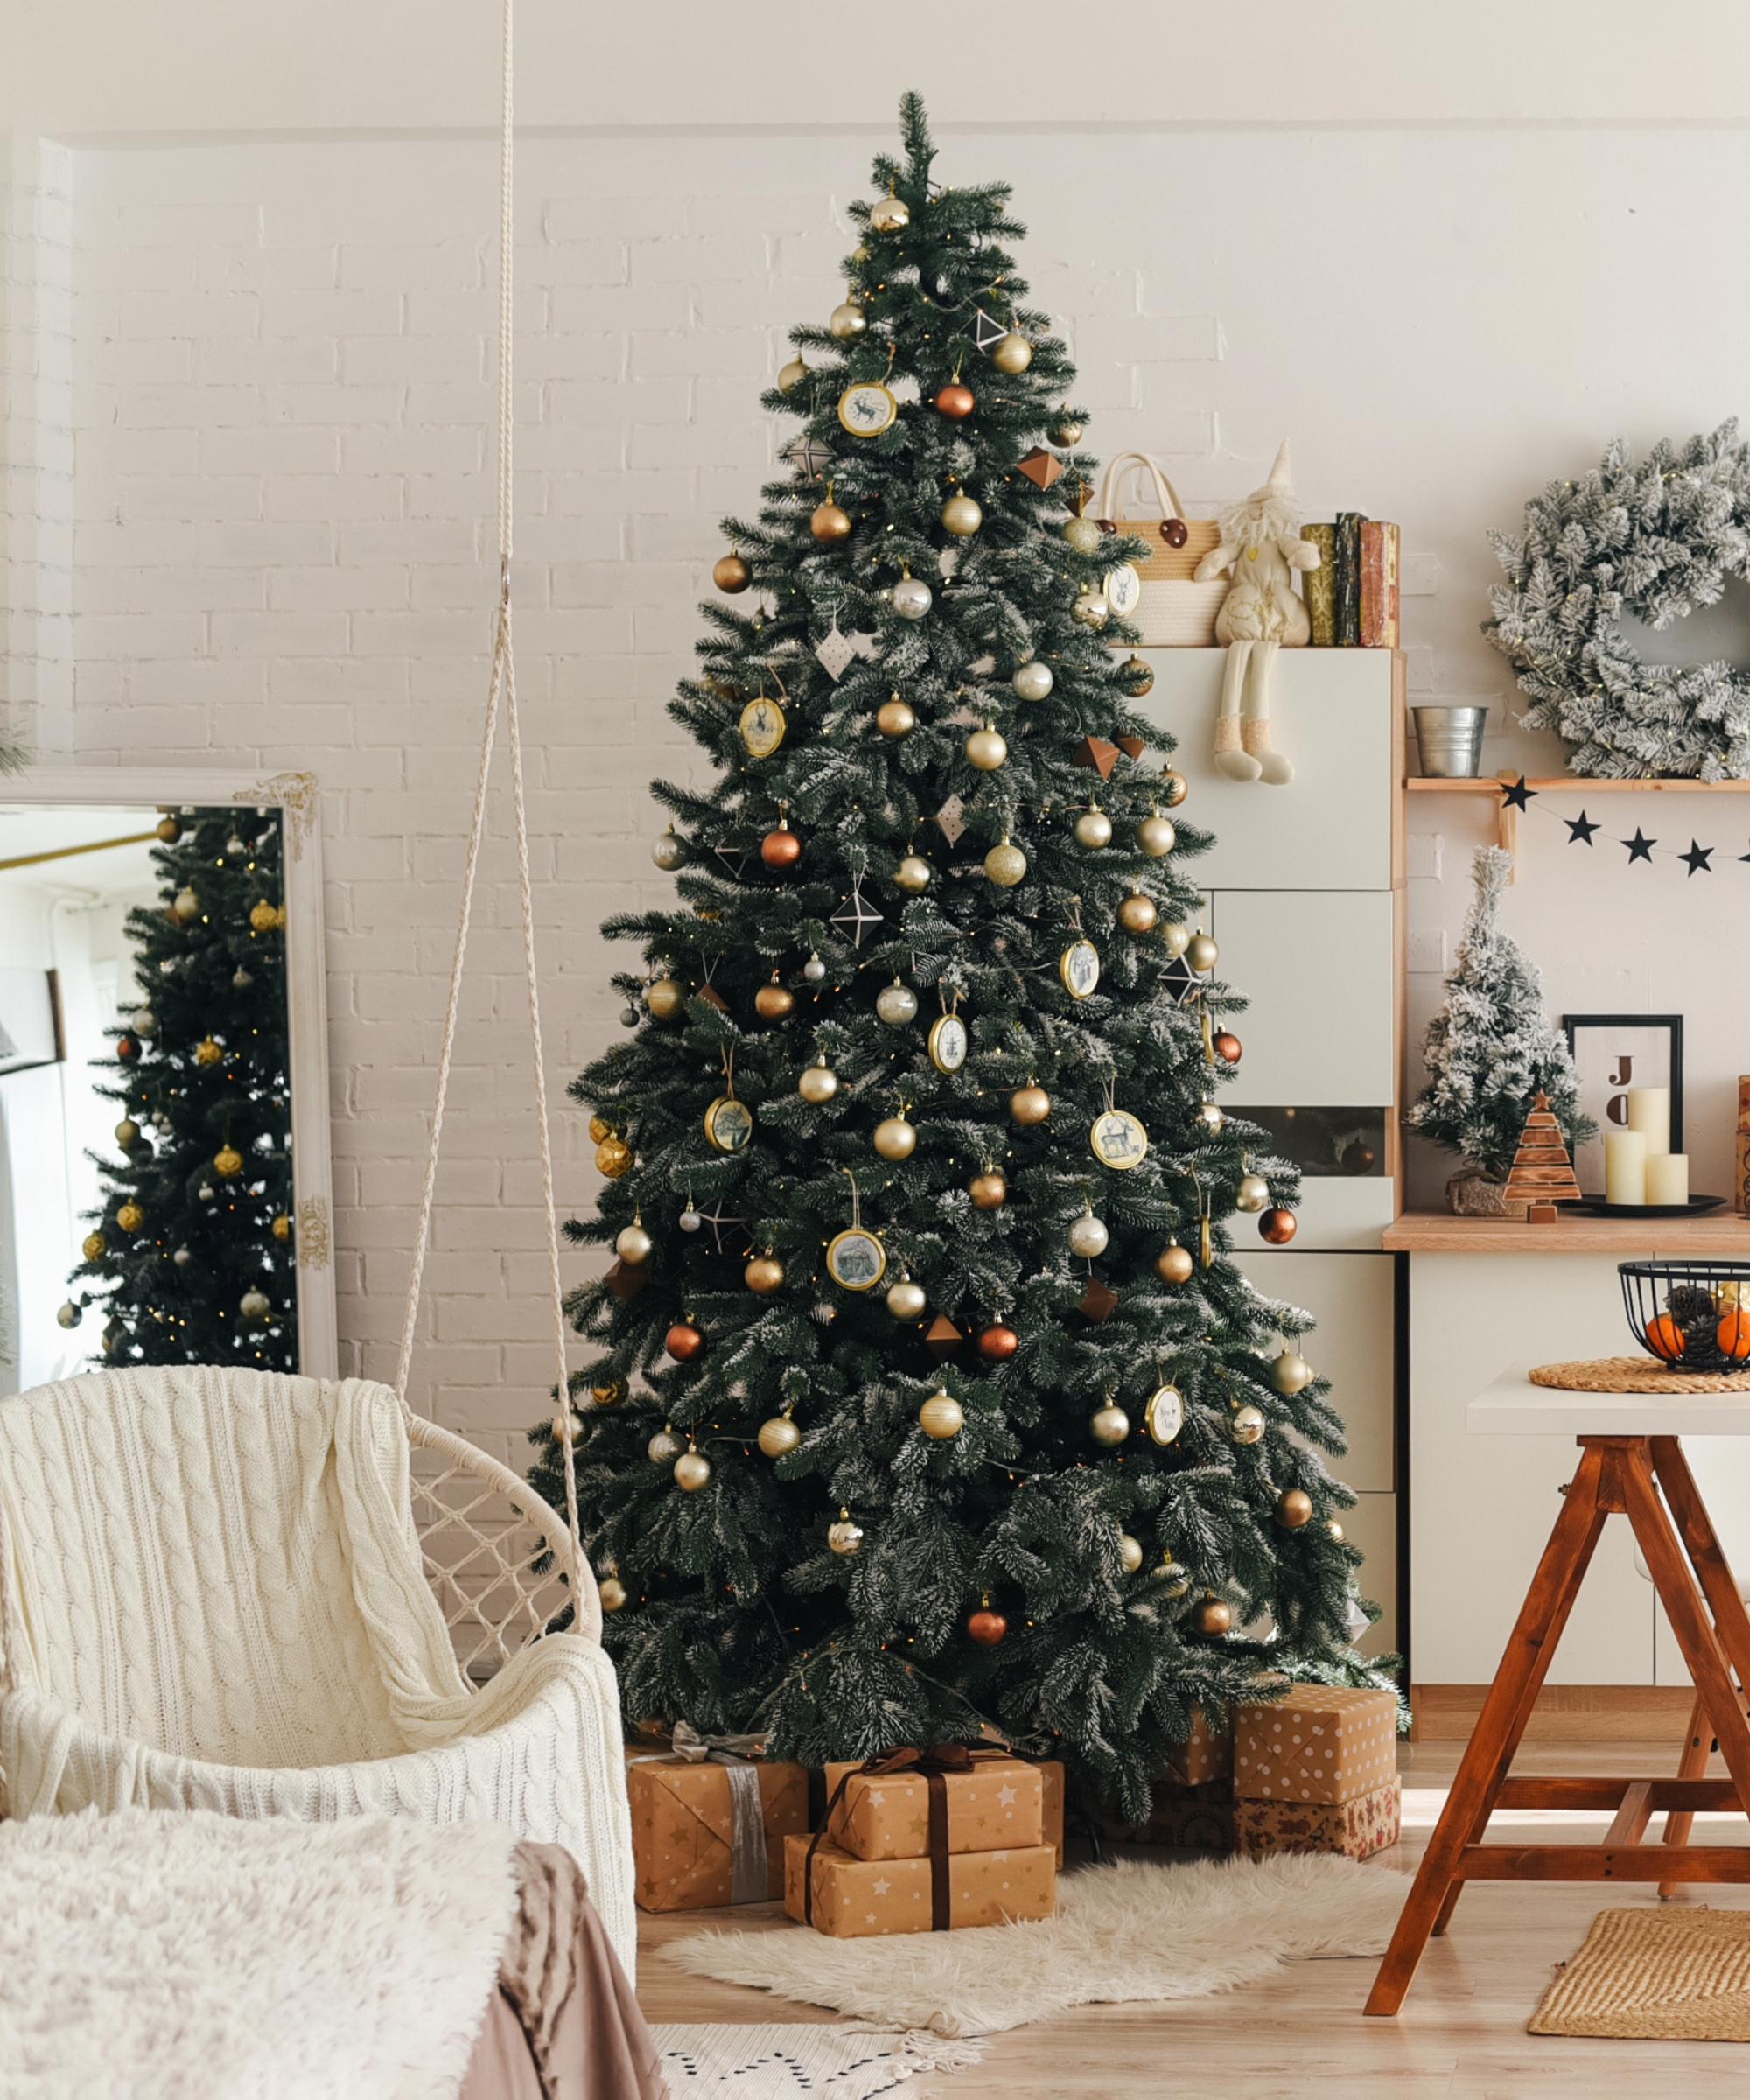
When it comes to fluffing ahead of decorating your Christmas tree, for best results, start at the bottom of the tree and carefully work your way up.
It’s a good idea to focus on fluffing the widest branches first so that you’re able to clearly see what you’re working with and are less likely to end up skipping any branches. Take your time fluffing each branch, being careful not to skip any branches as you go.
For best results when fluffing, start by running a soft bristle brush (like one of these bristle brushes from Amazon) over each branch, to dislodge and open up any stubborn faux pine needles. You can also opt to follow this by running a gloved hand over each branch, carefully brushing the artificial pine needles as you go.
To clean up any artificial pine needles or foliage that falls off the tree, you can use a vacuum (like this handheld Black and Decker vacuum from Amazon) to quickly clean up.
3. Spread the branches
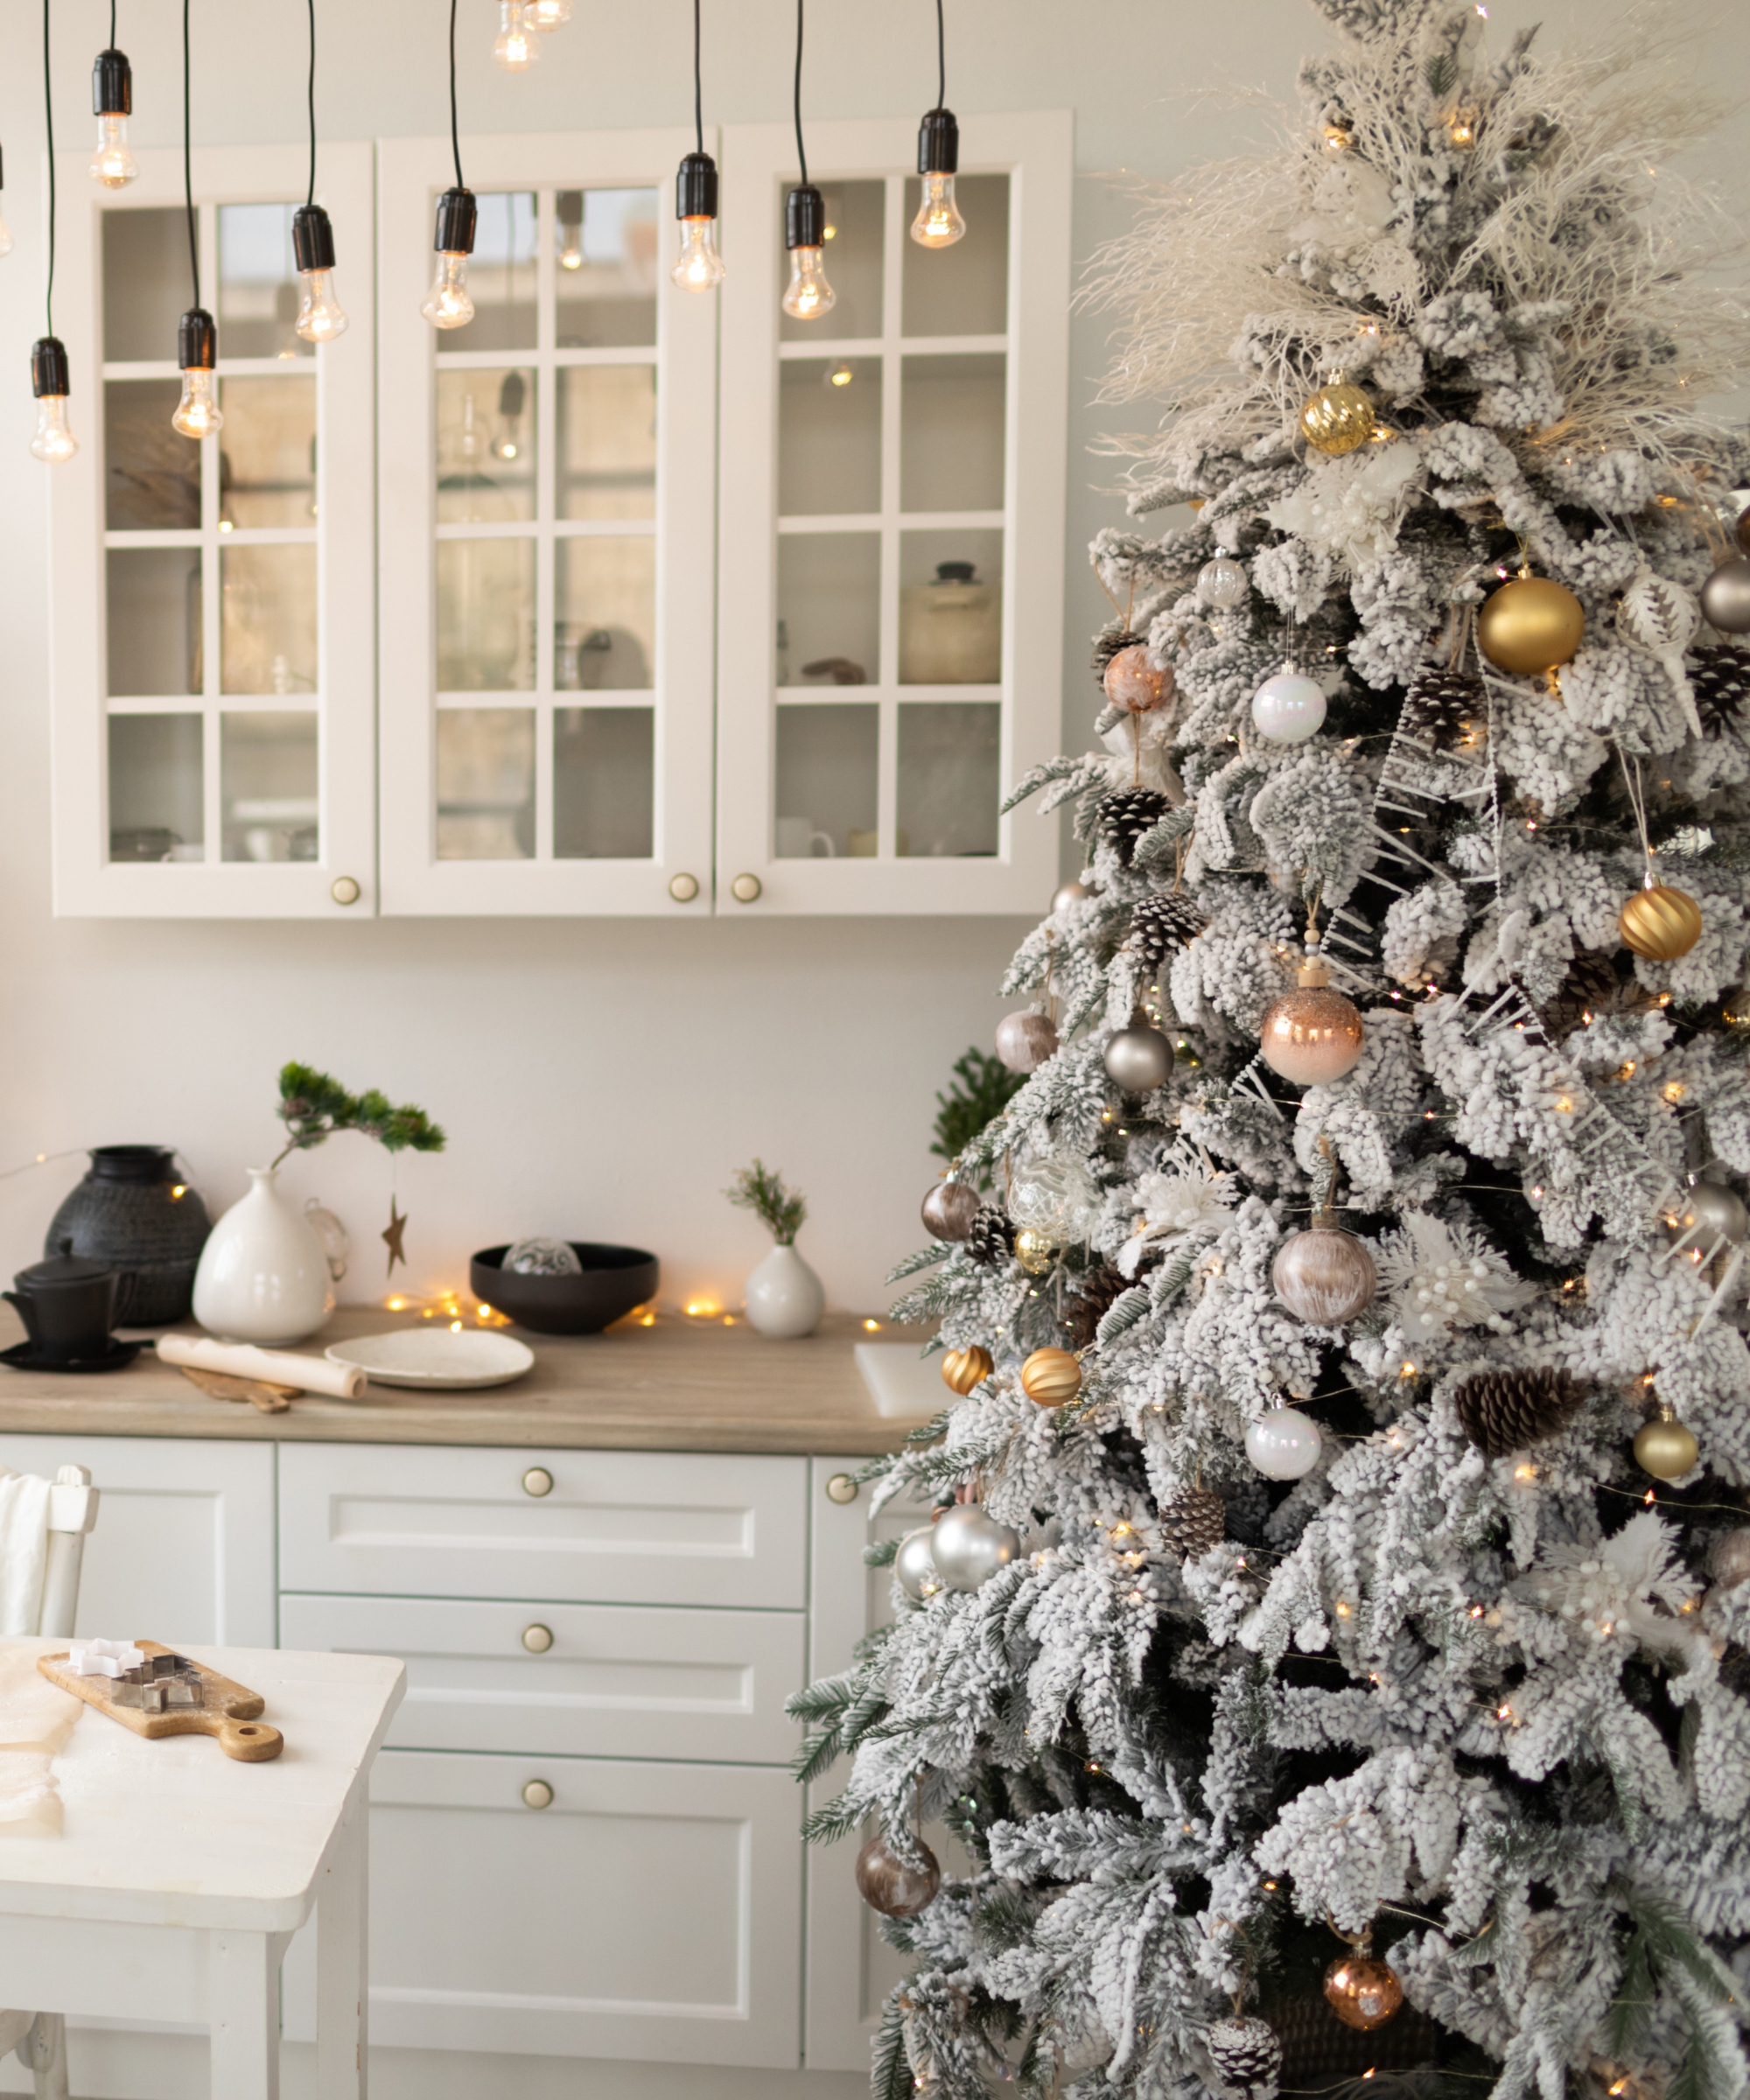
Taking the time to spread out each branch properly is important for making a Christmas tree look fuller.
Kilgour says: I recommend gently separating the branches, beginning from the bottom and working your way to the top. Taking your time with this process ensures a fuller and more natural appearance.
"Extend each branch outward and upward, paying attention to the symmetry and spacing to achieve a balanced look. It can be helpful to step back occasionally to assess the overall shape of the tree and make any necessary adjustments.
"Remember, the goal is to create a lush and inviting display that reflects the joyous spirit of the season."
Judi Kutner, licensed realtor and founder and CEO of Virtual Staging, explains that fluffing, "turns an artificial tree from scrunched up to lush and real looking", and adds how "taking your time fluffing each branch is important so they spread evenly and the tree looks balanced from every angle".
4. Bend the branches
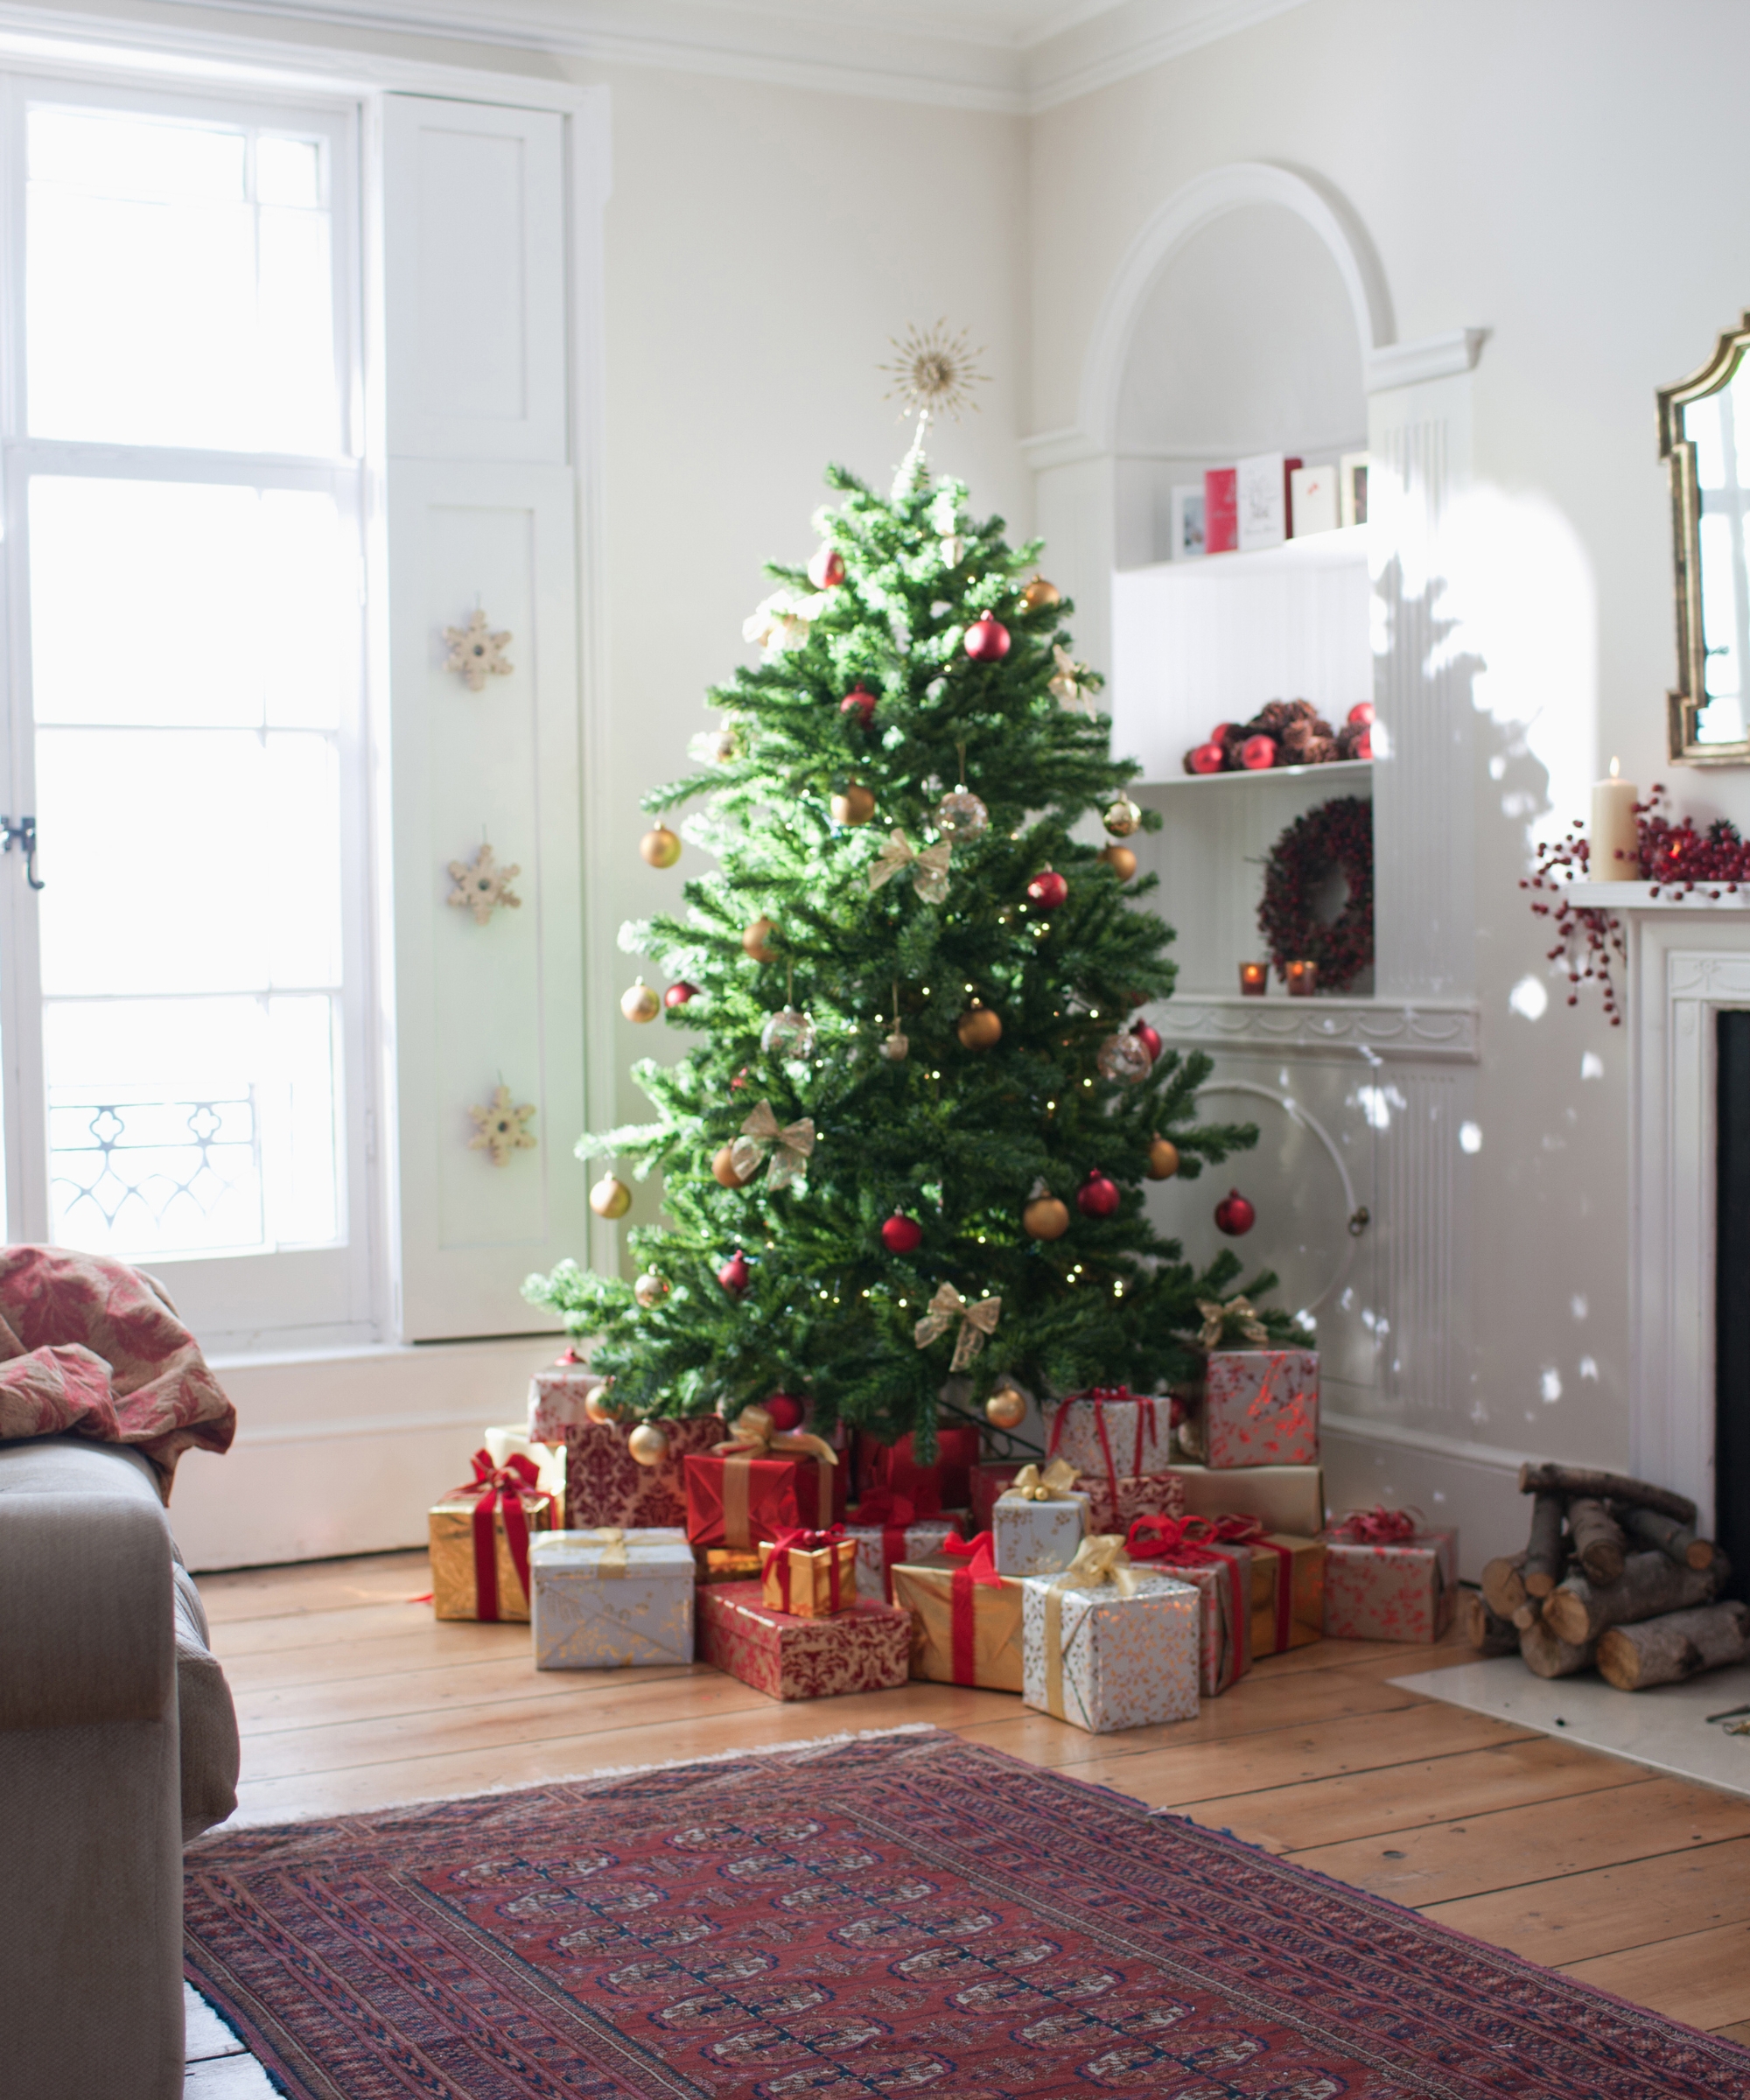
Taking the time to carefully bend each branch of your Christmas tree is an essential part of the fluffing process.
To ensure that your Christmas tree looks as realistic, and as full, as possible, taking the time to bend and position each branch in a natural way is an important step in the process of putting up your Christmas tree.
5. Take a step back and look from different angles
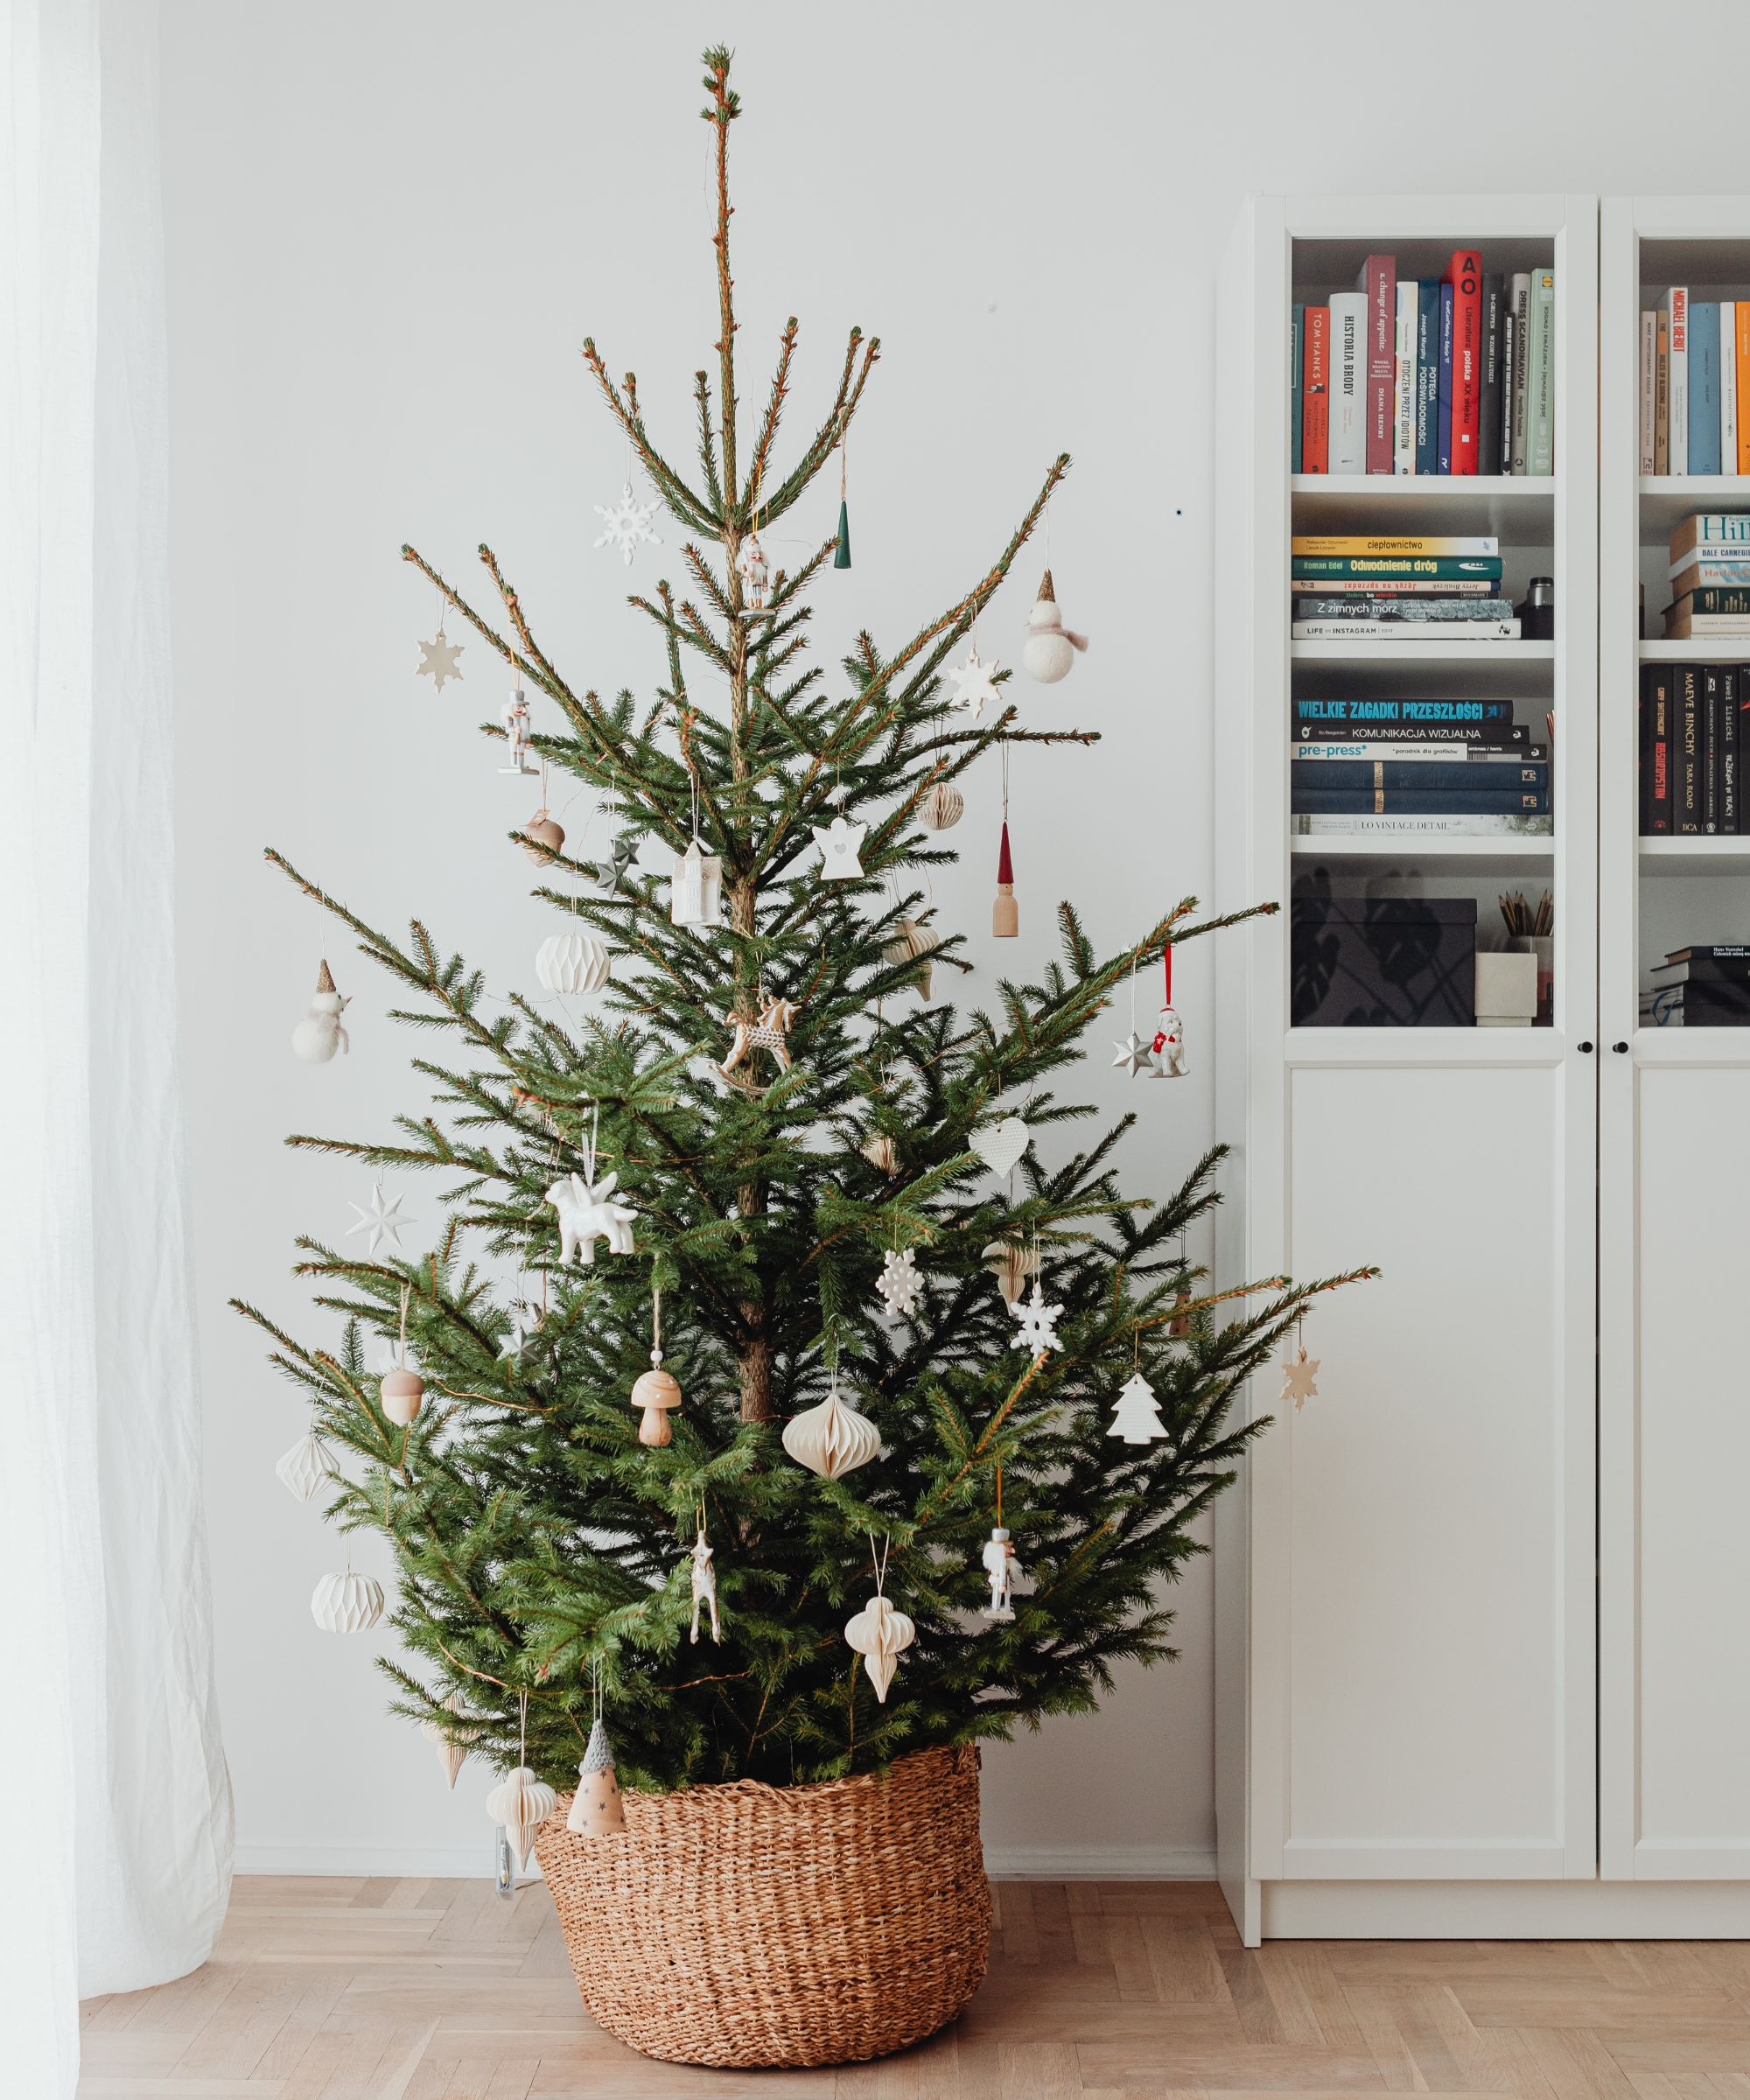
While you're going through the steps of putting up your Christmas tree, it's important to take a step back and look at the aesthetic of the tree and overall setup.
Keely Smith, Lead Interior Designer at JD Elite Interiors, says: "As an interior designer, when I fluff trees I think about how the whole room will look. It's not just about making the tree look full, but how it fits with everything else you see.
"That's why I'm always stepping back to check how it looks from different angles. Certain kinds of trees like ones with fake snow need gentle care so working methodically from the outside in, helps keep it full."

Keely Smith is the lead interior designer at JD Elite interiors. She has over ten years of experience working with design studios, private companies, and as a freelance designer.
FAQs:
How do you make a Christmas tree look fuller?
An easy way to make an artificial Christmas tree look fuller is by taking the time to fluff each branch before you begin to decorate. You can also use fluffy garlands or extra branches to add additional filler to your Christmas tree, creating a fuller look.
How do you fluff an artificial Christmas tree?
To fluff an artificial Christmas tree, start by separating out the branches on each section of the Christmas tree, so that you can focus on one branch at a time. For best results, start at the foot of the tree and carefully work your way upwards, fluffing each branch using a soft brush and your hands.
How can you enhance your fluffed Christmas tree's aesthetic appeal?
Kilgour says: "Consider investing in quality ornaments and decorations to complement the fluffed tree, enhancing its overall aesthetic appeal. As you decorate, keep in mind the color scheme and theme you desire, allowing your personal style to shine through.
"By approaching the fluffing and decorating process with patience and attention to detail, you can transform your Christmas tree into a stunning focal point that not only sparks joy but also serves as a tasteful expression of holiday cheer in your home."
When it comes to knowing how to fluff a Christmas tree, knowing the best approach to take can be more challenging than you might think.
While it might seem like all you need to do is take your tree out of the box and give it a good old shake, for a tree that’s properly fluffed and looks as full as a real Christmas tree, it takes a little more than that. Instead, you will need to take the time to focus on each section of your tree at a time, fluffing each stem and bending and positioning each branch.
Once you’ve fluffed your tree, you might then want to think about all of the Christmas decoration ideas that you would like to implement alongside your Christmas tree to make your home feel festive.

Hi! I’m Beth Mahoney and I’m a former staff writer at Real Homes. I’ve been a journalist for the national press for the past six years, specializing in commerce and trends-related lifestyle articles, from product reviews and listicles to guides and features. With an eye for pretty things (think: quirky wall prints, scalloped edge furniture, and decadent-looking tableware) but a limited budget, I love nothing more than a bargain buy.
