How to make a wreath from tree clippings
A quick DIY that's sure to lift your spirits

With the 25th nearing ever closer, everyone’s looking for lots of extra Christmas cheer this year. Covid, lockdowns and now bitterly cold weather, adding some sparkle and festivity to our homes is just about the only thing putting a smile on our faces this December. With all the stress of Christmas, it's not always easy to carve out time and go to a wreath making class or to DIY Christmas decs. So I came up with a quick festive wreath that uses any clippings leftover from your Christmas tree for a simple and budget-friendly holiday decor addition.
You can make a wreath from tree clippings too in just 5 simple steps! Either take clippings from your Christmas tree if you have a real one this year or go to your local tree farm where you can buy kits and cuttings. Some even give clippings for free! Or you can go to a local florist who will likely have kits or cuttings you can buy too. However you go about it, it's the perfect way to add a touch of personalisation to your front door and get me in the mood for Christmas.
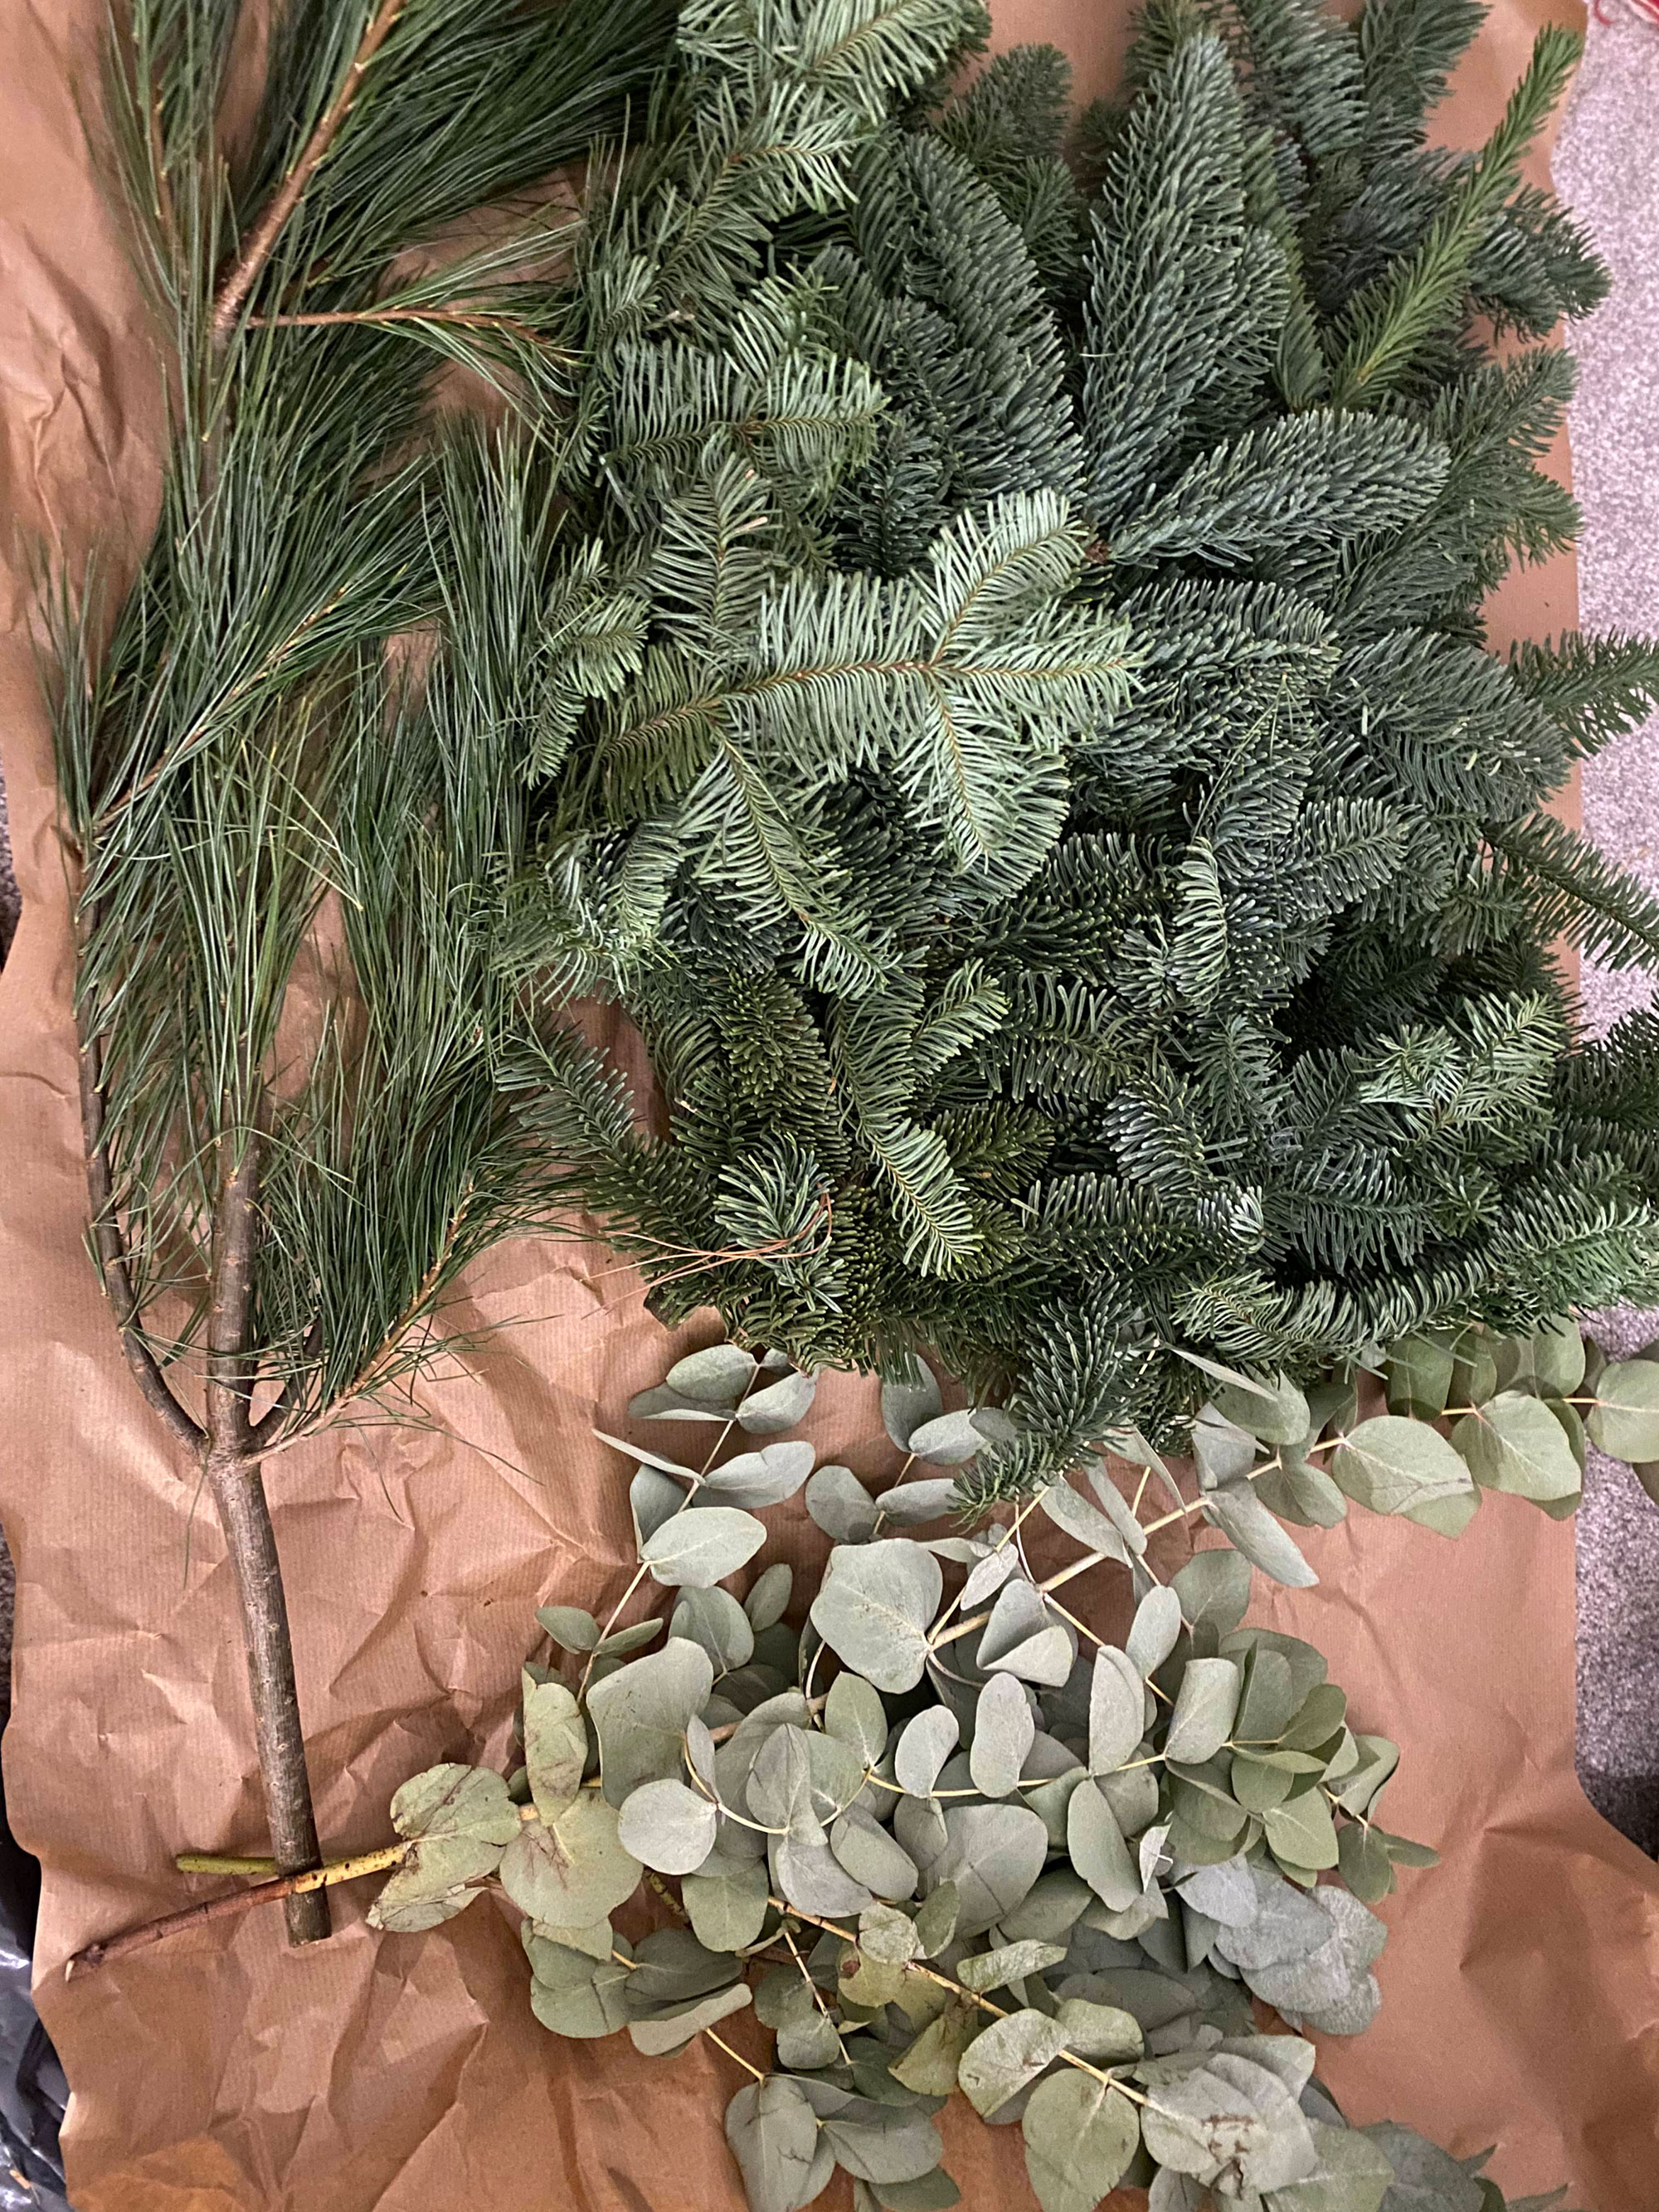
There’s a variety of tree species you can choose from that all give different looks and feels depending on what you’re going for. Pine is the obvious choice with Spruce and Larch being other options. A fluffier wreath could also be made with Juniper branches. You can also add some contrasting cuttings of eucalyptus, berries, holly, poinsettia, and pinecones, and adorn it with accessories like wooden stars, twigs, baubles, glitter, ribbon, dried orange slices, and cinnamon sticks to make it uniquely your own.
How to make a wreath from tree clippings
A post shared by Jasmine | DIY for Beginners (@_ohabode)
A photo posted by on
Tools and materials:
The tools you’ll need to make your own wreath include a wire ring in the size of your choice. I went for a 26”. You’ll also need some good secateurs and some florists’ wire. You can get most of these from a florist, or shops like Wilko, The Range and Hobbycraft.
You will also need some moss. Though not an essential part of a wreath, as you can make one without it, it does make the foliage on your wreath last a little longer as it draws moisture out of the moss, like flowers do with a vase of water. Again, you can get this from a florist or go foraging in the woods for some – be warned though, there’s usually an array of bugs and organisms that call moss home.
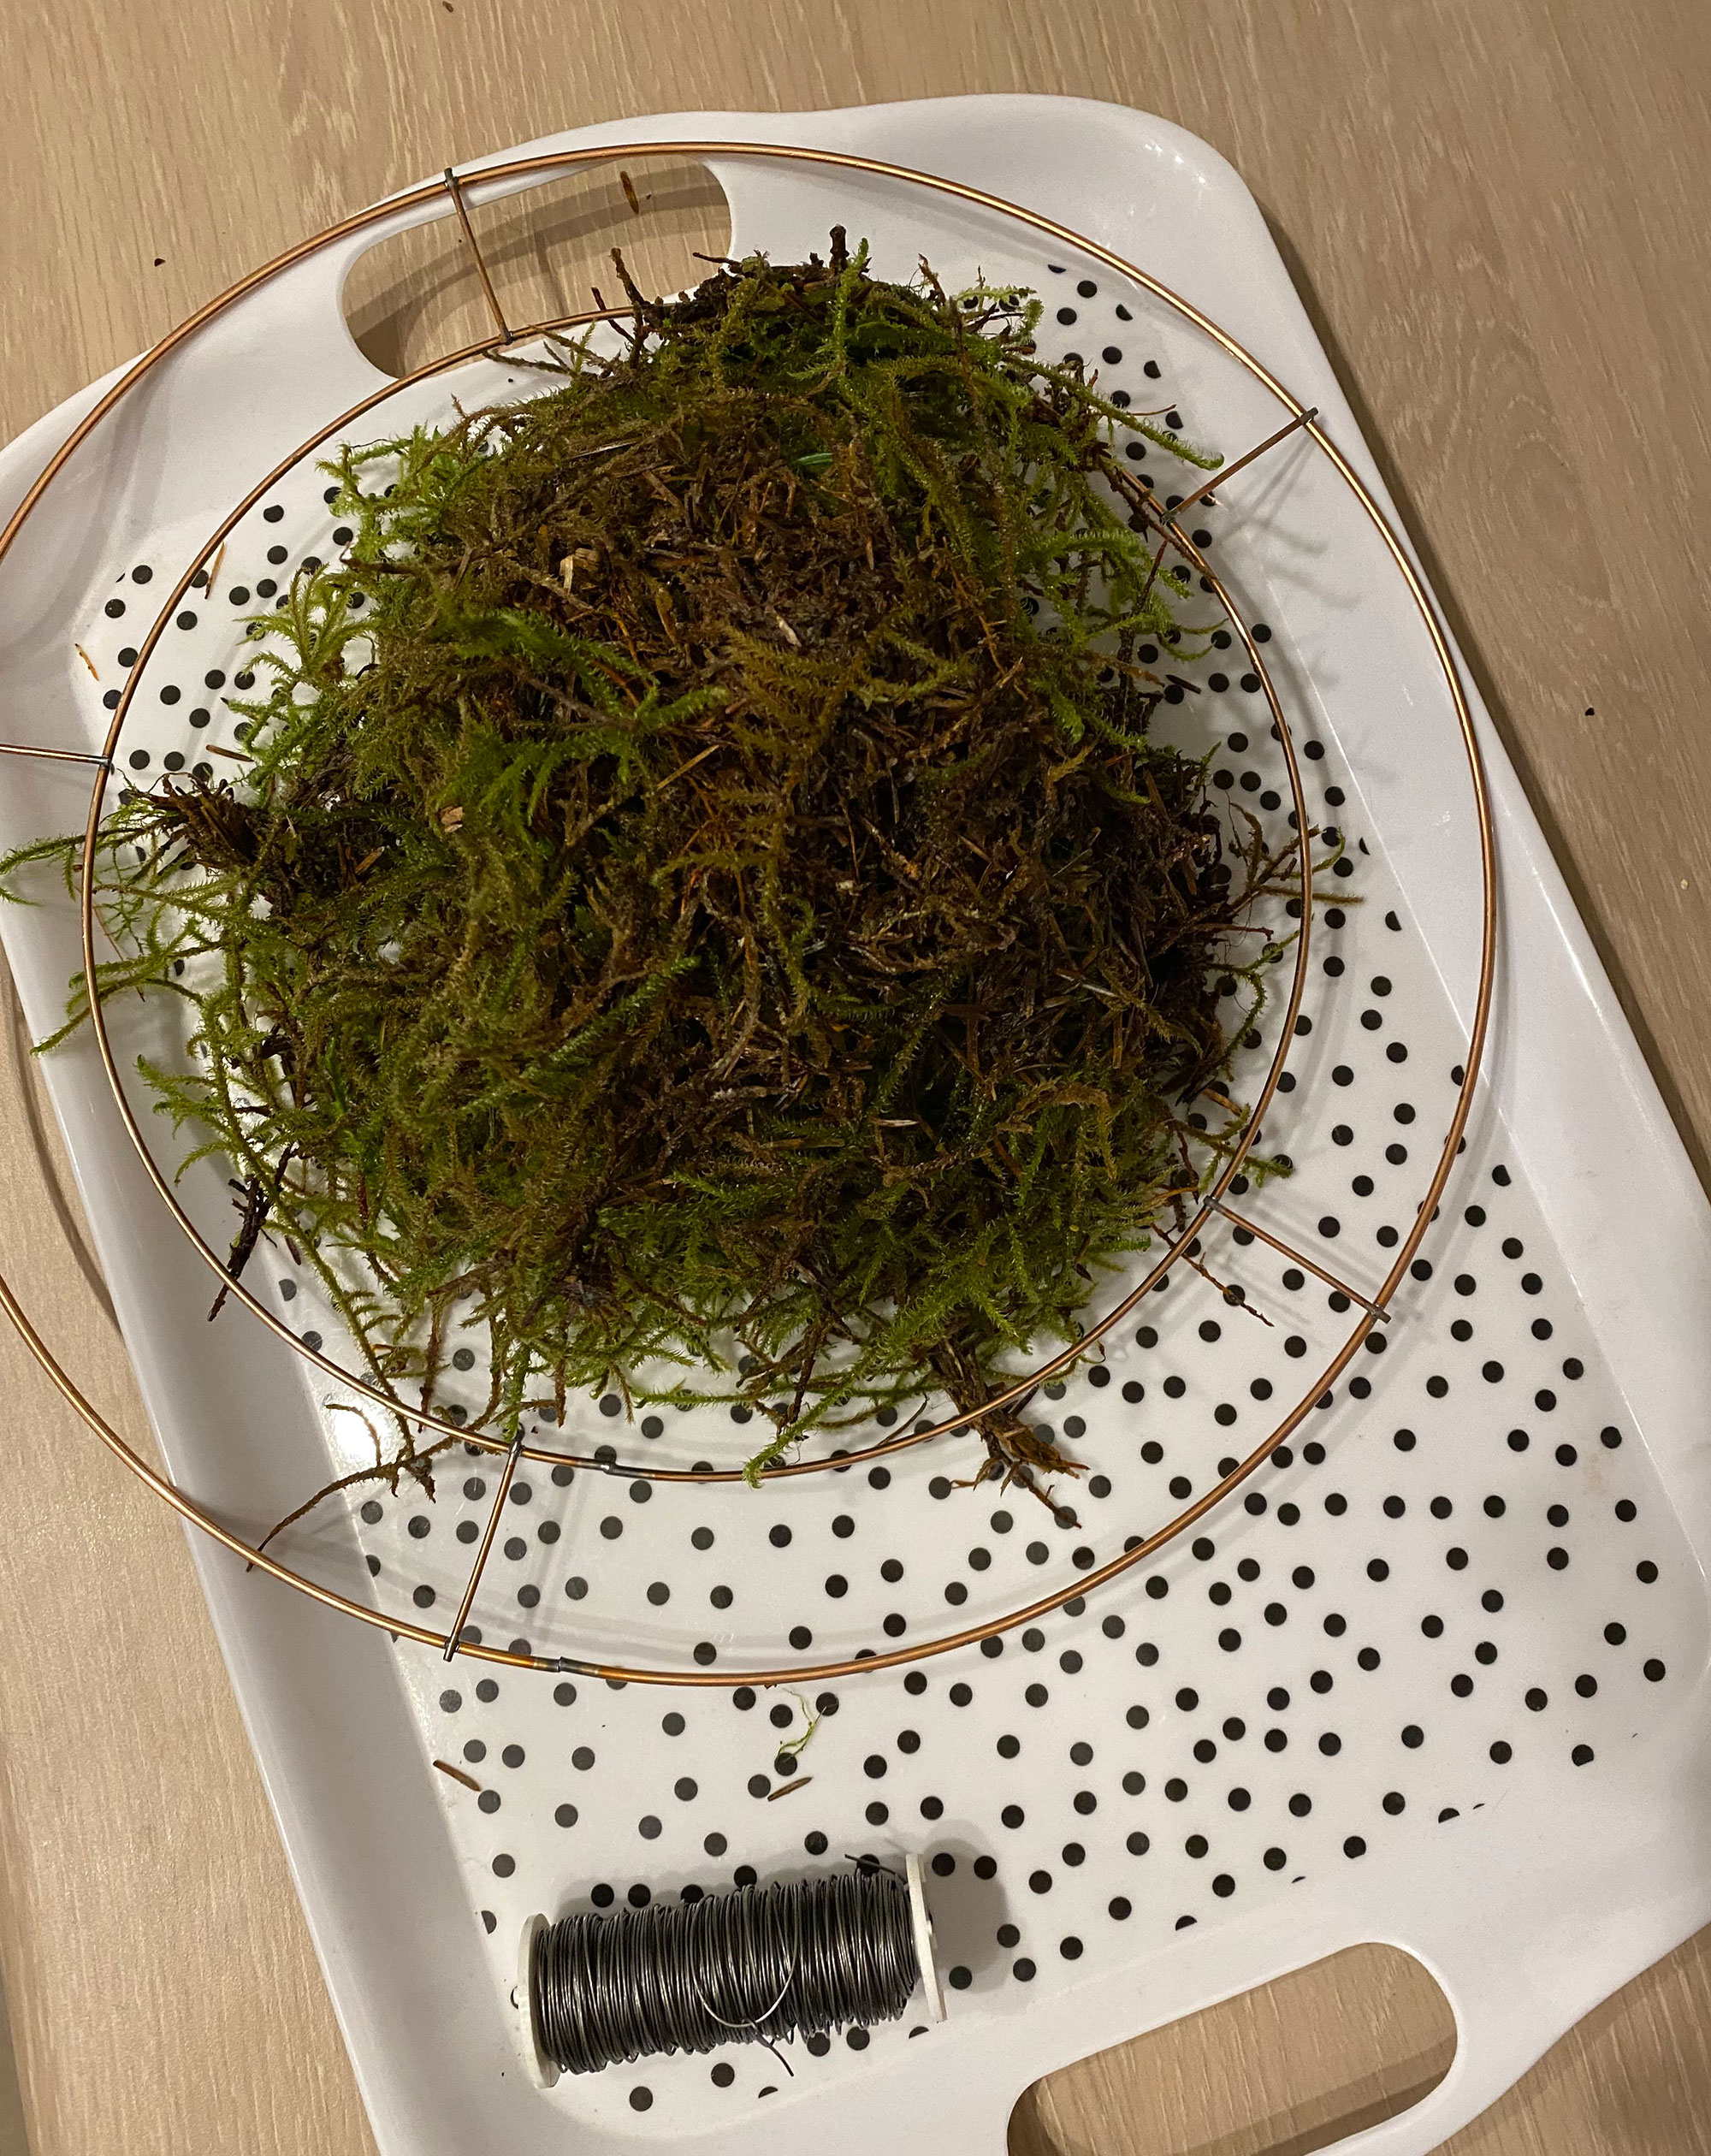
Step 1: create the moss base.
First thing’s first – create the moss base. To do this, you want to grab handfuls of the moss at a time and roll it into a sausage shape. Loop the end of your florists’ wire around the metal ring and then place the first sausage of moss on top and tightly wrap the wire around it, binding it to the ring. Keep going round, adding more moss, and tightly securing it until the whole ring is covered. Go back round the other way, ensuring there’s crossover of wire to better hold it in and give you more wire to secure bits to later.
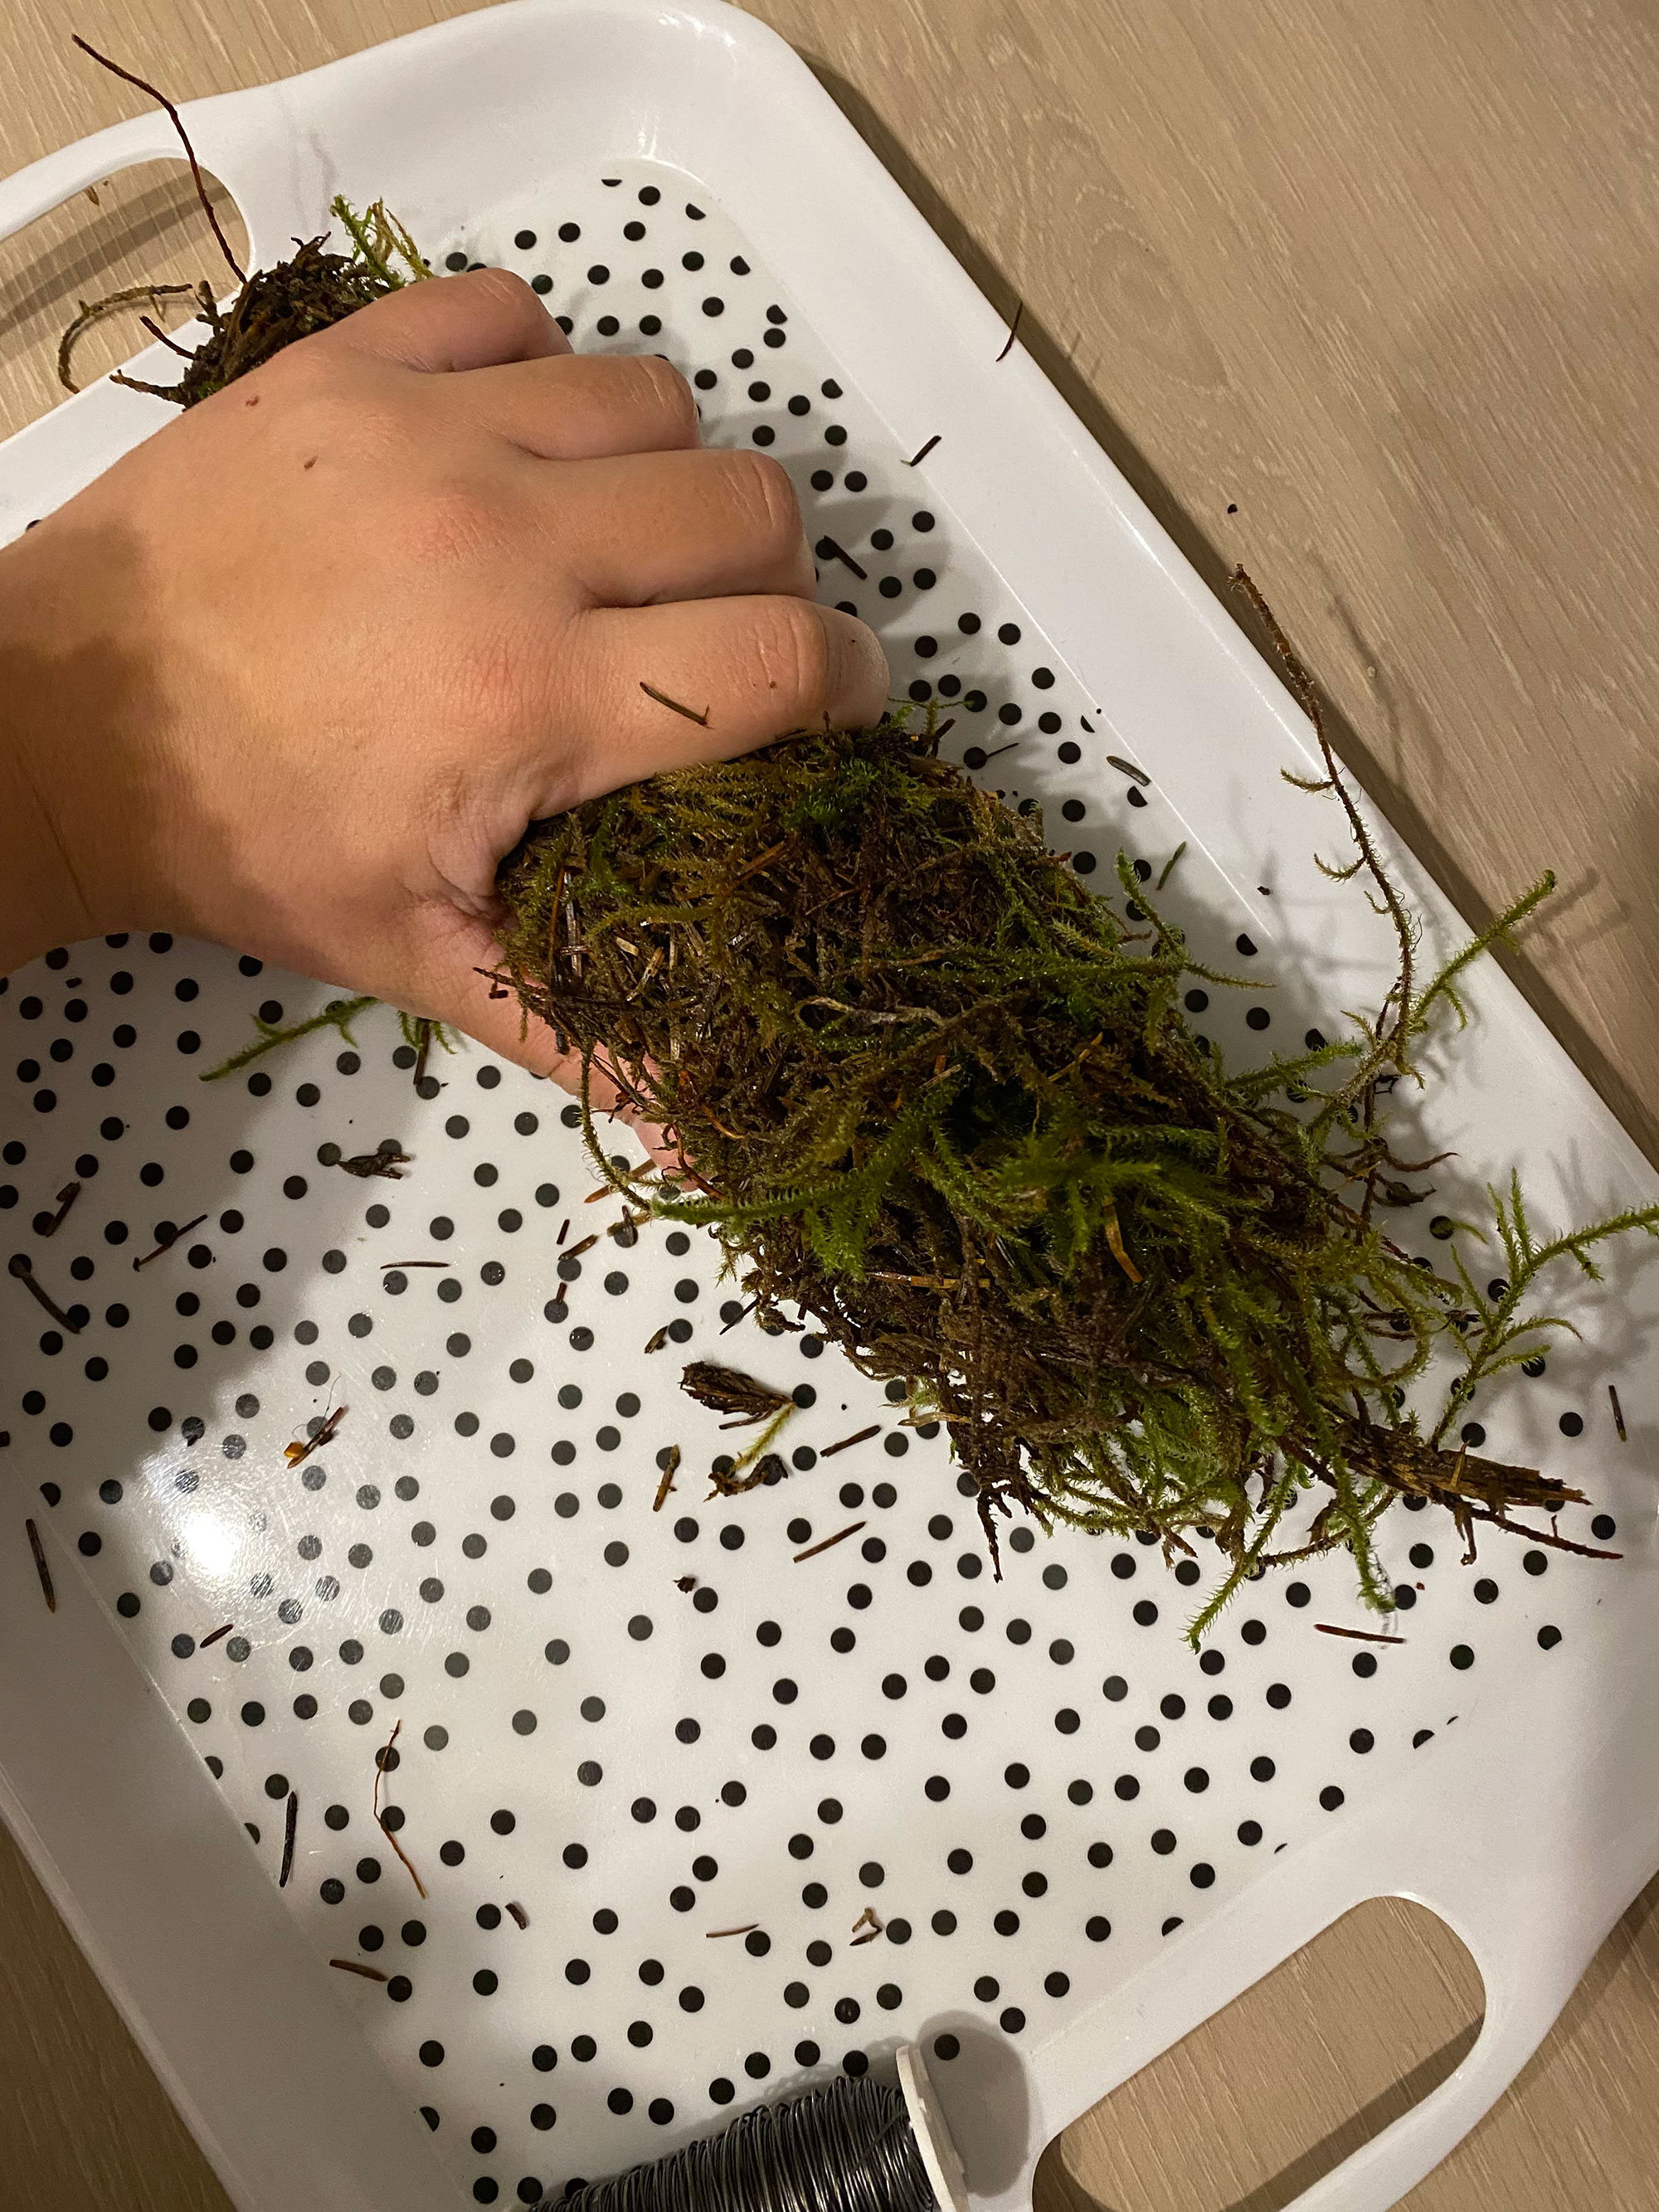
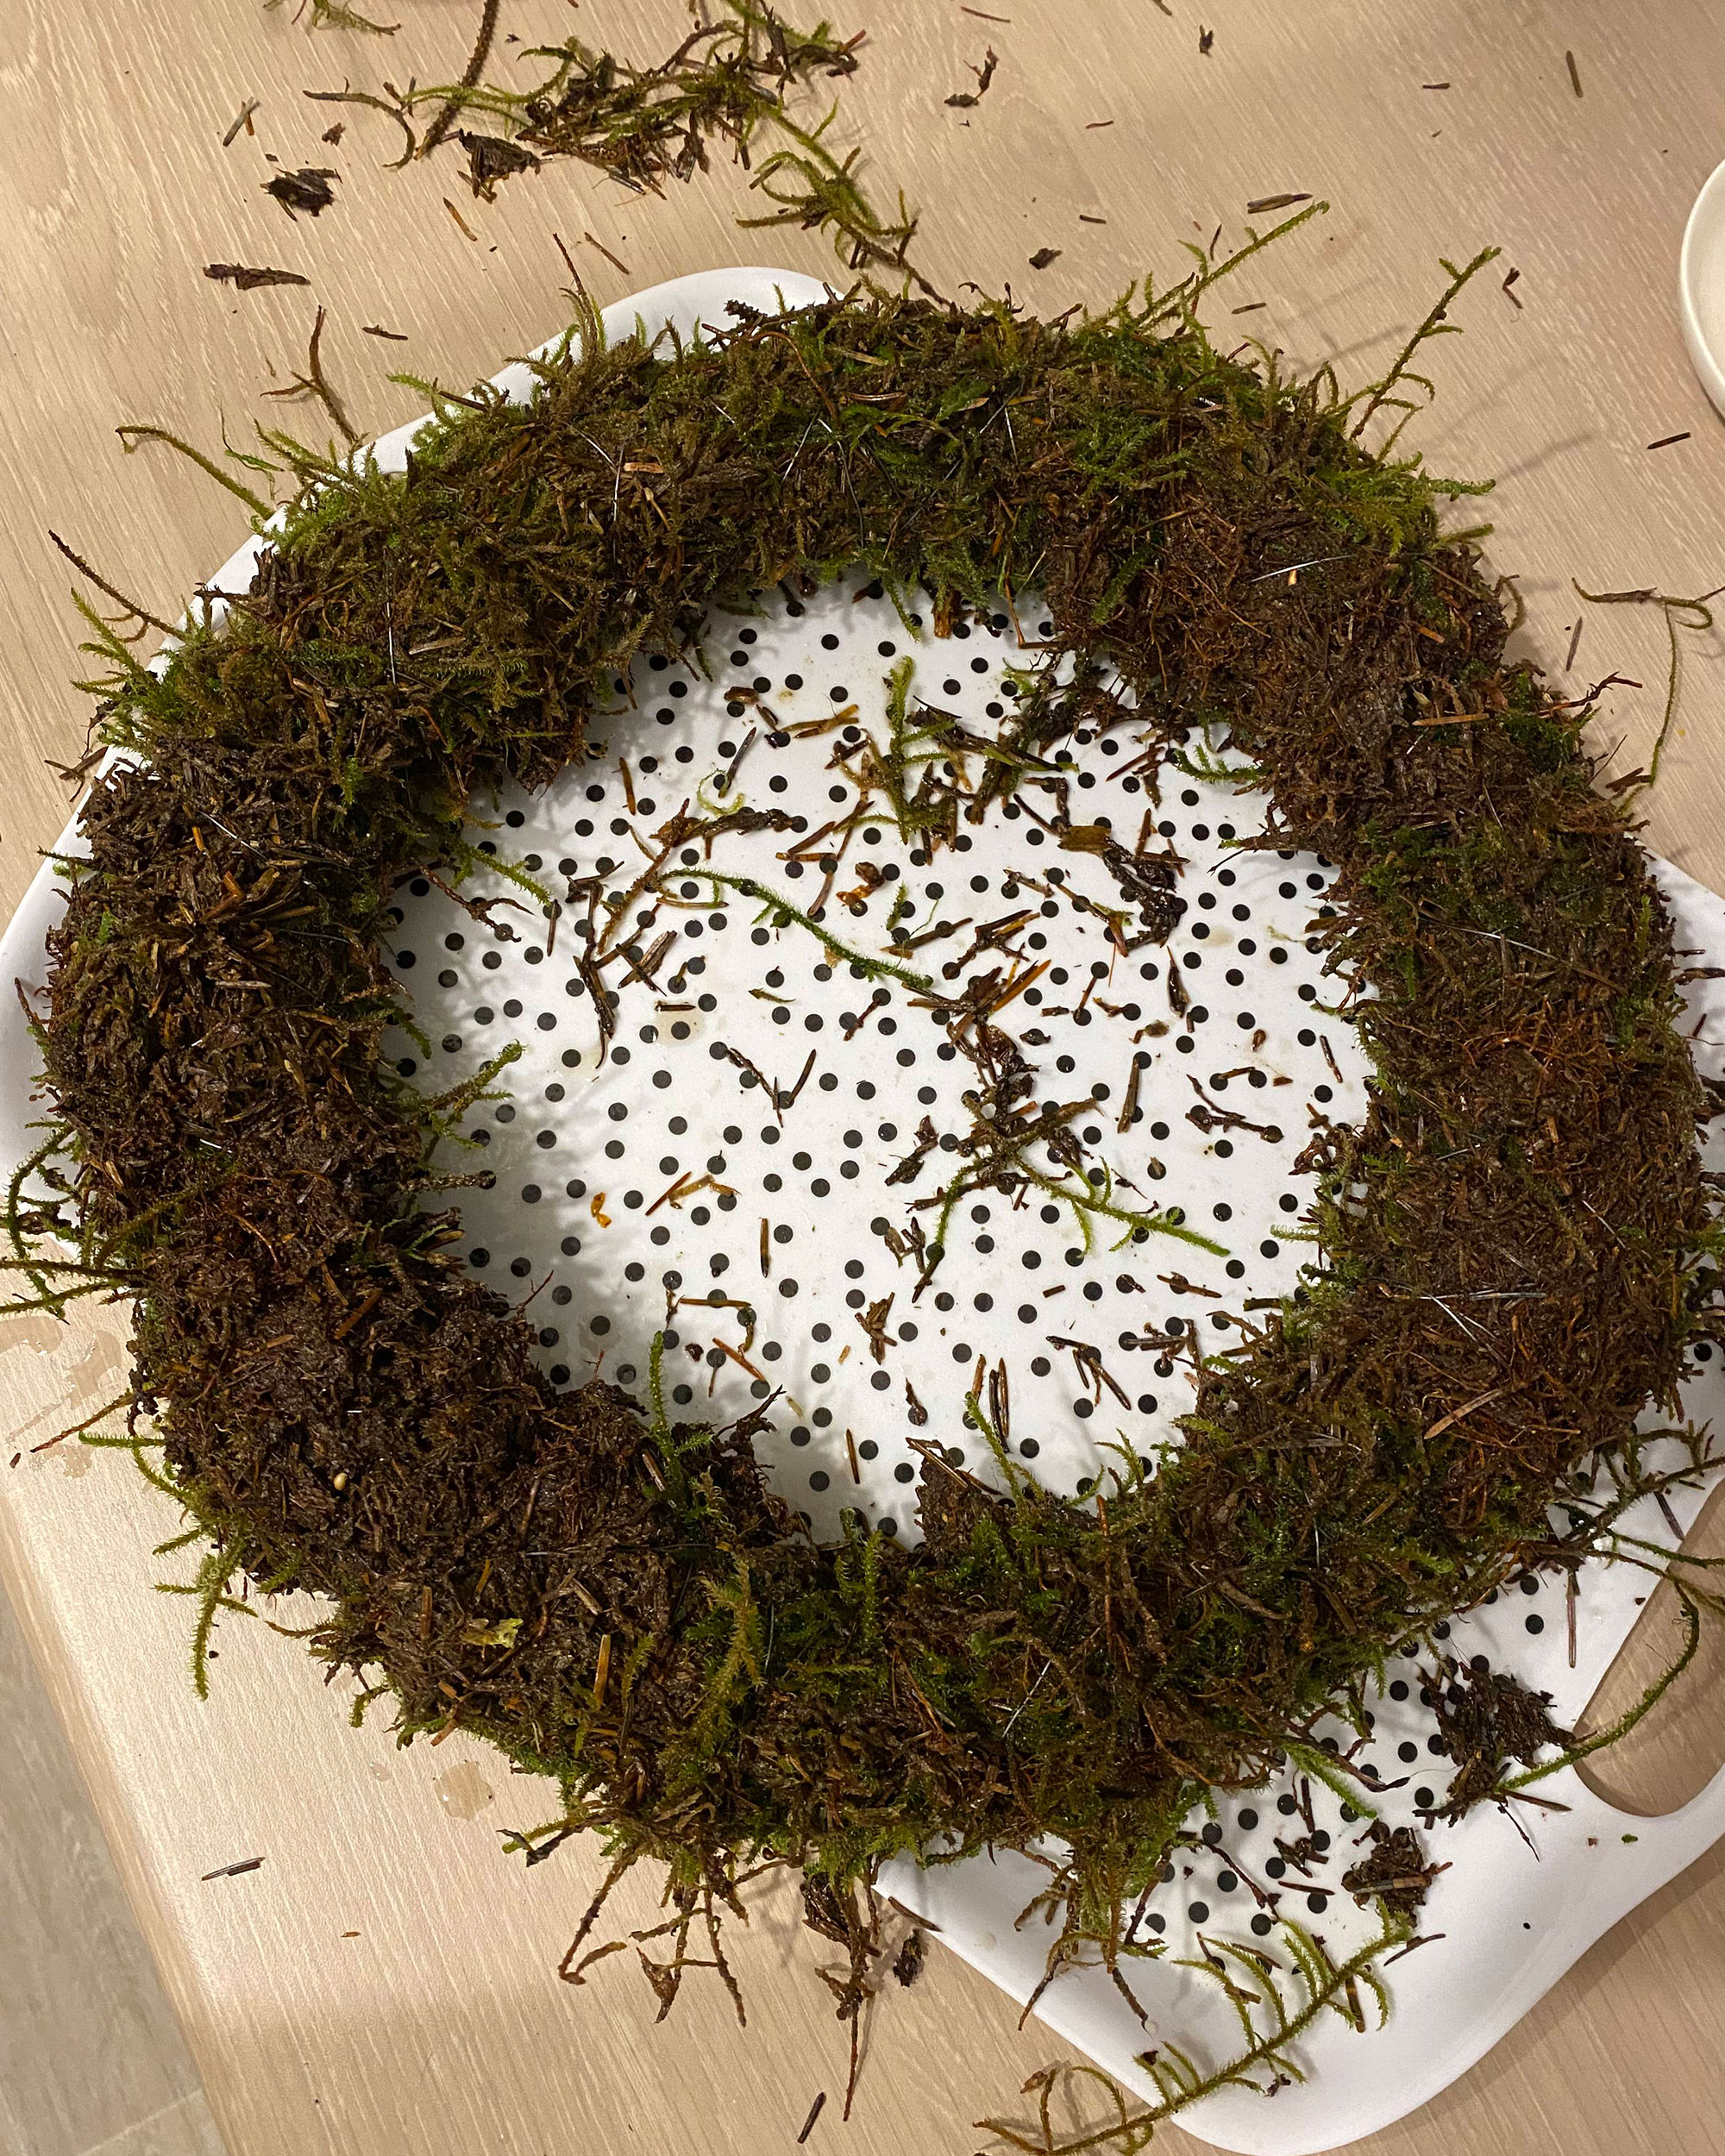
Step 2: trim your branches
Trim all your branches down to 6-8” sprigs, or longer if you want a fluffier look. You don’t have to just use the end pieces either, as with the wire, you can manipulate any trimming to face outwards. Do this with all your greenery to save time later. Pop your moss wreath on a covered surface and start planning out – a dry-fit, if you will – and where things are going to go or what the spacing will look like.
Get small space home decor ideas, celeb inspiration, DIY tips and more, straight to your inbox!
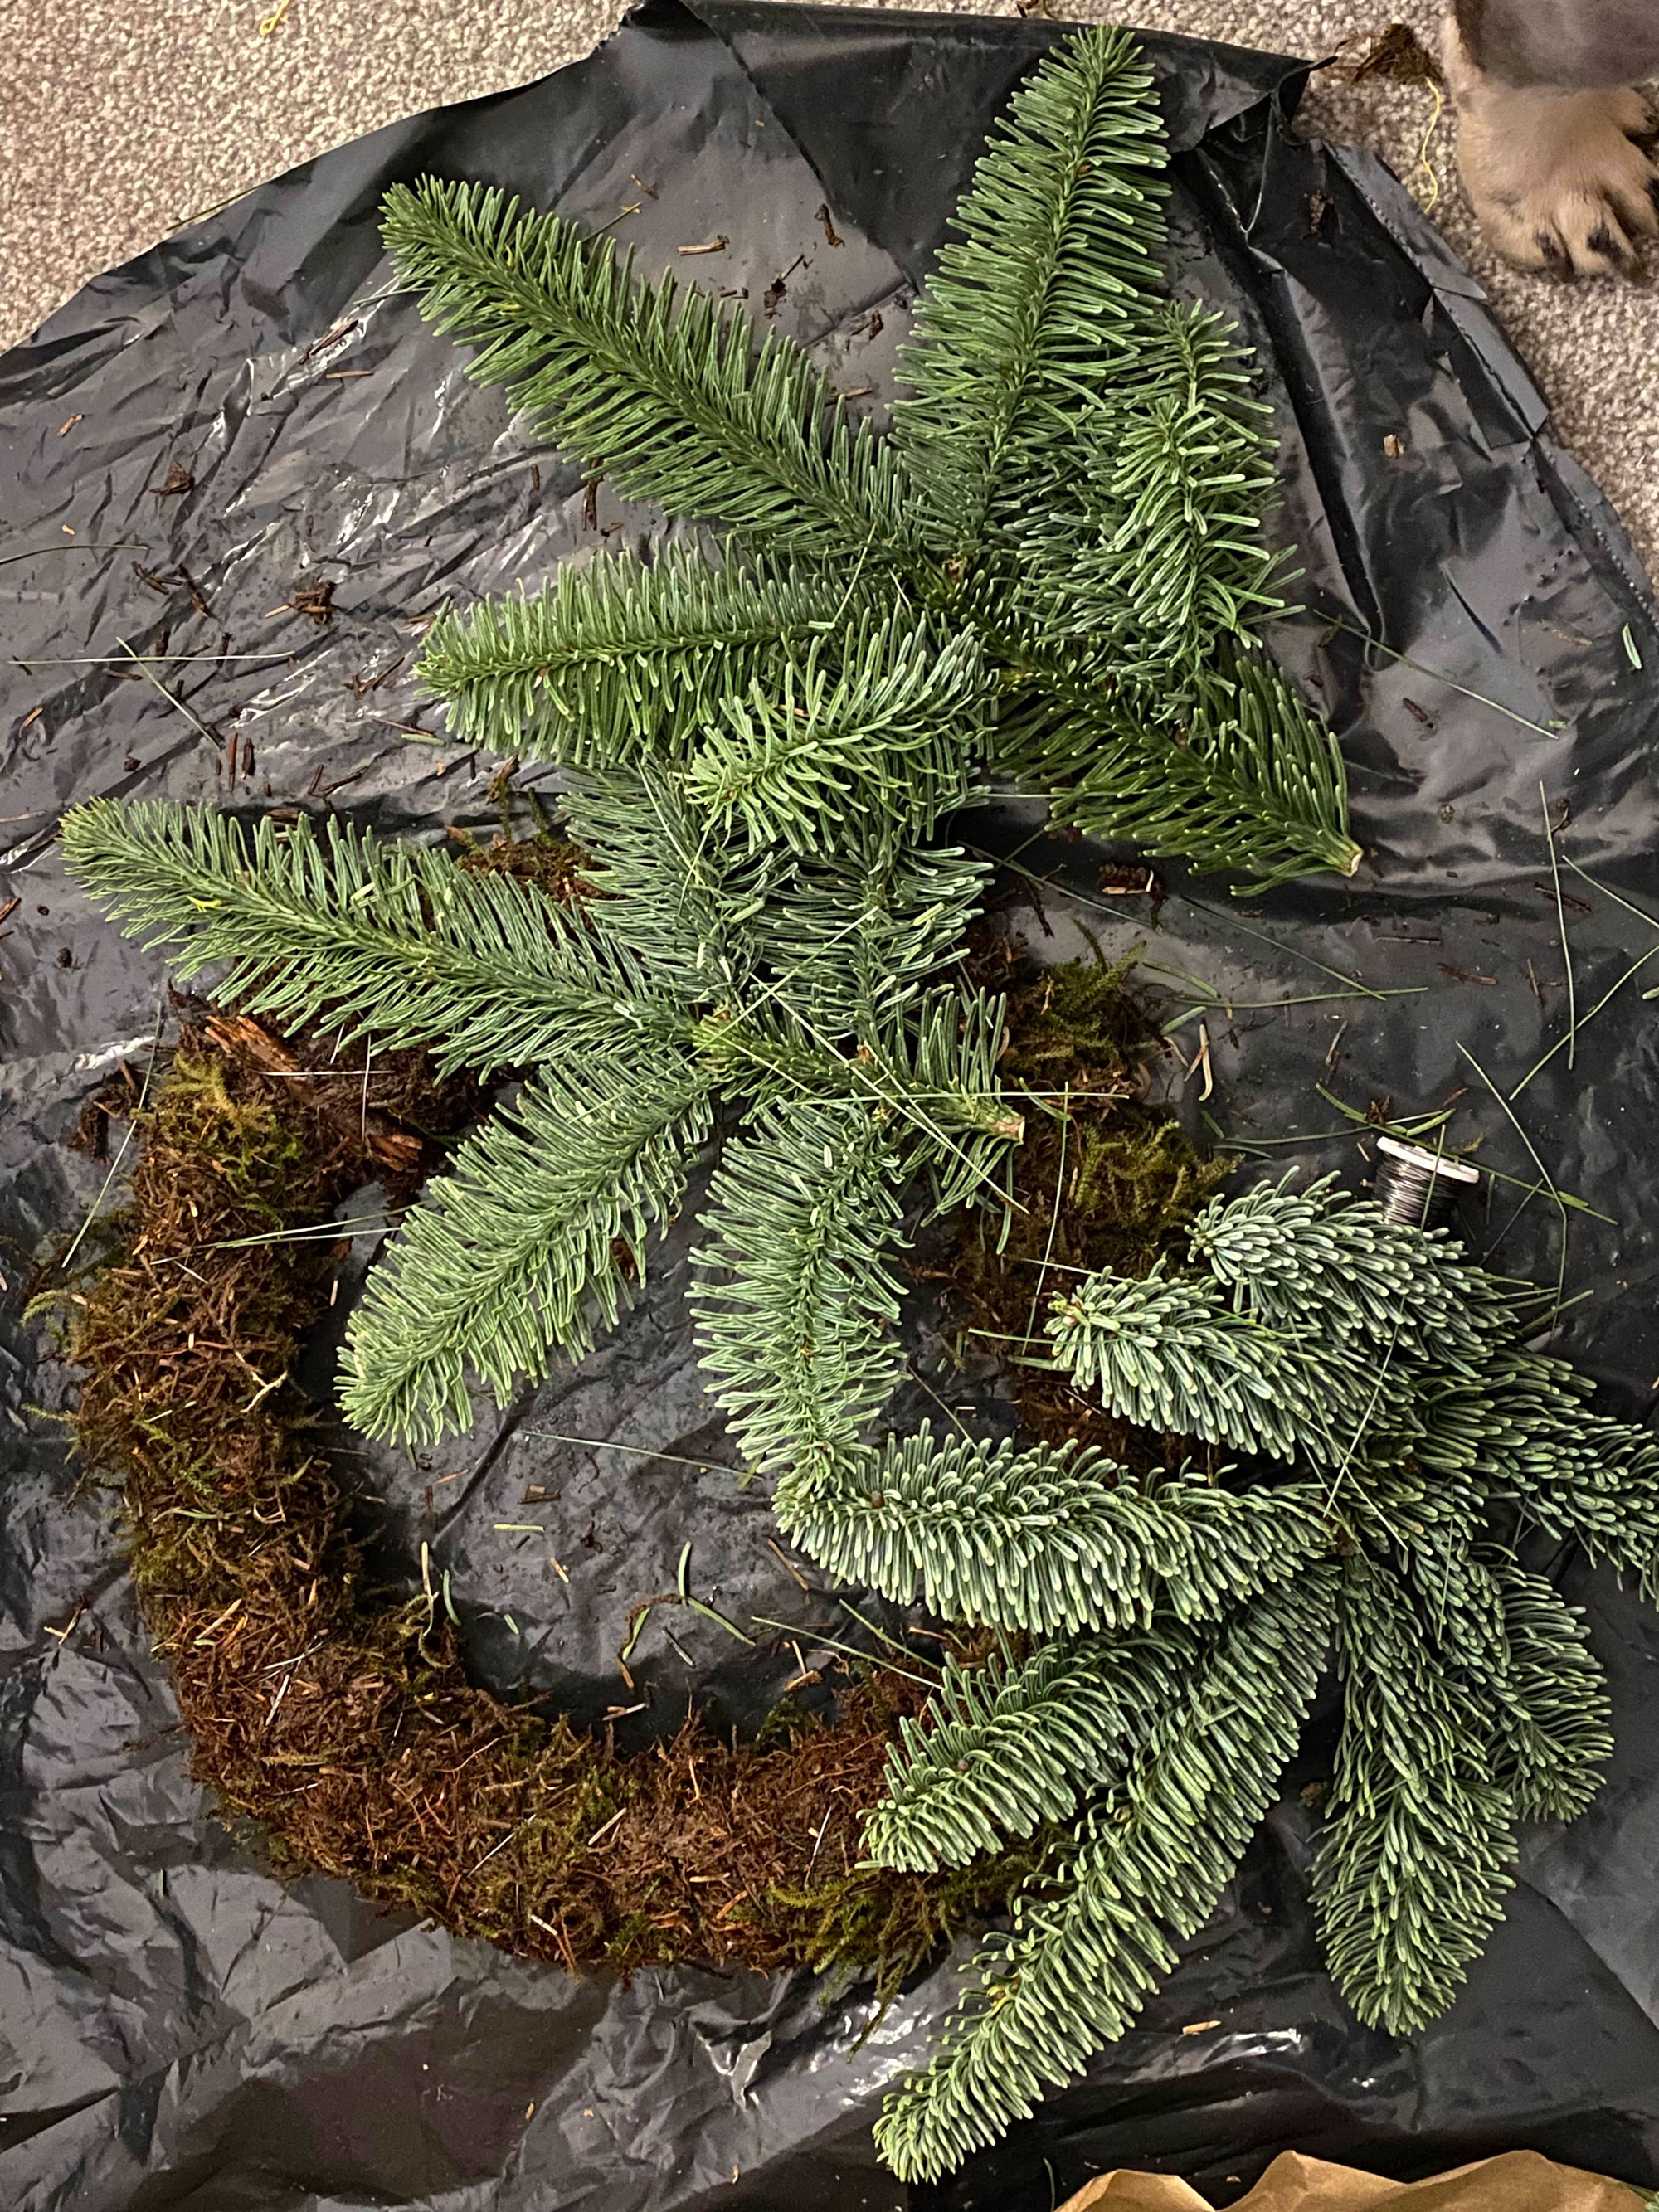
Step 3: start attaching the tree clippings
Lay your first cutting, angled outwards, on the wreath and using your florists’ wire, wrap around the hoop and the stem of the cutting, ensuring its bound tight. You want to avoid pinning down any of the leaves or sprigs, so aim to just bind the stem. You also only really need to wrap around the bottom 2”. Once secure, place your next cutting on top to cover the next bit of moss and working clockwise, wrap your wire round, adding cuttings as you go until you get back to the start. Once back here, you can go back round, adding in any cuttings where there’s sparce bits or to even it out
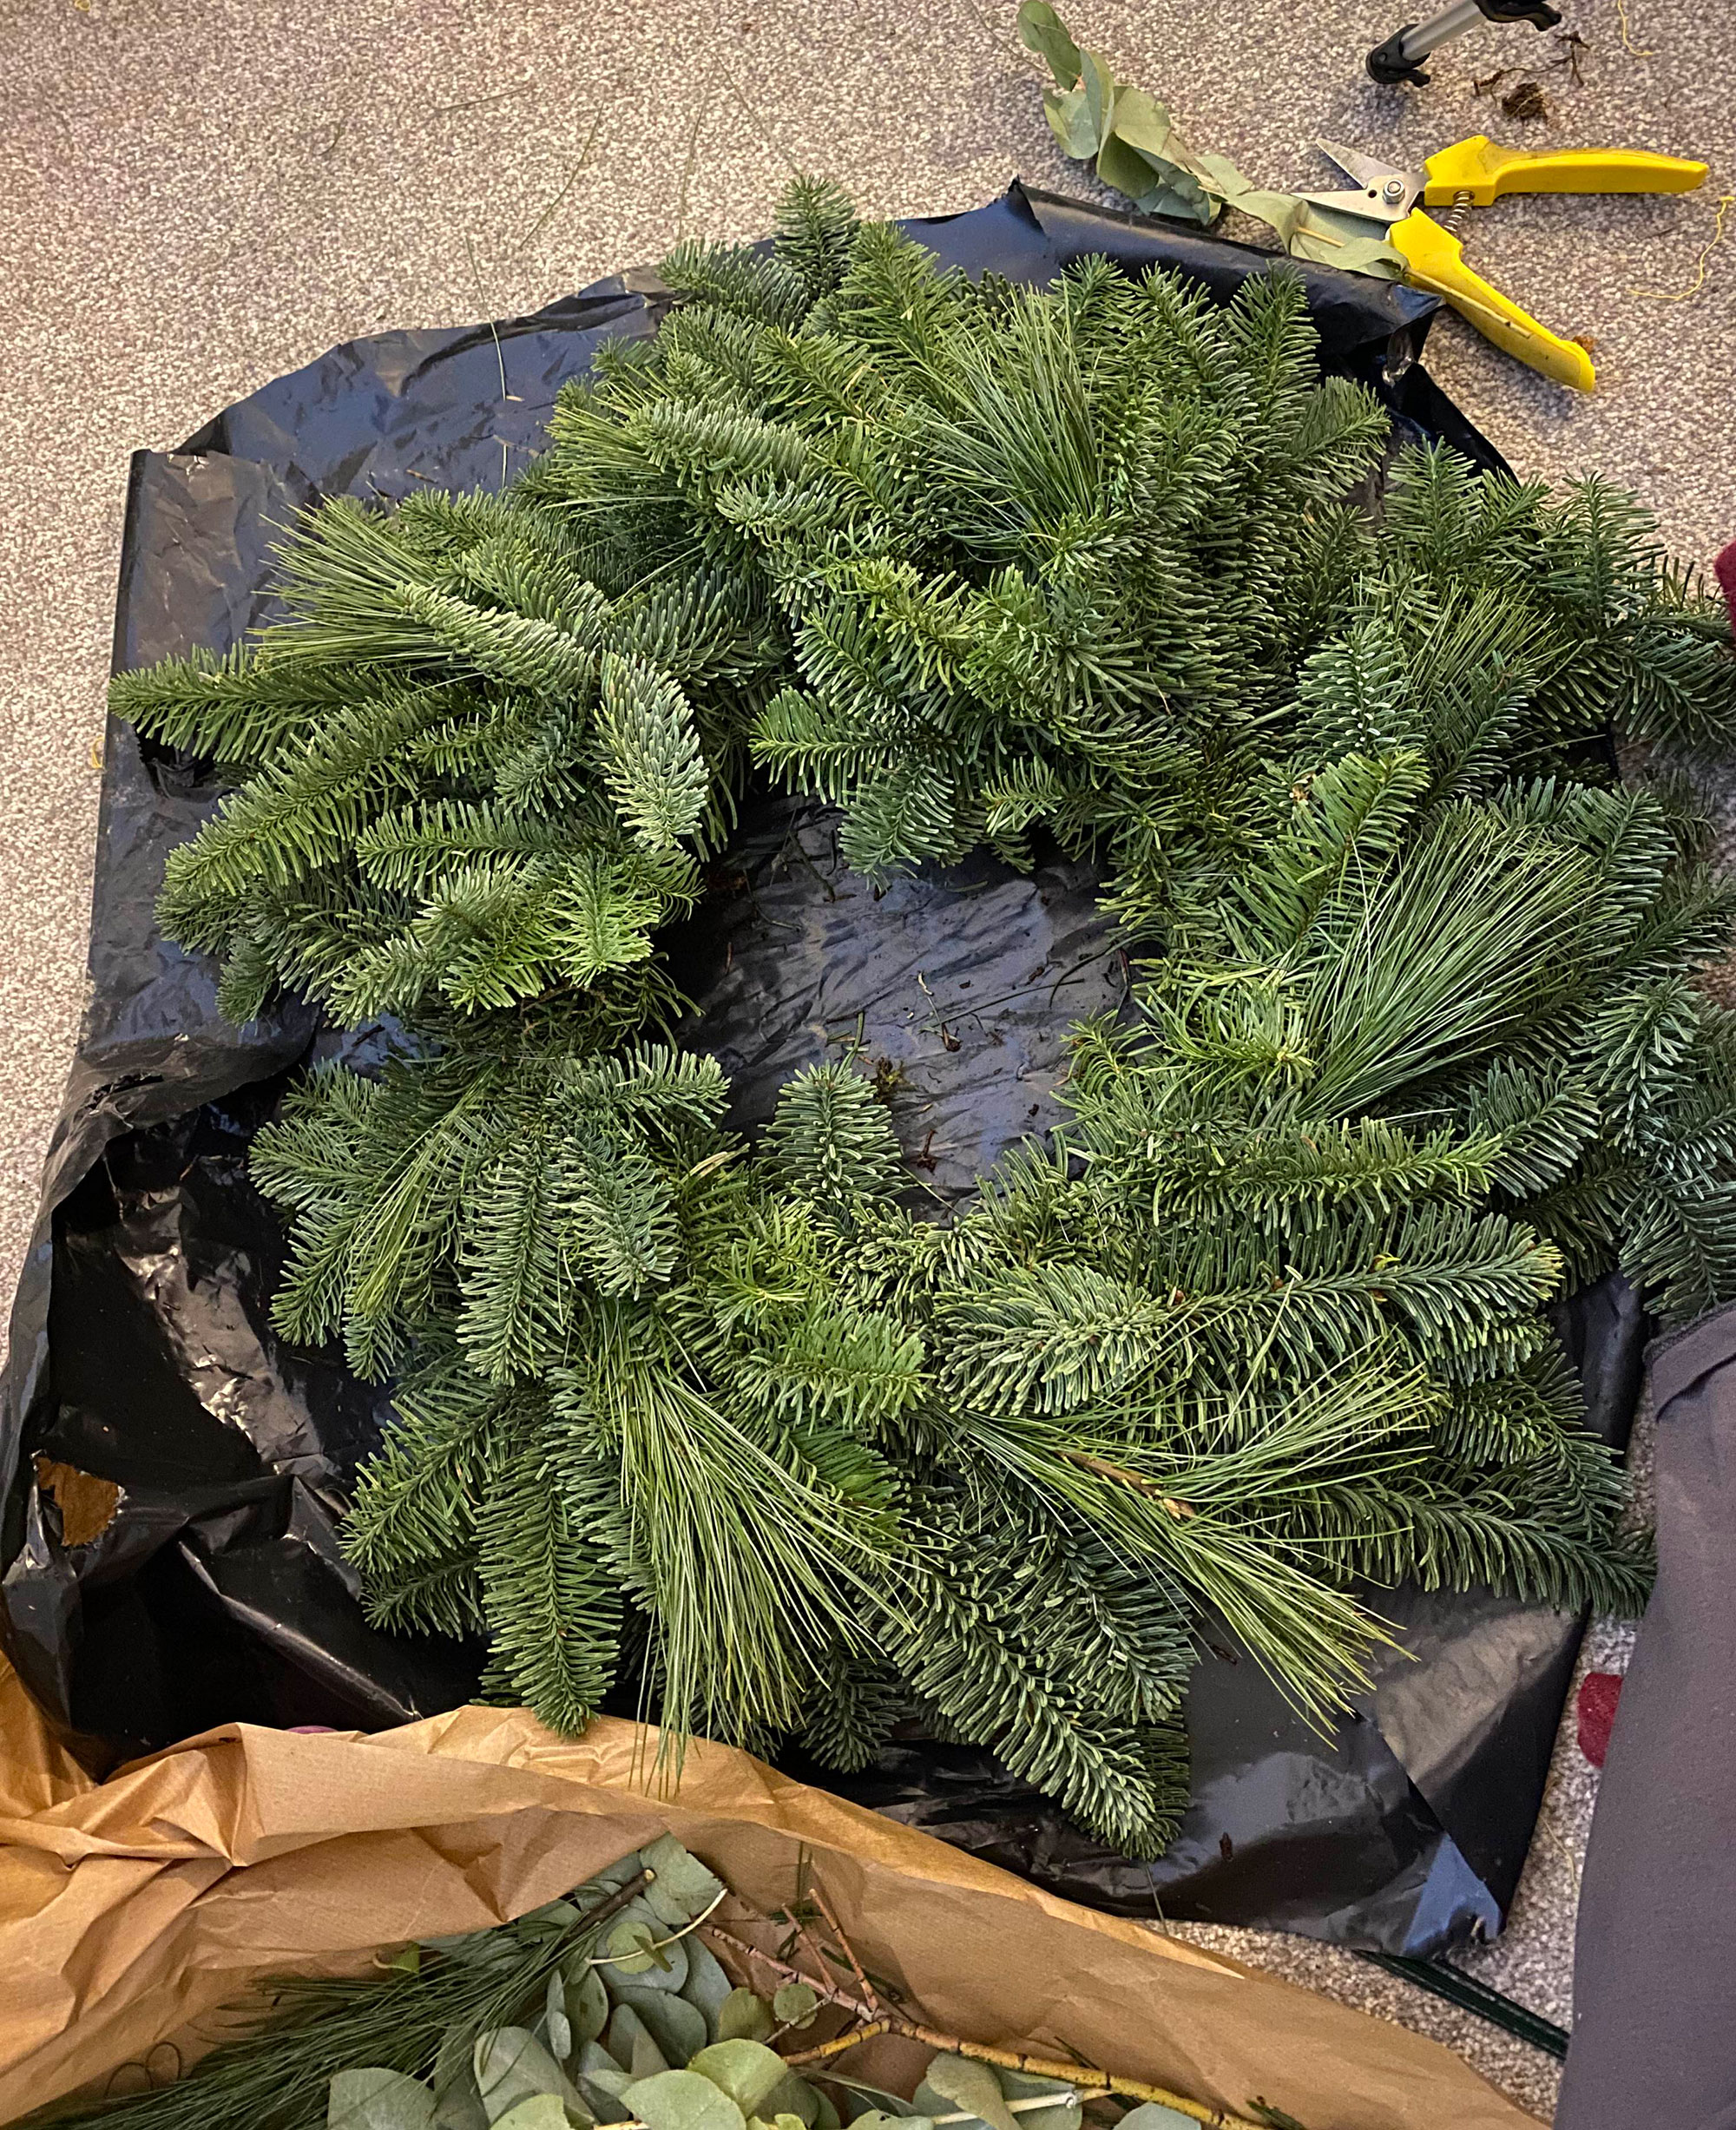
Step 4: accessorise as you want
Time to add any contrasting cuttings and accessories. I added another pine species sparingly and then had a play around with bits of eucalyptus and some baubles and ribbon before settling on a simpler design. You can really make your wreath your own at this point, adding as much or as little colour as you’d like. Adding slices of dried fruit and cinnamon sticks too will make your wreath beautifully fragrant too.

Step 5: hang it up!
I added a bit of ribbon to the top to hang my wreath to my door. To do this, I created a knot in the middle of a long piece of ribbon and fed some wire through it. I then wrapped this wire around the back of the hoop and secured it tight. Tying the ends of the ribbon into a knot, I screwed a hook on the back of my door and fed the ribbon over the top of the door and hooked in place. Alternative options include a nail, a special wreath over-door hanger or a command hook placed either on the front of the door for the wreath to hang from, or on the back of the door, placed upside down, for the ribbon to hook over and attach to.

I’ve already had lots of comments from passers-by about how professionally put together my wreath looks, assuming I’d paid for it! Get the envy and awe of your neighbours too by making a Christmas wreath yourself this year!
Jasmine Gurney is a DIY pro, inspiring women with power tools via her home improvement blog Oh Abode and on Realhomes.com.