How I upcycled an old IKEA kitchen into a stylish piece of furniture
Real Homes blogger Jo Lemos saved kitchen cabinets from a landfill, created a gorgeous sideboard, and saved hundreds in the process
Get small space home decor ideas, celeb inspiration, DIY tips and more, straight to your inbox!
You are now subscribed
Your newsletter sign-up was successful
Construction is one of the least sustainable industries that we have. So, as someone who loves to update my home, when redesigning my space I'm always looking out for opportunities to implement sustainable practices where I can.
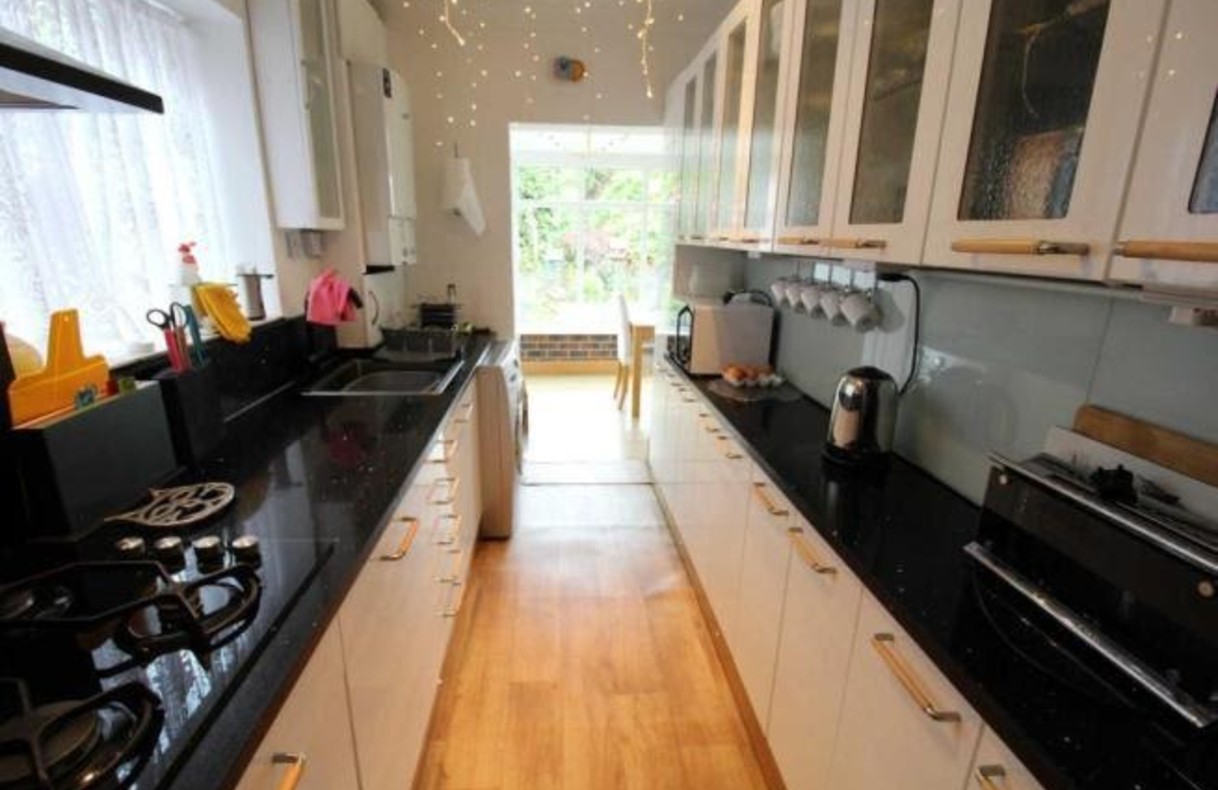
When my fiancé and I moved into our new house we knew we had a lot of work on our hands, and first on that list was the kitchen. It was a small galley kitchen in the darkest part of the house and impossible for two people to be using it at the one time. We decided that we would move the kitchen into the dining room and turn the small galley kitchen into a utility room and downstairs toilet. But, we were left with the question of what to do with the old kitchen.
There were a number of things we thought about. The most obvious option was to resell or donate the old kitchen. Even the oldest kitchen has a value as long as it's in good condition. Appliances can be sold or donated separately, and best of all, the buyers come to your door to collect.
Making updates to the existing kitchen is also an option, and often the easiest and most cost effective way to give it a revamp. DIY kitchen ideas like adding vinyl wrap or replacing the doors & worktop is a great way of updating your kitchen without too much disruption or cost. Painting older-style wooden doors is a simple way to modernise a kitchen, and something that any DIYer can put their hands to.
But, there is another way you can reuse your old kitchen by making it into different furniture for your home, which is the route we chose.
The old kitchen itself was in relatively good condition. It was about 10 years old, and made from Ikea cabinets with a black quartz worktop which sucked any remaining light out of the room. The room is not big enough to have full sized cabinets on both sides of the galley so the previous owners had shallower depth cabinets on one side.
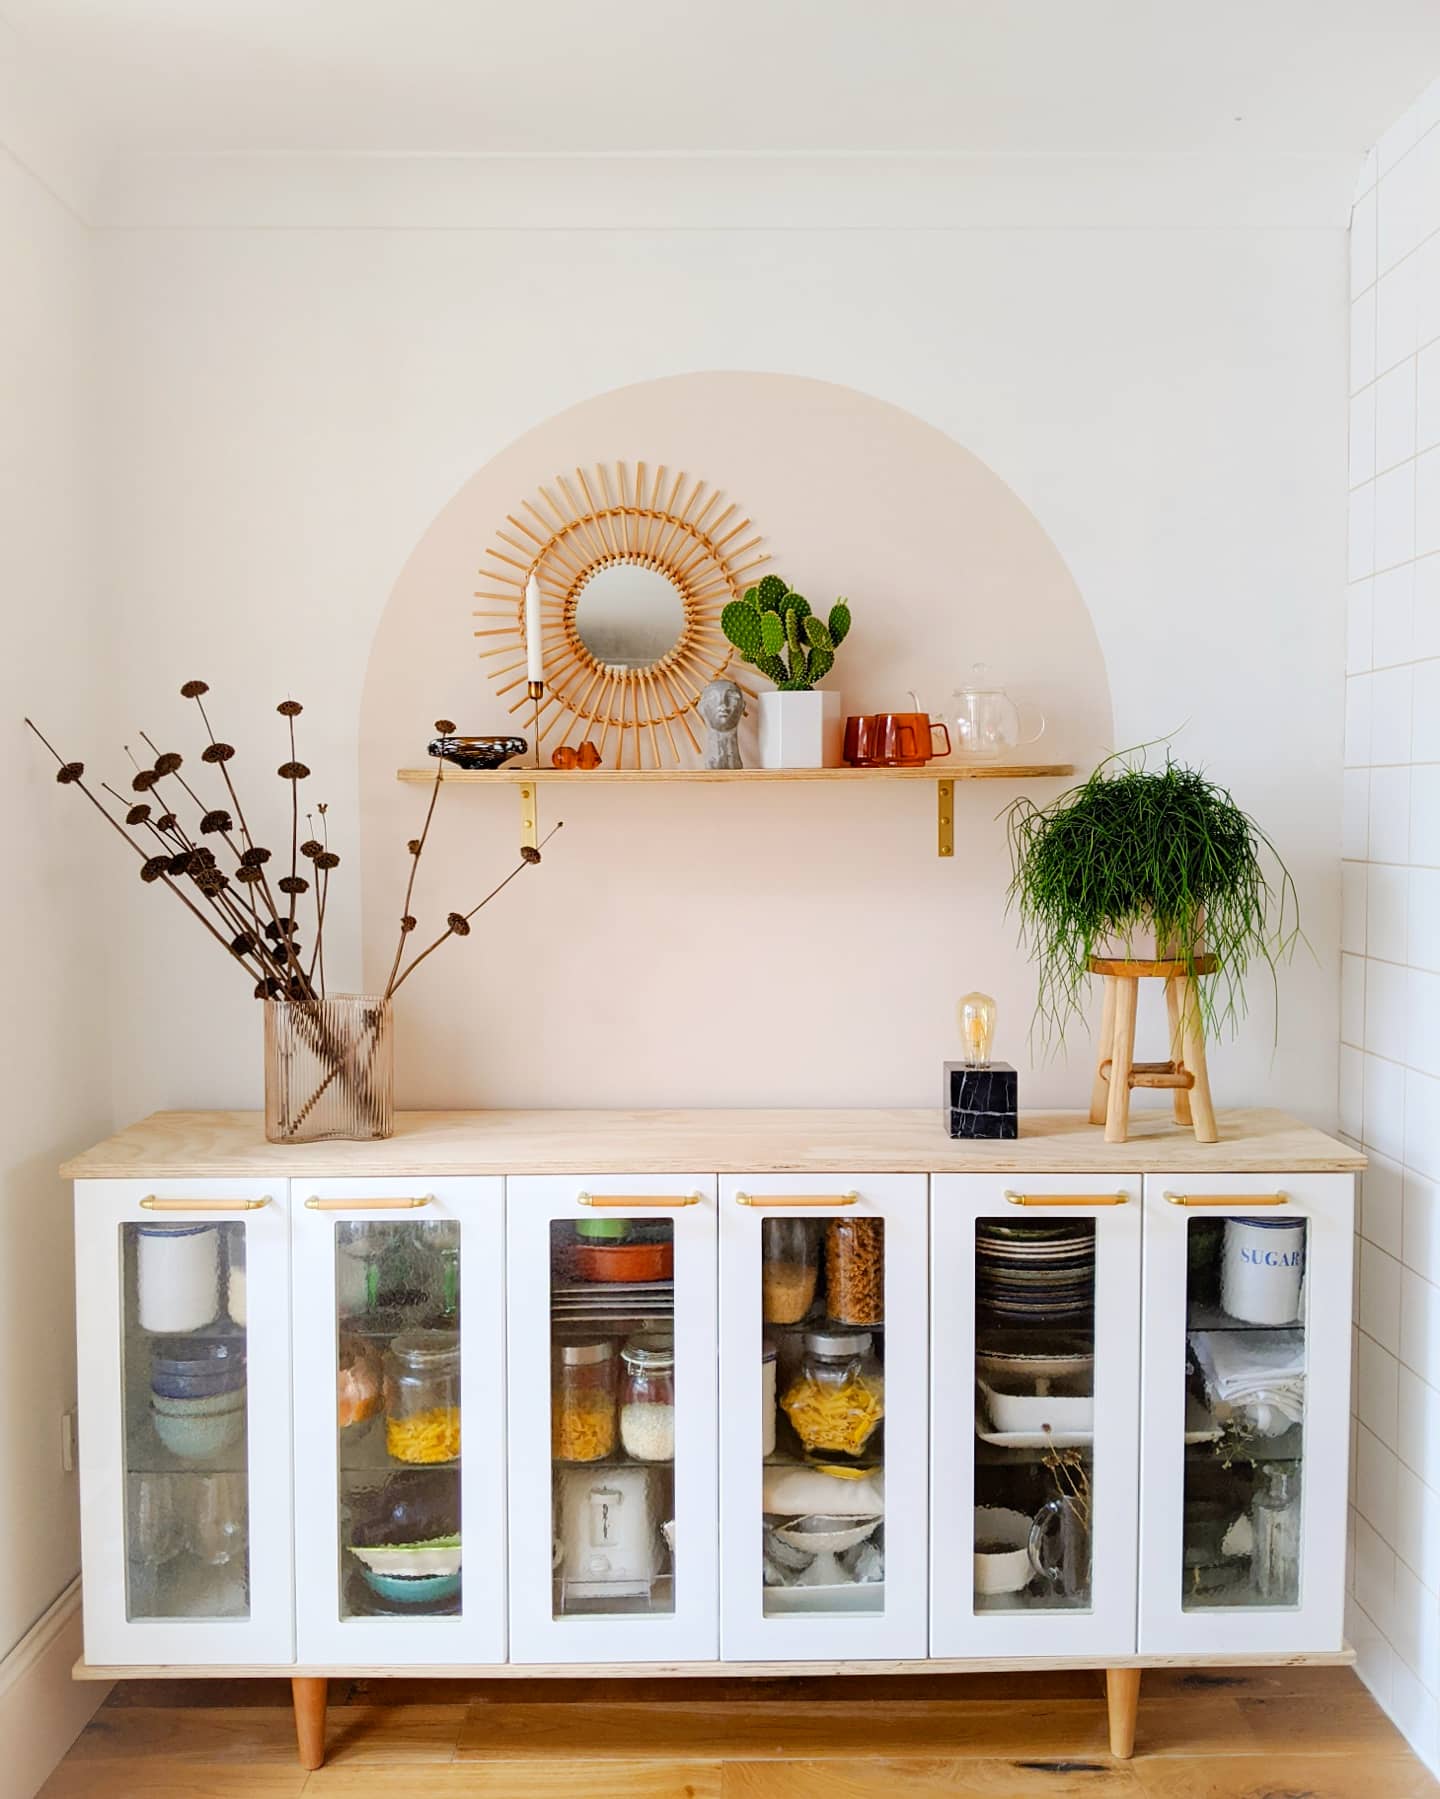
I knew we weren’t likely to get much interest in selling the shallower kitchen units so I decided to reuse them by making new sideboards. The end result: furniture we love and use everyday.
Get small space home decor ideas, celeb inspiration, DIY tips and more, straight to your inbox!
Here's how I did it.
- See also: Small kitchen design—How to plan your design and enhance your space
1. Dismantle the old kitchen
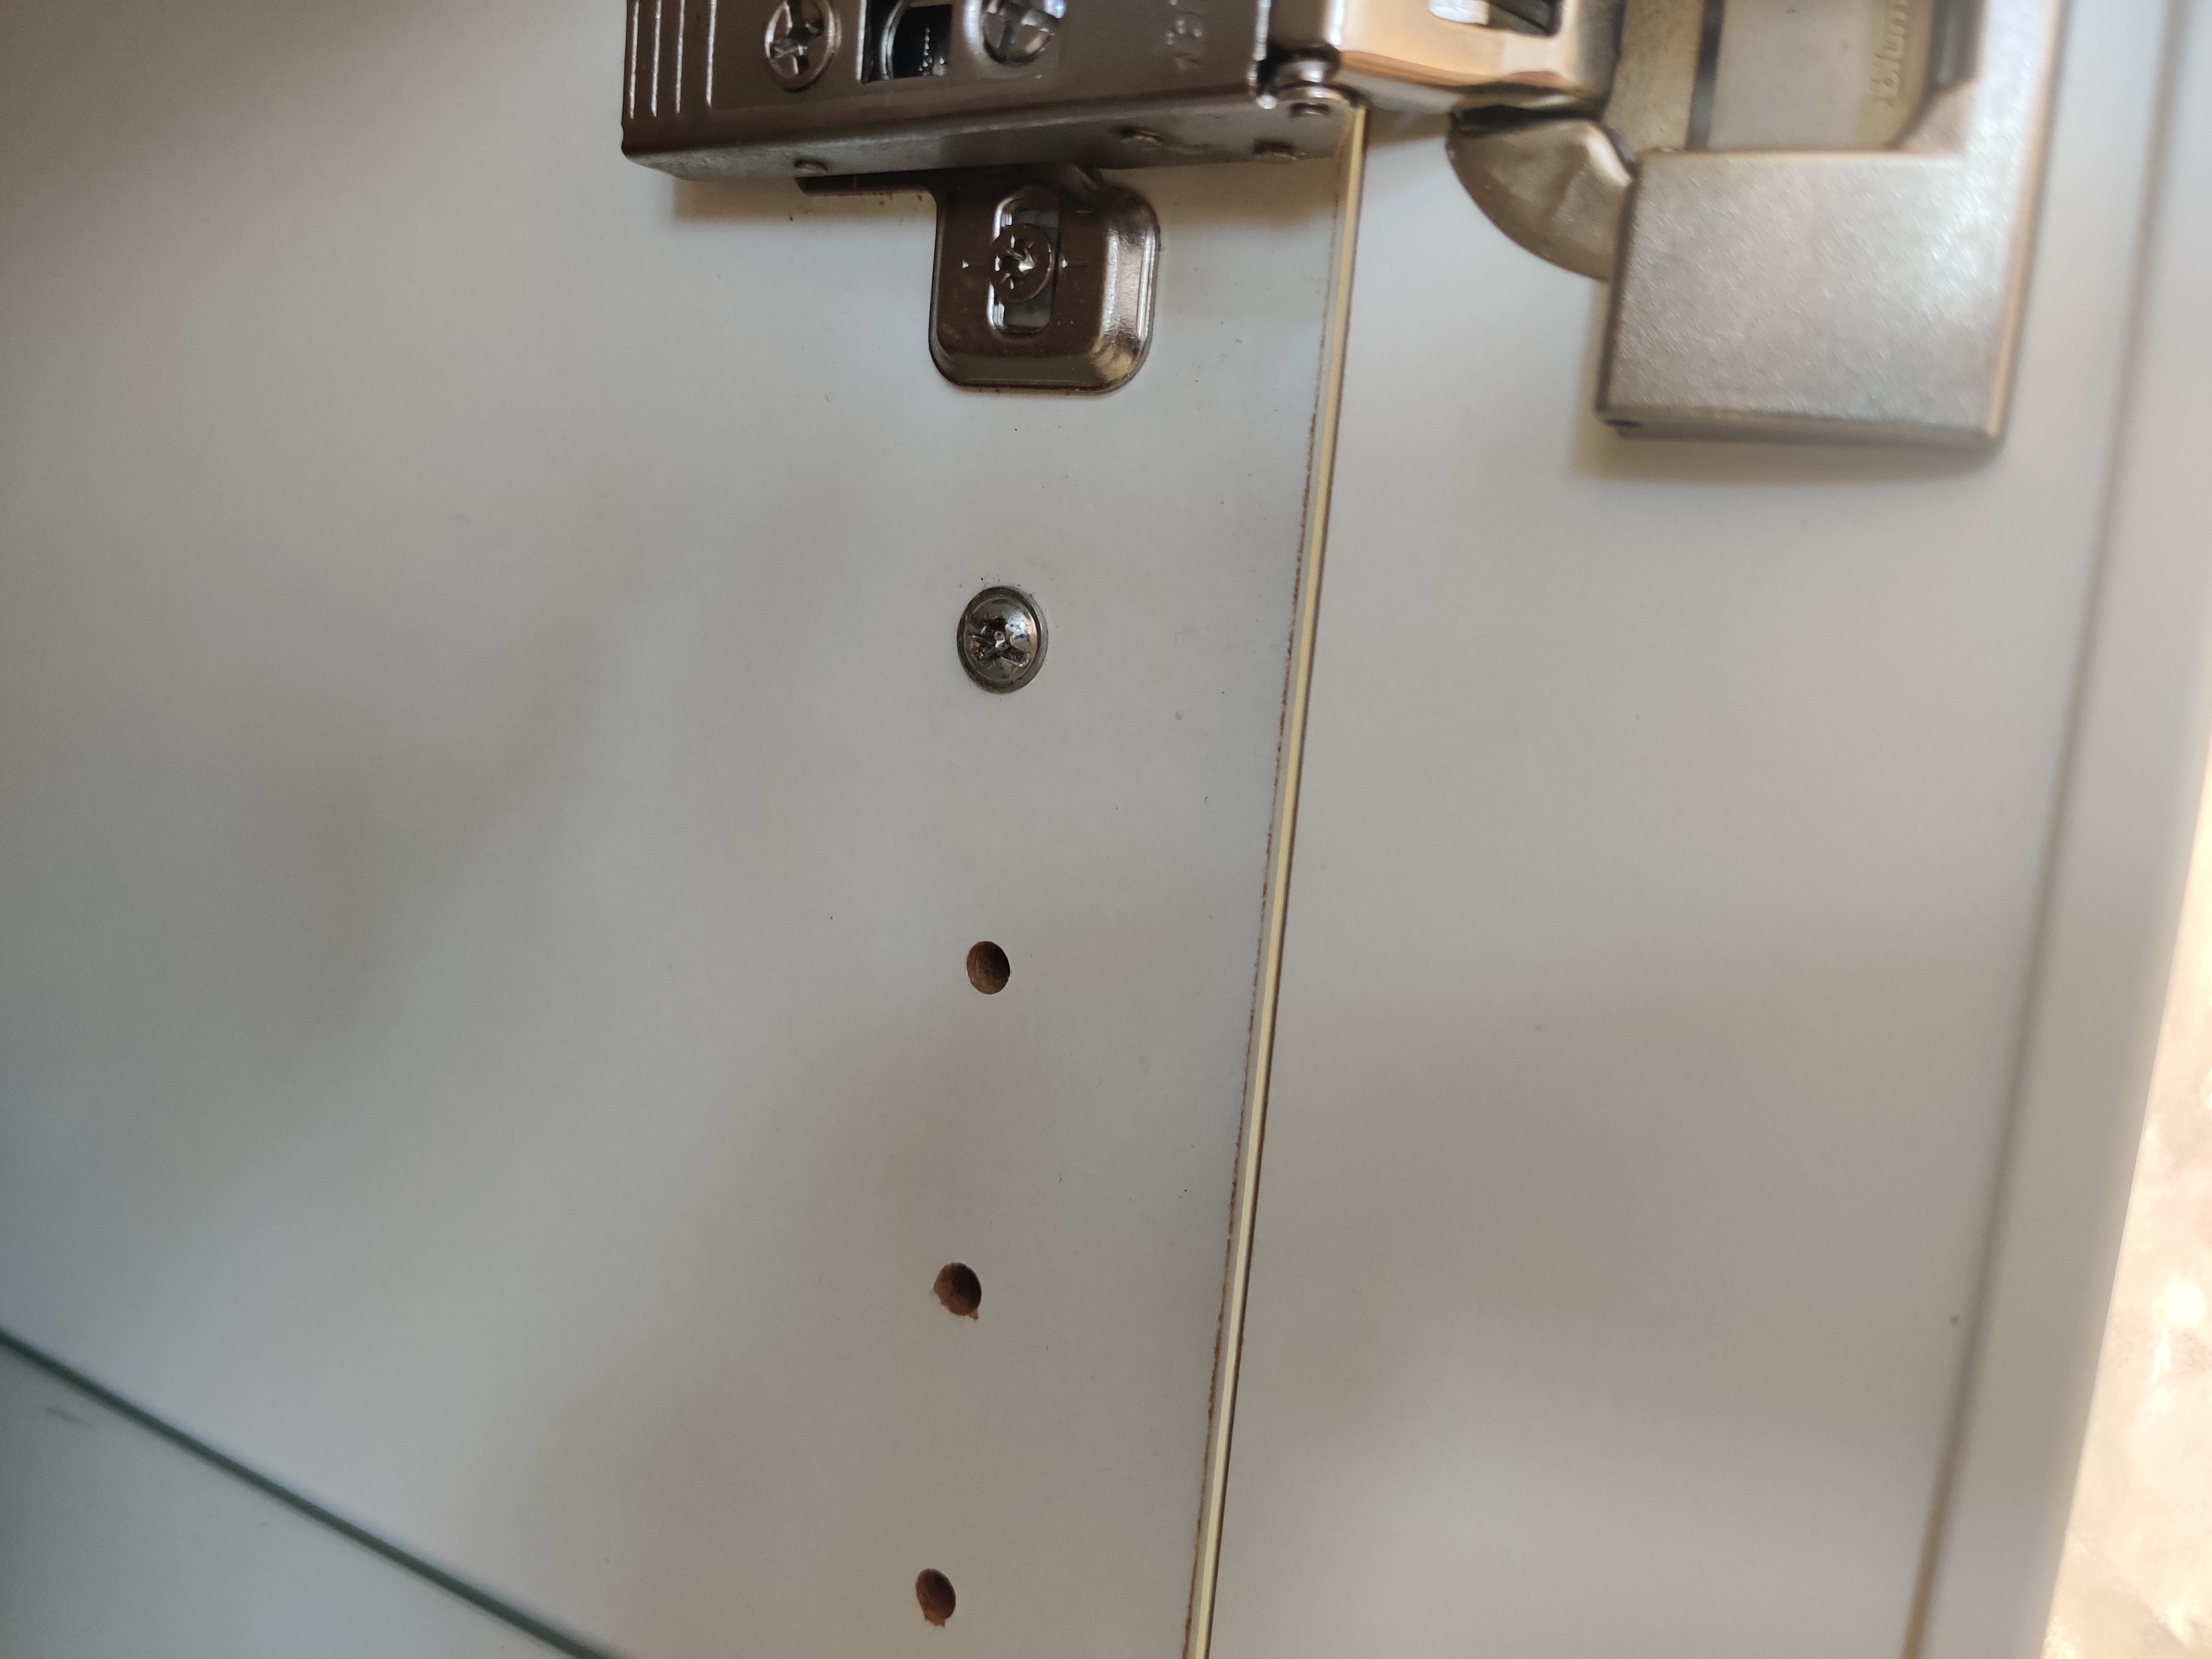
To be able to reuse the cabinets we needed to make sure we took them apart with care. Most kitchens cabinets are fastened together rather simply with some bolts or screws. Wall cabinets are generally hung on the wall and once all the connecting screws/bolts are removed, the cabinets can lifted out of place.
For the base cabinets, you will first need to remove the worktop. To do this empty each of the cupboards and remove the shelves. Look inside the cabinet and at the top you should see fixings or brackets for the worktop, these should unscrew with ease. Then remove the worktop (do this with care since worktops are heavy. Safety first!)
2. Design the sideboard
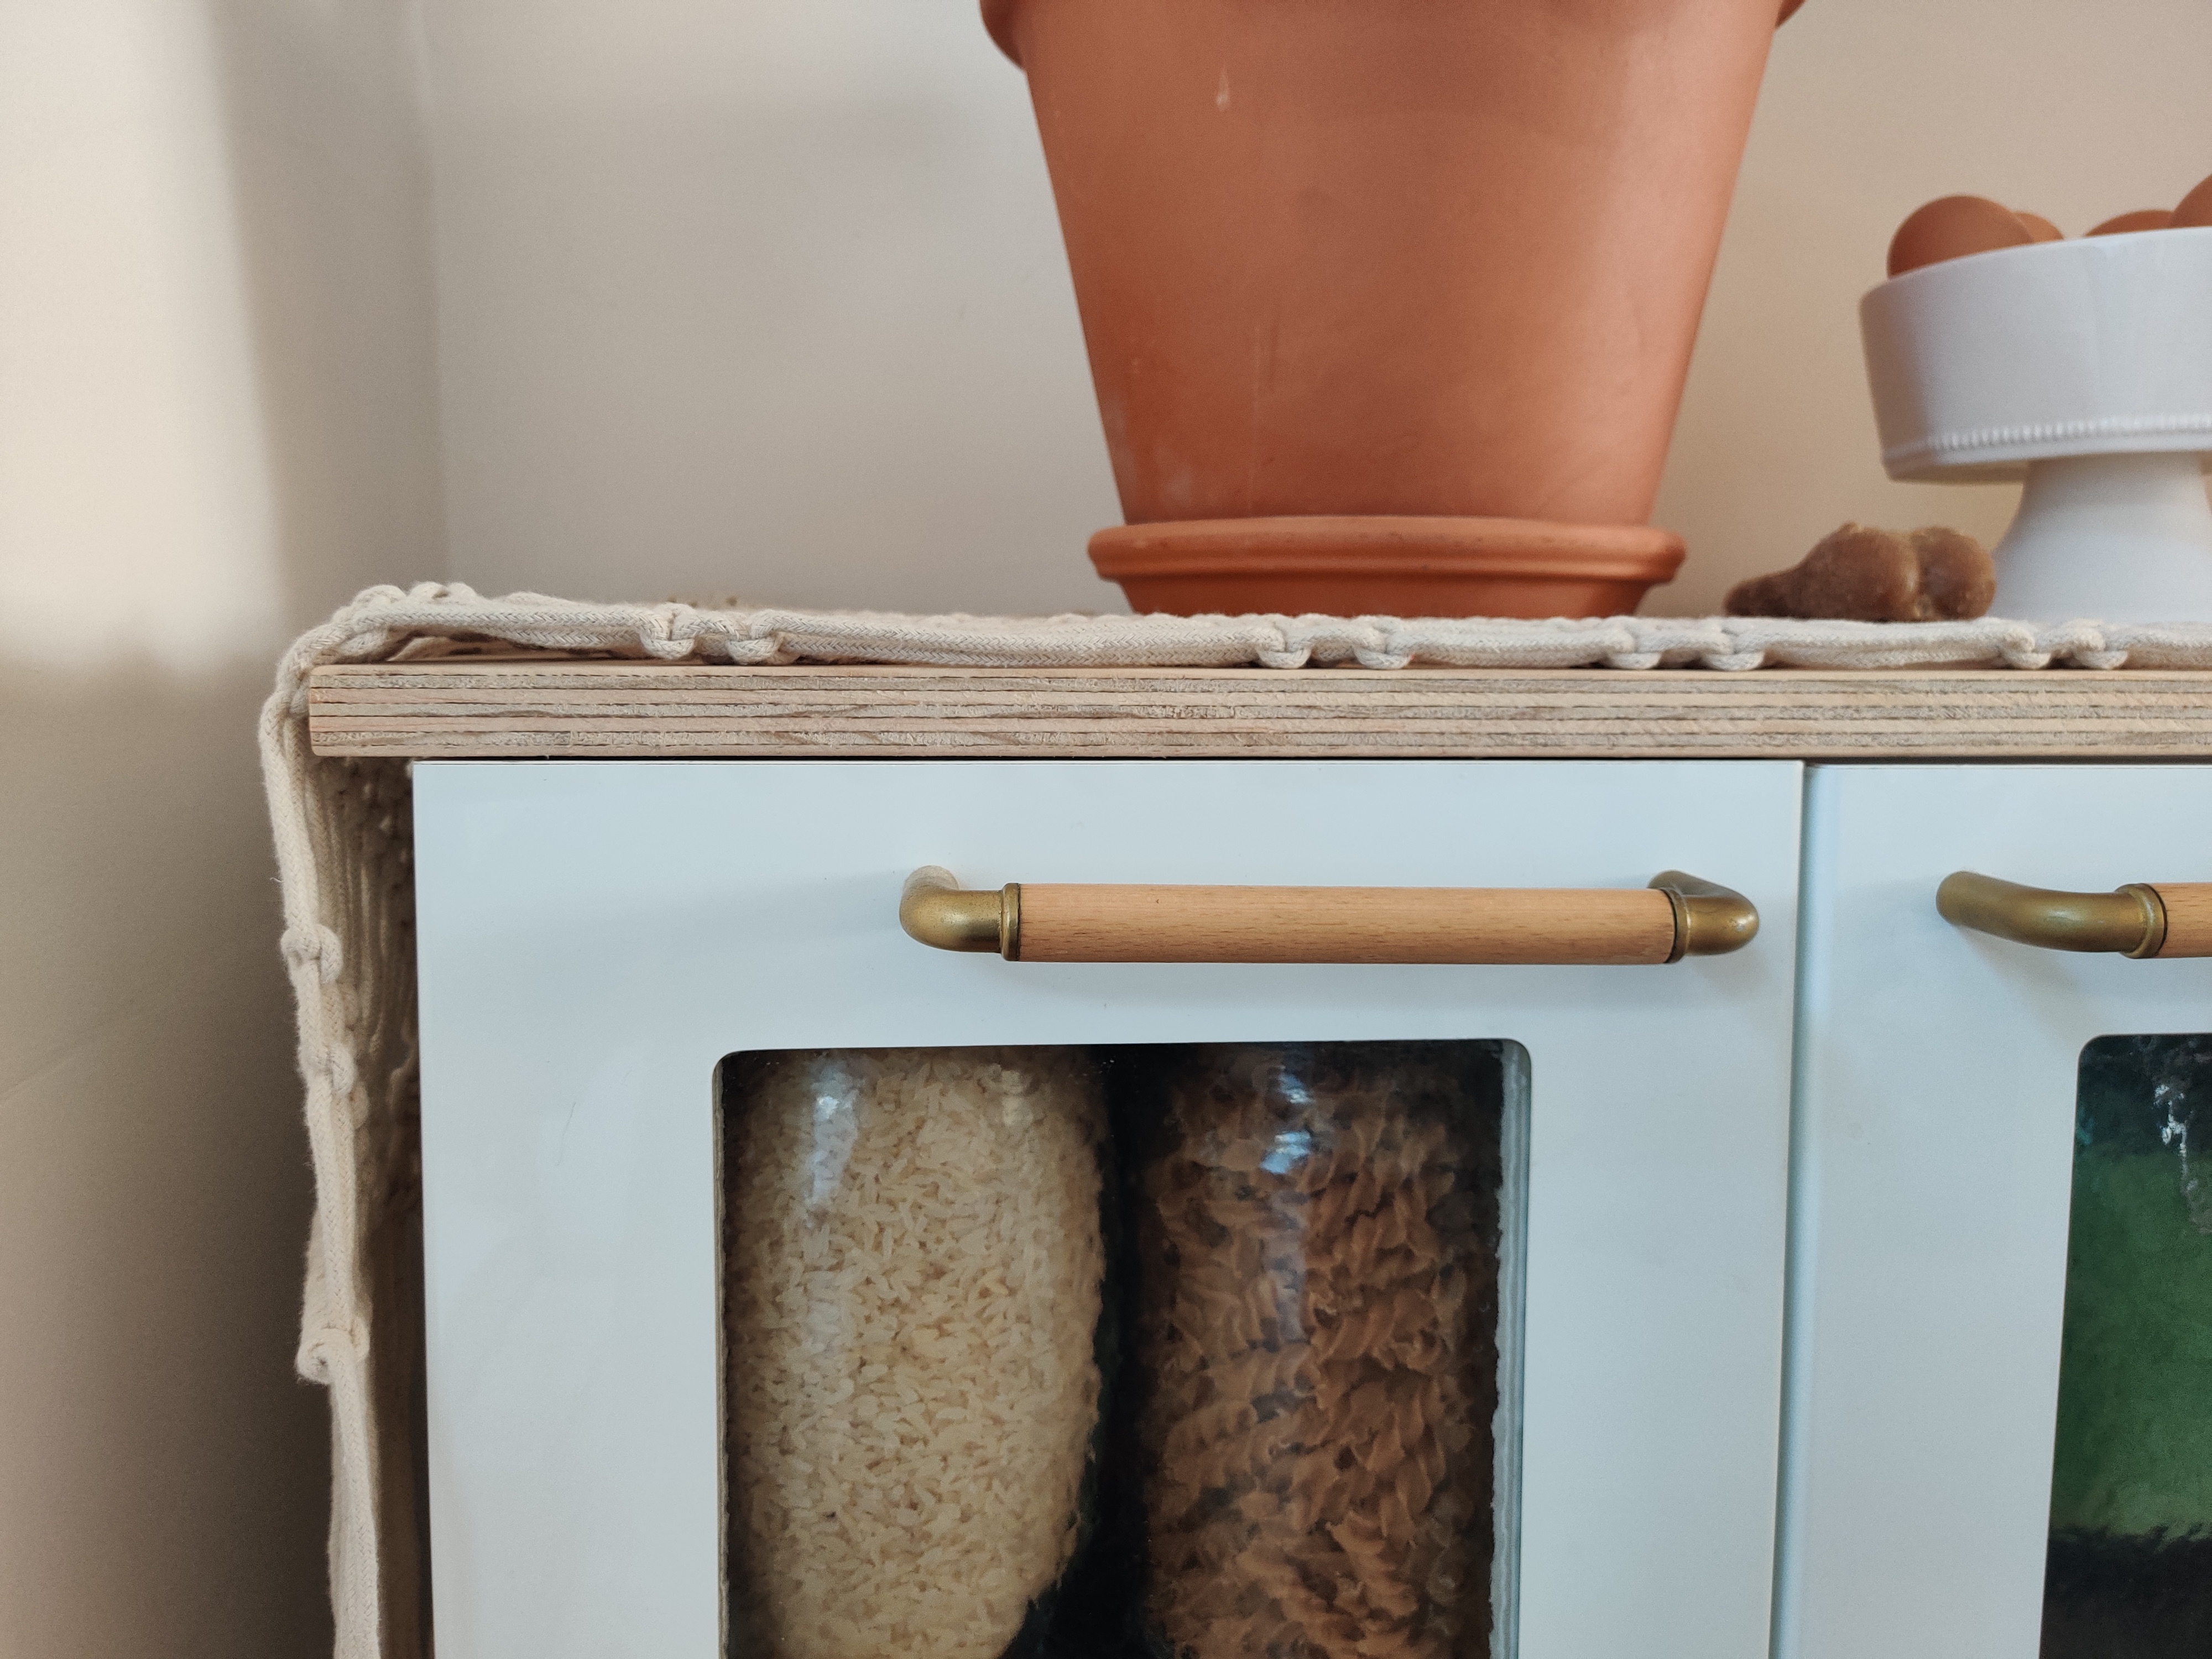
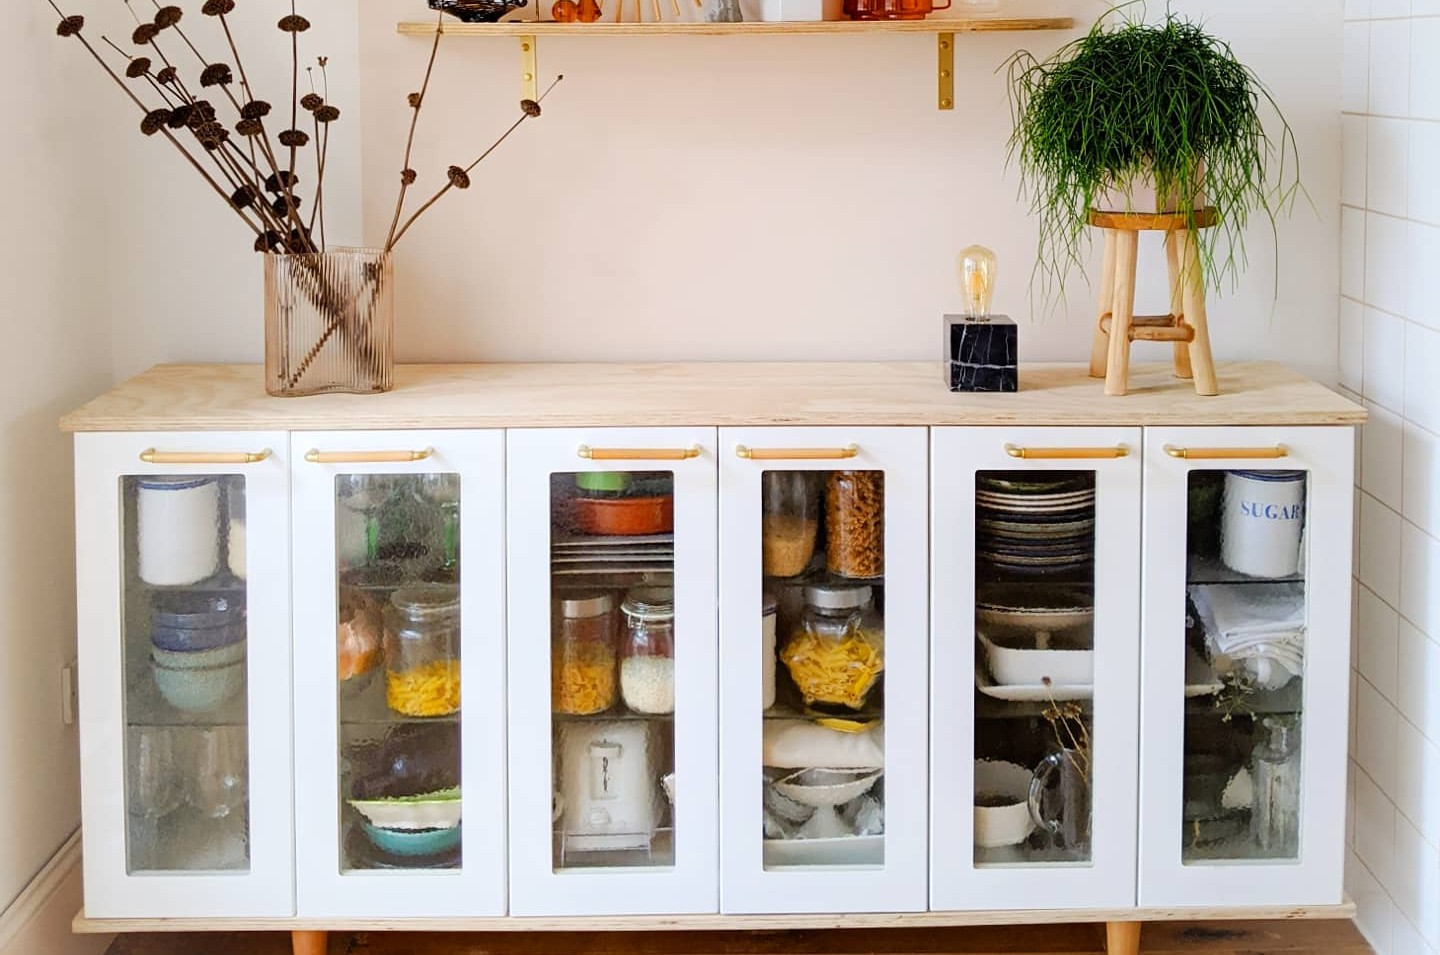
This is the fun bit. I had two types of cupboards to use, including top cabinets with lovely glass doors. Using three of the glass door cabinets, I made a sideboard on legs for the new kitchen. Our new kitchen heavily features plywood and white finishes and so I wanted to incorporate plywood into the sideboard. To do this the cabinets were places on a plywood base with matching legs, and topped with a plywood worktop.
We also used the four base cabinets in the office as some much needed storage.
3. Build the sideboard
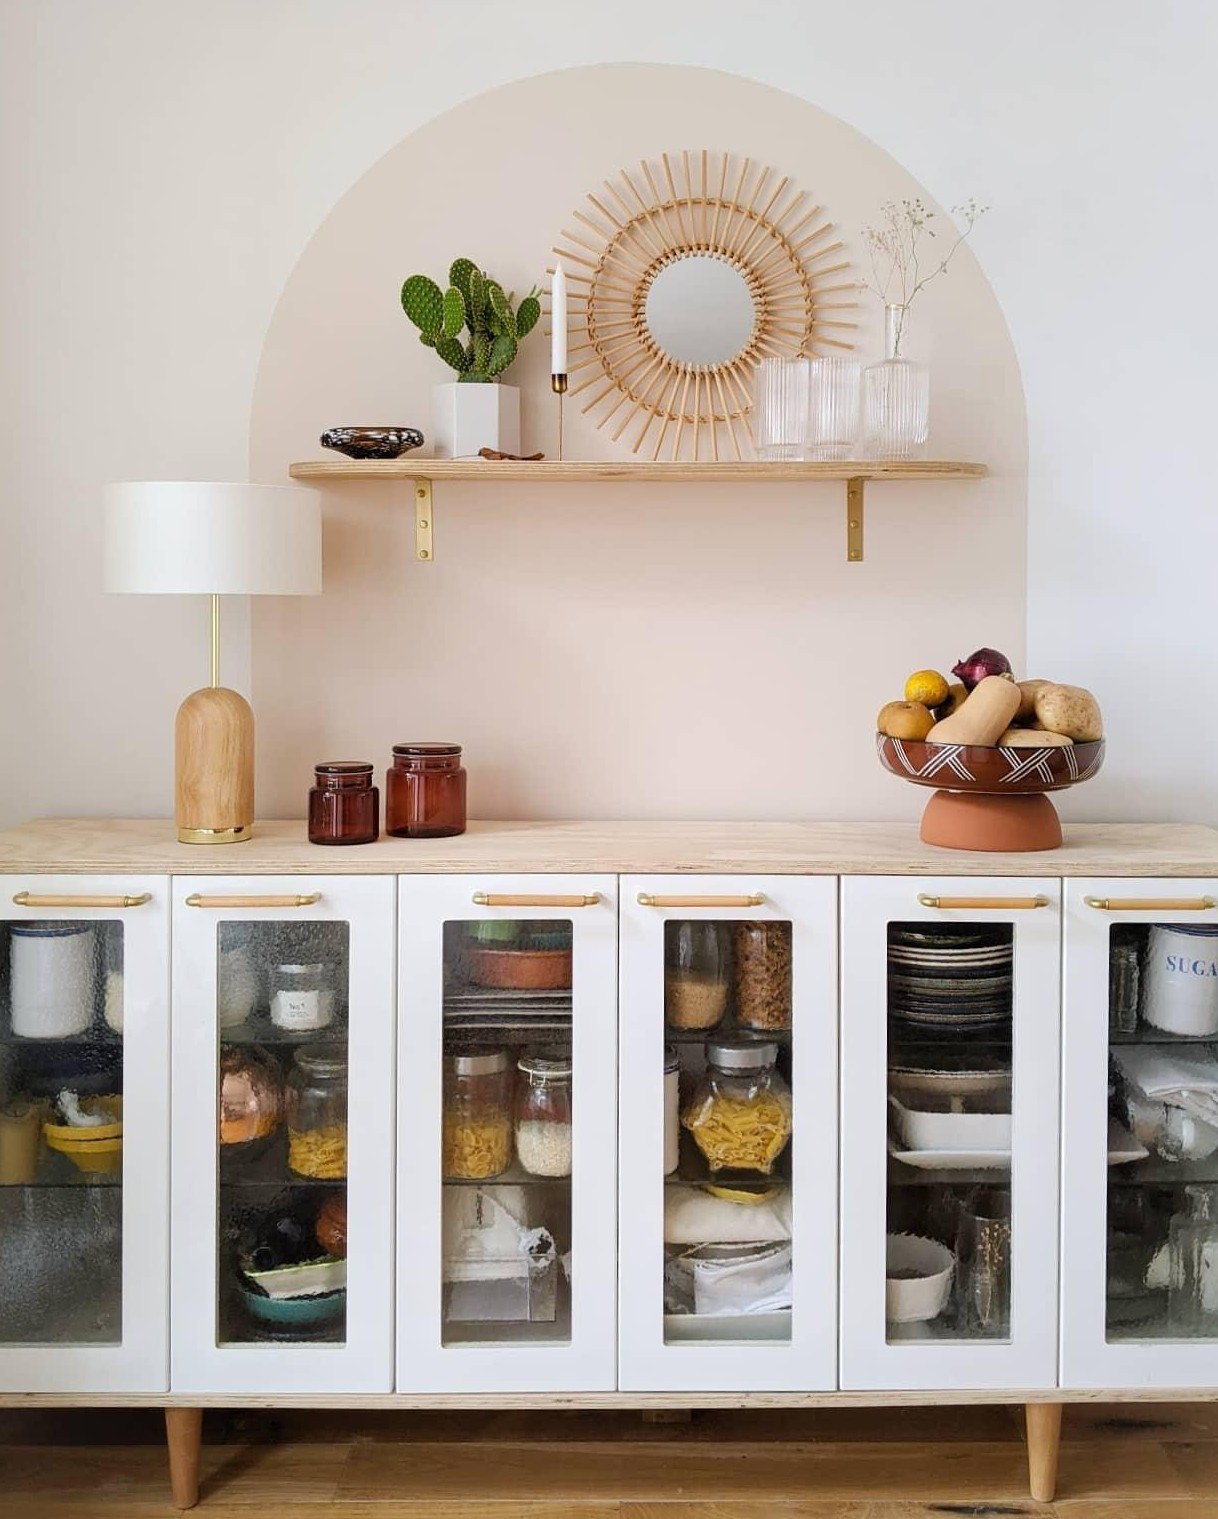
For the new kitchen sideboard we fastened three of the upper cabinets together. For the base and top of the sideboard I used 18mm birch plywood. The plywood can be cut to size in your local B&Q, however I used some leftovers from when we built the new kitchen. The wood needs to be sanded using a fine grit paper until smooth and I also sanded down the sides of the plywood and filled in an holes using a light wood filler. To make sure the wood stays durable I added a clear matte varnish to the exposed wood.
To mimic a mid century sideboard I got 4 wooden furniture legs on bolts with mounting plates from eBay costing approximately £20. To attach these I bored a hole into the base section of plywood and inserted a mounting plate for the legs to be screwed into. When the base was complete I placed the glass door cabinets on top of the plywood base. When I was happy with the position I secured the cabinets to the plywood using screws. To finish off I added the top section of plywood and secured it in place using screws from the underside.
Considering that most of us replace our kitchens every 10-to-15 years, this is a cheap and stylish alternative to putting your old kitchen into a landfill.
Jo Lemos is a DIYer and decorator who chronicles his projects on the popular Instagram account @two.men.and.a.semi. His DIY obsession began in childhood, when he used to help his parents redecorate the family house. Since then, he’s been developing his DIY skills for two decades, culminating in a full renovation of his current house alongside his partner, Chris. Currently the duo is restoring a 1930s semi-detached house in Manchester that had been badly renovated throughout the years. For Jo, sustainable and budget friendly design is the best way to renovate your house, and he considers his renovation motto to be: “Why pay someone when I can do it myself?!”

