How to create a DIY wall planner
Up your working from home set up with this easy peasy DIY wall planner
Working from home for the foreseeable future has its perks: wearing your pyjamas all day, not having to socialise with your colleagues etc. etc. BUT if you don't have the right set up, it can be frustrating. We think that creating a home workspace that's uplifting, inspiring and practical is more important than ever, which is why we've popped together this super easy DIY wall planner hack that will transform your current workspace – plus it's super practical as well as pretty. Not to mention the fun you'll have creating it.
Keep scrolling for the step-by-step and make sure you check out our home office ideas hub page for loads more ideas and advice.
You will need:
- Masking tape
- Tape measure
- Blackboard paint
- Paintbrush
- Chalk pens or stickers (for the numbers)
Step one: create your grid
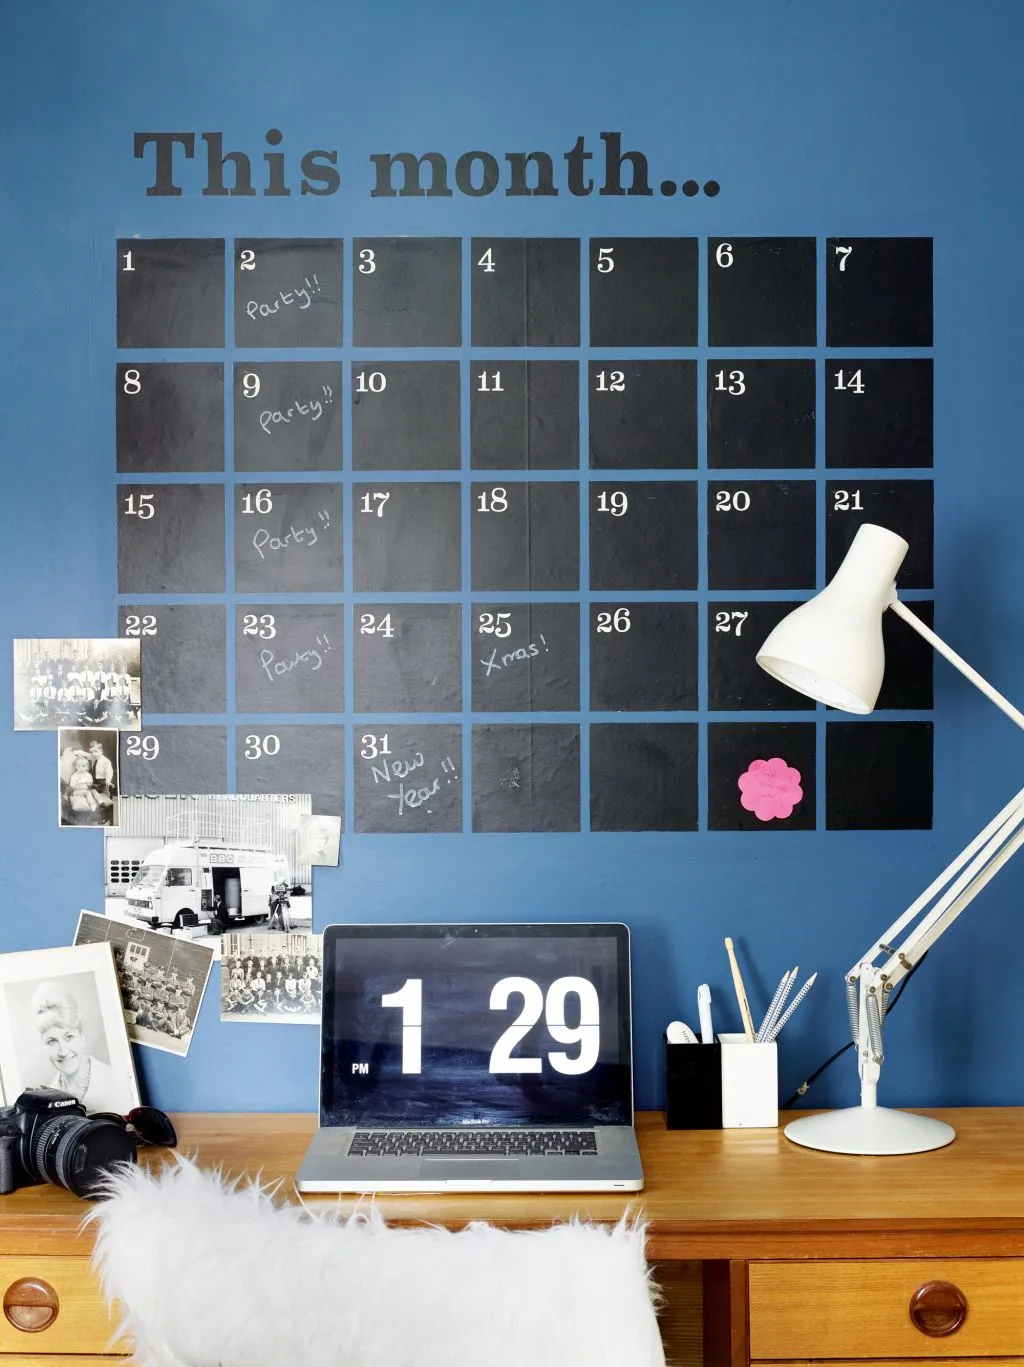
Spend some time thinking about how you want your design to look and what the wall planner needs in order to work for you. This wall planner features only the days of the month, so is seven squares across and five down, but you might want to add a section for a to do list or memorable dates.

Plan your grid using a ruler and masking tape, measuring out the size of the wall planner and the size of the boxes. Use the masking tape to mark out the design, this will become the gaps between each box.
Step two: paint the wall planner
Once all the masking tape is stuck to the wall and you can clearly see what your design is going to look like, you can start painting over the top. Use a small paintbrush to paint inside the lines of the template you have created with the masking tape. Leave it to dry for as long as is recommended by the brand of paint you have used.
Step three: draw in the details
You could buy stickers to mark each day on your wall planner or you could go in with a chalk pen and draw them on yourself. You can also add a title to your to do list and customise your planner with colours and doodles.
More home office ideas:
