How to paint trim and molding: A beginner's guide for a pro finish
Painting trim and molding will perfect your room's decor and show off the color on your walls. DIY like a professional in seven easy steps with our guide.
Get small space home decor ideas, celeb inspiration, DIY tips and more, straight to your inbox!
You are now subscribed
Your newsletter sign-up was successful
While painting trim and moldings in your home might not feel like it will have a dramatic effect on a room, it can help create a more polished finish plus, enhancing any decorative architrave you have on display will instantly smarten up your interiors – especially if you have a more historic home.
How you approach the job of painting moldings around your ceiling, walls, windows and doors will very much depend on whether you are working with bare timber, or wood that has been previously painted. But, the overall finish you can achieve is totally worth it. A key part of painting a room, go down the DIY route for a more budget-friendly but super satisfying home improvement.
Do you paint trim first or last?
Some recommend painting moldings before painting walls as it's easier to tape and protect than the wall however, this could actually be more hassle (and mess) than it's worth and we'd recommend painting trim after your walls and ceiling are painted. Kaitlin Madden, Global Editor-in-Chief of Real Homes and savvy DIYer always paints baseboards and other room trim last. 'I always do them after because I feel like it's easier not to get trim paint on walls than it is not to get wall paint on trim, since the wall paint can drip down on the trim.'
What kind of paint do you use on molding?
Before you begin, consider the finish you want to achieve as different paint types will result in different looks, the best paints for wood molding include:
- Gloss paint: As the name suggests this is a high gloss paint for a shiny finish. It has fallen out of favor recently, with many preferring matt finishes as gloss can highlight brushstrokes and imperfections. It wipes down well making it practical for kitchens or bathrooms, but can take a long time to dry when you paint.
- Satin paint: Somewhere between gloss and a matt finish, satin paint tends to be more hardwearing and easier to wipe down than matt finishes. It offers a soft sheen finish.
- Eggshell: Eggshell is nearly matt in finish, but more durable than a flat matt emulsion. It works well on cupboards and doors as it is easy to work with and keep clean.
How to paint trim step-by-step
You will need:
1. Protective eyewear
2. Dust sheets/old bed cloths
3. High-quality paintbrush (the width/around the same size as the molding): We like Wooster paintbrushes for this DIY
4. Painters/Frog tape: we buy Frog Tape or Scotch brand
5. A clean cloth/damp sponge
6. Knotting pale
7. Wood primer: We like Valspar's High Hiding Primer
8. Your paint of choice: one of the best paints for wood is ideal
9. No-load sandpaper 80/100/120 grit
10. Wood filler & caulk: Pro brand or Gorilla will get the job done
1. Prepare the area
You will first need to remove or cover furniture that is near or around the woodwork, and also your floors — a dustsheet or old bed sheet is the easiest way to do this. It is also wise to use masking/frog tape between the trim to be painted and the walls and floor it runs up to.
DIY-er Dori Turner shares a top tip, 'Another alternative to taping off the trim is to use a high-quality trim brush like Wooster and a steady hand to carefully paint the trim.'
2. Treat softwood moldings with knotting pale
Begin by applying a knotting solution to softwood moldings. This prevents sap from leaking out and into your paint finish.
Get small space home decor ideas, celeb inspiration, DIY tips and more, straight to your inbox!
3. Sand down the trim
You could be tempted to skip this part but, sanding will help the primer and paint absorb well into the grain for a smooth and neat trim finish. At this point, the wood can then be sanded using whichever level grit sandpaper is best for the job: if the woodwork is already pretty smooth use 120-grit and if it's coarse choose 80-grit to start with. Clean it up smooth and blended with a cloth.
4. Fill any cracks and dents
Any screw holes and dents should be filled with wood filler like Pro brand or Gorilla, before the cracks between the wall and the woodwork are filled with caulk and allowed to dry.
5. Sand again
To smooth the surface again, give moldings a light once over again with 120-grit sandpaper.
6. Prime moldings
Primer is the key to a neat and professional-looking finish when painting trim. Use a wood primer, applying it using a high-quality paintbrush of a thickness that suits the wood you are painting. Depending on the product you use, you may not need to apply a separate undercoat.
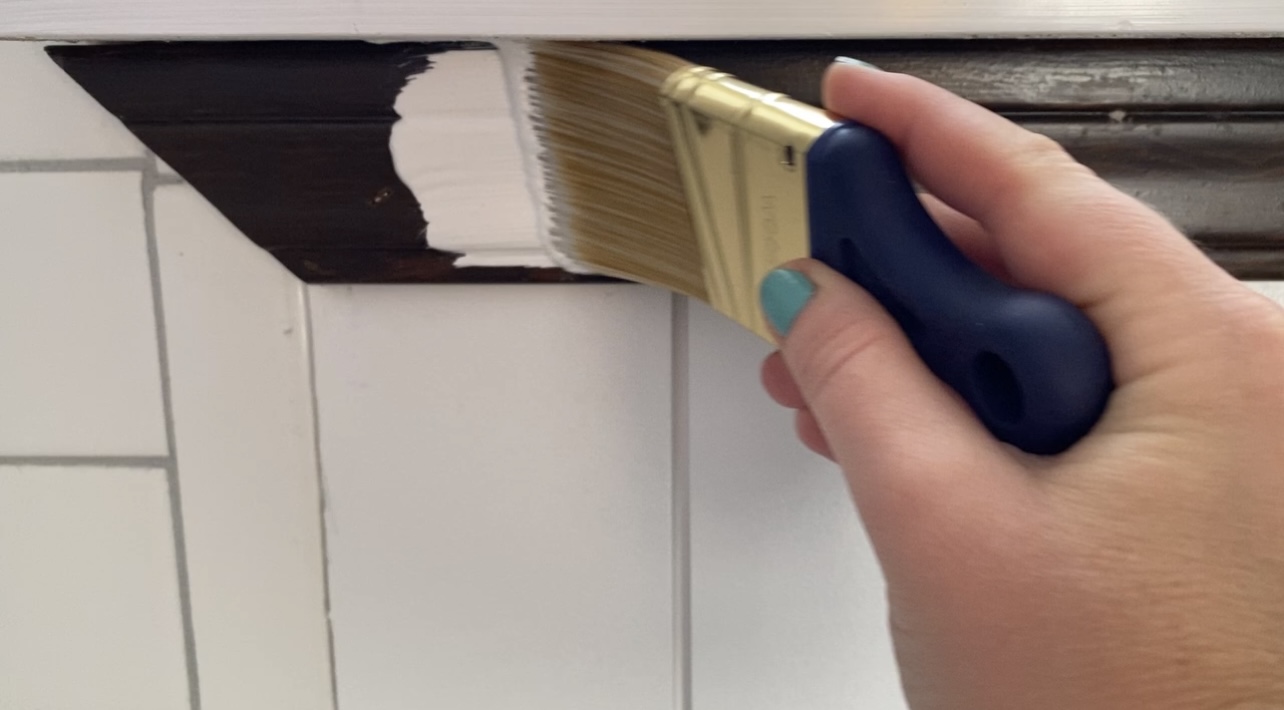
Turner adds 'This is a crucial step, especially if you’re painting over dark trim. Using a primer like Valspar’s High Hiding Primer will ensure that the topcoat has a good surface to adhere to and will make your trim look clean and crisp. If your trim is really dark you may want to do two coats of primer before moving onto the topcoat.'
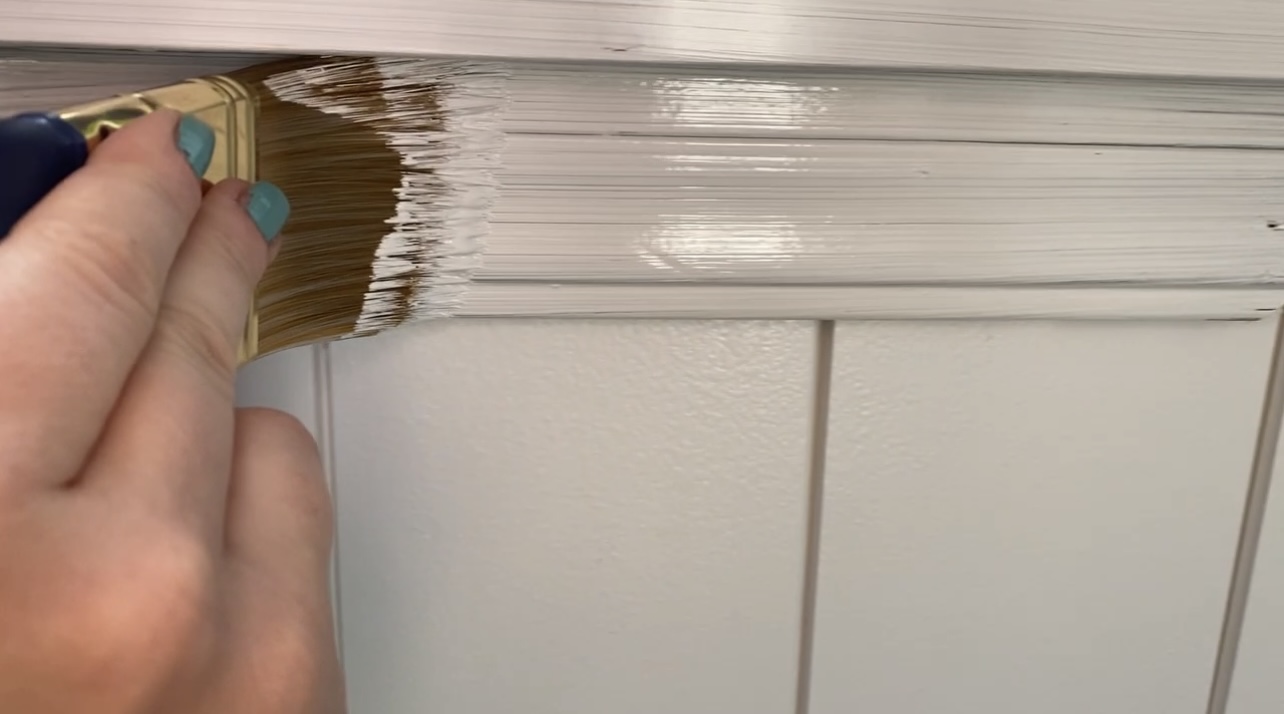
7. Start on the final topcoat
With the primer/undercoats fully dry you can move on to the final topcoat. Work with the grain of the wood and avoid the temptation to overload your brush. Depending on how many coats of primer you used and whether or not you used an undercoat, you may only need to apply one coat.
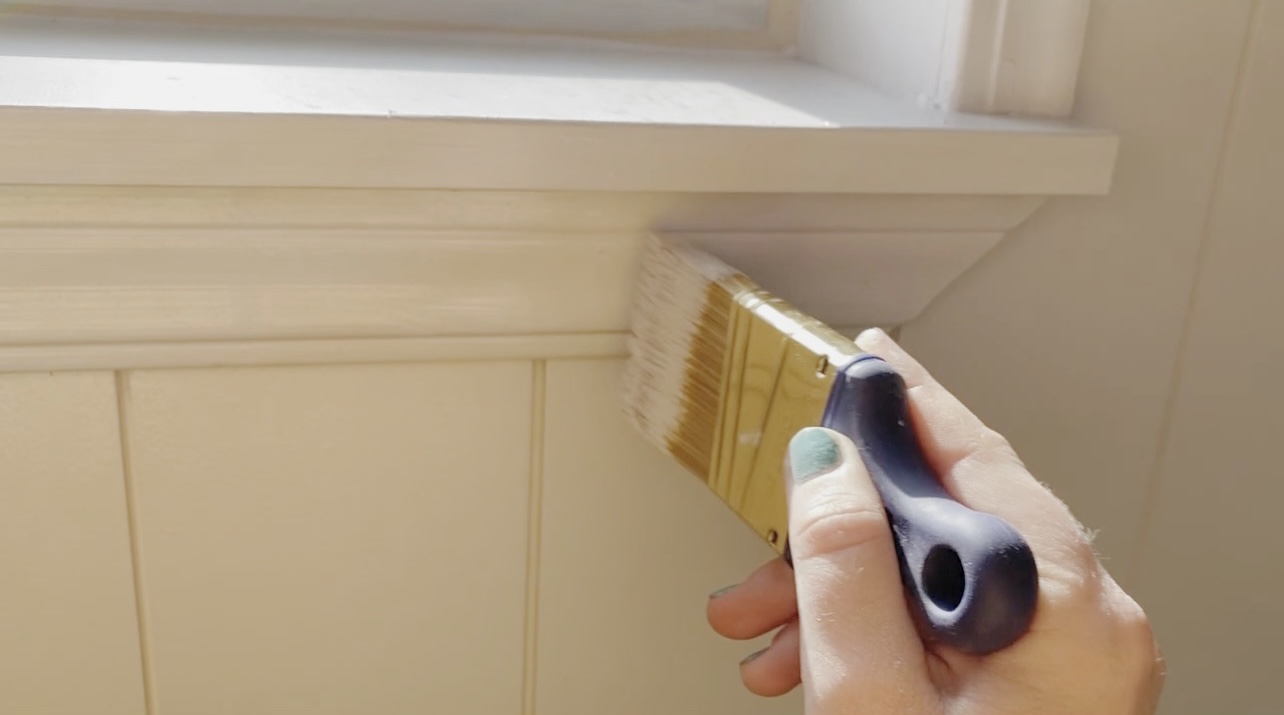
Turner advises how 'Using a paint specifically made for trim will help create a lasting finish. An oil-based enriched semi-gloss enamel will harden and create a durable finish that’s easy to clean and maintain for years to come.'
The results:
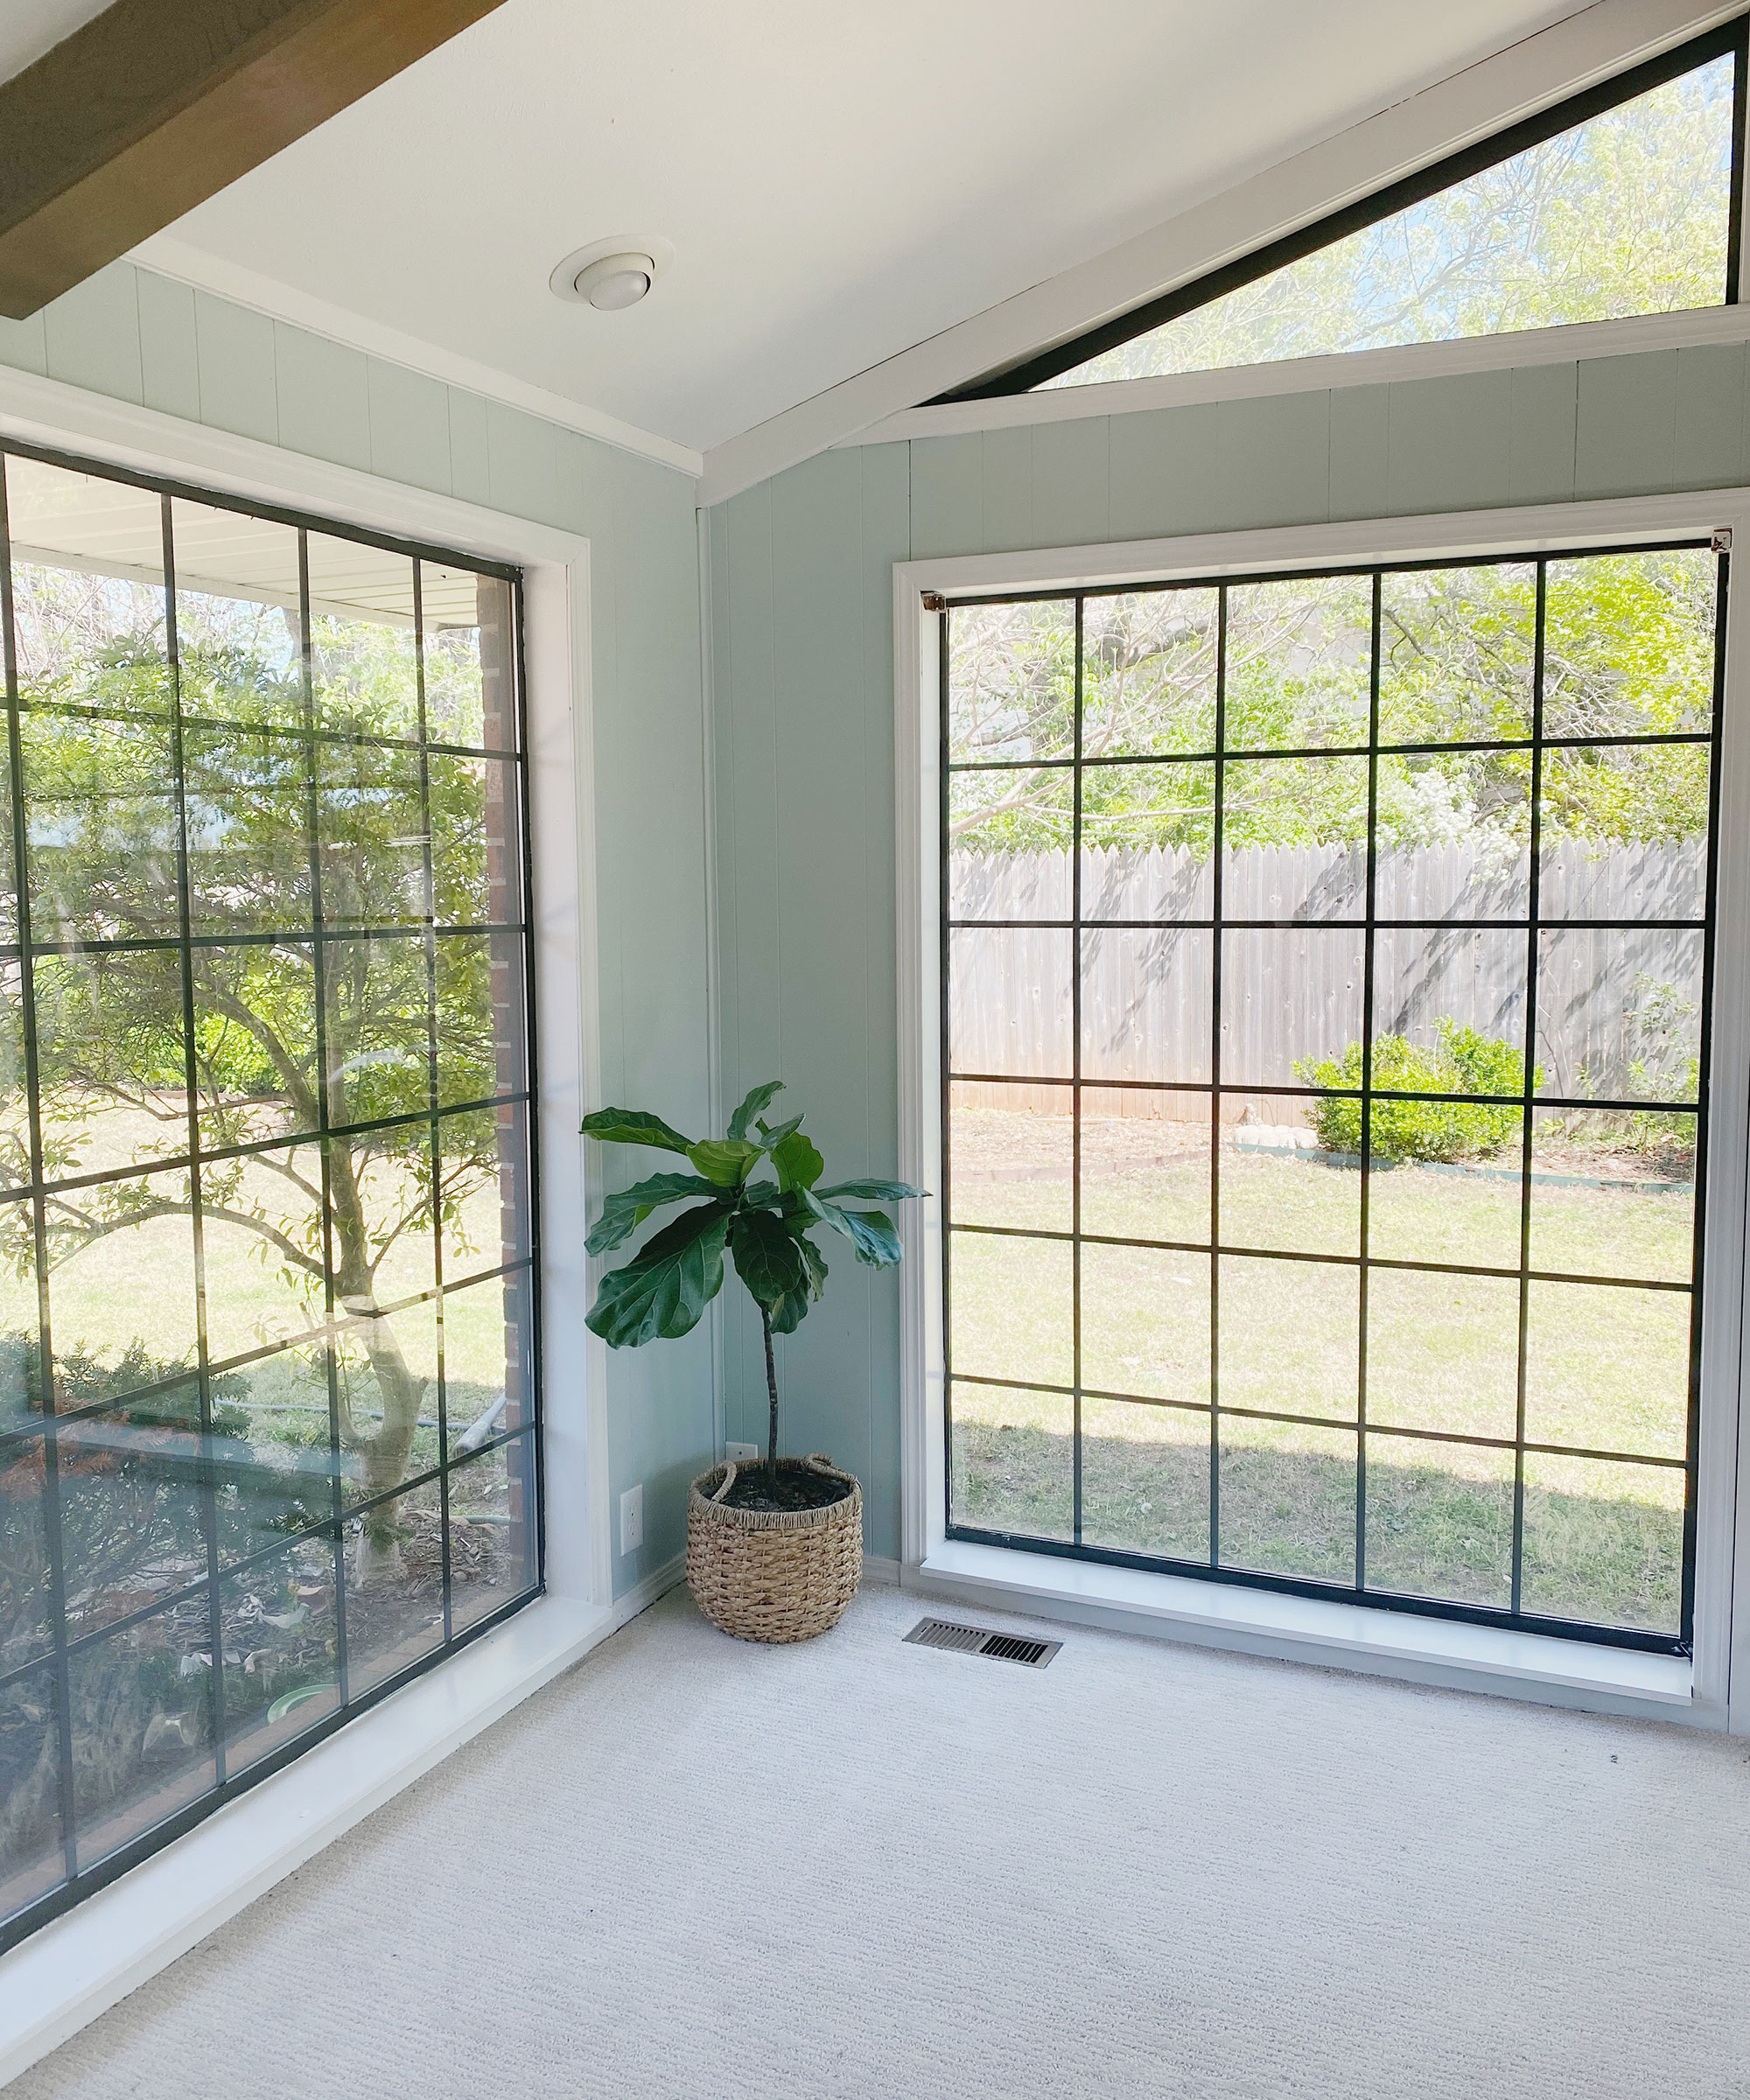
Can I paint over painted trim?
If you're repainting trim then start by assessing the condition of the existing paint. If it is peeling very badly you might need to use a paint stripper and solution or heat gun to remove what remains.
Turner says, 'Painting over existing painted trim is definitely an option. Unless the trim was painted in a dark color, you can skip priming. If there are any places where the old paint is chipping off you can carefully sand them down and then apply a new topcoat. '
Care should be taken with both methods in terms of protecting surrounding furniture and floors, as well as your skin. You will need to wear gloves and a mask and if there is a chance that the paint might be lead-based you should seek the advice of a professional. Otherwise, there should be no need to remove all of the existing paint, and a light sanding will be all that is required to provide a good key for the new paint.
- Clean the surface with sugar soap.
- When dry apply an undercoat/primer — one application should be enough.
- Finally, finish with your chosen paint, priming beforehand and following the same method as for bare wood.
How do you paint trim neatly?
Turner's top tip for a precise finish is: 'Using a paintbrush that is specifically made for trim will help ensure a neat finish.'
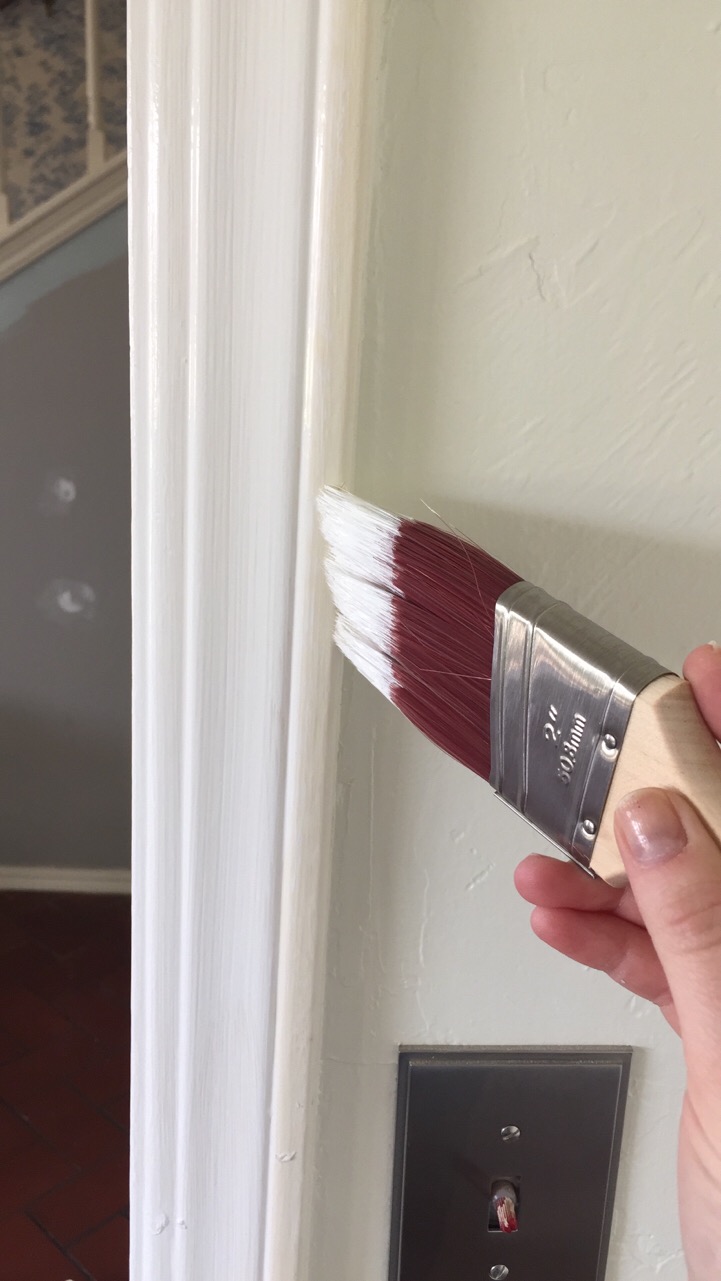
Here are our top tips to get a crisp finish when painting trim and molding, without a brushstroke or drip in sight:
- Cut in edges: Cut in with paint as you would on walls for more precision.
- Don't overload your brush: Use the slap technique when filling up your brush to remove excess paint, rather than wiping as this just pushes the paint to the center of the brush leading to drips.
- Never overlap: Avoid uneven marks by not working in the paint too much and by not starting to paint, over an already painted area.
- Brush off the surface: With each stroke, start in an unpainted area but work in towards painted sections, ensuring you brush off with each stroke to lay off the paint neatly.
- Watch your edges: Never brush across an edge as drips will be likely. Paint towards or along edges to avoid buildup.
- Rollers vs. brushes when painting trim: Use a small high-density foam paint roller if you want to make this a quick job however, you will most certainly still need a paint brush for touch ups so be aware of that!
- Dori Turner
- Camille Dubuis-WelchFormer Deputy Editor