How to use a laser level
Level up your DIY projects with this handy pro tool

Get small space home decor ideas, celeb inspiration, DIY tips and more, straight to your inbox!
You are now subscribed
Your newsletter sign-up was successful
If you’ve ever put up a shelf, added wall paneling to a room, or done pretty much any DIY job at home the chances are you’ve used a spirit level. Most homes have one in some form or another (this includes those keyring spirit-level cracker-gifts!) but they come with varying degrees of accuracy and can cause a bit of a juggle for the solo DIYer as they often need to be held in place.
As they say, necessity is the mother of invention so it’s no surprise that some bright spark invented the laser level. So, if you have an upcoming DIY project that demands level lines here is how to use a laser level, plus everything you need to know about this invaluable tool.
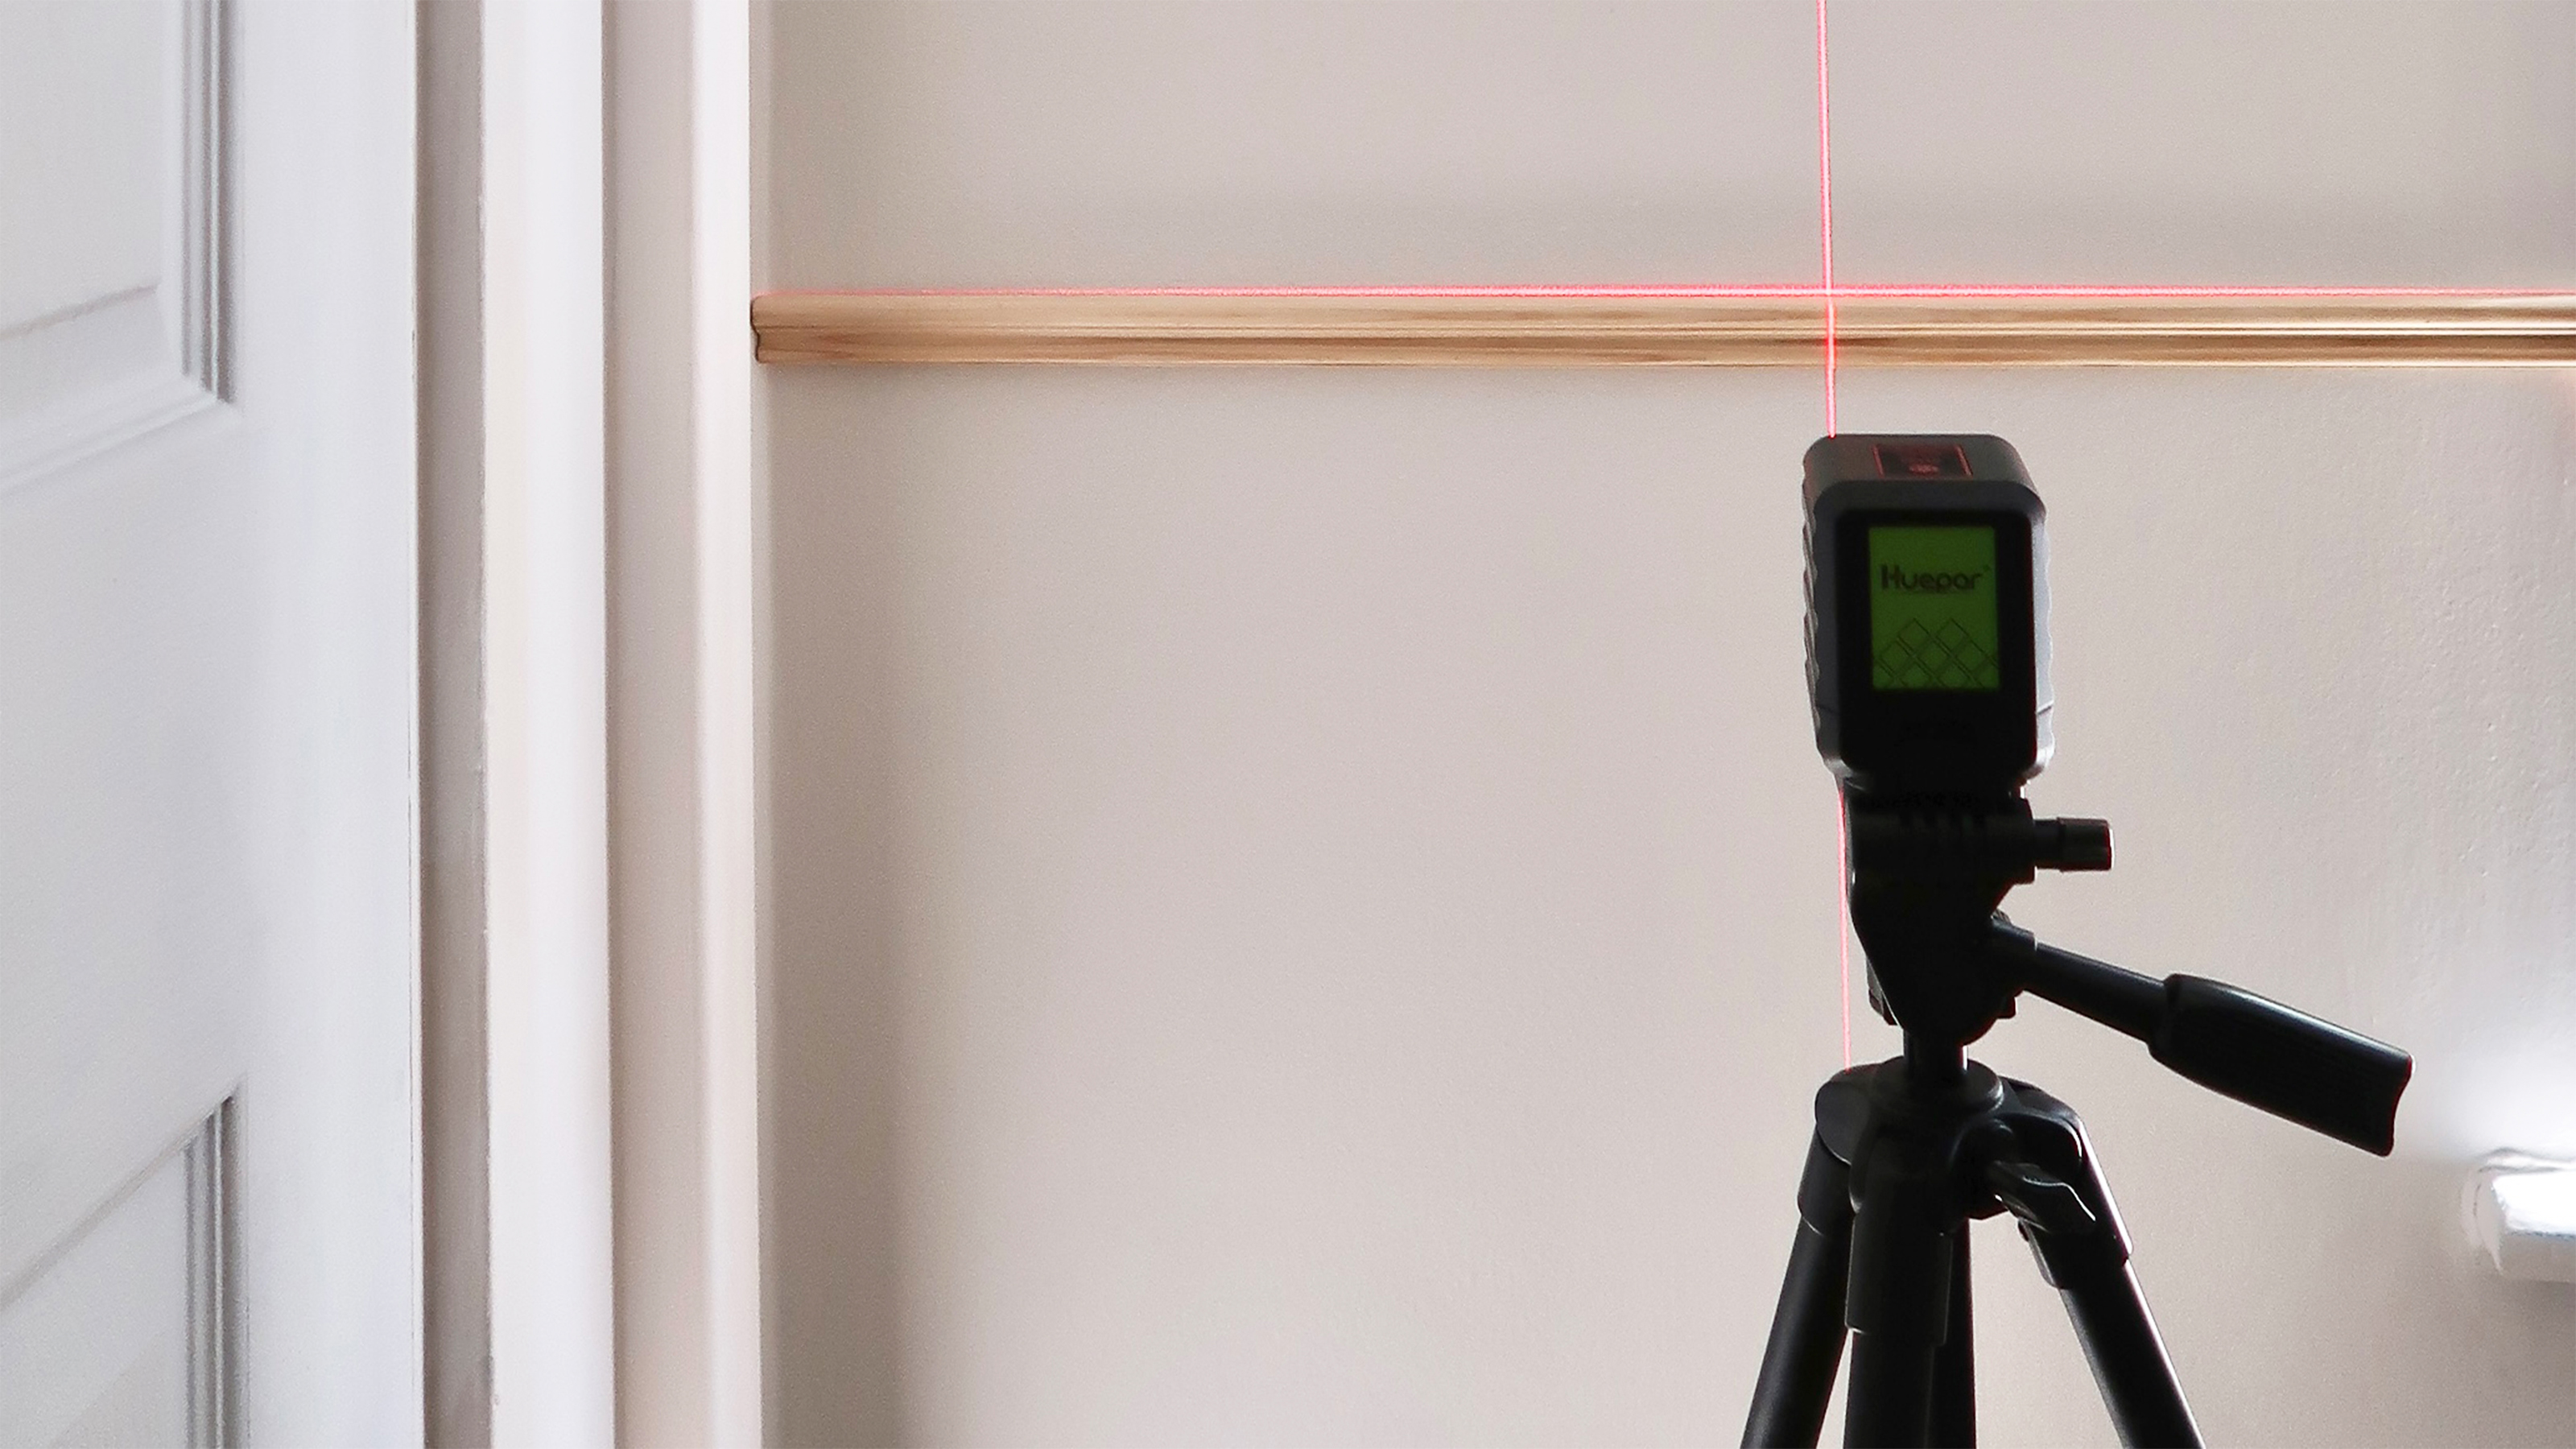
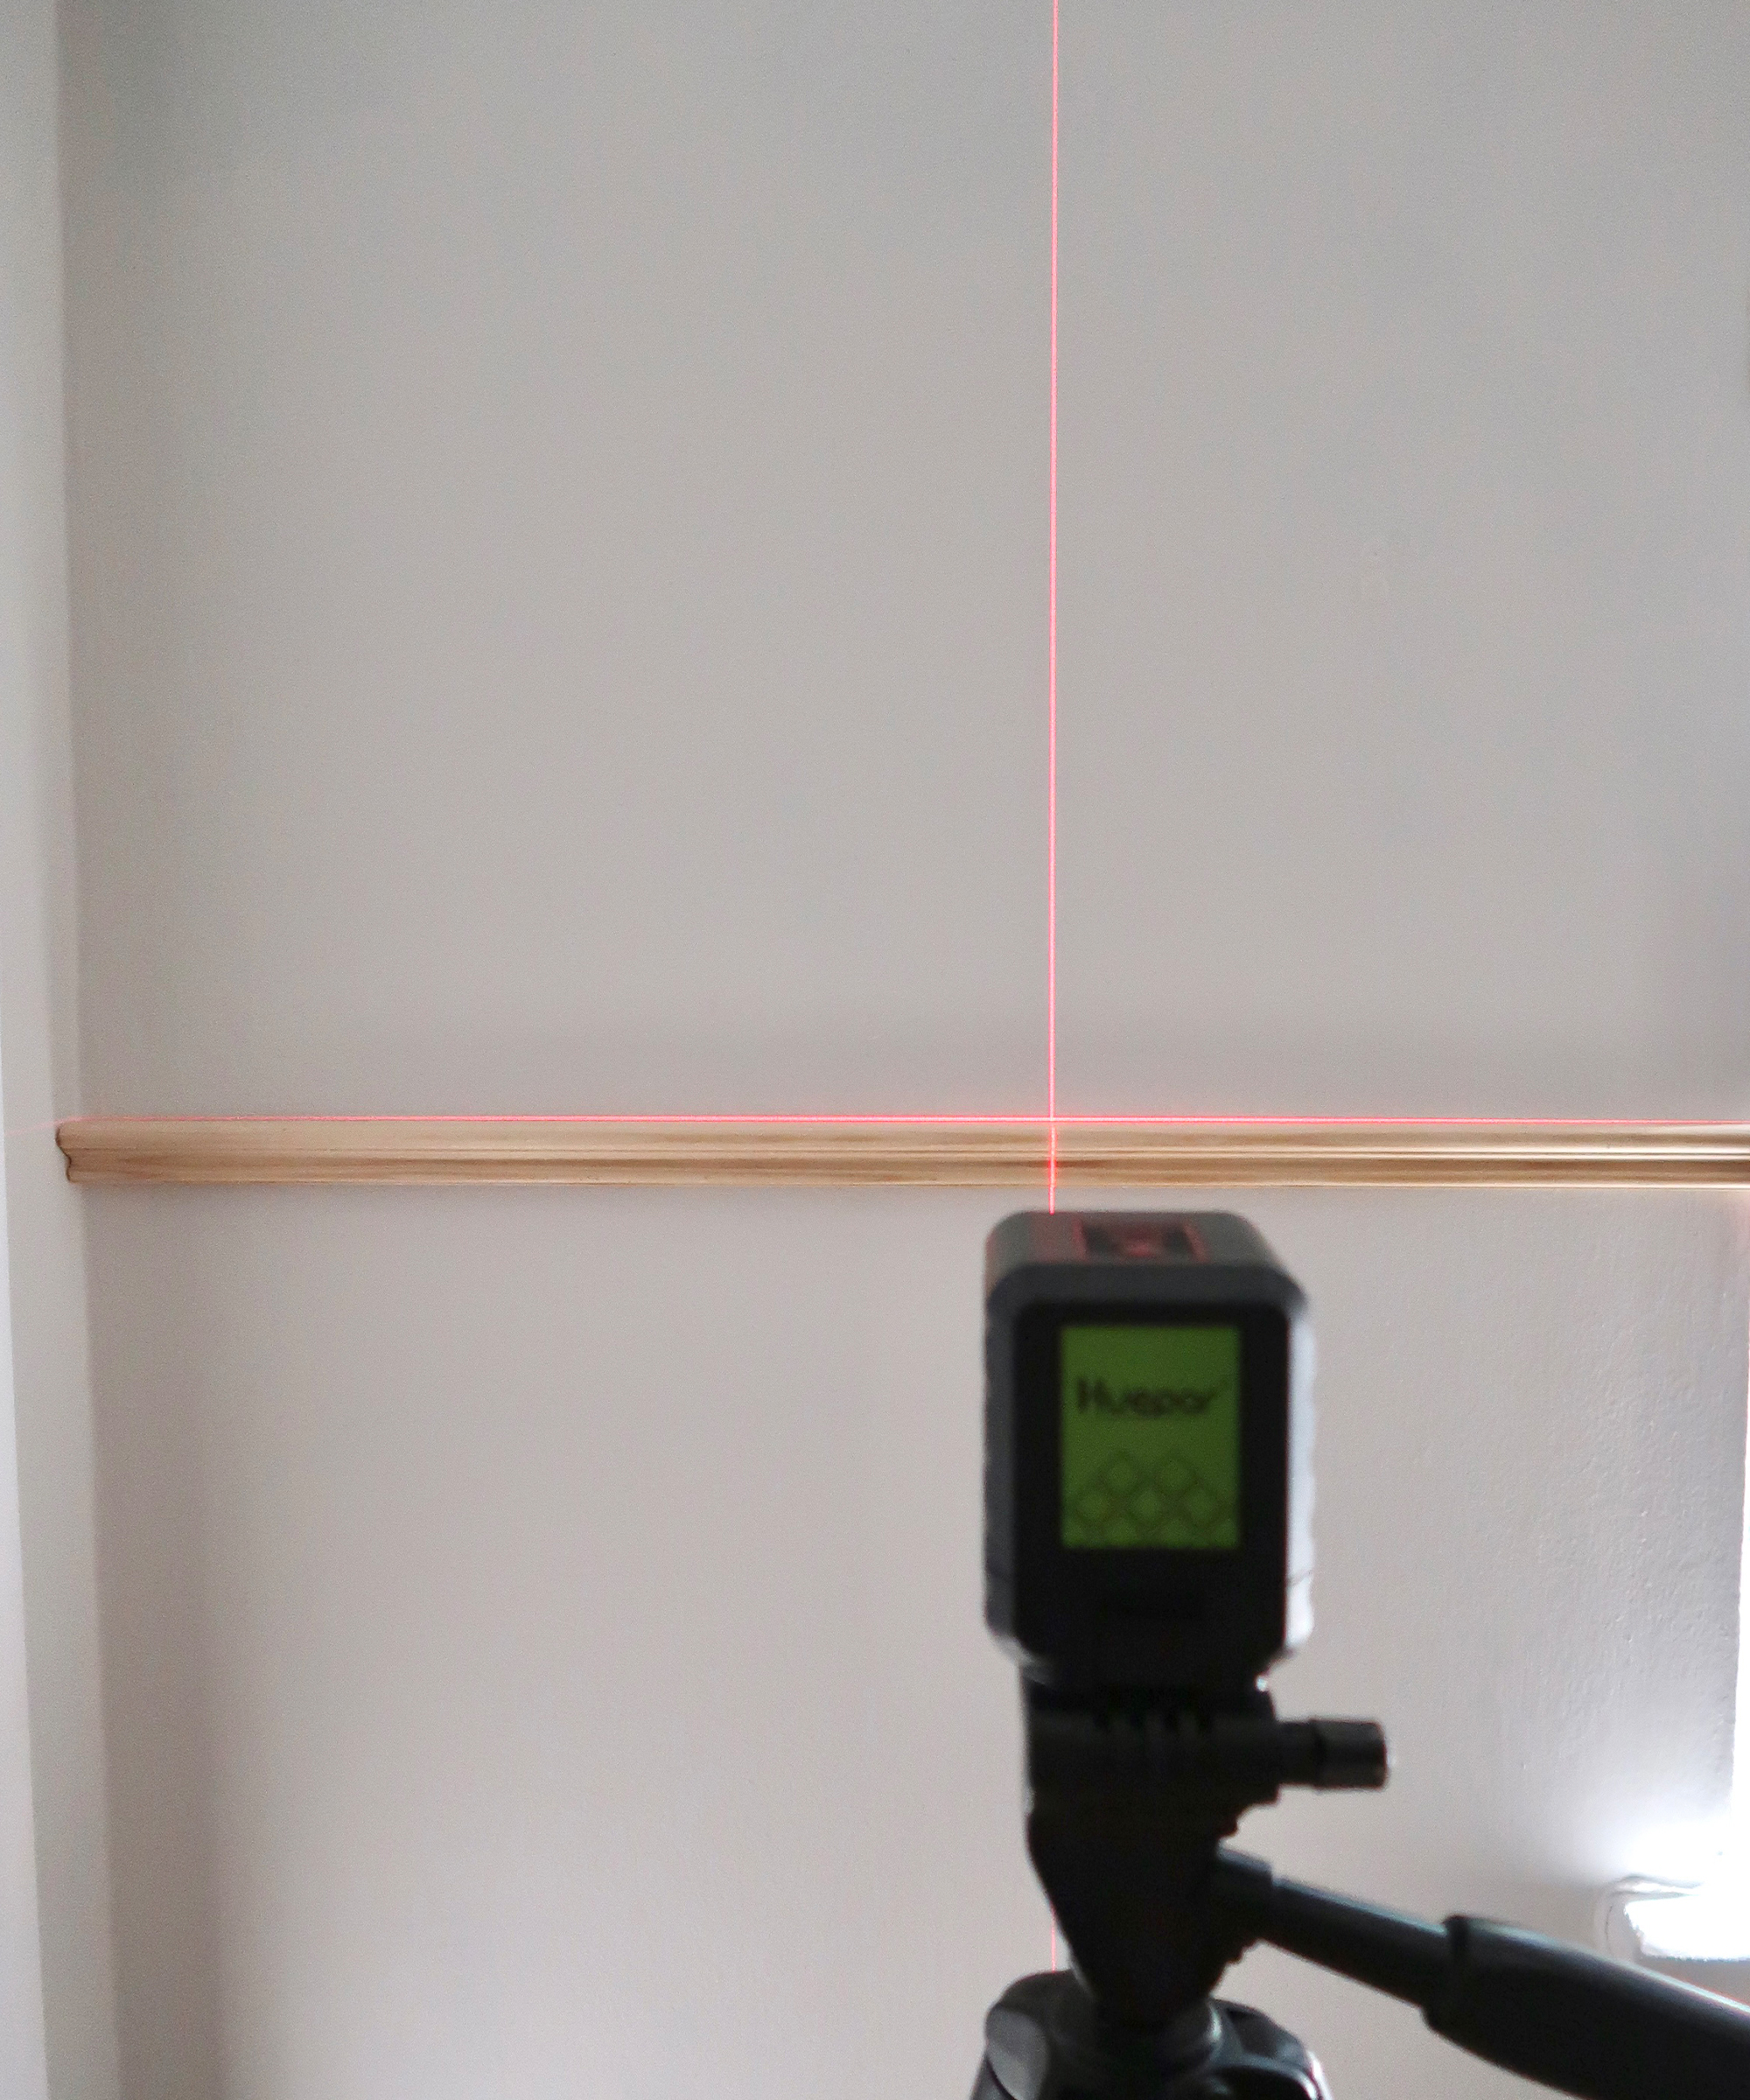
My laser level is the Huepar Self-Leveling Laser Level with Red Beam, from Amazon
What is a laser level?
There are different types of laser levels, rotary, dot, line, red, green, self-leveling to name a few. We are looking at self-leveling line lasers today in both red and green as these are the most commonly used by DIYers.
Pros:
- Precise and accurate
- Lightweight
- Portable
- Can usually attach to any camera tripod
- Freestanding, therefore freeing up your hands
- Often watertight and unaffected by rust, making them great for building sites and home renovations
- Perfect for lots of DIY jobs around the house
Cons:
- More expensive than standard spirit levels
- Require batteries so have ongoing costs and maintenance
- More complicated to use than a standard spirit level
Red or green?
The simple difference here is the color of the laser beam emitted from the level. Red laser levels are generally considered to be less expensive, they are not less accurate, but are thought to be slightly less easy to see as green light is clearer to the human eye and therefore a better choice if you need to use the laser outside or over a longer distance. As well as being slightly more expensive a green laser level also uses more battery which is worth considering.
What can I use a laser level for?
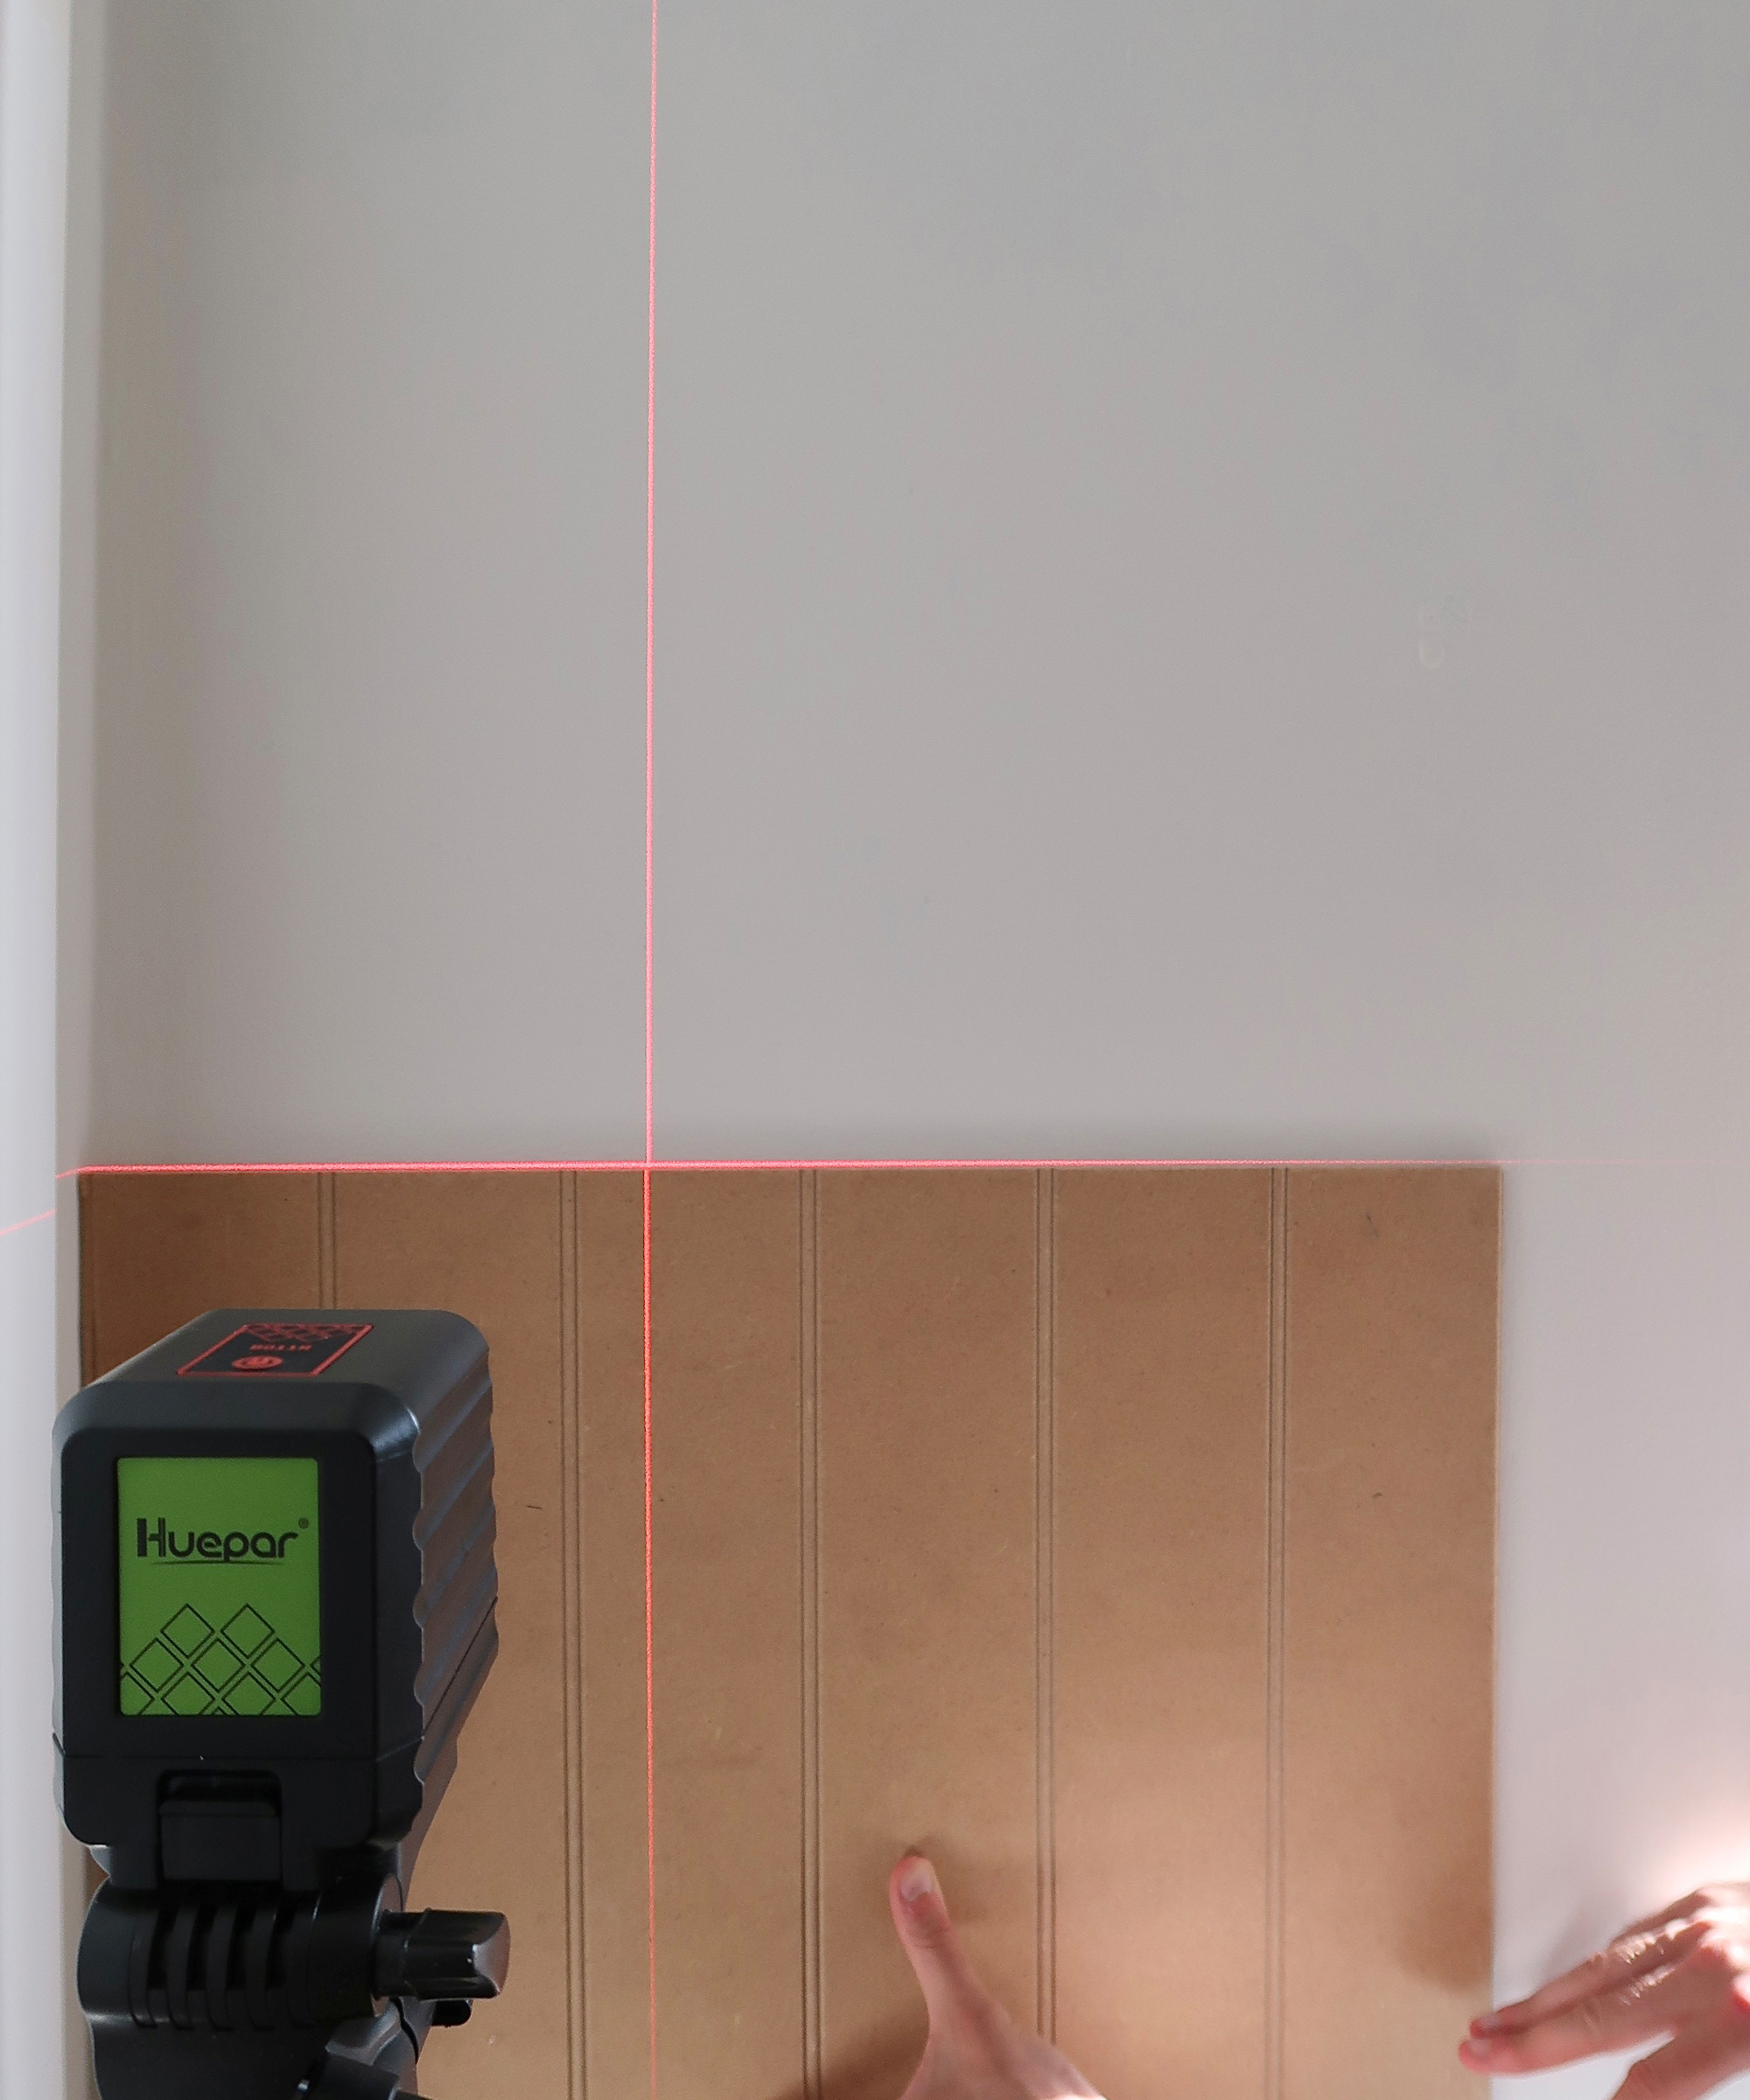
Aside from impressing friends and family with your tool-kit flex, there are so many jobs that will benefit from the use of a laser level, any time where you need something not to be wonky really, here are a few…
Get small space home decor ideas, celeb inspiration, DIY tips and more, straight to your inbox!
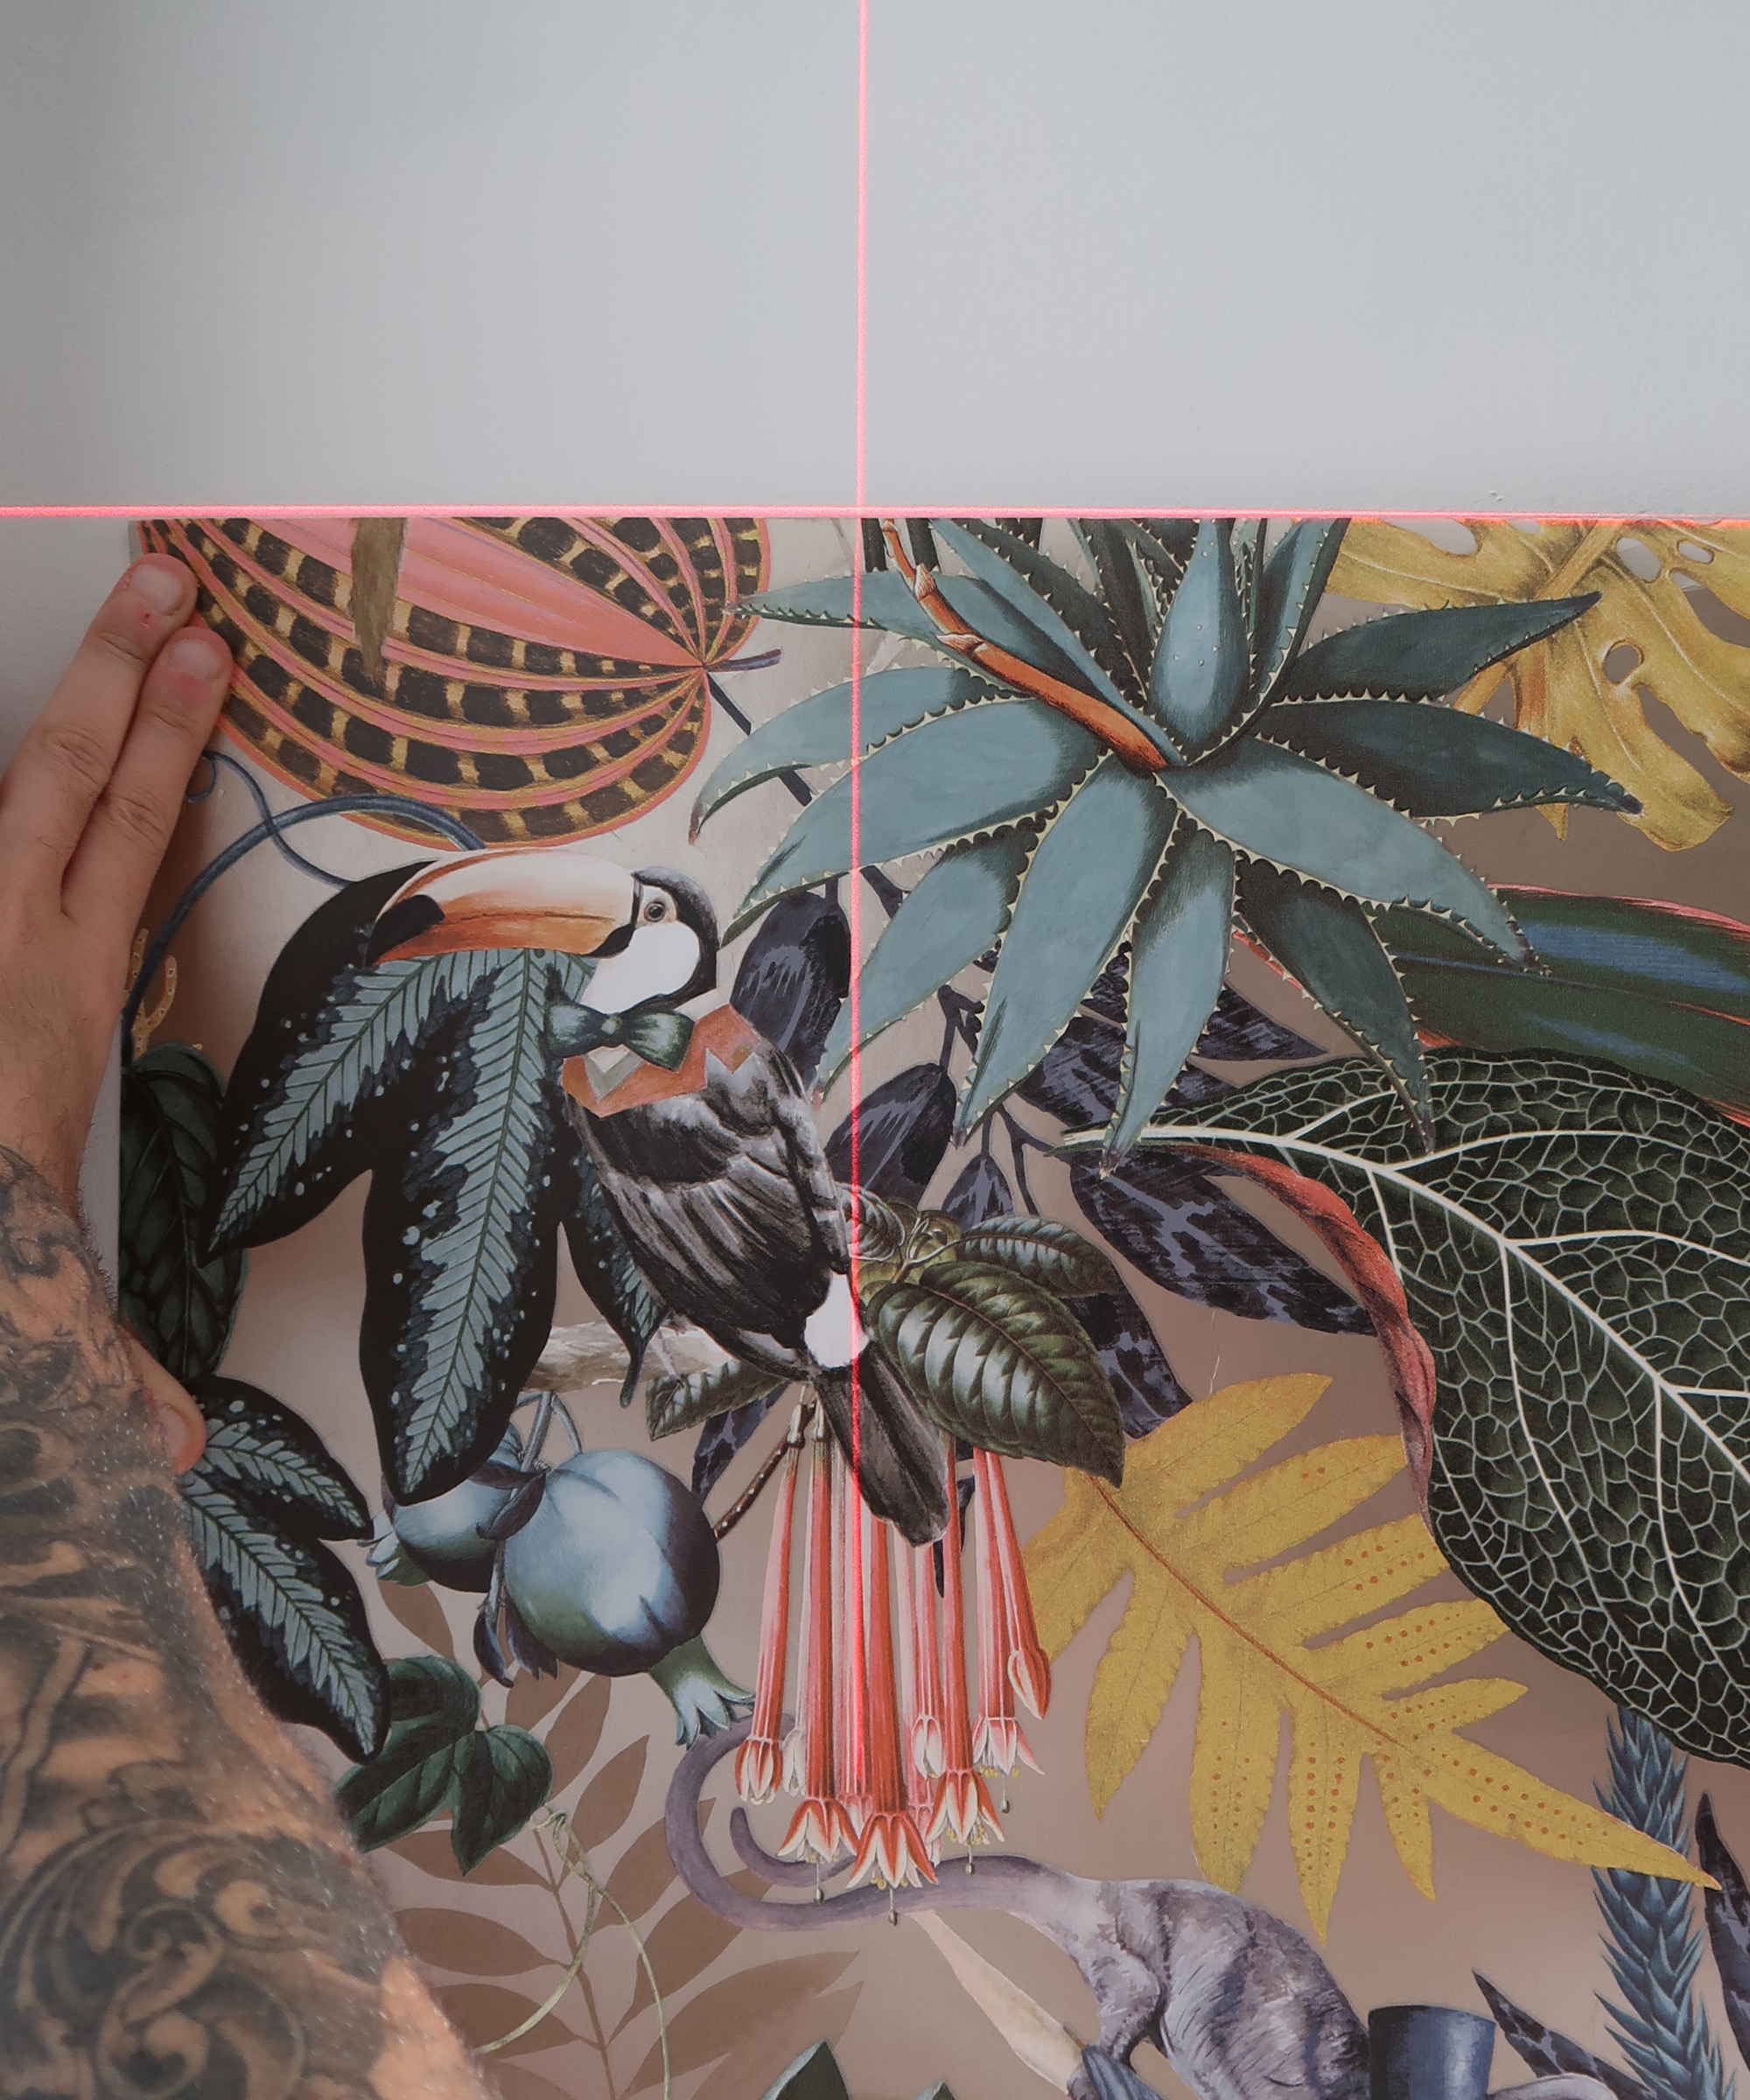
- Hanging wallpaper
- Putting up a shelf
- Tiling a wall
- Studwork
- Wall paneling
- Fitting baseboards
- Fitting crown molding
- Fitting a curtain pole
- Hanging a blind
- Hanging pictures
- Putting up cabinets
- Installing countertops
Is it worth getting a laser level?
In a word, yes. Aside from the obvious performance-based advantages, most DIYers will understand and appreciate the benefits of a hands-free option, no more roping in family members because two hands just aren’t enough. If you regularly partake in home improvement activities then this will be money well spent.
How much does a laser level cost?
As with most tools, there are laser levels to suit a variety of budgets. An entry-level (excuse the pun) model for the modest DIYer will set you back about £30 ($35) but you could easily spend upwards of £100 if you felt inclined.
Where can I buy a laser level?
Most DIY or hardware stores will stock them or you can buy them online, either from the manufacturer’s website or good old Amazon stocks a wide variety if you need one pronto.
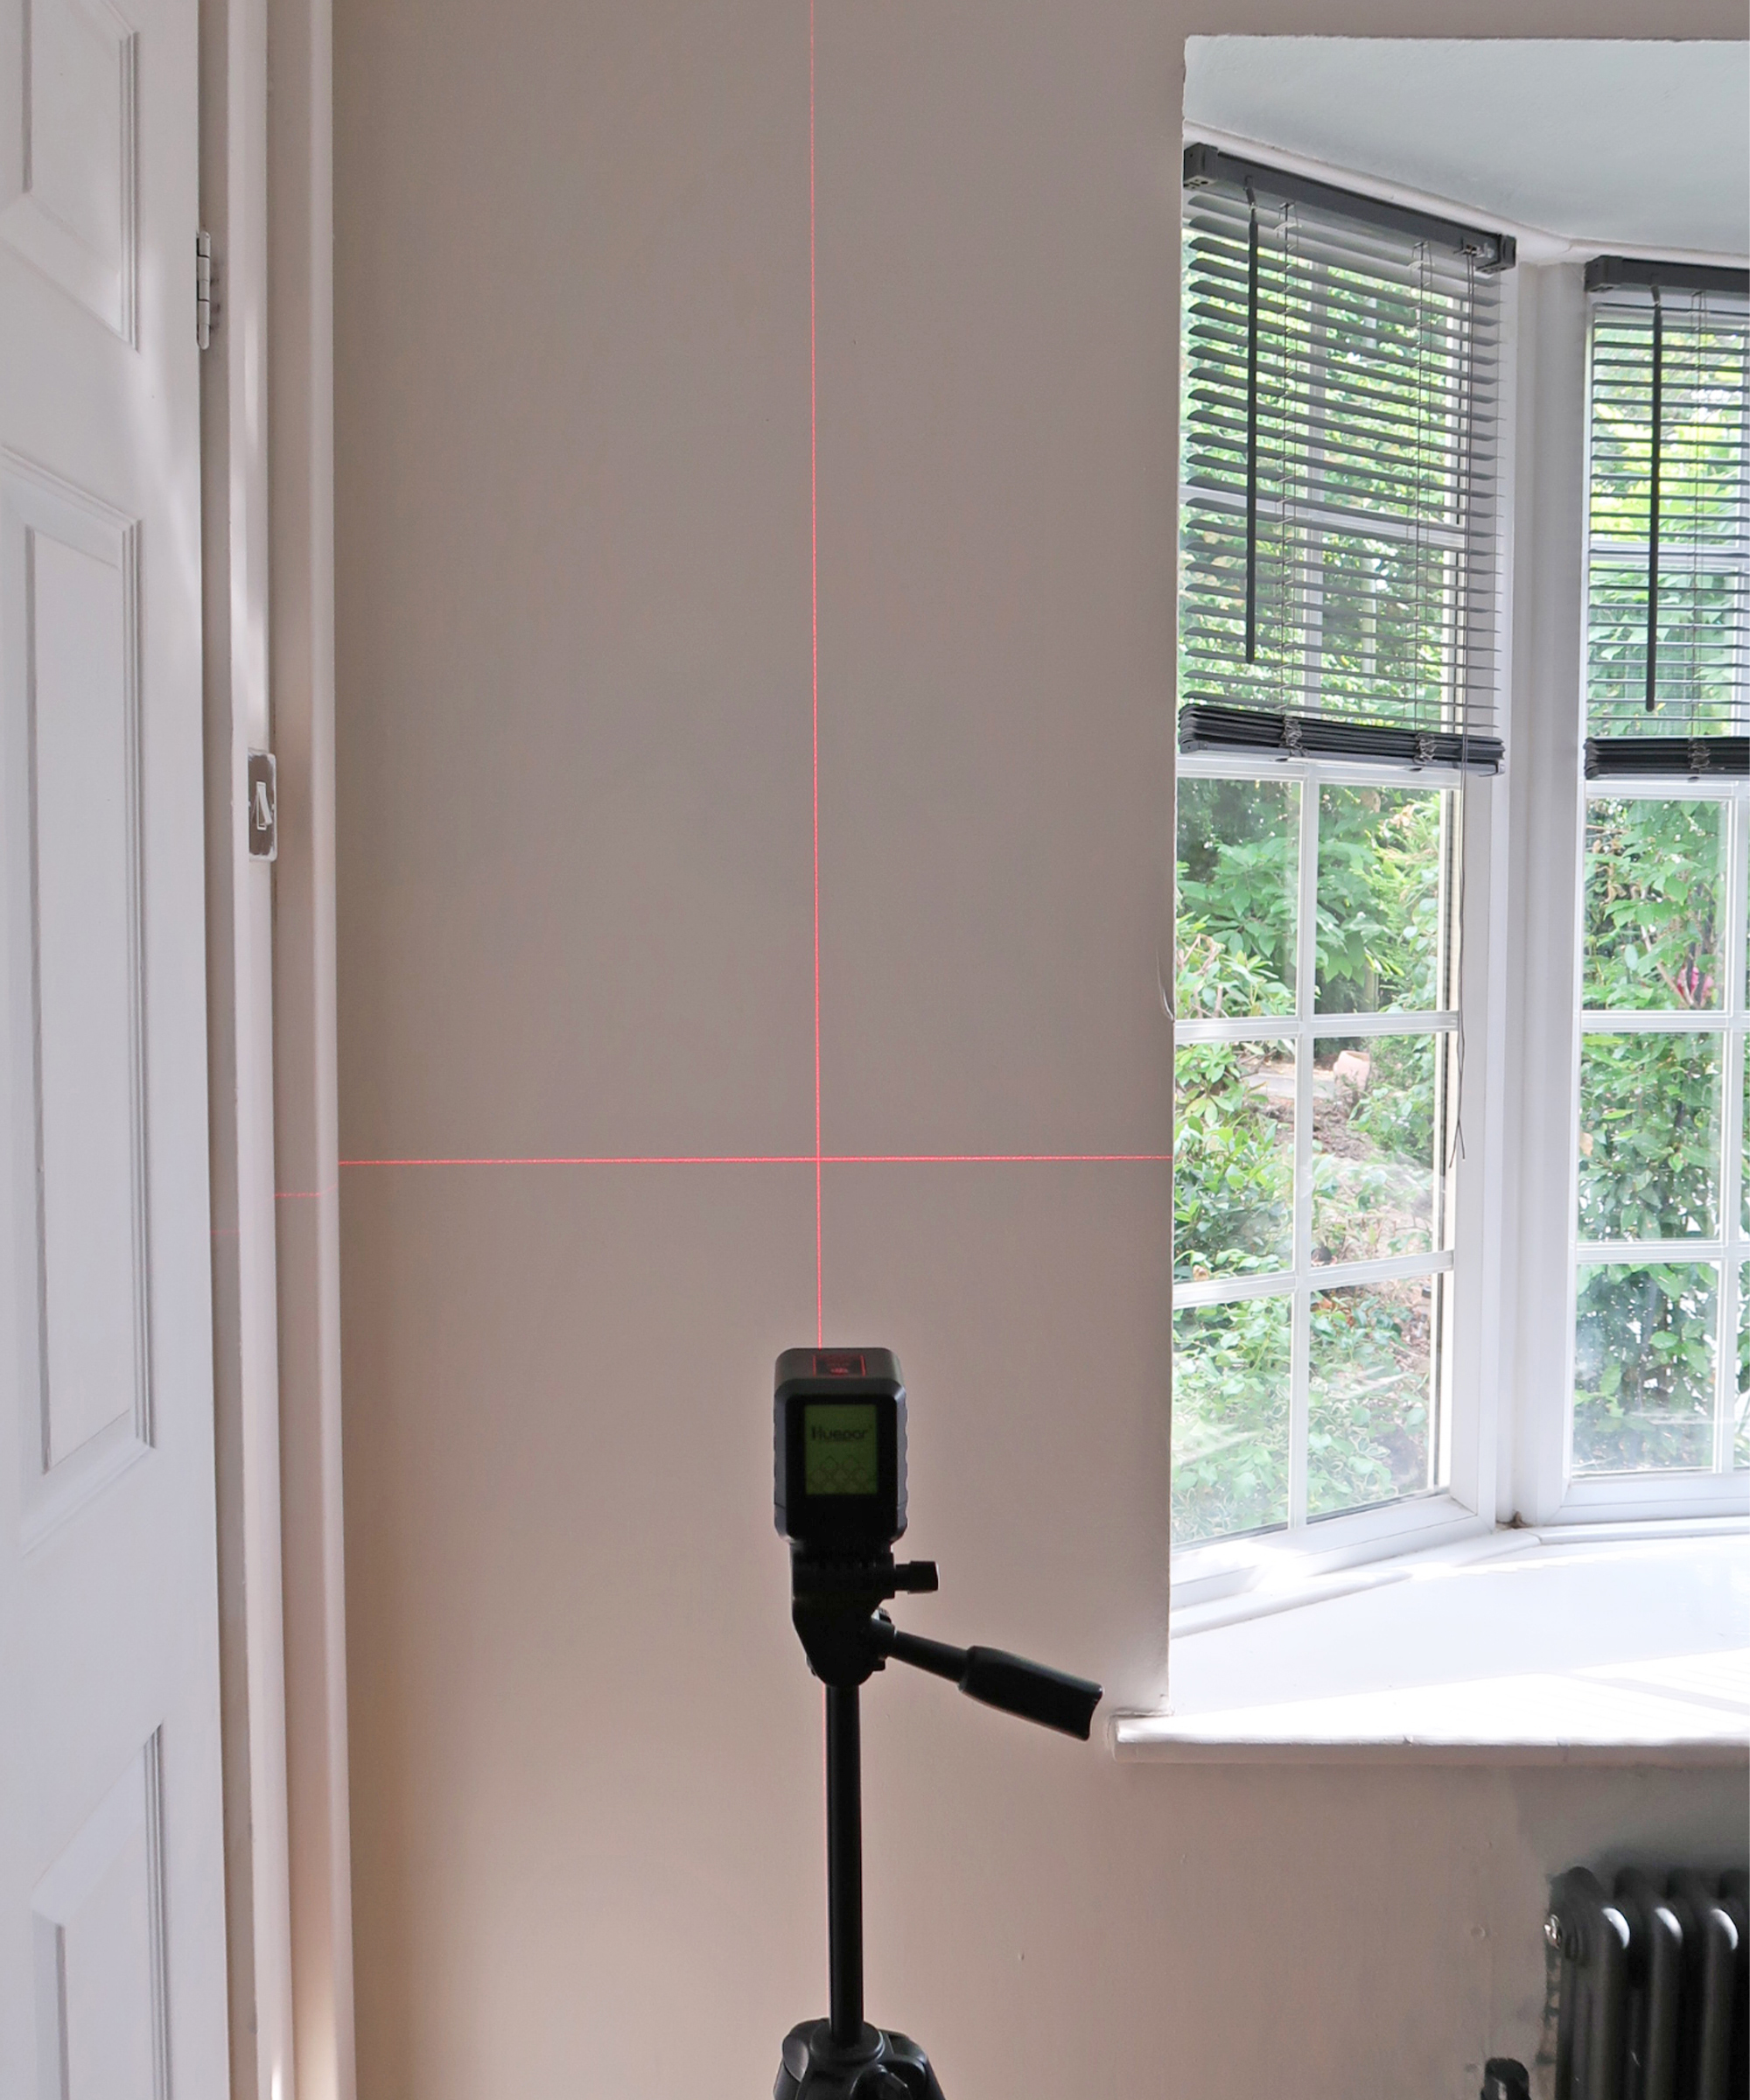
Step-by-step: how to use a laser level
IMPORTANT NOTE! When using a laser level, great care should be taken not to emit the beam into the eye as it can cause severe damage. You should not operate a laser level around children nor should you allow them to play with it.
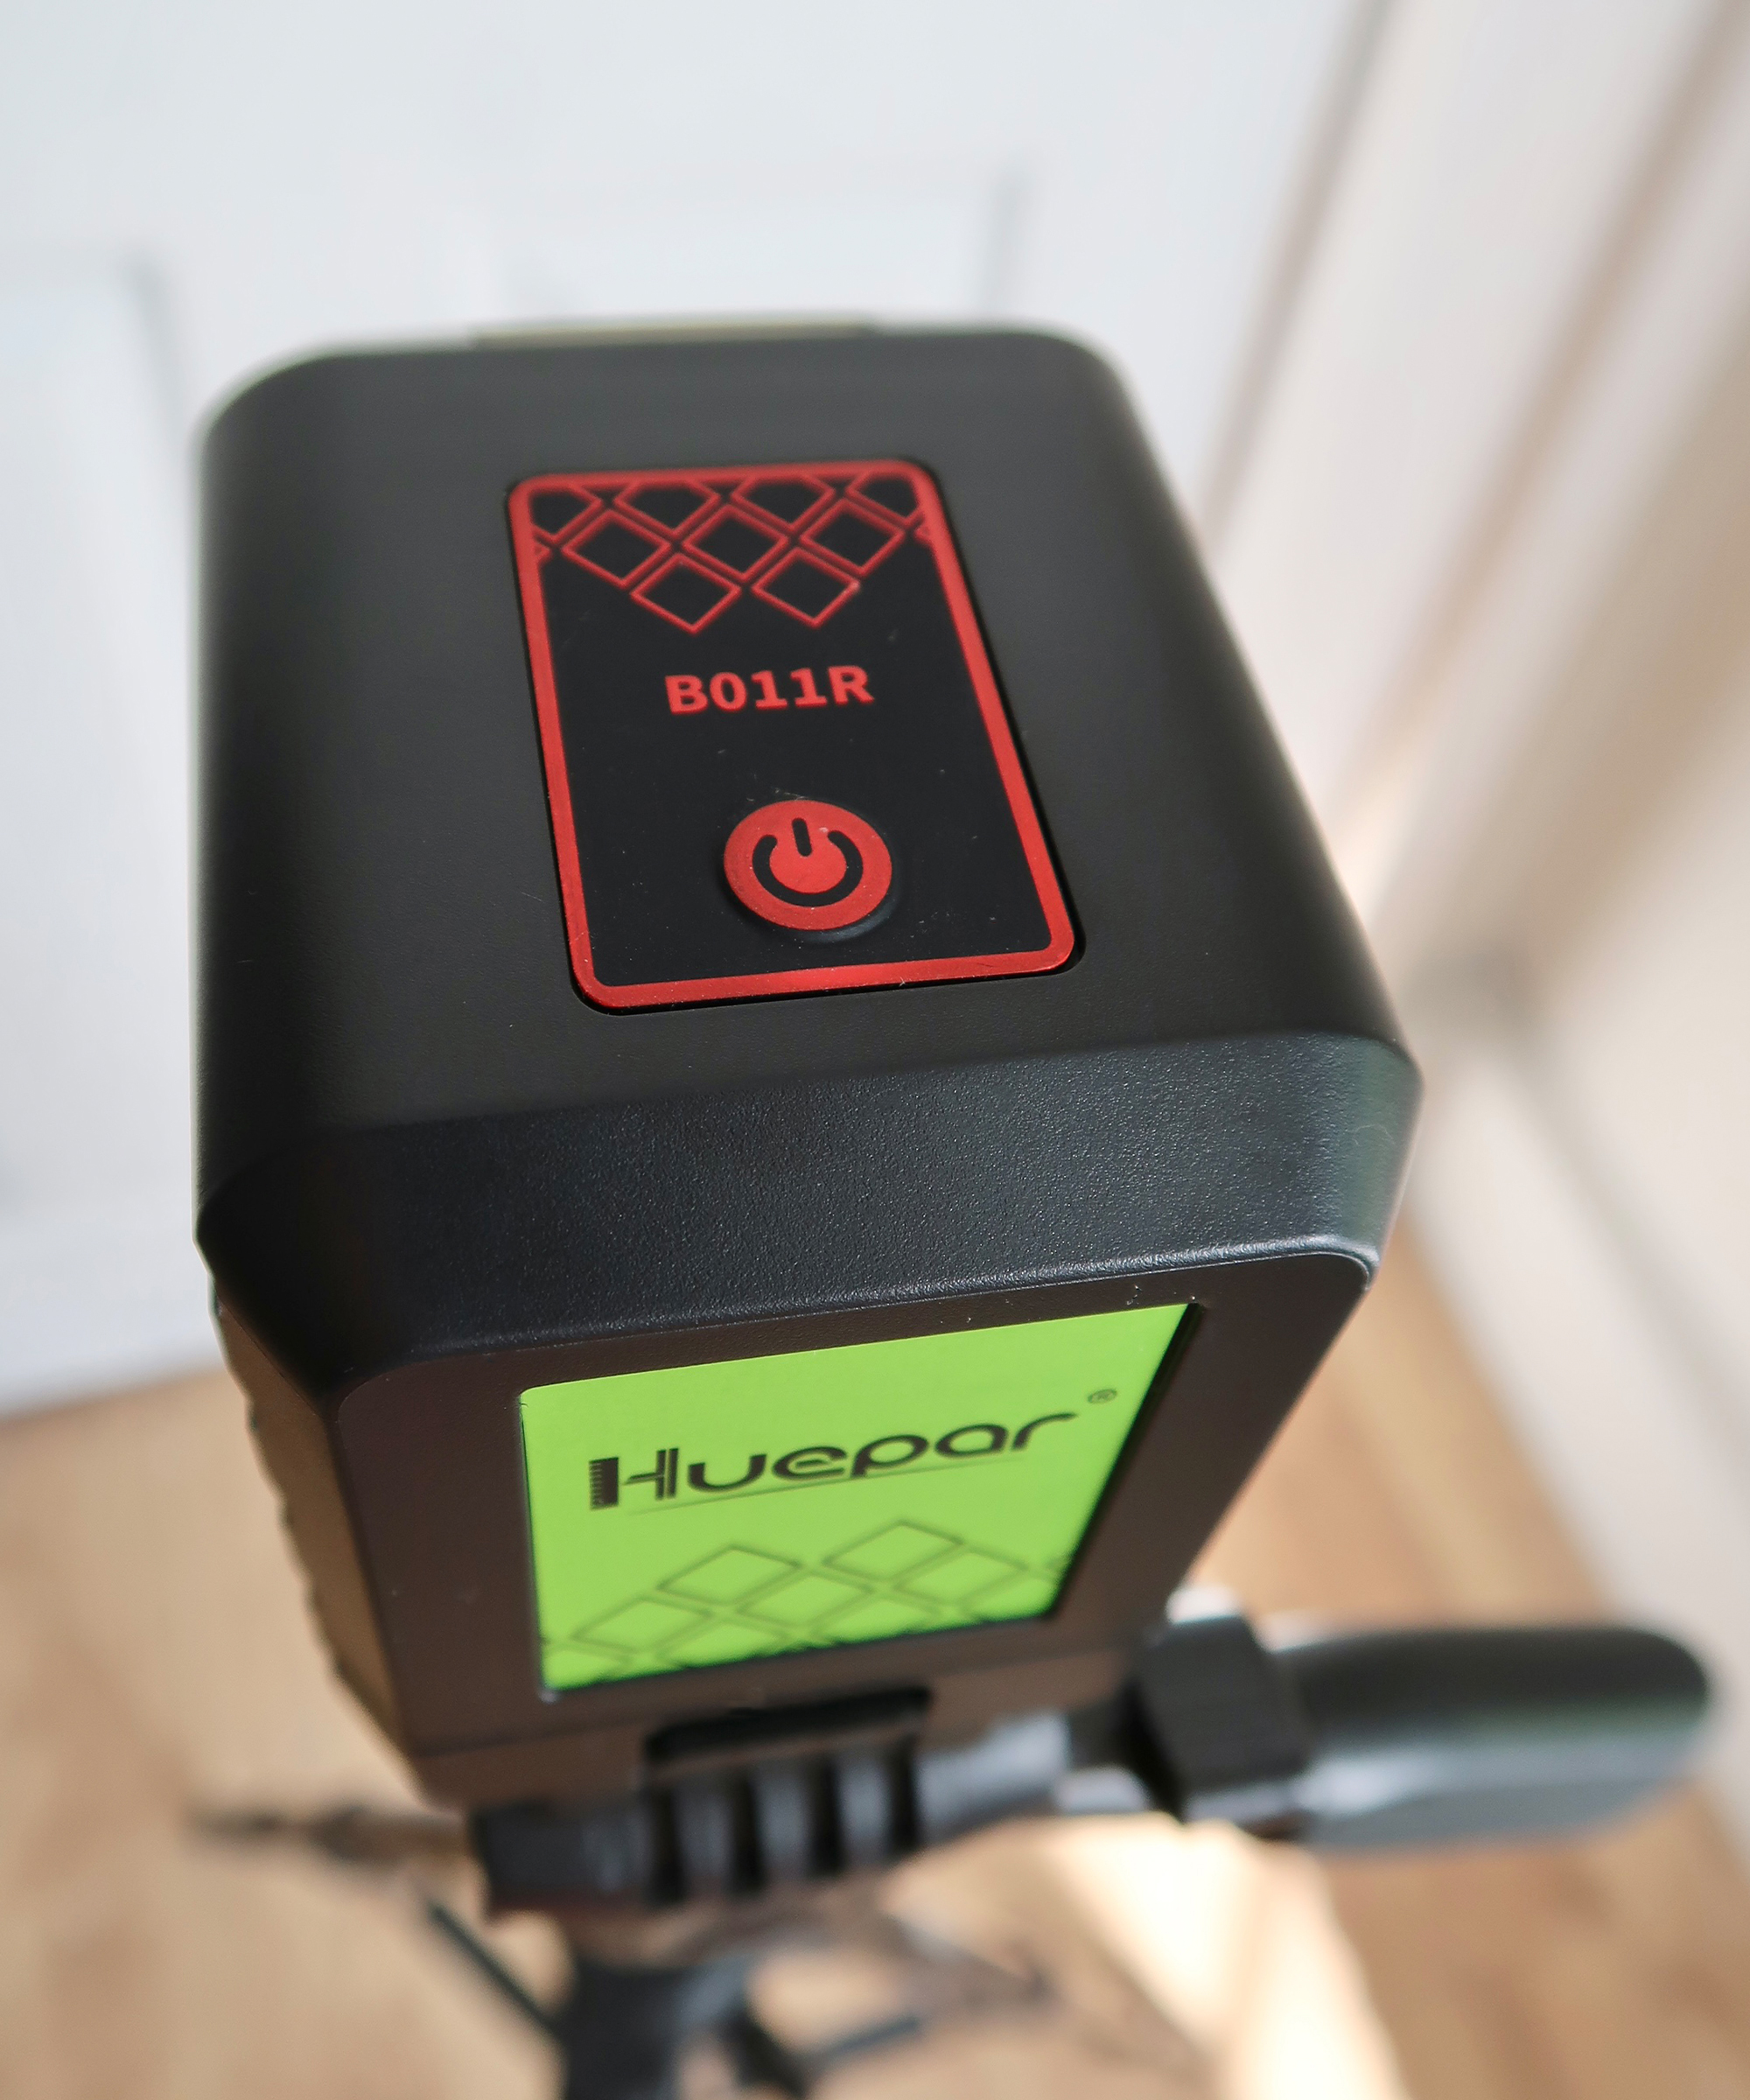
The below instructions relate to a self-leveling, cross-line laser level for interior DIY use.
How to:
- Remove the battery cover, fit new batteries and replace the cover, if used for the first time.
- Set up your tripod or alternative flat, level surface to seat the level on.
- Attach level to tripod or place on a flat surface
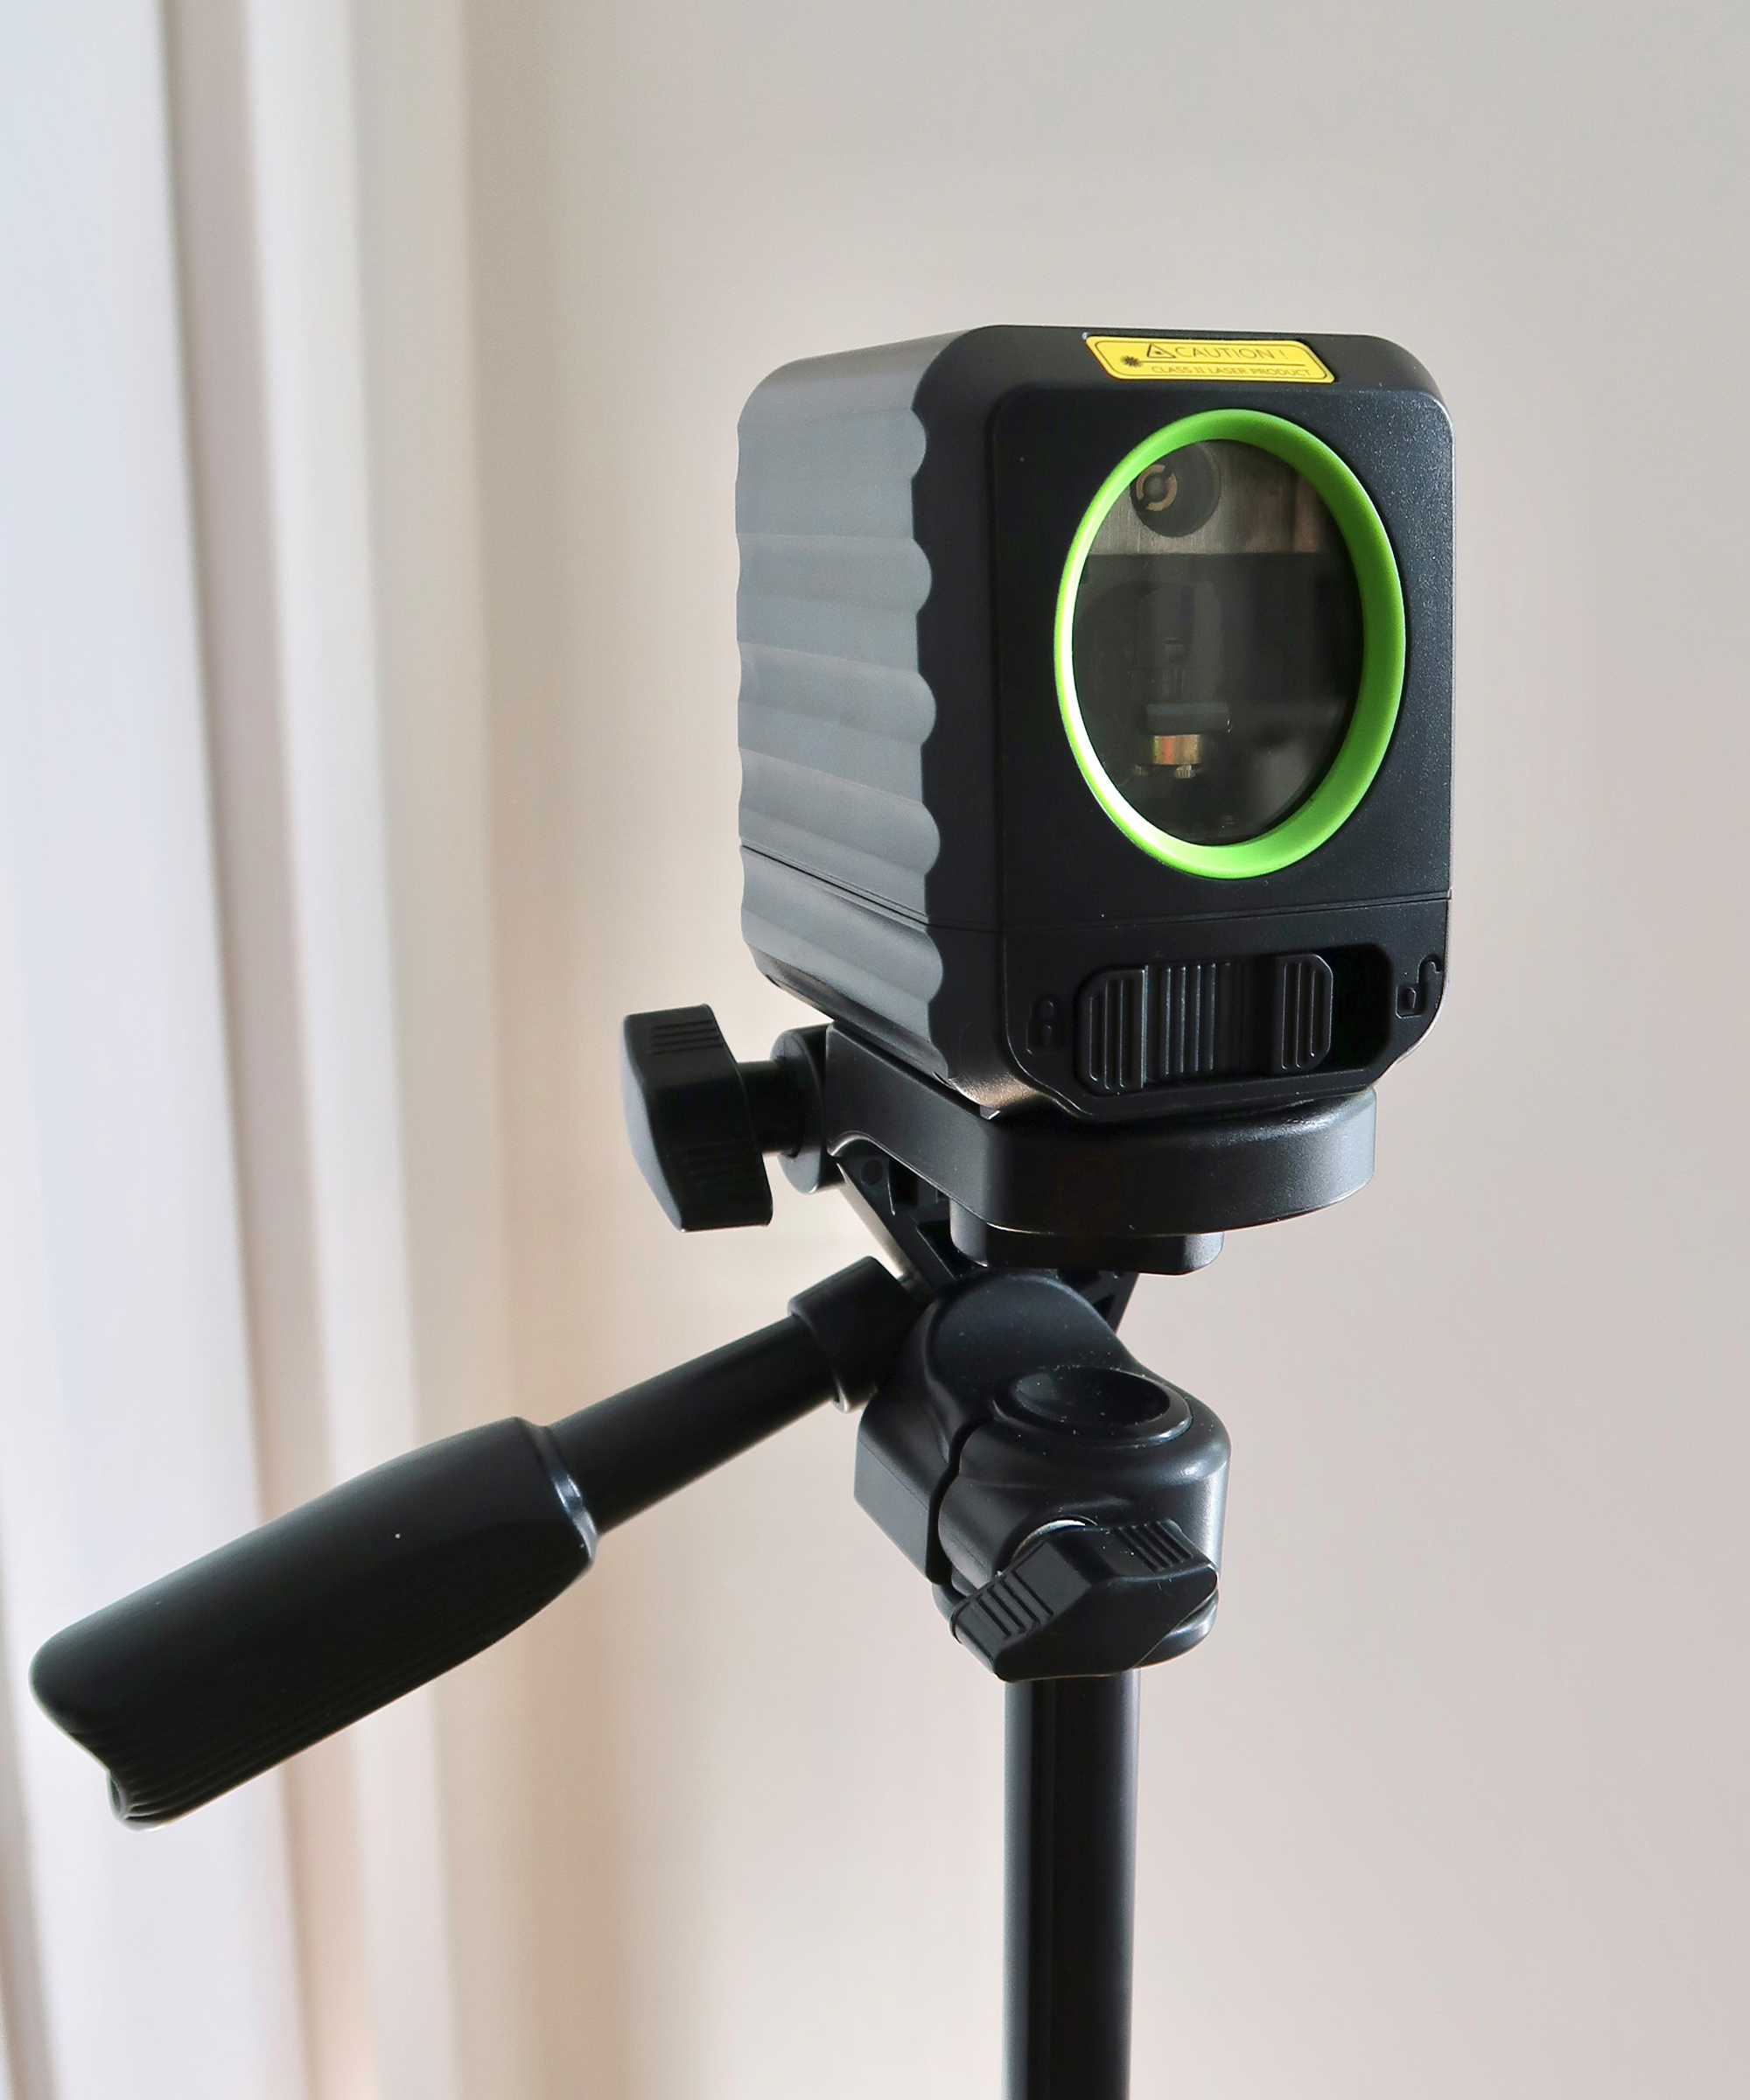
- Set the switch on the front to ‘Unlocked’
- Press the power button (on the top of the tool shown below) on
- Check the laser beam is projected steadily and doesn’t flash.
- Adjust the height of the level if required.
- Adjust the angle of the level to ensure it projects onto the required location. After adjustment, the laser should self-level if the switch remains set to ‘unlocked’.
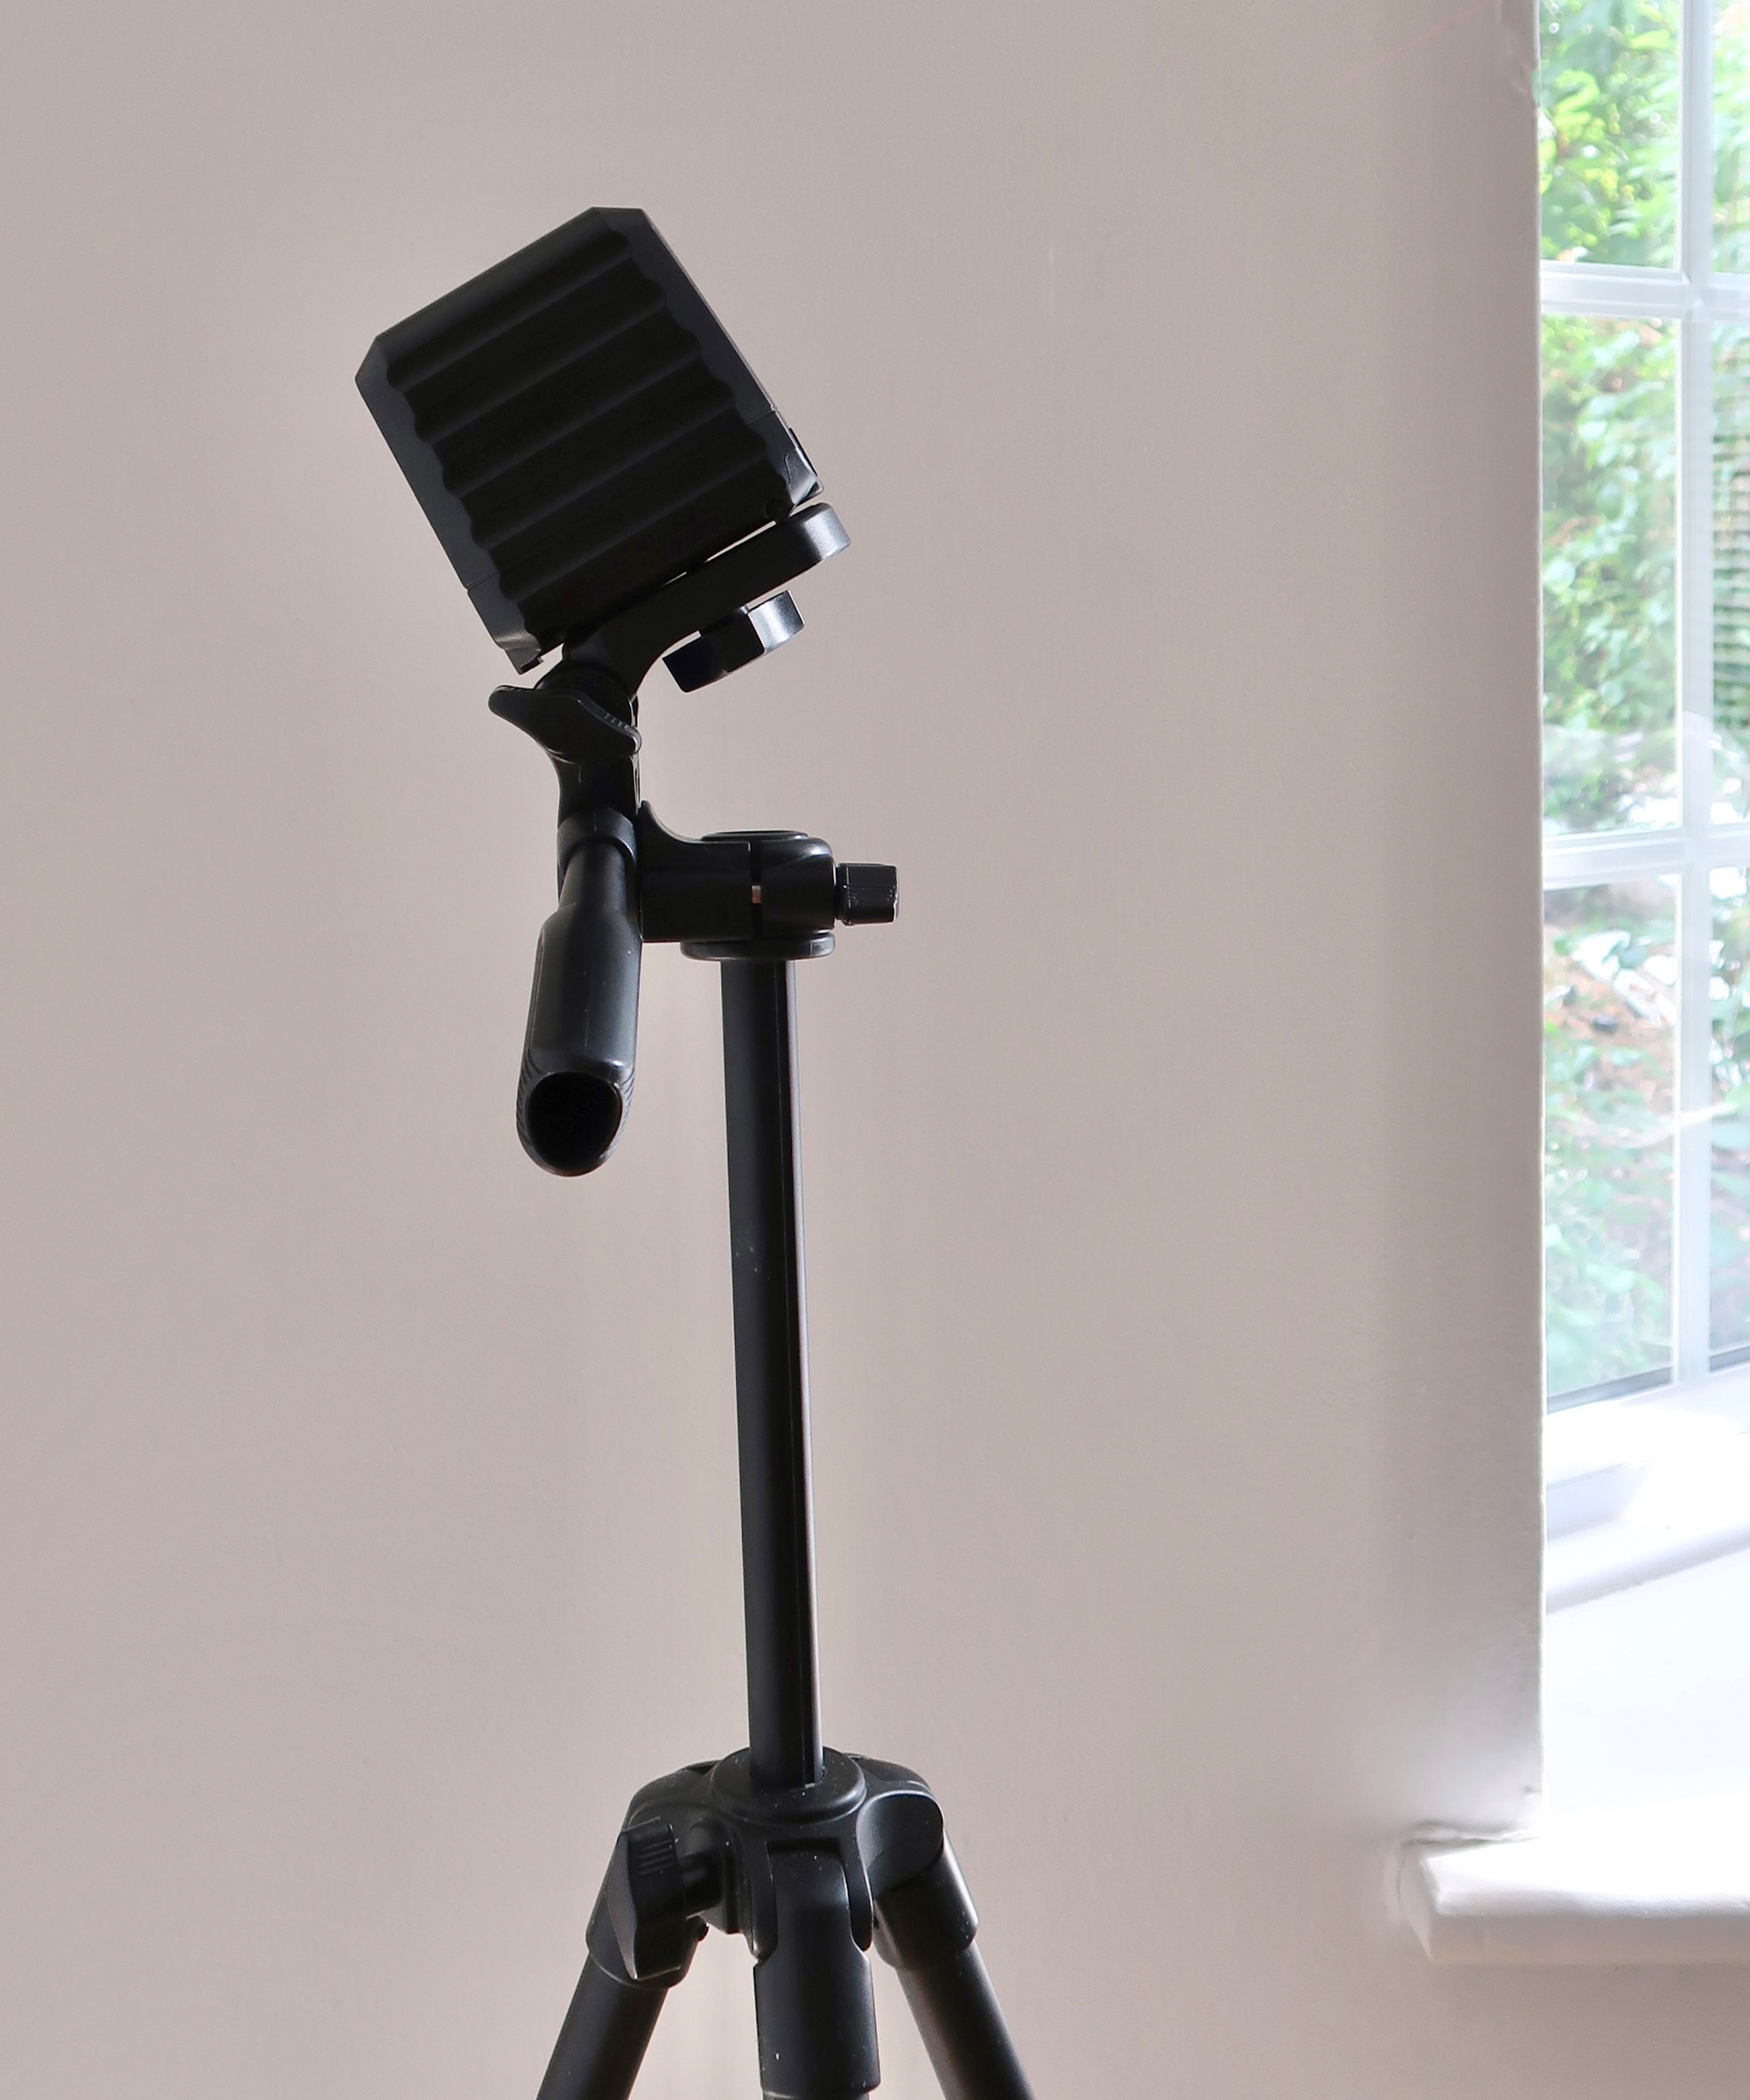
How do I know it's level?
It’s worth checking your laser level regularly, even if it is a self-levelling model as the pendulum that it relies on to function can become damaged if not properly locked between uses and if the level is treated too roughly in transit or dropped for example. Most levels have built-in protection but if you exceed the level of tolerance then you might need to recalibrate.
What is the self-leveling function and how do I use it?
With pendulum-based, cross line, laser levels there should be a lock and unlock switch on the front of the level. When the switch is set to ‘Unlocked’, the self-levelling mode is activated which means that the laser will adjust itself to ensure that the laser beam projected onto the surface in front is level (when seated on a level surface). If the tool is out of self-leveling range then the laser beam should flash to notify the operator.
Do I need a special tripod?
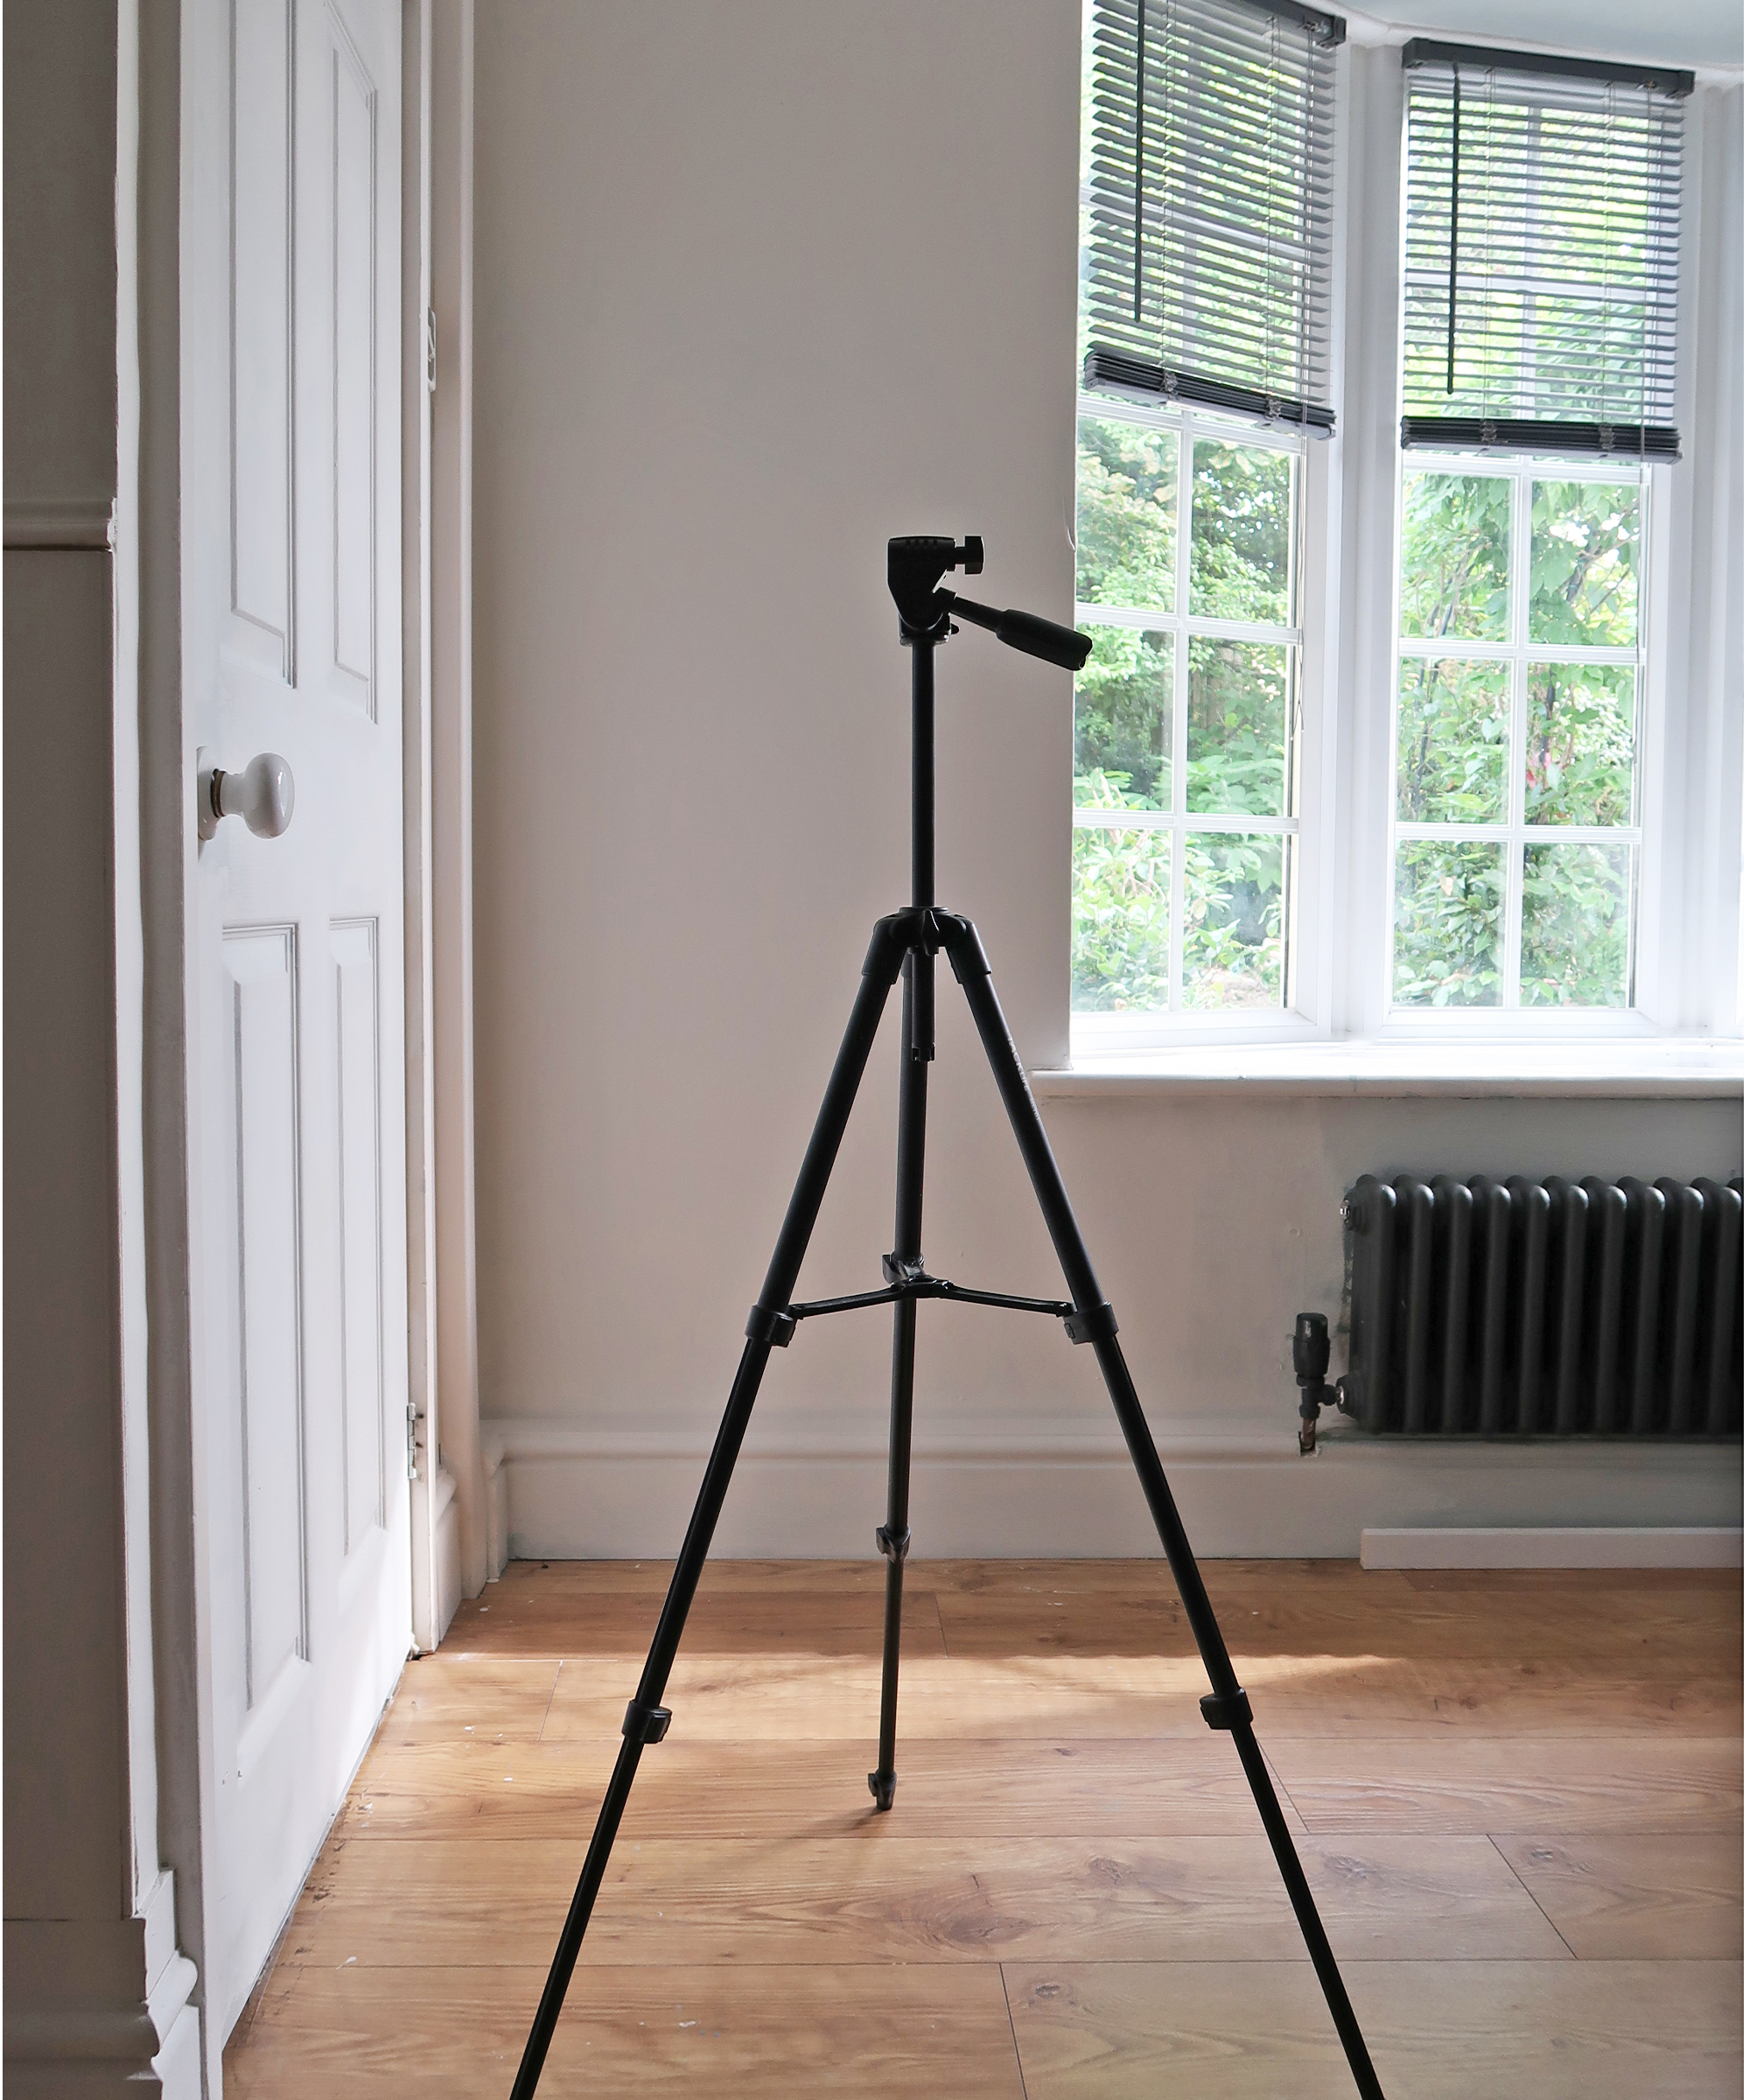
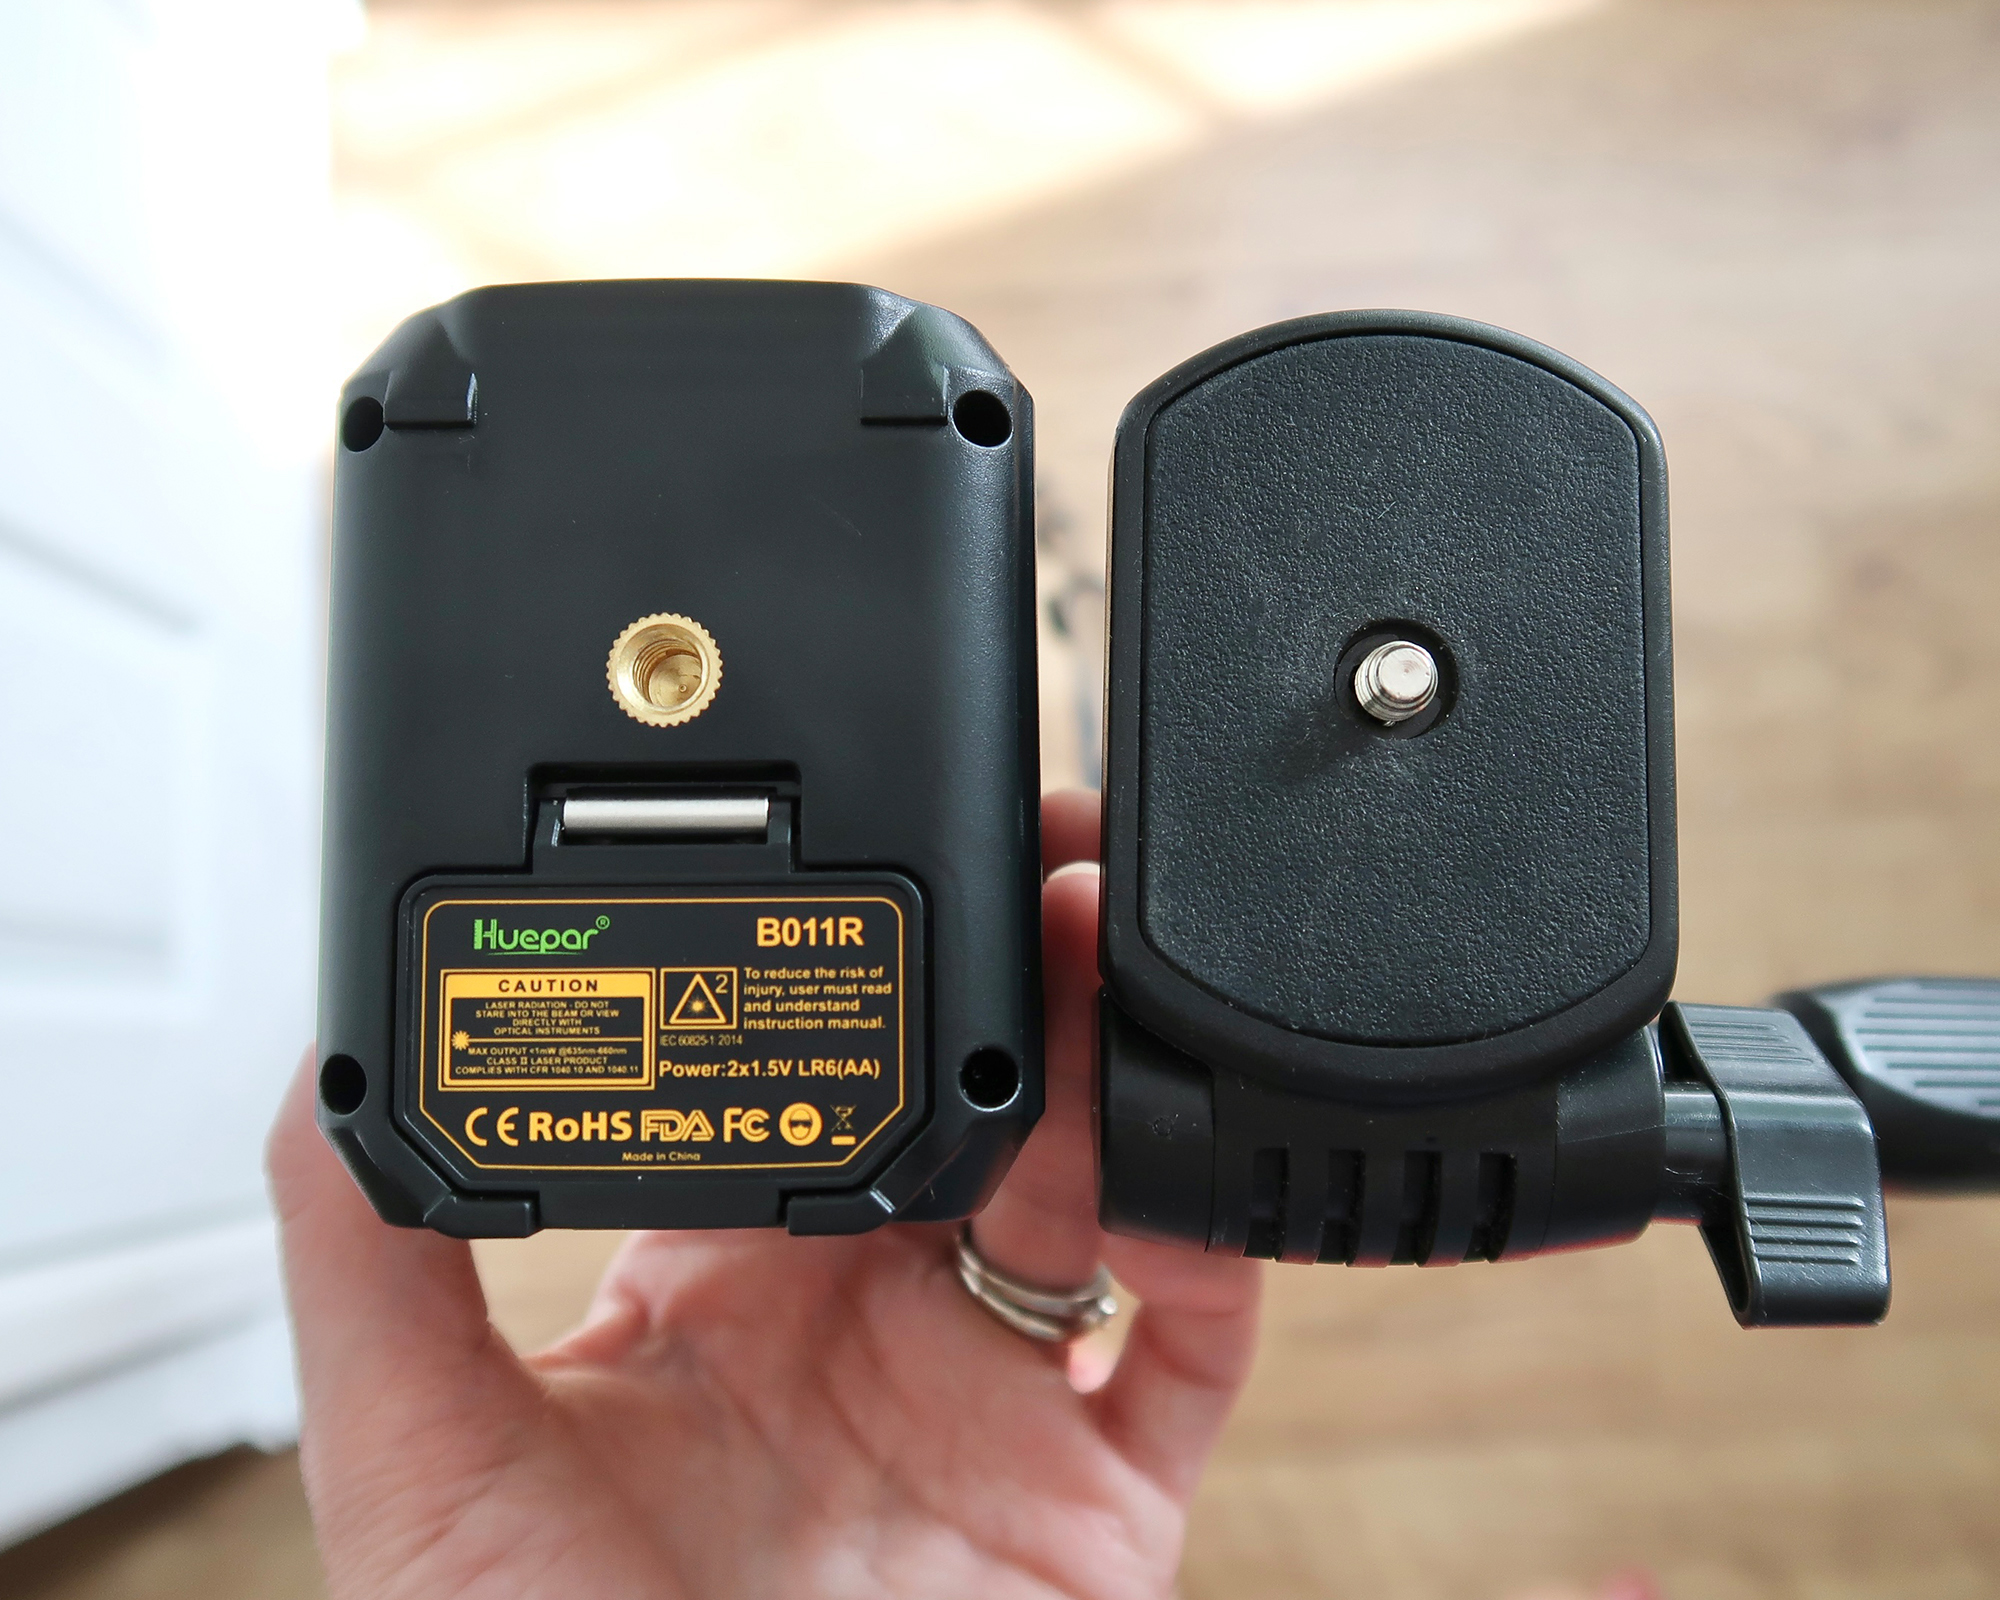
Most laser levels come with a threaded hole at the base which makes them compatible with the average camera tripod or they might even have their own. Some are designed not to be used with a tripod at all and most have a flat base so will work as long as placed on a level surface such as a shelf or sideboard.
Now you are all set to level like a pro and have no excuse for hanging wonky wallpaper or fitting sloping shelves ever again!

I'm happiest when I have either a drill or paintbrush in my hand! I specialise in room transformations on a budget and love experimenting with different styles and techniques which I share on my Instagram. I believe that your imagination, not your budget, should be the limiting factor when transforming a room and I love thinking of creative ways to build custom and bespoke-looking furniture using flatpacks or upcycle finds.
I also love writing and my home improvement blog (ClaireDouglasStyling.co.uk) is my passion project where I share creative ideas for interior styling and DIY tips and tutorials.