How to skim coat walls for painting
A seamless, bump-free surface will do a fresh new color far more justice. Learn how to skim coat walls for painting, for pristine results

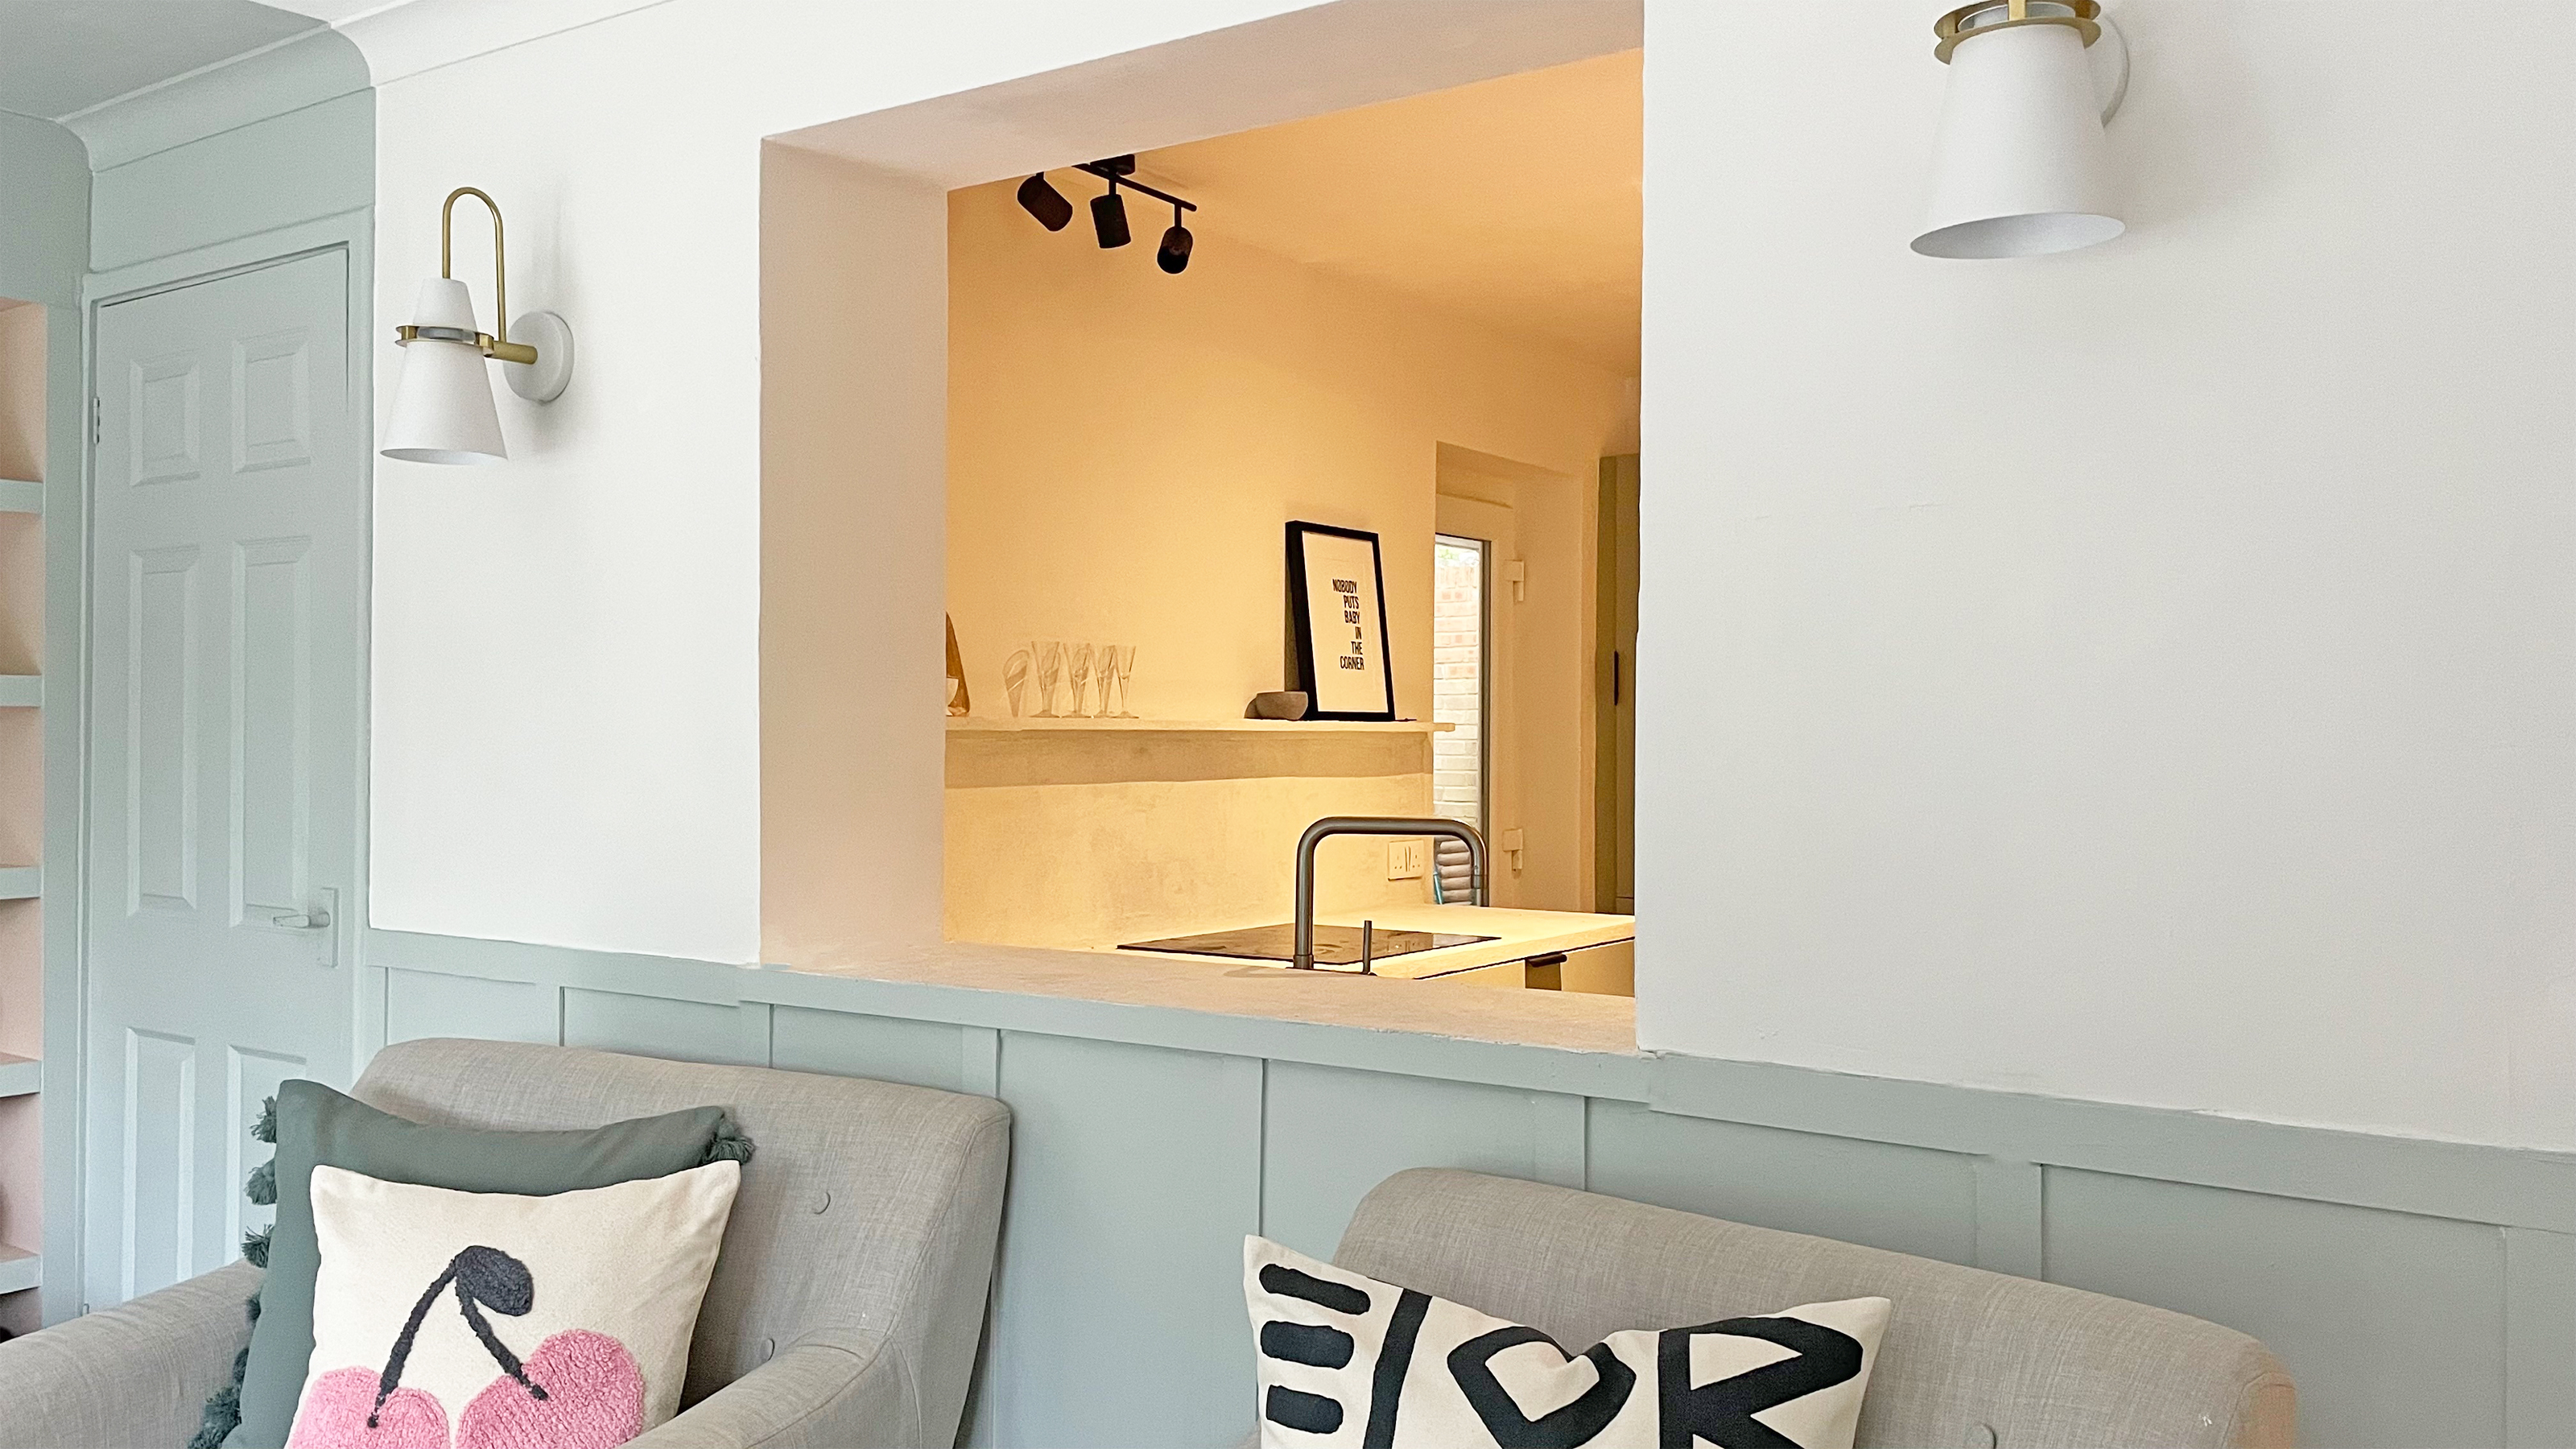
If you've bought an older home in need of a facelift then it's likely that you'll have some bumpy walls to deal with. And if you're planning to transform your space with color, you'll need to know how to skim coat walls for painting to ensure you get smooth, good-looking results.
A textured wall finish was used back in the day to disguise imperfections and mostly seams, but it can also help light bounce around. That is not to say they are pretty, plus, bumpy walls tend to collect dust a lot easier and they are simply put, a little dated. So, yeah, let's get rid of them before you start painting rooms.
Full disclosure, skimming walls or applying a thin ‘skim coat’ of joint compound also known as ‘drywall mud’ (or finishing skim in the UK) is such a useful DIY skill however, it is one that requires a little practice to get that pro finish, but it’s so worth the effort in my opinion.
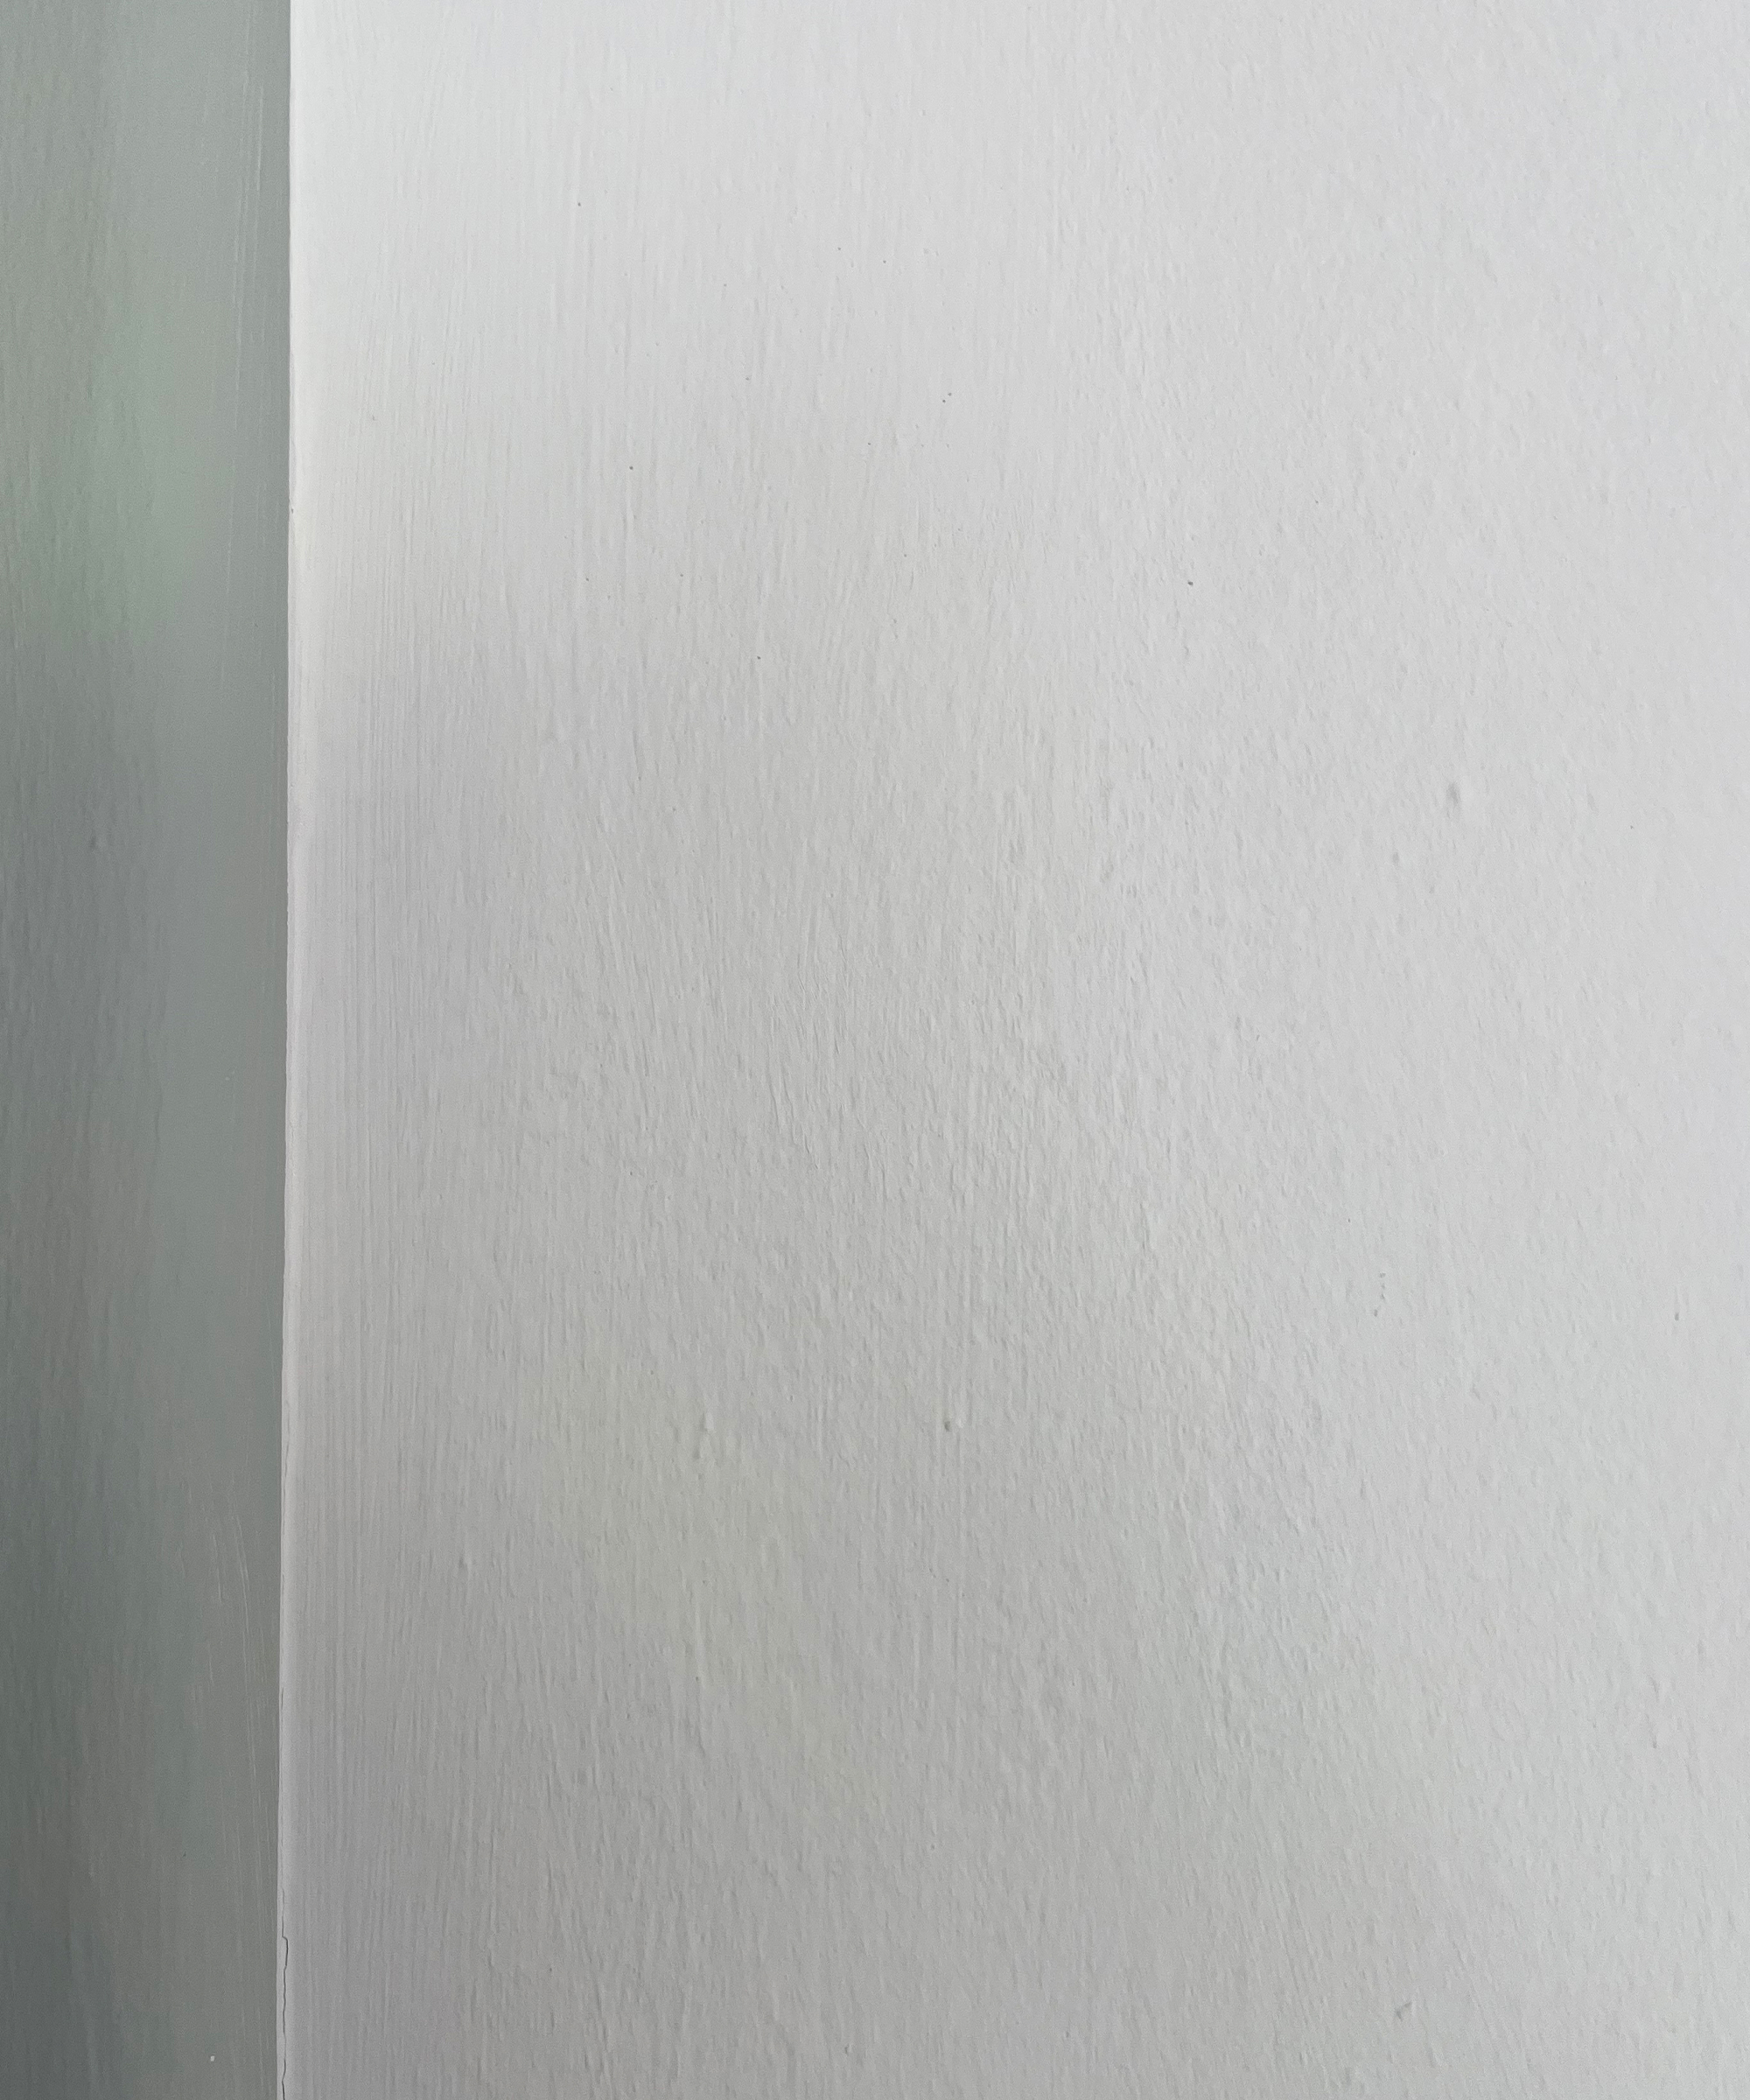
The ability to smooth walls will come in handy more often than you think, here are a few examples:
- Repairing cracks and holes
- Smoothing over bumpy walls from layers of old paint
- Smoothing over kitchen walls after upper units have been removed (very on-trend)
- Repairing surface damage from removing wall panelling (you’ll struggle to find a house without some form of wall panelling these days, so this is sure to become more of a need)
- After wallpaper removal which can leave a wall with gouges and scrapes.
- Older properties with uneven and even slightly wonky walls.
How to skim coat walls for painting
If you lack patience and attention to detail isn’t your thing, then this probably isn’t a job for you.
But unlike plumbing and electrics which should always be left to a professional, smoothing and skimming walls offers adventurous DIYers the opportunity to elevate their interiors and save money at the same time. Follow my step-by-step guide to get the best results.
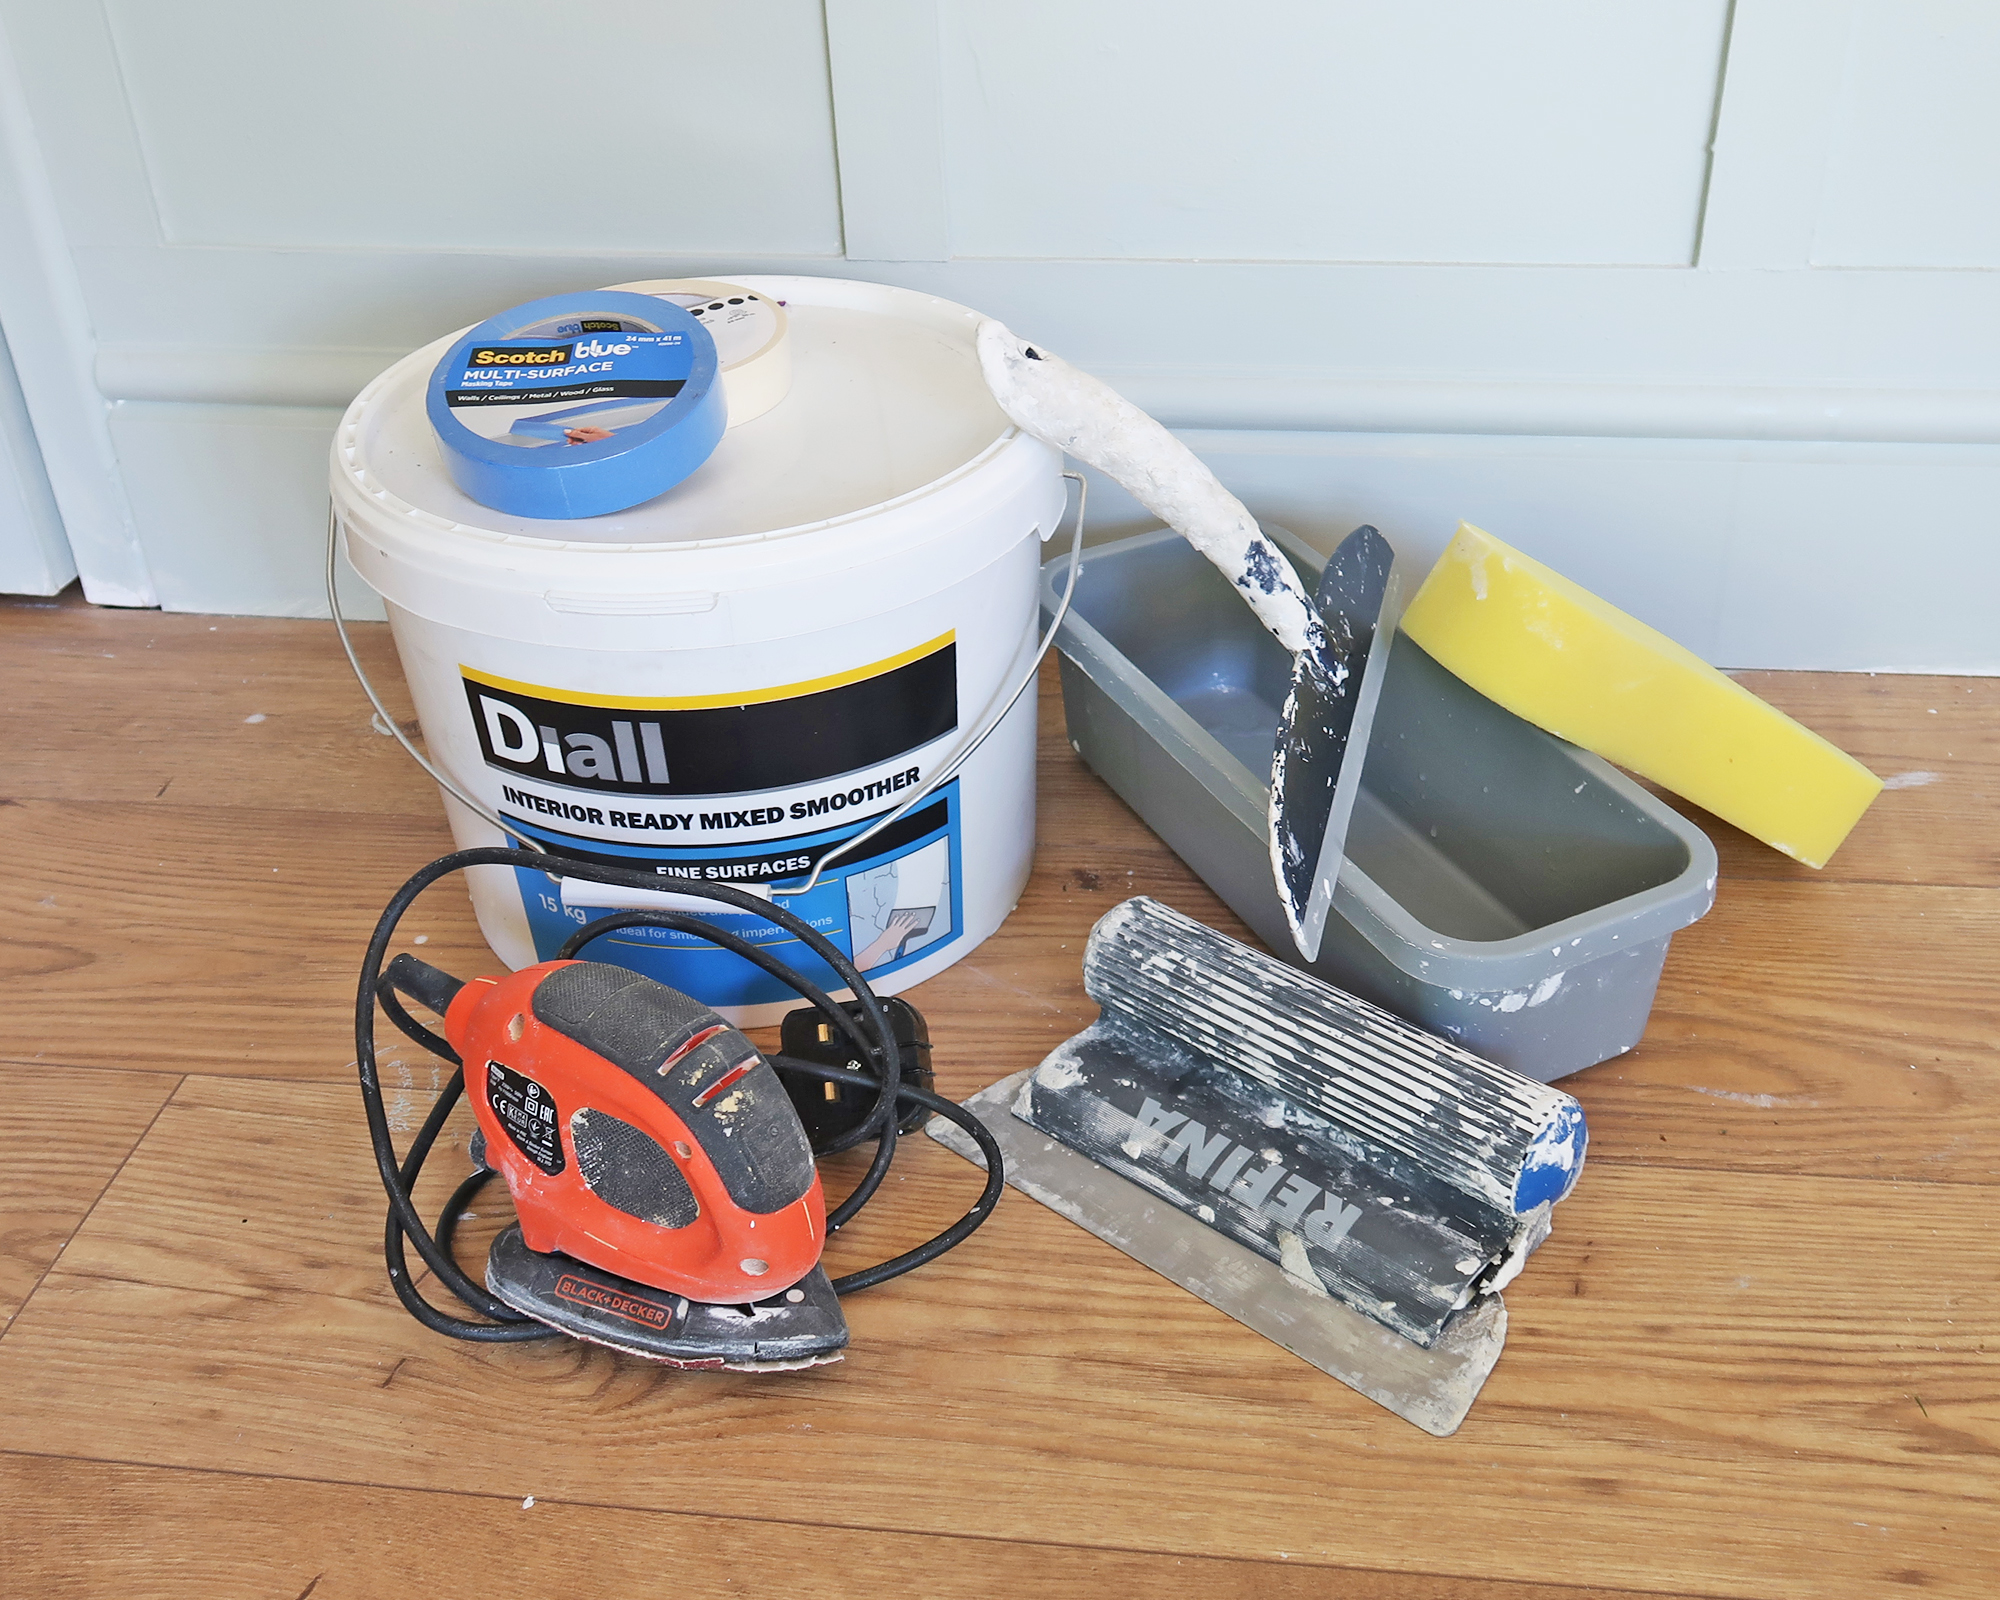
You will need
1. Skimming plaster / joint compound (aka Drywall mud): I swear by this one from UK B&Q, you can find similar on Amazon too
2. Taping knife or Skimming spreader:This is my favourite but these would also work well from Amazon
3. Mud pan:Like this one
4. Paint mixer
5. Water
6. Paint roller & frame
7. Sander and fine grit pads
8. Masking tape
9. Dust sheets:these are biodegradable
10. Sponge
11. Sugar soap / cleaning fluid
12. A cordless vacuum is super handy
13. Putty knife
14. Gloves
15. Primer
16. Paint
Before you start
Skim coating walls can get quite messy, so be sure to remove any furniture from the room before you start. Protect the floor, other surfaces, and any items that can’t be removed, with dust sheets. You should wear gloves and consider protective eyewear. Keep a damp cloth and bucket of clean water nearby to deal with any spillages.
Get small space home decor ideas, celeb inspiration, DIY tips and more, straight to your inbox!
1. Repairing minor damage
If your walls are in great shape except for a small hole or knick, perhaps from the removal of a screw or similar then you should be able to perform a minor repair. Learn how to fix a hole in the wall if you need to but otherwise you shouldn’t need to skim the whole wall.
2. Prepare your walls
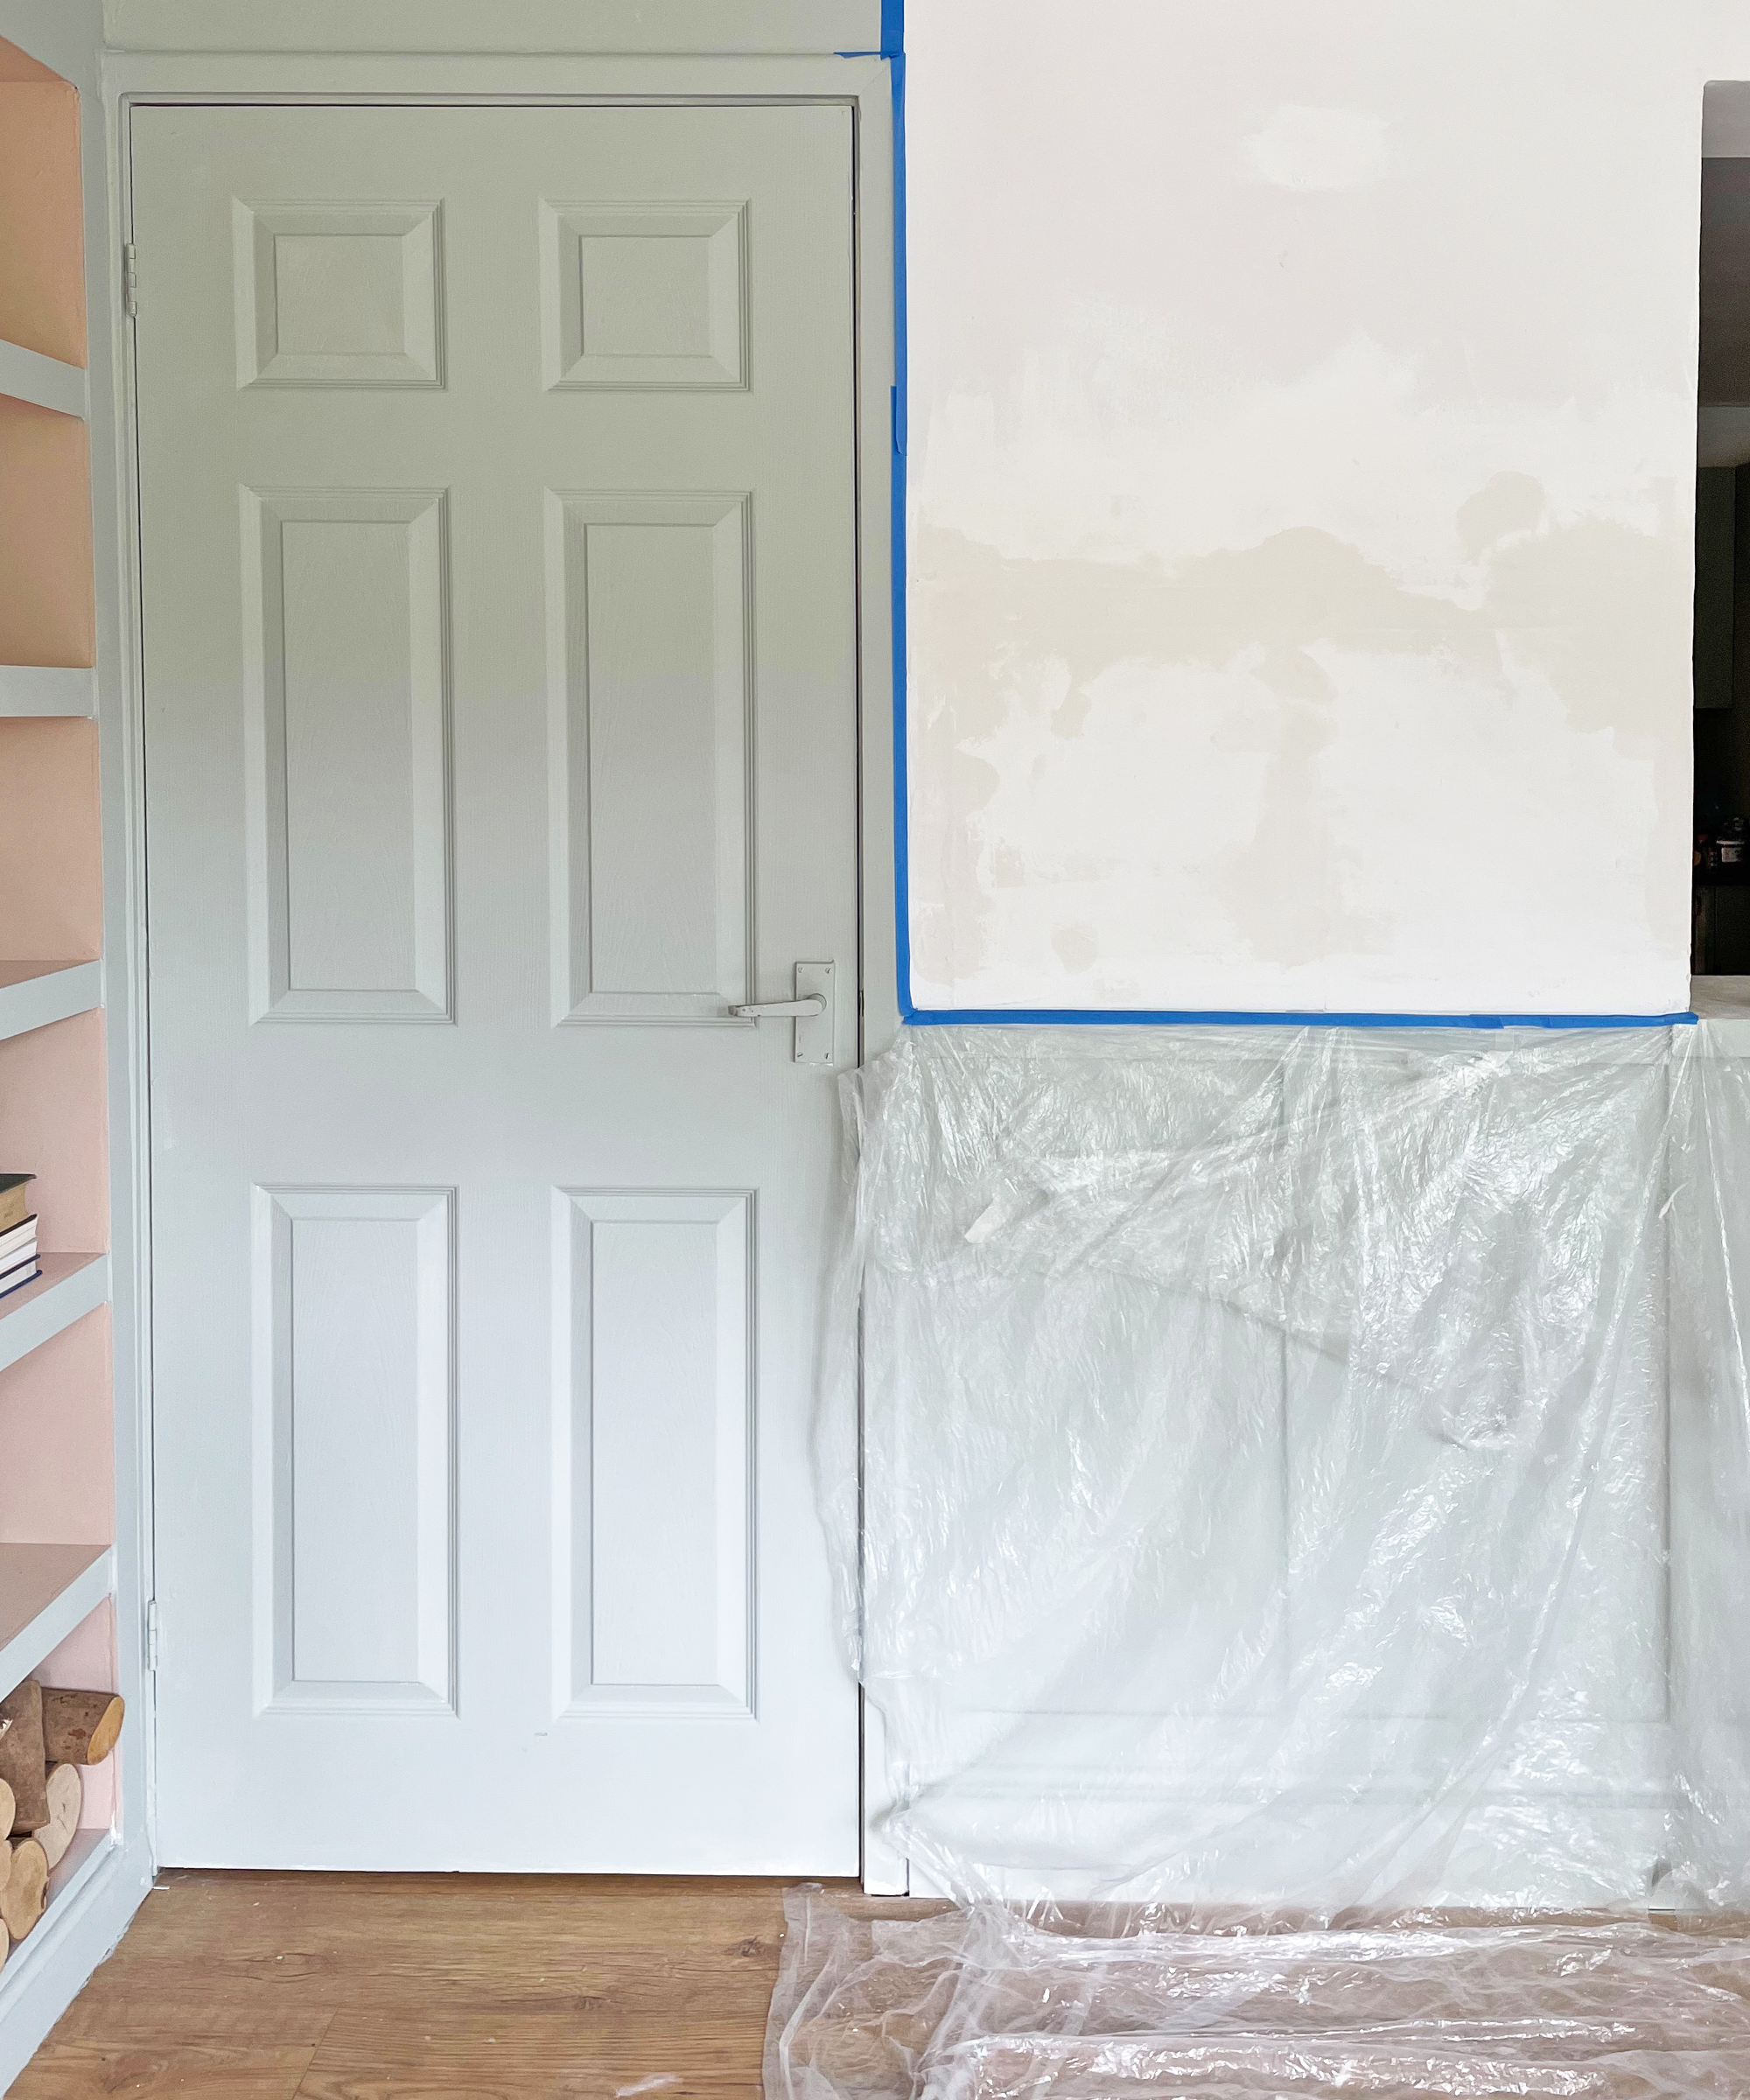
Any minor repairs should be done prior to the skim coat, taking care to feather the edges, so that you cannot see where the patch starts and ends on the wall and to give a level surface to skim onto.
To feather an edge, start the taping knife or spreader on the wall adjacent to where the patch repair starts and apply firm pressure (bending at approx 45 degrees) as you sweep it in towards the centre of the patch gently reducing pressure as you go so as not to remove the mud at the site of the repair. If you apply enough pressure to start with you won’t be able to see where the patch starts and ends on the wall and you won’t need to sand this before skimming. Don’t allow the joint compound time to start drying before feathering an edge or you won’t get it smooth or thin enough. Sand the patch lightly if it is not smooth after repair.
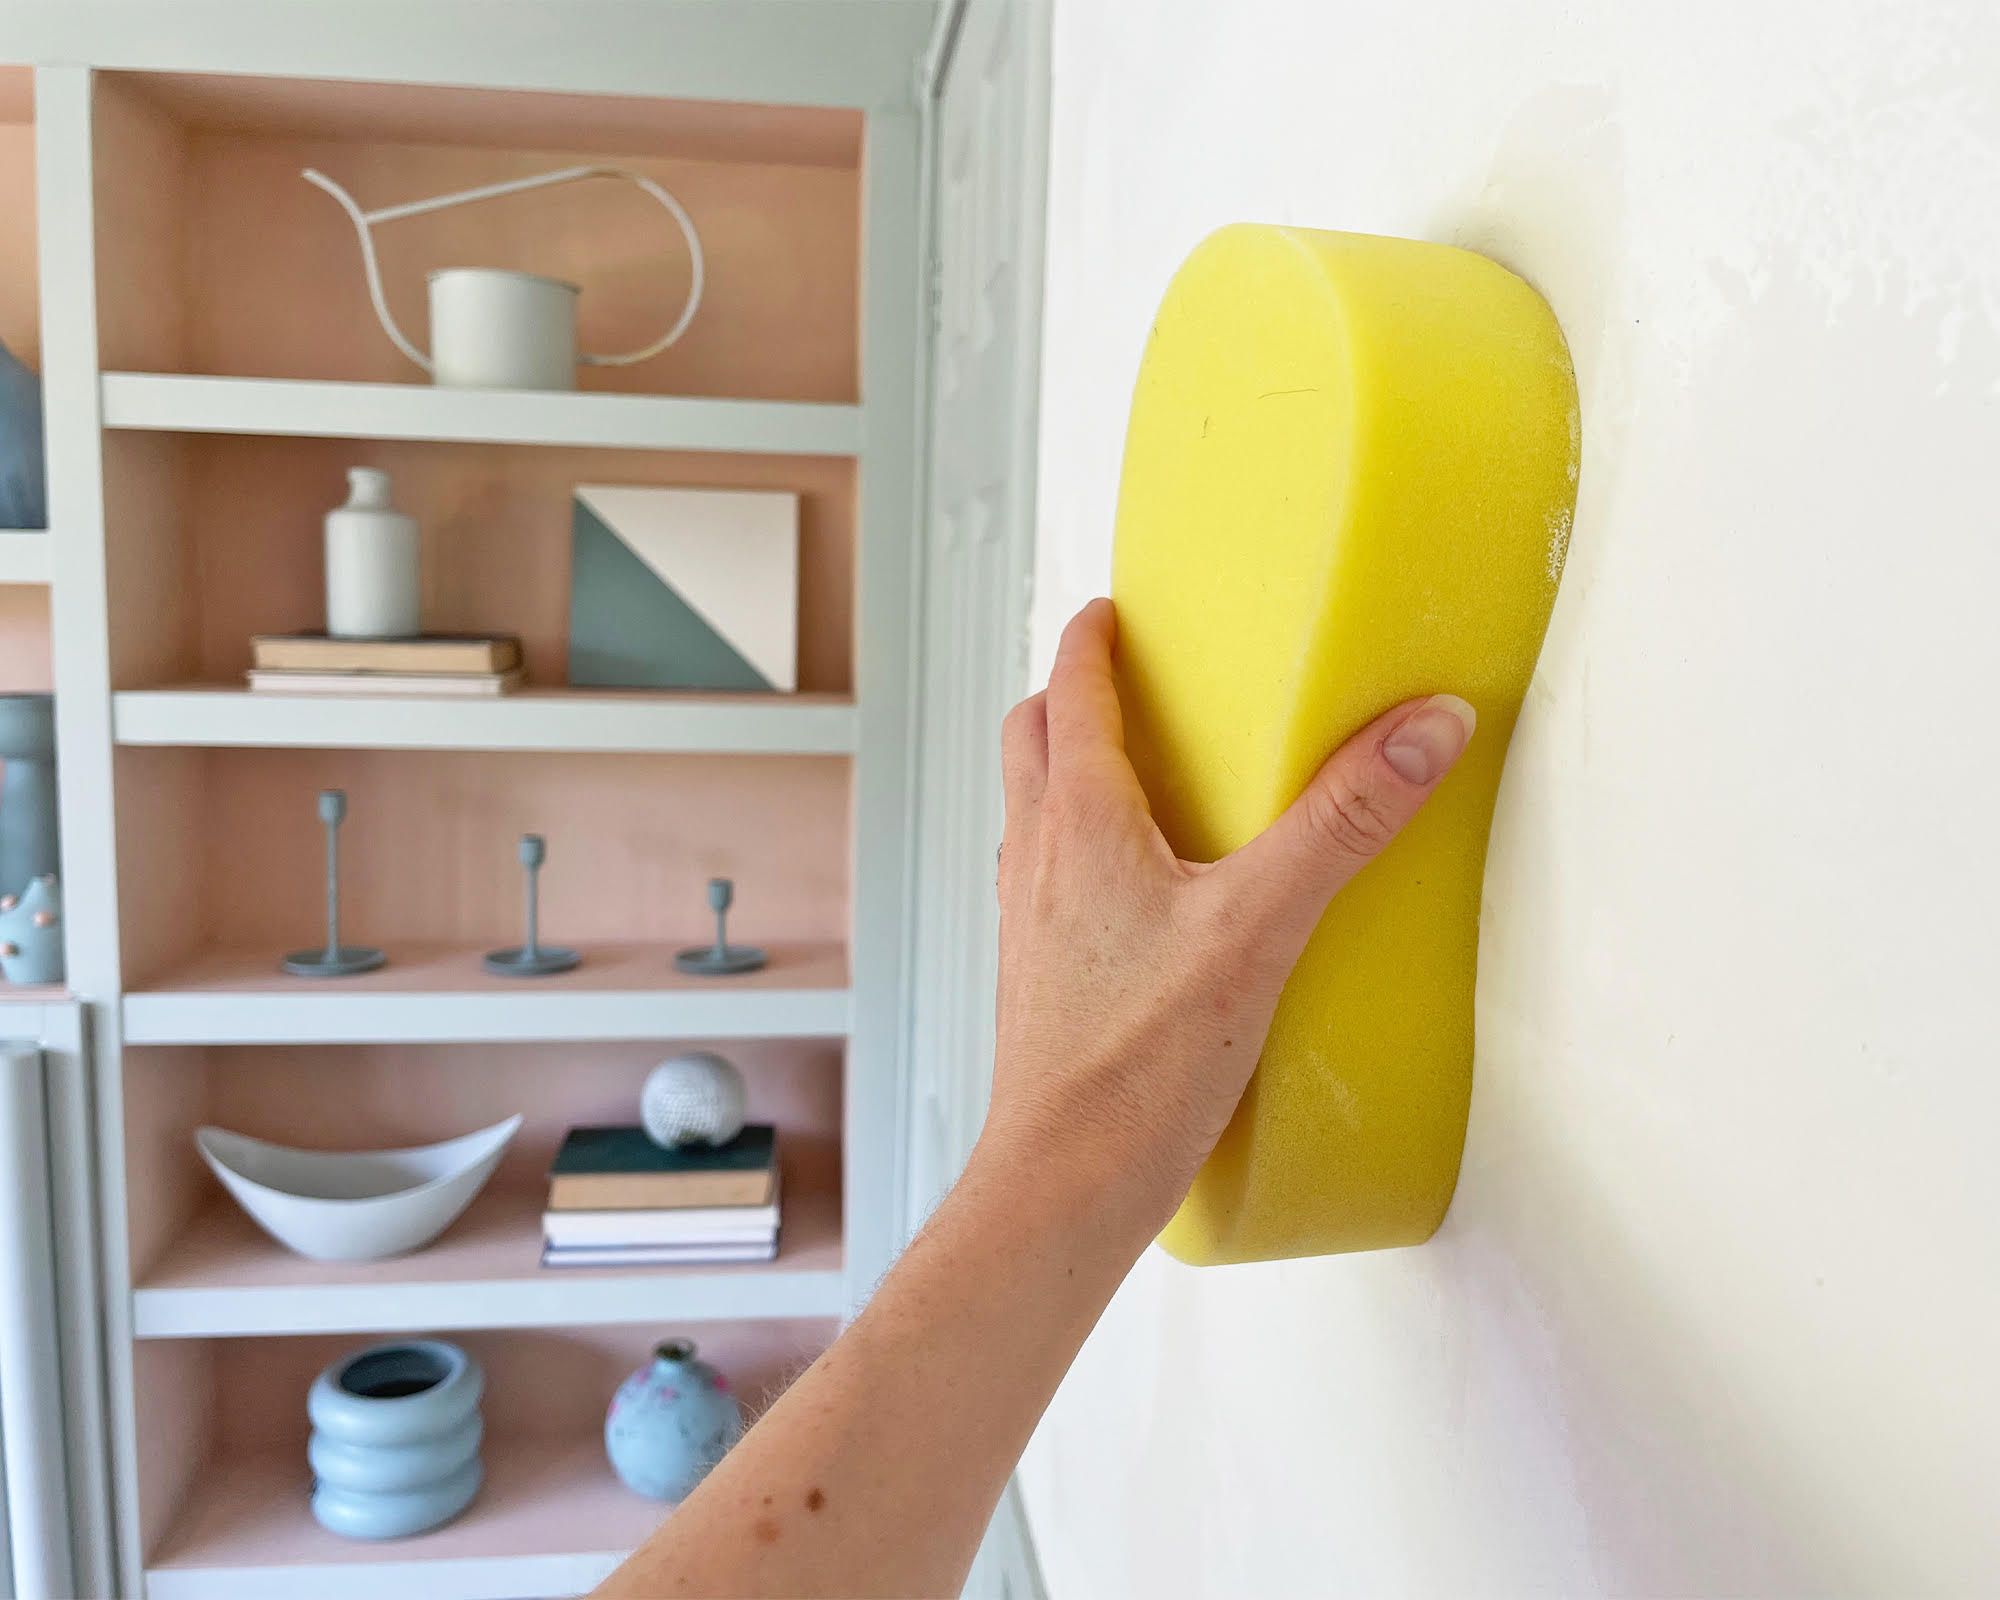
Surfaces need to be clean, dry, and free from dust so vacuuming the wall is a good idea and then wiping it down with either sugar soap or a degreasing detergent is advised to ensure good adhesion and less chance of bubbles appearing.
3. Mix your joint compound
You can buy tubs of ready-mixed joint compound (also known as finishing skim or smoothing plaster in the UK) easily at most hardware stores and it saves a lot of effort, mess and the worry of lumps of unmixed powder in your mud. The ready-mixed mud can be a little thick, so it pays to decant small batches at a time into your mud pan and dilute a little with water until it resembles a thick yogurt-like consistency. A paint mixing attachment for your drill is ideal for this task. Add a few drops of water at a time until you reach the desired consistency. Don’t mix it too wet or you will get shrinkage when it dries.
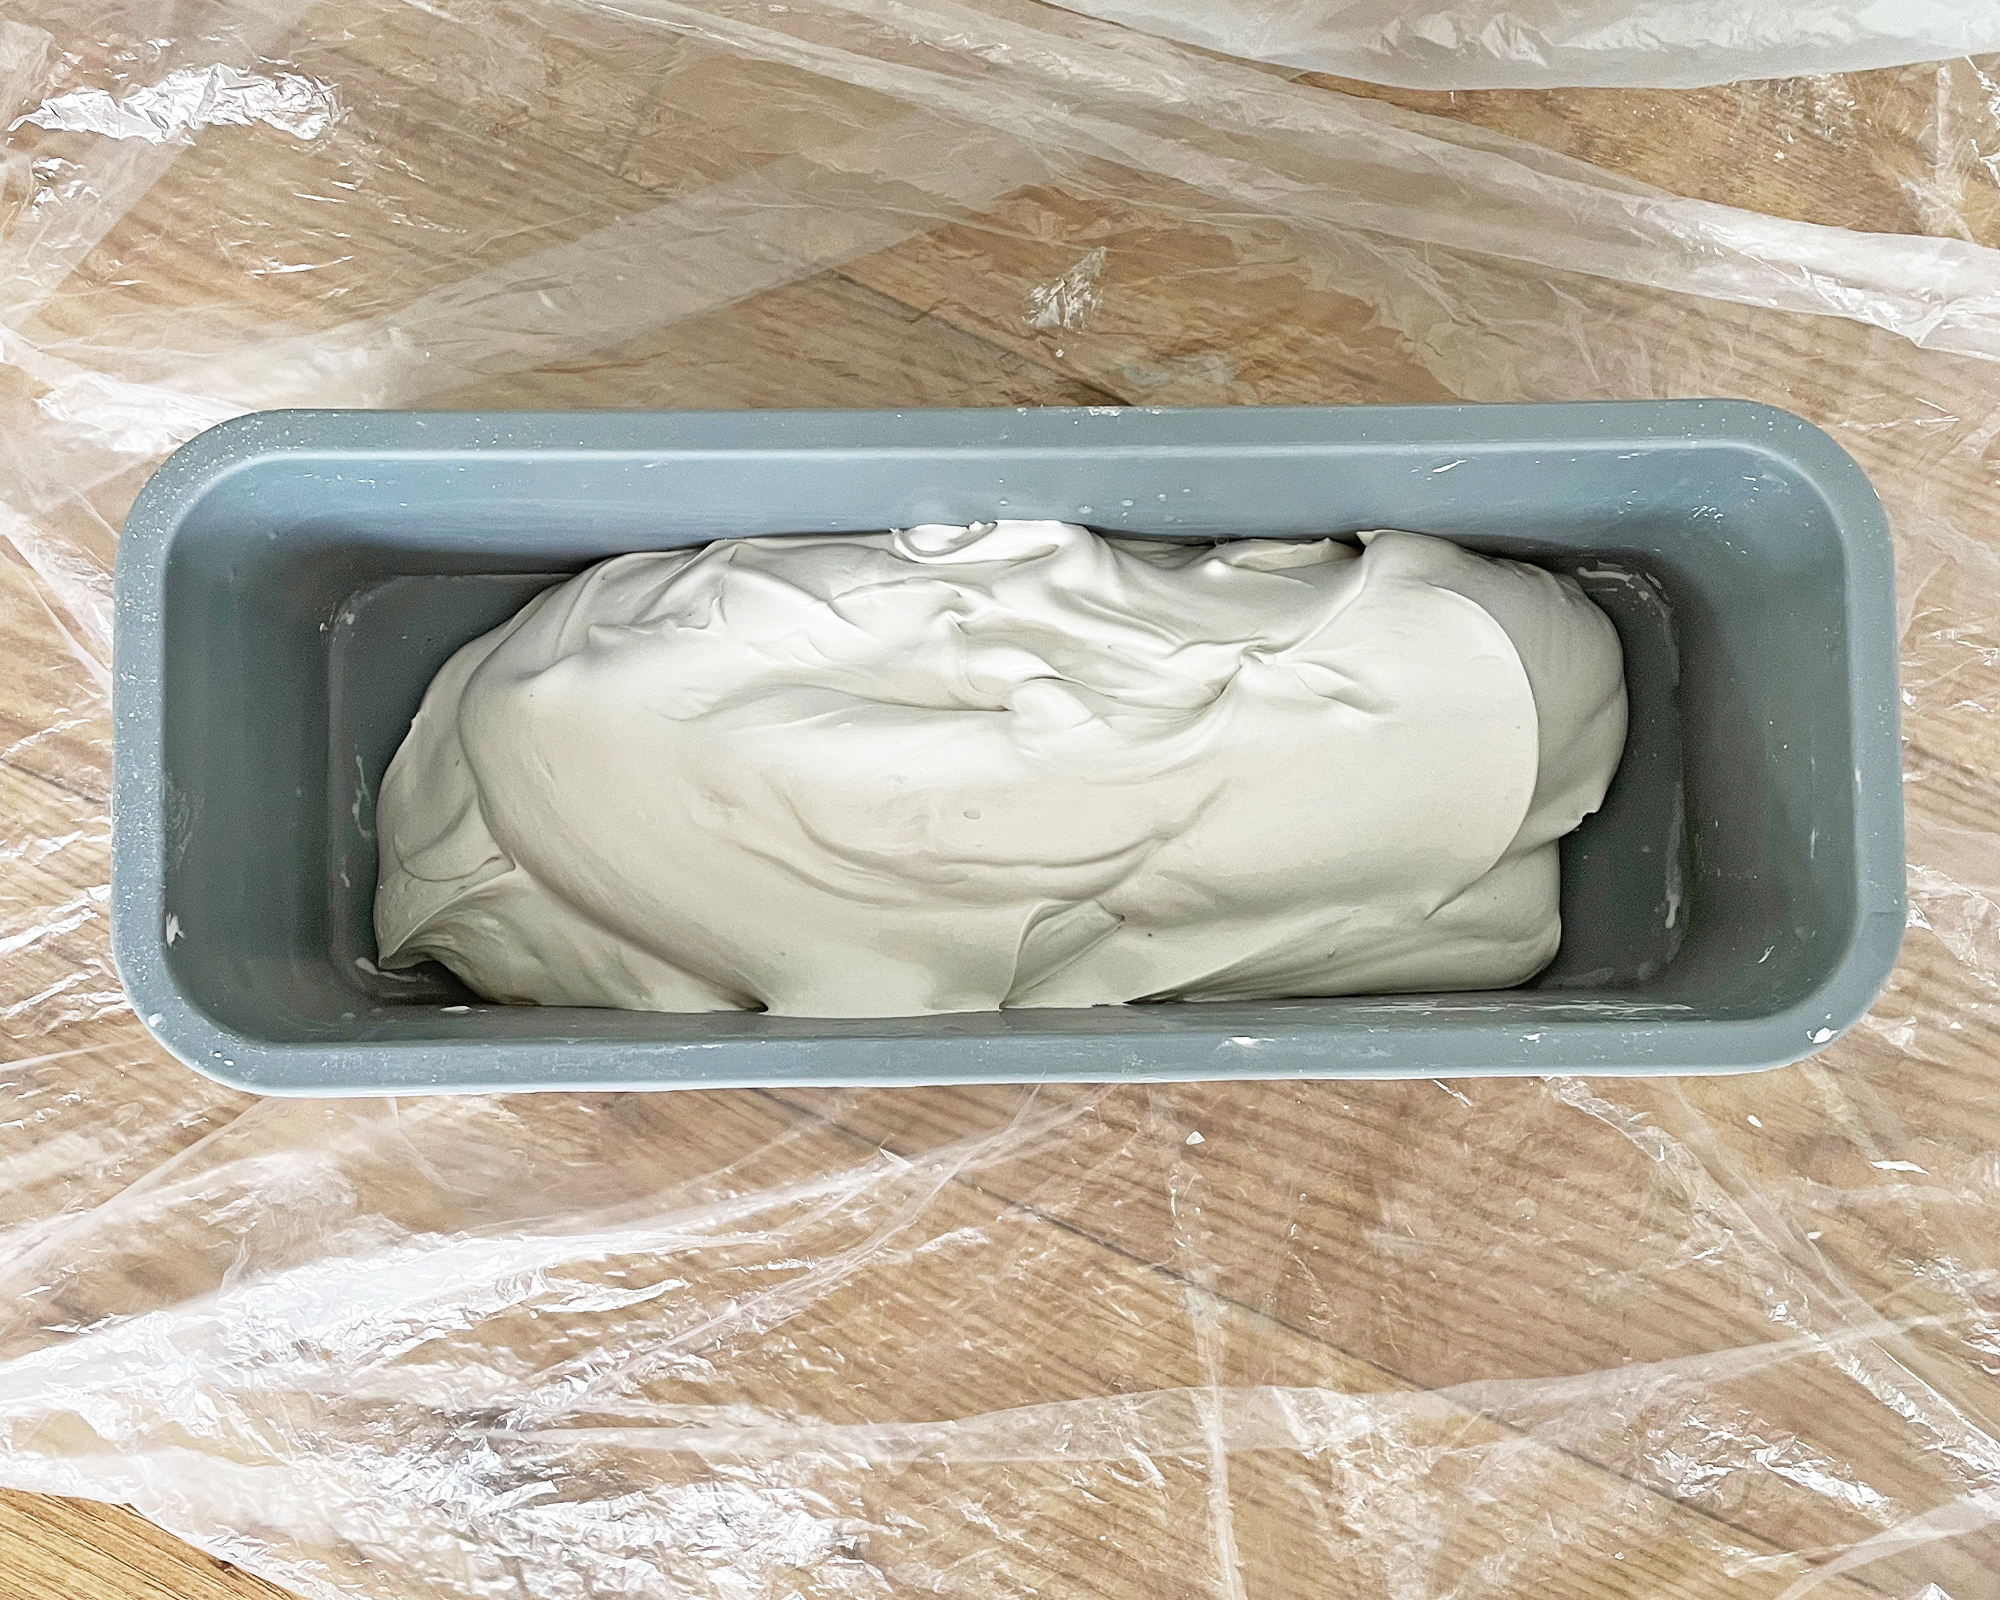
Top Tip: Working in small batches saves the product from beginning to set which makes it much harder to work with and will reduce the smoothness of your finish.
4. Layer onto the wall
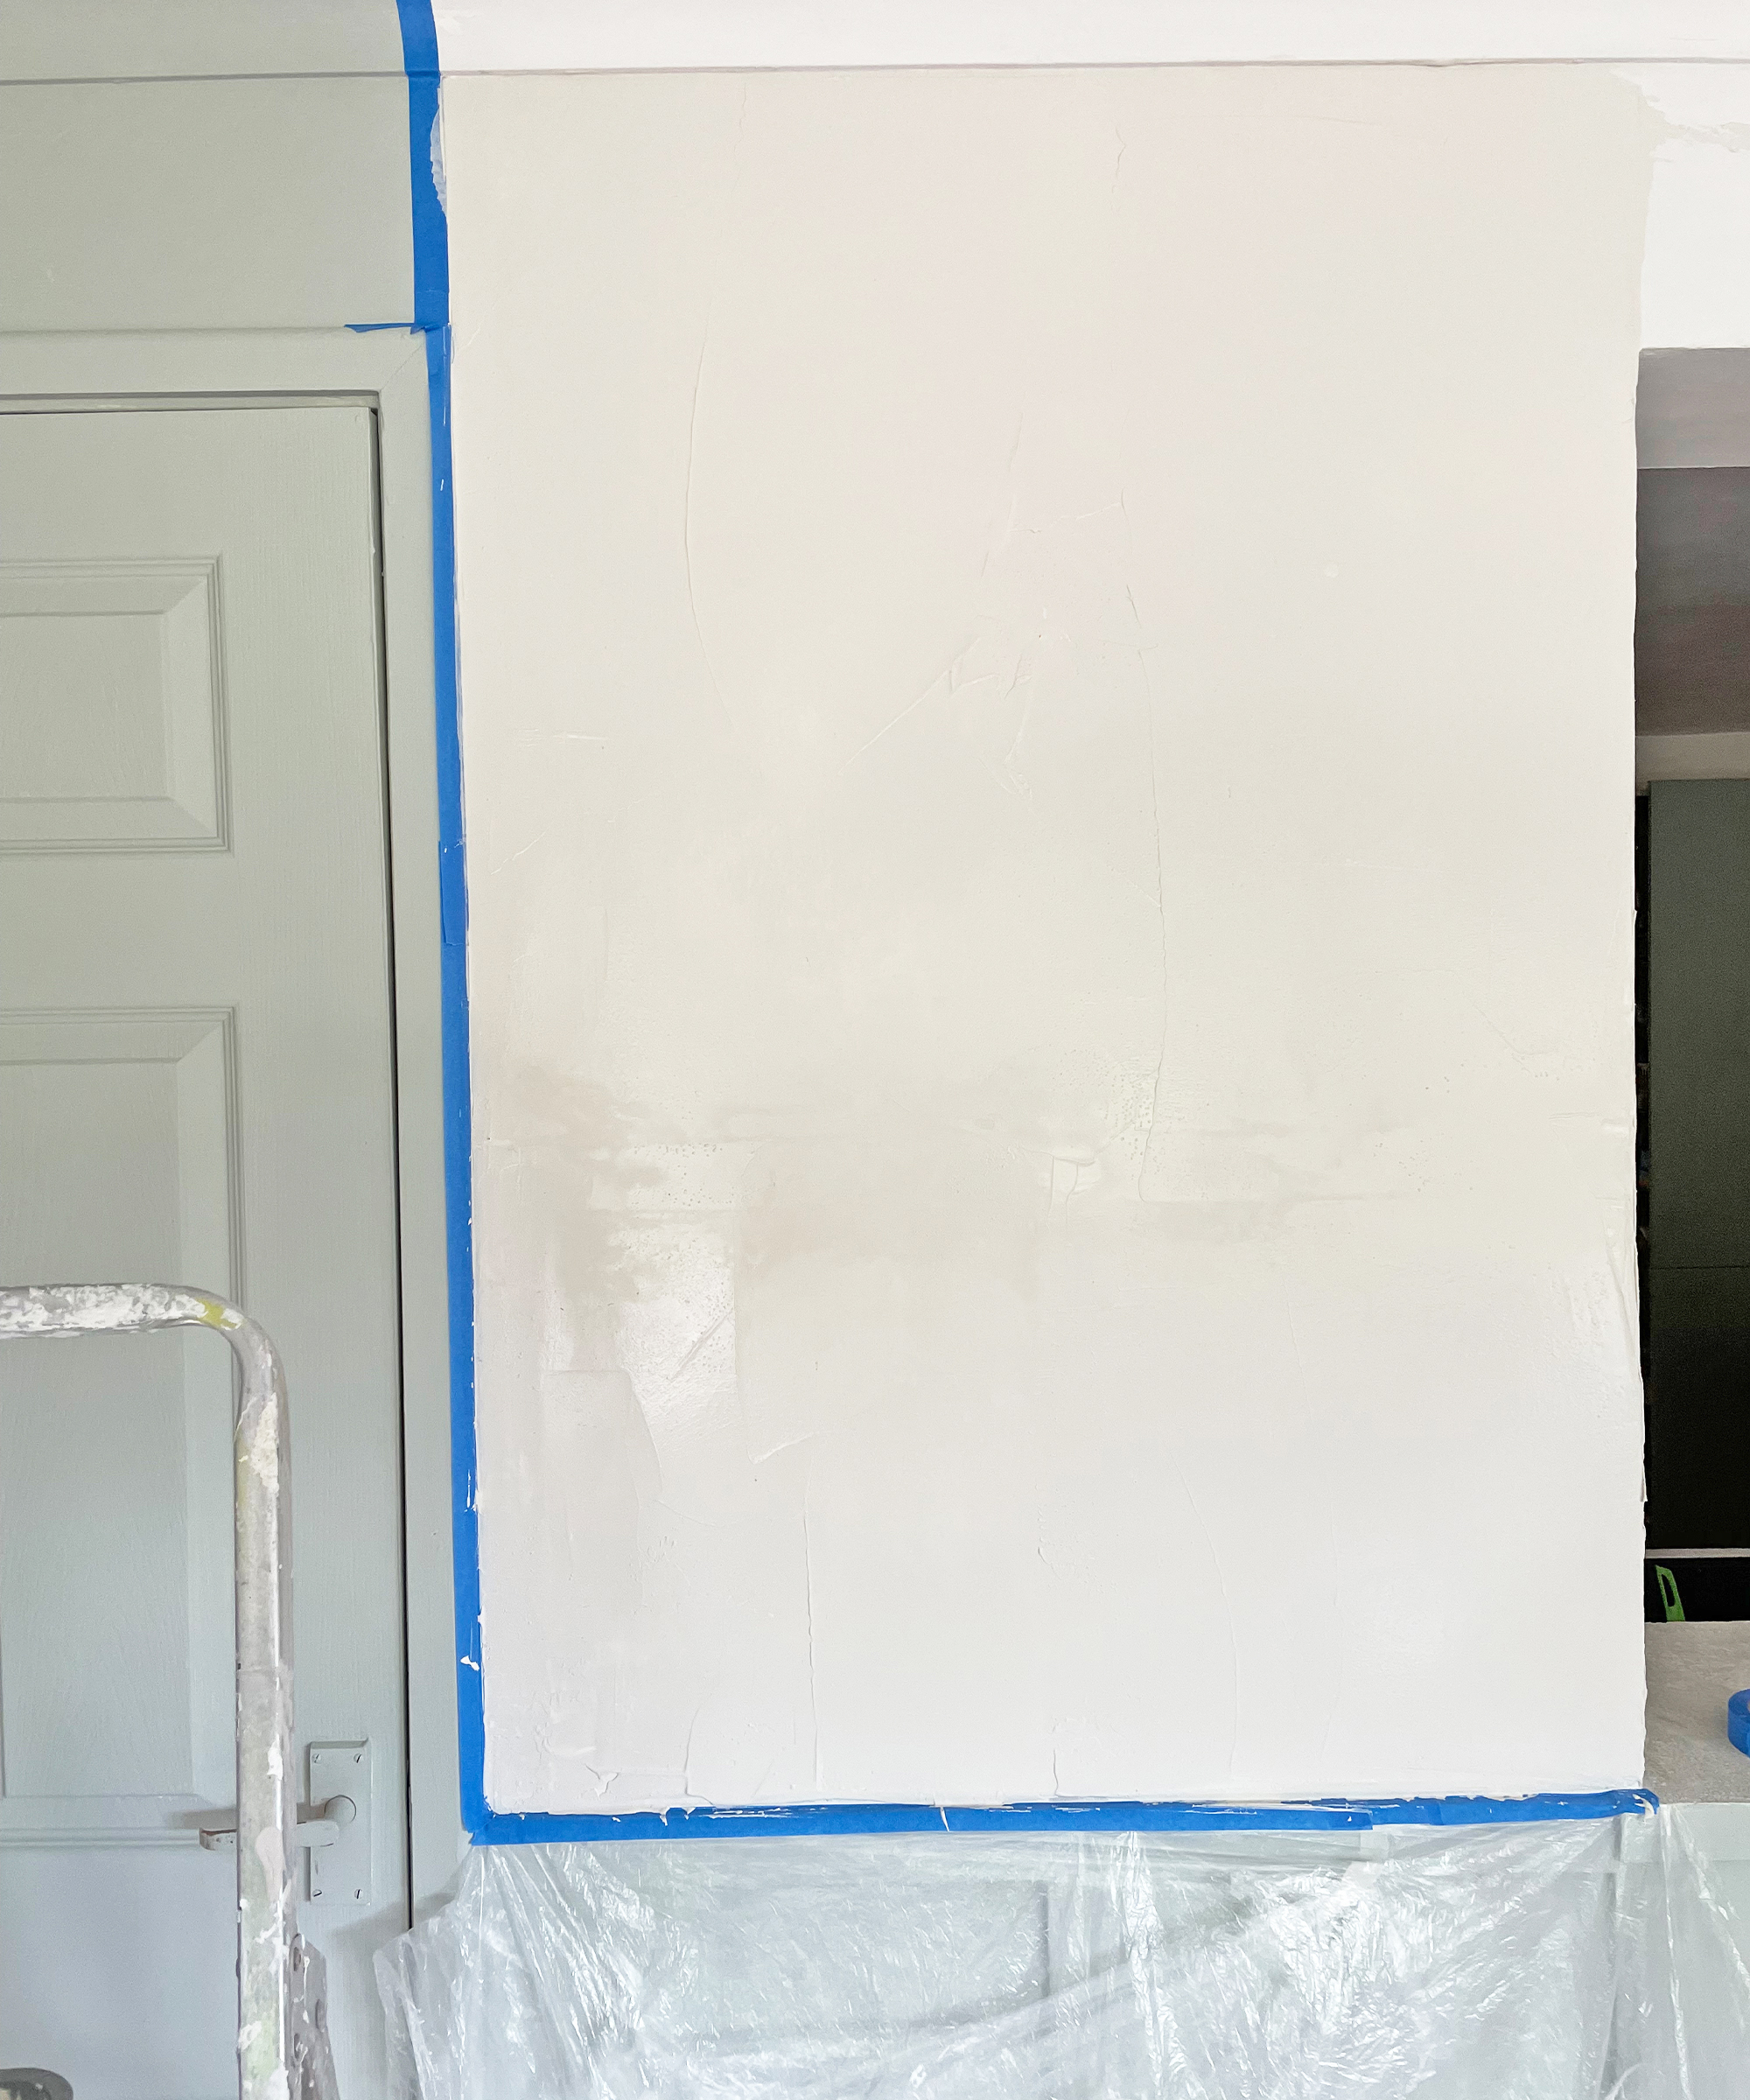
If you are a complete beginner, you might prefer to use a medium-nap paint roller to apply the mud to the wall as it helps keep a consistent thickness which is important. I prefer to use my skimming spreader, as the roller method can get quite messy and I prefer to have more control. Apply the mud to sections of the wall. If you are doing a large wall, then you could split it in half and do the top section first followed by the bottom section, or you could take sections of the whole wall. As you get more adept at the process you can tackle larger sections at a time as you will work quicker meaning the mud won’t have time to start drying before you get to it.
Leave a small gap (of about an inch) around the perimeter of the wall as you don’t want bunched-up compound along the edges and stuck in the corners.
5. Spread out thinly
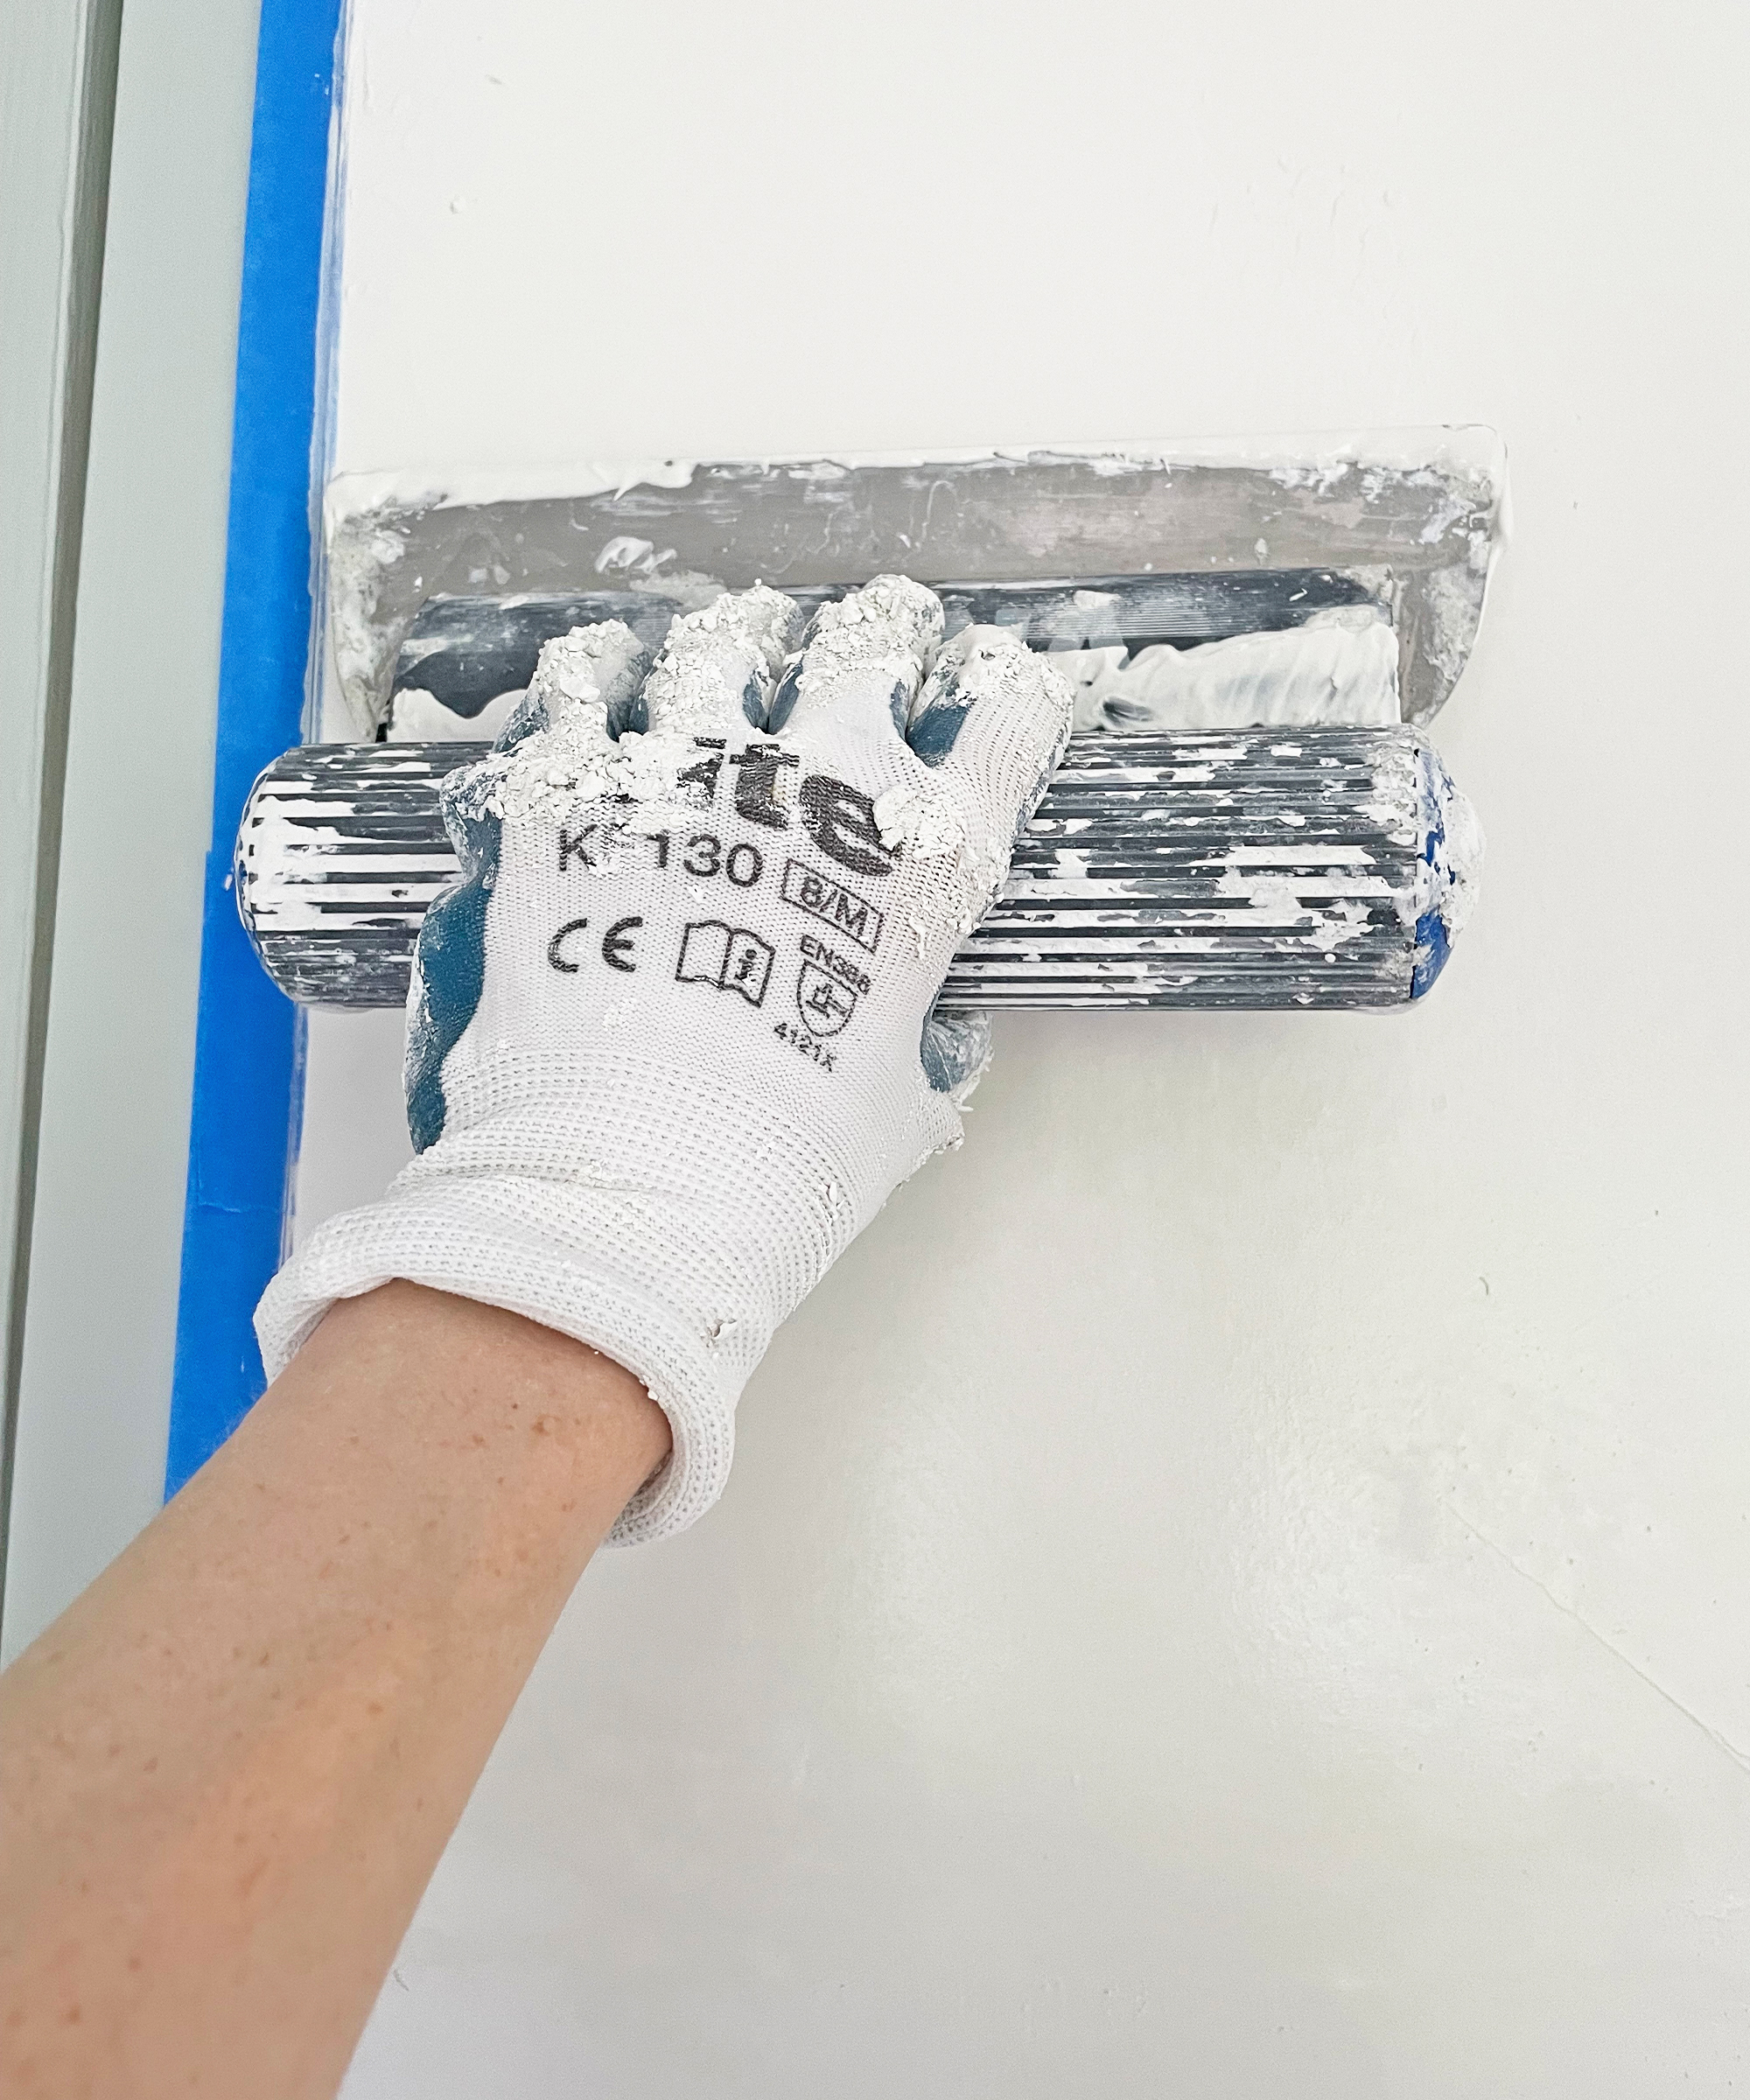
Start in the top corner and drag the taping knife or skimming spreader down the wall applying slightly more pressure on one side so that you only get a line on one side, in the direction you are going, in order to smooth over it with the next pass (see image below), you might need to practice this motion a few times to get the hang of it.
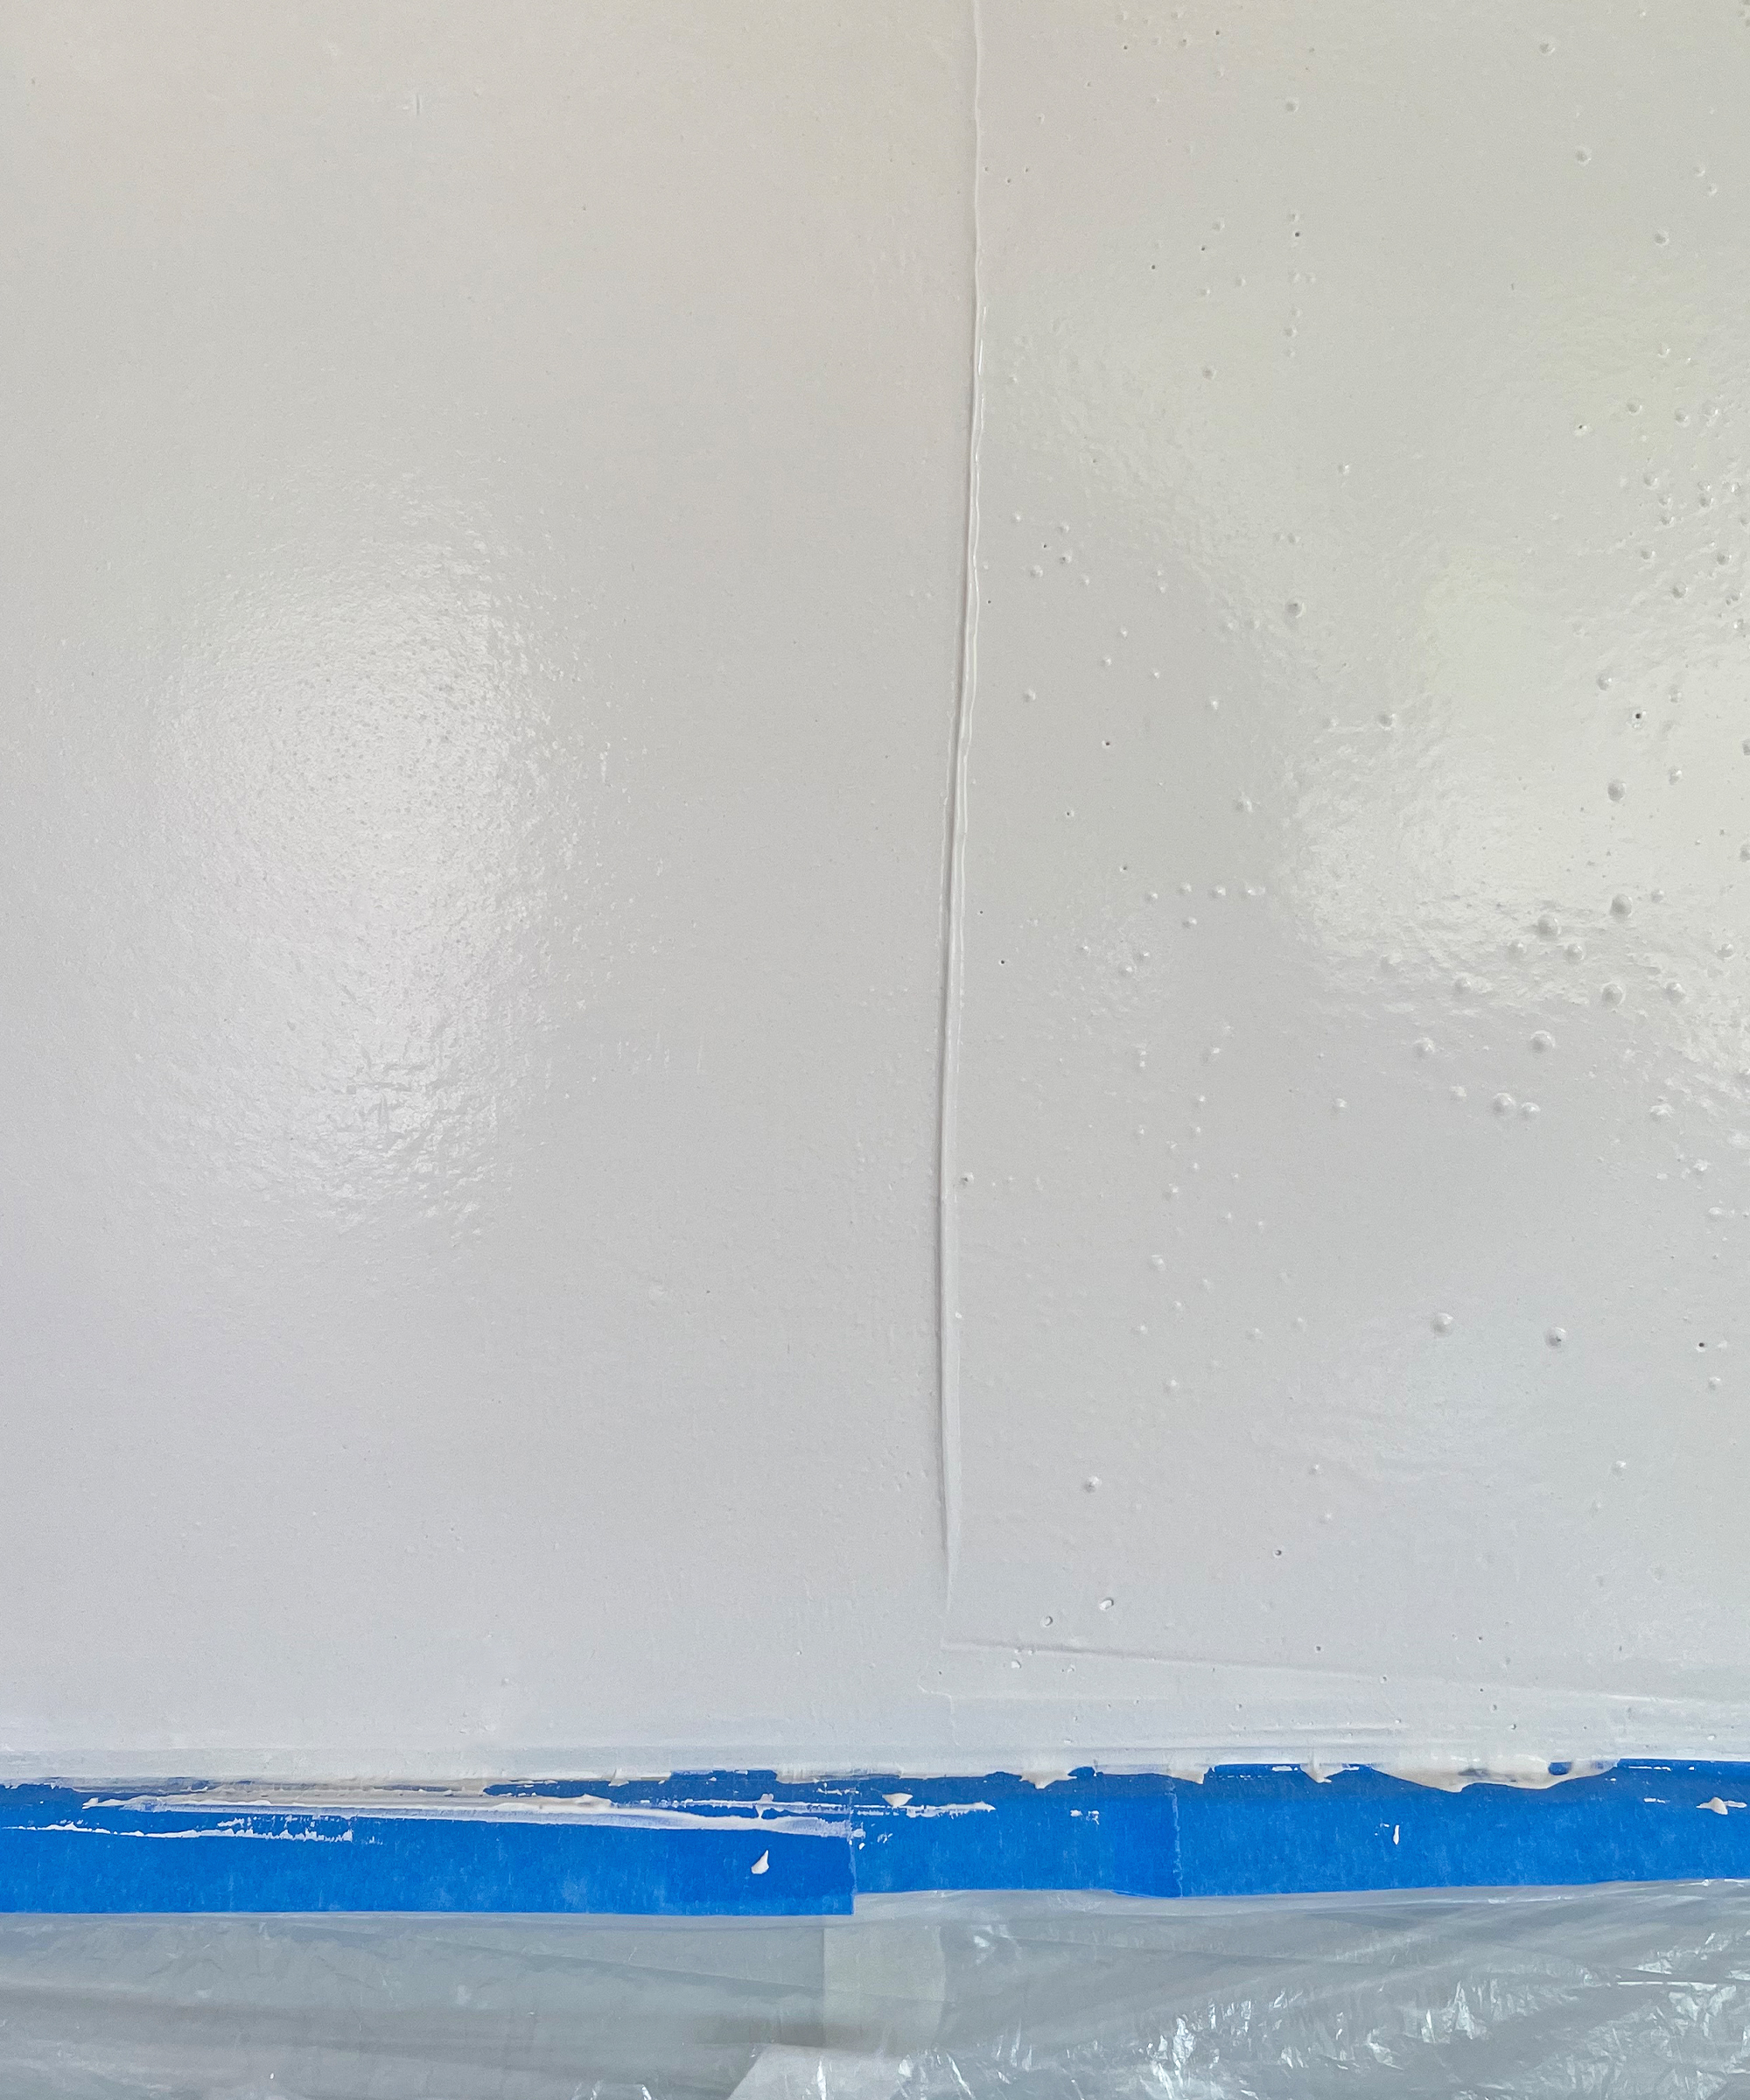
Stop before you reach the bottom then do the same process in reverse, starting in the bottom corner (directly below the top corner you started with) and drag the knife or skimmer up towards the centre. Do this along the whole section you have layered up. Remember, you are trying to flatten the mud rather than scrape it all off the wall, but you will remove some mud in this process, so wipe your knife/spreader clean on the side of your mud pan in between passes. Once you are happy that you’ve got a smooth finish you can move on to the next section of wall and complete steps four and five, do this until you have covered the whole wall with the first coat.
Top tip: Rather than sanding the first coat, you can use a putty knife to scrape off any lumps or bumps when the mud has dried but not completely hardened.
6. Layer up
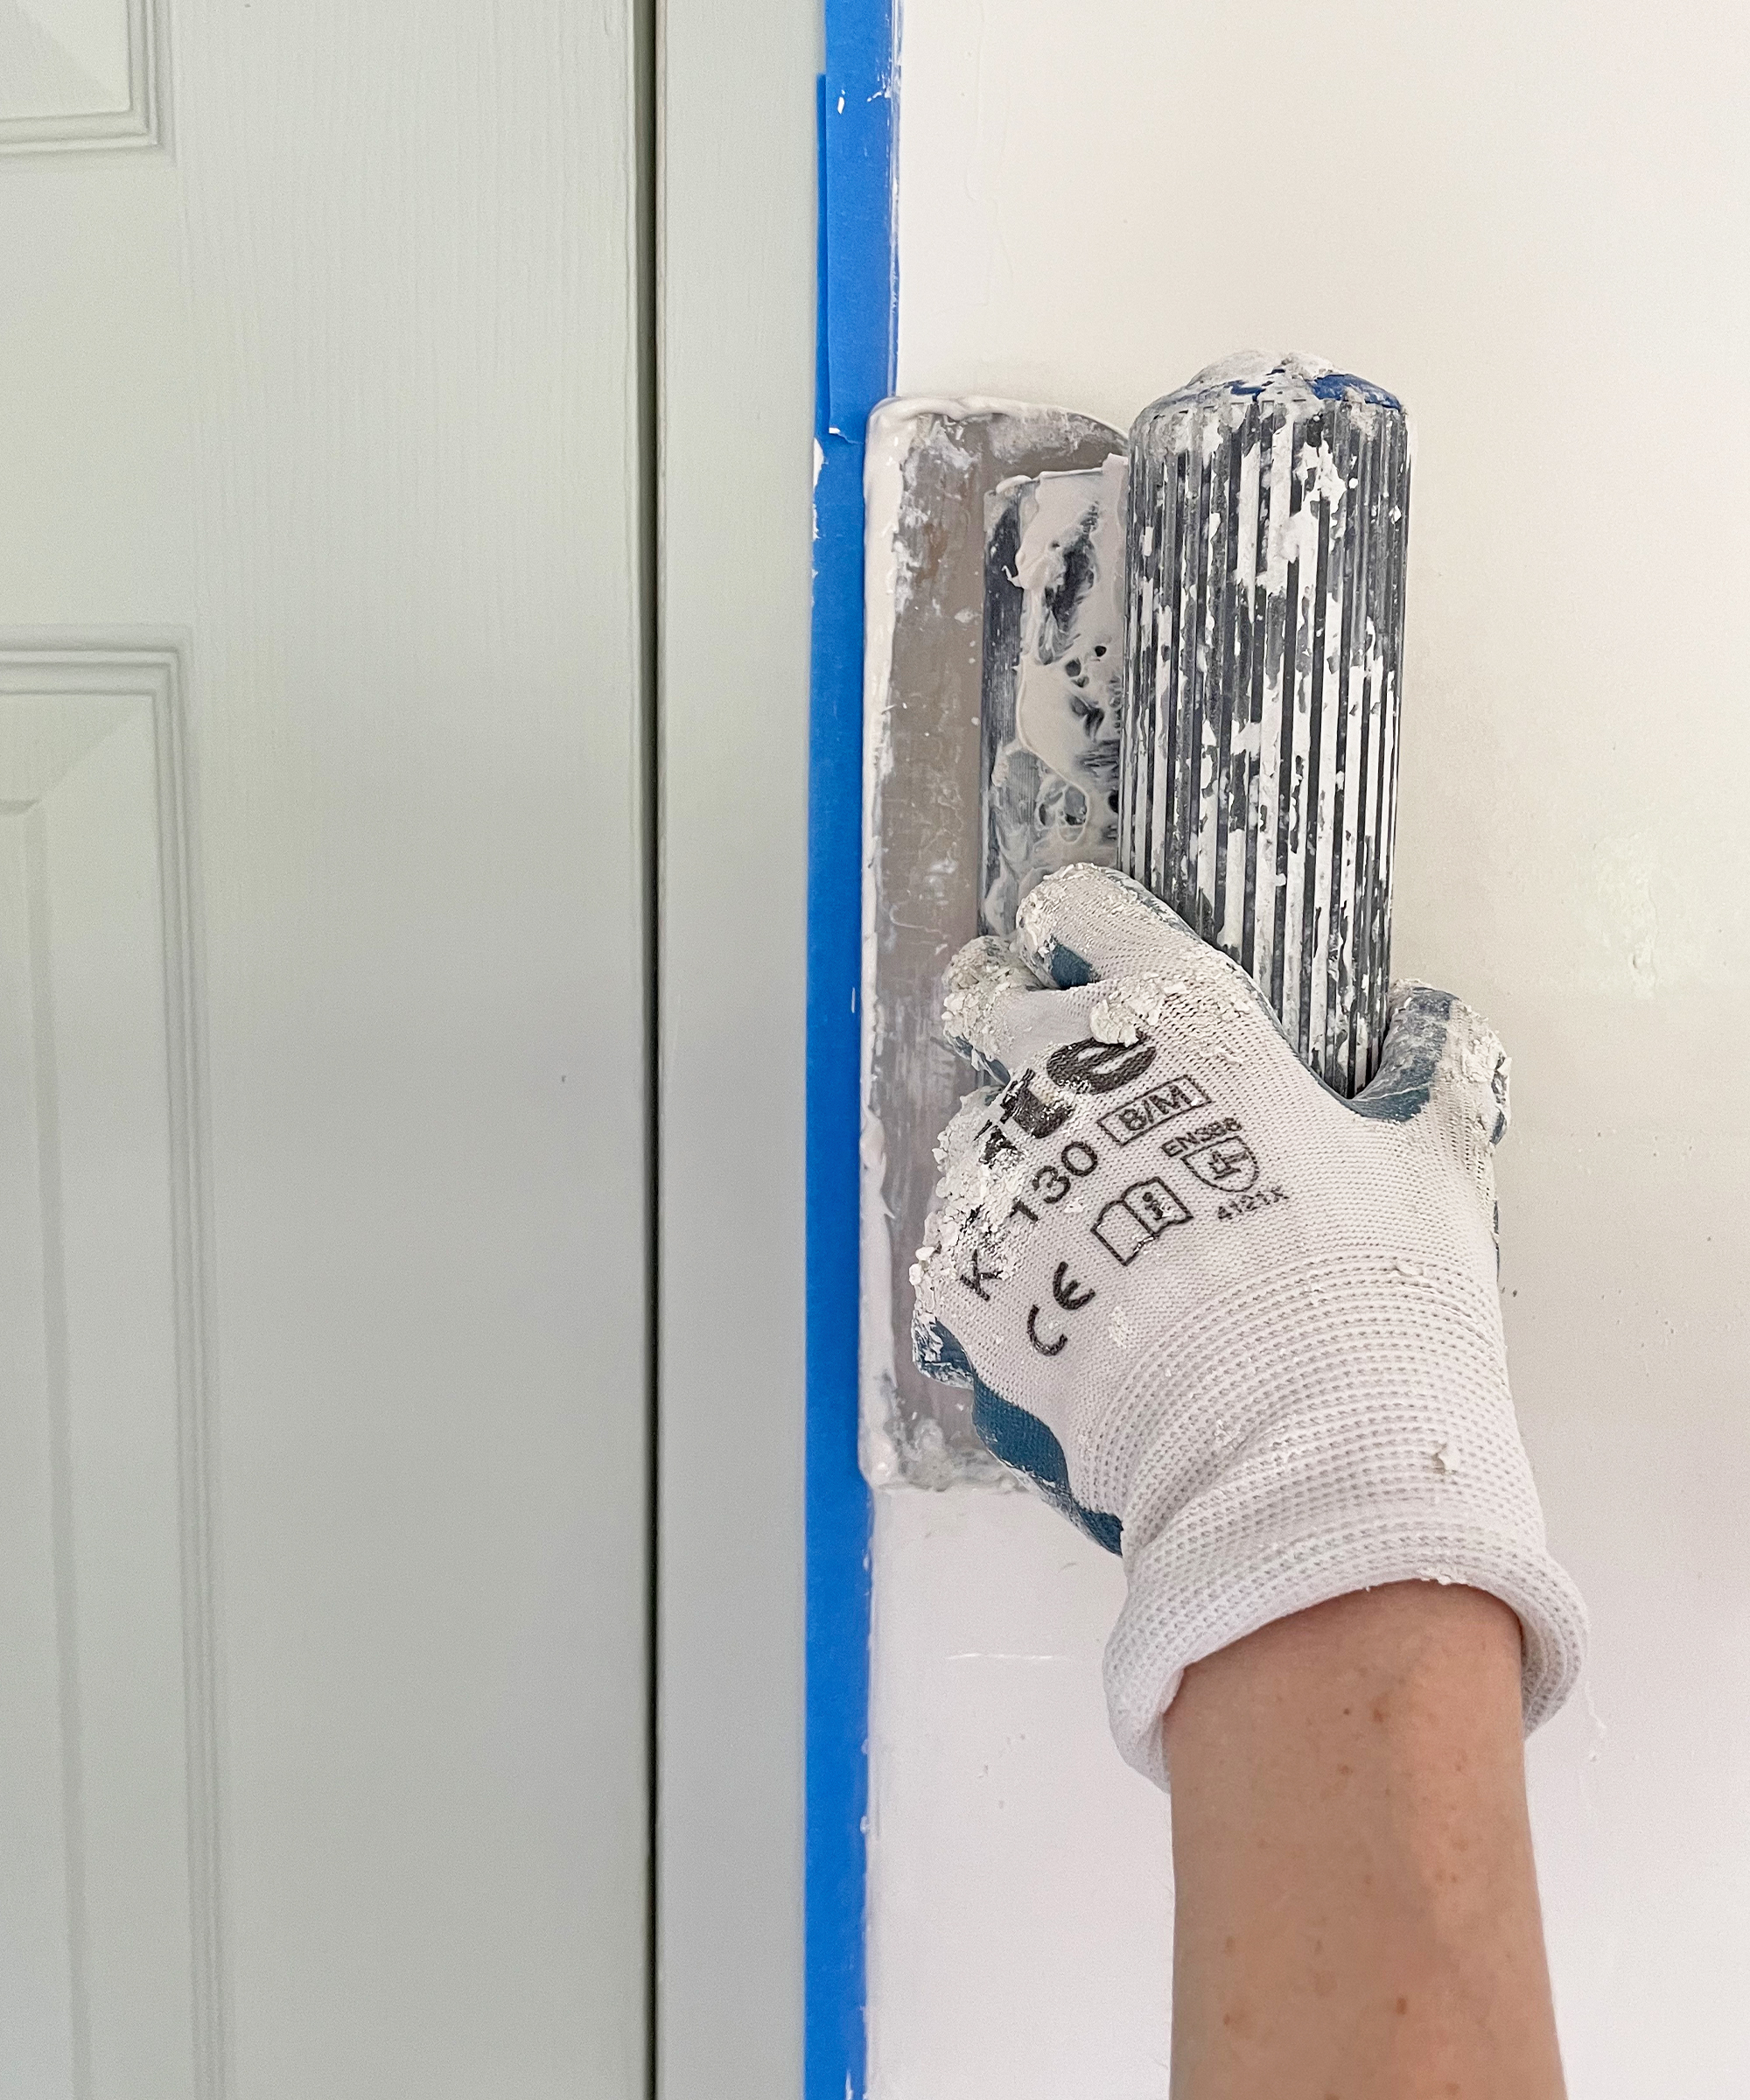
When the first coat has dried, complete steps four and five with the second coat of joint compound, ideally completing the passes in a different direction than before. You might need a third coat, depending on the condition of the wall and how smooth you are able to get the finish.
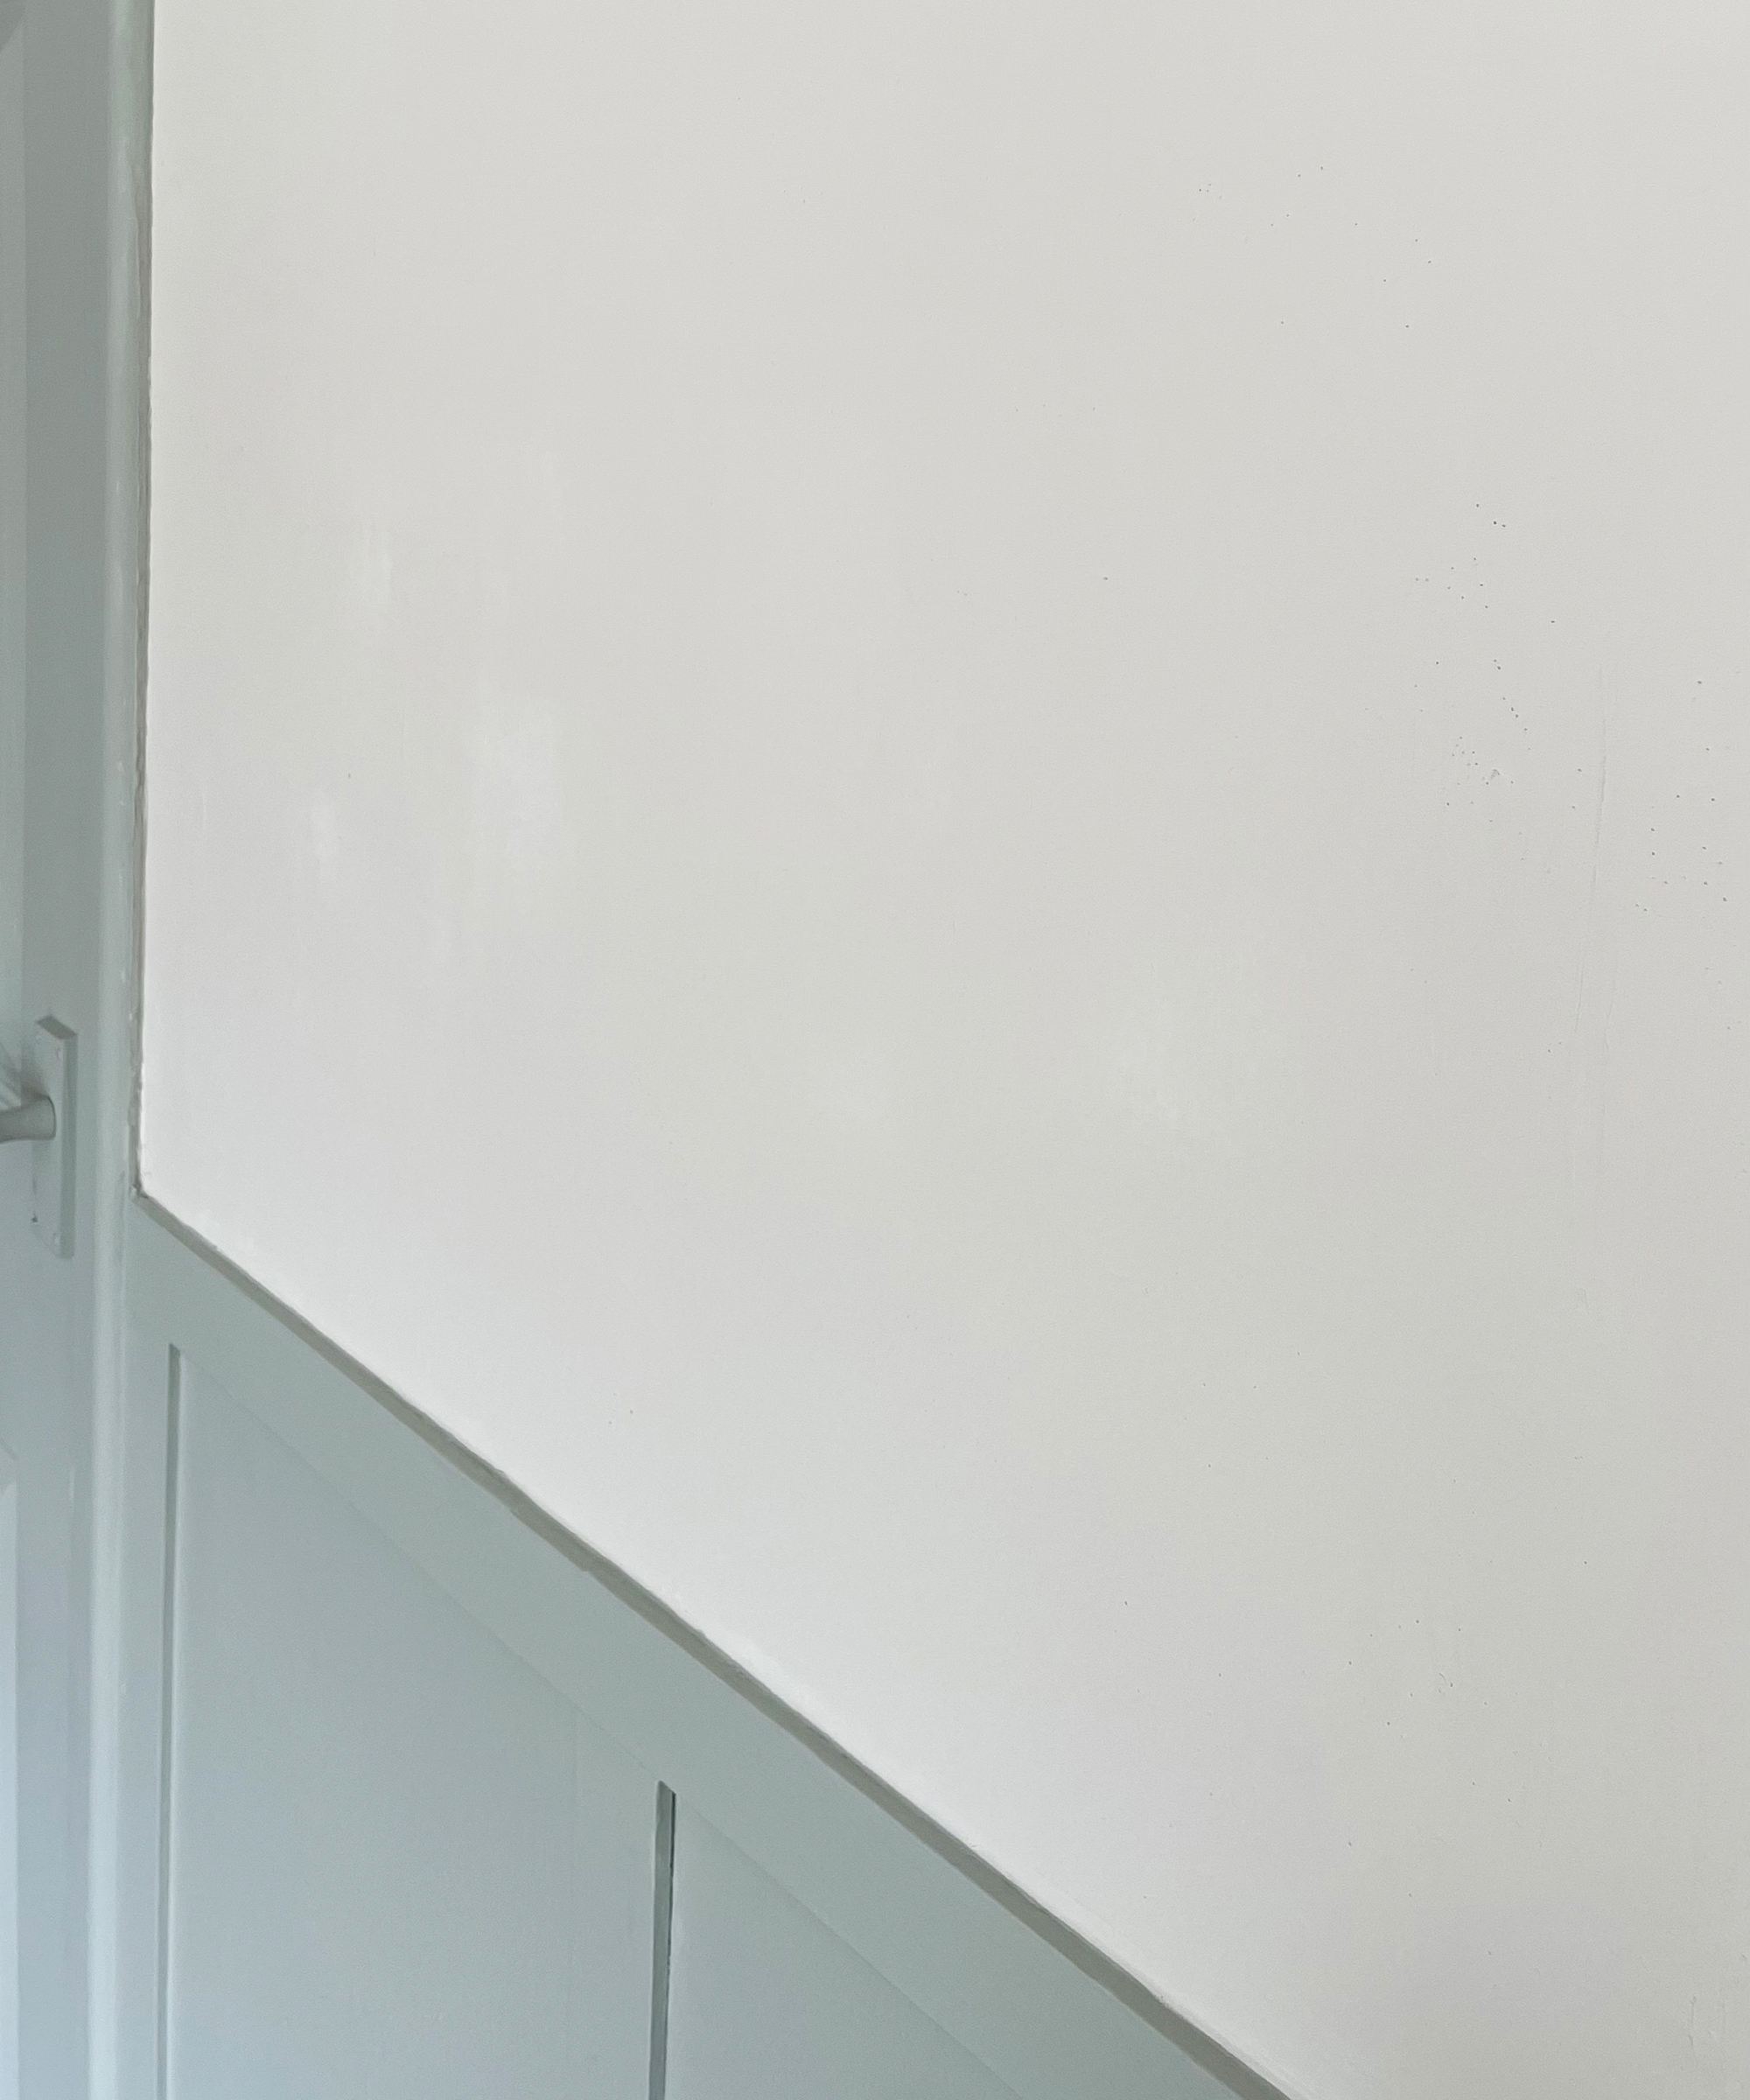
Allow sufficient drying time between coats. I learnt this the hard way by accidentally going over some wet compound and it comes straight away from the wall and as you try to smooth out the dent you’ve just made you mess up the adjacent patch and so on. Play it safe and make sure the layer has dried before messing with it.
7. Painting
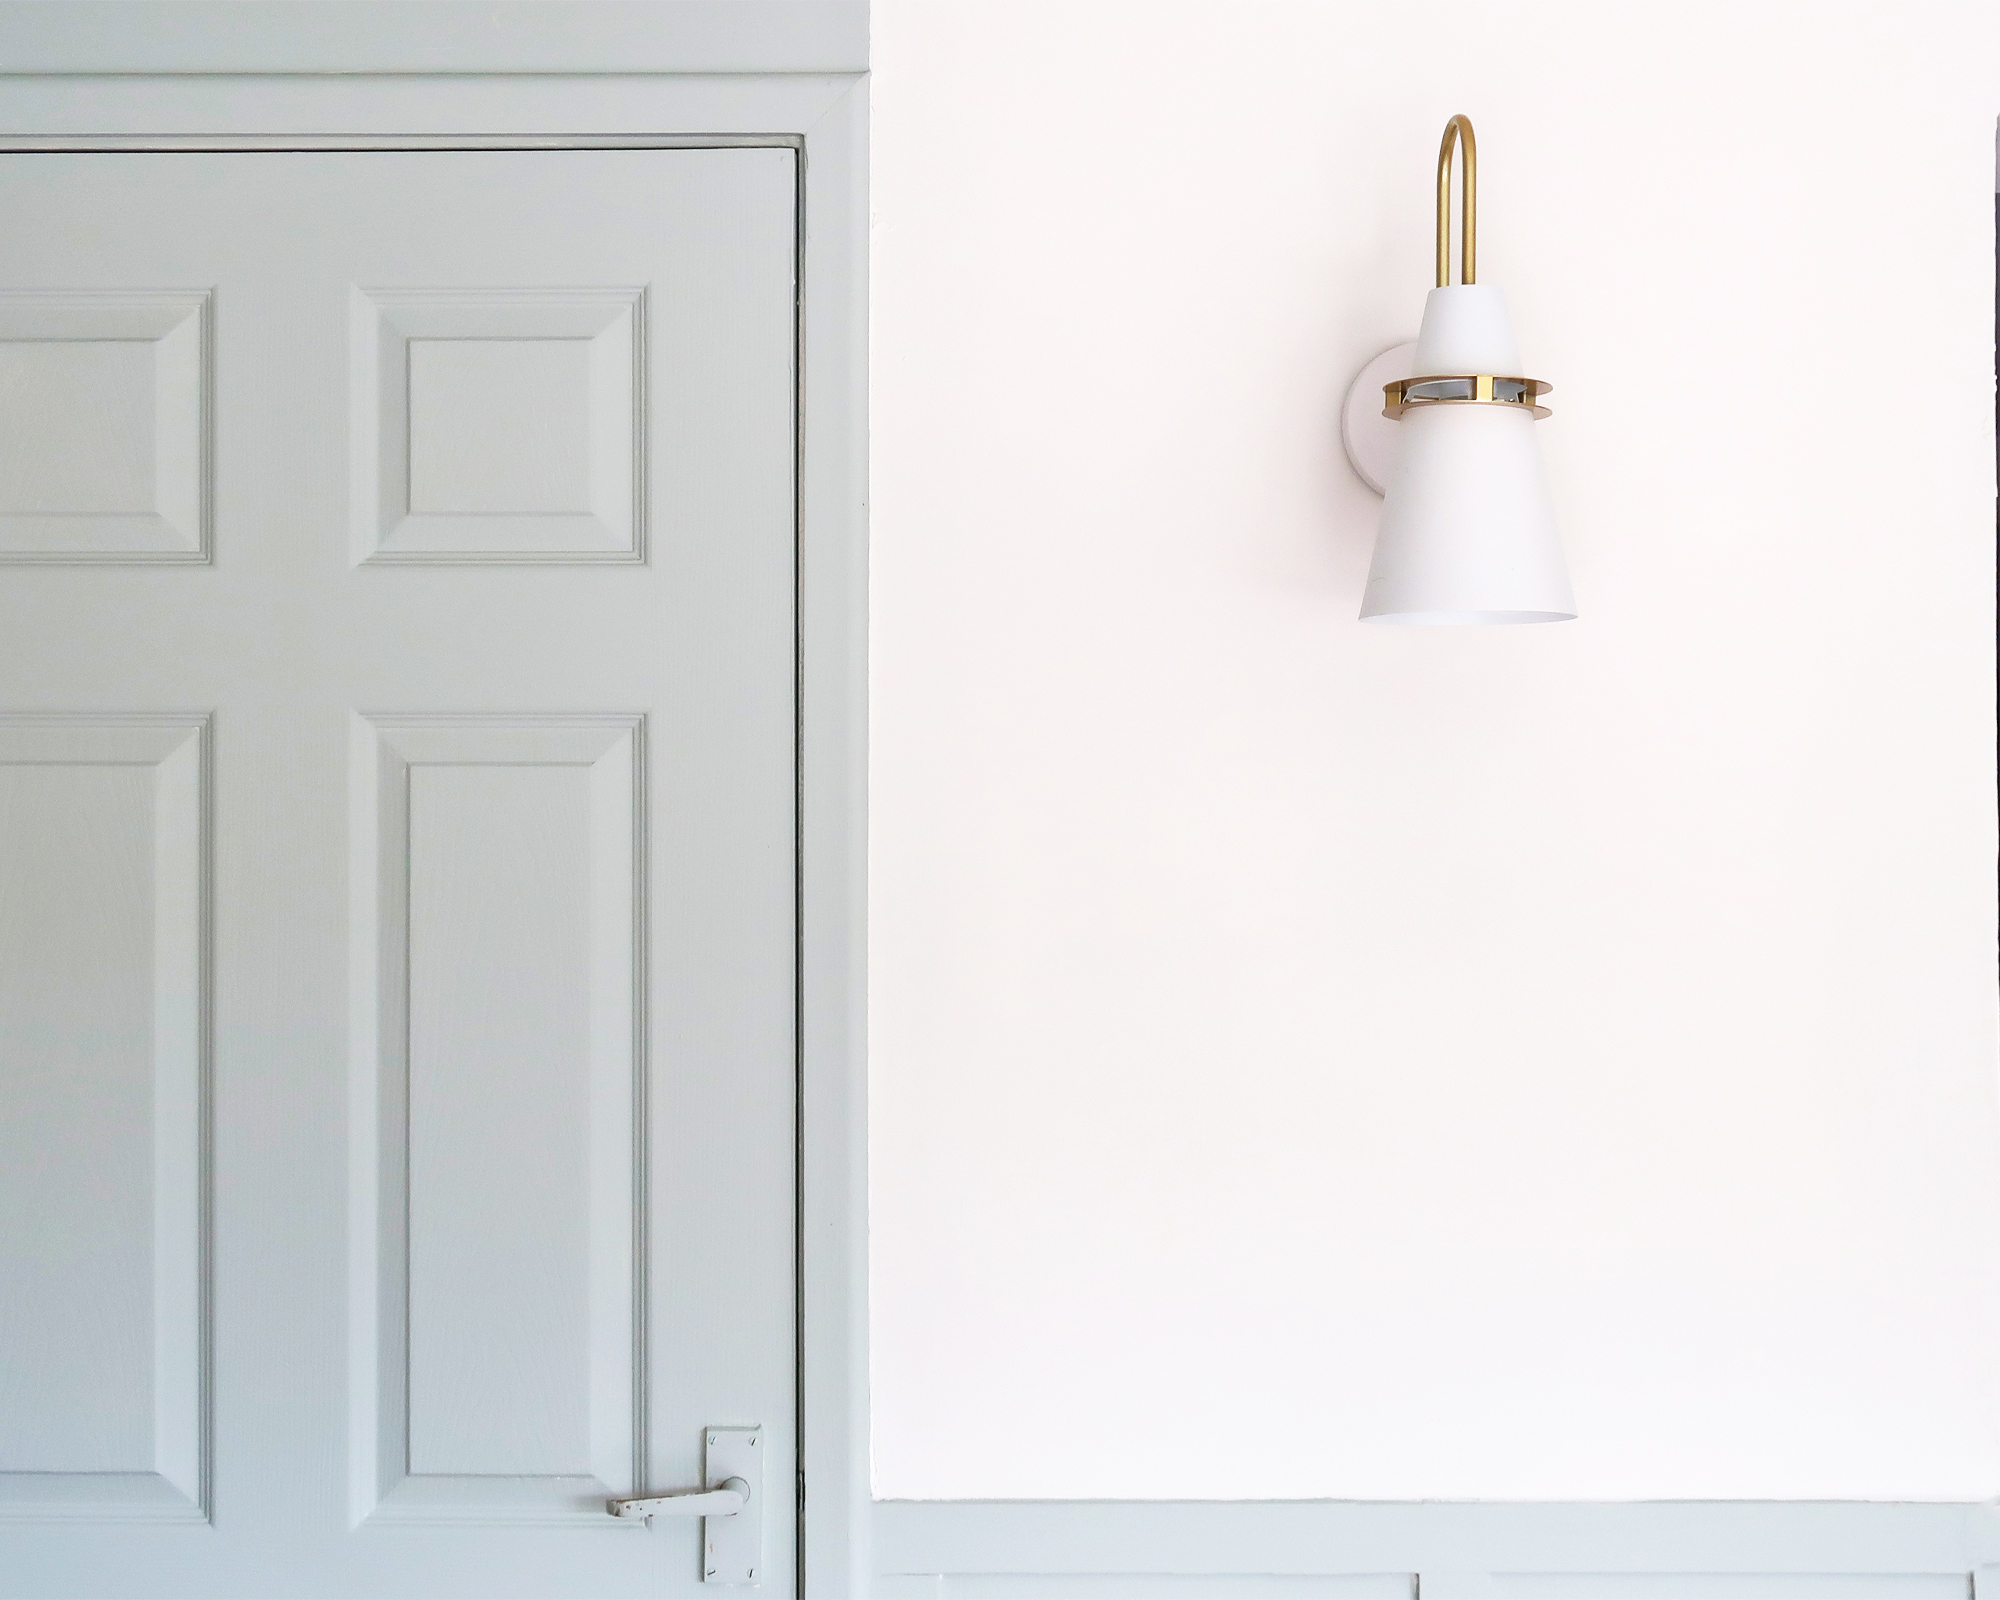
Once the final coat has dried and you are happy with the finish you can sand any imperfections and remove any surface dust by hoovering and wiping the wall. At this point, you should refer to the manufacturer’s guidelines to determine if you need to prime before painting a wall or when learning how to paint a ceiling. Some joint compounds are paintable without the need for a primer, although I would still consider mist coating (diluting down the first coat of paint) as drywall mud can be quite absorbent. Once primed or mist coated, you are ready to paint the wall.
See our guide for how to paint on new plaster too, if you have followed this route instead, and avoid learning these six things the hard way when tackling the fifth wall.

I'm happiest when I have either a drill or paintbrush in my hand! I specialise in room transformations on a budget and love experimenting with different styles and techniques which I share on my Instagram. I believe that your imagination, not your budget, should be the limiting factor when transforming a room and I love thinking of creative ways to build custom and bespoke-looking furniture using flatpacks or upcycle finds.
I also love writing and my home improvement blog (ClaireDouglasStyling.co.uk) is my passion project where I share creative ideas for interior styling and DIY tips and tutorials.