The 6 things I wish I knew before painting the ceilings in my home
It looks beautiful, but if I'd known these things beforehand, this DIY task would have been a lot easier

Get small space home decor ideas, celeb inspiration, DIY tips and more, straight to your inbox!
You are now subscribed
Your newsletter sign-up was successful
I live in a newly-built home and when we moved in, everything was painted top-to-bottom Brilliant White. Ceilings, doors, walls, windowsills — everything was a blank canvas. I vowed I'd paint everything straight away, but you know how life is.
Three years later, I finally booked a few days off work, determined to turn my Pinterest small home-office mood board into a dopamine-decor reality by painting the walls and ceiling. I thought it would be straight forward, but I learned a few key things I wish I'd known before starting. I'm sharing them to save you the hassle of learning them the hard way, like I did.
In my experience, when painting the ceiling, there are six essential things to consider, and having just completed a second ceiling-painting weekender, I can confirm these really do make this DIY task easier.
What I learned painting ceilings in my home
People tell you adding color to the fifth wall in your space will add drama and draw the eye up, creating the illusion of space and making small offices look bigger — but they don't tell you explicitly that it'll also zap the light right out of the room.
Here's what I learned, the products that did and didn't work, and what I did differently the second time around.
1. It really will feel darker
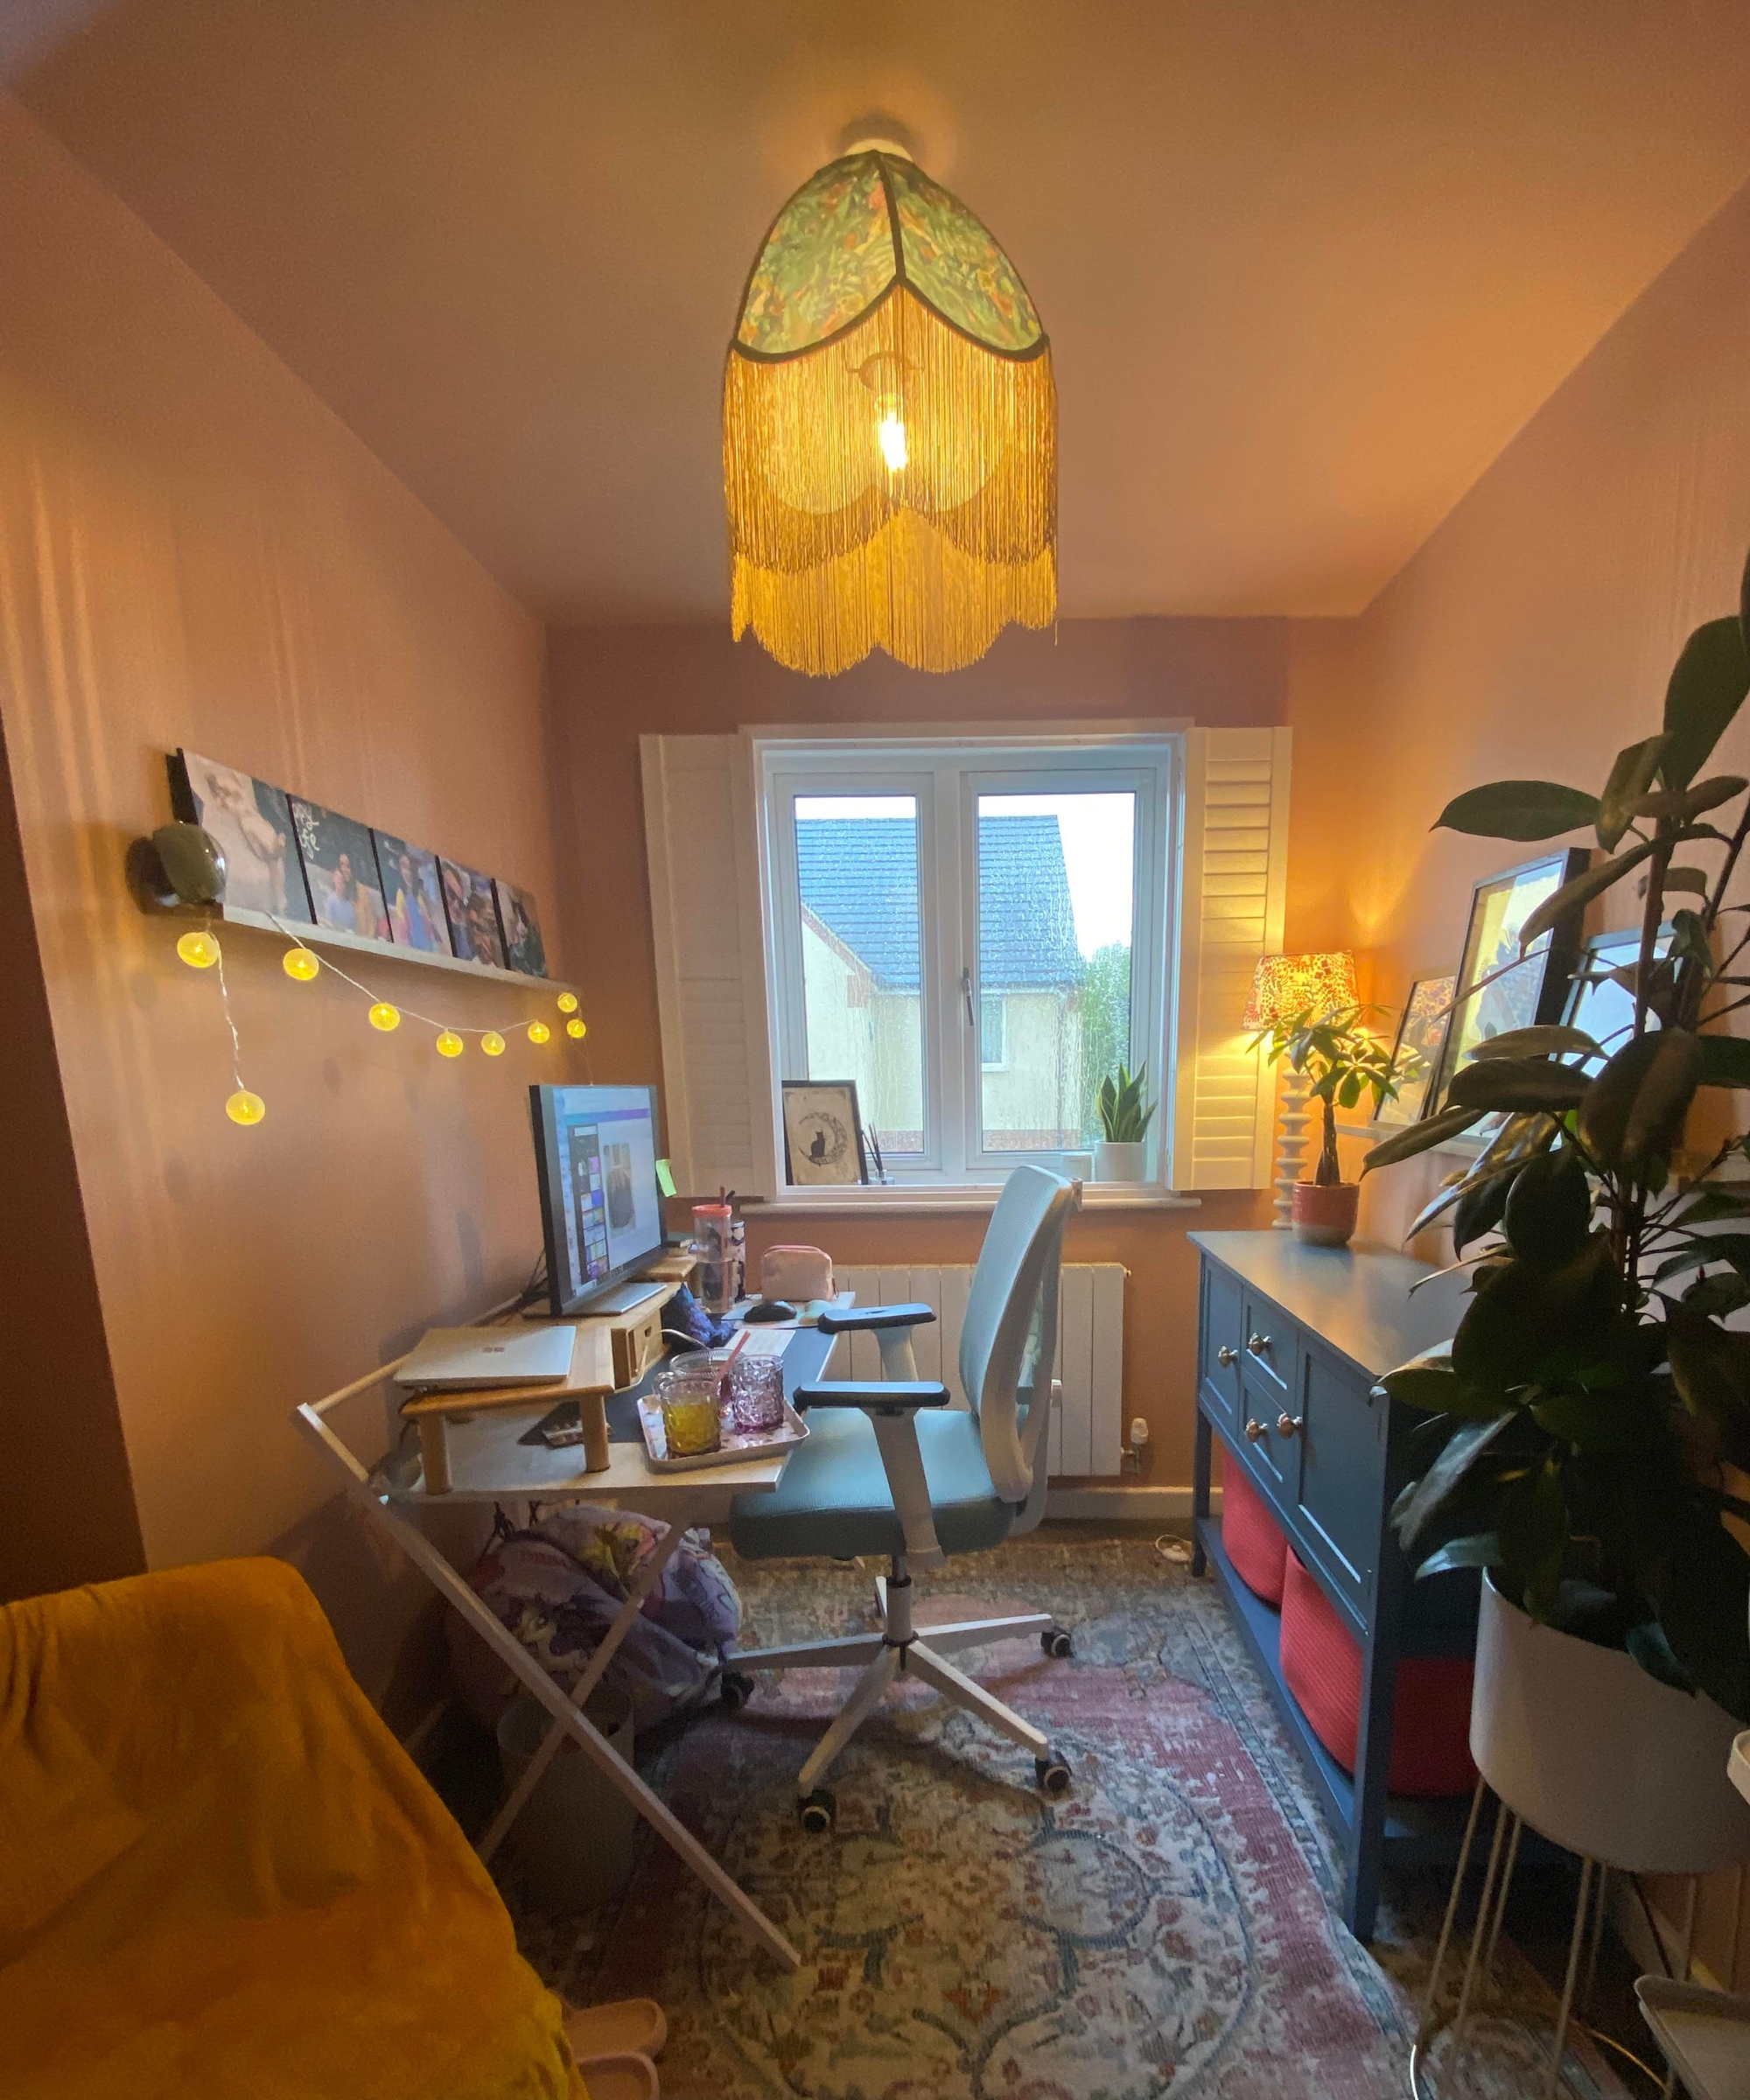
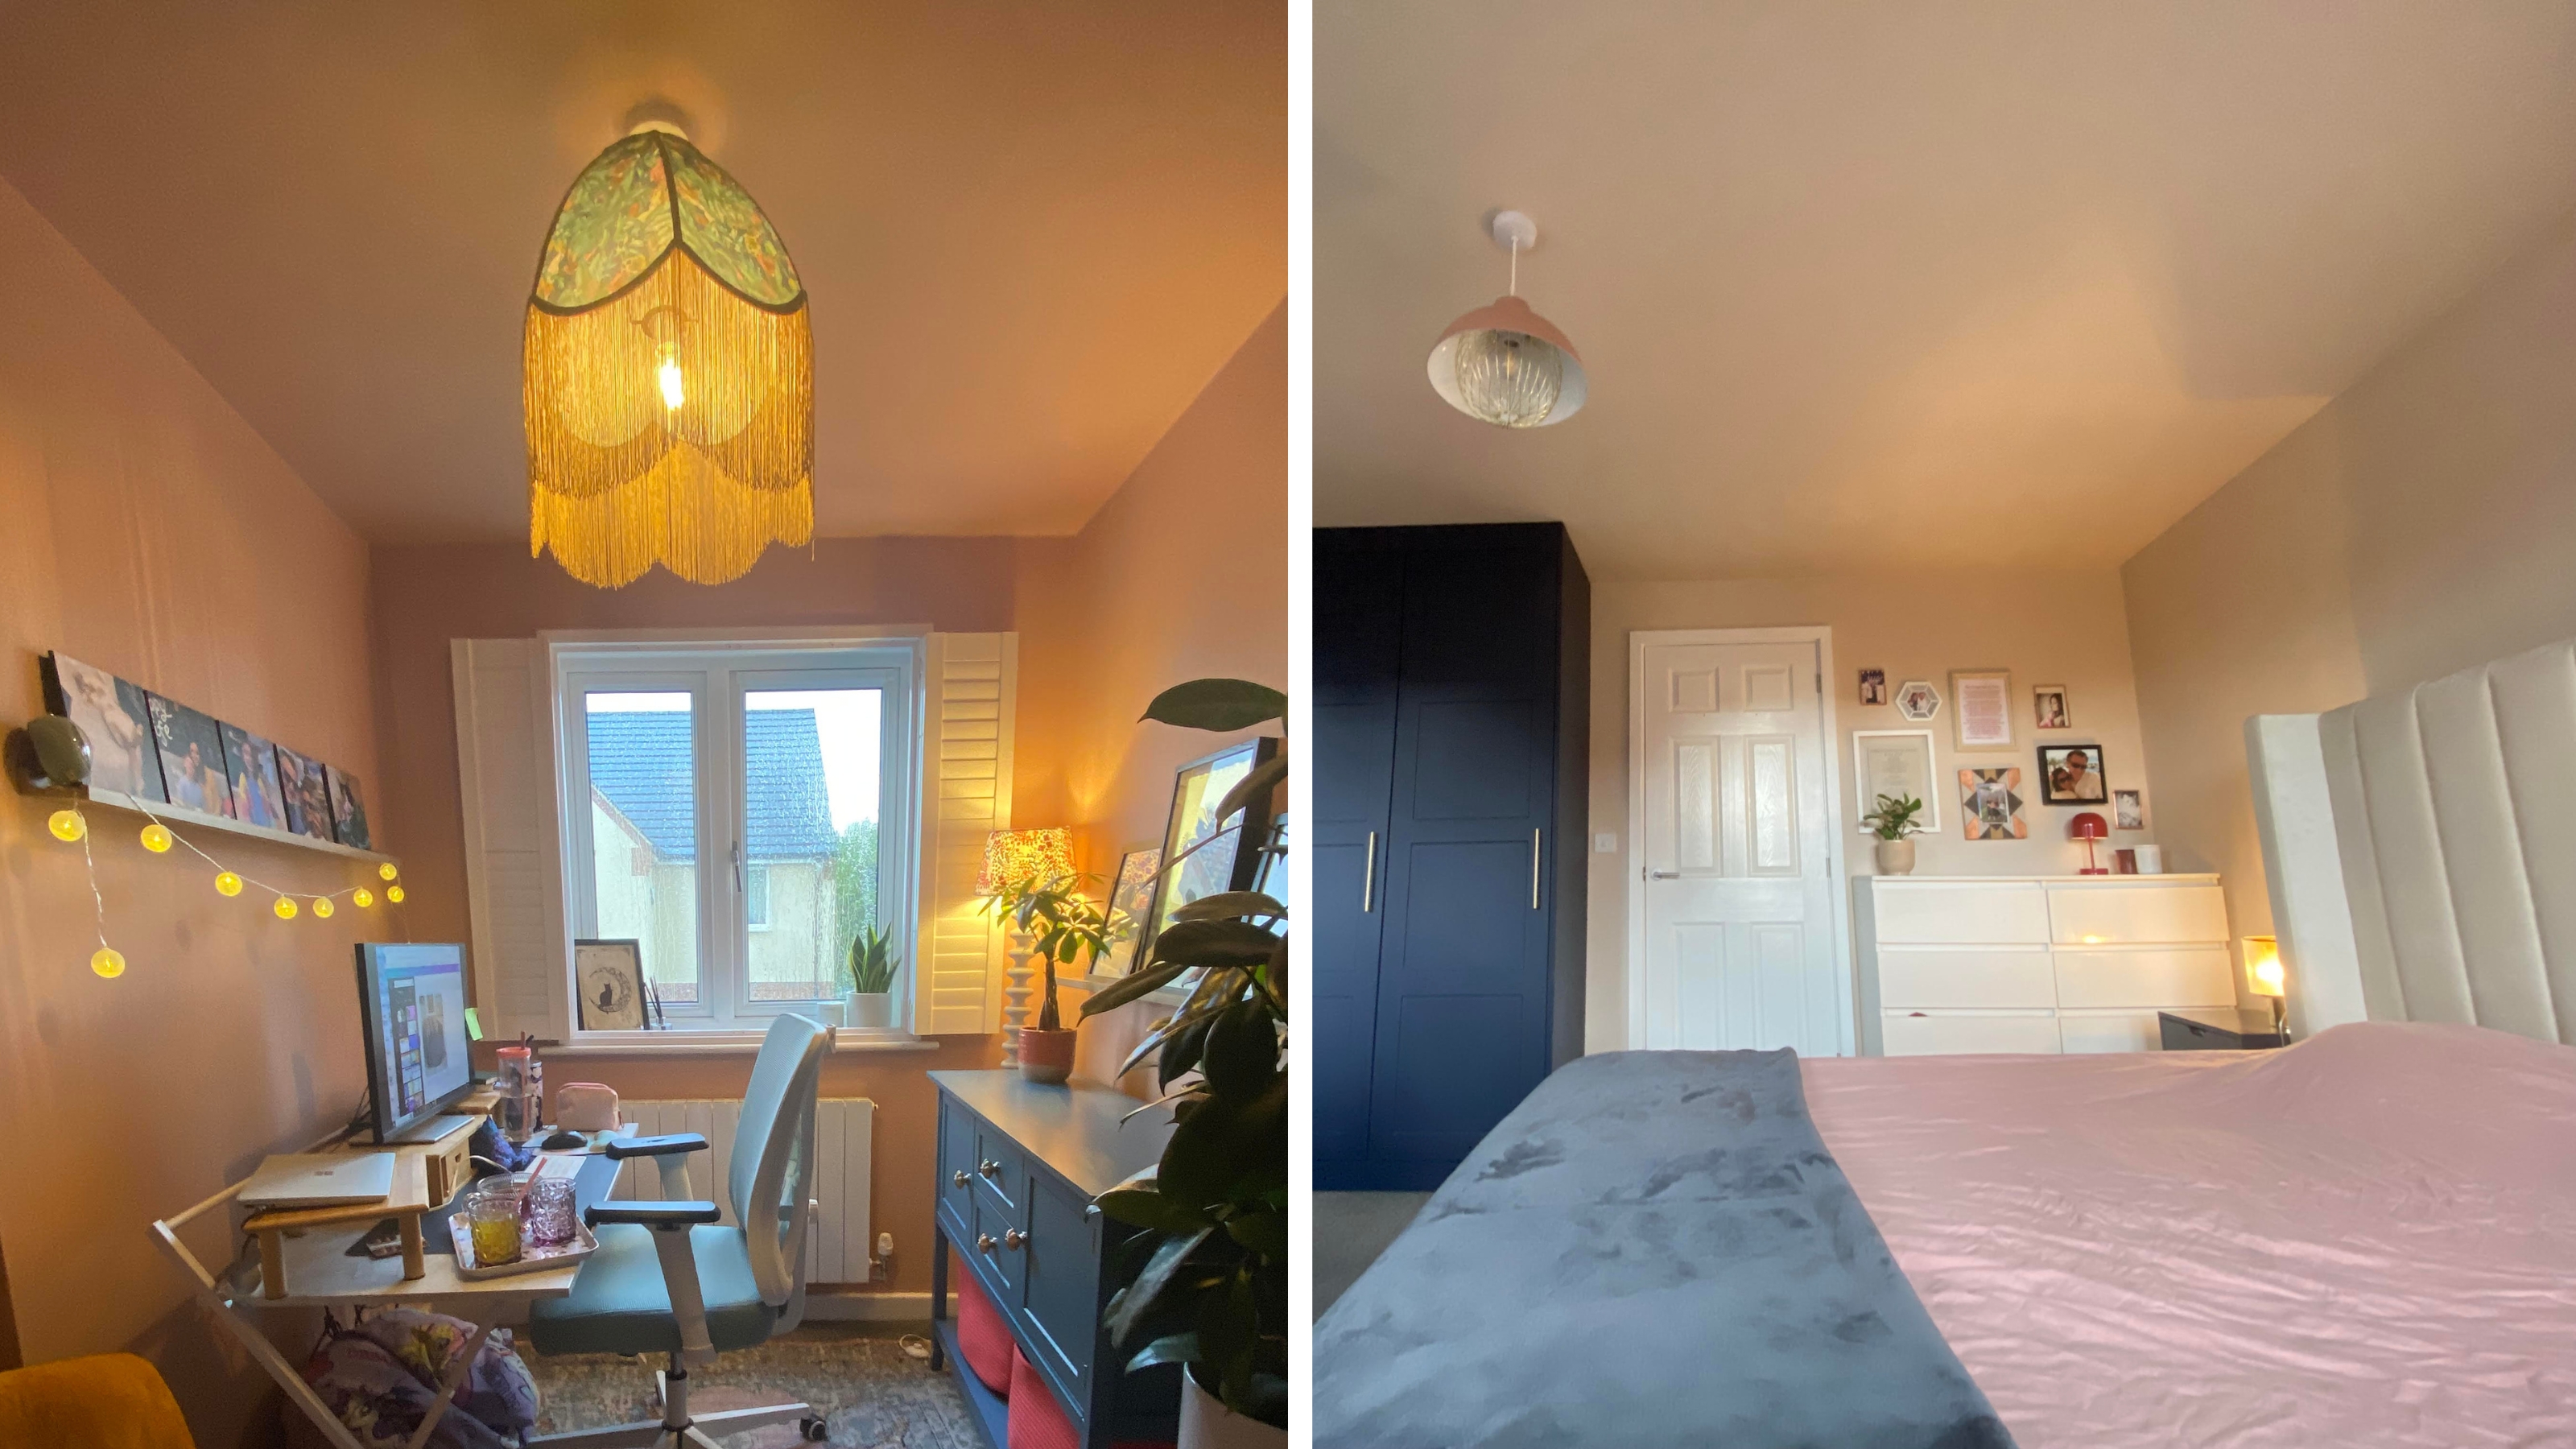
I wasn't oblivious to the fact the room would feel darker if the ceiling wasn't white anymore, but it shocked me how much of the natural light, and illumination from the ceiling lamp light, would be sucked straight into the terracotta-colored paint I chose for my small study (thankfully not one of the worst colors to paint a small office).
I was gunning for a 'womb-like' coziness and this color really delivered on that front. But there was an unexpected side-effect. Before painting the ceiling, my white north-facing home office was just fine with a lone ceiling light on in the day, or none at all. Afterwards, I had to add multiple small office lighting ideas to make it comfortable to work in, even on the brightest of days.
Get small space home decor ideas, celeb inspiration, DIY tips and more, straight to your inbox!
Adding lamps is a simple and enjoyable fix, especially if you love shopping for homeware as I do, but it was an unexpected expense I hadn't budgeted for in the initial project.
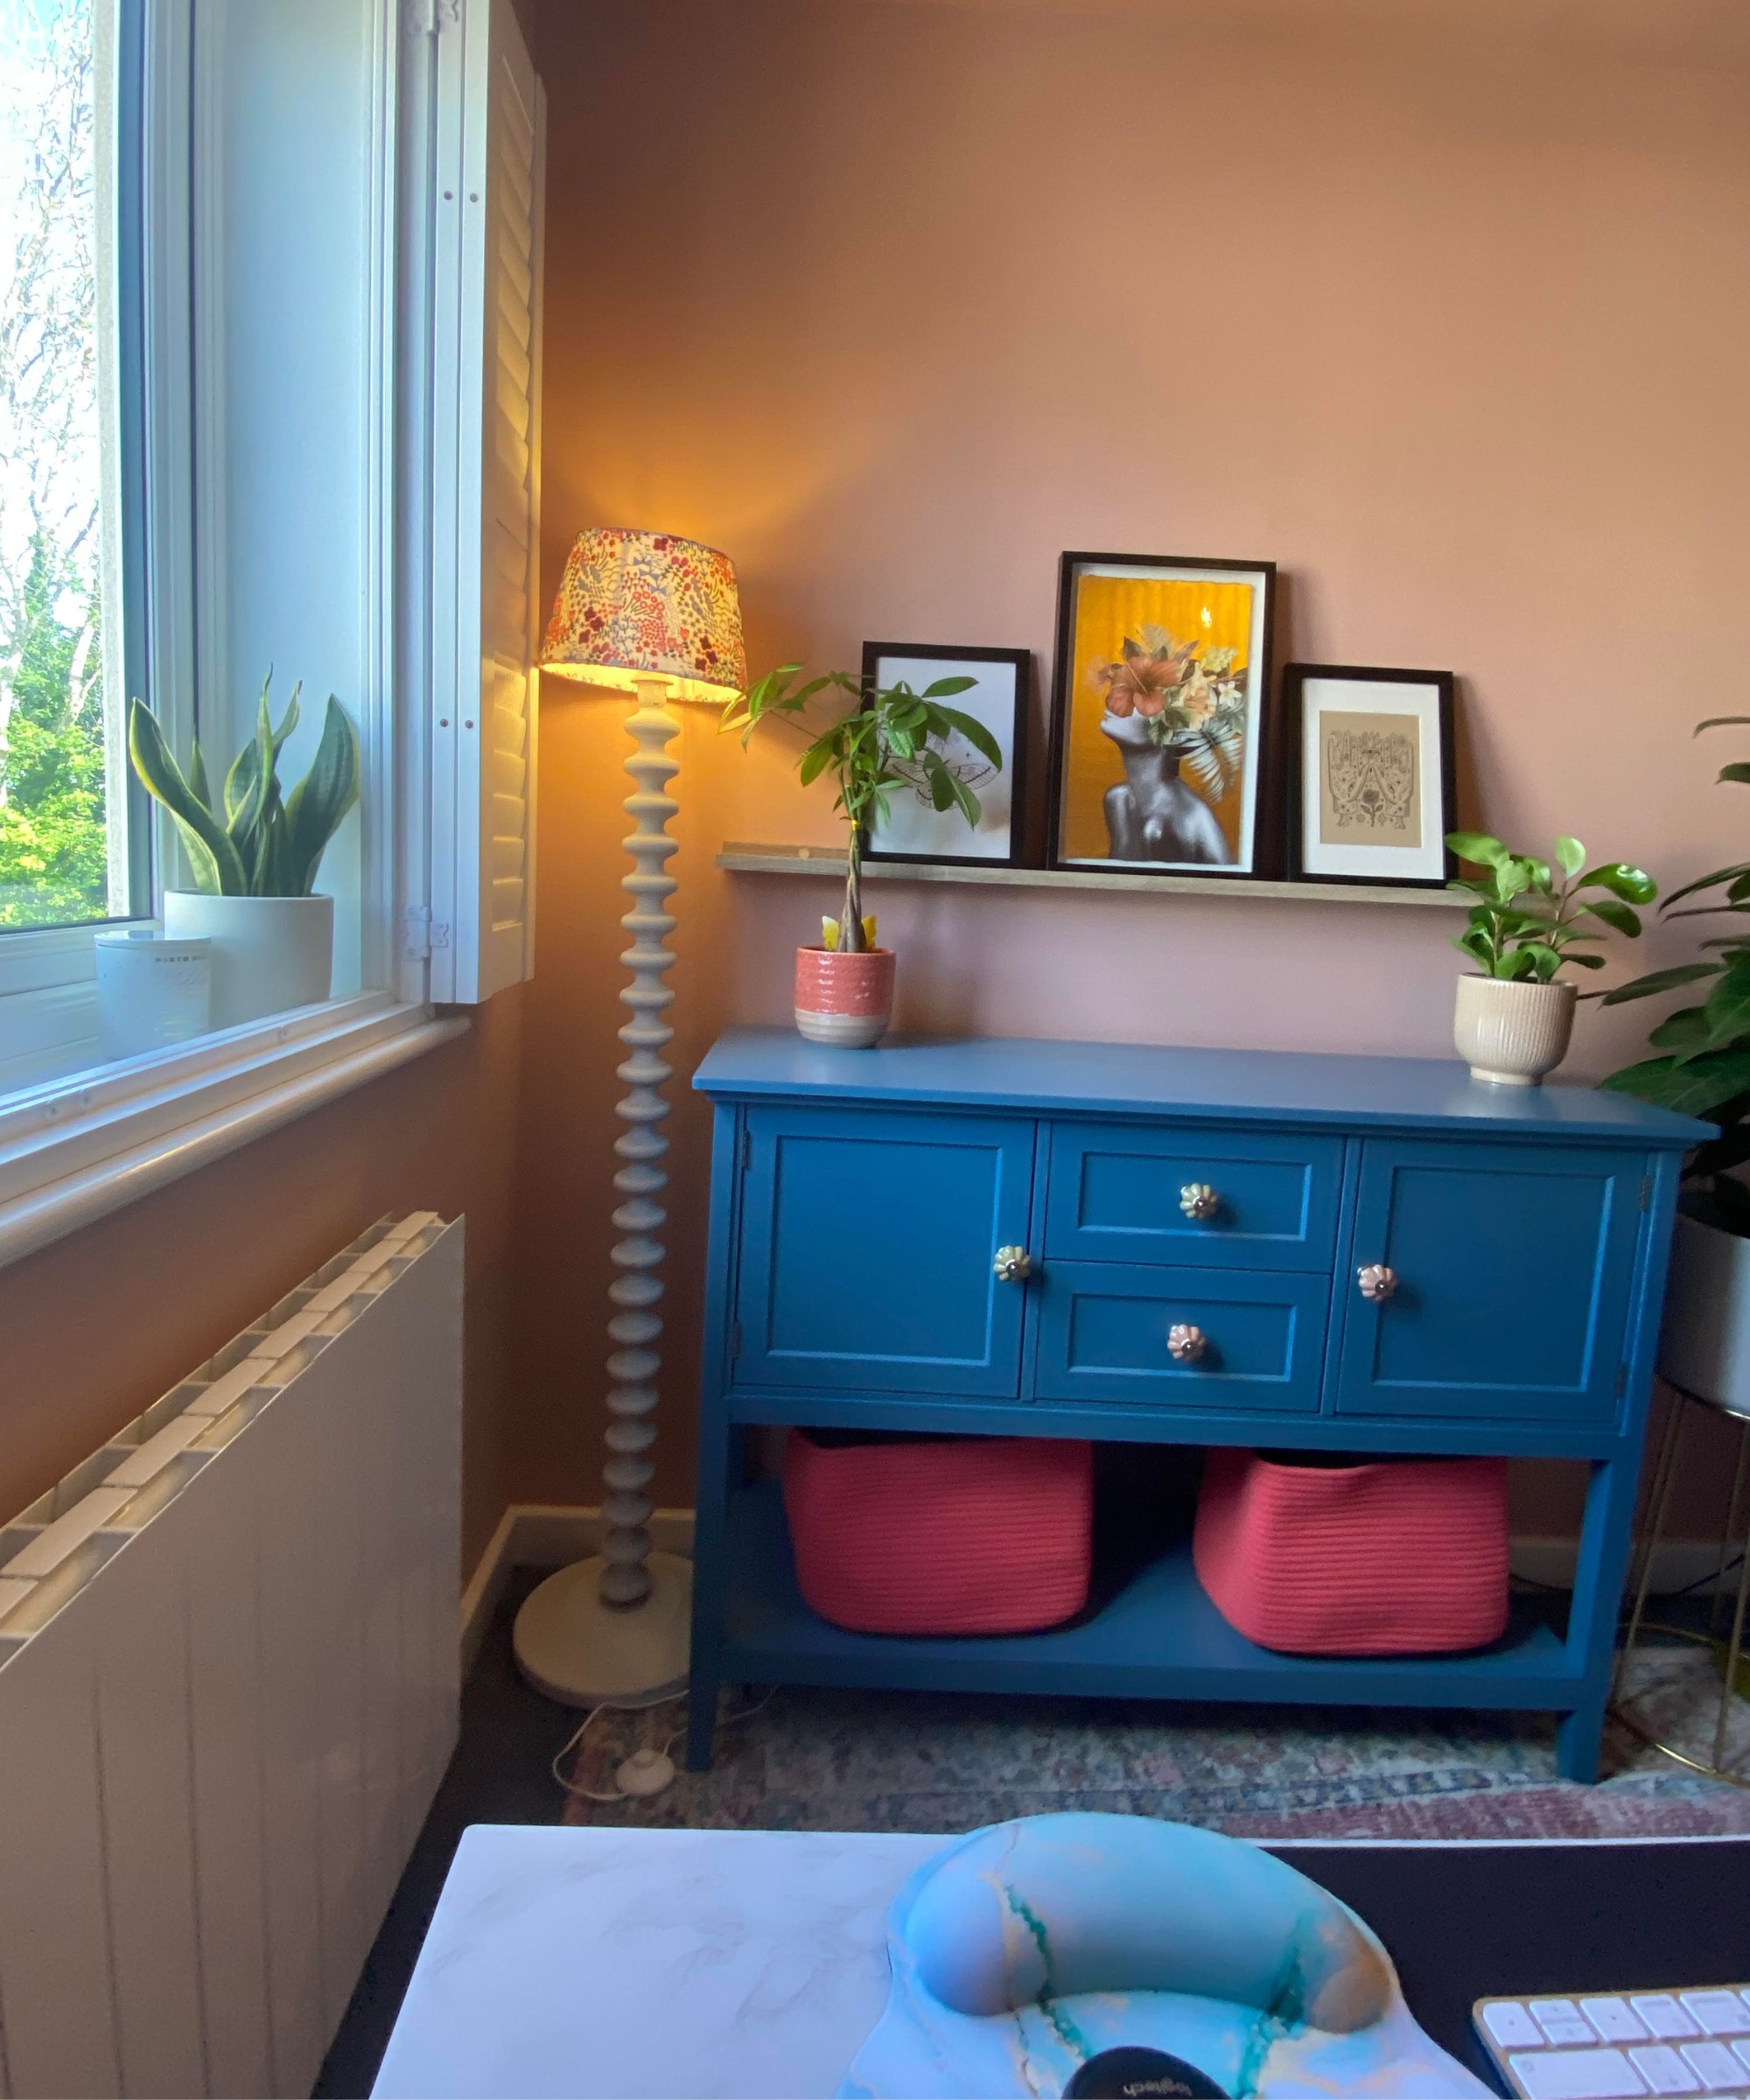
To fix the lack of illumination after painting the ceiling, I added a Dunelm paint-it-yourself Bobby Lamp (available in UK only) with a bright LED bulb behind where I sit and work (because the already colored ones were too expensive for an unexpected expense). In the USA, the Kee 62" Floor Lamp from Wayfair is gorgeous and a similar look to mine.
I also added string lights in front of me, which are lovely and cozy and offer enough light to offset the brightness of my computer screen against the darker wall behind it.
In our primary bedroom, which we painted after the terracotta study (this terracotta from Behr paint is a close match), I picked a lighter paint shade — a light neutral with a hint of pink — because... well, lesson learned the first time. I tempered the temptation to go for as dark a shade, even though our bedroom is south-facing and super bright all-year round.
I also tested a few sample pots of color on the wall, in three different aspects of the room, and let it sit for a few days so I could view how the color looked in different areas of natural light (one in shade, one in bright light, and one I'd spend a lot of time looking at by my dressing table), by day, dusk, and night, and on dark vs bright days. I live in the UK so there are a lot of gloomy, gray days!
The result of waiting it out a few days and viewing it on different walls was confidently picking a shade slightly darker than I was originally brave enough for. My toasted almond neutral paint sample splodges had proven to be fine in the day, with no need for extra illumination.
At night however, the ceiling light isn't enough anymore. Because of this, I'm getting another Bobby lamp with bright LED bulb (and I'm painting it red because the room is currently looking a bit sterile and in need of a few pops of color).
2. Not all ceiling rollers are created equal
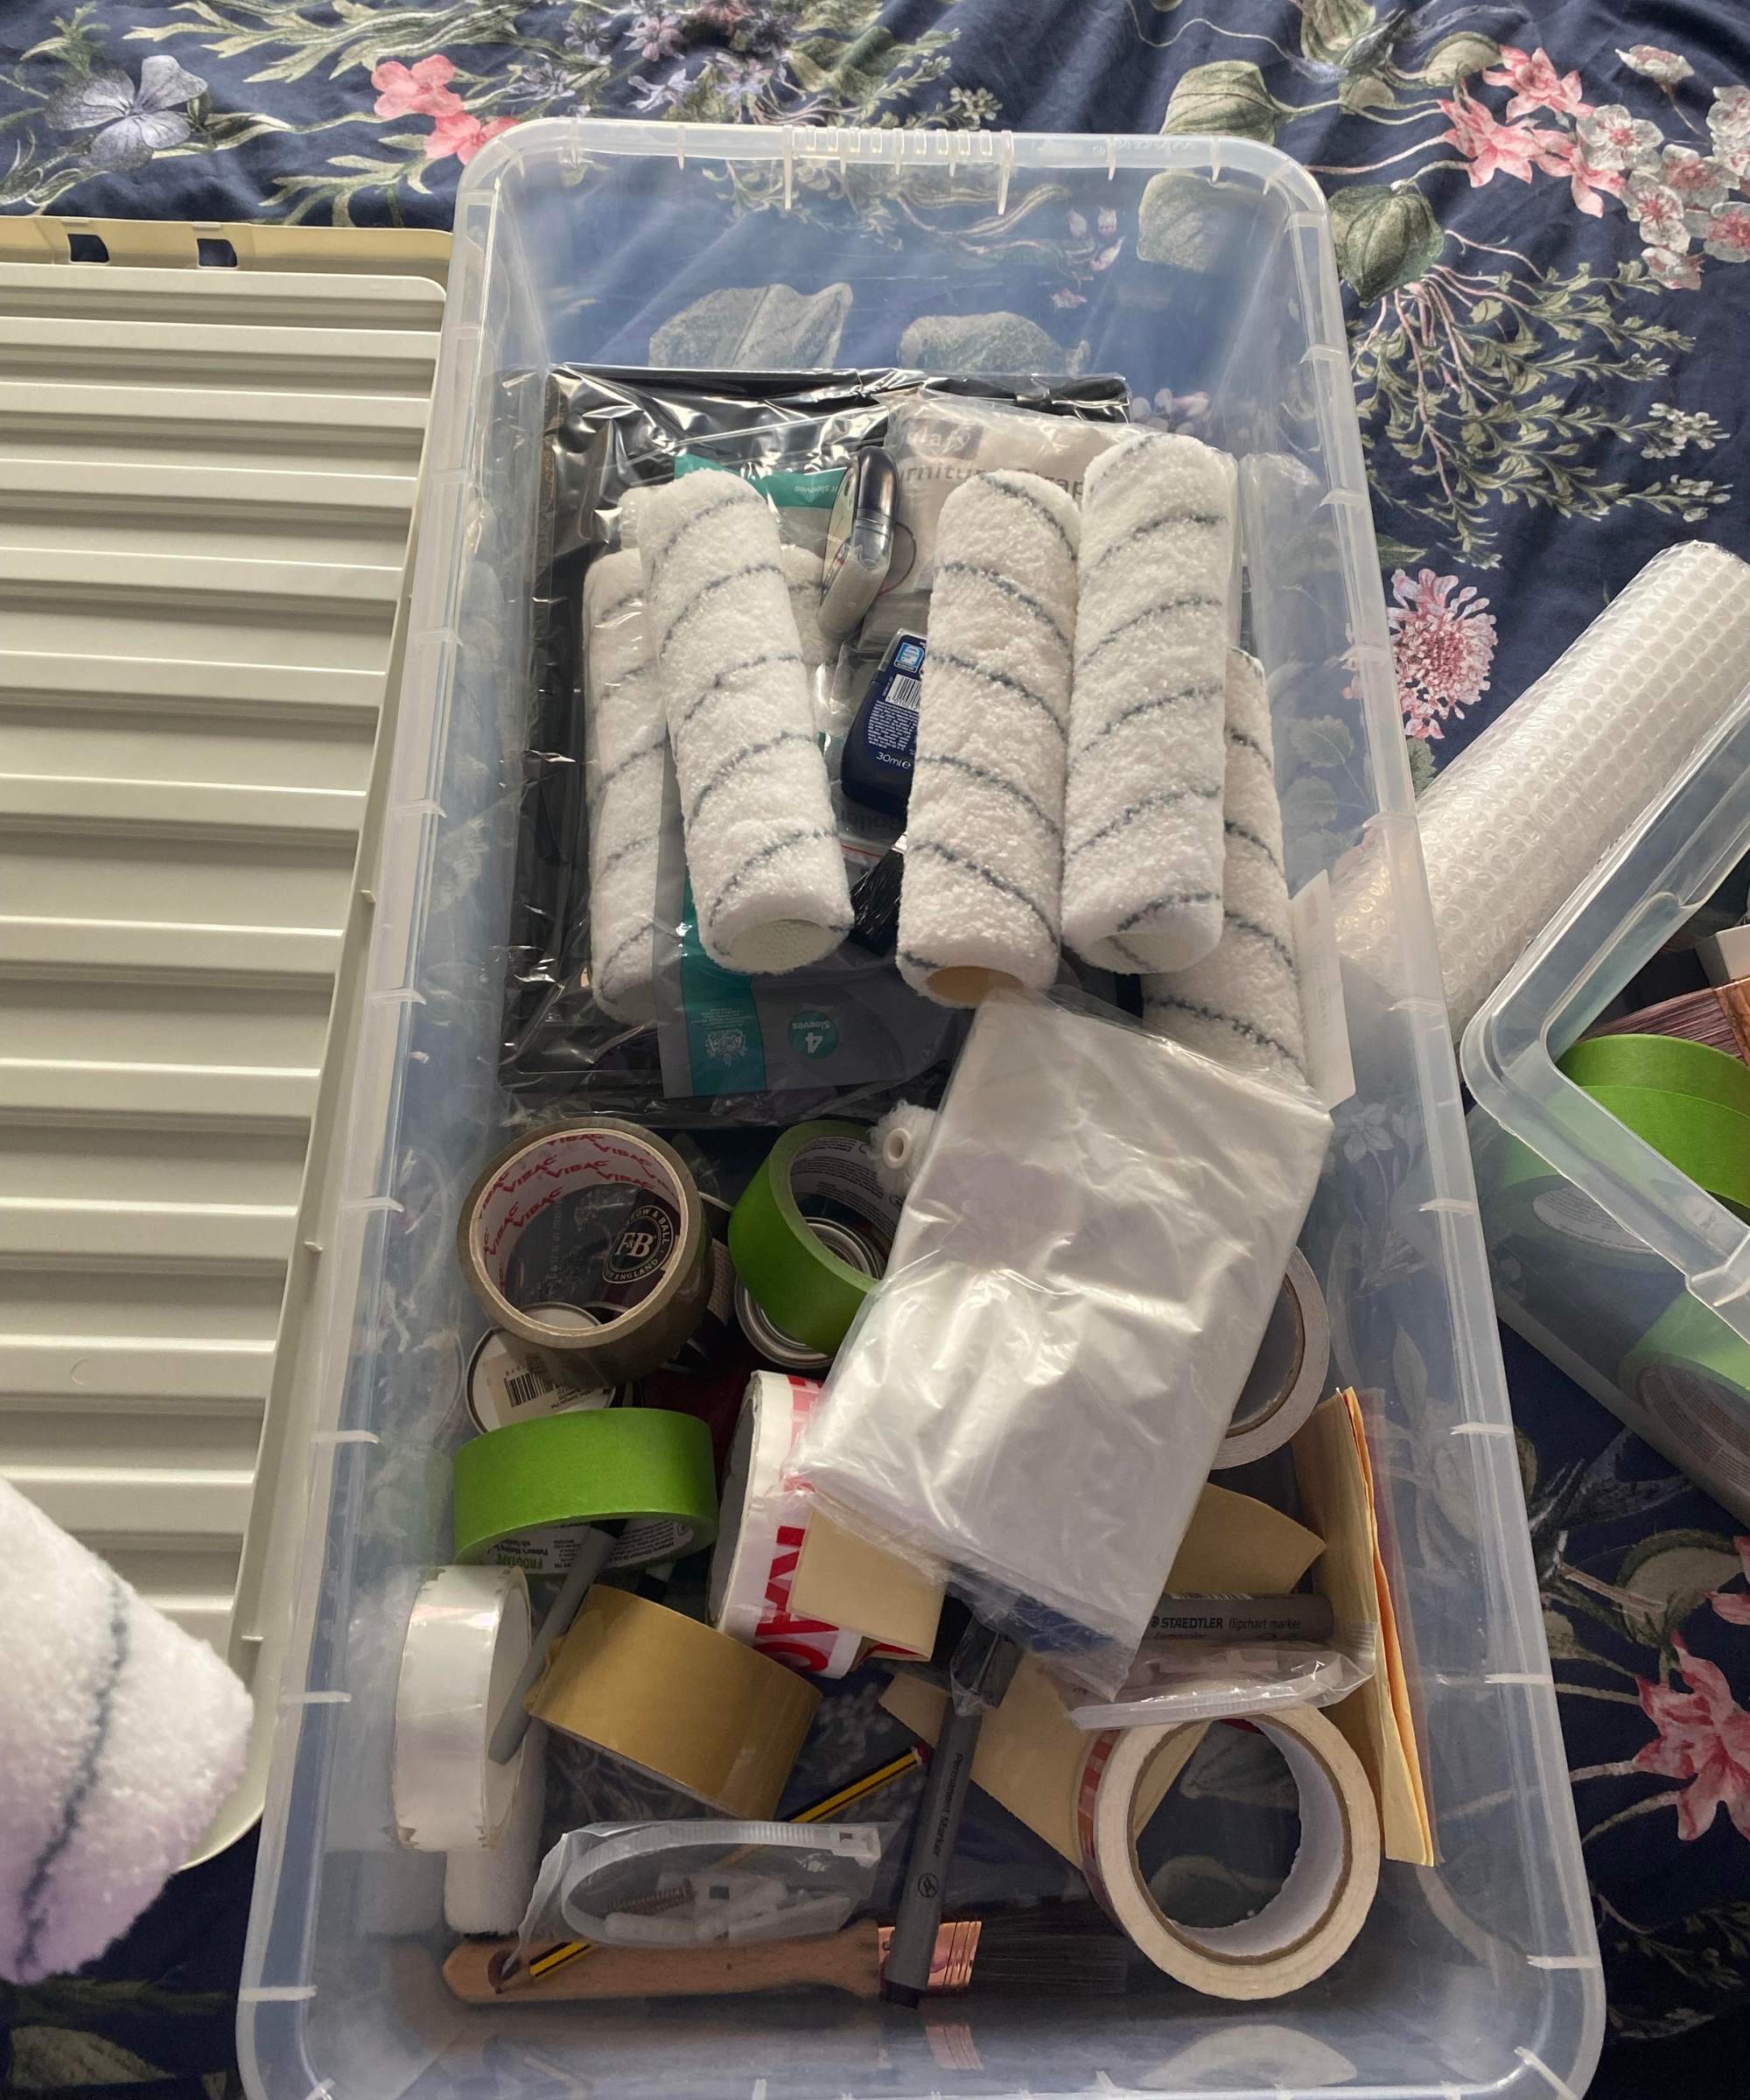
The one I used initially had a flat pile and kept sliding on the ceiling when I rolled it. It's worth noting I have chronic pain and could only manage short bursts of painting before calling in my husband to finish the rest, but he had the same experience.
I had planned ahead and bought a roller on an extendable pole to make it easy to paint whilst still firmly standing on the ground. However, my one kept spinning around, and the roller head slid off the pole a few times, scratching the plaster on my ceiling.
I'd picked that item on account of it being cheaper and lighter in weight to the more expensive option (and to make it easier on my herniated neck discs), but actually, it wasn't helpful. It also meant when you applied pressure to roll, either the left side or the right side was in firm contact with the ceiling, but not both.
The cheapness of the product meant it kept coming apart, making the process longer and more difficult than it had to be and ultimately resulting in more corrective rolling and repeated strokes to cover uneven paint distribution.
Interior designer Nicole Cullum, says, "Save your back by using a paint stick to extend your roller (such as Lowe's Project Source telescopic extension pole or try their WHIZZ Ceiling and Walls Roller, highly-rated by customers) ), use medium to thin coats of paint on your roller, and apply long strokes for a smooth, even application. Avoid dipping your roller fully into the paint tray with a heavy saturation that will splatter, drip, and leave roller marks along the ceiling."
The second time around, when we painted our bedroom ceiling, we invested in a sturdy one. It was heavier but worked much better (for my husband, that is, as I had to bow out quickly because of my neck pain).
We also went for a fluffier roller (the Harris long pile ceiling roller sleeves available on Amazon), which stopped the sliding around when the roller was heavily saturated with paint.

Daughter of an antique dealer, Nicole was immersed in interior design since childhood. After receiving her Bachelor’s Degree in Fine Art, and later her interior design degree, Nicole pursued her love of art and design while learning from Dallas’ most talented residential designers. She blended her fine art background and her interior design experience to found Color Caravan, a boutique wallpaper, textile and home goods company that is color obsessed.
3. It'll take longer than you think
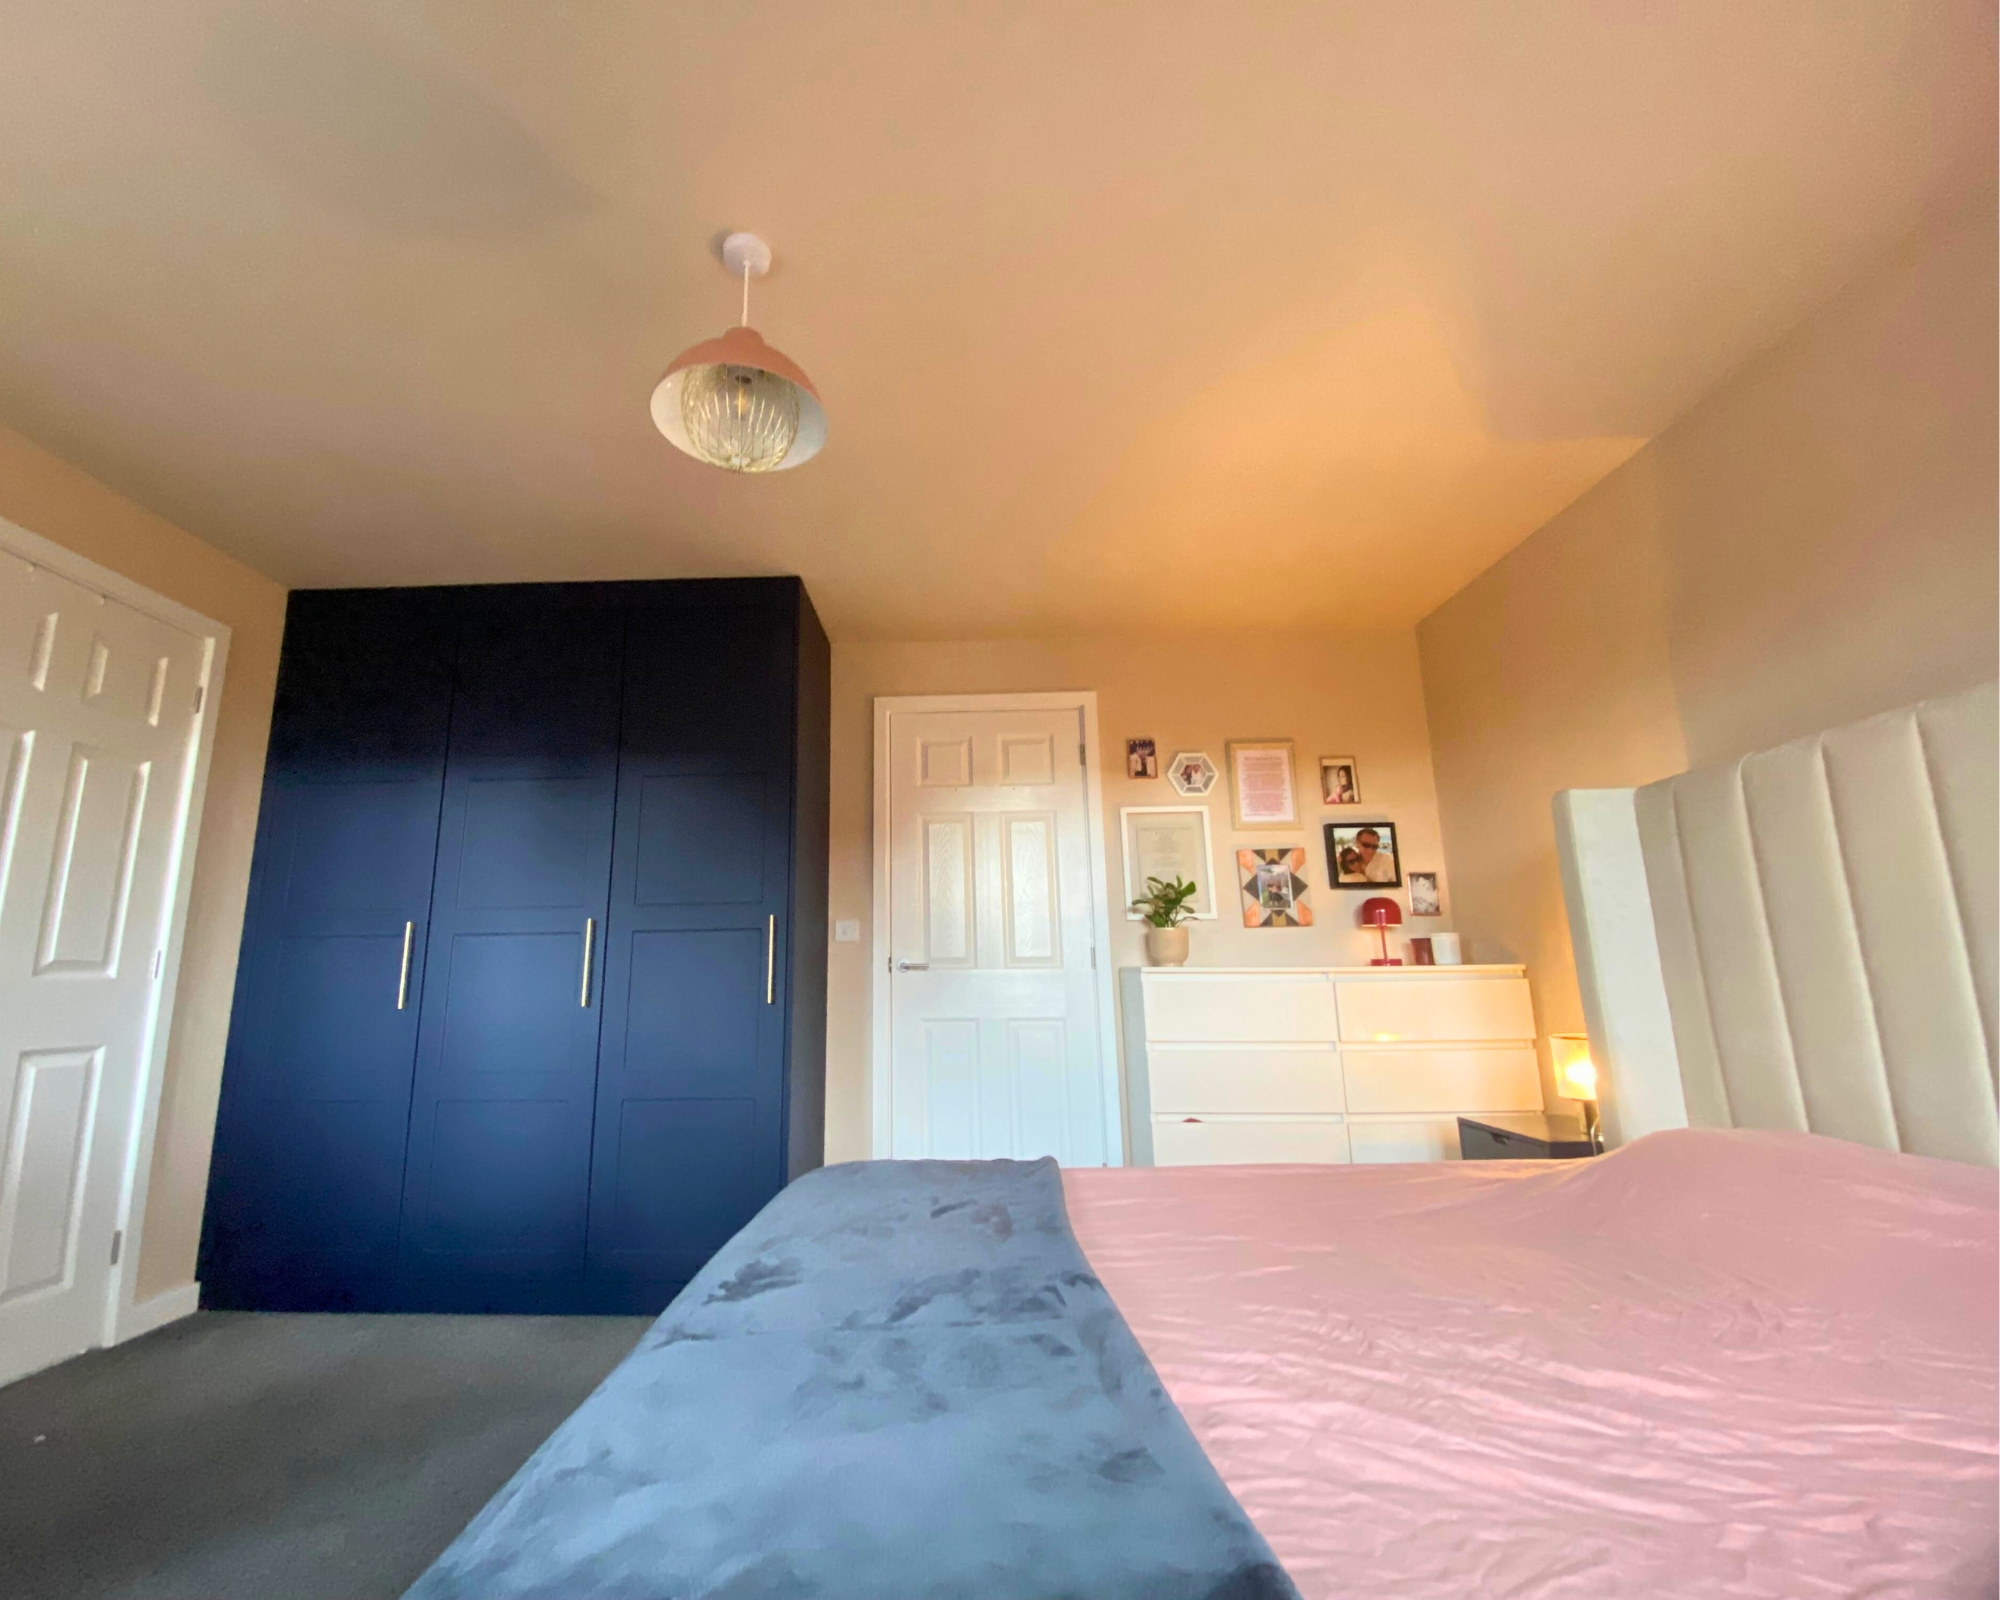
Painting the ceiling is tiring on the arms, painful on the neck and upper back, and surprisingly much more effort than painting the walls or dare I say it, color drenching. You also need to strike a careful balance of loading up your roller with enough paint to get a decent go out of every reload, but also not too much that it splatters everywhere (including a dusting of paint on your face, so invest in goggles).
In the end, I opted for slightly overloading the rollers and doing a long run across the ceiling to minimize drip (though we covered everything with painters sheets) and still get a good amount of surface area covered each time.
In the primary bedroom, this method sent a sizeable glob flying towards my fitted floor to ceiling navy blue closet. Luckily, the heavy duty plastic sheets we'd snuggly covered them up with caught the brunt (try heavy duty plastic tarp available on Amazon).
Nicole says, "Although ceiling paint is formulated to be less prone to drips and splatter, accidents still happen during the painting process. Remove any furniture, rugs, or valuables if you can, and cover the floor with a drop cloth, or heavy duty contractors paper, then cover any remaining furniture and wrap your light fixture with plastic sheeting."
If like me you have chronic pain, do get a friend, partner or anyone you can rope in to come help. For me, both painting the ceiling tasks led to painful flares I needed days of recovery and lots of painkillers for.
Even for the fit, healthy and able-bodied, like my husband, he still ended up with a sore back and was tired at the end of it. Take breaks, do each task in manageable chunks and if it rolls over (no pun intended) to day two or three, don't fret. It will still look all neat and even when you're finished and it's dried off. I know this for certain because that’s what I did with my study — painting it over a few days.
Use a plastic bag to tie around your rollers and paint brushes (or get a few paint brush bags such as the Allway Store reusable wet paint brush protectors on Amazon) and they'll stay wet, crust-free and ready to carry on when you are.
4. Invest in good painters sheets
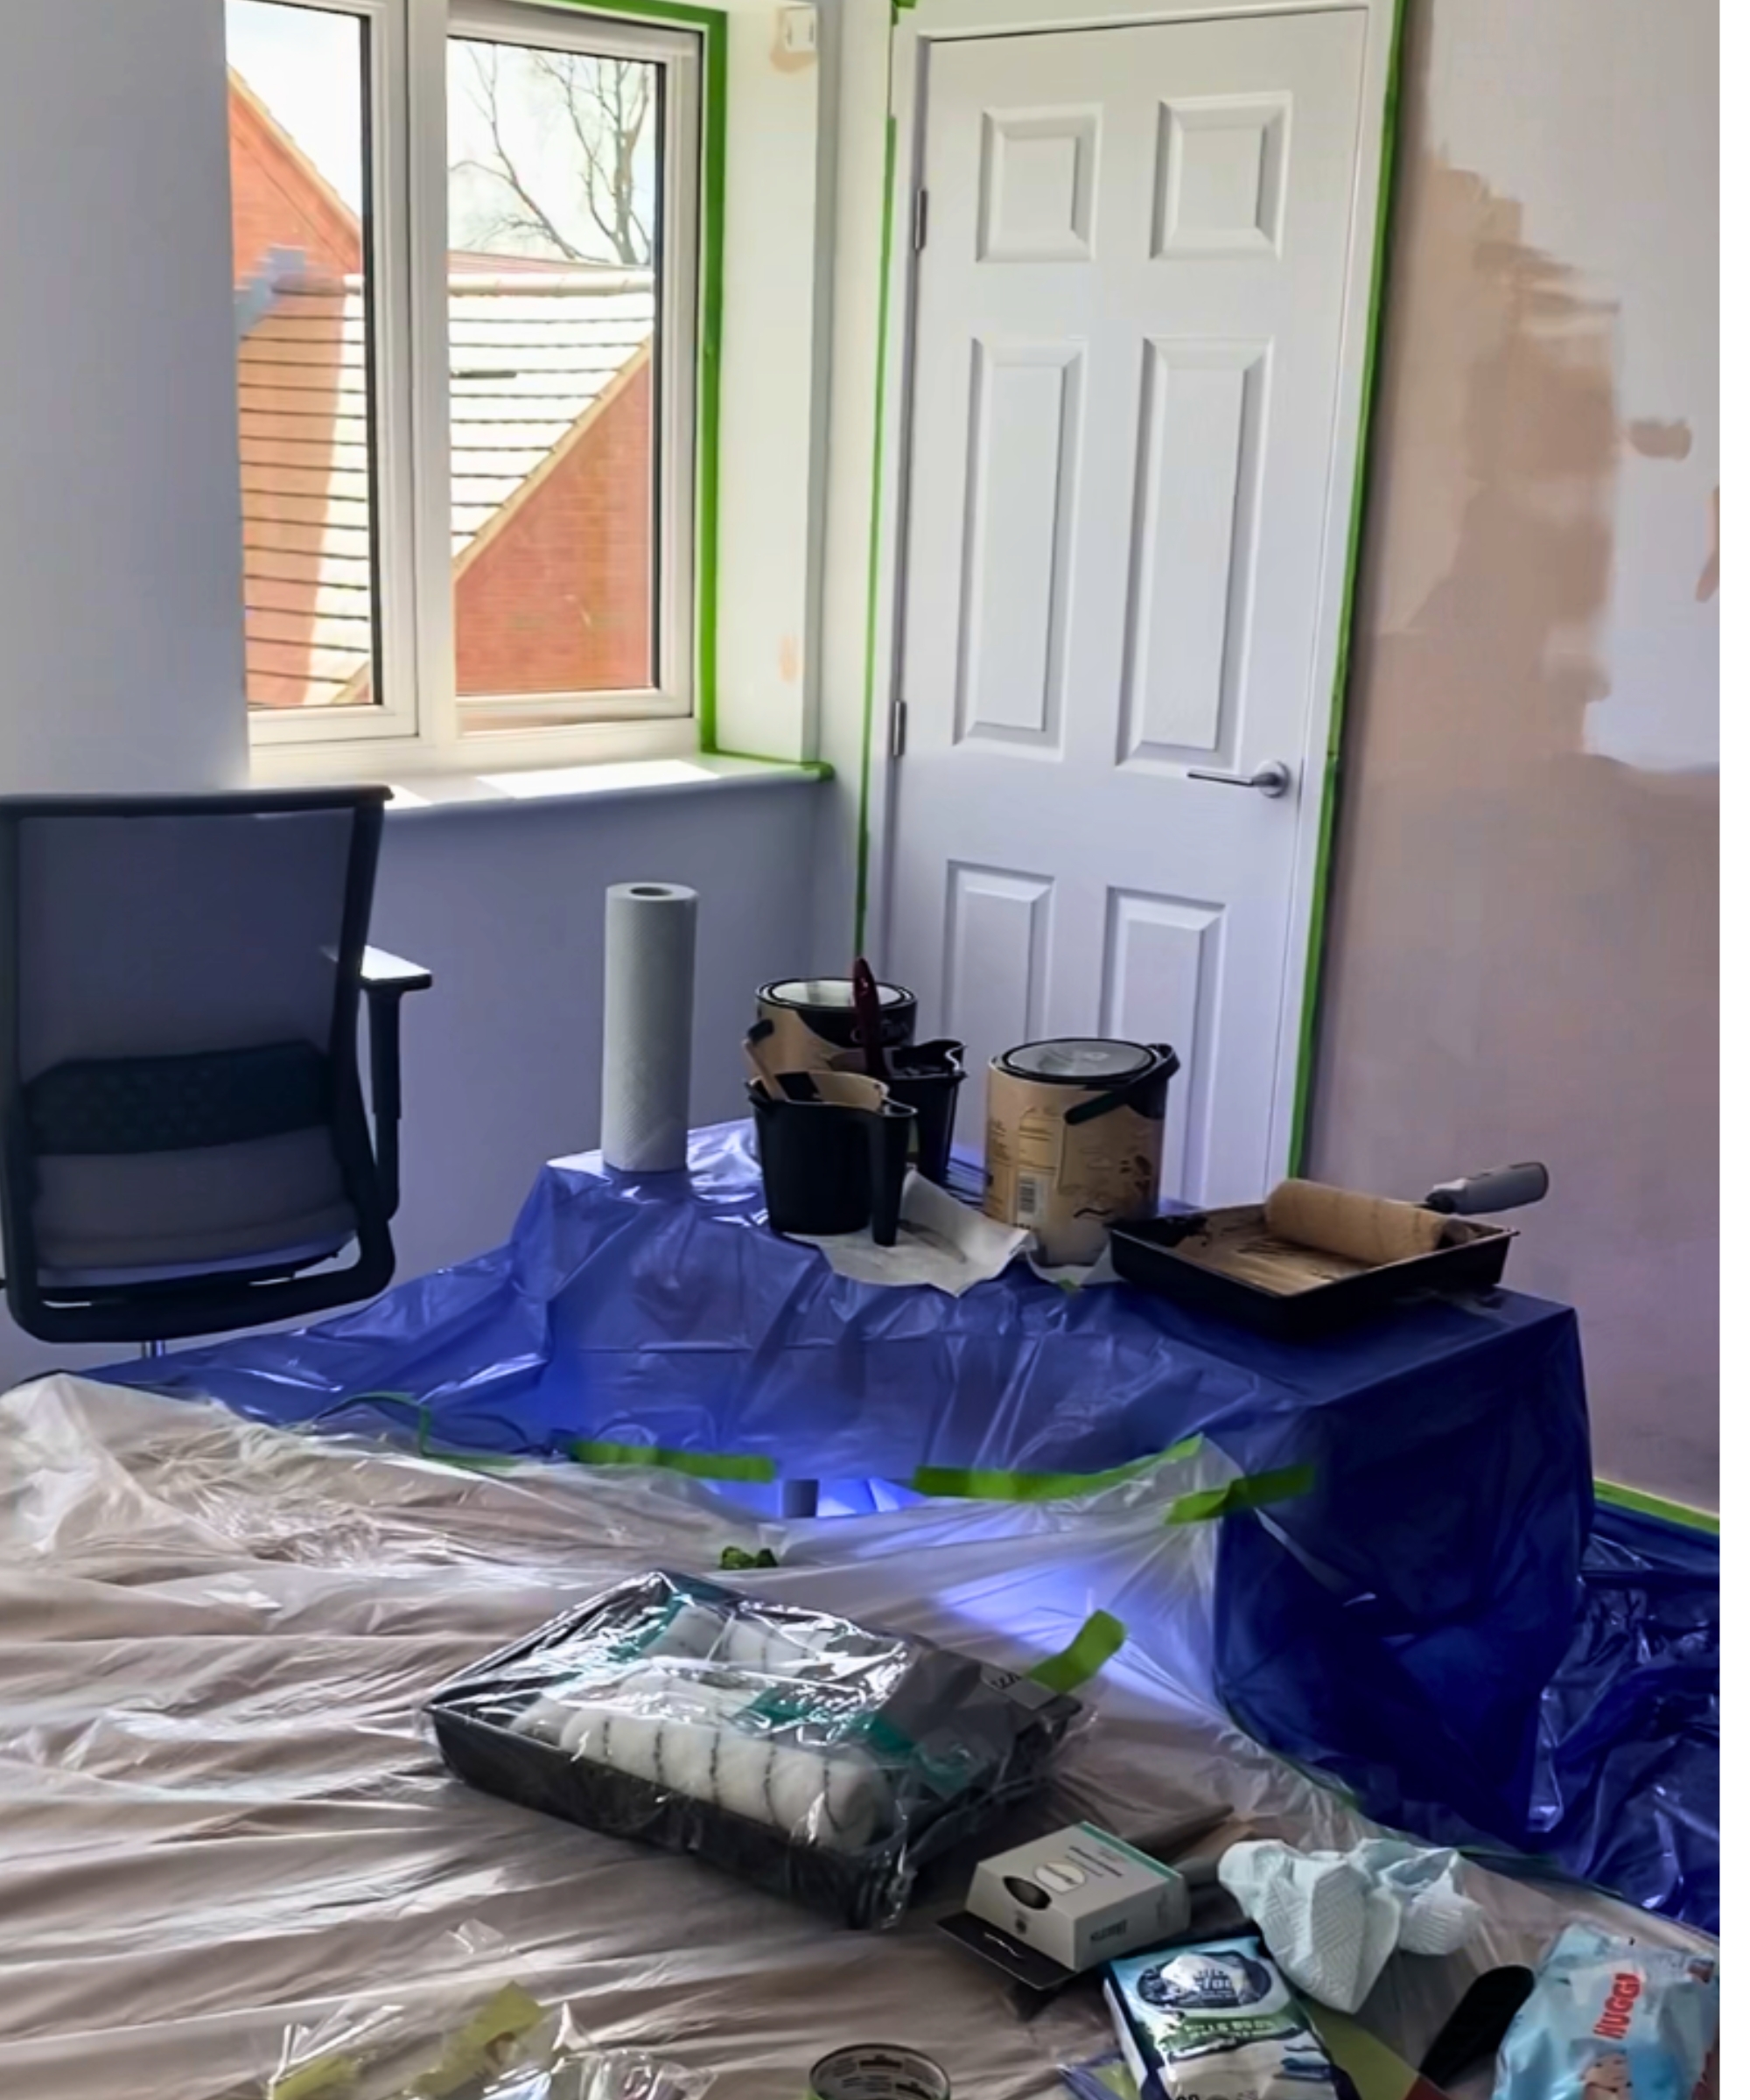
The first time around, I bought the cheapest paint sheets and they were a complete pain. They tore easily, and every time I walked or moved, they blew up into bubble pockets and at some points, lifted up and touched the wet walls being painted too.
Though modern paints are nowhere near as smelly and fume-filled as before, they still have a smell, so you'll need the windows open wide for comfort (it's hot work rolling all that paint, too).
The second time, we invested in much thicker ones that did not budge, tear or move and made life easier (such as the High Density Painters Plastic Sheeting at The Home Depot).
When painting a room yourself, there are things you can skimp on, such as having your hardware store mix up a dupe of an expensive paint, without much ill-effect. My advice is to save money on paint and instead invest in good kit.
5. The way you paint isn't the be-all and end-all
The way paint looks when it's wet and with overlapping brush or roller marks used to incite perfectionism panic in me, but my daughter, who is seven, made a perfectly good point whilst she was tackling the lower half of the study's walls.
She said, "Nobody is going to see it apart from us, and the friends we invite over. And, if they see a bit that isn't perfect, they are not going to be unkind and point it out."
Sage words from my kiddo, entirely true, and a game changer in my stress levels during this DIY task. The reality is by the time the paint fully dries, the only things that will remain remotely visible are patches you've missed when painting, or thick blobs of paint you didn't roll out.
Other than that, most paints rolls on really smooth and looks great when it is dry. Don't sweat it. Use the W method, go in straight lines, or go crazy like my daughter did and paint in all directions. In the end, it usually all dries well and looks great.
Nicole adds, "I like to give any paint surface at least two coats to ensure full coverage. If you are applying a darker color, use a deep tint primer that can be tinted to match your paint to help save on extra applications to get to the fully saturated color."
Walmart's Glidden HEP Grab-N-Go Interior Paint and Primer in Flat White is highly rated by customers.
6. You really will love it

Despite the snags I hit along the way with both rooms, I will say I absolutely love the result. The study feels exactly as I hoped and extending the color to the ceiling has really made this little space feel interesting and unique.
Given that I spend at least 40 hours a week in here, even now as I'm writing this article, it brings me joy every time I step in or look up.
With the bedroom, I was aiming for a cottage-style room with sumptuous, neutral, cozy vibes and painting the ceiling brings in that cocoon type feeling in spades. Now, I just have to upgrade our bedding and lamps, add a rug and plan which room I'll be roping my husband into helping me paint next.
If you're considering taking the plunge and applying color to your ceiling, don't hesitate because it is really hard to hate the results. But do invest in the right kit, test out your paint options on multiple walls and the ceiling before picking, and plan ahead with time to rest.
For more inspiration for your DIY painting project, delve into this year's small space interior paint trends.

Hi! I'm editor of Real Homes. I've been a senior journalist and editor for national magazines and newspapers for 16 years, specializing in consumer, real-life, and lifestyle articles. I have a BA in English Language and Communication, mentor journalists, and I’m also founding editor of Lacuna Voices, an independent digital platform. I love to cook, add character to my newly-built home, try my hand at DIY projects, keep my collection of plants alive, and make memories with my little family of three. For Real Homes, I specialize in articles on pest control, DIY, declutterring and cleaning, interviewing experts daily for their top tips and product recommendations.