How to repair wooden floors
Find out how to repair wooden floors with this expert advice and how-to guide
Get small space home decor ideas, celeb inspiration, DIY tips and more, straight to your inbox!
You are now subscribed
Your newsletter sign-up was successful
Researching how to repair wooden floors? Original wooden floorboards are a desirable feature in an old property, adding character and a unique feel. They can deteriorate over time, however, meaning that maintenance, care and repair are important to bear in mind.
Our handy guide is here to offer advice on recognising damage, before providing tips on tackling everything from damp and beetle infestation to loose and squeaking floorboards. While many of these issues can be tackled by an experienced DIY-er, it's worth consulting a good carpenter if you need advice or guidance.
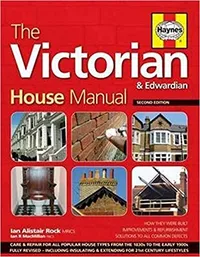
This feature is an edited extract from the Victorian & Edwardian House Manual by Ian Rock, published by Haynes. Ian Rock is a chartered surveyor and director of survey price comparison website rightsurvey.co.uk
If you are repairing floorboards as part of a larger home renovation project, find out how to renovate a house in our expert guide.
Types of wooden floorboards
Before you get started repairing wooden floorboards, it's important that you know what you're working with. Generally there are three main varieties of floorboard:
Tongue-and-groove wooden floorboards: Boards with a slot (groove) on one edge and a ridge (tongue) on the other, enabling them to be slotted together. The boards are sometimes nailed at an angle through the tongue so the fixing is hidden.
Square edged boards: Floorboards that are not tongue-and-groove; these are the most likely type of floorboards to be found in a period home, such as a Victorian house.
Parquet: Hardwood blocks, glued to a subfloor, which are laid to form geometric patterns. Often found in homes built after the turn of the last century.

Repairing wooden floors: warning signs
In addition to general wear and tear, wooden floorboards are vulnerable to damp, rot, beetle infestation and damage caused when they are lifted by electricians and plumbers. Problems are often hidden under carpets or furniture.
What to look for:
- Cracked, split or damaged boards;
- Beetle infestation revealed by small holes and fine powder;
- Damp and rot;
- Loose boards and creaking or ‘springy’ floors;
- Gaps between floorboards;
- Scratches, marks or surface damage.
General care for wooden floors
Wooden floorboards are vulnerable to scratching and softwood boards can quickly become dented, so protecting and caring for the floor is essential. Sanding or rigorously scrubbing floorboards can destroy the surface character and, where woodworm is present, may reveal worm-ridden timber that is difficult to consolidate. As such, knowing how to get rid of woodworm is vital.
To prevent this from happening, we would recommend that you:
- Sweep or vacuum regularly to remove grit.
- Think before cleaning, sanding or polishing as this may destroy the floor’s character. It is also always worth carrying out tests on a small inconspicuous area first. Then, you can figure out how to clean wooden floors.
- Use adequate mats at exterior doors and shake them out regularly.
- Put felt pads on chair legs or furniture that is moved to avoid them scratching the floor.
- Protect floors with hardboard or plywood sheets during building work.
- Where necessary, apply a suitable finish. Beeswax is traditional for wooden floors but it can be high maintenance. Hard wax oils are an alternative and may be reapplied when required.
Identifying and tackling damp and beetle infestation
Timber that becomes damp is likely to rot and suffer beetle attack, eventually causing boards to become soft or riddled with boreholes. In serious cases this can result in structural problems.
In bathrooms or kitchens with suspended timber floors, leakage from pipes, showers or sinks, as well as condensation, can cause rot to develop unseen. Similarly a leaking water supply may go unnoticed for years, causing the earth below the house to become saturated.
Therefore, in most old houses there will be a number of old boreholes from past wood beetle activity. Although very common, this is usually superficial with only the odd short length of board sufficiently weakened to need replacing.
Where the originals cannot be reused, reclaimed wooden boards are widely available, or you can have matching new ones made from seasoned timber.
Rather than using chemical treatments, always identify the cause of the problem and treat it at source.
How to identify and tackle damp and beetle infestation
- Look for places where the wood comes into direct contact with sources of moisture and create some separation between them.
- Where the pointing in walls is eroded or hard modern cement mortar has trapped damp, repoint the walls with lime, which allows moisture to escape.
- Where joist ends resting in damp walls have been eaten away, steel joist extenders can reconnect them with the wall. Alternatively, you can tie joists back in by inserting stainless-steel ‘helibars’ sleeved through the wall from outside and embedded in resin to form a tight new connection
- With suspended floors, check air vents are not blocked or damaged and ensure there is adequate ventilation underneath.
- Where the problem appears serious, lift boards to enable the joists below to be inspected.
- Remove debris under suspended floors that is creating a bridge for moisture.
- Repair or replace any floorboards and timber joists that are rotten.
Repairing damaged wooden floorboards
Wherever possible, repair rather than replace original floorboards. When refixing boards it is advisable to use brass screws rather than nails in order to protect old lath and plaster ceilings below from hammer vibration.
Follow these steps to repair damaged floorboards:
- Glue and cramp split boards back together, where necessary using screws drilled into the edges of the boards.
- Repair broken ends, corners or edges of boards by using the appropriate species of wood and matching the grain pattern.
- Weakened floorboards can be strengthened by fixing a length of new board to the underside, or running new battens underneath for support.
- Allow new timber to acclimatise before use so that shrinkage is minimised after laying.
Adding insulation to old wooden floors
Victorian floors weren’t built with any form of insulation to reduce heat loss, meaning that rooms downstairs can be a bit draughty if there are gaps at skirtings and between boards.
These can be sealed with a bitumen-based mastic; by cutting small timber wedges to fit the gaps; or using special foam rubber strips that are easy to wedge in place, and once inserted expand to fully seal gaps.
It is also possible to insulate ground floors from underneath by lifting a few boards to gain access to the subfloor void and then placing rigid polyurethane or quilt insulation between the joists, supported on battens.
Use our guide to find out how to fix draughty floorboards. And, find out more about how to insulate your home.
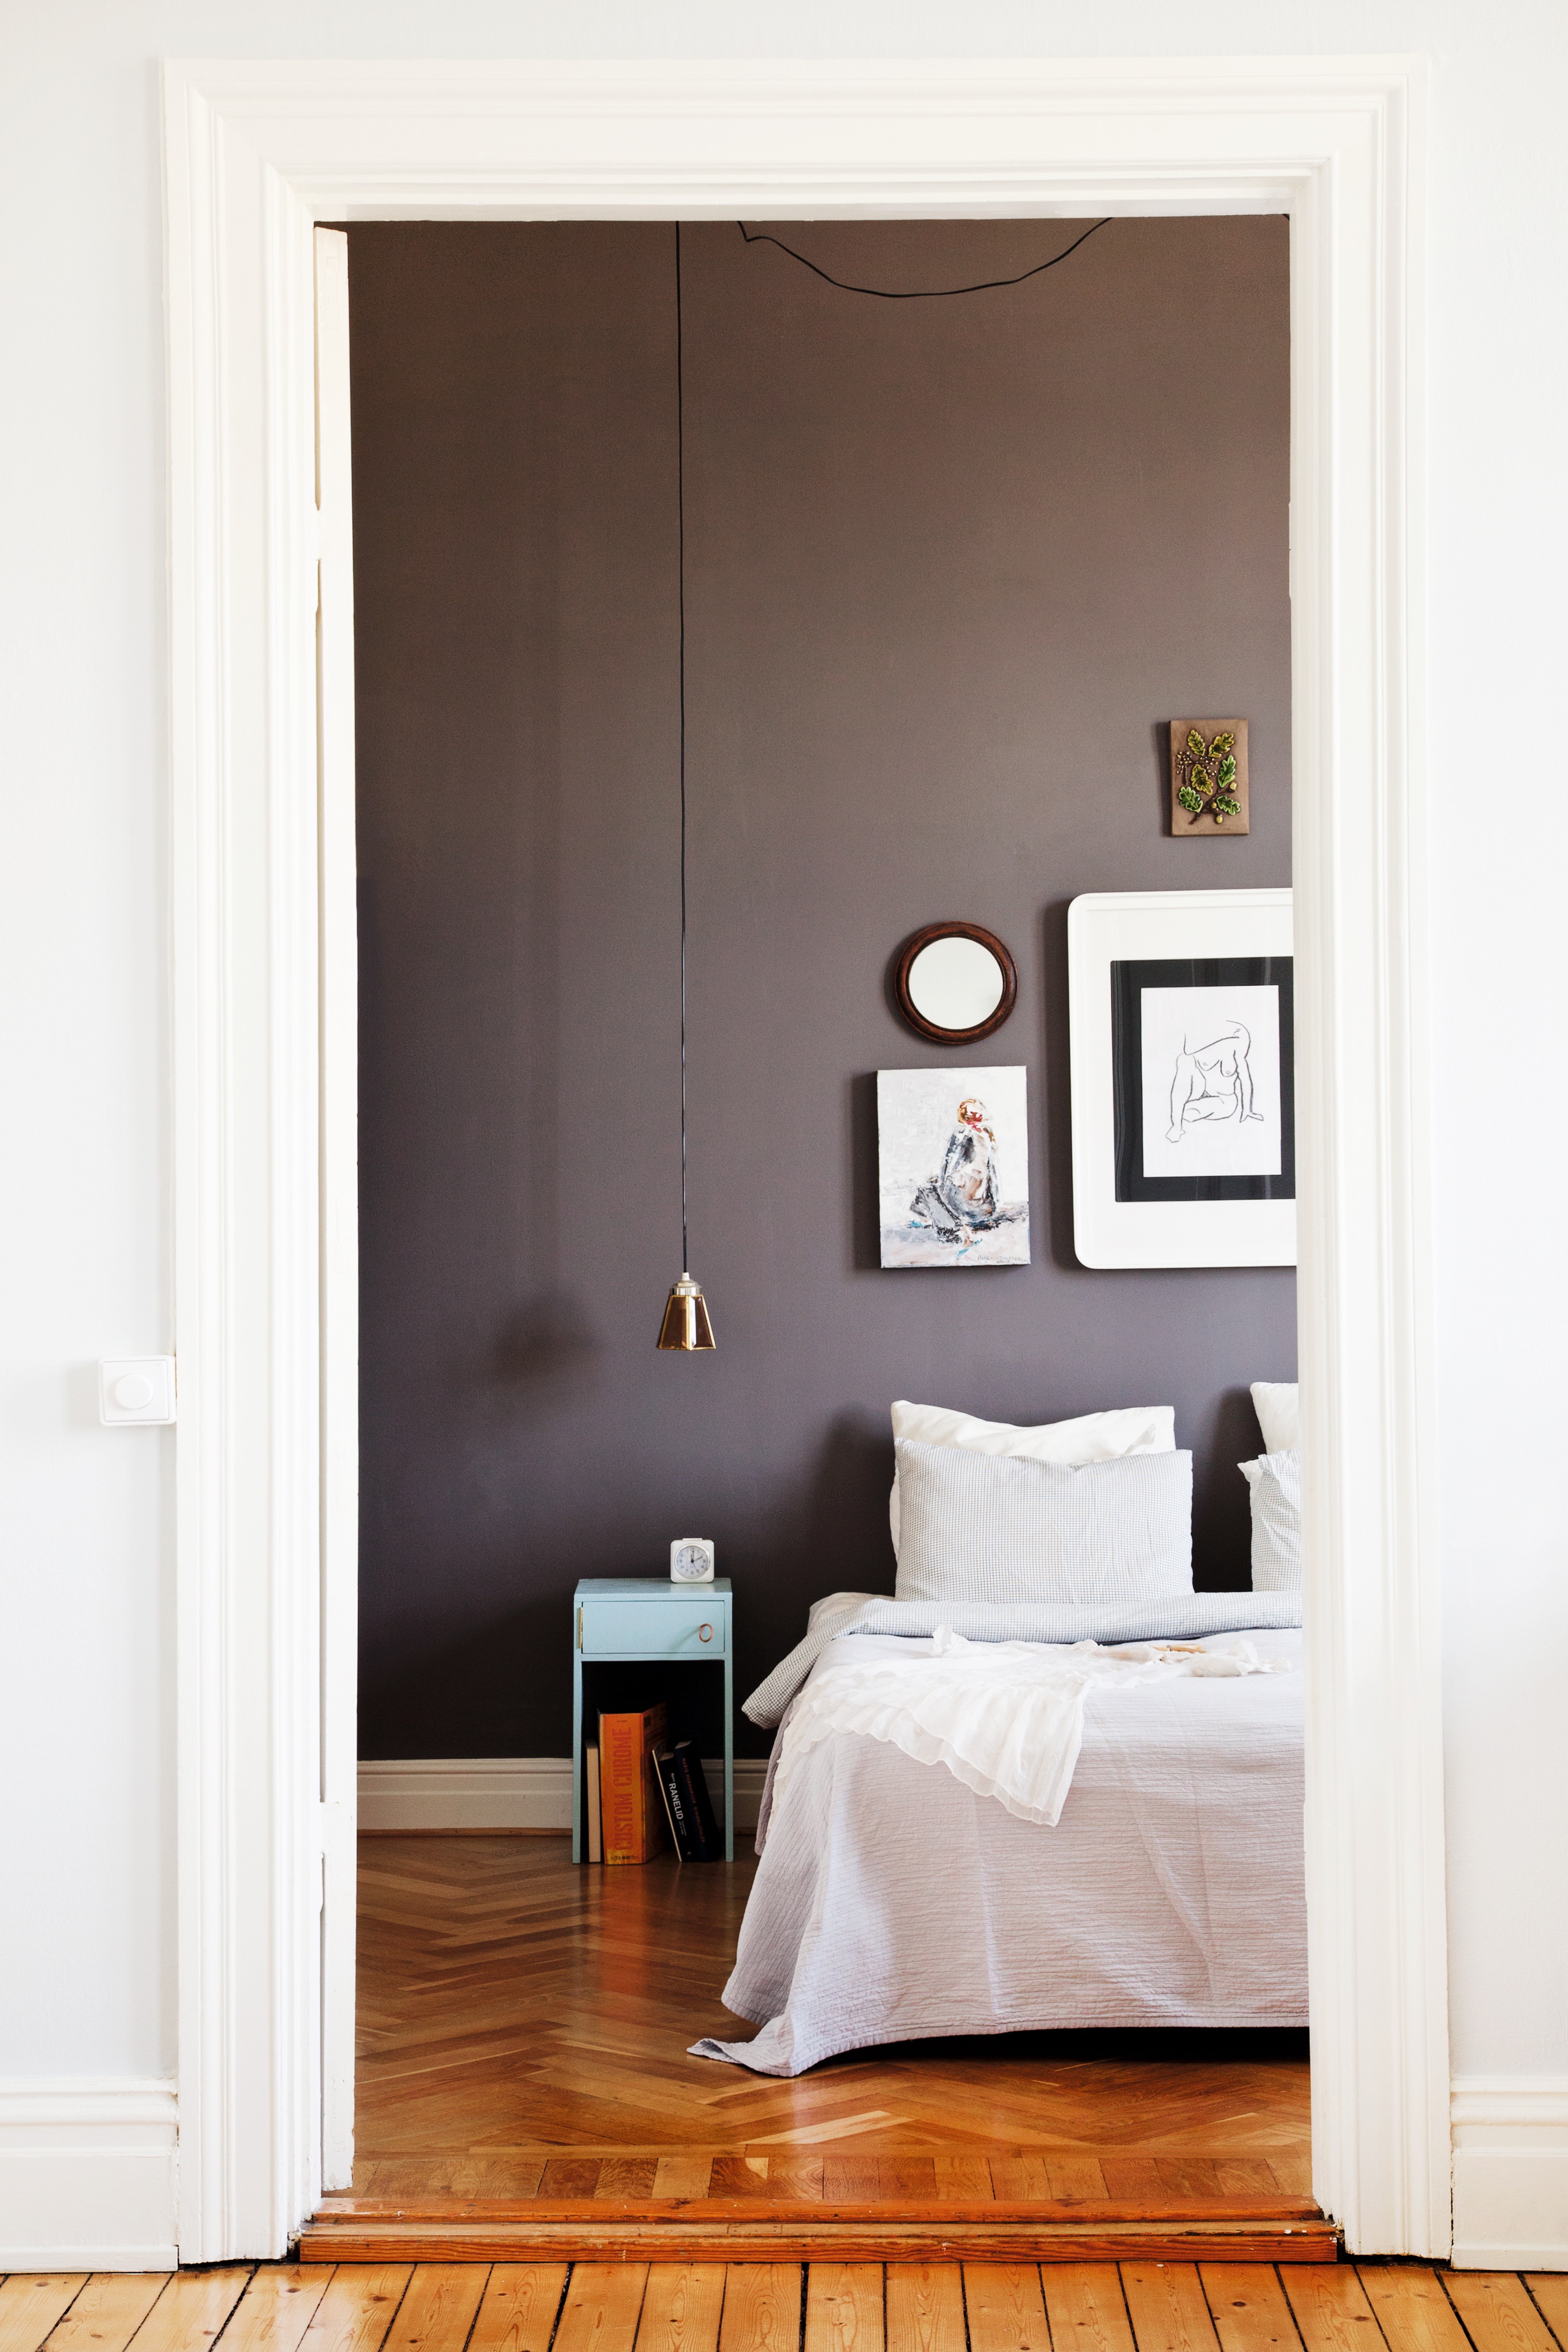
Fixing loose and squeaking floorboards
While floorboards can become loose for a variety of reasons, often it is simply that the fixing is no longer holding the board tight. This said, it is important to investigate the matter fully. Take great care where lifting boards is unavoidable.
Follow these steps to fix a loose or squeaking floorboard:
- Nail the board back into place using special ‘cut’ floorboard nails to minimise any squeaks, first ensuring that no cables or pipes are immediately underneath where you will nail.
- Strengthen from below by screwing battens back on to the joists.
- Where boards might have to be taken up in the future, or there are fragile ceilings beneath that may be damaged by hammering, brass screws are preferable to nails for fixing.
- Squeaks are sometimes silenced by puffing powdered graphite or talc between boards that rub together.
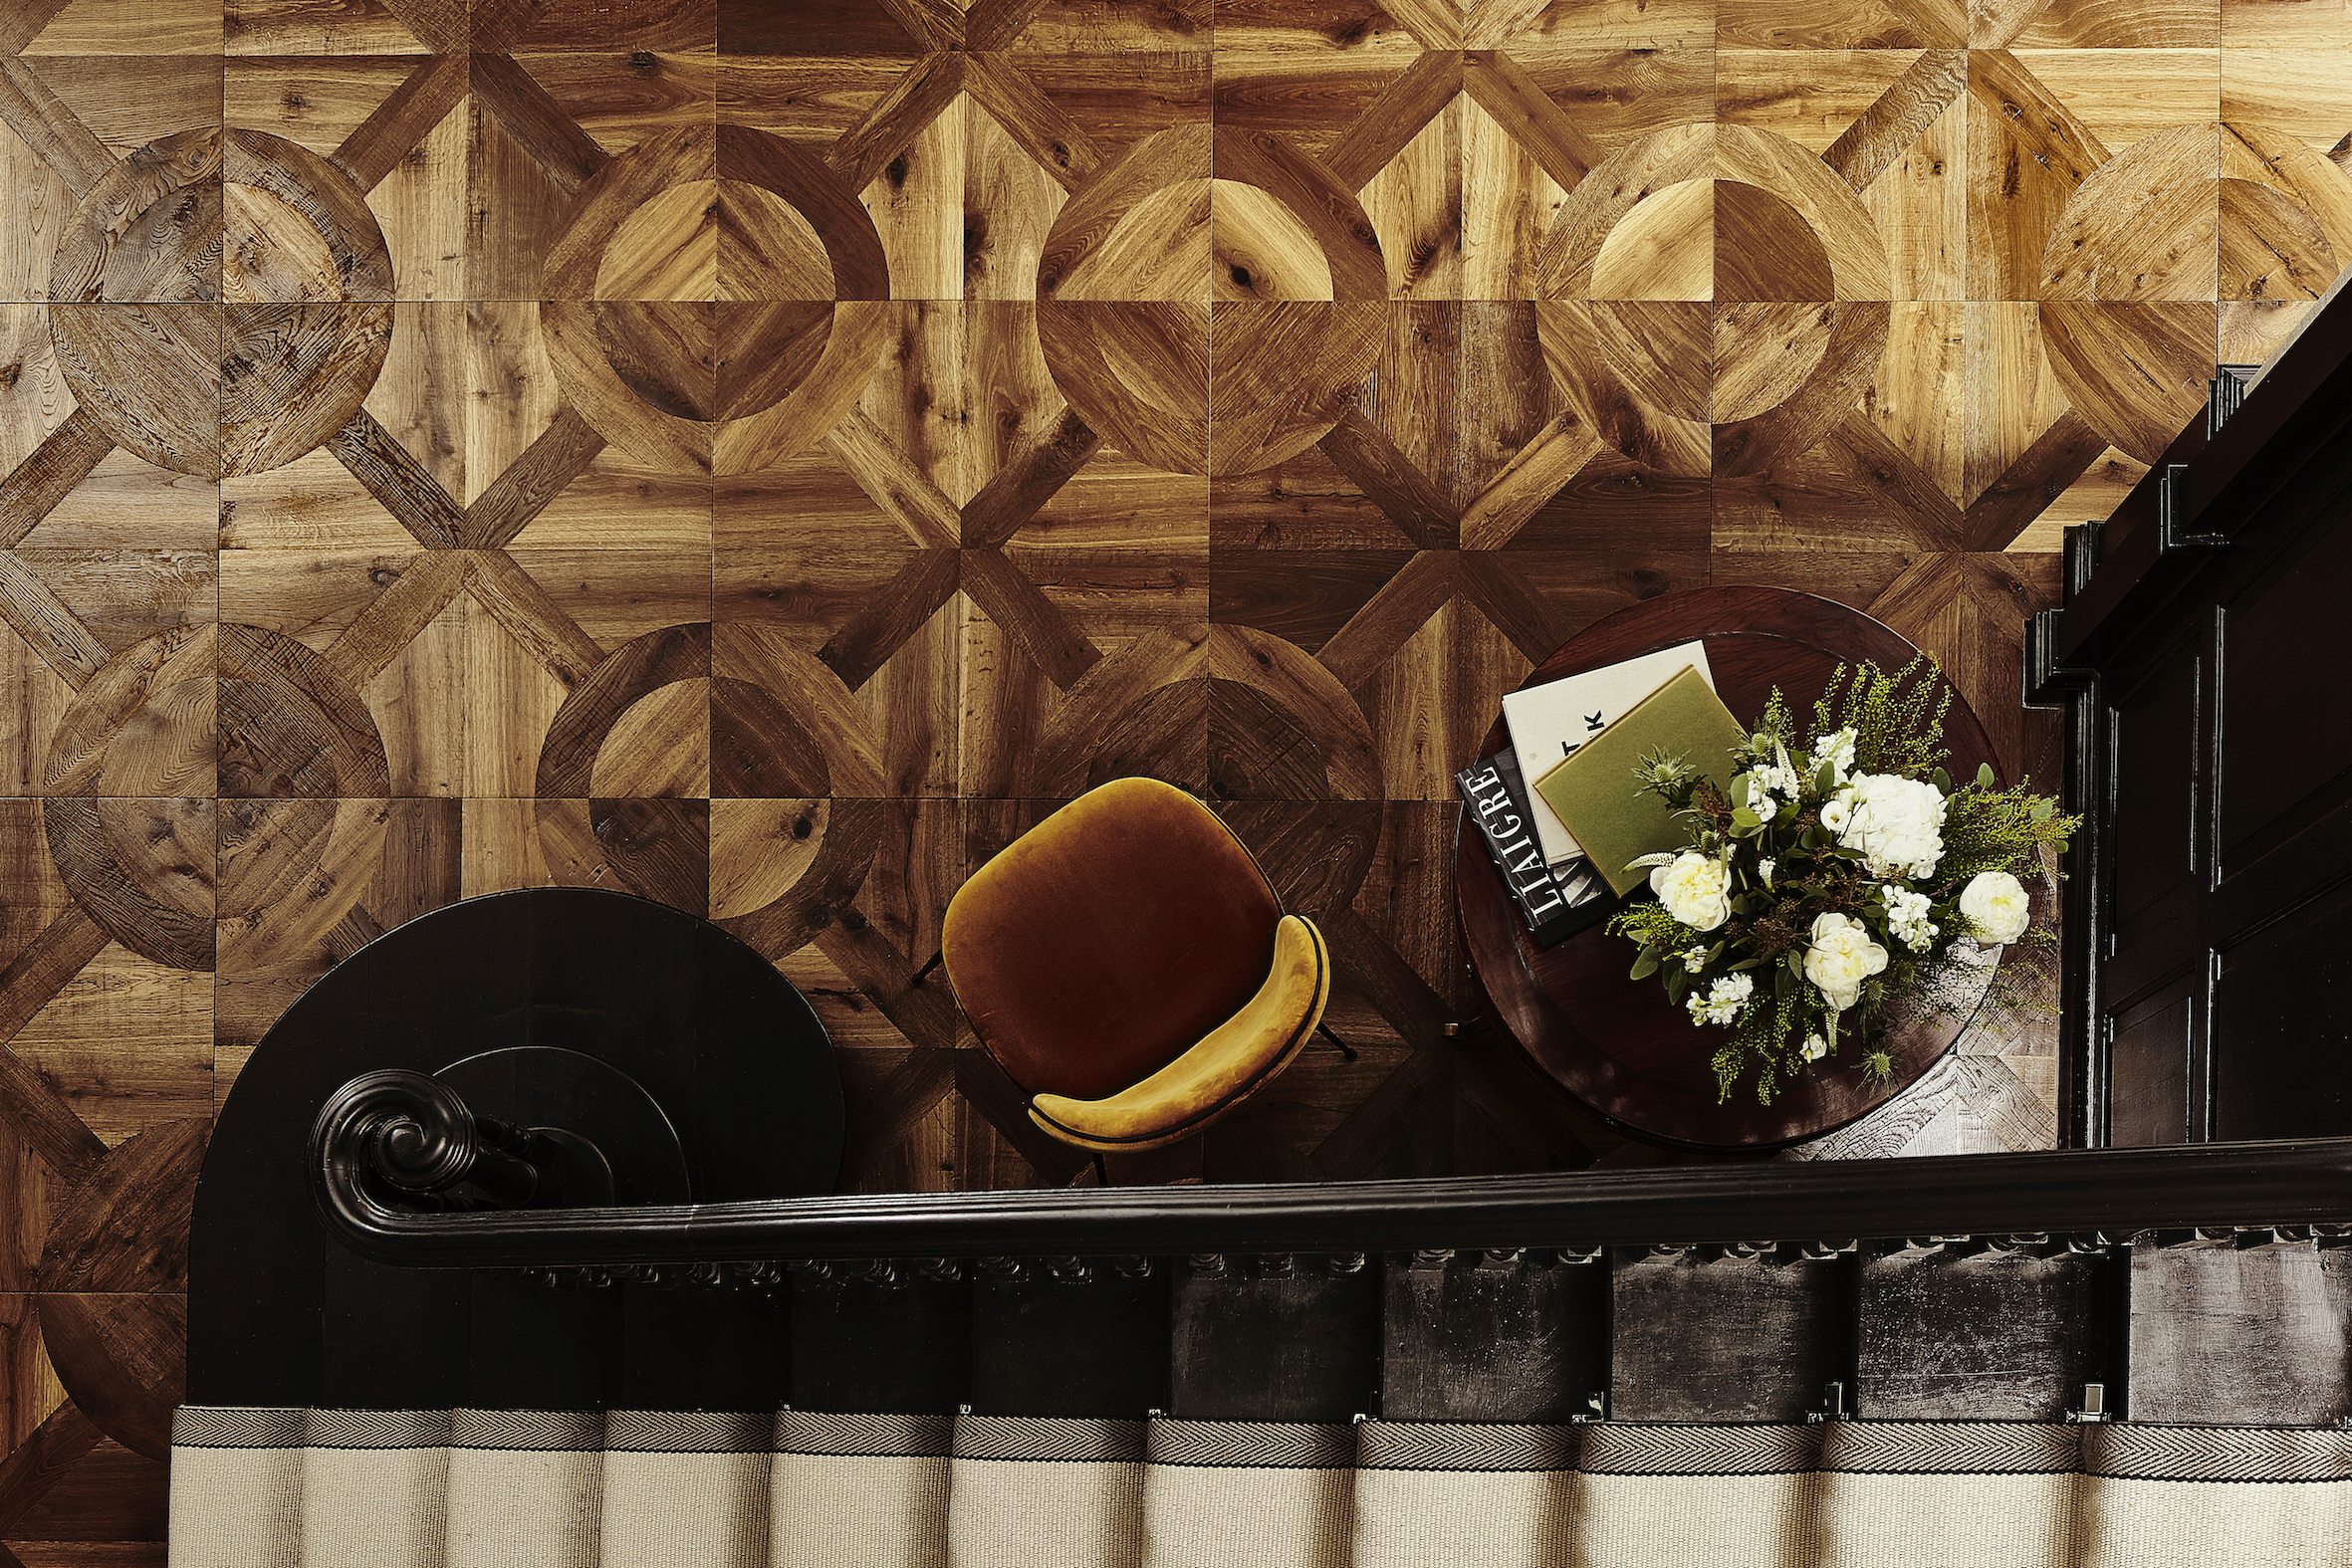
Early floorboards were quite wide but over time became progressively narrower
Should you be concerned about bouncy floorboards?
A small amount of ‘springiness’ is not normally a problem in timber floors. However, if furniture in the room vibrates when the floor is walked on, consider appointing a surveyor to judge whether this is acceptable.
Although builders sometimes skimped with thinner joists spaced too far apart, weak floors are generally the result of notches subsequently cut in them to lay pipes and cables, with boards often left loose or broken.
What to do if you need to tackle bouncy floorboards:
- Floor joists can be stiffened by wedging blocks of wood between them, or strengthened with fresh joists bolted alongside.
- Where holes and notches have been cut, attaching metal plates alongside can stiffen joists.
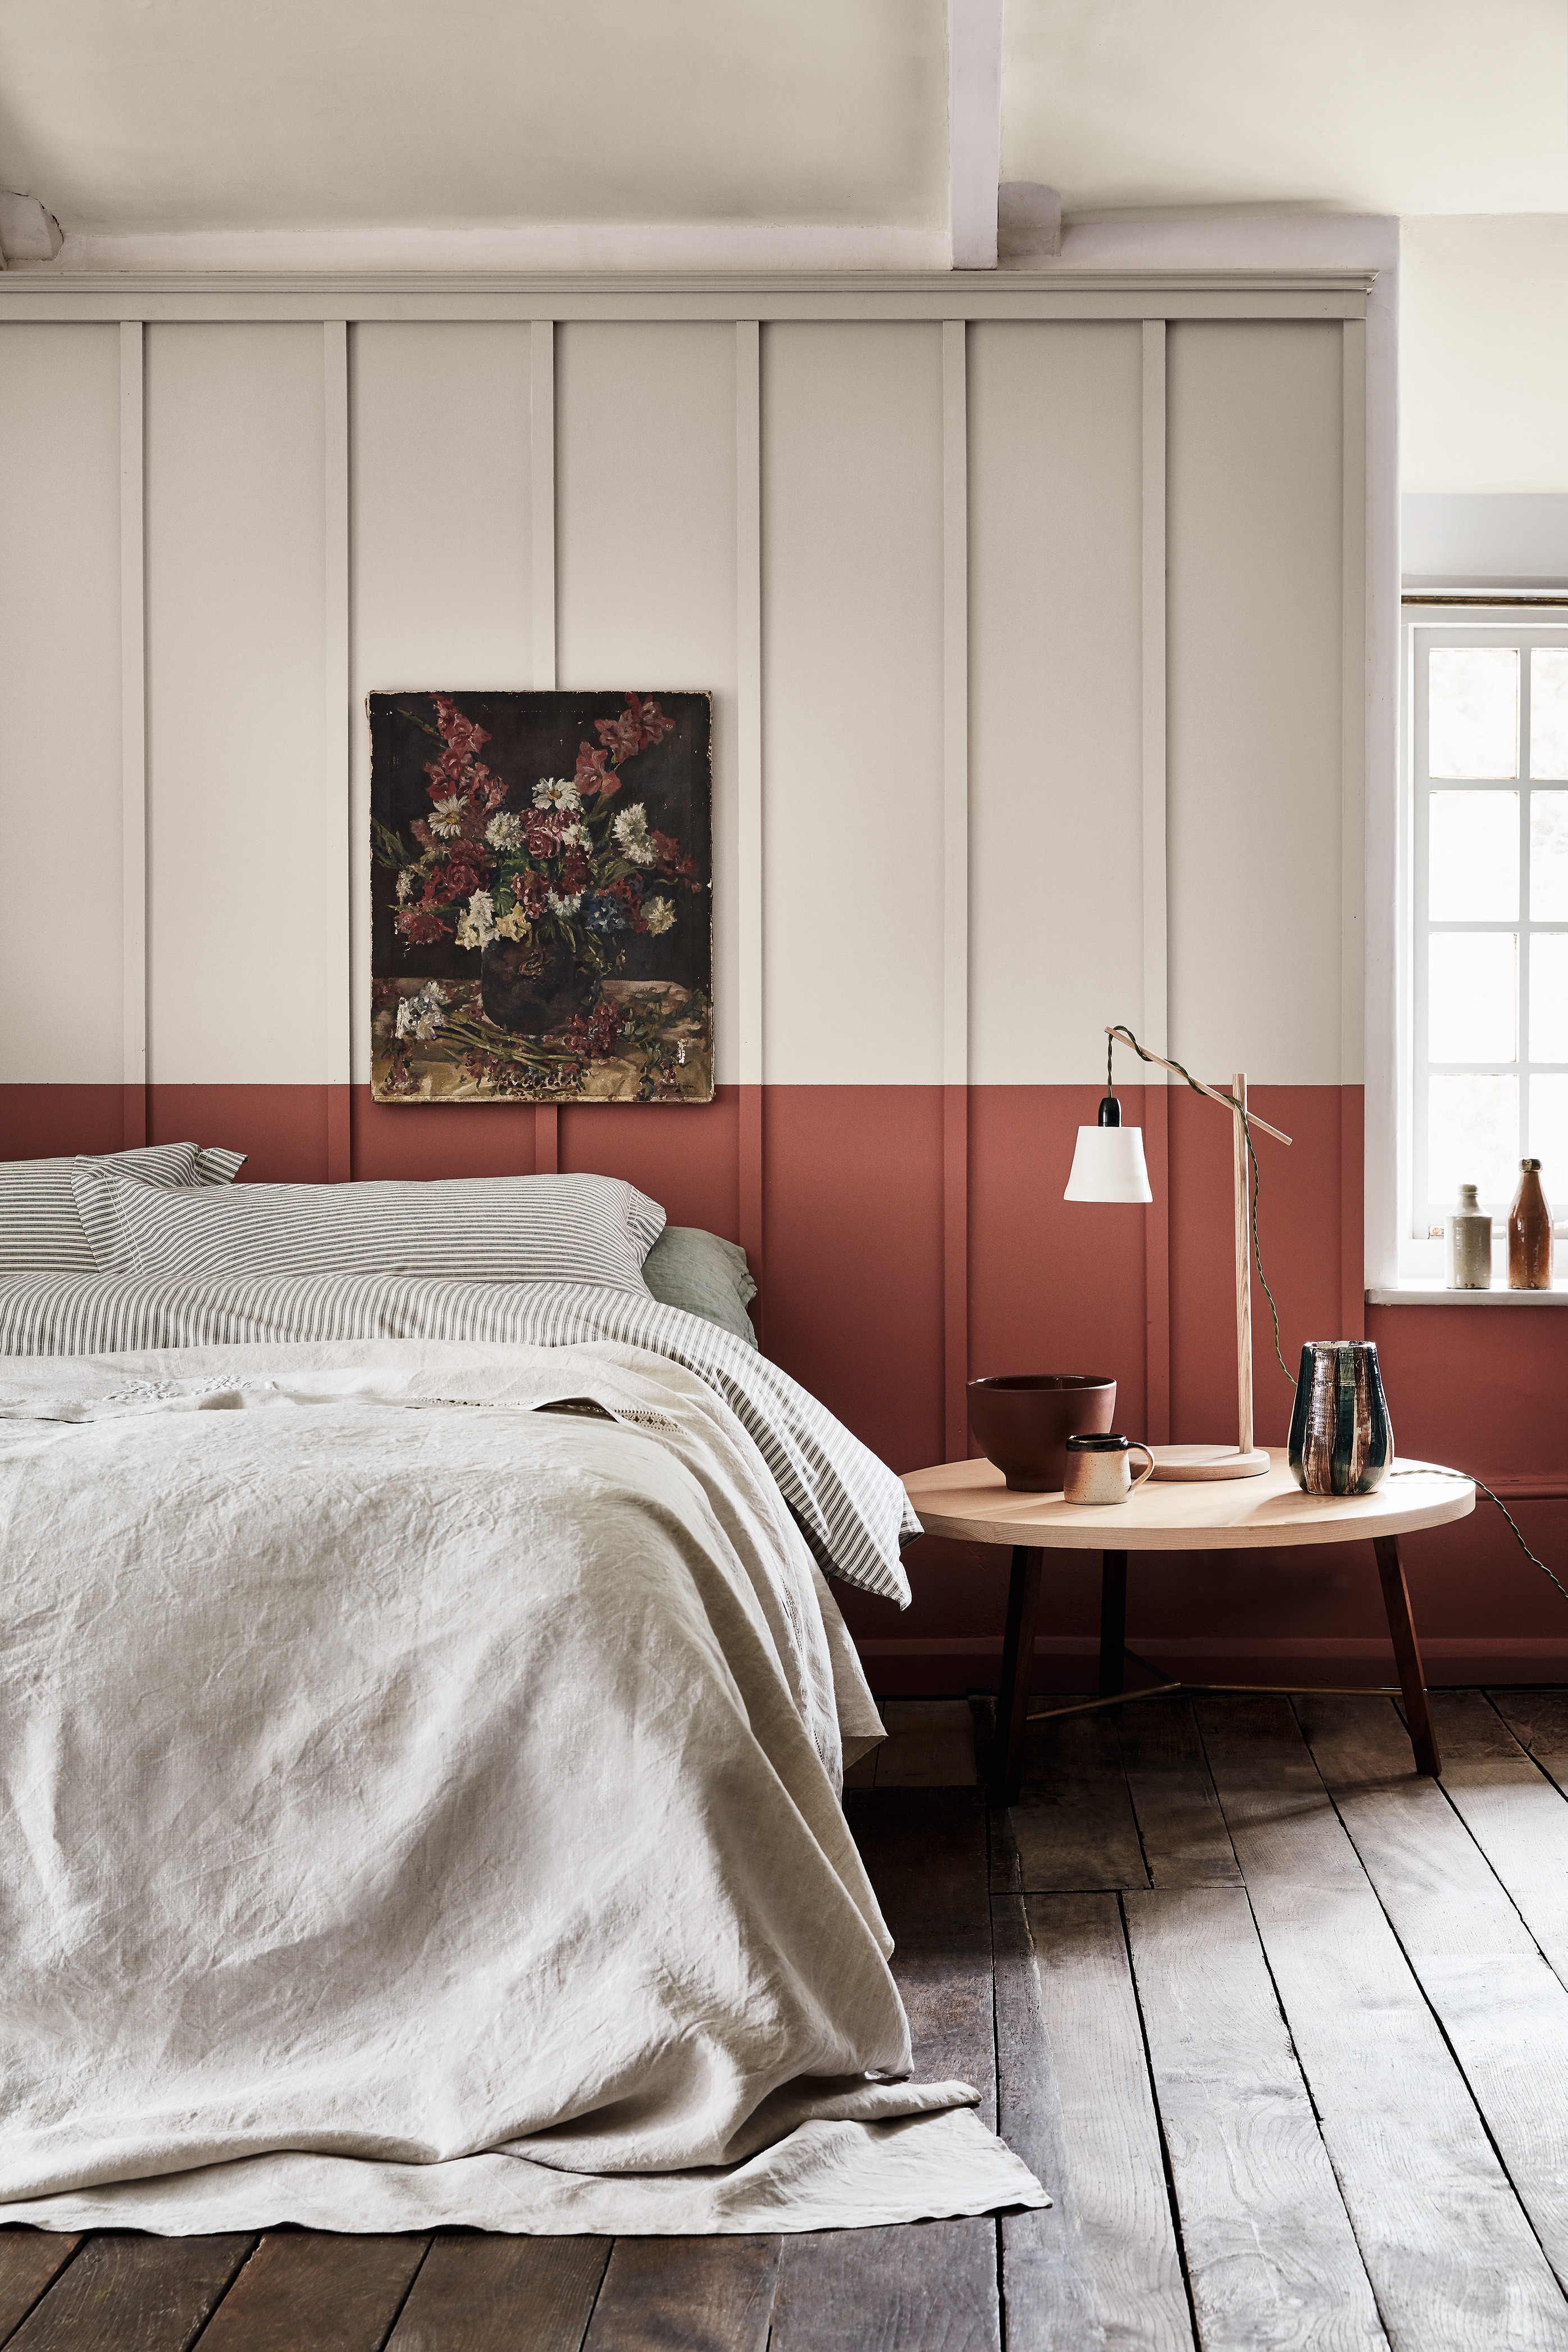
Tackling gaps and draughts
Added together, the gaps between floorboards in a typically sized room can be equivalent to leaving a small window open. With this in mind, it's important to tackle the problem if you want to increase the warmth of a space (and decrease your heating bill).
We'd recommend taking the following action:
- Fill gaps with thin slivers of matching timber, proprietary draught strip systems or lengths of string pushed and glued into place – these can be stained to match the colour of the timber.
- Wipe off the glue immediately to prevent it marking.
- Seal the gap between the skirting board and the floor in a similar way.
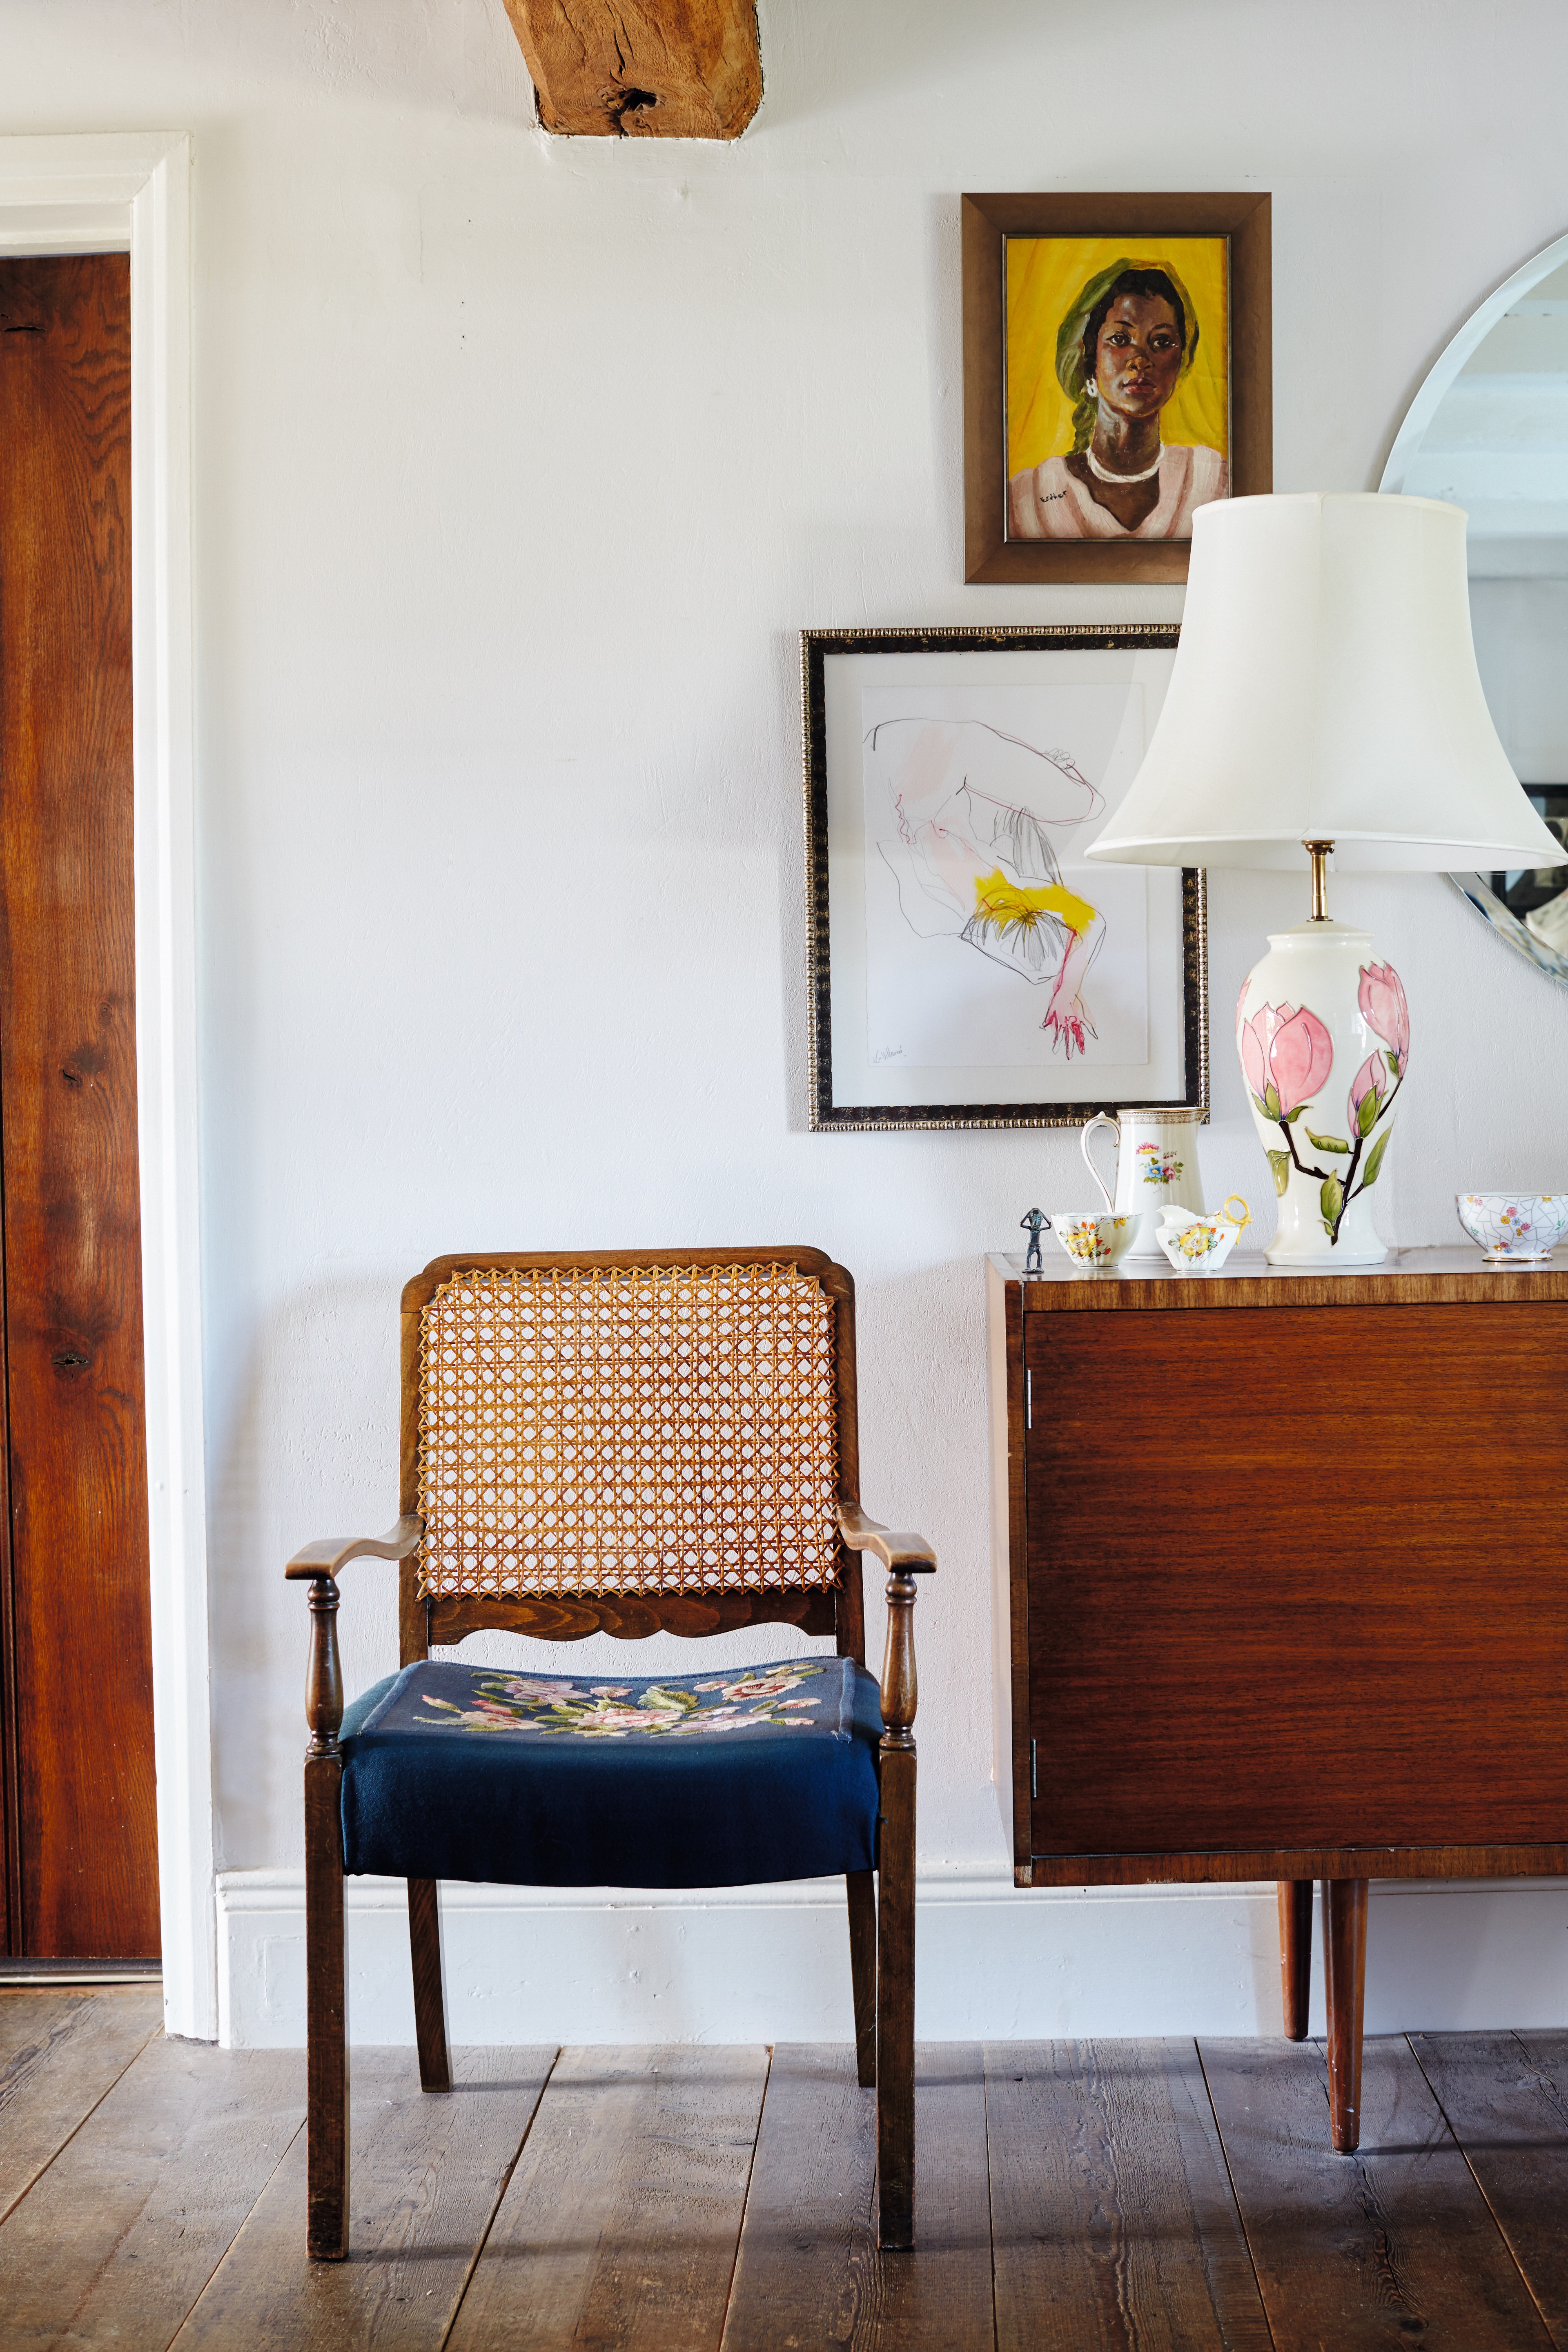
Replacing old wooden floorboards
It might be possible to retain and cover old boards beyond repair but where this is unrealistic, replacement will be required. New boards may be needed where earlier floorboards have been substituted with a less appropriate material.
Replacement boards should comprise seasoned timber of a suitable species, dimension and finish. Use cut floorboard nails to lay the boards. Butt them as closely as possible beforehand with temporary wedges to reduce gaps.
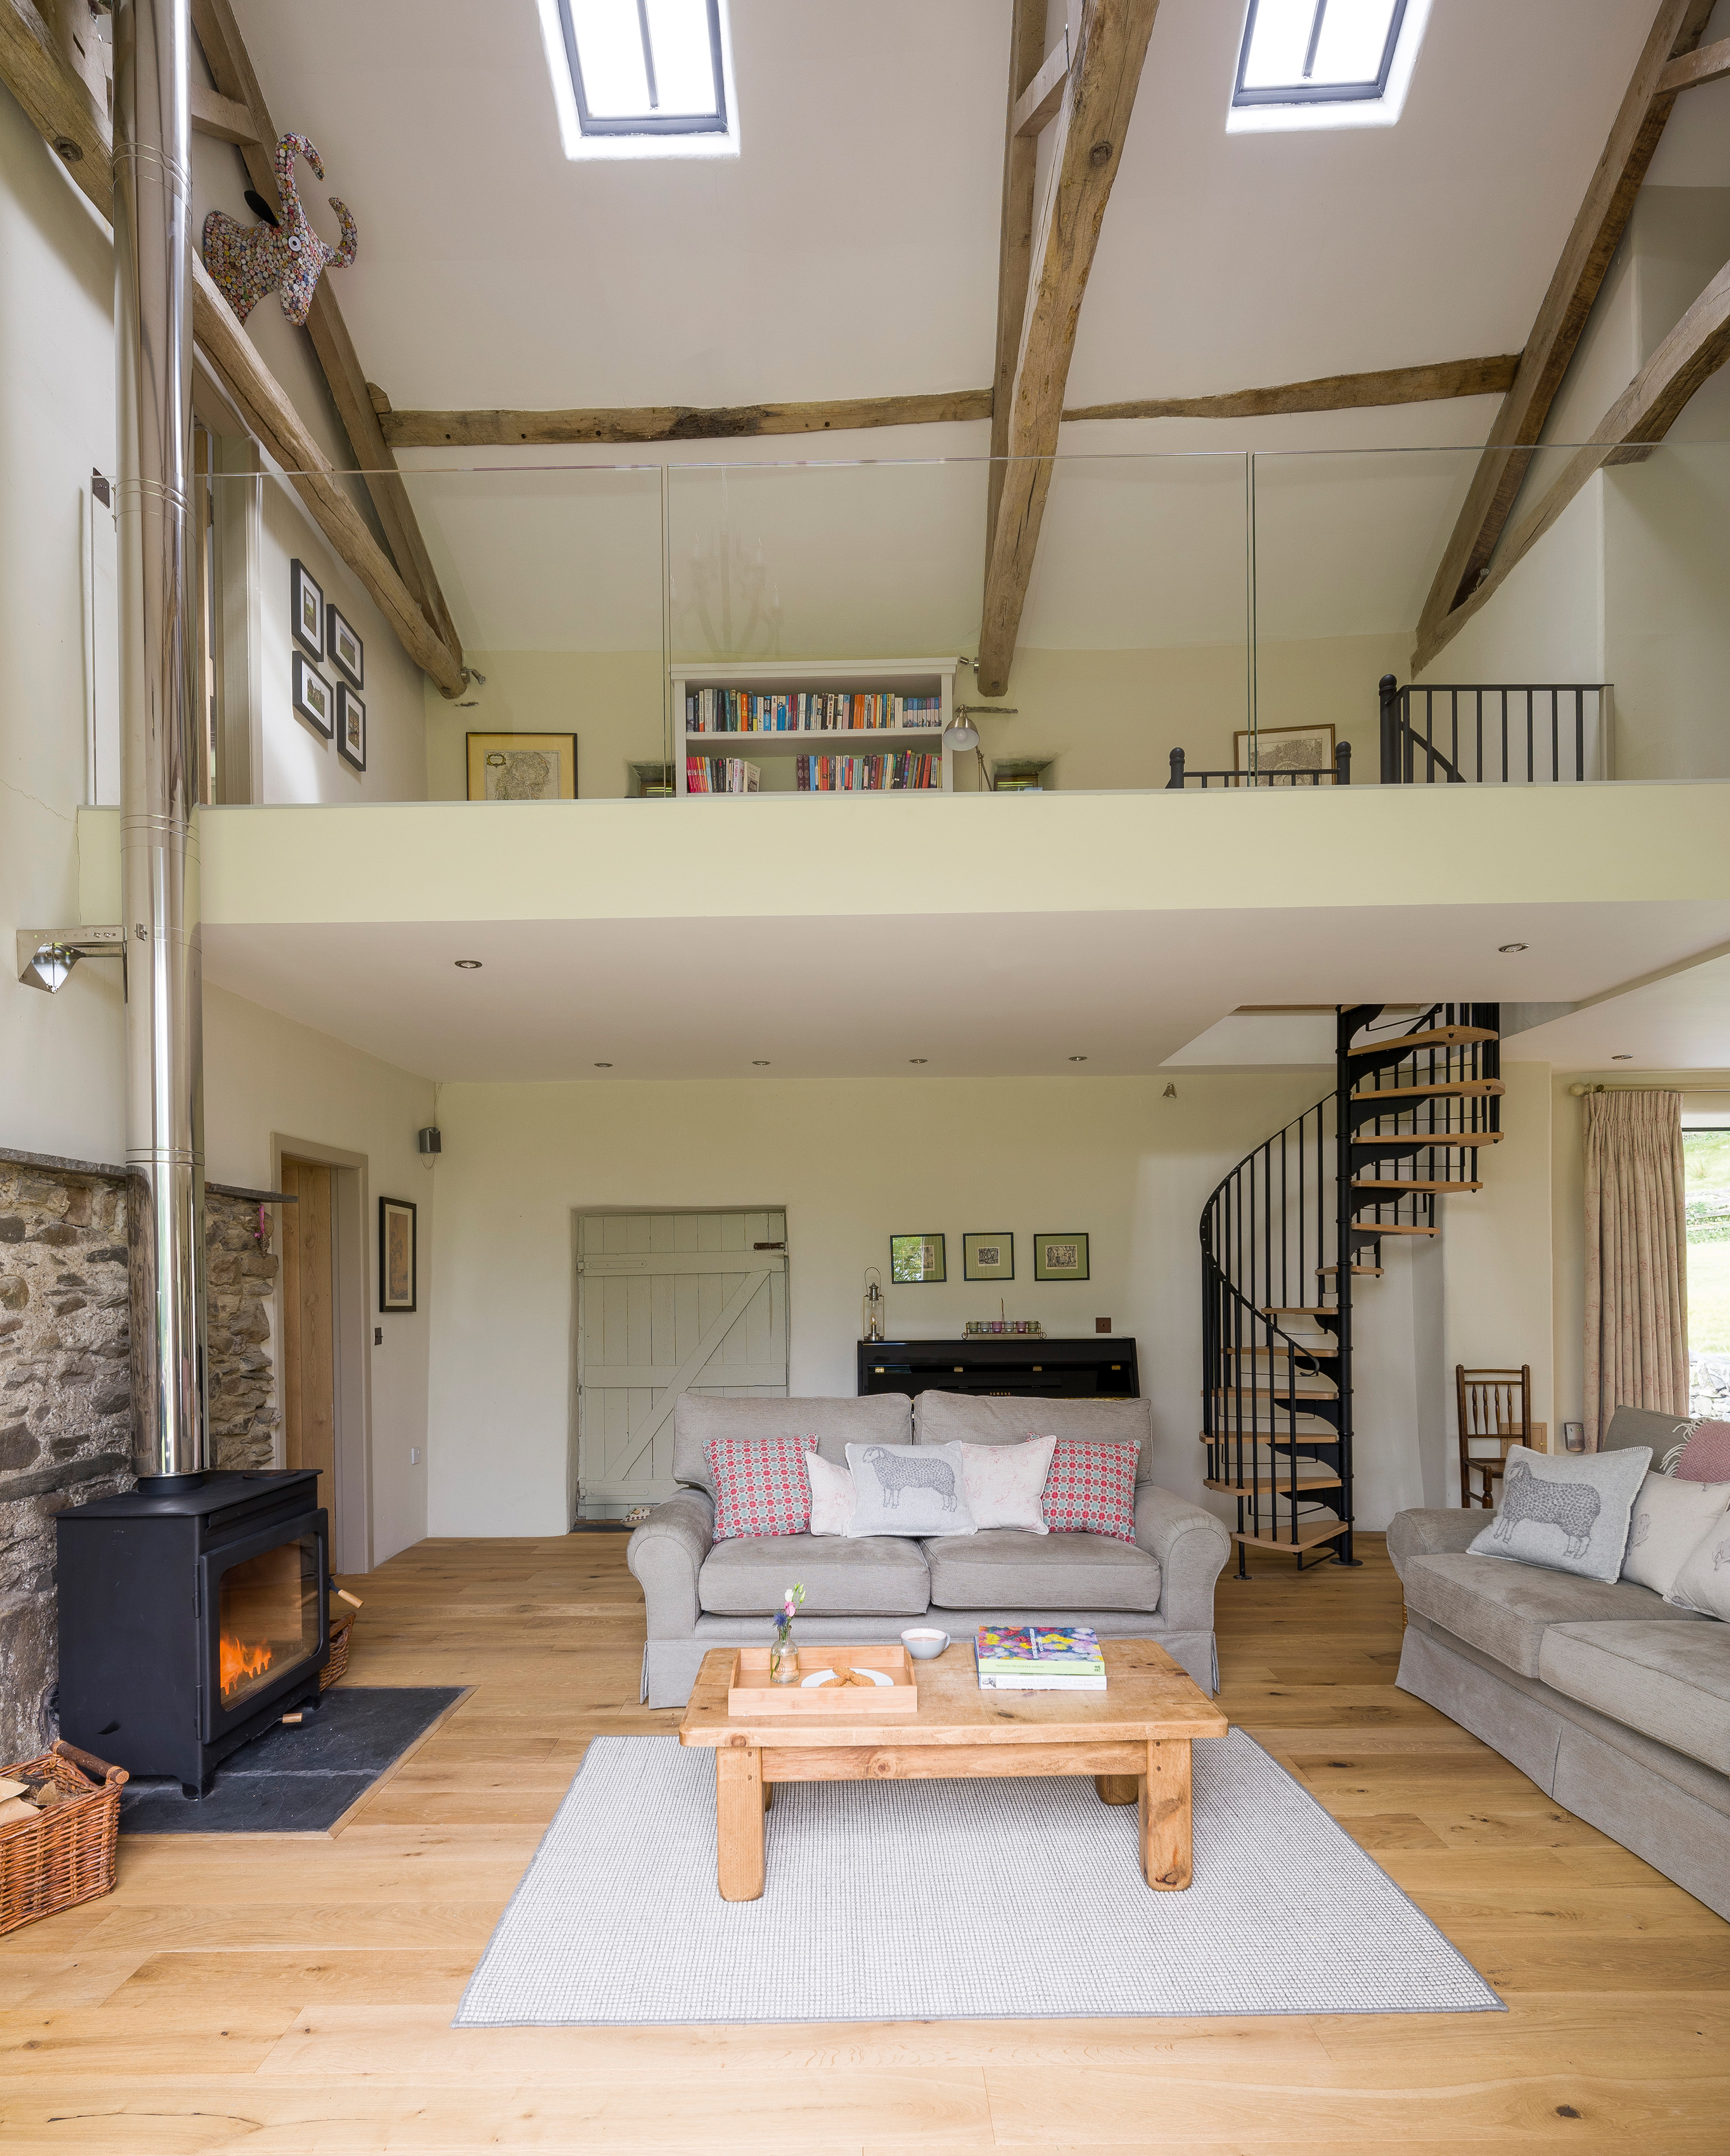
Reviving old wooden floorboards
Once you've undertaken a thorough inspection of your wooden floorboards, ensuring that any damage identified is repaired, you can start thinking about taking steps to give them a new lease of life. Use our guide to painting floorboards to give yours a smart new look. Or follow the instructions below.
To achieve this, you will need:
- Floor cleaner
- Sander
- Wood stain
- Aquacoat HD and white bristle brush
- abrasive paper and sanding block
- Lint-free cloths
MORE FROM PERIOD LIVING

Period Living is the UK's best-selling period homes magazine. Get inspiration, ideas and advice straight to your door every month with a subscription.
- Using hot water and plenty of elbow grease, thoroughly clean the floor with a heavy-duty floor cleaner. Don’t allow water to pool on the boards, instead mop up the surplus as you work so it doesn’t trickle down between them. Wipe over with clean water to remove dirt and soap residues, then allow to dry thoroughly.
- Use a sander to remove dark stains, but don’t take off more wood than necessary – start off with a medium-grade abrasive paper and only use the coarsest grade if the stain has penetrated deeply.
- Thoroughly vacuum the floor to remove escaped sawdust, wiping down any remainders with a tack cloth or damp link-free cloth.
- If the original floor was treated with wood stain, it’s time to re-stain the bare wood. Use off-cuts to ensure that you choose a matching colour – remember to wait until they have dried.
- Dilute Aquacoat with 10% tap water and apply with a brush before rubbing into the wood with a lint-free cloth until none remains on the surface. Follow the grain of the wood along a single board – don’t overlap and risk an uneven finish.
- Leave to dry for two to three hours.
- Wrap some 240-grade Lubrasil paper around a sanding block and gently rub over the area to create a mechanical as well as a chemical bond. Use a tack cloth or damp rag to pick up sawdust.
- Apply a second coat of Aquacoat, this time full strength, shaking the bottle before use and stirring during application. Once dry, lightly rub again with the Lubrasil paper. Remember to wipe away all traces of dust with a damp rag.
- Apply your third layer of Aquacoat, noting that it can take up to a week to fully cure.
- Sweep or vacuum every day to remove dirt and grit, wipe occasionally with a damp mop, and clean up spills as they occur.
How to fix dog scratches in hardwood floors
Prevention is always better than cure, and high-quality polyurethane wood sealer should protect your wooden floors, at least up to a point. However, if the dog scratches are already in your wooden floor, the best solution is a wood filler, which should be applied after sanding down your floorboards. A wood repair marker or scratch repair stick will do for shallow scratches.
In many ways, dog urine is a bigger problem for your wooden floors than scratch marks. Find out more about cleaning up after dogs in our guide.
More advice on maintaining old floors:
- How to maintain and repair old stone floors
- How to maintain terracotta floor tiles
- How to restore and clean encaustic floor tiles
The Victorian House Manual | RRP £17.50 on Amazon
Want to take better care of your period home? This Haynes Manual by Ian Rock is the essential read for any owner of a Victorian (or Edwardian home).
Get small space home decor ideas, celeb inspiration, DIY tips and more, straight to your inbox!

Ian Rock MRICS is the chartered surveyor author of eight Haynes Property Manuals, and is the director of the RICS home survey price comparison website Rightsurvey.co.uk

