How to paint a hutch – DIY in 5 steps for $50
Paint a hutch yourself to upgrade your dining room and transform a dated piece of furniture.

Get small space home decor ideas, celeb inspiration, DIY tips and more, straight to your inbox!
You are now subscribed
Your newsletter sign-up was successful
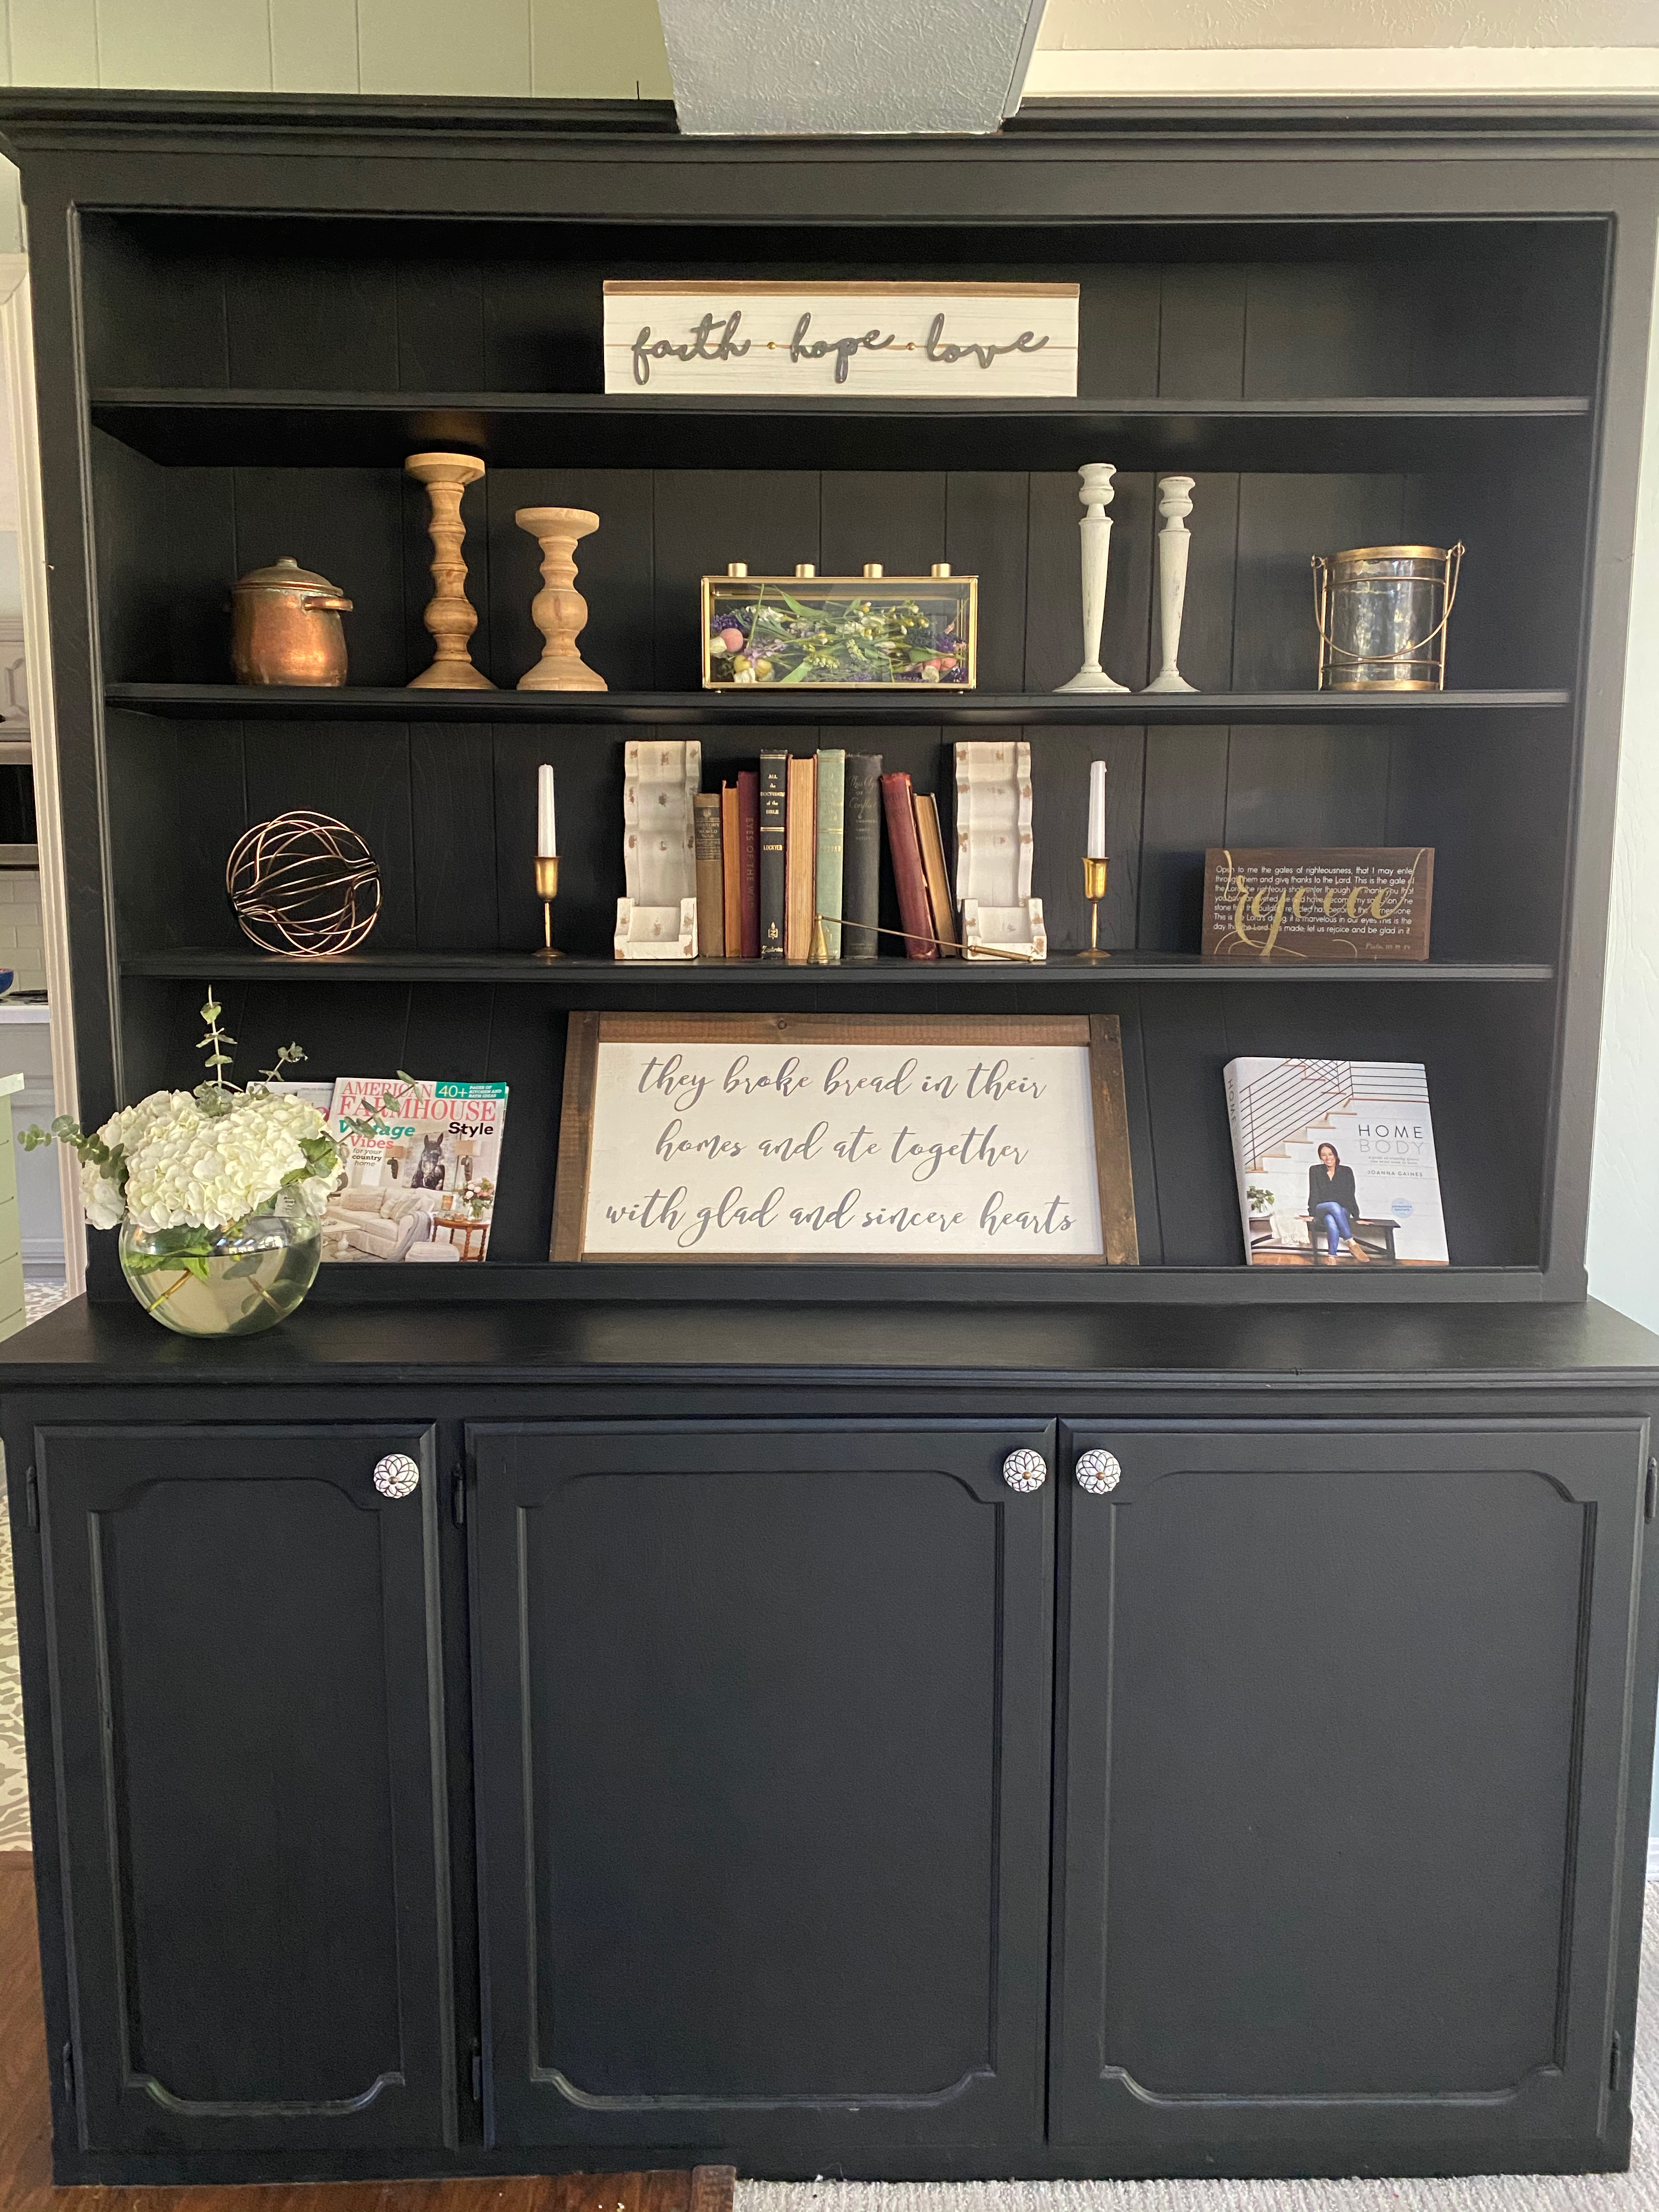
I love built-in furniture in older homes! It adds so much character and interest to a space. When our house was built in the 1970s, it didn’t originally include the large back sunroom. The sunroom was added on in the 80s and a pretty built-in hutch was added to bridge the gap between what used to be the living room and the new sunroom. While it functioned as I needed it to, I also knew very quickly that knowing how to paint a hutch was going to help us complete our home's decor in the long run...
The hutch hadn’t been touched since the addition and when we moved in it still had the original finish. It had dulled over the years and had marks and scratches on it. The original hardware was still on the doors and it was screaming for an update.
This was the first DIY project I tackled and I knew right away that I wanted to paint the hutch black to bring a more modern look to the space. My husband definitely had reservations, but I thought it would pop against our blue gray walls and make a pretty statement.
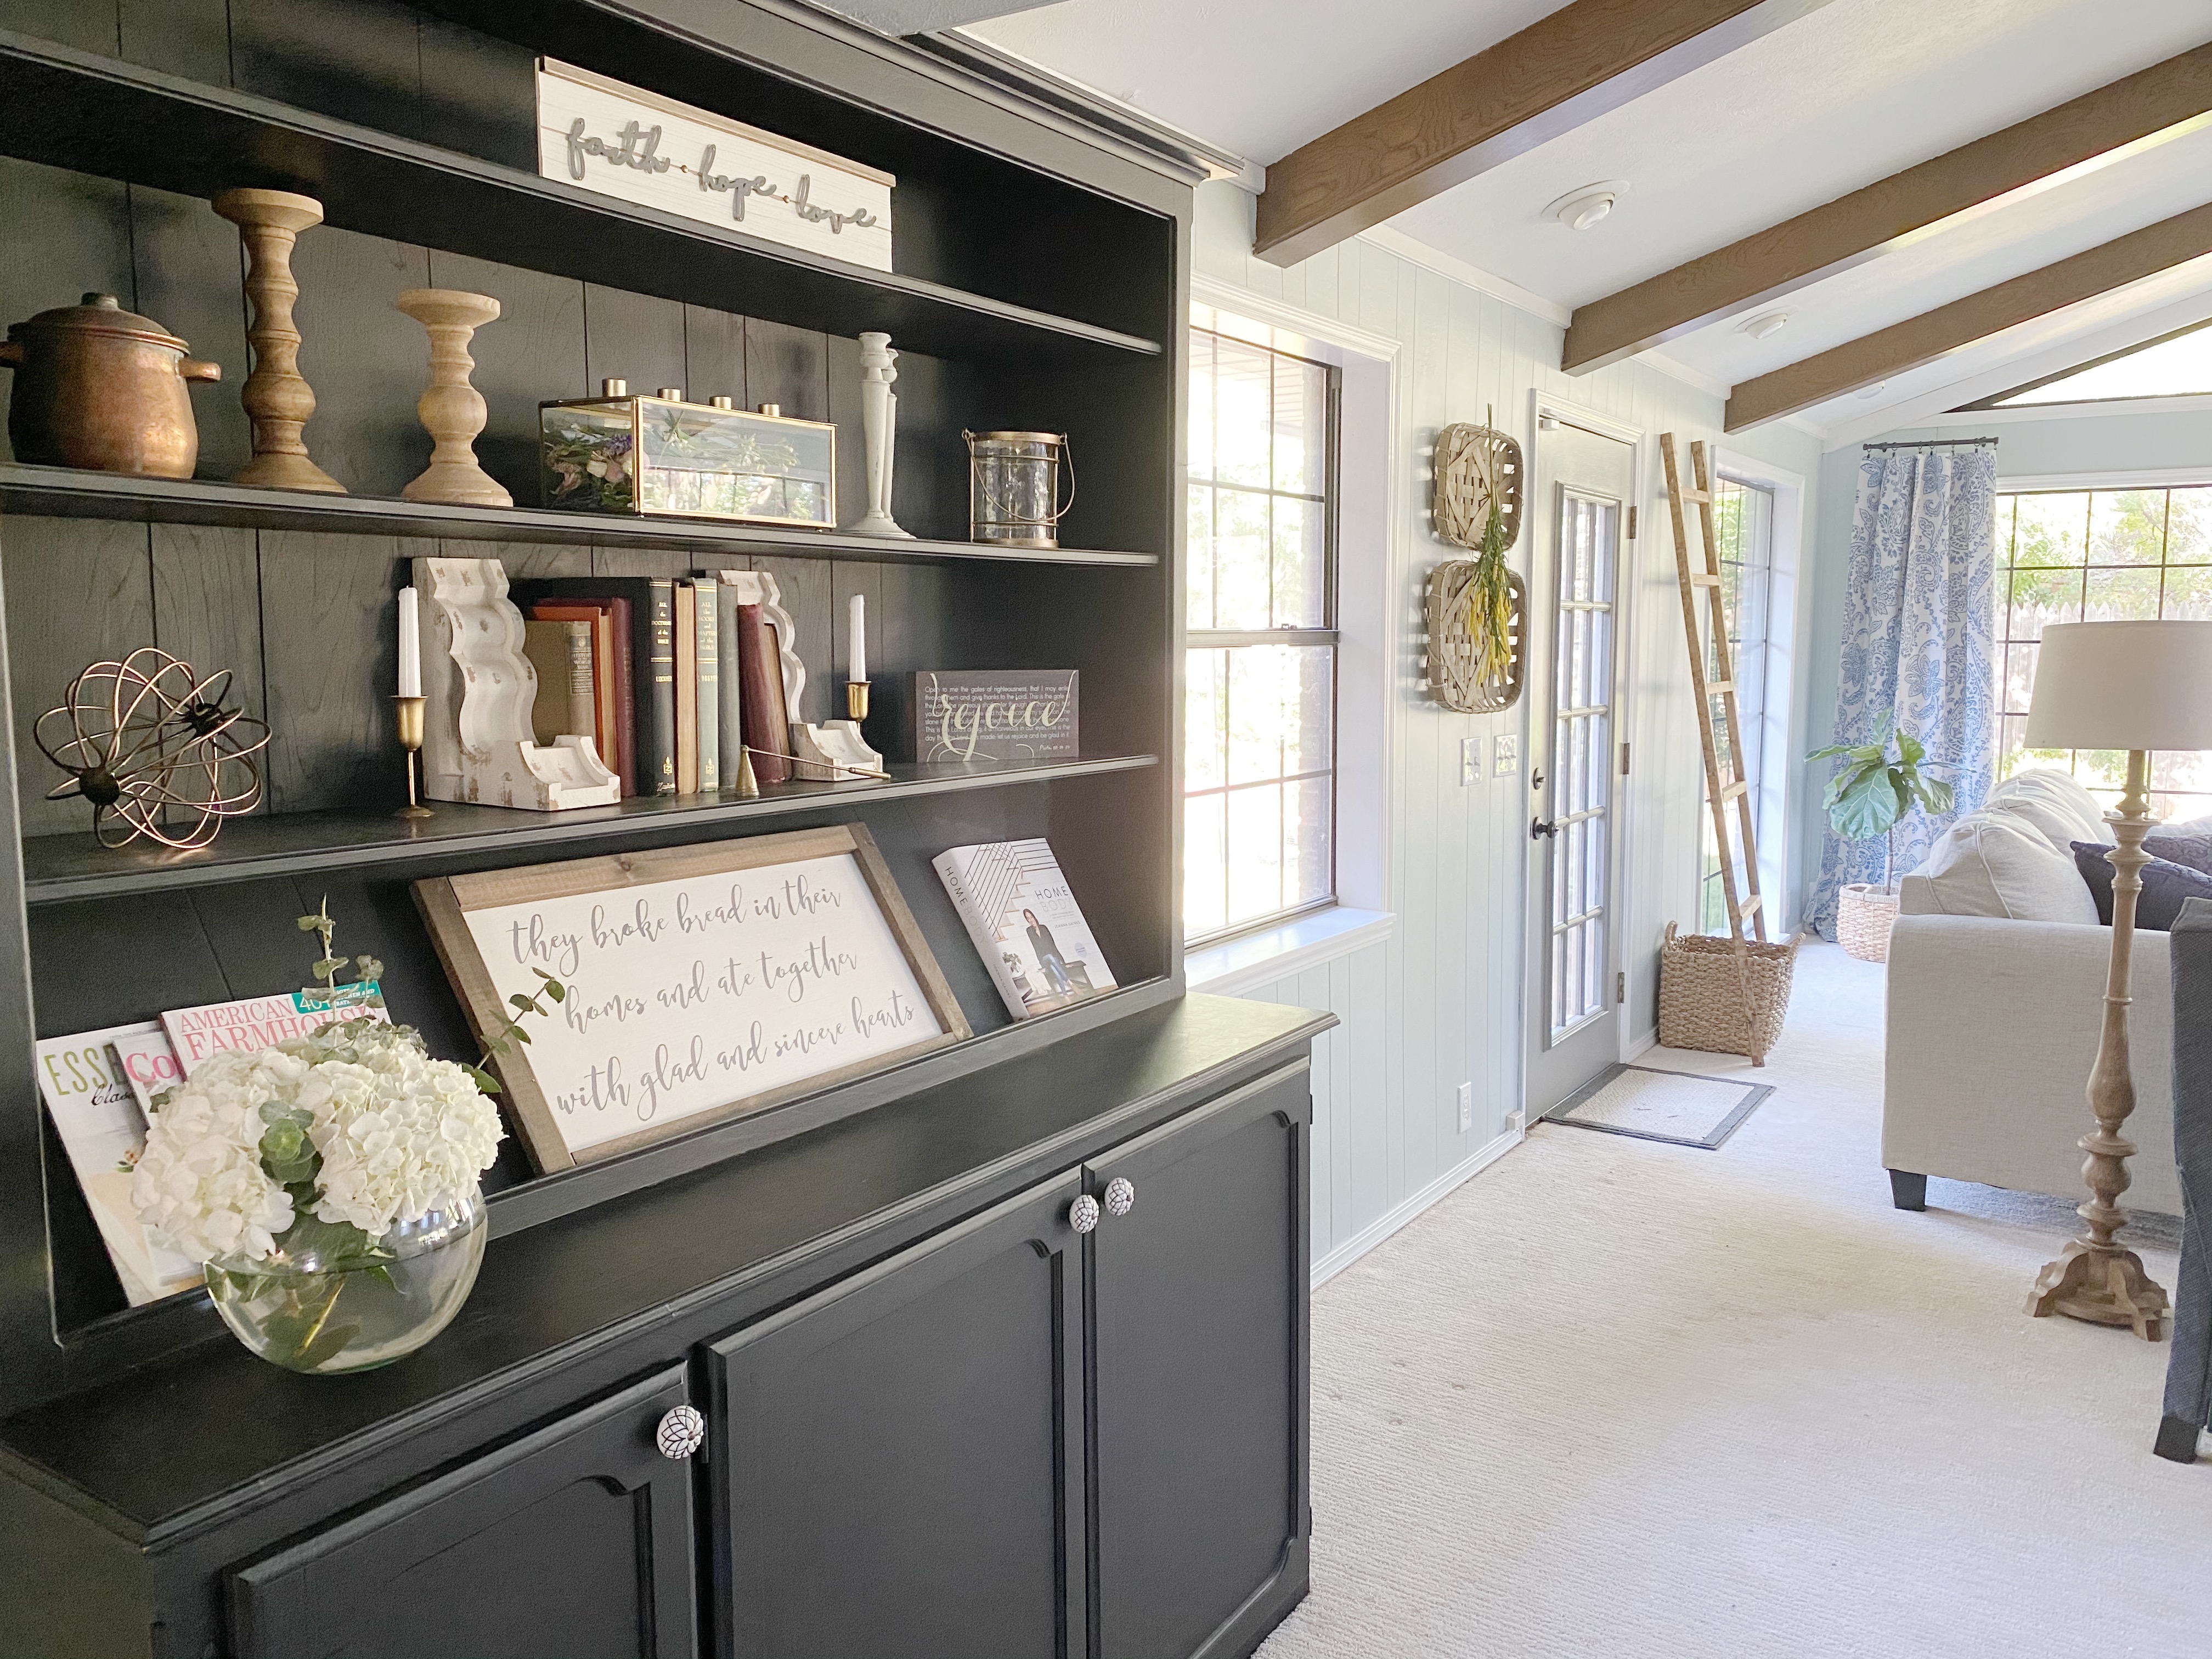
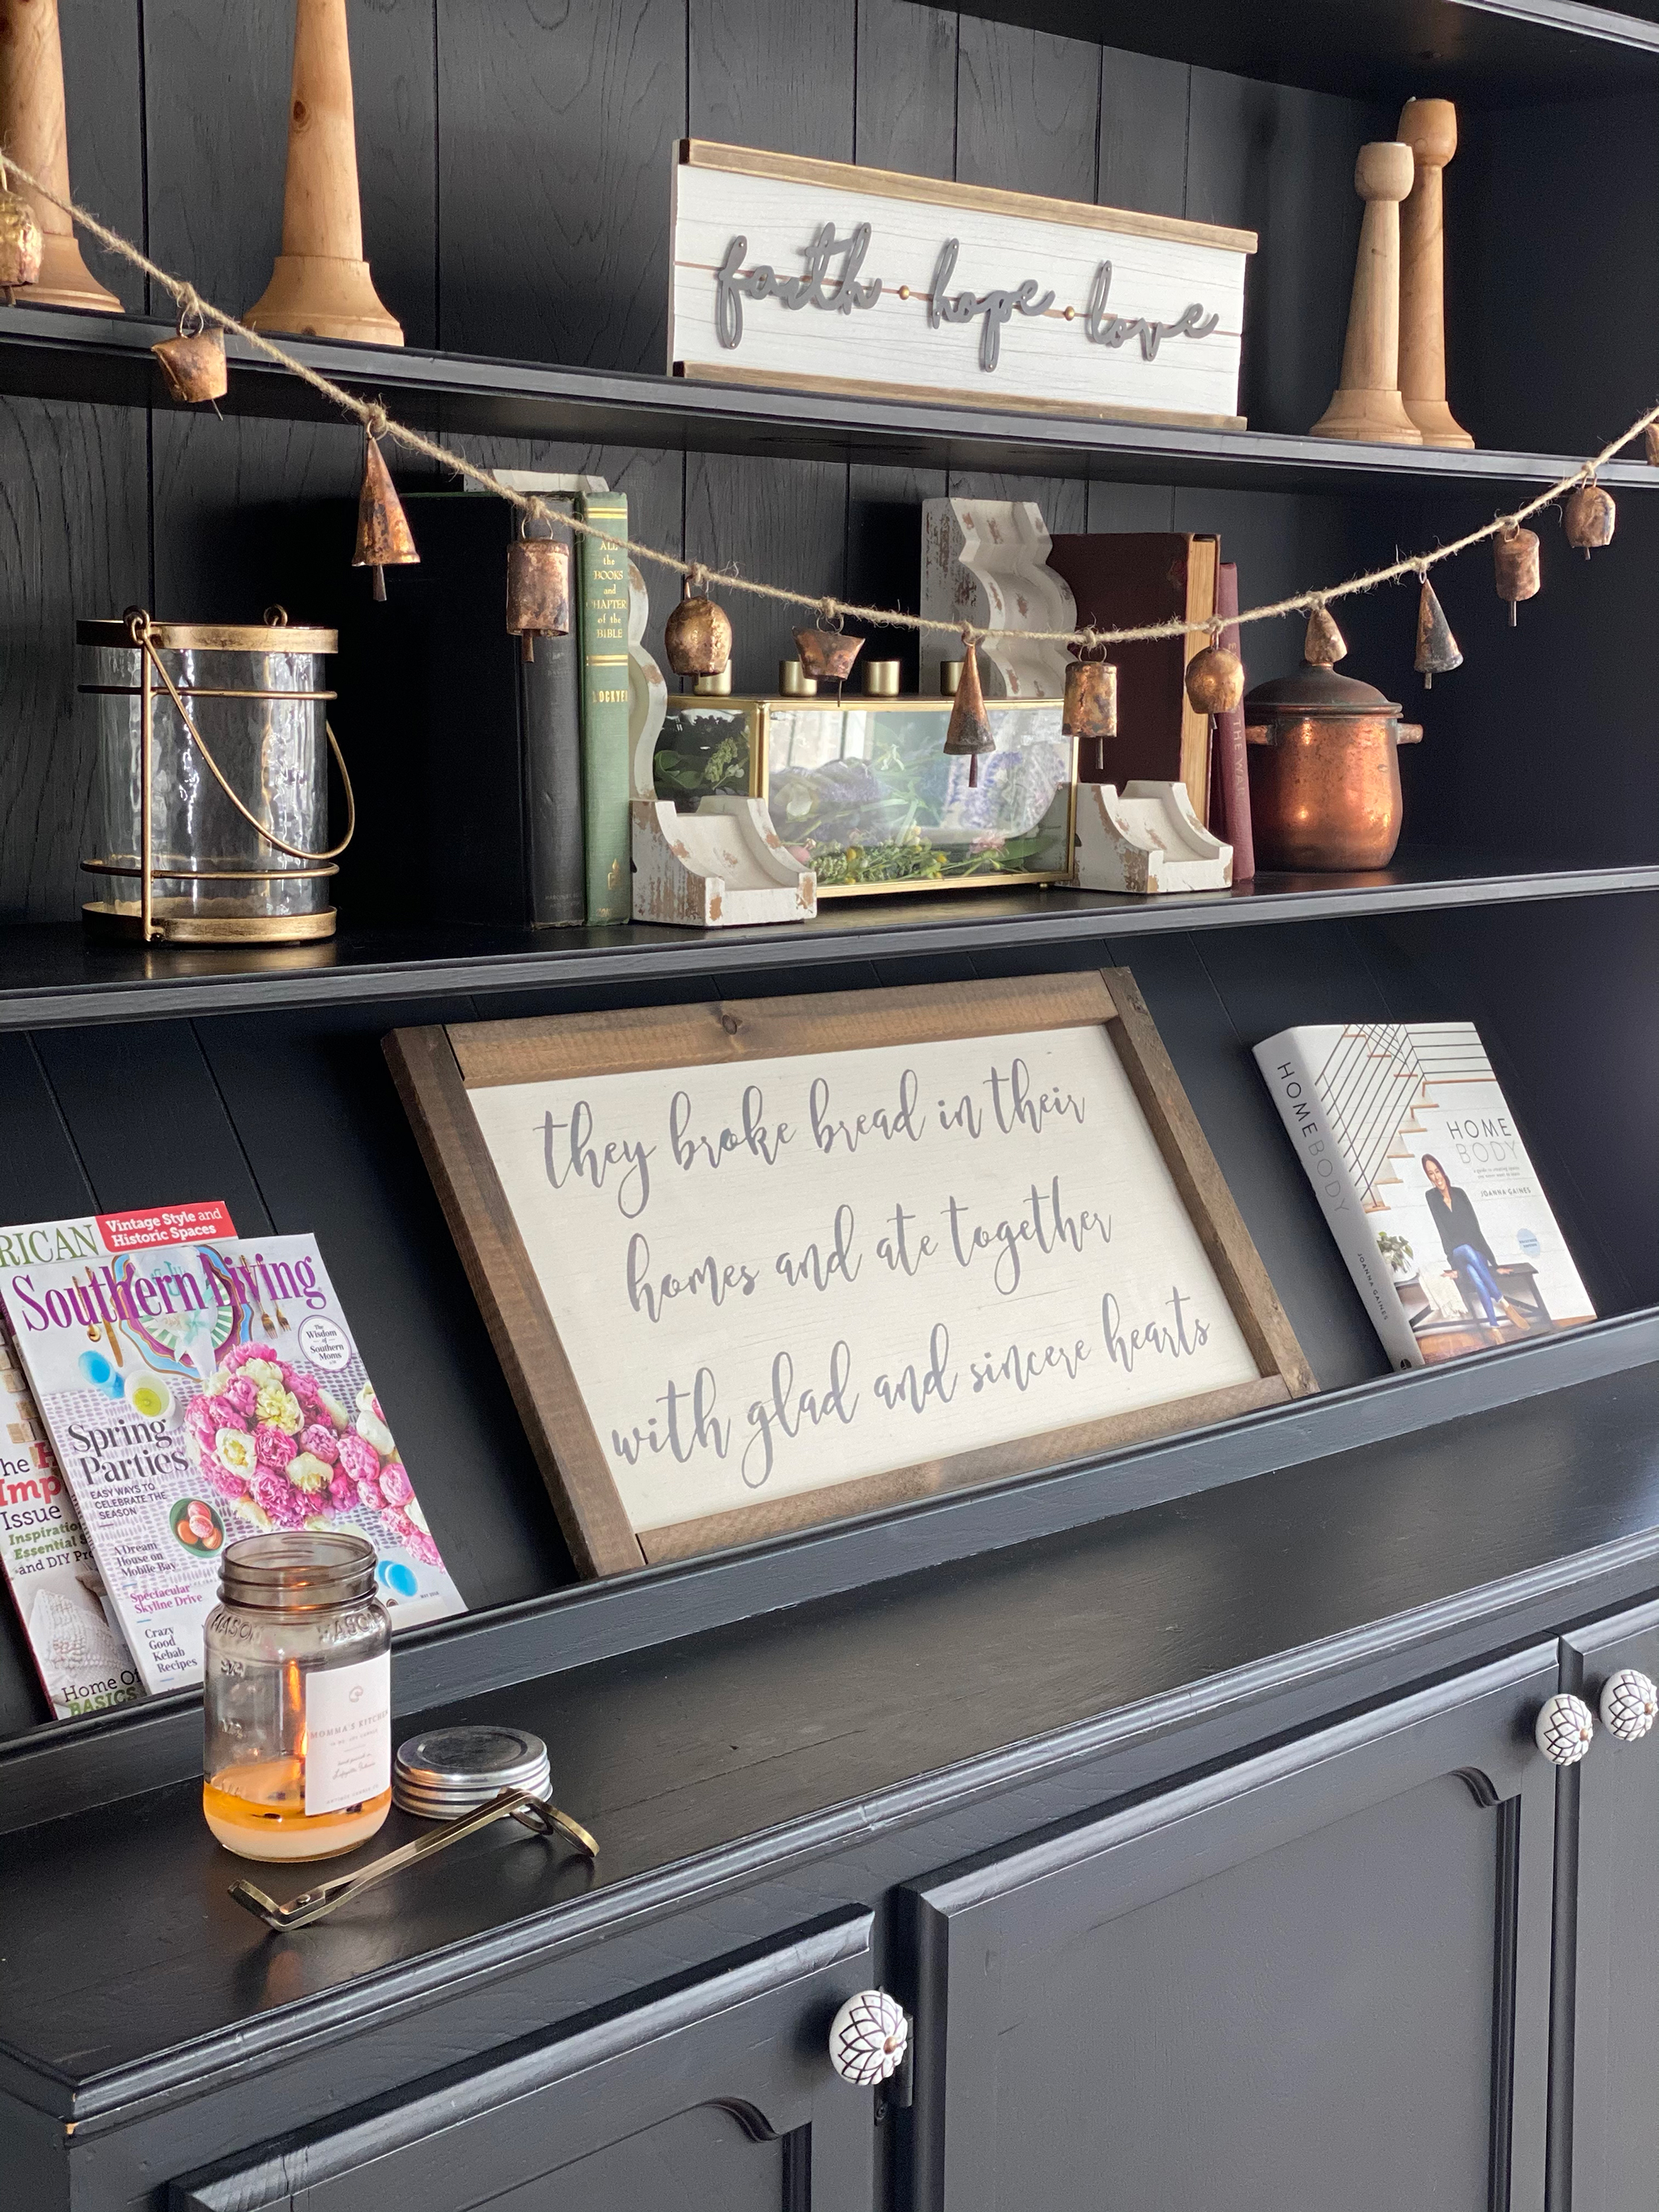
The doors of the hutch were made to match the kitchen and fireplace built-ins and I love the soft curvy inlay they feature. The bottom shelf is at an angle which allows me to display artwork, design or recipe books, and my favorite magazines for guests to look through when they come so replacing this piece has never been an option and I definitely wanted to restore and refinish it instead.
- Dining room ideas – the ideal spot for your hutch.
How to paint and update a hutch DIY
This was a super easy and budget-friendly DIY to do, it's all about using the right tools and techniques.
Before painting furniture, there are a few things you need to consider. If the piece has a high gloss finish, you may need to sand it down first so the paint will adhere and give you a lasting finish. Depending on the paint you’ve chosen, you may also need to use a primer on your furniture for the best outcome. I love Valspar’s High-Hiding Primer! We use it when we paint trim – I recently touched mine up in white – and it’s by far the best primer I’ve used.
You will need:
Get small space home decor ideas, celeb inspiration, DIY tips and more, straight to your inbox!
- Valspar’s Cabinet and Furniture Enamel in Satin
- 4-inch foam roller
- A painters tray
- Trim brush
- Blue painters tape
- Plastic sheeting/old bed sheet
1. Finding the right paint
I purchased Valspar’s Project Perfect paint in matte black. It’s since been discontinued, but their new cabinet and furniture paint is very similar and I highly recommend it! If I was doing this project again, I would use Valspar’s Cabinet and Furniture Enamel in Satin and choose a color like Sherwin Williams Tricorn Black.
Top tip: Most hardware stores have color codes for almost any brand of paint! For example, if you wanted to purchase Behr paint but liked a Benjamin Moore color, most hardware stores can make it happen! They’ll just need to know the hex code for the paint color. This can typically be found on the back of the color sample cards available in the paint section of hardware stores or you can look it up online!
- Find sunroom ideas to inspire too.
2. Prep and protect floors
I covered the flooring surrounding the hutch with plastic so I wouldn’t accidentally get paint on the floor (where are my fellow messy painters?!) and taped off the hutch where it meets the wall with blue painters tape.
3. First coats of paint
Clean and dry the hutch of any dirt or oil. I then used the trim brush to get into the nooks and corners, starting here first which is essential when you're painting a hutch to give you that pro-looking finish.
I then gave the built-in hutch two coats of the black paint using the foam roller and brush. It was in good condition so I didn't need to sand it and the first coat acted as the primer.
4. Drying time
I left the paint to dry before going in with my decorative details to finish the look.
5. Adding the new door pulls
After it was fully dry, I added new, updated knobs to the door. I found them at Hobby Lobby and waited until they went on their weekly half off sale.
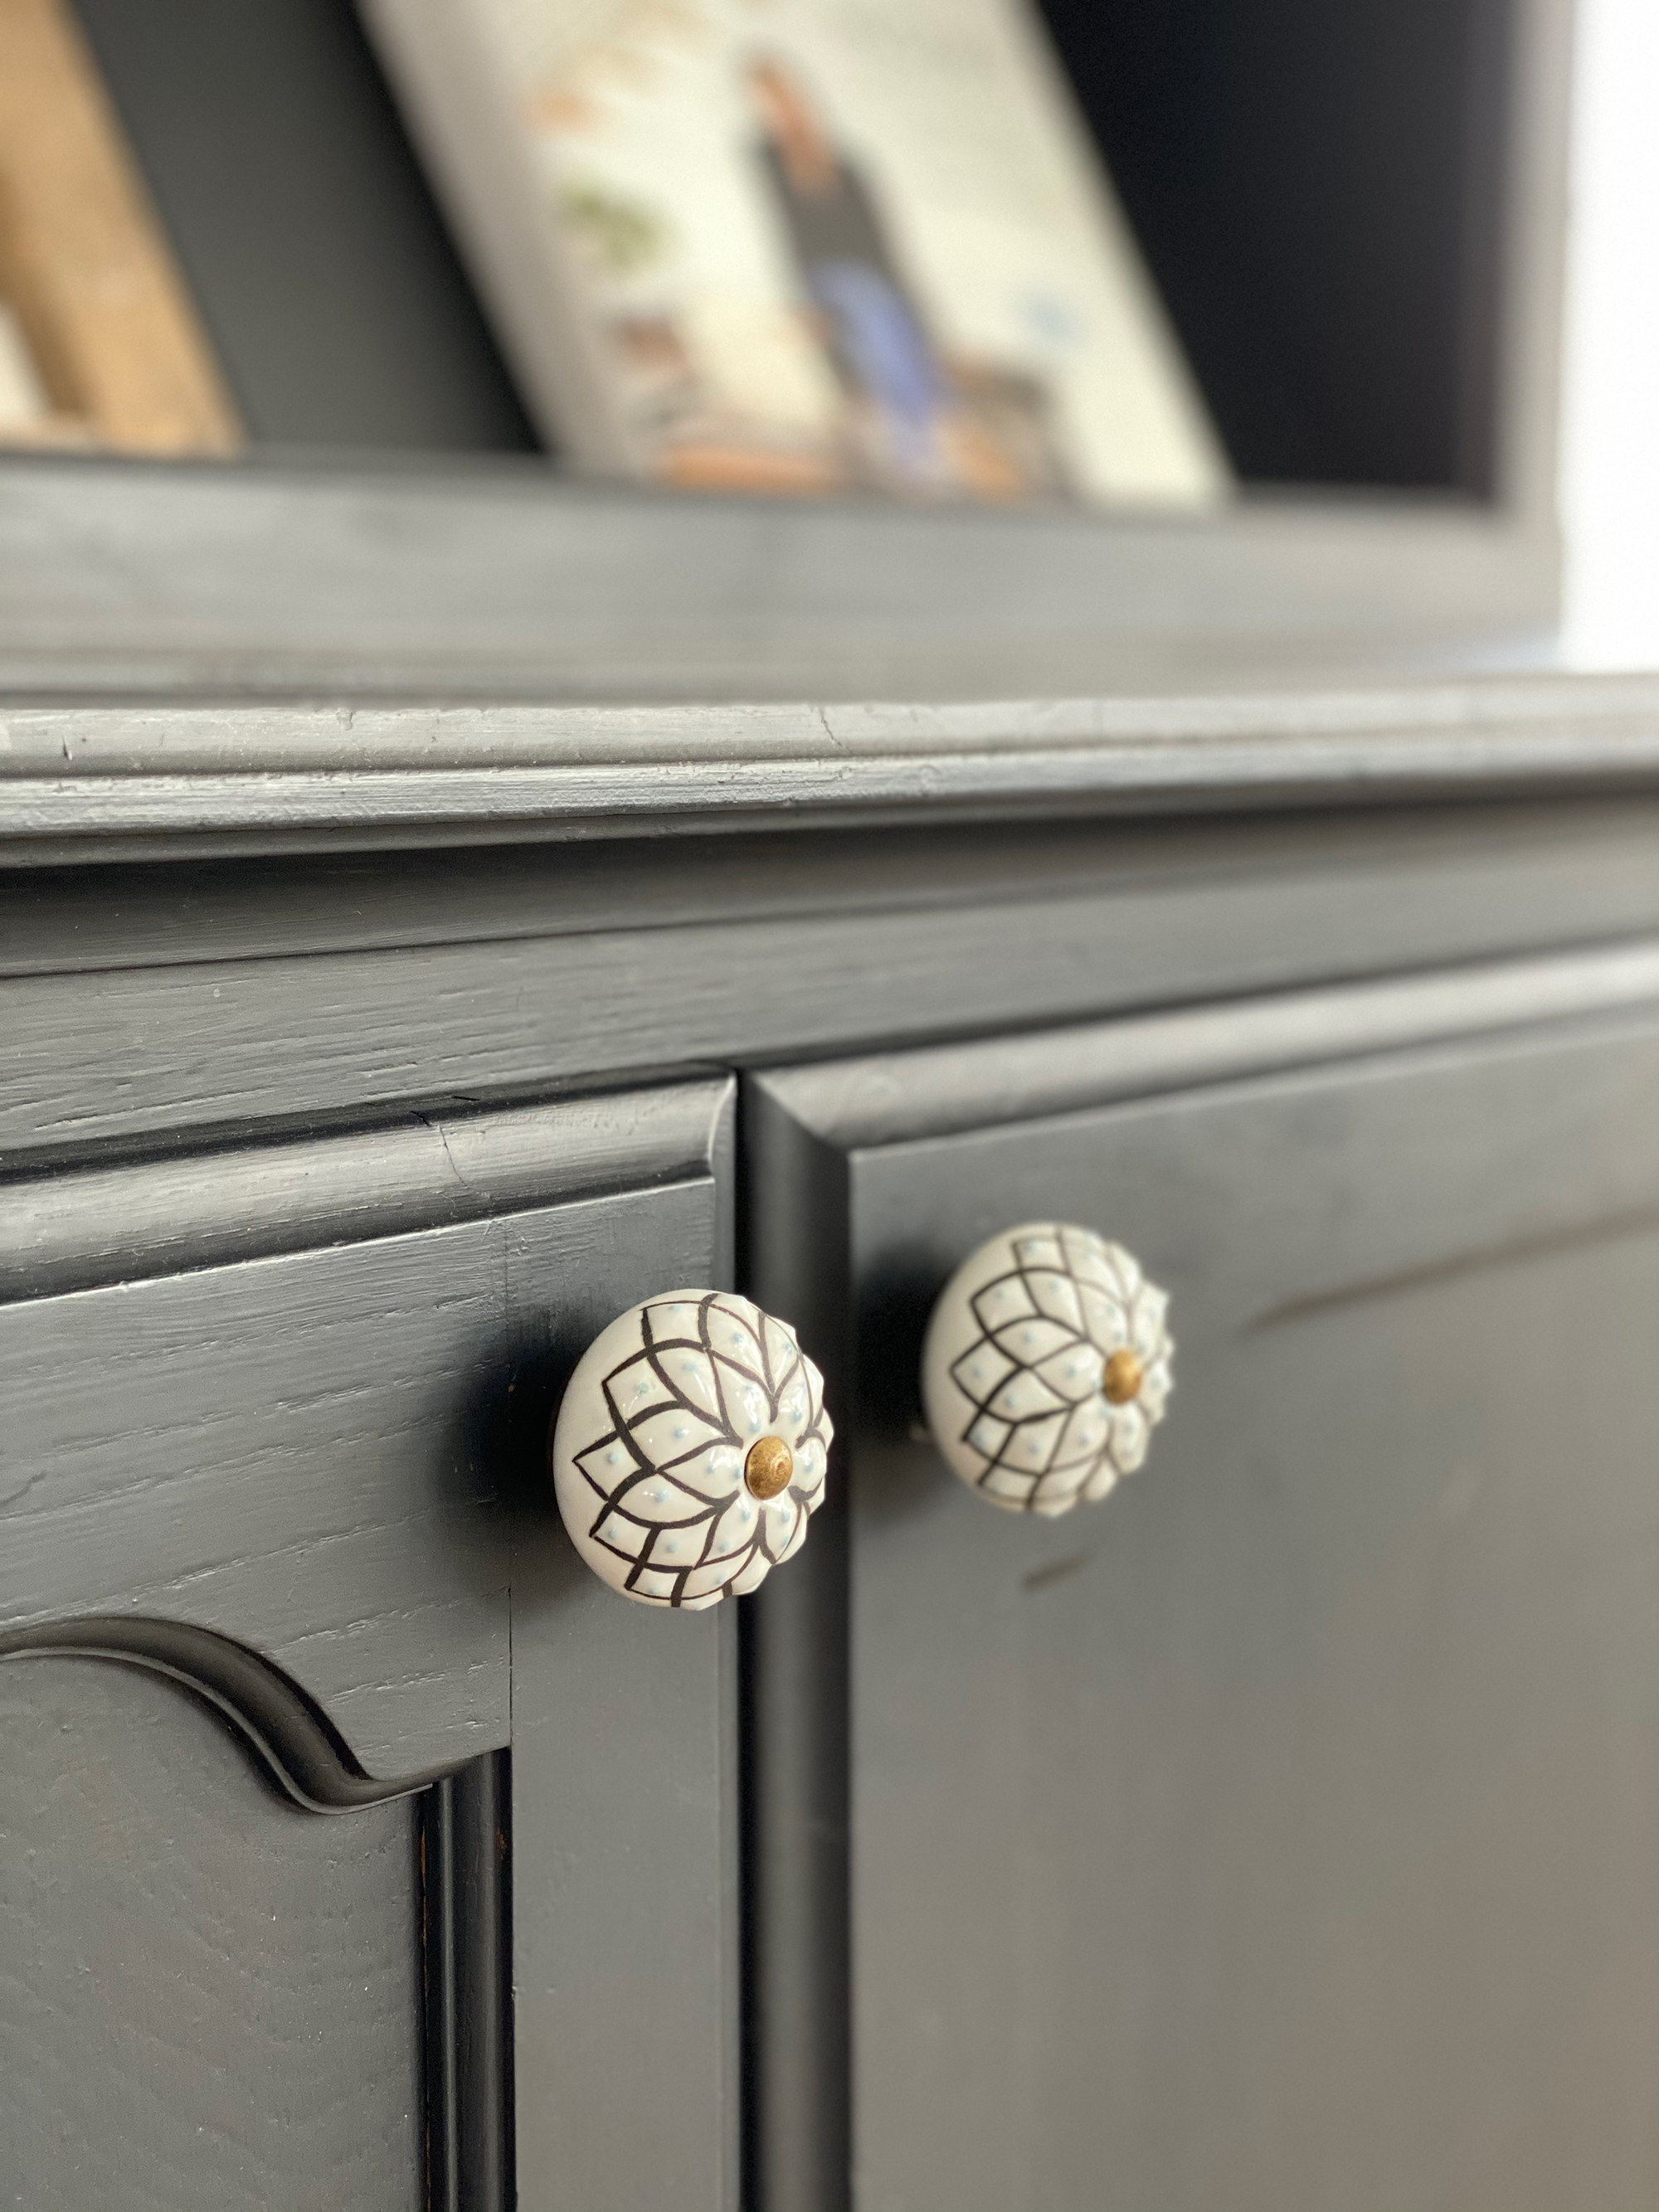
I love picking out new hardware for furniture – I always say it’s like choosing the perfect piece of jewelry to complement an outfit! I chose these knobs because they had a vintage feel like the rest of the house and I loved that they had tiny dots of blue gray on them to tie into our walls! It’s little details like this that give homes a cohesive feel.
The results:
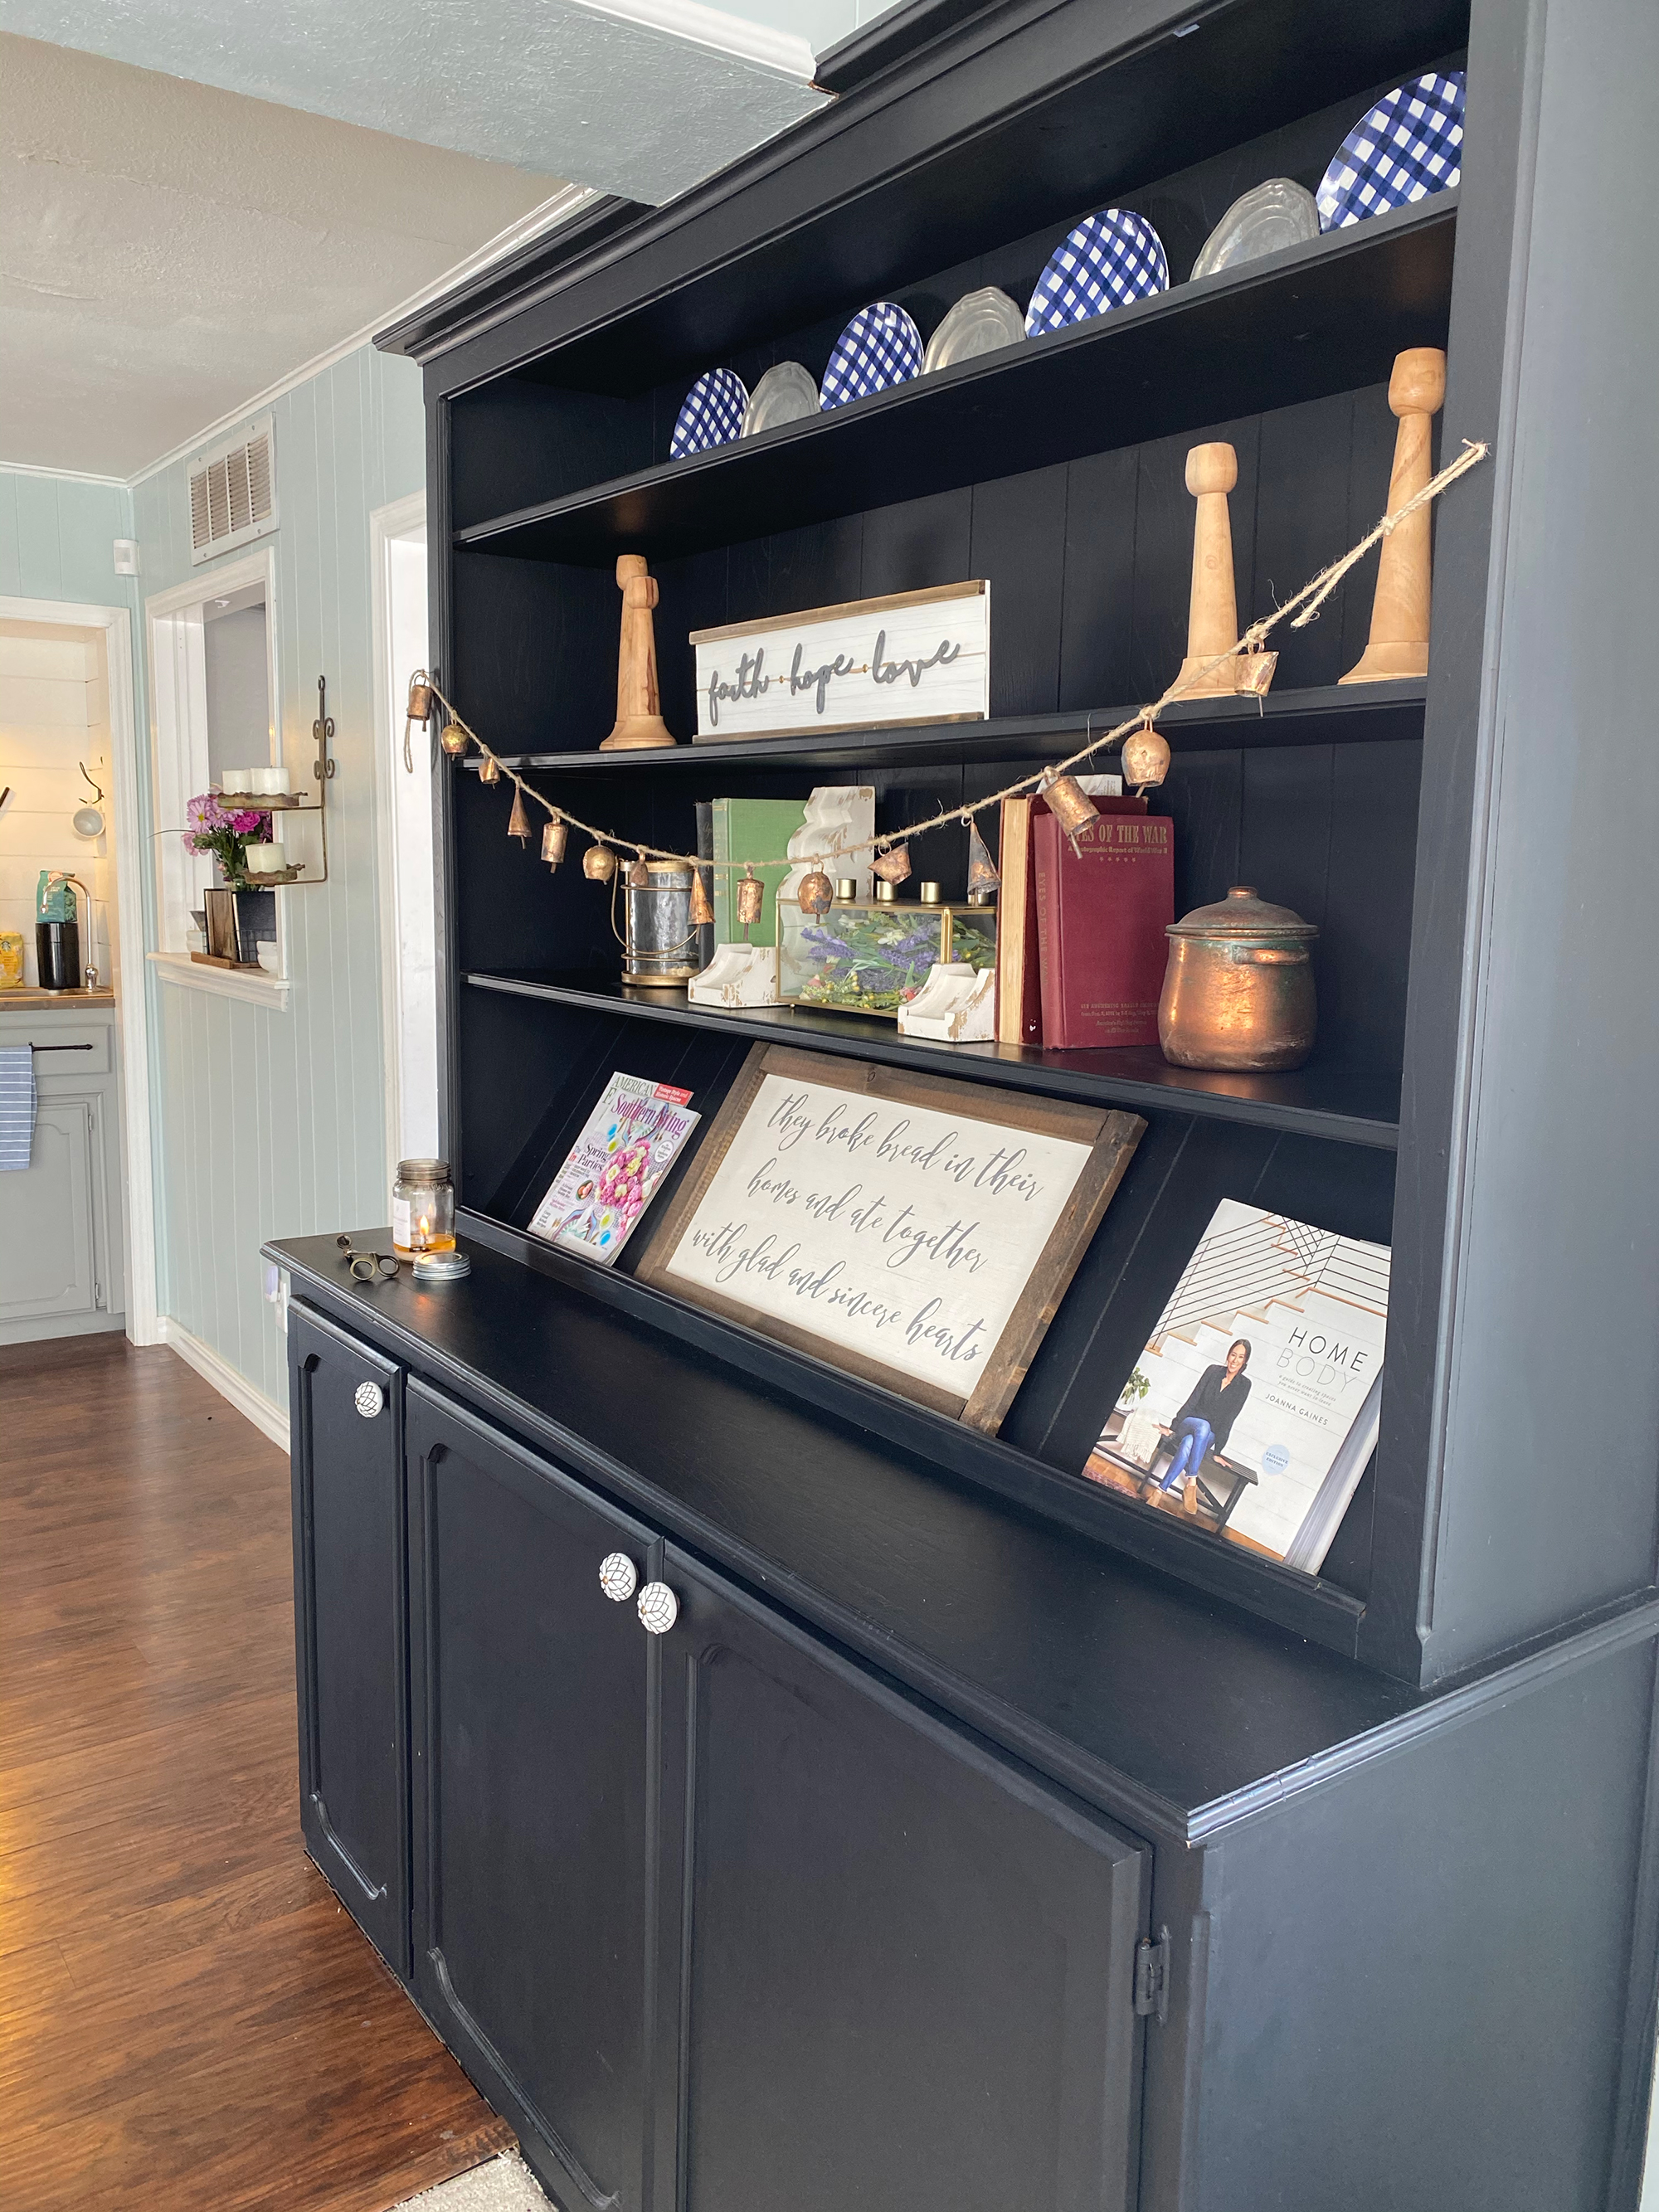
The best part is that this project was very budget friendly. Here’s the breakdown:
- Paint - $25
- Roller and painters tray - $8
- Trim brush - $5
- Plastic cover - $8
- Blue painter’s tape - $4
- New hardware - $7.50
Total cost: $57.50
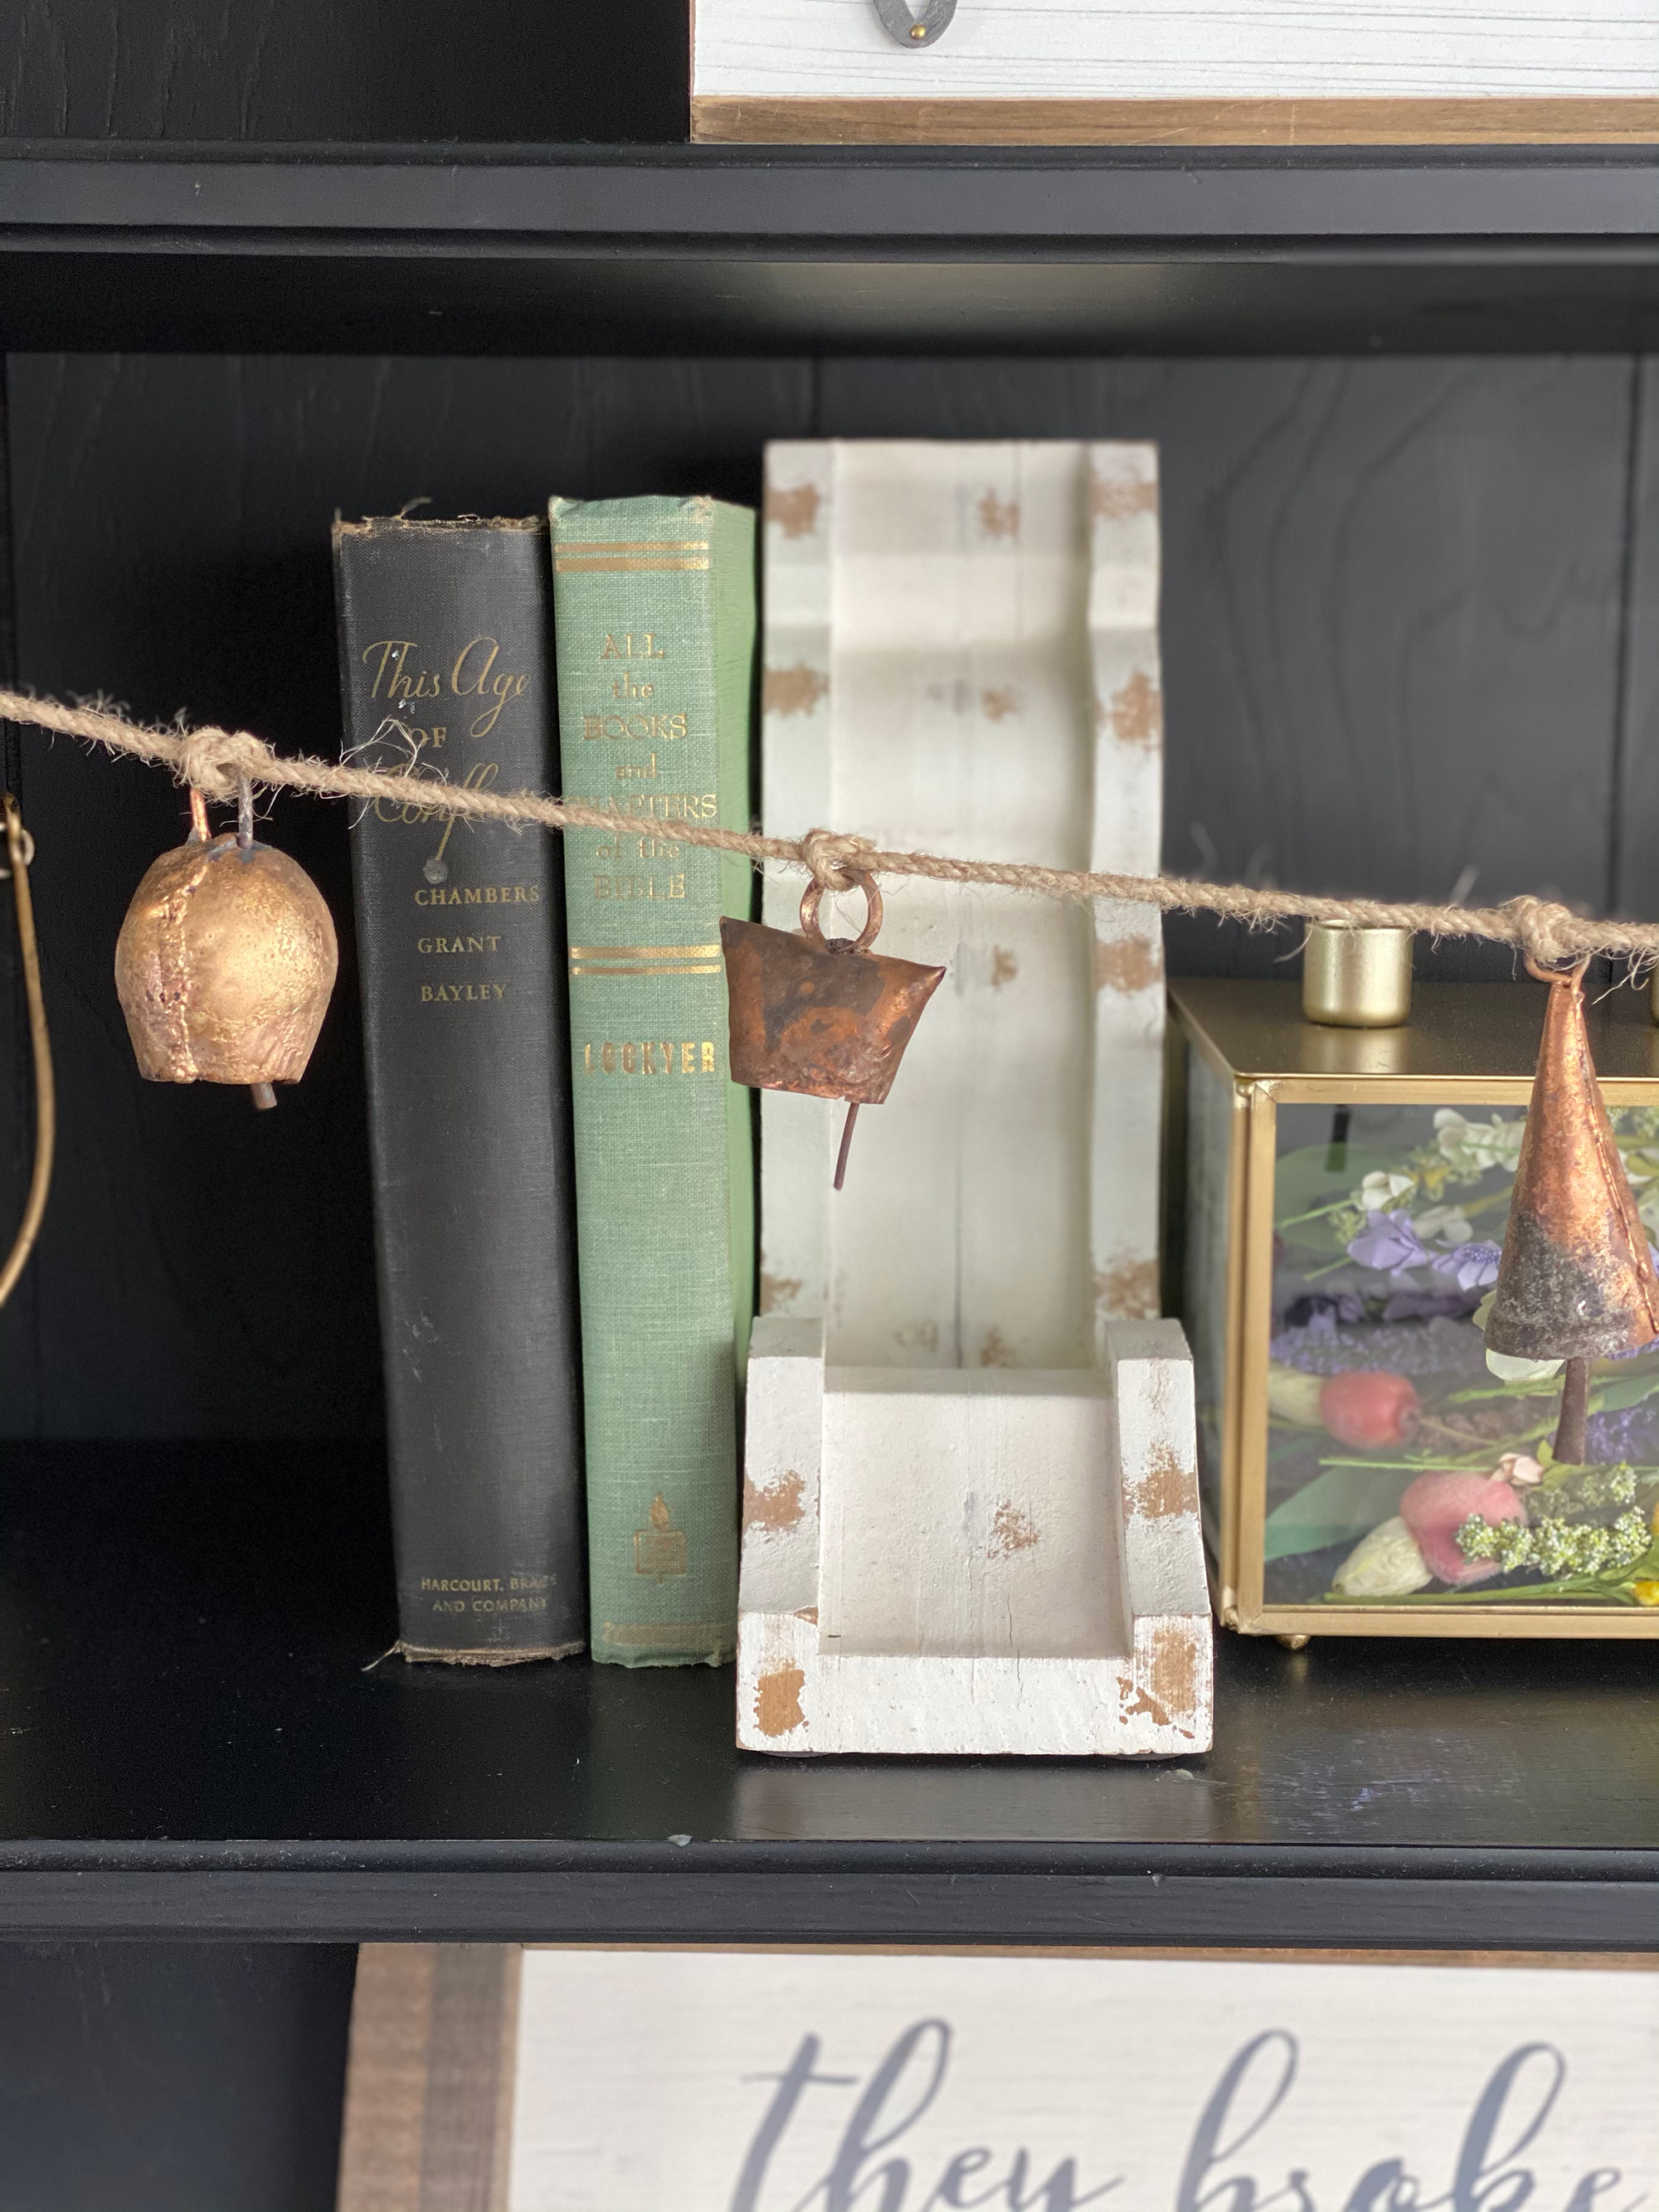
What a big difference with just a small investment! I still can’t get over what a statement piece this turned out to be! I’ve had so many compliments on the black paint and I’ve never regretted going with this bold color. I enjoy displaying the beautiful china set we inherited from my husband’s grandparents and changing out the decor with each season!
Can I paint a hutch?
Painting a hutch is one of the best ways to revive an old inherited piece of furniture. You don't always have to prime before painting but, this largely depends on the condition of the piece you're working with and on the paint you're using.
If the wood is in relatively good condition and if you're going darker than the piece as with this DIY then a couple of coats of good quality furniture paint should give you a great finish. Ensure you clean off any oily residue and dirt before getting started.
If the hutch you're painting was previously painted and if that paint is now flaking, then you should consider at least lightly sanding the hutch down before you paint it.
Can I paint a hutch without sanding?
No time for sanding or priming? No problem! I used to have a small business flipping furniture and I needed the turnaround to be pretty quick without sacrificing quality. This is when I found chalk paint! I experimented with different brands to see which ones met the expectations: no sanding, no priming, high quality finish.
My top recommendations are Annie Sloan and Country Chic, most of which you can find on Amazon. Annie Sloan has great coverage and you can do multiple projects with one can. I also love using their waxes to create depth and interest. Country Chic has a wide variety of colors with a built-in primer and top coat, saving you tons of time! Both are high-quality paints.
What kind of paint do you use on a hutch?
Within the last two years, Valspar has released furniture paints that are excellent, as well. I highly recommend their Cabinet and Furniture Enamel which doesn’t require sanding (there are a few exceptions so be sure to read the instructions on the can), priming, or a top-coat. I’ve used this to paint a bathroom and to refresh kitchen cabinets too with fantastic results!

Dori Turner writes blog posts and feature articles on affordable design and DIY from her home in the heart of Oklahoma. She has a passion for teaching others how they can transform their home on a budget.