How to paint furniture: upgrade tired pieces using chalk paint and more
Learn how to paint furniture and give your old pieces a new lease of life with minimal fuss
Dori Turner
Get small space home decor ideas, celeb inspiration, DIY tips and more, straight to your inbox!
You are now subscribed
Your newsletter sign-up was successful
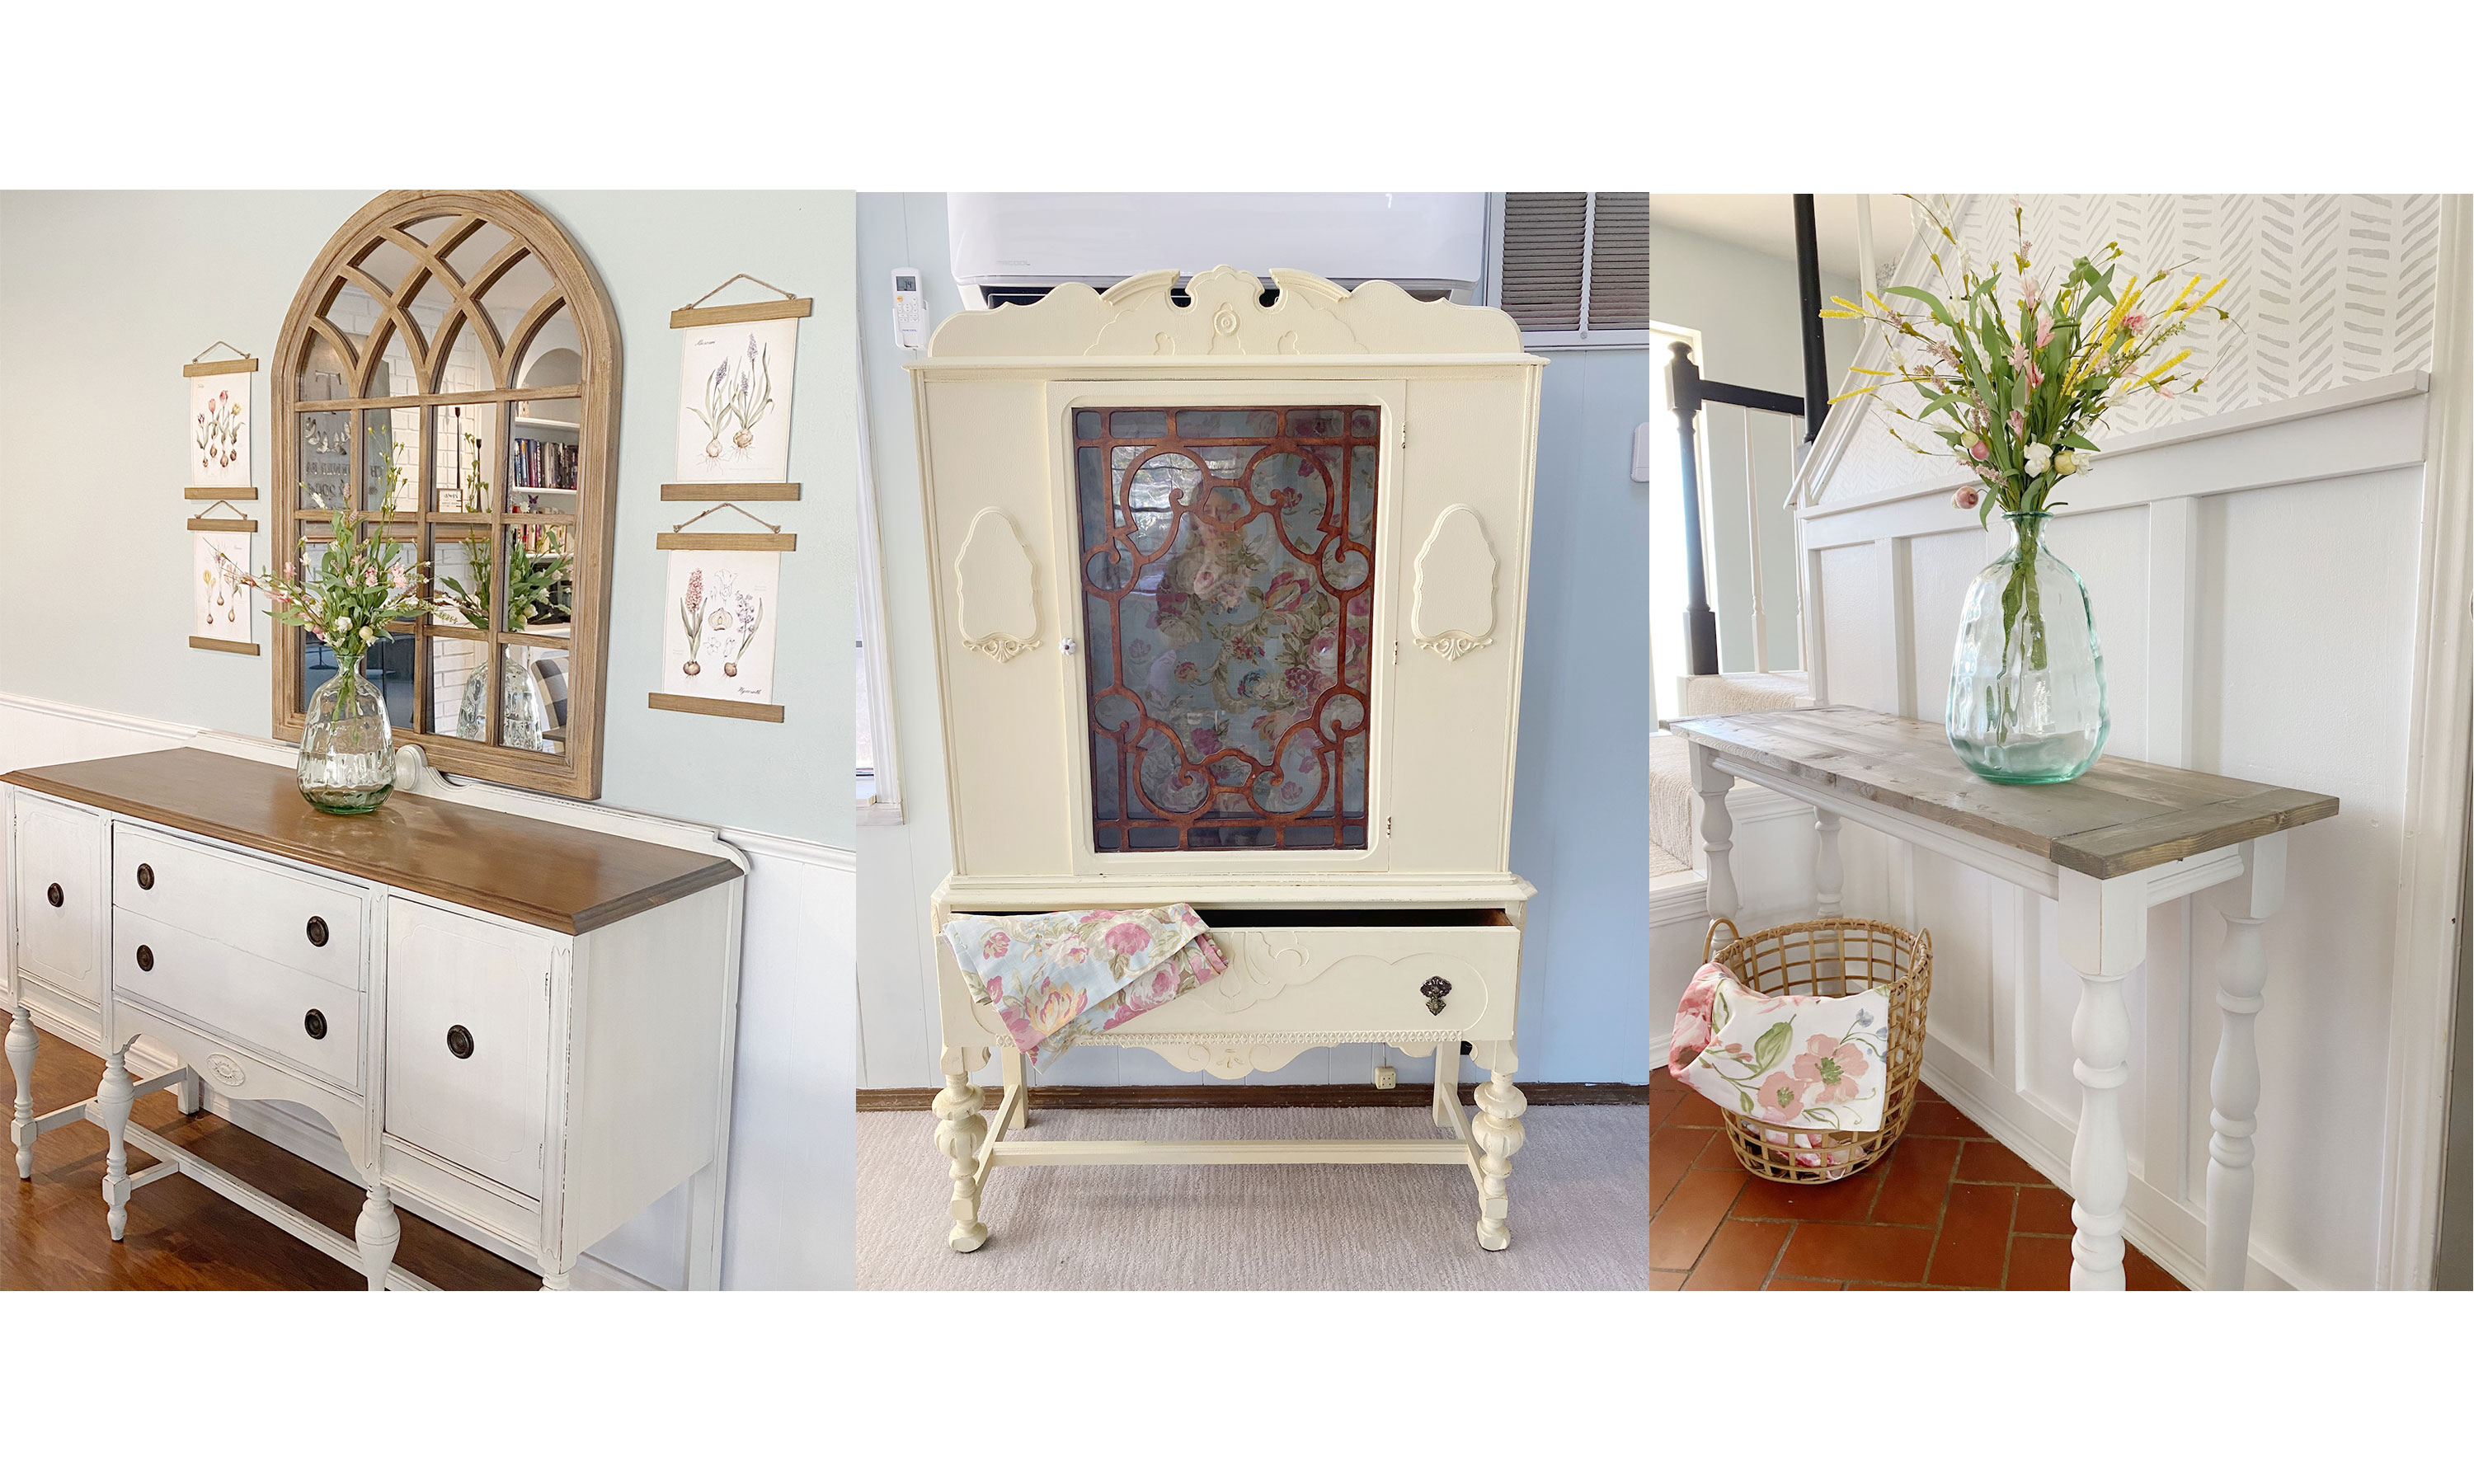
Leaning how to paint furniture properly will help you breathe new life into old wooden pieces around the home. Whether you want a chalk, matt or gloss finish, there are endless possibilities and there are a ton of great paints for furniture out there right now for you to choose from – to suit the piece you're working on and complement your interior design scheme also.
Painting furniture is a pretty basic DIY project that can be fun to do plus, it means that you can salvage and upgrade pieces that may otherwise have ended up in landfill.
Whether you want to paint wood, laminate or metal furniture, are working on a dated family heirloom or sprucing up a recent gem you found on eBAY, Facebook Marketplace or a vintage store, get clued up on how to prime and paint your piece properly for professional looking results.
What kind of paint do you use on furniture?
There are so many different products and techniques you can use to treat paint old furniture. When it comes to paint, Rustoleum has a great line of spray paint made for furniture with a built-in primer for better coverage and less coats. You can use it on metal and laminate furniture, too, with great results.
Valspar which you can find at Home Depot also has paint that’s made specifically for cabinets and furniture and does a beautiful job. Then you have several different lines of chalk paint to consider, as well as milk paint and even mud paint!
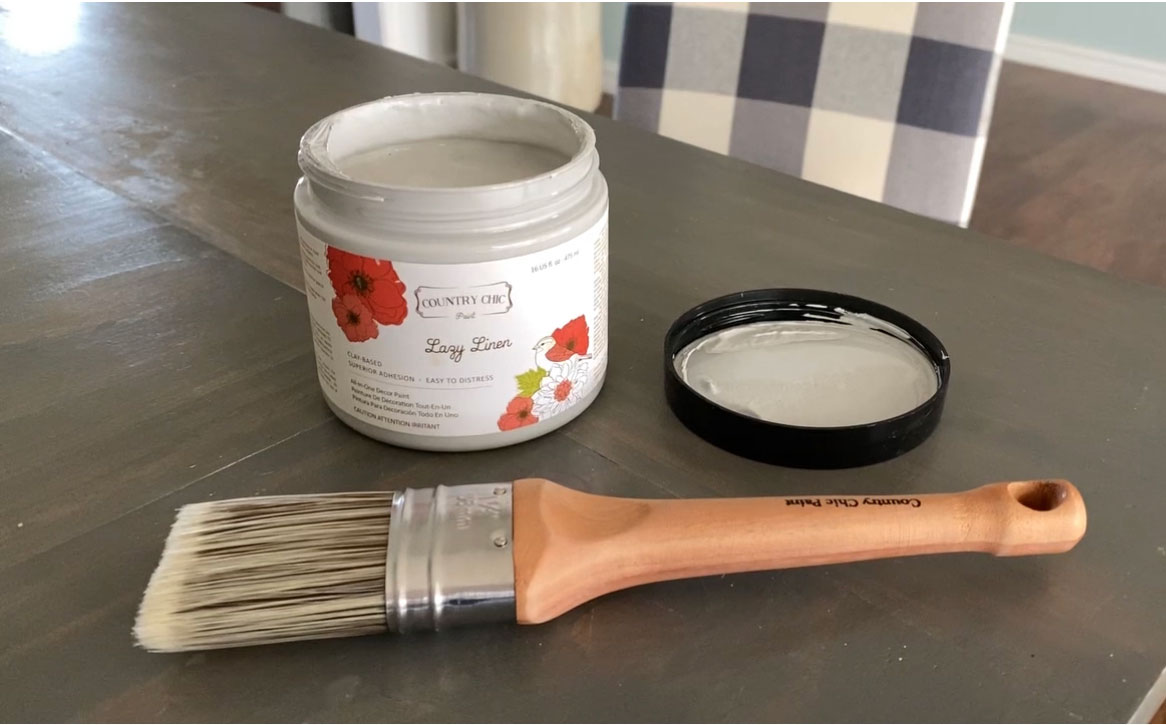
Chalk paint is another great type of paint for furniture because you typically don’t have to prime and it’s easy to work with. It dries fast and you usually only need two coats. You can mix colors together to create new shades or create a two-tone effect by using one color on the base and another color on the drawers/doors.
For this DIY, we used Lazy Linen country chic chalk style paint which you can find on Amazon.
Get small space home decor ideas, celeb inspiration, DIY tips and more, straight to your inbox!
How to paint furniture step-by-step
We're painting a tired old wooden buffet for this DIY, but you can apply the same method when tackling console tables, hutches, chairs and more – be they metal, laminate or another material.
You will need:
1. Paintbrushes
2. Coarse or fine sandpaper – job dependant
3. Masking tape – we stock up on Amazon for all our DIY needs
4. Primer – Zinsser is a go-to brand
5. Paint of choice – we used Lazy Linen country chic chalk style paint on Amazon
7. A damp cloth
8. Wood filler
9. Sugar soap
10. Finishing wax if you're using it
1. Prepare for painting
You will need a damp cloth, sugar soap, fine grade sandpaper and, if your piece is very old and is in need of more comprehensive cleaning, white vinegar. When it comes to sanding, there are two main options: sanding by hand or with a power sander. Coarse sandpaper (about 120 grit) is more efficient than fine sandpaper; however, if you are working on your first paint job, you may want to consider using finer sandpaper. It will take you longer, but there is less chance of overdoing it and gouging the surface. Always work in the same direction as the grain of the wood.
Start by removing any old handles using a screwdriver, and taking any drawers out of the frame to make them easier to paint.
To remove stubborn stains, use a solution of vinegar (two tablespoons per 250ml); test a small area of your furniture first.
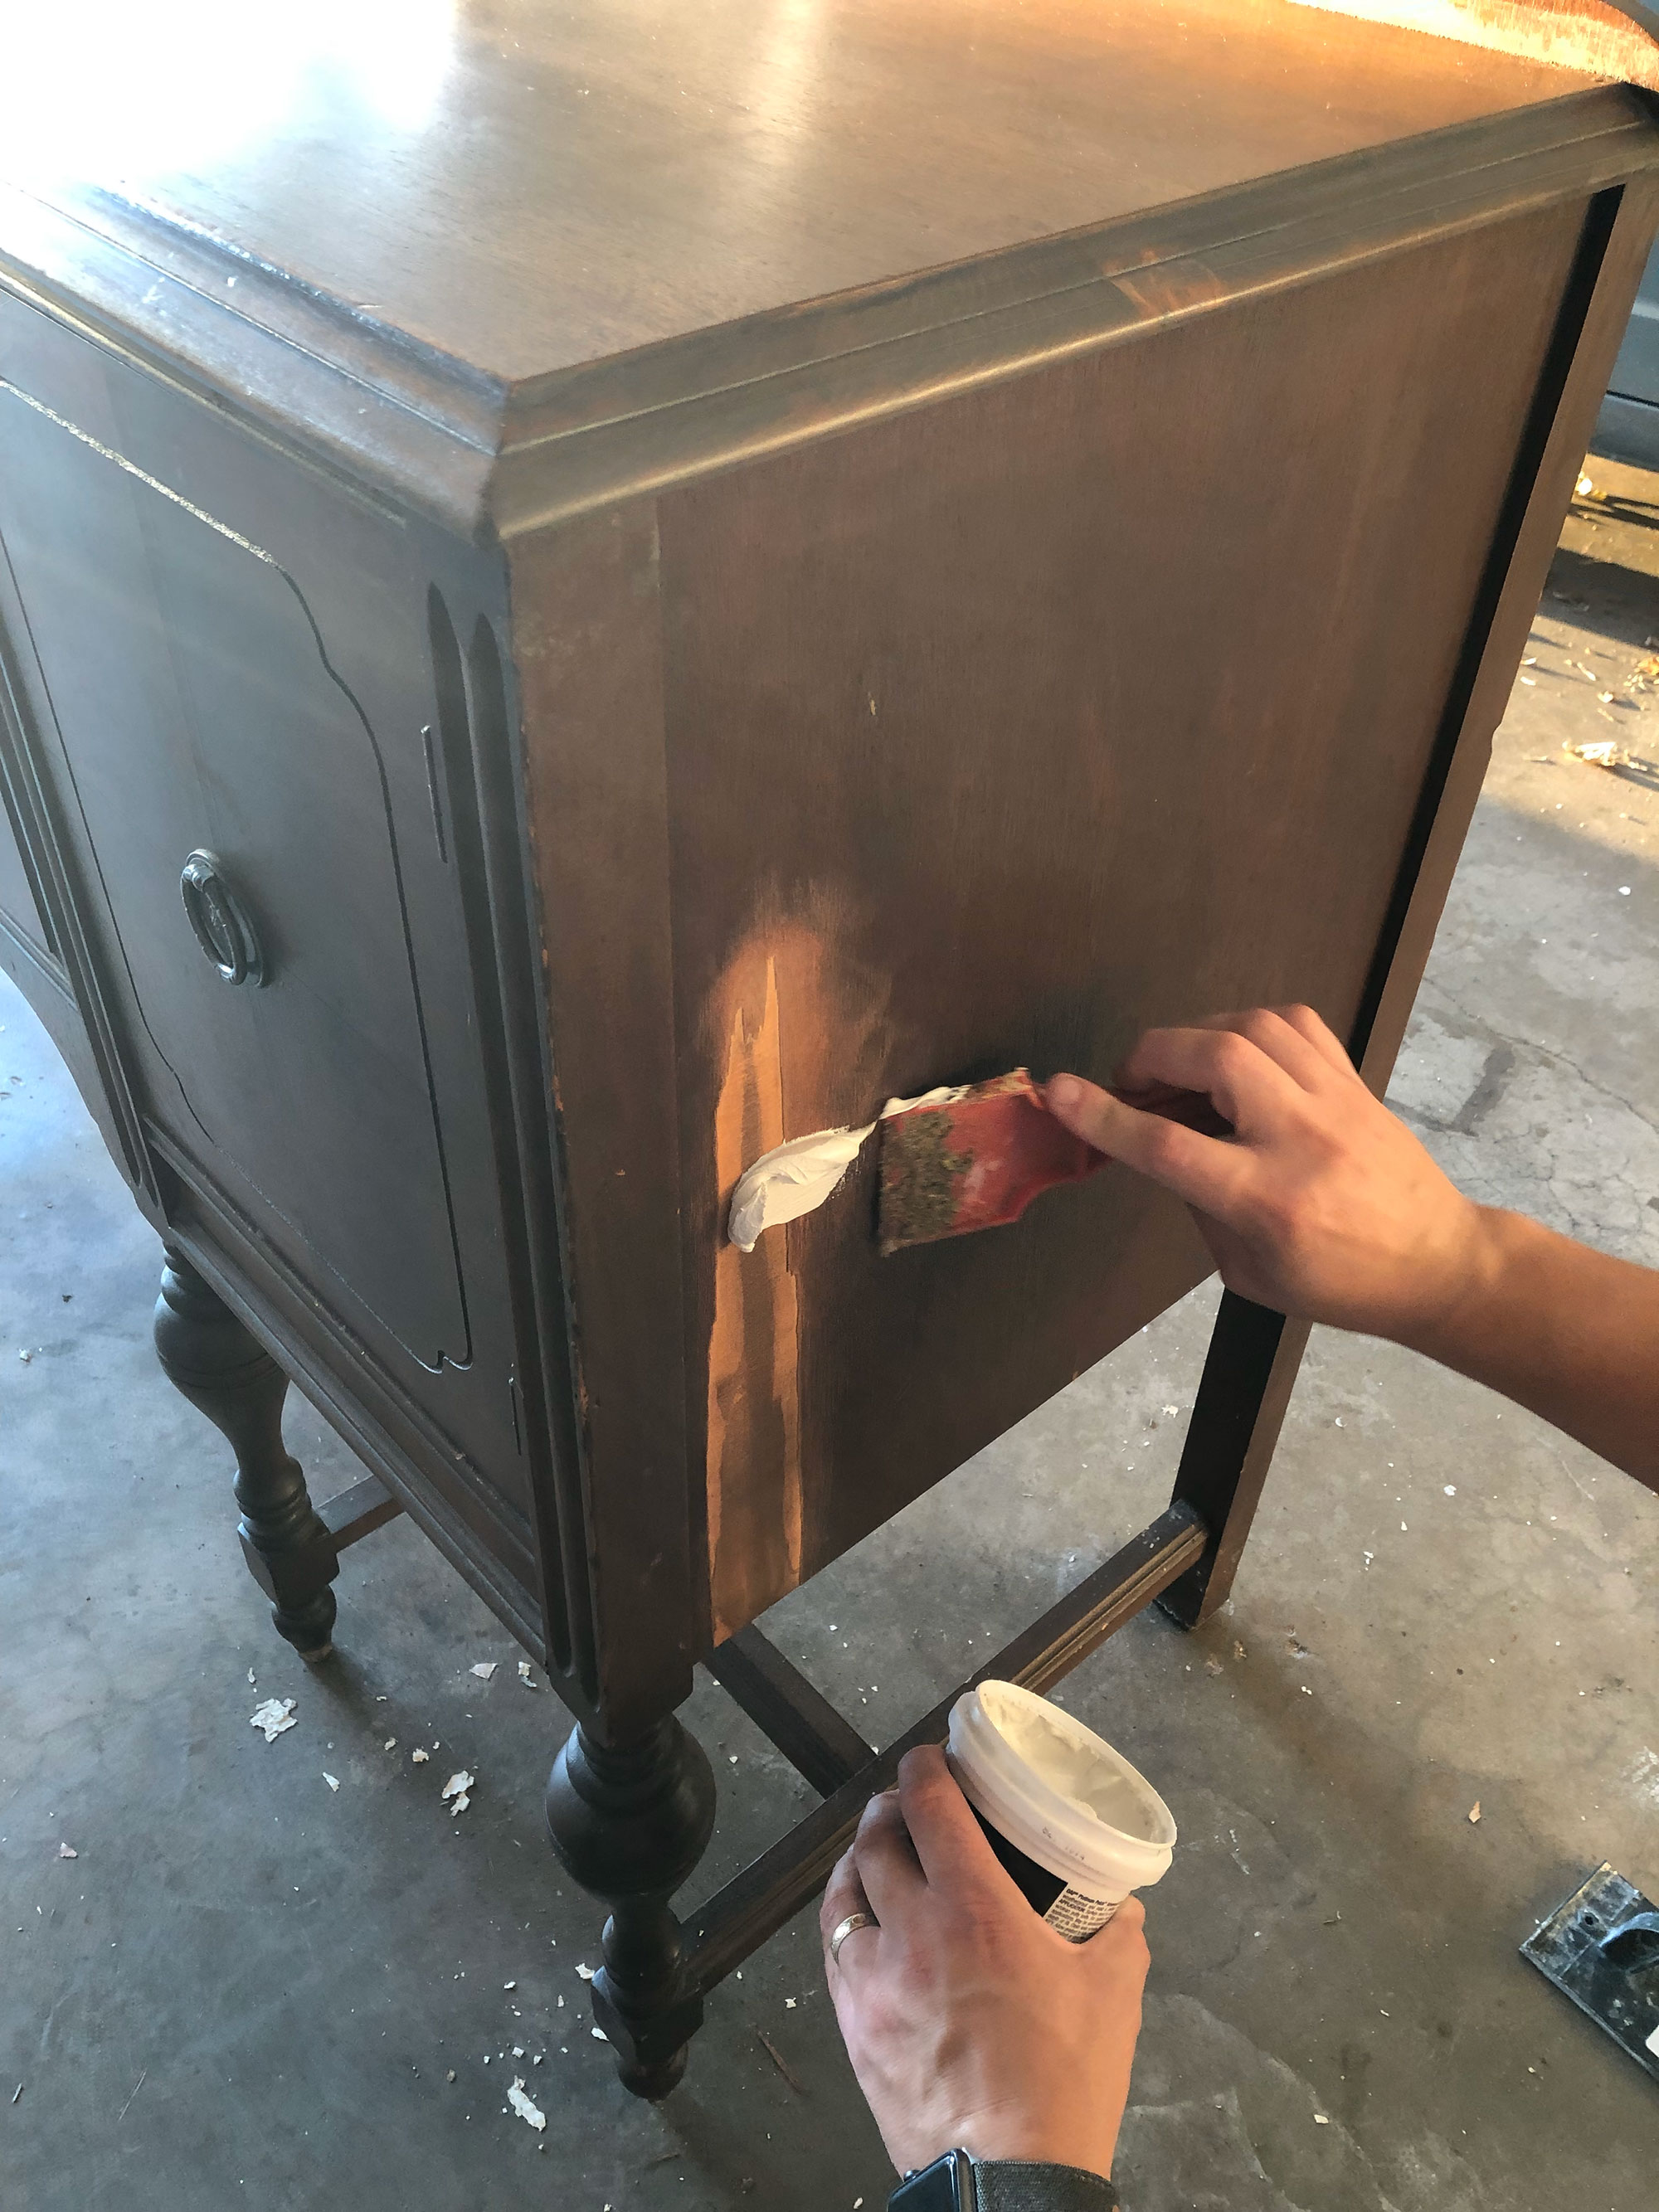
If you want handles that are a different shape or size to the old ones, used wood filler to fill the old holes. Make sure you do both sides and let the filler dry thoroughly.
Then, move on to sanding – you can use fine grade sandpaper by hand or with a power sander. Sand down any wood filler until smooth and lightly sand all surfaces that will be painted.
Finally, wipe down the surfaces you’re painting with sugar soap, this helps the paint to stick.
2. Prime your furniture
If you have a piece of furniture that has a dark stain finish you will want to prime first, especially if painting it white. Otherwise the stain will bleed through the finish. The primer will block the stain and allow you to create a beautiful finish with any paint you choose to use.
It can be tempting to skip priming, especially with all the high-quality paints around. If you are painting a piece a much lighter color than the original, like this buffet, or are working with deep, red wood tones, such as cherry wood or mahogany, priming is a must. Without a primer, you may find that the original color bleeds into your fresh coat of paint. Previously untreated, new wood may also need to be treated with a knotting solution.
The only exception to this rule is if you're using indoor-outdoor paint, in which case you can skip the primer.
3. Choose your brush or roller
For flat surfaces and finishing off, always use a small foam roller, which will give you a flatter, brush mark-free finish.
Choosing the best brush will give you the best possible finish. The general rule is that natural bristle paintbrushes work best for oil-based paints, while synthetic ones are the better choice for water-based paints (natural fibres will absorb the water in the paint and go limp, making the work more difficult).
4. Mask off areas you're not painting
Use masking tape to protect handles and knobs, or areas, such as the inside of drawers, that aren't to be painted. It can also be used for creating a contrasting frame effect on the outside surfaces of your piece.
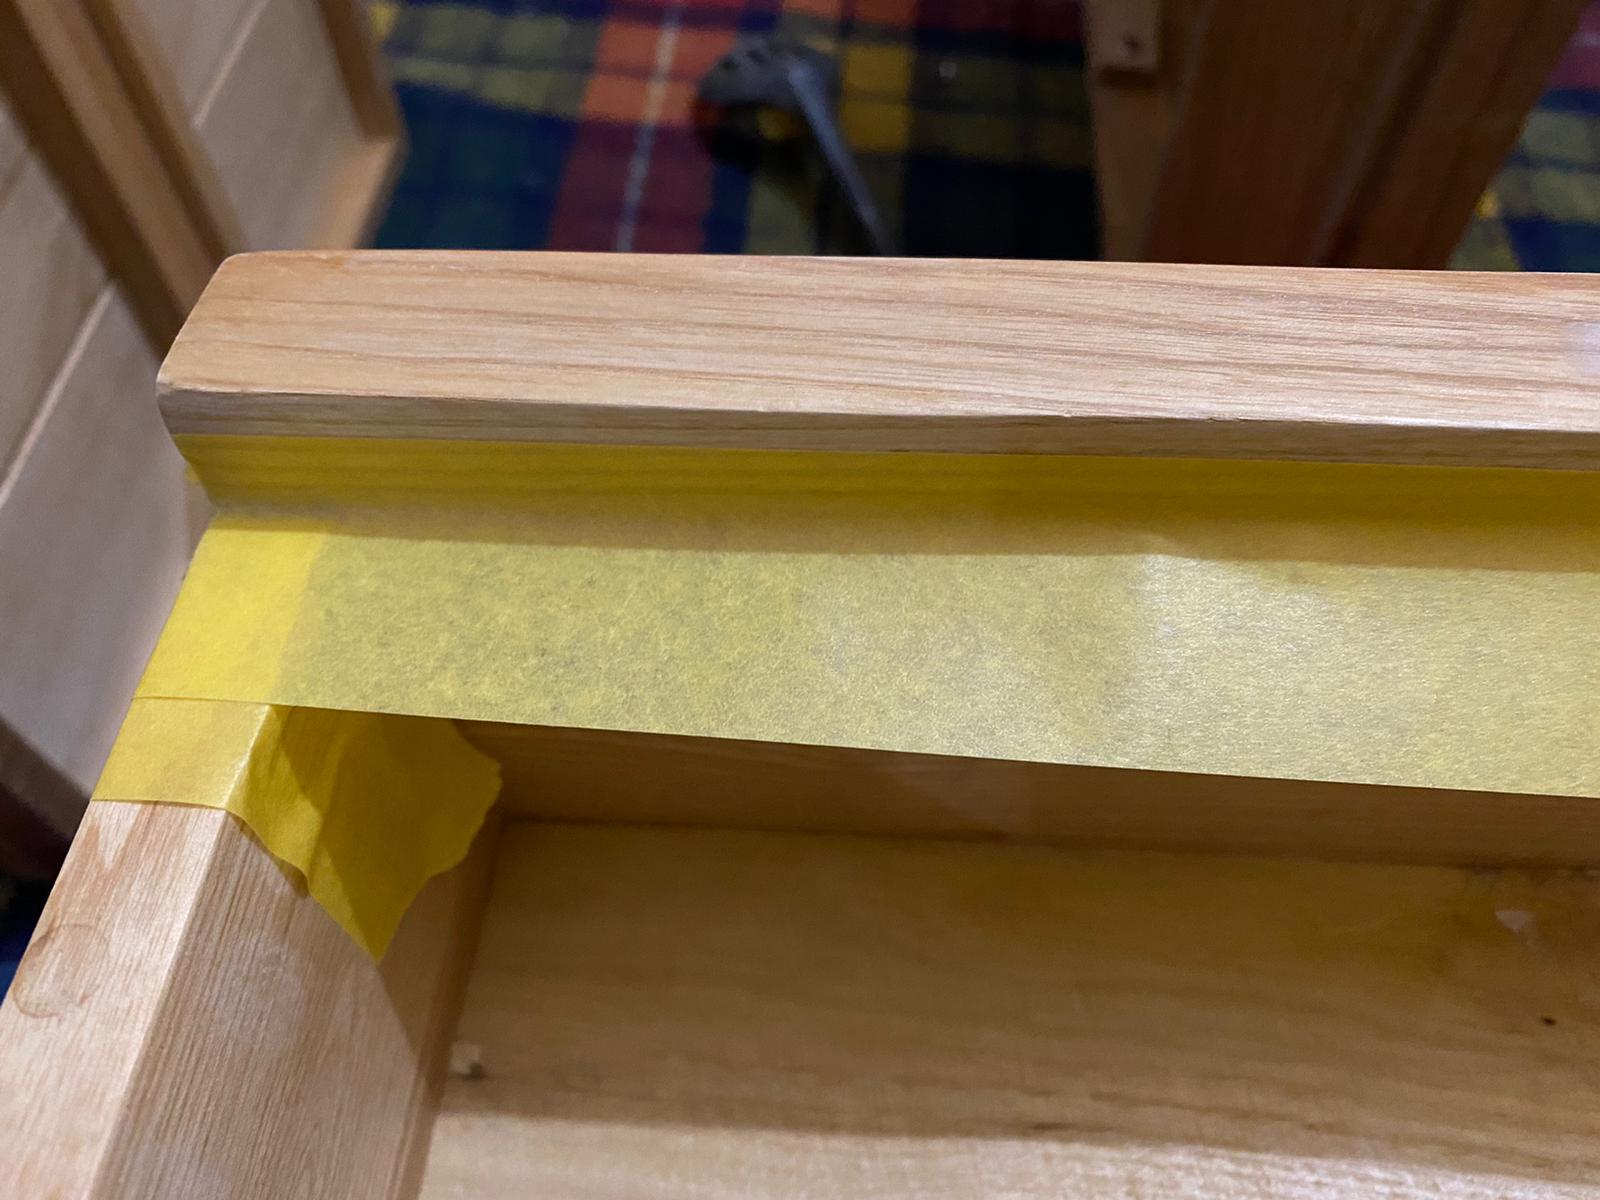
Remember to remove the tape in a single sweep while the paint is still wet to avoid peeling.
5. Apply two light coats of your paint
It can be tempting to do all of your painting in a single coat. Resist that: one coat will not give you the best finish. Instead, apply your top coat in several – or at least two – thin layers.
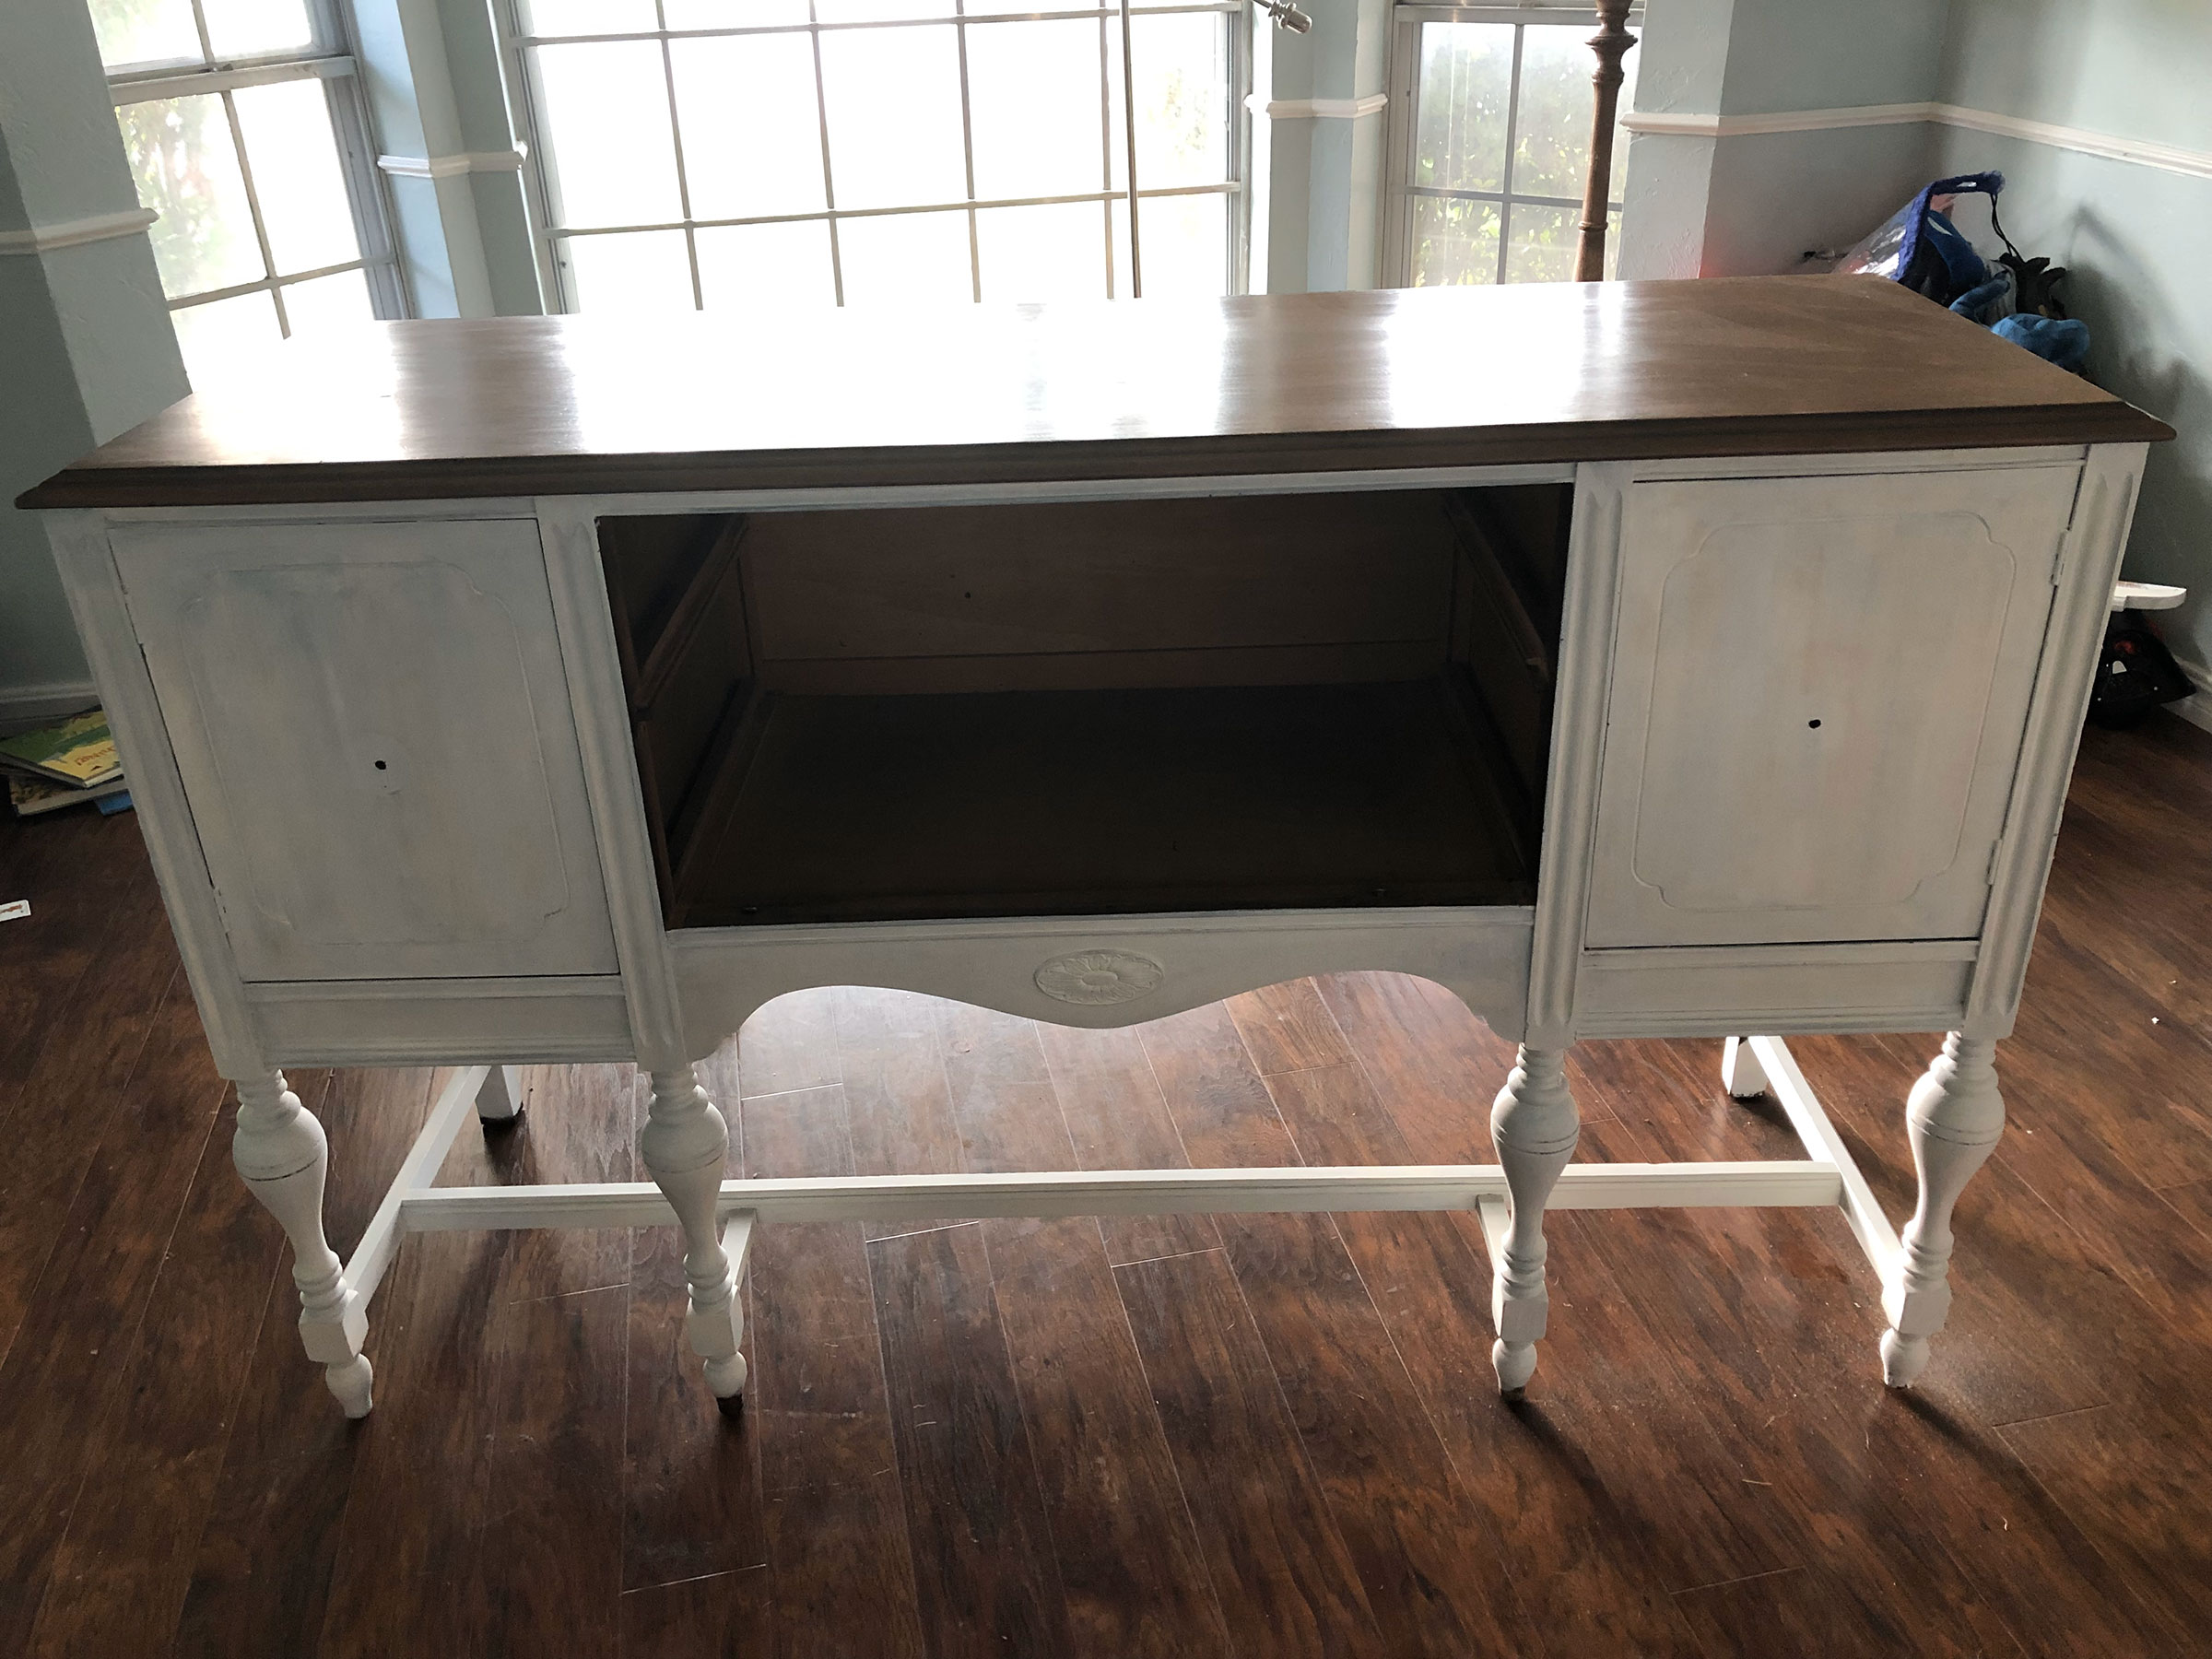
Wait for each coat to dry thoroughly, then sand gently before applying your final coat. This will give you the smoothest, longest-lasting finish possible.
Top tip: If your furniture has legs, gently tap nails into the bottom of each of the feet before you paint. This will lift your furniture off the ground and allow you to get a better finish than if it's standing on the floor.
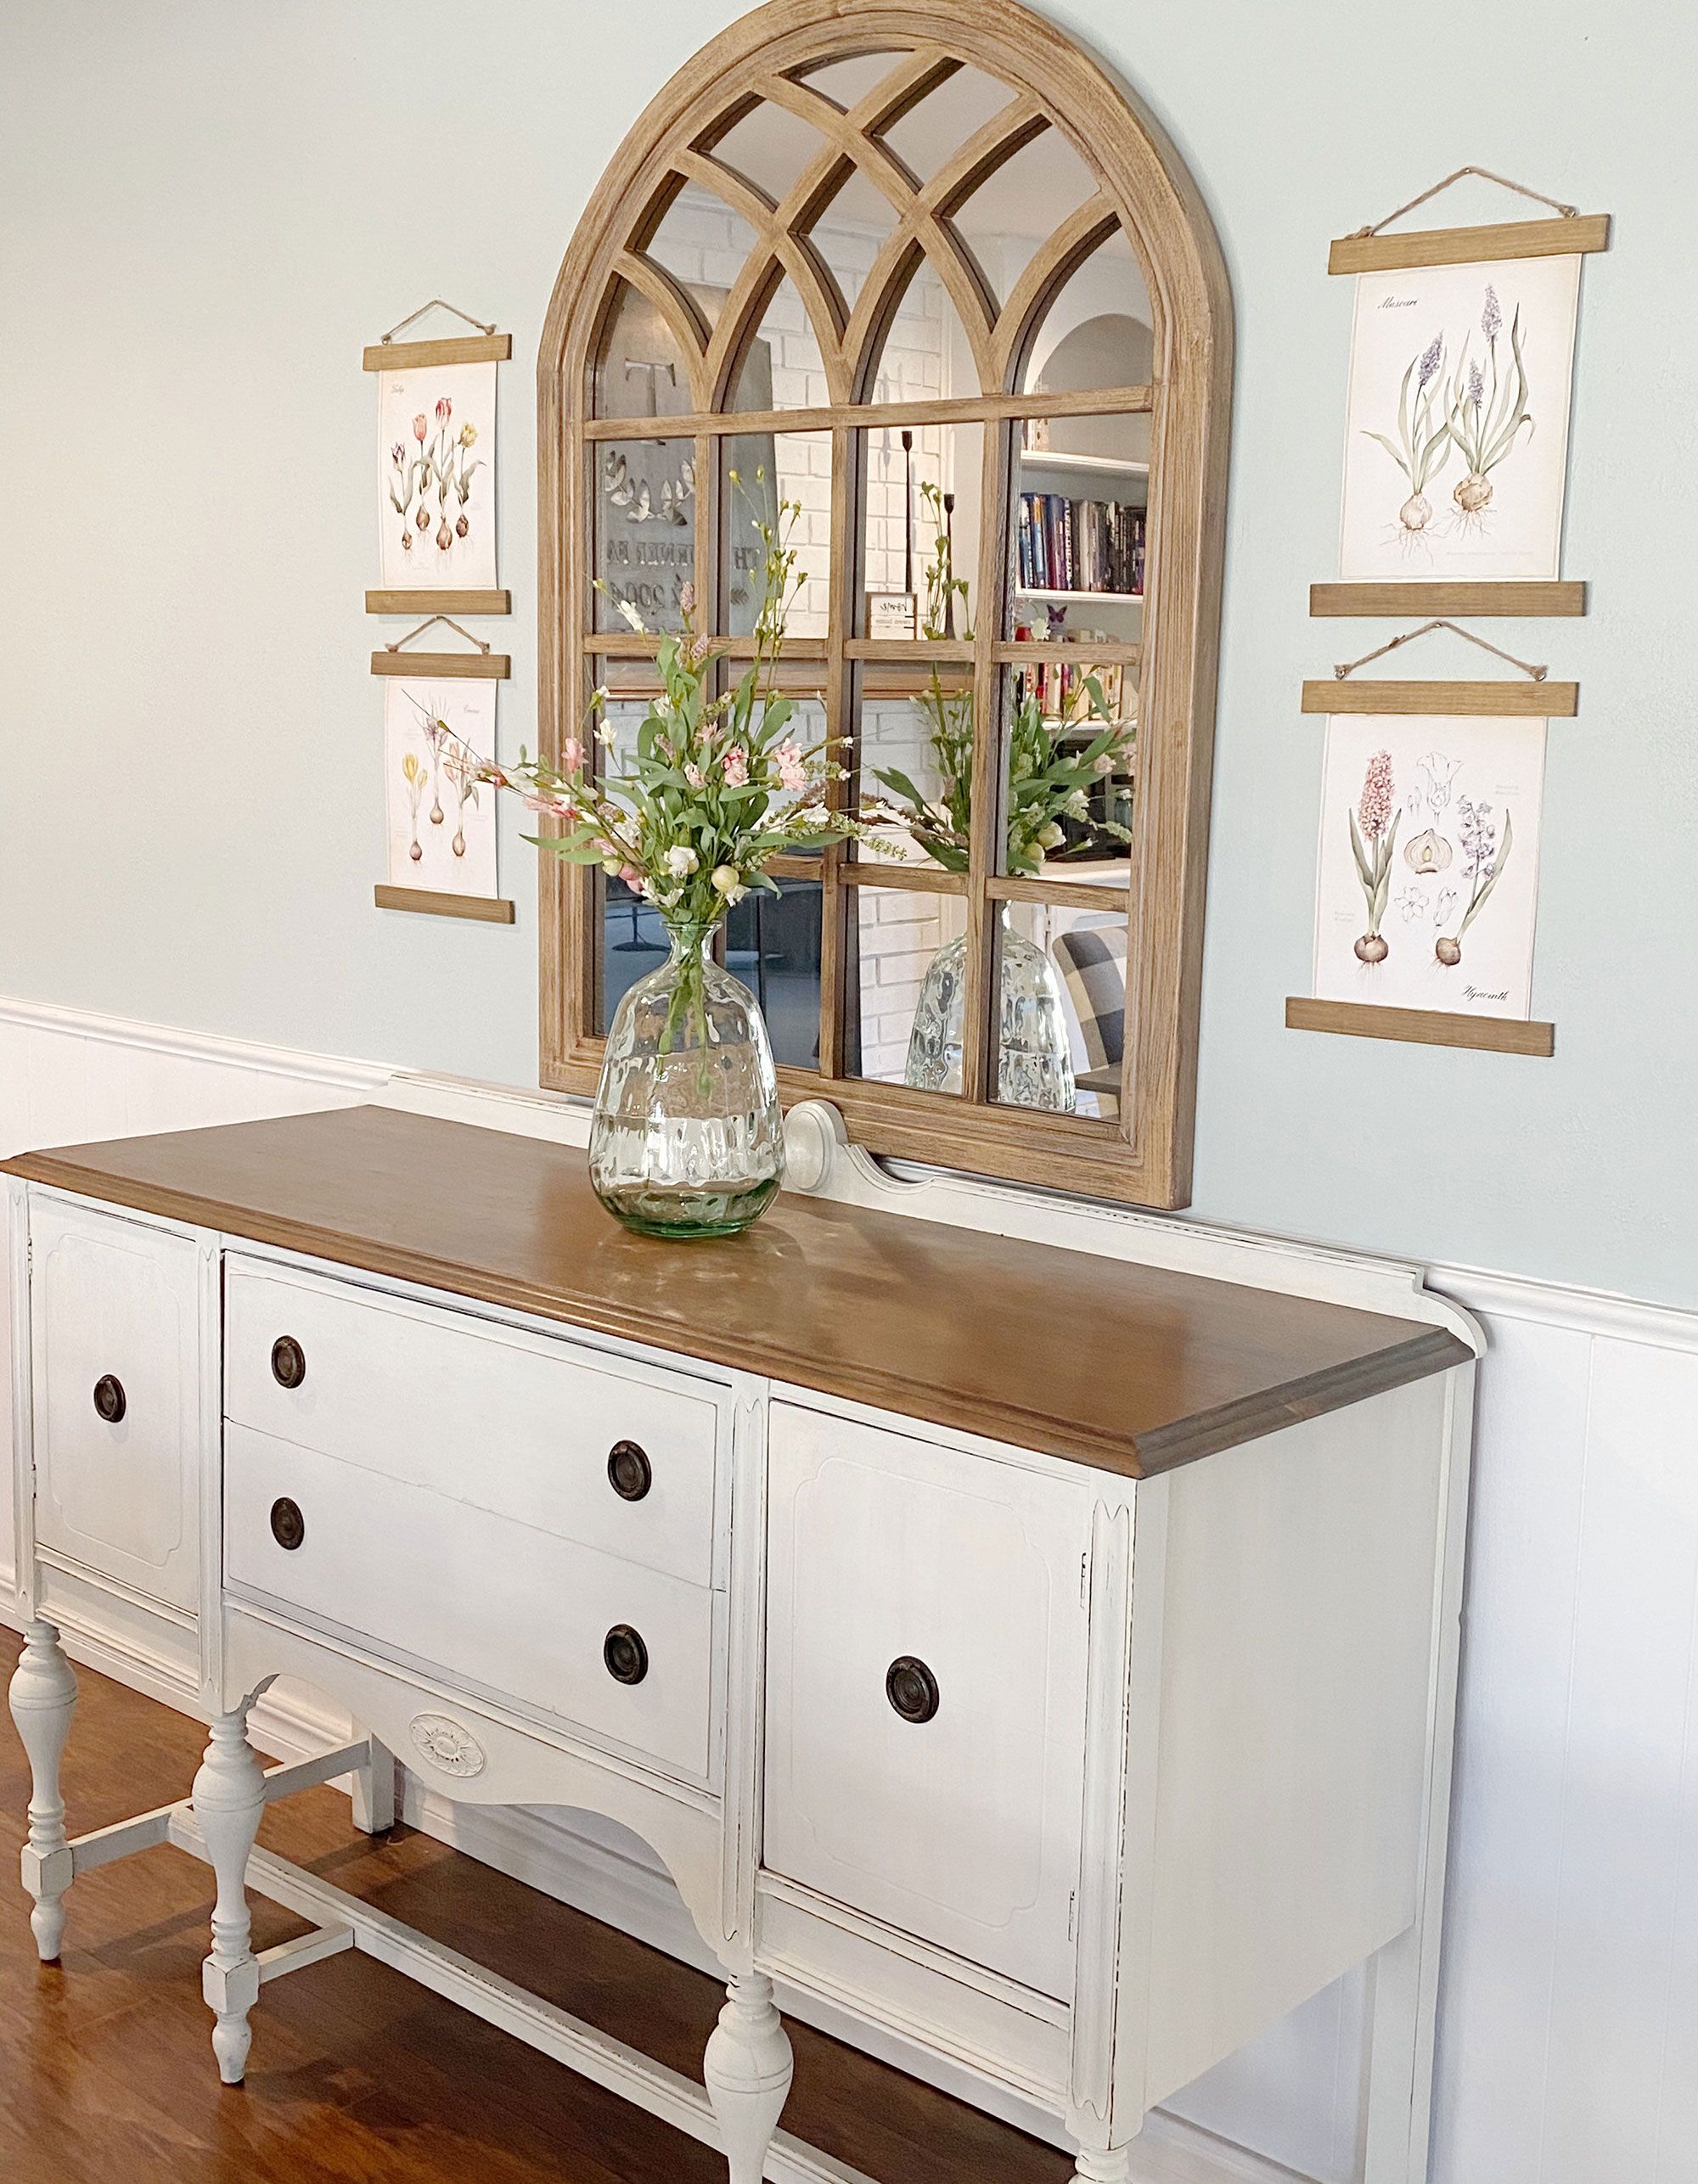
Which paint finish to choose for furniture?
Chalk paint gives a cool, modern look that slots easily into almost any interior style. A type of water-based paint, with a high mineral content, it creates a chic, matt wash of color when applied in a thin coat. Plus, it tends not to make as much of a mess as solvent-based paint; all you need to clean up afterwards is a bit of water, including for your brushes. A bonus point: chalk paint, along with other water-based paints, is a healthier, environmentally friendlier option than solvent-based paints.
We like Rust-Oleum Chalky Finish Furniture Paint and Annie Sloan Chalk Paint. Alternative water-based options include Farrow & Ball's Estate eggshell emulsion, which will give you a silk finish, with some sheen.
A traditional oil-based paint, properly applied, will give you a tough, long-lasting finish. Choose a soft, satin sheen rather than a gloss for a look that's on-trend.
If you want a real durable finish and depth of color, opt for an indoor-outdoor paint. We rate Frenchic's Al Fresco range, which comes in loads of brilliant colous.
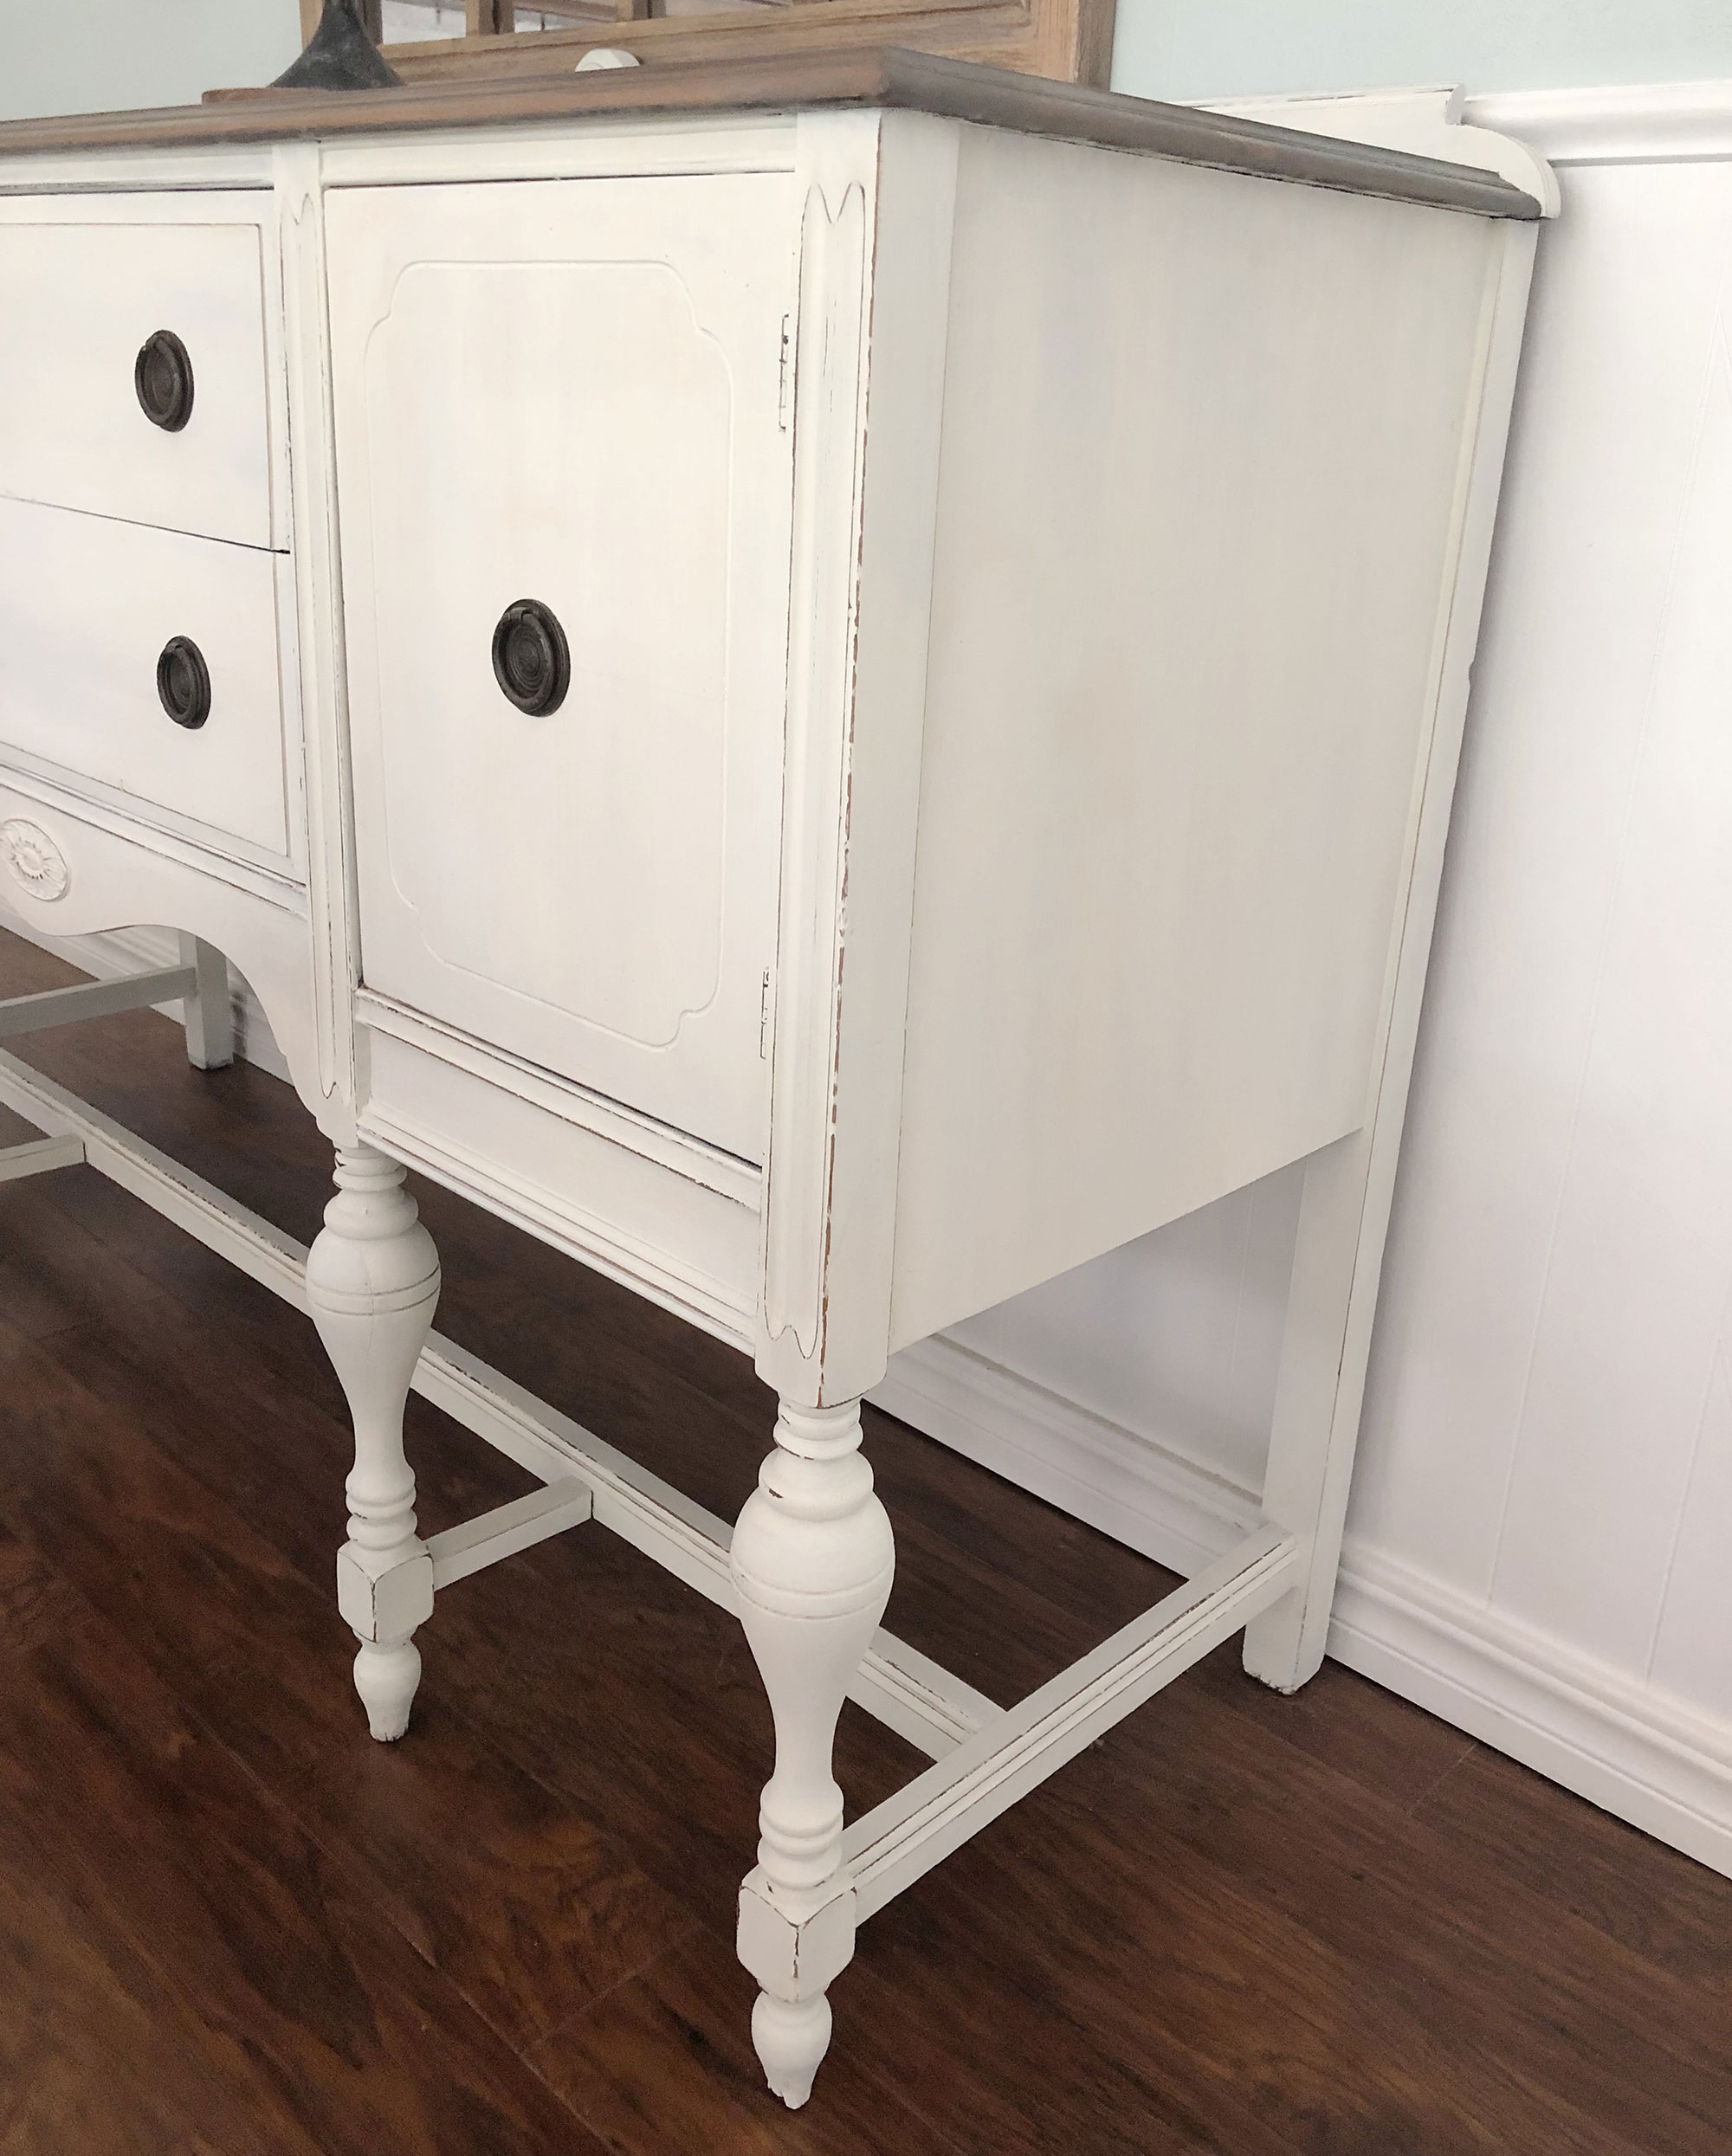
To wax or not to wax?
You can leave the matte finish or choose to use a clear or dark wax to protect the finish and add some depth. To apply the wax use a lint-free cloth or wax brush and rub the wax into the painted finish. Continue until the entire piece has been covered. Wipe off any excess wax. Depending on the wax you’re using, you may want to use a buffer after the wax has been applied to give it a nice finish.
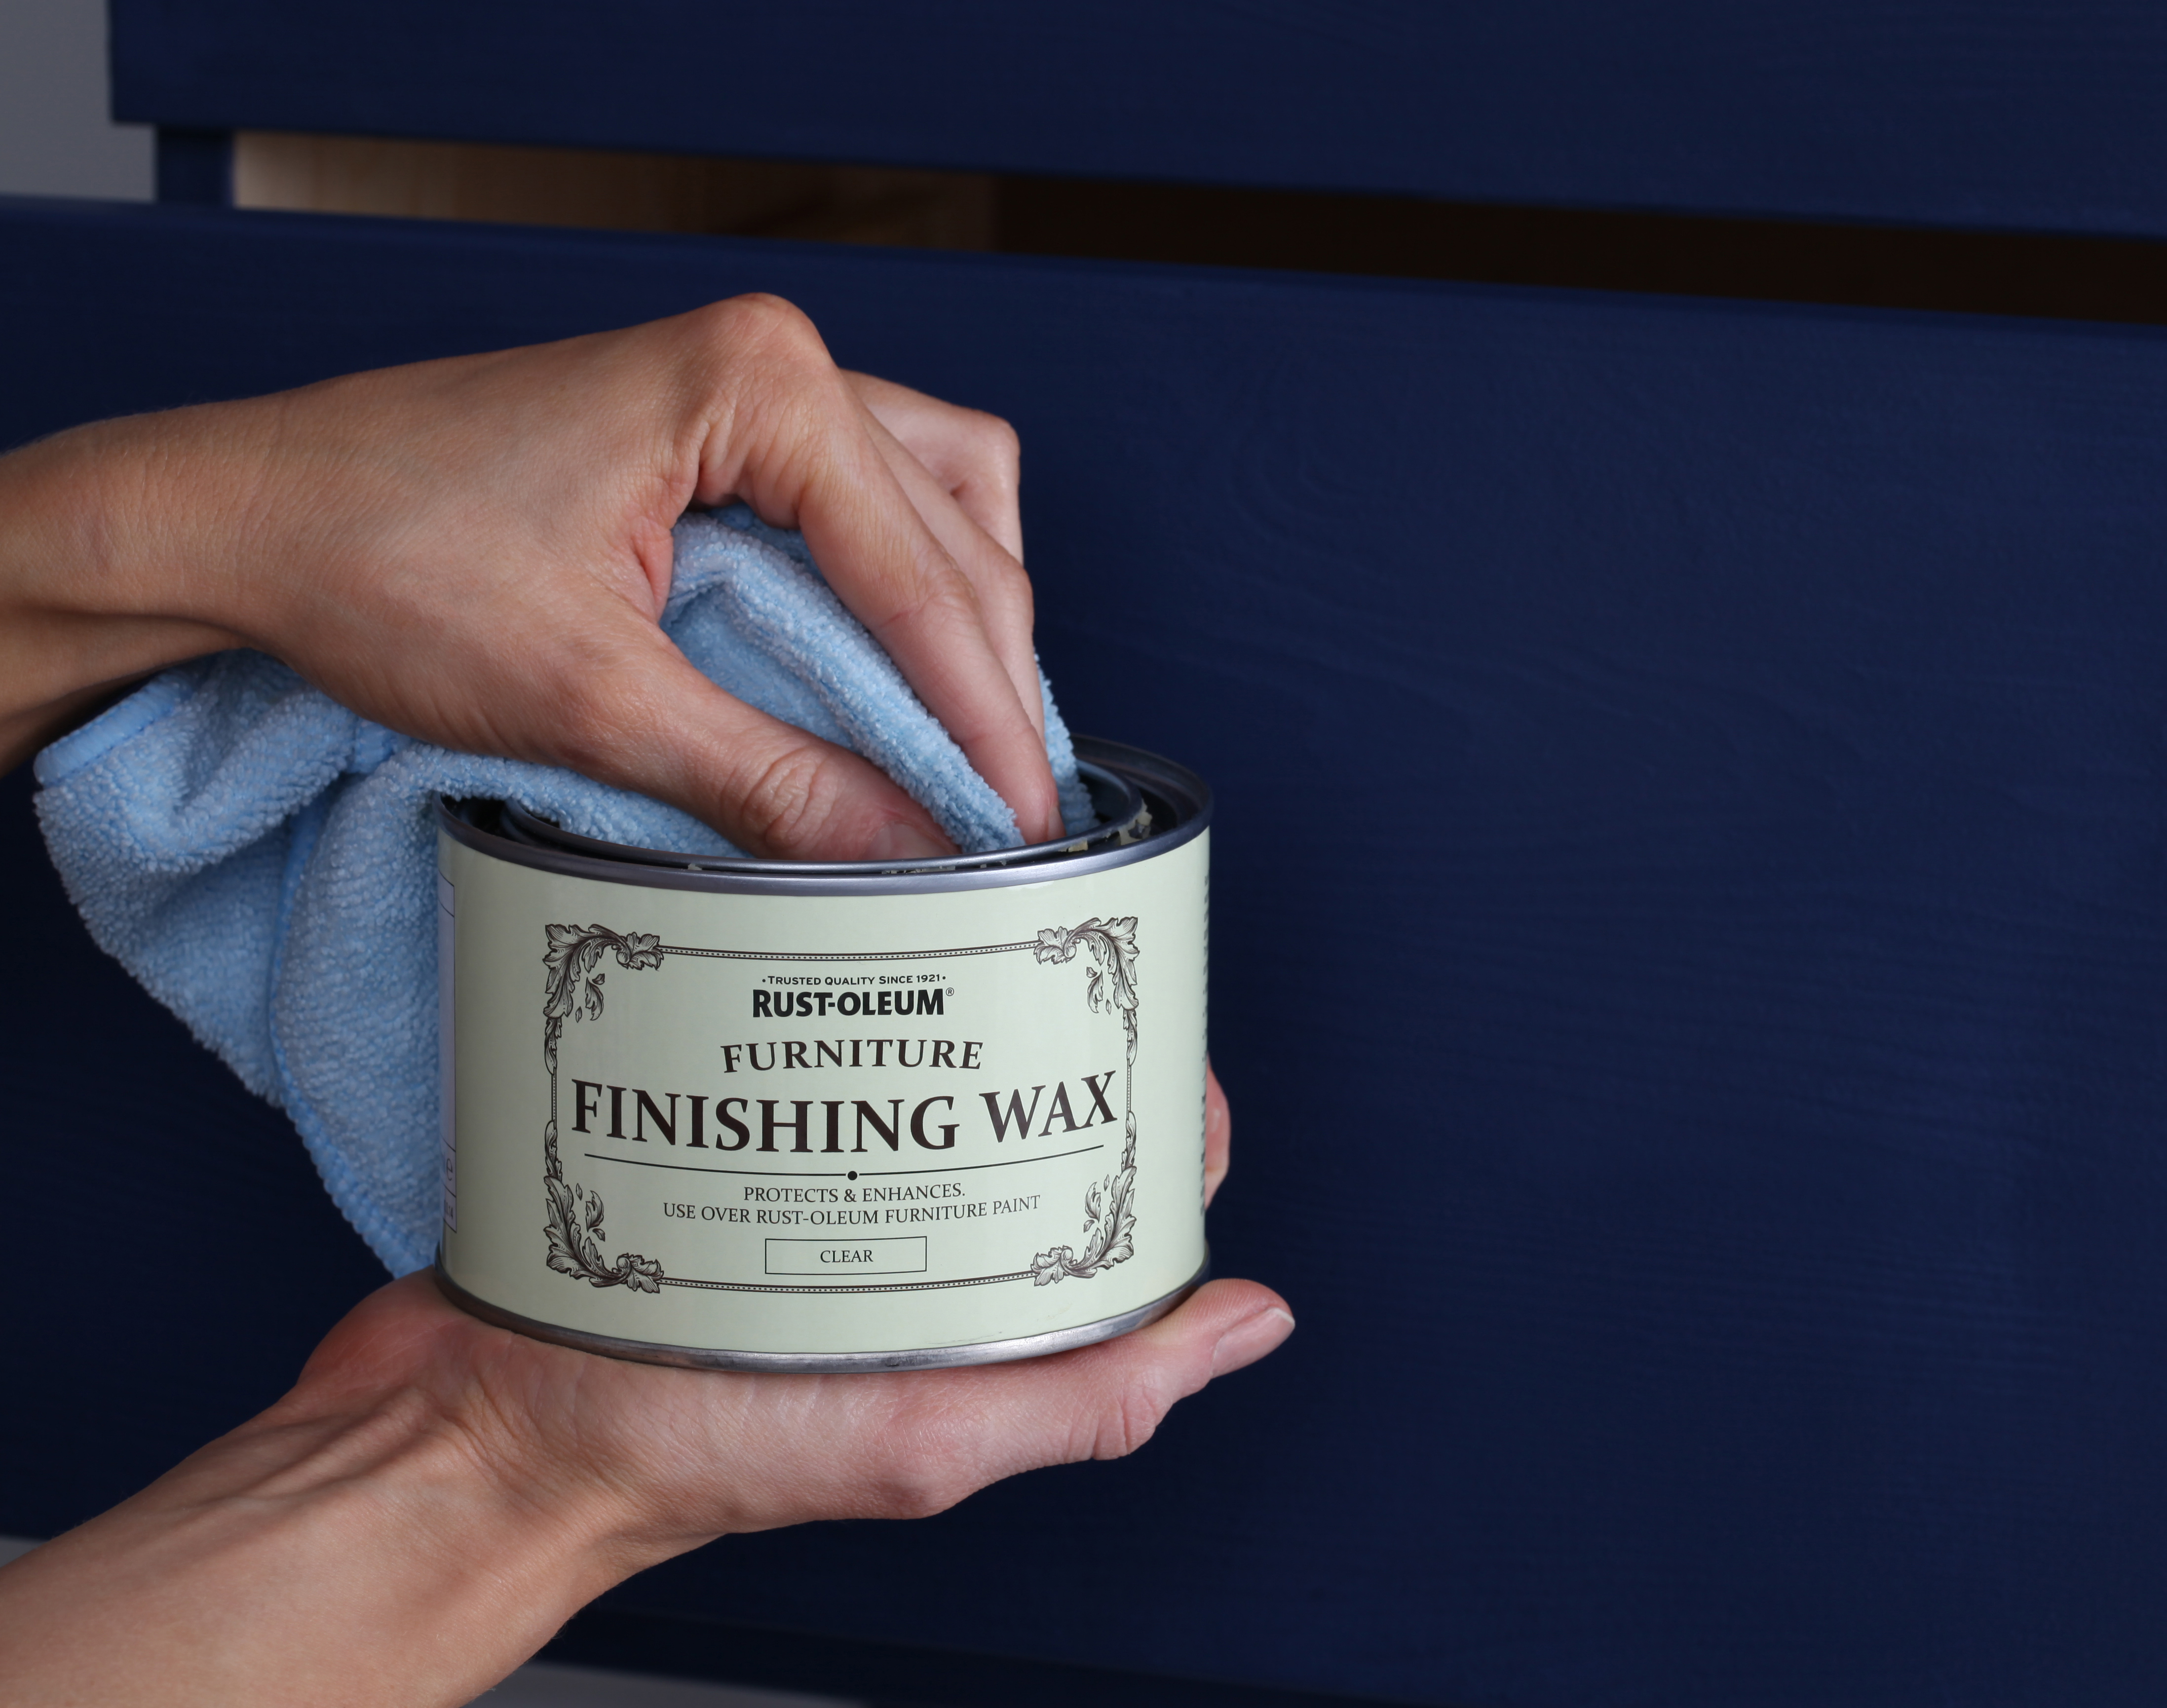
It's advisable to use a wax if you are using chalk paint but be aware that once you have applied the wax, there is almost no way to repaint the piece again, as the wax, once adhered, will prevent any new paint from coating your furniture properly.
If you're using a gloss or satin finish paint, no waxing is necessary. Our pick of the bunch for finishing waxes are Annie Sloan’s Clear Chalk Paint Wax and Rust-Oleum Furniture Finishing Wax.
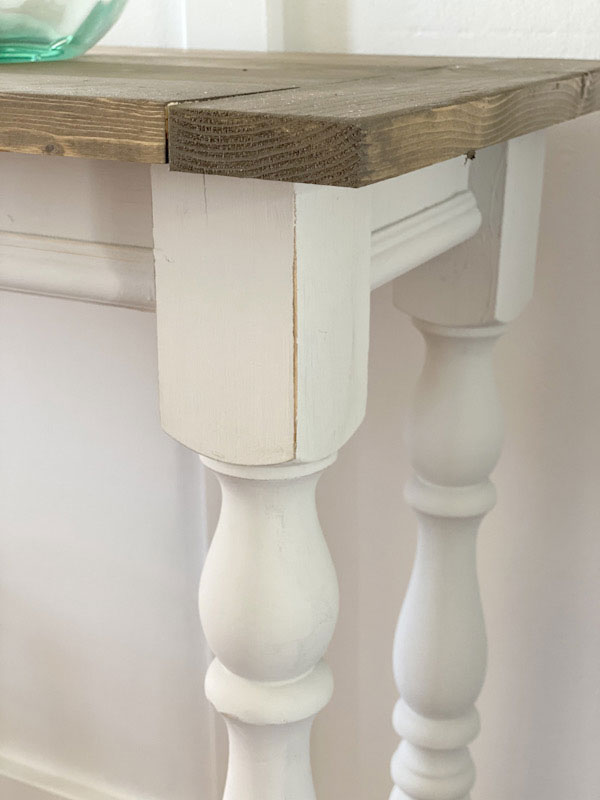
How to paint metal and laminate
When painting and reviving metal furniture, two things are key: priming with an oil-based primer and using acrylic paint. Other types of paint simply will not last very long on metal and chip off.
The same rules apply to painting laminate furniture, with one important difference: you will get better results if you sand laminate, both at the prepping stage and after priming. Laminate is very prone to peeling when painted, so two coats are a must, as is a drying period of at least a couple of days. Resist the temptation to re-attach knobs and handles too soon.
What happens if you don't prep and prime furniture before painting?
Prepping your furniture before painting is one of the most important – in fact, probably the most important – step in the process. If a furniture paint job has not turned out well, it is almost certainly because the piece had not been prepped properly.
While many furniture paints claim that you do not need any prepping, we think it is always best to over-prepare. There are cases where you may choose to skip the sanding and priming, with decent results. If your piece is quite new, for example, with hardly a chip in sight. If in doubt, however, always opt for proper prepping.
Anna is a professional writer with many years of experience. She has a passion for contemporary home decor and gardening. She covers a range of topics, from practical advice to interior and garden design.