How to DIY a microcement backsplash for a cool, budget kitchen upgrade
Learn how to DIY a backsplash out of microcement for a cool polished concrete look in your kitchen, that won't cost the earth.

Get small space home decor ideas, celeb inspiration, DIY tips and more, straight to your inbox!
You are now subscribed
Your newsletter sign-up was successful
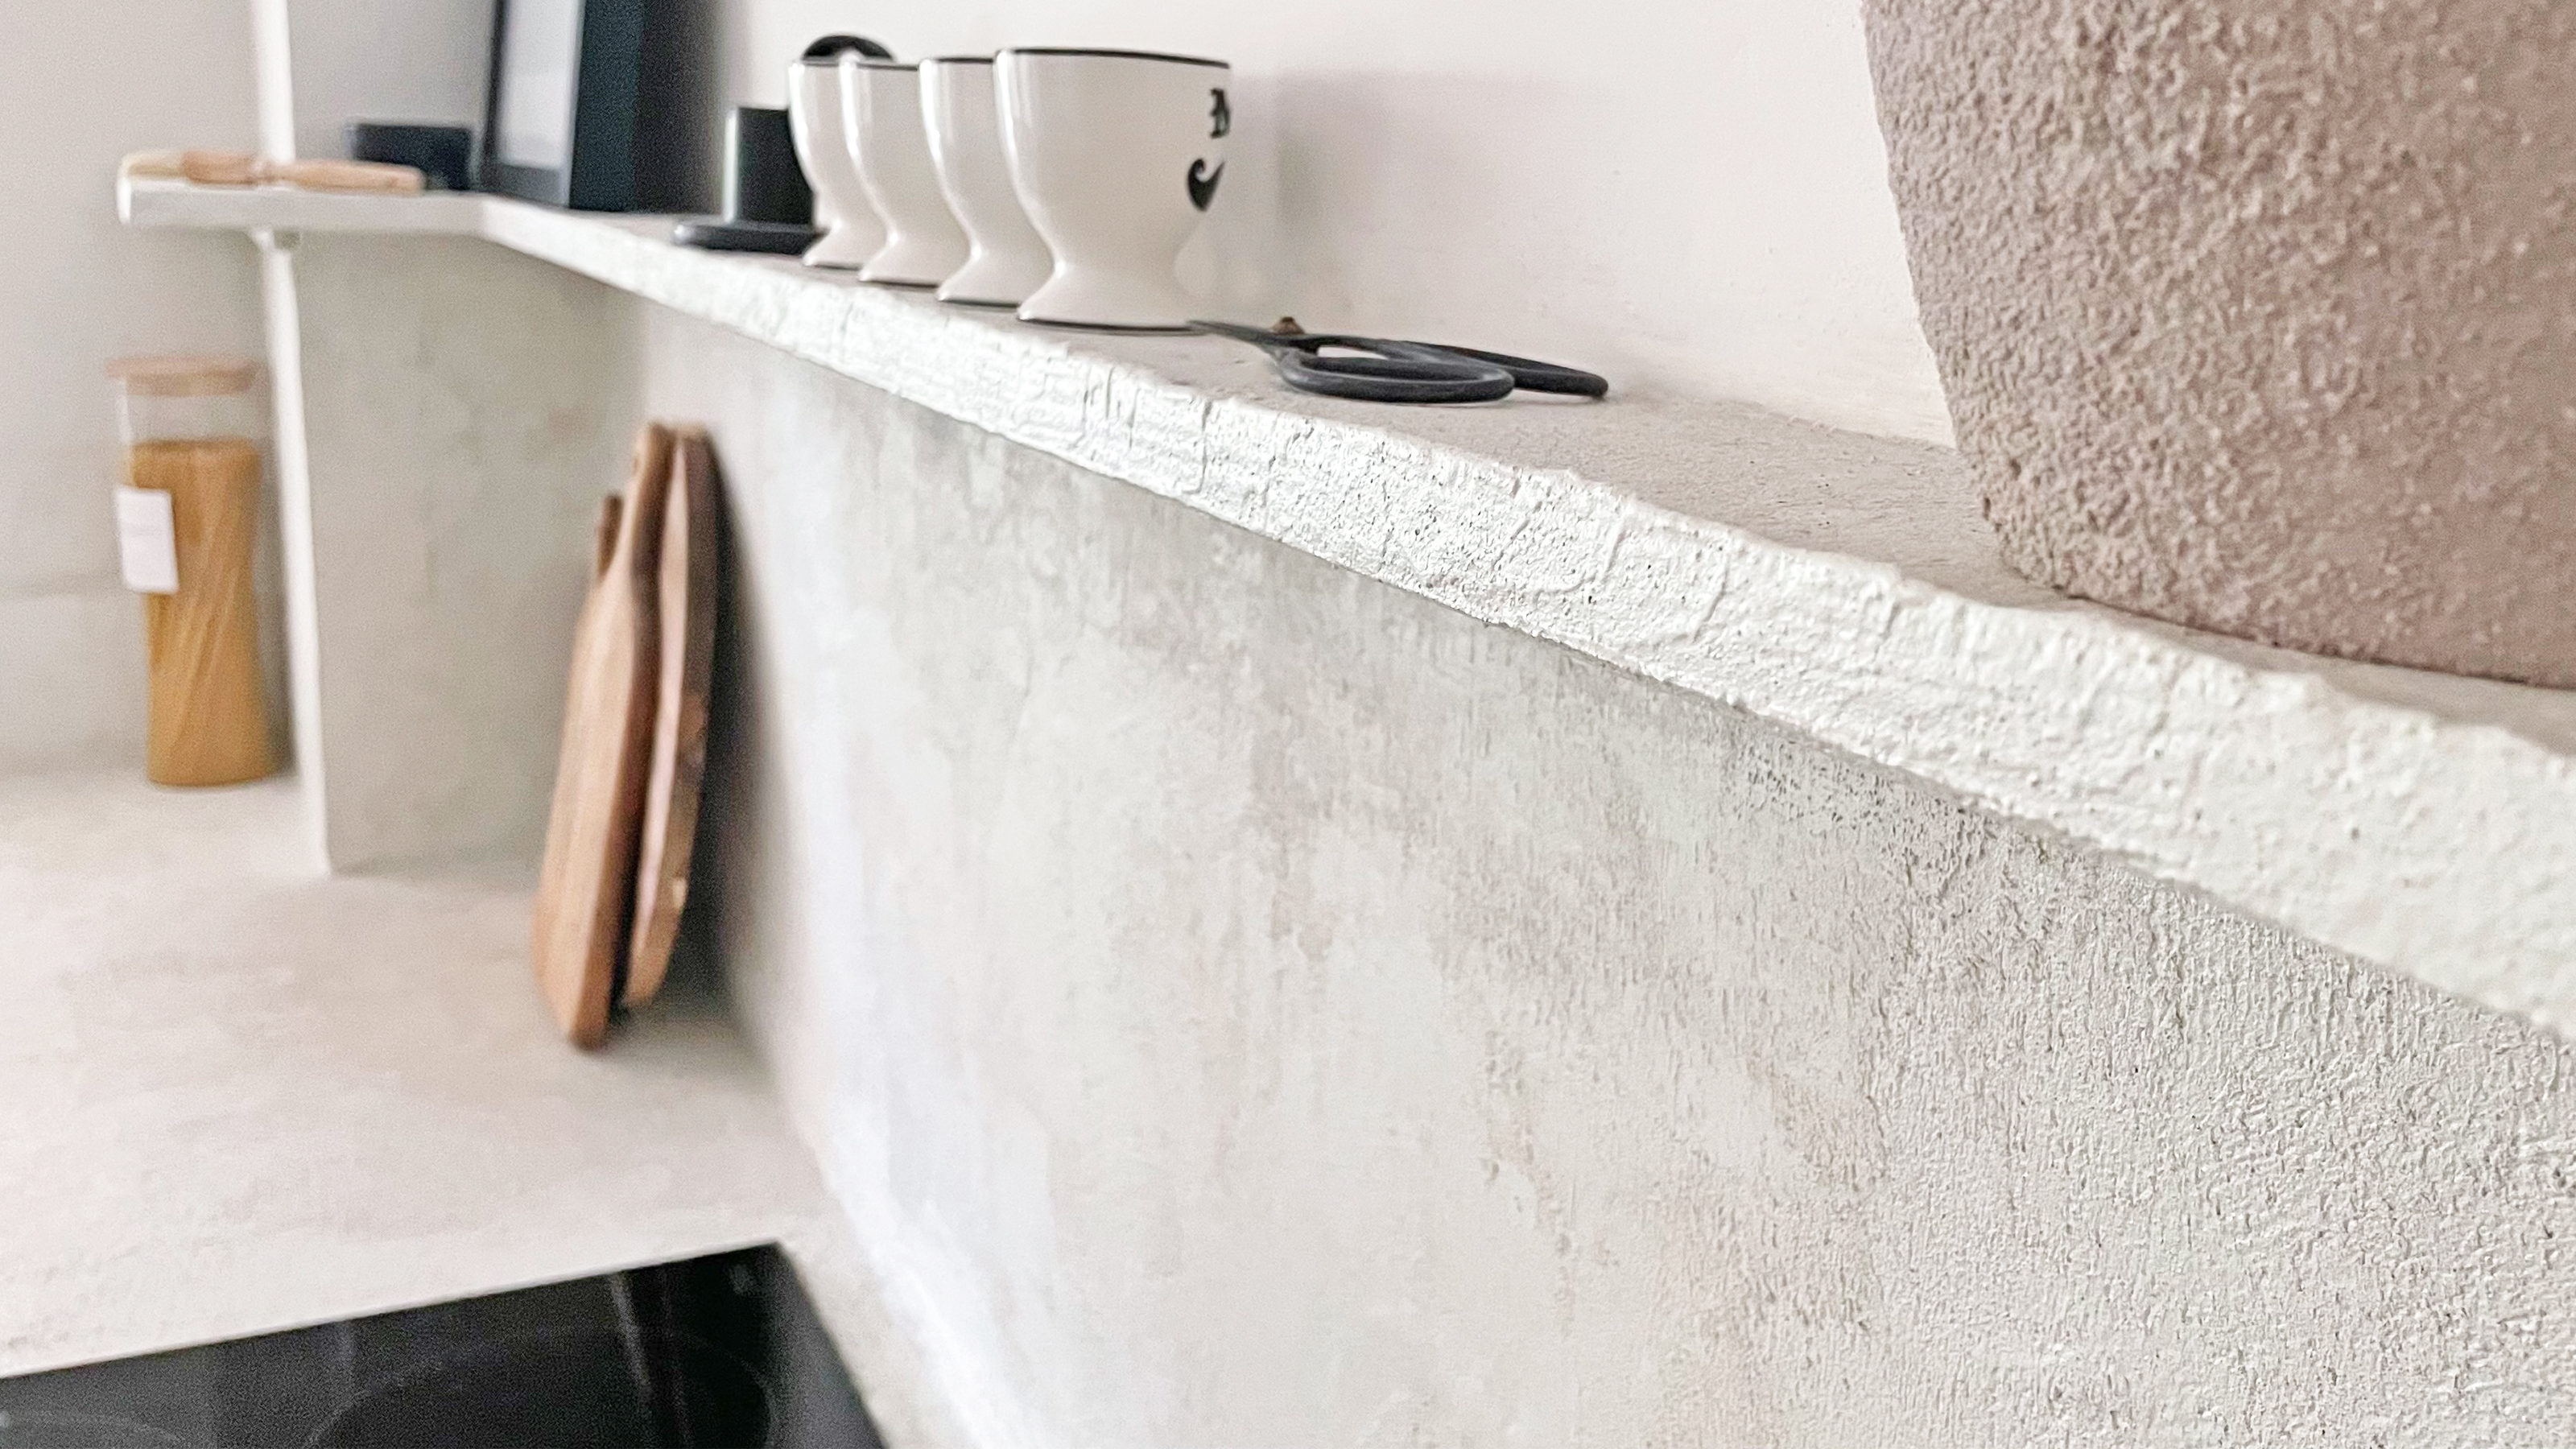
If you love a luxe look for a kitchen, but can’t afford marble or engineered stone then why not create a DIY microcement backsplash to change up your cooking space, without splashing the cash?
Sure, kitchen countertops have always been big business as they are often the shining star of the kitchen set-up. These days, however, surface-level countertops alone don’t cut it: it really is all about the backsplash.
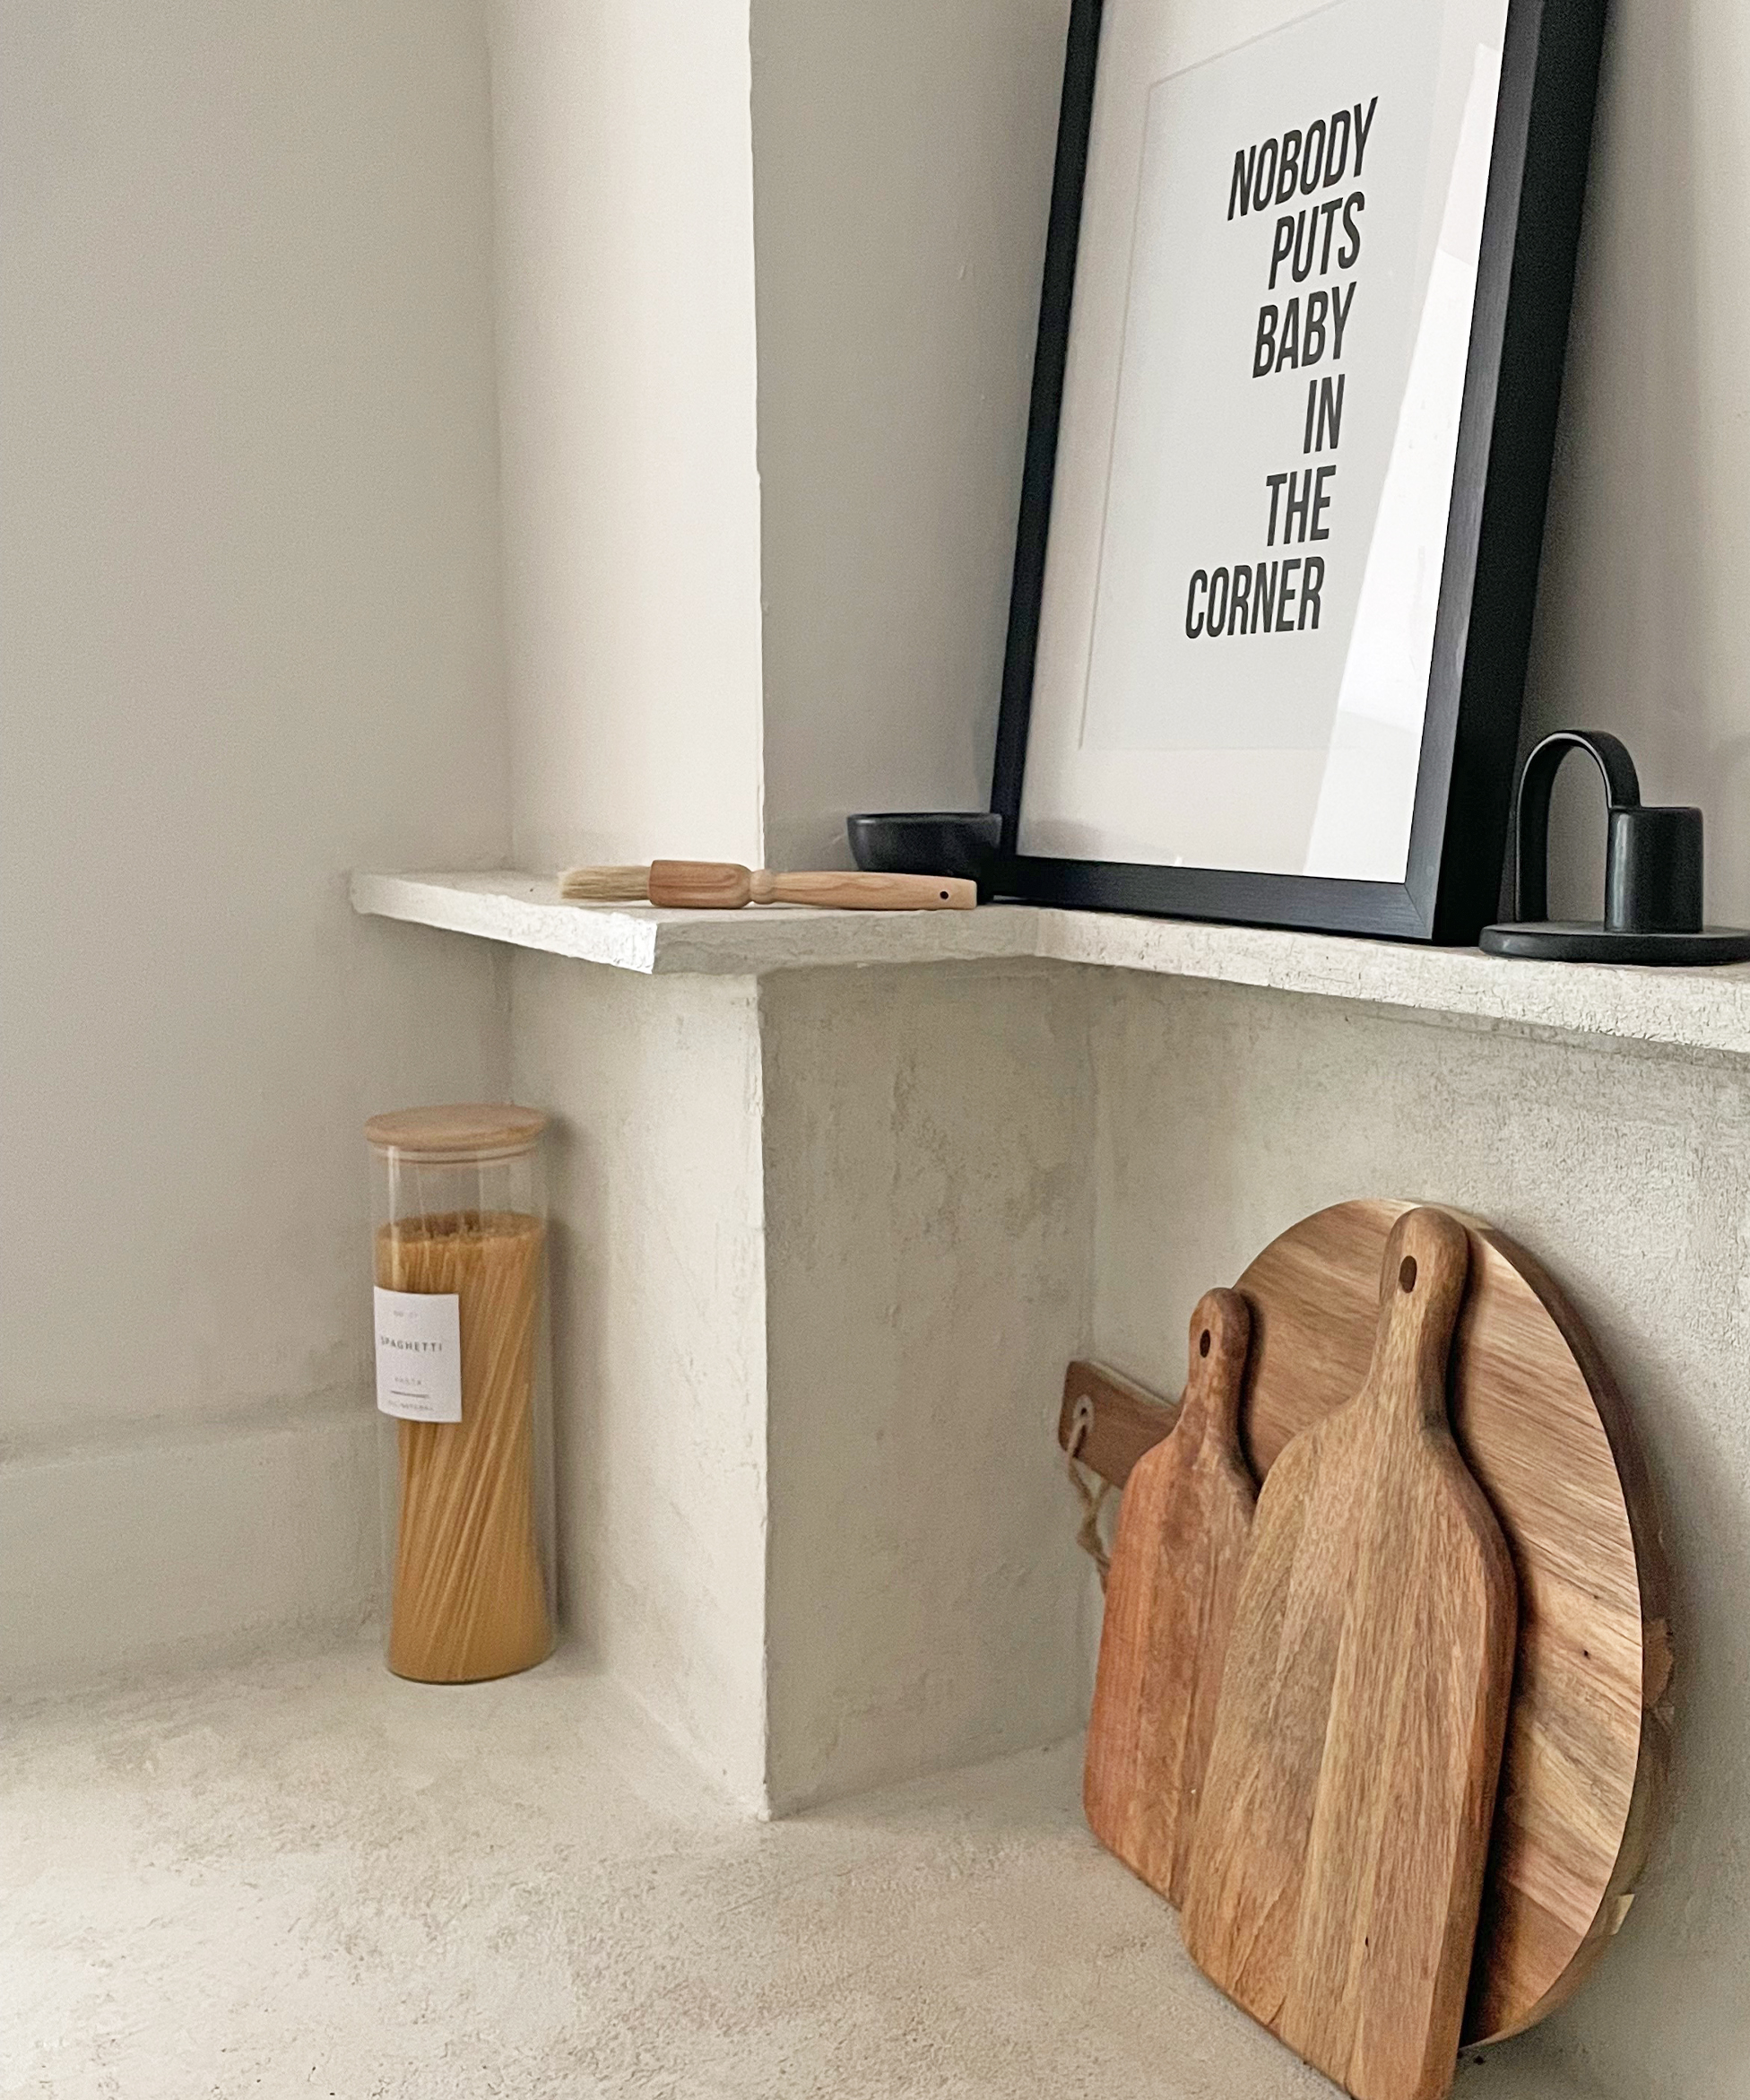
If you are looking for kitchen backsplash ideas, bigger really does seem to be better. Backsplashes often run the length of the countertop and extend much higher up the wall than ever before often culminating in a floating ledge shelf constructed in the same material as the countertop and backsplash.
DIY Microcement backsplash: step-by-step
You heard it here first, using microcement is not a passing trend. MIcrocement countertops and even microcement kitchen cabinets look awesome and this durable and adaptable material is the answer to many DIY dilemmas. A DIY microcement kit offers a way for dedicated DIYers to go a step beyond simply designing their dream home interior because they can now execute the build phase too.
Want a new kitchen? Lusting over a fancy coffee table, but can’t afford the designer price tag? You guessed it, grab the microcement! Sounds too good to be true, right? Wrong! I’m going to go one better than just telling you about the virtues of this miraculous material, I’m going to show you exactly what to do with my step-by-step guide on how to microcement a backsplash yourself.
You will need
1. 2 clean buckets - you could choose ones that have been made using recycled materials like these
2. Durable foam roller with replacement heads
3. Multi-purpose painter's tape
4. Protective gloves
5. Flexible spreading trowel or spatula
6. Moisture-resistant MDF or plywood for your base
7. Orbital Sander with a selection of grit pads - Amazon do some good deals
8. Protective mask
9. Microcement kit – I got mine from Concrete Lab
10. Microcement sealant
11. Sealant for the join between the backsplash and countertop
12. Measuring jug
13. Paint mixer attachment for drill like this (or similar means of electrical mixing)
14. Dust sheets
Whether you've tiled a backsplash before or not, DIYers of most levels will be able to tackle this project. As with any home DIY project, take your time, wear the necessary safety gear and always read the instruction manual of any power tools you're using.
Step 1: Build your base
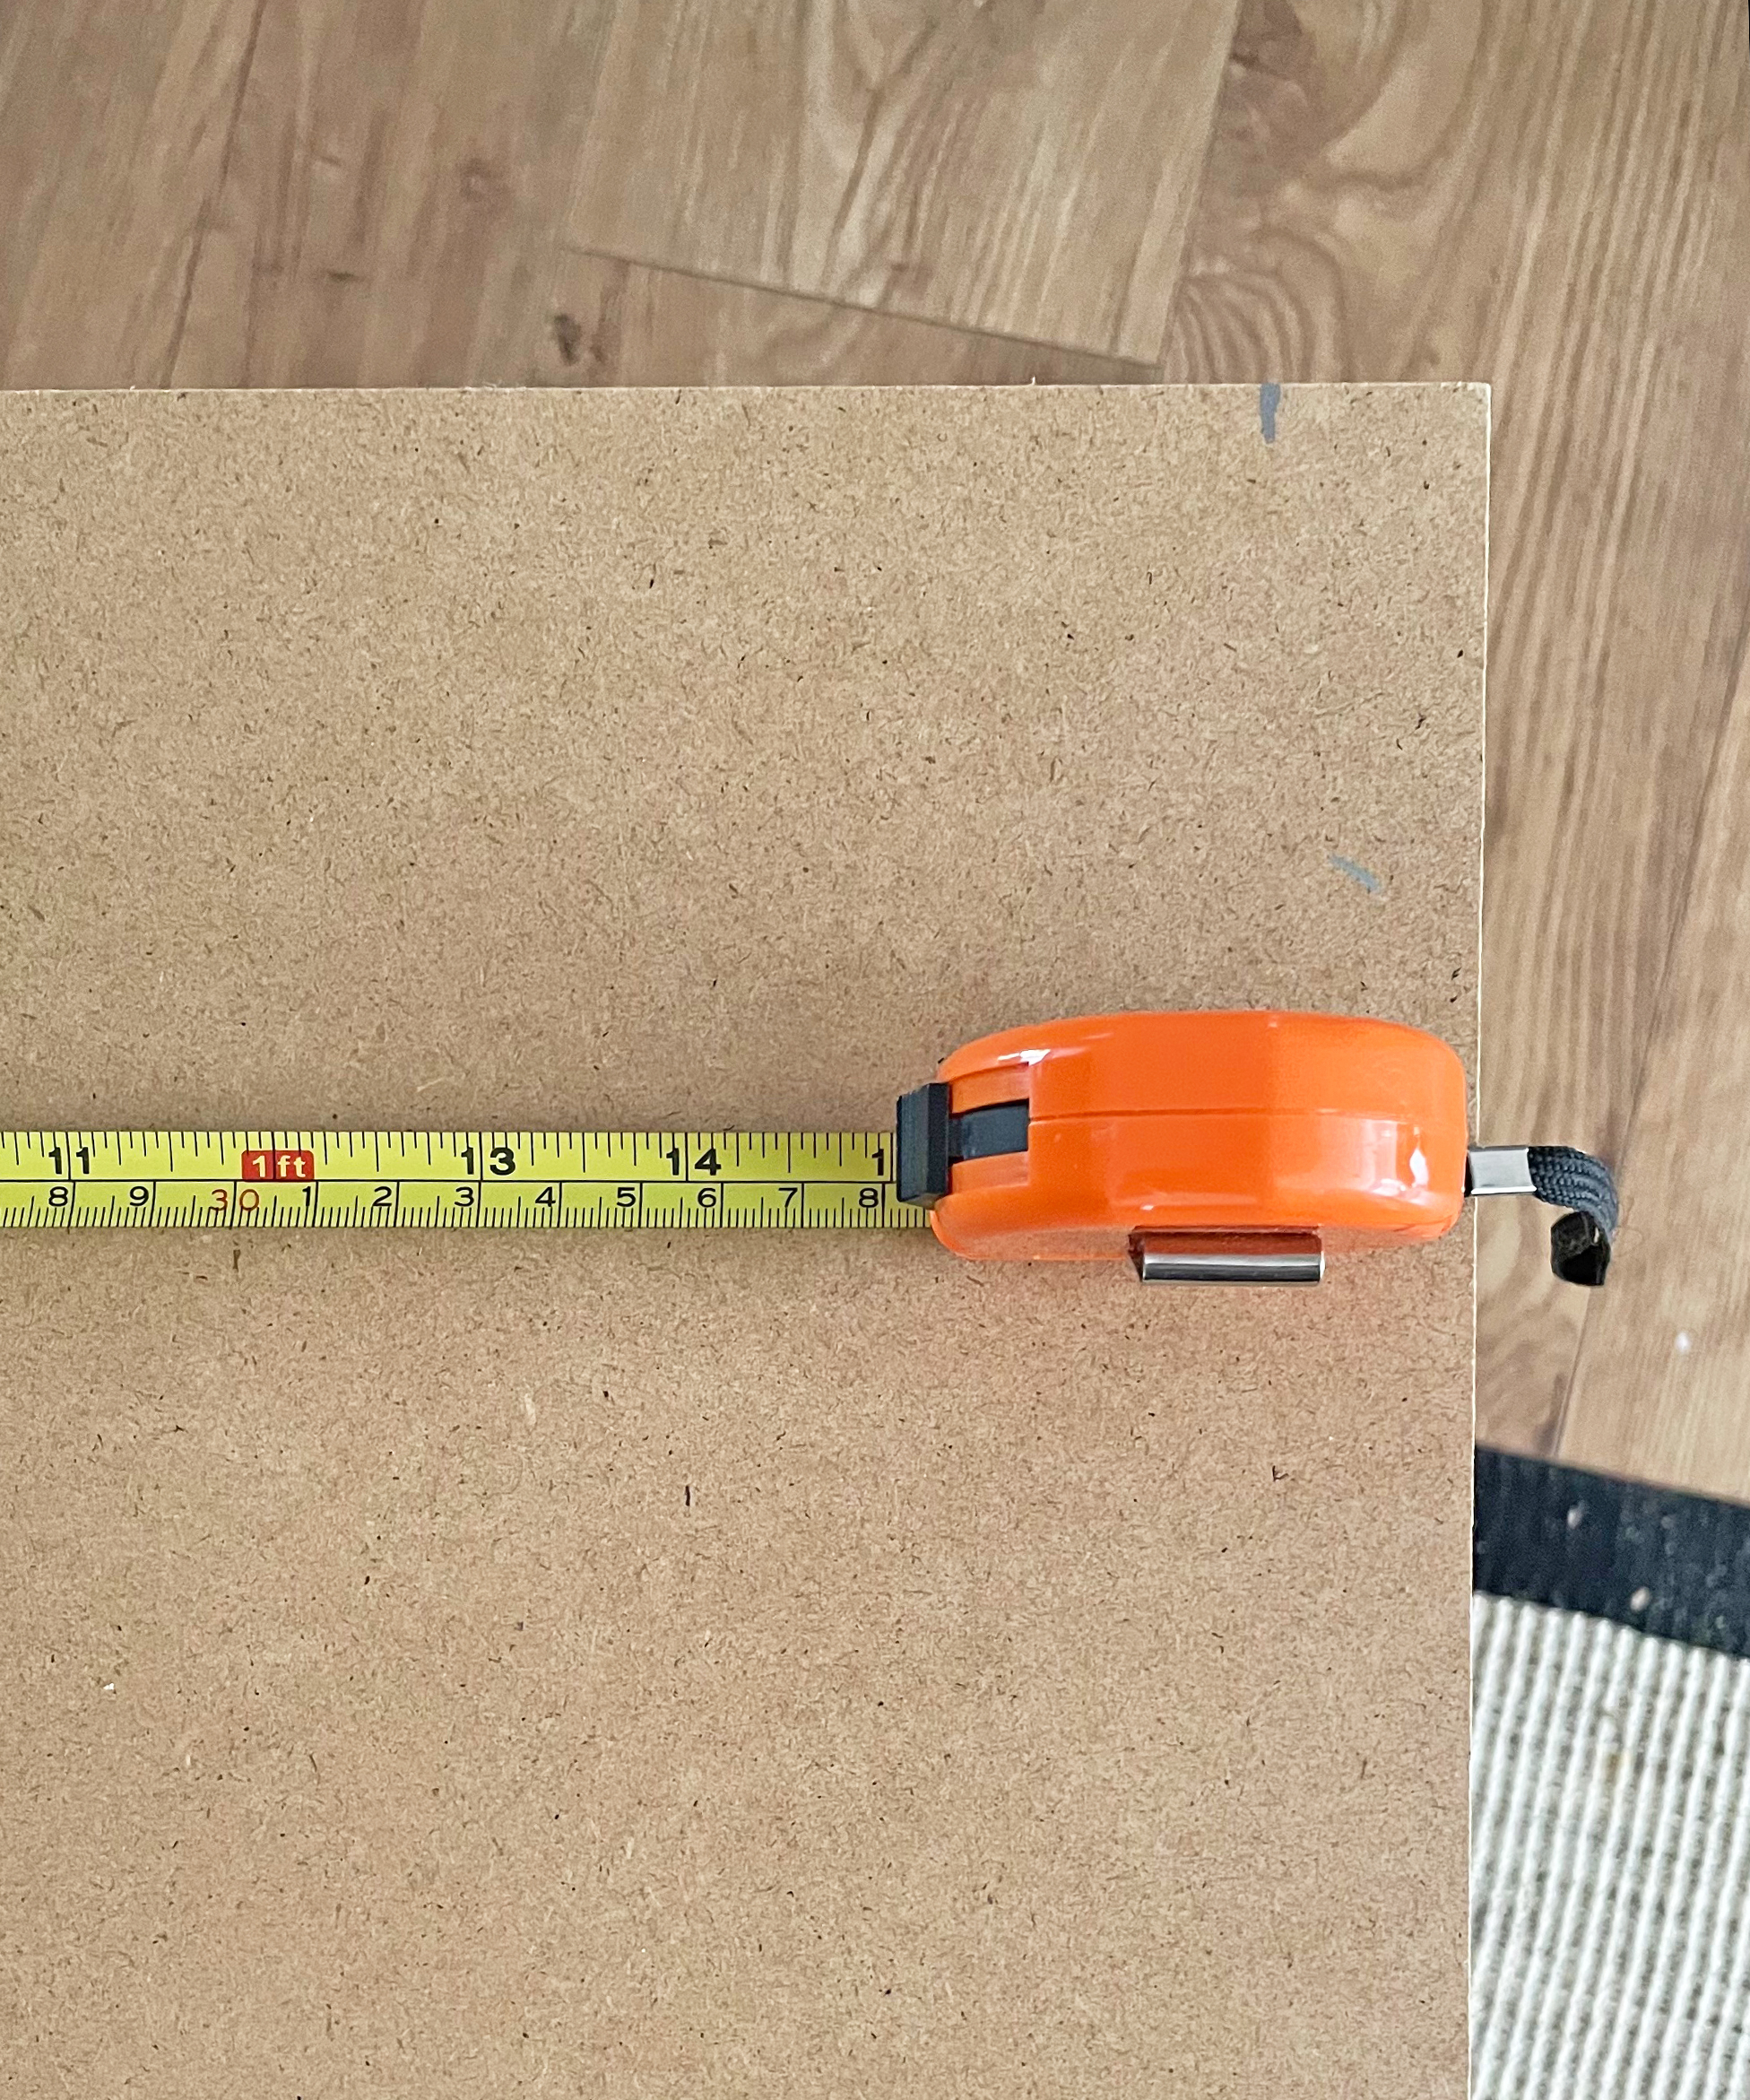
The great thing about microcement is that it can be applied to many surface types as long as you use the primer provided. Being able to use moisture-resistant MDF as a base opens up a world of possibilities for your backsplash project because you can decide on the height, width, shape, and depth.
Get small space home decor ideas, celeb inspiration, DIY tips and more, straight to your inbox!
I plumped for a rectangular panel that wrapped around the shape of the wall and cut out the shape required for the plug sockets we had. As this project was part of a DIY kitchen remodel, the wall behind wasn’t in great condition as tiles and upper kitchen units had been removed and plug sockets relocated, so after I’d filled the holes it was extra handy to be able to cover over these imperfections with my backsplash base.
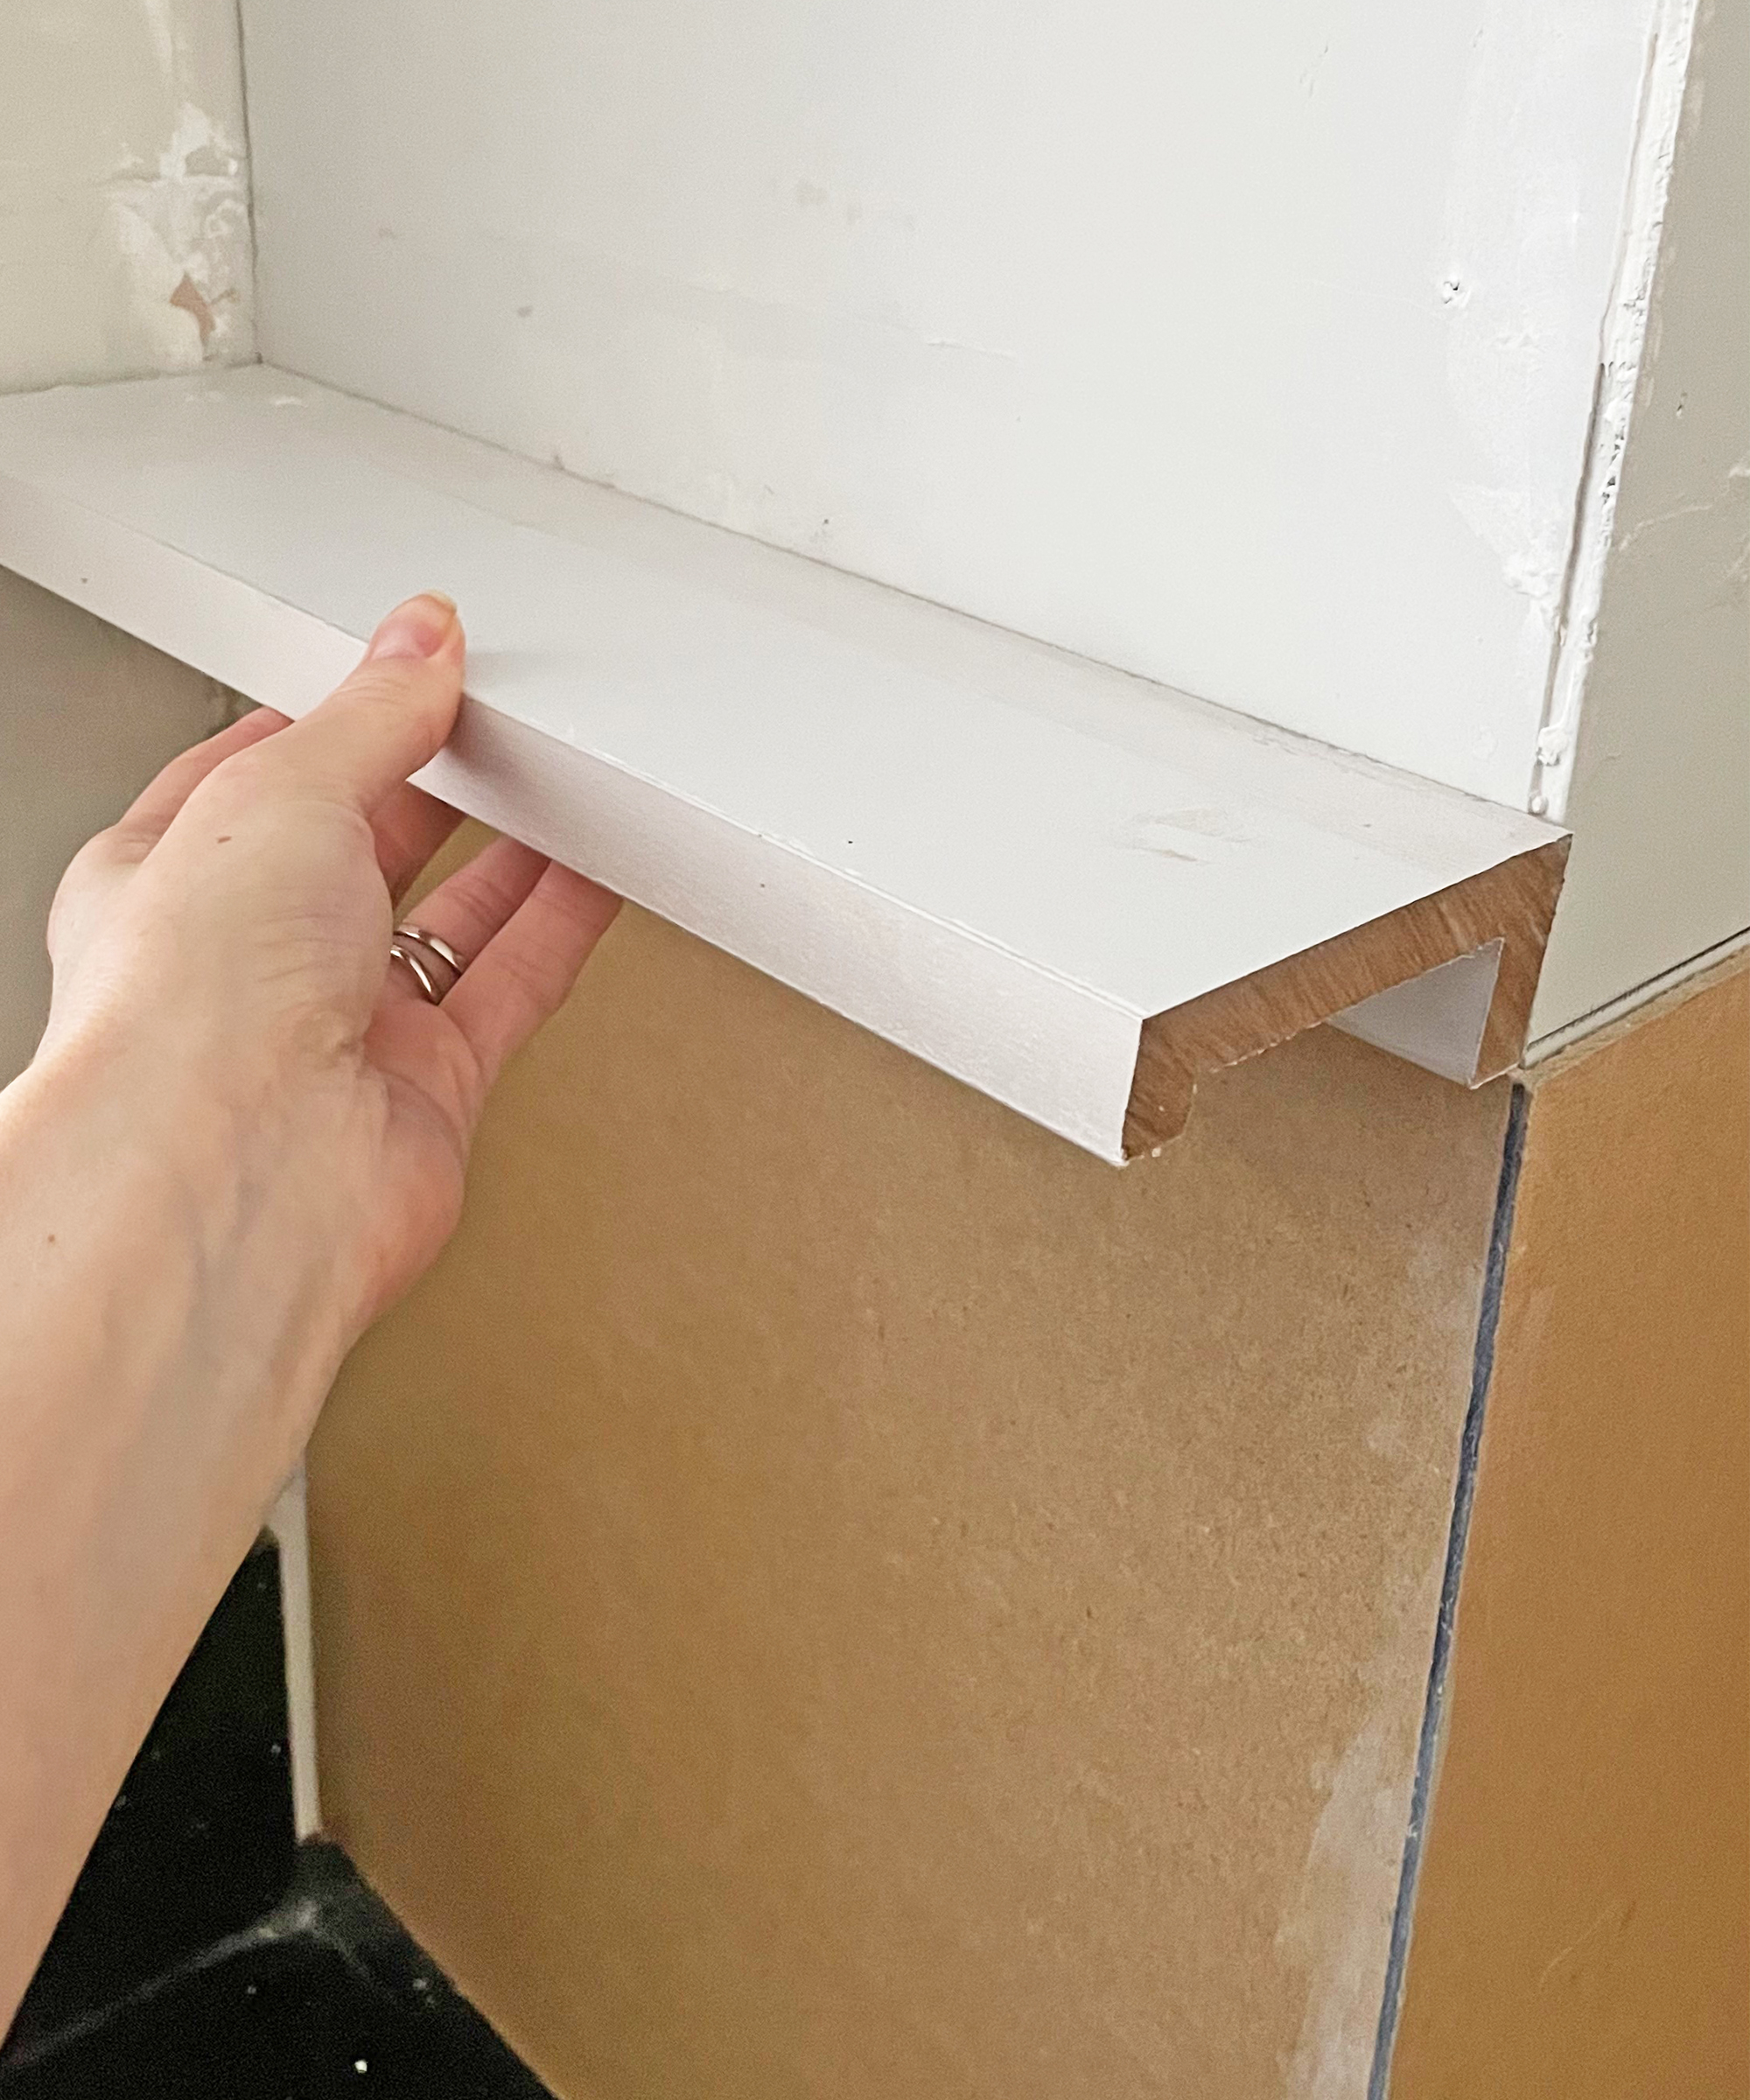
I glued the panel to the wall using grab adhesive as there was a large flat surface which was great for maximum adhesion. I upcycled an old picture shelf by turning it upside down and cutting into pieces to create a ledge shelf.
I sealed the join along the base of the newly constructed backsplash to ensure that no moisture could creep through and get under or behind the backsplash or countertop.
Step 2: Gather your microcement materials
You need a few tools and materials for a microcement project and they really need to be close at hand as time is of the essence once you’ve mixed your batch of microcement so it pays to get organised beforehand.
It’s important that your tools and buckets are clean so check this before you start mixing.
Step 3: Prime your surface
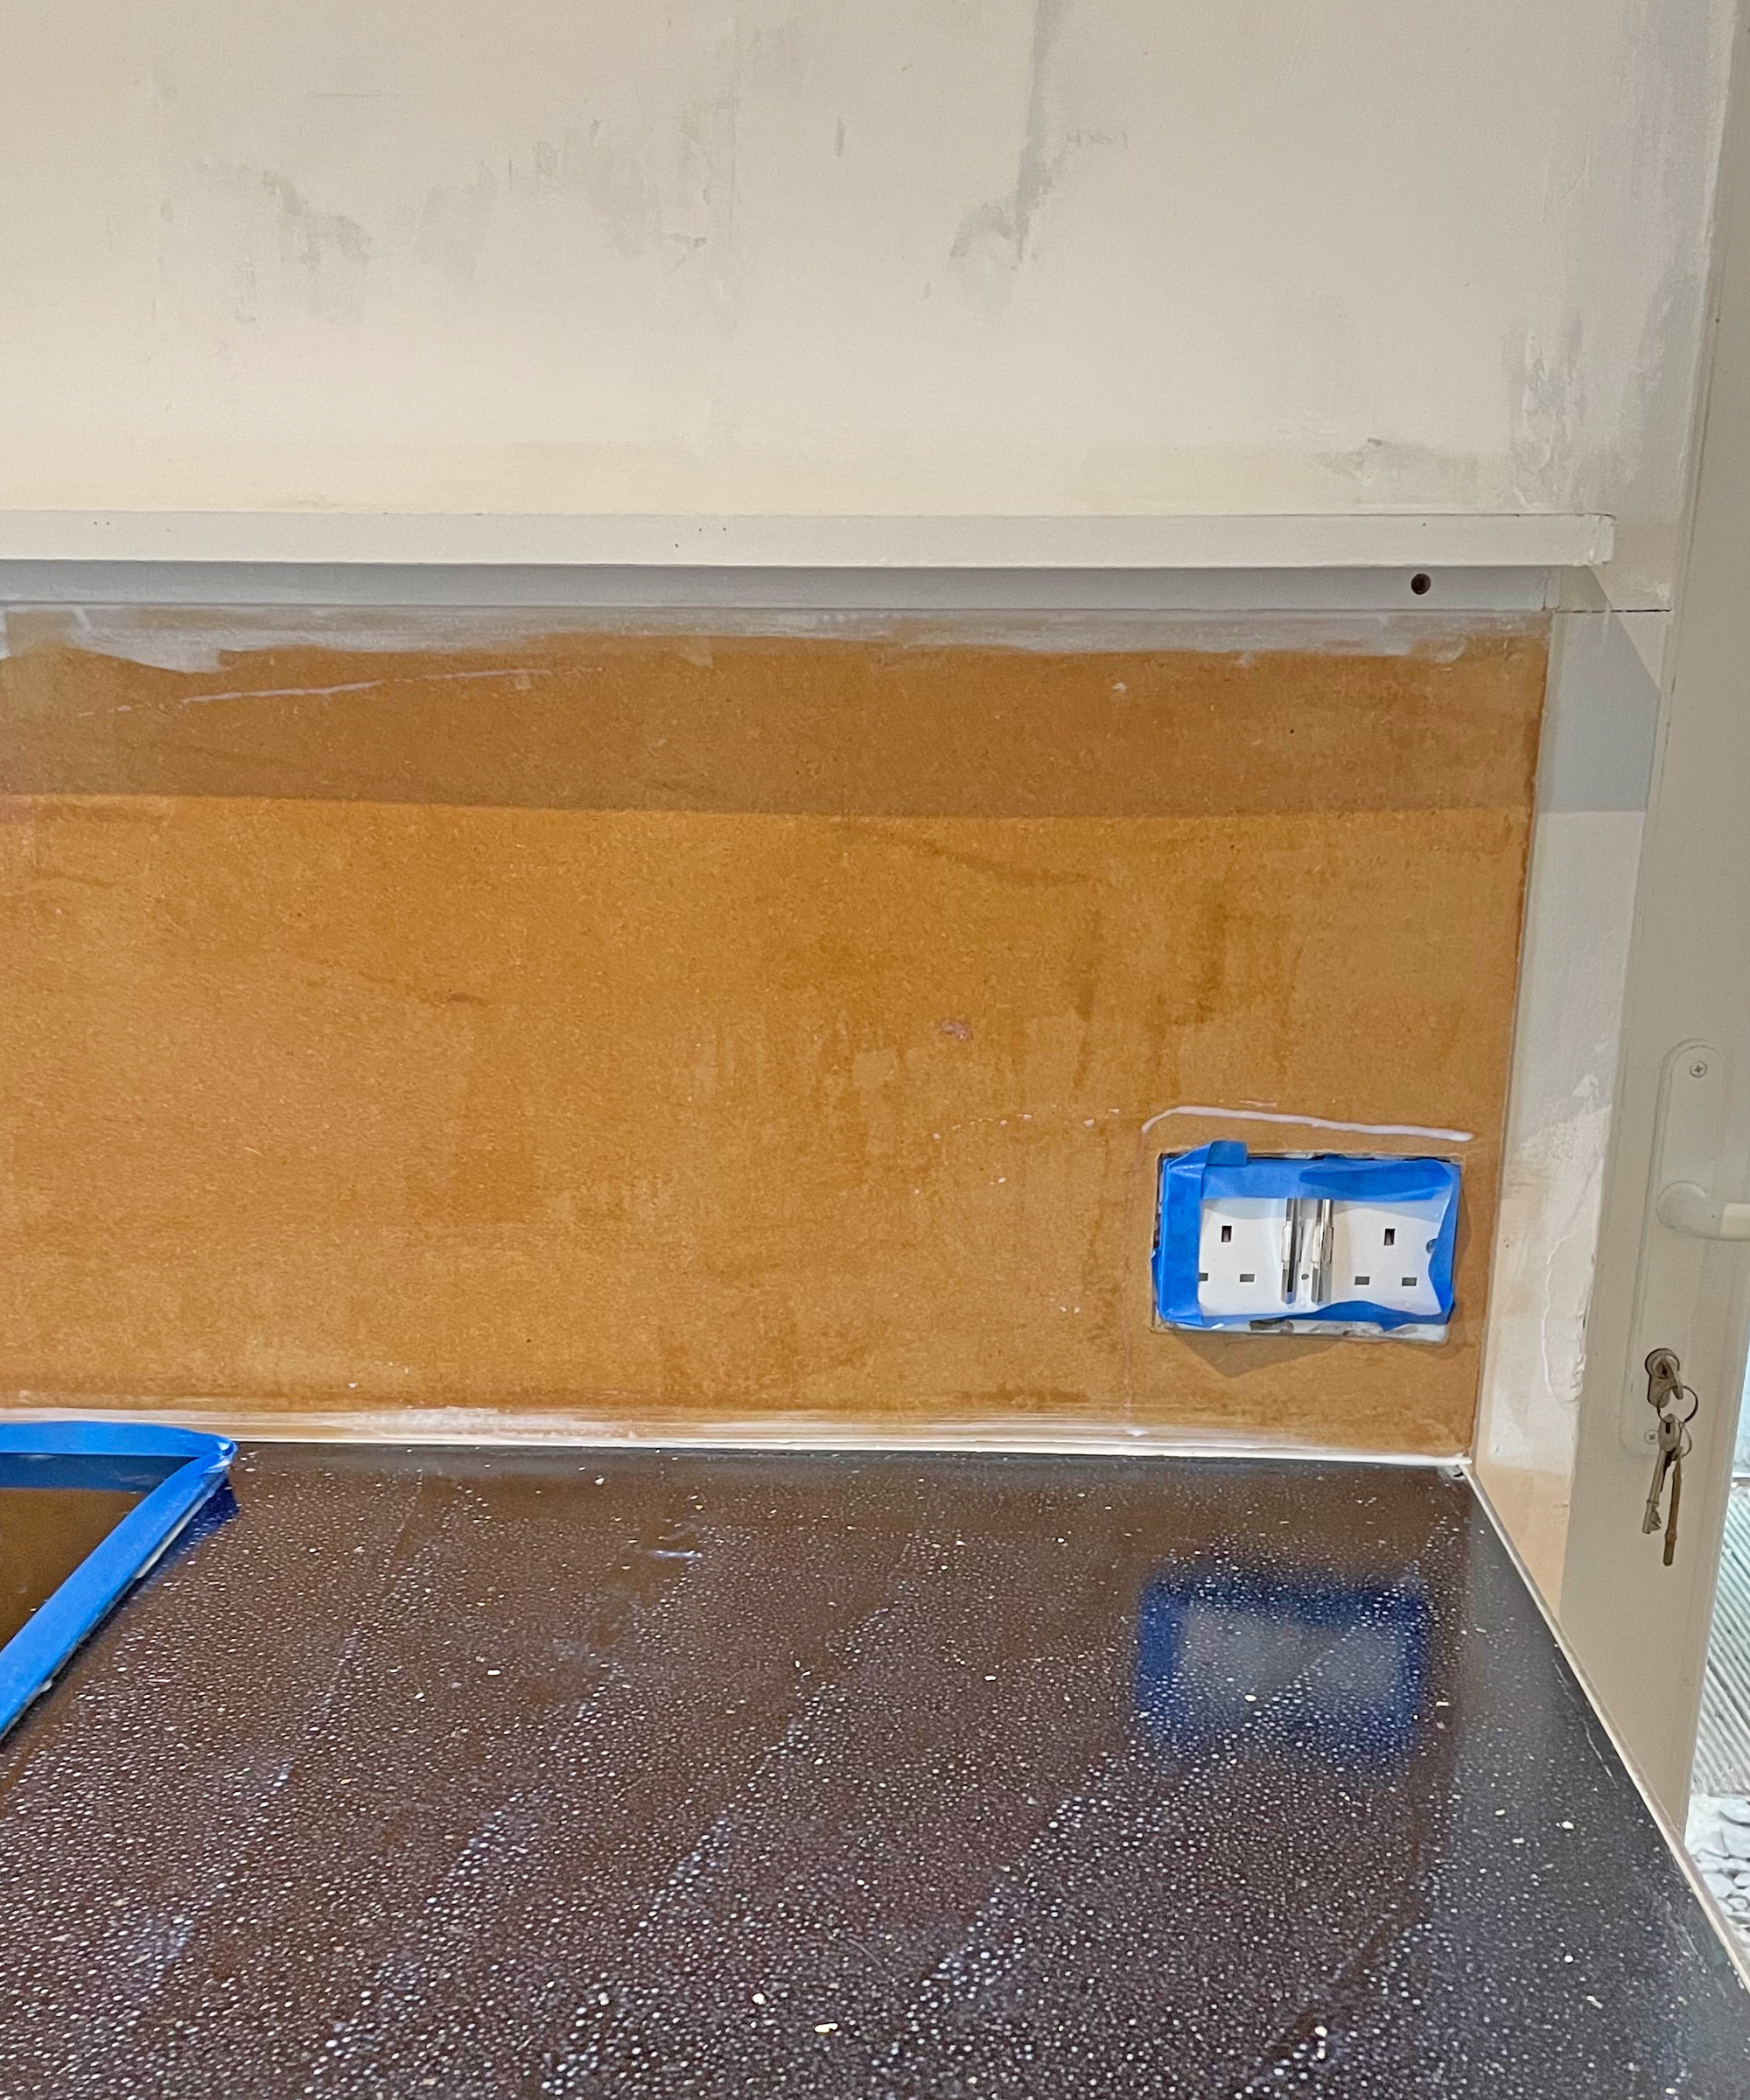
The DIY kit I use contains a primer that you mix up with water. It’s easy to apply and means that the microcement will adhere to your base. Apply the primer liberally with a foam paint roller. If you are only covering the backsplash in microcement then tape off along the countertop join to create a neat line and keep the countertops clean and free from primer and microcement.
Step 4: Mix the microcement
Following the manufacturer’s guidelines, mix the microcement in a clean bucket and allow to sit for the required amount of time. If the mix starts to set, add more liquid following the instructions that came with the kit.
Step 5: Apply the first coat
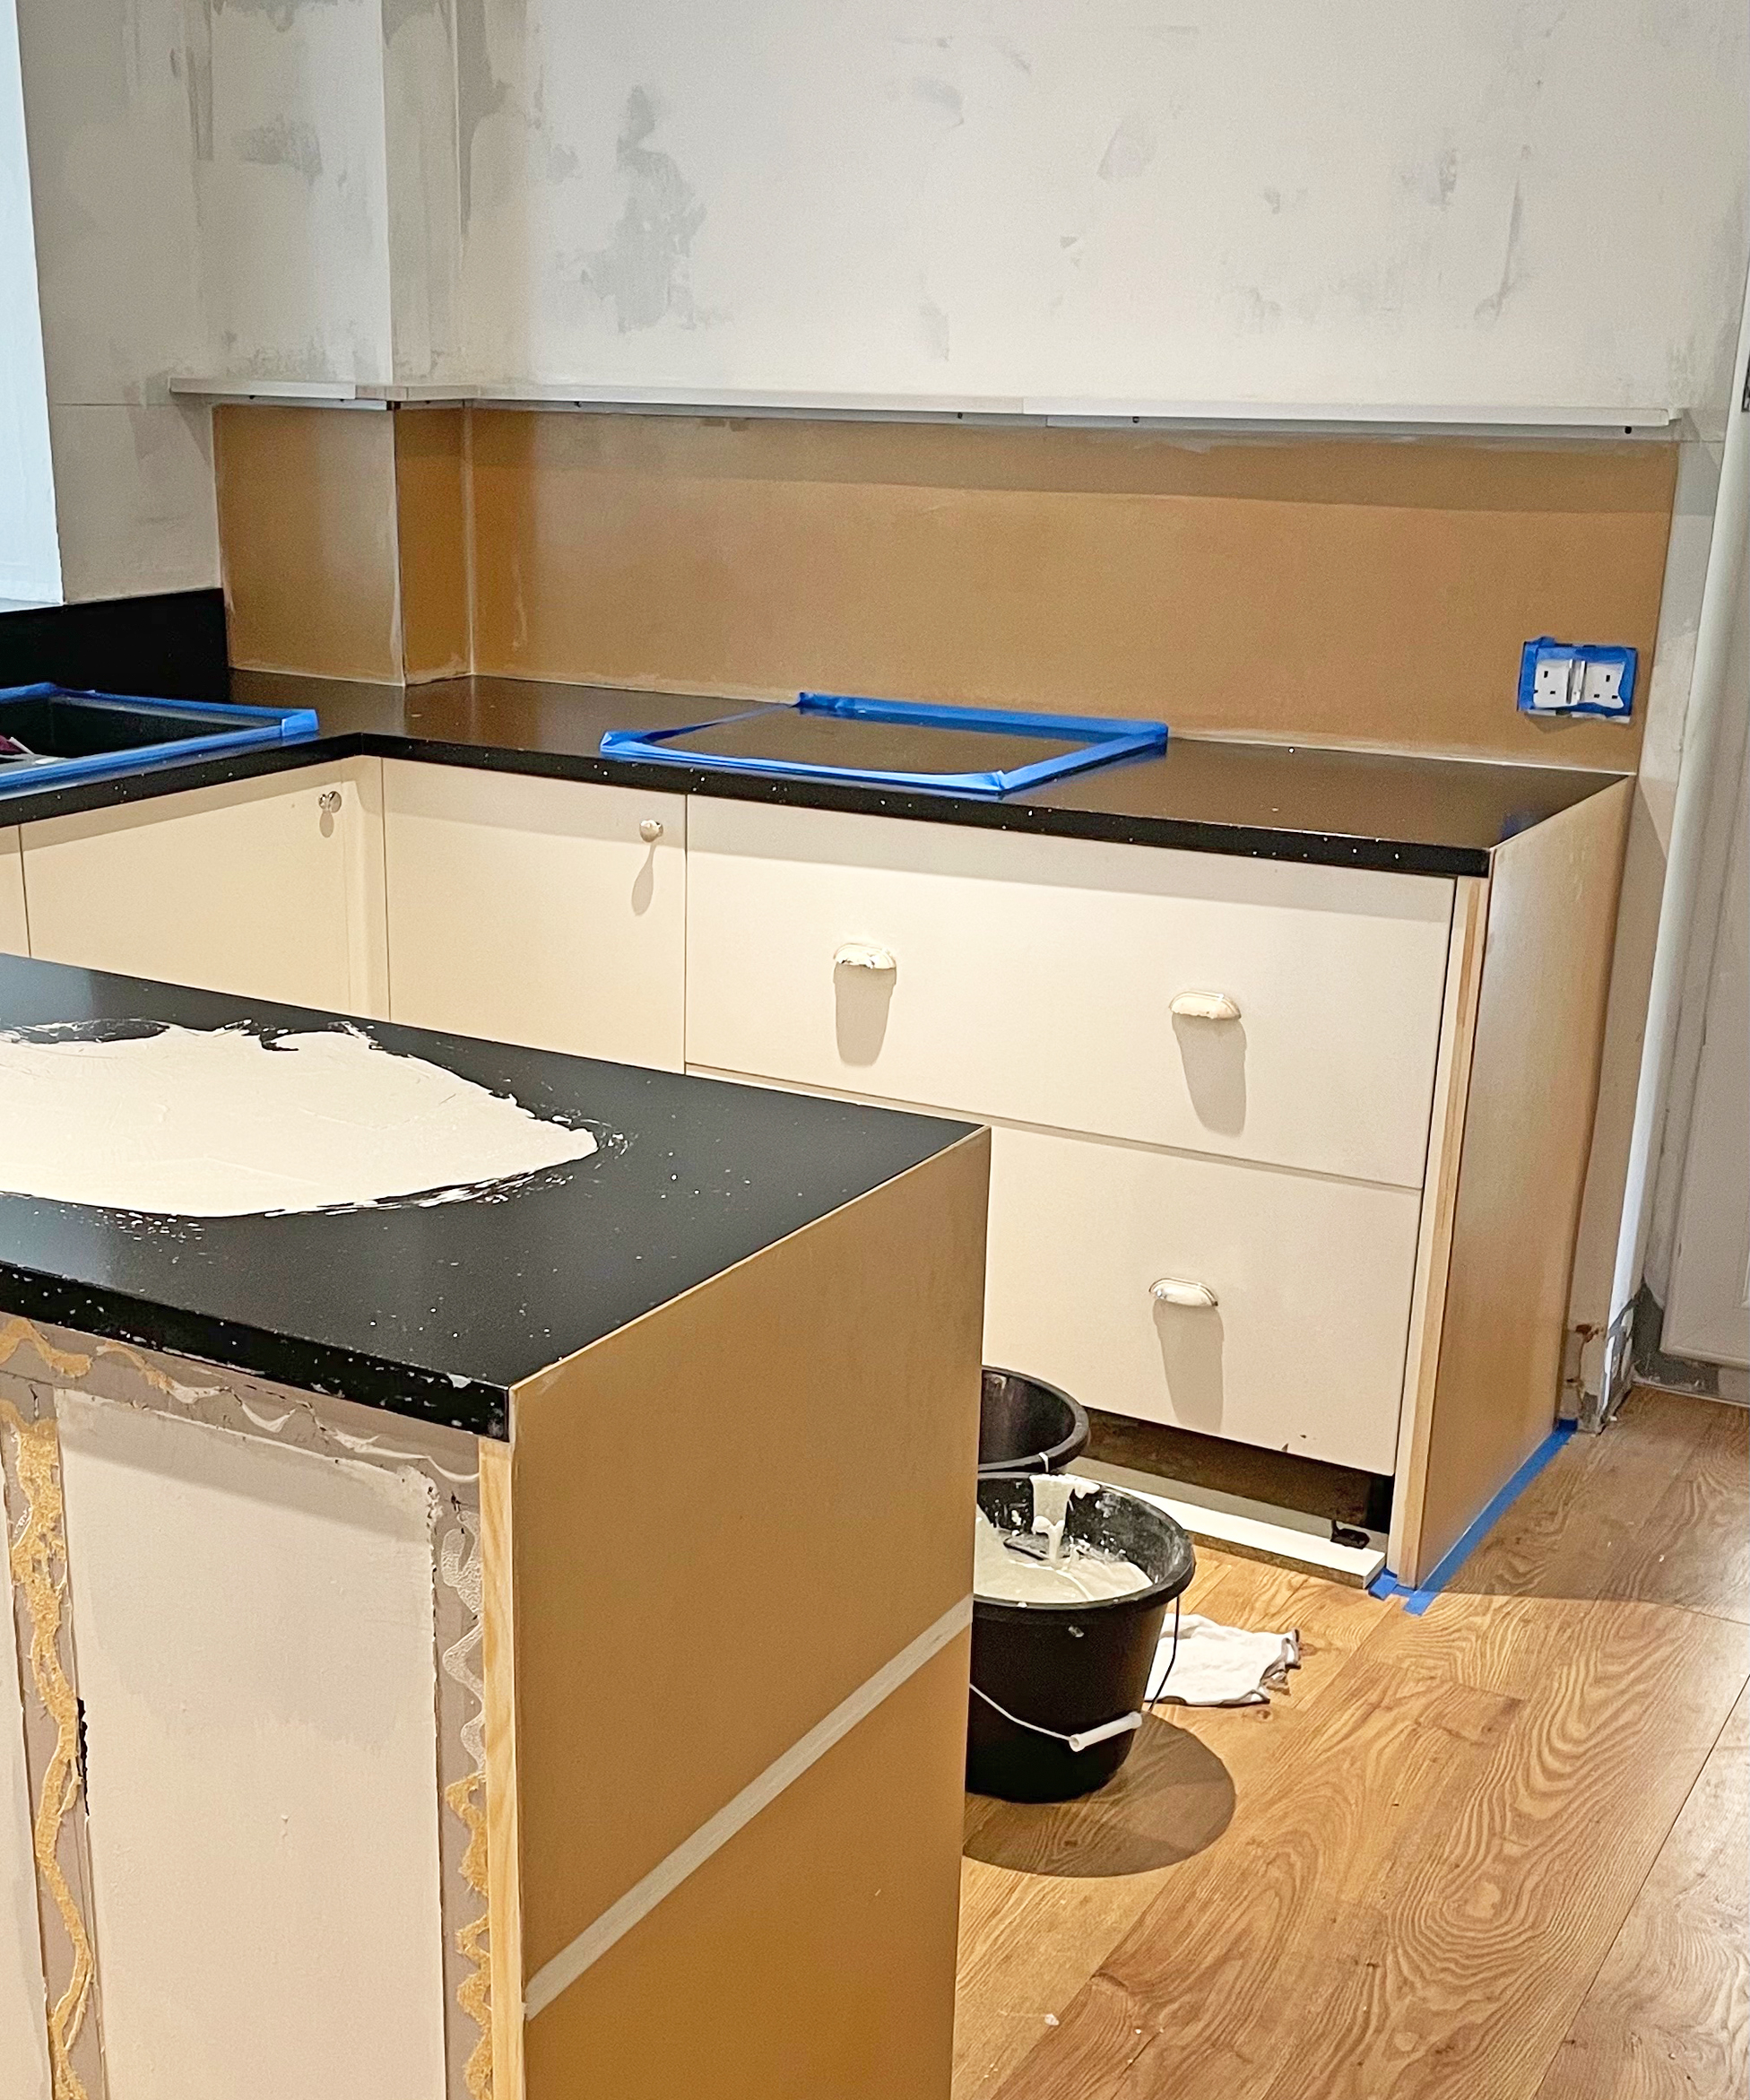
Using a flexible spreading tool, start applying the microcement to the top of your backsplash. Always start at the top and work down as that way any drips, runs or splashes won’t ruin the area below. Don’t panic if you do drip onto an already covered area as you can usually smooth the surface whilst wet or sand down the bumps once dry.
Working across and down, load up your spreader with a small amount of microcement and use firm pressure and sweeping motions so it adheres to the backsplash base at a thickness of 1-2mm.
As I wanted a continuous microcement surface, I continued onto the countertop, but you could stop at the join where your masking tape indicates.
Once you have completed the whole area and are happy with the coverage, allow to dry for 24 hours, or the time stated on the instructions.
Step 6: Sand the first layer
When the first coat has dried, lightly sand any obvious surface lumps or bumps. Wear a dust mask and ideally use a sander that has a dust collector or vacuum connection to prevent concrete dust particles from getting into the air as they can be hazardous to health if breathed in.
This layer will actually be covered by the second coat so you don’t need to spend too much time getting it perfect, the aim here is to make sure there aren’t any major imperfections that will show through the final surface.
Remember that the layer is thin so don’t apply firm pressure with the sander or overwork the area as this could cause damage. Once you are happy with the finish, vacuum up and dust and ensure the surface is clean and free from dust before moving on to the next priming stage.
Step 7: Prime again
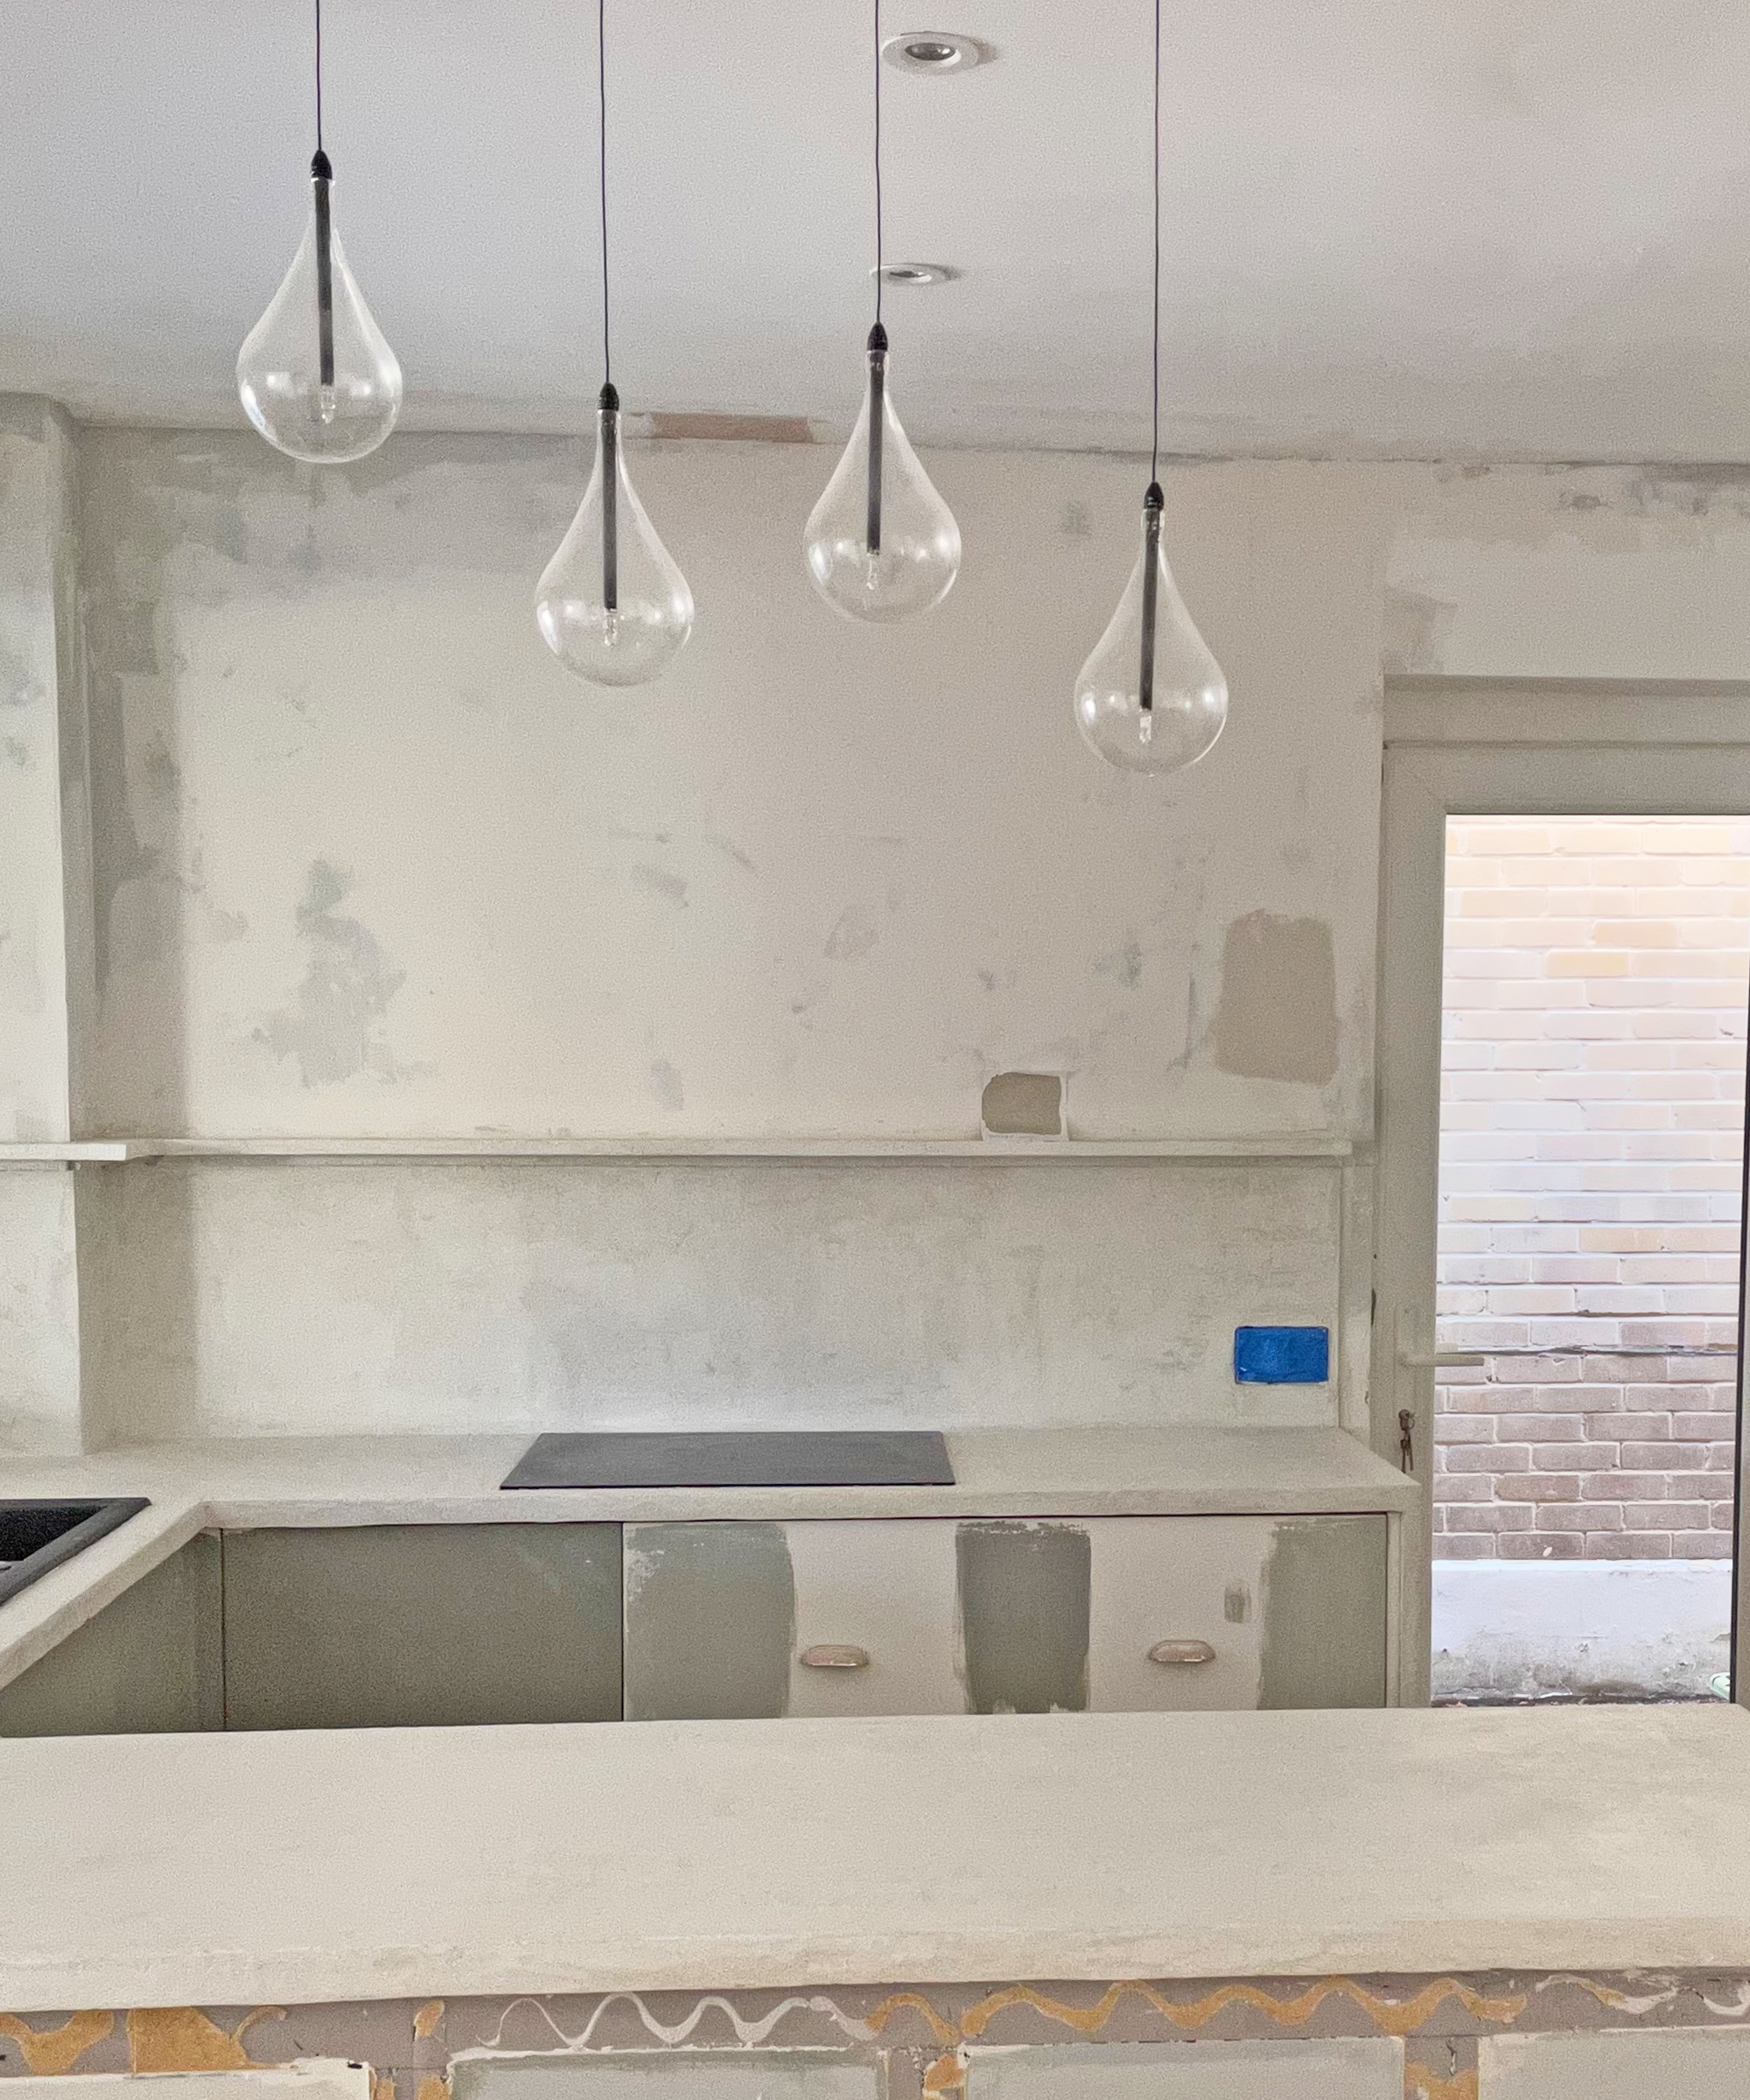
Mix another batch of primer and apply over the area you have just covered with microcement. While the primer is drying, mix up your next batch of microcement following the same process as before.
Step 8: Apply the second layer
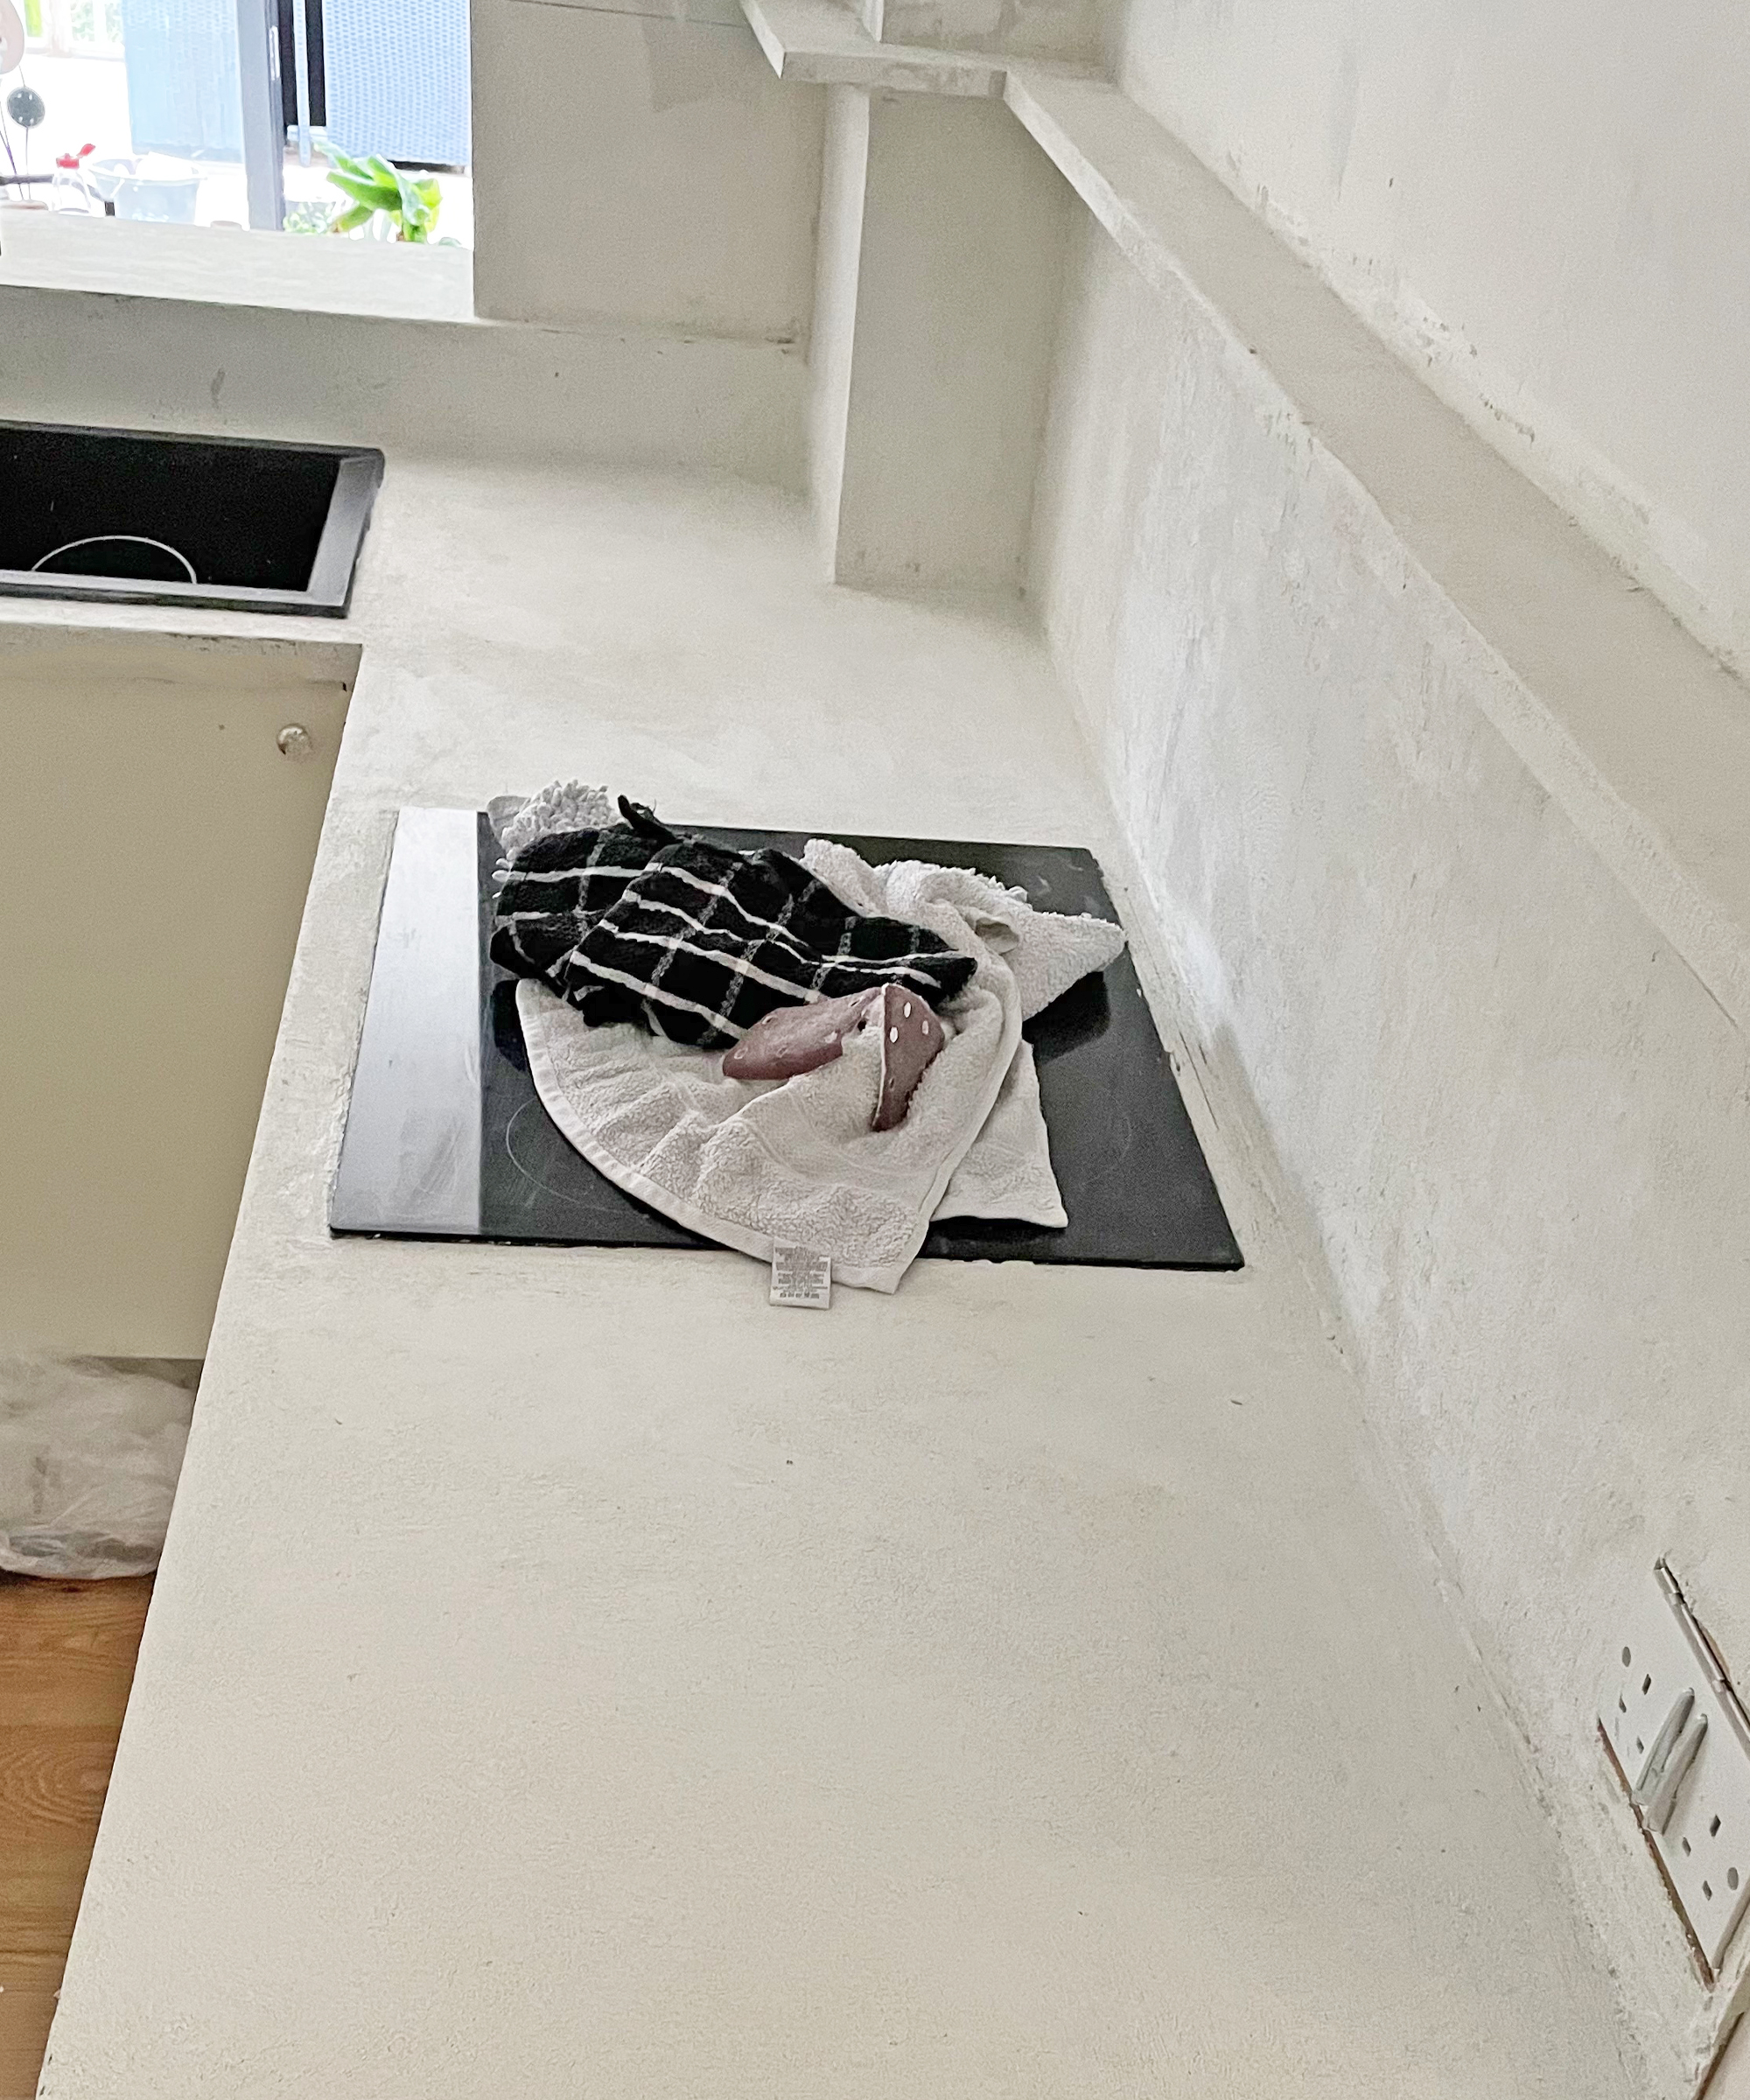
The second layer of microcement should be applied in the same way as the first. By now you’ll have probably developed a knack for it and have your own system for loading the spreader and applying it to the backsplash. Pay close attention to the quality of the finish on this layer as this is the one you will spend a lot of time looking at. Apply even pressure with the spreader and get the surface as smooth and flat as you possibly can, not only does this save time and effort on sanding, but it will also mean the finished results will be a polished concrete look.
Step 9: Final sanding
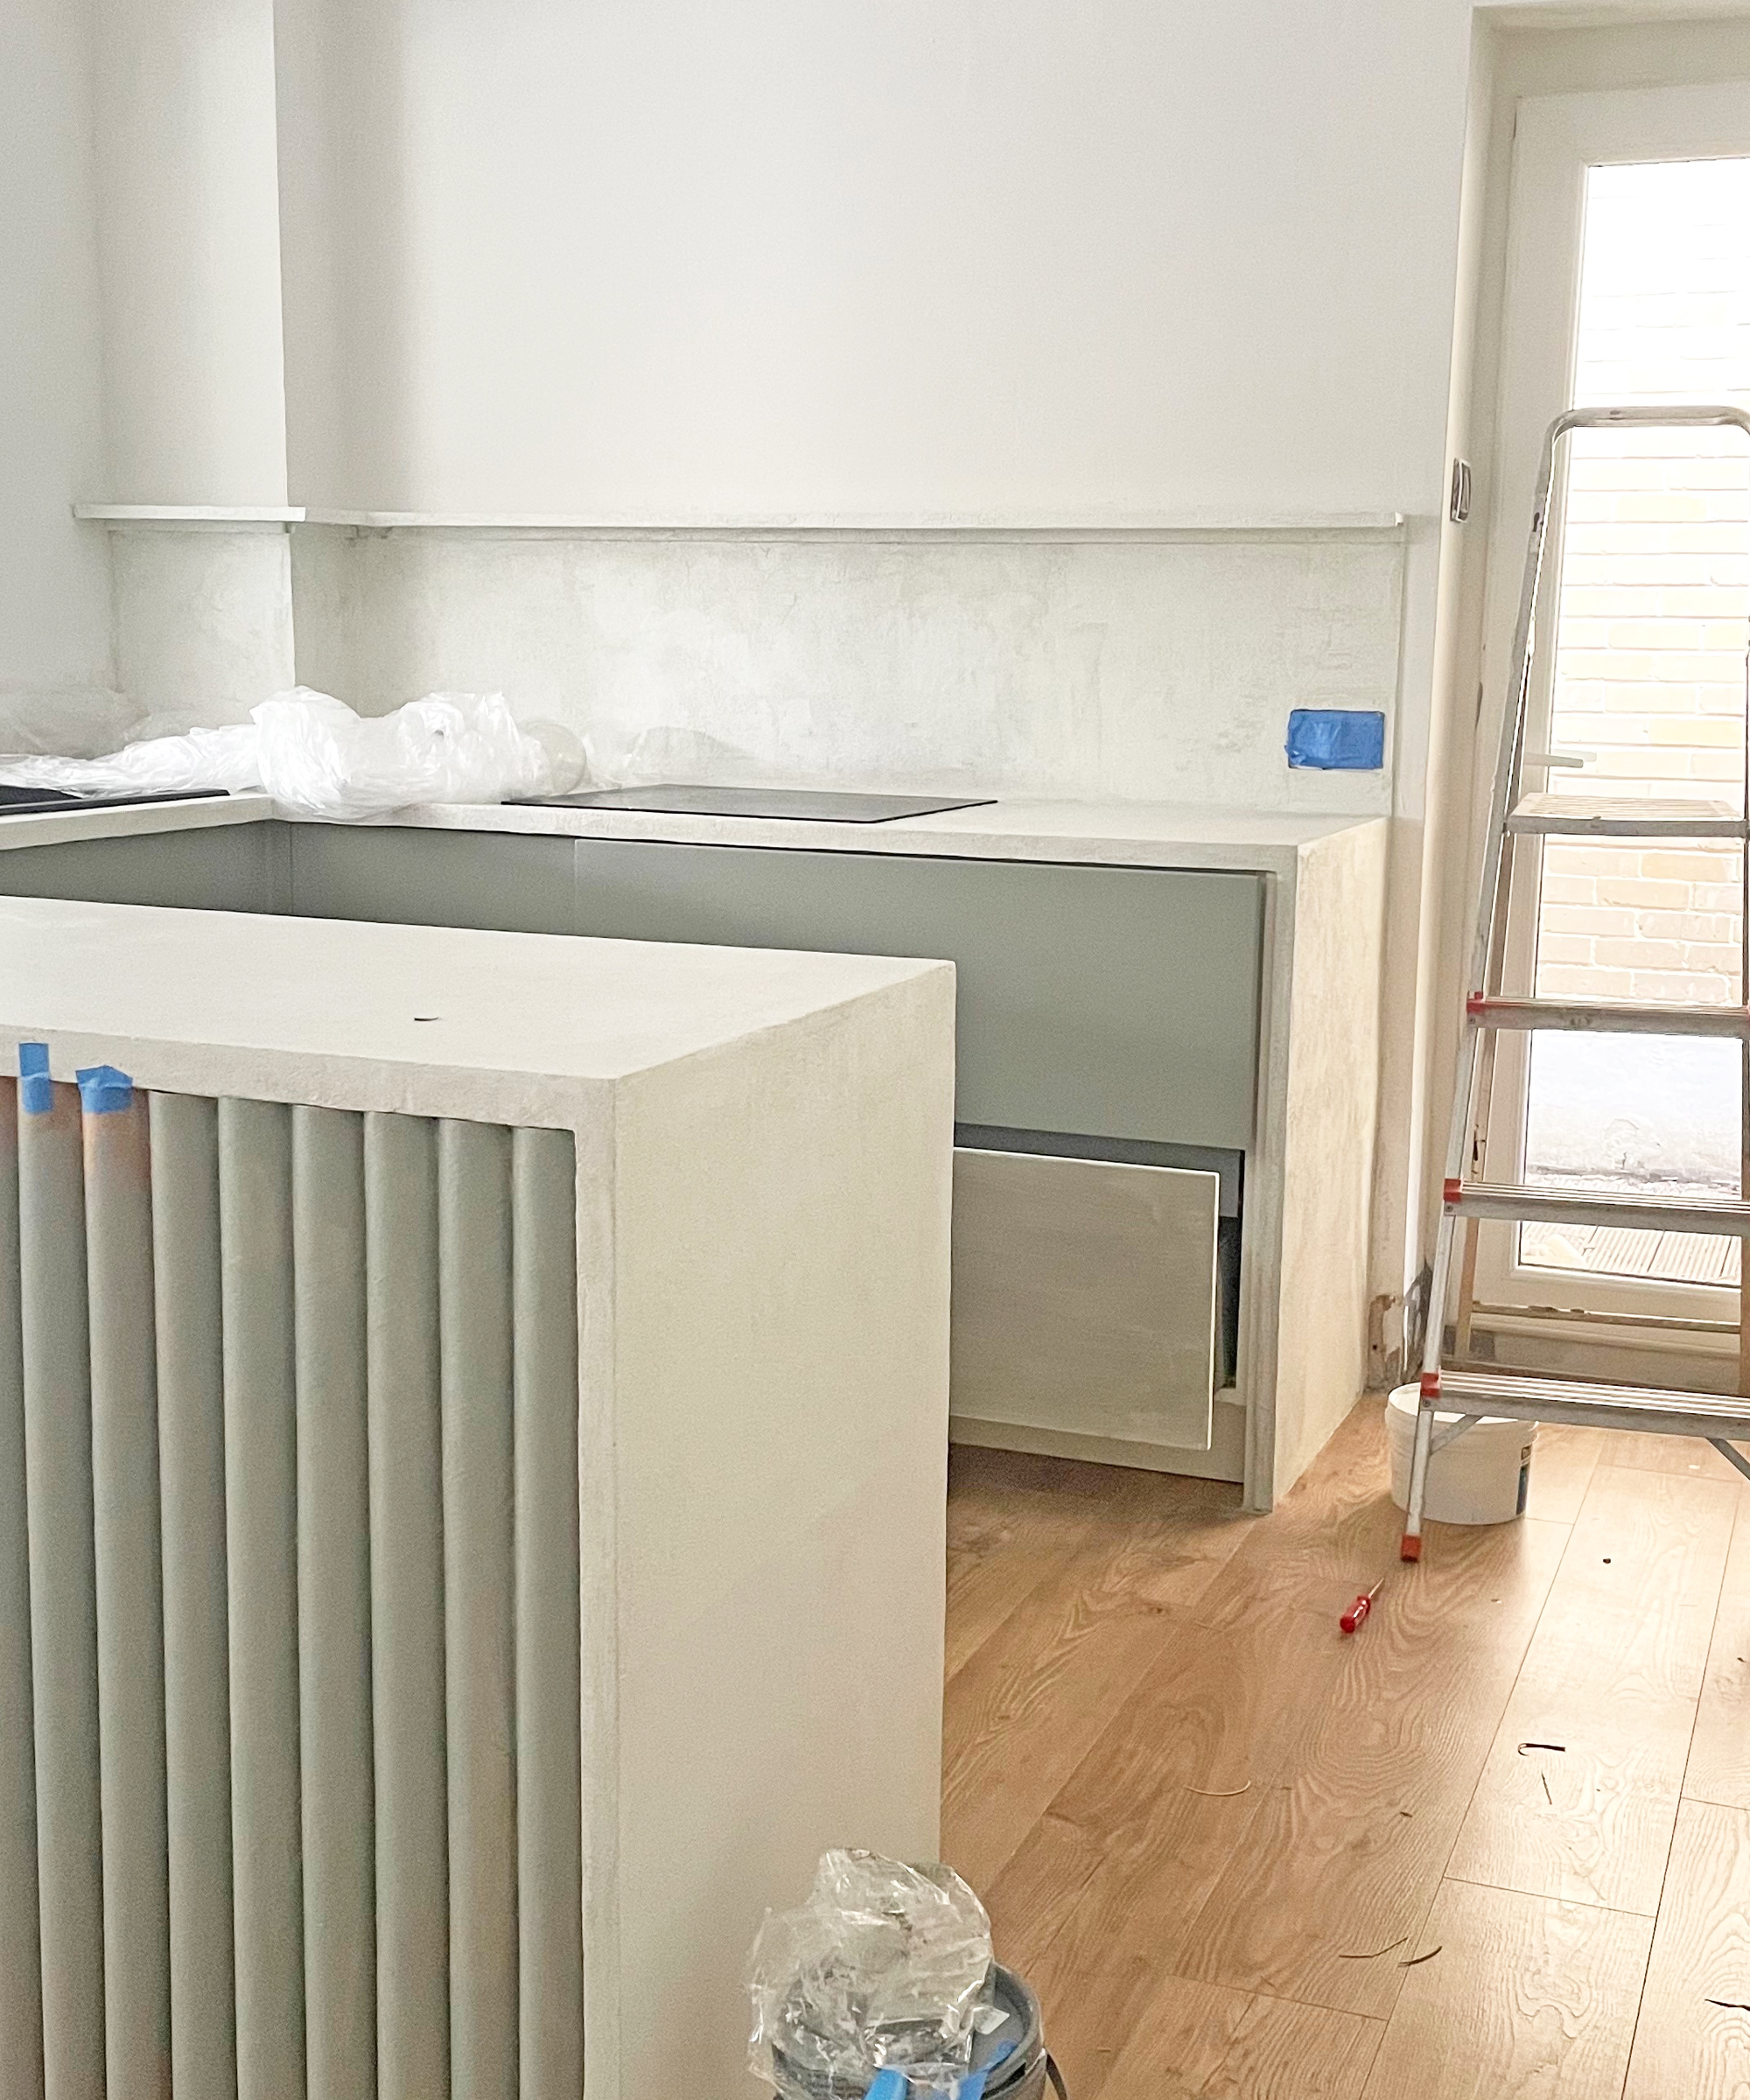
Once the second layer has dried, lightly sand to your desired smoothness. Work in small circular motions with the sander and apply even pressure. Failure to sand evenly could result in an uneven final texture which will show up more after the backsplash is sealed. As before, remember to wear a mask and collect the dust from the sander.
Step 10: Seal your microcement backsplash
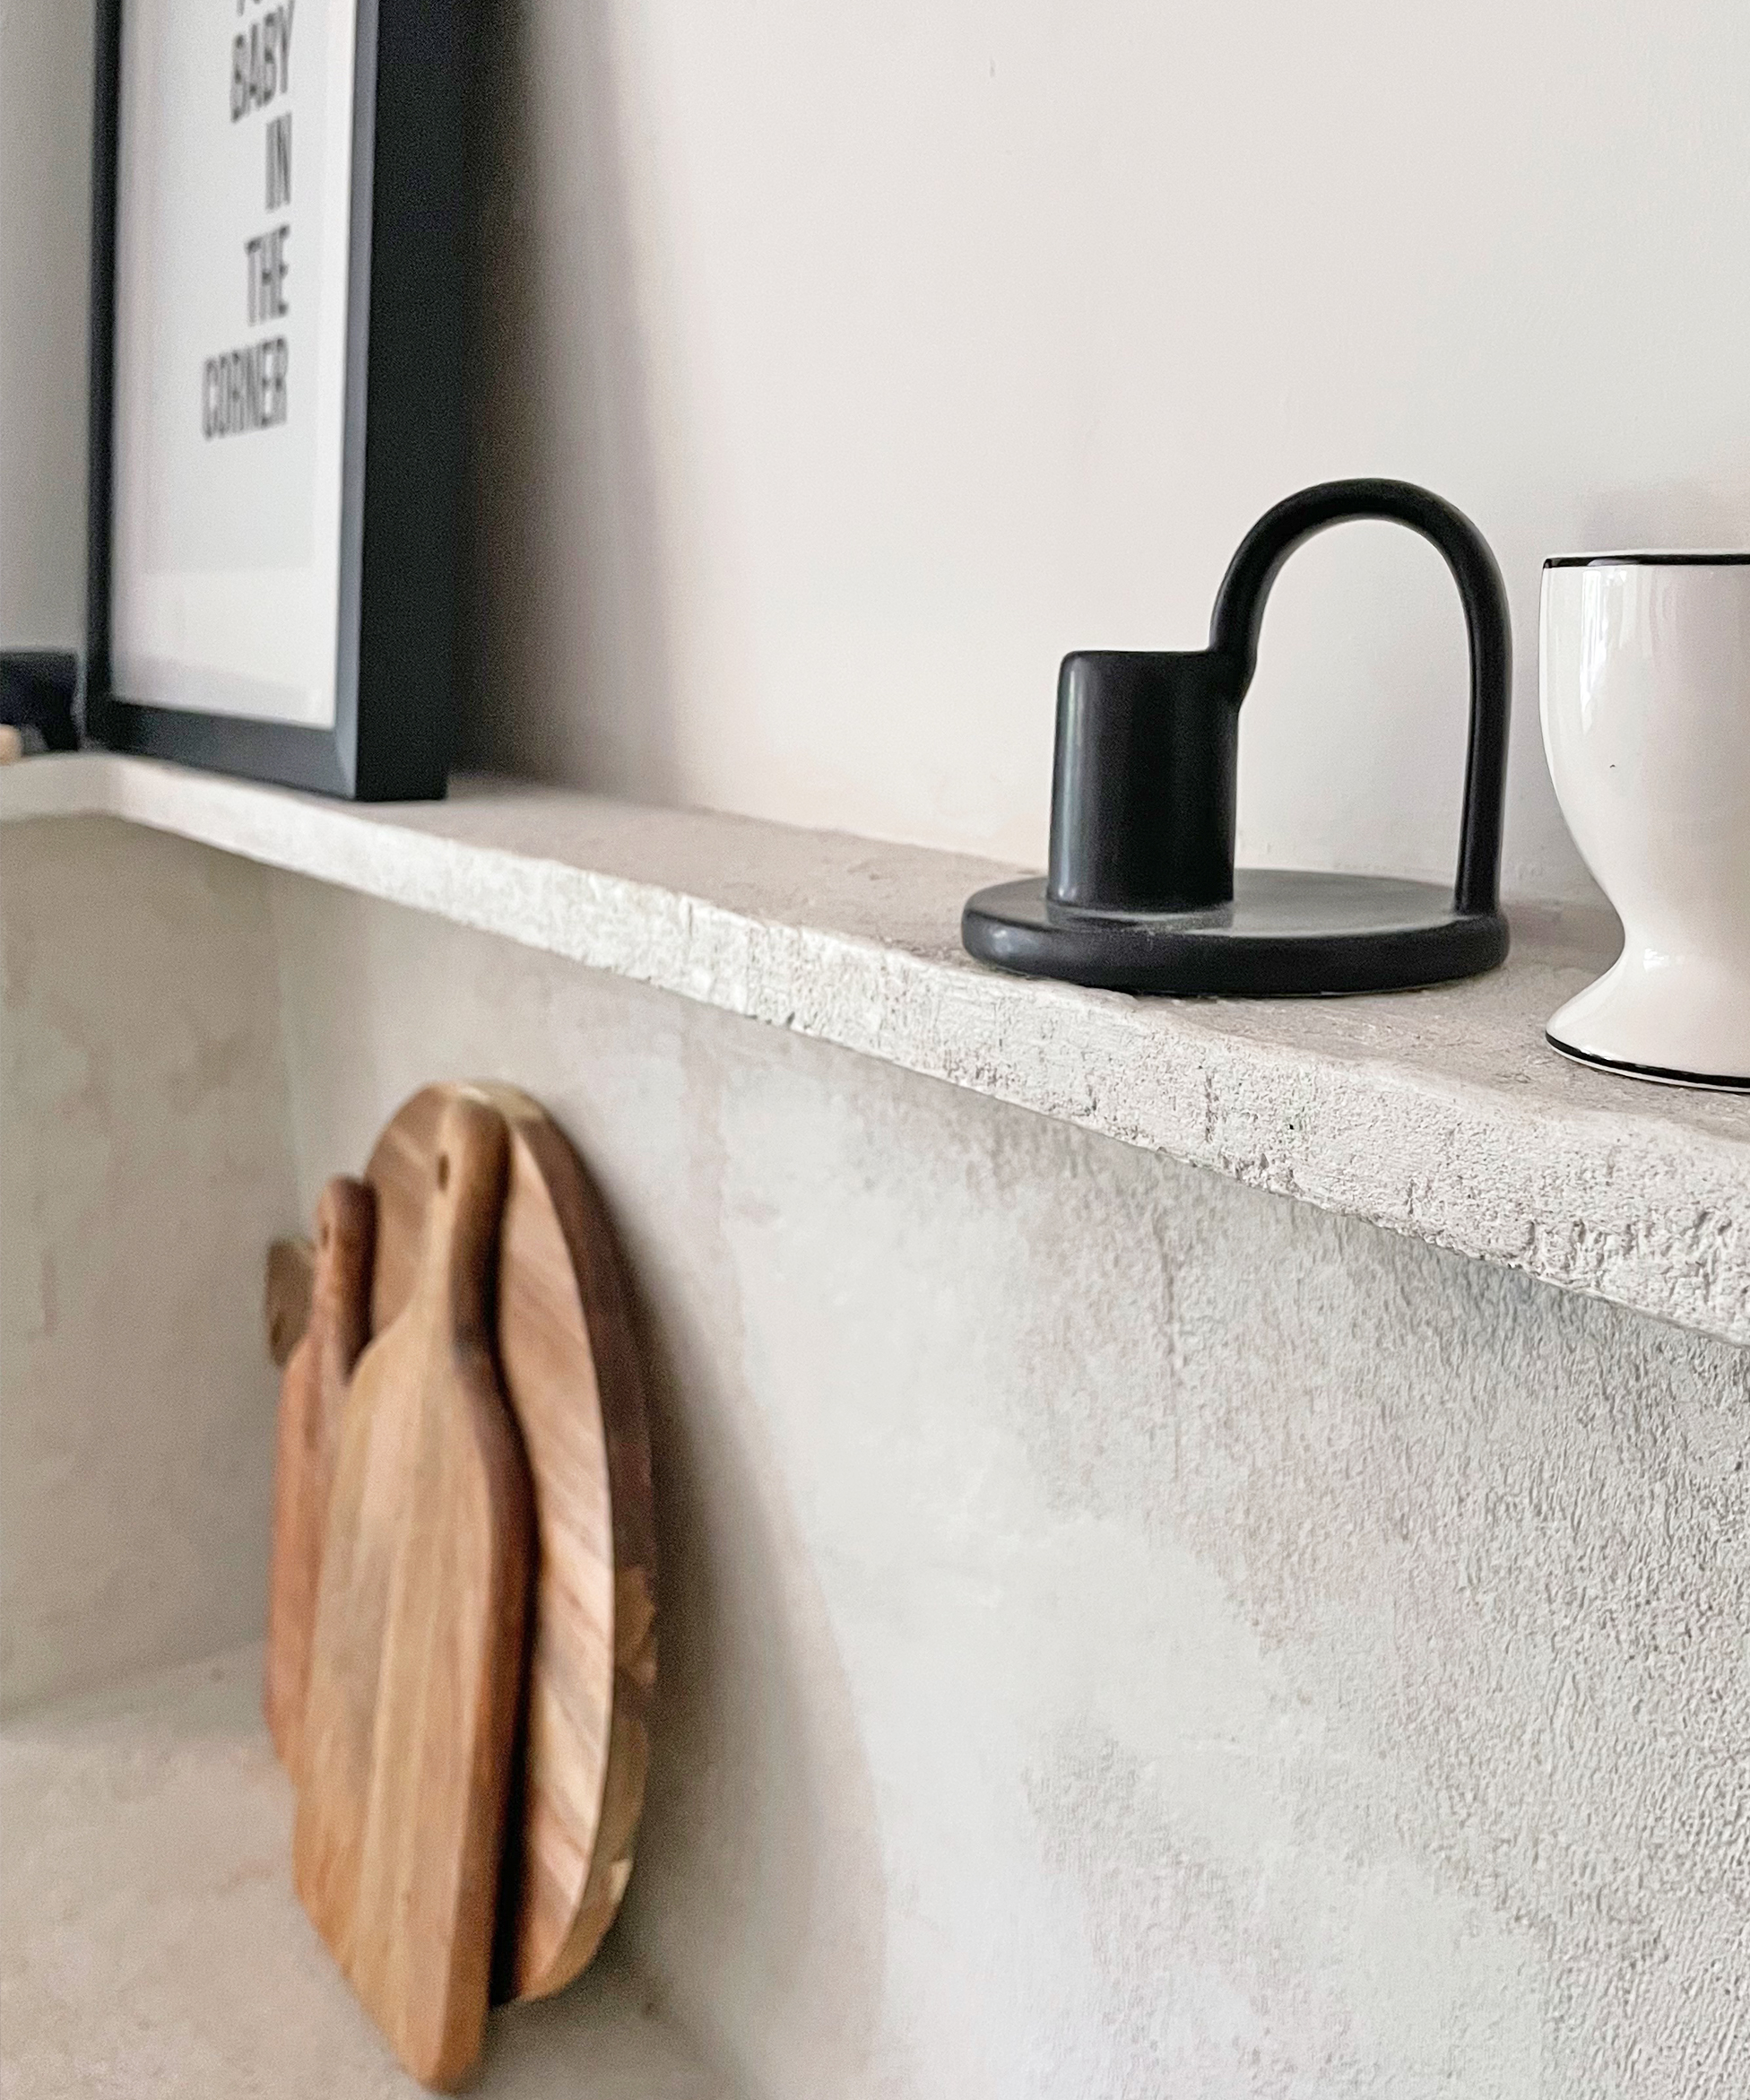
Clean the backsplash off, ensuring there isn't any dust on the surface and apply a sealant to make it waterproof and food safe.
Once sealed, admire your funky new kitchen addition, and if you've caught the microcement bug, start planning your next project! You can alternatively consider wrapping vs painting your countertops.

I'm happiest when I have either a drill or paintbrush in my hand! I specialise in room transformations on a budget and love experimenting with different styles and techniques which I share on my Instagram. I believe that your imagination, not your budget, should be the limiting factor when transforming a room and I love thinking of creative ways to build custom and bespoke-looking furniture using flatpacks or upcycle finds.
I also love writing and my home improvement blog (ClaireDouglasStyling.co.uk) is my passion project where I share creative ideas for interior styling and DIY tips and tutorials.