A guide to sanding: everything you need to know for smooth DIYs
From when you need to sand to what to use and the best techniques, this is the big guide to sanding for all keen DIYers.

Get small space home decor ideas, celeb inspiration, DIY tips and more, straight to your inbox!
You are now subscribed
Your newsletter sign-up was successful
I, like many DIYers, have a love-hate relationship with sanding. It can be such a transformative process…utterly satisfying, yet tedious, messy, and slow all at the same time. If you aren’t careful, you’ll be wiping away layers of seemingly never-ending dust from every surface within a mile radius of the thing you sanded and if you don’t use the correct ‘grit’ sandpaper you’ll either make little impact or potentially cause irreparable damage.
However, as any keen DIYer knows, there’s nothing quite like bringing an old piece of furniture back to life or refinishing hardwood floors and neither of these tasks (or hundreds similar) can be properly achieved without at least a smidgen of sanding. If you want to avoid the pitfalls and grab all the glory instead, read on because our complete guide to sanding wood has all the nitty gritty (pun intended!).
What is sanding?
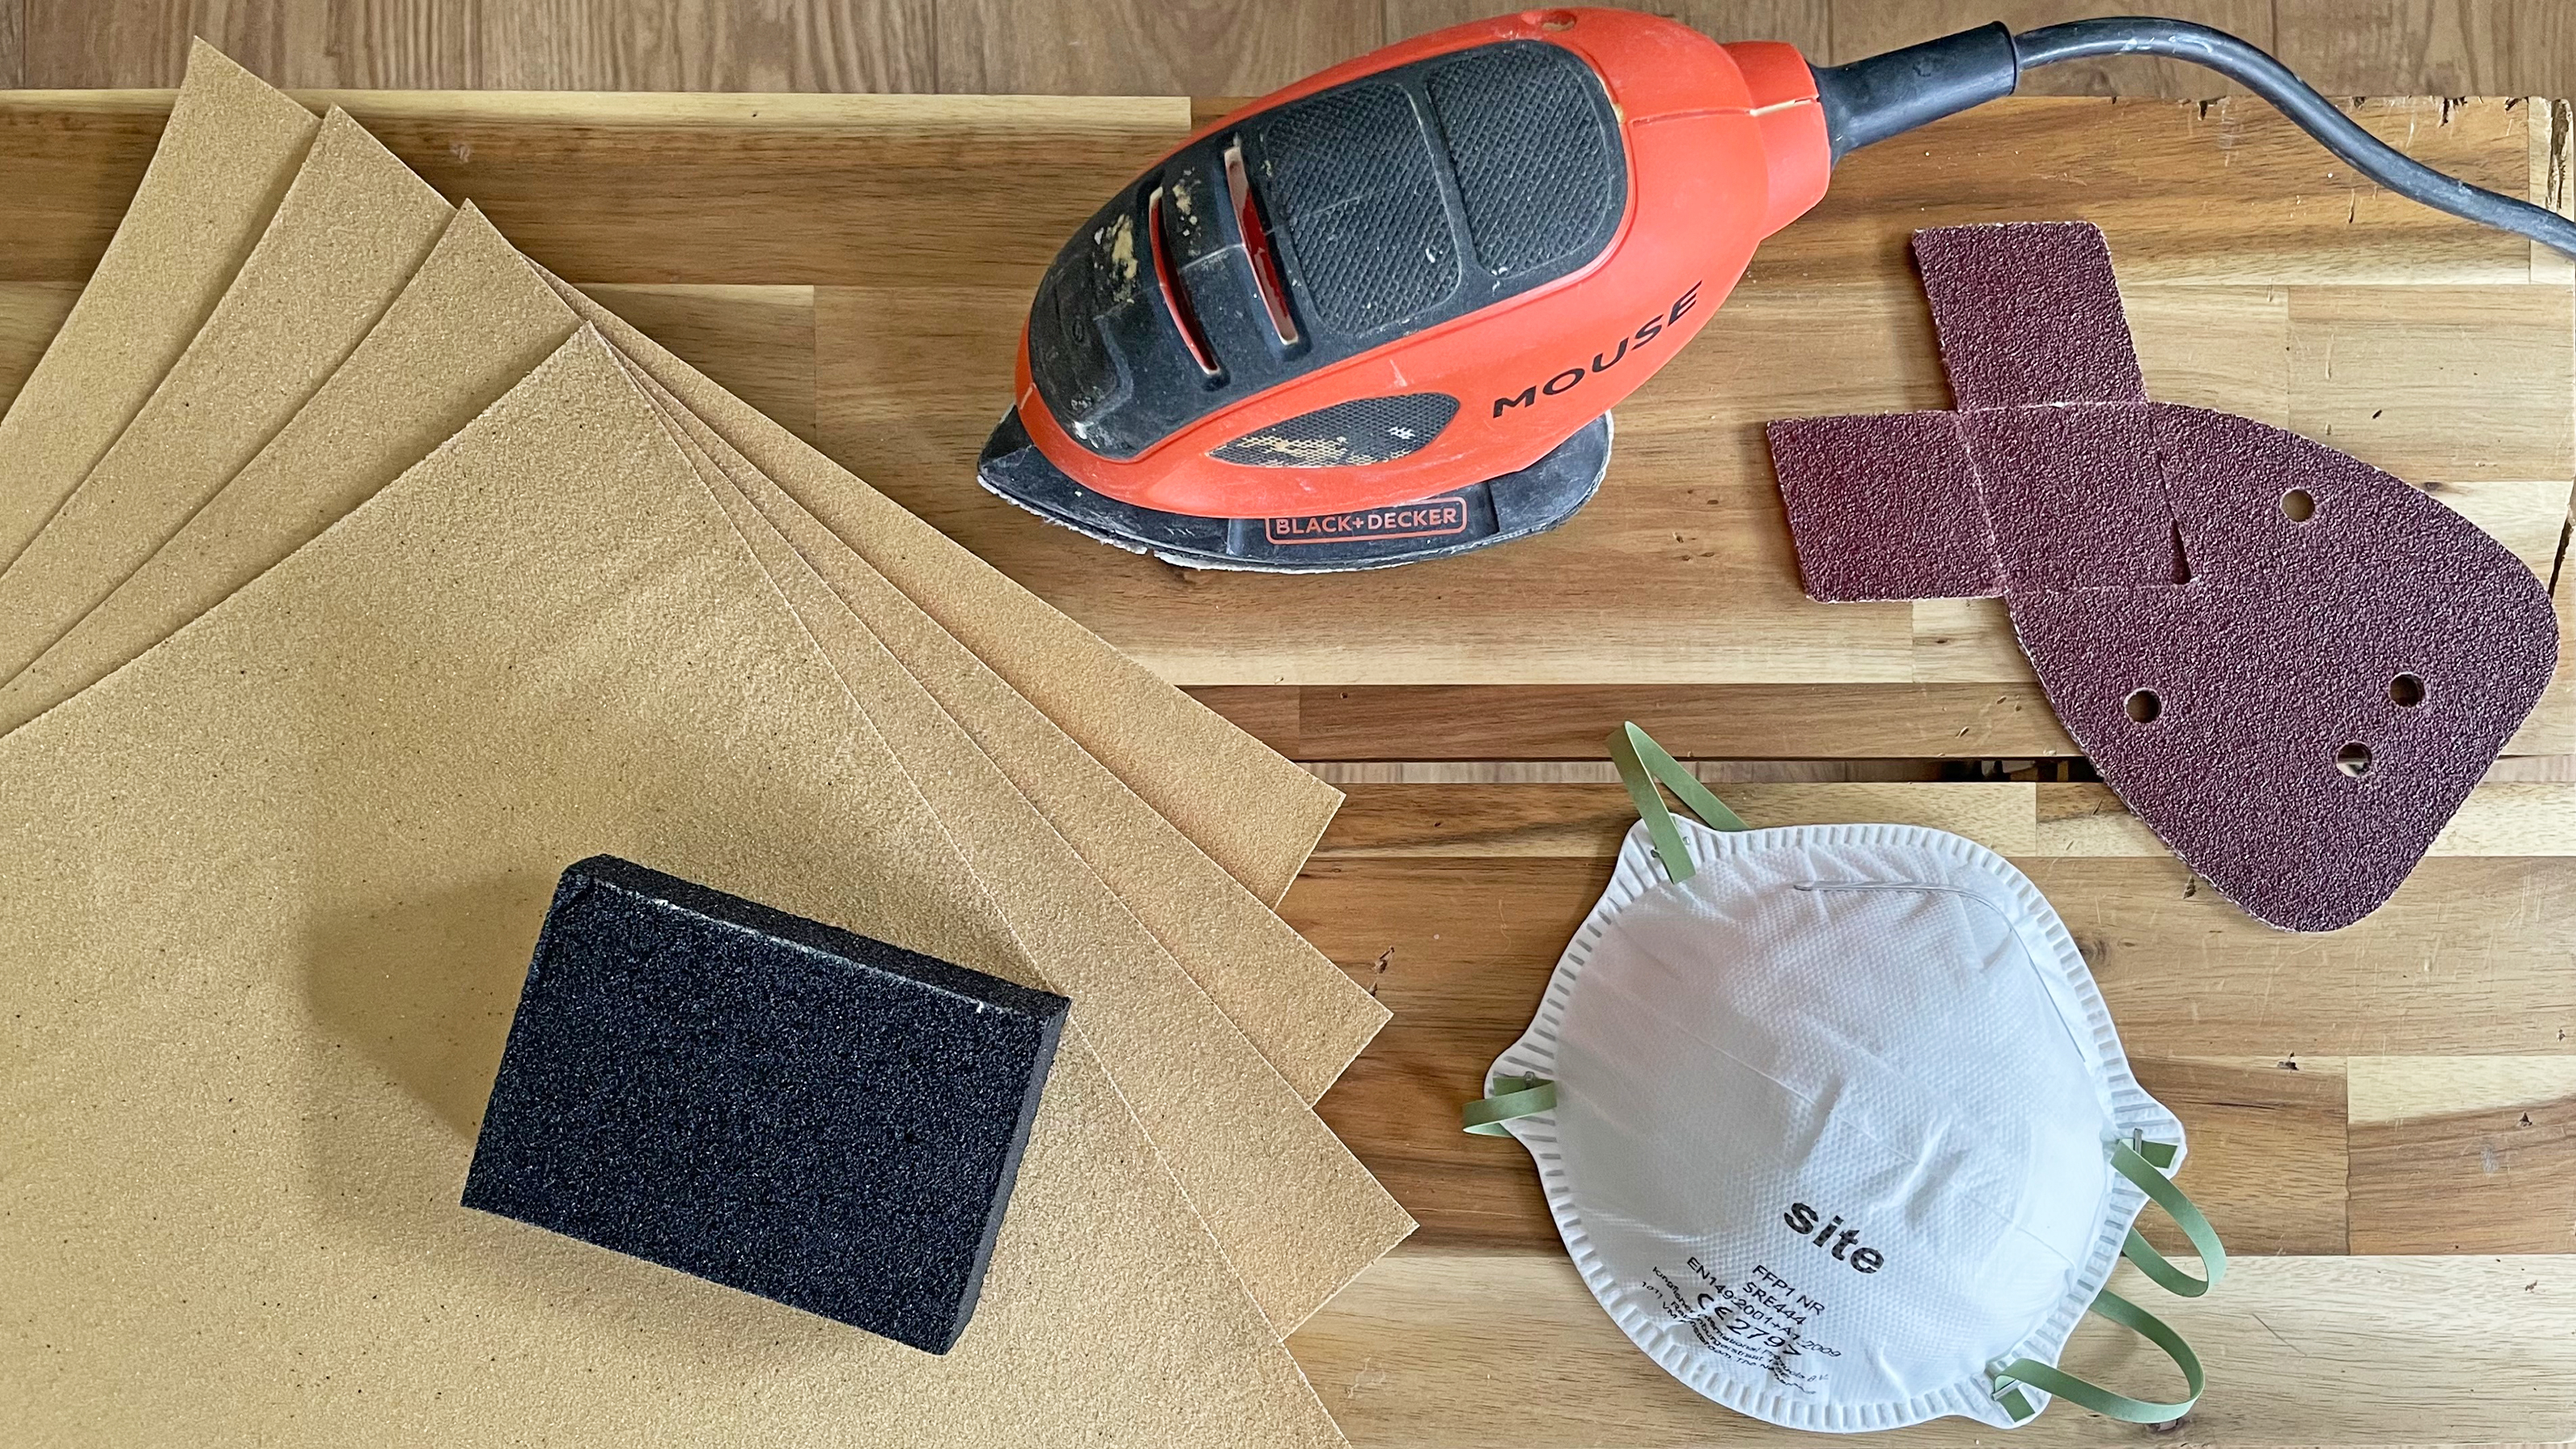
Sanding is the process where you smooth or shape the surface of a piece of wood (or other material, but we are specifically looking at wood today) by rubbing it repeatedly with an abrasive sheet of paper. This can be done manually with loose sheets of sandpaper folded over a piece of wood or similar for ease of grip, or with an electric sander with attached pads of sandpaper. There are also specially designed sanding blocks and pads, often made from foam, that you use manually in wet or dry conditions depending on the DIY project or upcycling job.
When do you need to sand?
Sanding is often undertaken when there is a surface coat of paint, stain, lacquer, or even to remove mold from wood. This could be as part of an upcycle or restoration project, or just part of general home maintenance. As well as refreshing old wood, sanding is a useful tool in construction and woodworking for smoothing the surface of rough-sawn or new wood, to ensure it is fit for interior use. Sanding can elevate a piece of wood by revealing the grain which can be a real feature.
Are there different types of sander?
Cordes and cordless sanders are power tools and, there are lots of different types of sanders out there. DIYers need to know about the following types…
- Belt sanders: These are very powerful and ideal for heavy-duty jobs such as floors. They can be quite bulky, with a limited range of motion.
- Orbital sanders: These sanders vibrate with a tiny circular motion. They are more useful as a finishing sander rather than for very heavy-duty sanding and are suitable for furniture and staircases. They are great for flat surfaces and are a toolkit staple for regular DIYers.
- Random orbital sanders: These are similar to standard orbital sanders but they rotate as well as vibrate in a circular motion. They can leave less obvious sanding marks than the standard orbital sander due to the two separate motions they perform. Random orbital sanders are really useful for DIYers with regular projects.
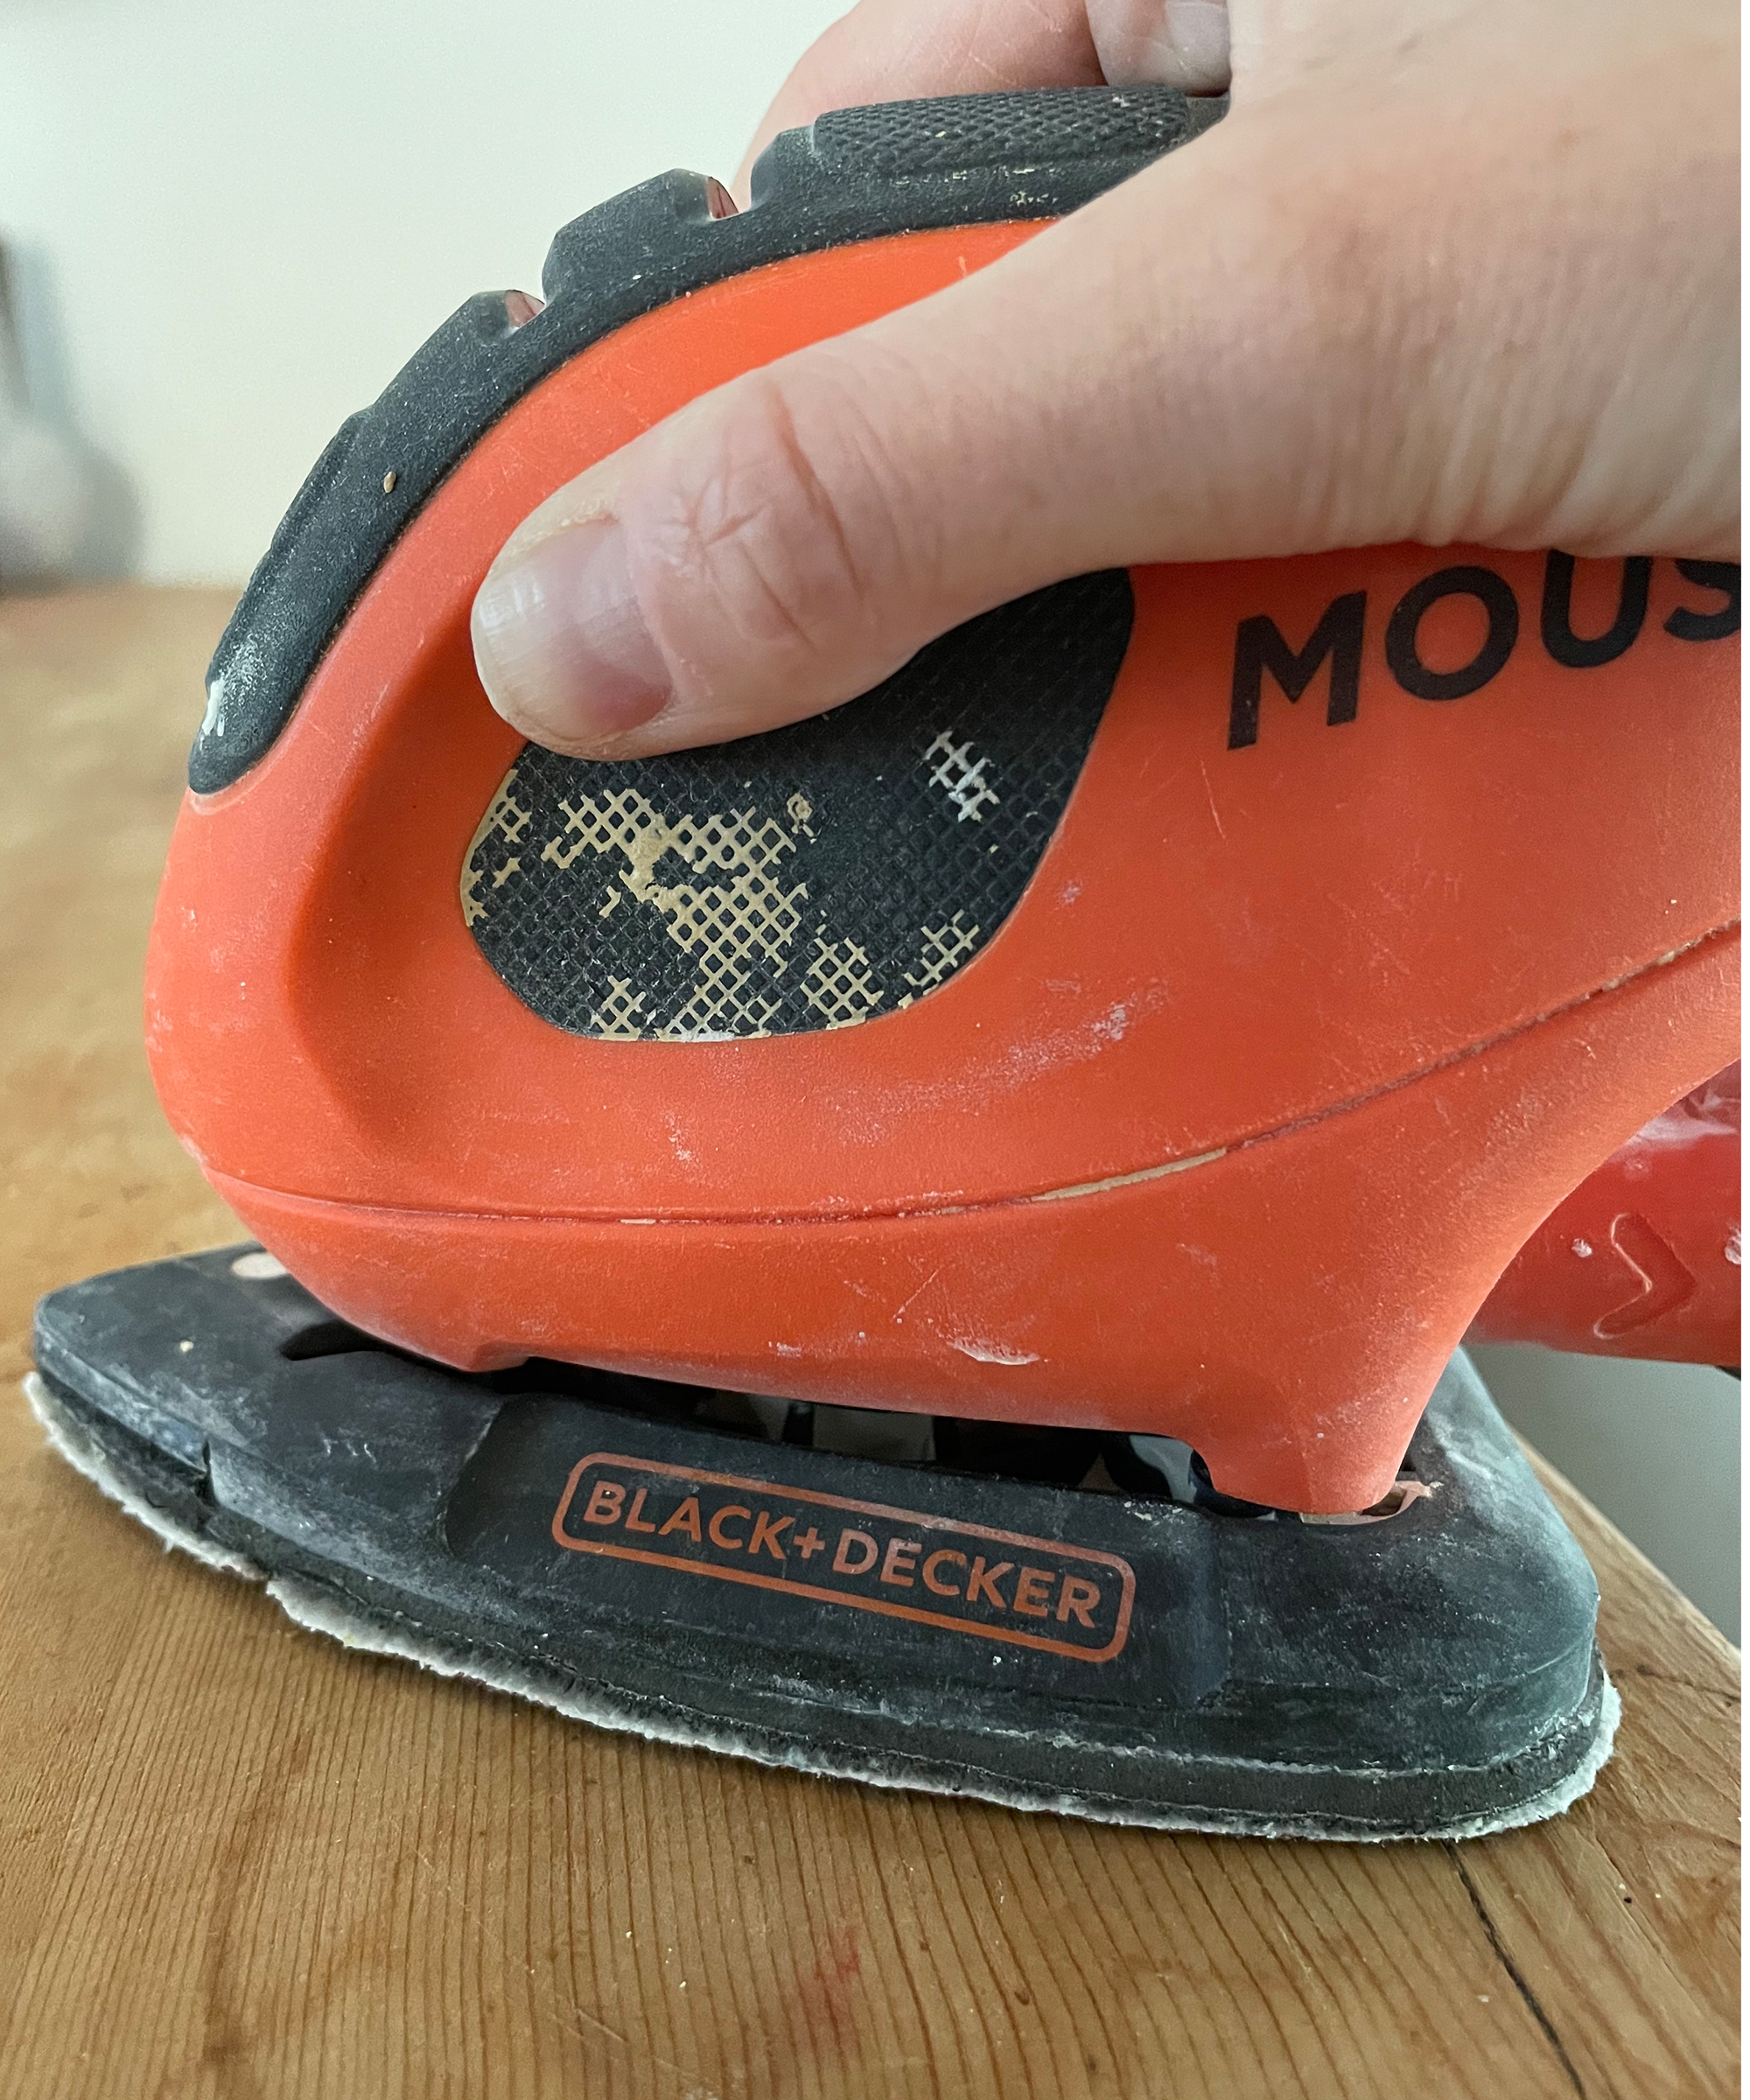
- Mouse sanders: These sanders work in a similar way to orbital ones, but have a distinctly recognizable shape based on the computer mouse. The tip is pointed to allow for easy access to inside corners and tight areas. These are a low-cost, handy addition to most tool kits and are ideal for DIYers with small projects.
How do you know what grit to use?
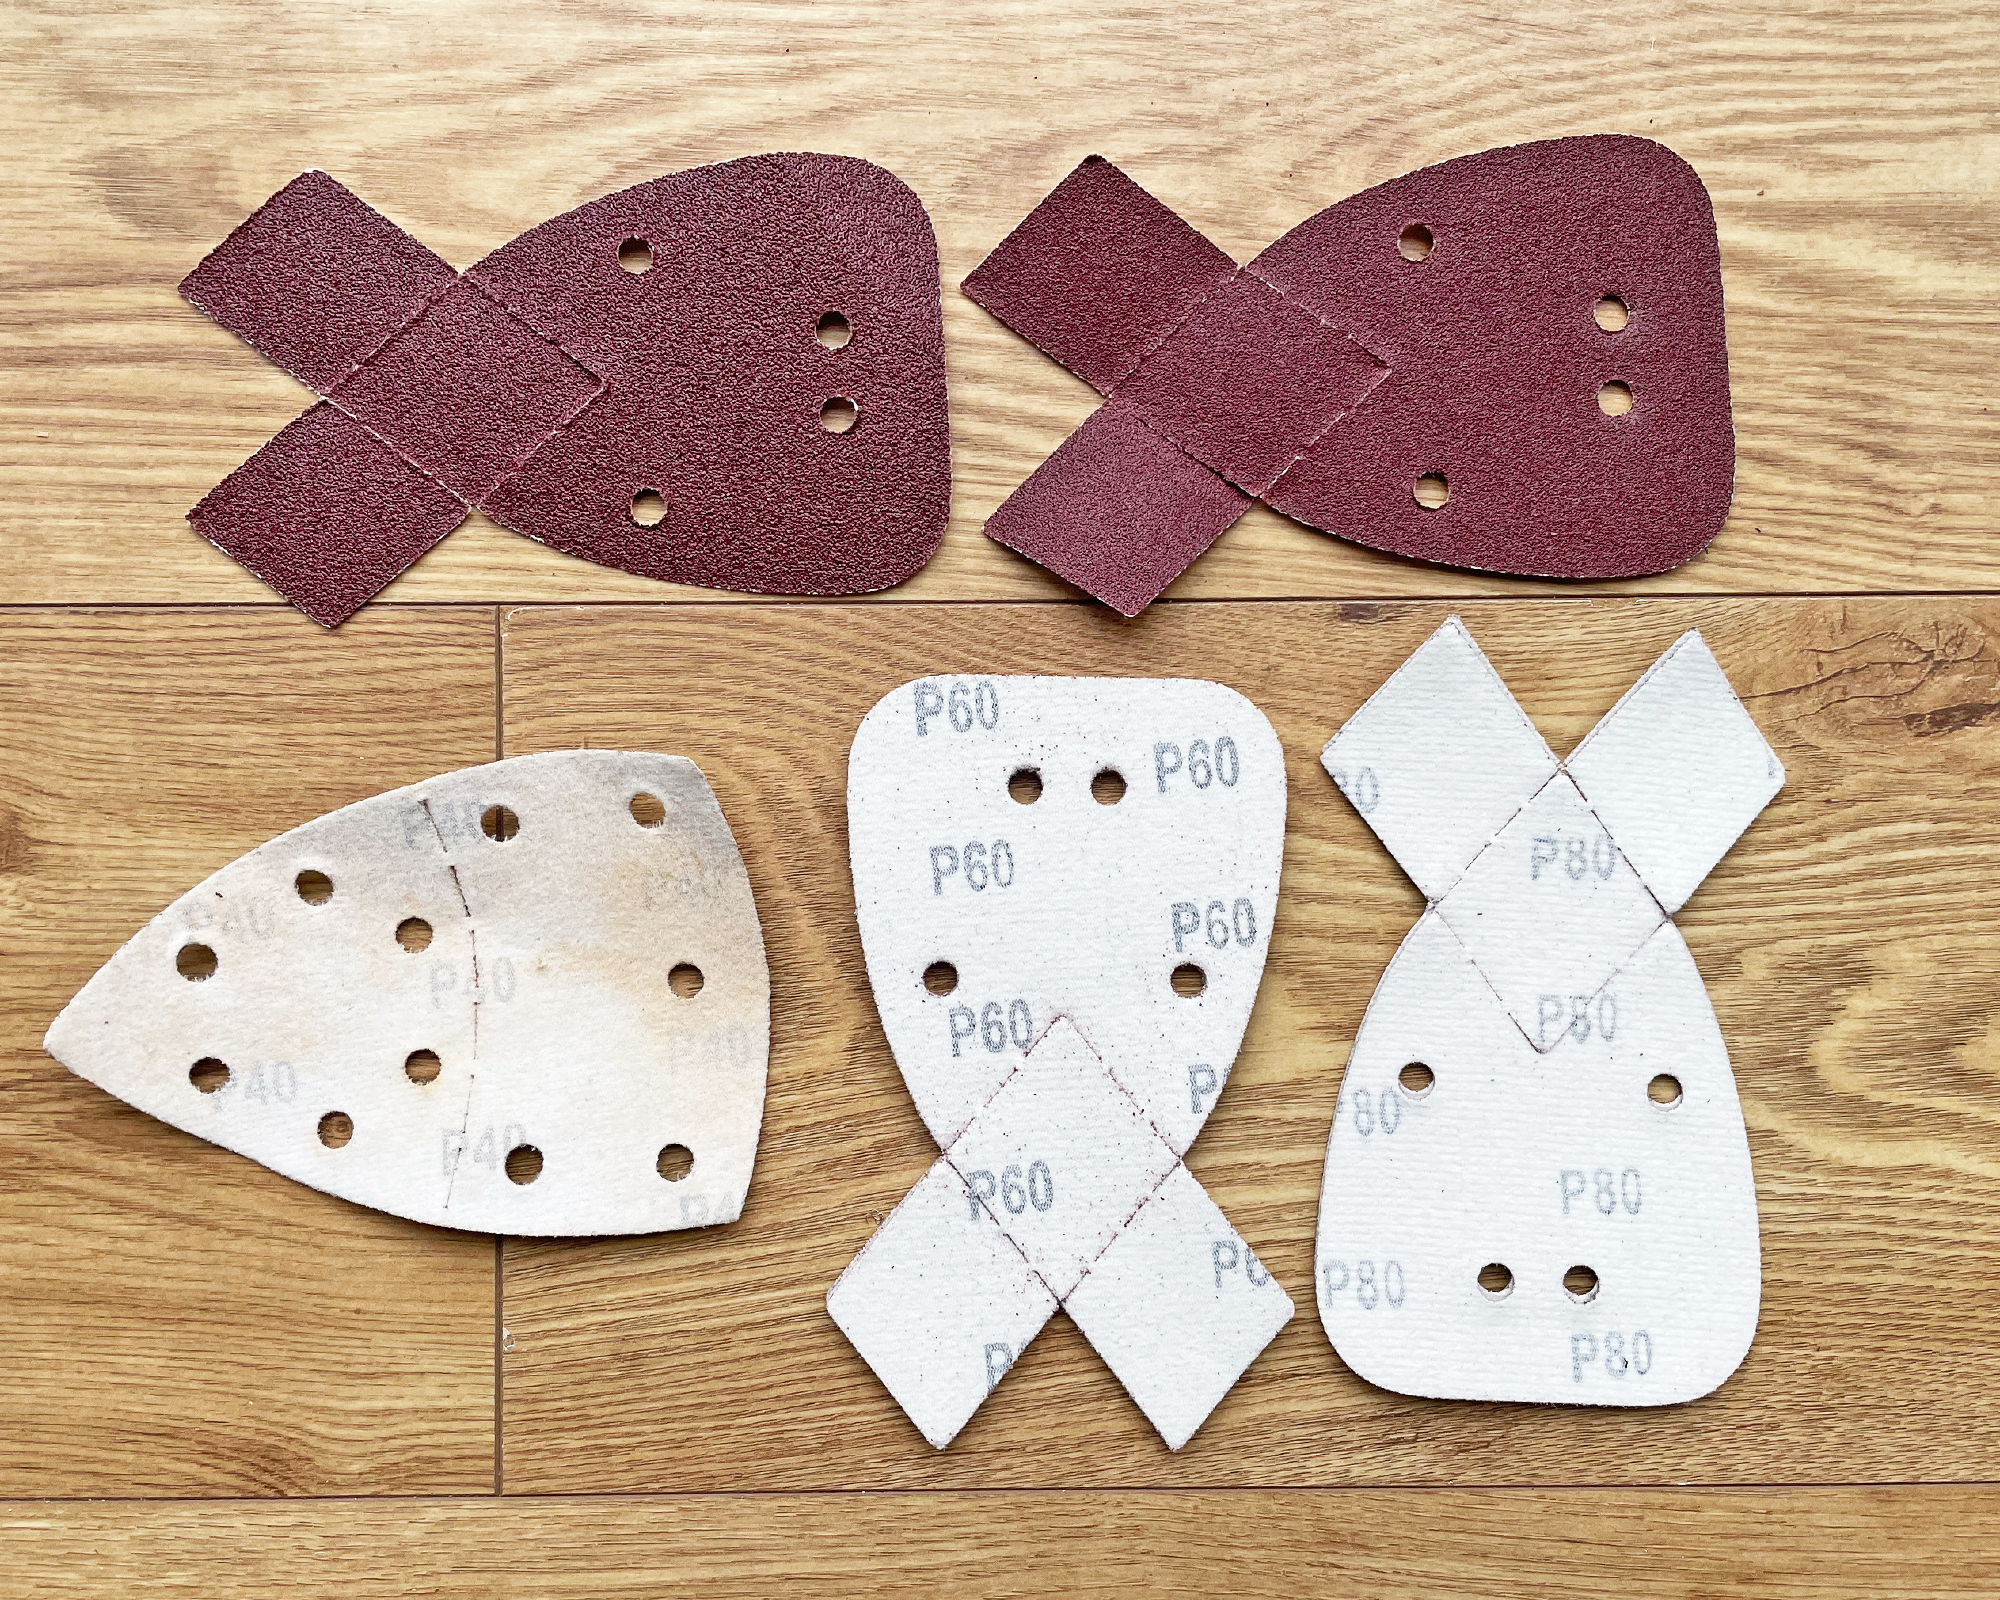
On first inspection, the numbers on the back of sandpaper and pads can feel a bit daunting or confusing, but it’s actually a really simple system. If you buy a selection pack of sandpaper pads for your sander, they will likely come with at least some of the following grits, p40, p60, p80, p120, p180, p240. The ‘P’ relates to the grade assigned to the product in accordance with FEPA (Federation of European Producers of Abrasives). In the US the CAMI system is used which has many of the same principles as its European counterpart, the numbering is very similar but there is no preceding letter, ie 40 grit on the CAMI system is equivalent to P40 on the FEMA.
Coarse
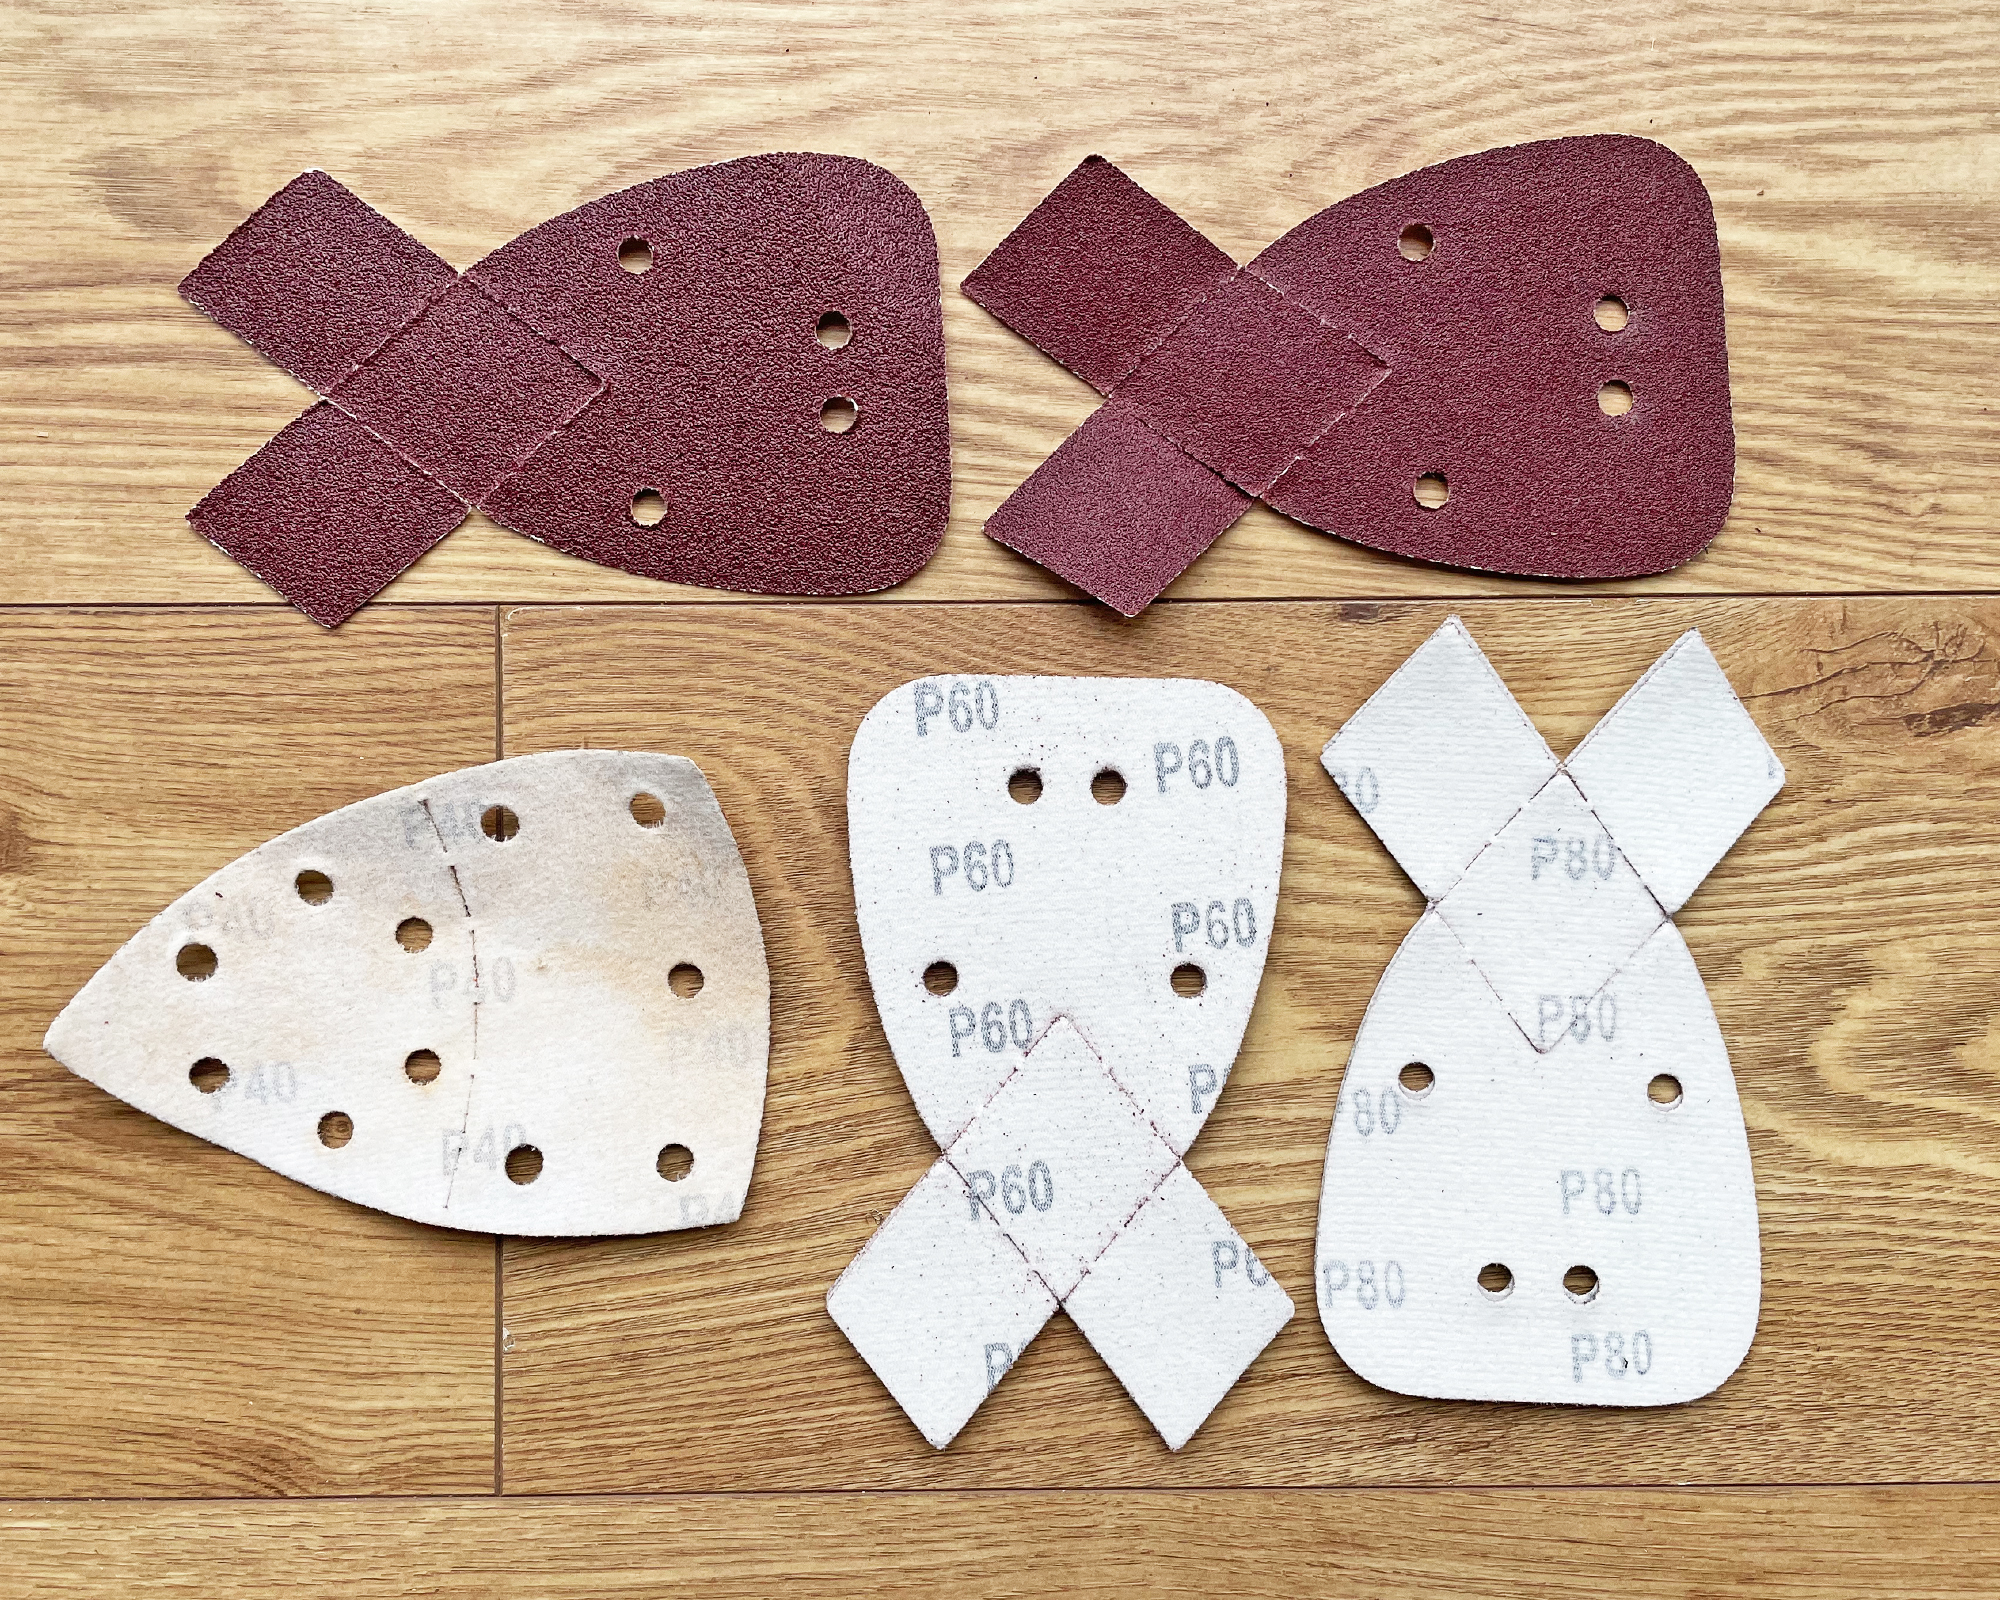
40-60 grit sandpaper is considered to be coarse and is suitable for more heavy-duty sanding. Coarse grits will produce faster results but can be too abrasive for some jobs, such as finishing, and will leave heavier marks and could damage the wood. Use these for very rough wood and removing stubborn old paint. You would not use coarse sandpaper on intricate details, edges, or corners.
Get small space home decor ideas, celeb inspiration, DIY tips and more, straight to your inbox!
80 grit sandpaper is a toolkit essential, it’s less coarse than 40-60 but still effective and is the ideal starting grit for sanding hardwoods.
Medium
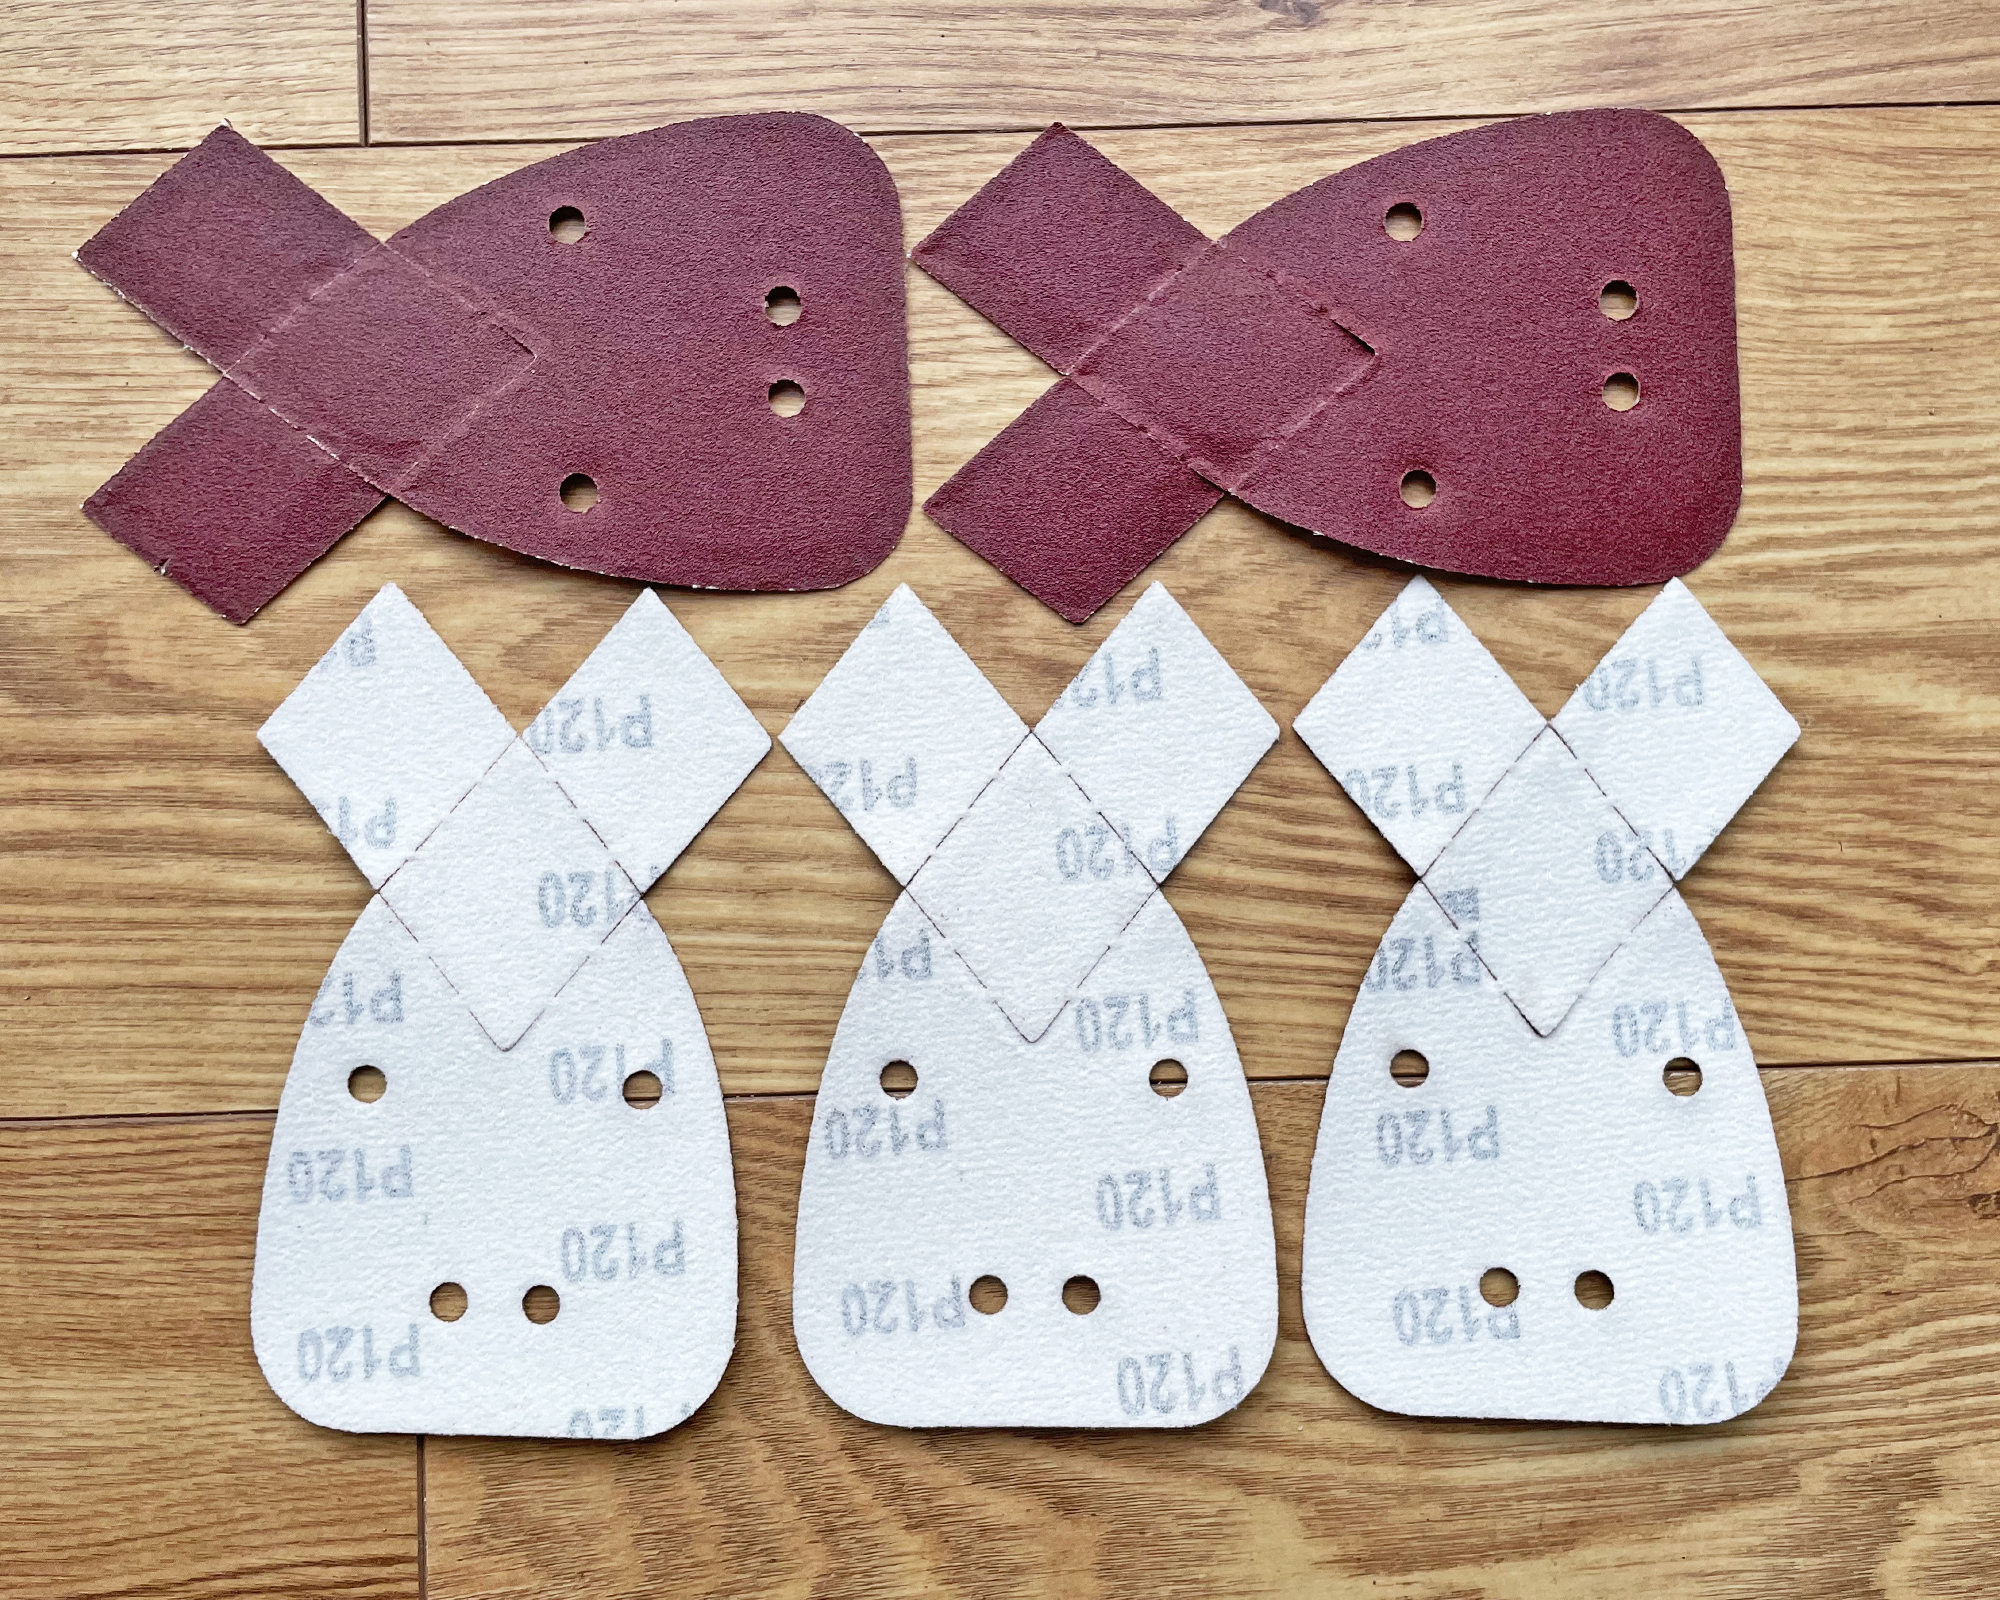
100 grit sandpaper is good for preparing wood for finishing and can also be useful for removing stains.
120 grit sandpaper is a good starting grade for softer woods and is another toolkit essential.
Fine
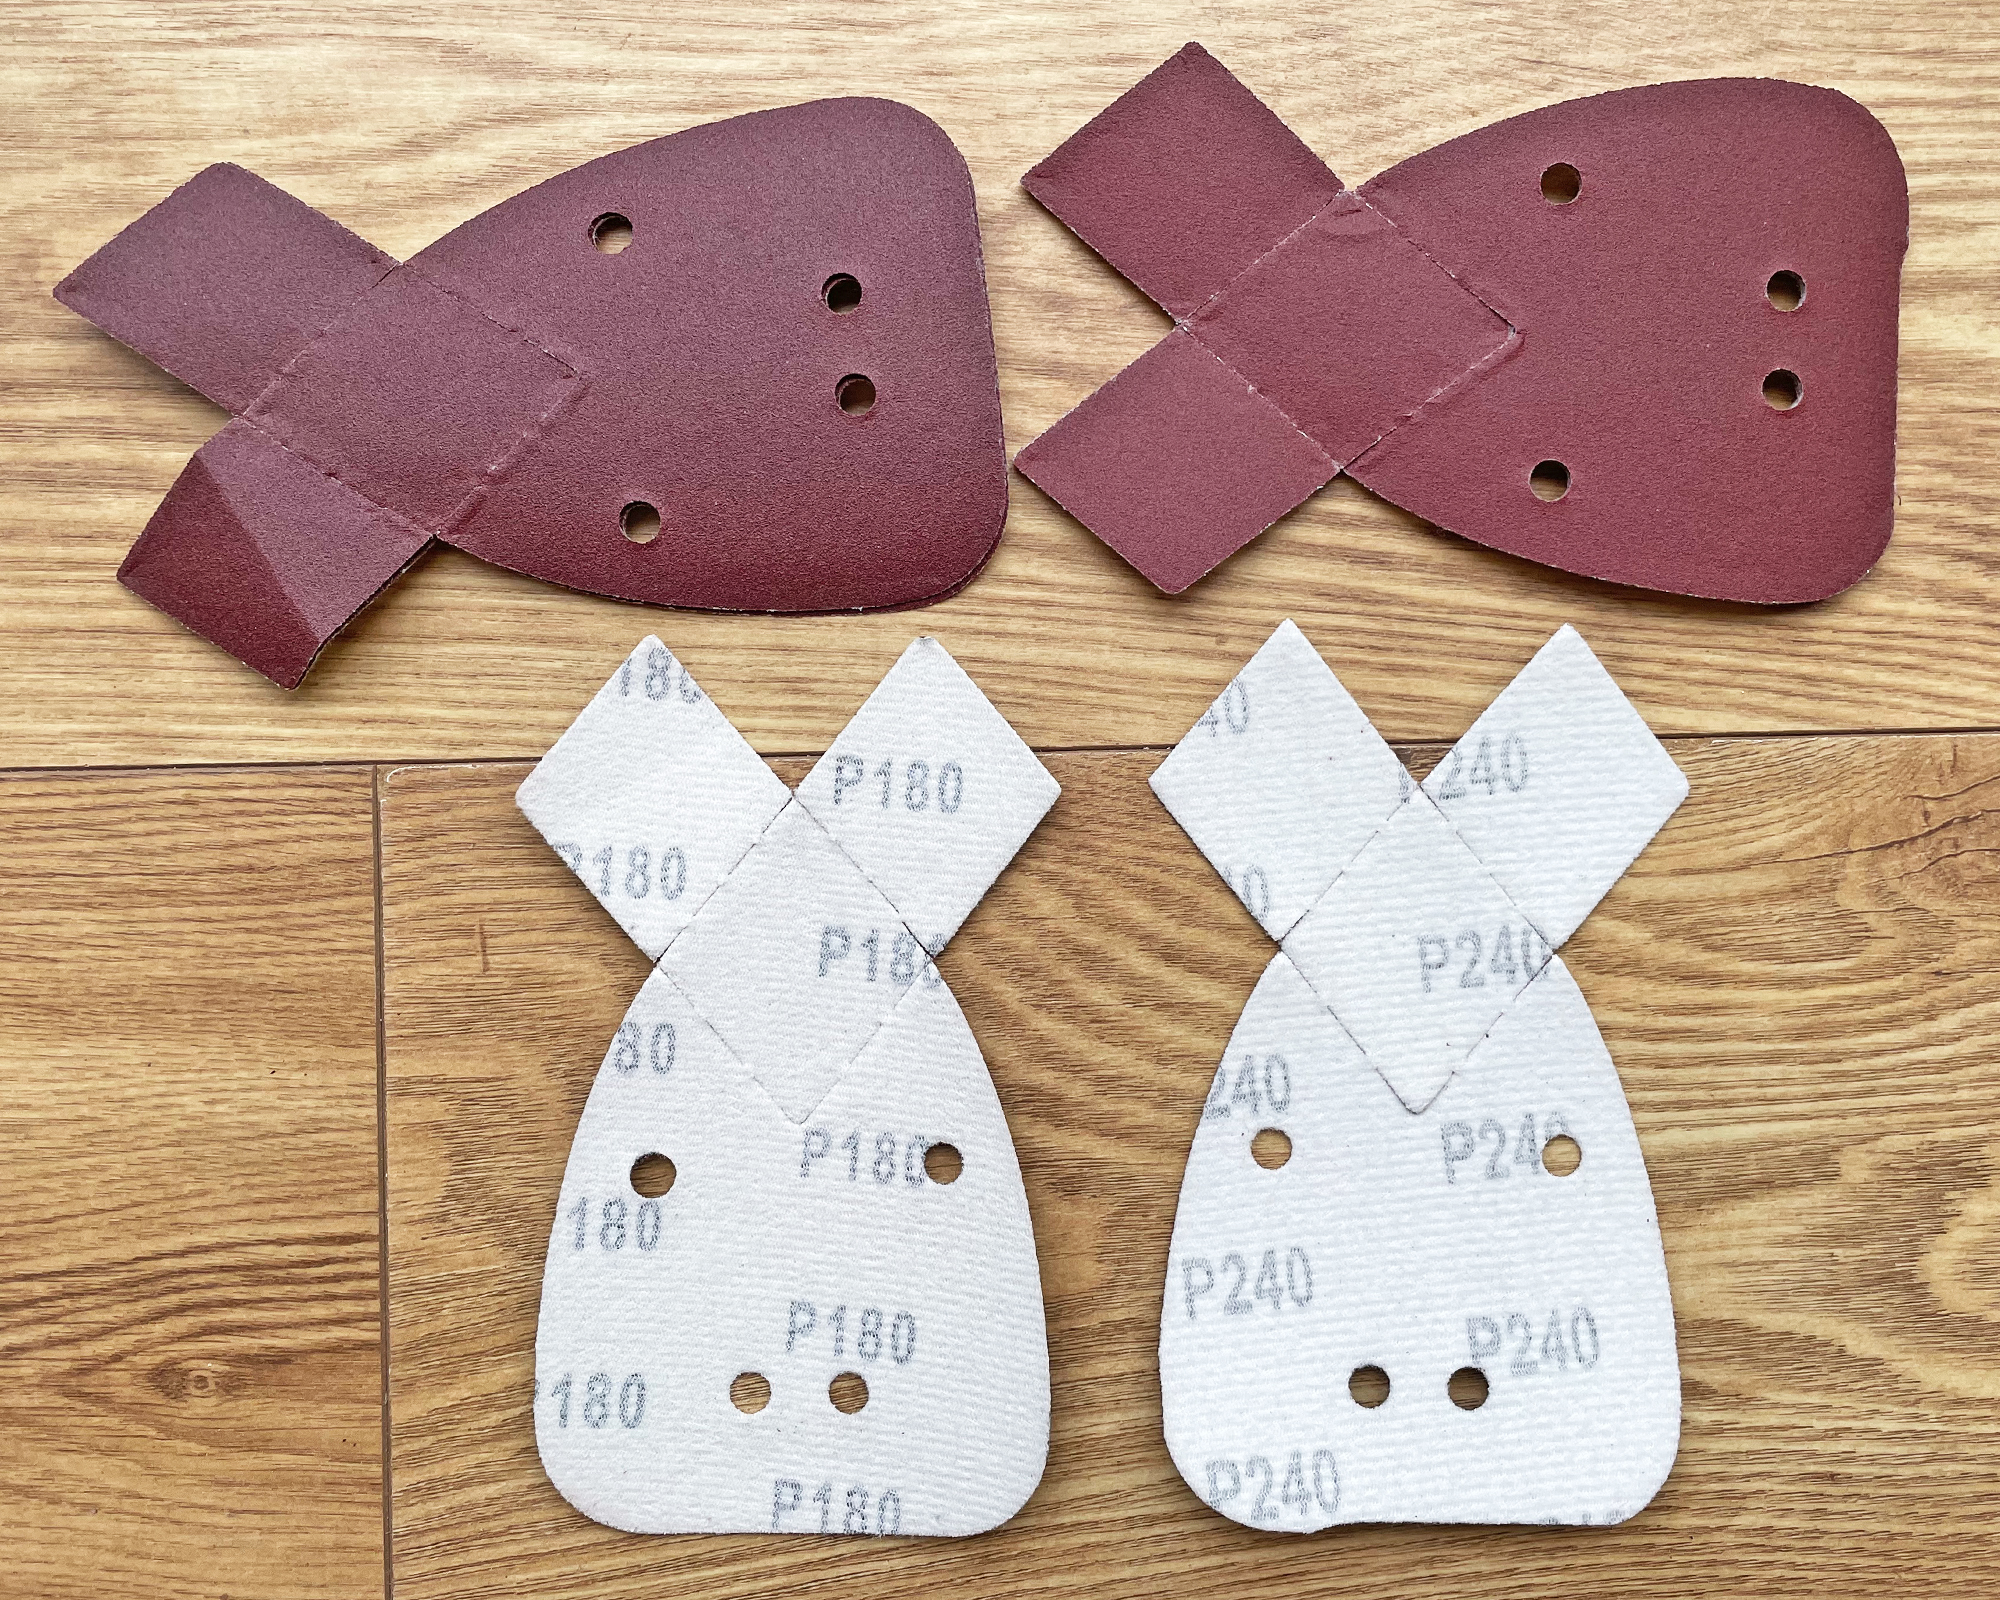
180-240 grit sandpaper would be considered fine and is suitable for finishing, in between coats of paint to remove imperfections, or even to key a surface (roughen it slightly before you apply a primer).
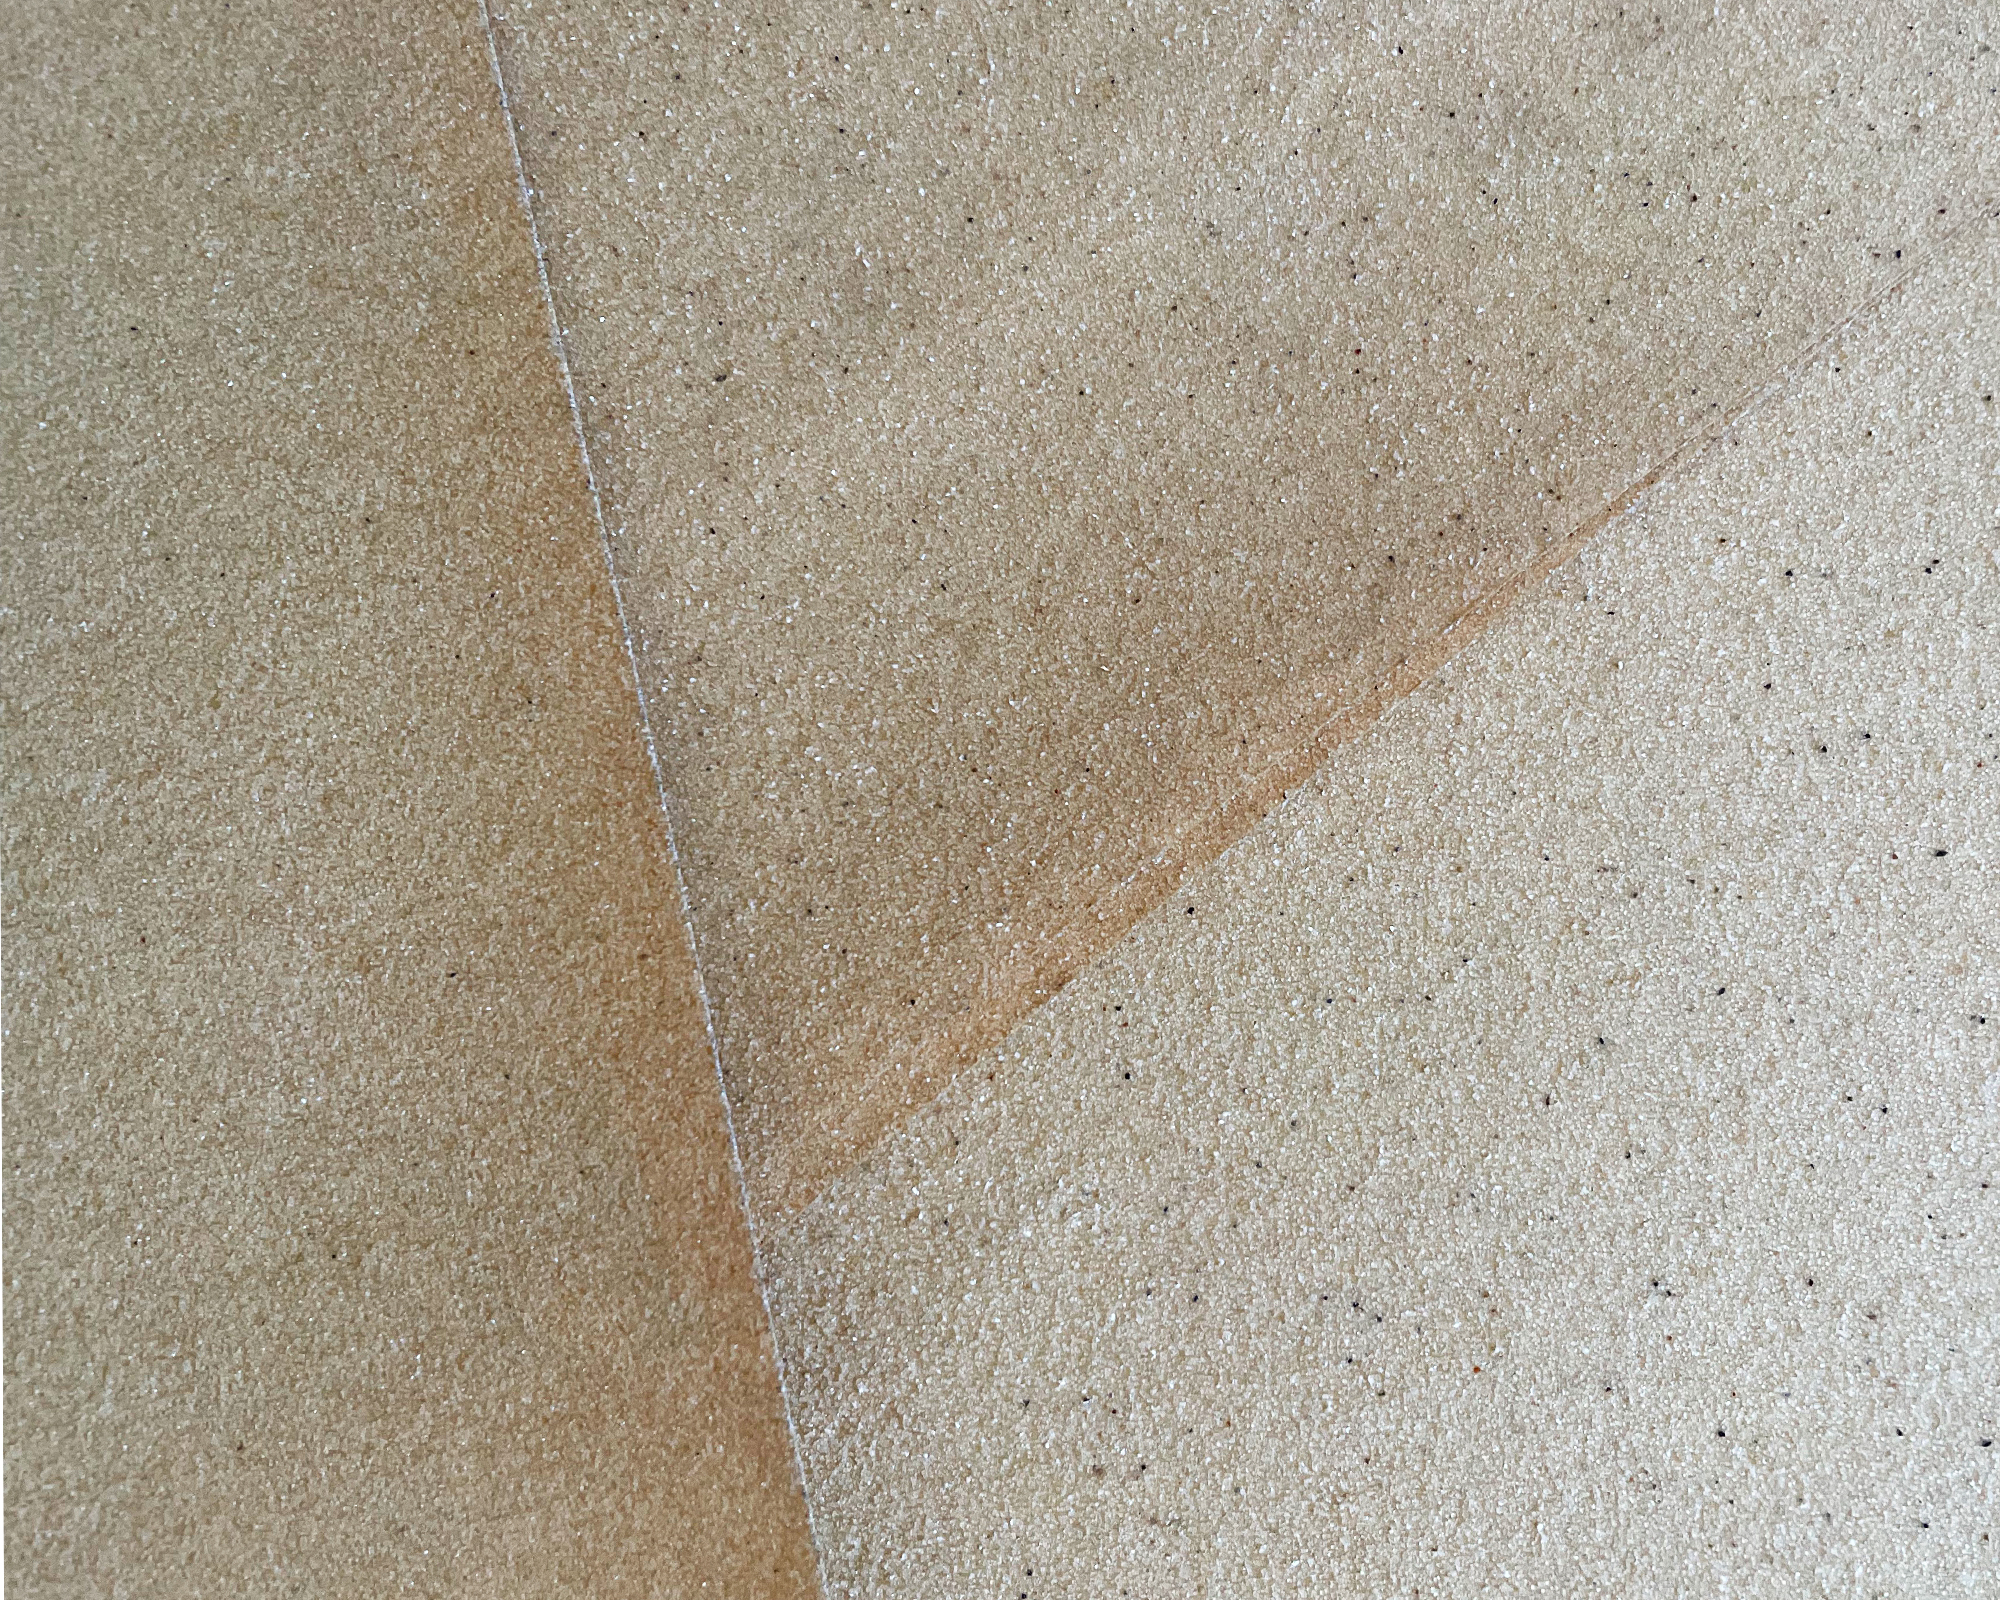
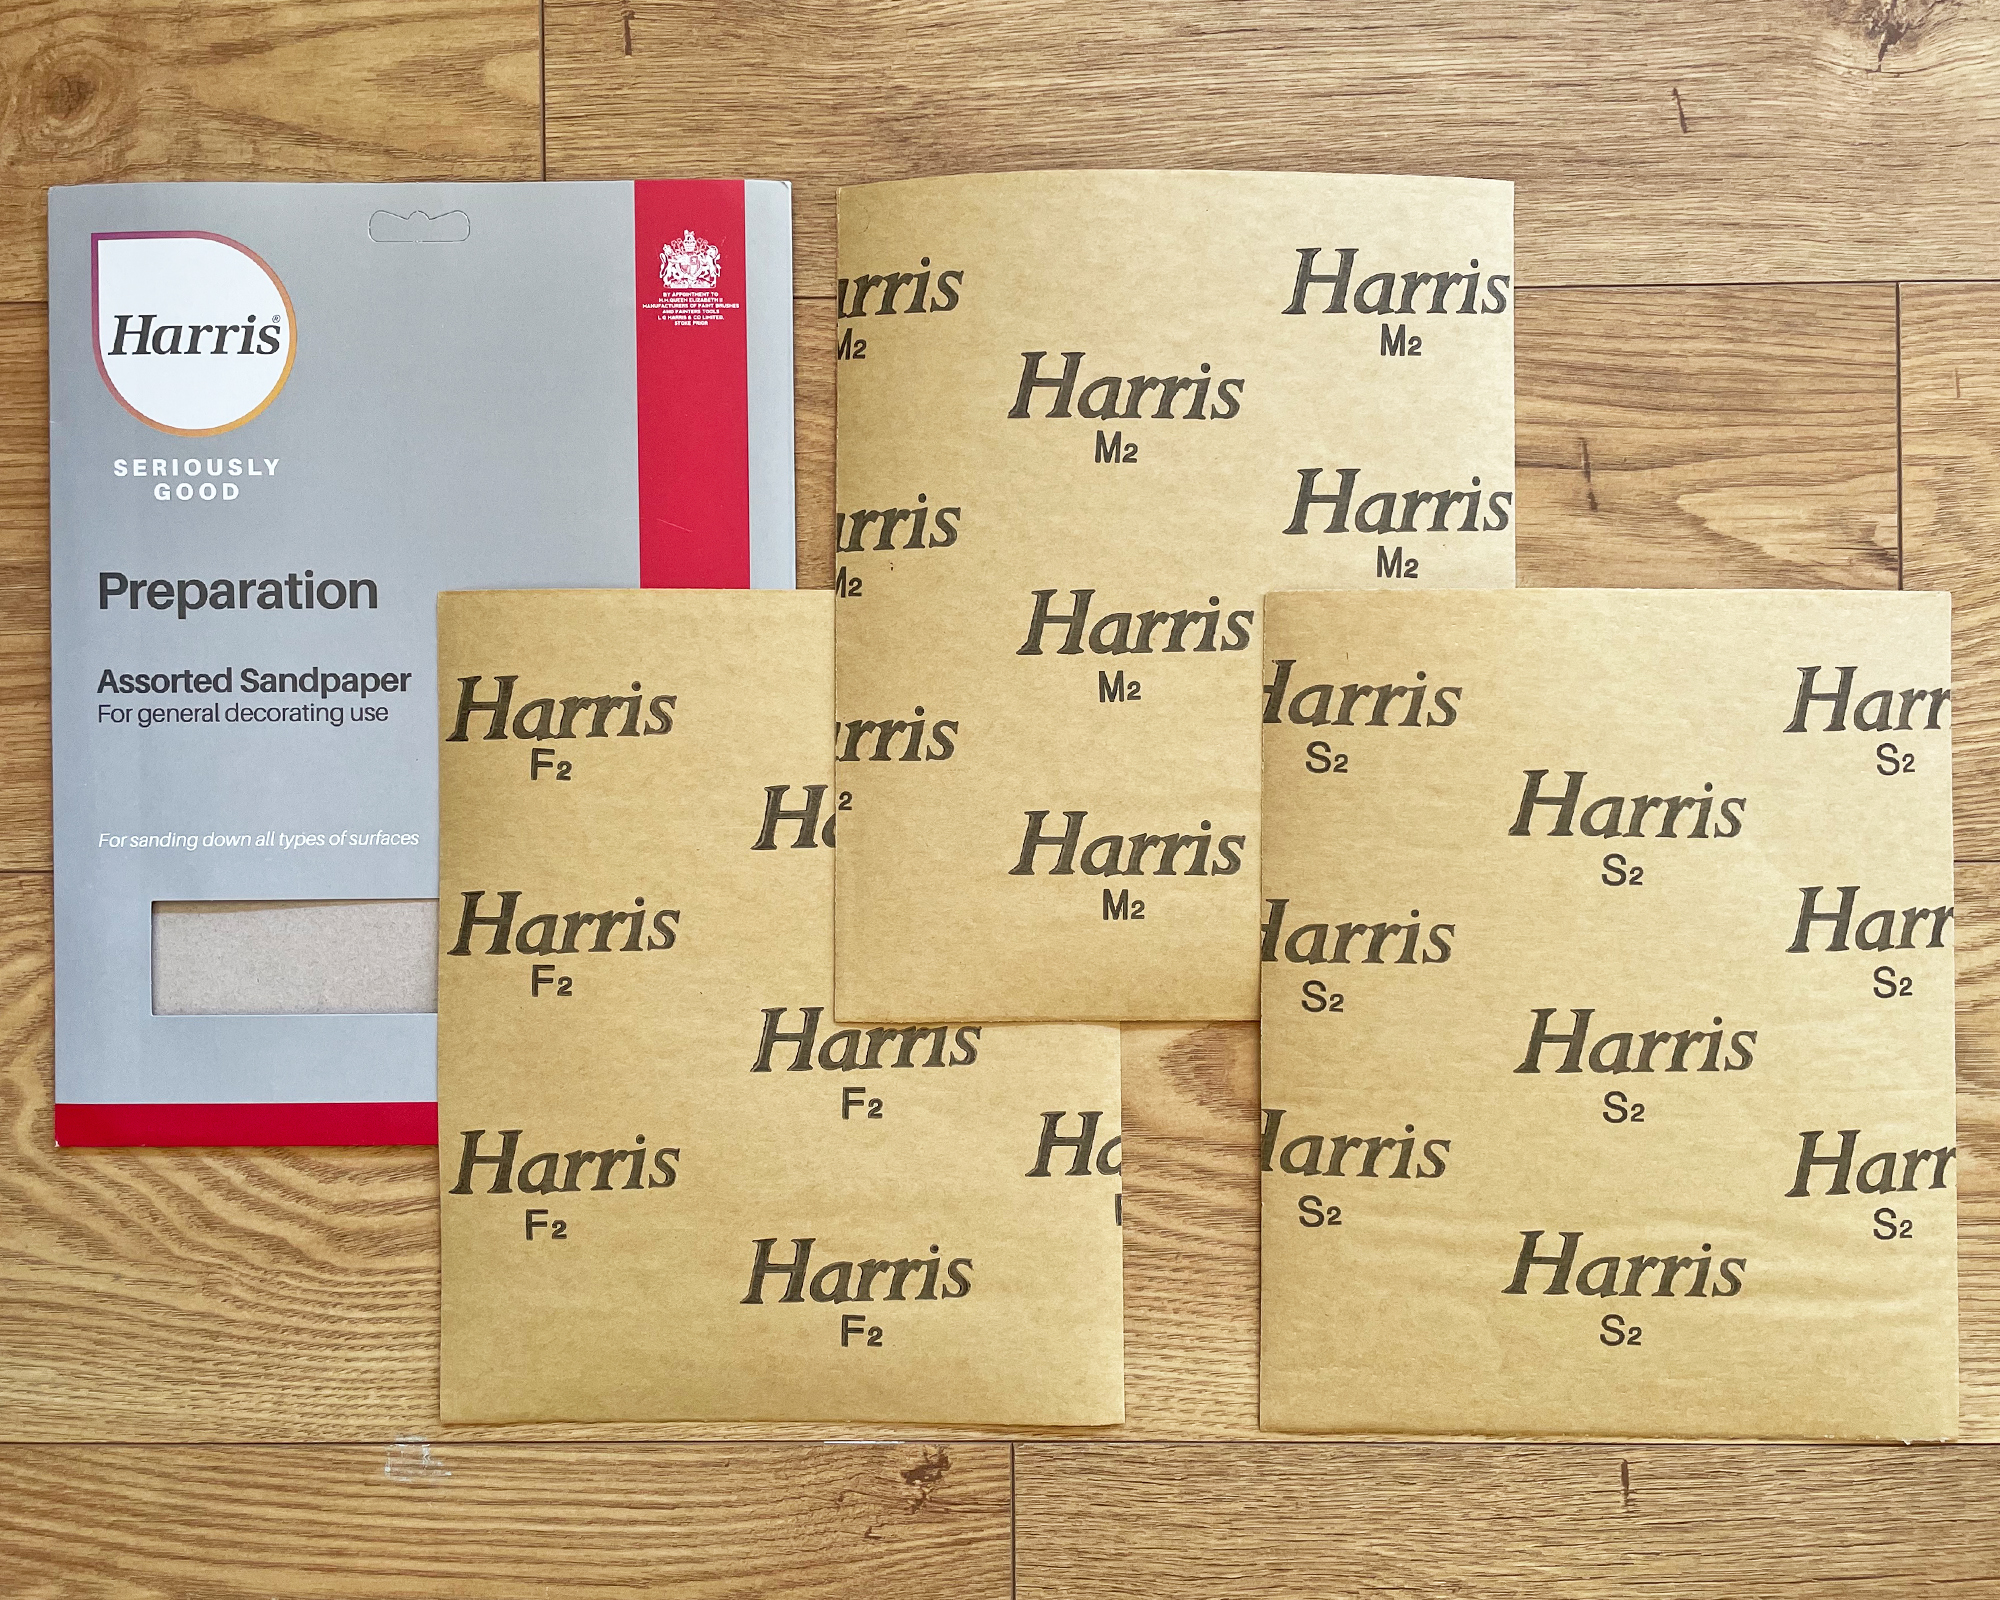
Some sheets of sandpaper might not be numbered, but instead might have descriptions like Extra-Fine, Fine, Medium, and Coarse. In the below image, these have been given references F2 (Fine), M2 (medium), and S2 (coarse) as seen below.
Do I need an electric sander?
The answer depends on how much sanding you have planned. If you are an occasional DIY dabbler and have a light sanding job to complete, then maybe not. However, as you can pick up small electric sanders like this Black and Decker mouse sander from Amazon they aren’t a big investment and will make the job so much easier so I do recommend getting one if you can.
Do I need a mask?
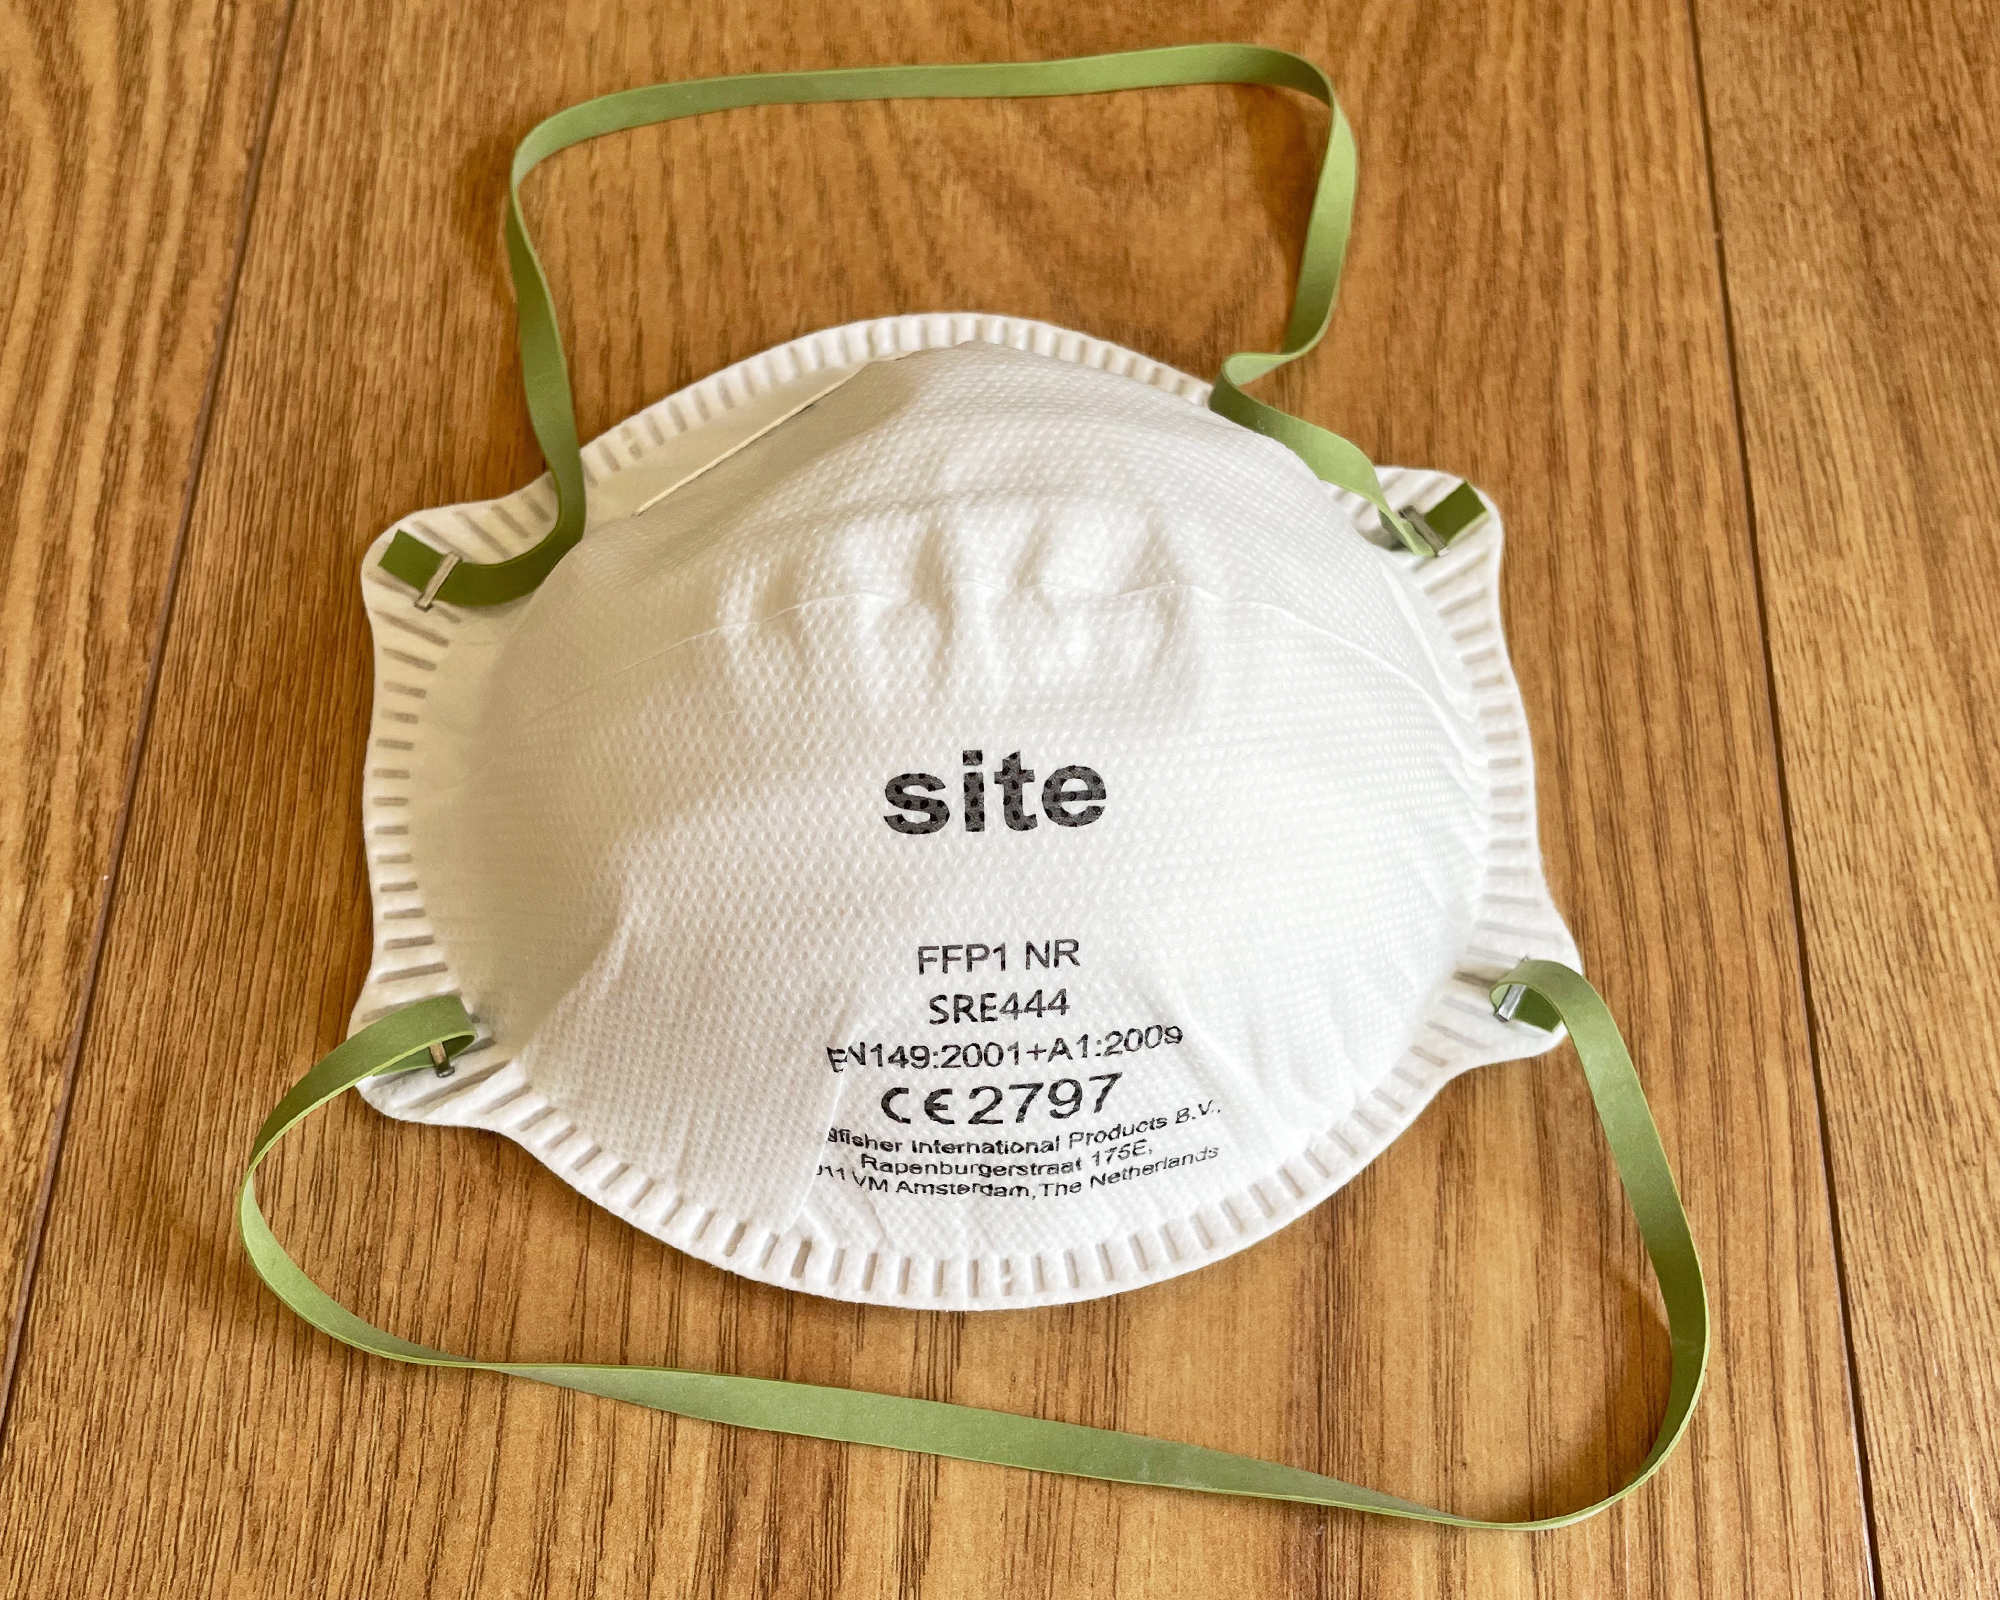
There’s no denying, that sanding can be really dusty and it's best to use a sander with a hoover attachment or a dust collector at every opportunity. Sanding should be done outside, where possible, which is easy if it's a small piece of furniture, but less so if it's a door frame! When you have to sand inside, it’s advisable to wear a dust mask and ensure the room is well-ventilated. Dust masks are cheap and easy to buy at your local hardware store, or can be picked up on Amazon too.
How do I sand wood?
- Prepare the area. If sanding indoors is unavoidable, clear the area and cover it with dust sheets. Wear a mask and ensure your sander has a dust collector or hoover attachment. Wipe the surface to remove any dust or dirt.
- Choose the correct starting grit sandpaper for your project and attach it to your chosen sander. Sand with the grain, which means in the direction that the fibers of the wood are pointing. If the sandpaper starts to show signs of wear and tear before you are ready to move to the next grit you should replace the paper.
Top Tip: Some woodworkers suggest marking the surface of the wood with a pencil to use as a guide for how much to sand before moving on to the next grit, this is more useful with the finer grits as they leave less of a mark than the coarse papers so it’s less easy to see where you’ve been.
- Move to a finer grit to finish the job, you should clean the surface in between swapping the sandpaper each time to remove surface dust.
Top Tip: You should work your way through the grits progressively, not skipping more than one grade each time as moving to a fine grade too quickly can mean the sandpaper can’t properly smooth the finish left by the coarser paper.
What is wet sanding and why is it different?
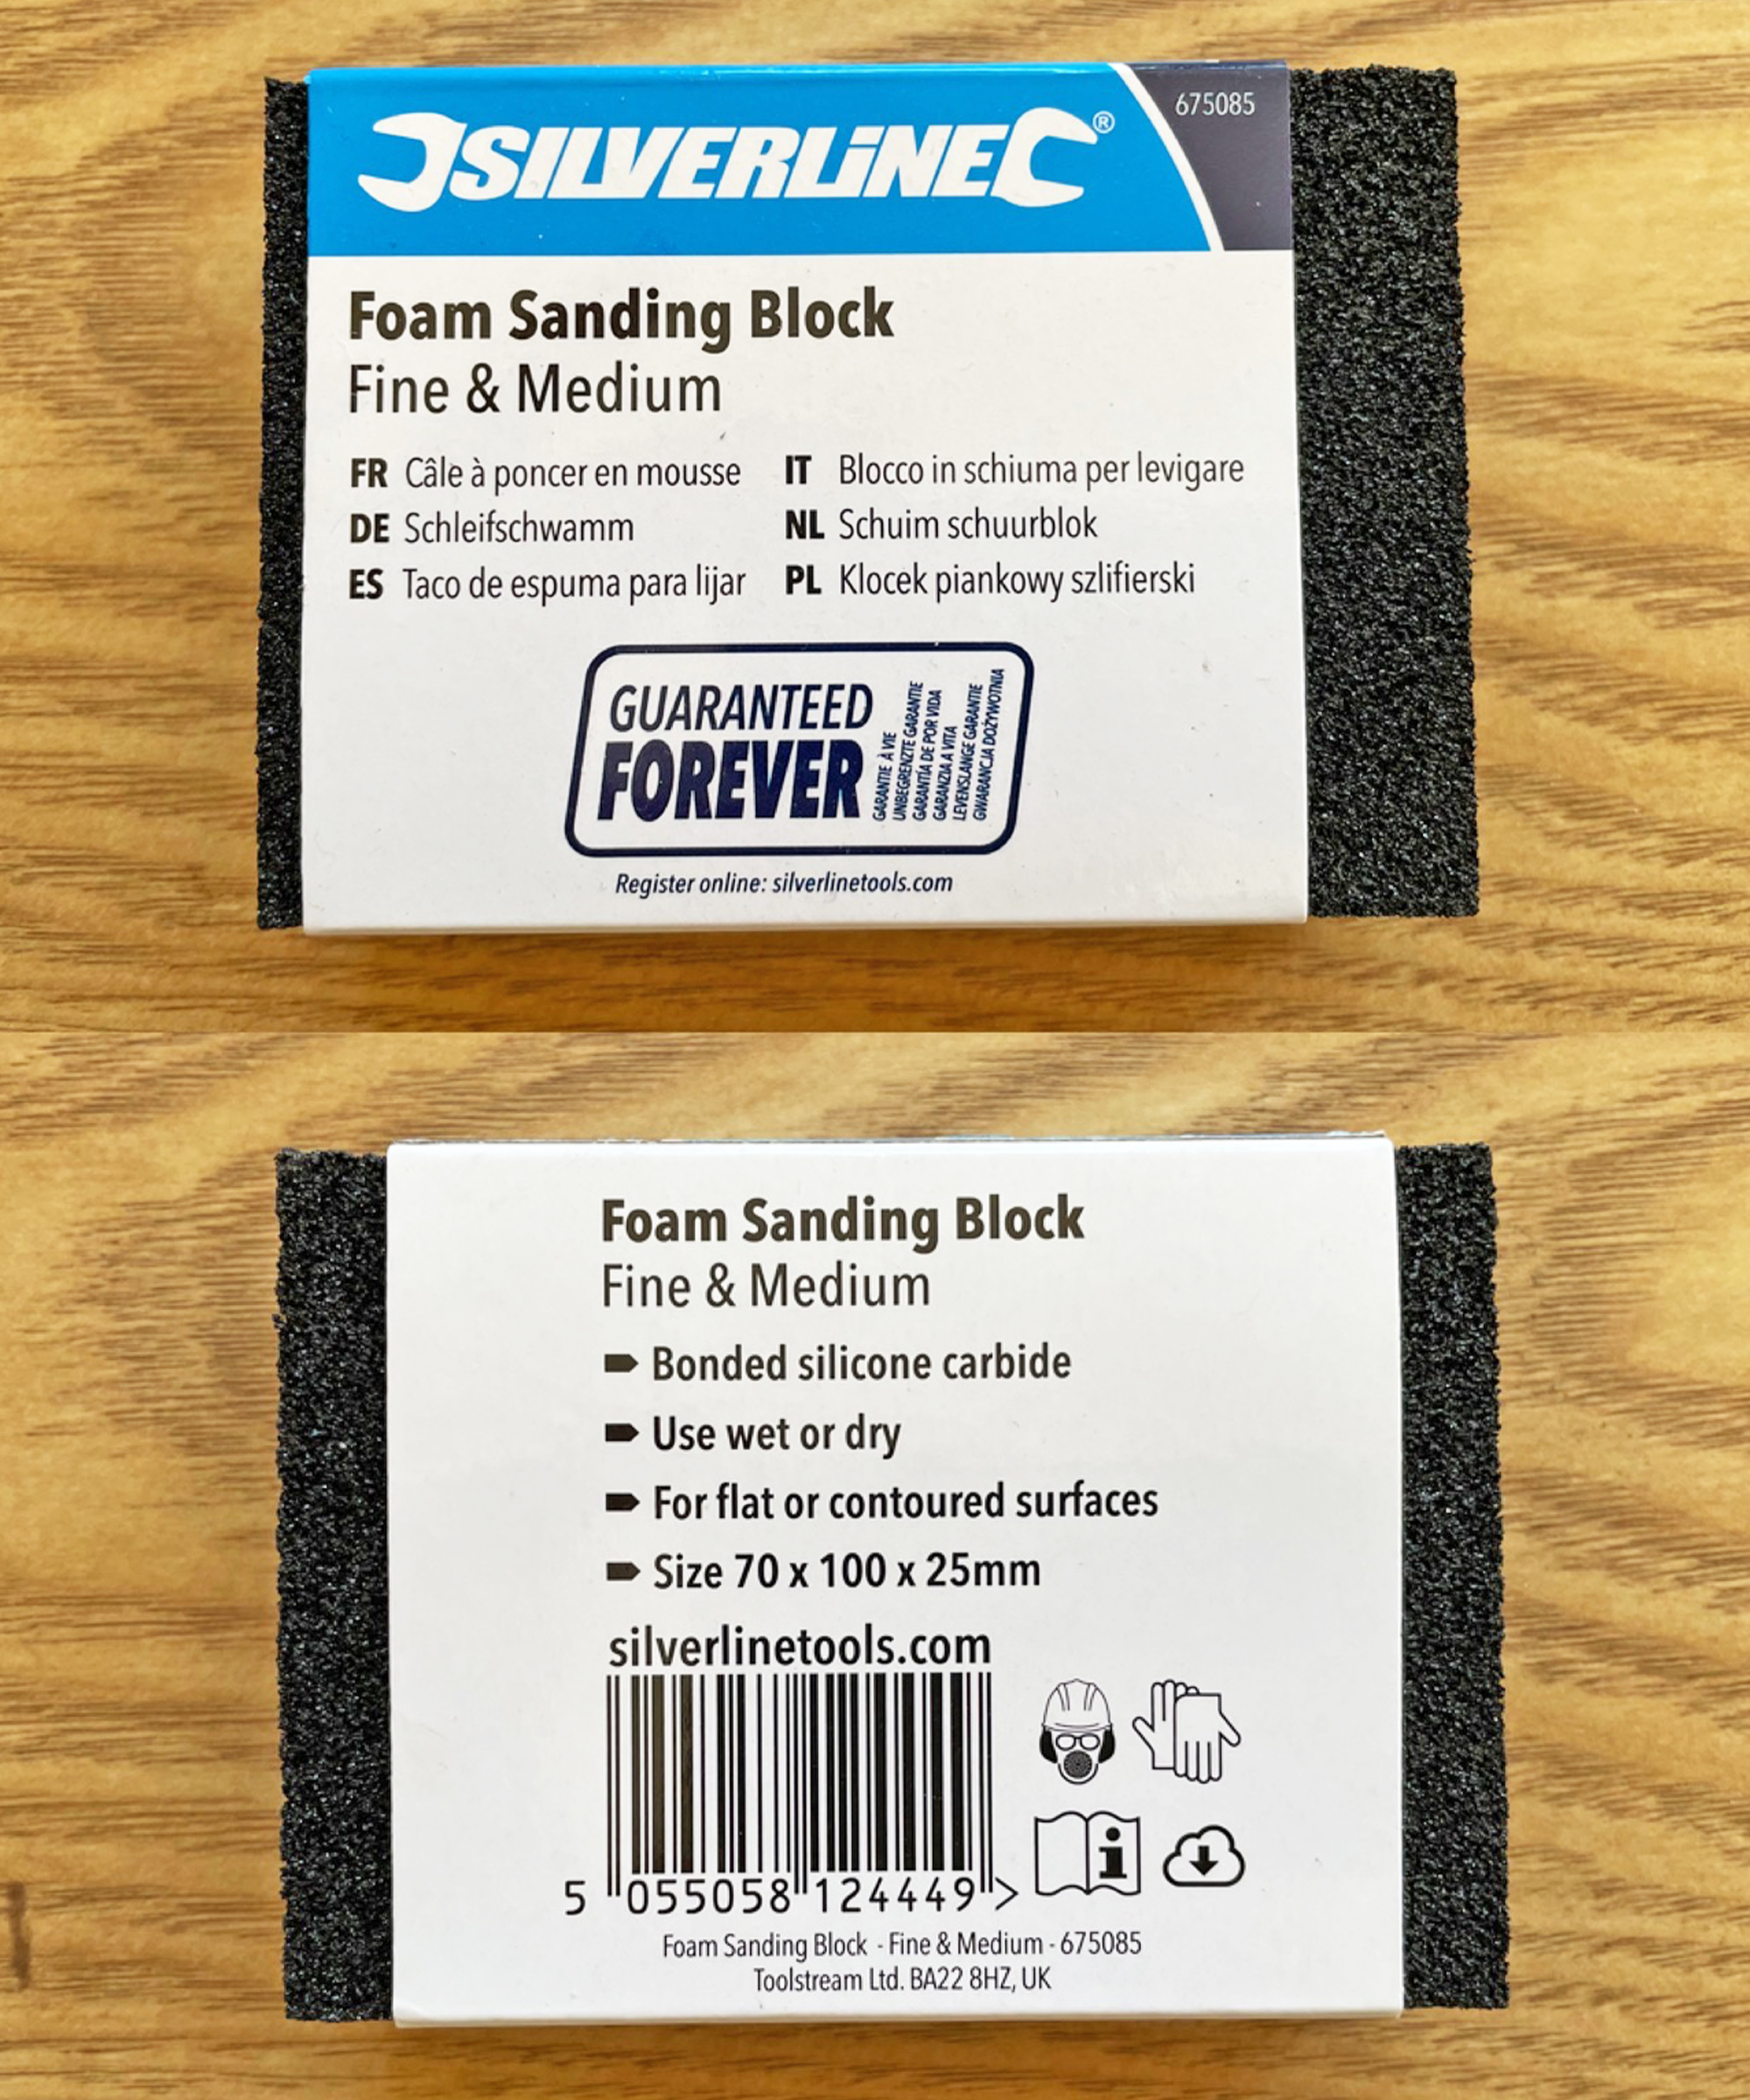
Wet sanding is similar to dry sanding but water is introduced into the process to help lubricate the sanding block which is specifically developed for wet sanding.
Creates an even smoother finish than dry sanding so is used when optimal smoothness is key and you don’t get any dust.
Is there any wood you shouldn't sand?
You shouldn’t sand pressure-treated wood because it can cause the chemicals which have been infused into the surface layers to be breathed in via airborne dust particles. Sanding can also cause pressure-treated wood to look very ugly, with a variable finish that cannot be rectified with stain, so sanding is best avoided.

I'm happiest when I have either a drill or paintbrush in my hand! I specialise in room transformations on a budget and love experimenting with different styles and techniques which I share on my Instagram. I believe that your imagination, not your budget, should be the limiting factor when transforming a room and I love thinking of creative ways to build custom and bespoke-looking furniture using flatpacks or upcycle finds.
I also love writing and my home improvement blog (ClaireDouglasStyling.co.uk) is my passion project where I share creative ideas for interior styling and DIY tips and tutorials.