How to cut in with paint – give ceilings and walls a pro finish
Know how to cut in with paint properly to see your rooms get a professional looking makeover, quickly. Our video and step-by-step guide can help.

Get small space home decor ideas, celeb inspiration, DIY tips and more, straight to your inbox!
You are now subscribed
Your newsletter sign-up was successful
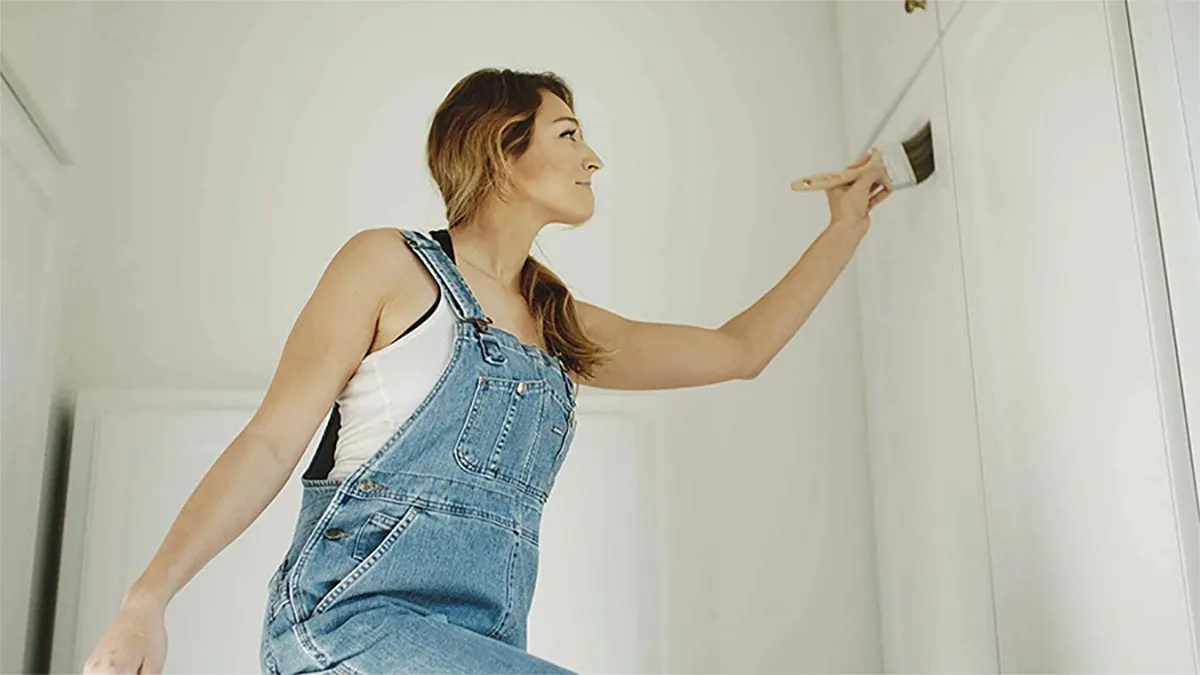
Knowing how to cut in with paint on a ceiling and your walls is a key skill every DIY decorator should have under their belt. A must when painting rooms of all shapes and sizes, cutting in paint will help you tackle that tricky area where your walls meet the ceiling, to ensure a professional finish every time.
We want to see crisp, clean edges all along the top of the walls and failing to cut in properly could leave you with a fairly disappointing paint job that even the kids might pull you up on... It sounds harder than it is, so grab a good brush and watch our quick how to below to become a pro in no time.
- Find the best paint brushes for all your DIY needs.
1. Pick the best tools for cutting in
A good brush for cutting in paint is essential. A number of products are labelled as 'cutting-in brushes' and may have tapered bristles or a slanted end to help get that pleasing clean line.
Article continues belowHowever, any good-quality 2in brush, which won't shed bristles, is a sound choice. Don't go too narrow as you need to be able to paint far enough from the edge to roller in (without scuffing the adjoining wall).
Your full tool list for our cutting in paint DIY:
- Paint (obviously)
- Frog tape or masking tape
- Plastic sheets
- Paint tray
- Roller
- Paint brush (we like using a 2" brush)
1. Clear the area and protect furniture
Assuming you are painting at least one wall, make sure you move away anything that could suffer from paint splatters. If you're cutting in paint on a ceiling, you'll want to consider covering the whole floor in dust sheets.
Be sure to also cover any exposed light switches and plug sockets that could get in the way, and cover any larger pieces of furniture that can't be moved, in plastic sheets.
Get small space home decor ideas, celeb inspiration, DIY tips and more, straight to your inbox!
2. Start in the right place
It's advisable to paint a ceiling before the walls as it's a slightly trickier task and you are more likely to make errors that can be cleaned up later when you start painting the walls.
Wait until the ceiling paint has dried before you start painting the walls as to cut in you will need to apply tape to the ceiling and wet paint + masking tape doesn't mix. idea.
3. Tape off areas
Unless you’re confident that you have a very steady hand, it’s best to use frog tape to tape off the areas where the ceiling meets the wall to ensure you get clean lines. To do this start by places a strip of tape in the corner of the ceiling, right where the ceiling meets the wall.
Press down on it firmly until it lies flat against the ceiling. Then slowly drag the tape along the length of the ceiling in a straight line, flattening it as you go. If you are doing the entire room as apposed to one feature wall, repeat until the whole ceiling has a ring of tape around it.
Top tip: Make sure there are no air pockets, otherwise you run the risk of paint seeping through onto the ceiling.
4. Fill a small paint pail
Pour some paint into a small paint tray – you don’t need much at this stage, only about an inch, as this will prevent spills and saturating your brush too much by mistake.
5. Ensure your visibility is clear
Not clearly seeing what you're doing is a recipe for disaster with every DIY job but most especially when cutting in paint so consider a head lamp/torch to increase your visibility if the room you're working in is dark.
6. Make the first brushstroke
Dip your brush straight down into the paint, until the paint covers roughly a third of the bristles. Then gently tap, don't wipe, each side of the brush against the side of the paint container to avoid any drips.
Holding the brush with a pencil grip for control, make a brushstroke on the wall about two inches away from the edge you’re cutting in, to remove the excess paint. This should be about 12 inches long.
7. Move towards the line
Then turn the brush so that you’re using the narrow edge and paint your downward stroke up to 12 inches long, edging up to the Frog tape/ line.
Top tip: Make sure you don’t apply too much pressure as the paint ooze from the brush and create drips.
8. Paint the rest of the room
After you have finished cutting in, continue to paint the rest of the room with your best paint roller.
Make sure you reach as high as your initial 1–2" strip of wall paint and do not push or drag the roller all the way up to the ceiling.
9. Remove the tape
Once the paint is dry you can remove the tape and voilà, nice clean edges.
10. Clean your brushes and rollers
Use our guide on cleaning paint brushes and rollers to keep yours in good condition for your next DIY decorating jobs.
DIY, always!

Hebe joined the Real Homes team in early 2018 as Staff Writer before moving to the Livingetc team in 2021 where she took on a role as Digital Editor. She loves boho and 70's style and is a big fan of Instagram as a source of interiors inspiration. When she isn't writing about interiors, she is renovating her own spaces – be it wallpapering a hallway, painting kitchen cupboards or converting a van.