How to board a loft
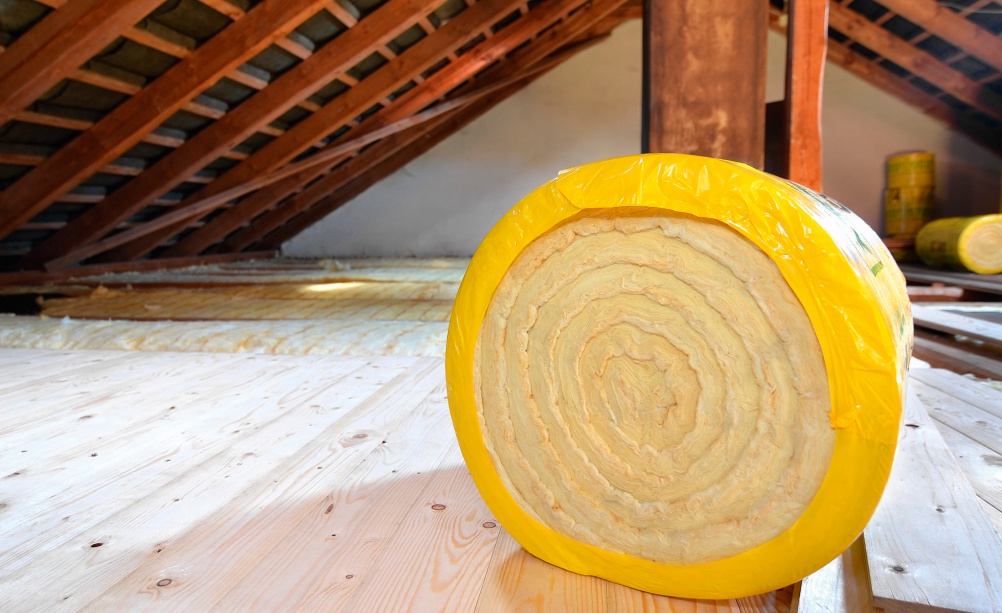
Knowing how to board a loft can mean you turn wasted space into useful storage space. And if you add insulation, your whole house will feel warmer, too. Use our simple guide to boarding a loft safely

Boarding a loft will provide a large storage space and will add a layer of insulation to your home. The project shouldn’t cost more than around £150 to £200 for an average three-bedroom house and isn’t difficult if you have time, patience and good working DIY knowledge. Ask a friend or family member to help, especially when bringing the boards up to the loft. Our step-by-step guide takes you through the process.
For more on converting a loft, see our step by step guide. For loft conversion ideas, don't miss our design gallery.
- Loft storage ideas: make your loft space useful
You will need:
- A tape measure
- Screws
- A hammer
- Timber battens (optional – to strengthen your joists)
- Loft boards
- A drill
- A screwdriver
- A saw
- A pencil
- Safety gear (mask, gloves, goggles)
1. Measure up the loft
Measure the length and width of your loft, then multiply these two numbers together. This is the amount of space you will need to board. Based on this measurement, buy enough loft boards to cover the floor area, adding on an extra 20 per cent for mistakes and/or awkward edges. Make sure the boards are small enough to fit through your loft hatch. Many loft boards come with added insulation, so it could be worth investing in these to reduce your energy bills.
2. Prep your space
Put on your safety gear, then lay several temporary boards together over the joists so that you have a wide and steady space from which you can work. These can be adjusted as you move around the space.
3. Begin boarding the loft
Starting at the hatch and working outwards, lay your loft boards at right angles to the joists and, if possible, stagger these so that they don’t all line up (this will strengthen the surface further). Secure them by drilling holes into the joists and fix the screws. Make sure they are flush or slightly below the surface for a smooth finish.
4. Continue to board
As you work, keep measuring with the tape and marking out with the pencil. Cut the boards to fit using the saw. It’s easier to leave the very tight corners in the eaves unboarded if you like as they can be difficult to access and you won’t lose out on too much storage space.
More on renovating:
Get small space home decor ideas, celeb inspiration, DIY tips and more, straight to your inbox!