A guide to planning a loft conversion in 2022
Get a bigger home without moving by planning a loft conversion to perfection

Sarah Warwick
Get small space home decor ideas, celeb inspiration, DIY tips and more, straight to your inbox!
You are now subscribed
Your newsletter sign-up was successful
Planning a loft conversion is often easier said than done and while this home improvement project offers the best ROI of most home renovations, it's vital you get your design plans spot on to ensure your loft conversion runs smoothly from start to finish, not to mention, that you stay on budget.
From design considerations to planning permission details and more, this is how to plan a loft conversion for best results.
Planning a loft conversion
Planning a loft conversion involves everything from getting the right paperwork signed off, deciding on roof type, how the staircase will reach the new room, choosing the insulation and budgeting for all loft conversion costs. Of course, some decisions will be made for you by your loft company – but it's always worth getting ahead of the curve so that when they ask you for that piece of paper or what type of material you want for your window frames, you're ready.
‘As with all changes to your home, you should think from the inside out and focus on the result you want, rather than what it is you can do,’ advises Mark Morris.
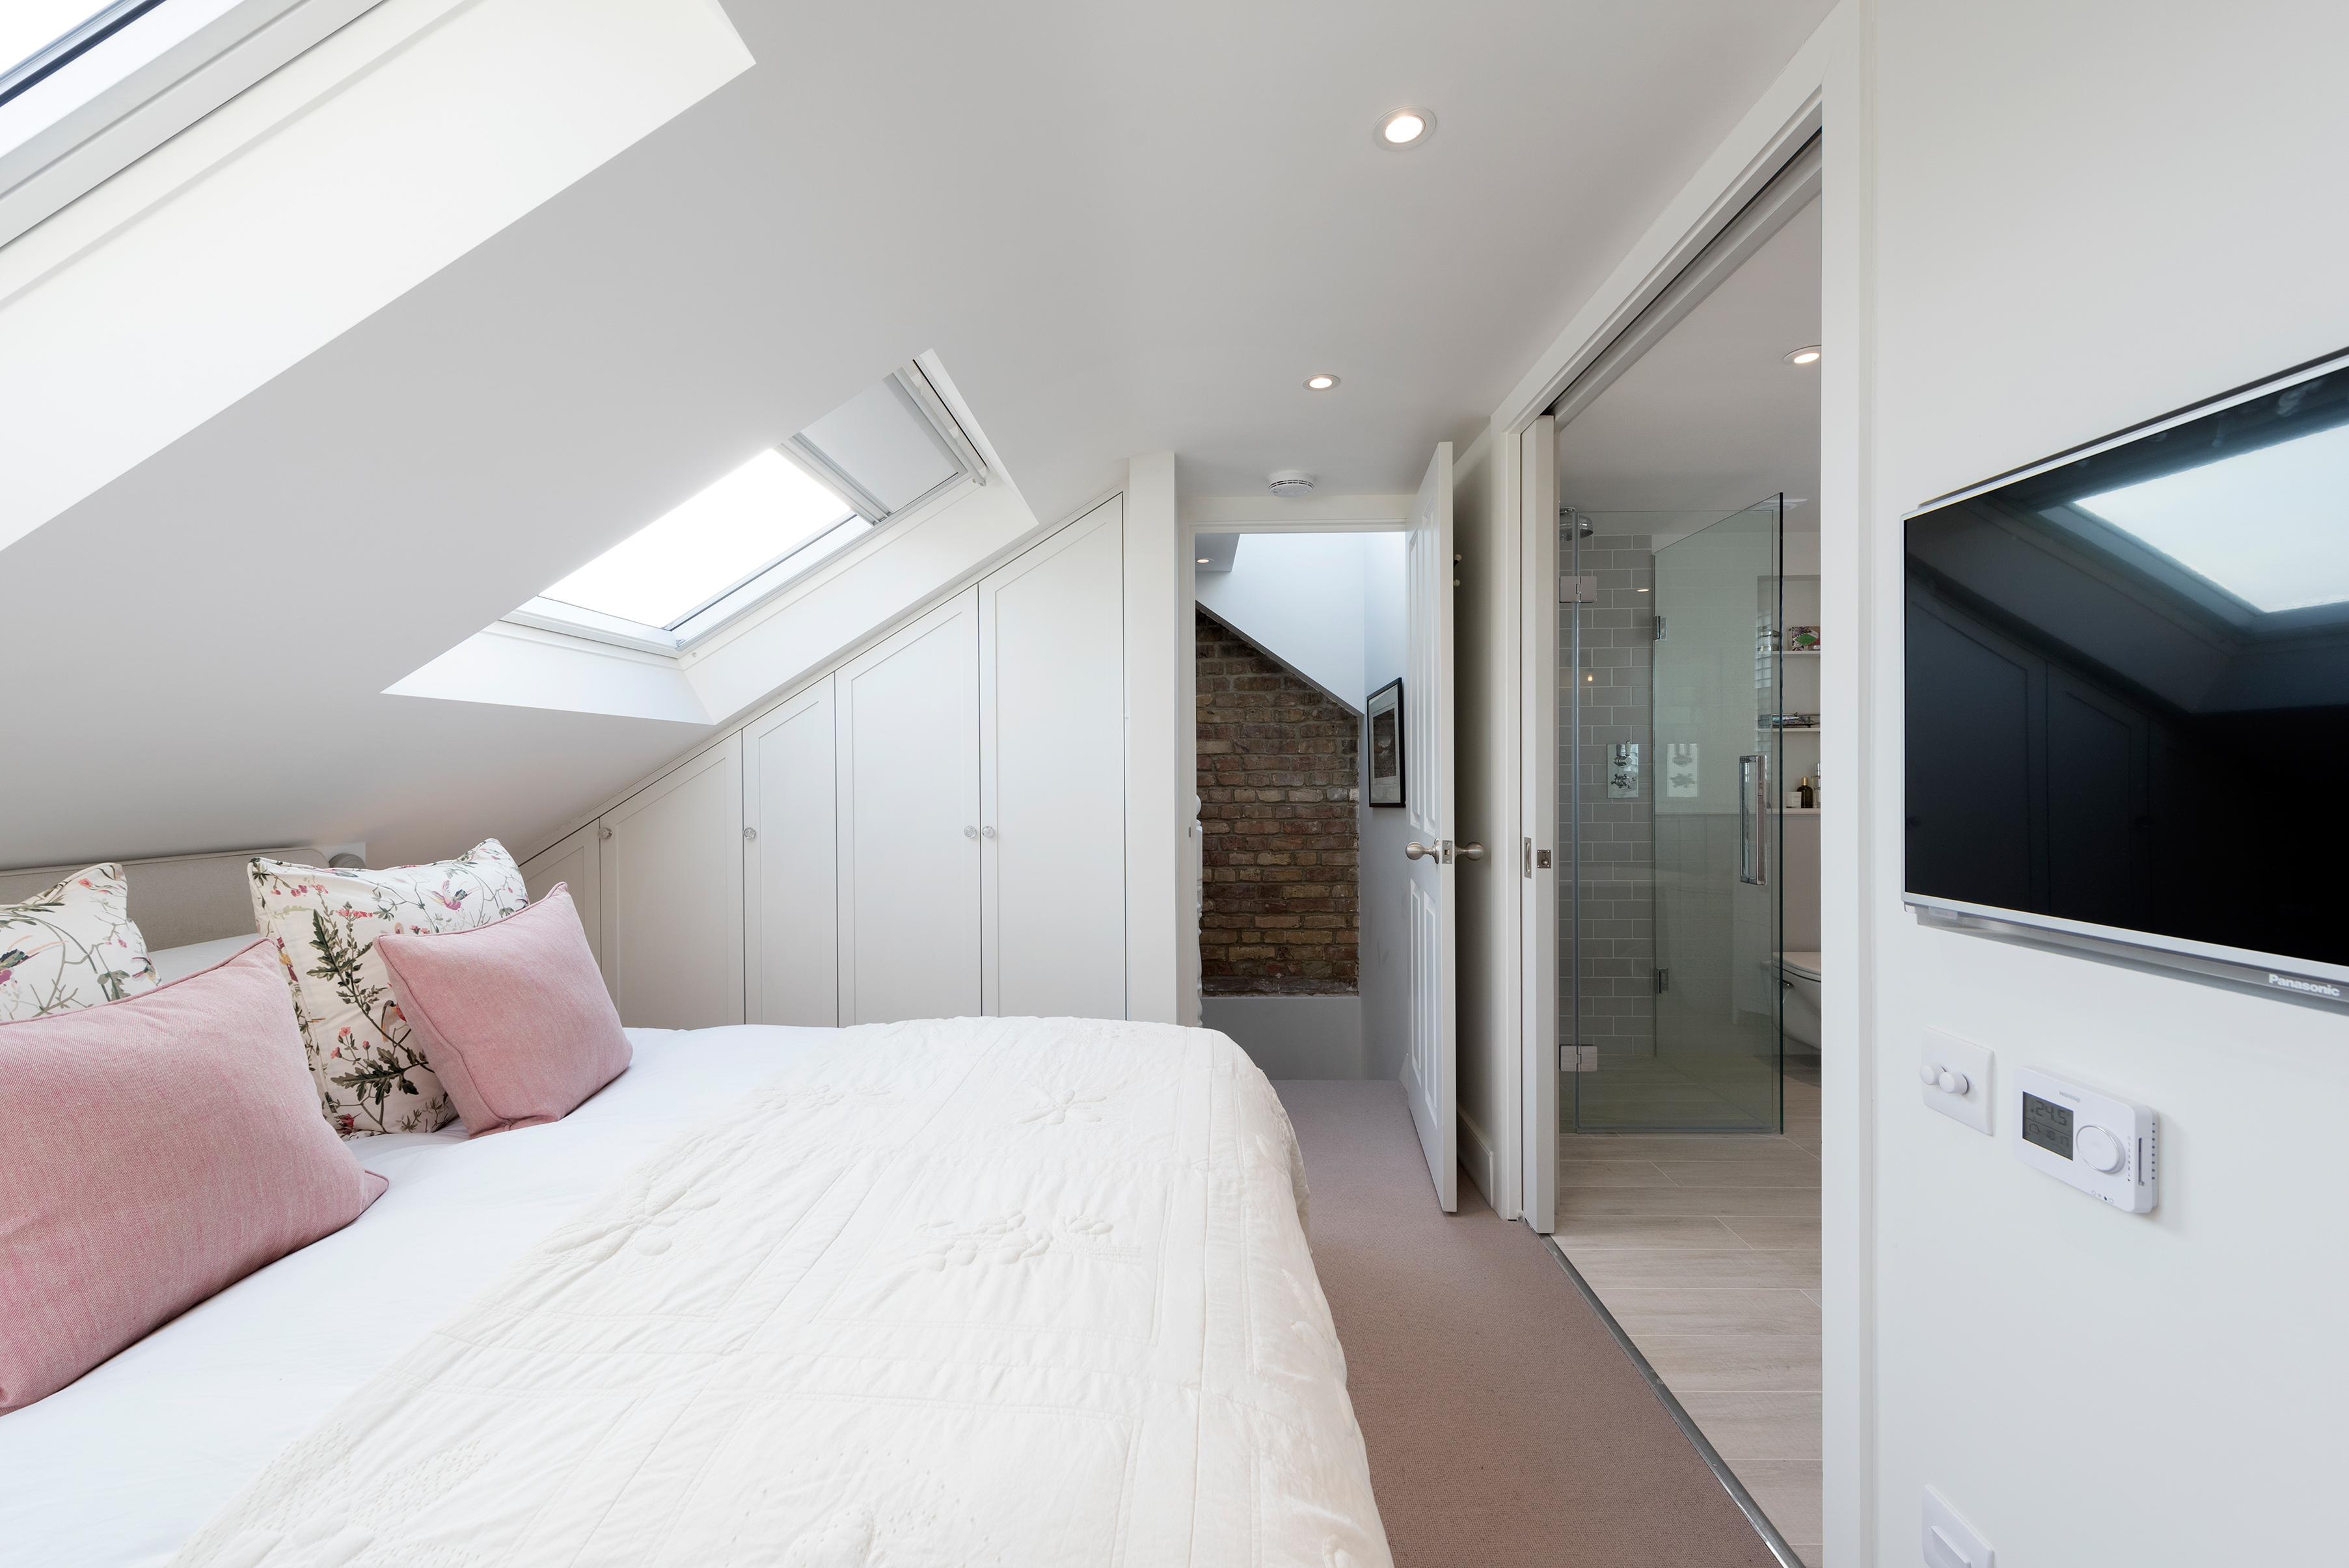
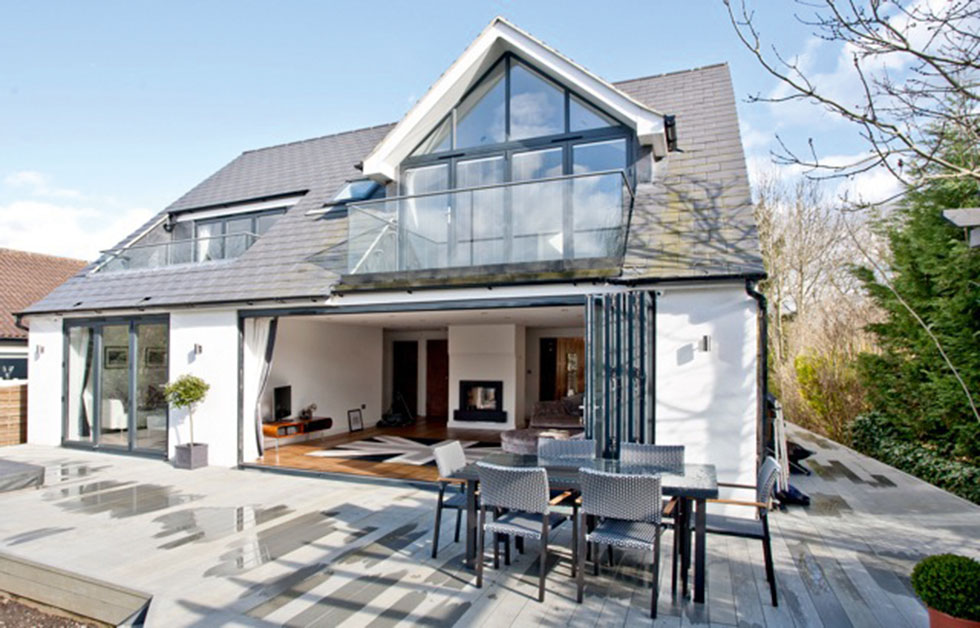
This rear dormer loft conversion by Simply Loft created a bedroom with ensuite for the homeowner’s guests to use, and added around 37 square metres of space to the home
Planning a loft conversion: is your loft suitable for conversion?
Most properties will be suitable for a loft conversion so long as they have a loft that measures 2.3m at the highest point. As well as head height, other features that will help you decide whether your loft space is suitable for conversion are the pitch of the roof, the type of structure, and any obstacles, such as water tanks or chimney stacks.
Is there enough roof height?
If the initial roof space inspection reveals a maximum head height of less than 2.3 metres, there are two solutions available, both of which will require professional input: You could remove all or part of the roof and rebuild it to the required height and structure; however, this is costly and requires getting planning permission. You’ll also need to protect your house from the weather during the works using a covered scaffold structure.
Get small space home decor ideas, celeb inspiration, DIY tips and more, straight to your inbox!
Alternatively, you could create height by lowering the ceiling of the room below, providing you maintain a height of at least 2.4m. Removing the existing ceilings is a messy job and a plate will need to be bolted to the wall for the new floor joists to hang from. There will also need to be a tie between the new ceiling and roof to prevent the roof spreading.
Is the pitch suitable?
The higher the pitch angle, the higher the central head height is likely to be. If dormers are used or the roof is redesigned, the floor area can be widened.
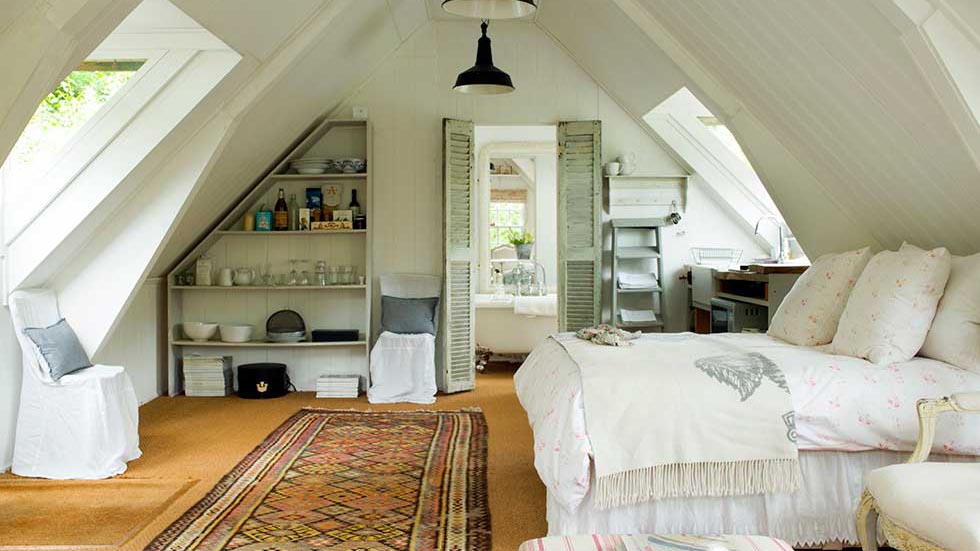
As for the types of properties best suited for loft conversions? ‘We find that 1930s properties are well suited to loft conversions because they are straightforward to access,’ says James Bernard, director of Plus Rooms, which specialises in loft extensions.
‘For Victorian terraces, planning and completing work is simple, provided that you have enough height on the ridge. One tip I would give is to look at Google Earth (or at back gardens) and see how many people have done loft conversions on your or the neighbouring streets. If you only see a few or none there might be a planning reason for this – perhaps you are in a conservation area.’
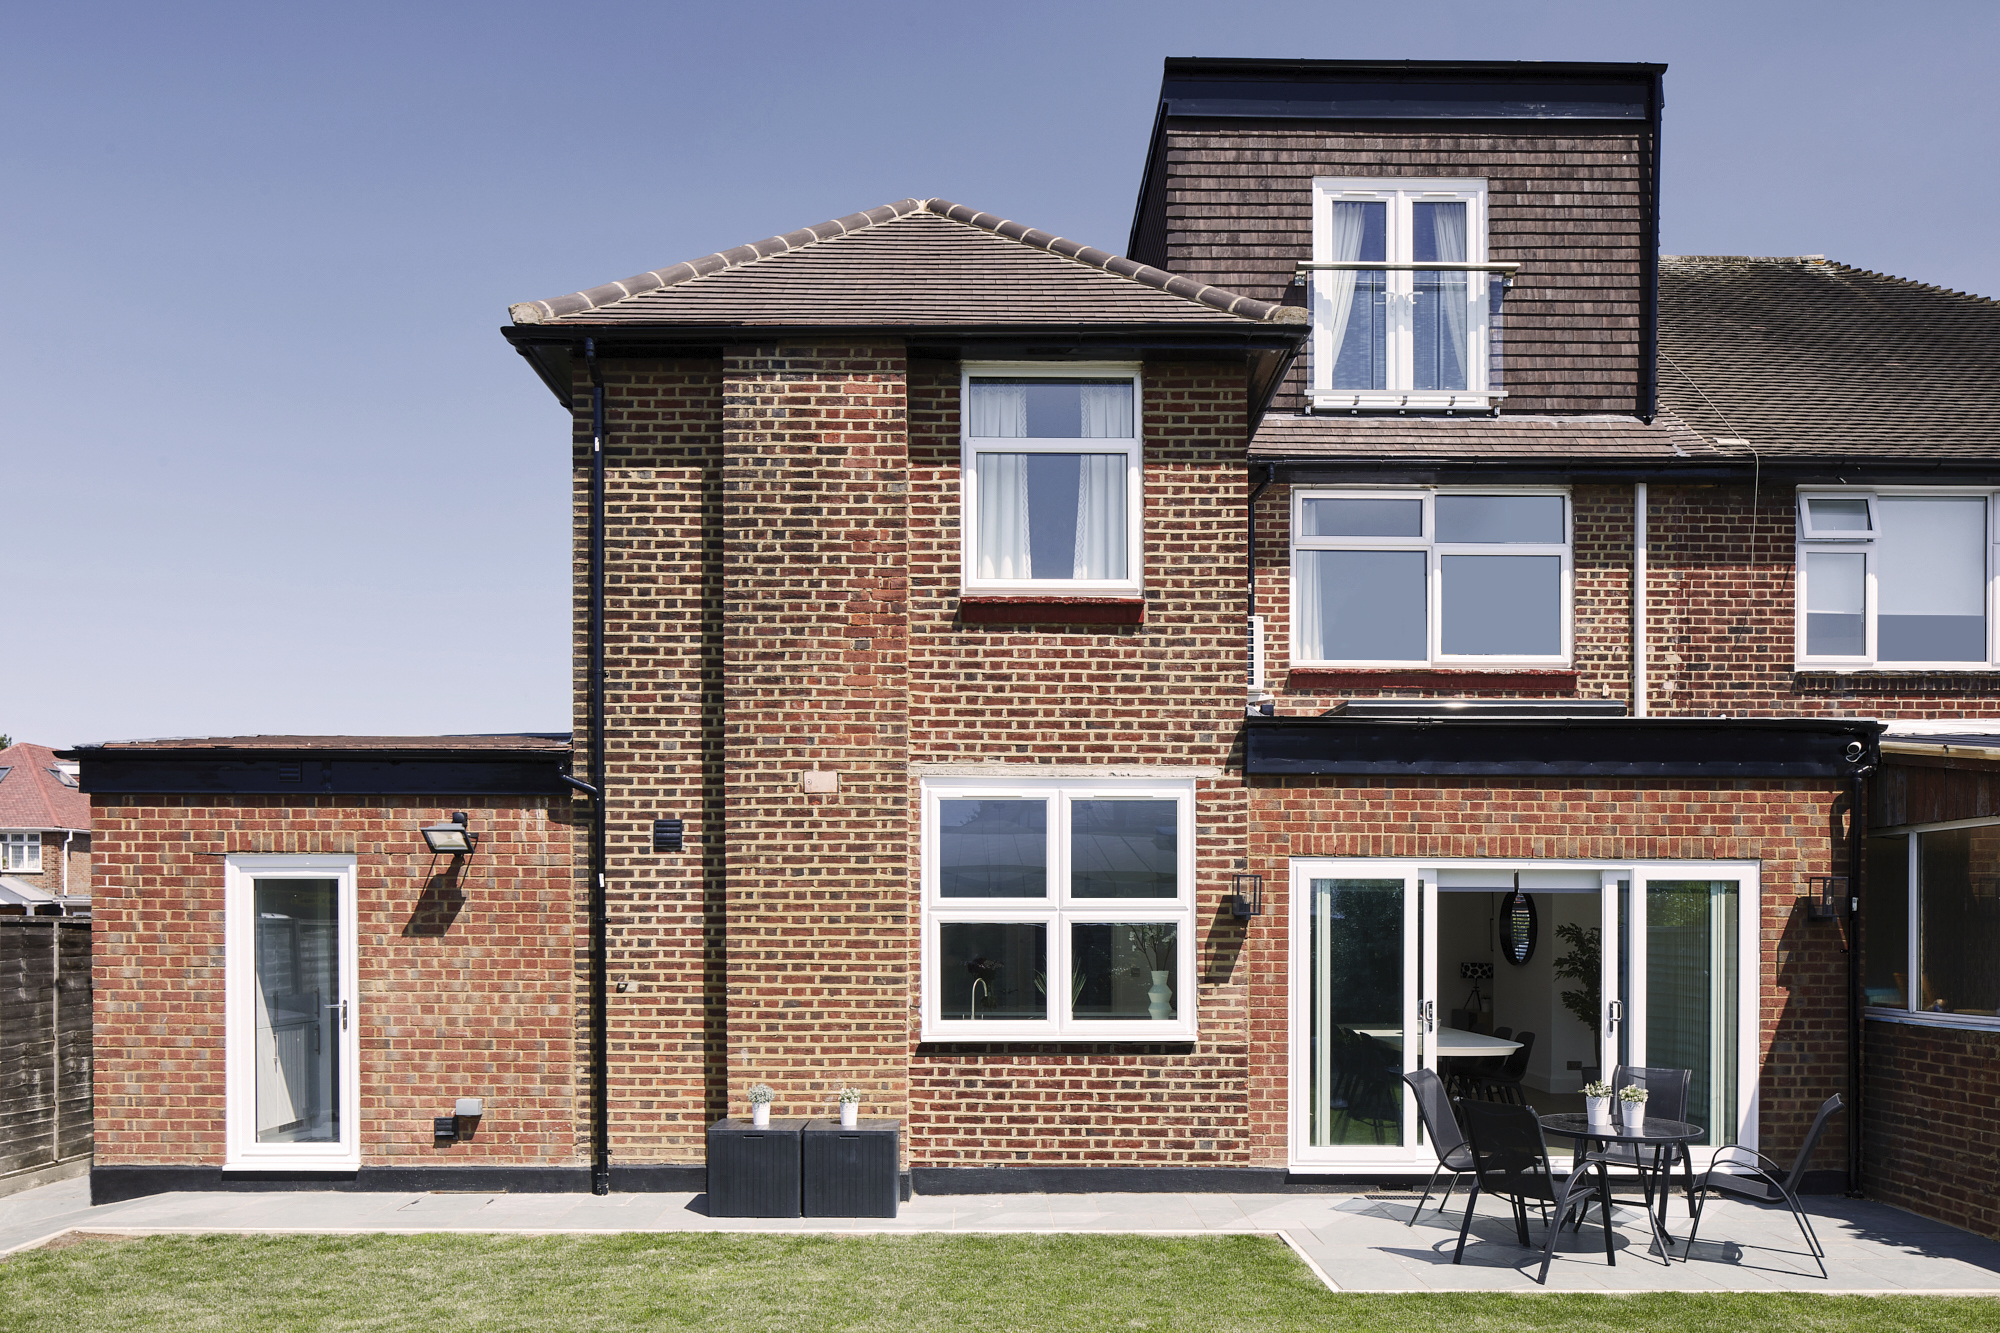
Urbanist Architecture designed a new large dormer plus a separate room in the roof conversion and raised part of the roof to extend the staircase up to the new floor in this home, creating 49 square metres of space
How long does a loft conversion take?
A loft conversion project can be a relatively speedy process, but the time taken does vary. ‘Much like any home renovation project, the timings of loft conversions are unique to the specifics and can be held up by unforeseen circumstances such as old floorboards not being stable enough for the job or a bad bout of weather,’ explains Alex Marshall of Roofing Superstore.
‘On average, a dormer conversion can take up to six weeks from start to finish. However, it can vary depending on the size of the roof and if any structural work needs to be carried out first. Plus, you need to factor in unpredictable weather (making the warmer months an ideal time to get started) and remember that any changes to the plan or delay in getting supplies will also add time.
‘Mansard and hip-to-gable conversions are more complicated projects as they’re essentially adding an extension to your roof. You can expect it to take longer than six weeks, but the contractor would be able to provide a more thorough plan based on the conversion specifics.
‘Meanwhile, rooflight or Velux conversions can be done in under four weeks if there are no surprises, delays or changes – essentially, it’s just prepping the loft space, adding a rooflight and a staircase.’
How much disruption does a loft conversion cause?
As home improvement projects go, a loft conversion can be straightforward. ‘Loft conversions are considered one of the easier and least disruptive methods of converting a home with extra space,’ says Rob Wood, MD of Simply Lofts. ‘Assuming we do not need to lower your ceilings, the disruption is kept to a minimum as the work is confined to the loft space and most of the heavy work can often be carried out from scaffolding outside your property.’
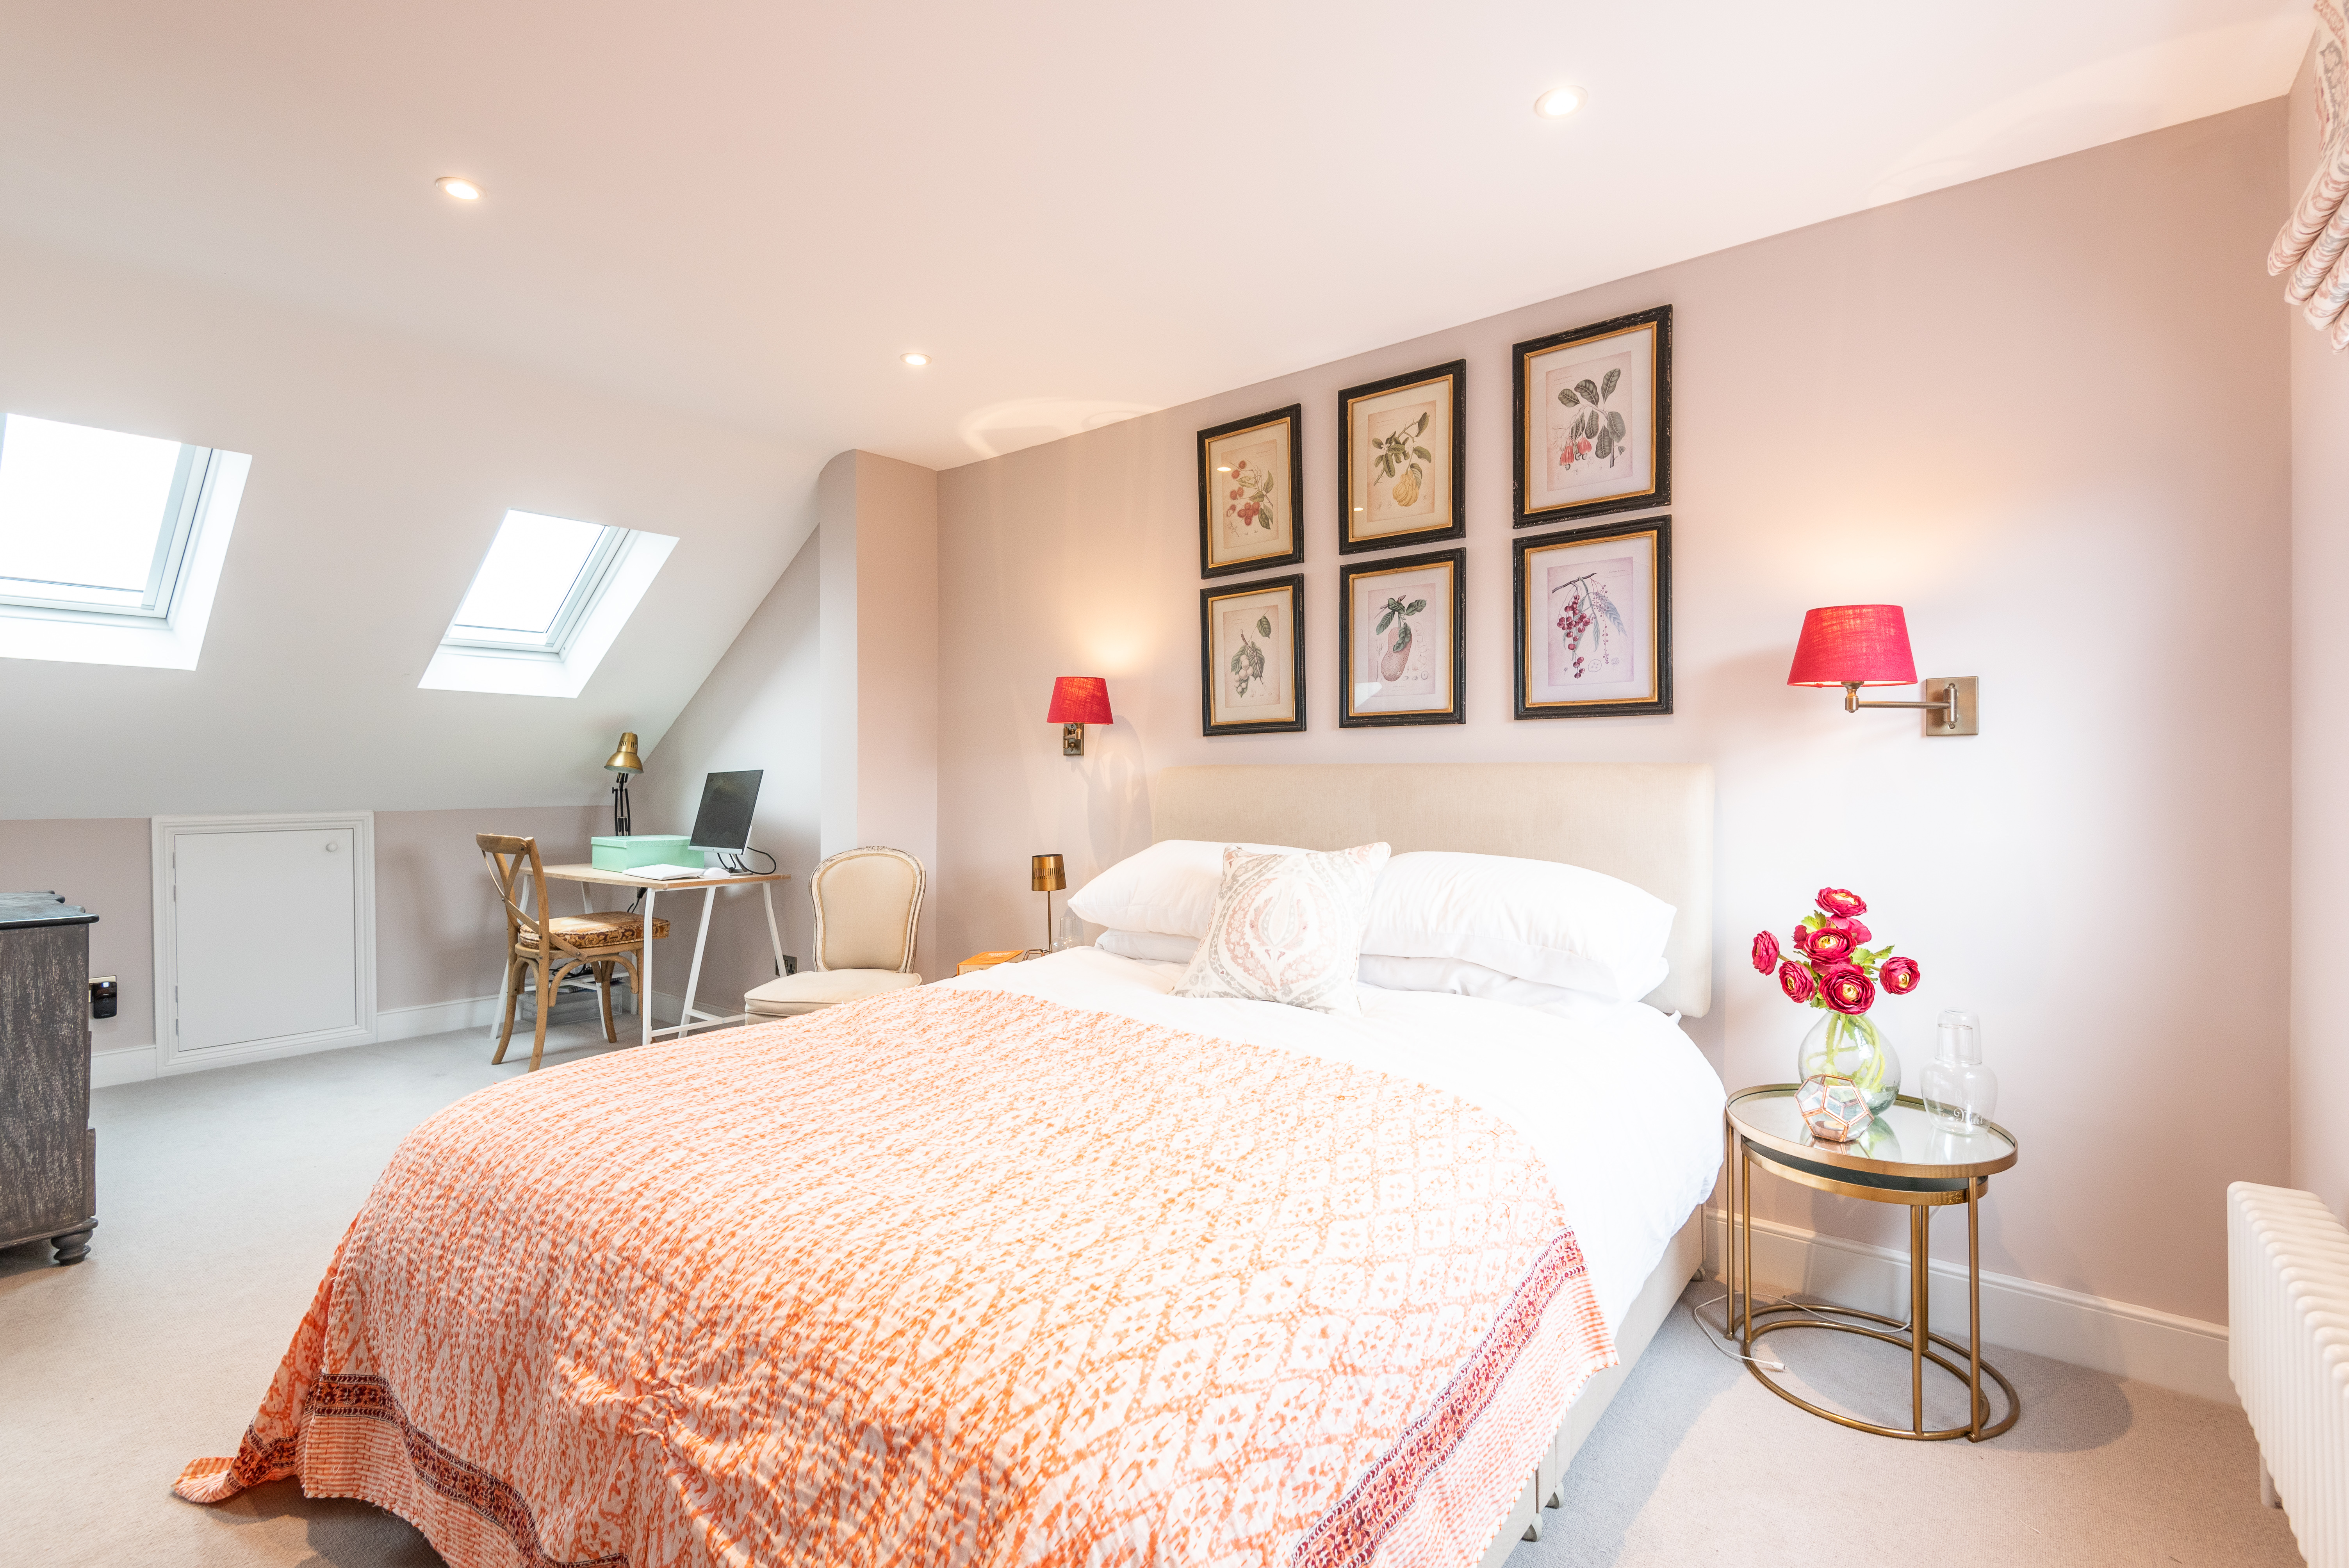
This rear dormer loft conversion by Simply Loft took eight weeks and added 34 square metres of space for a bedroom and ensuite plus a small workspace under the eaves
Which type of loft conversion is best for your home?
There are four fundamental types of loft conversion and they vary in complexity and in cost as noted above.
Turning an attic into a room with rooflights
The existing loft space can be converted by simply adding rooflights, such as Velux windows, plus upgrading the structure and adding stairs, electrics, plumbing, insulation. This is usually the simplest, quickest and cheapest type of conversion, as structural alterations are kept to a minimum.
‘However, whilst this is the cheapest loft conversion it may not maximise the space potential of your loft,’ notes Rob Wood.
Rooflights are also the most straightforward way of adding natural light and ventilation to your loft conversion. The surrounding area is reinforced before the rafters are cut to make way for the rooflights. The rooflight frame is fitted within the opening, and flashings are added before making good the surrounding tiling. This type of window is the most cost-effective, and most likely to be allowed without planning permission, under permitted development. Conservation rooflights, which are slightly more flush to the roofline and made of metal, can also be installed.
The cross section of a roof light loft conversion
Dormer loft conversions
Dormers not only give natural light, but can add space to a loft conversion, too. ‘Ideal for families looking to add another bedroom to make room for new additions, dormer loft conversions are amongst the most popular loft conversions,’ says Rob Wood.
They are particularly effective where the pitch angle is high, as they can help increase the useable floor space. Dormers are normally installed by opening up the roof and cutting the required timbers to size on site. However, some loft conversion companies will make the dormers off site in their workshop and lift into place, which allows quick installation, and weatherproofing.
There are various types of dormer, from the standard ‘box’ which projects out with a flat roof, to the ‘hip-to-gable’ (see more below), which is used on end-terrace or semi-detached houses to replace a previously sloping roof (a hip) with a wall that is flush to the exterior wall (forming a gable). The mansard type, most commonly seen on London terrace houses, also maximises available roof space because it projects the maximum available head height, giving a greater usable floor area.
The part of the roof being extended will need to be stripped and the structure rebuilt. Consequently, this option is more time-consuming and expensive.

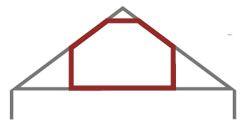
The cross section of a dormer loft conversion
Creating a new mansard roof
This is where the roof structure is altered at the back of the house (and sometimes at the front, too) to create a far larger area with full headroom. ‘In terms of the exterior of a property, these breathtaking mansard loft conversions are often considered the most aesthetically pleasing,’ says Rob Wood.
A mansard conversion typically spans from gable wall to gable wall and is like another full storey with almost vertical tiled walls and a flat roof. This results in an addition that may appear far more a part of the property and less like an add-on than a large box dormer.
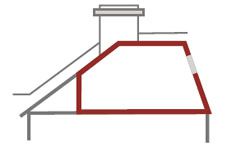
The cross section of a mansard loft conversion
Hip to gable loft conversions
This usually applies to a semi-detached house or bungalow where the roof is currently hipped (sloped) to the side, as well as to the back and front. This roof is stripped and the hipped section removed. The end wall is then built up to form a new vertical gable and a standard pitched roof. The work creates a far greater area with full headroom.
Gable-end windows
Most loft conversions will have at least one vertical external wall and standard window openings can be formed in these walls to bring in extra light. New windows in side elevations do not usually require planning permission if they are obscured, or are more than 1.7m above floor level.

The cross section of a hip-to-gable loft conversion
Does a loft conversion need planning permission?
It's not usually a requirement but always check with your local planning department to see if your loft conversion needs planning permission or not. As a general rule, loft conversions are classed as permitted development and generally do not require planning permission, providing they meet the following conditions:
- Any new roofing must not exceed an additional 40 cubic metres of space on terraced houses.
- Any new roofing must not exceed an additional 50 cubic metres of space on detached and semi-detached houses.
- No extension must be made beyond the plane of the existing roof slope.
- No extension can be higher than the highest part of the roof.
- New roofing materials need to be like-for-like or close to original fittings.
- There must be no raised platforms or balconies.
- Side-facing windows must be set with obscured glazing and an opening 1.7-metres above the floor.
- For listed buildings or those in Conservation Areas, visit planningportal.co.uk
‘In most cases, you can do a loft conversion using your permitted development rights,’ explains Mark Morris. ‘This will normally get you more space than you would get if you were putting in a planning application. It will also give you more certainty about what you can and can’t do. The downside is that you can’t be adventurous with the external design – it needs to match the existing house.
‘You also need to check that your permitted development rights are not limited either by something to do with the history of your house or by a council ban on their use for roof extensions in your area, something that is called an Article 4 direction.’
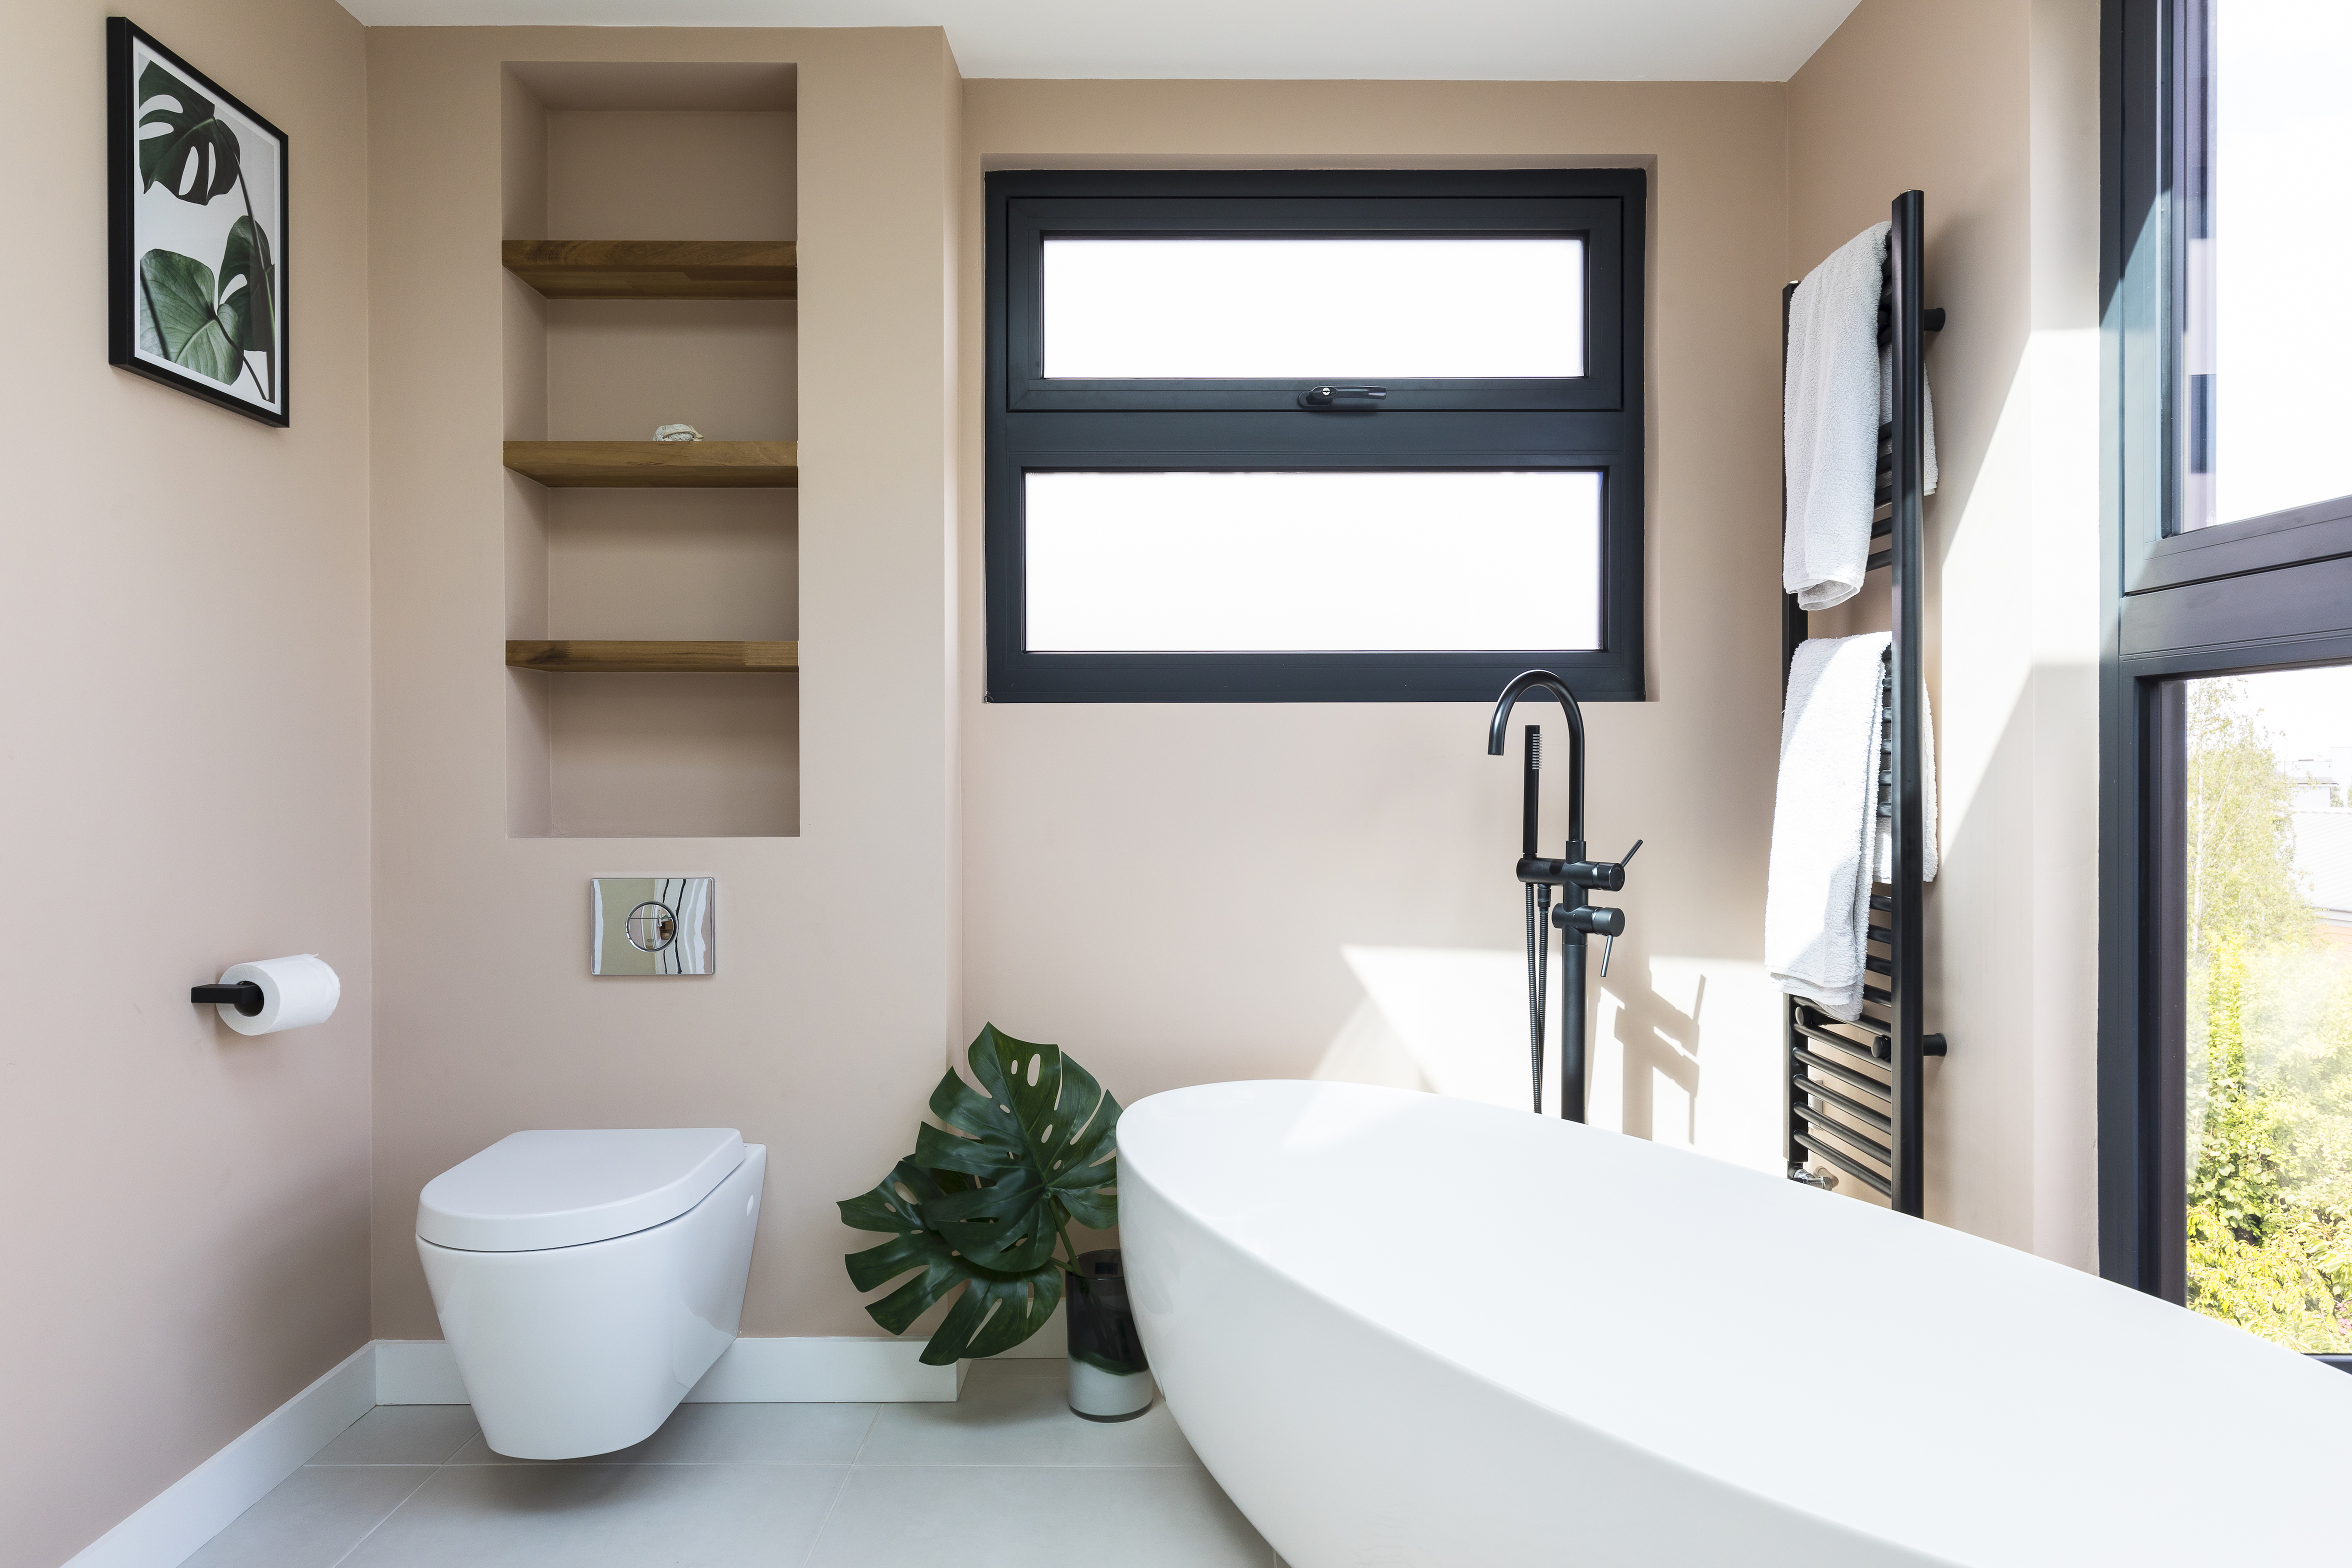
An L-shaped dormer loft conversion by Urbanist Architecture created a bathroom, along with a master bedroom and office, adding 39 square metres to the home
Do loft conversions need building regulations approval?
Always remember that planning permission does not equal building regulations approval – the two have to be cleared separately. Every new conversion, including those done under permitted development, must comply with fire and building regulations. This covers the safety and quality of the building work, including:
- checking the proposed structure is calculated properly;
- the safety of the stairs;
- insulation levels;
- effective drainage;
- electrical safety.
Ask your local authority’s building control department, or a private sector approved inspector, to help early in the planning stages. A common pitfall is the need for a ‘direct means of escape’, so a separated stairway and hallway with fire-rated doors to all rooms, will be required (see below).
Loft conversion planning: fire safety when you convert a loft
Subscribe to Real Homes magazine

Love your daily dose of Real Homes? Then why not subscribe to our magazine to see our newest content first? Packed with fabulous readers' homes, trend features, project advice and easy updates, you'll wonder how you ever lived without it.
In an unconverted loft, the plasterboard ceiling in the upstairs rooms will delay the spread of fire to the roof space. However, when an opening is introduced for the staircase, safeguards must be in place to reduce the risk.
Building regulations require loft conversions that are 4.5m above external ground level to have 30-minute fire protection in the floor and walls, including the protected route to an external door. This often means upgrading doors to all habitable rooms on to the stairwell to fire doors. In a bungalow, a fire escape window with a clear opening of at least 45cm x 45cm in each habitable room is acceptable. In an open-plan house, sprinklers may be a suitable alternative.
At least one mains-operated smoke alarm with battery back-up must be installed in the circulation space of each storey.
What if your stairs rise from the living room, not a hallway. Is this permitted?
No, in this case, the stairway must be separated from the rooms by walls and fire doors, leading all the way to an external door, and not open-plan to rooms.
You could create a hallway by partitioning off the stairs from the room, or if the stairs are alongside a spinal wall separating two ground-floor rooms, you could form a lobby at the bottom of the stairs with fire doors leading to each room. So long as you have separate escape routes from both of these rooms, it would be acceptable.
If you really want an open-plan layout to include the stairs, sprinklers are usually the only option.
When converting a loft in a single-storey home, it is permissible to have the stairs within a room as you don’t need a protected stairway. In this situation, the requirement for an alternative emergency fire escape could be met by a first-floor window.
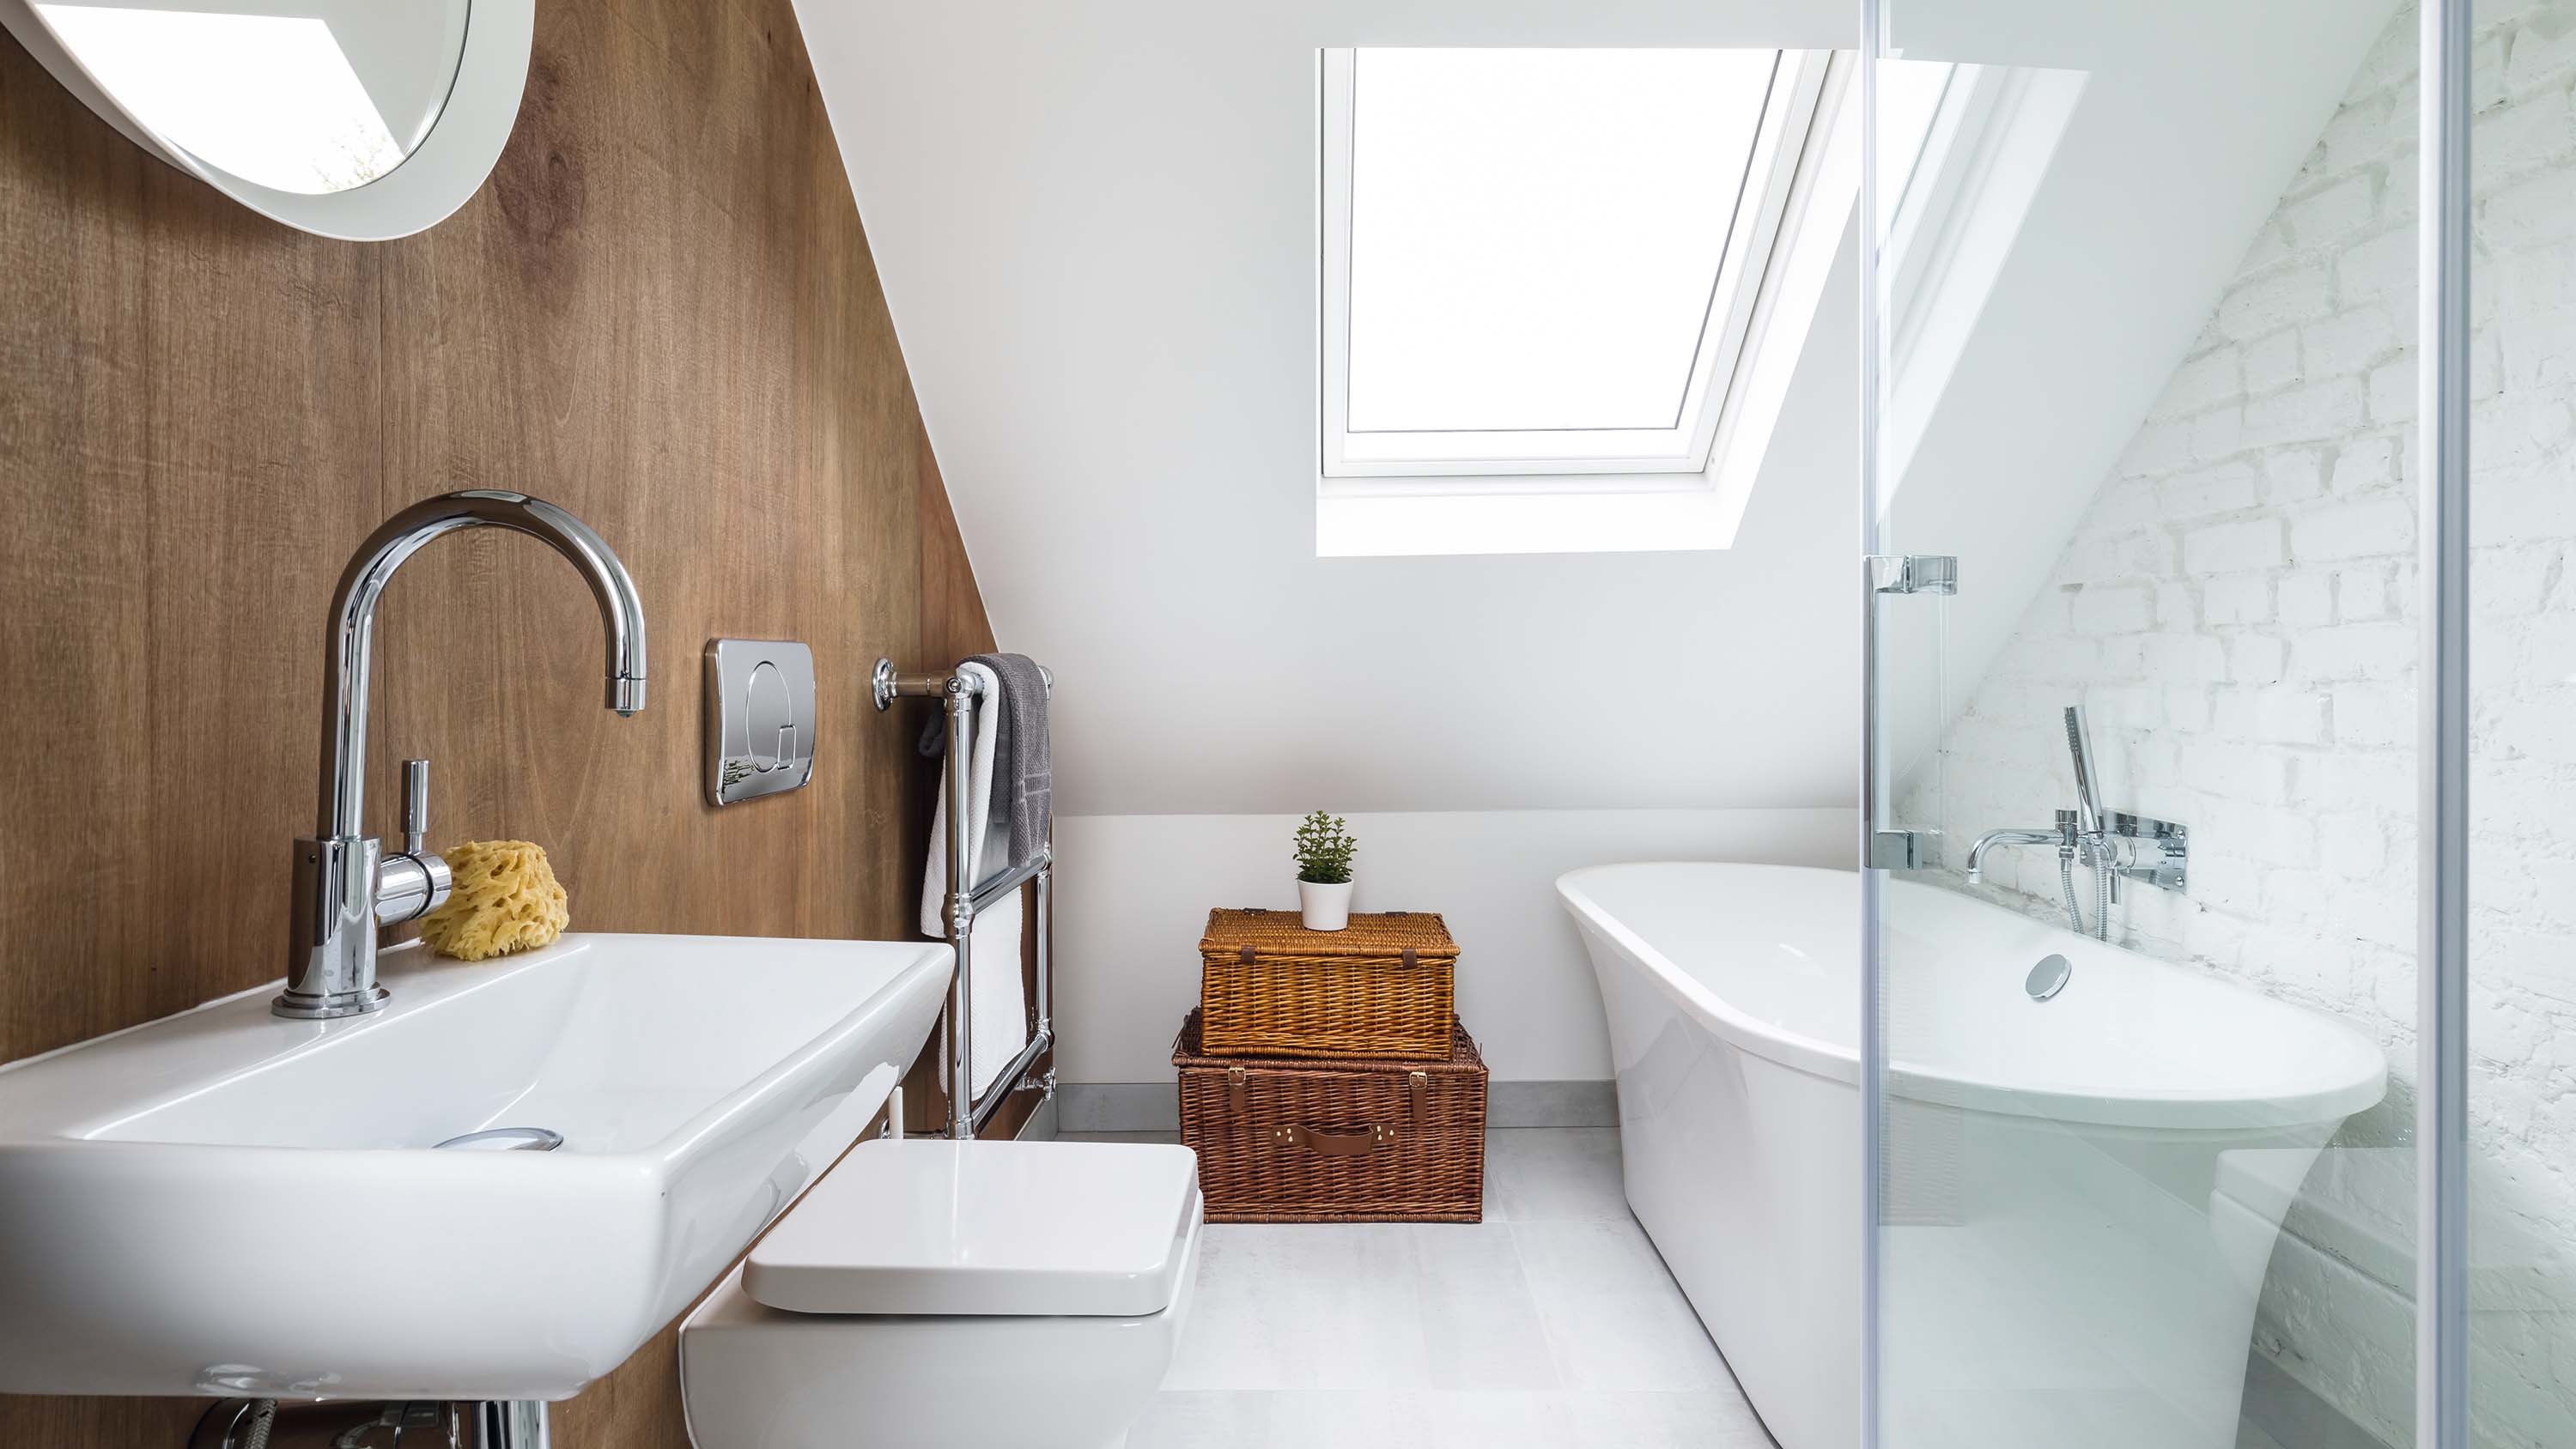
As part of a whole-house renovation project, Erica and Andy Job decided to open up their loft to create their dream bathroom
Planning a loft conversion: structural considerations
There are two main types of roof construction – traditional framed and truss section. The traditional framed type is typically found in pre-1960s houses where the rafters, ceiling joists, and supporting timbers are cut to size and assembled on site. This type of structure is usually the most suitable for conversion as it can be easily, and relatively inexpensively, opened up by strengthening the rafters and adding supports.
Post-1960s, the most popular form of roof construction is factory-made truss sections, which mean the entire roof can be erected and felted in a day. Thinner – and therefore cheaper – trusses are used that usually have no loadbearing structures beneath them. Opening up lofts with this kind of structure requires added structural input, most commonly from the addition of steel beams. This requires skill, knowledge and equipment, and is therefore costly.
Planning a loft conversion: will your loft need new joists?
Your existing ceiling joists are unlikely to be able to support the loft conversion floor; so extra joists will need to be added to comply with building regulations. A structural engineer will look at the separation distance needed between joists to support the anticipated load weight, and then specify the size and grade needed.
The new joists will run alongside the existing joists and span between load-bearing walls. They will normally be raised slightly to prevent them from touching the ceiling plaster below.
Above window and door openings, thicker timbers will be used to bridge the gap, so that pressure is not put on the existing lintel. Rolled Steel Joists (RSJs) may also be needed to distribute the load.
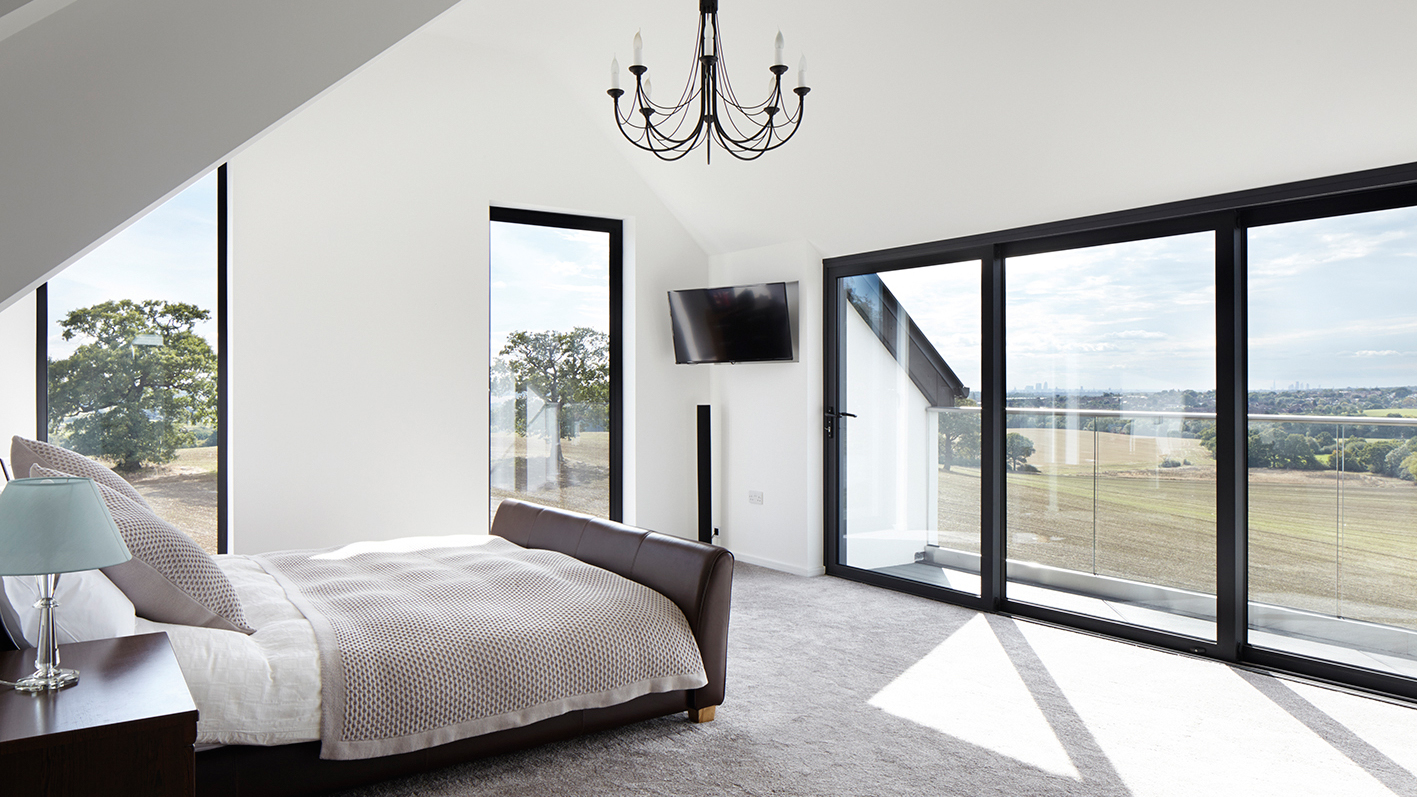
The amount of useable space for a rooflight conversion will depend on the height and pitch of the roof. By the time the structure has been converted and insulated, only the area measuring 2.3m or more between the top of the floor joists and the underside of the rafters will have enough clear headroom for standing.
If your loft does not yield sufficient space for a simple rooflight conversion, you will need to consider one of the other design options shown on these pages to create the useable new room you need.
Insulation for loft conversions
There are two main ways of insulating the roof structure, and your Building Control inspector will specify which type you require.
Cold roof
The first method, called ‘cold roof’ insulation, can be carried out by a DIYer. It involves filling the space between the rafters with 7cm-thick slab foam insulation, ensuring that there is 5cm space between the roof felt and the insulation to allow for ventilation. A 3cm-depth of slab insulation is then attached to the inside of the rafters, giving a total of 10cm of insulation. The roof section of the loft conversion will require 30cm of mineral wool insulation, or 15cm of slab foam insulation, such as Celotex.
Warm roof
The other main method is ‘warm roof’ insulation. This involves fitting 10cm of slab foam insulation over the top of the rafters and adding a capping, followed by the tile battens and tiles. This is only a practical solution when the roof covering has been stripped off, such as where a dormer is being created. The dormer walls can be insulated with 10cm-thick slab foam insulation between the studwork. Plasterboard is attached to one side of any internal partition walls, a 10cm-thick quilt of insulation added, and then plasterboard added to the other side. Insulation is also placed between floor joists, and this is typically 10cm thick.
How to choose a staircase for a loft conversion
The best place for your staircase to land is in line with the roof ridge, which will make best use of the height available. The minimum height requirement above a staircase pitch line is two meters. ‘It is often best to follow the same pattern of the staircase from the lower floor to maintain this head height,’ says Mark Morris.
In reality, the actual location of your staircase will depend on the layout of the floor below, and where the necessary height can be achieved using a dormer, rooflight or, if appropriate, converting a hip roof end to a gable.
Number of steps
Building regulations specify that the maximum number of steps you can have in a straight line is 16 – the average loft conversion normally only requires 13 steps.
Size of steps
The maximum step rise is 22cm and the minimum depth is 22mm. Any winders, steps that go around a corner, must have a minimum of 5cm depth at the narrowest point. The width of steps is currently unregulated.
Rules for balustrades
The minimum height of any balustrade is 90cm above the pitch line. Any spindles must have a separation distance that a 10cm sphere cannot pass through.
Heating and ventilating a loft conversion
Before work begins, check your boiler can cope with the extra demand for heating and hot water. In particular make sure the water pressure is sufficient – you might need to raise the height of the header tank, or switch to a pressurised plumbing system.
Ensure good natural airflow by placing windows that open at opposite ends of the new room, as loft rooms can get warm.
Decide on the exterior wall cladding
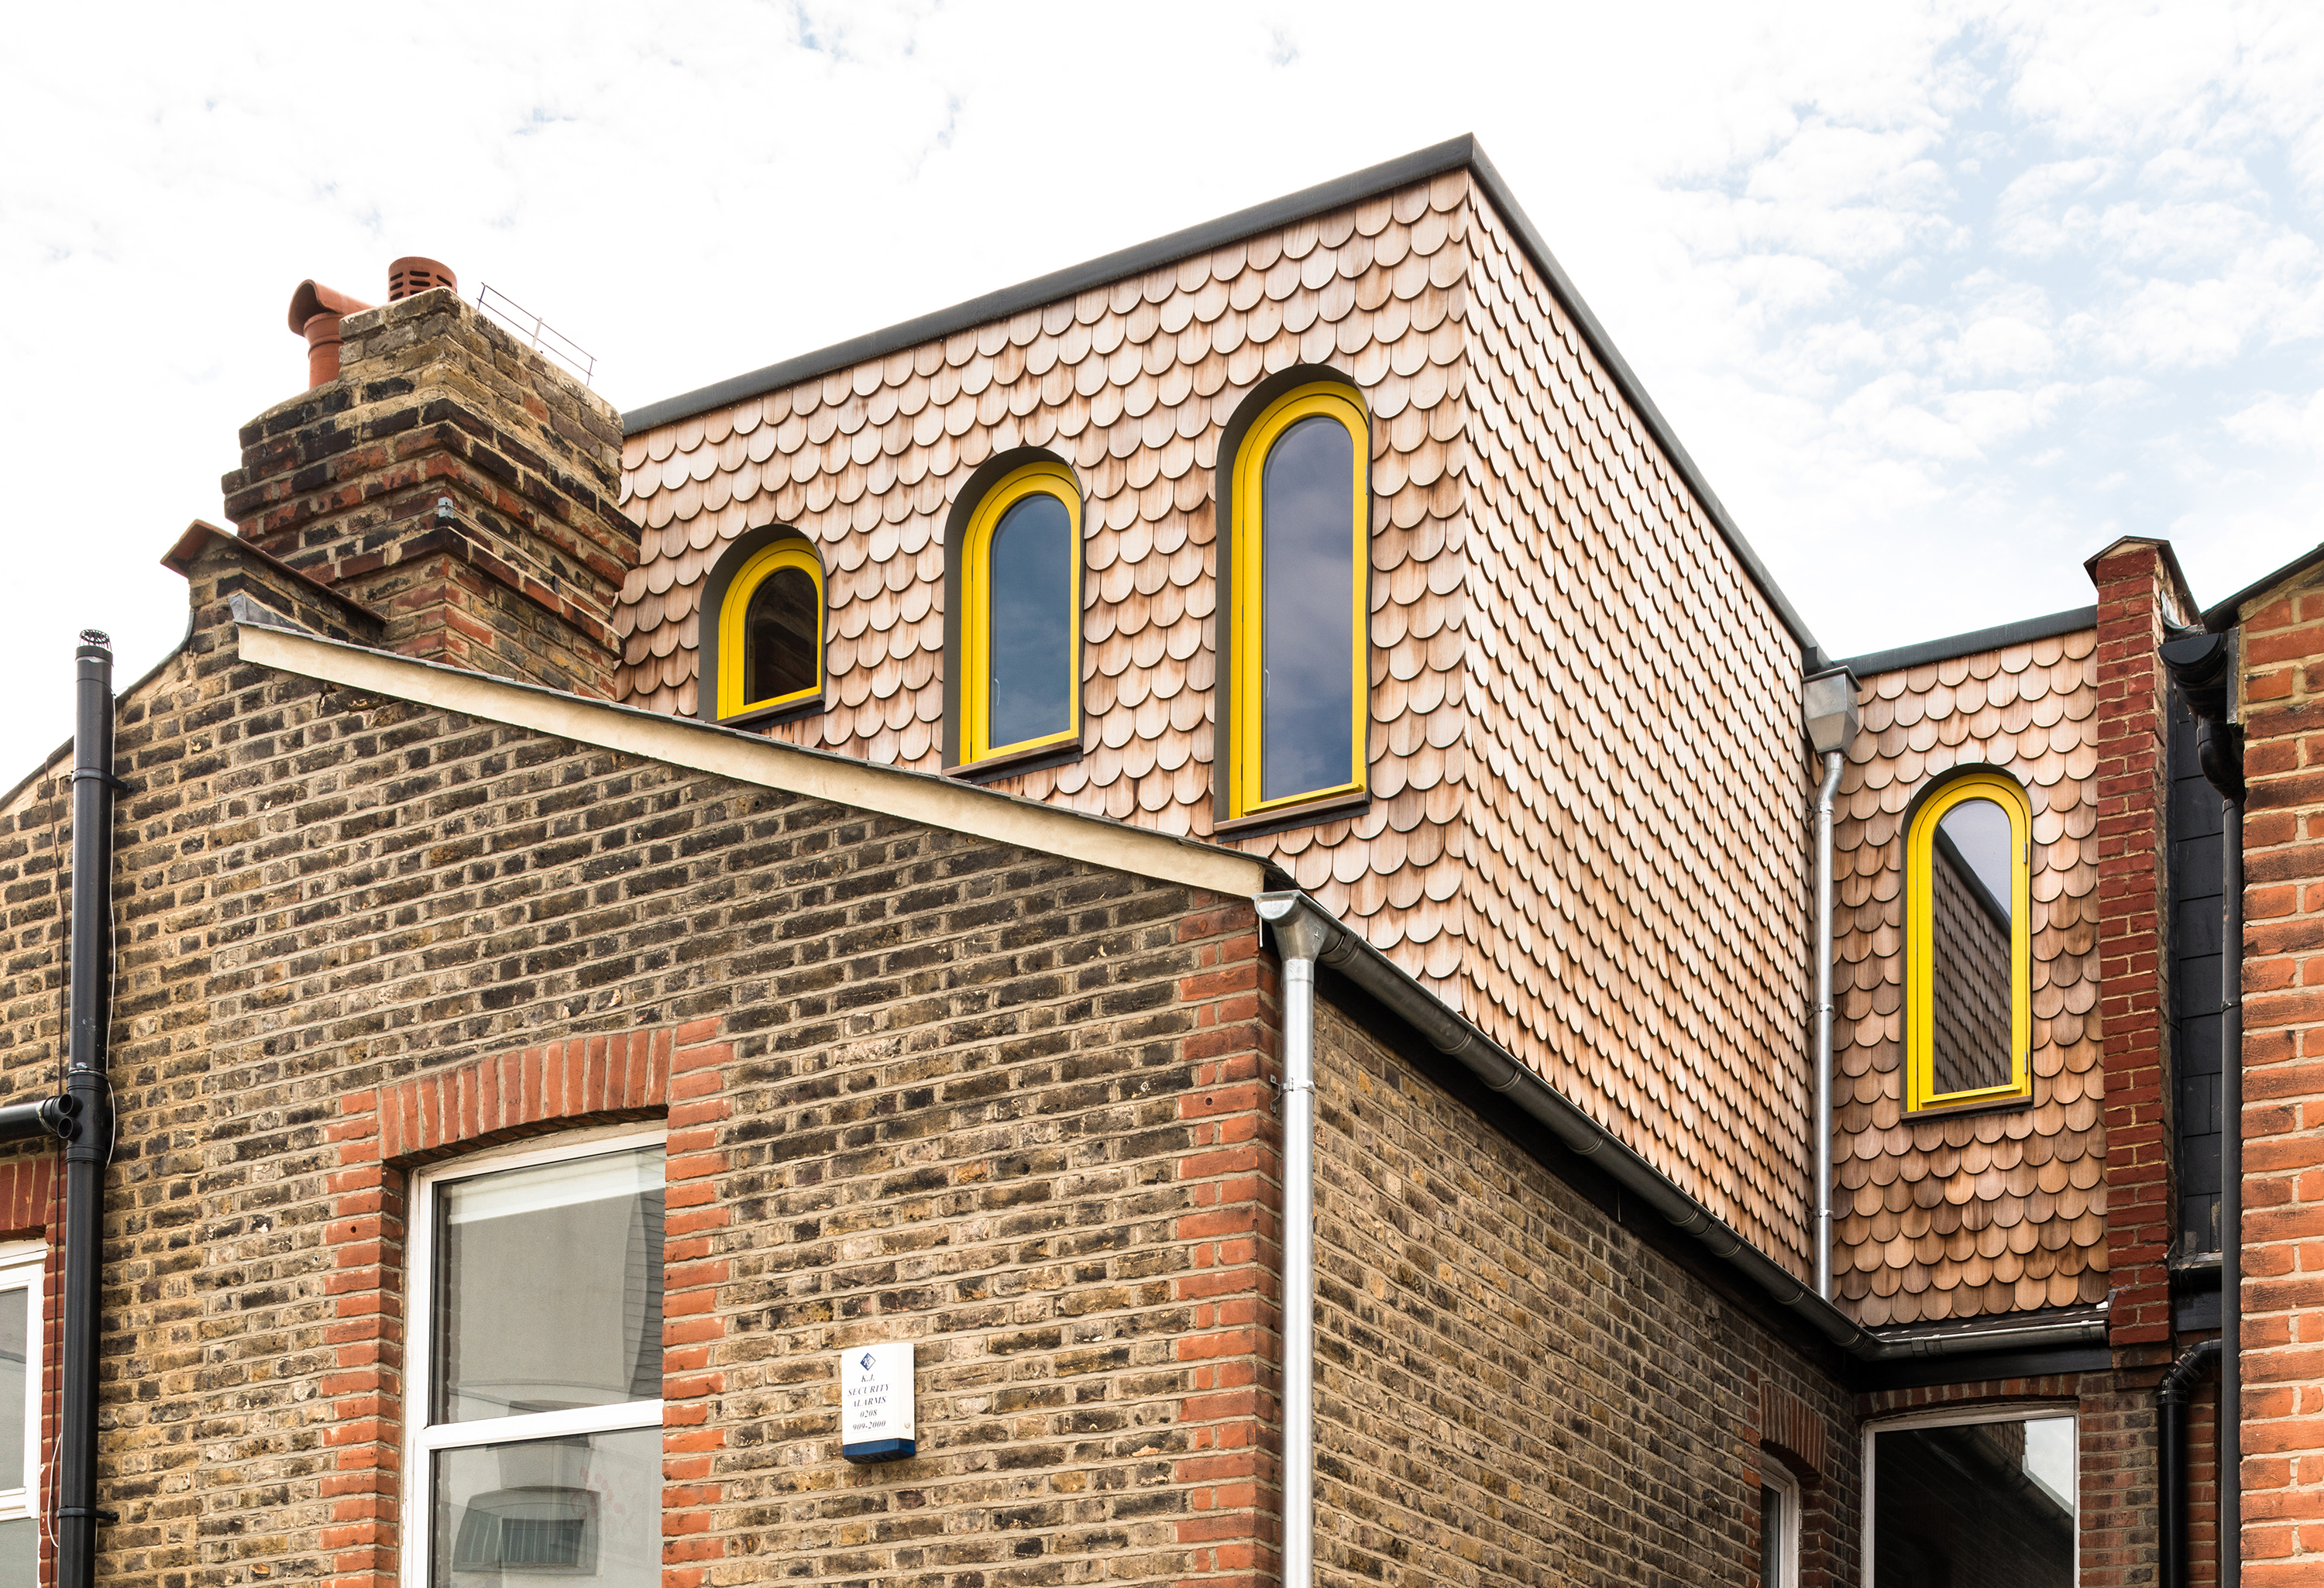
You’ll want the loft to look great from the outside, too. A dormer can be clad in tiles or slate to match the original roof, finished in timber or with fibre cement weather boarding, which has the same look but is low maintenance and comes in a variety of shades. Metal cladding options include galvanised steel, aluminium, long-lasting zinc and copper. Allow them to weather naturally, or choose a finish that will keep them gleaming. This loft on a north-London Victorian house designed by Office S&M has distinctive rounded cedar shingles, which will weather and change colour over time, lending it a sense of fun. Lofts come under ‘permitted development’ but materials are required to be similar in appearance to the main house so run your cladding choice by your local planning department in case there are restrictions.
Do you need an architect for a loft conversion?
A loft conversion project is a complex task and it's best to take on professionals rather than tackle it on your own. They will be able to draw up detailed plans that include all the information your local authority planning department would need to decipher whether or not you need planning permission.
Choosing a loft conversion company
When choosing a specialist loft company, you will benefit from an integrated project team who all work together to ensure the journey from initial concept to final build is as simple and stress-free as possible.
The loft company will provide professional architectural designers, qualified Royal Institution of Chartered Surveyors (RICS) structural engineers, surveyors, loft estimators, project managers and specialist tradespeople and loft teams. This structure means that the company is able to see the project as a whole from the outset, giving it the ability to foresee potential problems.
Do not be persuaded to simply opt for the cheapest company. Find a company or person that makes you feel comfortable, and always ask to speak with a previous customer and whether you can pop over to have a look at the work done. Admire the basics, such as how a hinge has been chipped into a new door, or the quality of the new roof and appearance of the new dormer.
Find out if their chosen company went the extra mile by asking questions. Were they punctual, clean and tidy throughout the build? Did they start and finish the loft conversion within an agreed build schedule? Did they ask for any extra money along the way or was it a fixed price? You will find a lot of loft companies happy to commit to a fully fixed price and to sign documents to reflect this. As they are the professionals, it is their duty to capture all the costs, not yours.

Lucy is Global Editor-in-Chief of Homes & Gardens having worked on numerous interiors and property titles. She was founding Editor of Channel 4’s 4Homes magazine, was Associate Editor at Ideal Home, before becoming Editor-in-Chief of Realhomes.com in 2018 then moving to Homes & Gardens in 2021. She has also written for Huffington Post, AOL, UKTV, MSN, House Beautiful, Good Homes, and many women’s titles. Find her writing about everything from buying and selling property, self build, DIY, design and consumer issues to gardening.
- Sarah WarwickFreelance Editor