DIY cabinet doors: How to update your kitchen doors with plywood
Want to give old cabinets an upgrade? DIY plywood cabinet doors are a modern, inexpensive, and simple project that creates major impact
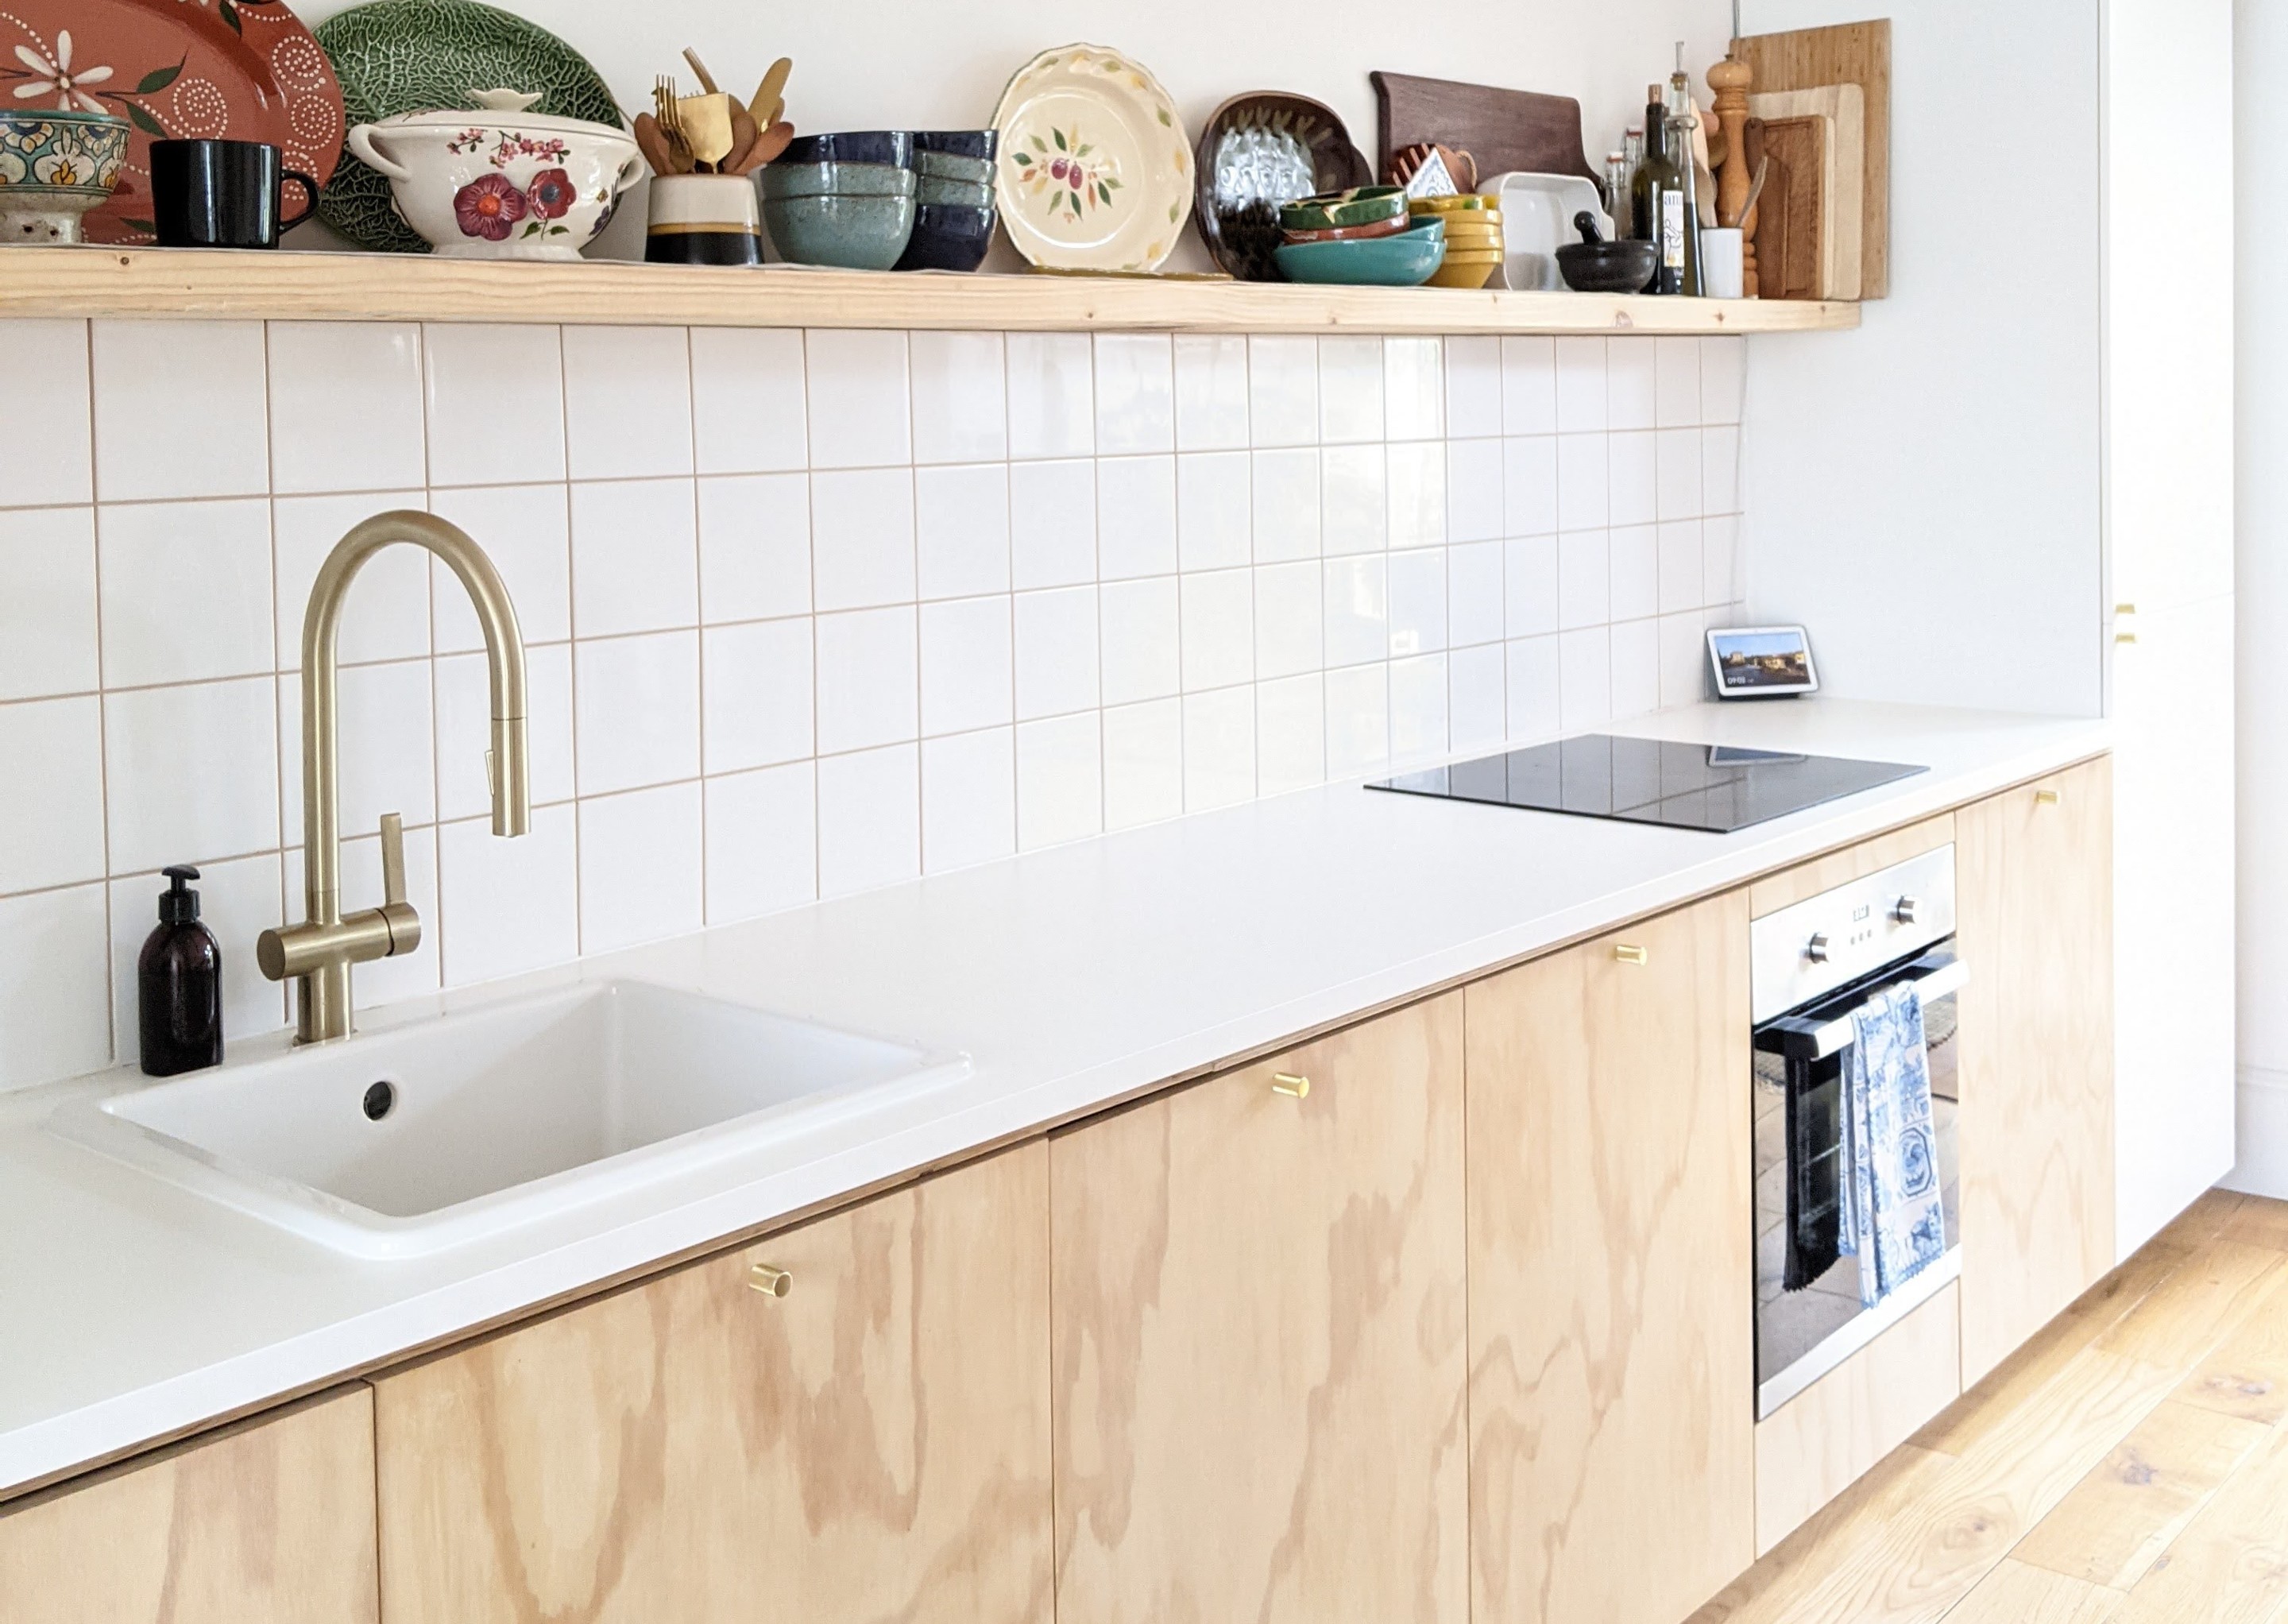
After years of gloss kitchen doors in a variety of colors, more natural materials are making a comeback. Long gone is the traditional wood kitchen at granny's house, replaced by a new era of modern wooden kitchens with sleek lines and clean edges.
I have been obsessed with plywood kitchens for a while now and when it came to my new kitchen I knew I had to have a plywood element. Entire cooking spaces with kitchen cabinets made from plywood are gorgeous but as everything is custom-made, it also comes with a large price tag. Using high-street kitchen cabinets with doors made from plywood is a much more affordable way of creating the look.
With all that in mind, I decided to use standard kitchen cabinets and to make my own doors. This was a bit of a DIY project experiment on my end but as plywood is a relatively inexpensive material I thought it was worth a shot. I am happy to say it has worked out really well and I am delighted with the results. The cost for five doors was the same as the average for a single custom plywood cabinet door.
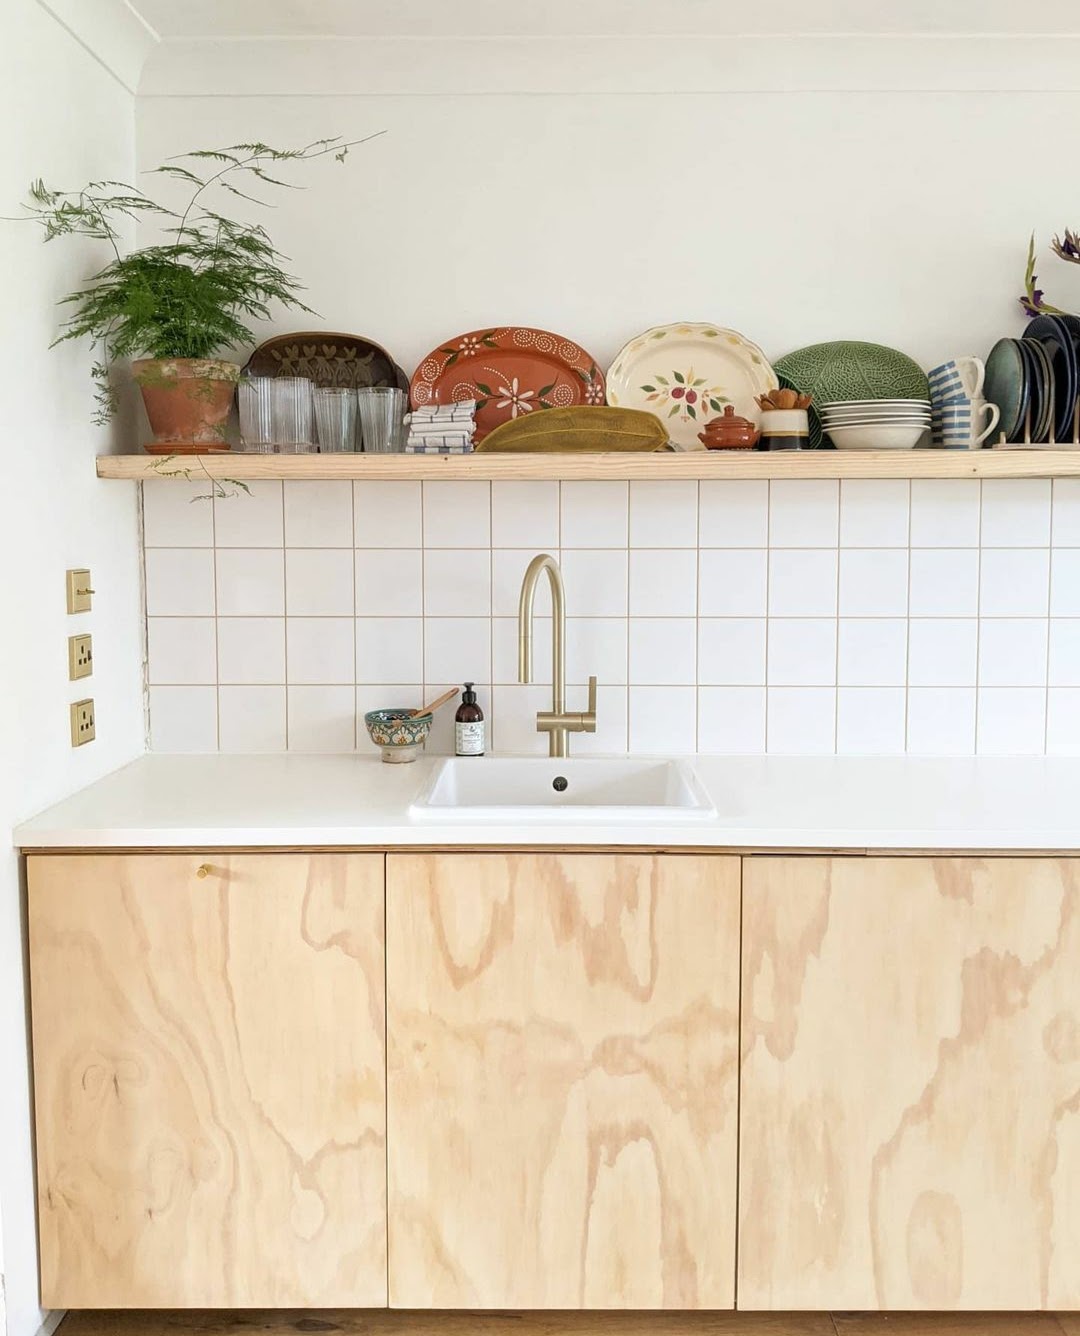
DIY kitchen cabinet doors
Whether you want an entirely DIY kitchen or not, creating your own custom cabinet doors is so satisfying. Here's how I did it.
Materials needed
2. Plywood sheets
3. Table saw (or have your plywood pre-cut at the hardware store)
4. Medium- and fine-grit sandpaper: an assortment on Amazon is ideal.
5. Waterproof sealant wax or polyurethane: I used Osmo Polyx Hard Wax Oil from Amazon.
6. Kreg Tool Company KHI-HINGE Concealed Hinge
7. Cabinet hinges
8. Drill
9. Screwdriver
10. Cabinet hardware if desired: Wayfair has nice options
Step 1: Select your plywood
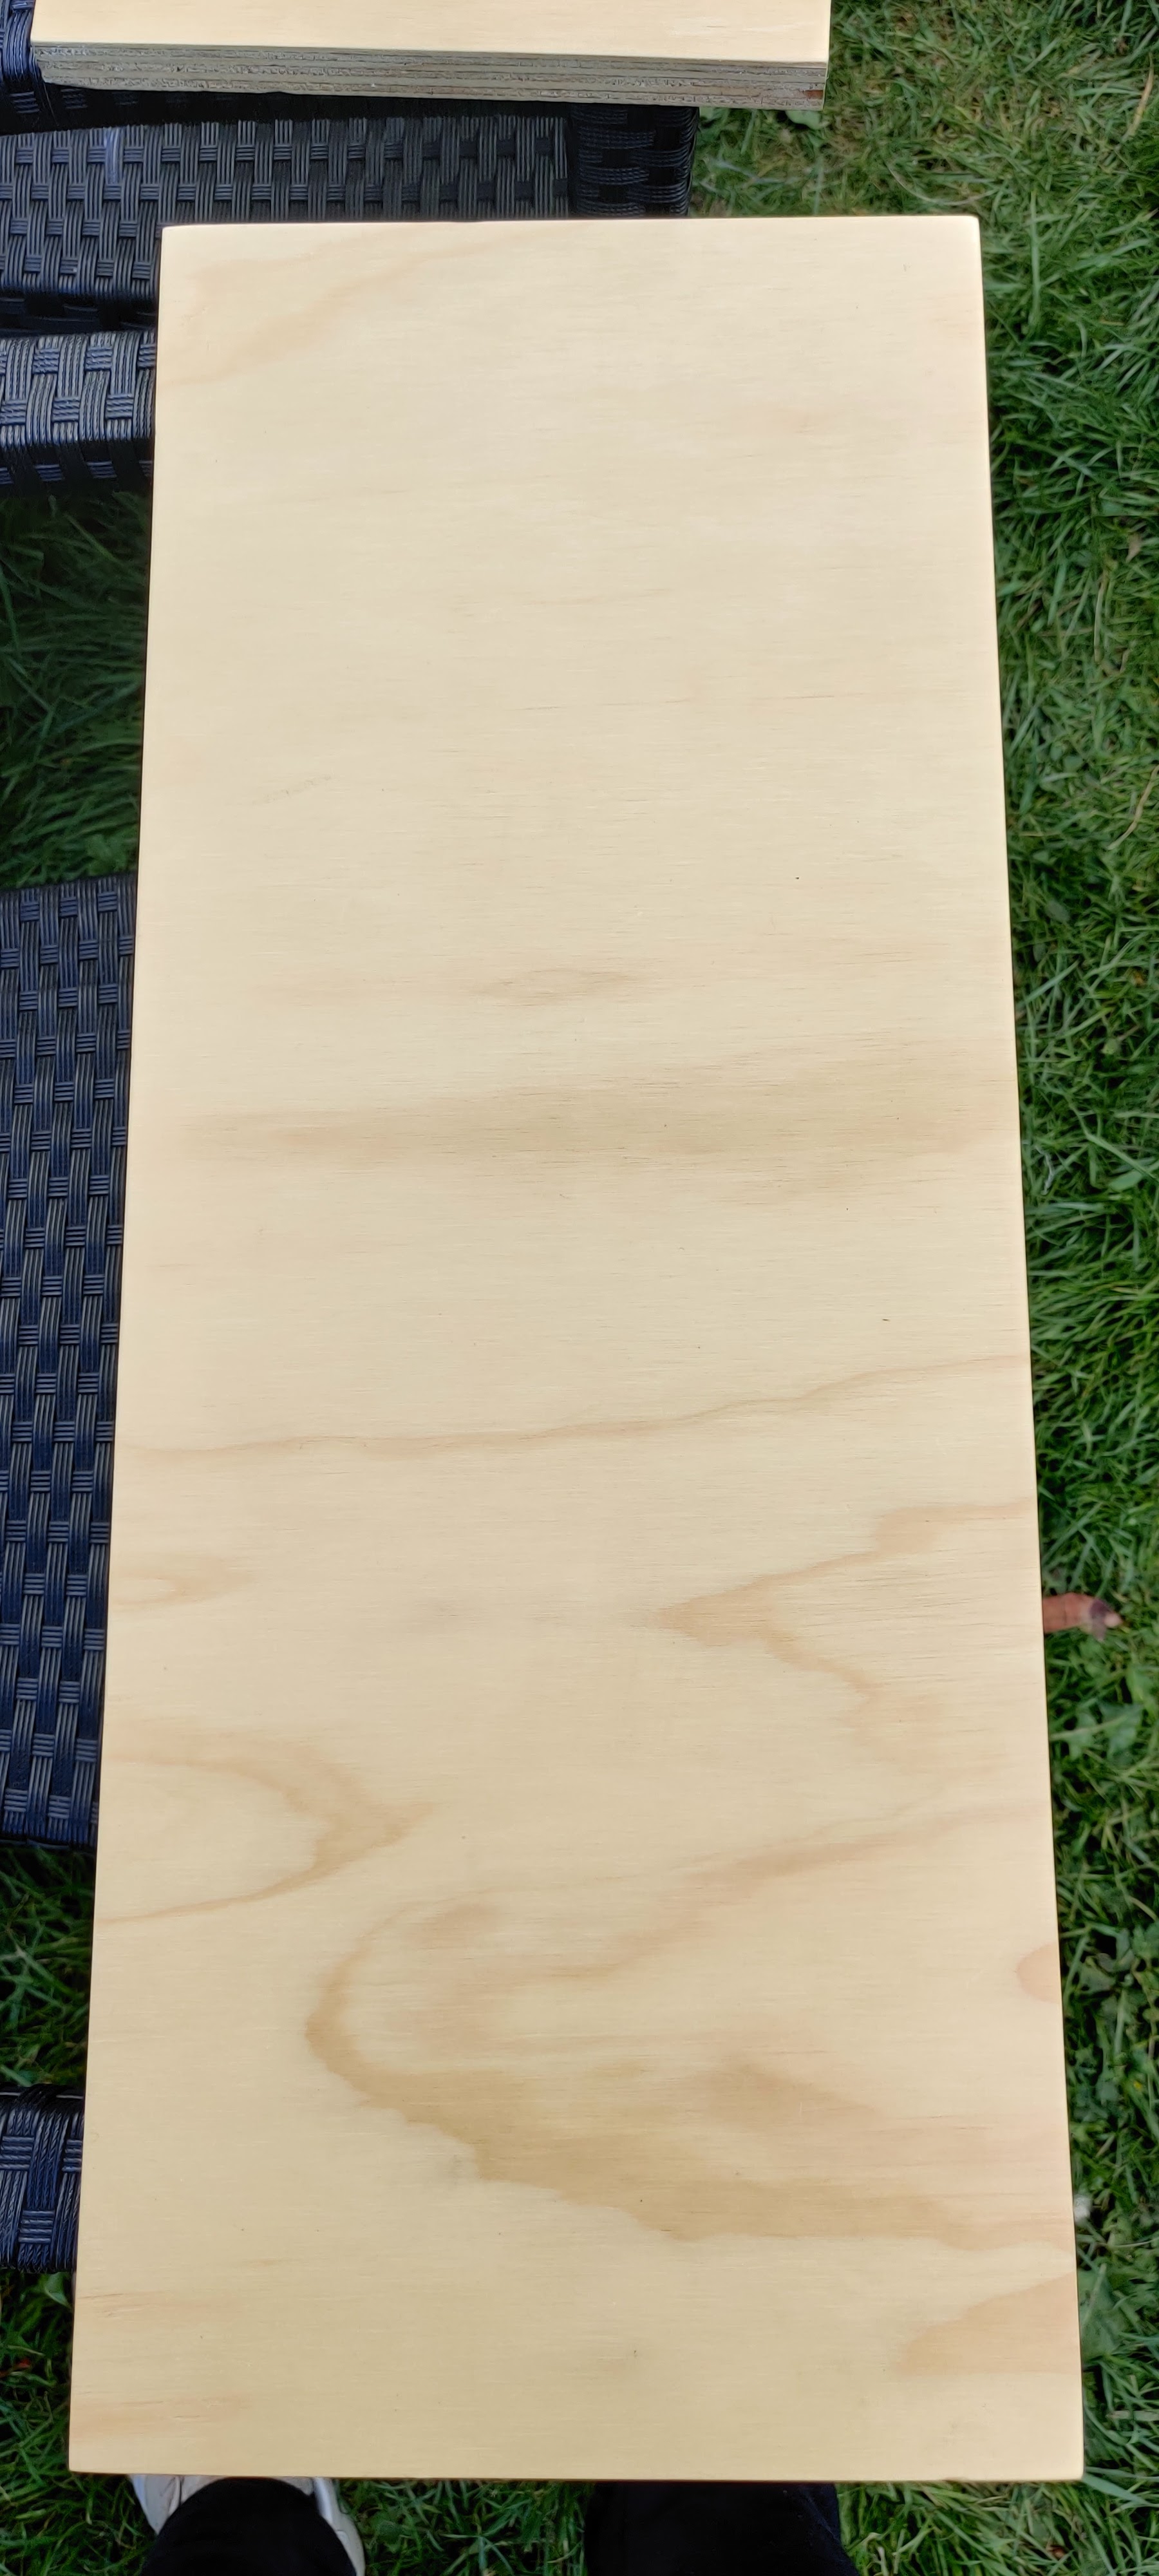
There is a large range of plywood available to choose from. For me, I love birch plywood but this is also a softwood plywood. Although used extensively in construction it doesn’t have natural resistance to water like some woods which means further treatment is required.
Once you’ve decided the type of plywood you want to use it can be purchased online, your local timber yard or large DIY or home improvement stores. I recommend buying from somewhere that offers cutting service, this is the easiest way to make sure you have nice straight cuts on your doors.
Step 2: Sizing your doors
When cutting your doors you need to make sure they are the correct size. This is pretty straightforward to do when using a standard kitchen cabinet. If you go onto the supplier's website you can check the size of the doors they supply with their kitchens. I used Ikea base cabinets in my kitchen and my doors needed to be 59.7cm by 79.7cm to fit correctly. The thickness of the doors is also important, too thick and they will catch the next door when opening and too thin and they will be more susceptible to warping and damage. Ikea doors are 2cm thick, standard plywood sheets comes in a variety of sizes, and I chose to use 1.8cm thick plywood for a close match to the original doors.
Get small space home decor ideas, celeb inspiration, DIY tips and more, straight to your inbox!
Depending on your measurements, you should be able to get a few doors for each sheet of plywood. I needed 5 doors for my kitchen and so calculated I would need to use two standard sheets of plywood. I got these doors cut at my local home improvement store which meant I have precision cut doors that were square and the correct size.
Step 3: Sand, sand, sand
The next step is the most monotonous. Plywood is generally smooth but in no way as smooth as a standard kitchen door. To get a better finish, you'll need to sand down all sides of the doors. Start with a medium-grit sandpaper all over. Use an electrical sander if possible as this will speed up the process. We are fans of RYOBI sanders at Real Homes, lots are available at The Home Depot.
Pay close attention to the edges of the door as these will be the roughest, after your first round of sanding fill in any holes with a wood filler that matches the color of the plywood. Finish it with a fine grit sandpaper and regularly check by rubbing your hand over the plywood, you will know when it is done.
Step 4: Waterproof your wood
This is the most important step. As we all know kitchens are messy and wet areas as so the wood needs to be treated to protect from this. If you don’t, the wood will become stained and splashes of water will make the doors warp over time. You can waterproof your wood with polyurethane, a wood-treating oil, or a waterproofing sealer. I used Osmo Polyx Hard Wax Oil from Amazon.
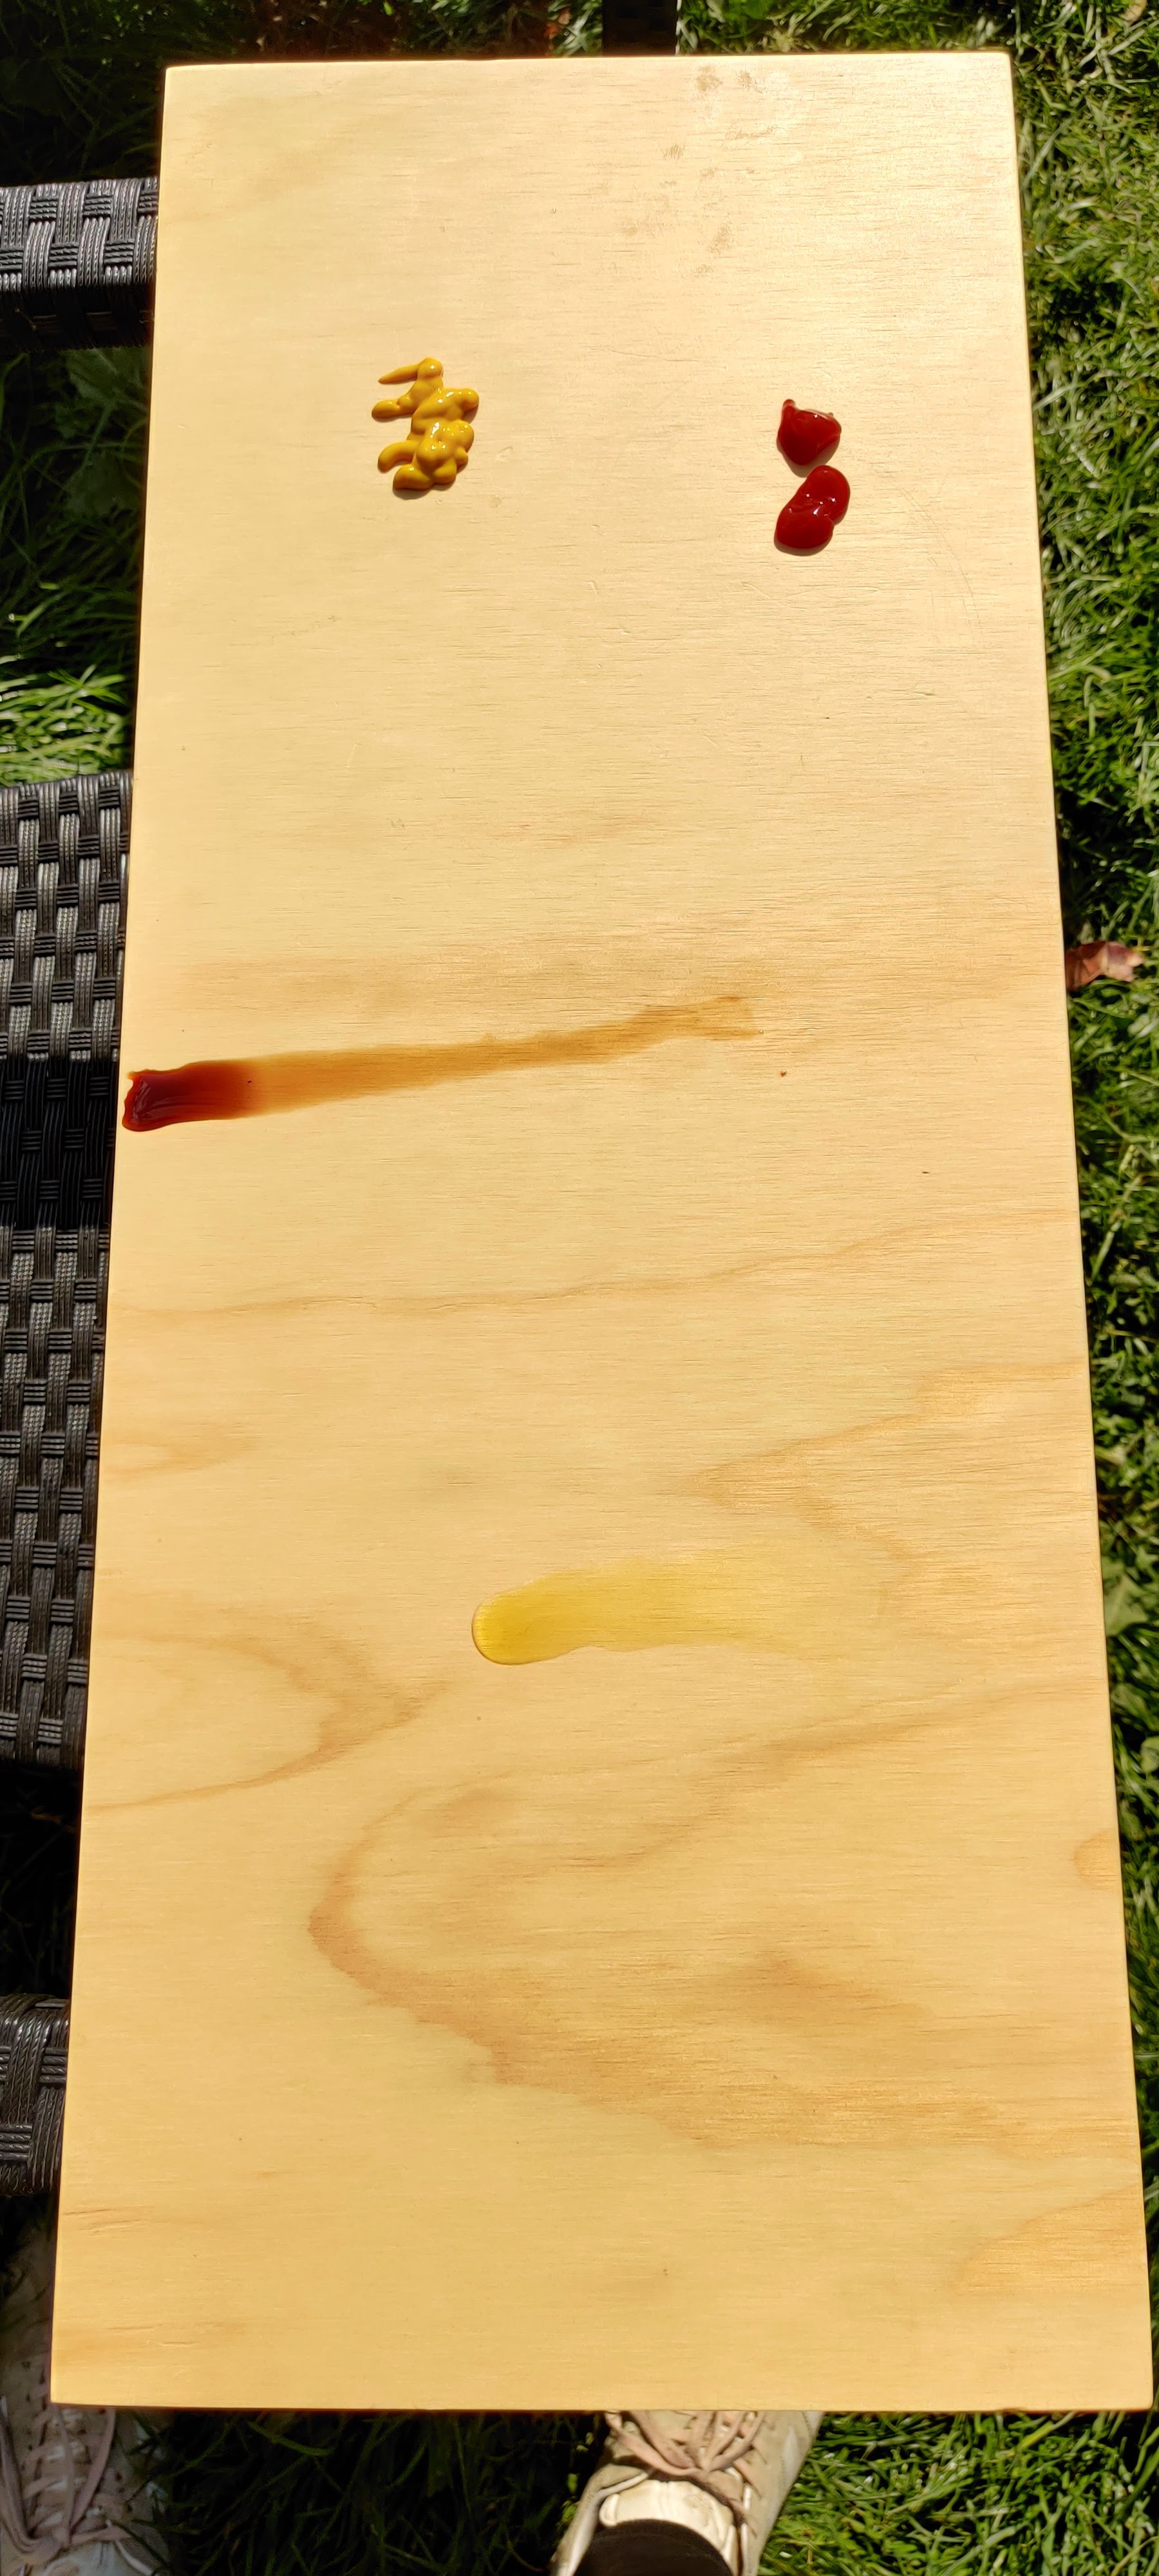
A condiment test on plywood scraps to ensure the waterproofing worked
Before applying my waterproofer to the cabinet doors, I used some scrap plywood and did some stain tests using condiments. I found that four layers of the Osmo Oil on the front of the doors was optimum for protection against staining and moisture. This may be overkill but I wanted to be sure, and so far nearly one year later the doors are stain free.
To apply the oil first wipe down the door with a damp cloth to remove all sanding residue first. Using a clean brush apply the oil and spread it thinly on the door (the oil goes a long way). Allow layer to dry for four hours before applying the second coat. If using a different type of varnish then follow the directions of use on the tin.
Step 5: Hang your doors
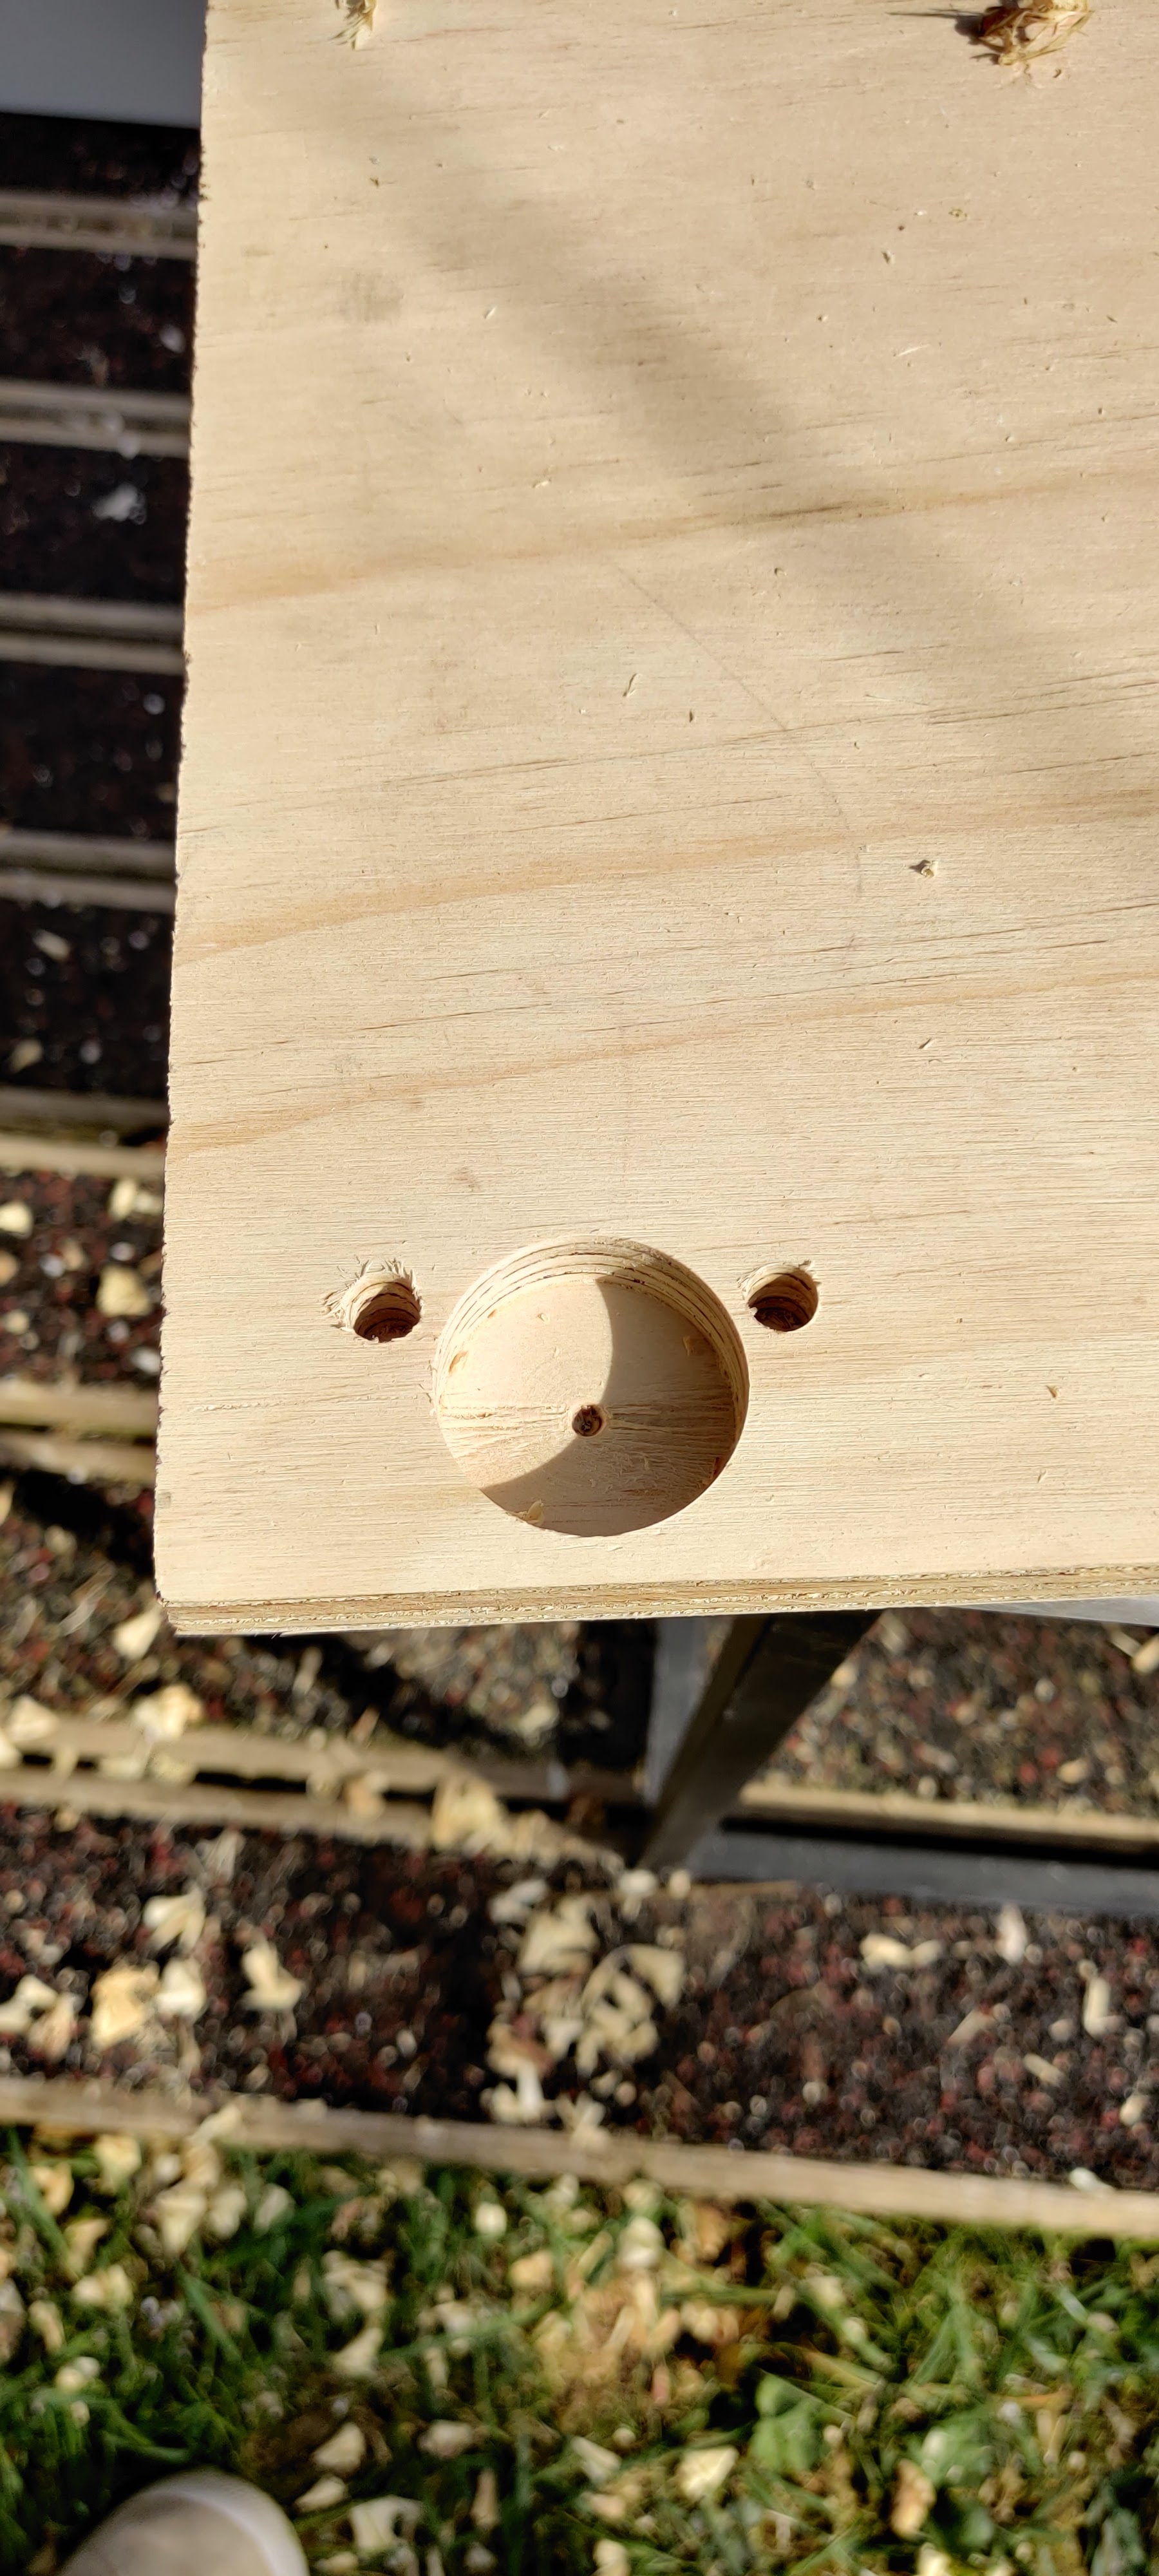
For this I purchased IKEA kitchen hinges as if I had purchased the doors from IKEA directly. I used their 153֯ angle hinges with built in dampeners which I found worked best for my space. I also purchased a hinges jig for cutting the hole in the door for the hinge to fit into. Cutting the hole in the correct place is the trickiest part of this DIY project. As a guide I purchased the cheapest Ikea door (VEDDINGE), to measure the correct position of the holes. To do this I measured the center point of the door hole from the edges of the door. I then marked the same position (top and bottom) on the plywood door.
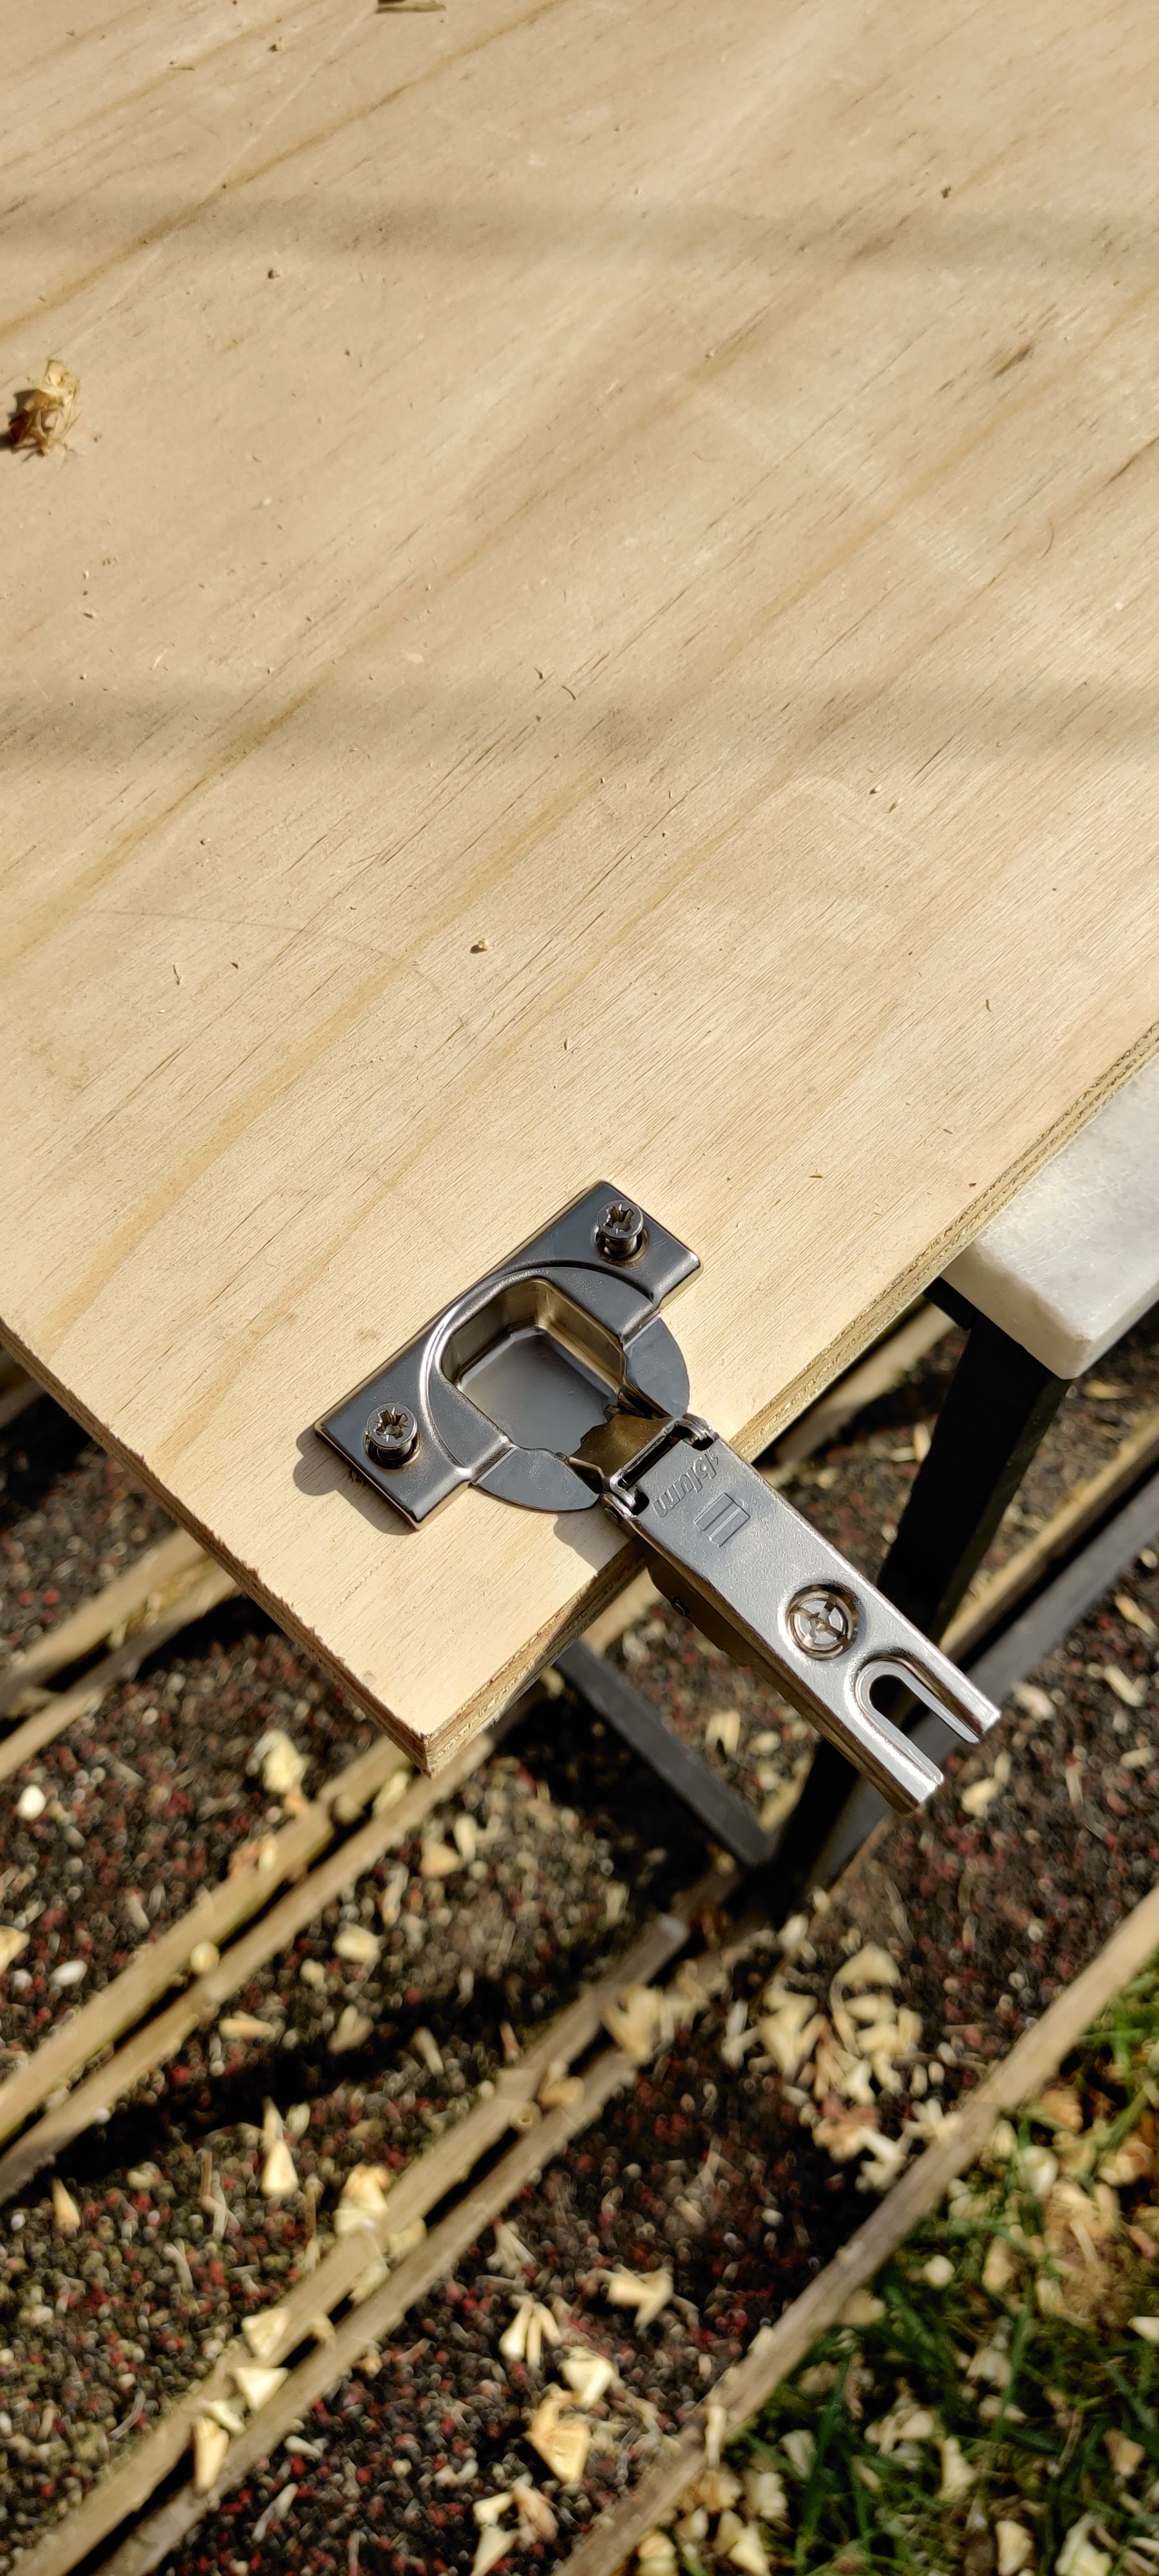
Using the Jig I cut a hole in the door to the correct depth. I would recommend practicing this on some spare plywood until you are confident to do it on the door. Then, attach the hardware to the door.
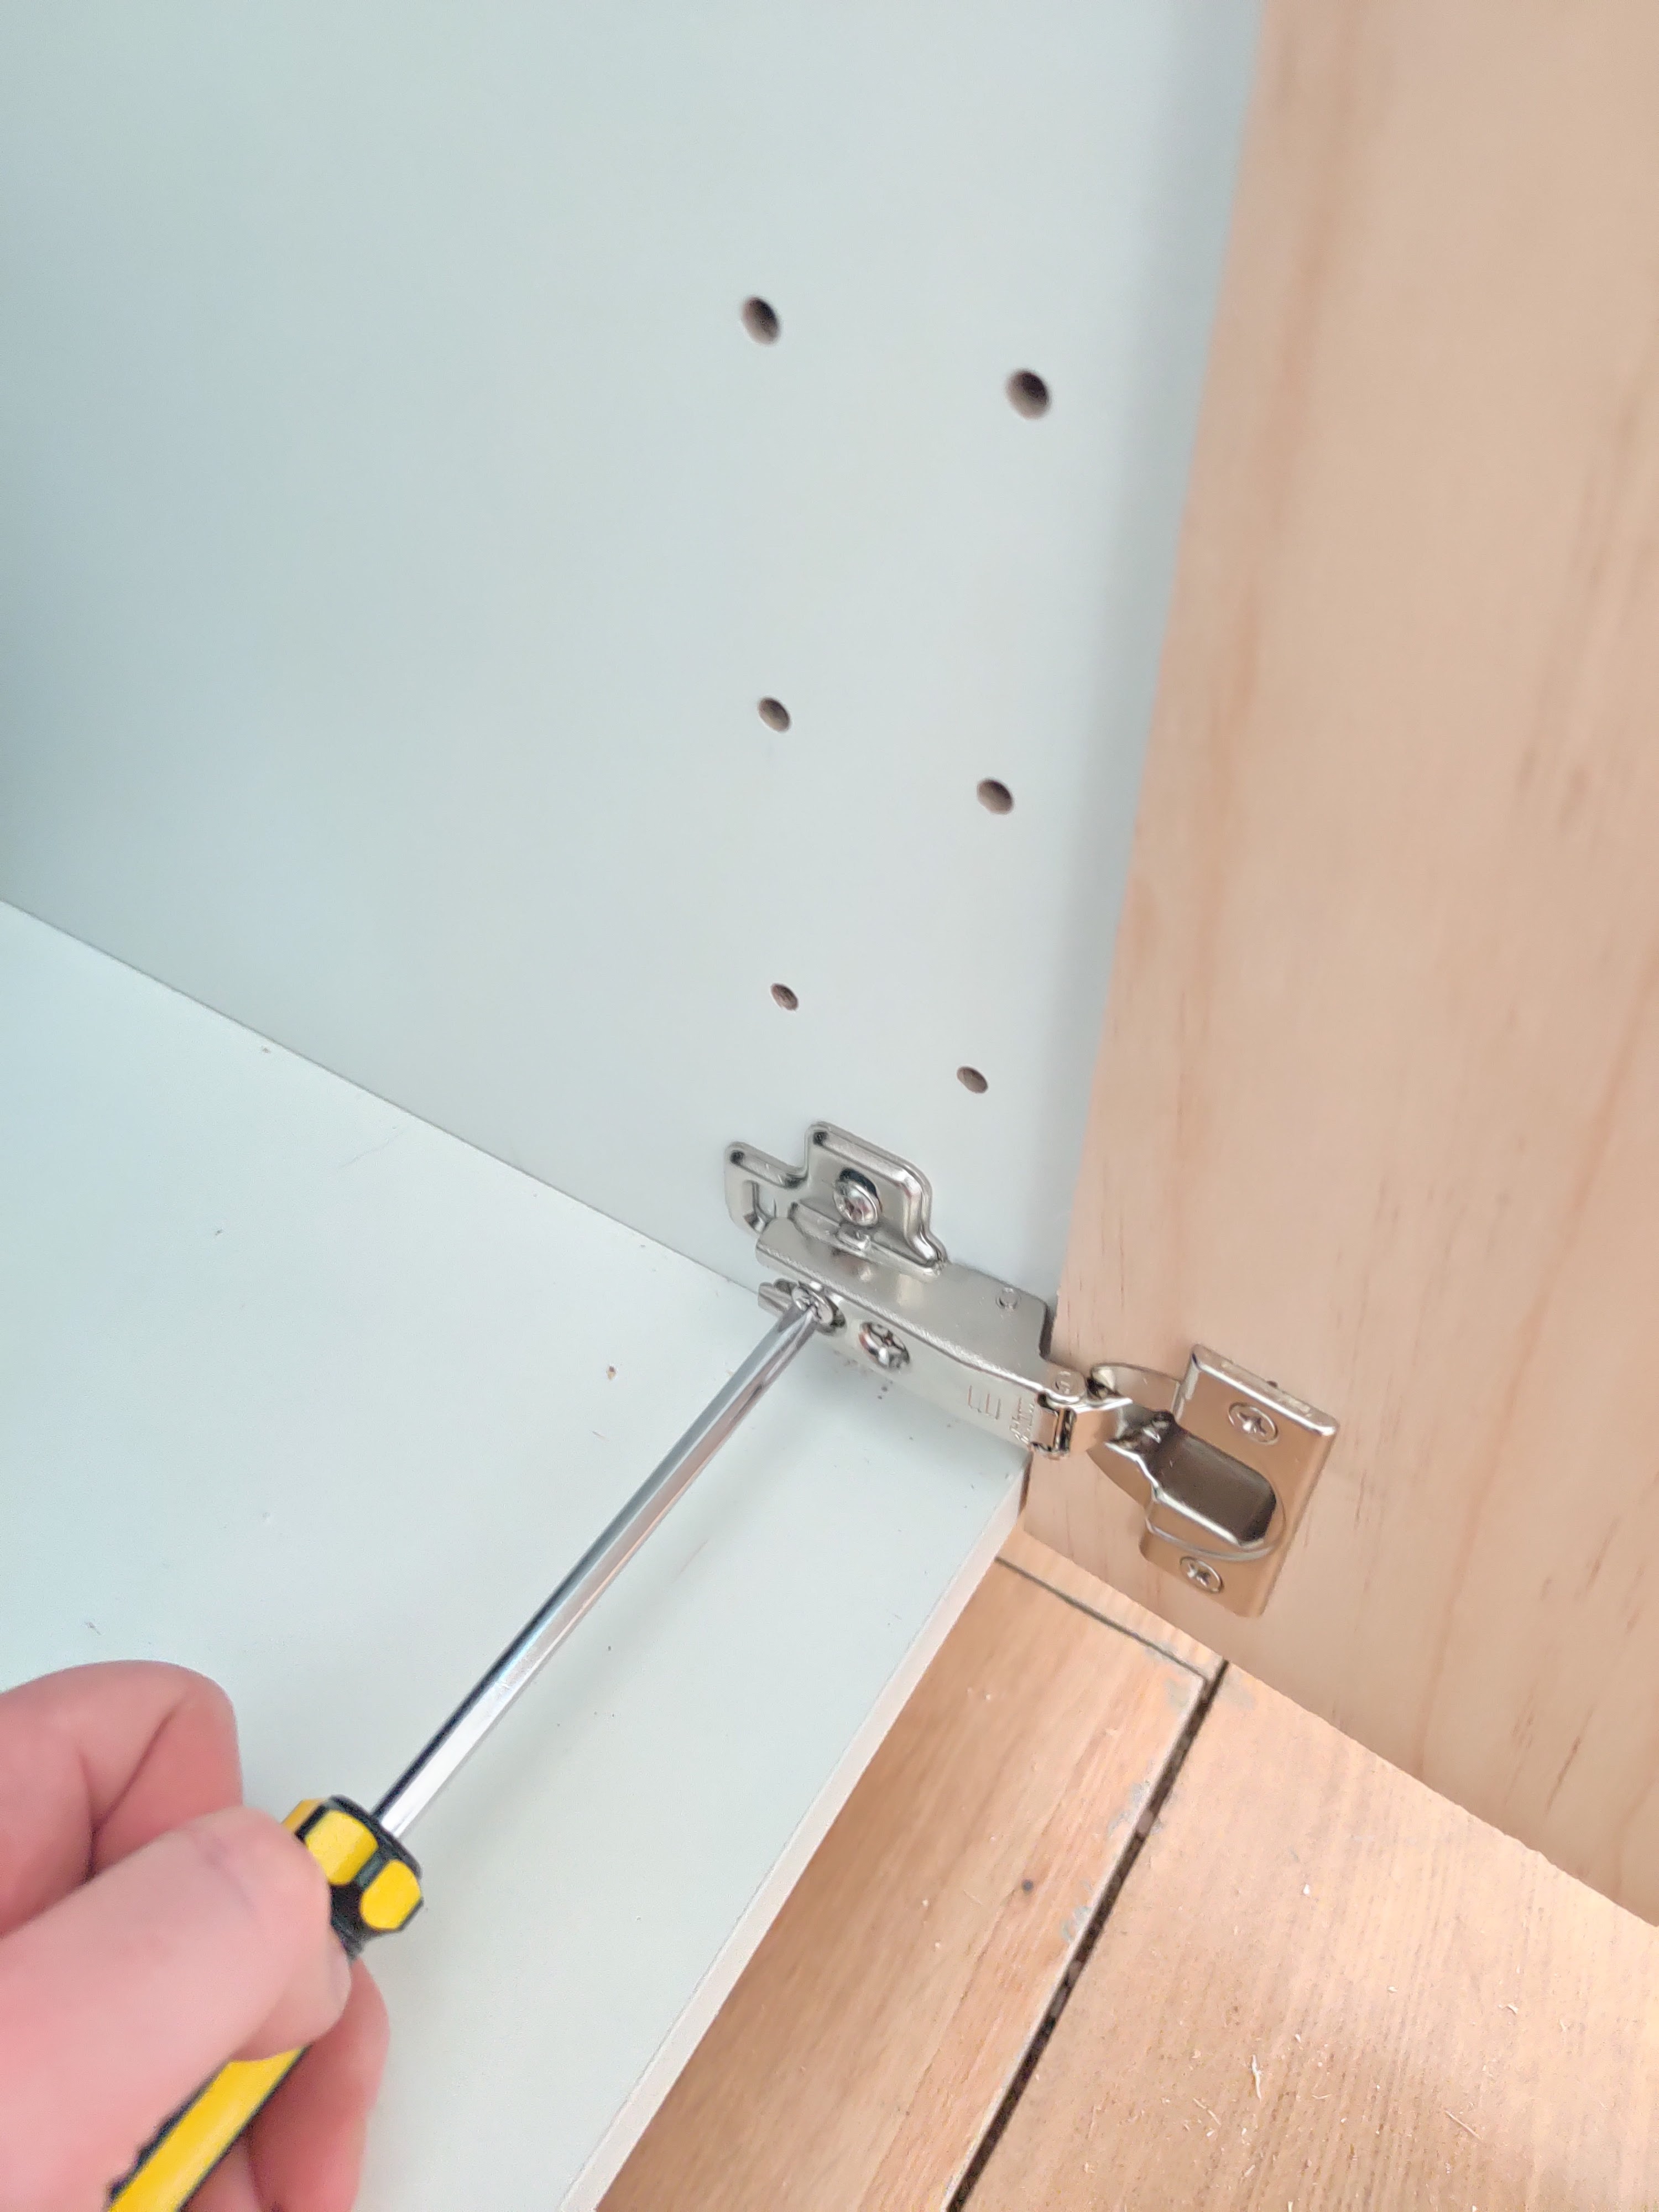
Once the doors are cut the last step is to hang the doors using the ready-made holes on your kitchen cabinets. I also used one of the doors as a front to our integrated dishwasher. The dishwasher came with its own door fixing kit so make sure you follow the manufacturers instructions for that.
Note about drawer fronts
This can also be done on drawer fronts or any filler pieces around appliances and walls. I have used this for both internal and external drawer fronts and I got the correct sizes from Ikea's website for their equivalent.
Jo Lemos is a DIYer and decorator who chronicles his projects on the popular Instagram account @two.men.and.a.semi. His DIY obsession began in childhood, when he used to help his parents redecorate the family house. Since then, he’s been developing his DIY skills for two decades, culminating in a full renovation of his current house alongside his partner, Chris. Currently the duo is restoring a 1930s semi-detached house in Manchester that had been badly renovated throughout the years. For Jo, sustainable and budget friendly design is the best way to renovate your house, and he considers his renovation motto to be: “Why pay someone when I can do it myself?!”

