How to build a herringbone path
Set aside a couple of weekends to build a traditional path that will create a focal point in your garden. DIY expert Helaine Clare shares her step-by-step guide to building a herringbone path

Redesigning your garden and considering a garden path? A herringbone path built from reclaimed handmade floor bricks is not only a functional but beautiful addition. Best of all, it's a job that can be tackled by DIYers. Follow our guide to building your own herringbone path.
Find more garden ideas at our dedicated ideas page.
Which bricks to use to create your path?
Not all bricks are frost resistant, so, before you buy, establish whether they are suitable for an outdoor project. It helps too if all the bricks are the same size – these were all different lengths, widths and thicknesses which makes building a safe level path more of a challenge. For speed and ease, choose new machine-made bricks or setts, which are available in a variety of different materials and colours, from sandstone to a worn rustic appearance.
Find out how to choose the best paving for your garden.
Preparing to lay the brick path
Providing the path is used solely for walking on and will not be shared by cars or machinery, the bricks can be laid on well-compacted rubble with a top dressing of sand. Measure out the path, working out the best layout and avoiding the need to cut bricks. The edges will need to be haunched (or formed) with concrete in order to retain the bricks and the sub base. Construct the edges first and allow concrete to cure and harden for several days before beginning the path.
You will need…
- Bricks, edging stones, mortar and concrete (for building edges)
- Rake
- Sledgehammer or heavy piece of wood for compressing sub base
- Spirit level
- Trowel
- Broom
- Rubble or clean crushed stone
- Permeable membrane or old carpet
- Sharp sand for bedding
- Silver sand for grouting

1. Dig out bed for bricks
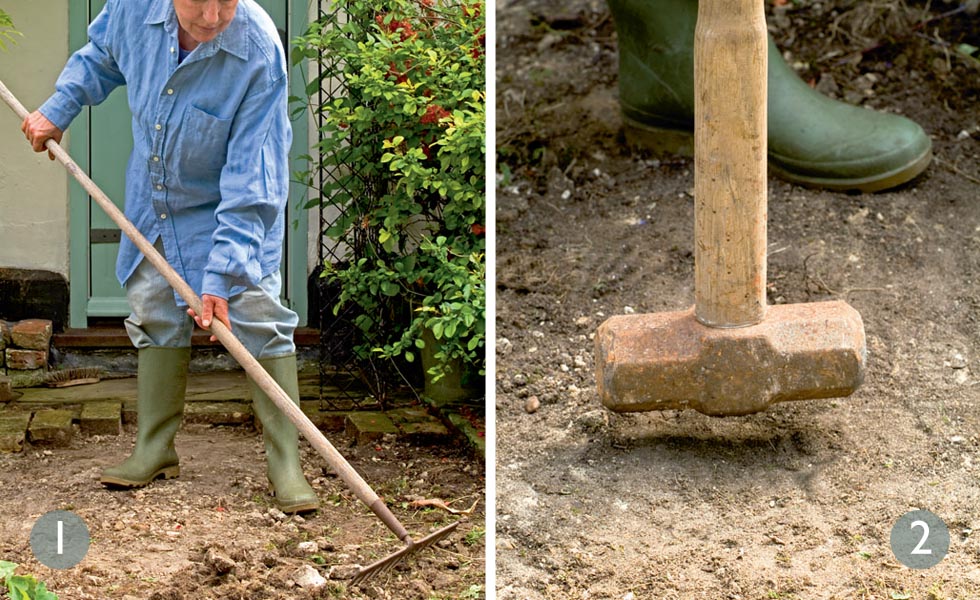
Excavate about five inches of soil, plus the depth of your bricks. You must remove more soil along the edges to allow for mortaring in a row of bricks as the foundation. Bed the edging stones in mortar; on the outside of the path haunch with concrete. Once concrete is firm, rake smooth; check with a spirit level.
Get small space home decor ideas, celeb inspiration, DIY tips and more, straight to your inbox!
2. Form a sound sub-base
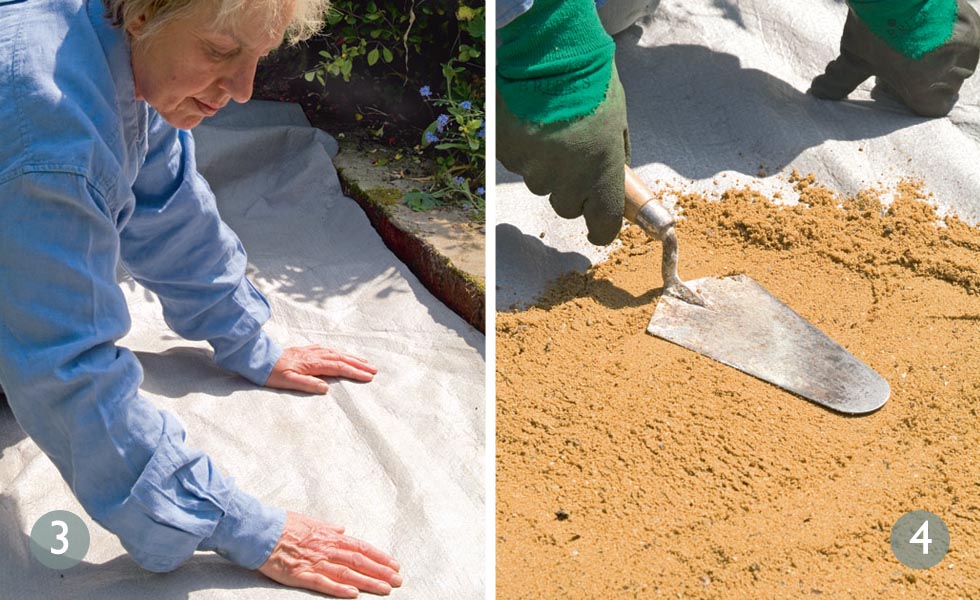
Take a sledgehammer or a heavy piece of wood and tamp down hard to compress the surface. Now spread about three inches of clean hardcore or crushed stone to form a sound sub-base. Tamp all over once more until firm and compacted. Check that the base is flat with a spirit level.

3. Ensure good drainage
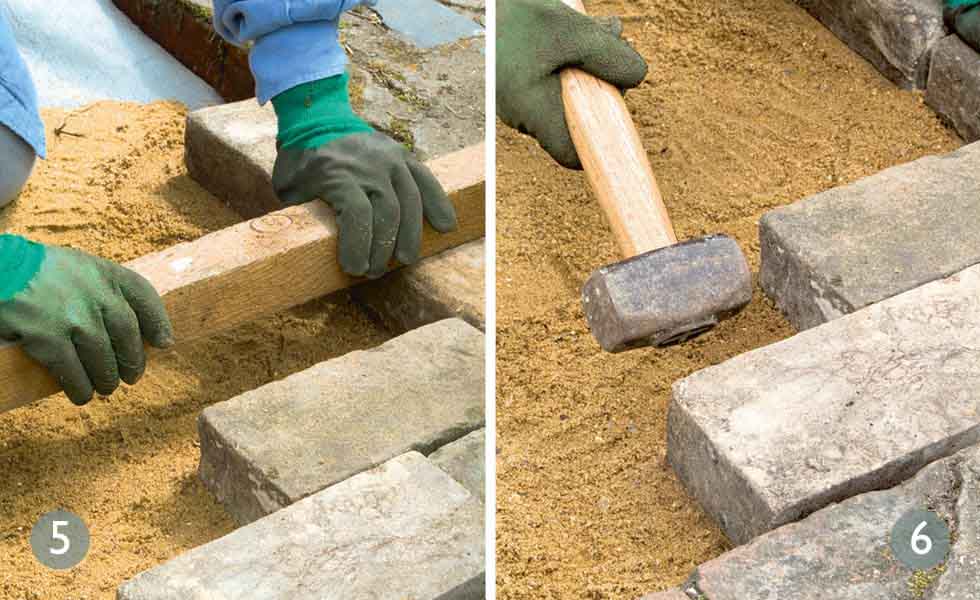
Spread a sheet of permeable membrane over the base to allow rain to percolate through but prevent perennial weeds pushing through between the bricks. It also acts as a barrier to keep the bedding sand separated from the earth and hardcore beneath. A piece of old carpet will also do the job.
4. Make a sand bed for bricks
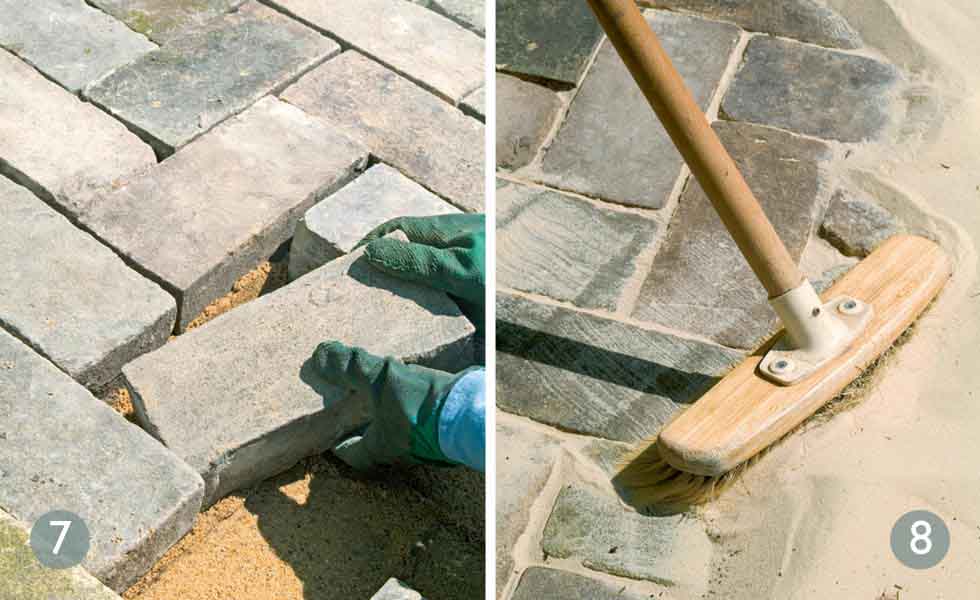
Spread sharp sand on to the membrane. It needs to be about two inches thick for a bed for the bricks to be laid upon. Spread with a rake. Use a spirit level to ensure the area where you will initially work is level. If in future you wish to redesign the garden, bricks laid in sand rather than mortar can easily be reused.

5. Start laying the bricks
Check the first few bricks are level by laying a length of wood across – this is the guide to ensure no bricks protrude or sit lower than the others. Use this guide to check the path is level at the completion of each row. Place the spirit level on the top and move wood in all directions to check the path is level as you build.
6. Check diagonal alignment
Use another shorter, lighter piece of wood as a straight edge to check the diagonals are in line. A knock with a lump hammer will correct bricks out of alignment. The hammer is useful for tapping the bricks up close against each other. Modern bricks often have lugs so you can easily butt them close together.

7. Double-check the path is level
After laying roughly a metre check all the levels – it’s easy for the path to become askew. The advantage of laying on sand rather than bedding the bricks in mortar means errors can be easily put right. If the path must be used before it is finished put down walk-boards so the partly laid path won’t be disturbed.
8. Carry out finishing touches
Once the body of the path is completed, wedge offcuts of bricks or wood in the gaps to prevent movement. A path laid on sand is solid as long as the bricks are retained securely within the edging stones. Large gaps can be filled with cut bricks, smaller gaps with mortar. Sweep over kiln-dried silver sand to grout. This will offer a degree of porosity: rain will be able to run between the bricks and soak down into the soil and not cause drainage problems in the way a solid paved area can. If the path is going to run alongside the house, leave a gap of at least two feet to prevent rain bouncing on to walls and causing damp. Also check the height of soil levels: the path should not block air bricks and be at least six inches below any damp proof course.