How to display photos: 11 inspiring ideas for displaying pictures on walls
Want to learn how to display photos like a pro? We have you covered with tips and tricks for curating the perfect gallery wall

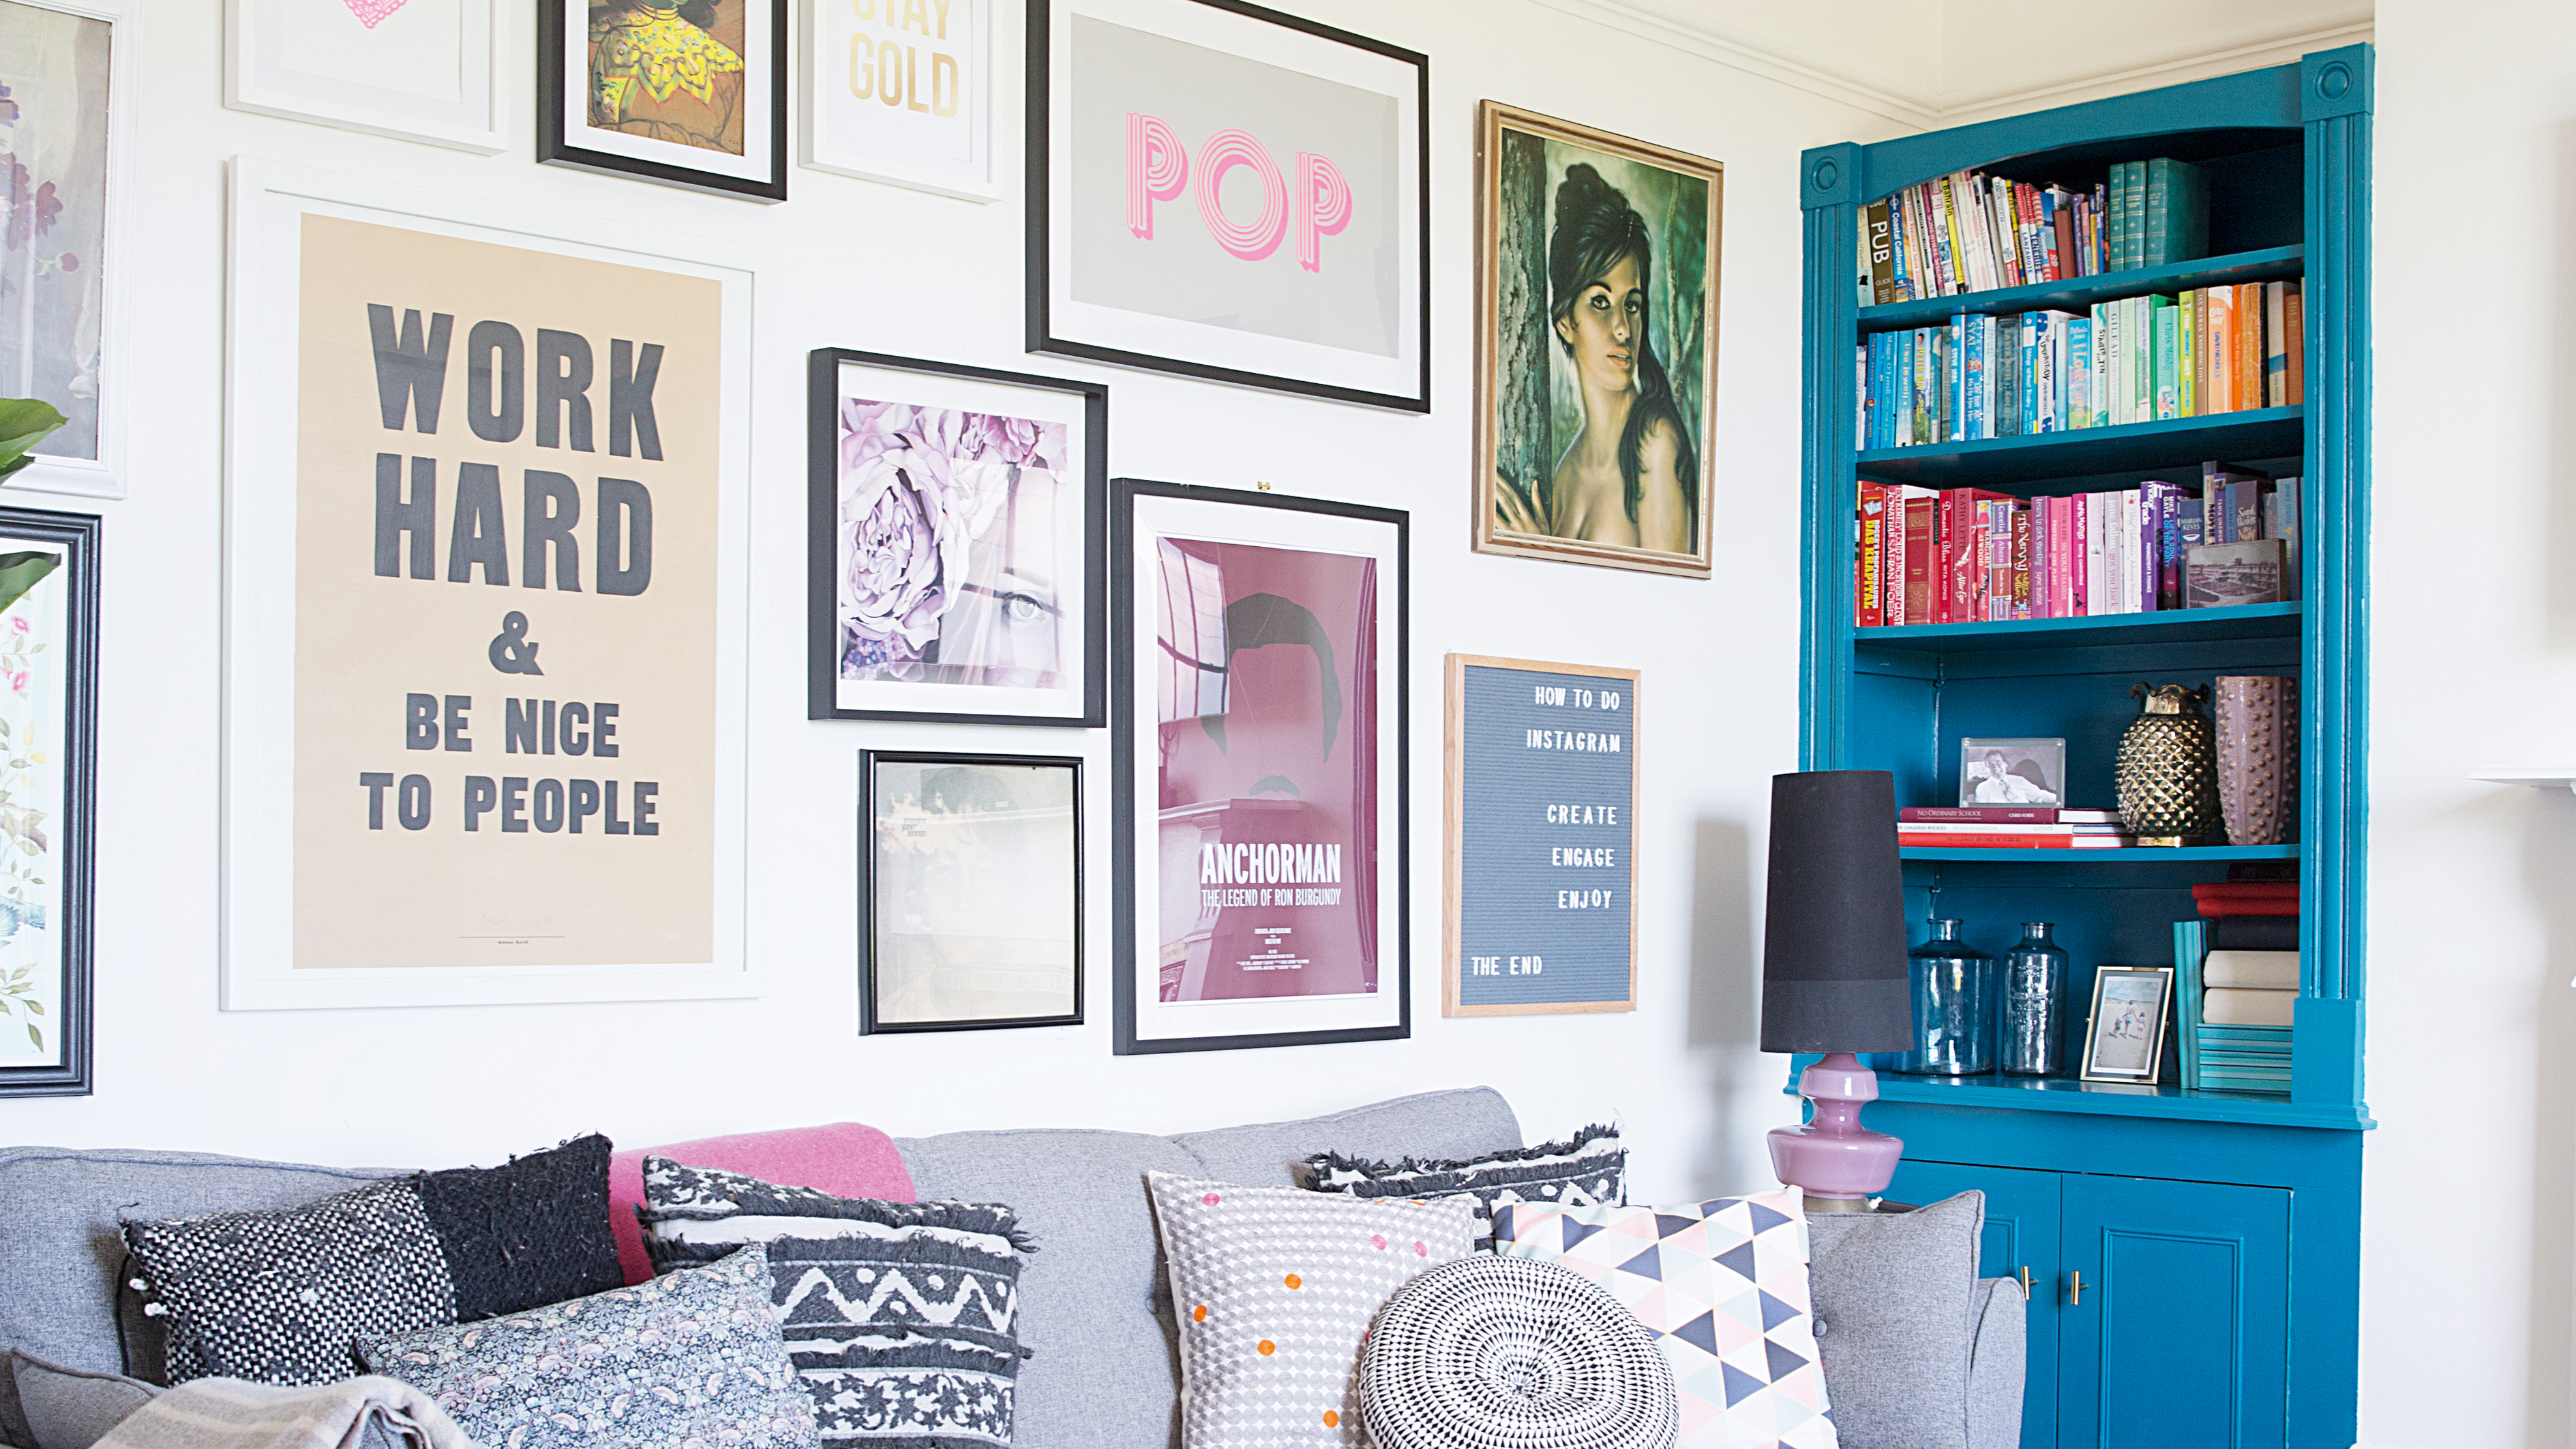
Looking for tips on how to display photos to update your room really quickly and easily? Well, you are in the right place because we just happen to be pros in displaying pictures, photos and curating the most beautiful gallery walls (we don't mean to brag we have just had ALOT of practice).
So we are going to share our rather niche knowledge with you in this guide to how to basically just hang pictures on the wall but just in a very stylish way. Keep scrolling for loads of inspiring pics and ideas and head over to our design hub page for more ideas to bring character into your home.
1. Achieve a balanced display
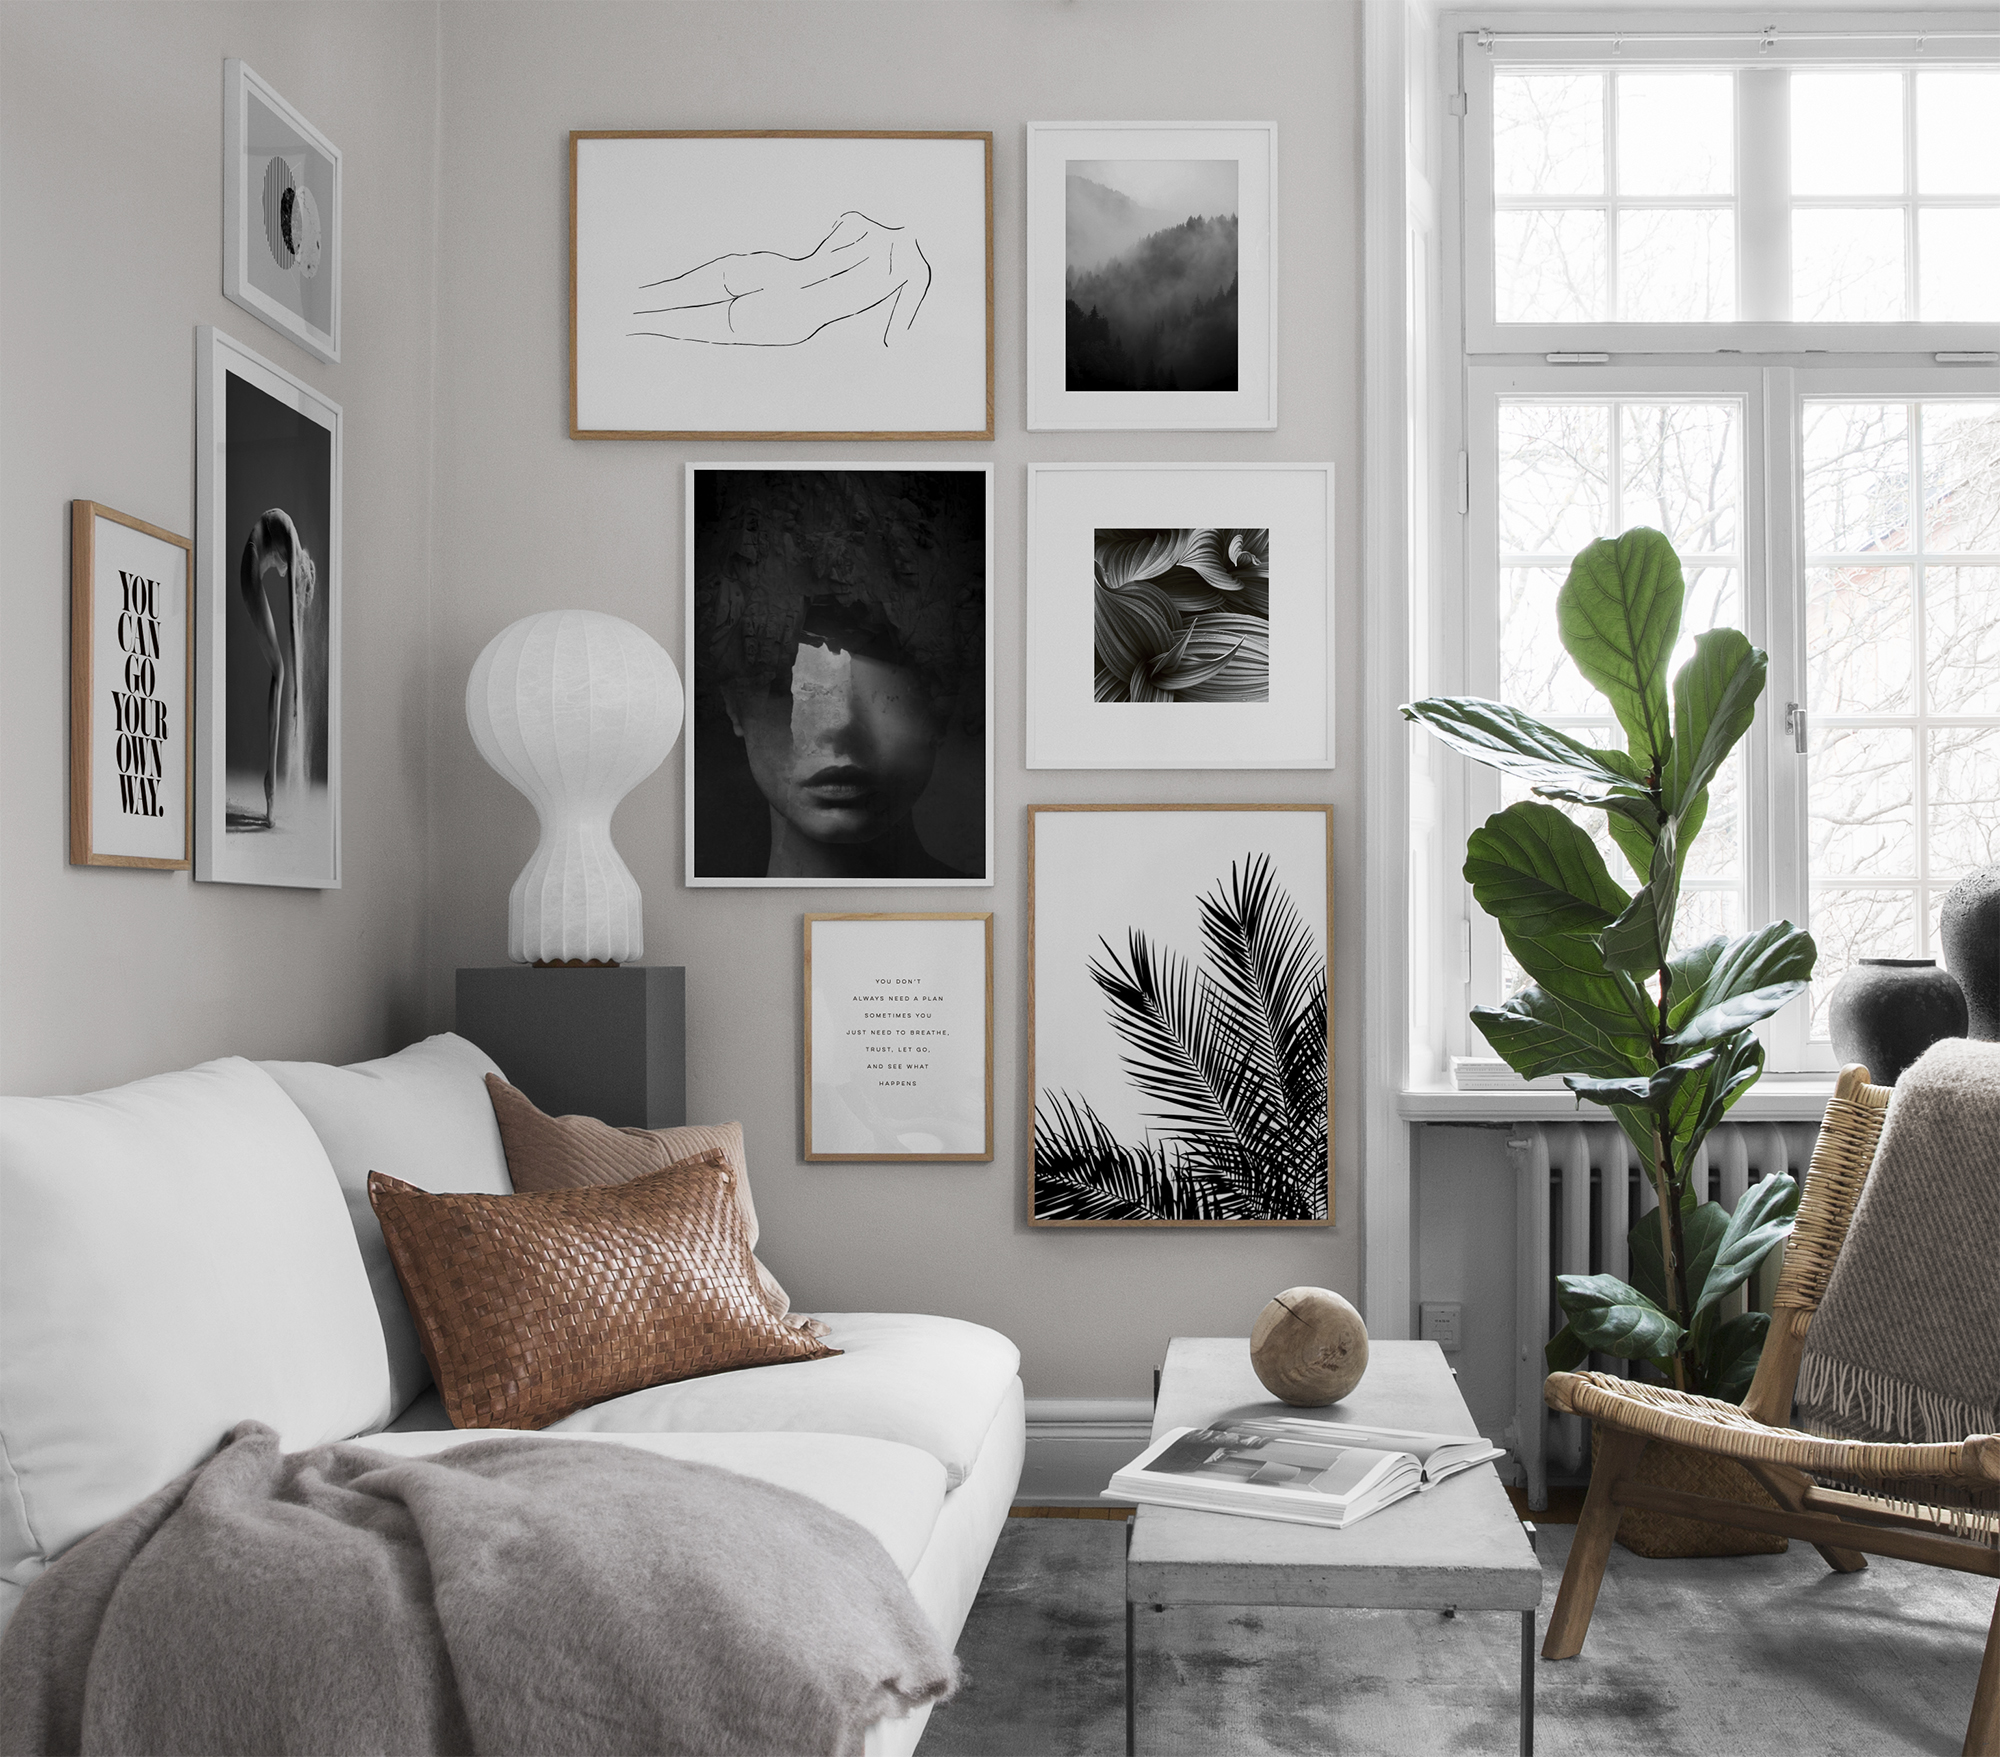
When displaying pics, it’s best to hang the larger, more heavily framed or more imposing pieces to the left, which is where the eye will naturally look first, and the lighter, smaller pictures to the right.
Want to display your pictures as a gallery wall? Follow our step by step guide to hanging a gallery wall to get a perfect result.
2. Take what's beneath the artwork into account
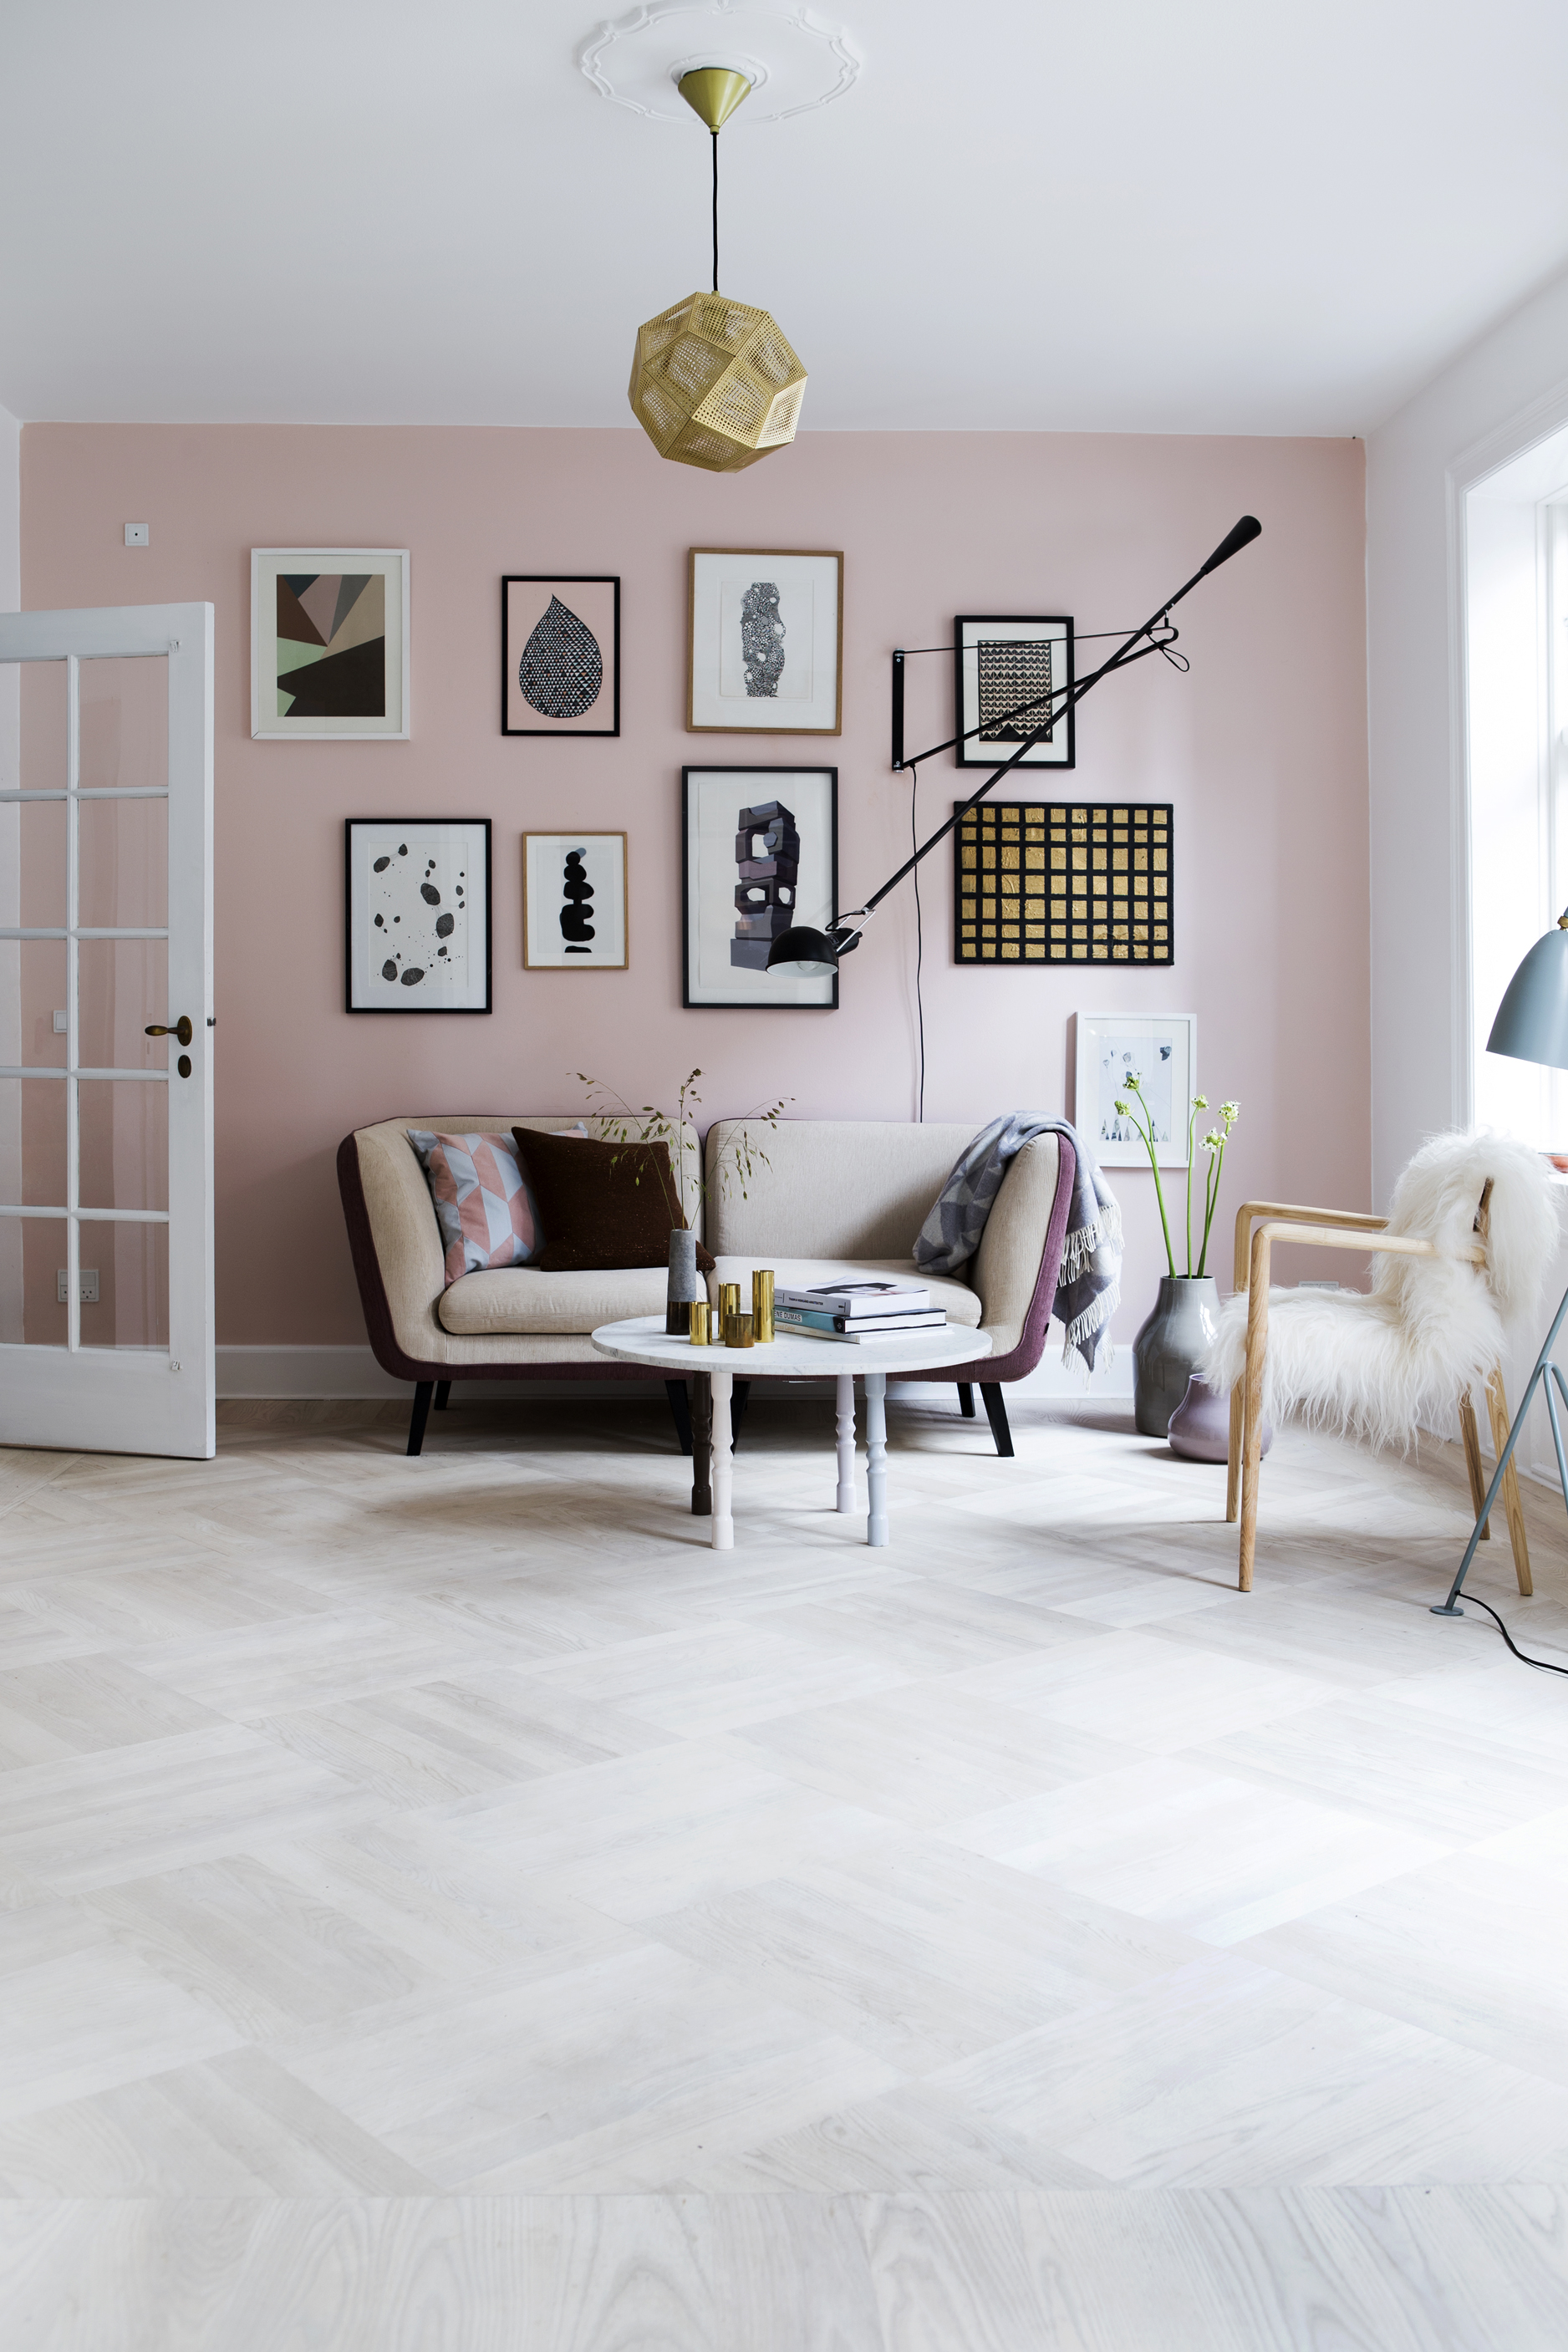
Don’t forget that if you’re displaying pictures over a piece of furniture on which you will be displaying accessories, you’ll need to factor in these objects when creating an arrangement. Working the shape of the gallery around these objects artfully will give the two cohesion.
3. Create a grid with your picture displays
If you have lots of different pictures with a similar colour theme – even if the frames don’t match – create the effect of one large picture by grouping artwork in a tight grid that forms a square or rectangle.
3. Think of a colour scheme when displaying photos

Choosing accessories that pick out the shades in your artwork will help you draw your room’s scheme together and will also intensify the picture’s colours. Consider the colour of the wall your artwork is displayed against, too – it may be that a colour that will highlight one of the accent tones in the picture can show it off to greater effect. A group of photographs featuring similar colours will also work better together, such as all black-and-white images.
Get small space home decor ideas, celeb inspiration, DIY tips and more, straight to your inbox!
4. Ensure the scale of your gallery wall works

If you’re hanging a single picture or group of pictures above an item of furniture – whether a sideboard, bed or sofa – try to match the artwork’s proportions with what sits below. Exactly the same size is ideal, but up to two-thirds of its width will work, too.
5. Display pictures in a surprising place
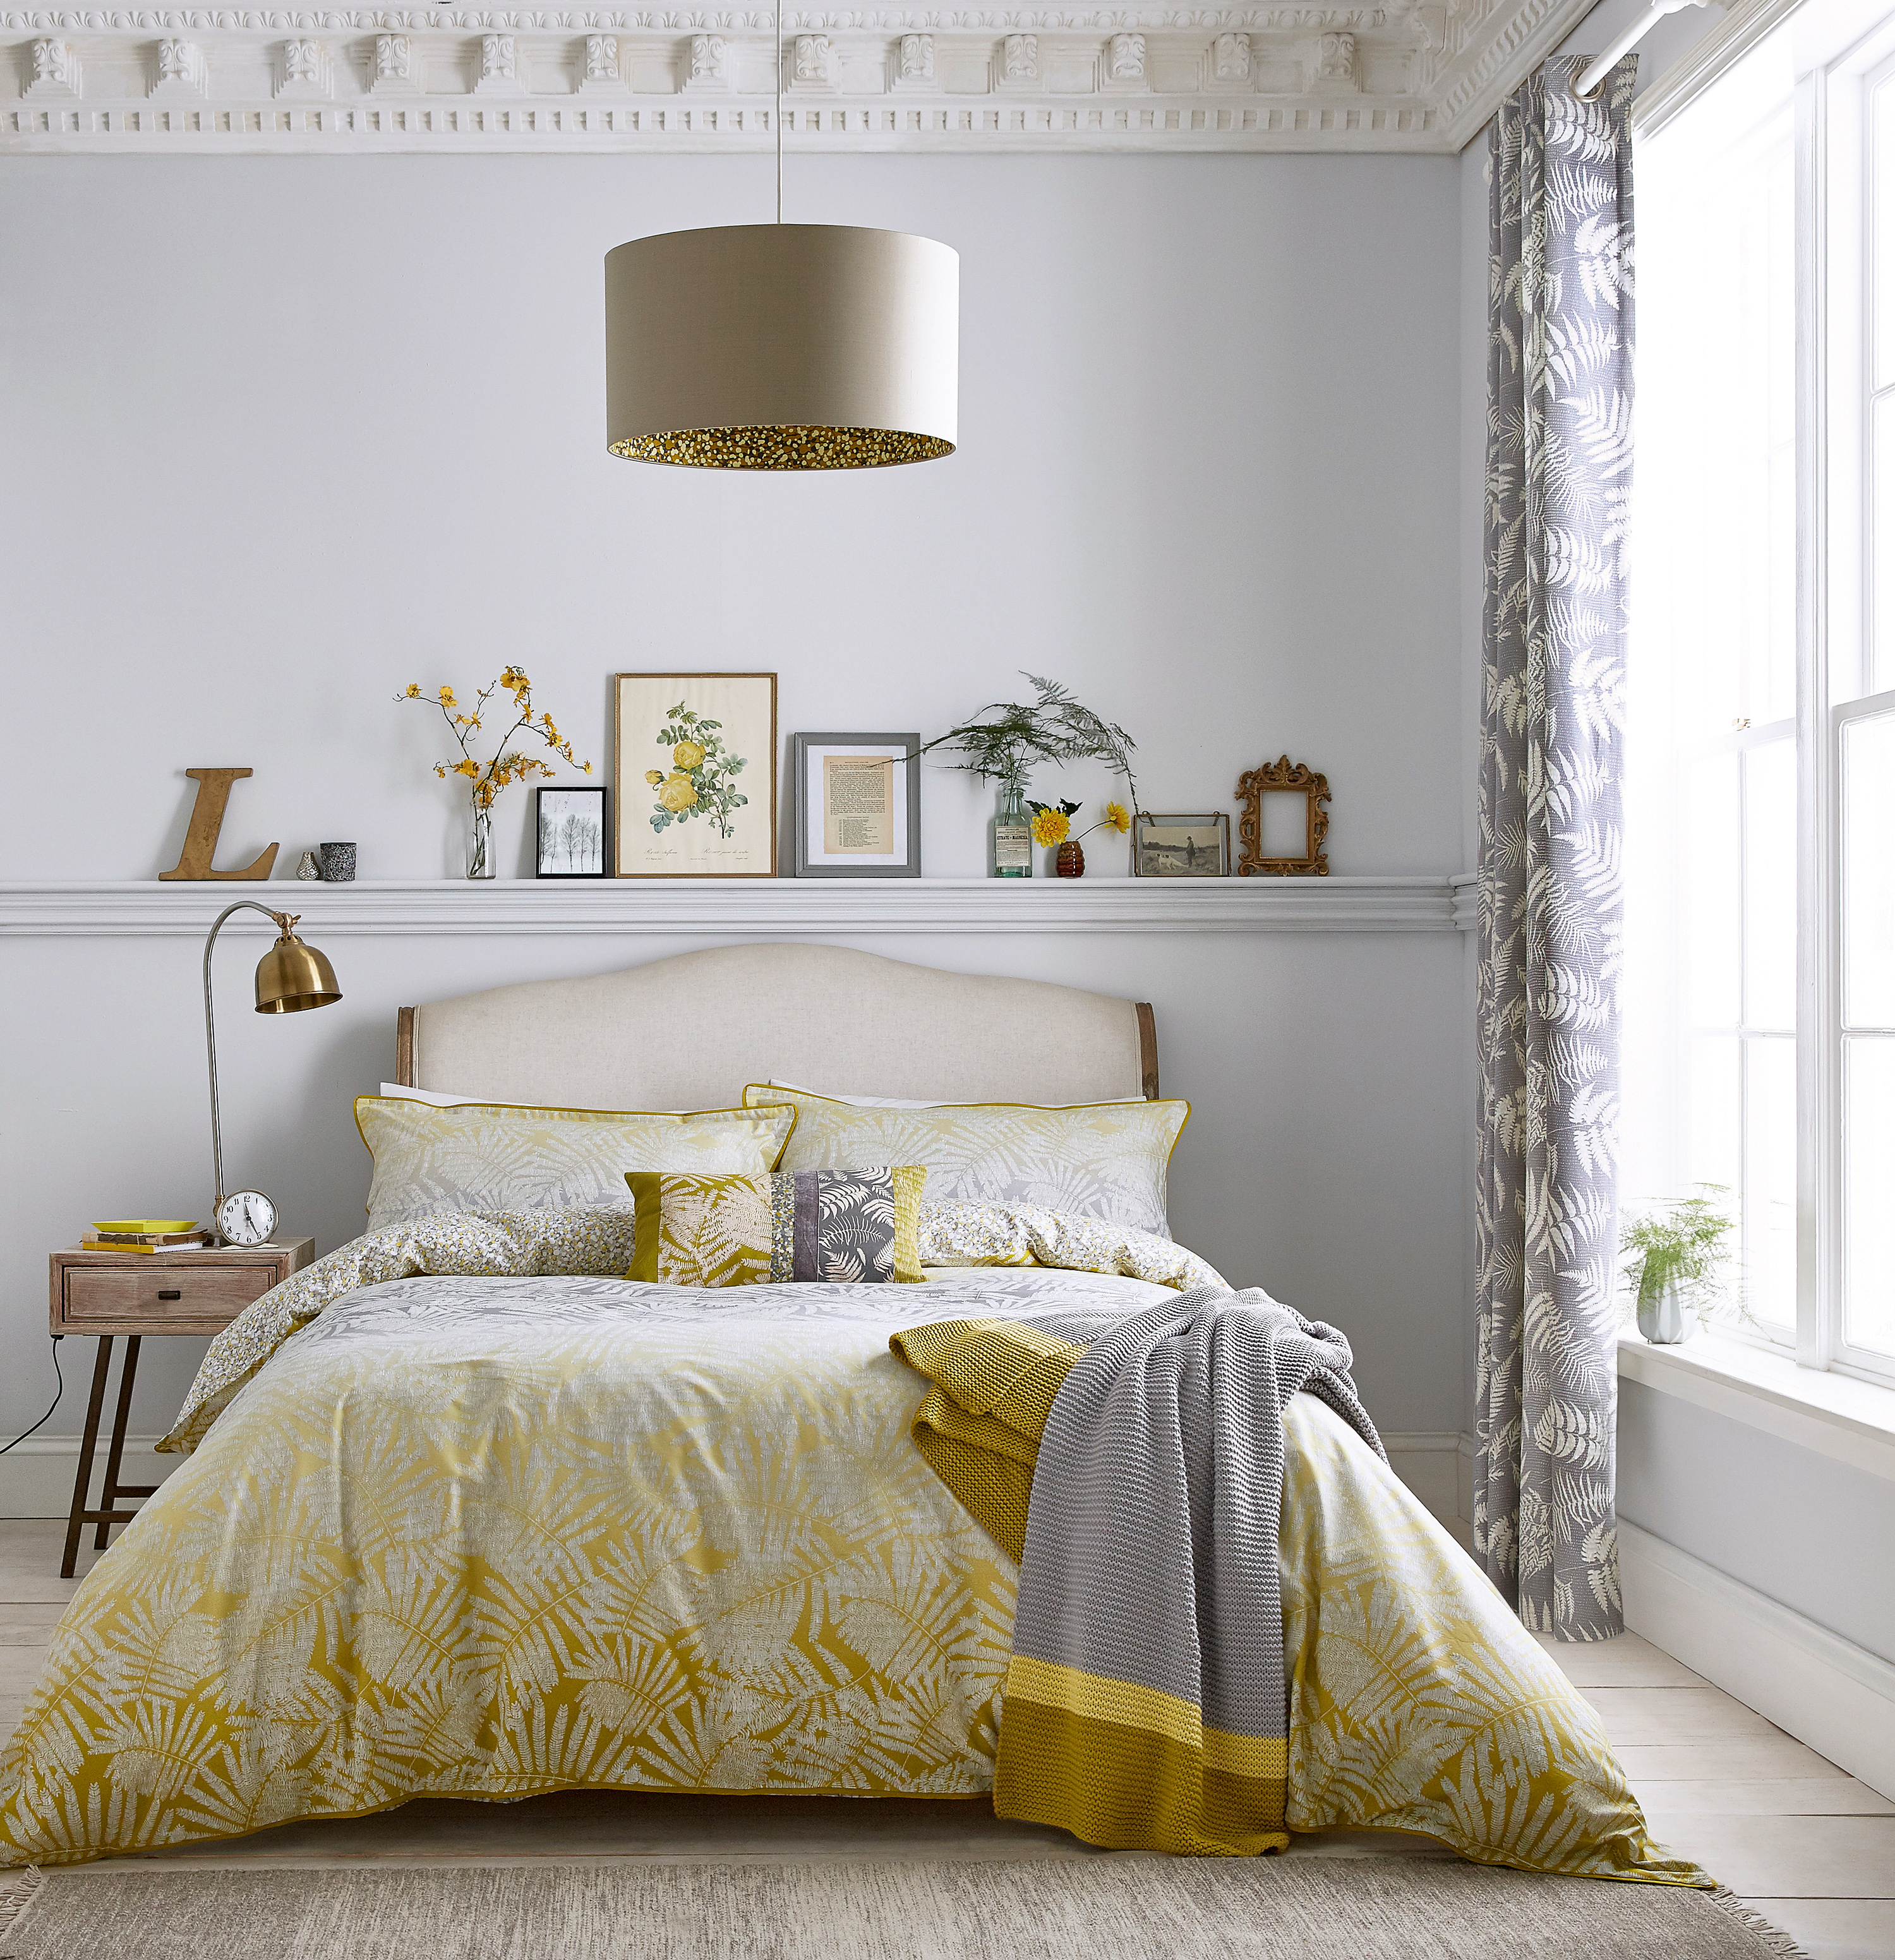
Sometimes displaying pictures will have greater impact in a room if it’s placed in a position you might not have considered at first. This could be behind the head of a bed...
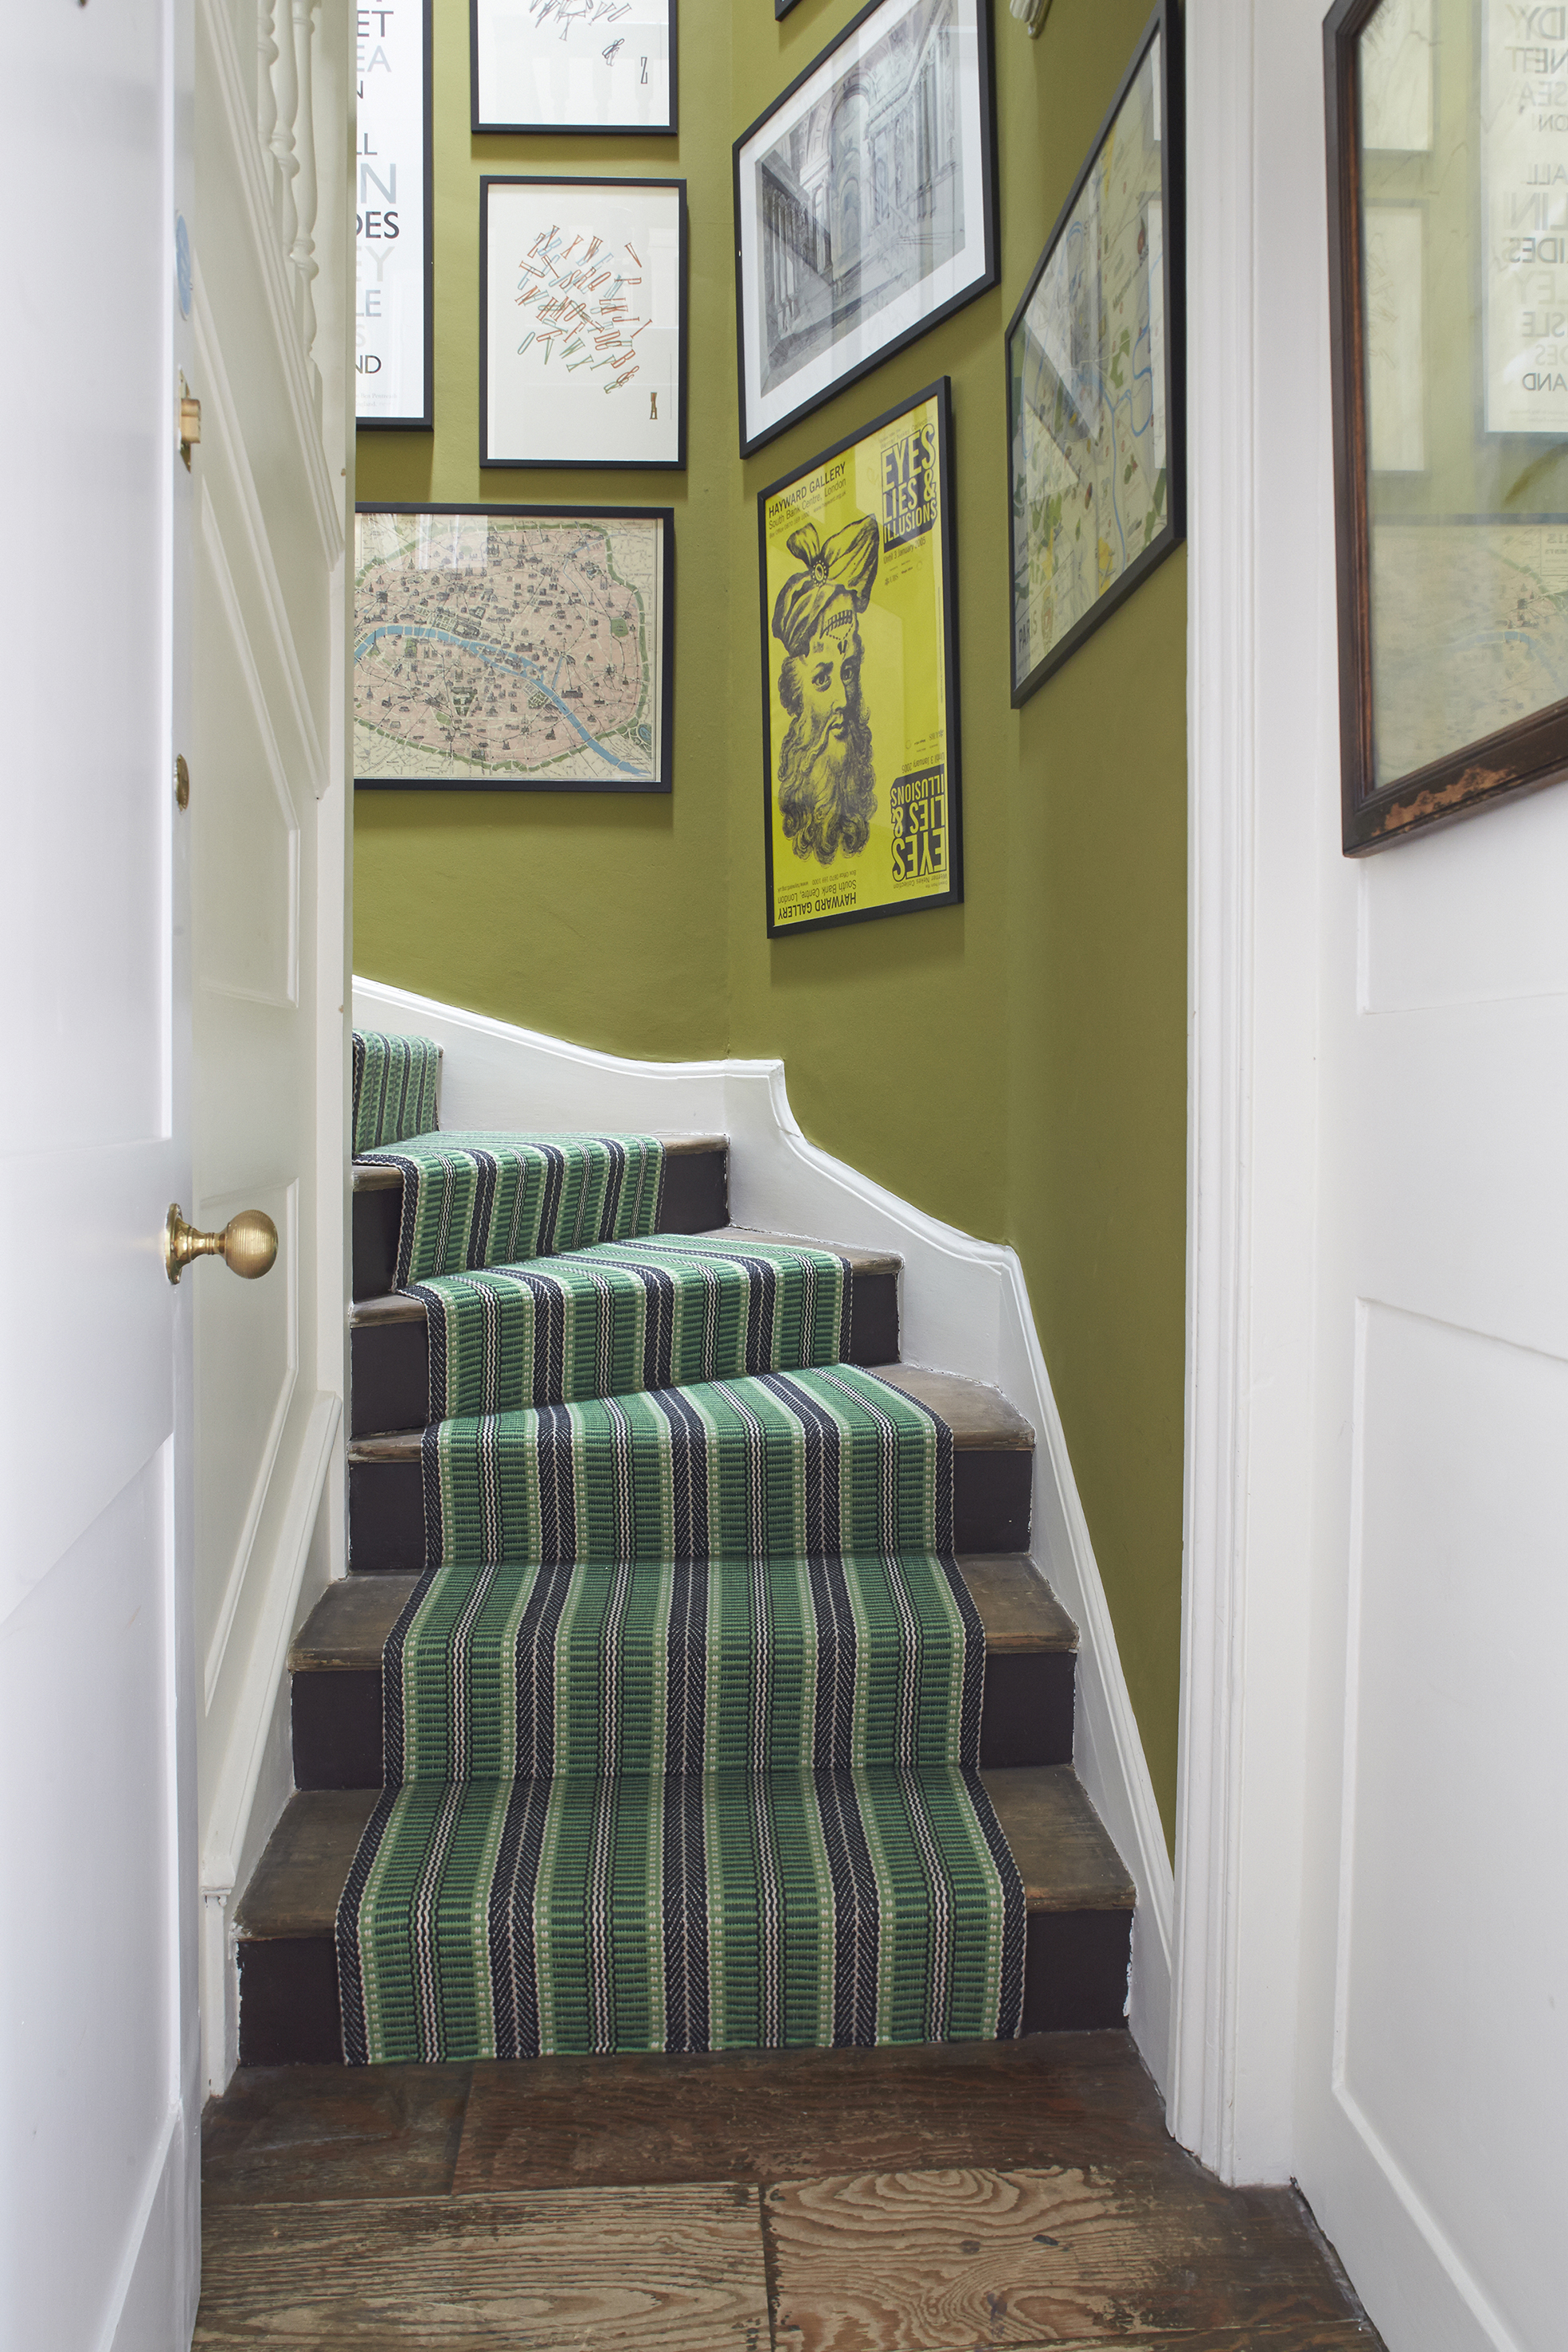
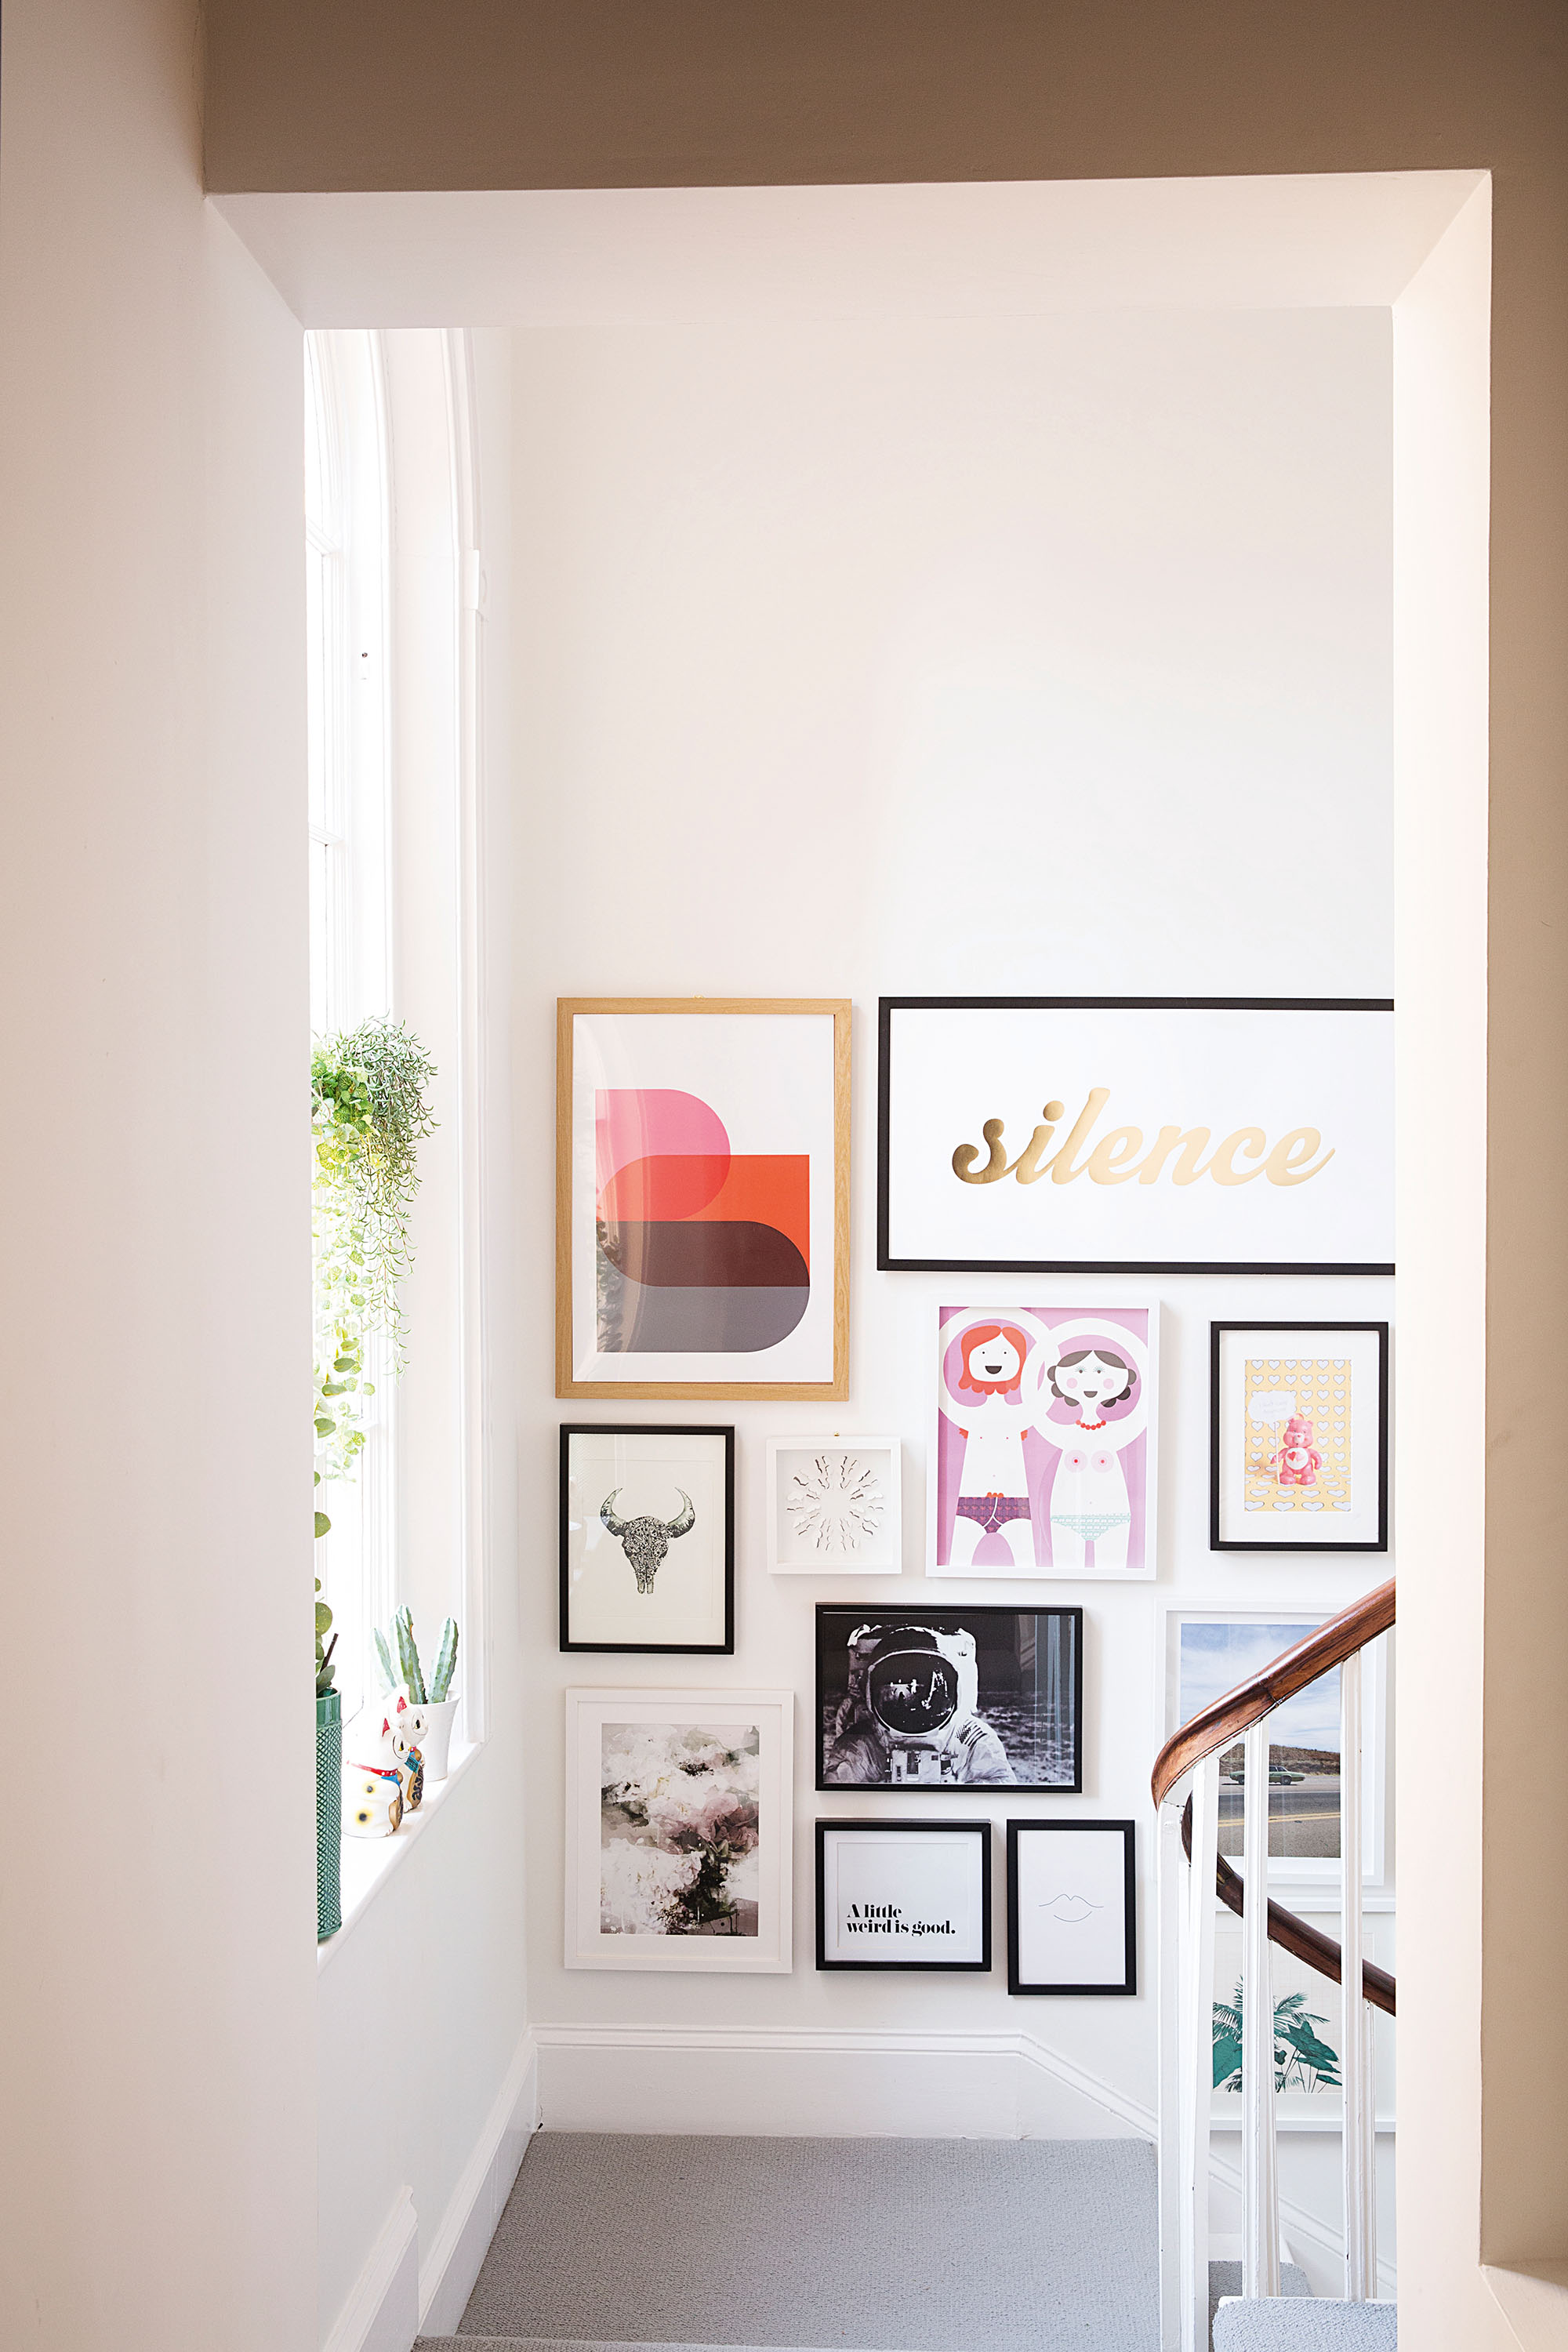
Or on a staircase...
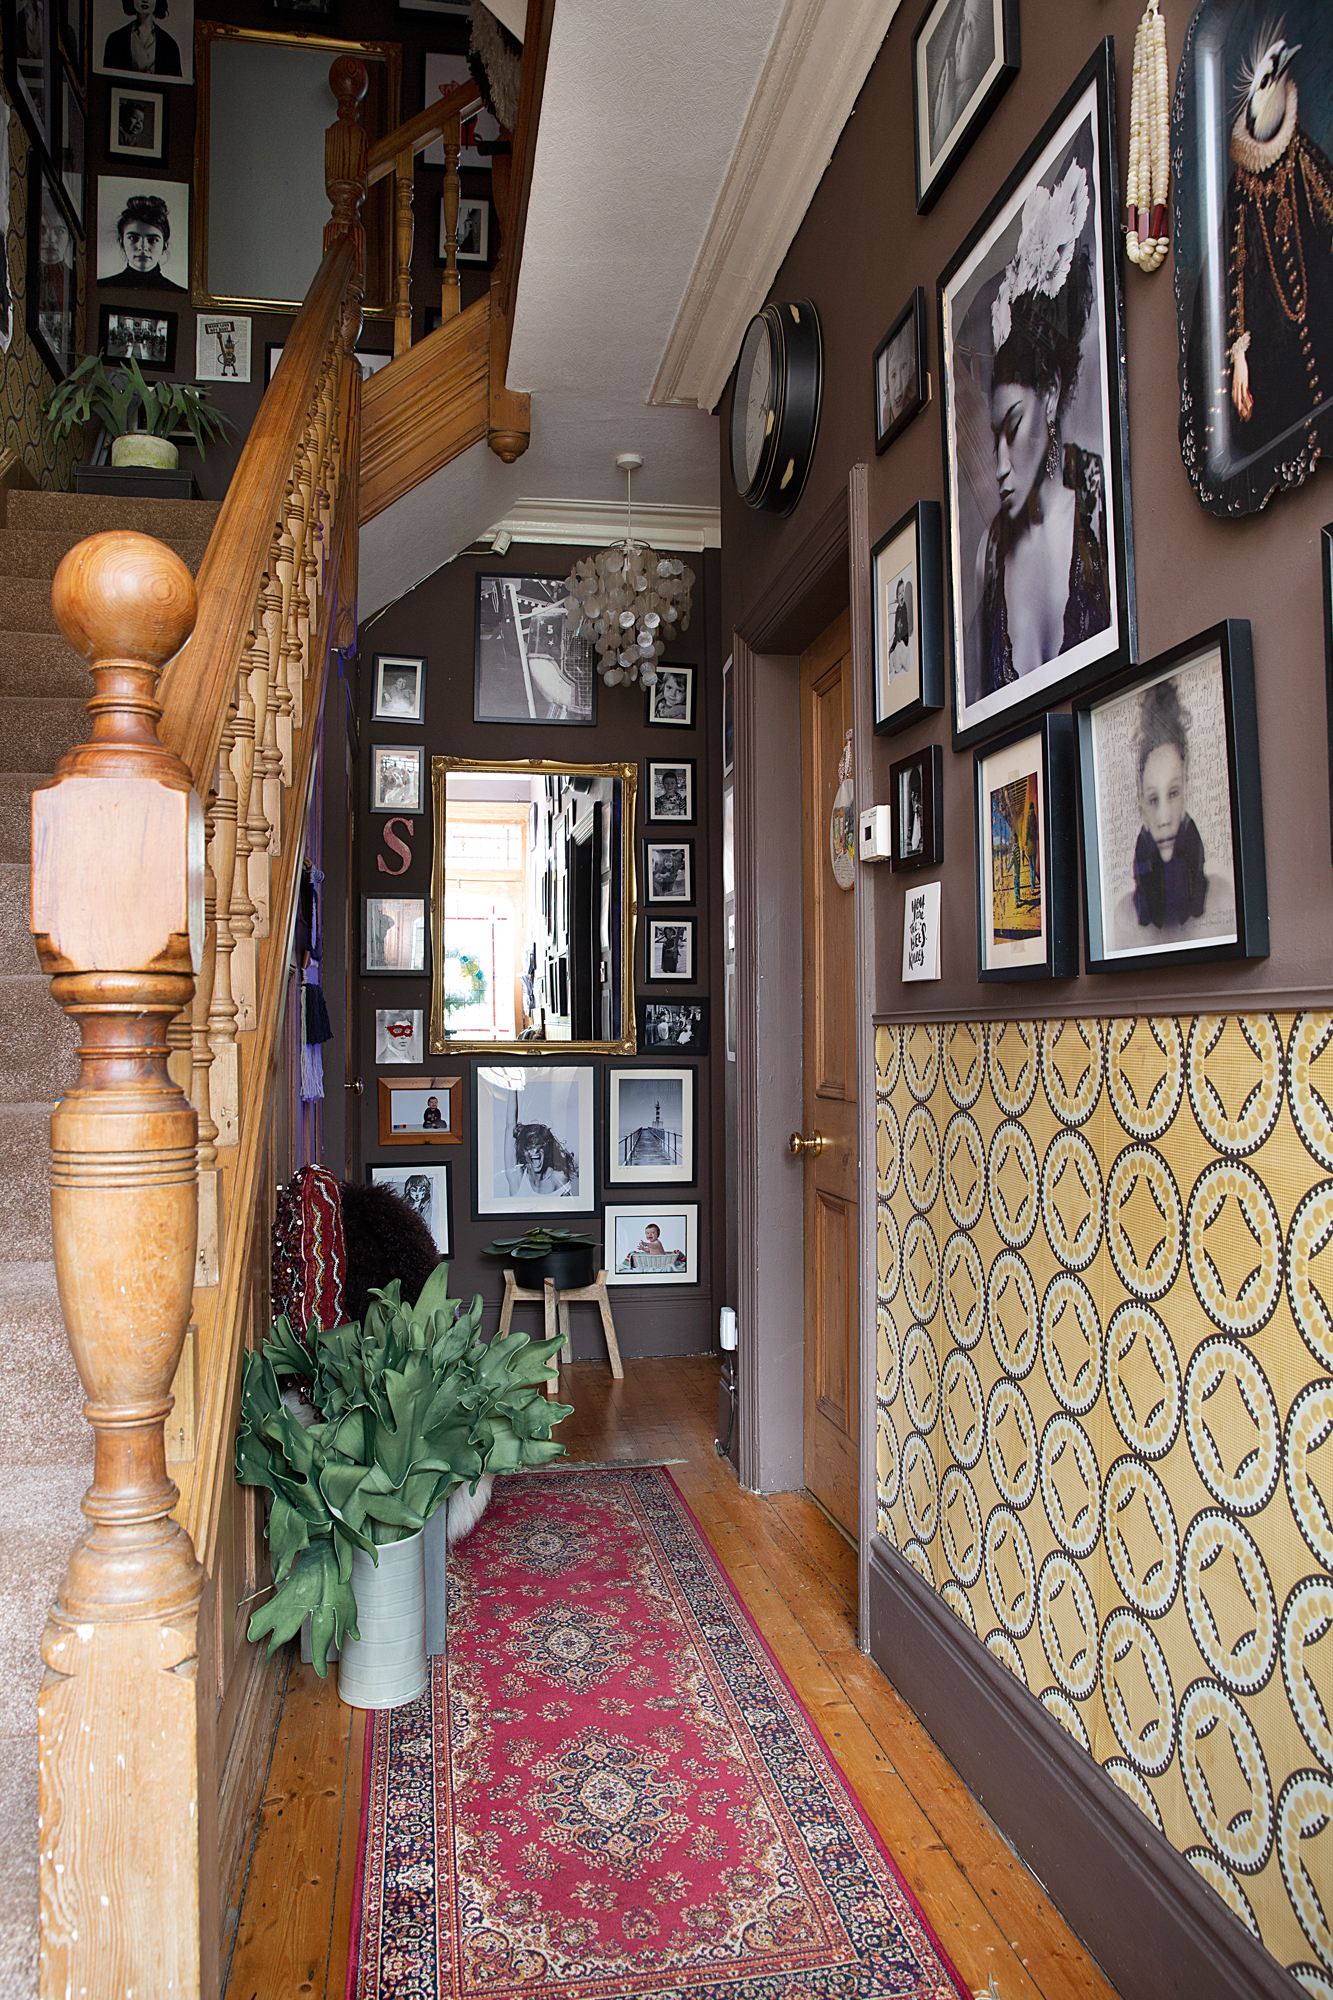
Or at the end of a hallway...
6. Layer your frames to create a textured picture display
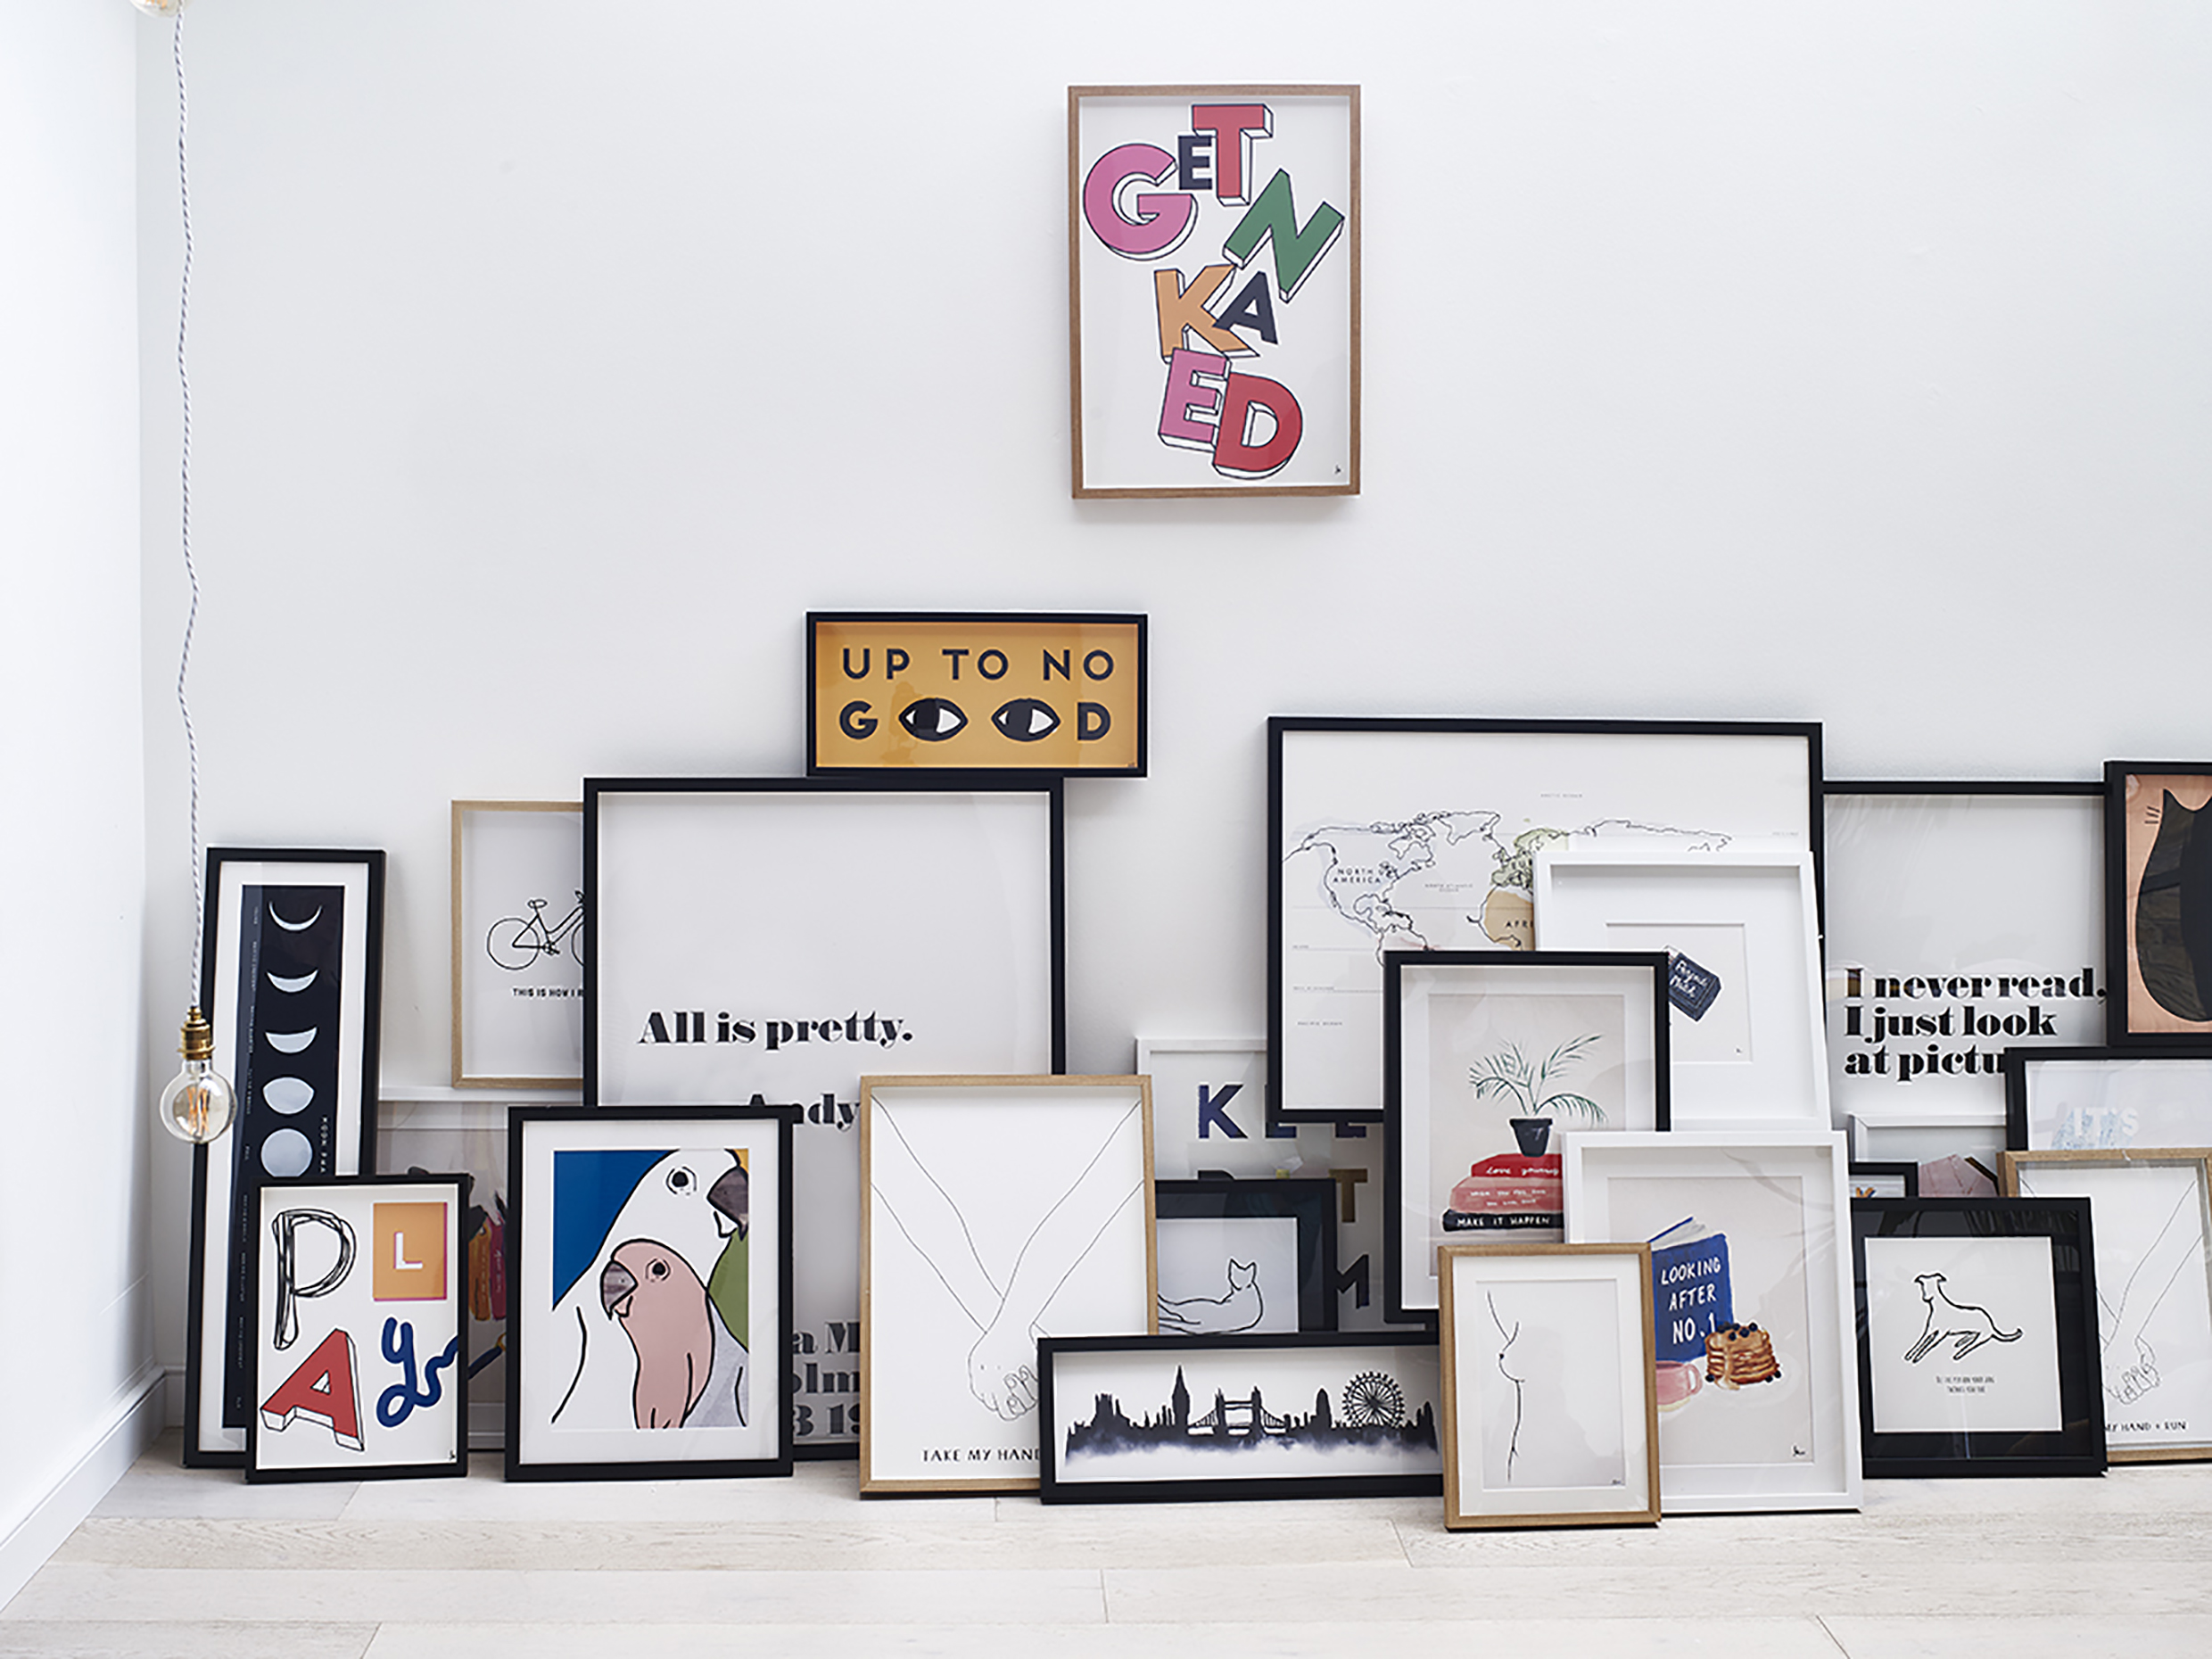
Ideal over a shelf, fireplace or above a piece of furniture, layering artwork is simple – but remember that it won’t work on a blank wall with nothing below it but floor space. Use a variety of frames of different sizes and finishes, hanging the largest frame first and working the others around it until you find an arrangement you like.
7. Check the proportions
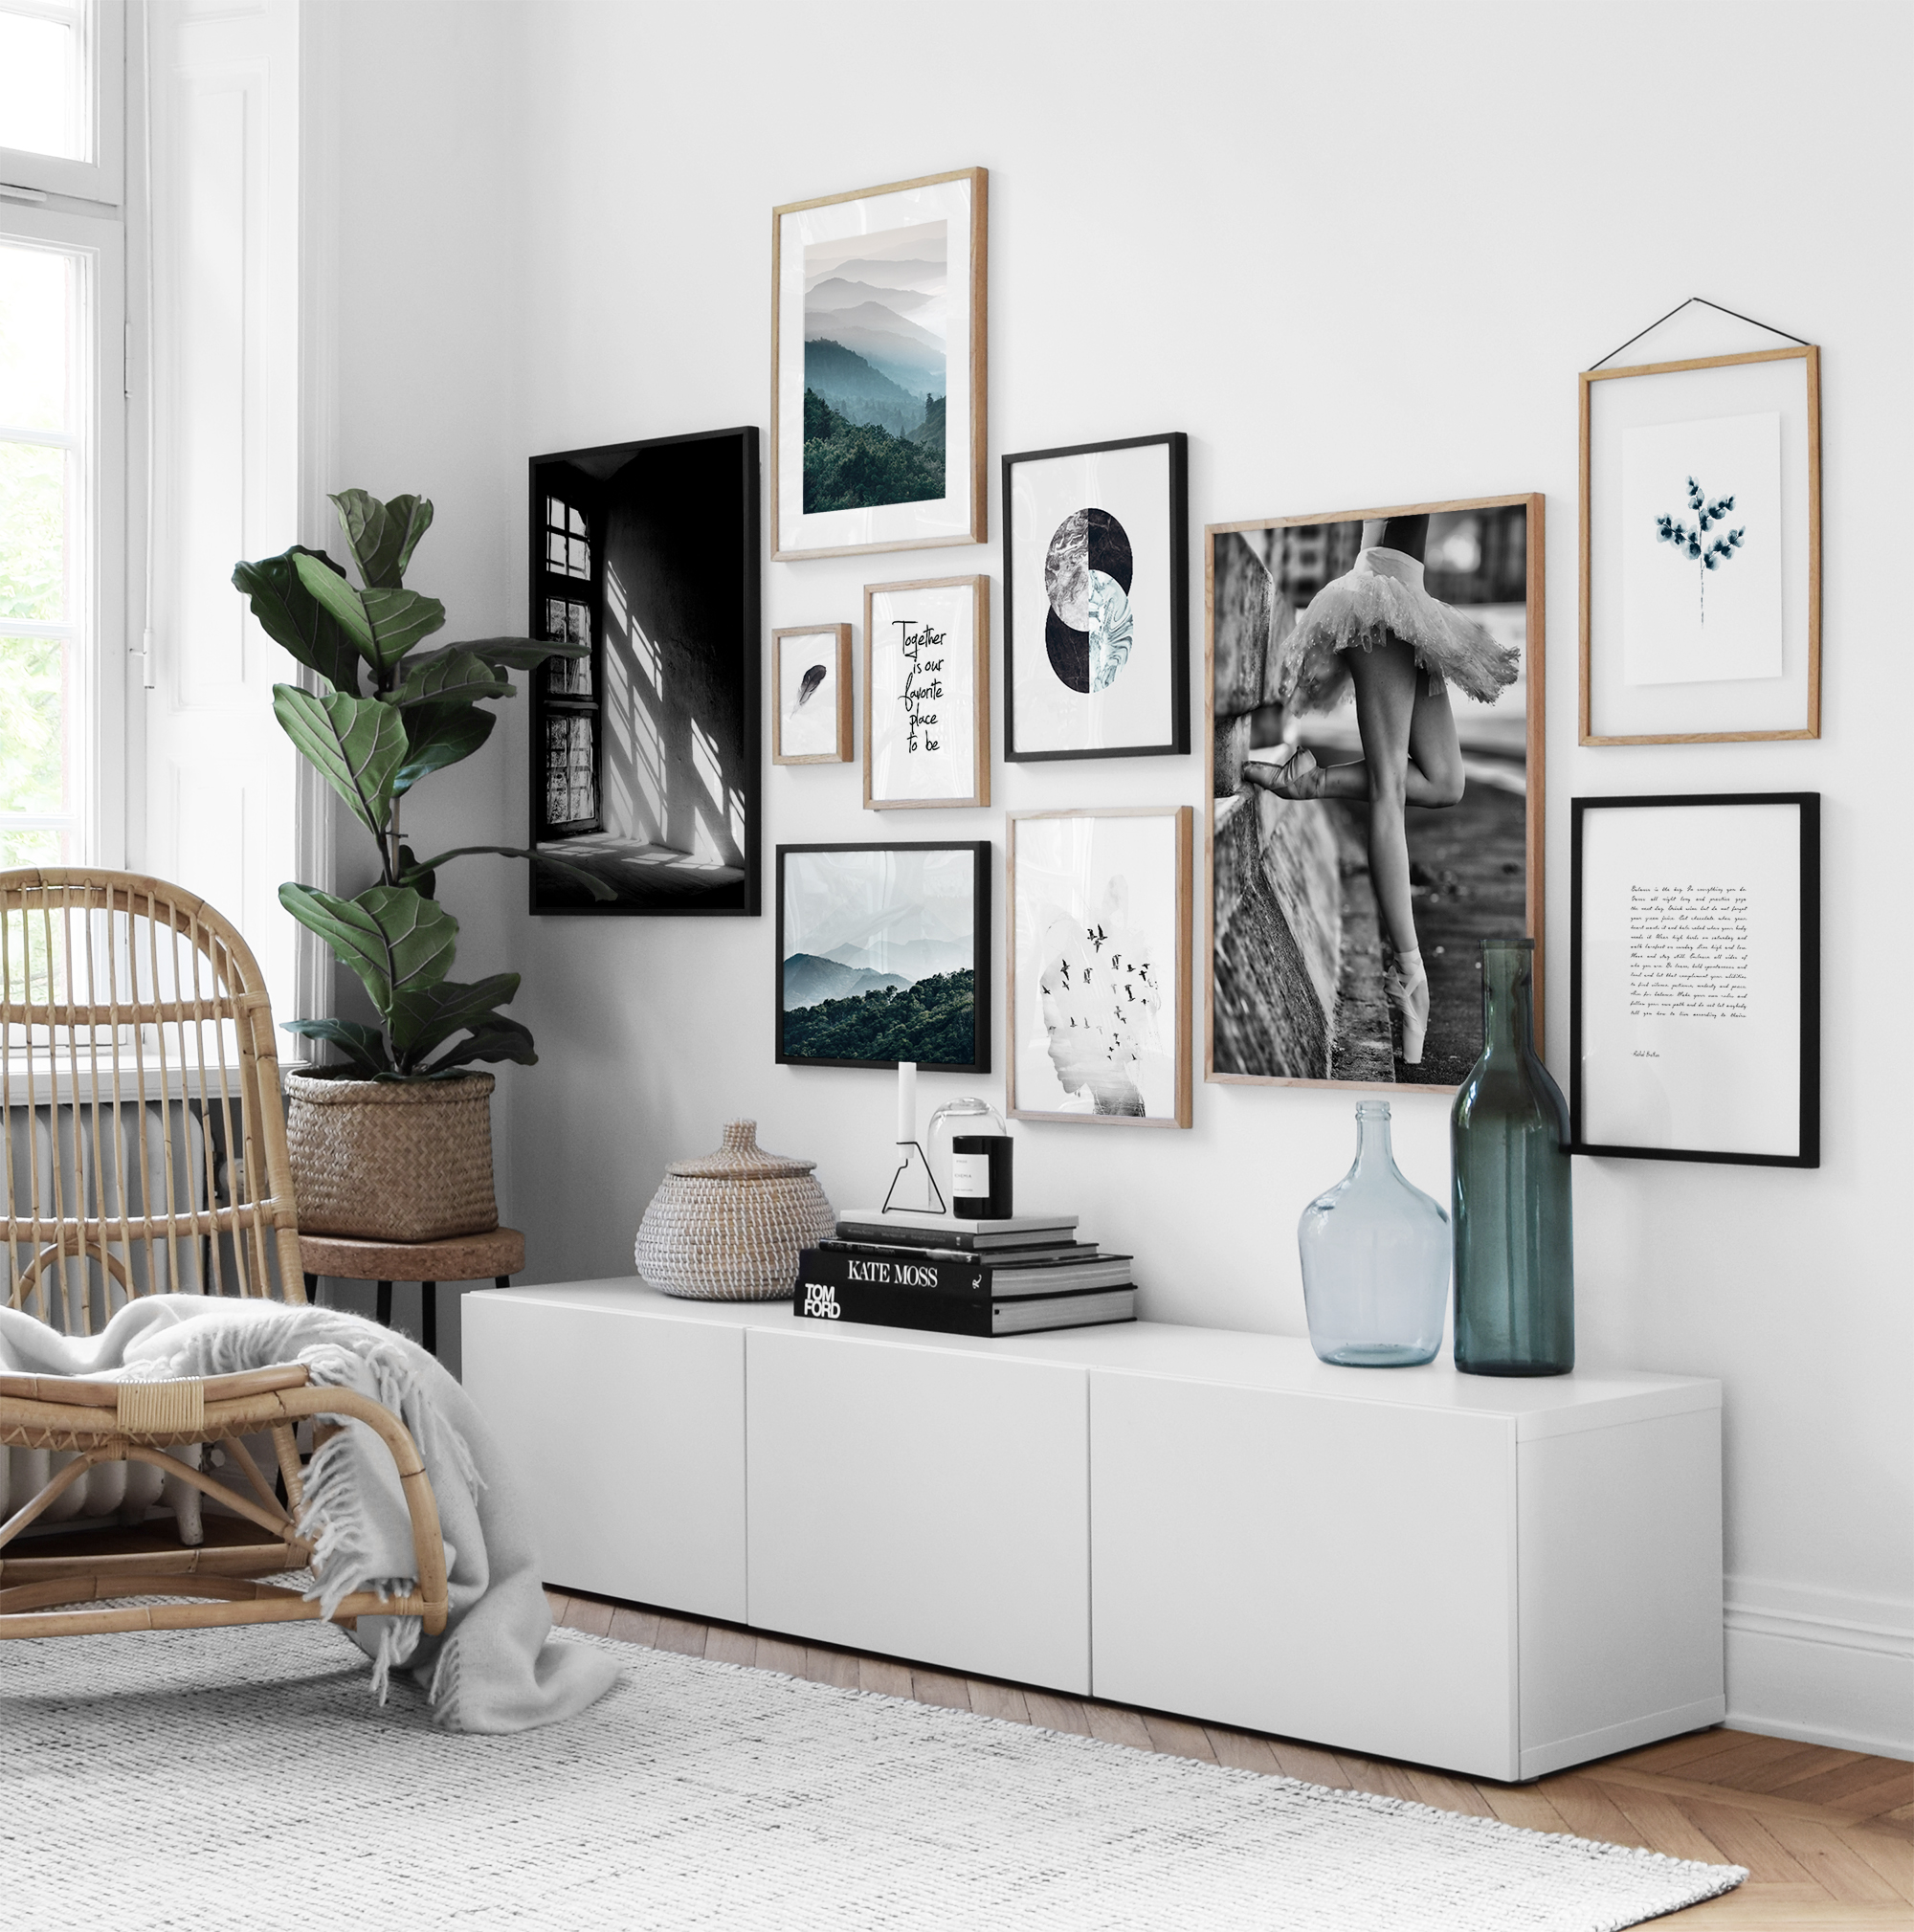
Before you choose to hang pictures on the wall, work out whether the size and shape of the wall space you have complements the proportions of the artwork. Tall, rectangular pictures or groups look better on walls with nothing but skirting beneath, while wide, rectangular pictures or groups look best above a sofa or sideboard; small pictures hung in vertical groups suit the space between windows or door frames, or in a horizontal line so as to lead the eye along the length of a hallway.
8. Hang photos in odd numbers
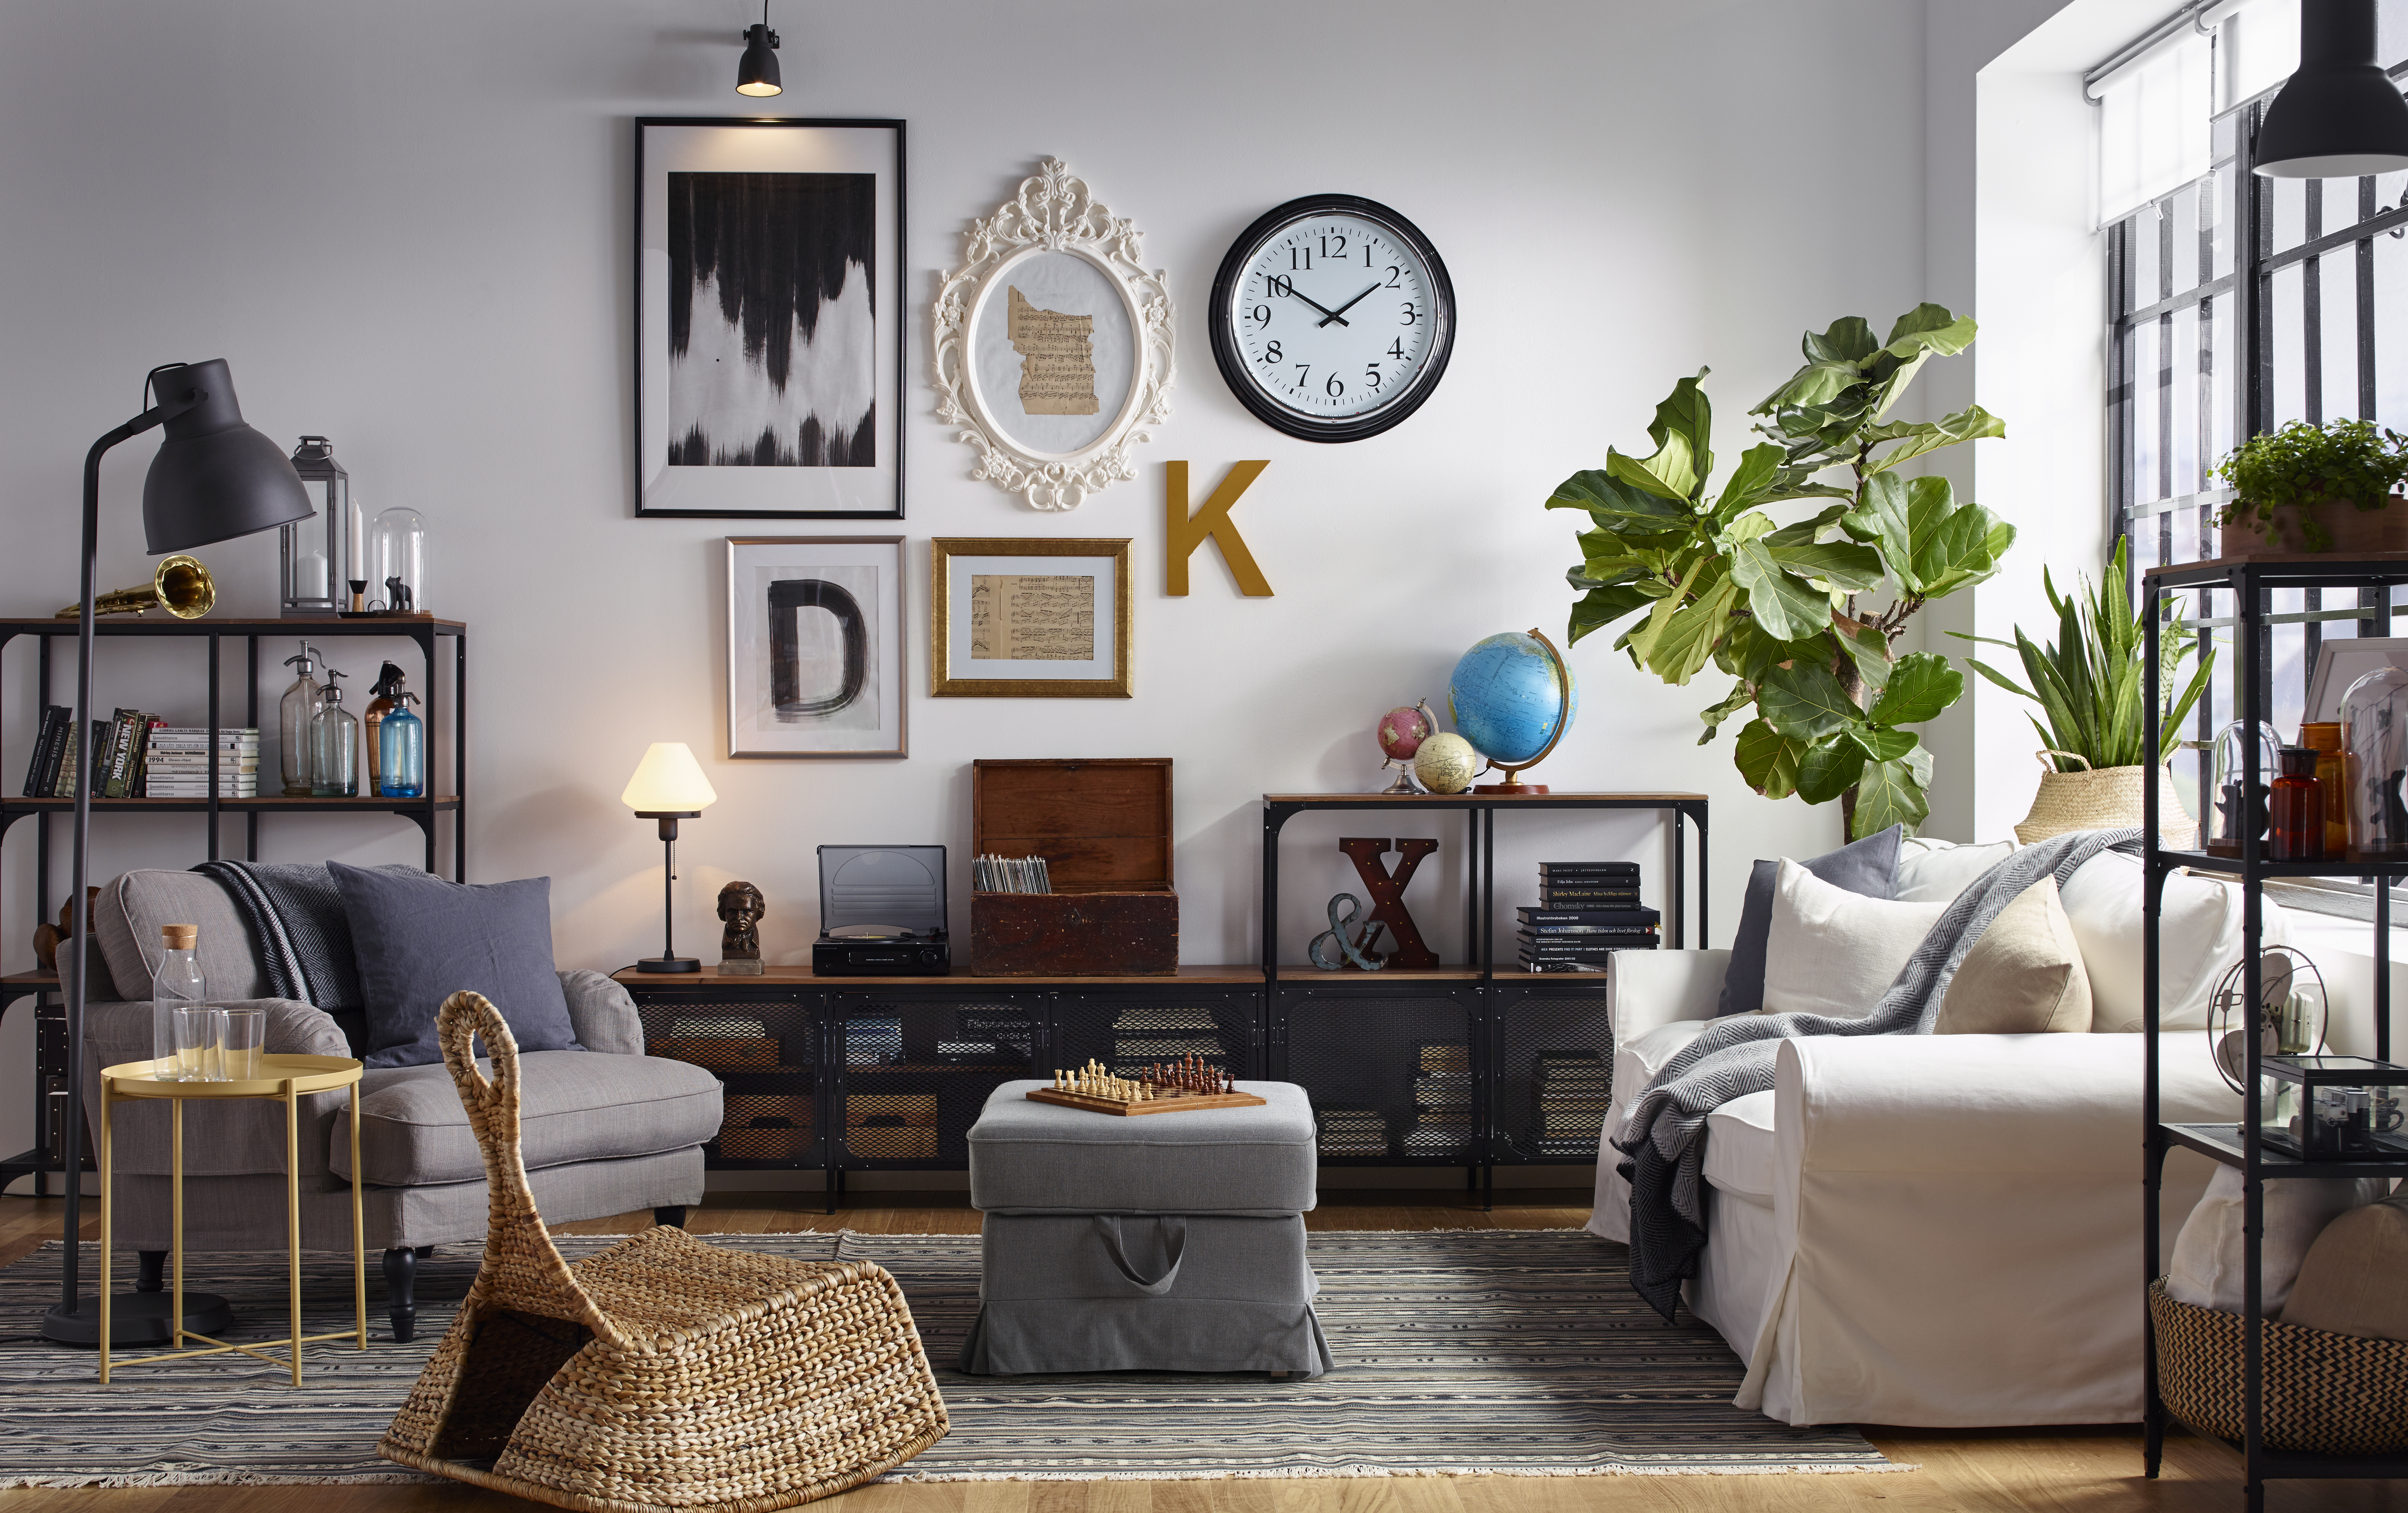
If you have just a few pictures to hang, an odd number of pieces grouped together can be more pleasing to the eye than an even number. You could use the middle picture to fix the wall’s centre-point, but don’t be afraid to display them off-centre, too. Group small pictures so the gaps between are no larger than 5cm, while allowing up to 10cm between larger pictures.
9. Unify a group of photos
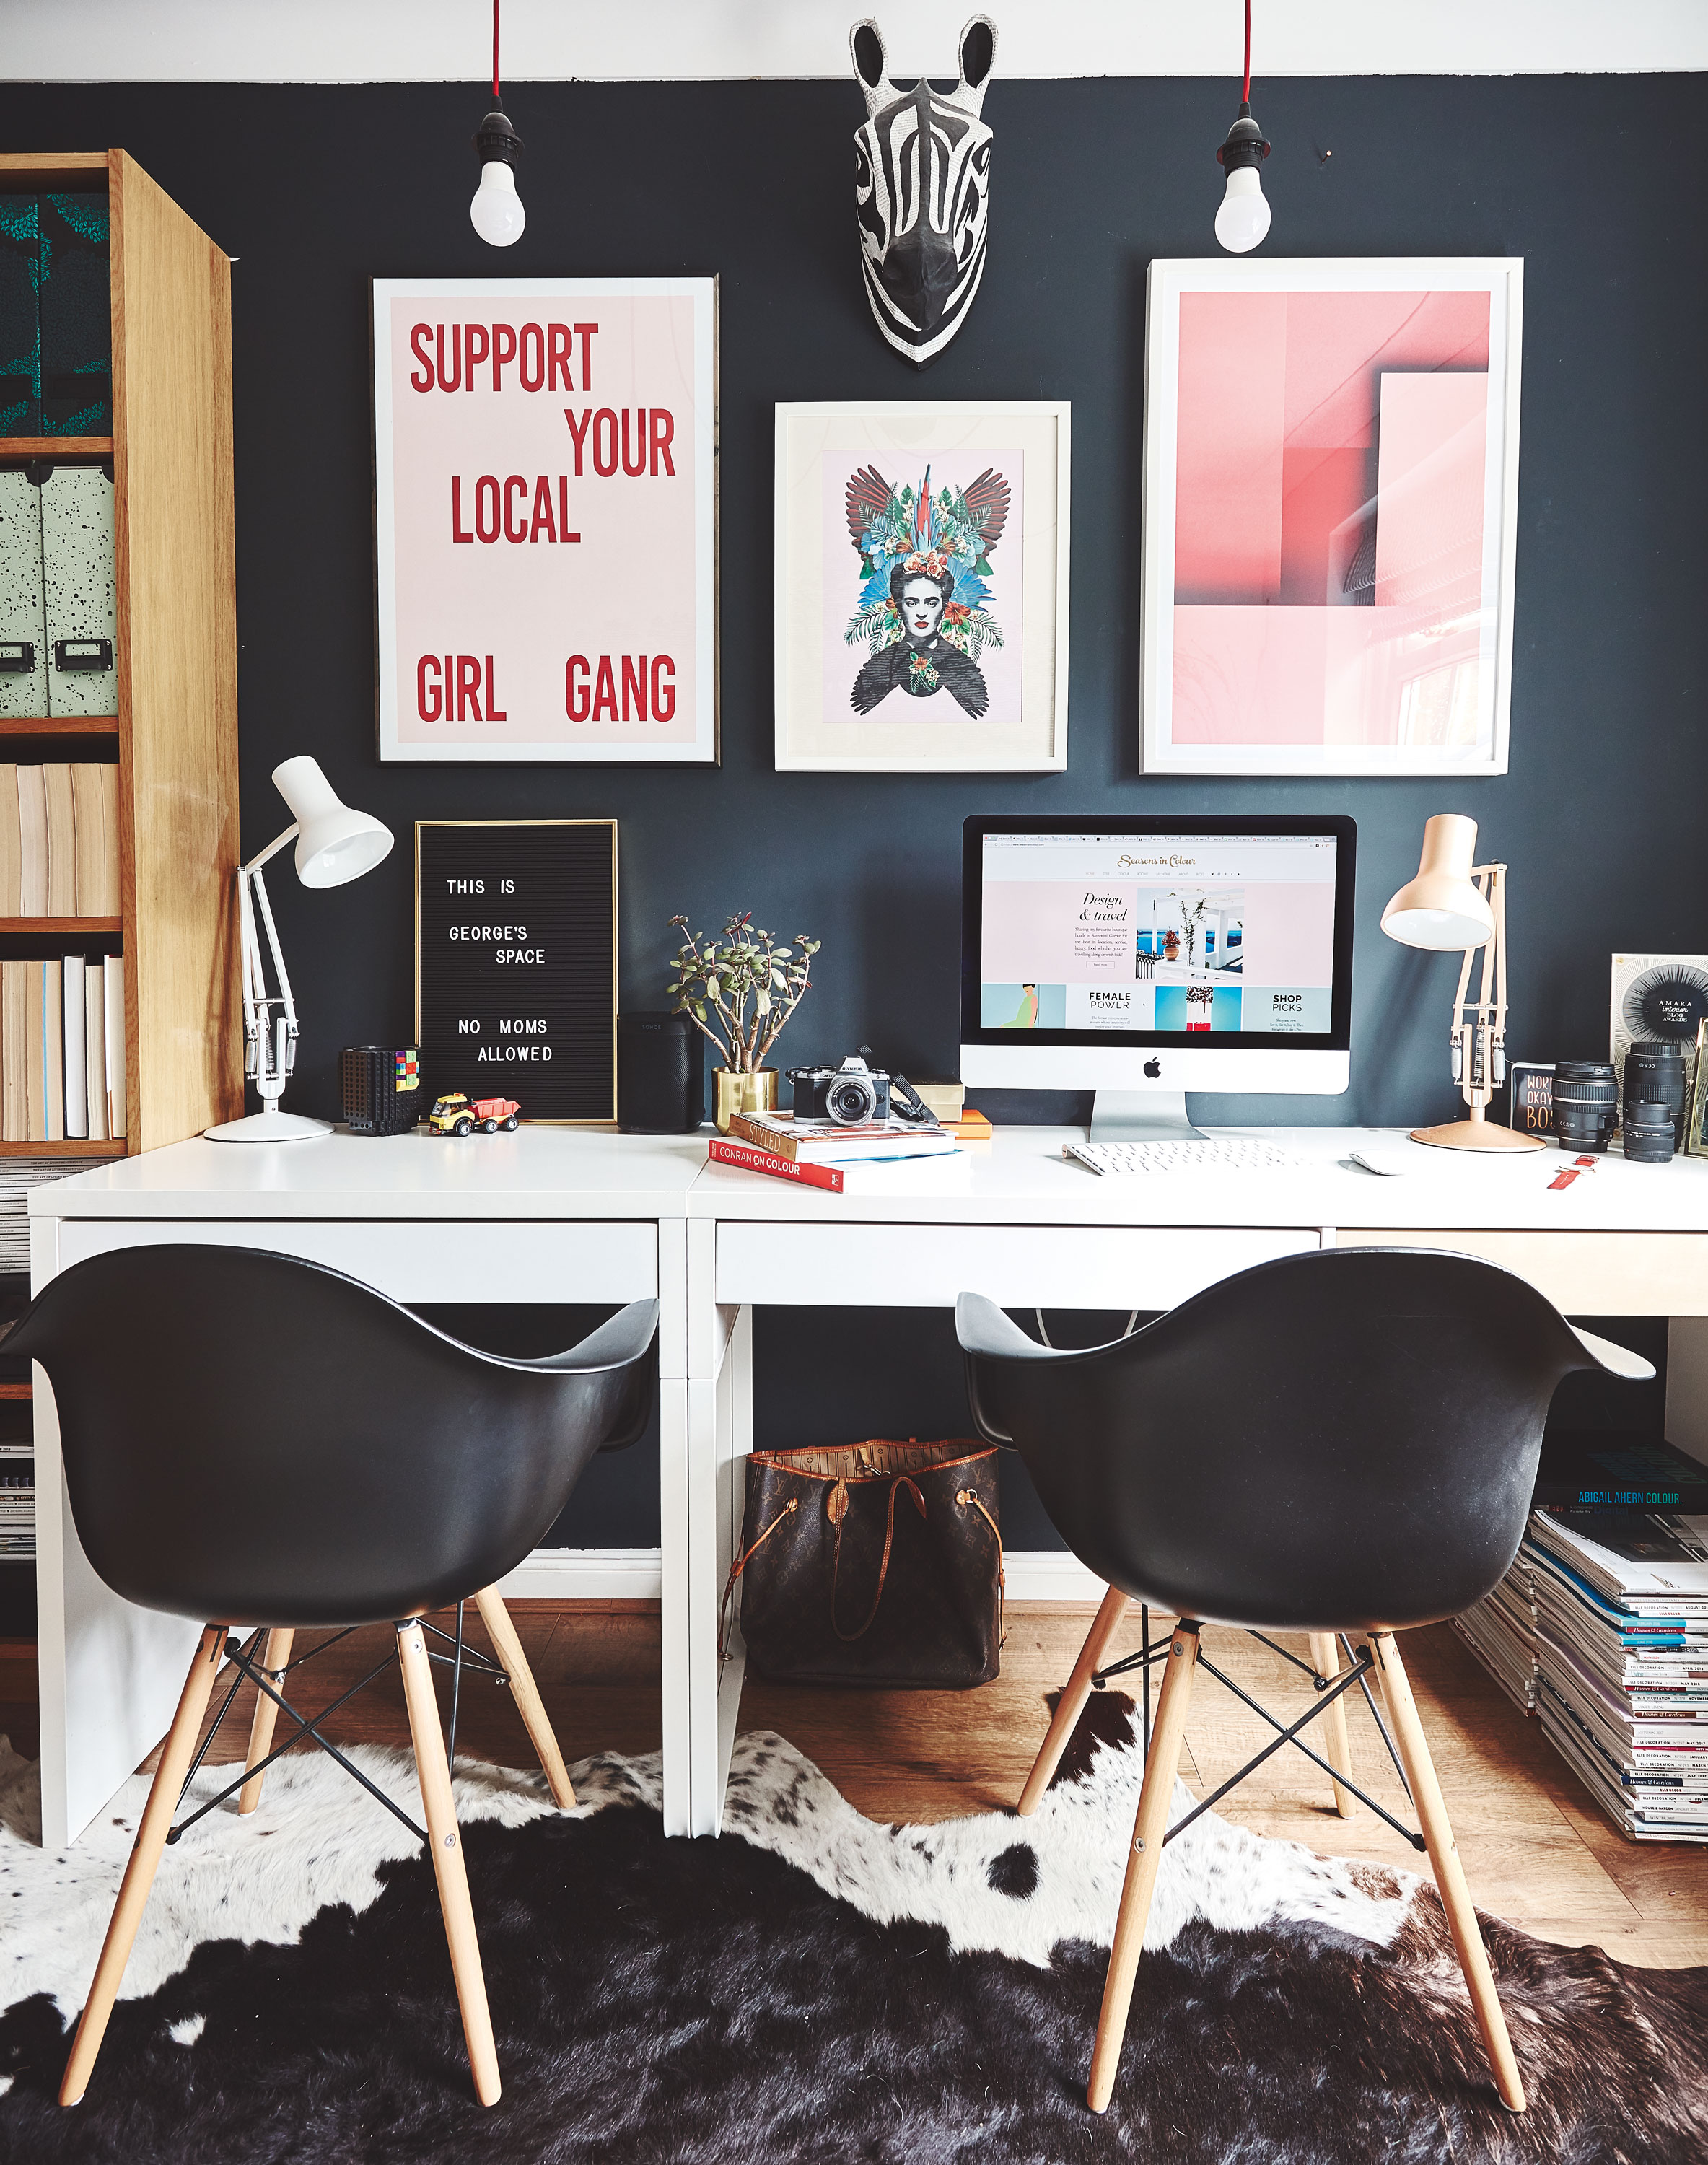
If you have a disparate group of frames, image sizes and subjects, you can easily unite them by creating a false frame on the wall behind with a simple, painted panel (think colour blocking).
Want to display more than just pictures on a wall, perhaps plants or a 3D sculptural pieces, as on this wall below? Check out more of these inspiring gallery wall ideas for inspiration.
10. Consider the whole room
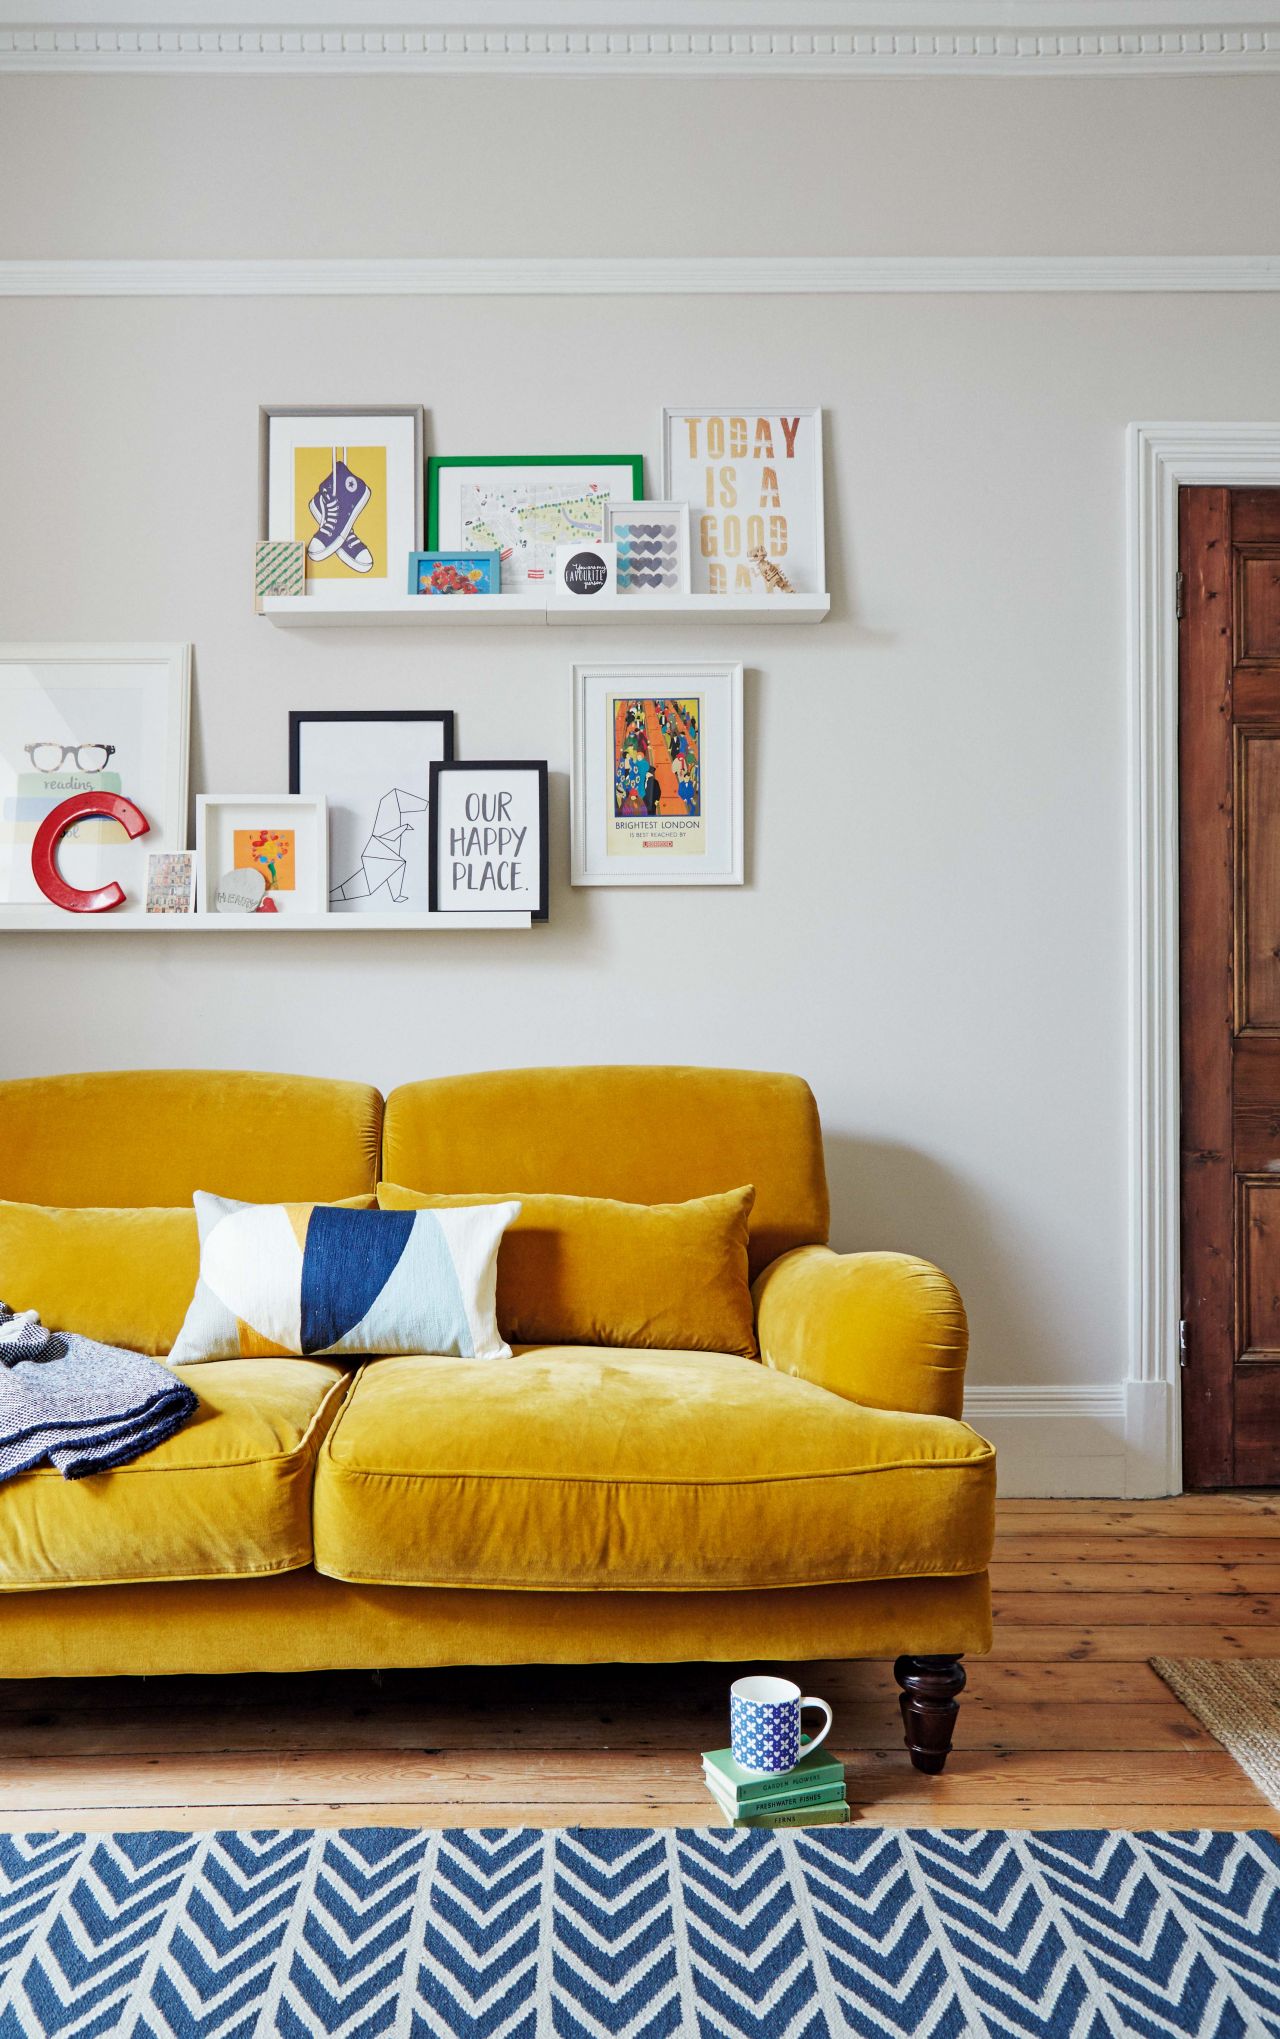
Pictures are usually displayed all around a room, rather than on just one wall, and rarely match in size and shape. To unify the group, use similar frames or a colour theme that runs through it. When hanging pictures, don’t try to line up the tops or bottoms of the frames. Instead, use the mid-point of each picture or grouping as a guide.
11. Get the height of your photo display right
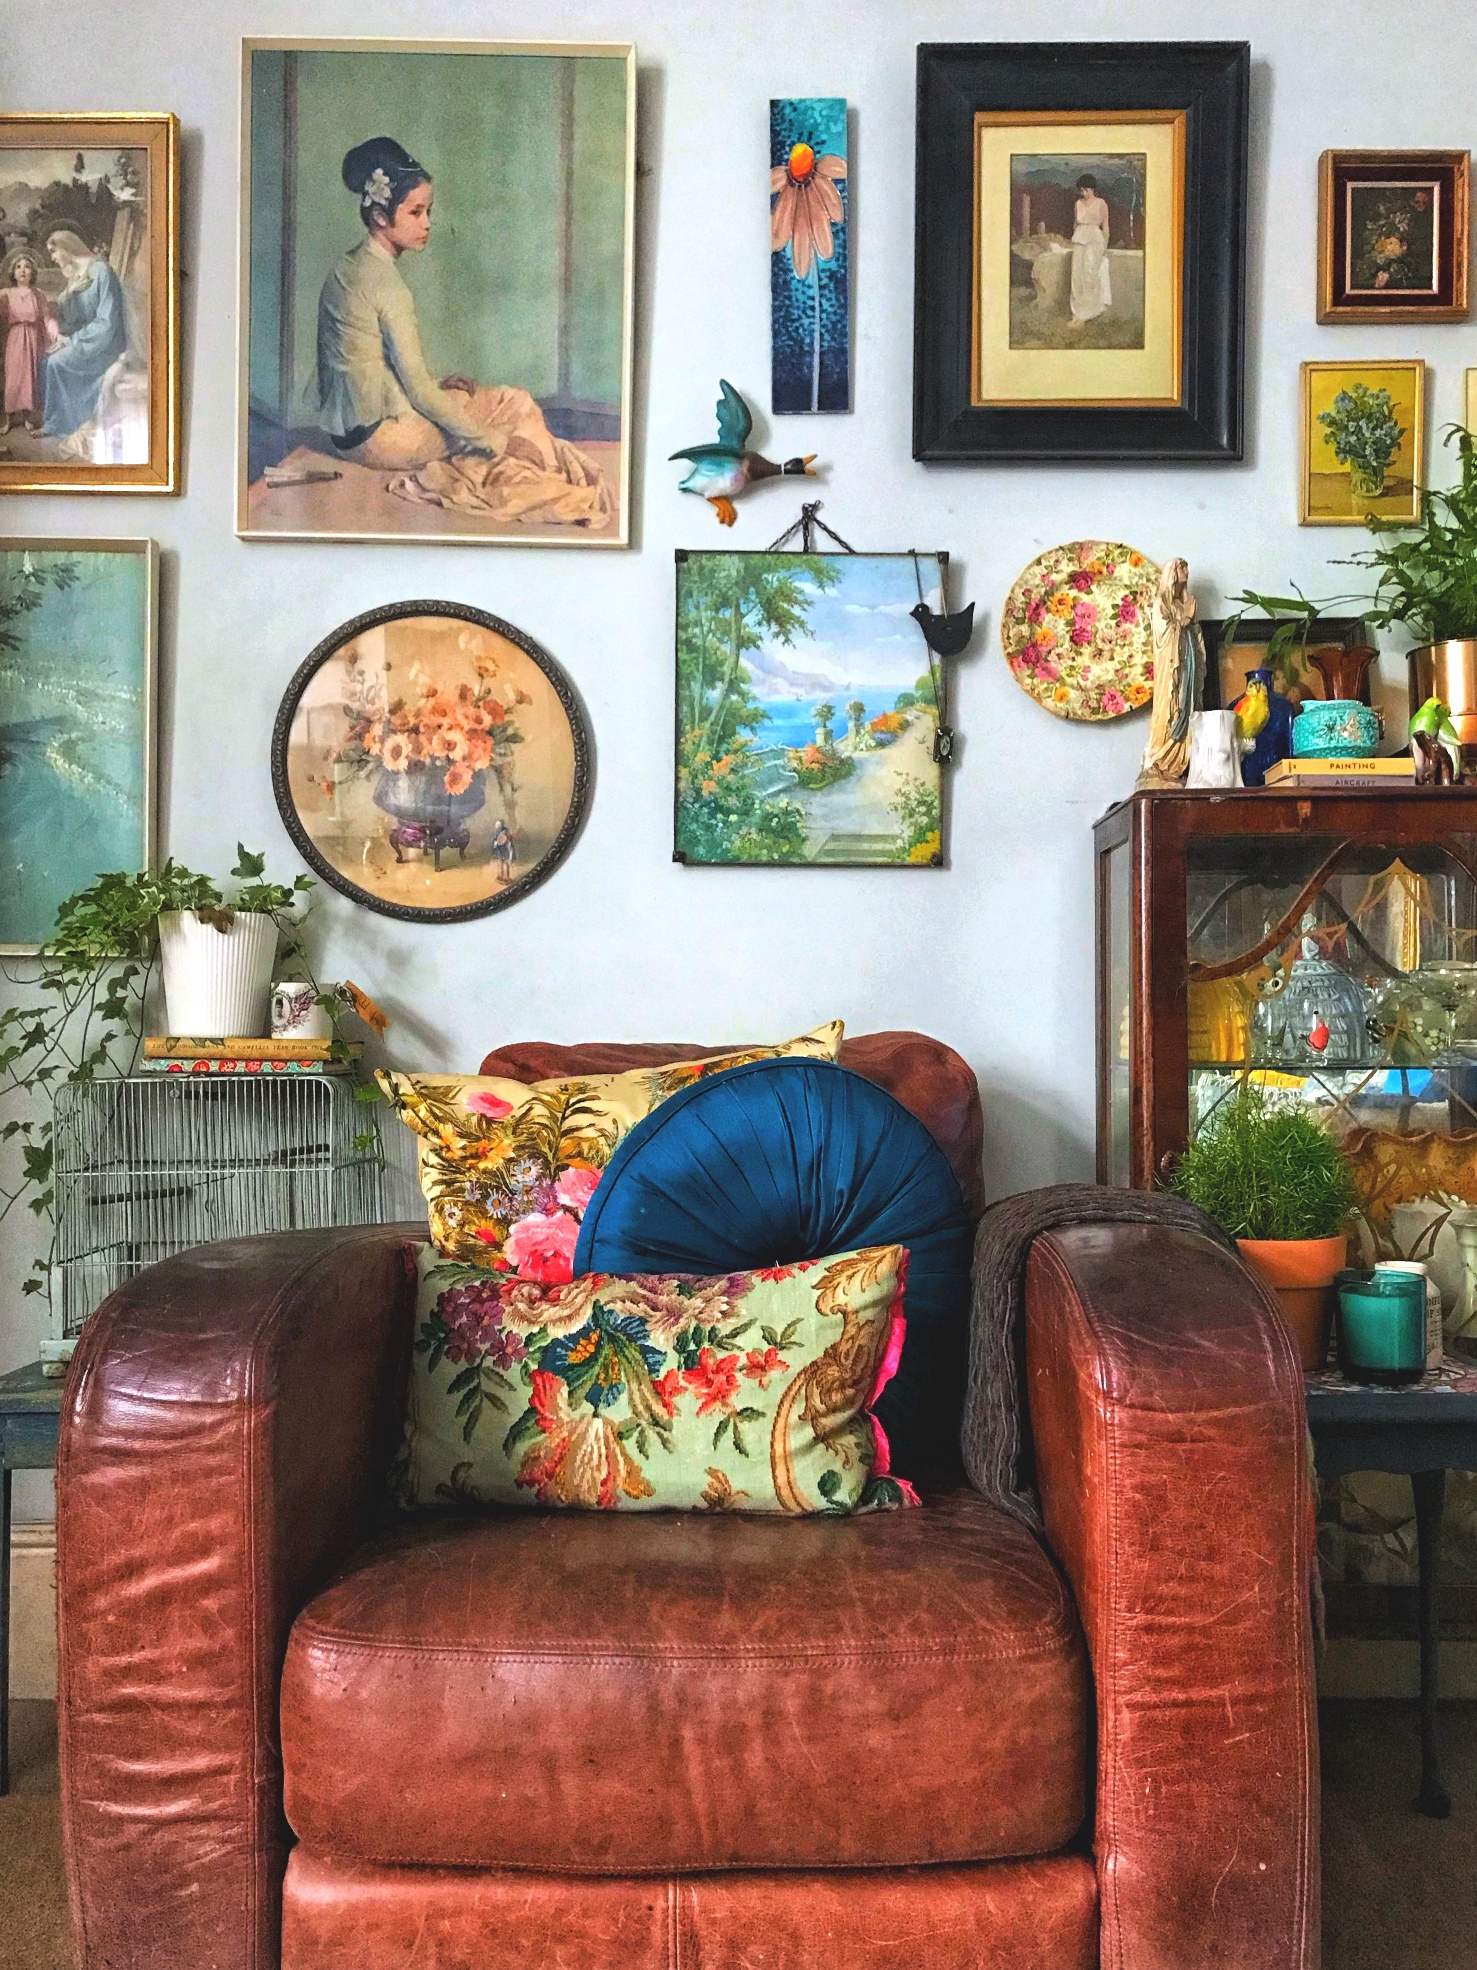
Positioning a picture at the right level in a room is key to its success – they are often hung too high, creating a disconnect between the image and the furniture below. Ideally, the centre of the picture should be at eye-level, although in a living room, bear in mind that you’ll mostly be seated, so the picture might need to be a little lower – aim to hang the bottom of the first frame of a group at around 10cm above the back of the sofa.
More ideas to add personality to your space:
- Pink room ideas: 22 ways to use this rosy hue
- Living room paint ideas: 18 beautiful colour schemes to try
- Maximalism: 11 ways to get the look

Hebe joined the Real Homes team in early 2018 as Staff Writer before moving to the Livingetc team in 2021 where she took on a role as Digital Editor. She loves boho and 70's style and is a big fan of Instagram as a source of interiors inspiration. When she isn't writing about interiors, she is renovating her own spaces – be it wallpapering a hallway, painting kitchen cupboards or converting a van.