How to paint a staircase – 5 steps to spruce up treads and risers
Knowing how to paint a staircase is a simple DIY job. Use the best materials and start in the right place to spruce up treads and risers like a pro.
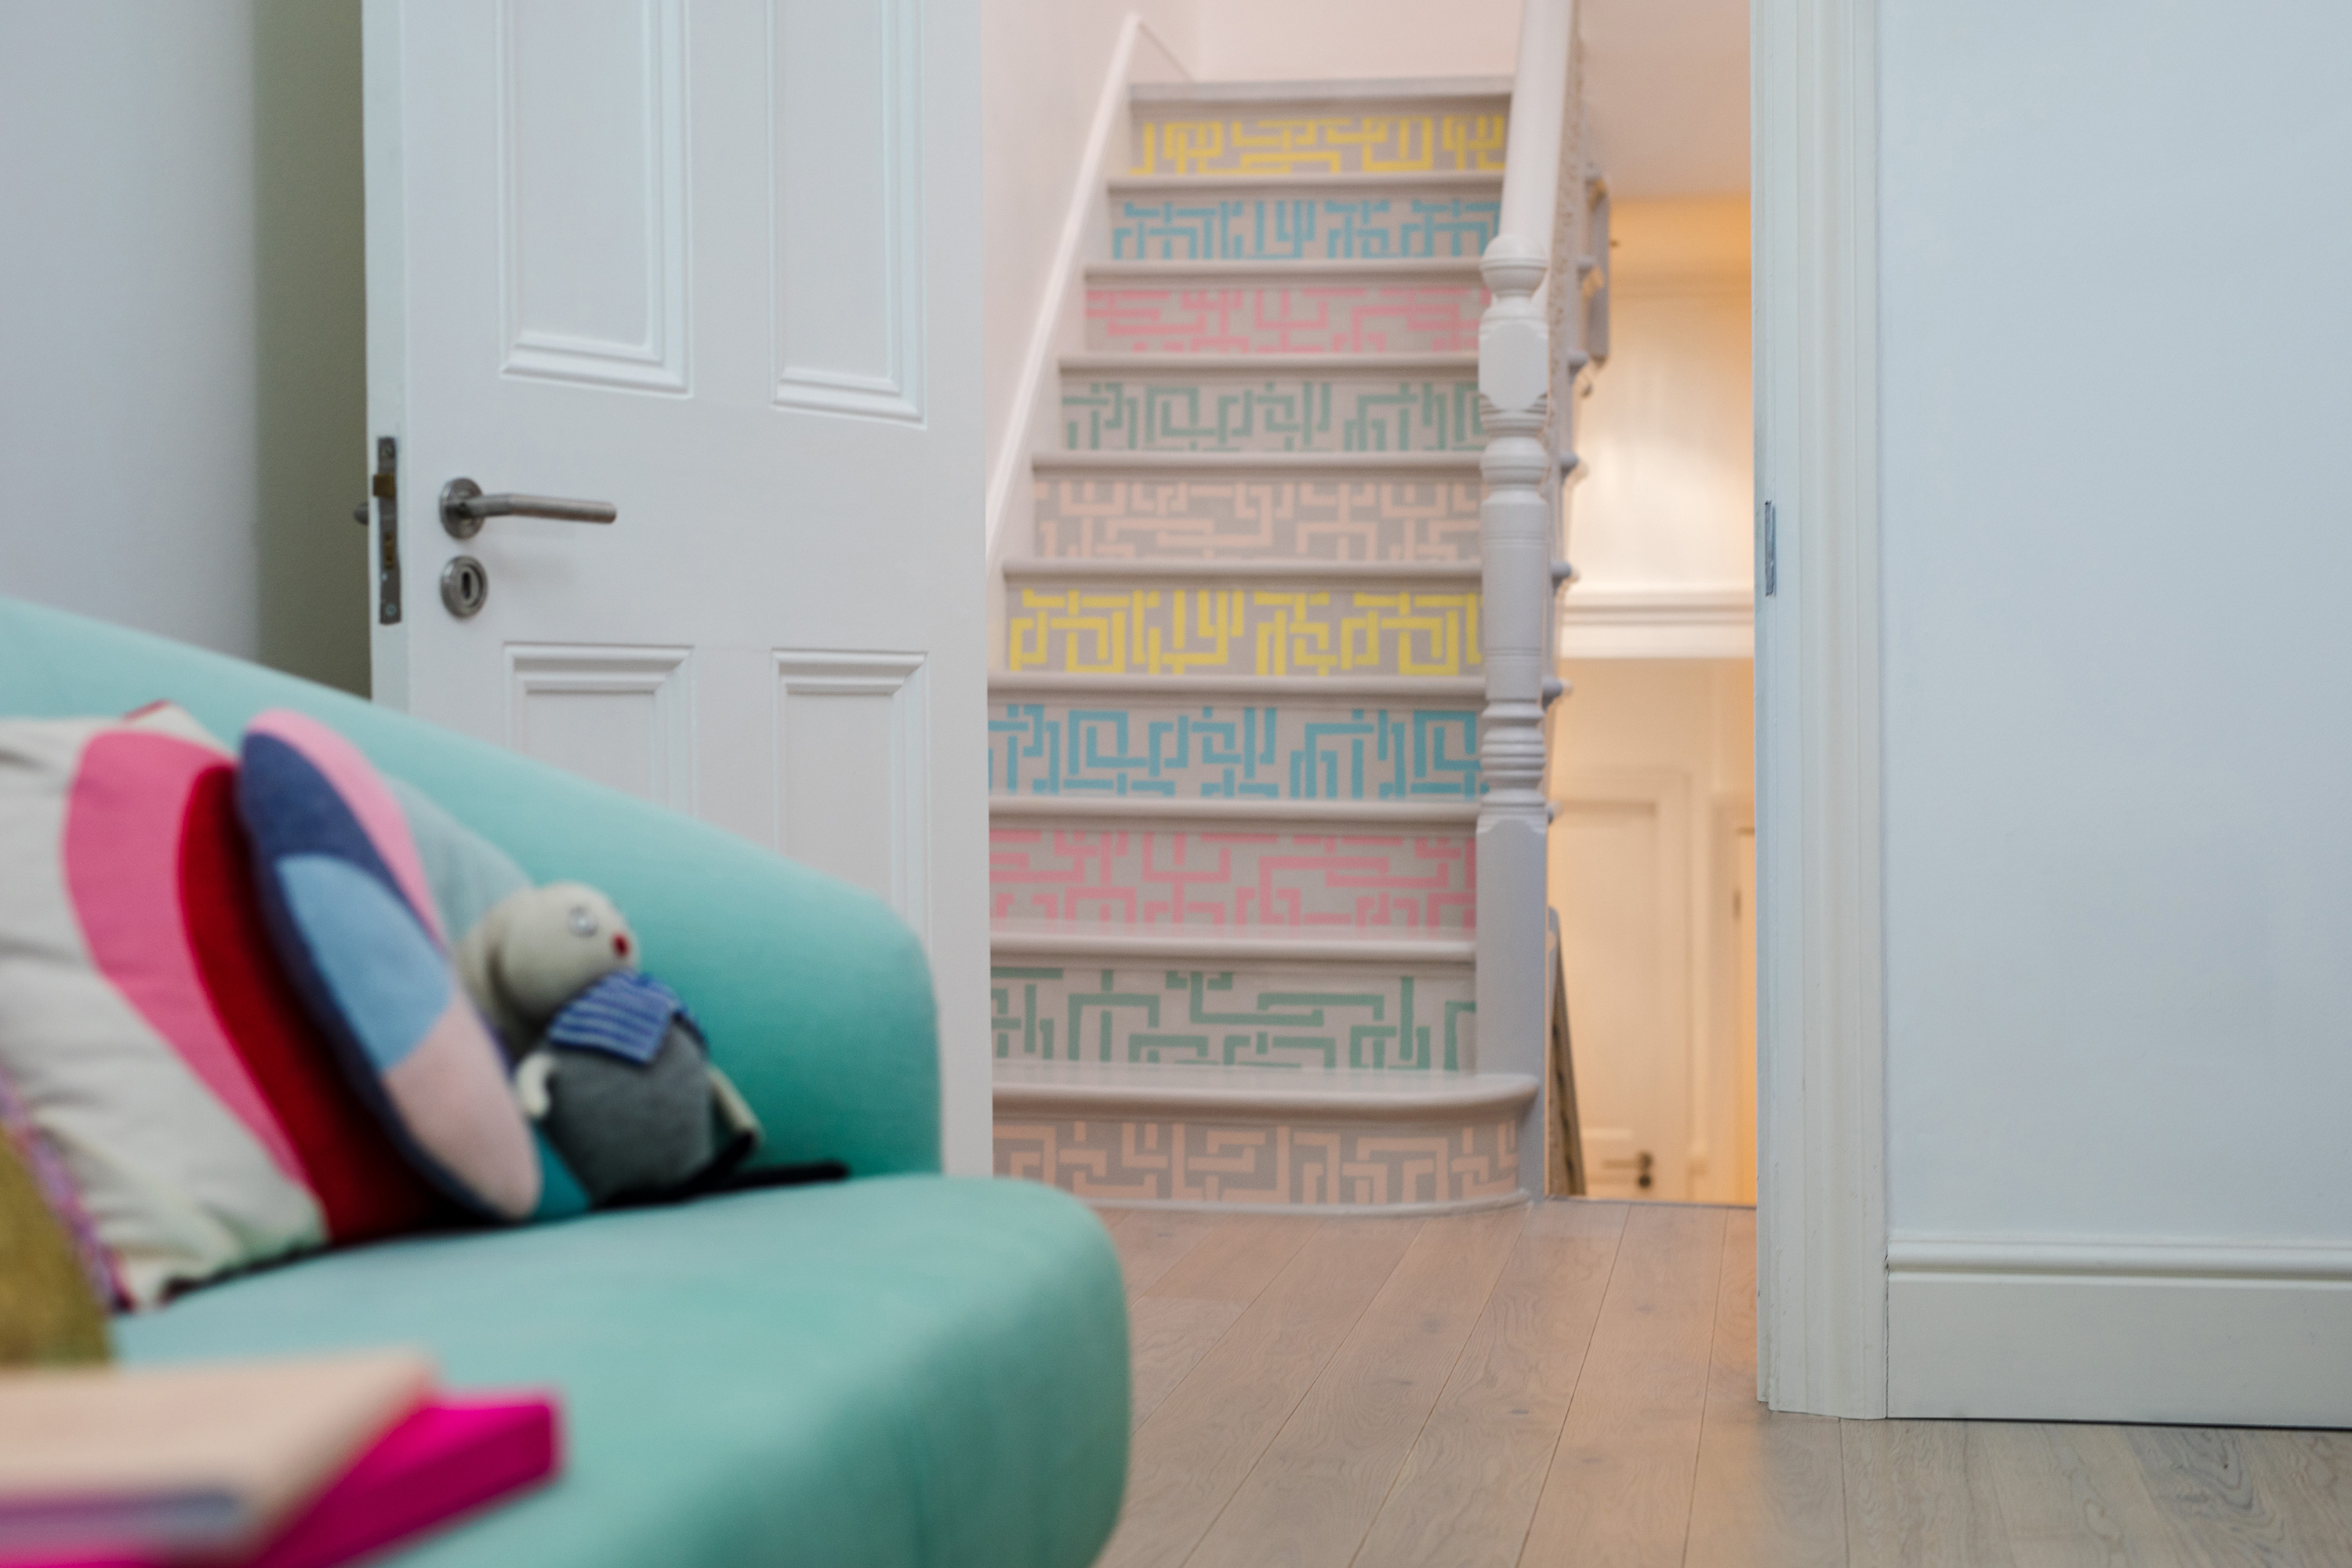
Knowing how to paint a staircase properly is essential, especially given that, if you know how, it's an easy DIY job that can totally change the look of your hallway or landing. And, if you have been blessed with wooden stairs and are in need of a budget-friendly way to decorate them, we would highly recommend learning how to paint a staircase yourself for the perfect refresh.
We have seen so many great painted staircase ideas that we just had to pay homage to the trend by sharing some of our favorites and telling you how it is done. Whether you want to paint the whole staircase, just the treads or just the risers, a lick of paint will bring maximum impact to your space. Just be sure to move furniture out of the way before getting started – such as your console tables or shoe racks.
How to paint a staircase in 5 easy steps
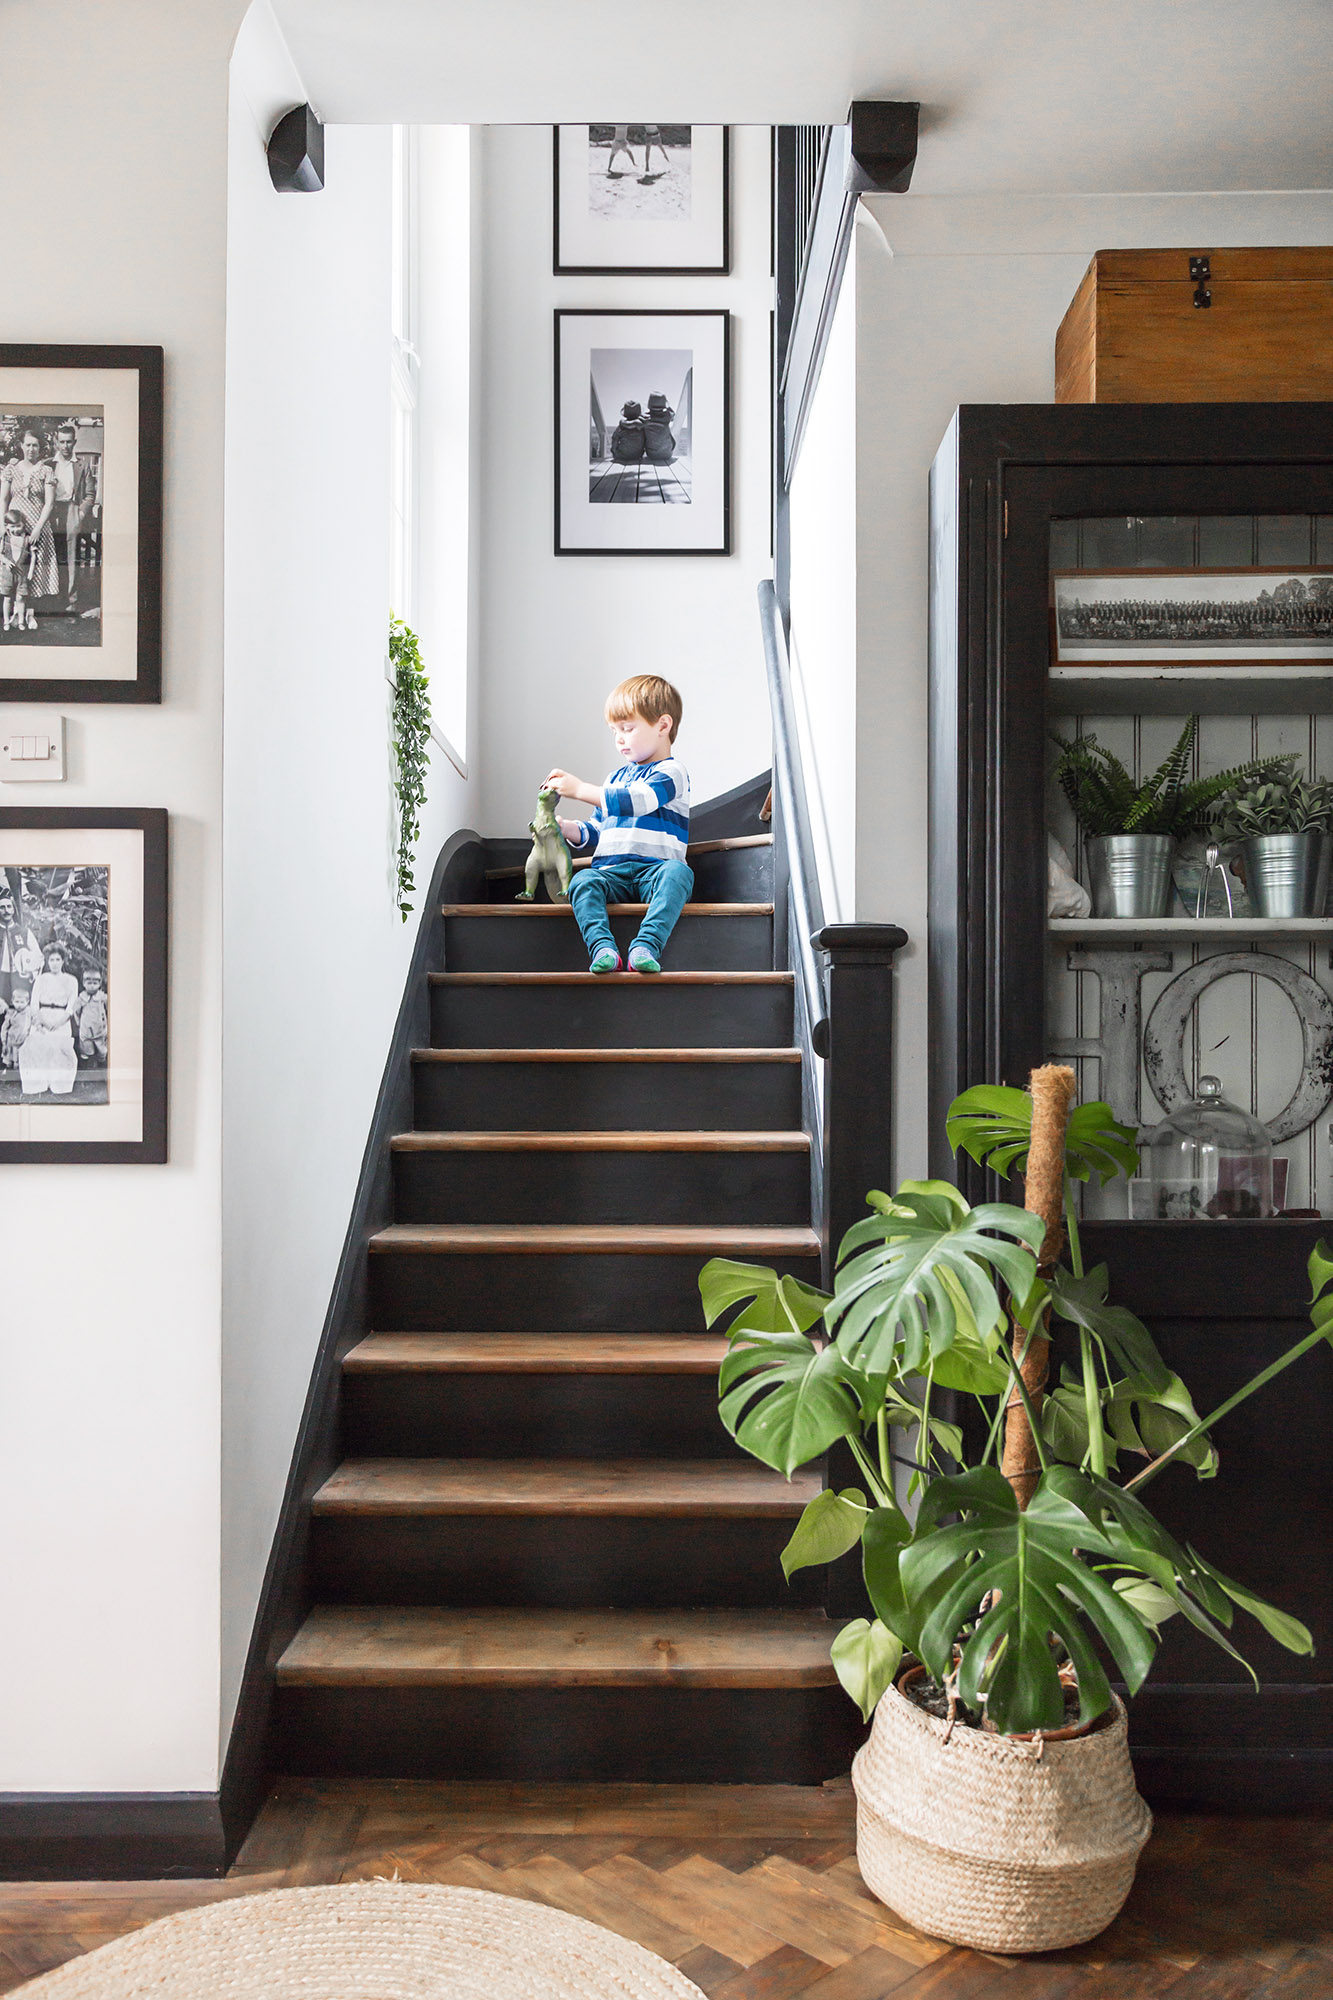
Joa Studholme, Farrow & Ball's Color Curator explains, 'If you choose to paint your whole staircase, including the spindles, string and newel posts in one color it will create huge visual interest.'
'By using a strong tone like Down Pipe, it will become the focus of the space, while some opt to use the color of the walls to make the structure ‘disappear’. In either case it is best to paint any panelling or cupboards under the stairs in the same color.'
Whether you want to paint your staircase risers or just the treads, here's all you need to know.
You will need:
- Paint
- Sander
- Wood filler
- Sugar soap cleaning solution
- Cleaning cloth
- Masking tape
- Paint scraper
- Paint stirrer
- Paint brush
- Paint roller
- Paint tray
- Dust mask (optional)
1. Prep and repair your staircase
First, remove any carpet or covering from your wooden stairs. While paint is perfect for making over an old staircase, you need to make sure it is in good nick before you start. Repair any loose or broken parts, smooth over uneven surfaces and fill any dents.
'When painting unpainted wood floors for the first time ensure any joins or cracks are filled with a non-flexible wood filler before thoroughly cleaning and sanding the floor until smooth,' explains Studholme.
Get small space home decor ideas, celeb inspiration, DIY tips and more, straight to your inbox!
You can paint both bare wood and painted wood, but if the stairs are very old and have many layers of paint on, you might want to strip them back first. This can be done using paint stripper, a heat gun or sanding – but take care as old paint may be lead based. Read our guide to maintaining your staircase for more advice on renovation.
Once you've done this, hoover up the mess and clean the stairs with a sugar soap solution to remove any remaining dirt.
Top tip: On bare wood you may want to use a resin and knot blocking primer.
2. Choose suitable paint for your staircase
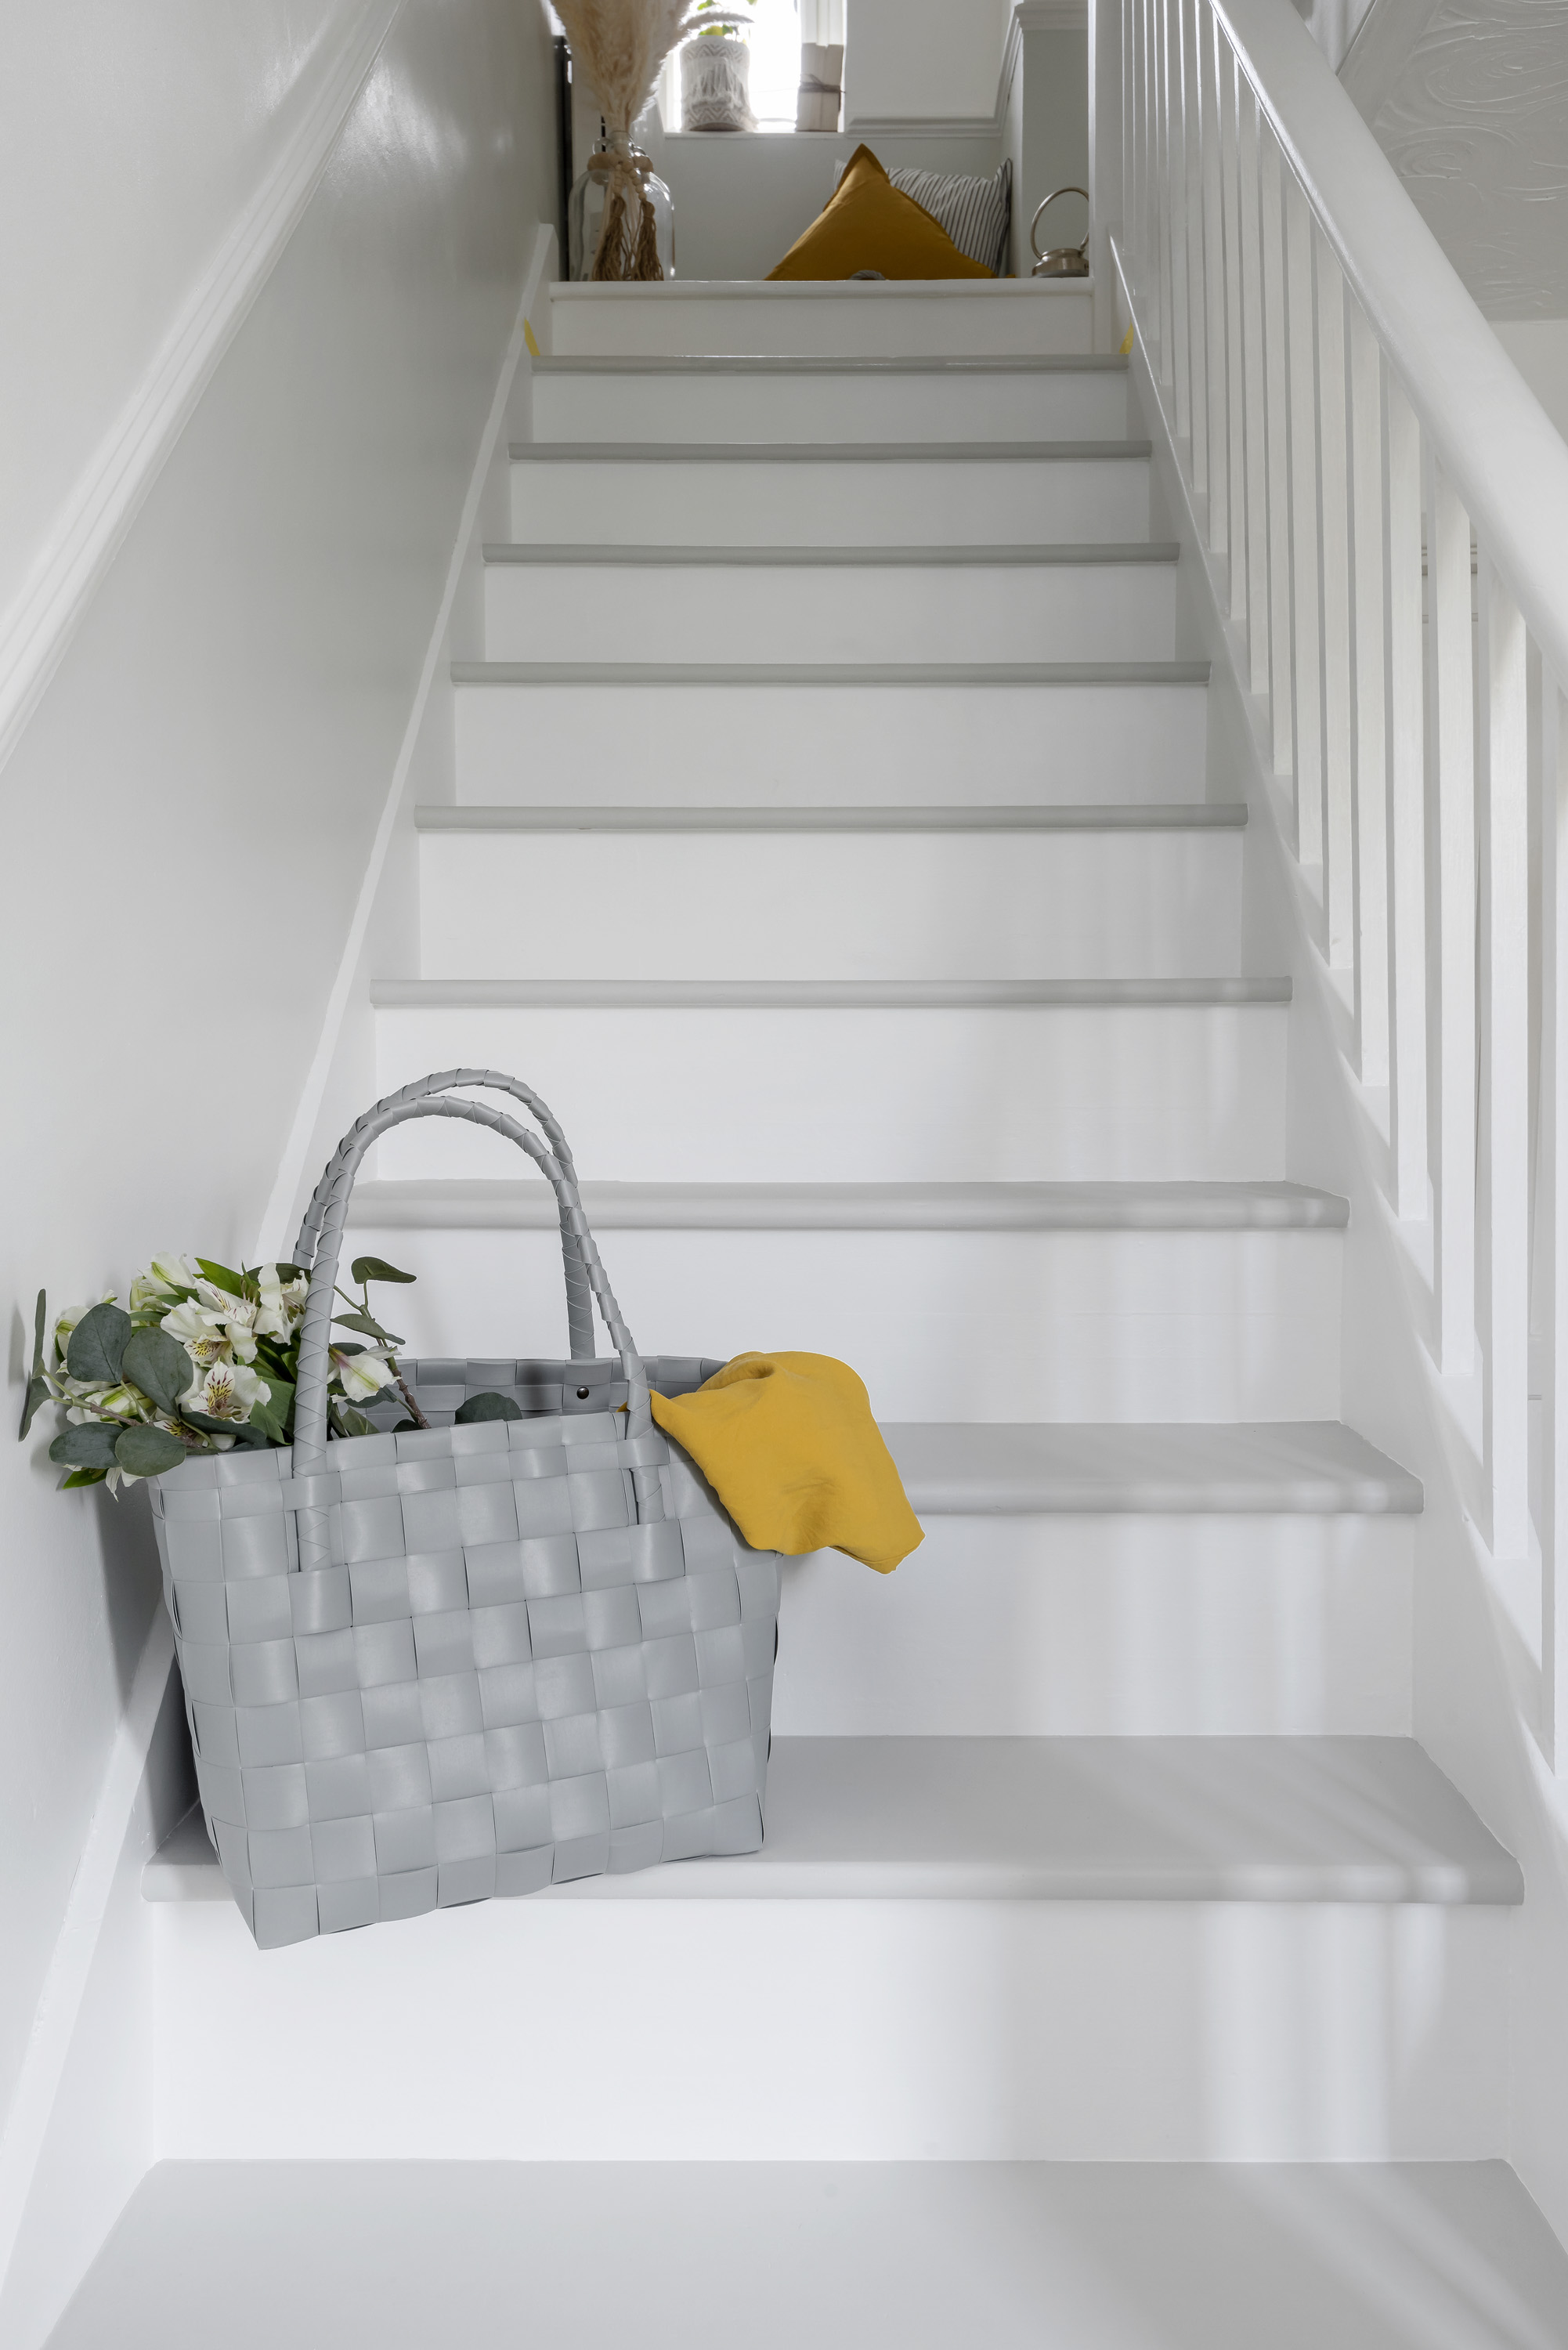
While you can use any wood paint, those designed for floors are best as they are designed to be more durable – and your staircase needs to be walked all over of course. If you do choose to use wood paint, a satin finish may be more forgiving.
However, remember that floor paints are designed to be less slippy. If you're trying to match your hallway paint idea to your stairs, gloss and satin might be fine for risers, but could prove dangerous if used on the tread itself.
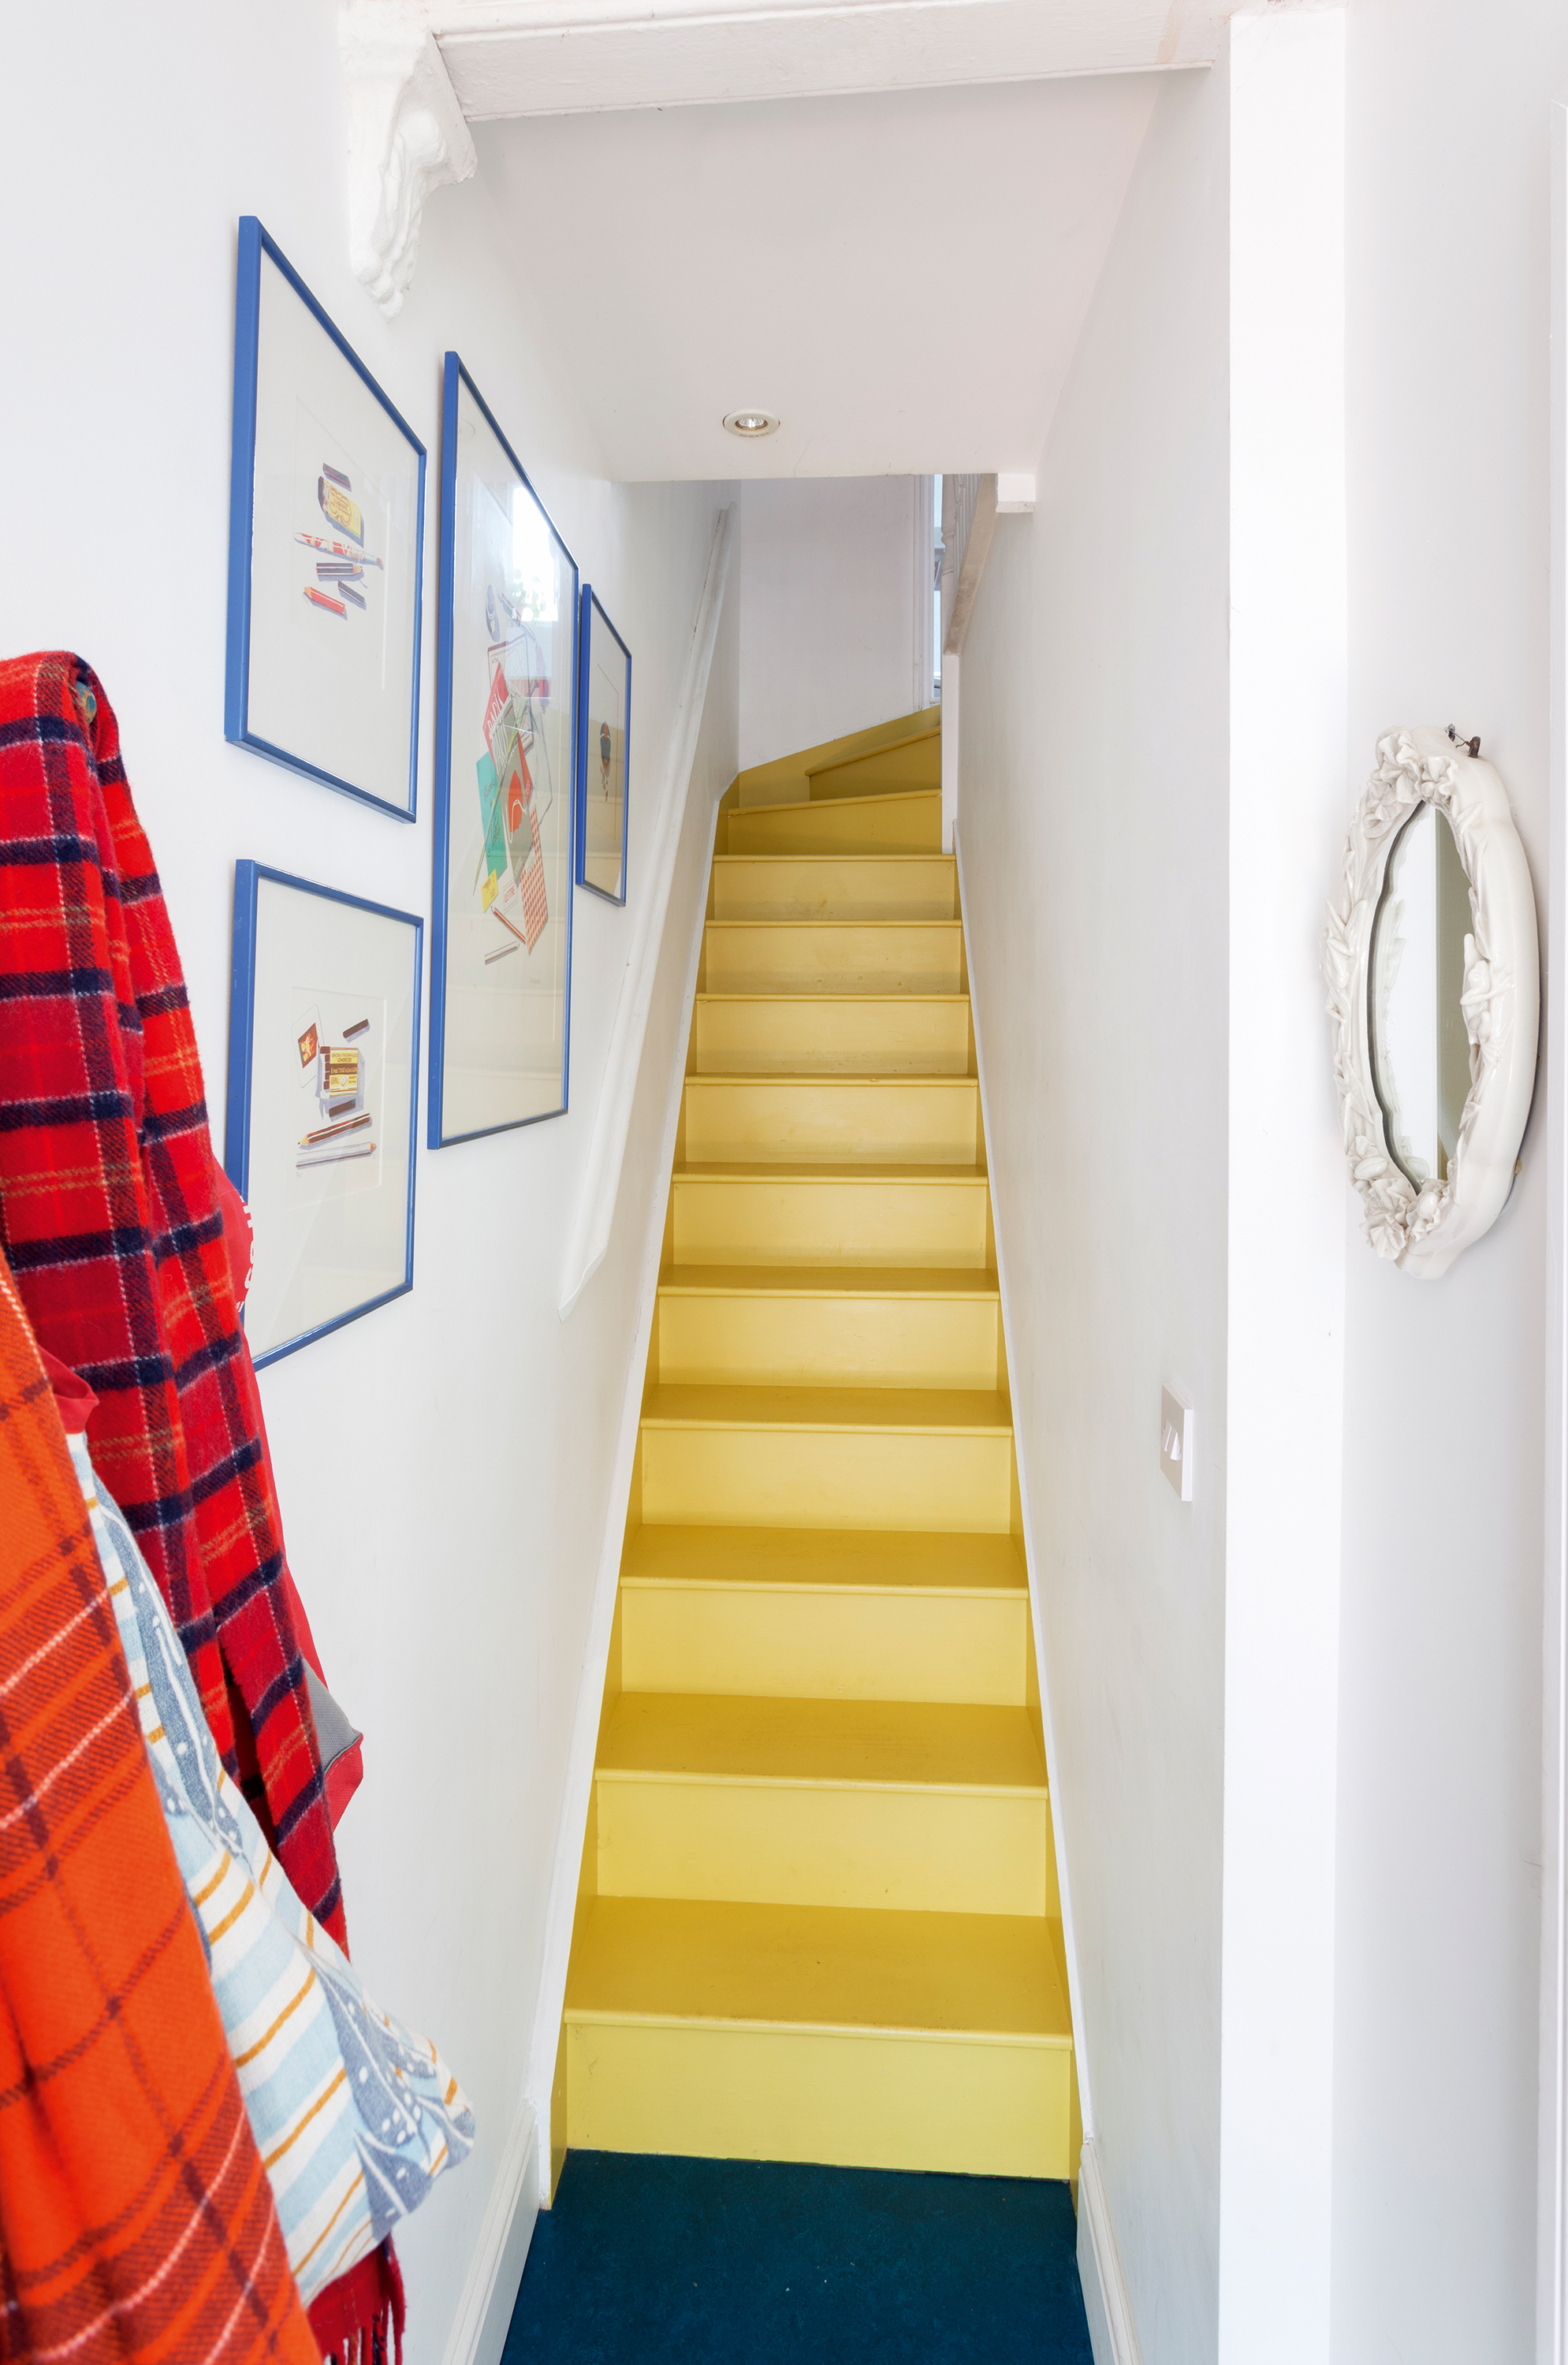
The simplest way to add impact to your hallway is with a bold contrasting color, great if you have gone for a neutral scheme for your walls.
3. Time it right and paint from the top
Start early and preferably when everyone is out for the day. You need to factor in drying time which will be at least a few hours to be touch-dry, and longer before you should be walking on it. If your only loo is upstairs, you might need to plan an alternative.
It may sound obvious, but start at the top and work down – especially when painting the treads – so you don't get stuck upstairs (unless you are painting upwards from a basement of course). For a smooth finish use a small roller but cut in with one of the best paintbrushes.
4. Painting the risers
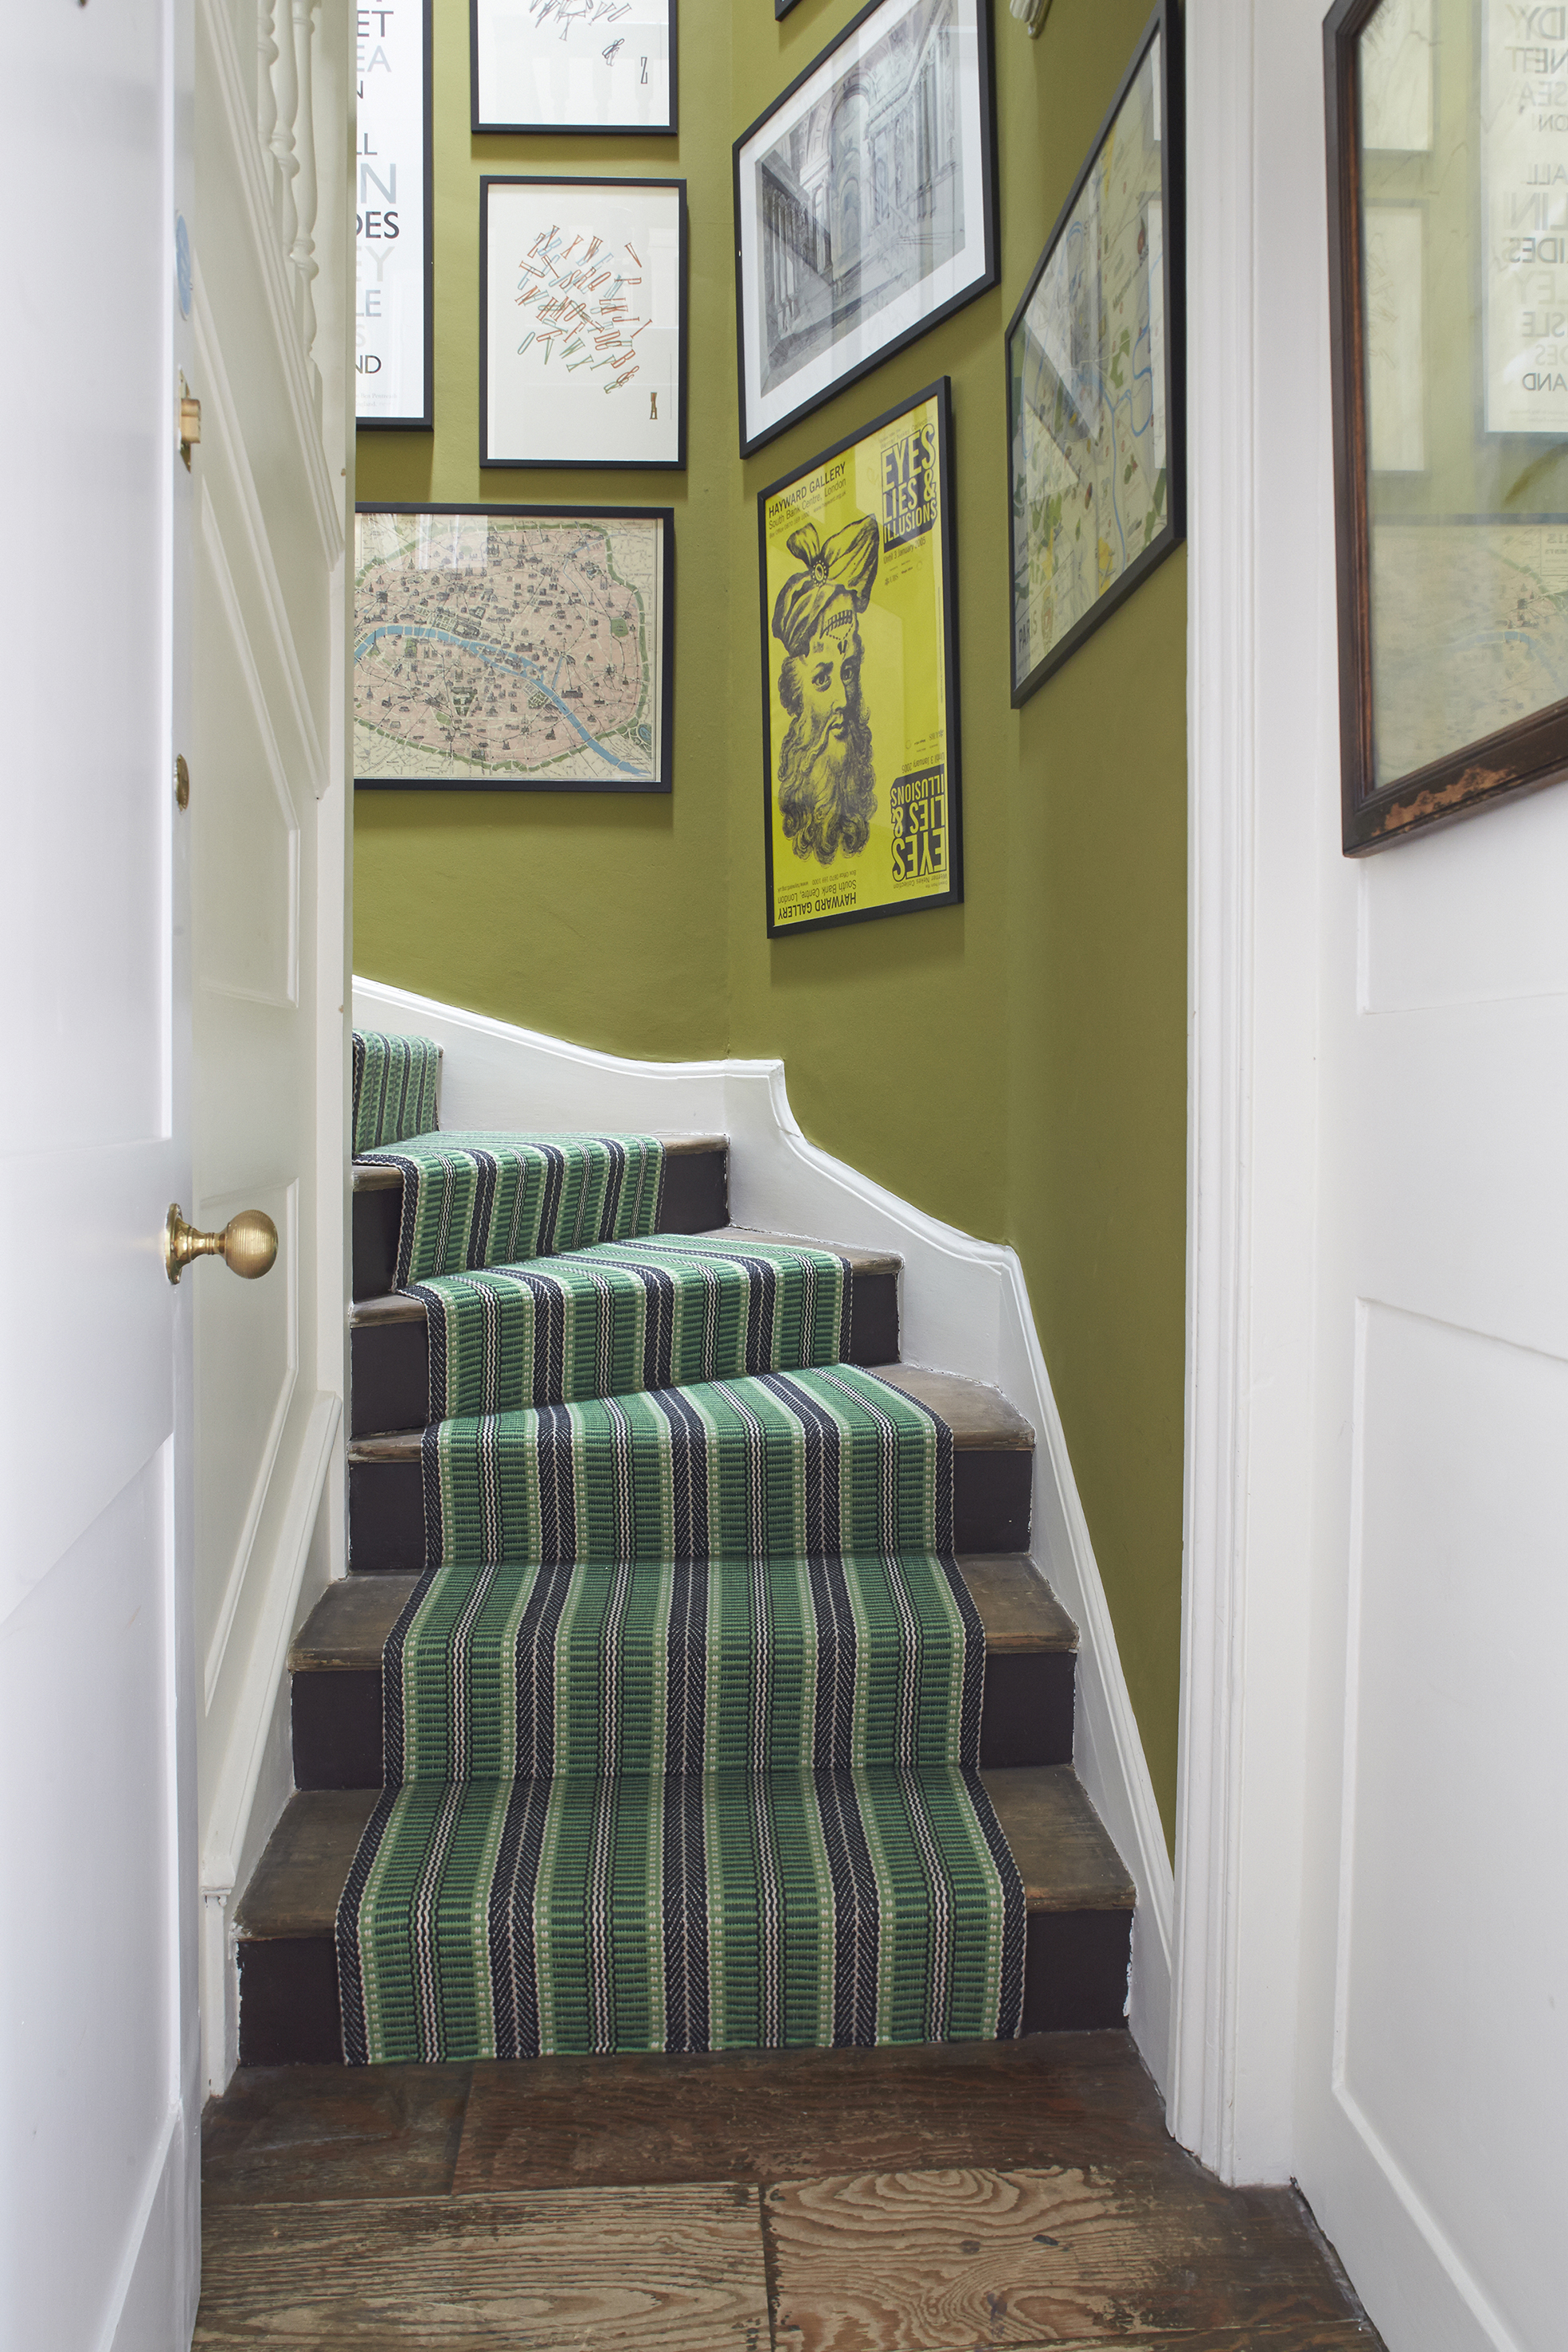
If you want to make visual impact with a more interesting staircase paint idea, you should consider painting the risers of your staircase (the vertical sections linking each step). It's also best to paint these before tackling the treads, unless you do both at the same time. In which case you should paint the entire first stair, then skip a stair or two in-between as you work your way down, so that you can move around without scuffing up your paint job.
Studholme explains, 'More excitement can be added by painting only the risers in a darker or more dramatic tone like Bancha, which is not only practical in defining the stairs, making them easier to use, but also helps to disguise scuff marks.'
Paint the risers using a roller, and avoid drips by applying several thin coats of paint rather than one or two thick ones. Use a paint brush to cut in at the edges and allow them to dry before using the staircase as usual.
5. How to paint stair treads
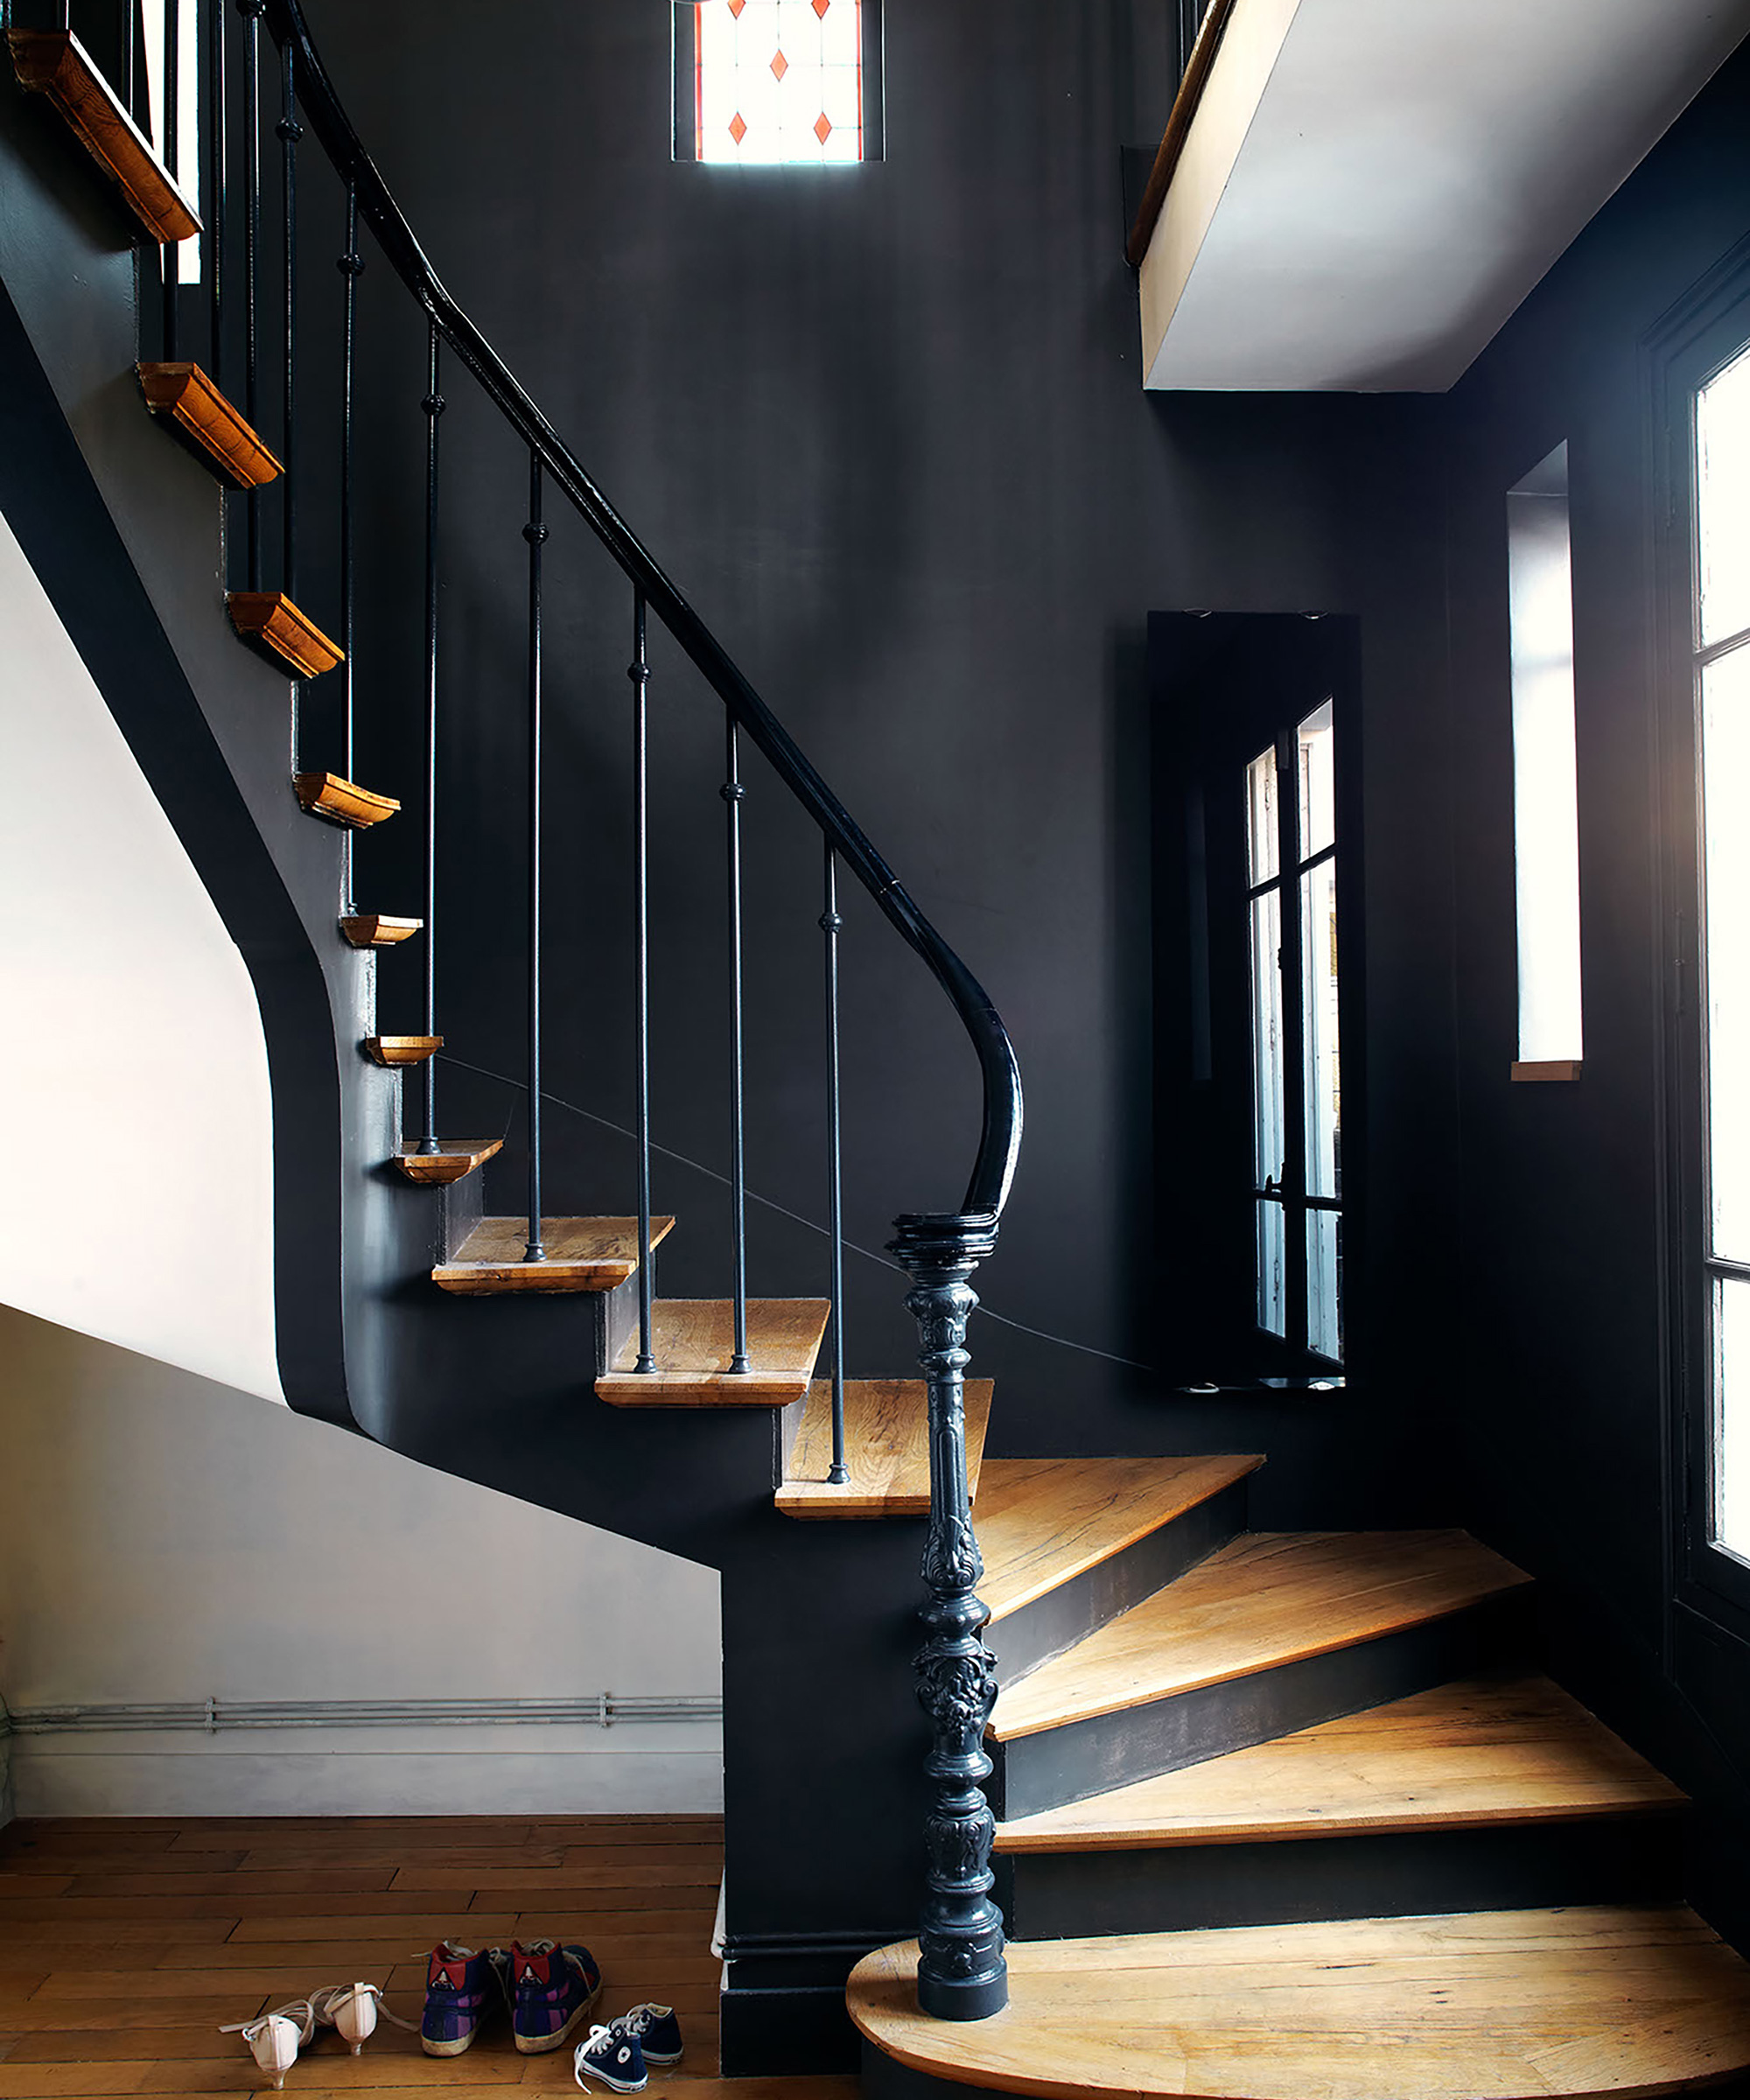
To paint the treads, you'll want to use a roller and apply the paint as before. Cut in when painting as you would do on walls, using a suitable paint brush.
Allow to dry, and your painted staircase makeover is complete. You've learnt how to paint a staircase like the pros.
Decor tip: If you want to paint the treads (the flat sections) of your staircase a different color to the risers to create a subtle two-tone effect, apply masking tape to the bottom of the risers to section off the surface you've just painted.
What kind of paint do you use on stairs?
When painting stairs, you need to use a suitable floor paint to ensure a long-lasting, hard-wearing finish. Choose a water-based floor paint that can be applied directly to wooden floorboards and concrete flooring, and directly over old paint or varnish.
Opt for a single color for a uniform look, or choose two different shades for the treads and risers for added interest. Farrow & Ball's Joa Studholme says, 'Alternatively, a stronger color such as Mole's Breath (a popular Farrow & Ball shade) can be used on spindles, handrail and treads, leaving the rest of the structure in a lighter tone like Ammonite. It is best to use Modern Eggshell on all these surfaces for extra durability.'
Do you need to sand stairs before painting?
It's really important to make sure the surface of your staircase is in as good a condition as possible before you start adding new paint to it.
Try to repair any holes or damage with wood filler, then sand down any lumps or bumps to make the surface as smooth as possible – it's best to use a hand sander, like the Bosch multi sander, available at Amazon, for this job rather than attempting it with sheets of sandpaper.
How many coats of paint do I need for stairs?
For the best results and longevity when learning how to paint a staircase, apply two coats of paint after a good quality floor primer and undercoat. To keep painted stairs from chipping, make sure you apply a clear water-based urethane varnish, like Rust-Oleum Varathane, available at Amazon.

Lindsey is Editor of Realhomes.com and Editor in Chief for Home Ecommerce at Future. She is here to give you aspirational, yet attainable ideas for your home and works with her team to help you get the best buys, too. She has written about homes and interiors for the best part of a decade for brands including Homes & Gardens, Ideal Home and Gardeningetc and isn't afraid to take the inspiration she finds at work into her own space – a Victorian terrace which she has been (slowly) remodelling for the last eight years. She is happiest sipping a cup of tea with a cat on her lap (if only she had a cat).

