How to build a desk – 5 easy steps to DIY a slatted design
Building a desk yourself is an achievable DIY. Put together a stylish slatted desk in five simple steps.
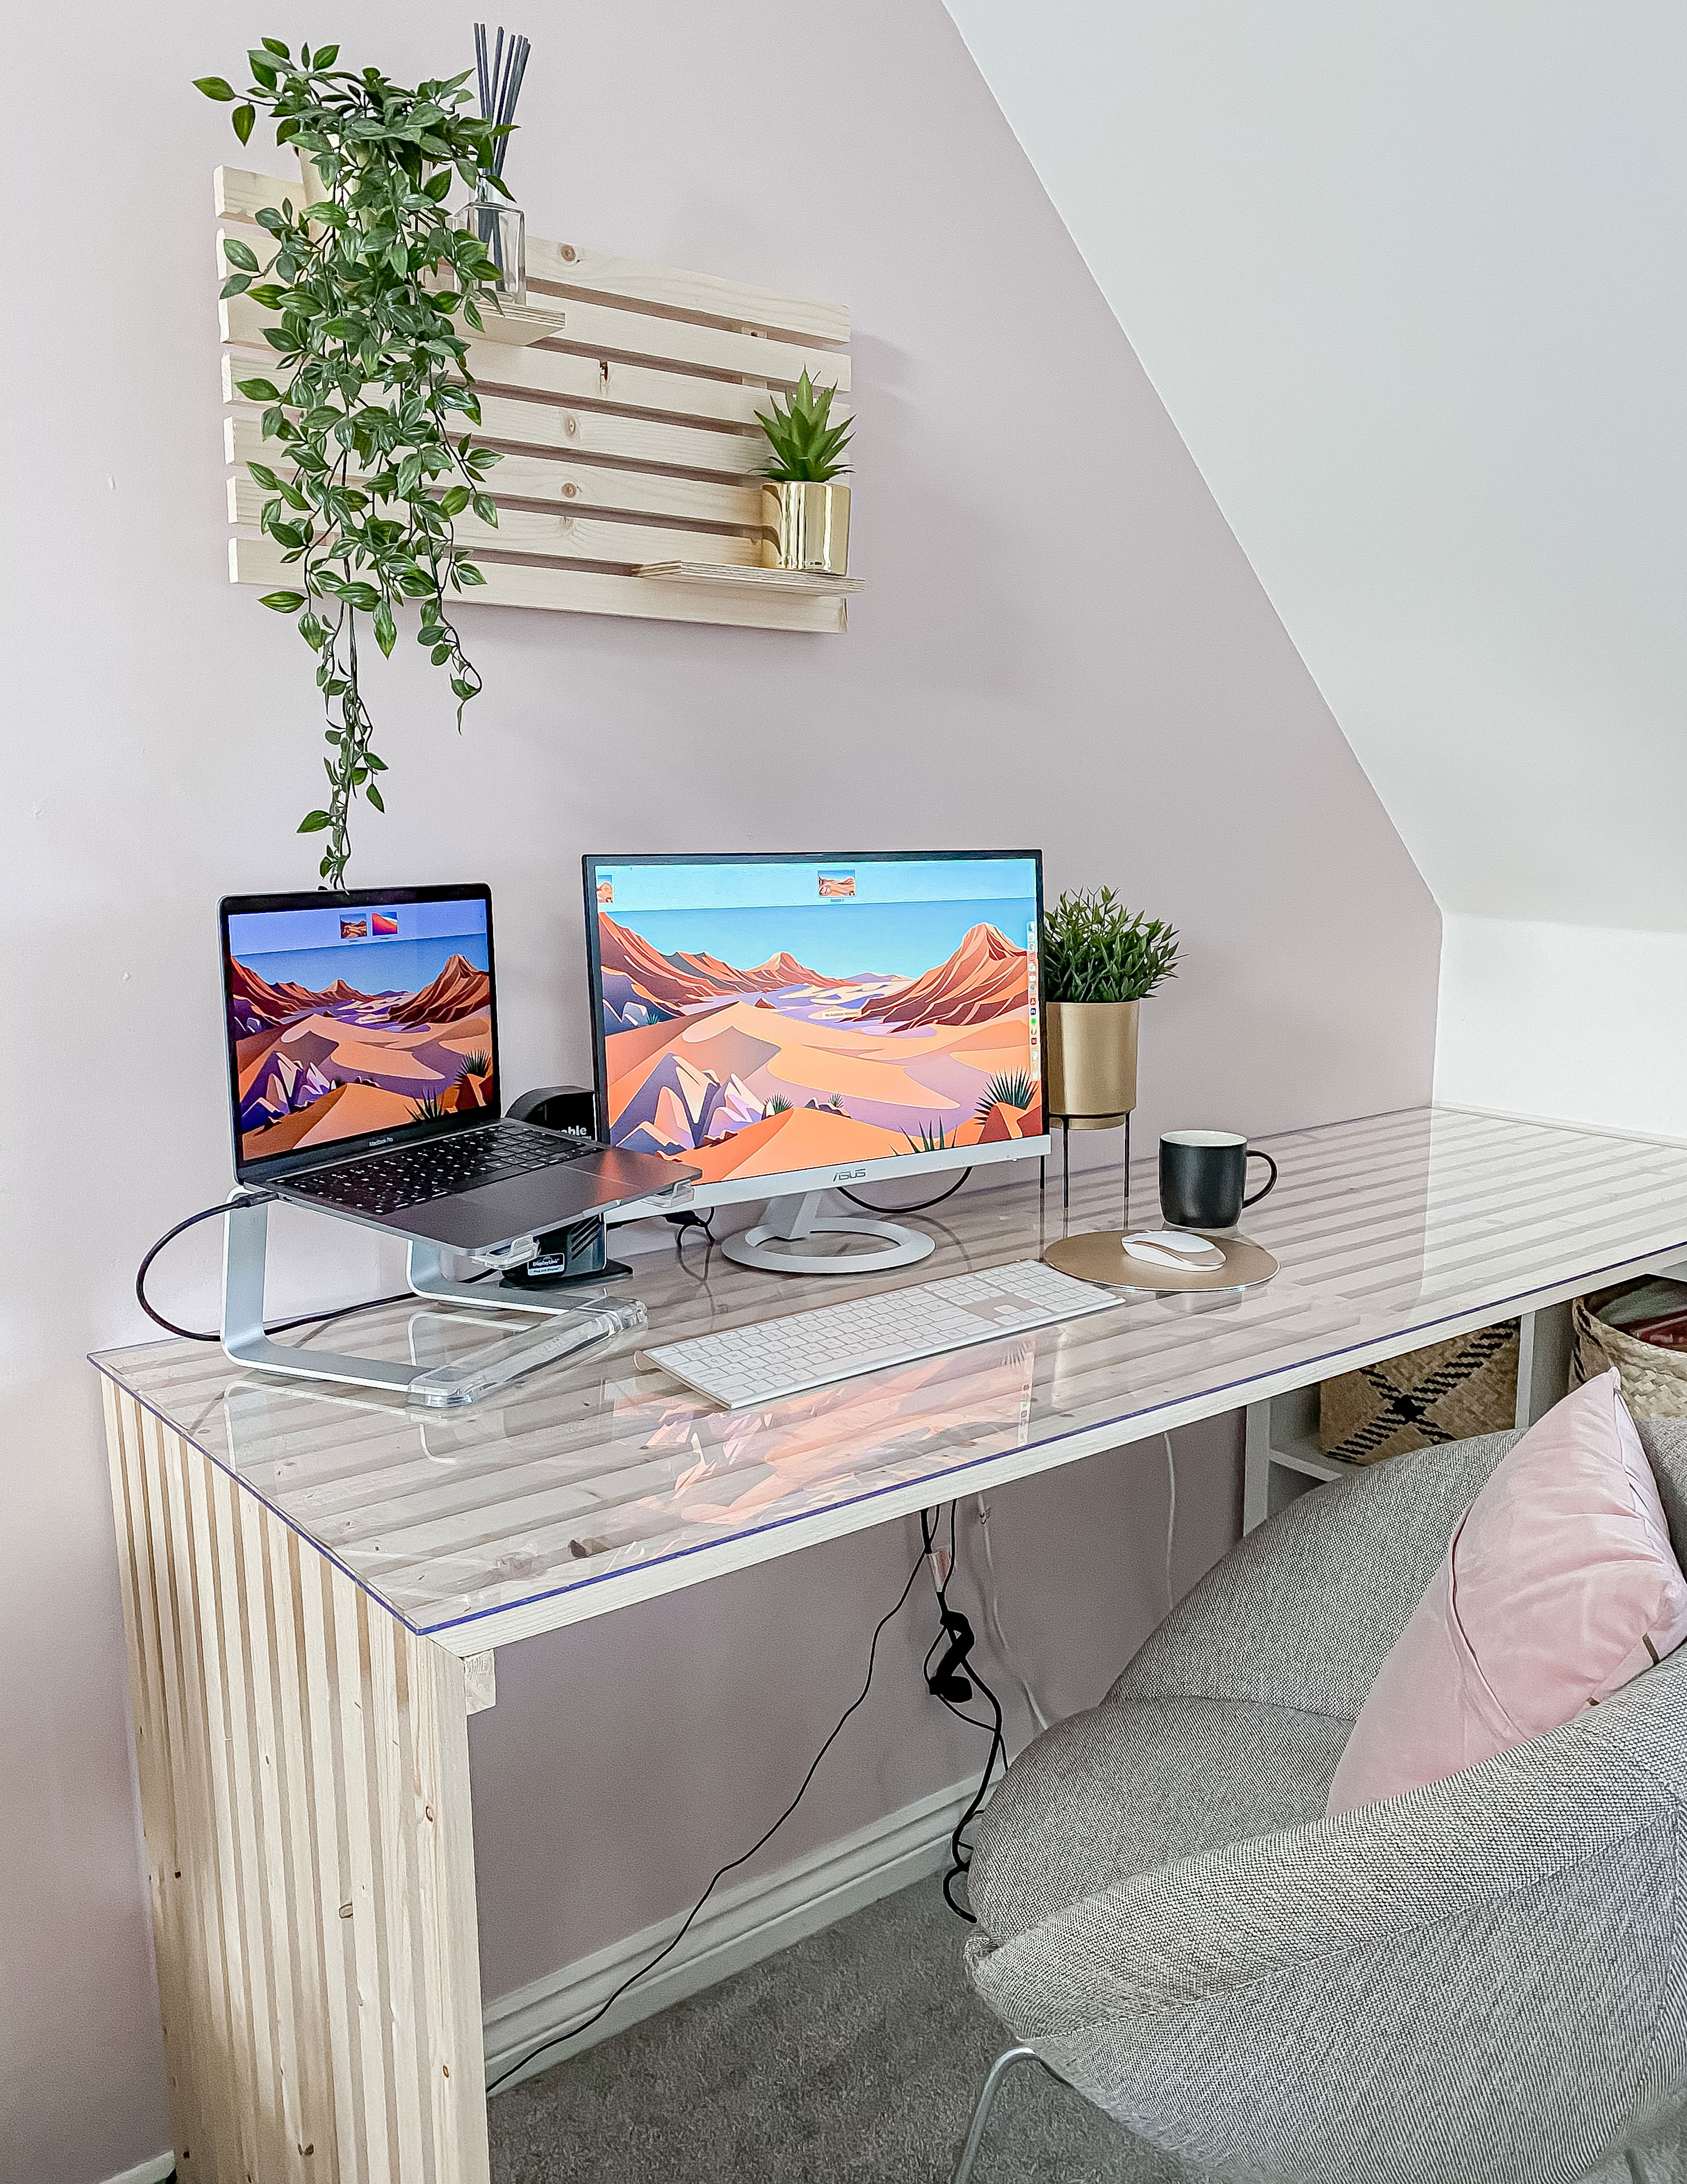
With working from home becoming the norm for so many, the need for a nice, peaceful and stylish workspace has become necessary in my home.
With both myself and my husband WFH permanently and with just one desk, the sofa (or bed) is no longer an option long-term. Like many others, we've been looking to recreate all the best home office ideas going.
The slatted panelling trend is still so hot right now and I’ve slowly been adding more and more natural wood accents to my decor over the past few months. It was only a matter of time until I combined this trend with my practical furniture needs to make a Scandi, DIY slatted desk where I could continue working from, using an existing IKEA Kallax cube unit as one side (but it can be built completely freestanding too).
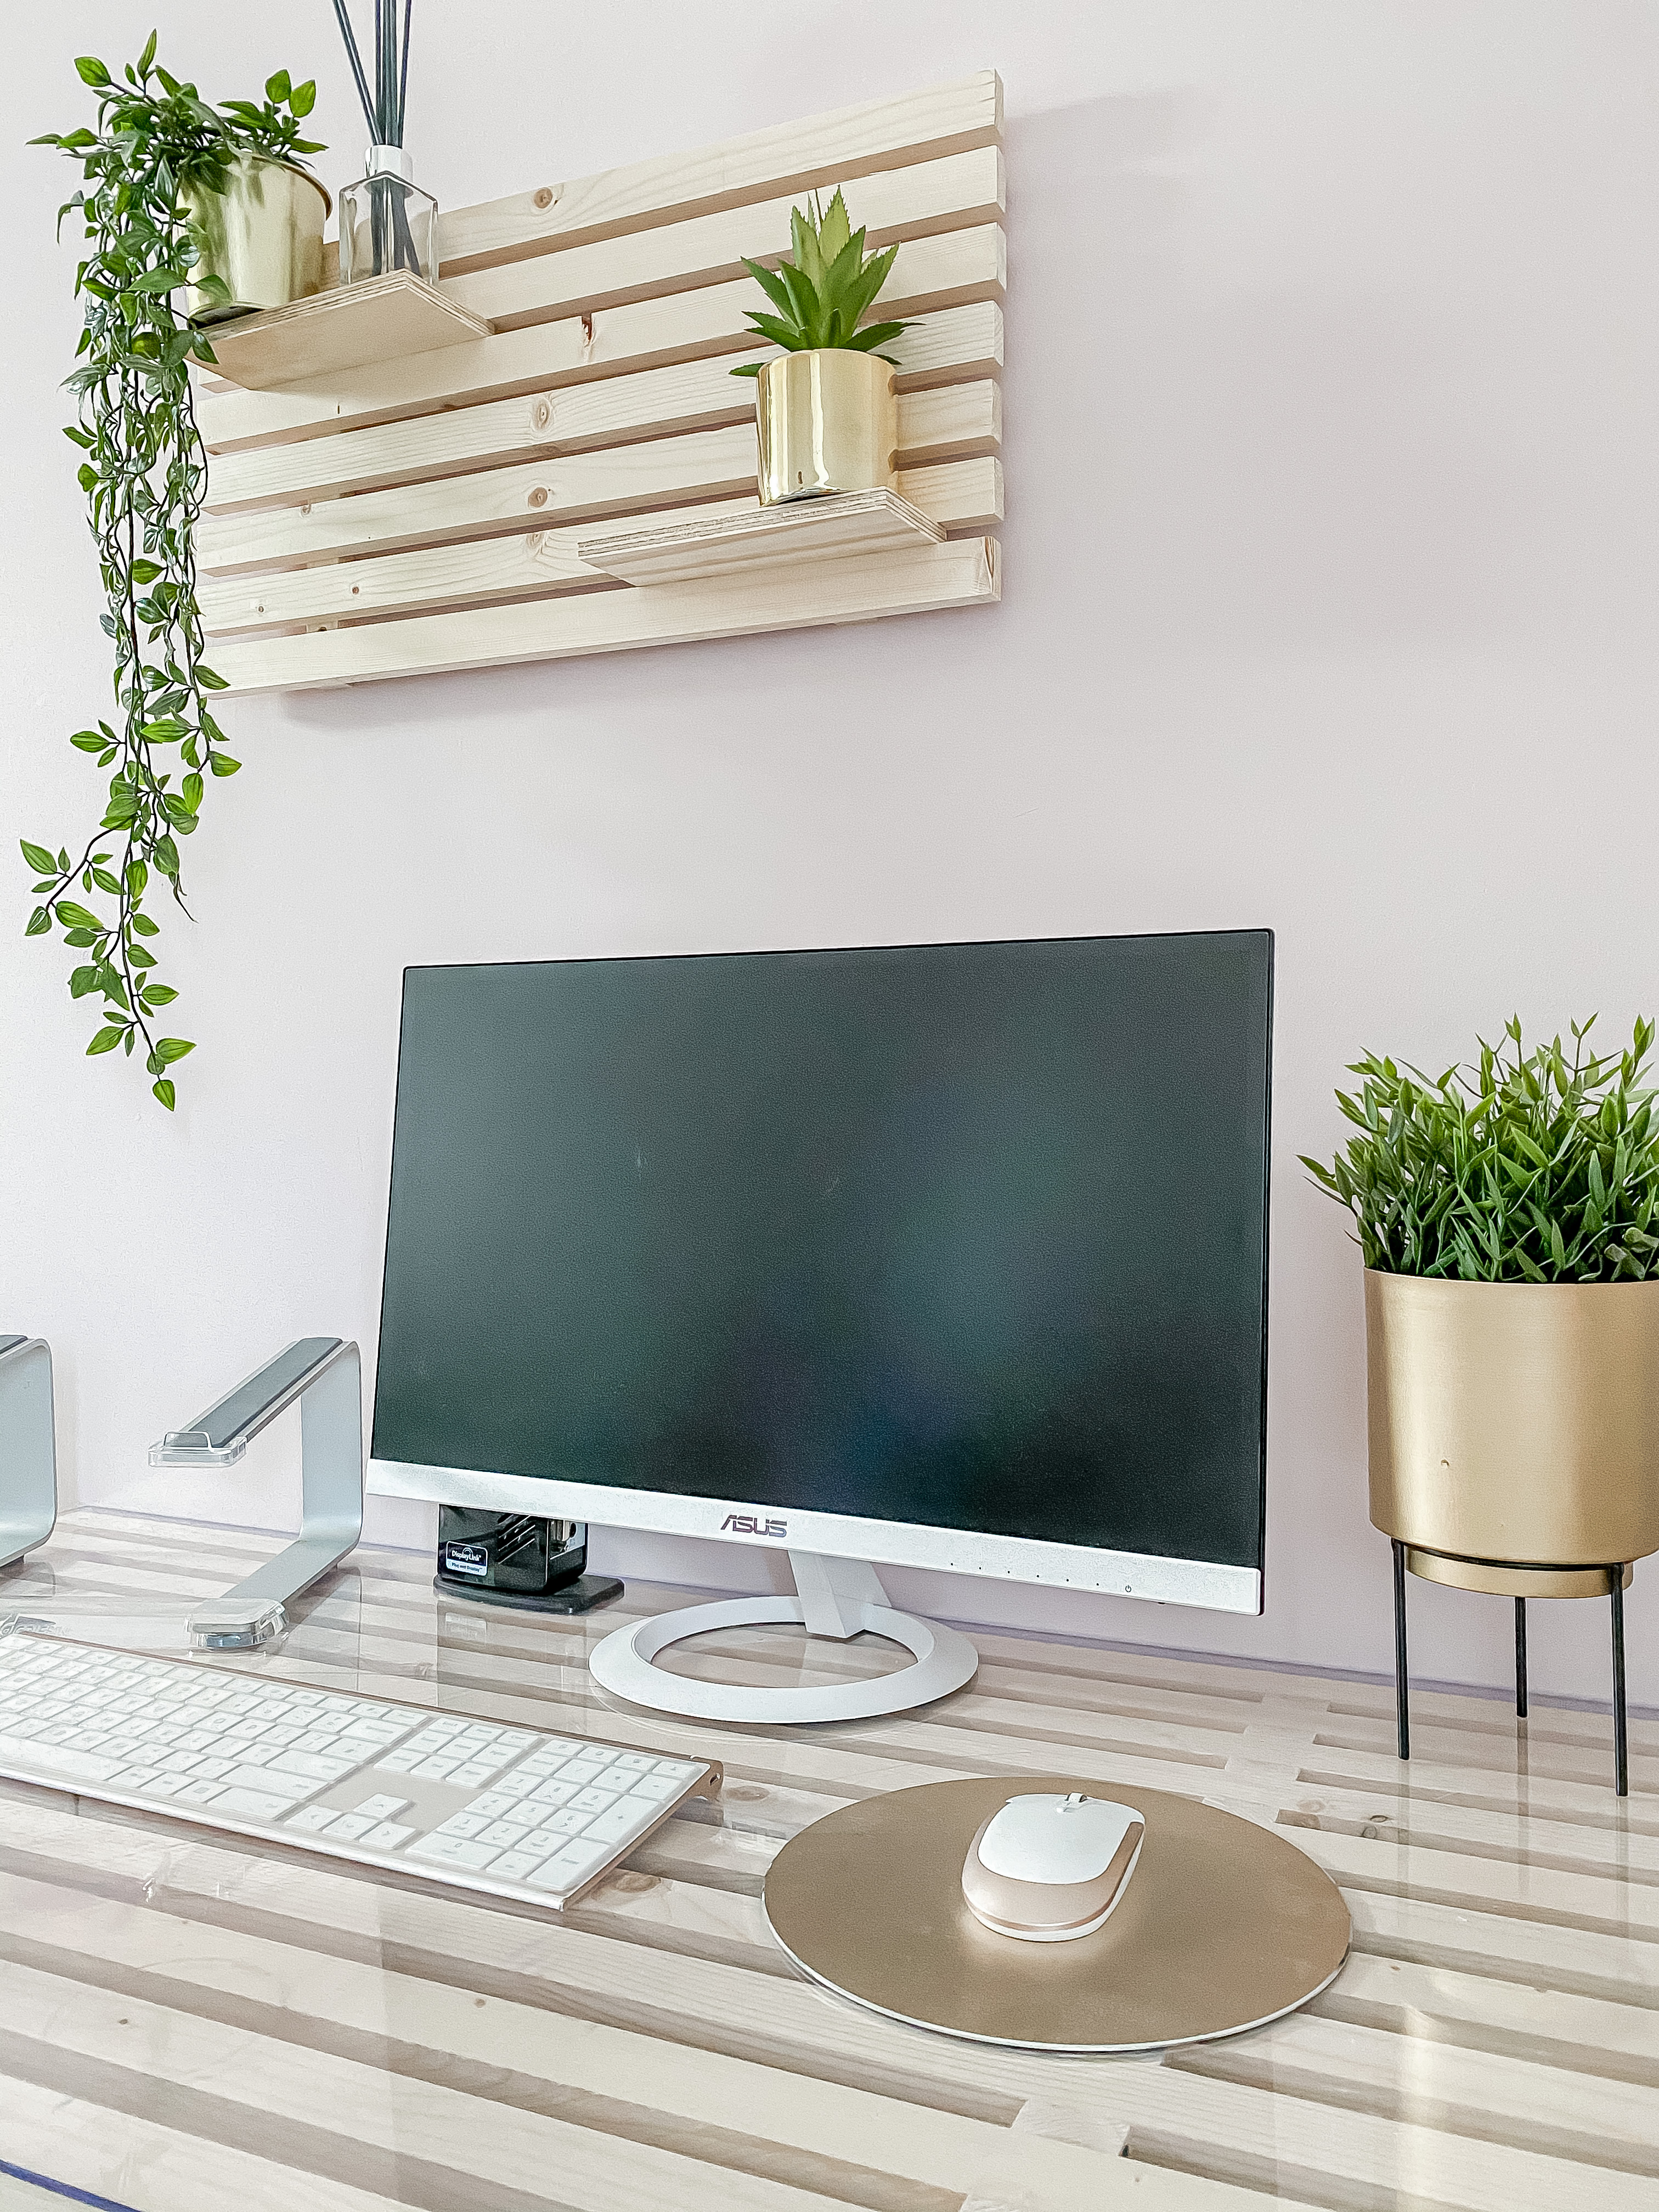
This previously unused corner of my bedroom now acts as a work desk, makeup desk and storage area to hide the junk that was previously just dumped here, the top is wipe clean thanks to the Perspex sheet and somehow makes a statement whilst still feeling like a unimposing piece of furniture, thanks to the slats and waterfall edge allowing light to still bounce around the space.
- See more home office storage ideas.
As this is was such a popular DIY on my page, I wanted to share this easy step-by-step to guide you through how to build a desk yourself – both a one-sided Kallax desk hack and a two-legged freestanding option.
This slat DIY desk can also be made to any size you want. It’s super easy and requires just two tools: a mitre saw (manual or power), and a nail gun/hammer with 30mm nails, plus some wood glue, of course!
Tools and materials you'll need:
- 14x 2.4m length 34 x18mm smooth planed white wood stripwood (or 17x if you want the desk freestanding on both sides)
- 1x clear acrylic sheet 600cmx1.8m (but you can also get the 1.2m length if you want a shorter desk)
- 1x IKEA Kallax 4 cube unit
Cuts:
Get small space home decor ideas, celeb inspiration, DIY tips and more, straight to your inbox!
- Top: 12 x at 1.8m (or 1.2m if you bought the shorter acrylic) cut at a 45-degree mitre at one end (or both if two legs)
- Legs and supports: 16x (or 30x if doing two sides) at 60cm, cut at 45-degree mitre at one end.
- Spacers: 11x at 18mm
DIY: How to build a slatted desk
1. Prep
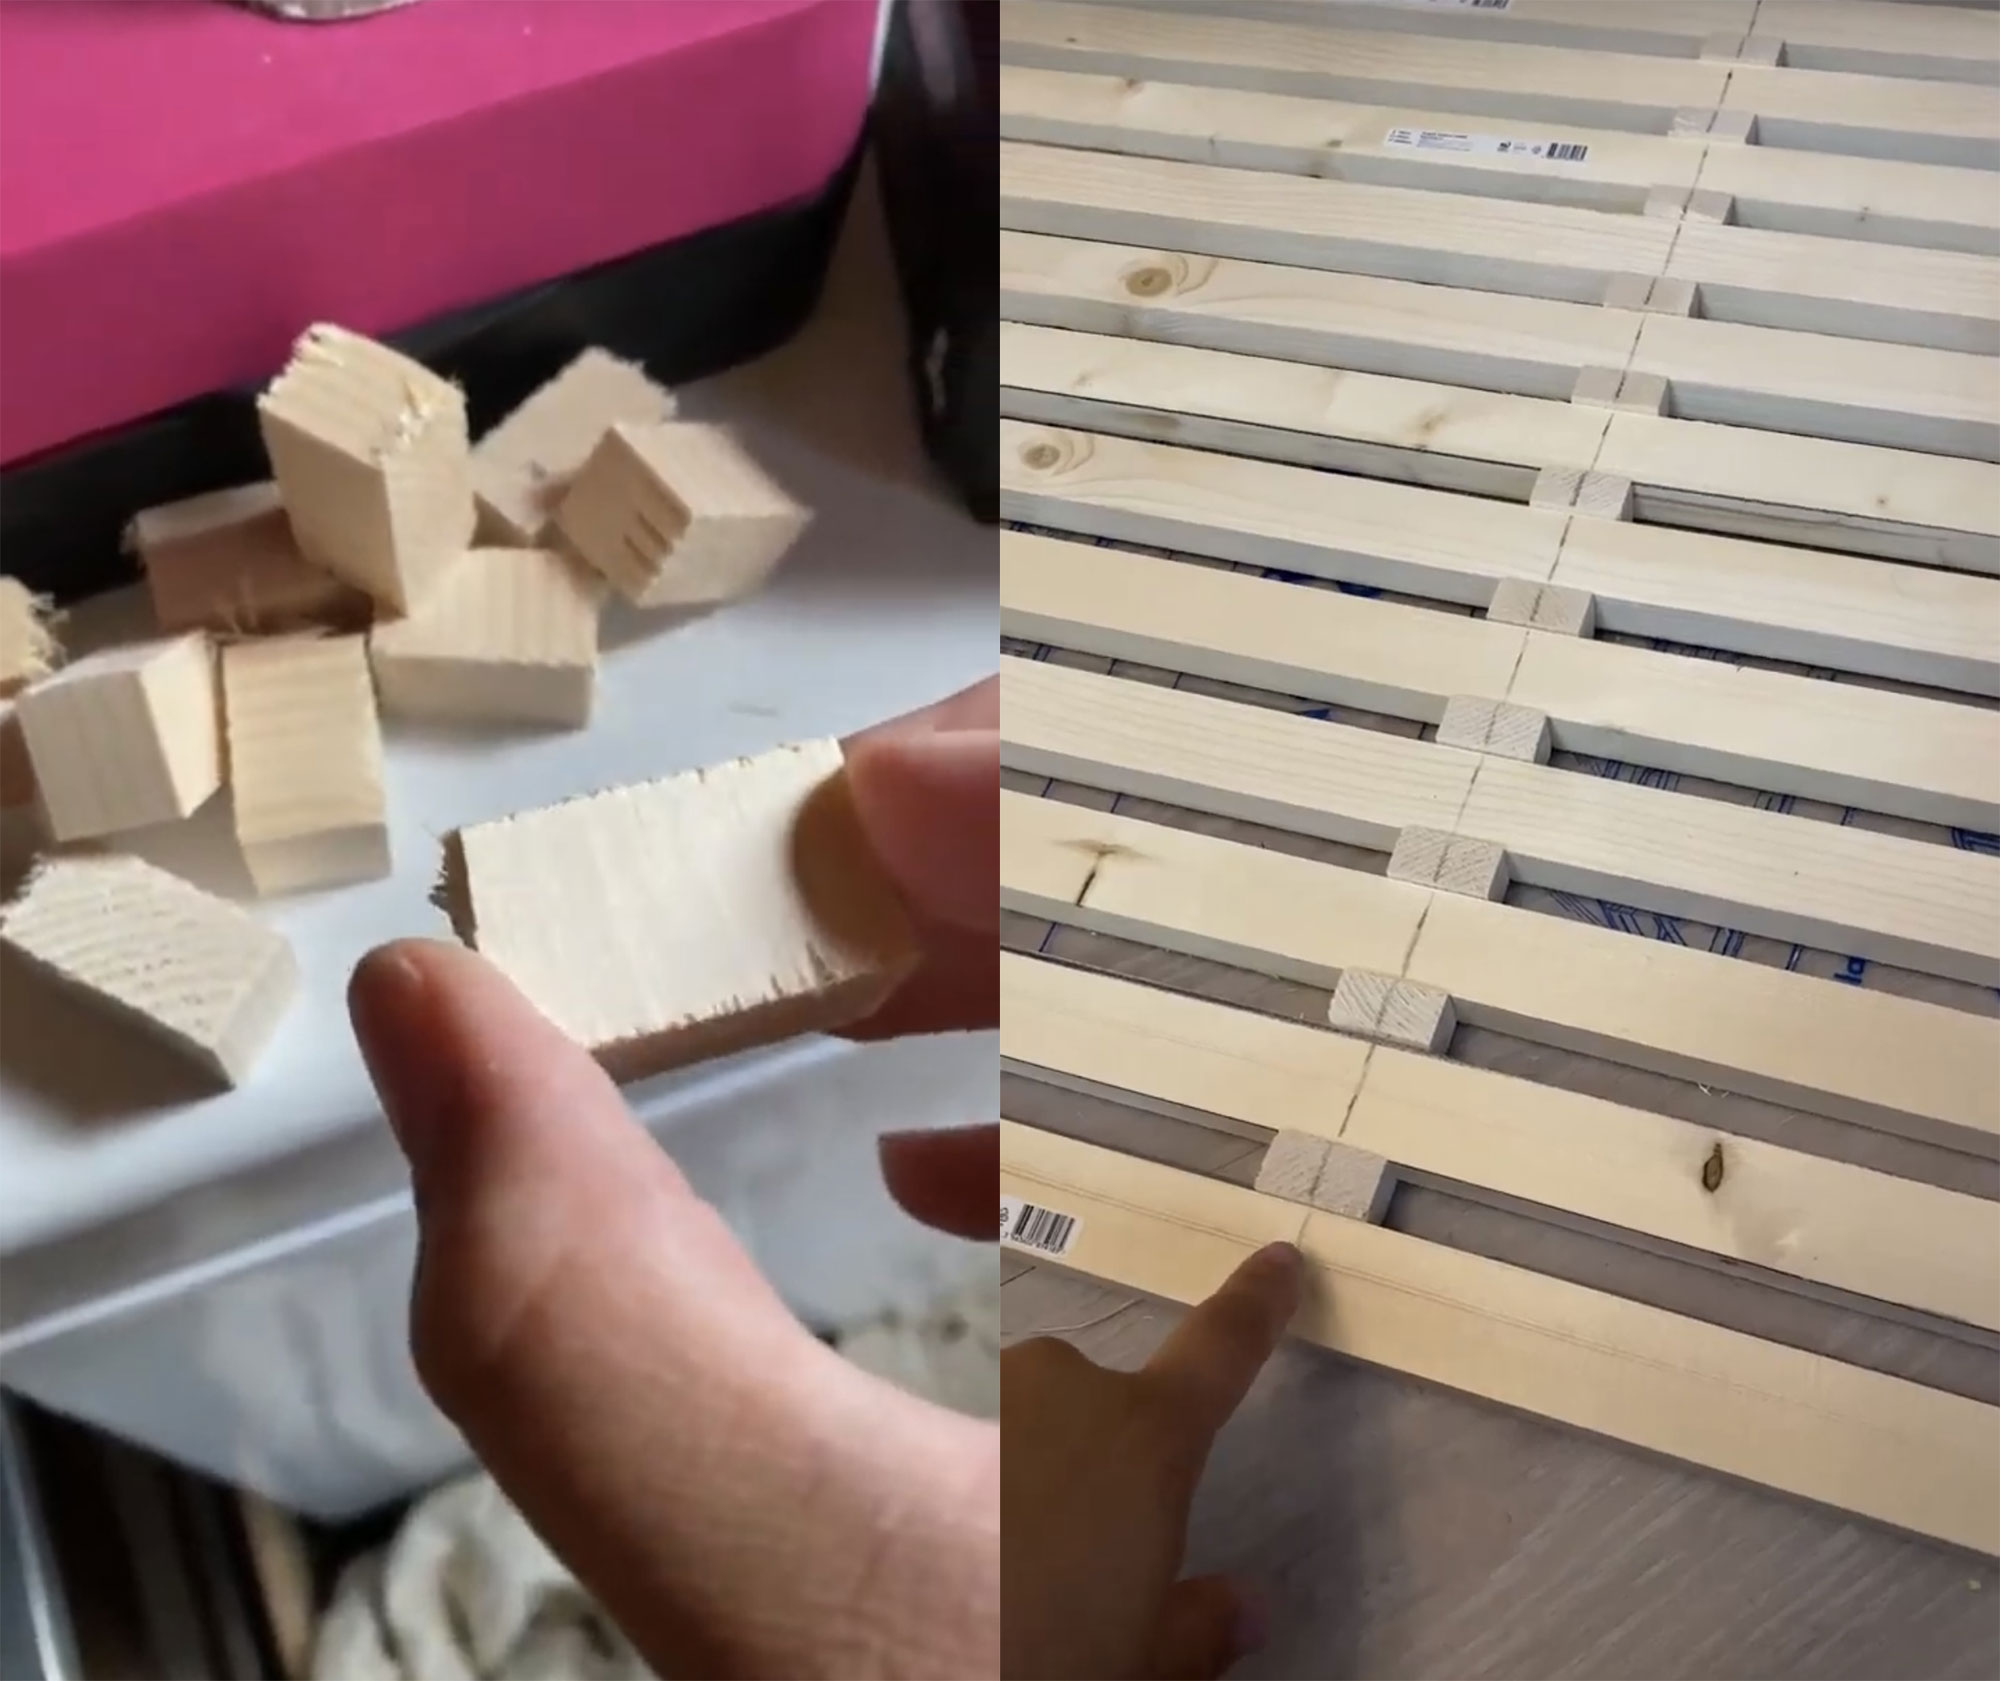
Once all your pieces are cut and sanded, lay your acrylic sheet down and the 1.8/1.2m lengths of wood on top, with the 45-degree angle long-side down.
Mark the middle of the lengths, as well as the middle of the spacers. This will help you get them all in line when gluing.
2. Align and secure the lengths
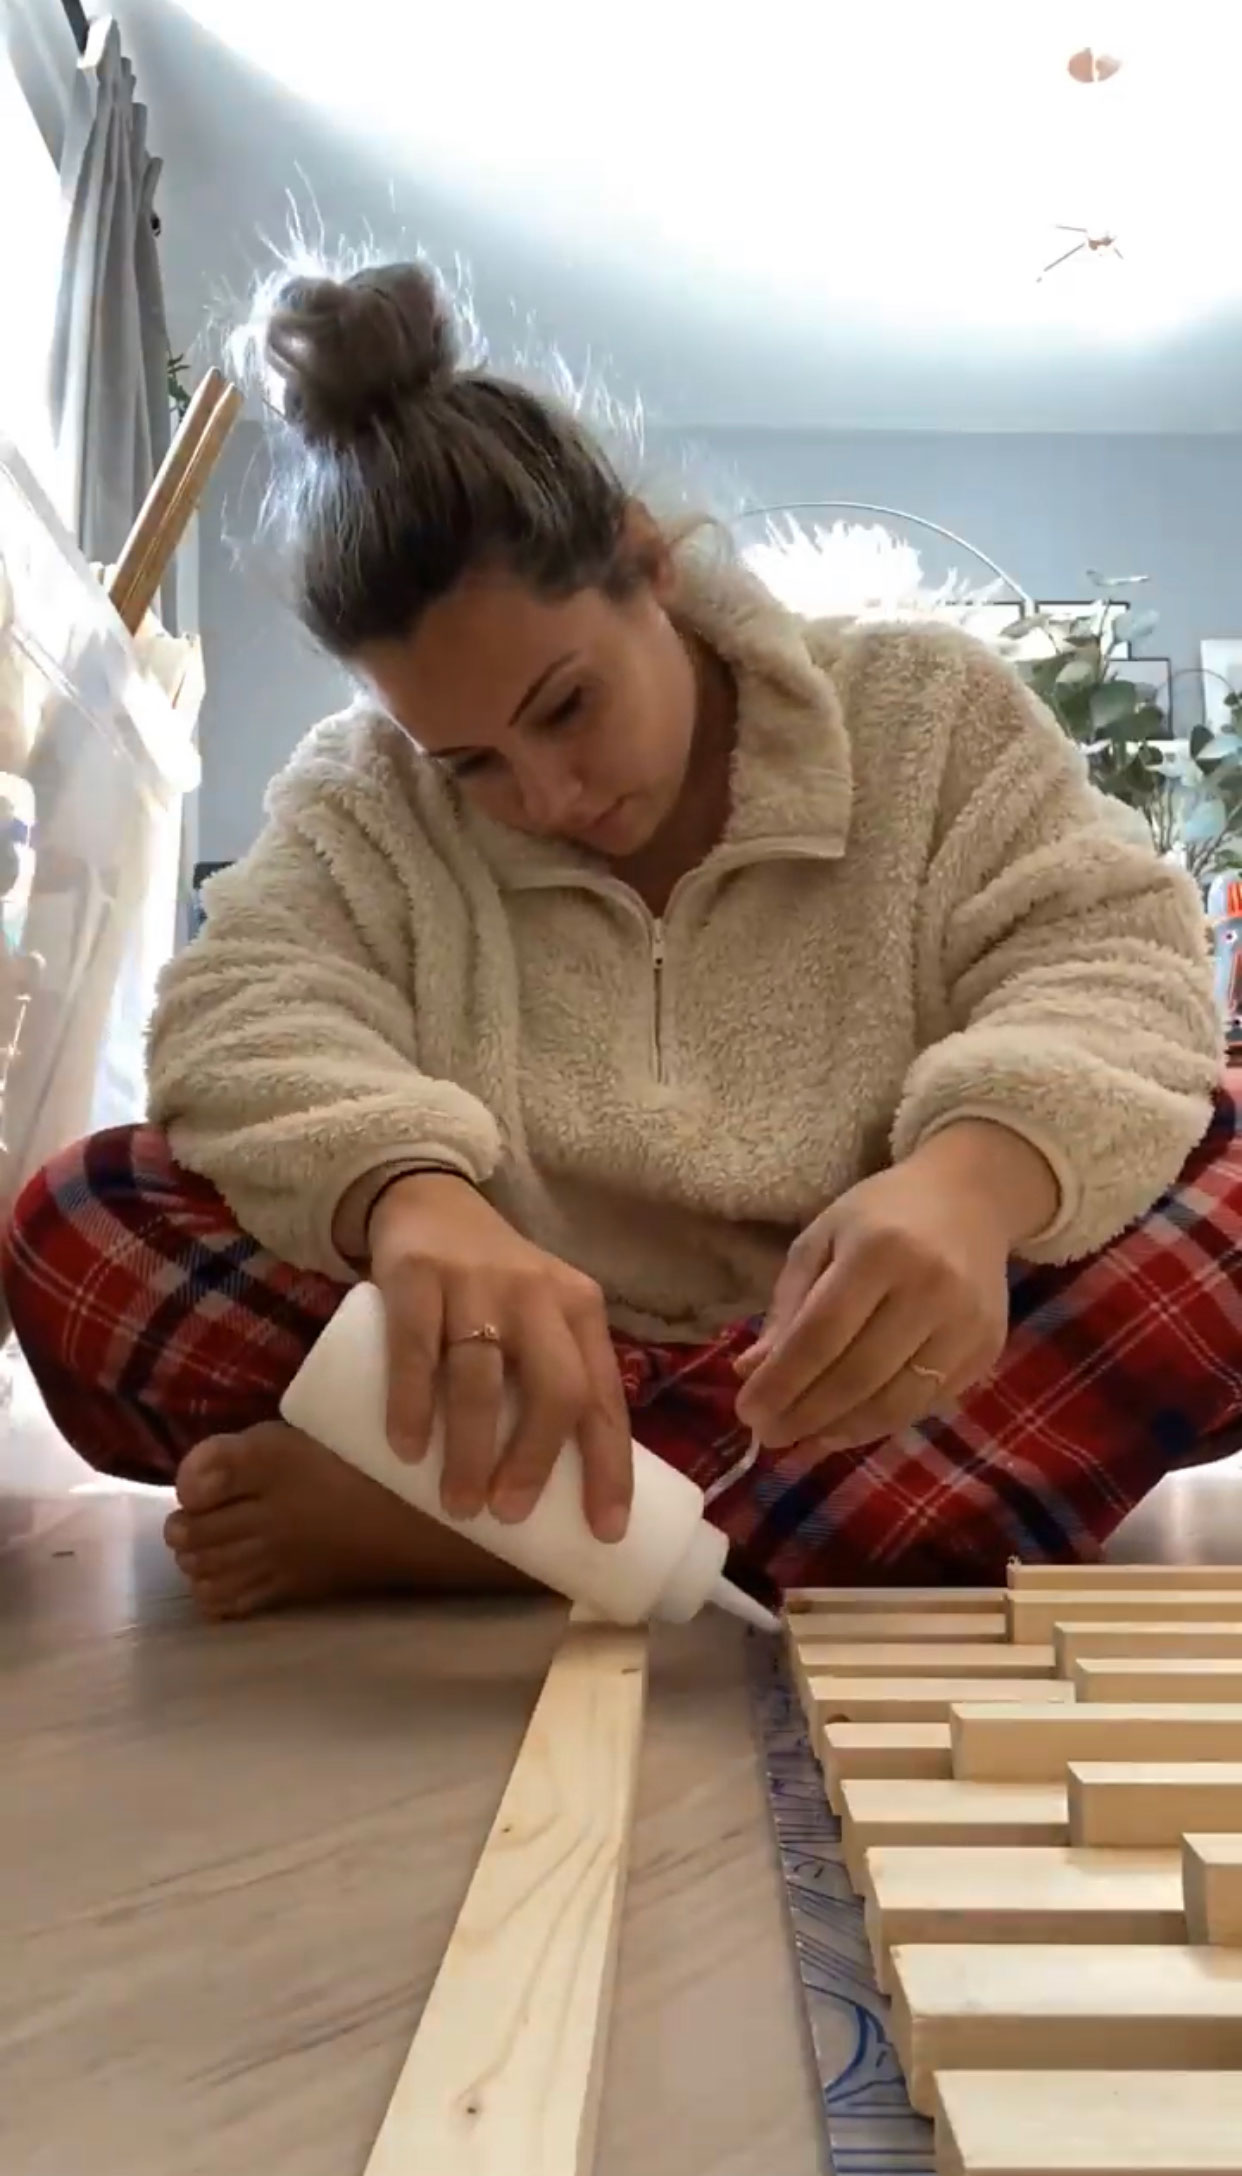
Add some wood glue to both sides of the spacers and place between the desk lengths, sandwiching the spacers between each length.
Once all are glued and aligned, clamp them together, making sure the desk stays flat. You can use your other lengths and offcuts to maintain the spacing at each end until sides and supports are secured in place. Leave overnight to dry solid.
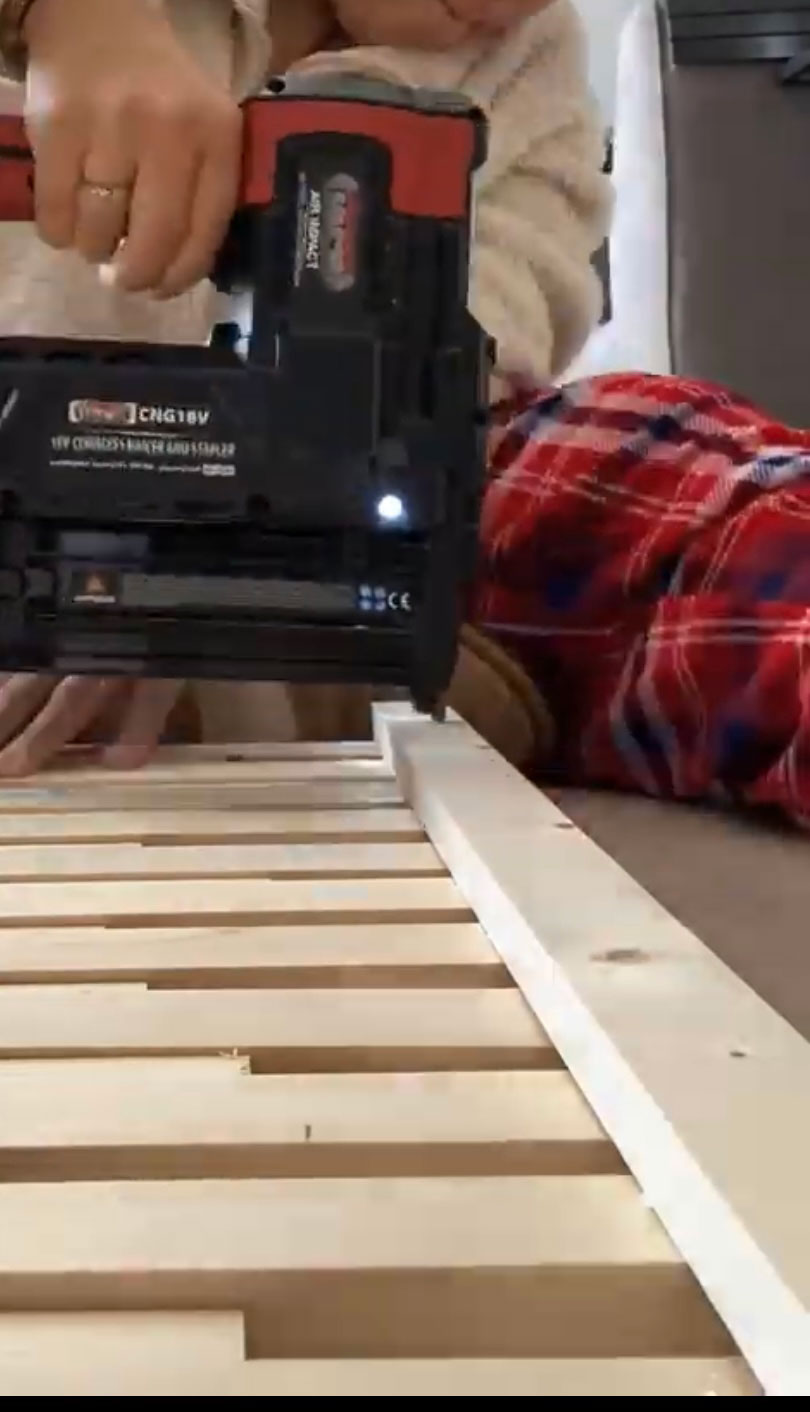
For the one-legged desk (to use with the Kallax), use one of the 60cm lengths as a support at the blunt cut end. Place the short length on the floor and glue & nail to the ends of the wood, making sure the off-cut spacers are snug as you nail.
Letting this piece drop to the floor, means your desk topper (the acrylic) has a lip to stop it sliding off. Ignore this step if making two legs.
Note: If using a hammer and nails for this project, wait until the glue has set and dried as the impact of the hammer on the nails may cause your pieces to slide apart.
3. Making the leg(s)
To make the leg(s), I placed the leg lengths (60cm) on top of the desk, 45 degree cut long-side down, to take advantage of the off-cut spacers and ensure it was all lined up.
At the blunt cut end, glue and nail another 60cm length to the inside of the leg to secure the spacing.
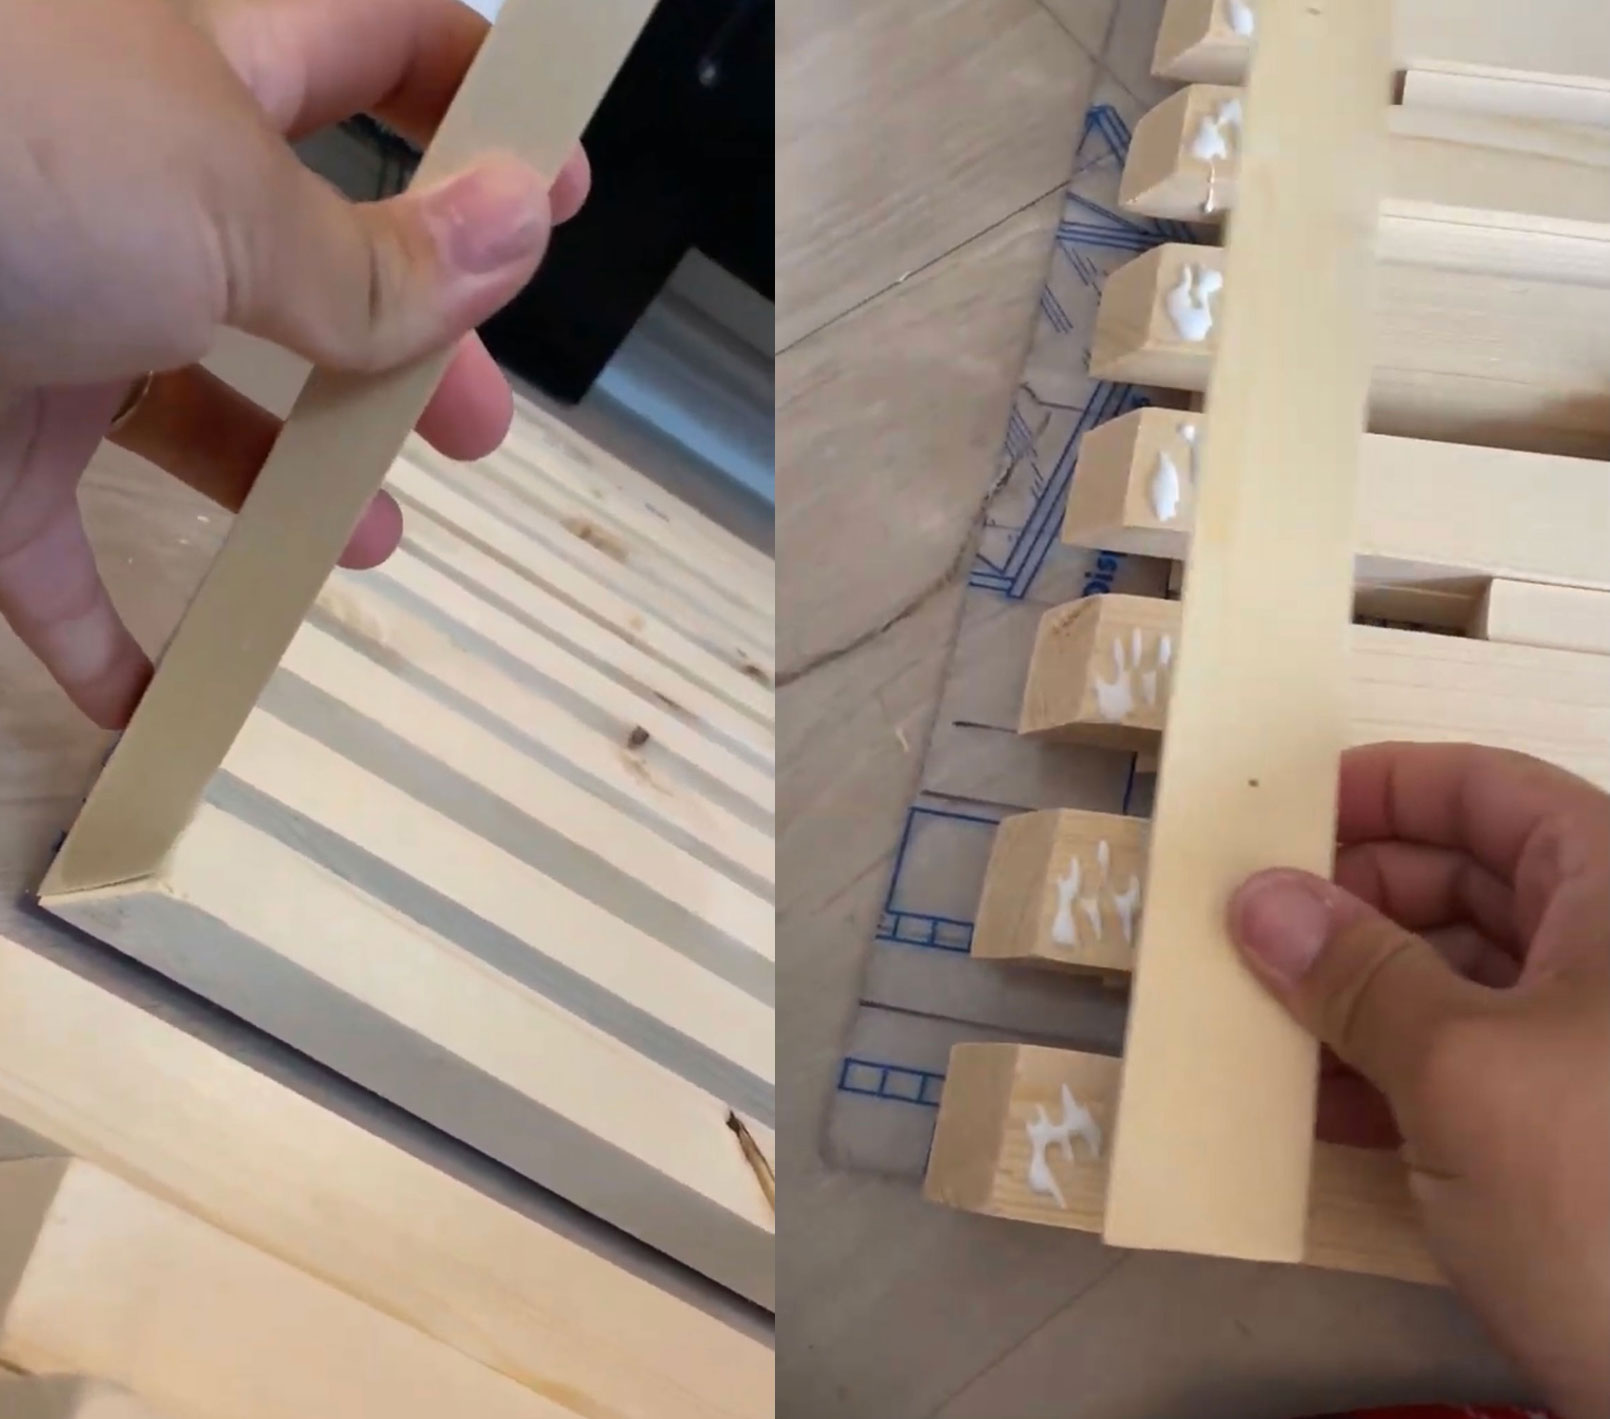
Glue and nail another length underneath to act as a foot for the length and add 18mm in height to ensure its level with the Kallax unit.
At the 45-degree cut end of the leg pieces, glue and nail another 60cm length just below the short side of the cut, ensuring the spacing is still snug. This is the corner support that the top will sit on.
Lift off the base and set aside.
For the two-legged desk, repeat this for both sides.
4. Assemble the side(s)
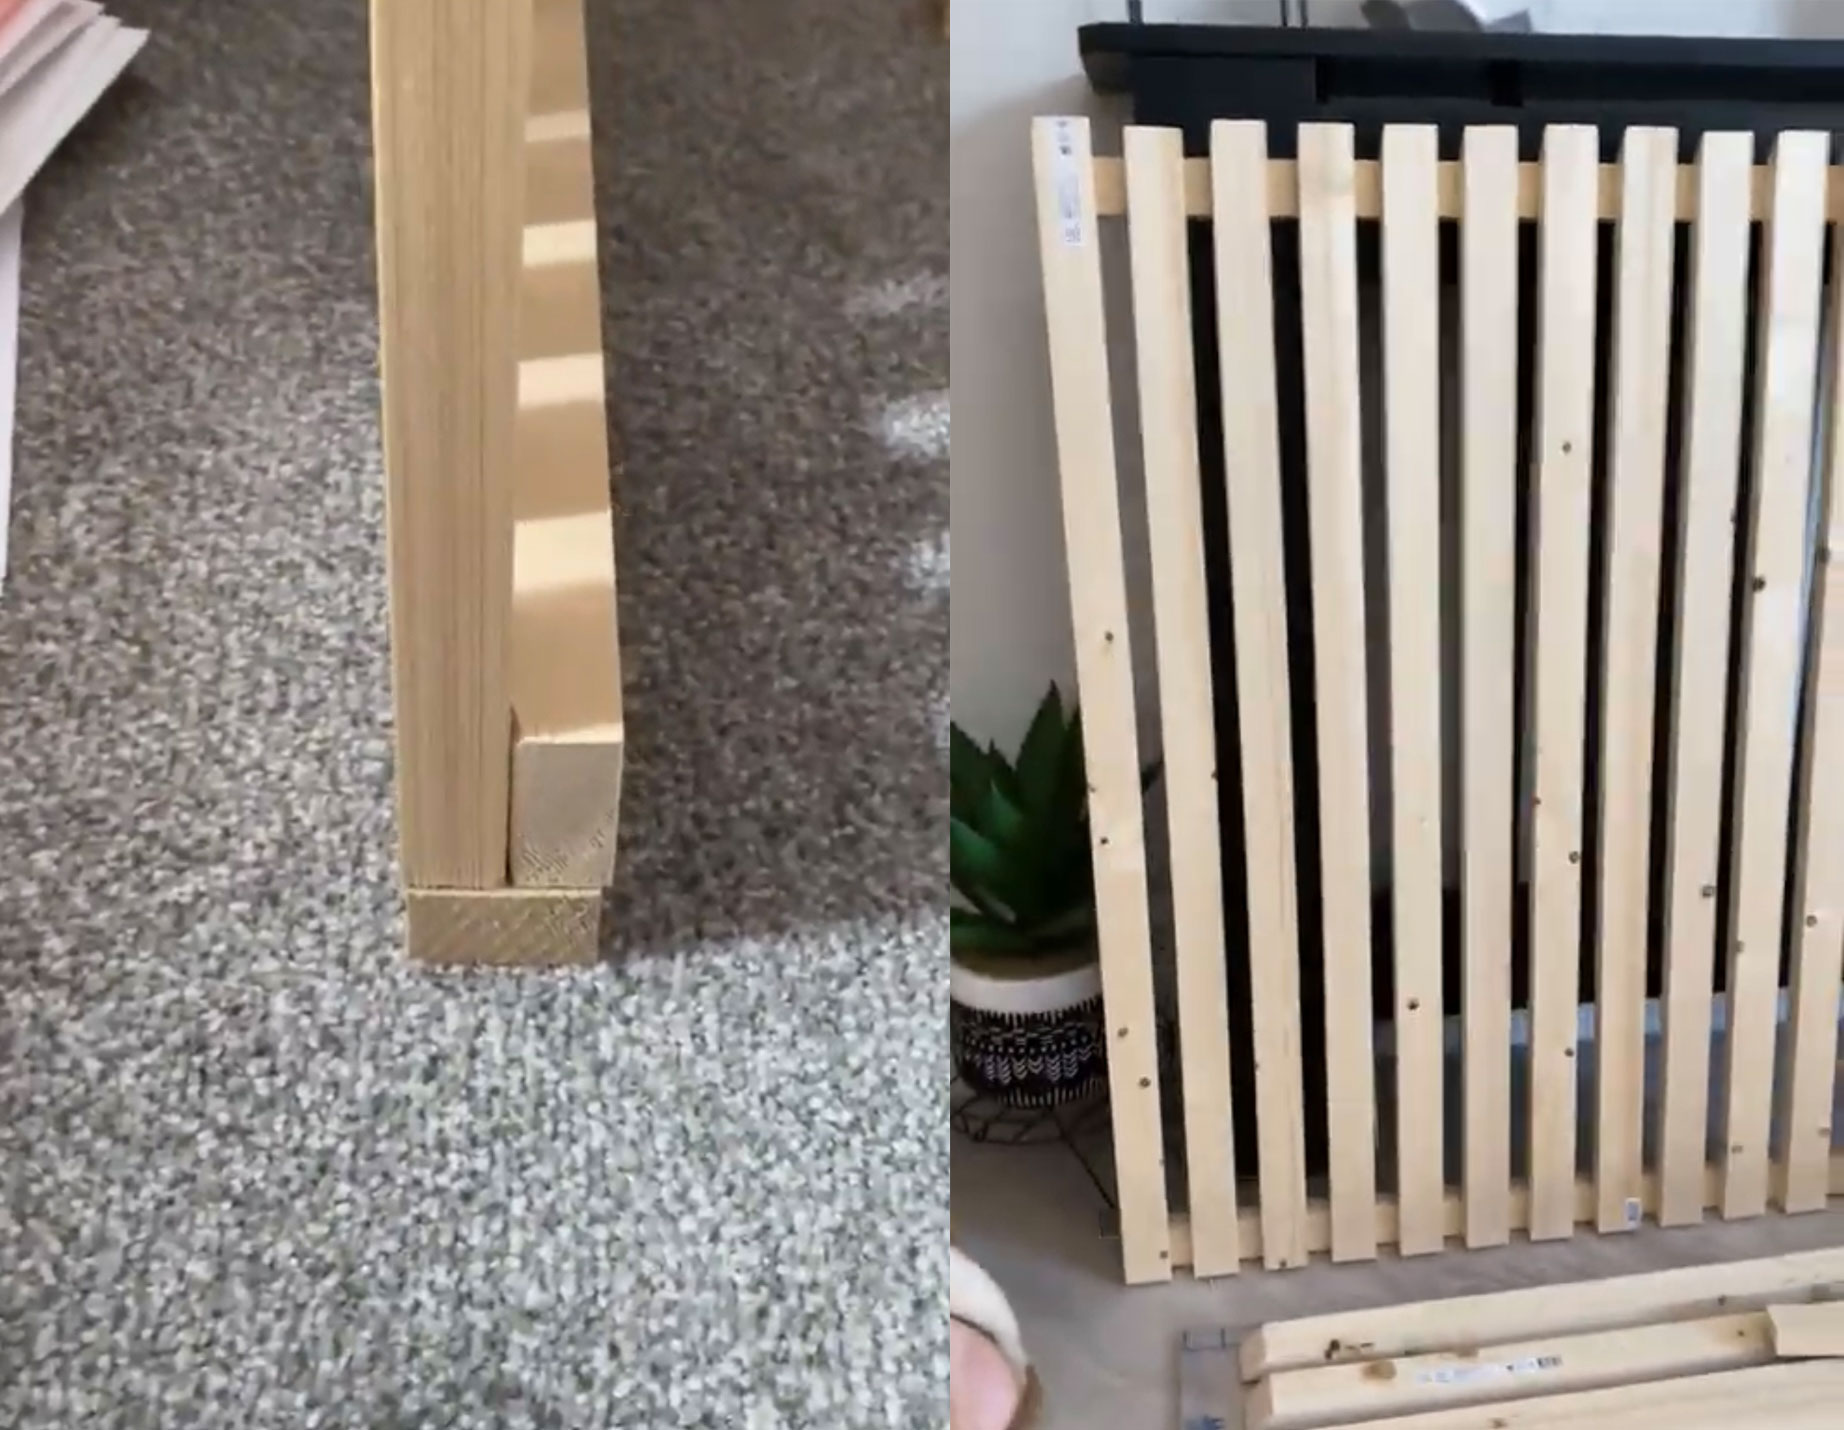
Bring the top, side(s) and acrylic sheet (plus the Kallax unit) to where you want it to go. For the single sided desk, rest the desktop on the Kallax unit right side up, so with the long edge face up. Prop the other end up using the leg, so the corner meets at the 45-degree angles.
Glue the top of the corner support and place the desk top end on top, nailing each slat down, ensuring the spacing is still lined up with the leg slats. If the angles are slightly off, you can fix this with wood filler and sand down.
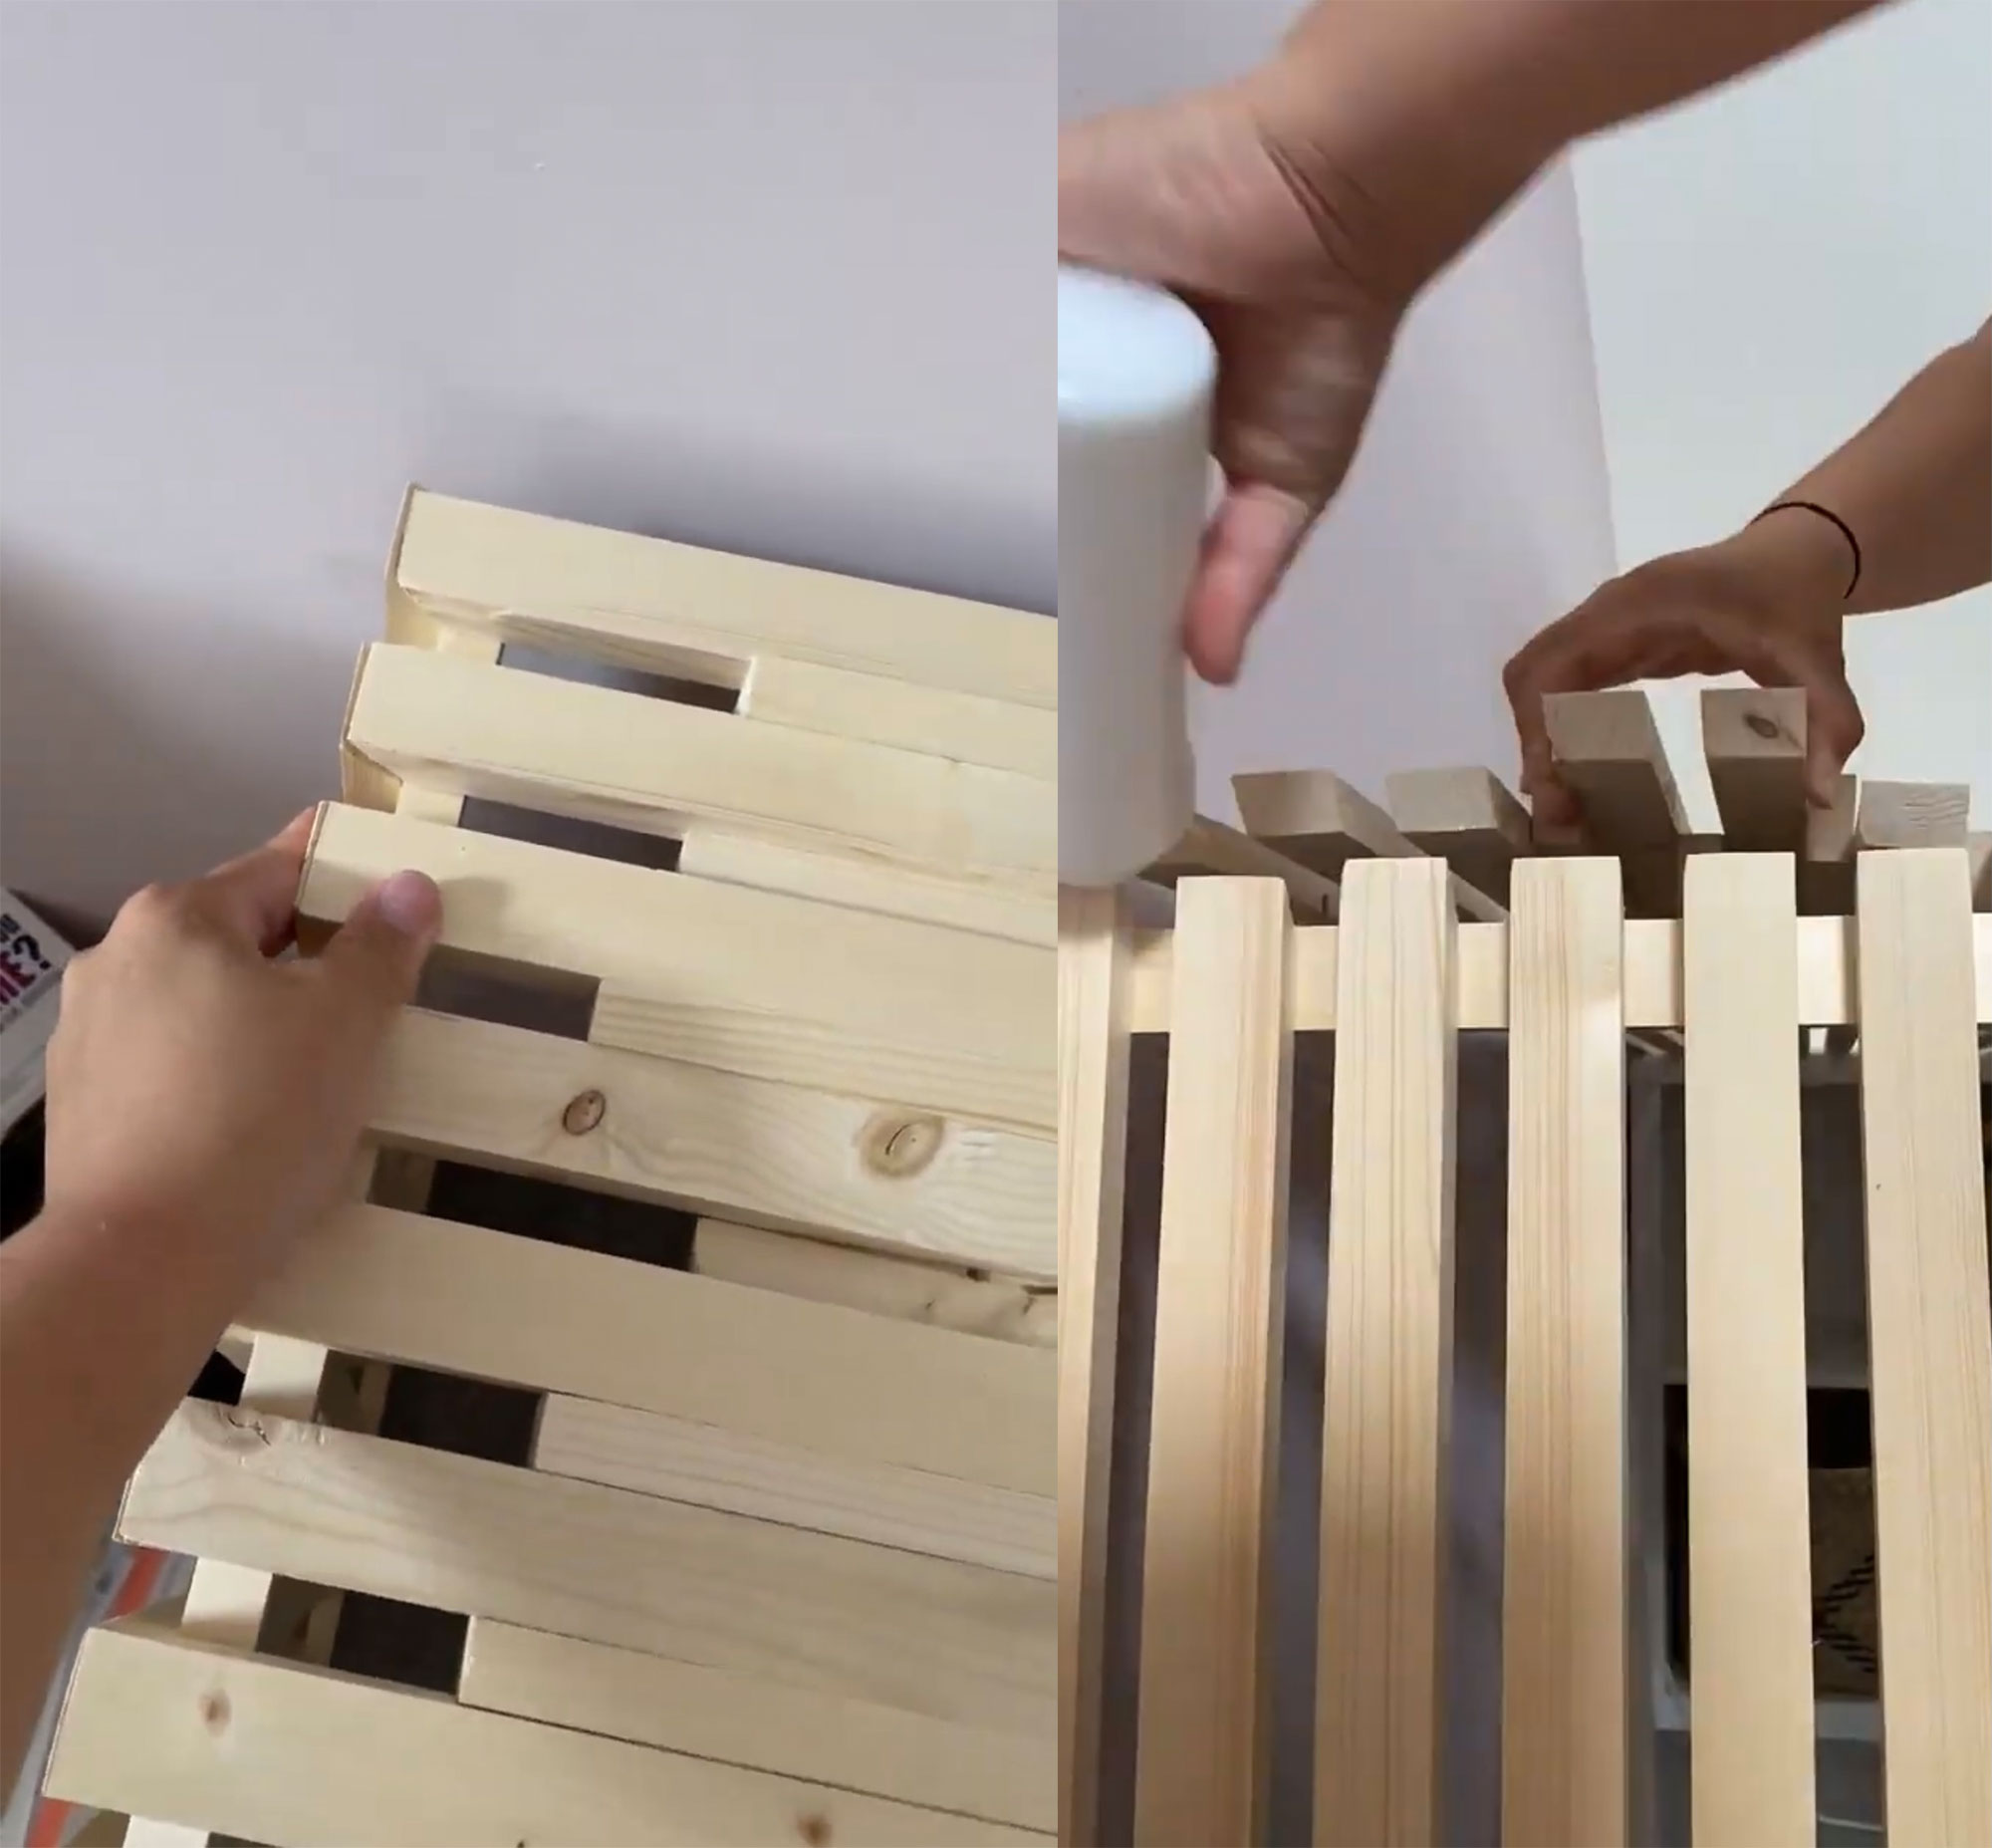
You can do this with the desk on its side if you’re making it with two legs. Just stand it upright when you're done.
5. Finishing touches
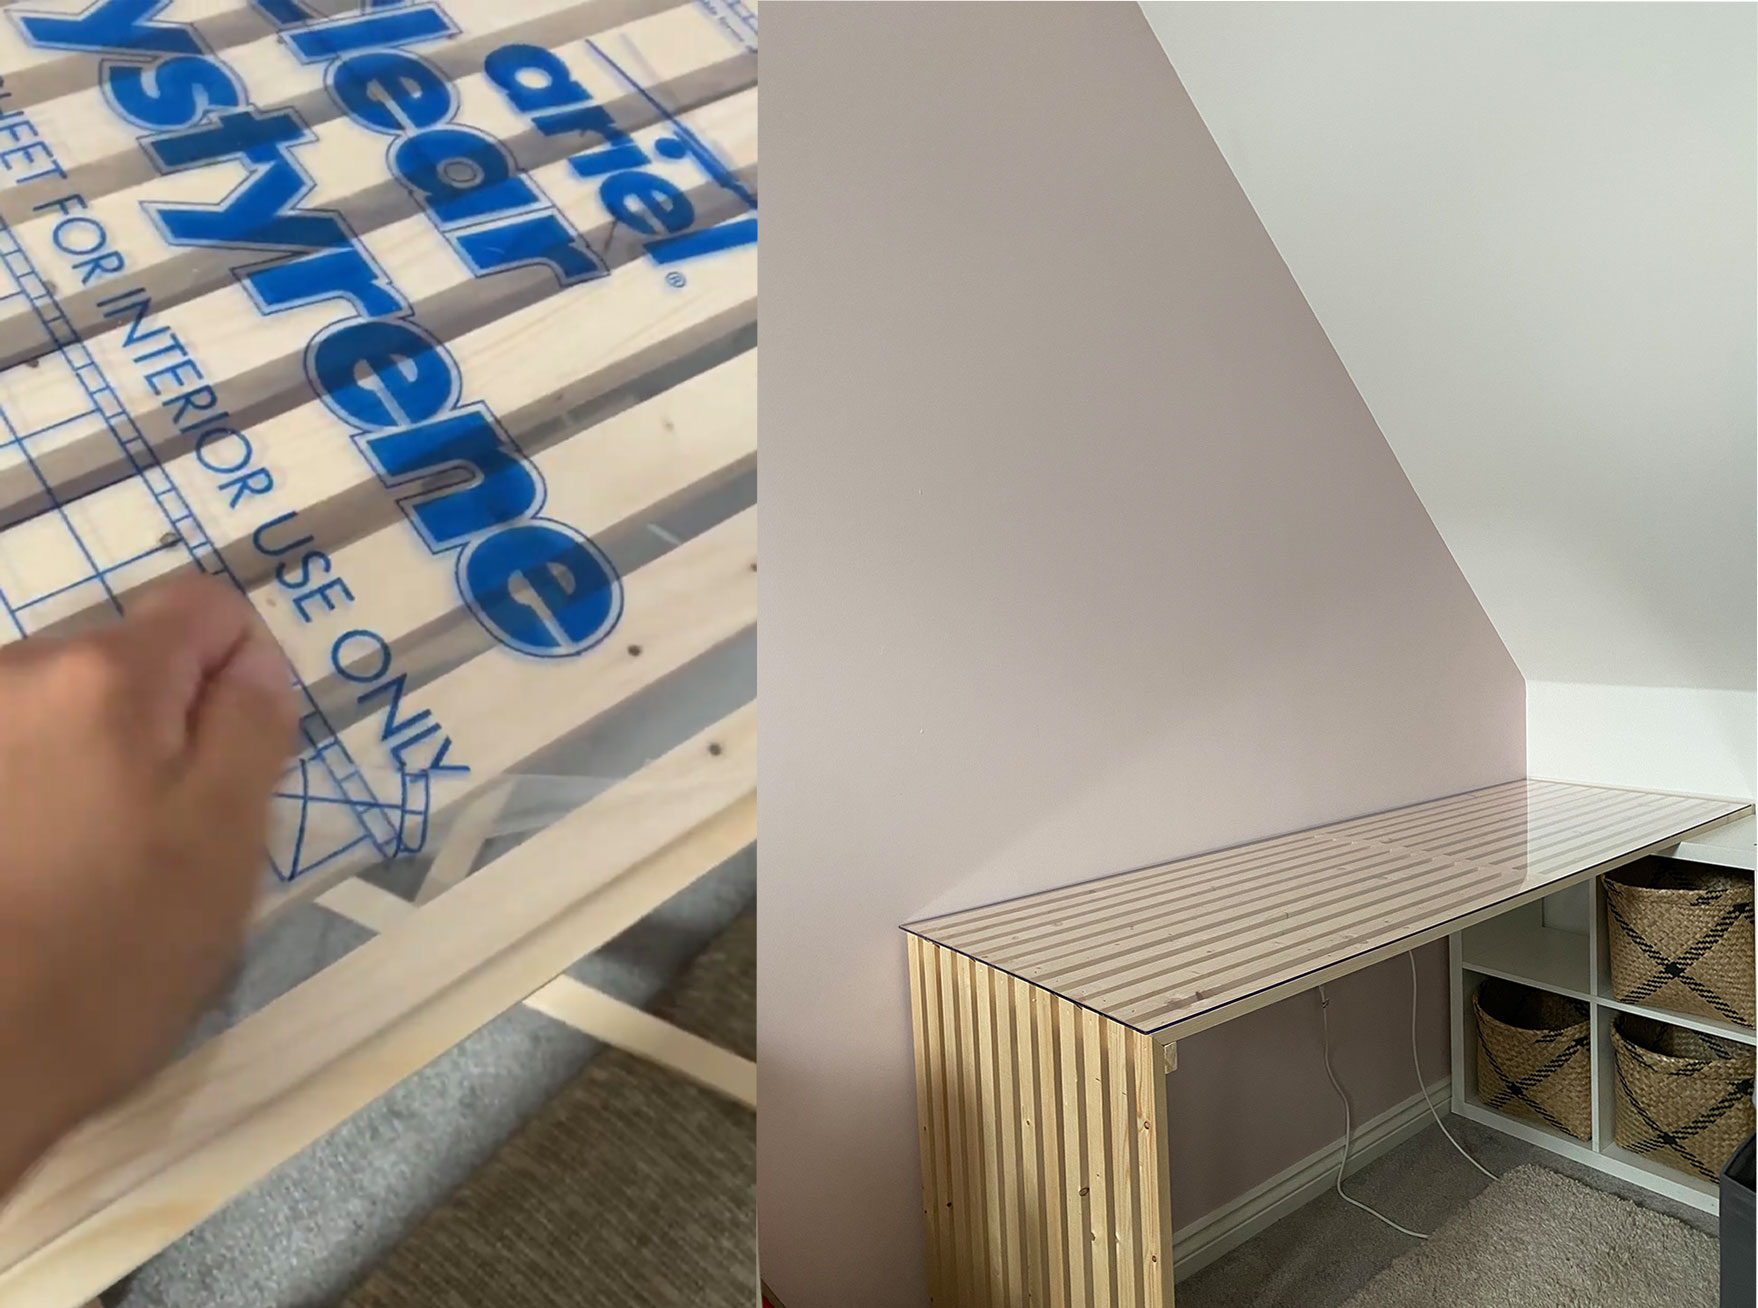
Peel the protective cover off your acrylic sheet and place on top of the desk, set up your workstation... and it’s done!
You can either choose to paint it or leave it as is like I have.
The results
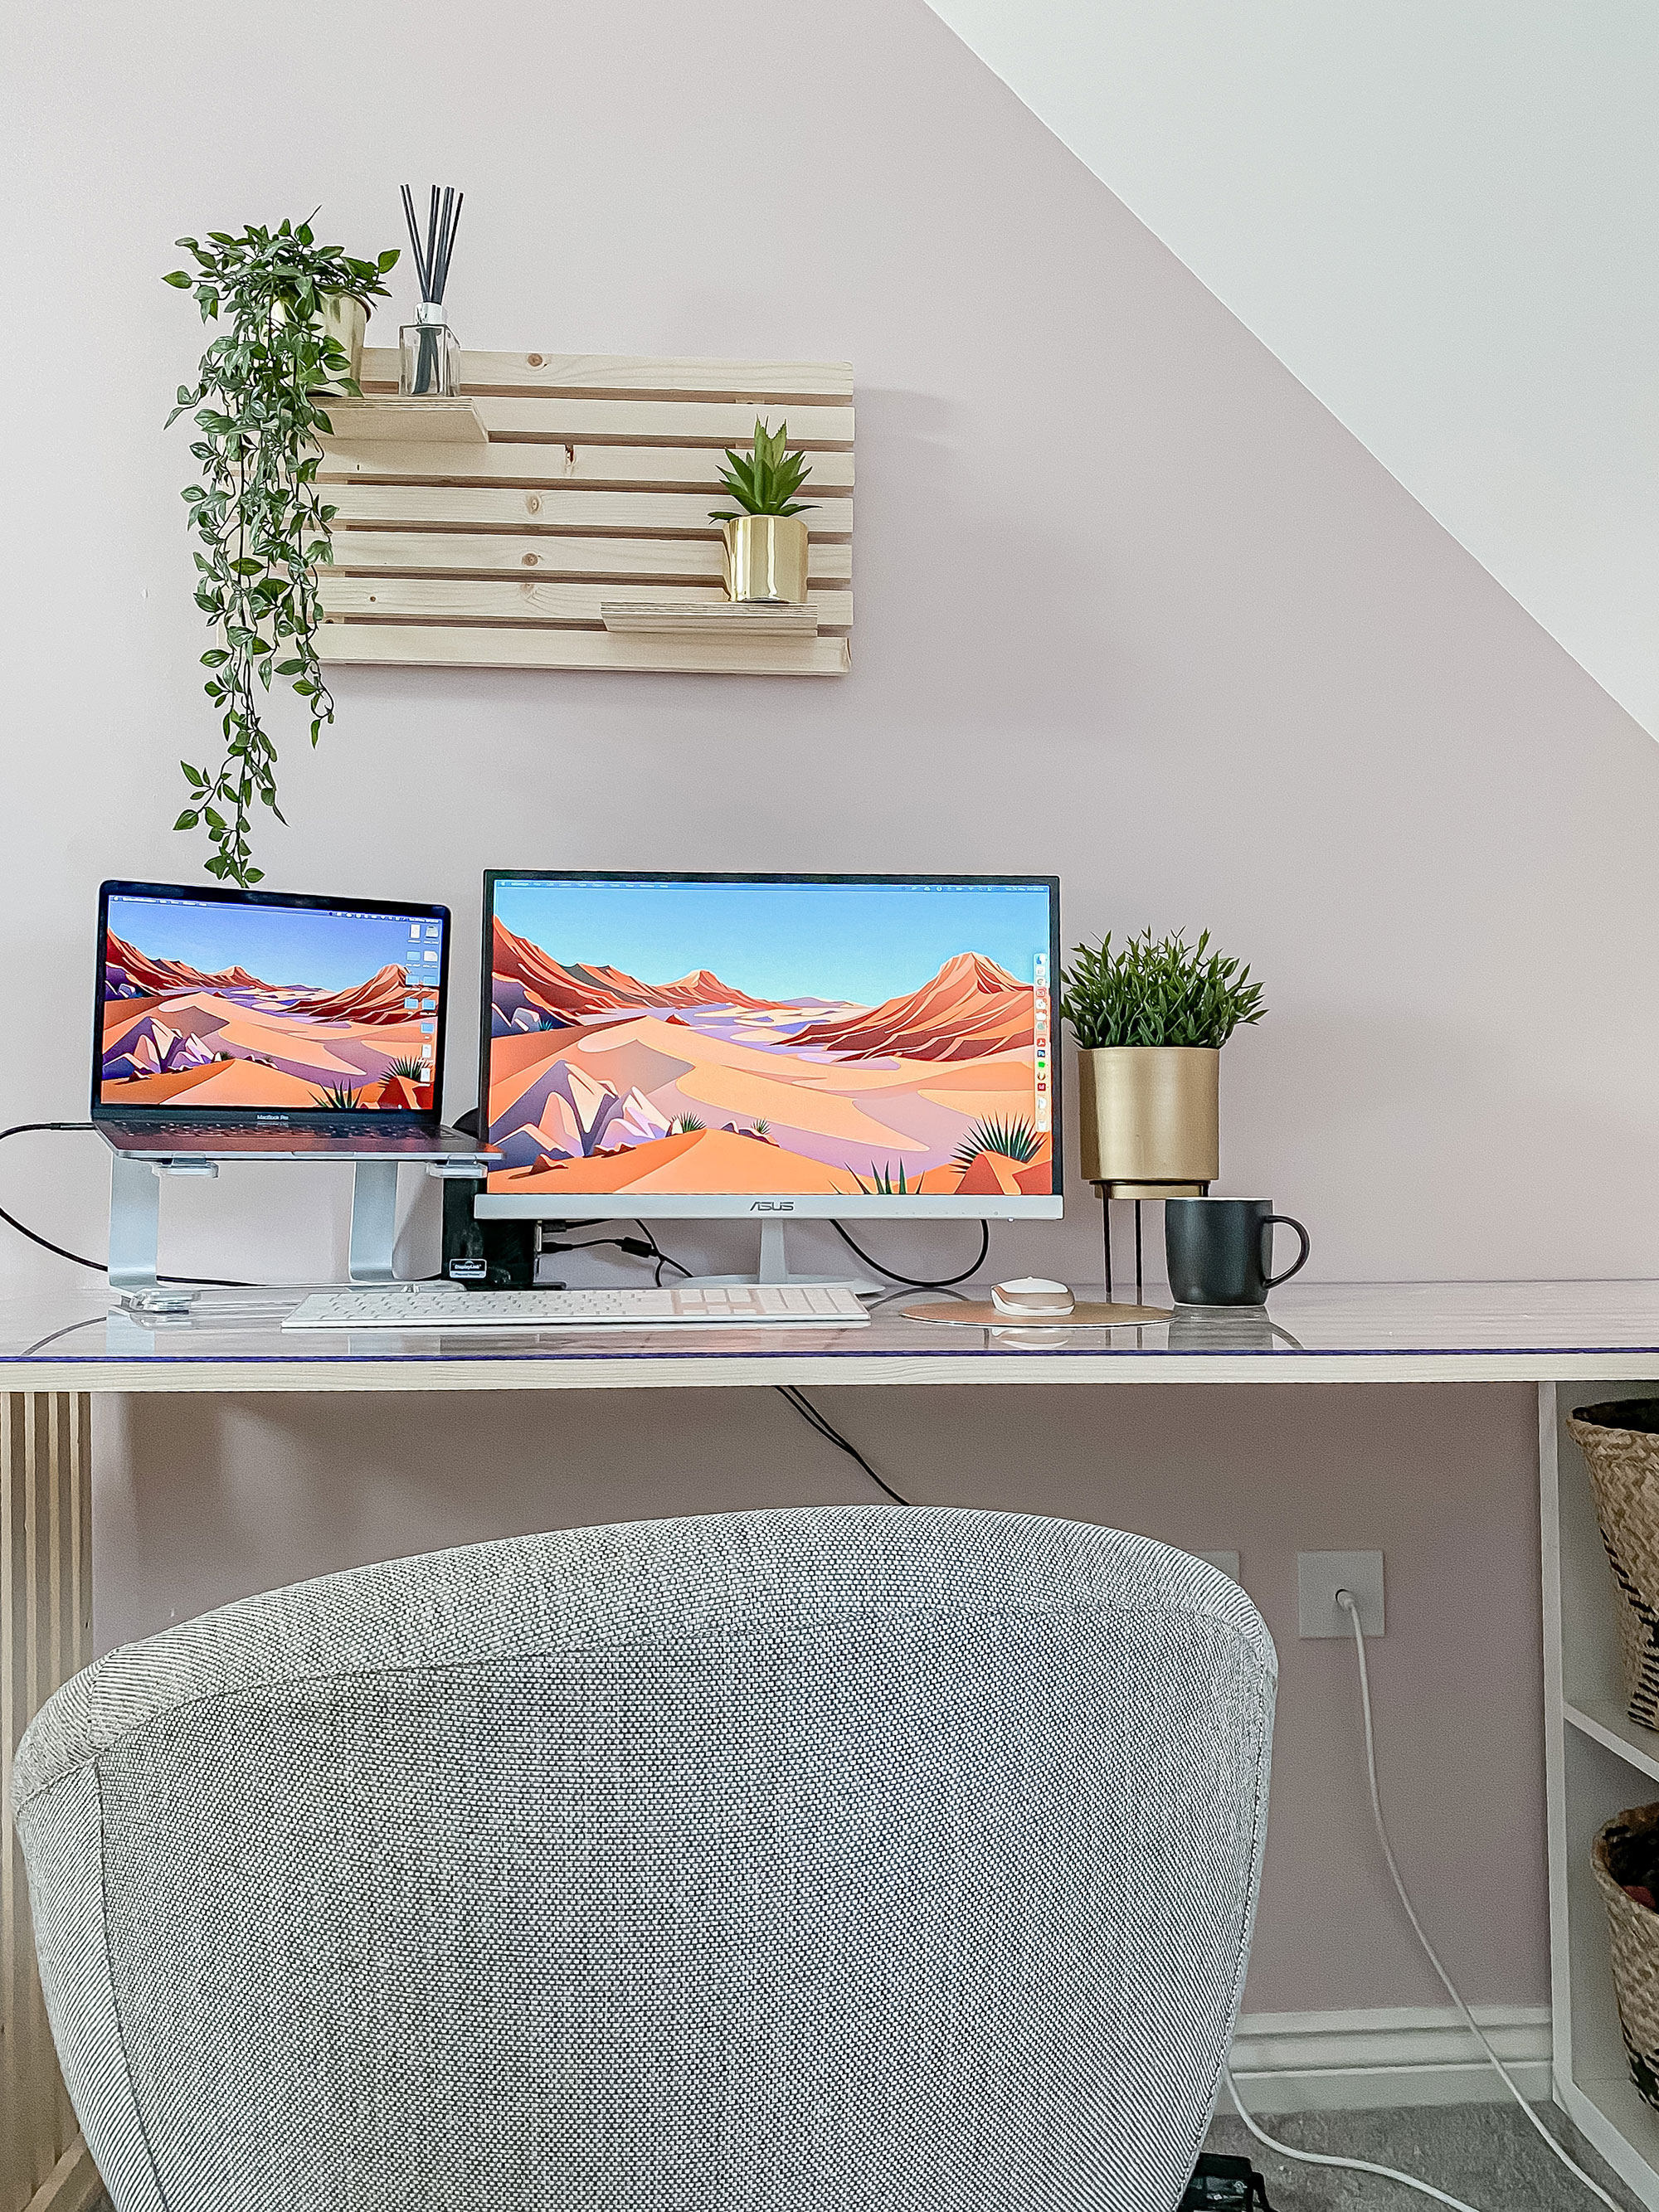
This desk is simple, sleek and can be made to fit any dimensions, making it a great starter DIY project for all levels.
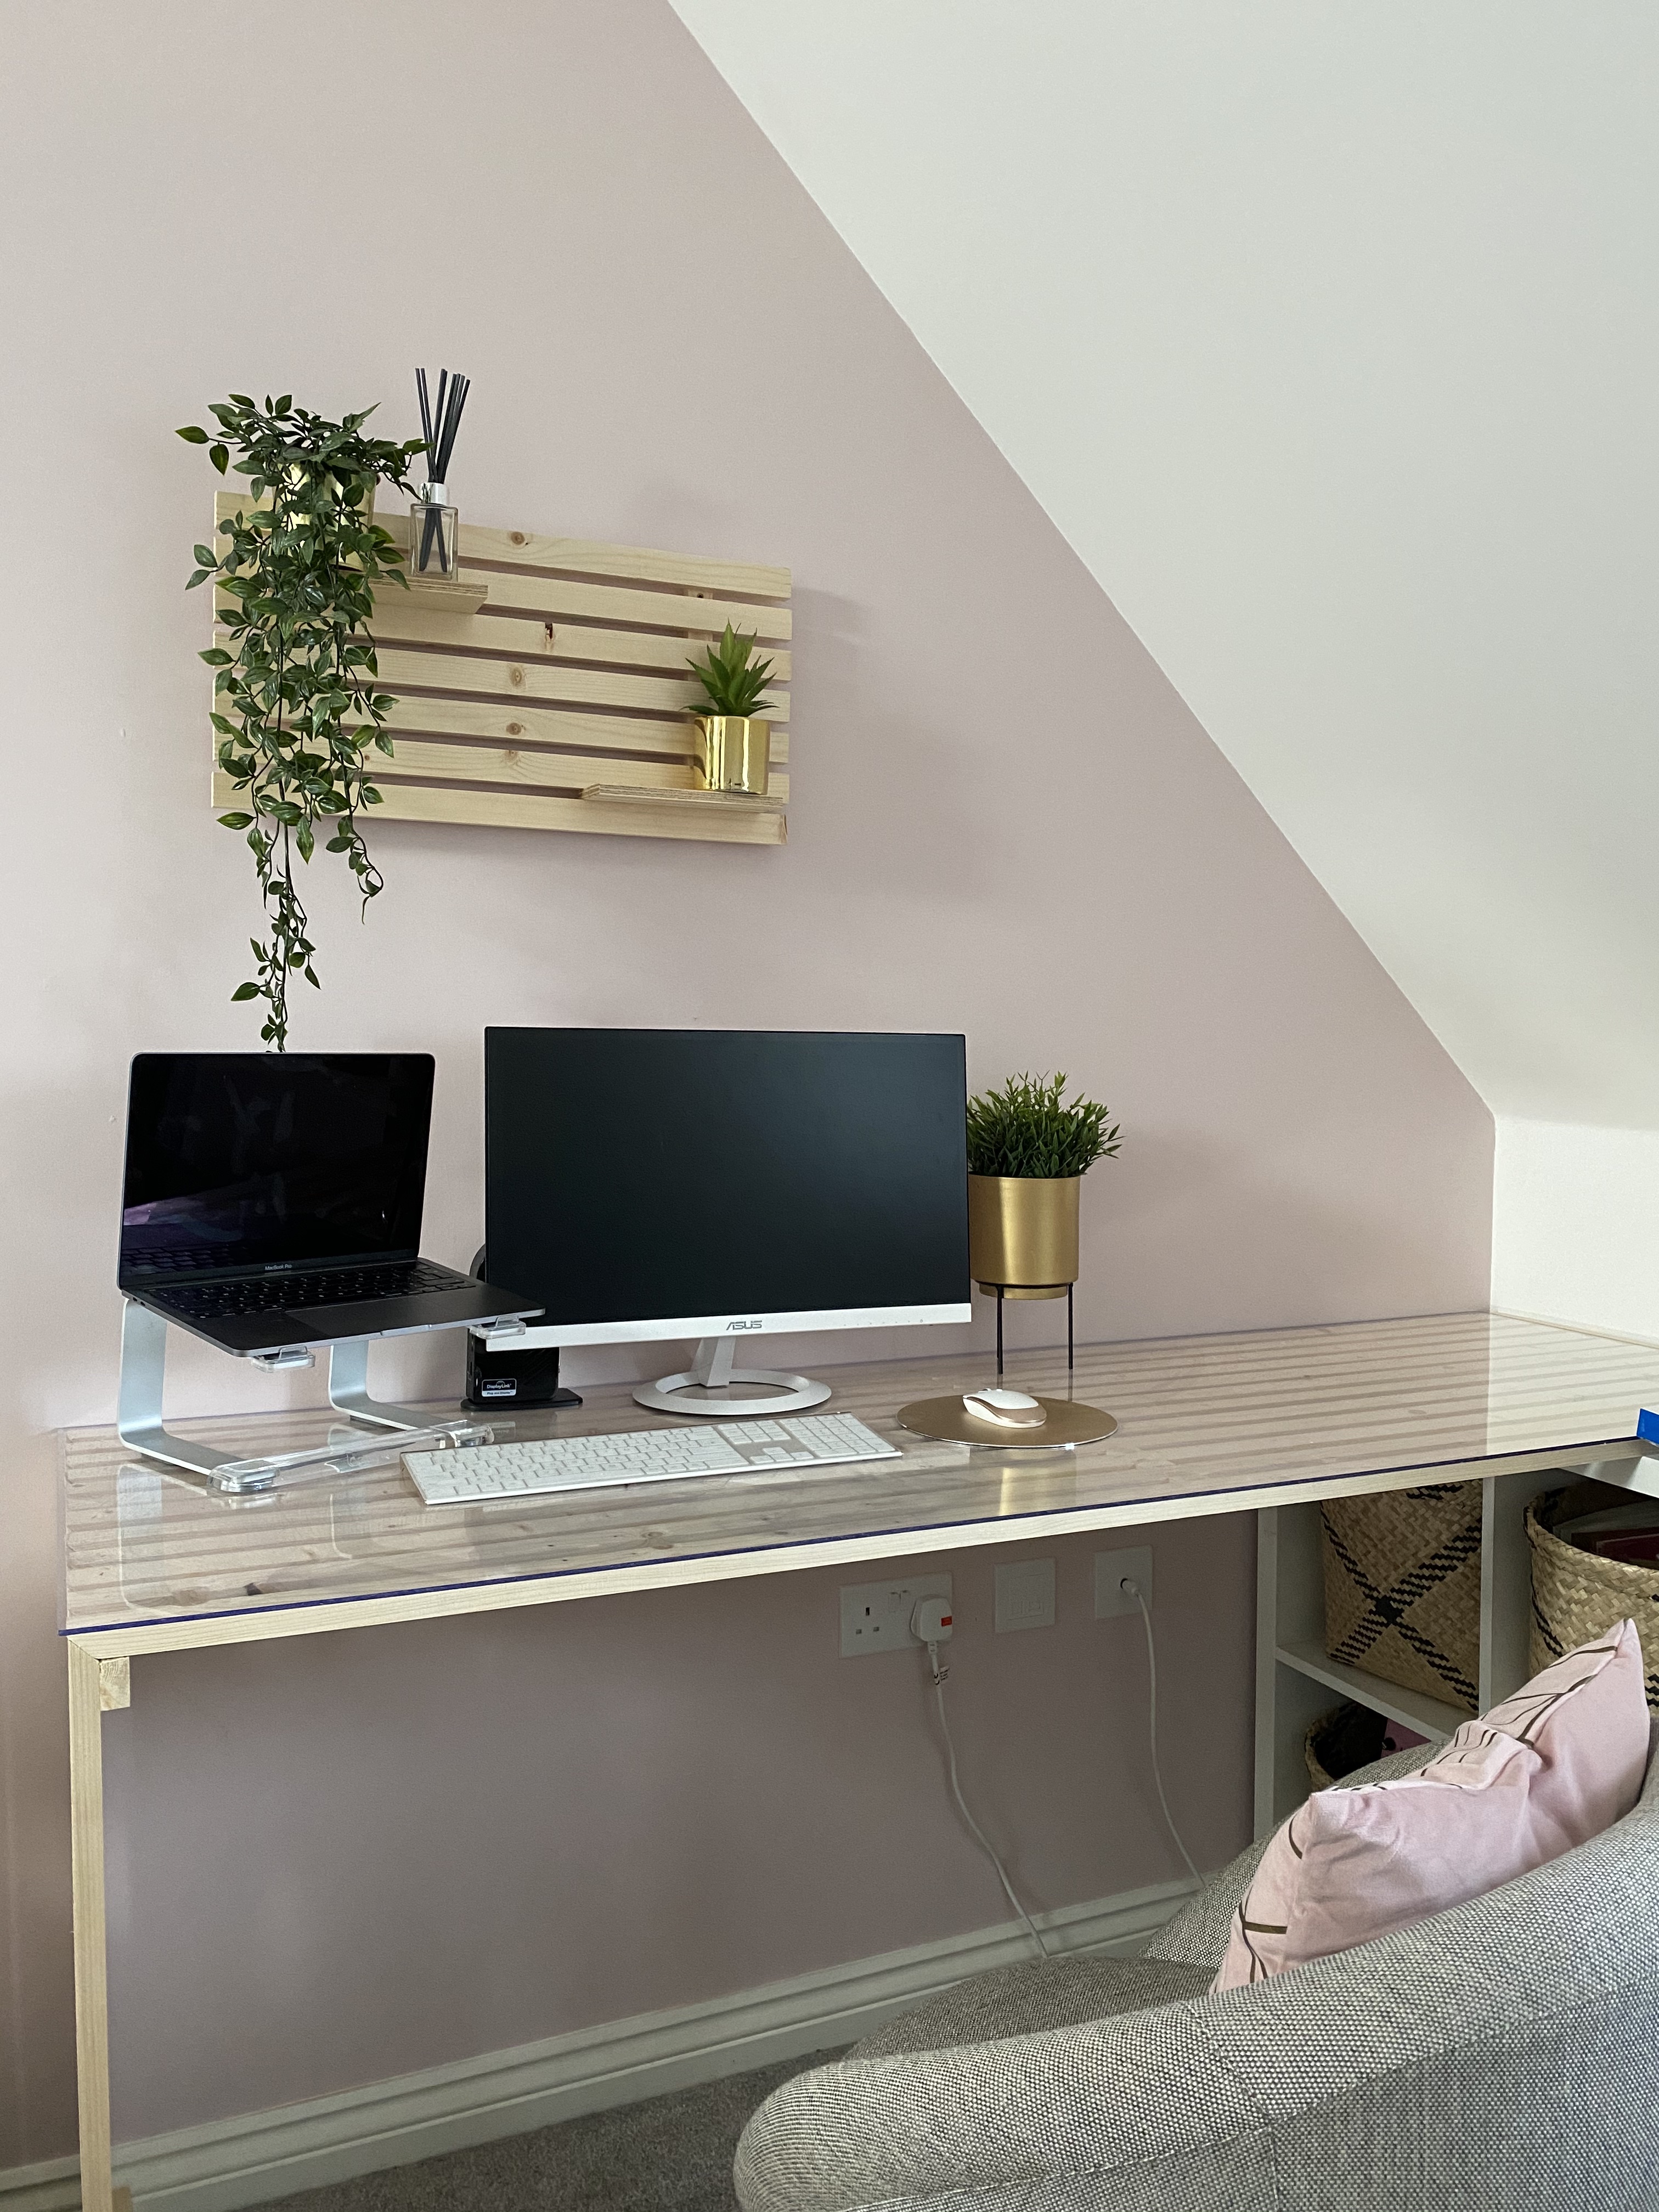
Is it cheaper to buy or build a desk?
Building a desk yourself will work out cheaper than buying one ready made. Sure there are some cheaper options out there but if you want the best desk for your WFH space, you'll either need to spend a little for a good investment or try and DIY your own for quality results even if you're on a budget.
Find more inspo including the slat panelling makeover in my guest room on my Instagram @_ohabode and stay tuned for more DIY walk throughs and inspiration!
Jasmine Gurney is a DIY pro, inspiring women with power tools via her home improvement blog Oh Abode and on Realhomes.com.