How to take cuttings – and when to take them for the best success rate
Know how to take cuttings to multiply roses, buddleja and more in your garden. Learn when you should take softwood and hardwood cuttings with our easy, expert guide.


Get small space home decor ideas, celeb inspiration, DIY tips and more, straight to your inbox!
You are now subscribed
Your newsletter sign-up was successful
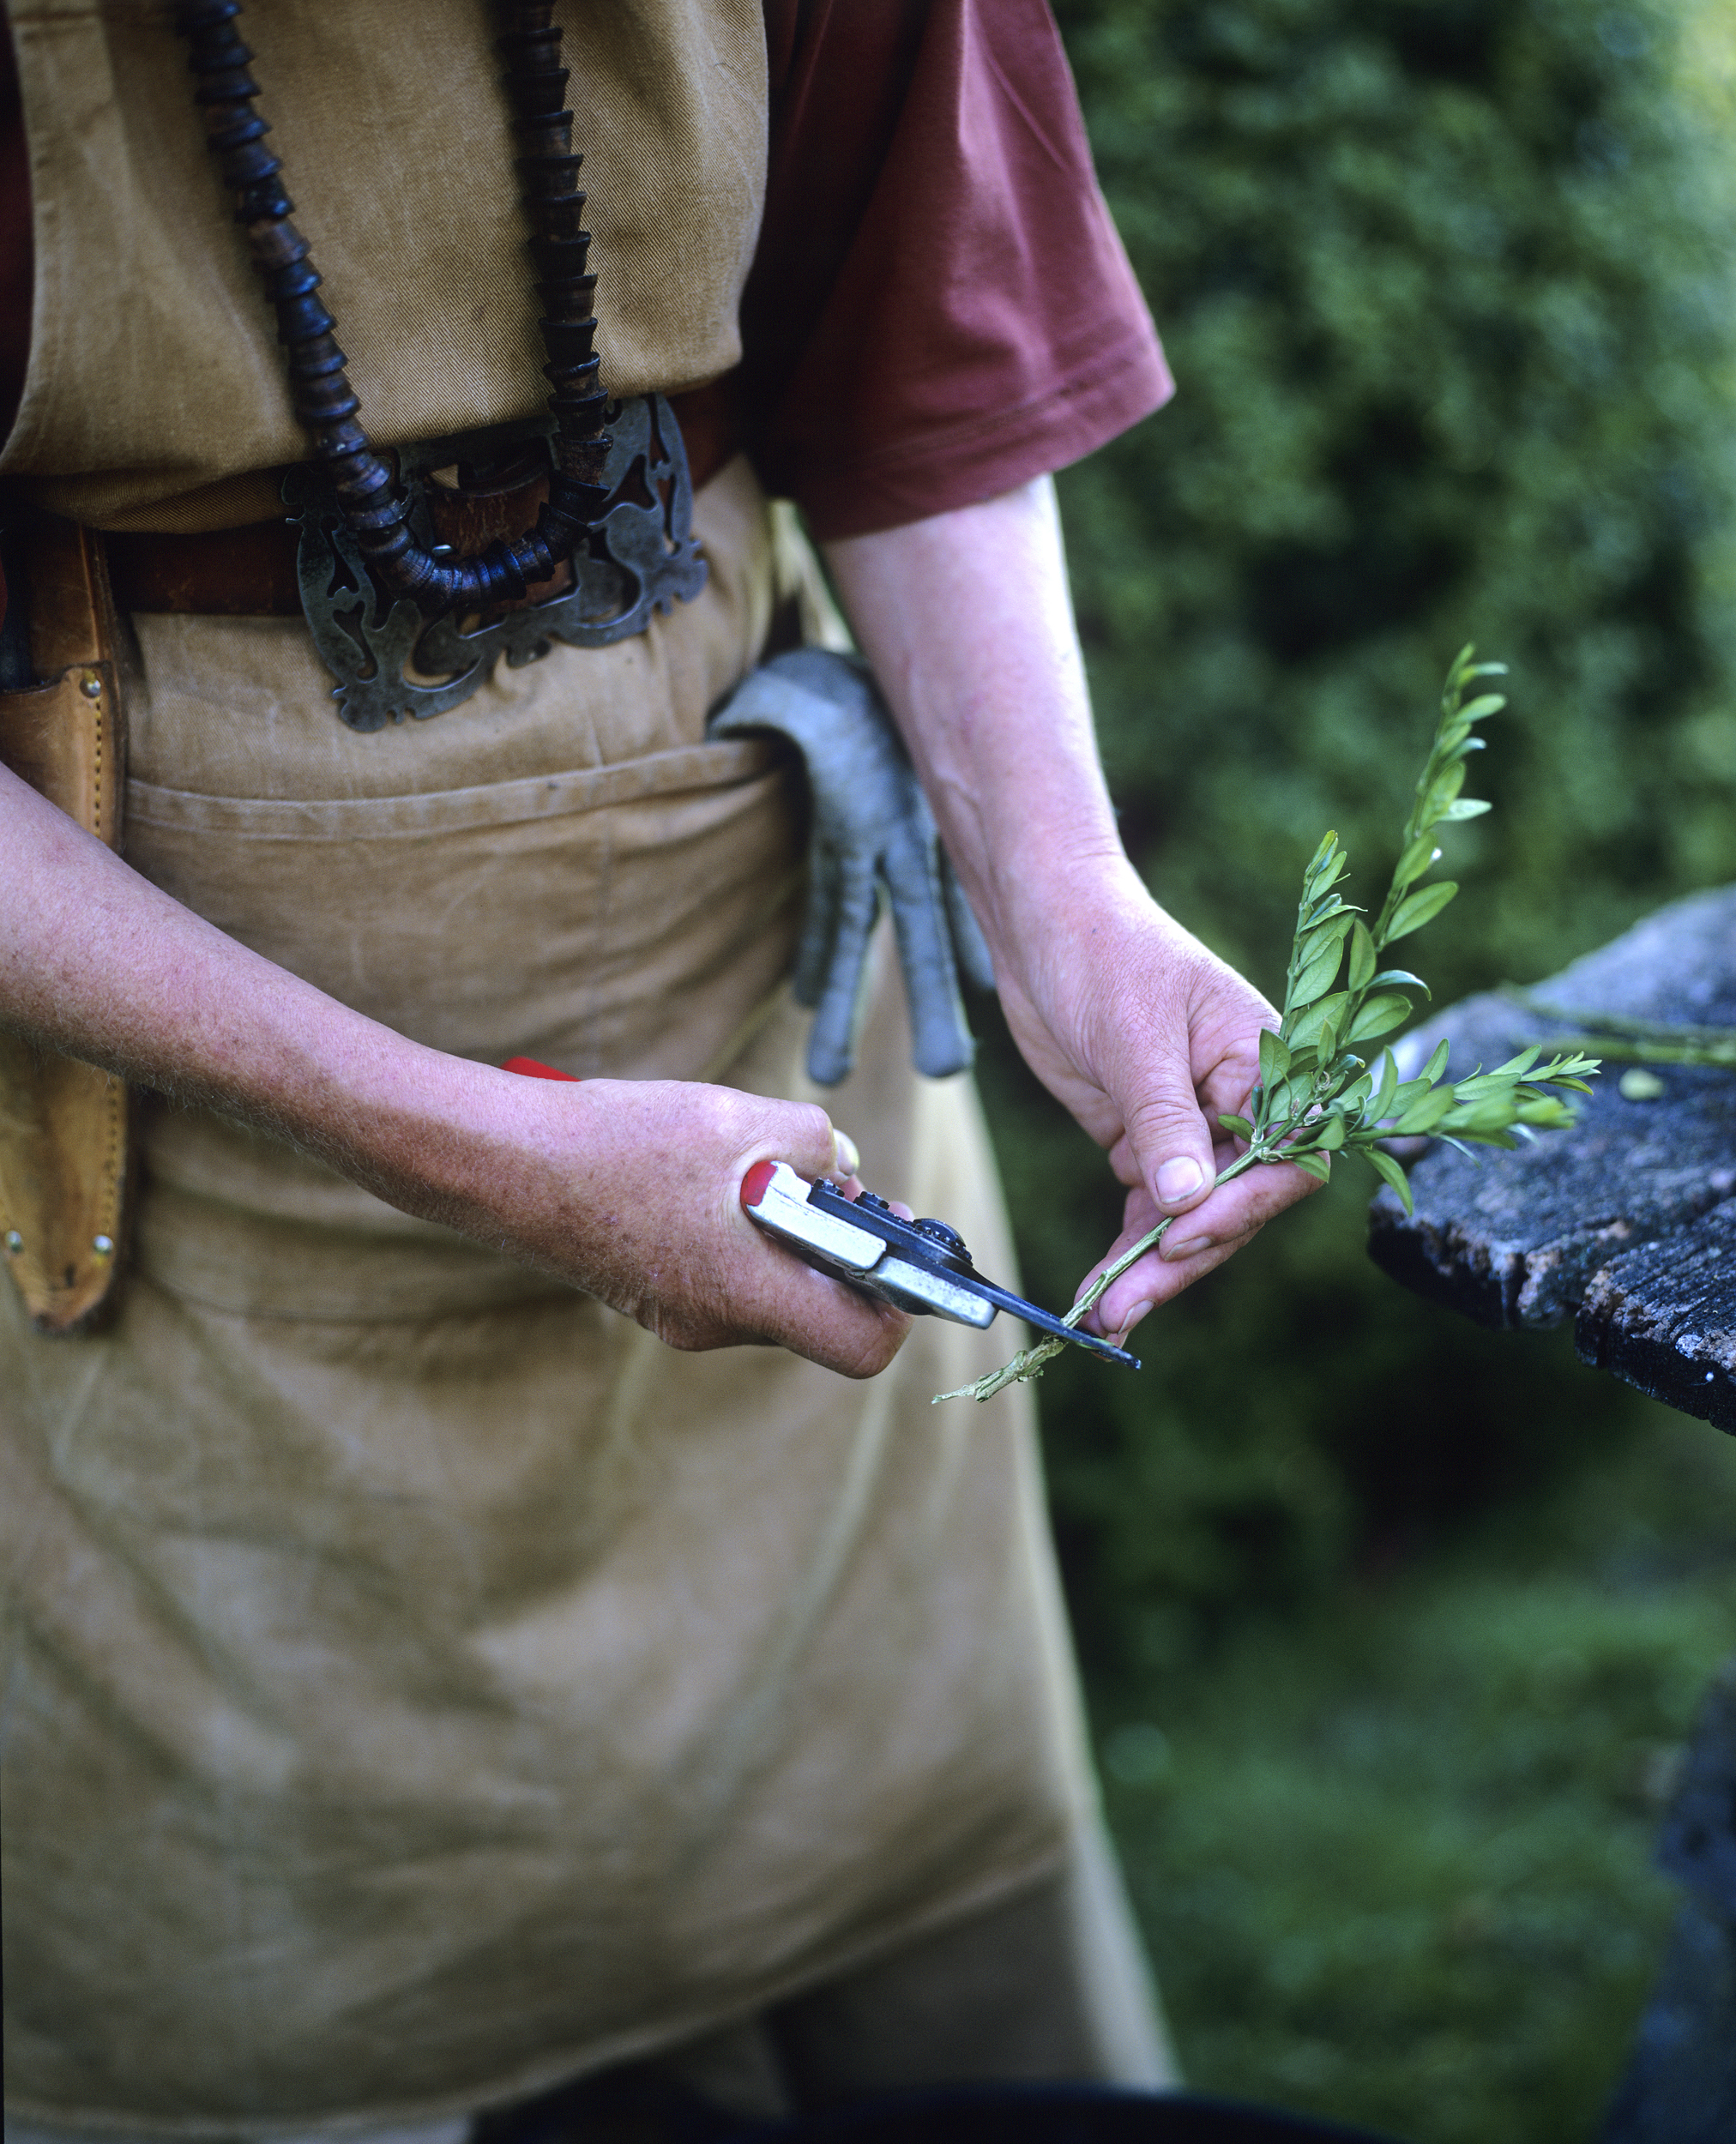
Learn how to take cuttings and you can fill your beds and borders without having to shop for seeds or expensive established plants. It means you can get more of the garden plants you know grow happily in your garden, and that are particular favorites. You’ll also save yourself the puzzle of identifying plants that arises when you’re buying because you’ll already be sure of what a particular rose, for example, looks like.
Taking cuttings may sound like a potentially tricky garden task, but it really isn’t hard to do. You just need to know the different times of year to take soft and hardwood cuttings, then get the technique right for the best results.
- Our guide to gardening for beginners is really useful also.
Shrubby perennials, such as salvias, fuchsias and pelargoniums, and most shrubs, including hydrangeas, lavender and philadelphus, can be grown successfully from cuttings. It will take a little more time and care, but you will cut costs and replicate the specific plant.

Can you take cuttings any time of year?
Softwood cuttings, such as salvia and other hardy and tender perennials, are usually taken in spring and early summer, collected in the morning when the plant is turgid, or full of water. Taking them at this time of year give the roots enough time to establish for a better survival rate through winter.
Fall is an ideal time of year to take any hardwood cuttings, which will propagate a range of trees, shrubs and climbers, and can be grown on outdoors. The benefit of taking what are called 'semi-ripe cuttings' reduces the possibility of rot since your cuttings should be woody at the base, and soft at the tip, so that your plants root and grow successfully.
Essentials
- A sharp clean knife/secateurs
- Cutting material (non flowering shoots are best)
- Clean plastic bags with labels for identification
- Free-draining sandy or gritty compost
- Clean pots
- Find all the best gardening tools in our guide.

How to take softwood cuttings
Softwood cuttings are ideal to multiply tender or hardy perennials and some deciduous shrubs also including Buddleja, Hydrangea, Fuchsia and some trees.
- Gather your materials.
- Cut softwood cuttings diagonally at a leaf node or leaf stem junction, making cuttings about 15cm long.
- Remove the lower leaves so that there are only two or three at the top.
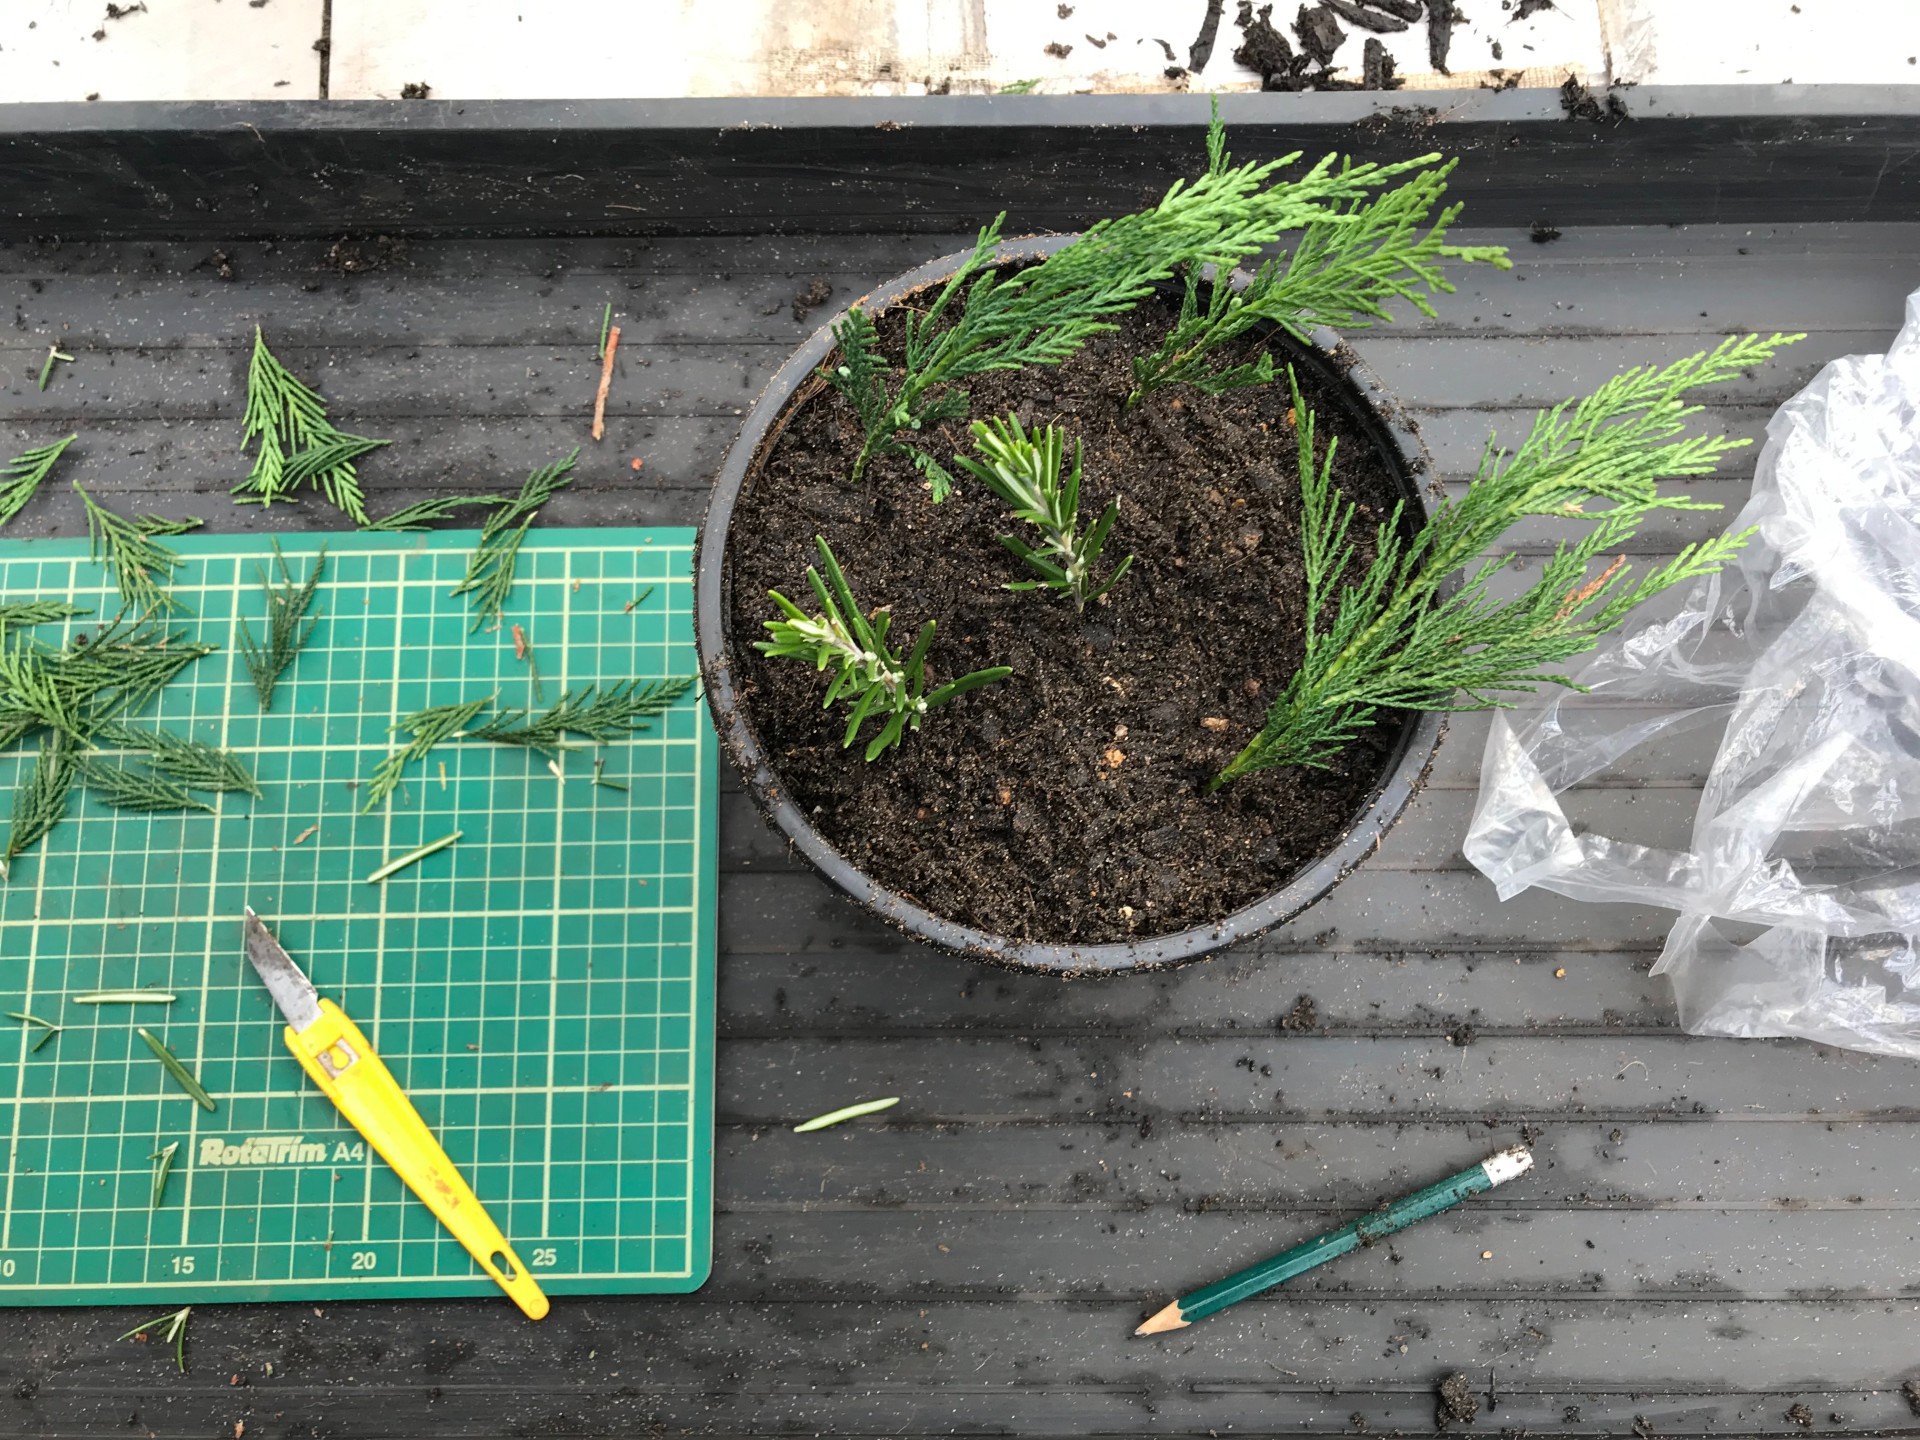
- Make a small hole in the free-draining compost potting mix with a stick before inserting the cutting.
- Each cutting needs to have at least one node underground and one above.
- Put a couple of cuttings in each pot, use the corners for even spacing as success is not guaranteed.
- Place the pot in a propagator case or cover with a plastic bag, ventilate twice a week. The ideal growing temperature is between 18-24C. They could also be kept on a windowsill indoors.
- Cuttings need good light but not direct sun, and keep the compost moist until the cutting is well-rooted.
- As leaves appear, harden off the plants and transplant into larger pots and then into the garden when they are at the required size.
- See more indoor gardening ideas if you don't have outdoor space.
How to take hardwood cuttings
Taking hardwood cuttings is a great way to propagate roses, forsythia, buddleja as well as trees like willow and shrubs like gooseberries bushes. Climbers likes honeysuckle and jasmine are also popular garden plants to propagate like this.
Get small space home decor ideas, celeb inspiration, DIY tips and more, straight to your inbox!
- Look for healthy plants, and select a fresh and healthy shoot to cut. Make sure you avoid those that have flowers or their nodes/buds.
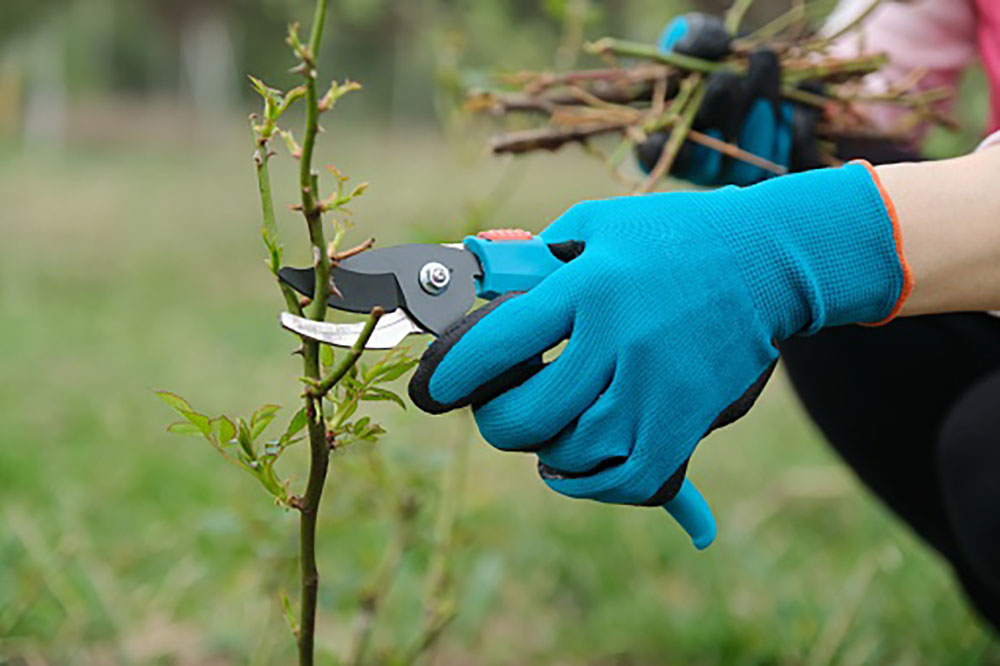
- Using secateurs that are sharp and clean or a sharp knife, make a horizontal cut 6mm (1/4") below the lowest bud.
- Put each cutting in a clear bag straightaway as you continue and prepare to pot them up.
- They’ll require a well-drained sandy or gritty compost in a pot or tray. Cuttings can share a container, but space them out by using the corners so that leaves aren’t in contact with one another.
- Then trim off a shoot with a sloping cut, to around 8-10cm in length 6mm again, but above a node this time. The base will be firmer, while the top will be softer.
- Remove the side leaves from the base including any that are very new and small, but leave some leaves at the top.
- Take your knife and starting at the bottom, very gently scrape off the first layer to about 1 inch up of the shoot to reveal the green layer known as the cambium. This is where the meristem cells are which encourage growth furthermore. Use as little pressure as possible, if the white is revealed you've gone too far. This is known as wounding.
- Dip the end of the cutting into honey or hormone rooting powder to encourage root development.
- You can grow your hardwood cuttings straight in the ground, 10-15" apart in trenches or, in containers in a greenhouse or sheltered cold frame.
- If using pots, make a small hole in the free-draining compost potting mix with a pencil or stick before inserting the cutting so as not to move the rooting hormone.
- Again, add a few cuttings to each pot, as success is not guaranteed.
- Insert each stem into the compost to around half of its depth. With the leaves out of the soil and at least one node beneath.
- Once they start to grow, cuttings sharing a container should be potted on individually. Plant out in spring.

- Find more of our best budget garden ideas.
Expert tips for taking cuttings
- Monty Don does recommend that as well as secateurs and a sharp knife, to add a plastic bag to your kit. Once you’ve taken a cutting you can put it into the bag which will minimise moisture loss.
- He also advises that plants like rosemary can root successfully from side shoots peeled from the main stem, but his preference is for taking those with the growing tip intact.
- When it comes to judging how much foliage to leave on the cutting, Monty’s tip is to leave an inch or less – we’re talking less than 2.5cm, if you think in metric.
- Avoid putting your cuttings on a south-facing windowsill, Monty says, as the result could be scorching. But somewhere warm and bright is essential. As for care, he advises watering well then keeping them moist with a daily misting after that.
- Monty says the morning is best to take cuttings but this isn’t essential so don’t worry if this doesn’t suit your timetable.
- For clump-forming plants, including perennials, spreading shrubs, underground rhizomes, bulbs and tubers, increase your stock by dividing every two or three years. Divide iris and canna rhizomes after flowering by trimming back foliage, lifting, removing any dead pieces from the rhizome and replanting.
- For more garden ideas, check out our dedicated page.
The best things in life are free!

Sarah is a freelance journalist and editor writing for websites, national newspapers, and magazines. She’s spent most of her journalistic career specialising in homes – long enough to see fridges become smart, decorating fashions embrace both minimalism and maximalism, and interiors that blur the indoor/outdoor link become a must-have. She loves testing the latest home appliances, revealing the trends in furnishings and fittings for every room, and investigating the benefits, costs and practicalities of home improvement. It's no big surprise that she likes to put what she writes about into practice, and is a serial house revamper. For Realhomes.com, Sarah reviews coffee machines and vacuum cleaners, taking them through their paces at home to give us an honest, real life review and comparison of every model.