How to repair a Victorian roof
Roofs are more likely to develop faults than any other part of older properties, so understand their traditional construction and follow this advice on how to spot typical defects

Get small space home decor ideas, celeb inspiration, DIY tips and more, straight to your inbox!
You are now subscribed
Your newsletter sign-up was successful
No homeowner wants to discover that they have a leaking roof. Thankfully, many original Victorian roofs have stood the test of time, largely due to the use of high quality materials. With older properties, however, it is important to makes regular checks for potential problems and deal with them before disaster strikes.
Read on to find out how.
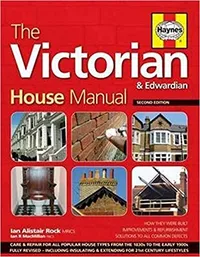
This feature is an edited extract from the Victorian & Edwardian House Manual by Ian Rock, published by Haynes. Ian Rock is a chartered surveyor and director of survey price comparison website rightsurvey.co.uk
Roof structure
- Roofs traditionally take the form of a giant triangle with the sides made from timber rafters propped up against each other.
- At the base the rafter feet are coupled together by the ceiling joists, which all rest on the bedroom walls below.
- To prevent the roof slopes sagging, extra support is usually provided by thick timber beams – purlins – running from end to end.
- In larger houses with attic rooms, the roofs were instead built with queen posts – similar in design to football goalposts.
If up in the loft you can see the undersides of the slates or tiles fixed to thin rows of timber battens, then your roof is likely to be original. Although some roofs in more expensive later Victorian houses have timber ‘sarking boarding’ laid over the rafters, the practice of draping sheets of underfelt beneath the tiles as a secondary line of defence is a relatively modern concept – previously any moisture seeping through in stormy weather would have dried out thanks to lofts being well ventilated.
Damp problems can occur where old roofs have been re-clad and underfelted, unless ventilation is improved to compensate. Modern ‘breather membranes’ are a solution – preventing rain getting in while allowing air to pass through.
Originally roofs were not insulated, but as they account for at least a quarter of the total heat loss in a typical home, it is important to check insulation levels. Quilted loft insulation should be at least 27cm deep laid over the ceiling joists.
Common roof defects and solutions
Water leaks
Get small space home decor ideas, celeb inspiration, DIY tips and more, straight to your inbox!
If you find damp brown patches on your bedroom walls or ceilings, you first need to trace the source. This isn’t always obvious because water can run along ceilings for quite a distance. One useful test is to look in the loft with the light off to try and spot any large gaps.
Solutions
- The most common cause of roof leaks is at junctions, such as flashings and valleys. Cement mortar fillets are notoriously prone to cracking and should be replaced with leadwork. Loose flashings can be refixed but where they are split or badly corroded they will need to be replaced.
- In terraced houses, junctions between neighbouring roofs can be a weak point requiring localised stripping and the insertion of strips of lead ‘soakers’ underneath.
- A more obvious cause of leaks is where a few slates or tiles have slipped or are missing. Replacement tiles can be slotted in quite easily, and slates secured with new corrosion-proof fixings. If just one or two slates are loose, they can be refixed using metal clips, known as ‘tingles’. If there is more than about five then the roof probably needs to be stripped and re-covered.
- Where heavy ridge tiles on the top of the roof have come loose or are missing, these need to be professionally replaced or secured by re-bedding in mortar.
- Check any pipework and tanks in the loft for leaks, and ensure they are properly insulated and protected from frost.
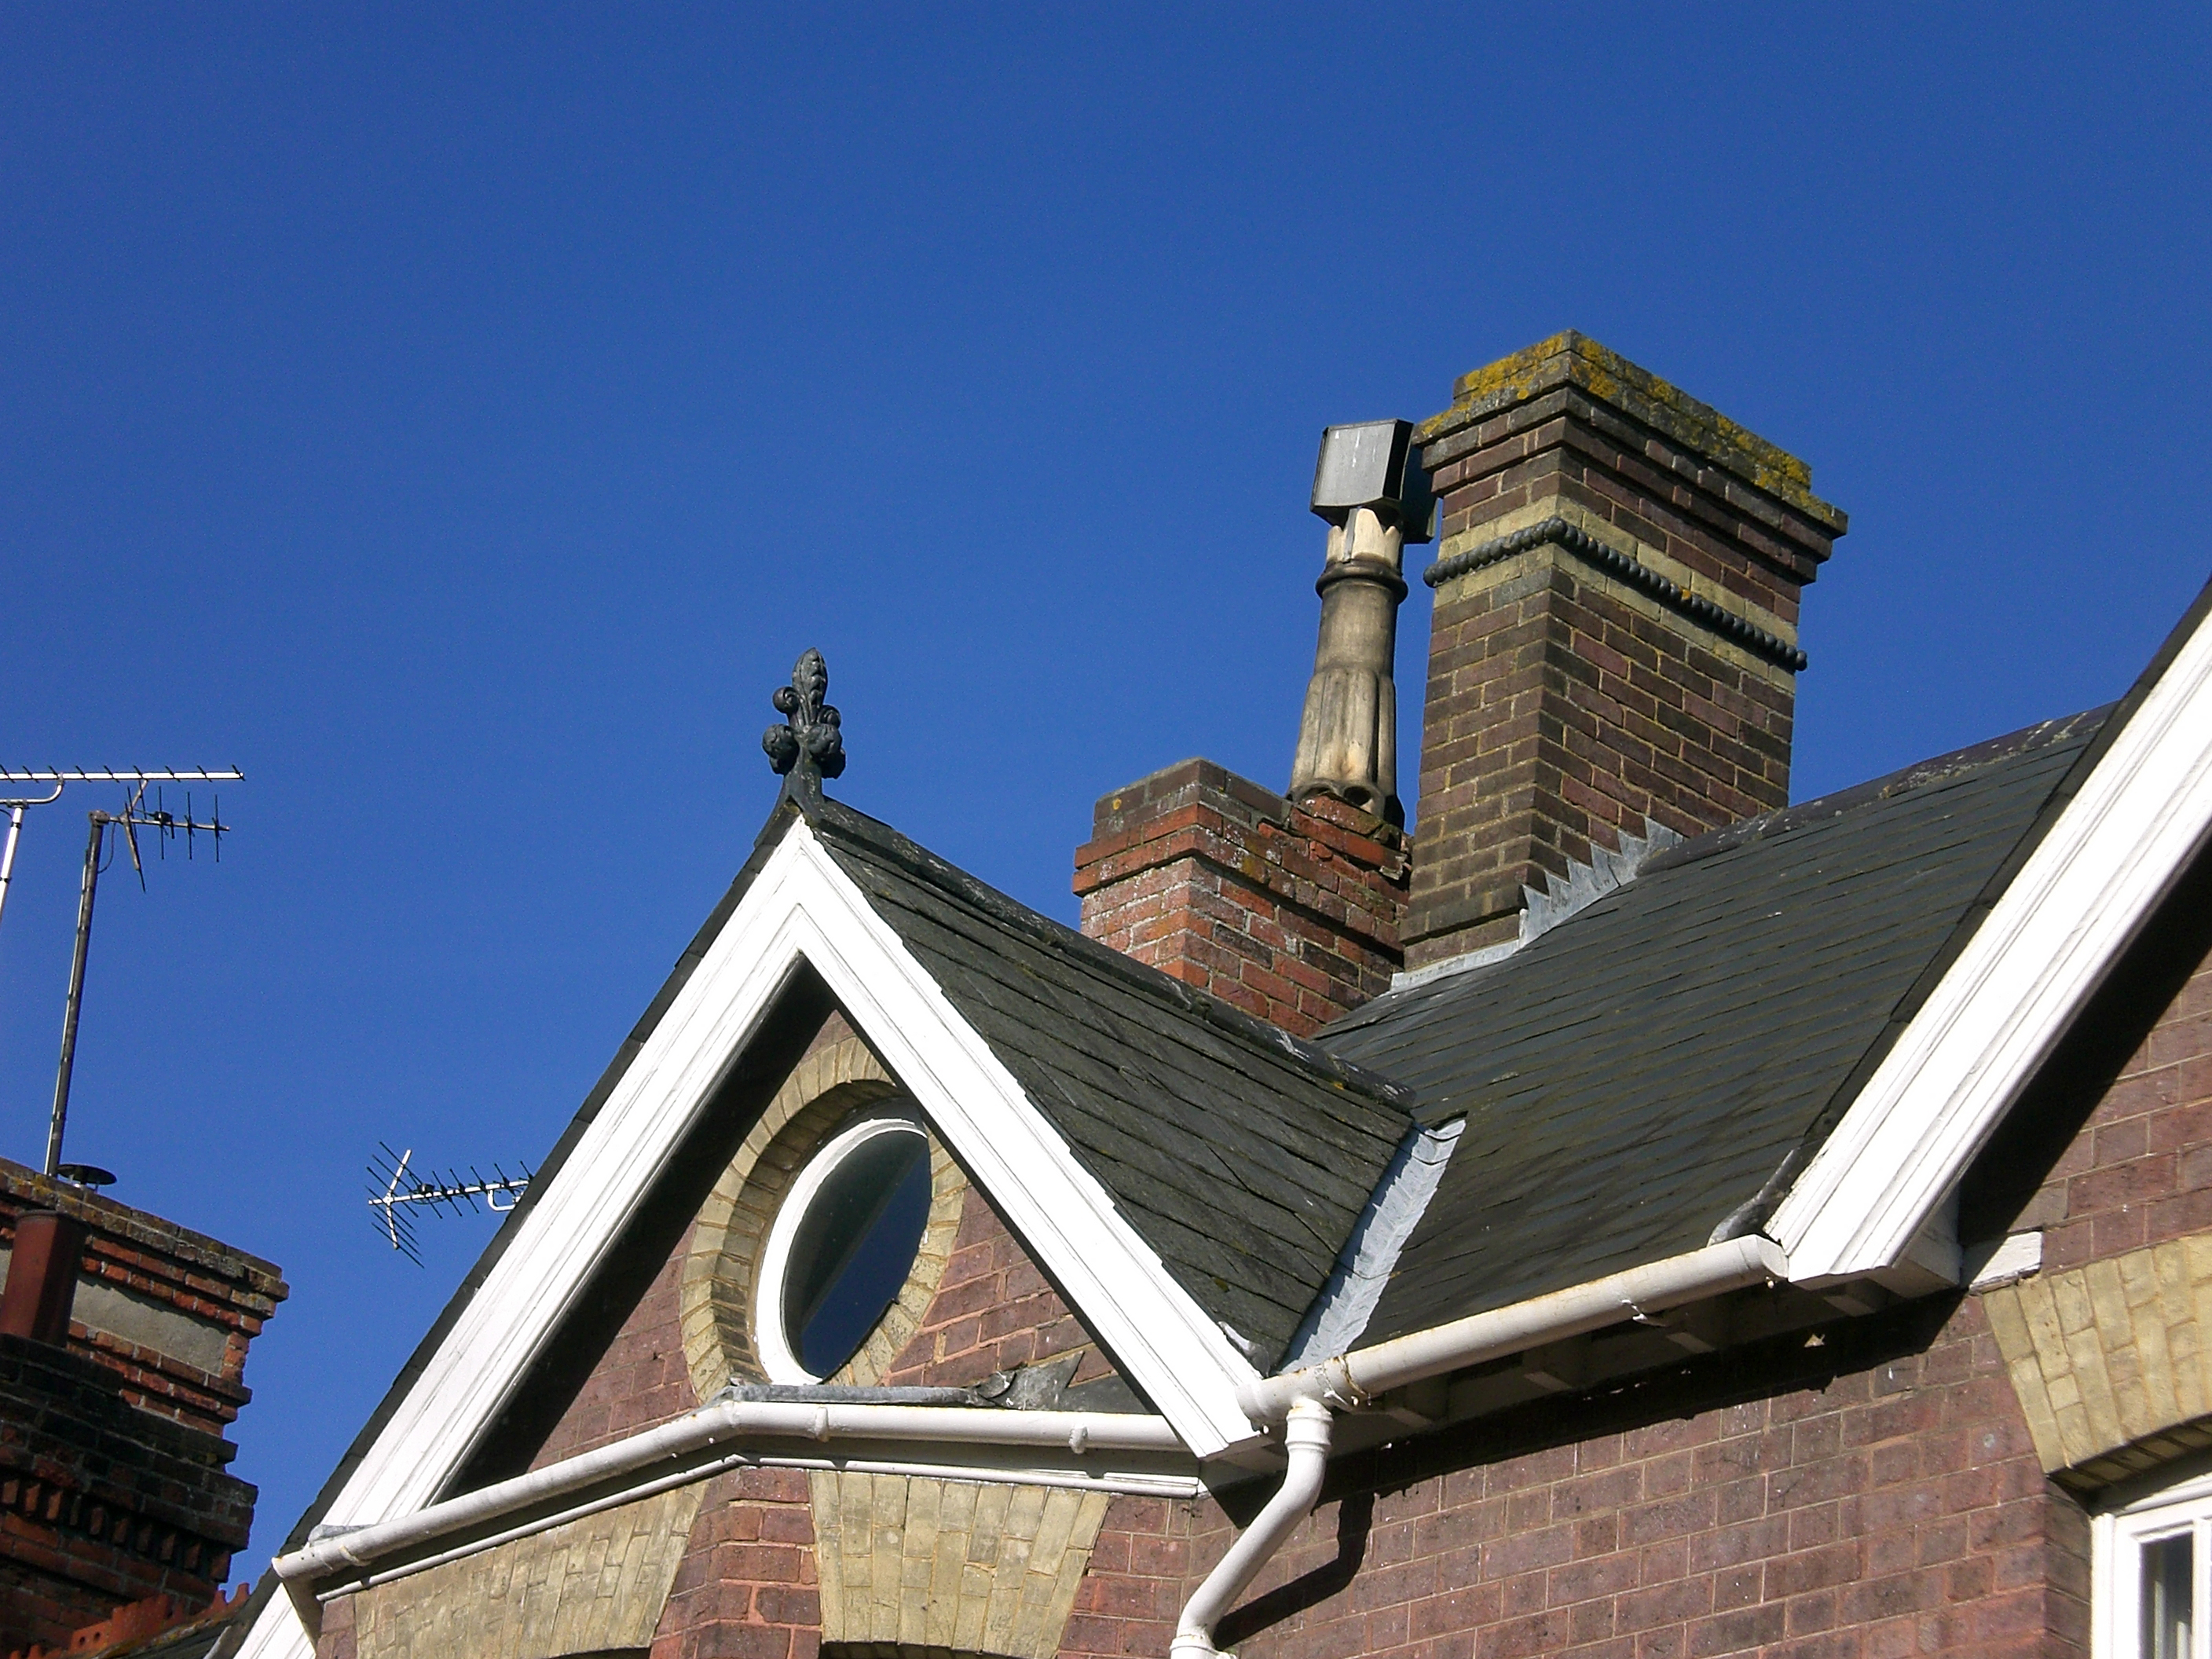
A classic lead lined valley on a Victorian roof
Dampness in the loft
As well as water coming into the house through leaks, there may be other factors at work causing dampness, which can seriously affect loft insulation and timbers, even extending down to the rooms below.
Solutions
- If moist or steamy air from your rooms finds its way into a cold loft, it will condense back into water, which can then drip down onto the ceiling. If loft insulation gets wet it becomes useless, and damp roof timbers can start to rot. The solution is to plug any points of entry from below. Fill any holes in ceilings and fit new LED bulbs to any recessed lighting, which can then be boxed in on top. Make sure the loft hatch closes properly and is insulated. Also upgrade the loft insulation over ceilings to at least 27cm depth of mineral wool and ensure there is good ventilation through the loft from outside so any moisture is free to evaporate out.
- Some lofts have thin gable end walls, which can allow damp to permeate through. Repair any cracks, eroded pointing or blown render. Internally, treat any decayed timbers, and walls can be dry-lined with insulated plasterboard.
- Another danger zone can be found at small parapet walls where rain can seep down into the bedrooms; here the masonry can be protected by repointing or cladding with lead, or by fitting new flashings.
Missing firebreak walls
In terraced and semi-detached houses, each loft should be separated from next door’s by a brick or stone firebreak party wall. This was one area where Victorian builders were tempted to skimp. If there are no walls separating your loft from the neighbours’, it could cause problems with mortgage lenders, and is a fire and security risk.
Solution
- Construct new firebreak walls in compliance with building regulations. Normally single thickness blockwork is adequate, or fire-resistant plasterboard. Hopefully the neighbours will be willing to share the cost.
Quick fix botches
Some old roofs have suffered from ‘quick fix’ treatments that do more harm than good. One example is polyurethane spray foam, used to glue the undersides of tiles to the battens to stop them slipping. Any moisture in the roof timbers will be similarly sealed in, hastening decay. The foam also blocks essential ventilation, and is commonly misapplied. Spray foam offers virtually no insulation benefit, while preventing old slates from being salvaged and recycled.
Another false economy is coating old slates with thick layers of bituminous paint. Despite only extending the life of the roof for a few years, this can cost almost half the price of a proper roof overhaul because of the cost of scaffolding and labour.
Roofing work
It’s not unknown for some less ethical roofing contractors to convince homeowners they need unnecessary major works. Even with fairly straightforward roofing repairs, such as refixing or replacing the odd slipped slate, the cost of access can significantly add to the cost. However, platform towers can be hired relatively cheaply compared to full scaffolding or hydraulic ‘cherry pickers’.
Where an old roof genuinely needs to be re-covered, it is sometimes possible to salvage more than half the original slates or tiles for reuse with new fixings. When choosing new materials, it’s important to select the correct size and type of slate or tile to match the originals. Take photos to record the condition of the old roof as a guide.
Early Victorian butterfly roofs
Some early Victorian townhouses with elegant Georgian-style façades conceal ‘butterfly’ roofs nestling behind parapet walls. These are M-shaped with a valley gutter running down the middle. ‘Parapet’ roofs are similar, but with the main gutter running directly behind the front wall. Out of sight, over the years, valleys can become blocked, causing water to overflow onto bedroom ceilings, eventually rotting structural timber beams.
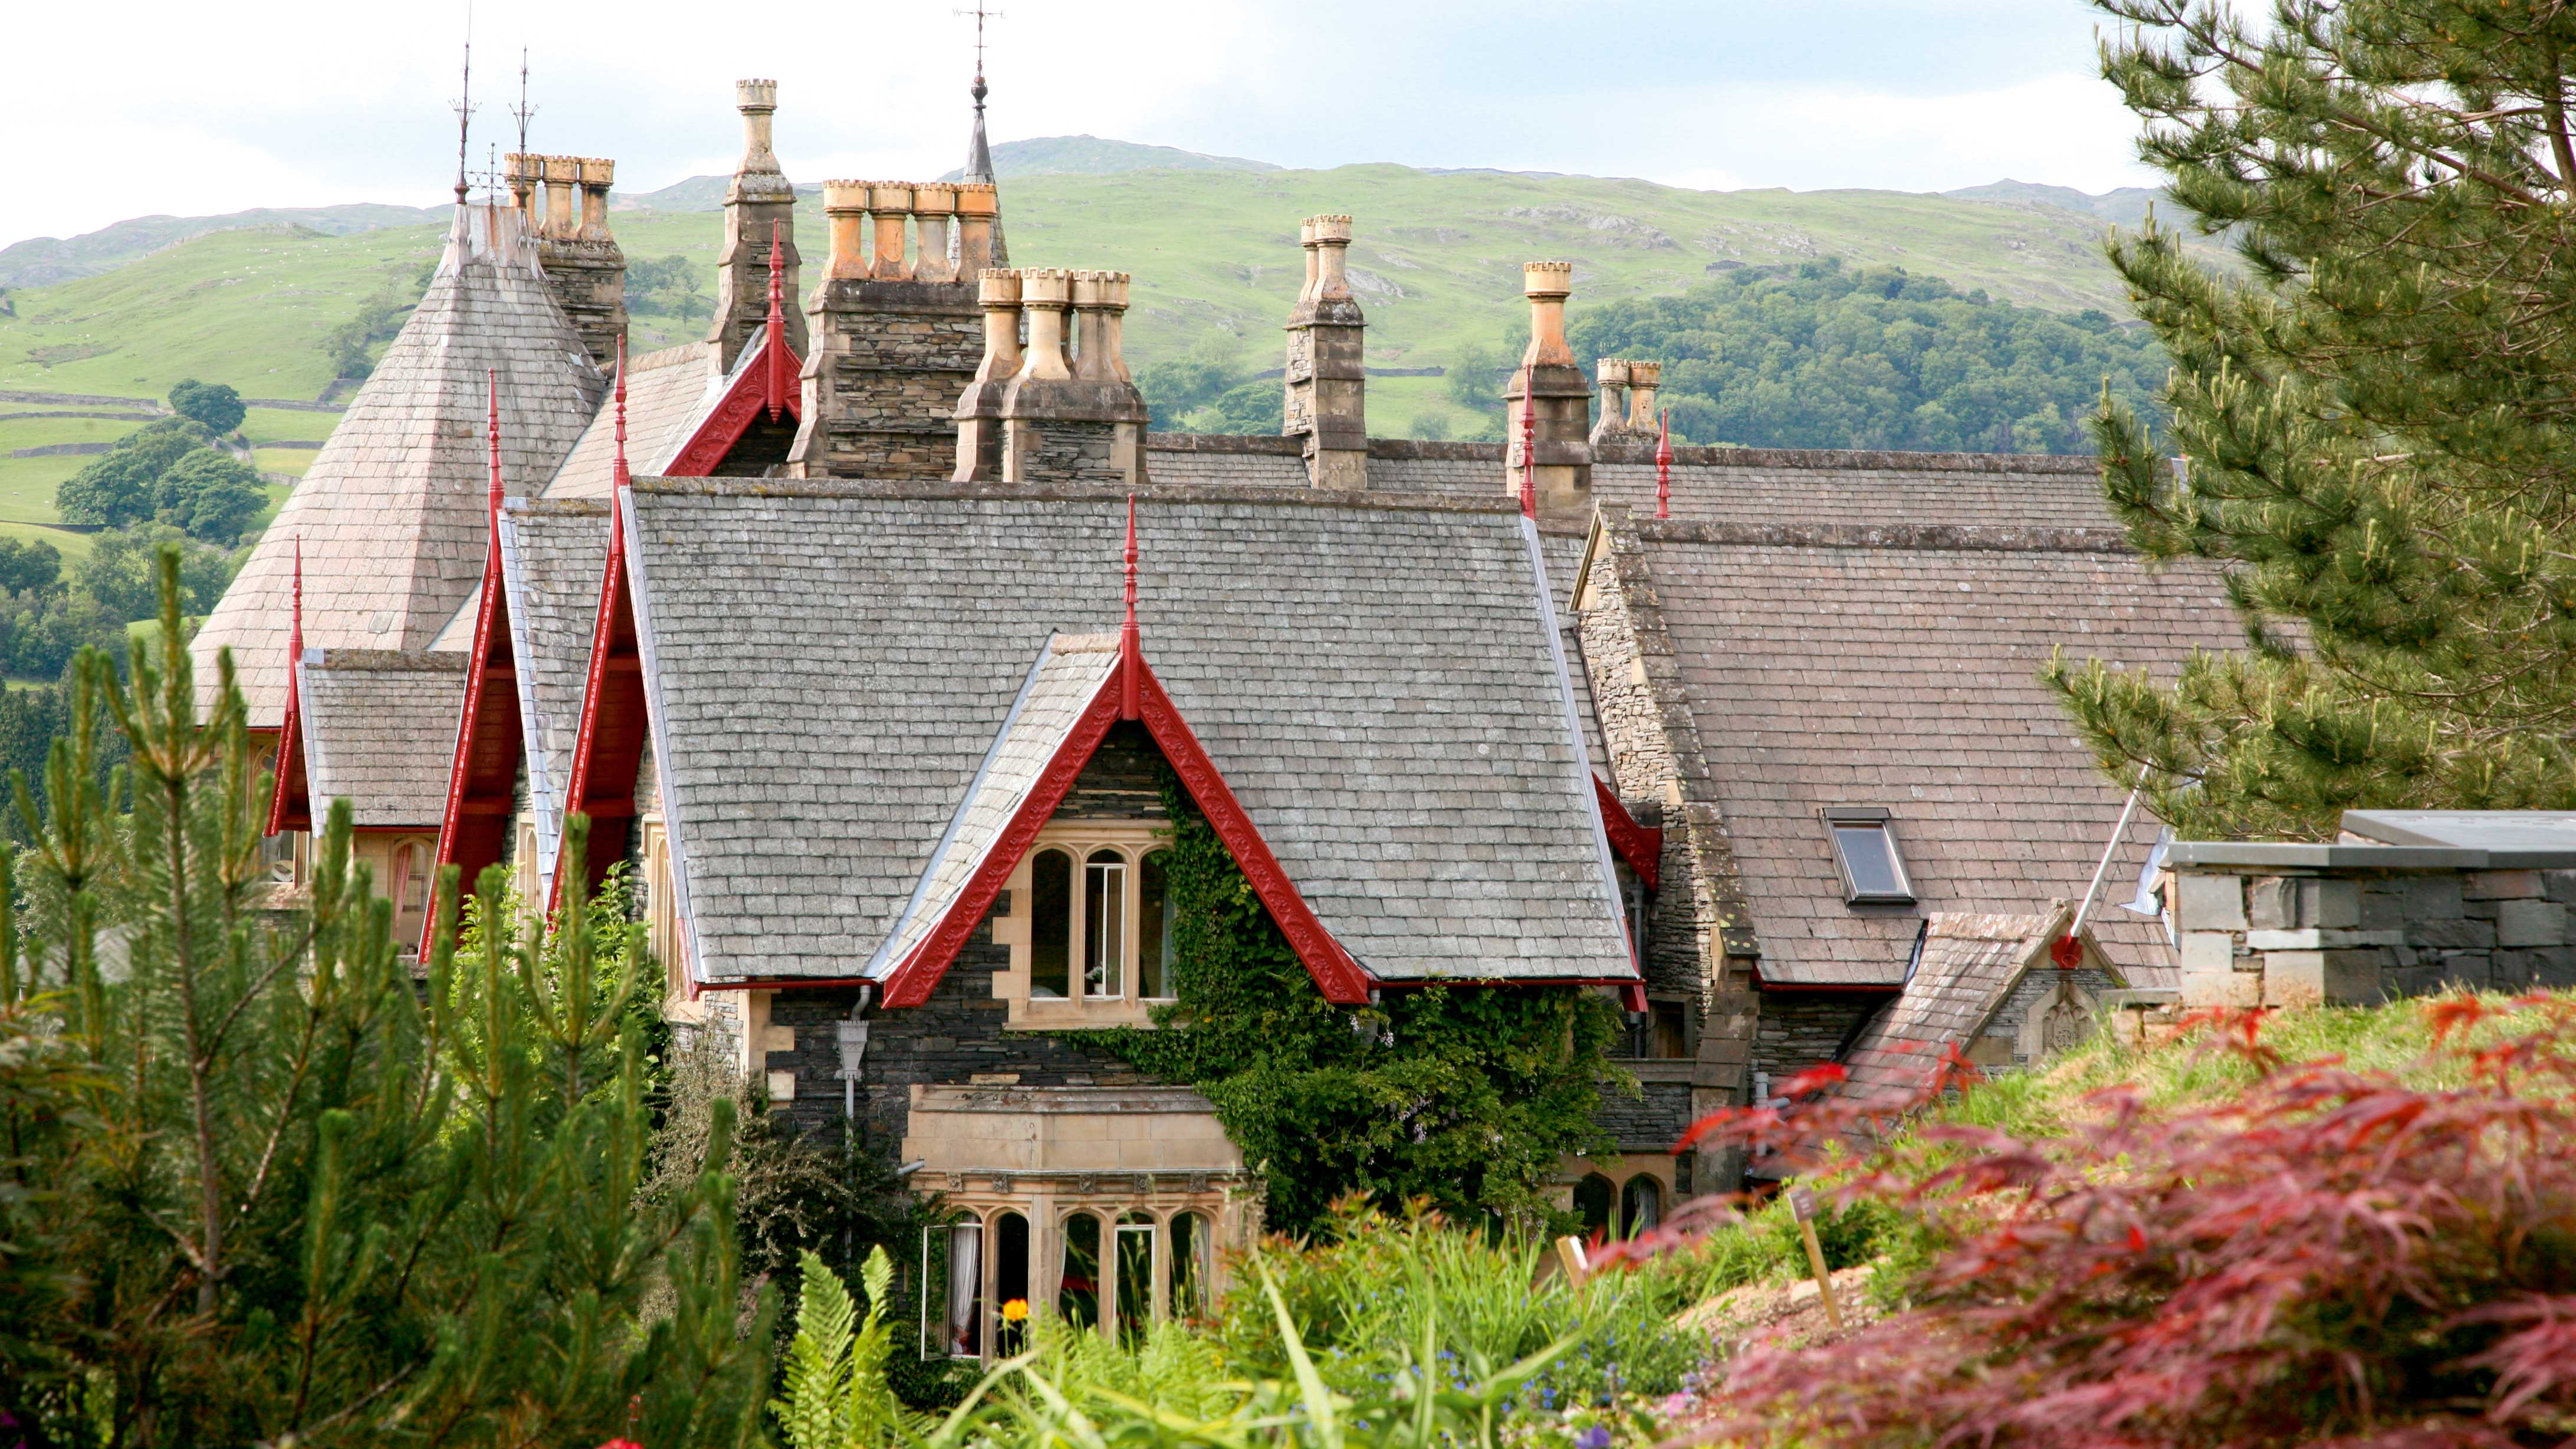
Over time roof tiles can become porous, absorbing moisture, but when replacing ensure you choose the correct size and material
Roof coverings
Natural slate
Lightweight, hardwearing and long lasting, Welsh slate was the most common Victorian roof covering. Failure is usually due to the nail fixings becoming corroded, causing the slates to slip, although with age slates can eventually start to absorb water and become soft. Recycled slate is less expensive than buying new, but cheaper imported Chinese or Spanish varieties are generally regarded as inferior.
Plain tiles
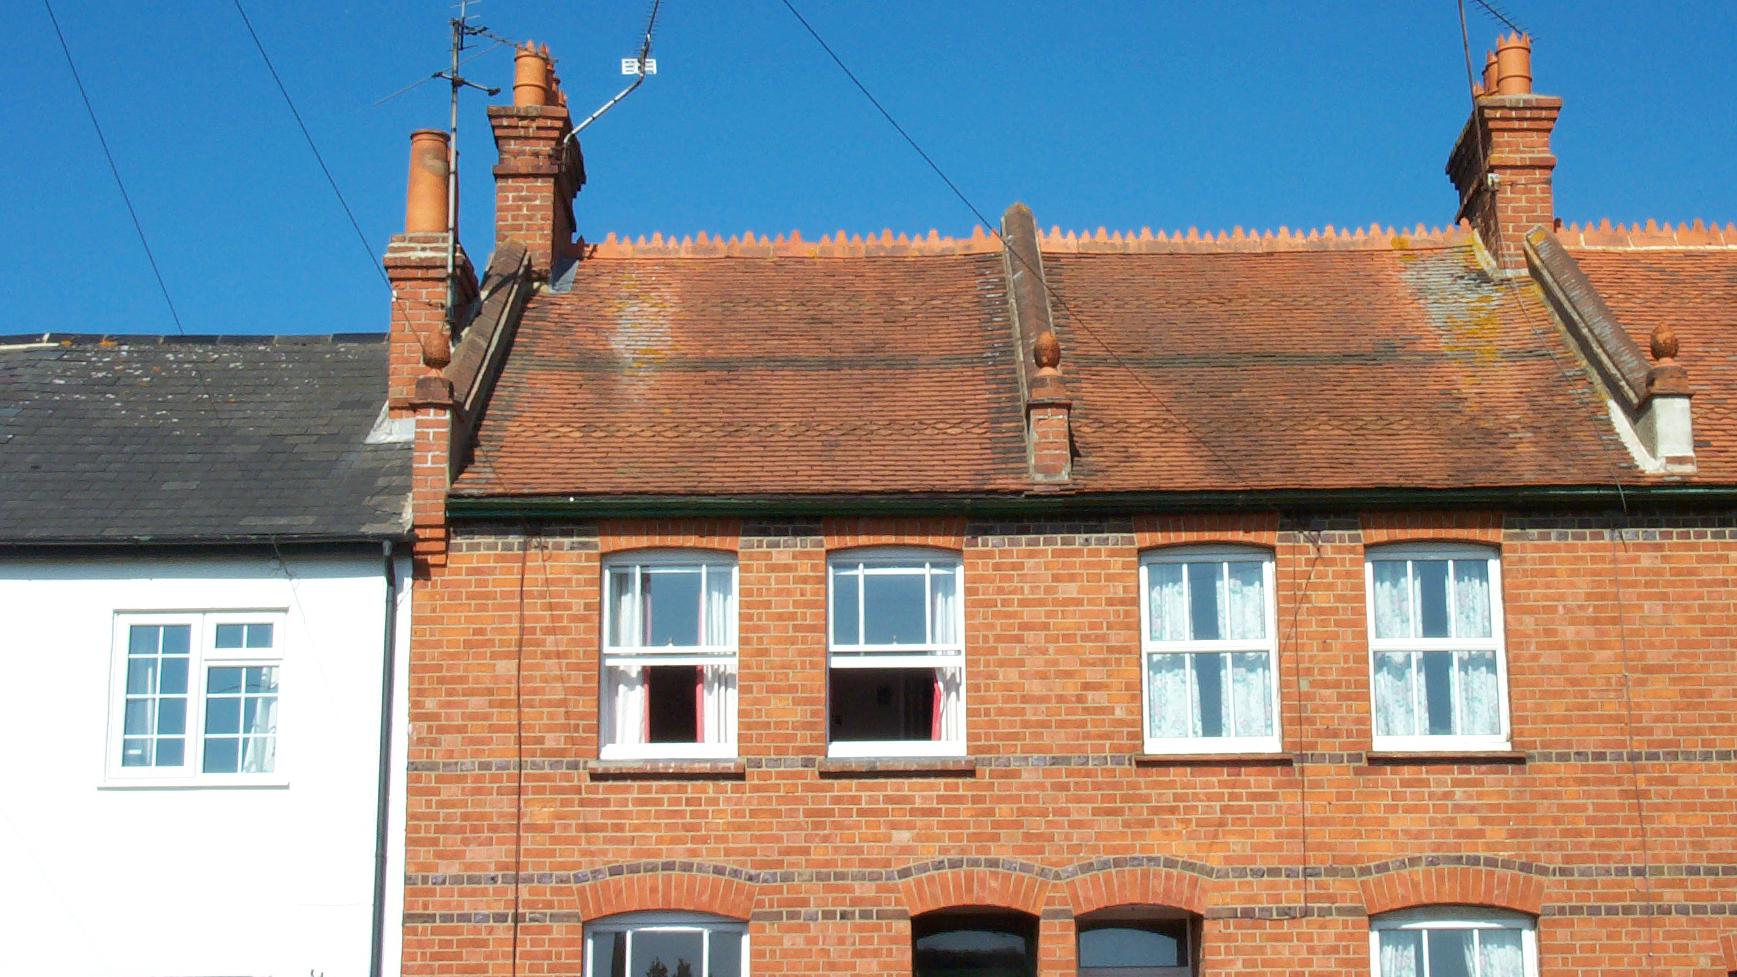
By the late Victorian period, affordable manufactured tiles became fashionable and widely available. Plain tiles are small and rectangular, but were also made to ornate designs such as arrowheads and fishtails. Tiles can eventually become porous, absorbing moisture from rain – or condensation in lofts – making them vulnerable to frost.
Concrete tiles
In the 1980s many Victorian houses had their roofs re-clad with large interlocking concrete tiles. Being relatively heavy they have caused some roofs to sag alarmingly. Interlocking concrete tiles also look clumsy and are unsuitable for areas where intricate detailing is required, such as on bay windows. Some smaller plain tiles made from concrete can mimic the appearance of traditional clay varieties when new, but become pale and blotchy with age.
Artificial slates
Modern artificial composite slates are manufactured from materials such as glass fibre resin mixed with slate dust. A budget choice, they are lightweight, easy to lay, and look reasonably authentic, if a little shiny.
Flashings and valleys
The main weak points on roofs tend to be at junctions with walls and chimney stacks. The joints are best sealed with metal flashings rather than cheap mortar fillets, which tend to crack and leak and should be replaced with leadwork, normally fixed into adjoining walls in a stepped zig-zag pattern.
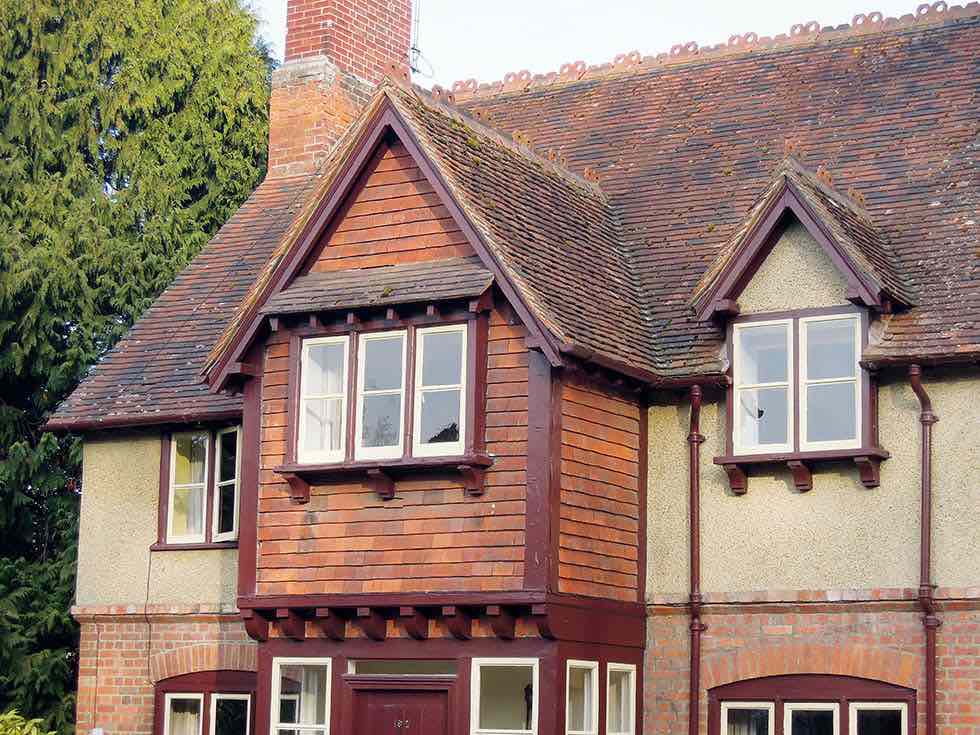
Valleys are also found at junctions, where one roof joins another at an angle; they are a common weak point and should be periodically cleared to prevent rainwater overflowing into the roof space. If relining is needed, modern purpose-made plastic (GRP) valley trays are sometimes used as a cheaper but less durable alternative to lead.
Ridge tiles
Ornamental terracotta ridge tiles can be seen adorning the apex of many a Victorian roof. Original Victorian ridge tiles are a charming architectural feature well worth preserving and can often be repaired, or replicas made using broken old pieces as a template. Should they become loose they can be secured by being re-bedded in mortar.
Window roofs
Bay windows
On single-storey bays with small flat ‘balcony’ roofs, the rainwater pipes can become blocked, causing a build up of damp, which over time can seep through the front wall. This can eventually result in serious hidden rot to the big timber lintel above the bay opening – the ‘bressummer beam’ – robbing the wall above of support. Replacing a decayed beam is a major structural job.
Dormer windows
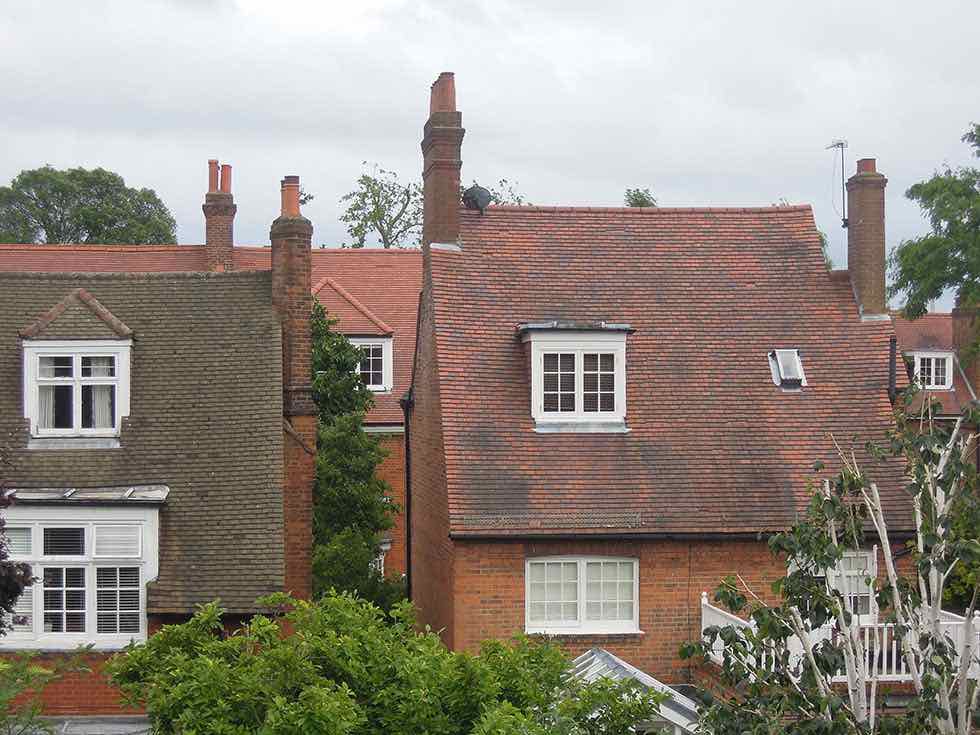
Projecting dormer windows in attic rooms were commonly built up as a continuation of the main walls below in brick or stone, with timber-framed sides (‘cheeks’) clad in zinc or lead, or hung with tiles or slates. Over the years these have a tendency to settle inwards, adopting a weary backward slant. Common failings with dormers include leaks at roof joints, and thin, poorly insulated walls and ceilings, prone to condensation and damp.
The Victorian House Manual | RRP £17.50 on Amazon
Want to take better care of your period home? This Haynes Manual by Ian Rock is the essential read for any owner of a Victorian (or Edwardian home).
Read more:

Ian Rock MRICS is the chartered surveyor author of eight Haynes Property Manuals, and is the director of the RICS home survey price comparison website Rightsurvey.co.uk

