How to prepare furniture for painting
DIY pro, Jasmine Gurney, shares how to prepare furniture for painting properly and what not to do if you want a flawless finish.
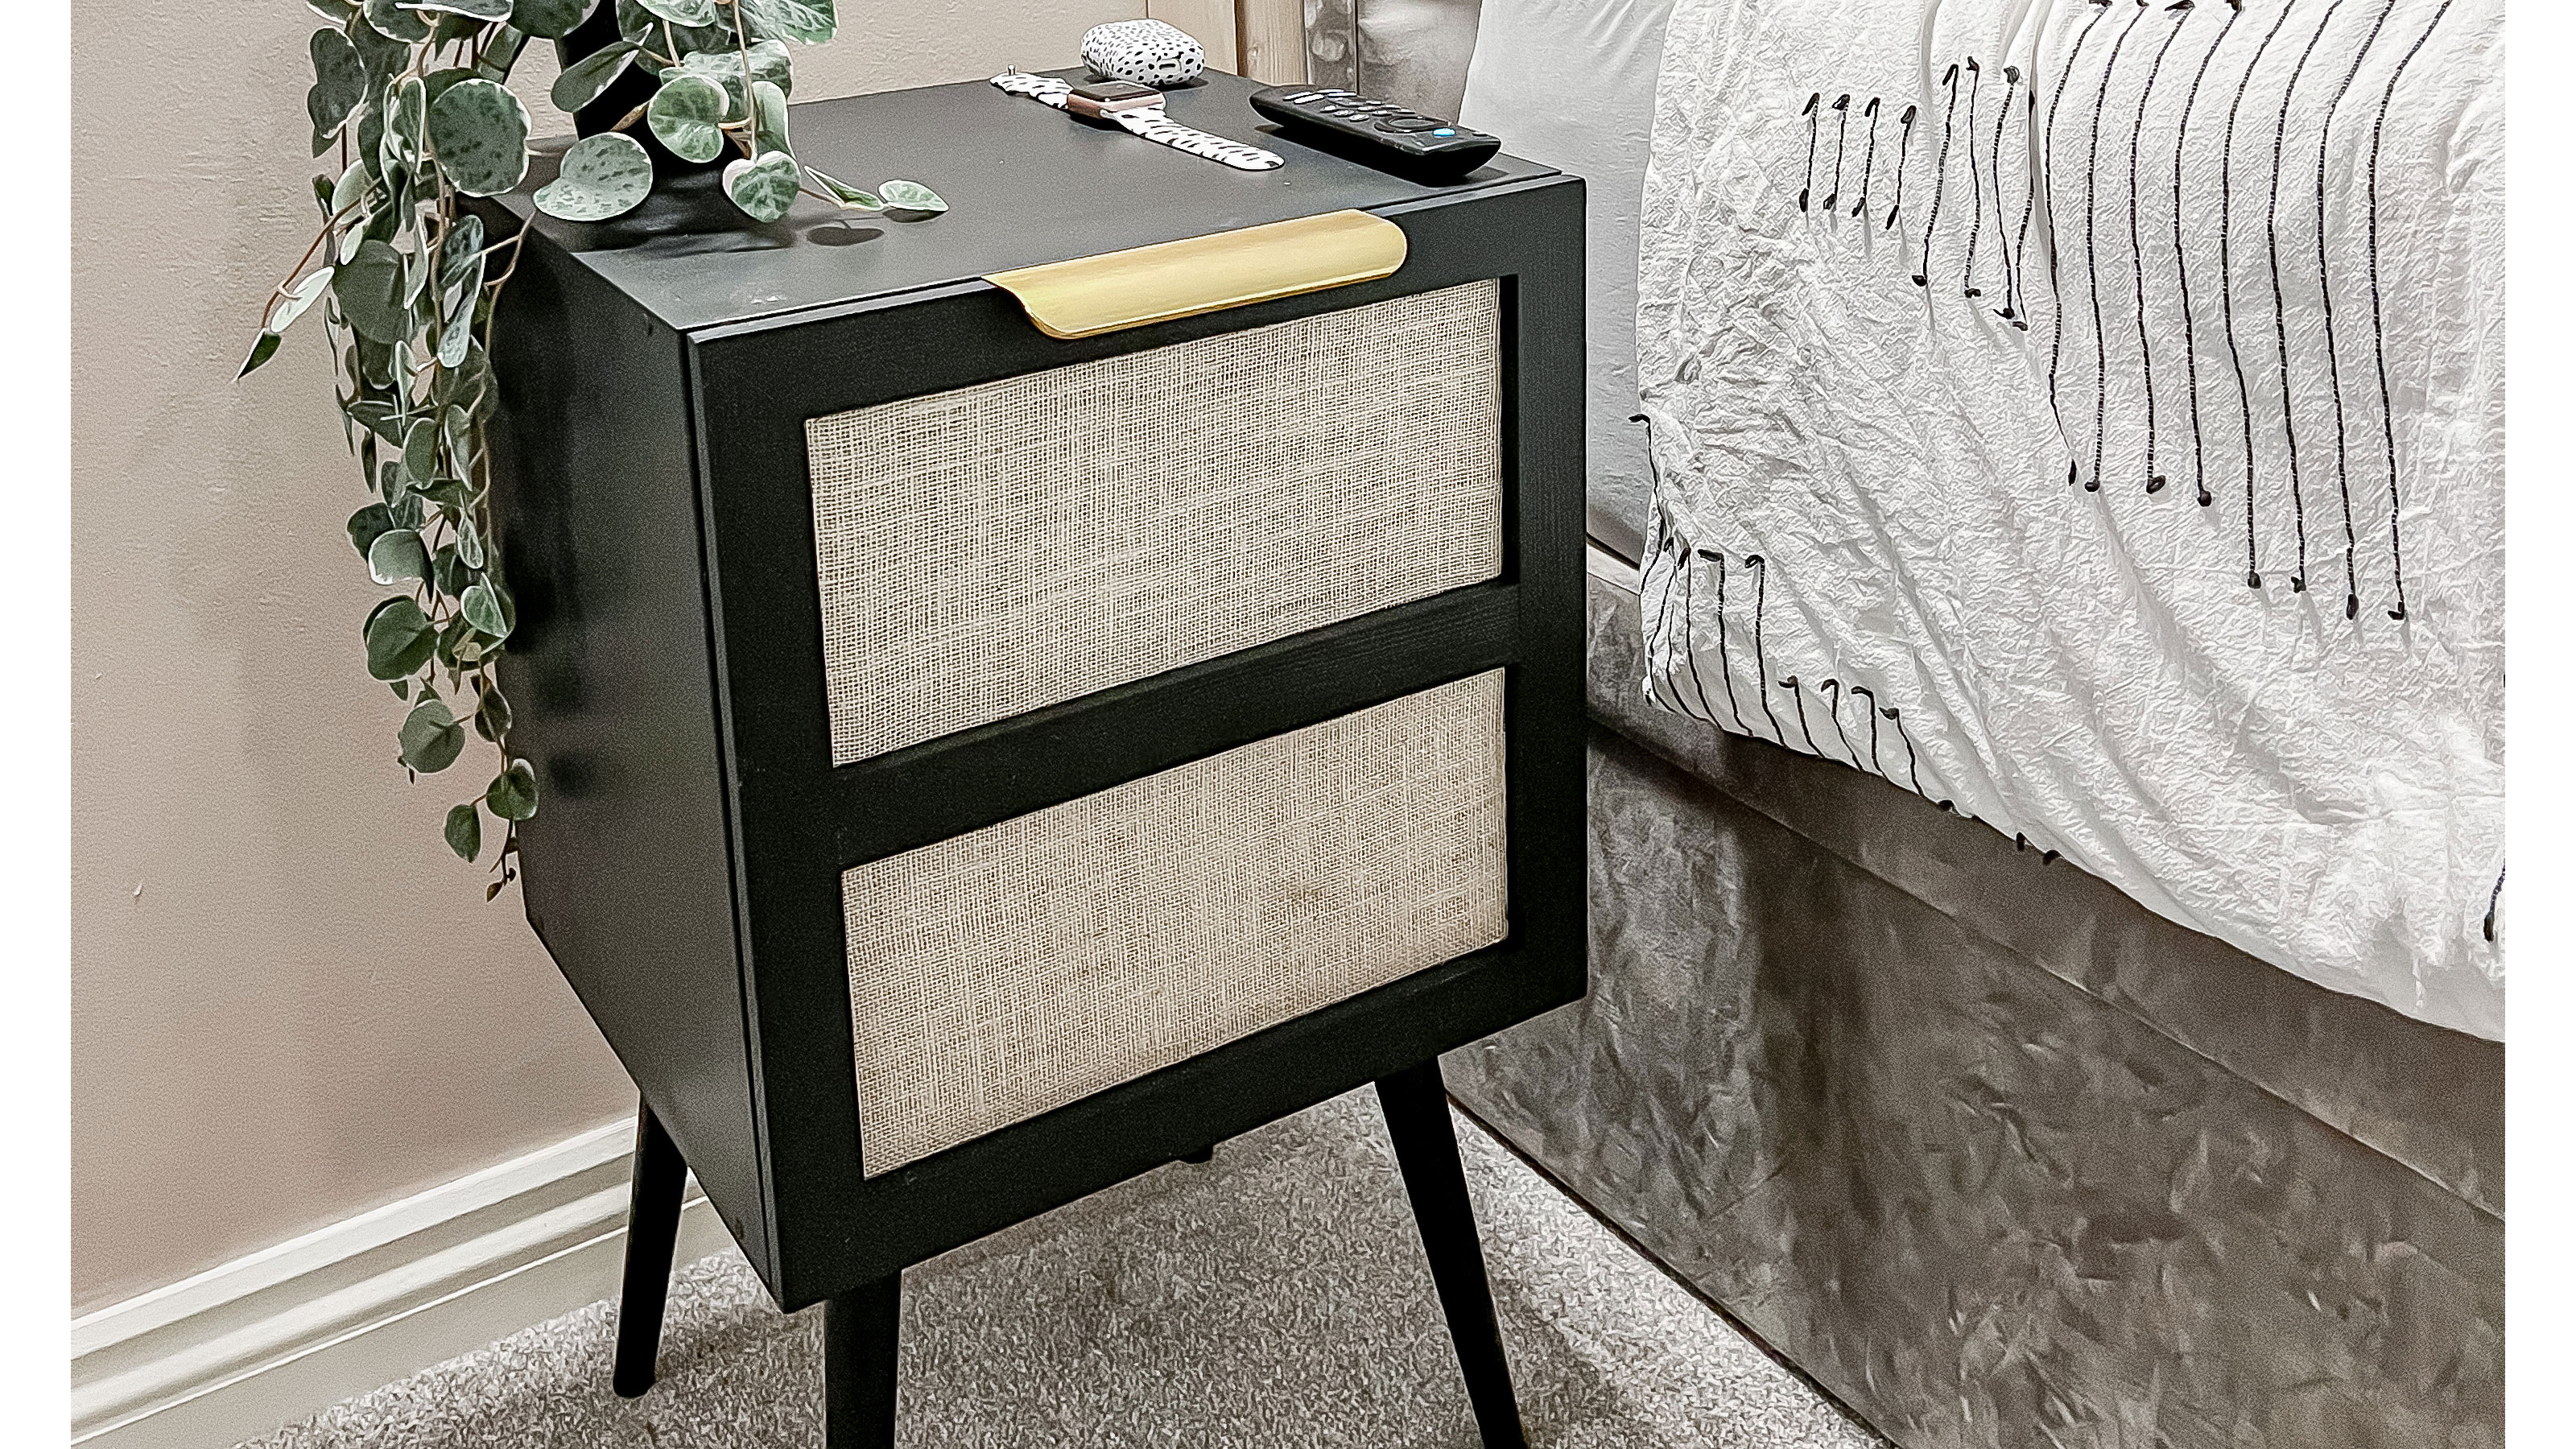
To get the best, long-lasting finish when you go to paint furniture yourself, you’ll want a base coat, a color coat, and a topcoat, with adequate dry/cure time between each new layer. Knowing how to prepare furniture for painting – properly – is an essential DIY skill and honestly, its importance shouldn't be undermined.
Because without filing and cleaning thoroughly first, you won’t be able to ensure the finish is perfectly smooth and chip resistant. Yep, I’m talking about manicures... but it also applies to painting pretty much anything, including how to paint furniture.
Of course, when DIYing, the result only needs to be as perfect as you’d like it - after all, it’s your home and no one else’s. But when you want a professional finish or you want it to last and be hardwearing against scuffs, pets and kids, the prep work is what’s most important. Preparing your furniture for painting is simple, so here’s how to do it, in 3 easy steps.
Step 1 – Prepare furniture by sanding
Ignore what some paints may say on the tins, sanding is always, always, always necessary in my experience. Particularly if you are upcycling an old piece of furniture that’s got an existing varnish or gloss coating.
To cut your effort and time in half, invest in a good orbital sander from Amazon or a hardware store for larger pieces, or a mouse/palm sander for more intricate pieces of furniture. My recommendation for sandpaper grit would be to start low, and end high. Low numbers are coarser and have less particles per area, whereas high numbers have more particles per area and therefore are much finer – great to ensure a surface is perfectly smooth.
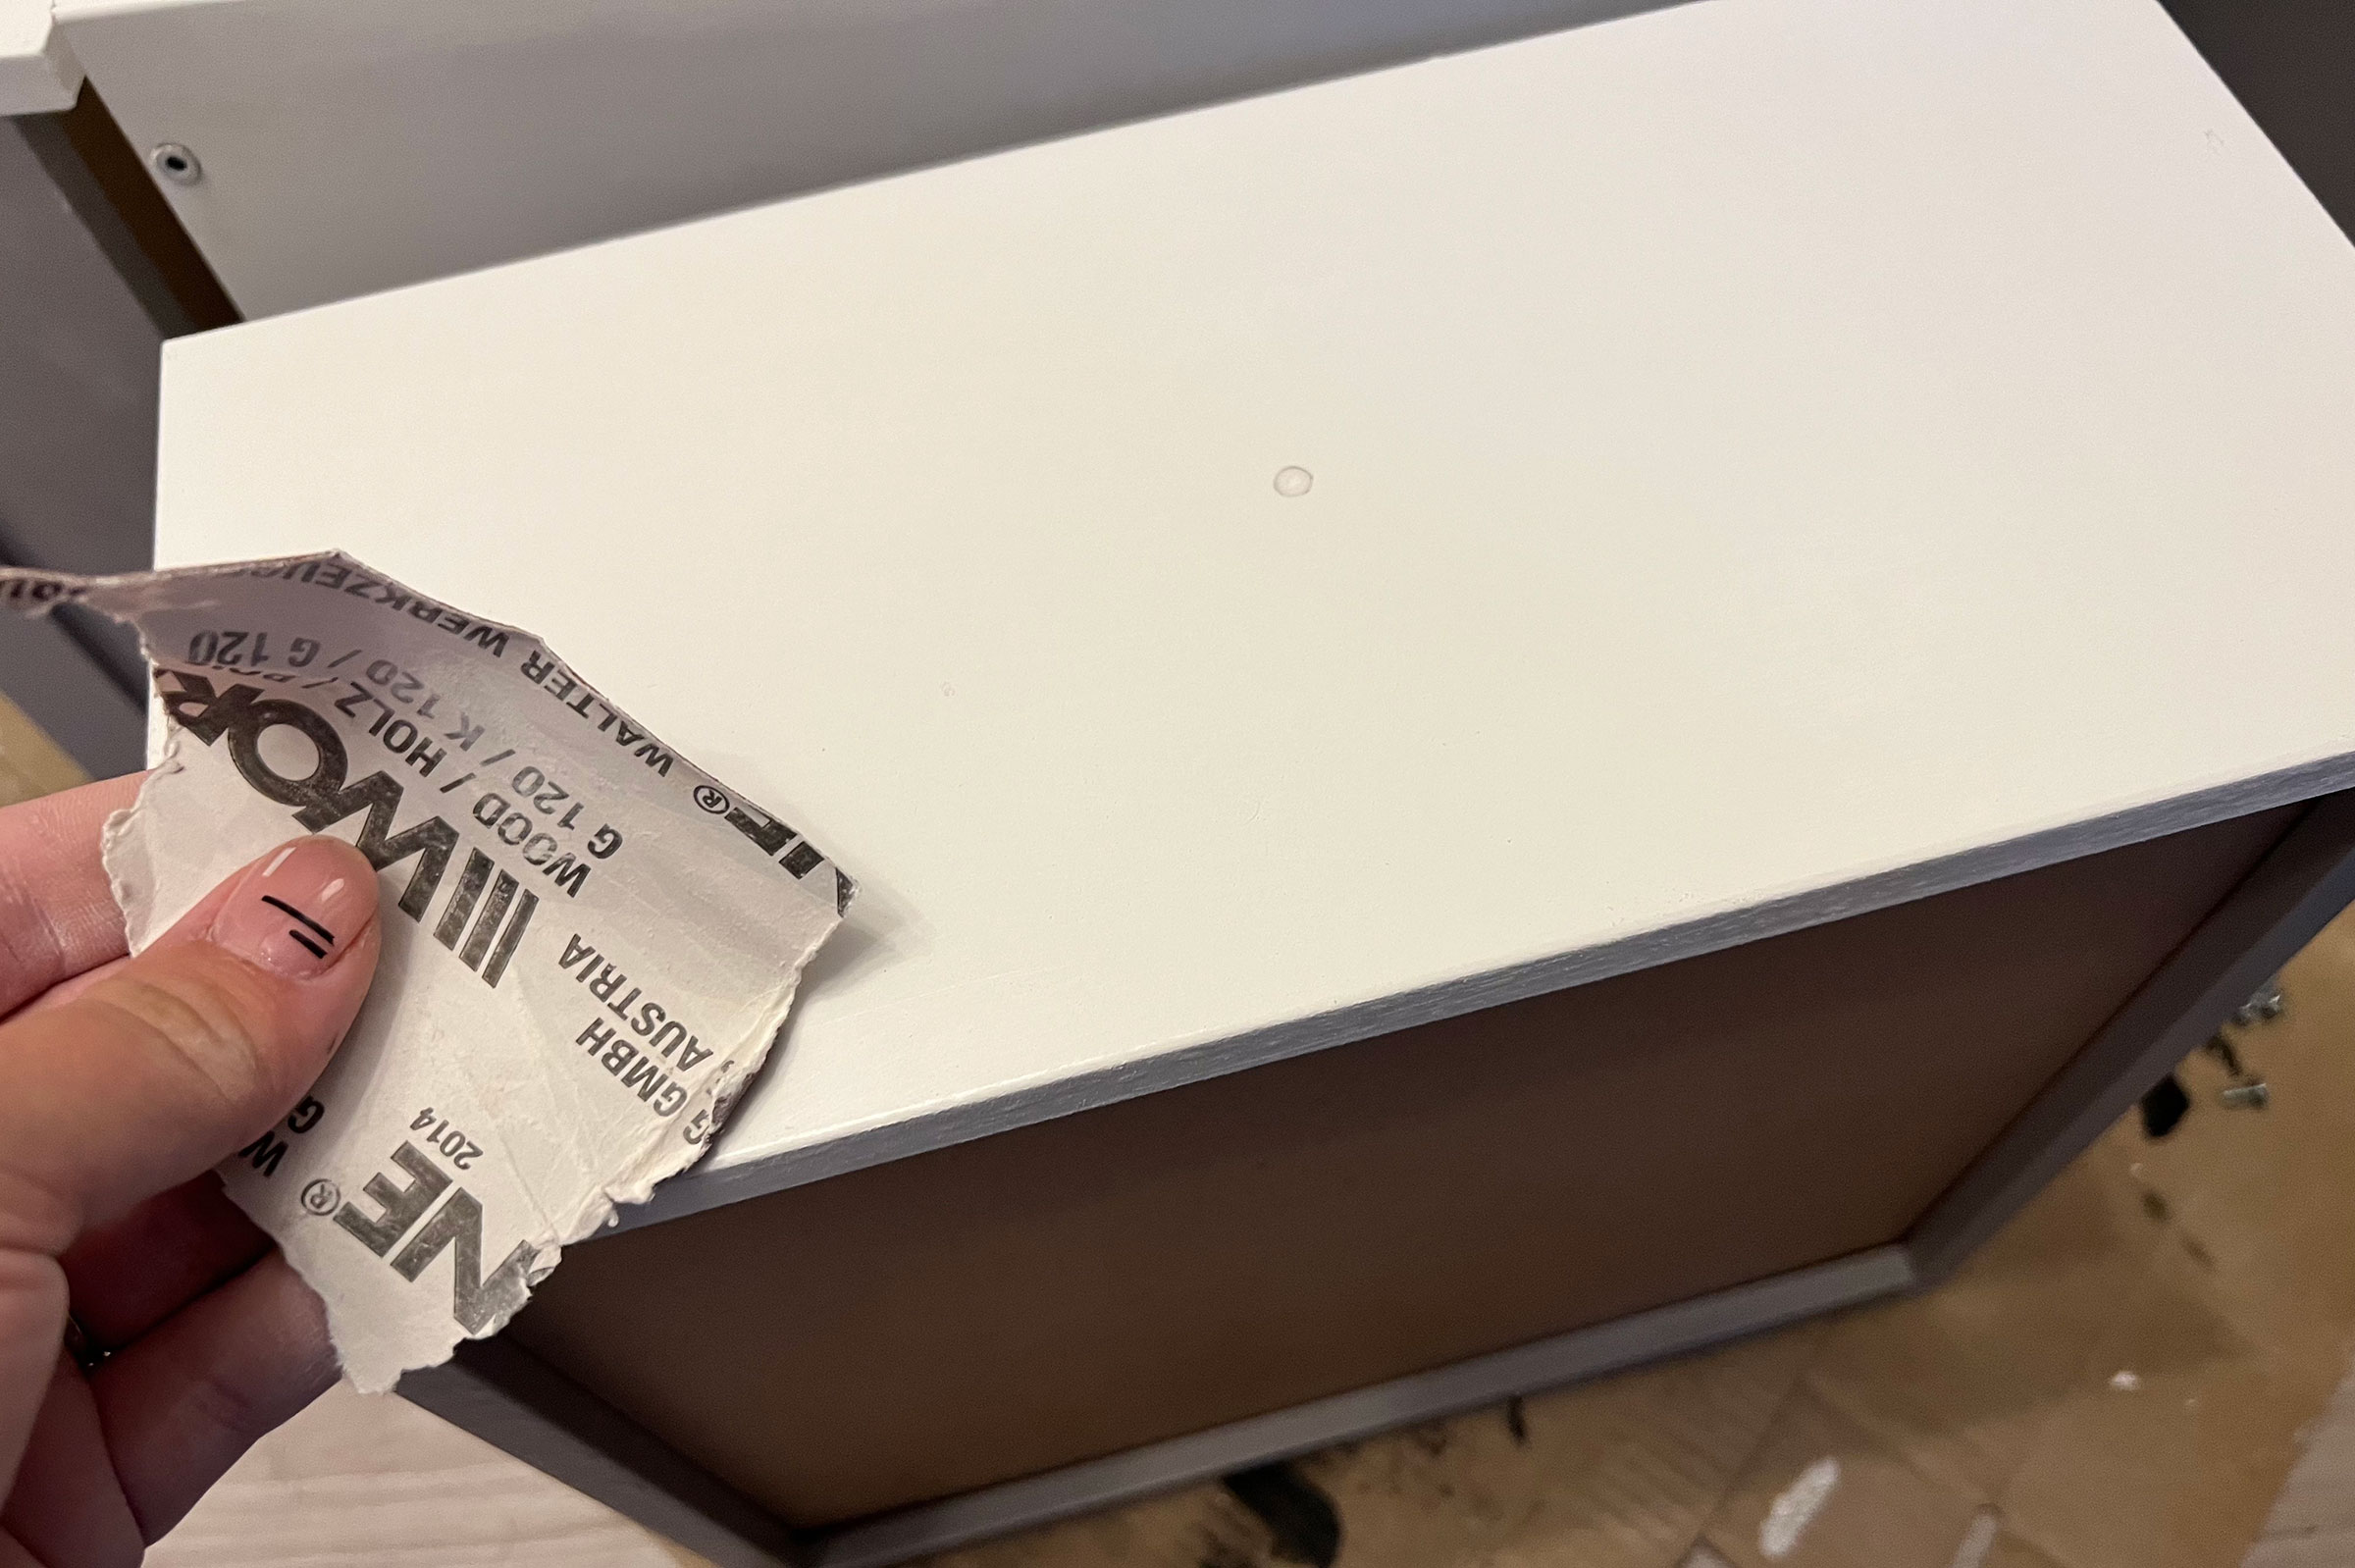
Start off with p100 or p120 and go up in increments to get the furniture as smooth as possible, so p160, p180, p200. Sanding not only removes the existing paint or varnish, but it will create a ‘key’ for the new paint to stick to. Use your mouse sander or sandpaper wrapped around a block to get into any tight corners but be careful not to press too hard on areas that are curved or have any detailing as you could alter the shape or remove too much of the design.
If you’re painting a piece of plastic furniture or melamine, the prep process is exactly the same, I would just finish on a p140 and not go any higher. If painting metal furniture, you may want to use an even higher grit – up into the 300s to really get a fine finish to remove any rust or raised areas.
Get small space home decor ideas, celeb inspiration, DIY tips and more, straight to your inbox!
Step 2 – Cleaning
The second most crucial stage in prepping furniture is cleaning. Removing any debris, dust from sanding, grease and grime will make sure there’s nothing on the surface that could cause the paint not to stick, bubble, or leave an imperfect finish.
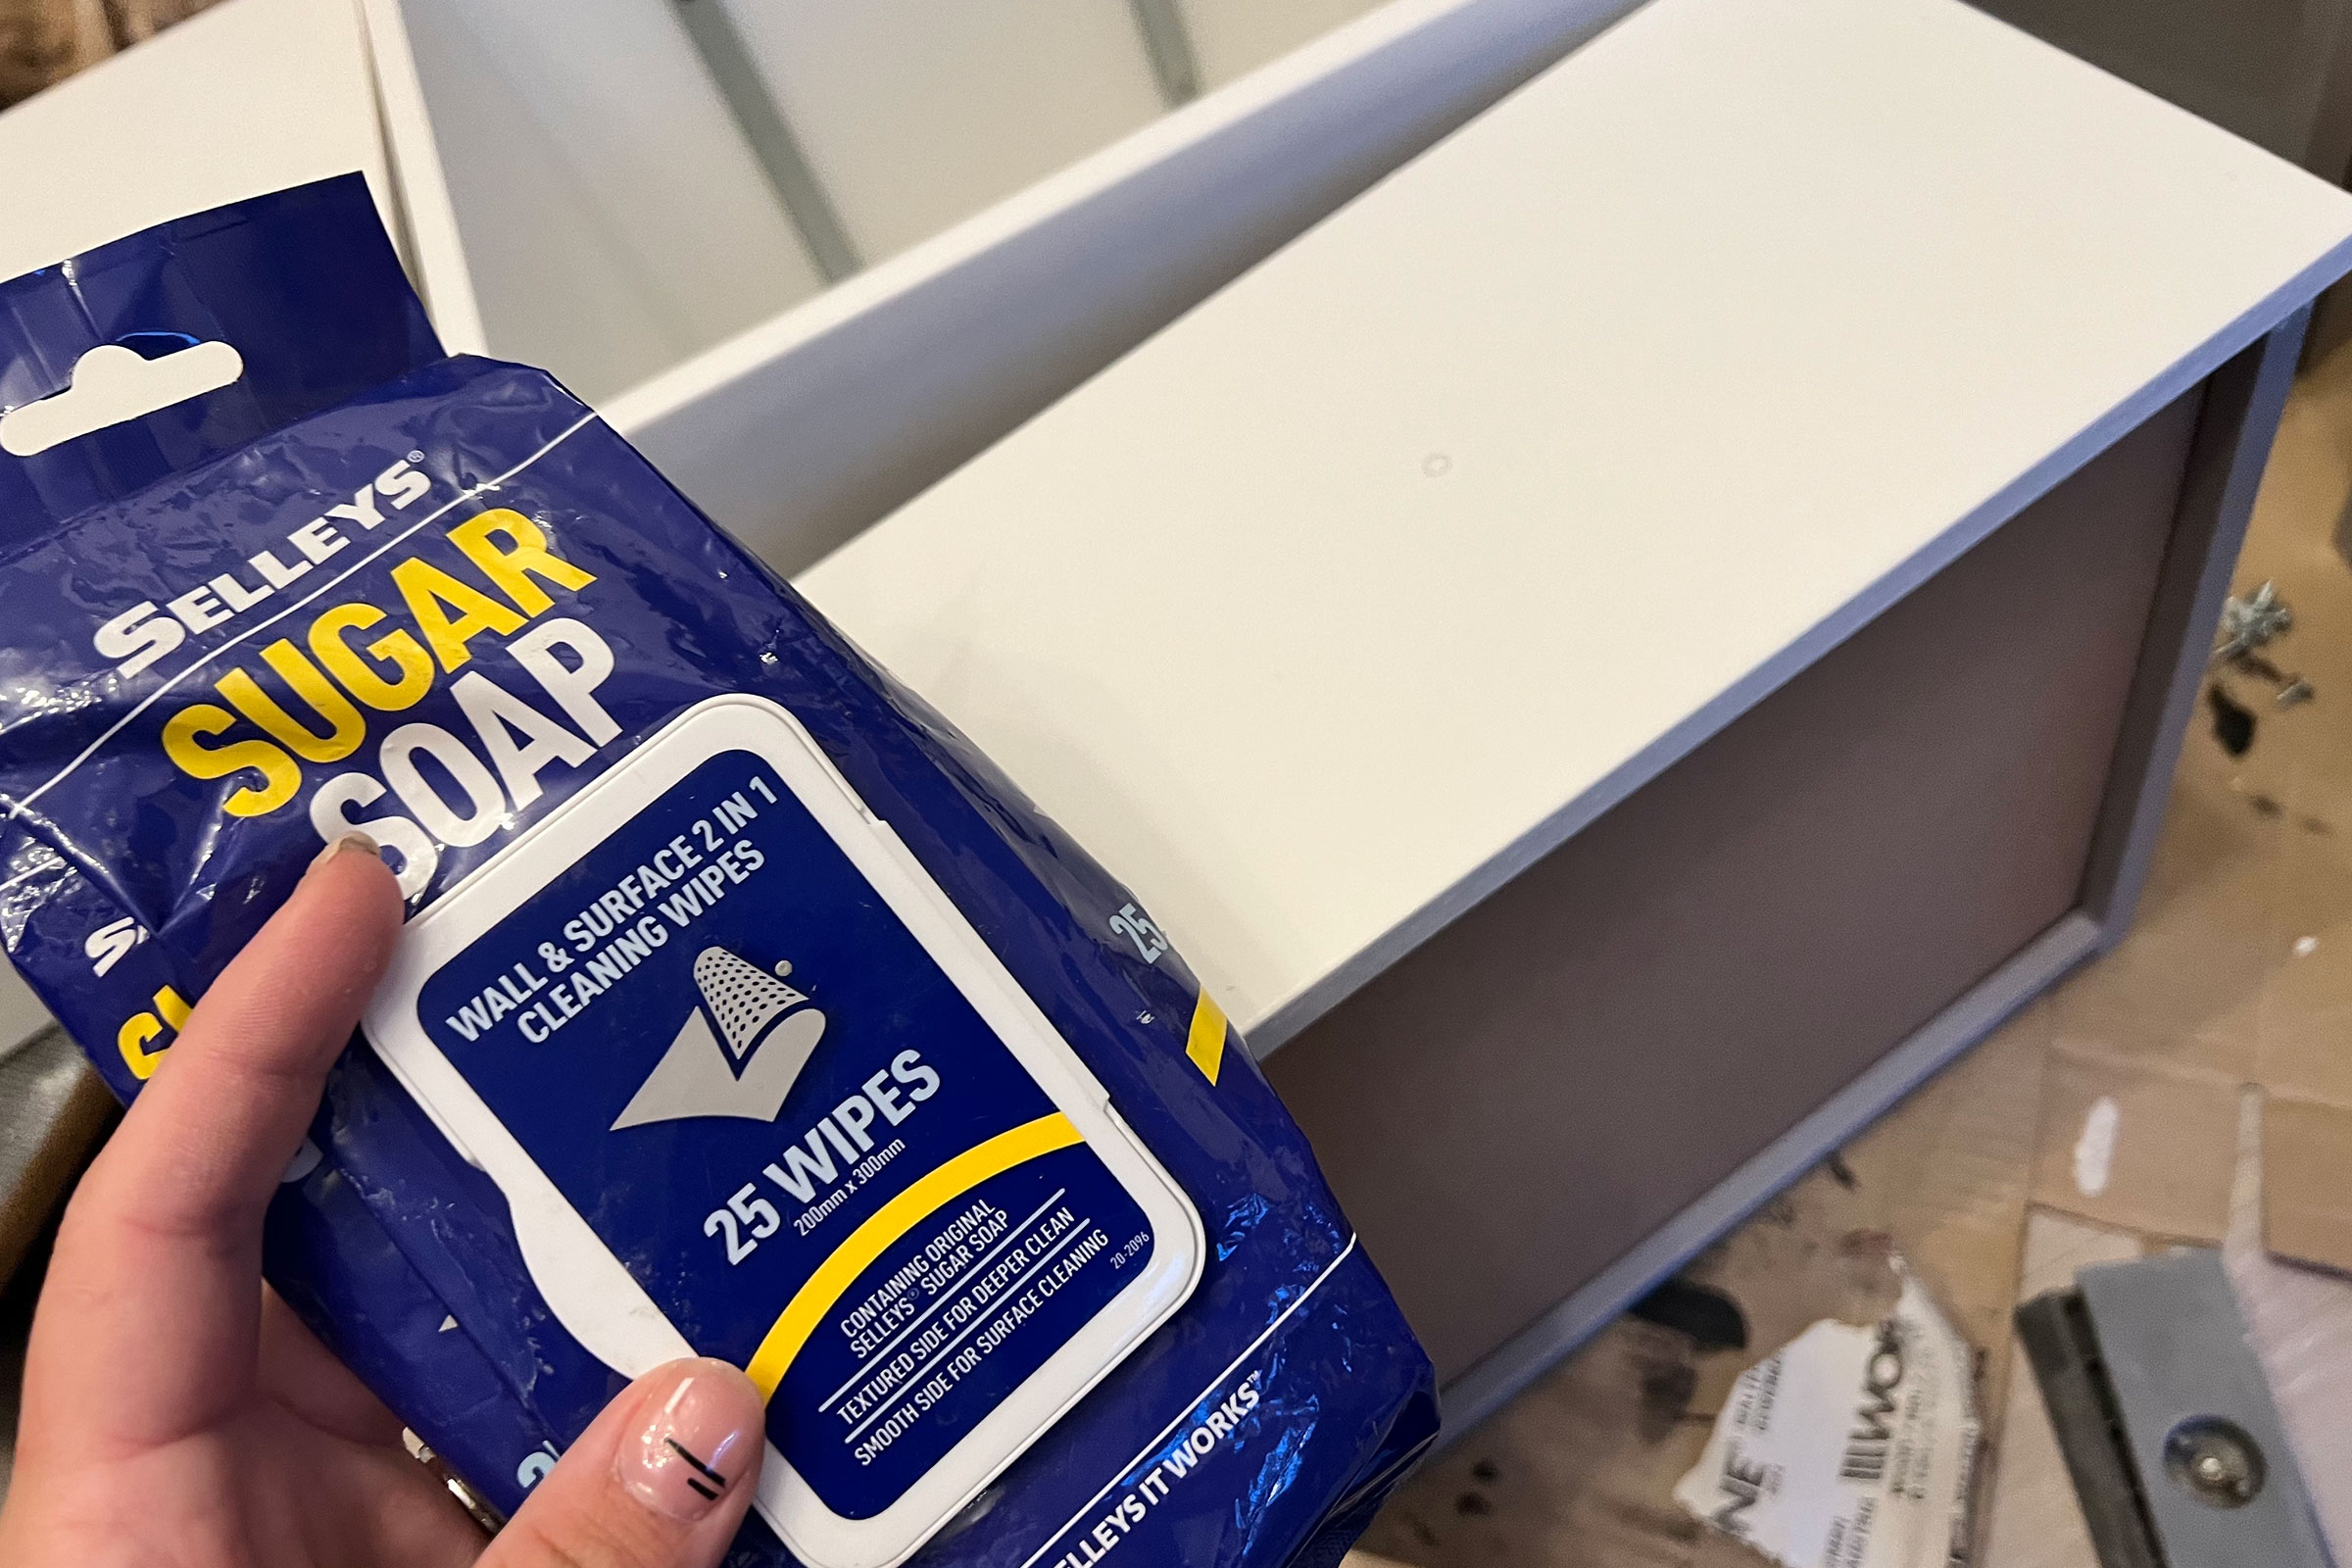
A lot of people may tell you to use sugar soap to clean furniture, and absolutely you can, you can also use ordinary soapy water and a damp cloth. Just be mindful of how much water you are using as it can soak into wood, meaning you’ll need to wait longer before priming or painting, until the wood is completely dried through. For plastic or metal, water or sugar soap (even their wipes) is completely fine to use.
My preference would be to use an old rag that is ever so slightly damp – literally the tiniest bit – or a tack cloth. These cloths have a resin coating which help to pick up all sorts of dust and debris. You can buy these online at Amazon or in stores such as Toolstation or The Home Depot sells a pack of three for less than $4, and they’re perfect for prepping furniture for painting.
To remove any sticky residue or oils, my secret hack is to use WD-40 to clean it away in seconds, with zero effort. You can also use white spirit for a deeper clean, again just be mindful of what chemicals you put on wood.
Give the whole piece of furniture a thorough clean and wipe down to remove all particles for a clean canvas to start painting.
Step 3 – Priming
Priming your furniture before painting gives your paint a great base to stick to. Even if the paint you’re using has a built-in primer, I’d recommend you use a traditional primer as well, for the best finish possible.
Once your surface is sanded and cleaned, use an all-surface primer such as Zinsser B-I-N on anything wooden, melamine, plastic, or metal. It is shellac based and means you can use absolutely any paint on top. It seals in stains, blocks knots as well as sap and is my absolute favorite primer, but the Difficult Surfaces Primer & Undercoat by Valspar has proven to be very effective on melamine/laminate furniture I’ve upcycled in the past.
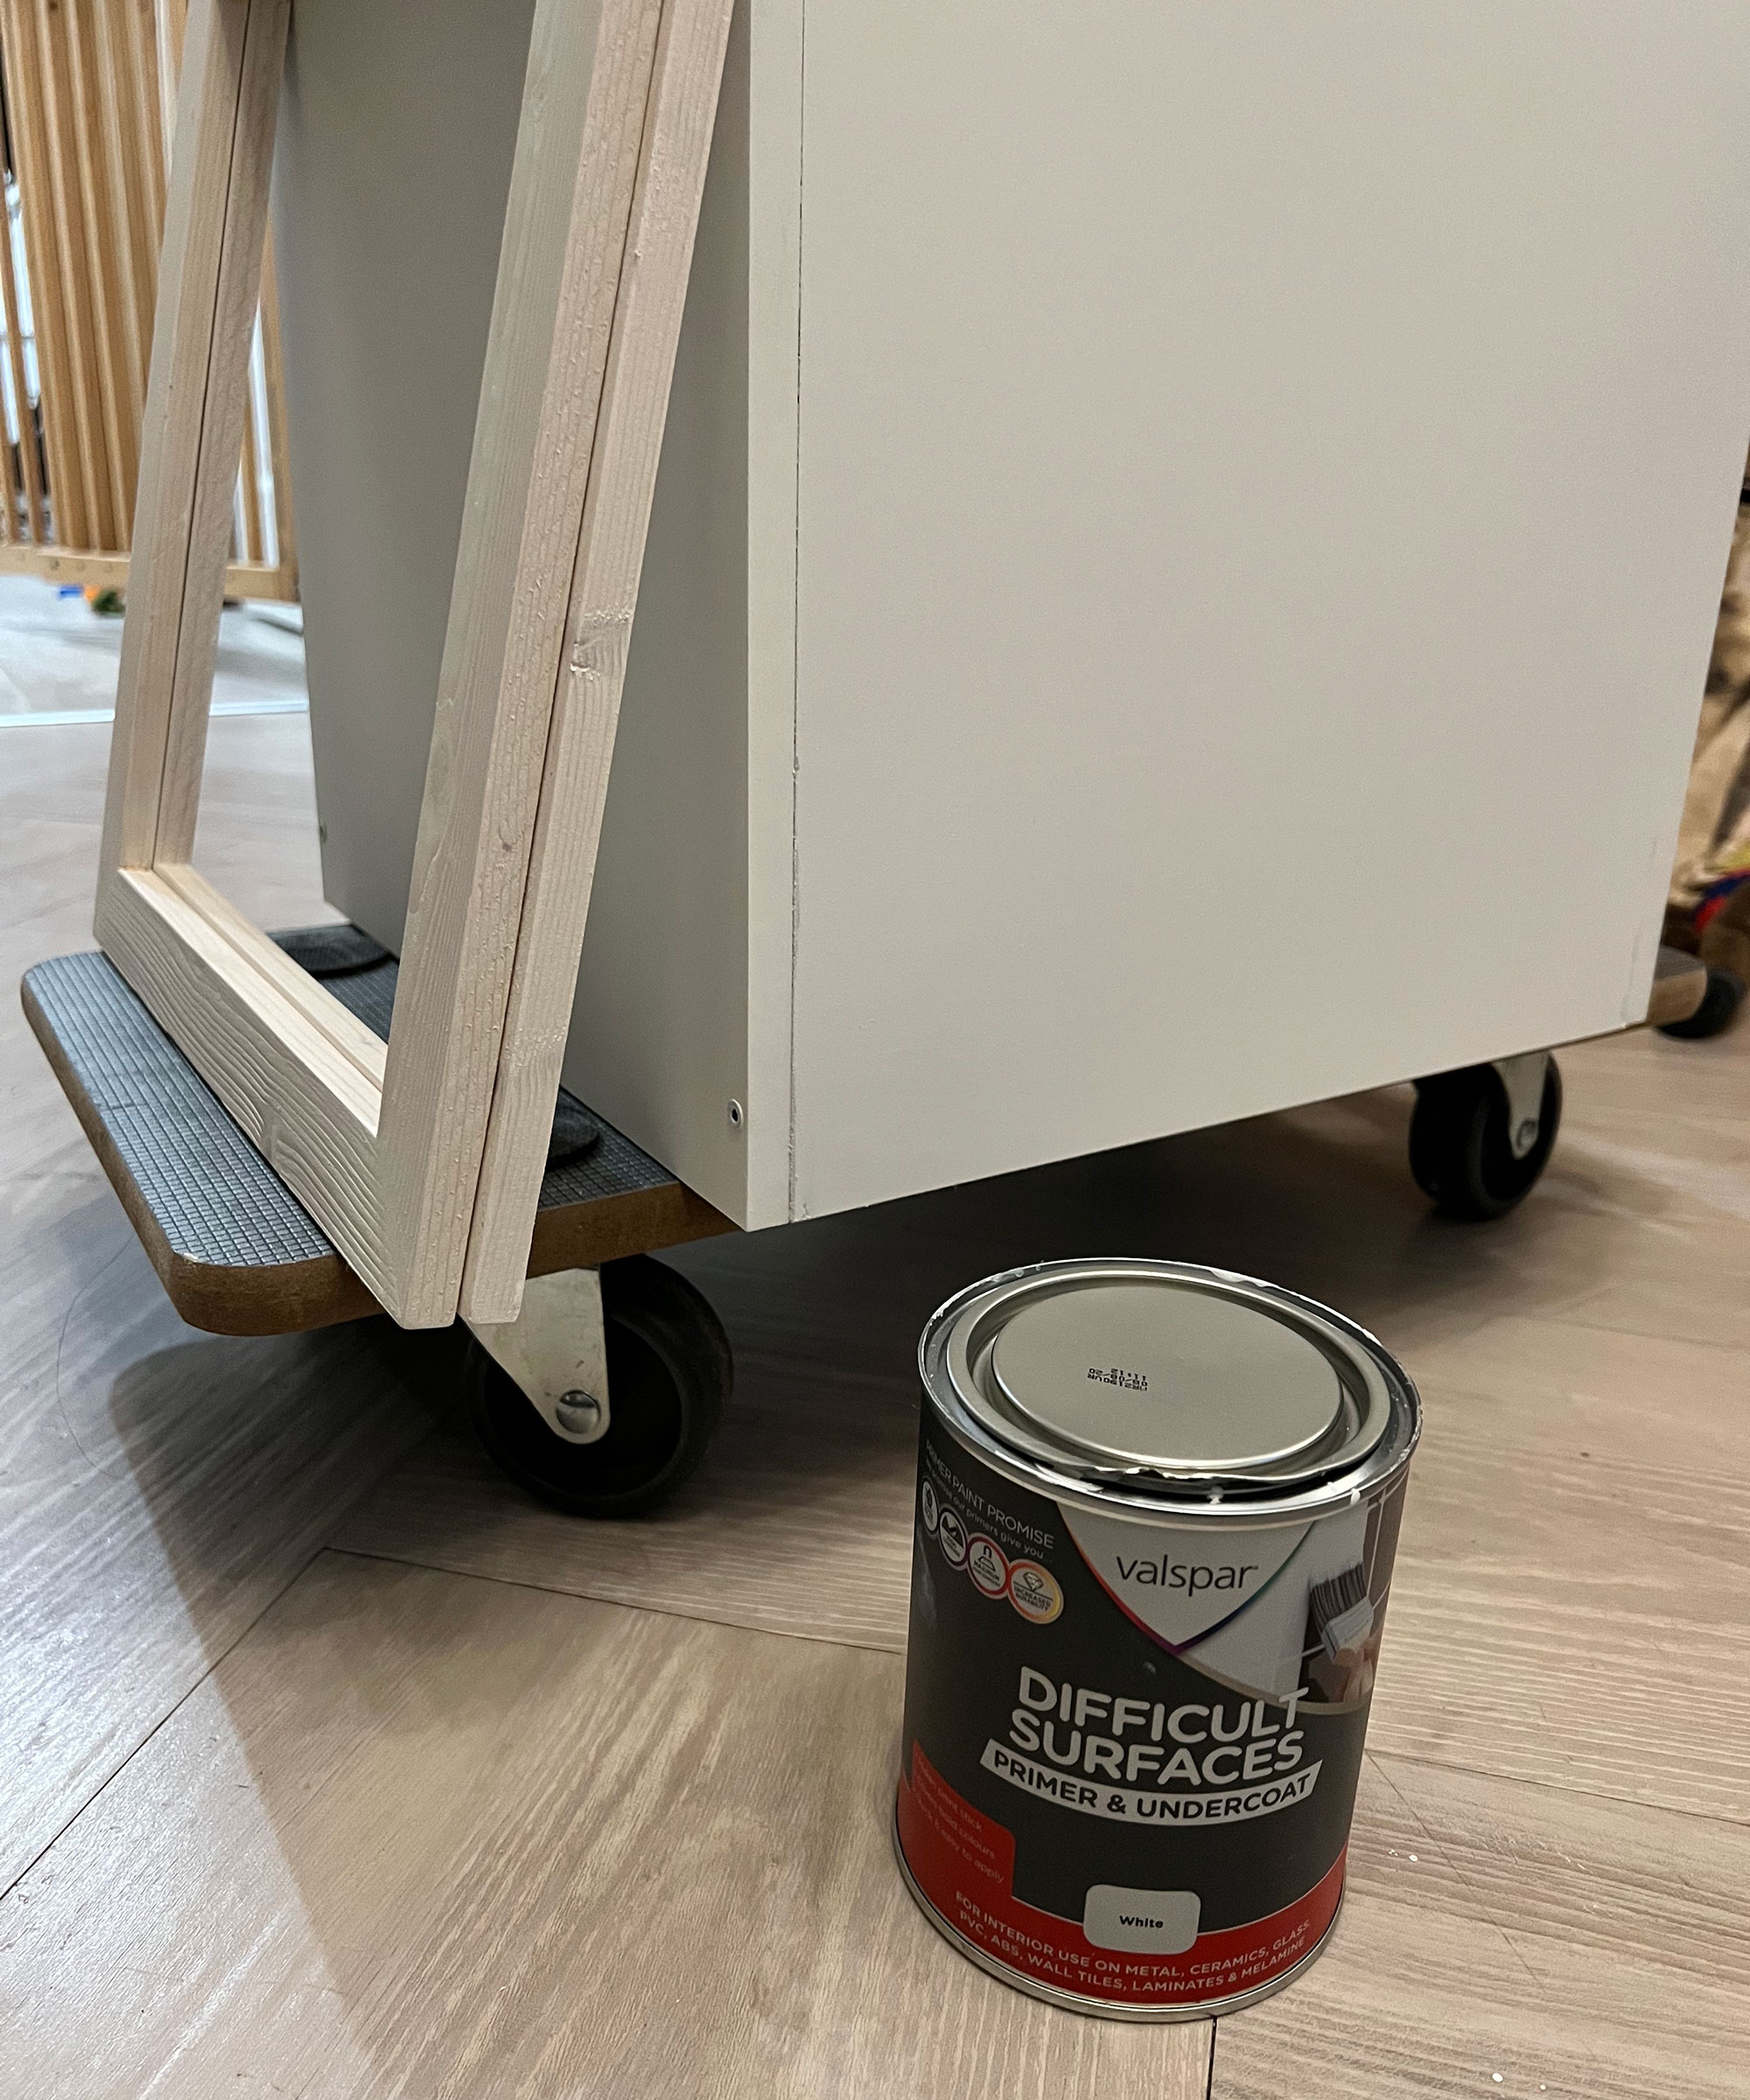
Cut in around the edges with a synthetic bristle paintbrush (best for this type of primer) and then roller over the bulk of the piece of furniture with a foam roller for the best finish. With B-I-N, you should only need one coat, but make sure you check the tin of whatever primer you’re using for the correct coat requirements, dry time and other information about ventilation and prep.
When it comes to finally painting your piece of furniture, I love a good chalk paint, but there are loads of options out there, with lots of different finishes – matt, eggshell, satin, or gloss – and can each help you achieve a different ‘look’. For me, furniture paint experts Rustoleum and Frenchic are both my go-to’s, but when I’ve wanted a special shade mixed, to perhaps match something else in the room, I’ve gone for a Dulux wood paint color match which you can get at most hardware stores – simply take in a reference for them to scan and they’ll mix it right there and then. A foam or mohair roller will be the difference between an obvious upcycle and a professional-looking piece of custom furniture. Sand lightly between each coat of paint and you’re on your way to the cleanest of finishes!

Don’t worry if you don’t get full coverage on your first coat – they’re not designed to. After 2-3 coats, depending on what paint you use, it should go from patchy to perfect.
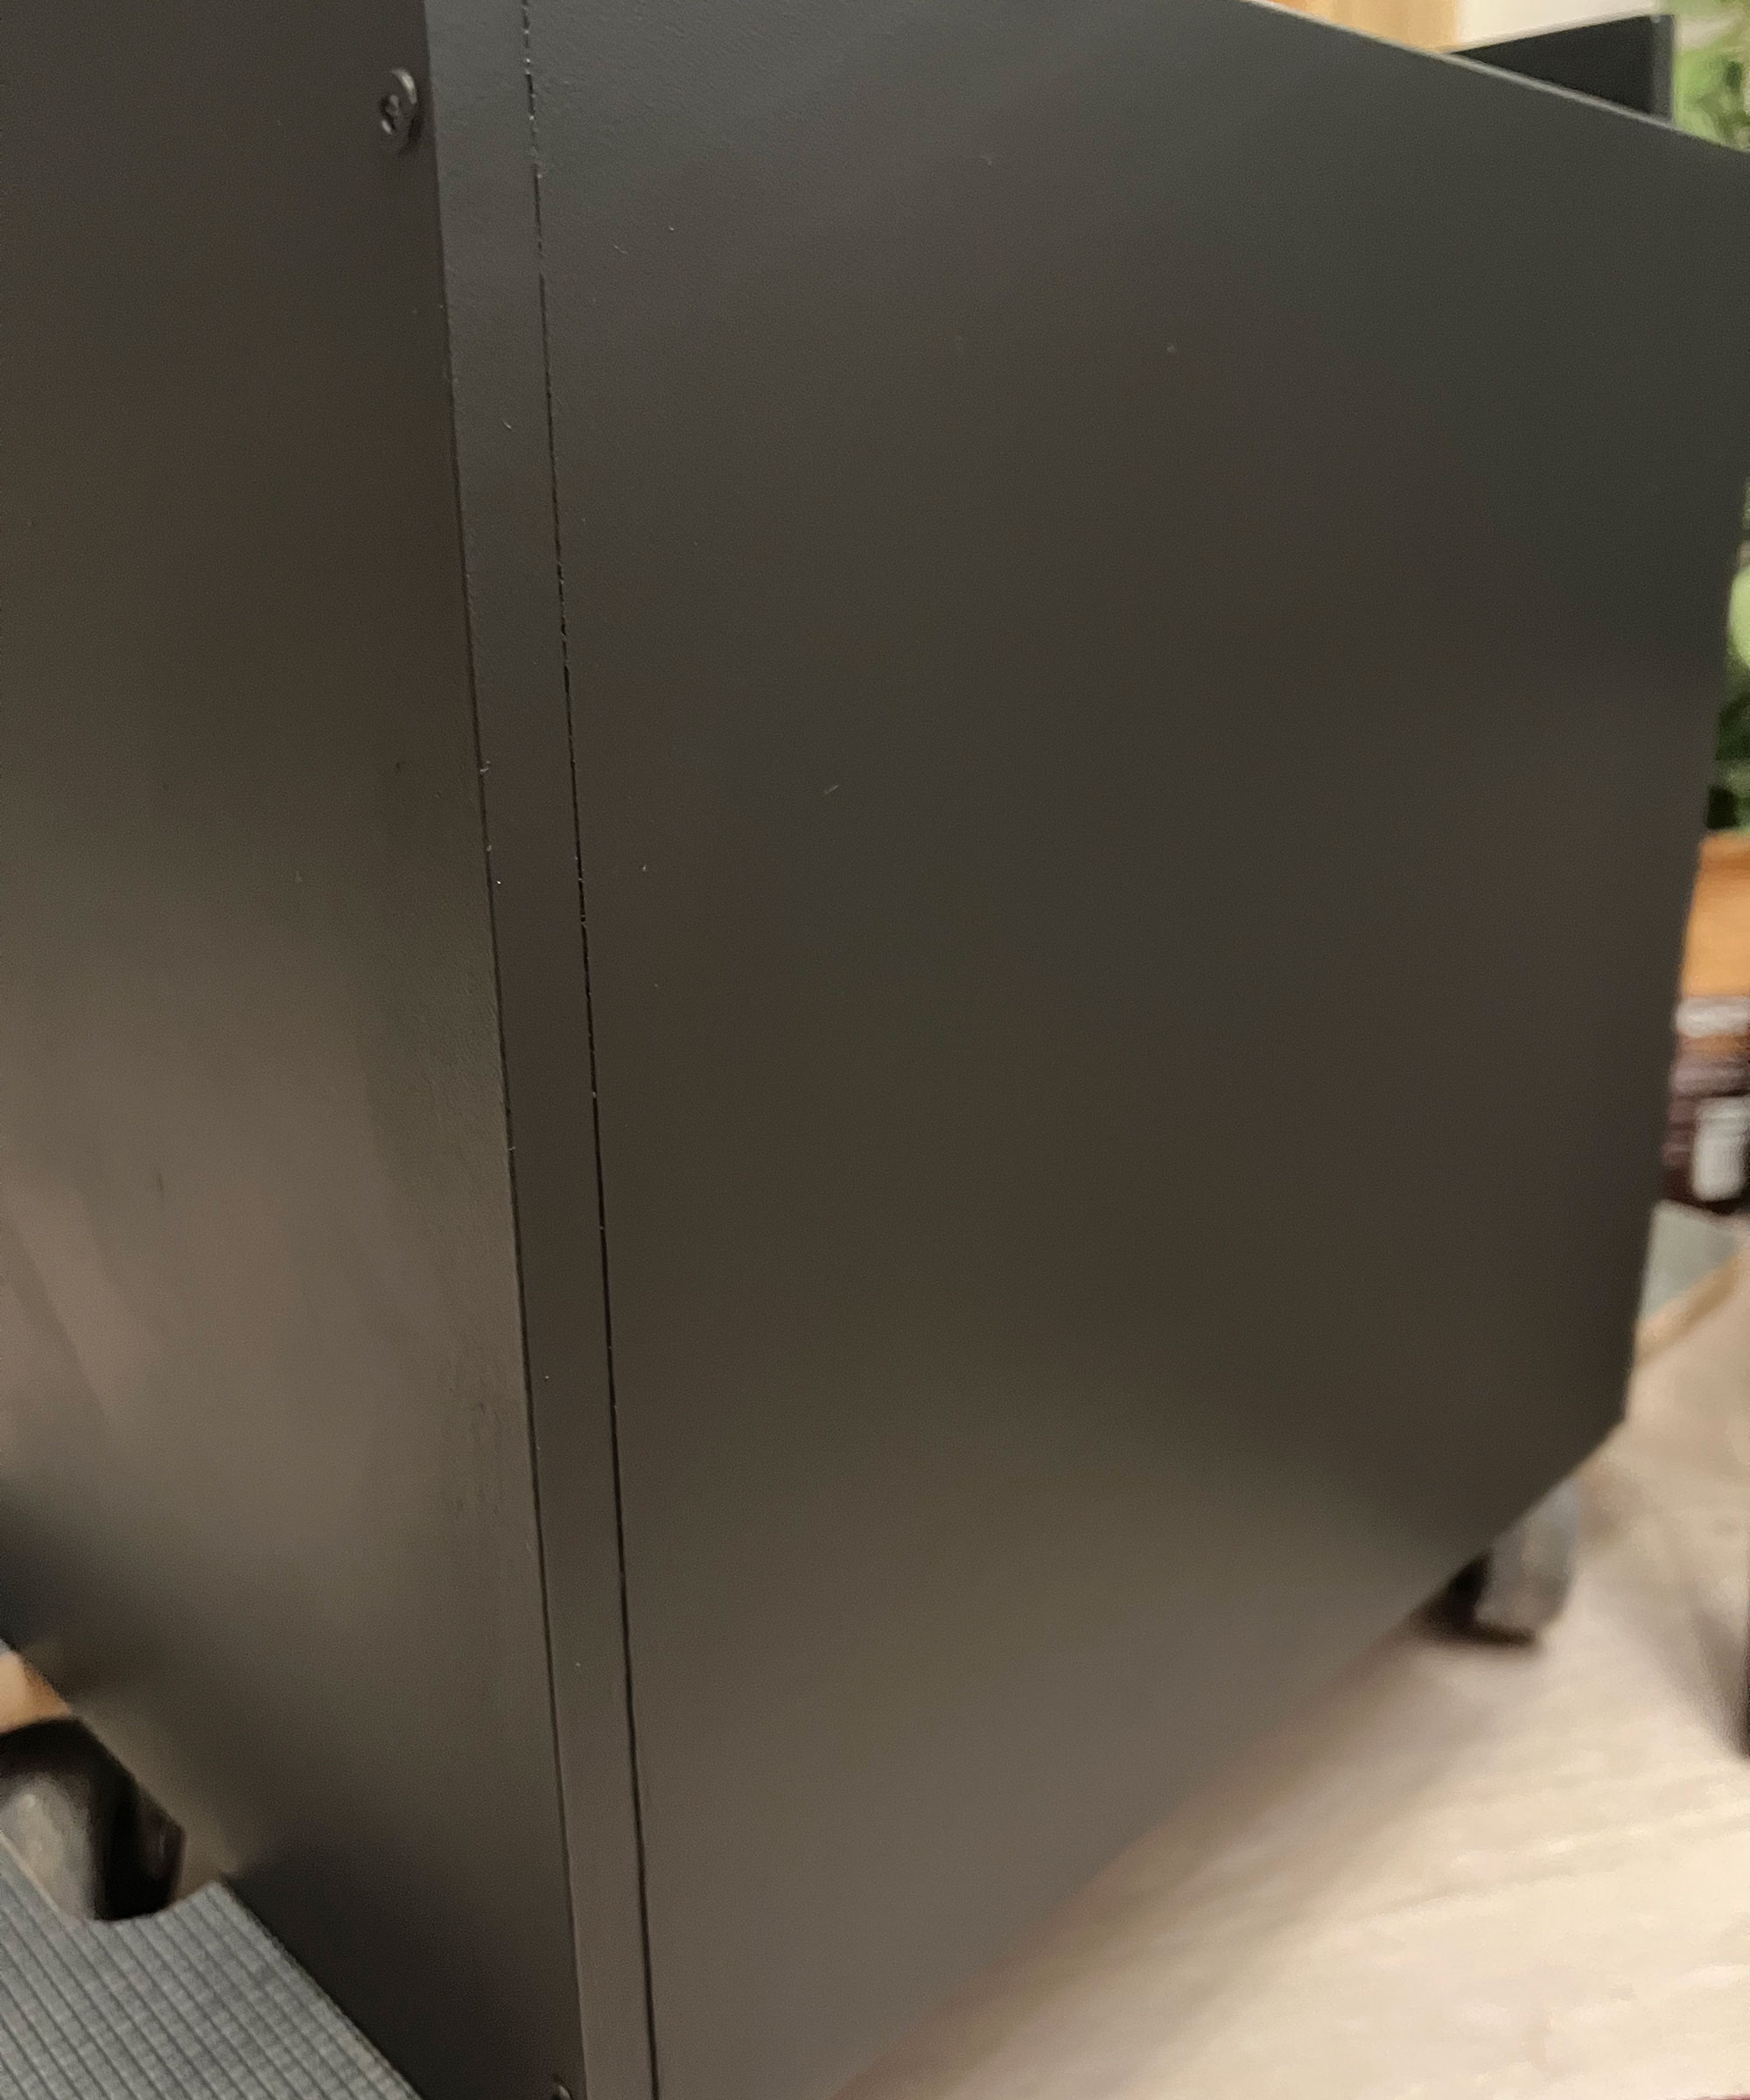
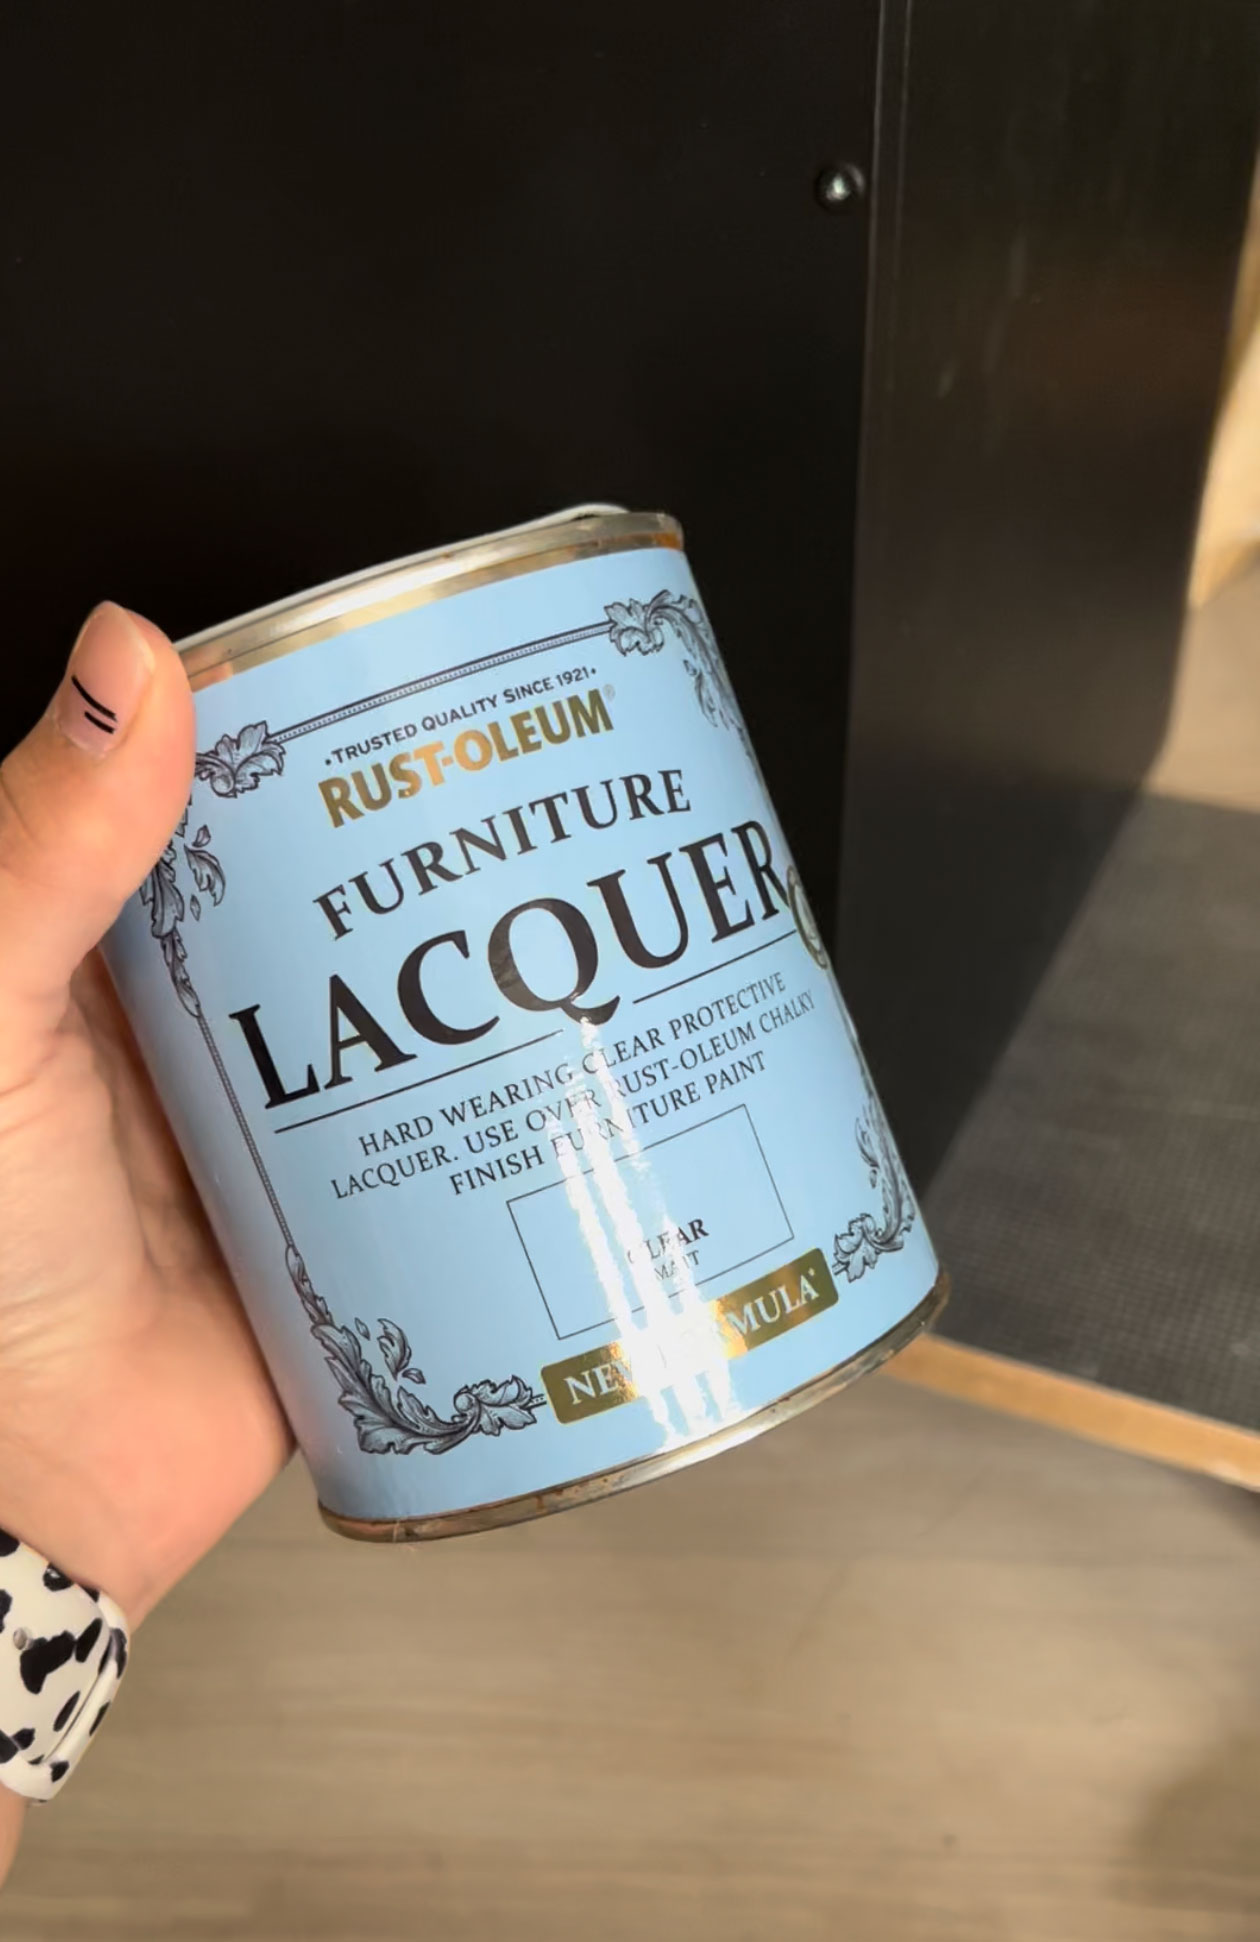
Finally, to seal your furniture paint and ensure it doesn’t chip, you’ll want to choose a good lacquer, wax, or varnish to seal it all in. These will also give varying finishes and require different dry/cure times so make sure you choose the right one for your needs and always read the label for individual product instructions.
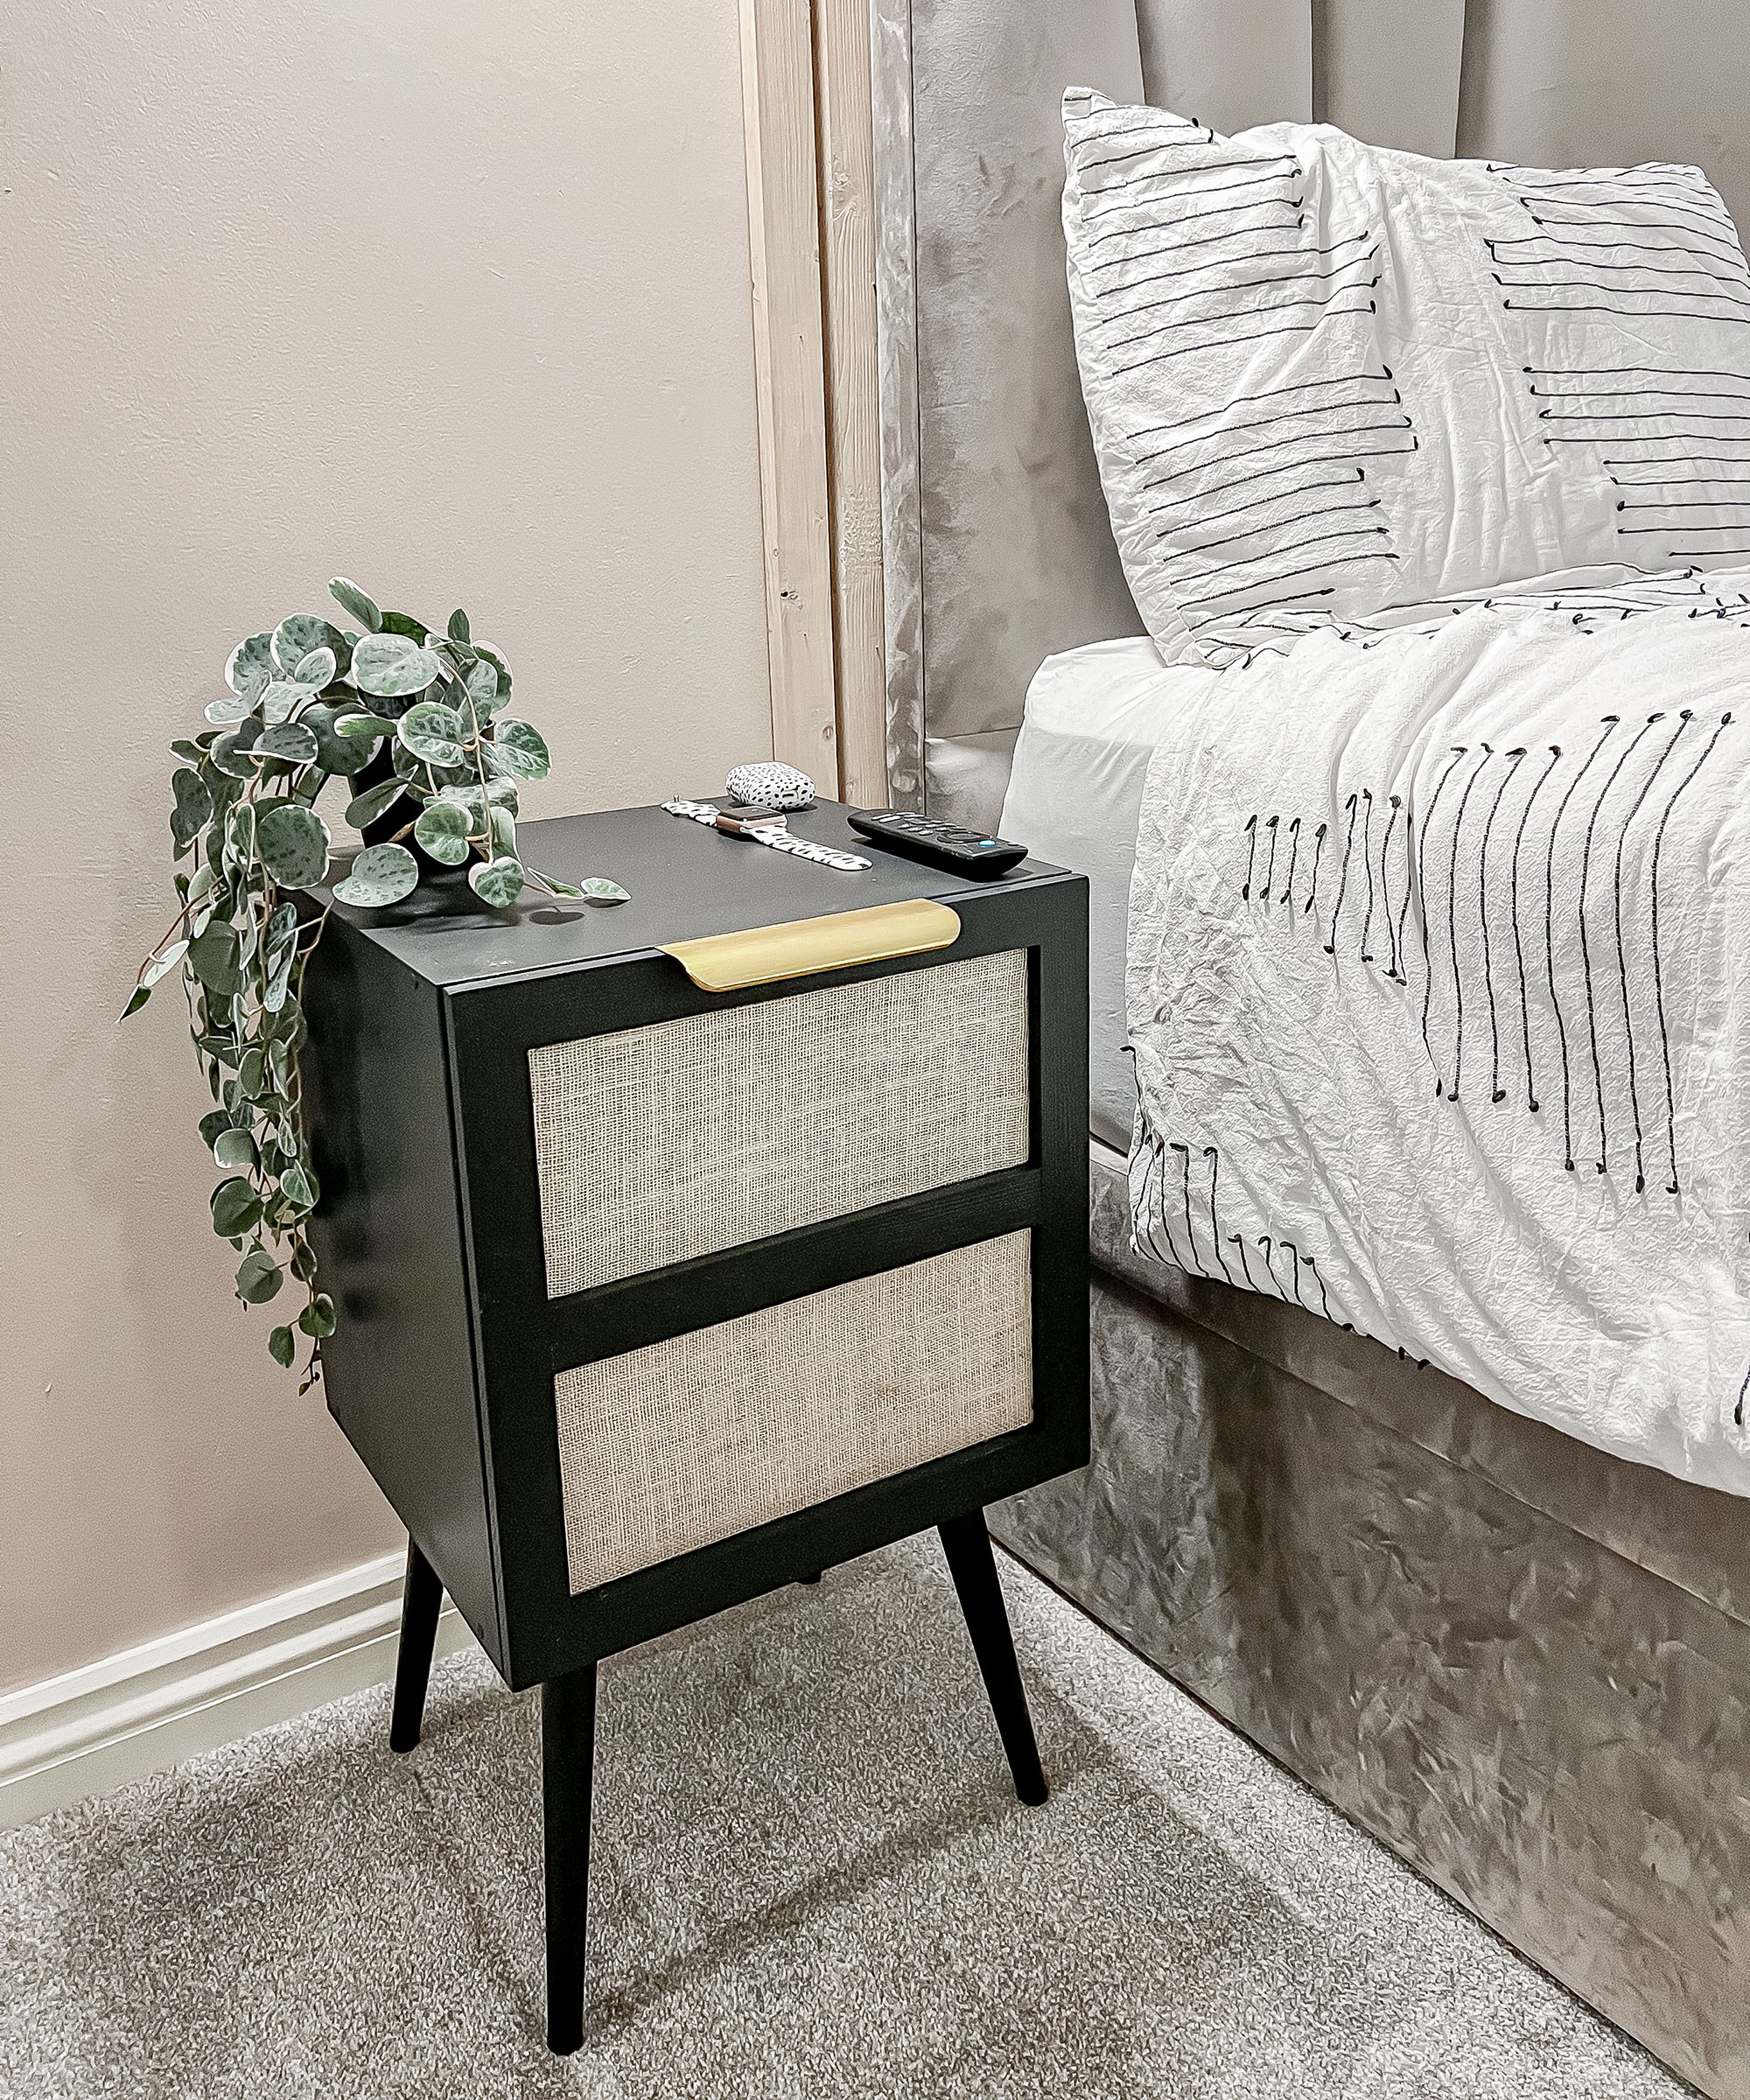
The results:
Happy painting!
Jasmine Gurney is a DIY pro, inspiring women with power tools via her home improvement blog Oh Abode and on Realhomes.com.