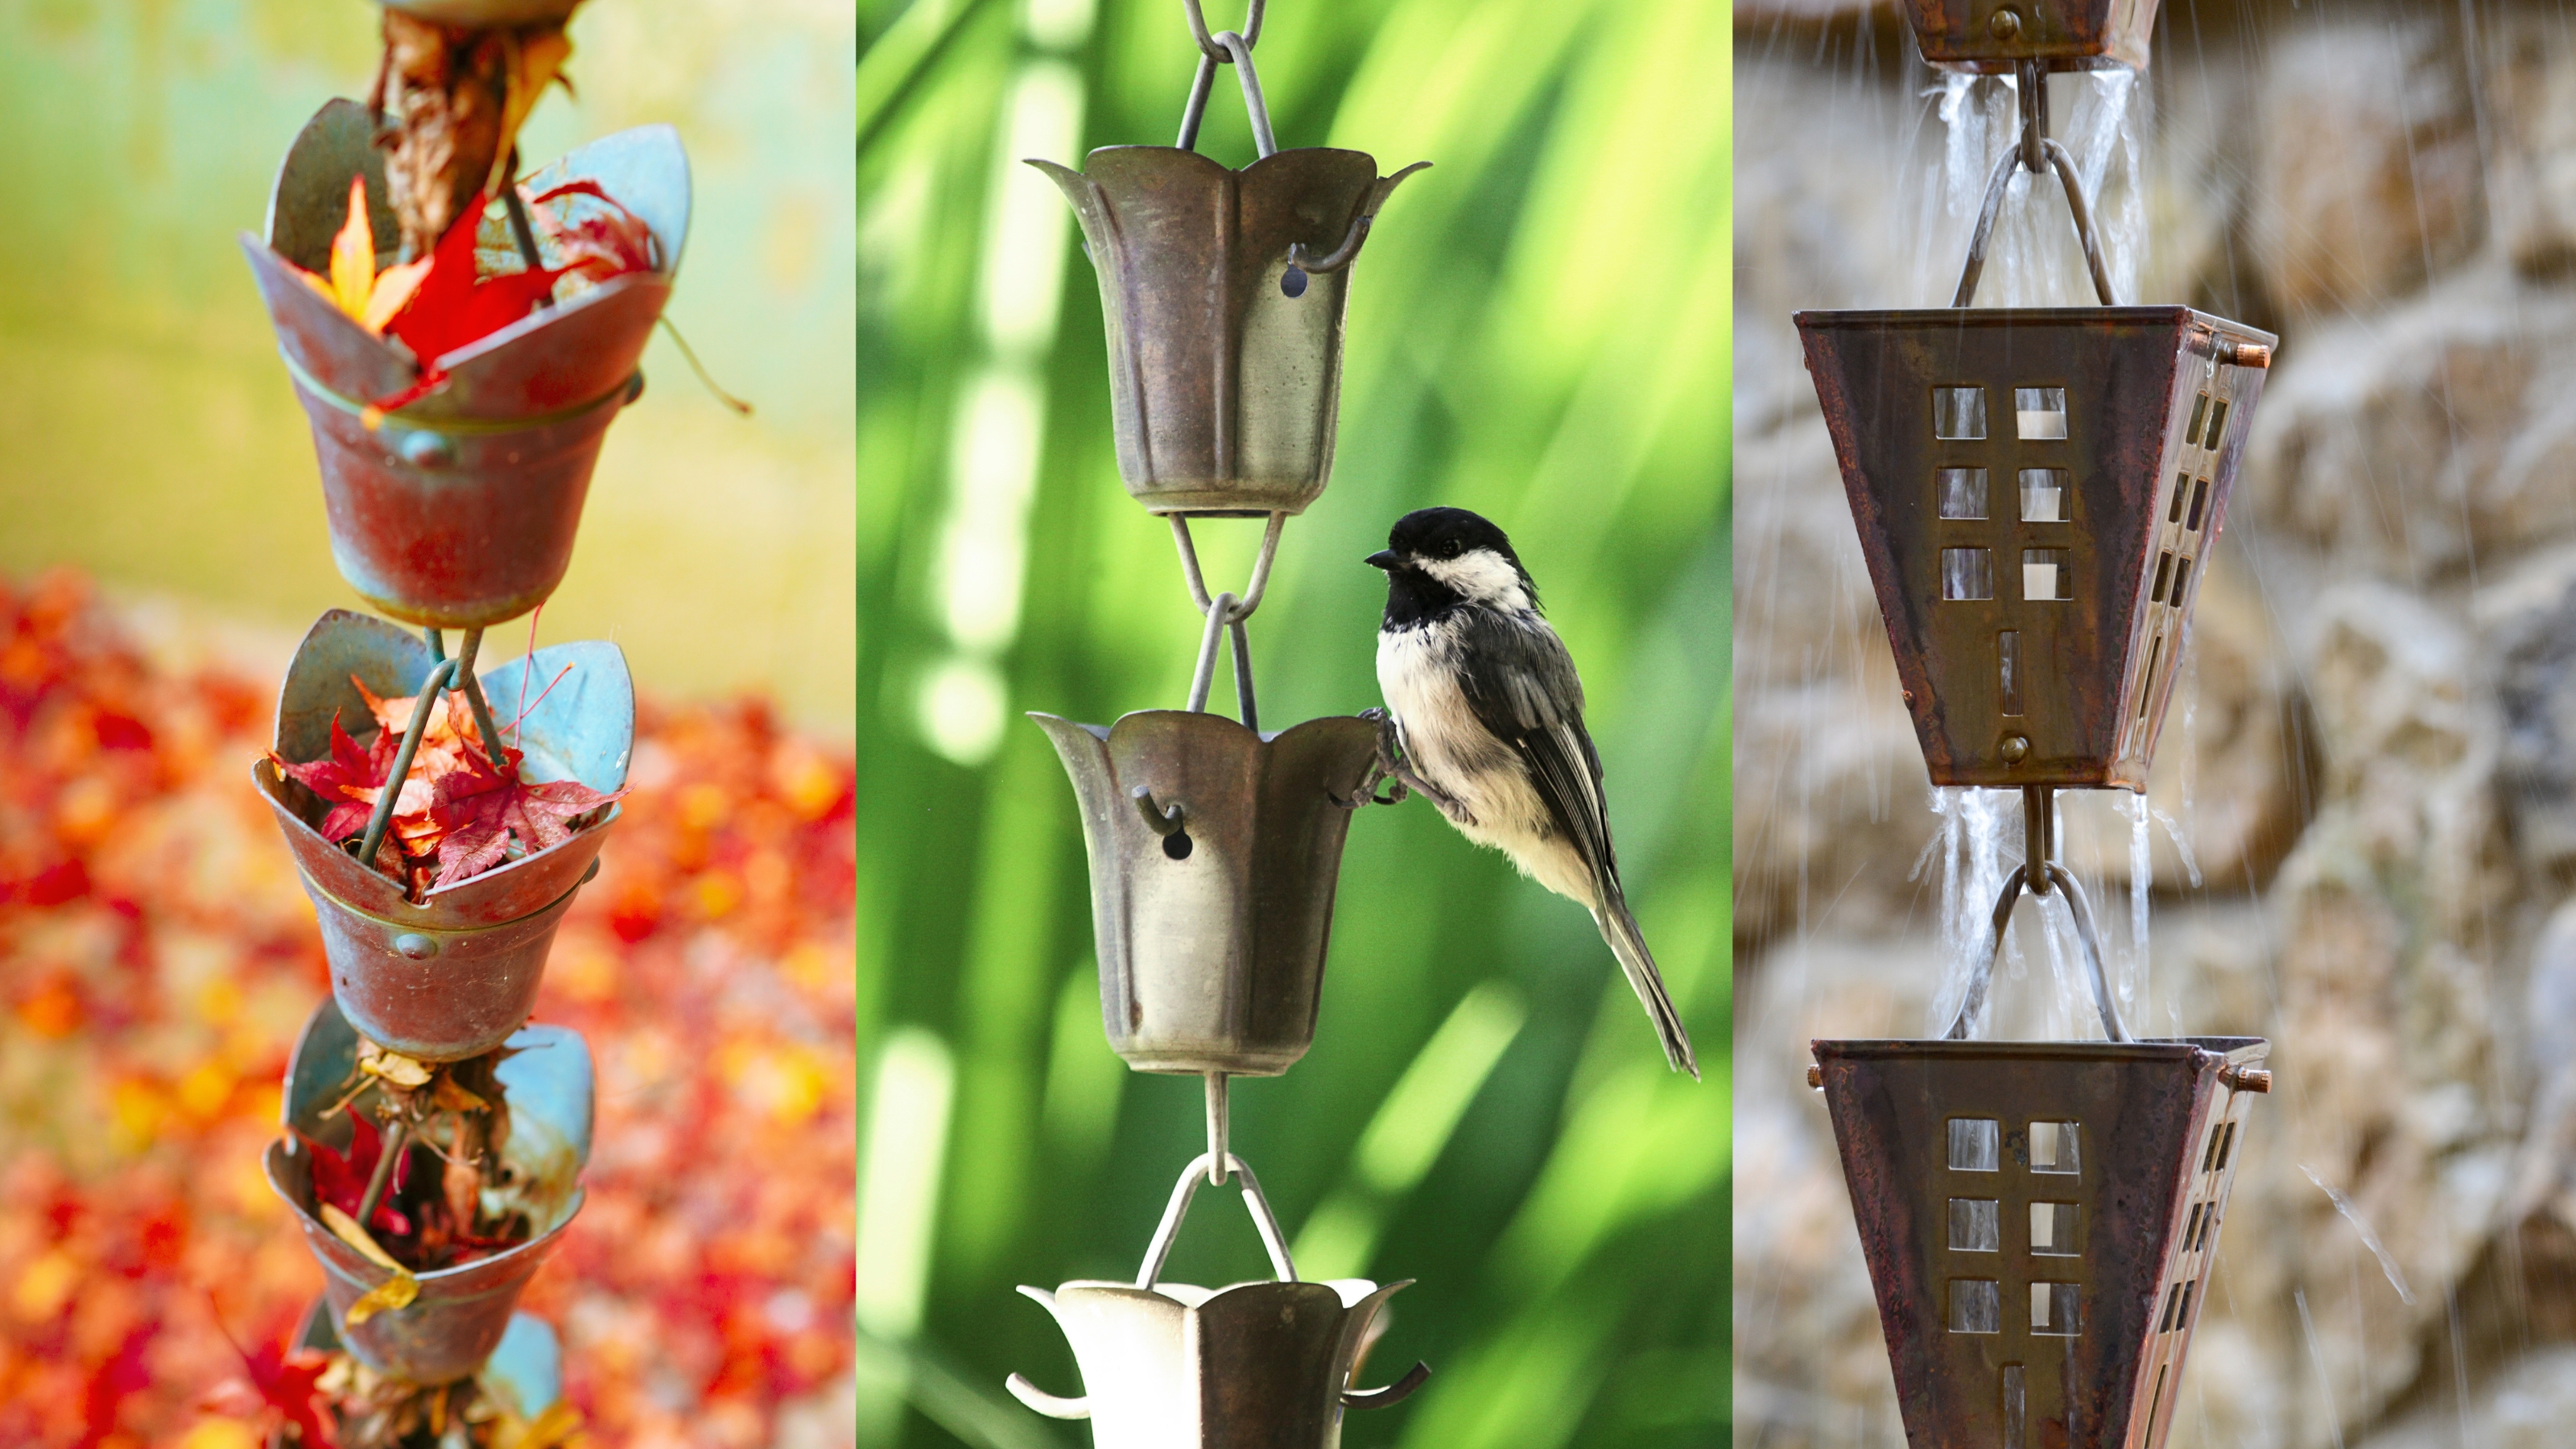
How to make a rain chain — 6 steps to creating a unique downspout
Learning how to make a rain chain will a serene and budget-friendly water conservation feature to your space


Get small space home decor ideas, celeb inspiration, DIY tips and more, straight to your inbox!
You are now subscribed
Your newsletter sign-up was successful
Knowing how to make a rain chain is a great way to add style, calm and an eco-friendly touch to your garden.
Whether you want to harness rainwater from your down-spout in this beautiful way, or add a stylish quirk to your guttering, our home, roofing and conservation experts explain the six steps to create and install your very own, customized rain chain.
If you know what a rain chain is and you're keen to create your own, look no further. Our pros will guide you from start to finish, and you'll be delighting in the relaxing sound of your tinkling rain chain in no time.
Six steps to making a rain chain at home
When it comes to garden ideas worth copying, rain chains are a beautiful and functional addition to any home, guiding rainwater from your roof to the ground in a visually pleasing way.
Making your own rain chain is a rewarding DIY project that can be customized to suit your style. Our experts' step-by-step instructions will guide you from start to finish.
Where our pros have suggested products, we've used our consumer, shopping, homes, and yard industry expertise to source suitable matching picks to help you shop the guide with high-quality products, from trusted retailers.
All prices were correct at the time of publication.
Get small space home decor ideas, celeb inspiration, DIY tips and more, straight to your inbox!
1. Gather your rain chain materials

Making a rain chain yourself begins with gathering the necessary materials.
Chris Stevenson, vice president of 730 South Exteriors, says, "Rain chains are a centuries-old example of Japanese ingenuity and were meant to add ambiance and look decorative at the same time.
"With so many options available to you, sketch out your rain chain! Decide how you want to space any cups or decorative items, and if you'll use different sizes. This will help you determine how much chain to use between each cup."
First and foremost, a sturdy chain that can support the weight of both the water and any attachments is essential.
Chris adds, "Don't skimp on the chain itself. It needs to be long enough, plus strong enough to handle heavy rain and wind. Look for galvanized steel chain — it resists rust and comes in different link sizes."
Bryan Clayton, co-founder of GreenPal, says, "I always opt for materials like stainless steel or brass — these metals resist rust and last a heck of a lot longer than cheaper alternatives.
"The aesthetics of these quality materials are superior, and they’ll give your home’s exterior a touch of elegance that holds up over time."
Other popular materials include aluminum (one of the best materials for outdoor items) and copper.
Jordan Woolf, owner of Huntsville Roofing Solutions prefers two other popular materials. He says, "Copper and aluminum are great choices for their durability and resistance to rust. Copper will develop a natural patina over time, adding a unique look.
"Watch out though — mixing metals like copper and steel can cause galvanic corrosion. Stick to one type of metal to ensure longevity."
You'll also need small metal cups, buckets, or decorative pots to catch and guide the water, along with a measuring tape, pliers, wire cutters, and a drill. This GDMINLO Measuring Tape from Amazon is flexible and comes with more than 50,000 five-star reviews.
To secure the rain chain to the gutter and the ground, you’ll need hooks and anchors. These Deflect-o S Hooks from Target are made of galvanized metal wire and come in a pack of 50.
Decorative elements like beads, charms, or small figurines can add a personal touch.
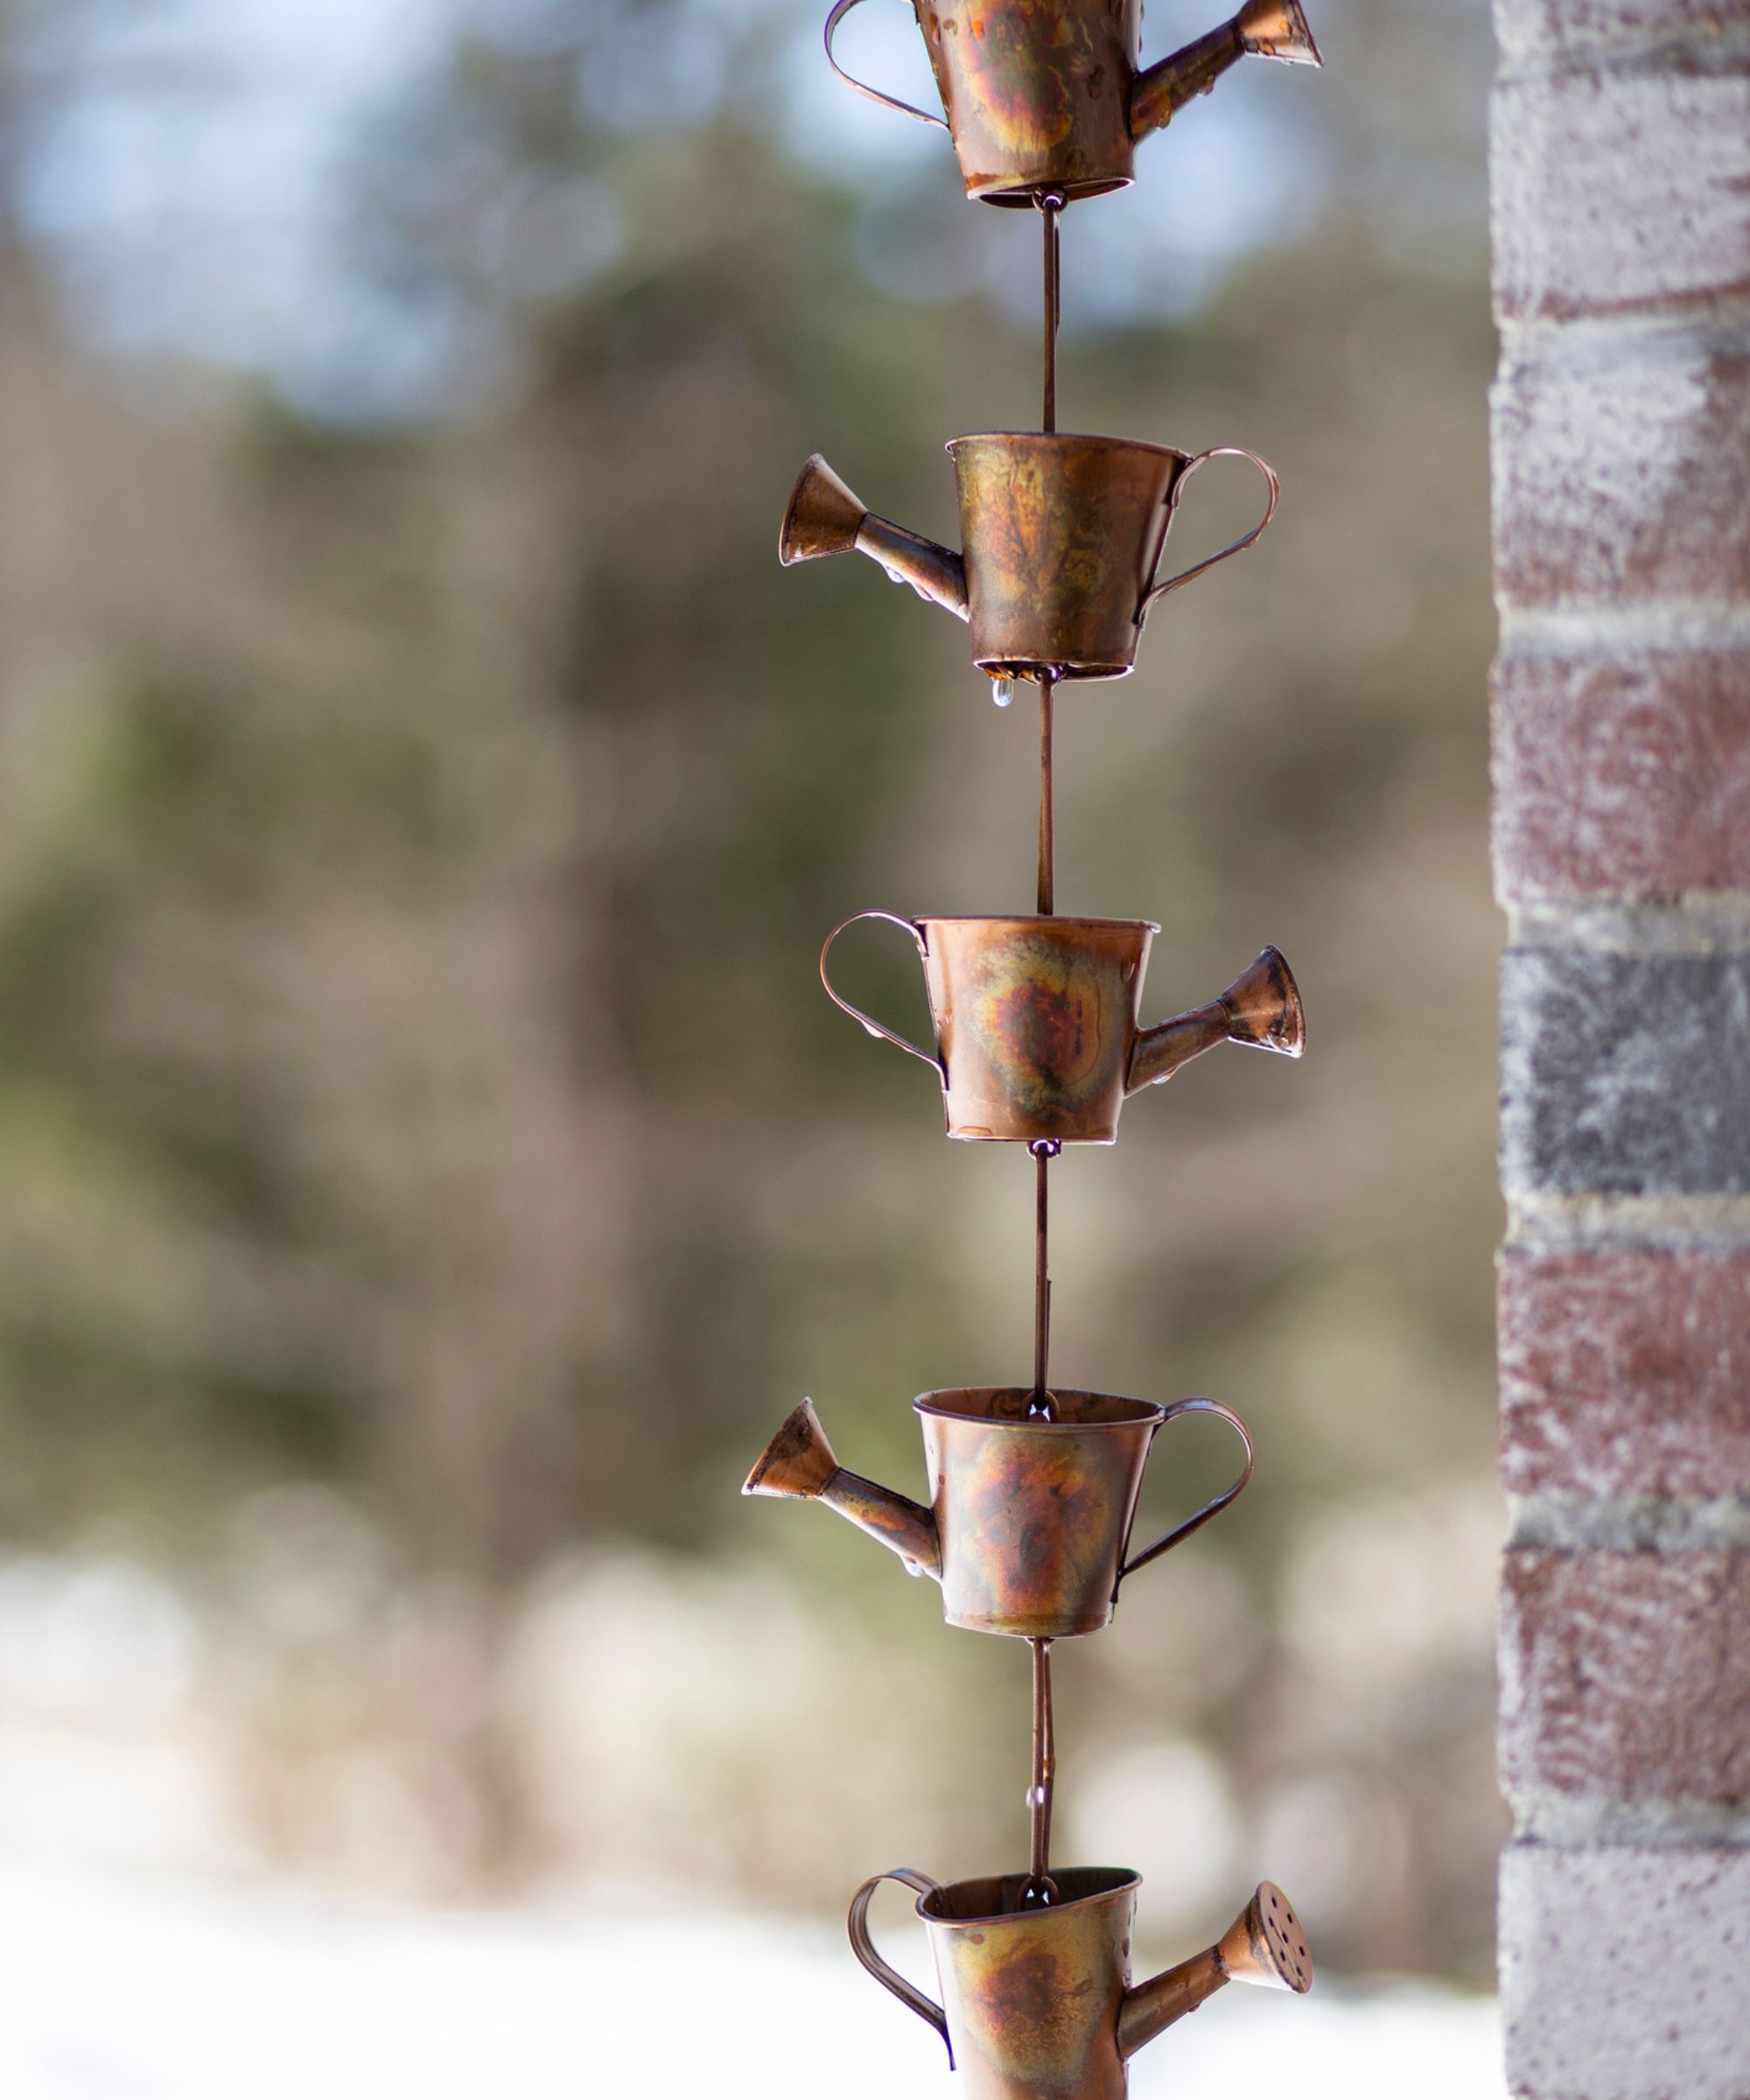
Chris adds, "This is where you get creative! Cups, mugs, teapots, even recycled plastic bottles can work. Terracotta pots are a classic choice, and come in various sizes, allowing you to play with the water flow. You'll need six to eight, depending on the size."
These Orange Terracotta Pots from Lowe's come in multiple widths, ranging from four inches to 18.
2. Measure and cut the chain
Measure the distance from your gutter to the ground to determine the length of the chain you'll need, adding a few extra inches for adjustments. Using wire cutters or pliers, cut the chain to the desired length.
If creating tiers with containers, cut the chain into appropriate lengths for each section. Wear protective glasses and gloves to protect your hands. These Blue Ridge Multi-Purpose Gloves from Target offer great protection and comfort, while these Dewalt Protector Glasses from Amazon are lightweight, durable and well-reviewed.
Chris says, "You'll need a length of sturdy chain that can handle the weight of water. For a standard rain chain, a chain with links around 3/16" thick (just less than 5mm) is a good choice.
"If unsure, my advice would be to get a length at least 8-10 feet long — you can always cut it shorter later."
3. Assemble the rain chain

With your materials at the ready and cut to size, it's time to get creating.
Chris says, "Put on your safety glasses and gloves. Flip the cups upside down and drill a hole in the center of the base, big enough for the chain link to pass through easily.
"Next, lay out your chain on a flat surface. Thread one end of the chain through the hole in your bottom cup. Now comes the S-hook magic: attach an S-hook to another chain link and hook it onto the bottom cup's hole, on the opposite side from where the main chain went through. This creates a little loop for the next cup to hang from.
"Take your next cup, thread the main chain through its base hole, and then connect it to the S-hook hanging from the previous cup. Repeat this process for all your cups, following your design plan."
Ensure all containers and decorations are securely attached to handle the weight of the rain chain, and the water that will move through it.
Chirs adds, "Make sure each cup has a drainage hole at the bottom to prevent water build-up and freezing in cold weather. Be mindful of weight distribution also. Balance heavier cups lower in the chain."
4. Install the rain chain
Next, it's time to connect your newly-made rain chain to the gutter.
Jordan says, "Use a stable ladder to reach your gutter (Little Giant Ladders from Lowe's reach up to 18 feet and come with five-star reviews). If there's already a downspout, remove it. Drill a hole in the gutter that's slightly larger than the diameter of your rain chain attachment.
"Insert the gutter attachment piece through the hole and secure it tightly to ensure stability (the Monarch Rain Chains Gutter Installation Clip from Lowe's is made of pure copper).
"Hook the top link or cup of the rain chain onto the gutter attachment piece. Make sure the rain chain hangs straight and reaches the ground or a drainage basin."
Securing the bottom end of your rain chain is an important step to ensure it can withstand strong winds and doesn't blow around and break. It's important too if you're looking to harvest the rainwater.
Nisha Maxwell, permaculture landscape designer and seed farmer says, "Since the EPA estimates that 30% of Americans’ water use happens outdoors, saving rainwater could significantly reduce the household water bill."
Nisha suggests taking account of your region's typical annual rainfall when considering water collection methods. She adds, "Choose a garden bed for low rainfall, a water cistern for heavy rainfall, or a rain garden for intermittent heavy rain like southwestern monsoons."
You can secure the bottom end of the rain chain in a drainage basin, decorative pot, or into the ground with a stake.
5. Decorate your rain chain

When it comes to stylish rain chain ideas, the world is your oyster! You can enhance the visual appeal of your rain chain by adding all kinds of personal touches.
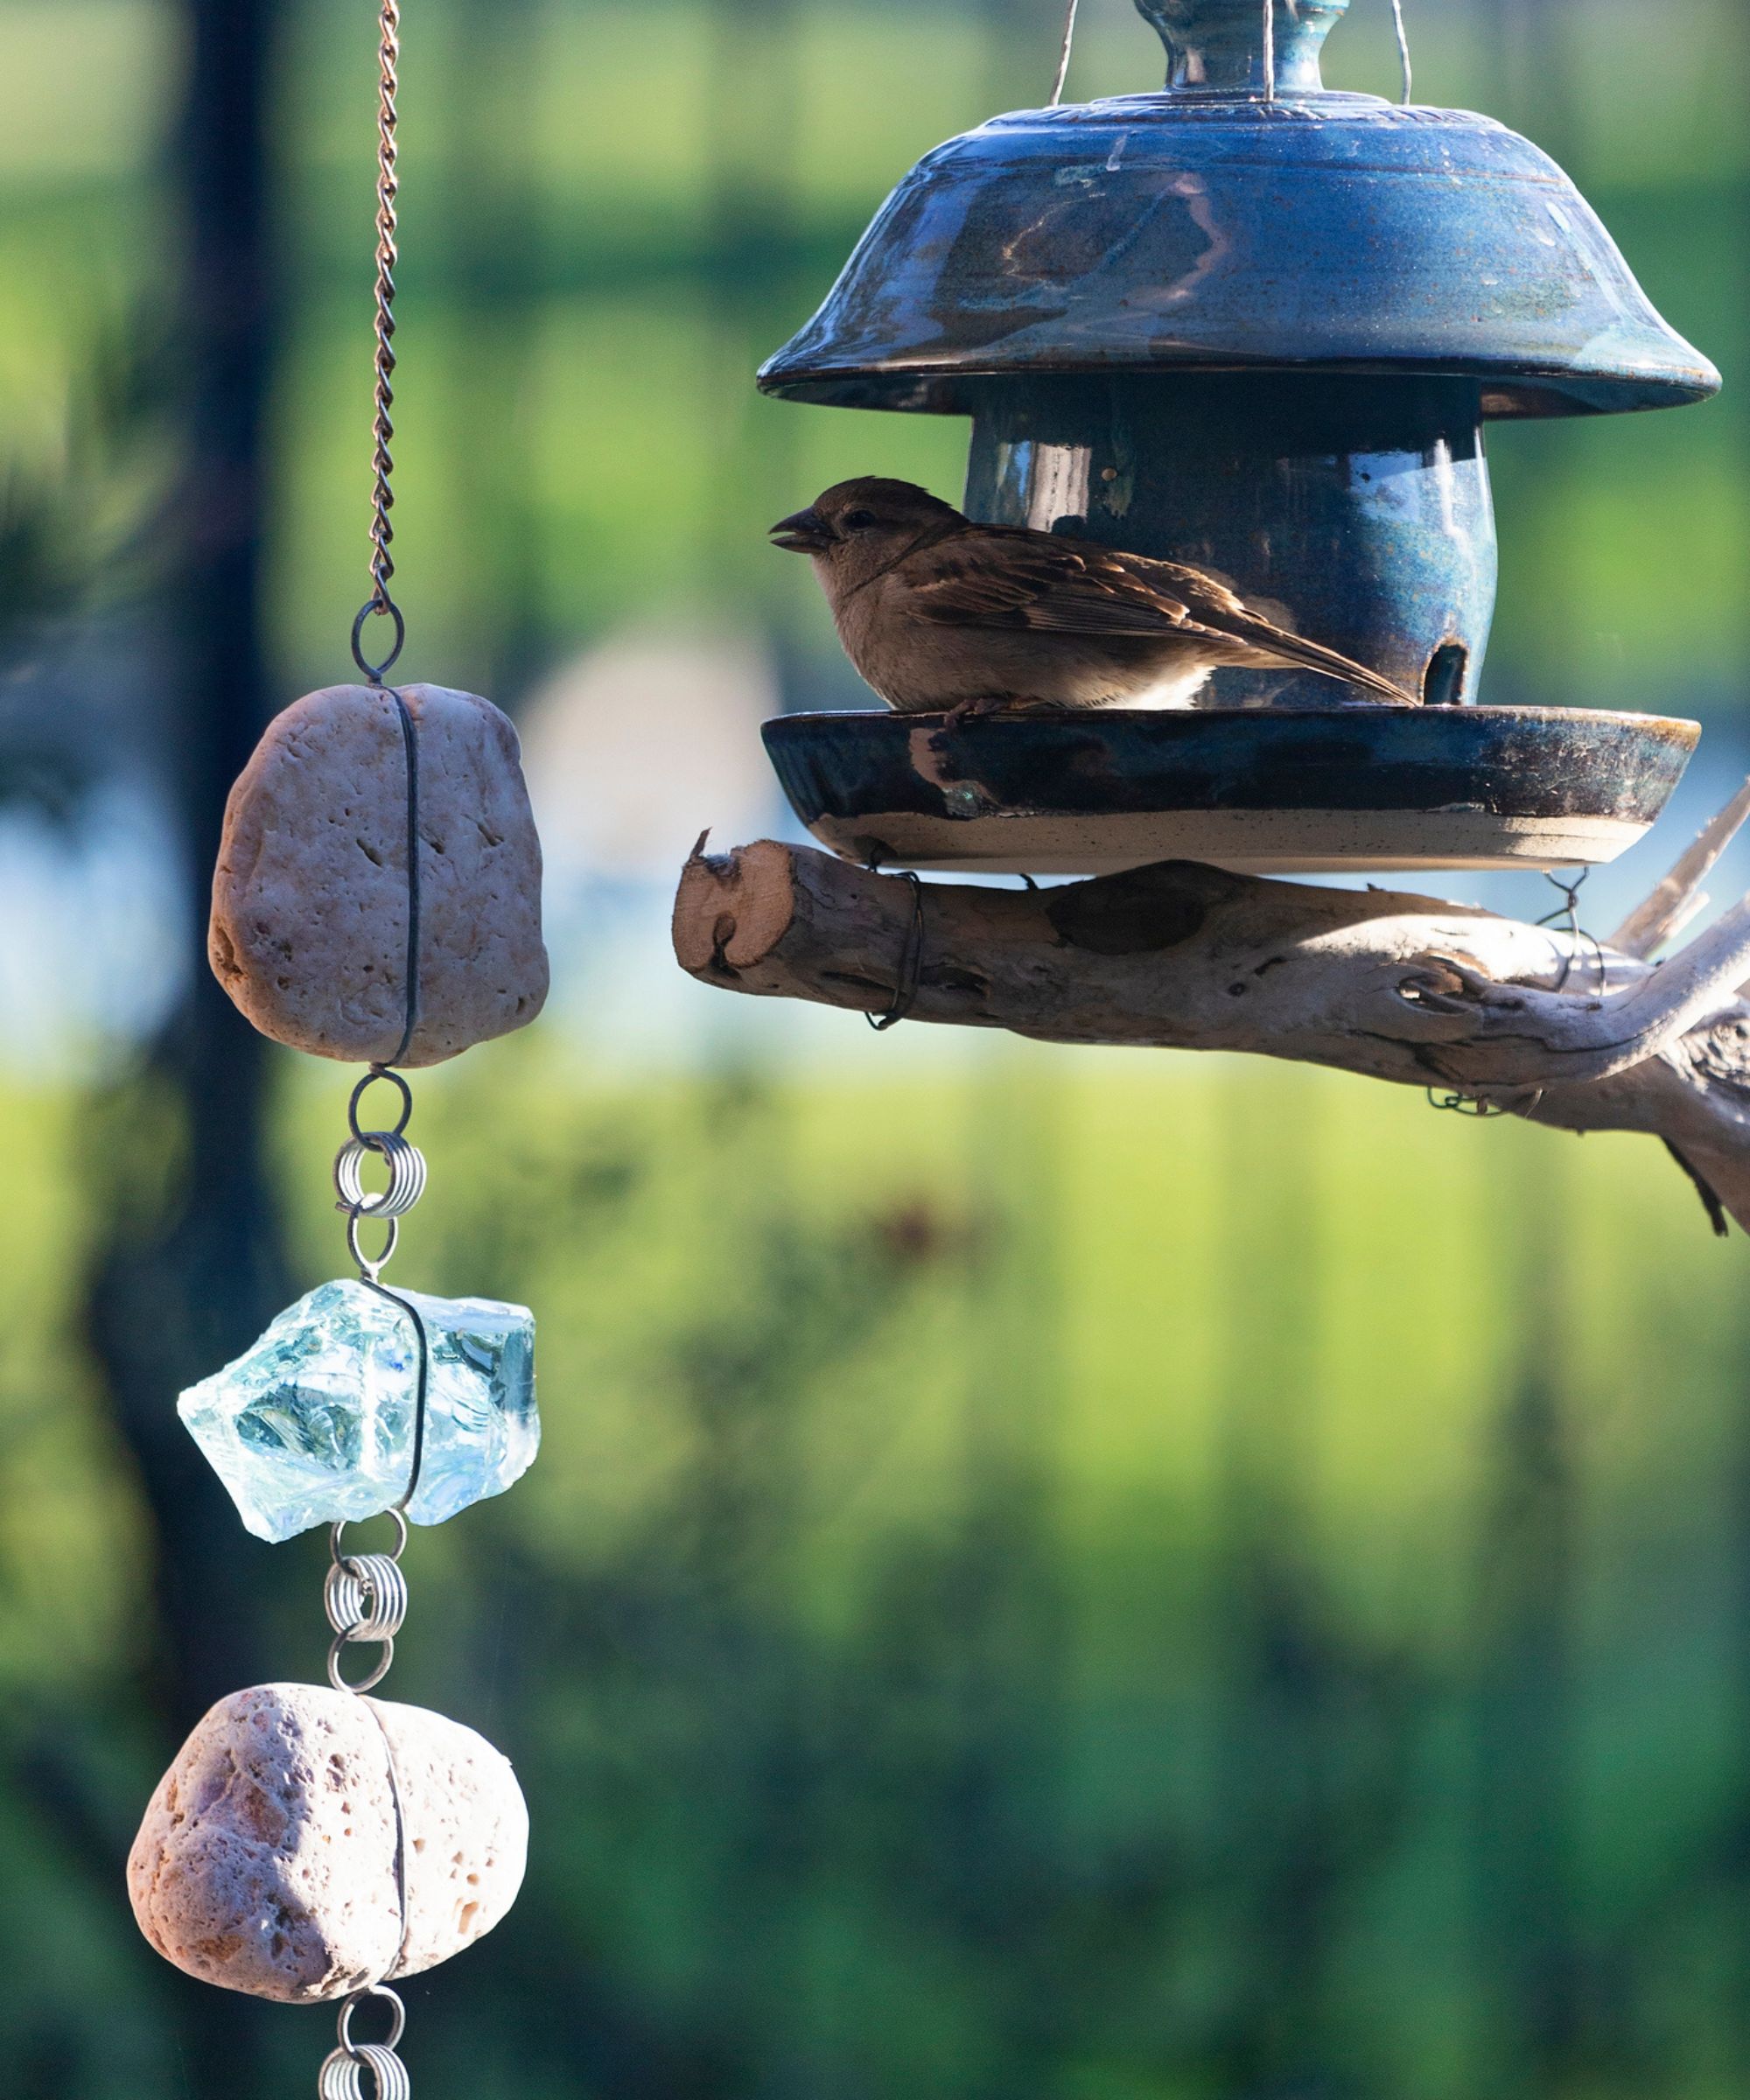
Paint or decorate the containers with weather-resistant paint, add LED lights for night illumination, or incorporate natural elements like stones, shells, or crystals. Ensure any added elements are waterproof and securely attached.
Karina Toner, operations manager at Spekless Cleaning, says, "Enhancing the aesthetic appeal of your rain chain can turn it into a beautiful garden feature that complements your home's exterior. Choosing decorative elements and thoughtful placement can significantly impact the overall look.
"Opt for elements like glass beads, colorful stones, or themed cups that match your garden’s aesthetic. Integrate small hanging plants or succulents nearby to add a touch of whimsical greenery. For lighting, consider adding solar-powered lights or glow-in-the-dark paint around the cups for nighttime visibility and added charm."
6. Maintain your rain chain
Regular maintenance keeps your rain chain looking beautiful and functioning well. Clean it regularly to remove debris, leaves, or dirt. Inspect the chain and containers for rust or corrosion, replacing or repairing them as needed.
Adrian Pedraza, owner of The California Home Buyer, advises cleaning the rain chain thoroughly when preparing your garden for winter and inspecting it to make sure it is clear of debris and capable of operating as intended.
He adds, "You can shield metal chains from the harsh winter weather by coating them with a rust-resistant substance."
Try Rust-Oleum's Stop Rust Inhibitor Spray, available on Amazon on untreated metal. Its easy-spray application will make protecting your rain chain and other outdoor metal items a cinch, and protect them for six months.
To prevent the rain chain from swinging in the wind, ensure it is securely tethered. Attach it to a ground stake, stone and S hook anchor, a sturdy garden sculpture using heavy-duty wire, nylon cord, or a small auxiliary chain. Ensure the tether is taut enough to minimize movement but flexible enough to accommodate the chain's movement during heavy rain.
In areas that experience harsh winters, another option is to remove the rain chain for the season.
Ryan Farley, CEO of LawnStarter says, "I recommend removing your rain chain in the winter, unless you live in an area with pretty mild winters. If ice builds up on your rain chain, it could actually cause damage to your gutter due to weight dragging on the structure."
Meet our experts

Jordan Woolf is the owner of a successful roofing company based in Alabama, serving clients with over 20 years experience in the industry. Jordan has built a reputation for delivering high-quality roofing solutions that cater to residential and commercial clients across the state.

Karina is an Operations Manager at Spekless Cleaning, a respected cleaning company operating across multiple US states. She has more than a decade of cleaning experience, is an expert in professional cleaning solutions and helps clients with sustainable and effective cleaning.

Adrian Pedraza is the owner of The California Home Buyer, a professional house-flipping company. He is a licensed real estate broker with over 10 years of experience buying, selling, and flipping properties in California. He keeps a close eye on all the changes in the real estate industry and home development. He represents the sixth largest brokerage in California with over 750 transactions closed. He is also a certified home inspector and renovator.

Ryan Farley is the CEO of LawnStarter, a marketplace for outdoor home services which makes it easy to find and book quality lawn care services in your area. It connects top local professionals with clients, including skilled landscapers who have years of experience dealing with grass, weeds, pests, flowerbeds and anything else in your yard.
Enjoy the soothing sight and sound of rain cascading down your handmade, unique rain chain, knowing you created it with your own hands.
Next, check out these 30 cheap garden ideas and the garden accessory that will save your knees.

I'm a senior writer with an English degree and NCJ qualification, plus years of experience writing news, lifestyle and consumer articles for the national and international press. I'm also a copywriter, working on a breadth of consumer and corporate projects, and a private education consultant. I live in the quiet of the countryside and love completing DIY tasks to breathe life into my small, newly-built home.

