DIY air clay ruffle bowls: a cute last-minute gift you can make in minutes
Chic, personal, and (ahem) cheap.

Get small space home decor ideas, celeb inspiration, DIY tips and more, straight to your inbox!
You are now subscribed
Your newsletter sign-up was successful
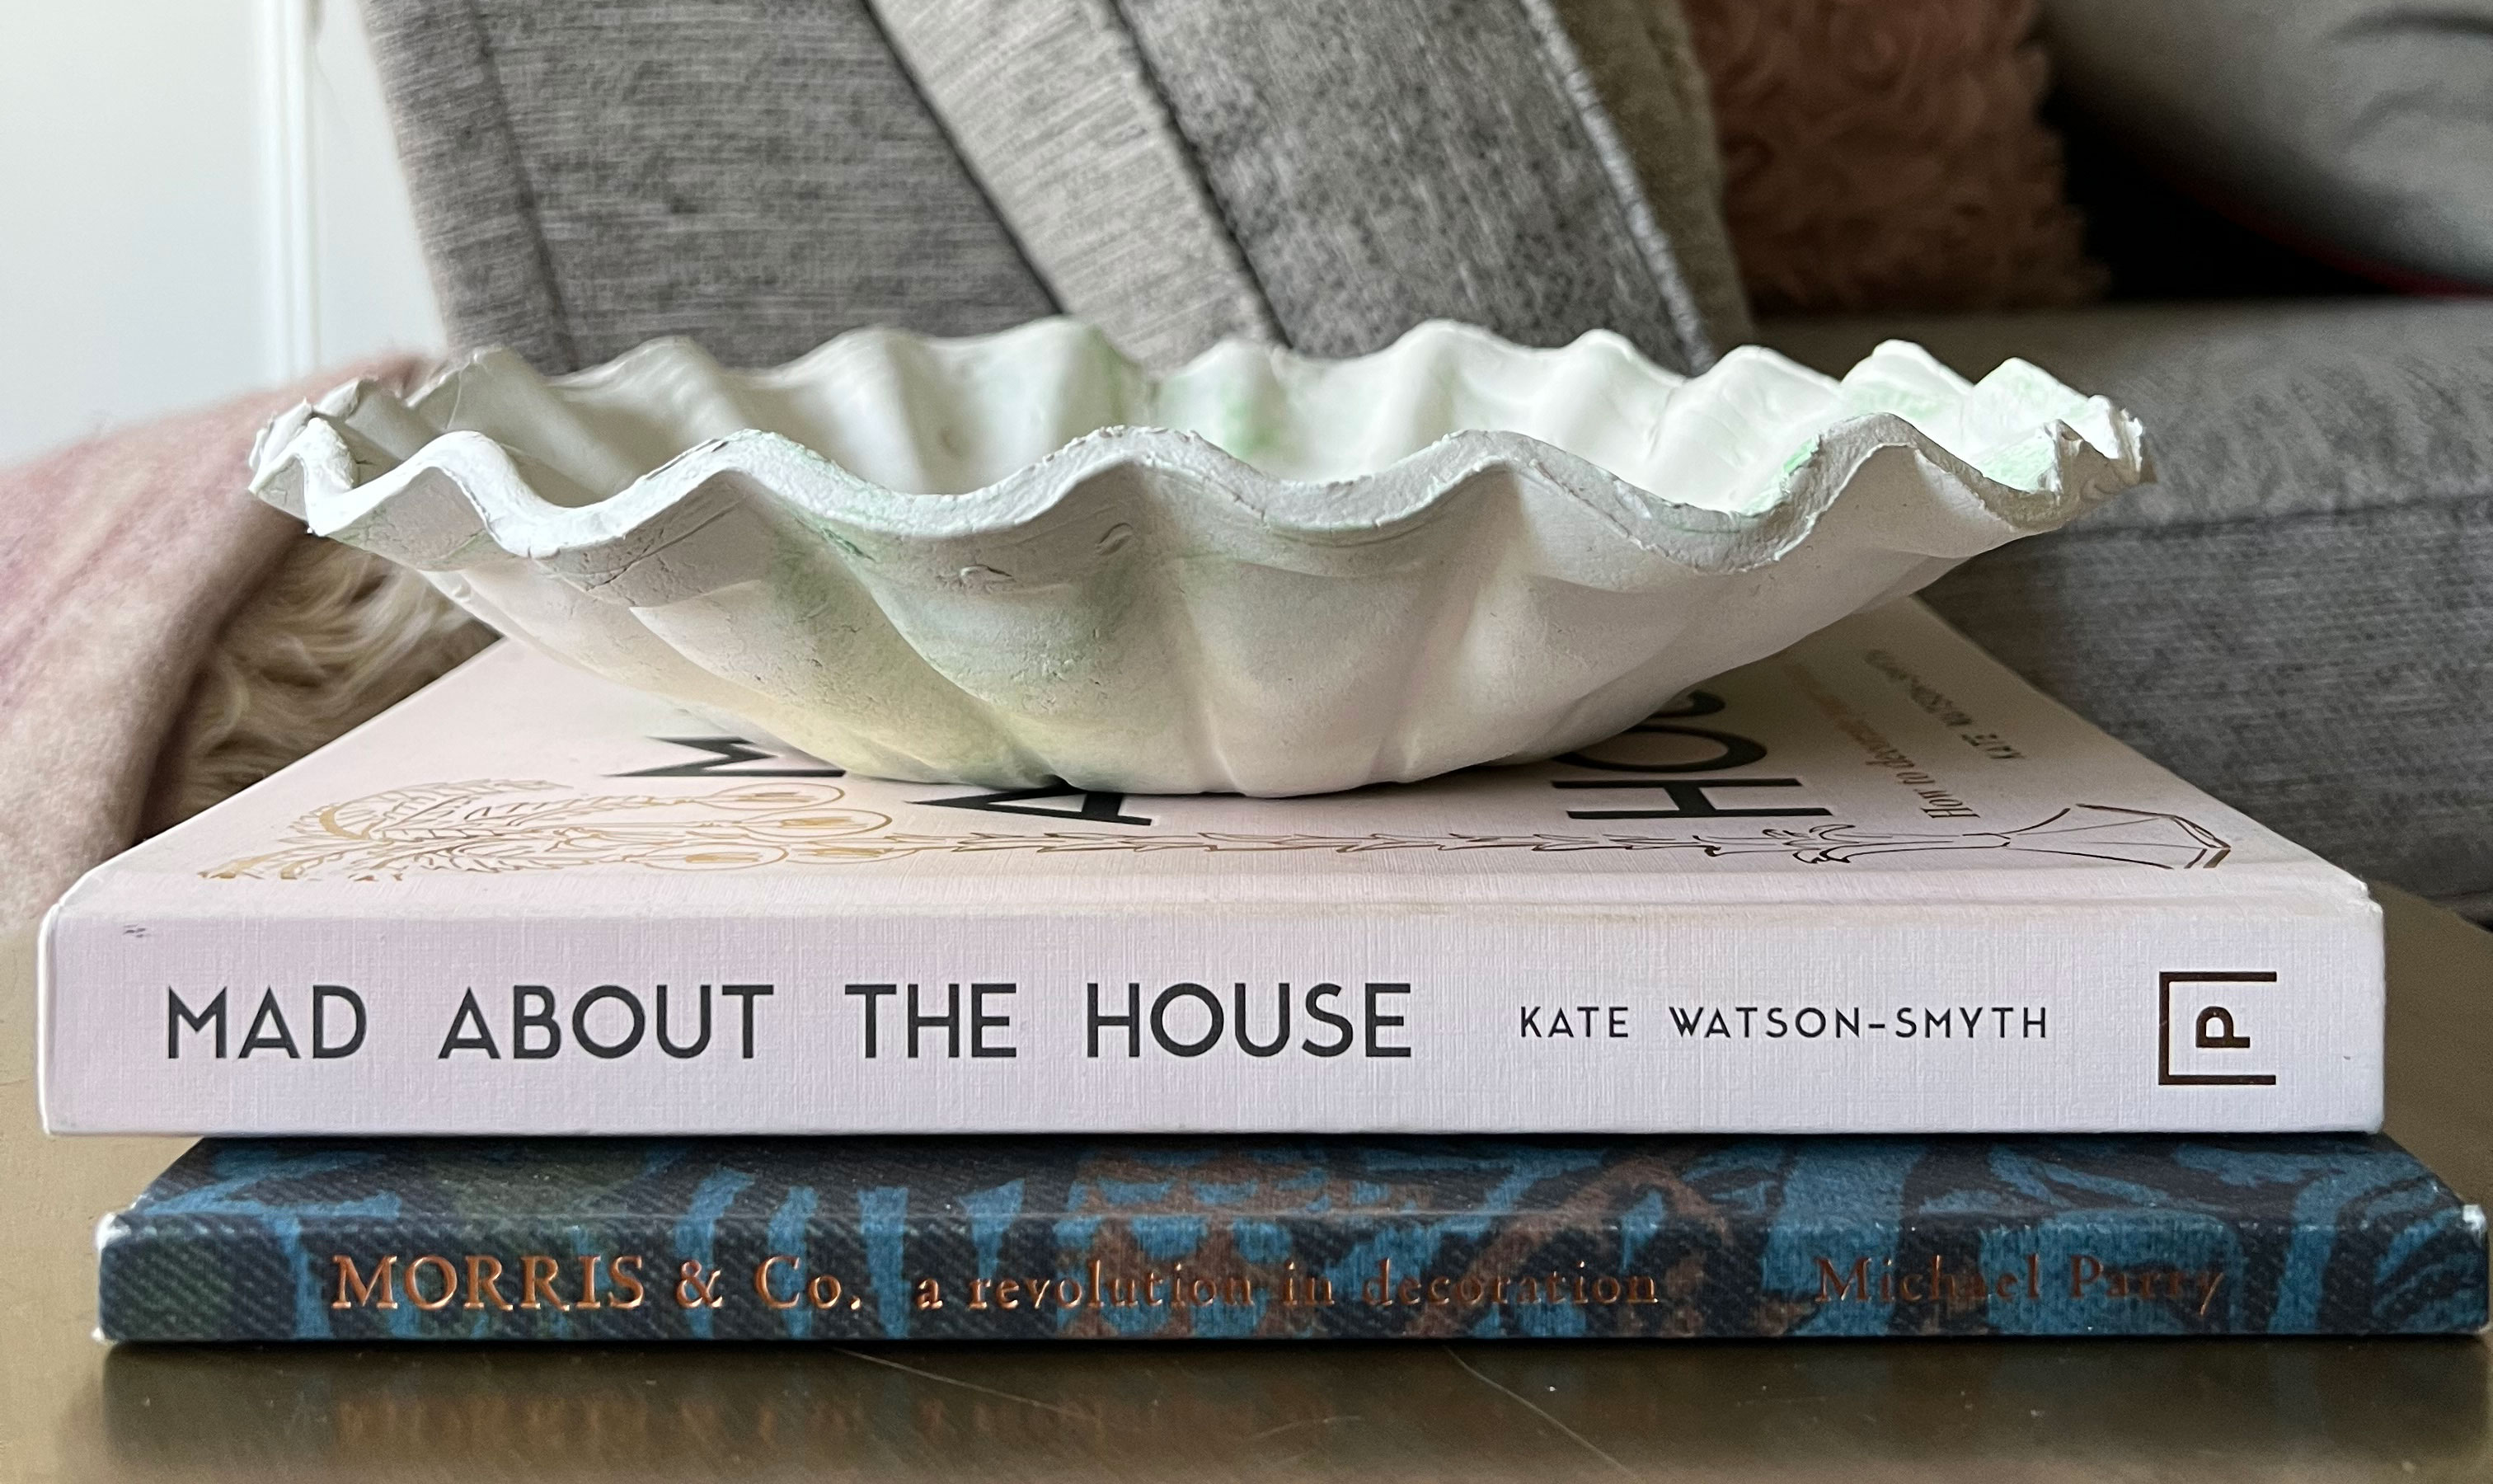
Making anything is always so satisfying and there is just something about clay that is so fun from a crafting perspective. It's no secret that some of the most beautiful home decor pieces you'll find are ceramics and anything with clay-effect. It's also never a surprise that they aren't always within reach — think that gorgeous Anthro ruffled marble bowl, it's a total vibe, but, probably a little over budget when it's not payday weekend.
Similarly, using clay always seems a little out of reach — can someone get me a pottery wheel ASAP please? — when actually there are now a ton of options that make it simpler to experiment with at home. I made these DIY ruffle bowls using air clay, which in my view is, the best kinda clay.
You will need
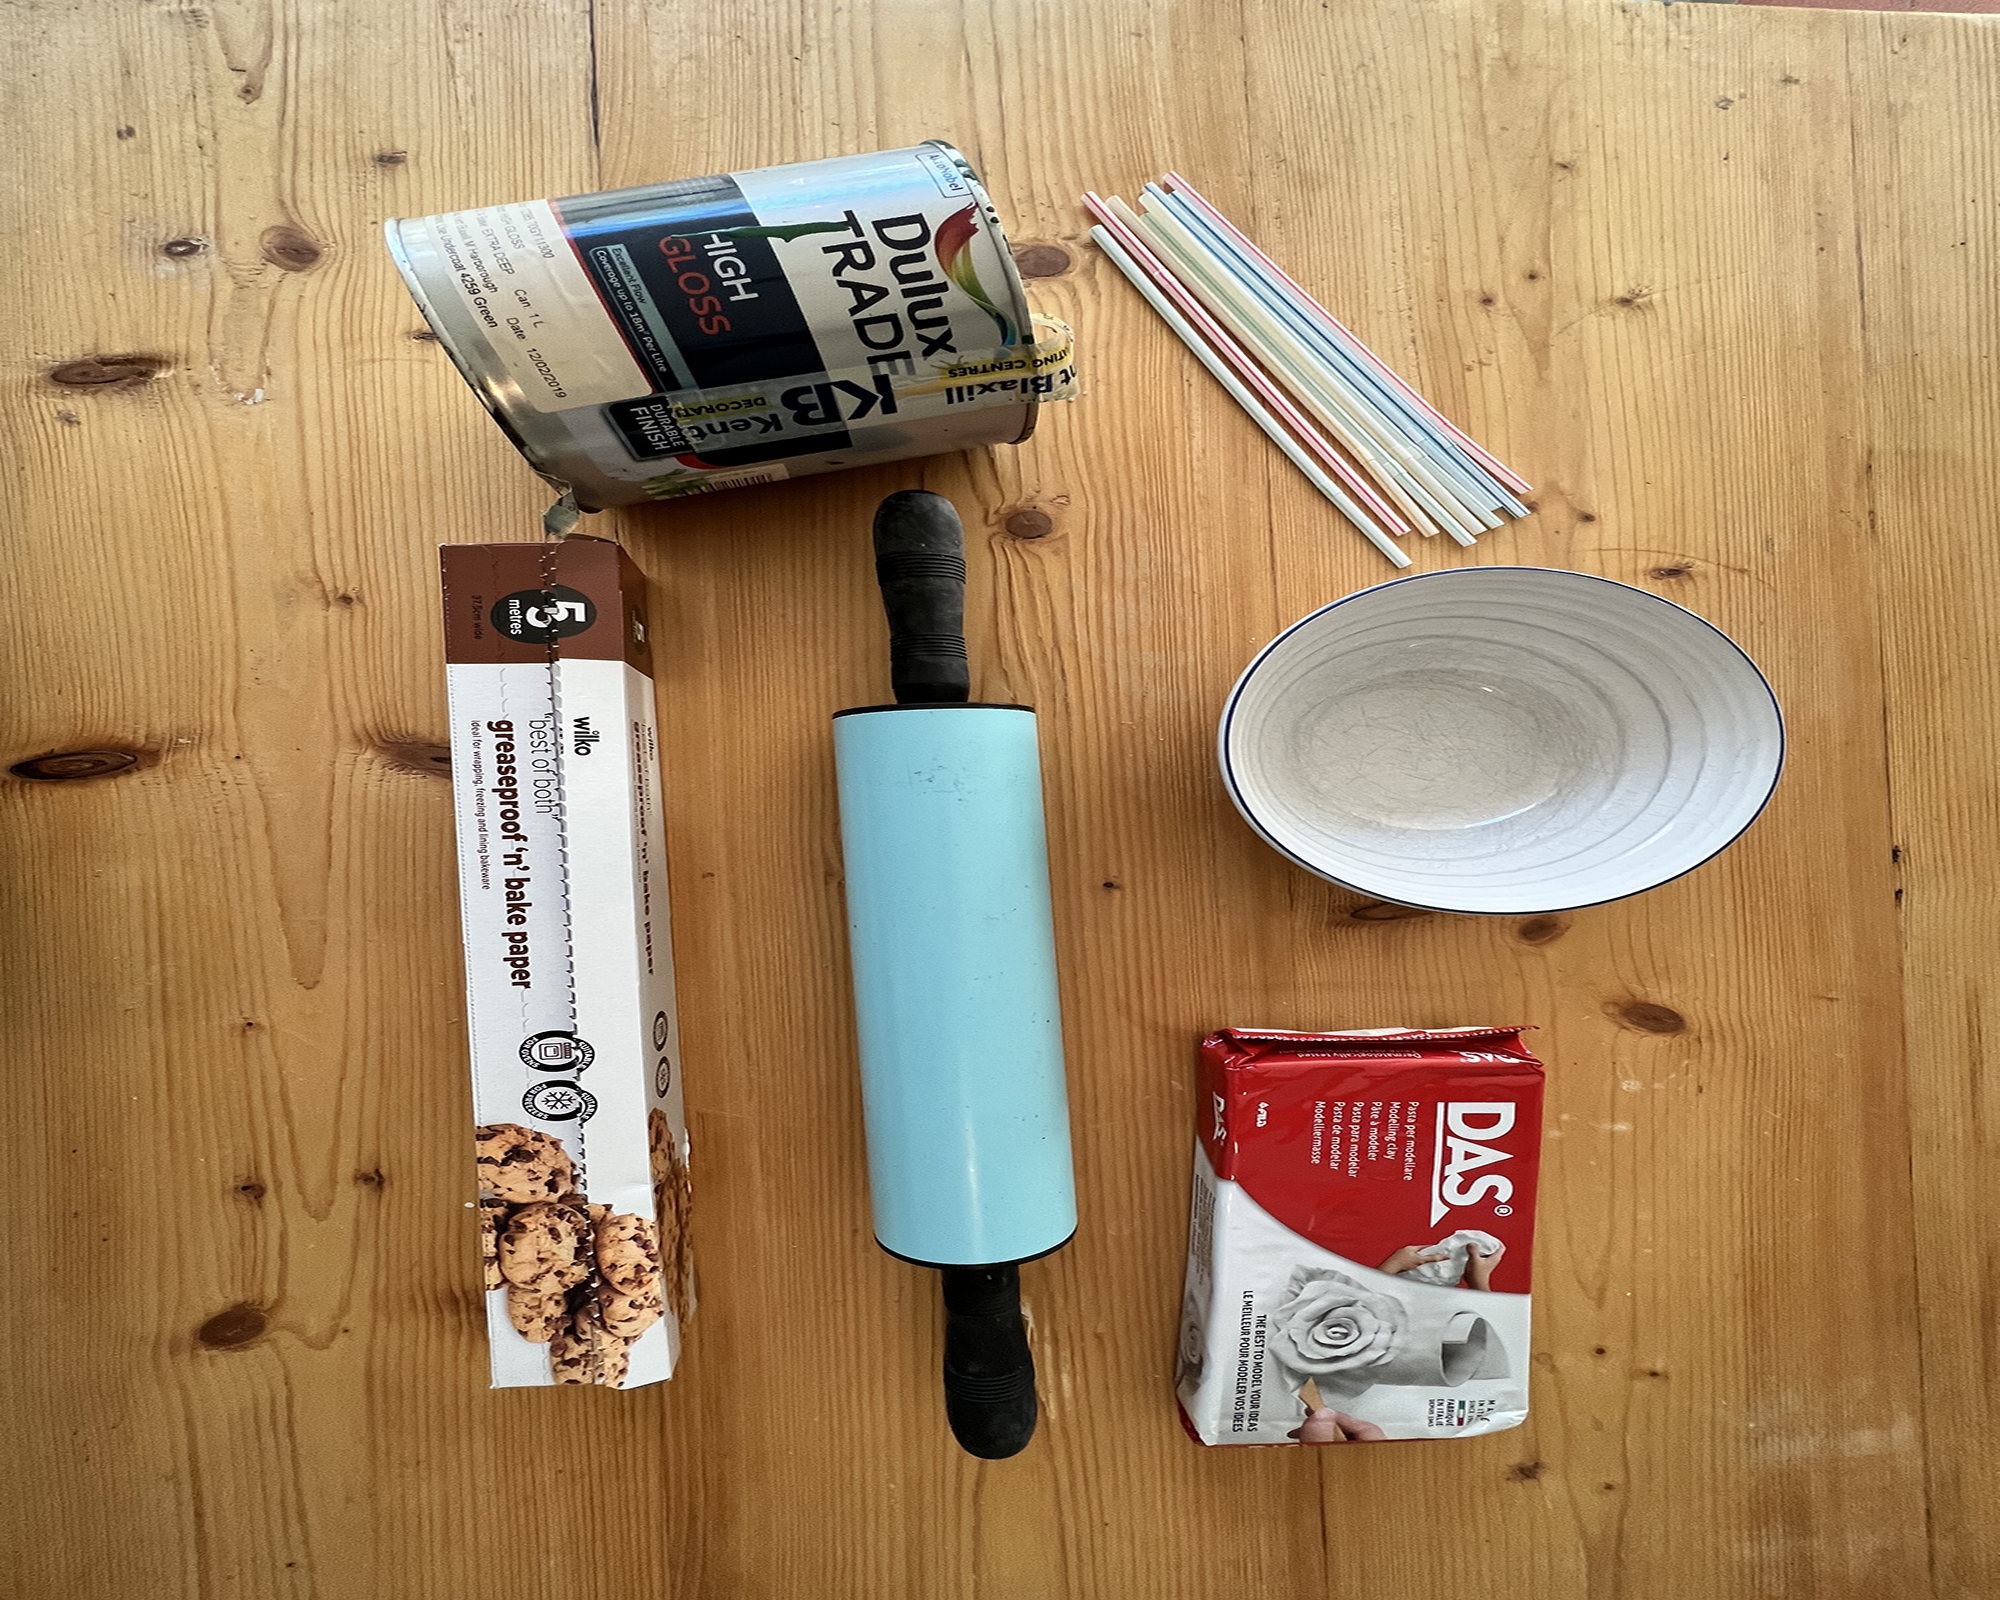
1. Air dry clay: a brand called Noah does good sets that come with paint included
2. Paint (optional)
3. Cereal bowl (or similar) for molding
4. Rolling pin
5. Baking paper
6. Straws
7. Knife
8. Plate
9. Bowl
What is air clay?
Air clay gives beautiful results without stress and in hardly any time at all. Drying time is usually 24 to 72 hours and it will make the perfect addition to a studio that wants a little more character, while a friend will love you for it no doubt.
You can find air clay in most craft stores or online. Often it's so cheap that you could carve out this DIY ruffle bowl for example, for around $12 using Crayola air dry clay Amazon or something similar.
If you want a full kit with paints and clay tools which is a bit more expensive (more so even than the aforementioned bowl) but quite a good way to start, there are brands like Noah that have a ton of options for the pottery novices — aren't we all? They make good gifts in themselves too.
Anyhow, there is simply something to be said for handmaking anything, so once you've sourced your clay, this is how to make your ruffle bowl.
1. Prepare your clay
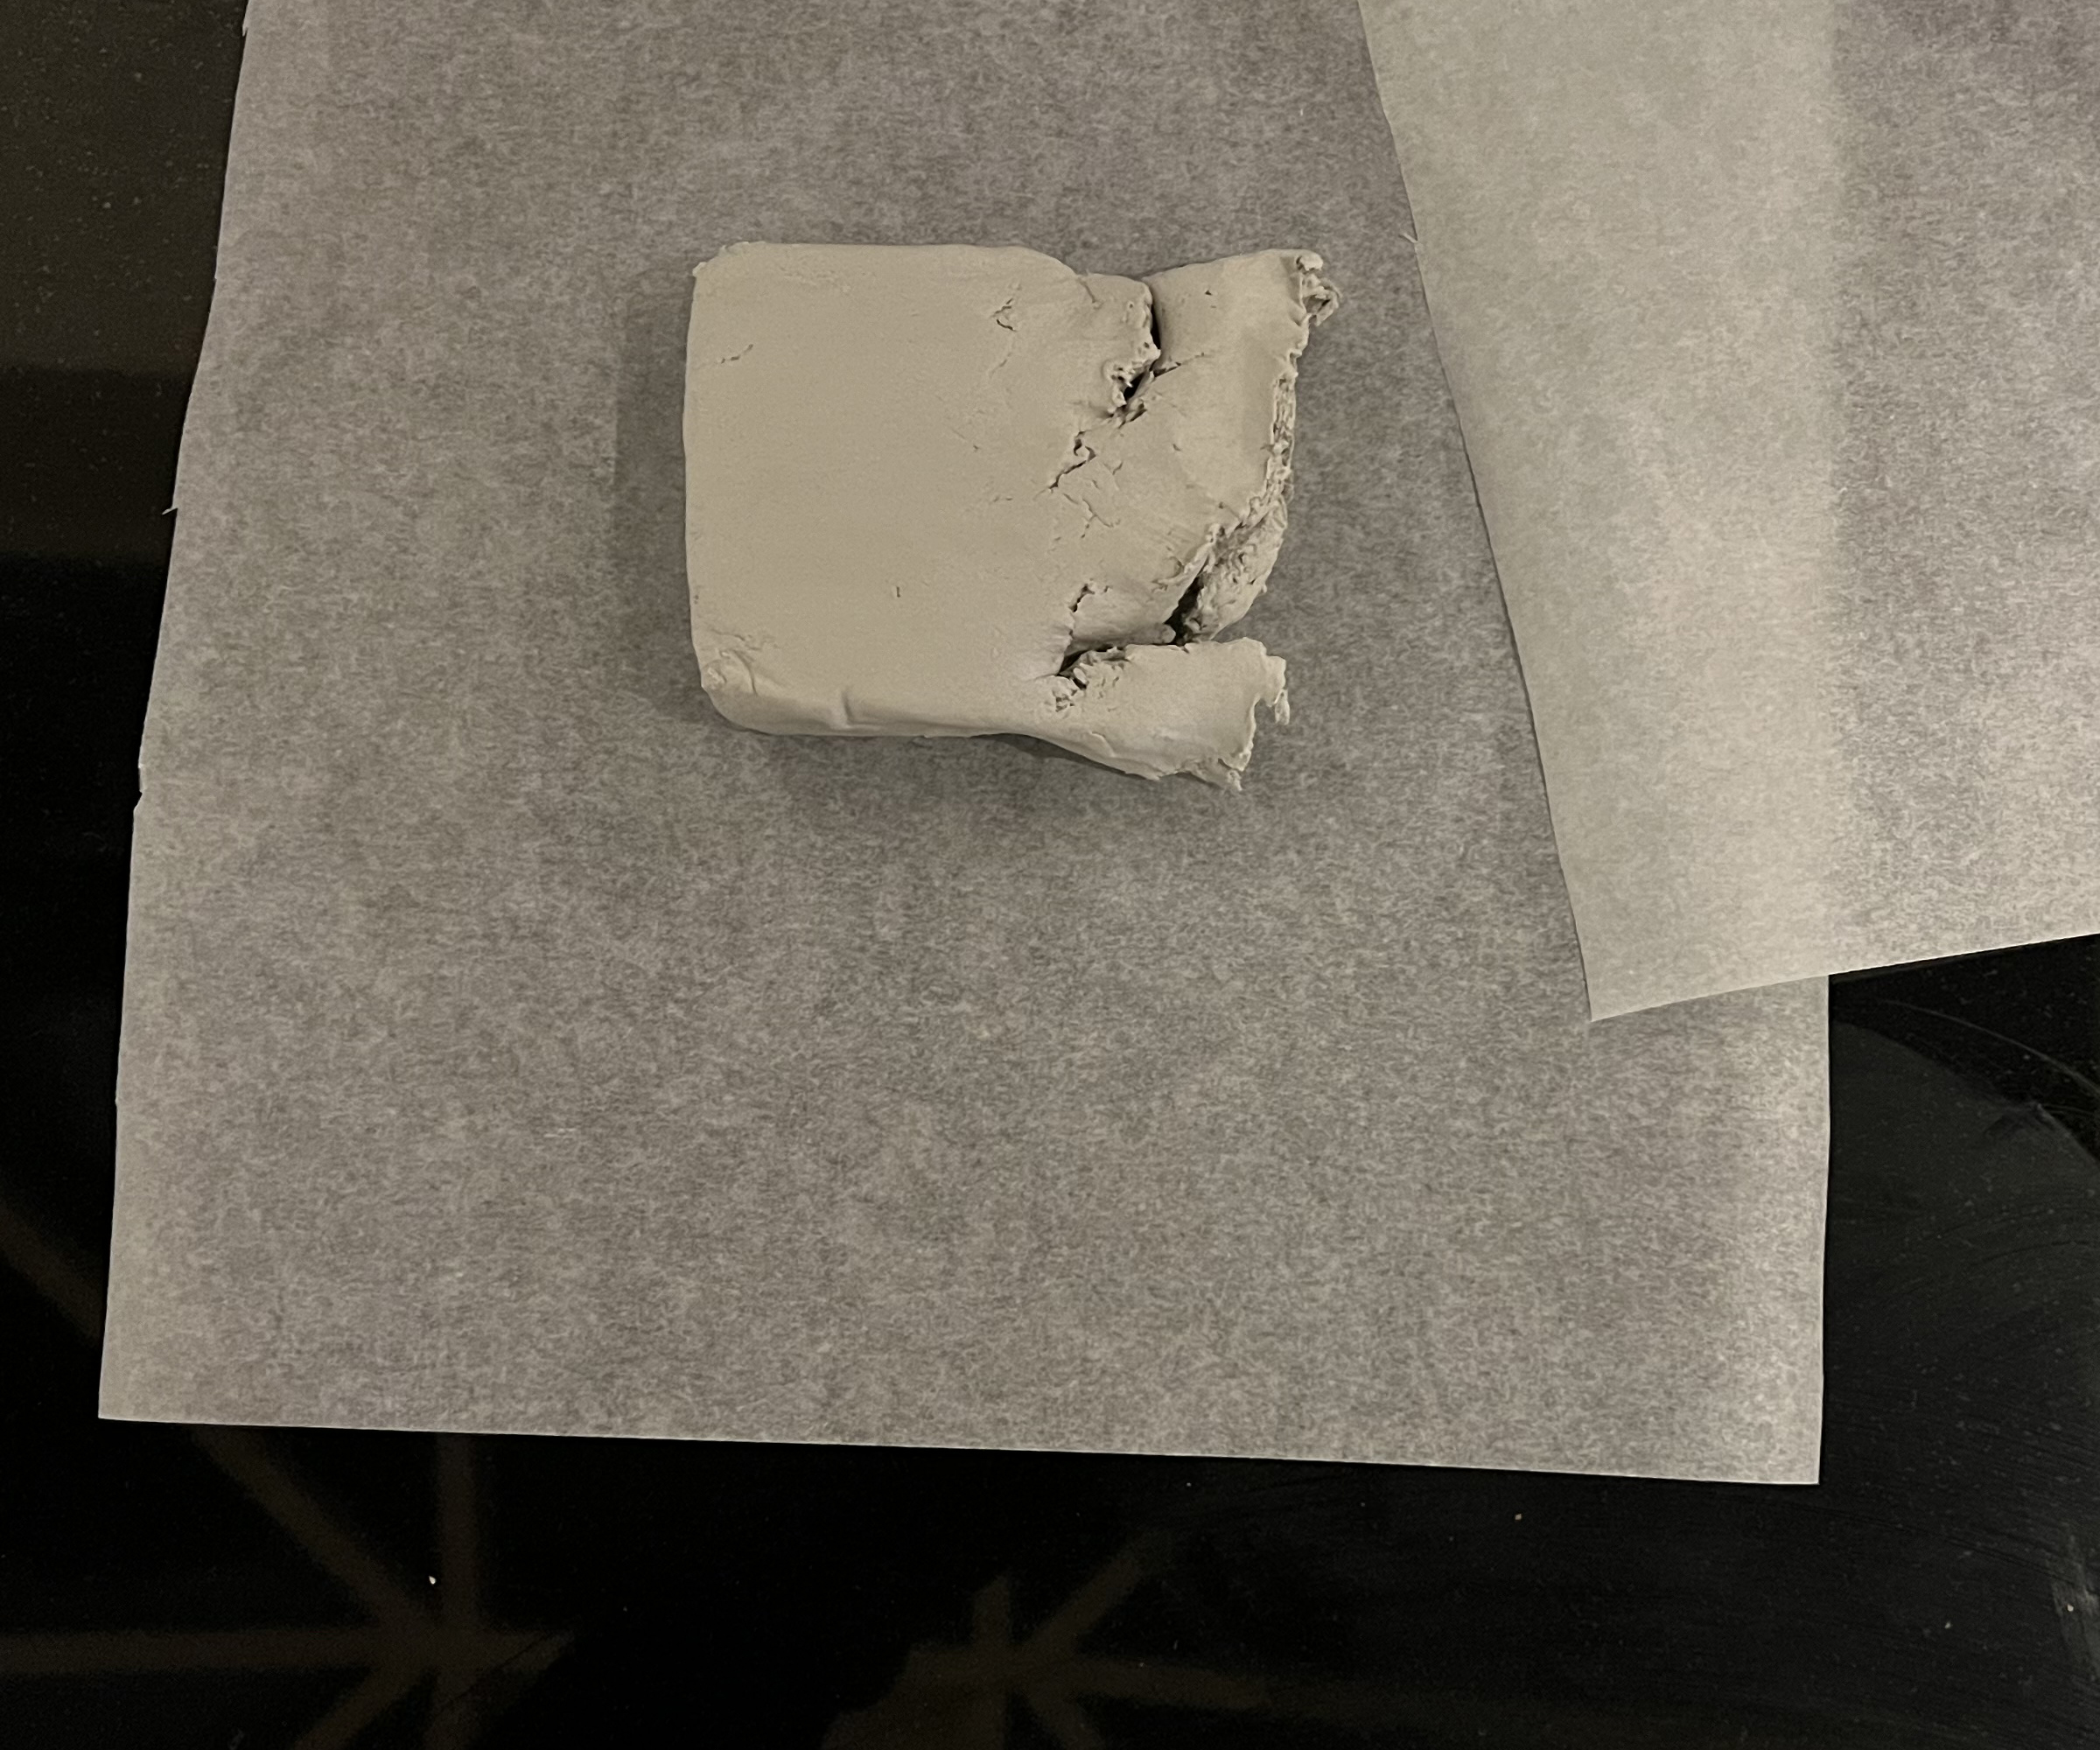
Air-dry clay does what it says on the tin (or packet), it air dries in around 24 to 72 hours but it will start to harden as soon as you take it out of the packet and expose it to air, so any leftover clay should be stored in an air-tight container to keep in moisture.
Get small space home decor ideas, celeb inspiration, DIY tips and more, straight to your inbox!
To kick things off, cut out two pieces of baking paper, one to lay your clay on and the other to lay on top of your clay before you roll it out.
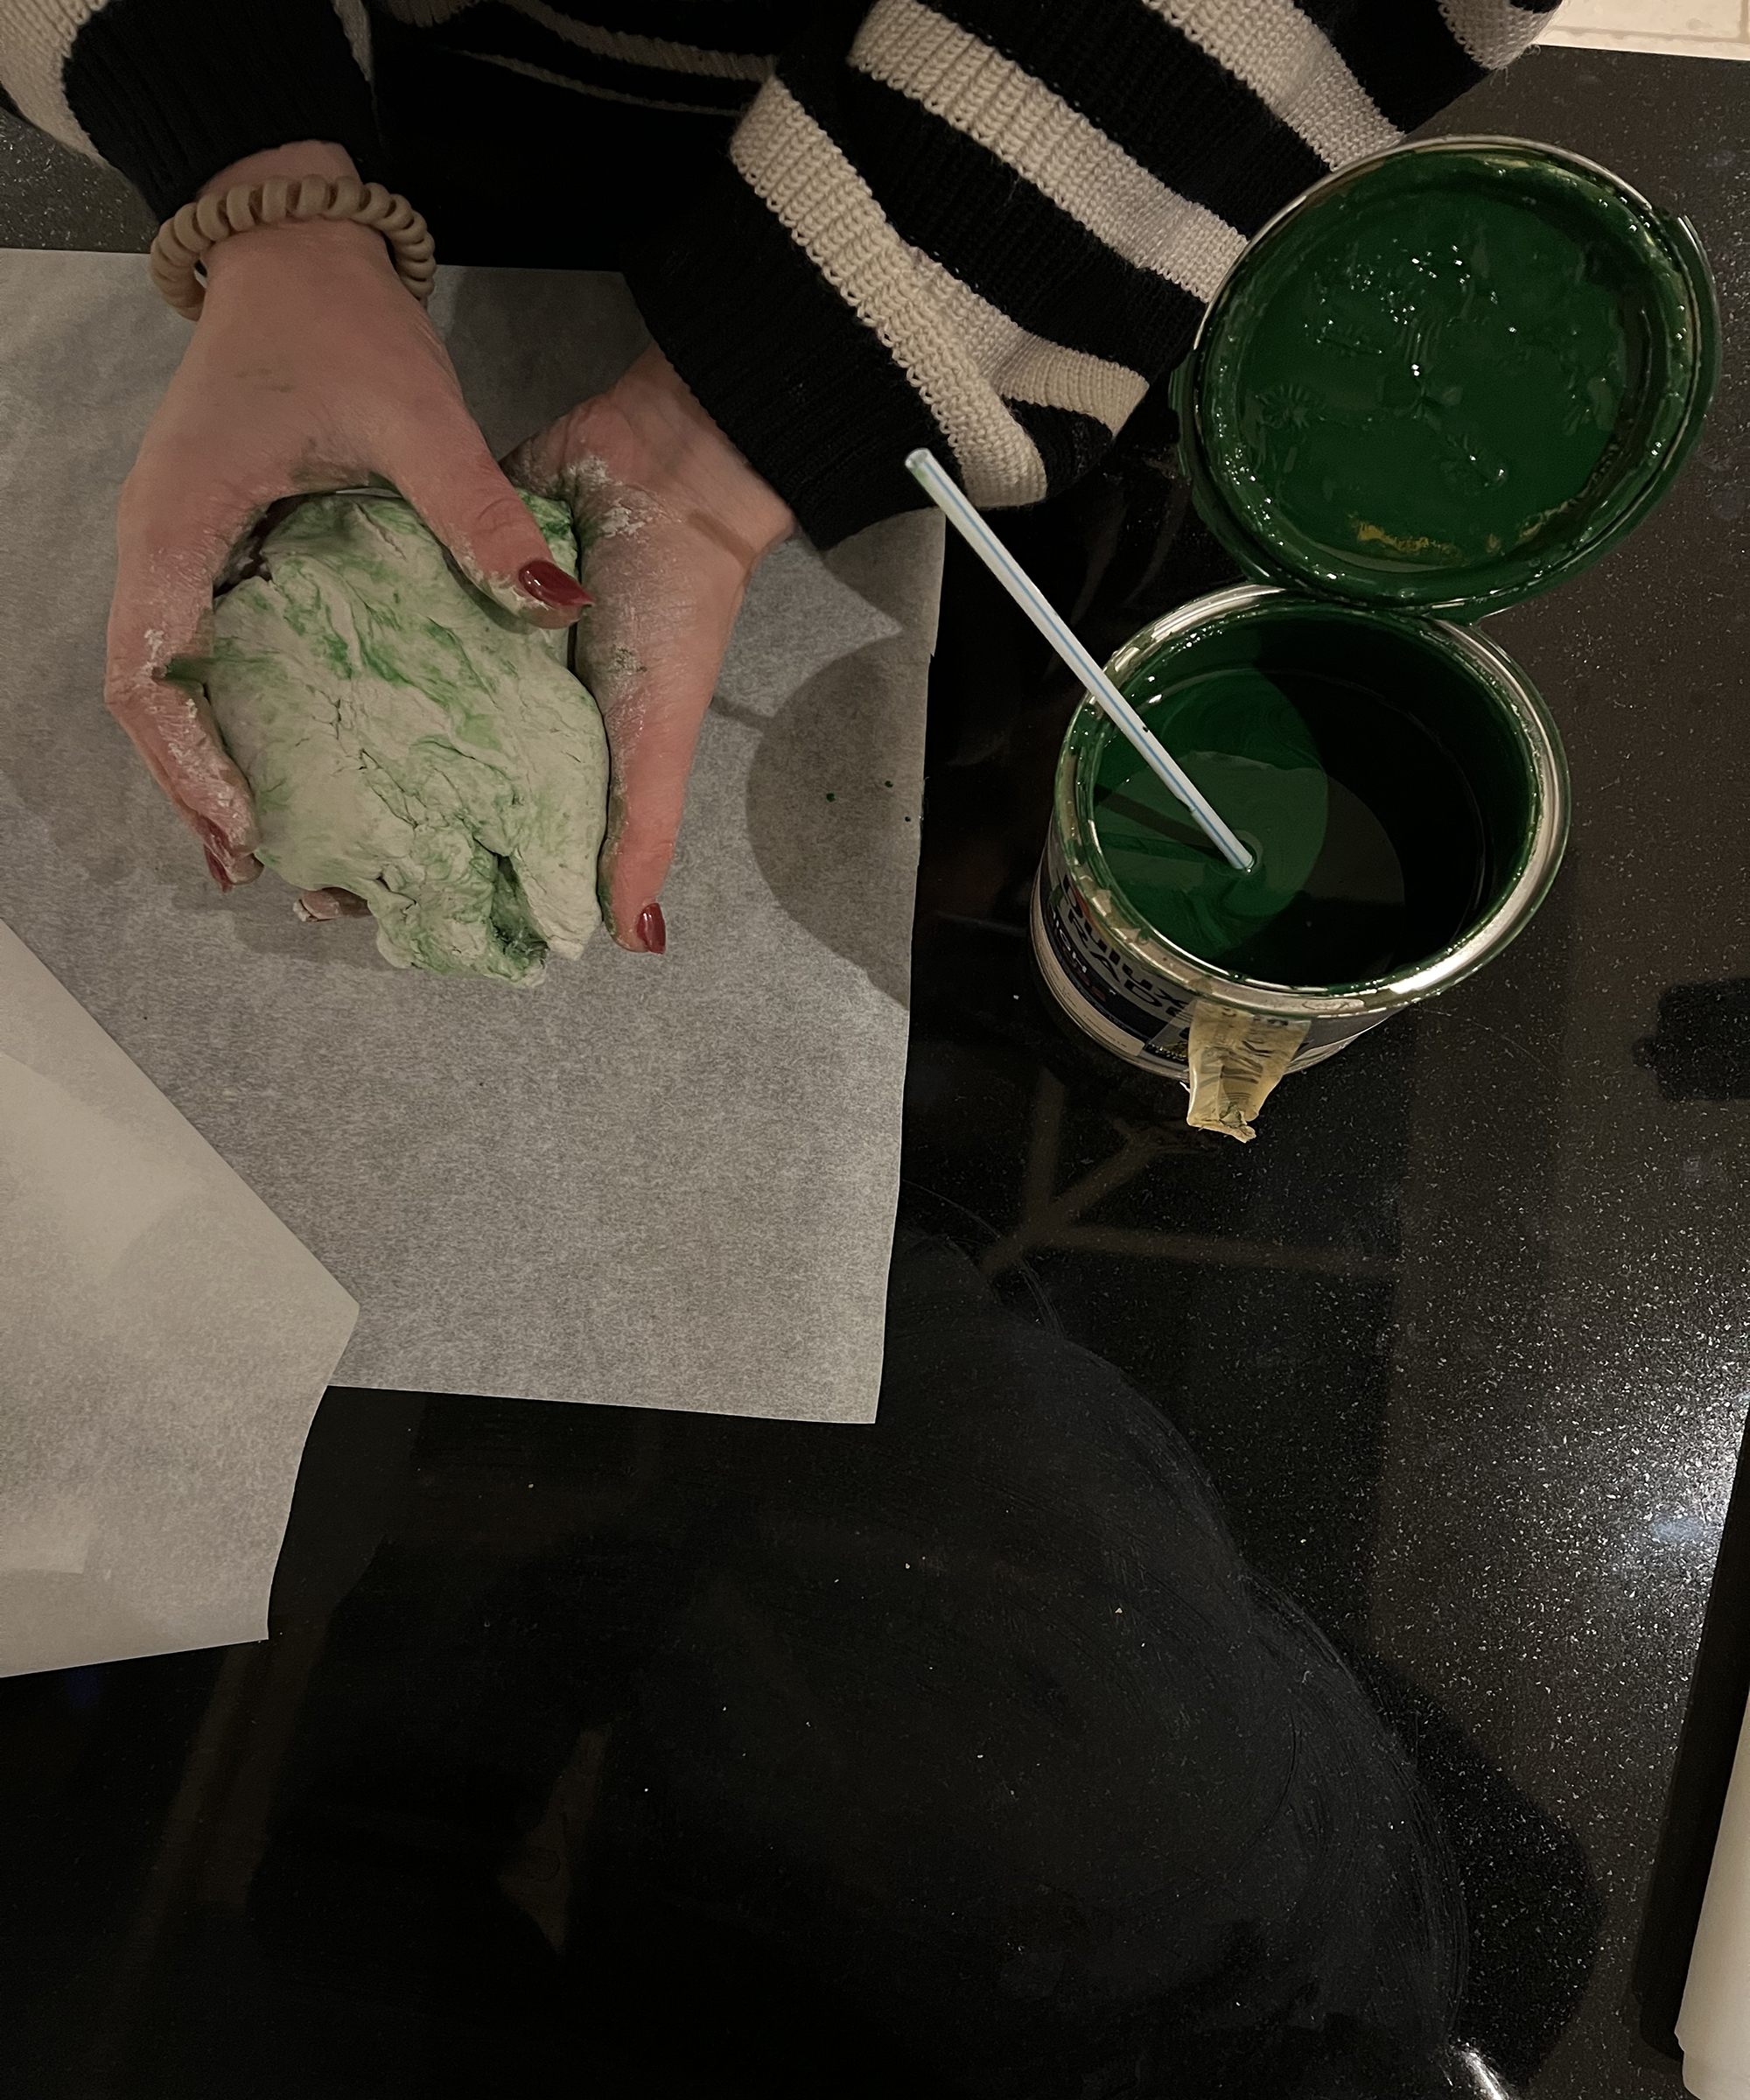
If you'd like to make a marble effect on the bowl then take some paint and with a paintbrush or a straw, dab the paint onto the clay (you're going to use the whole packet) and then twist the clay around haphazardly, dabbing a little more paint as needed.
2. Roll out your clay
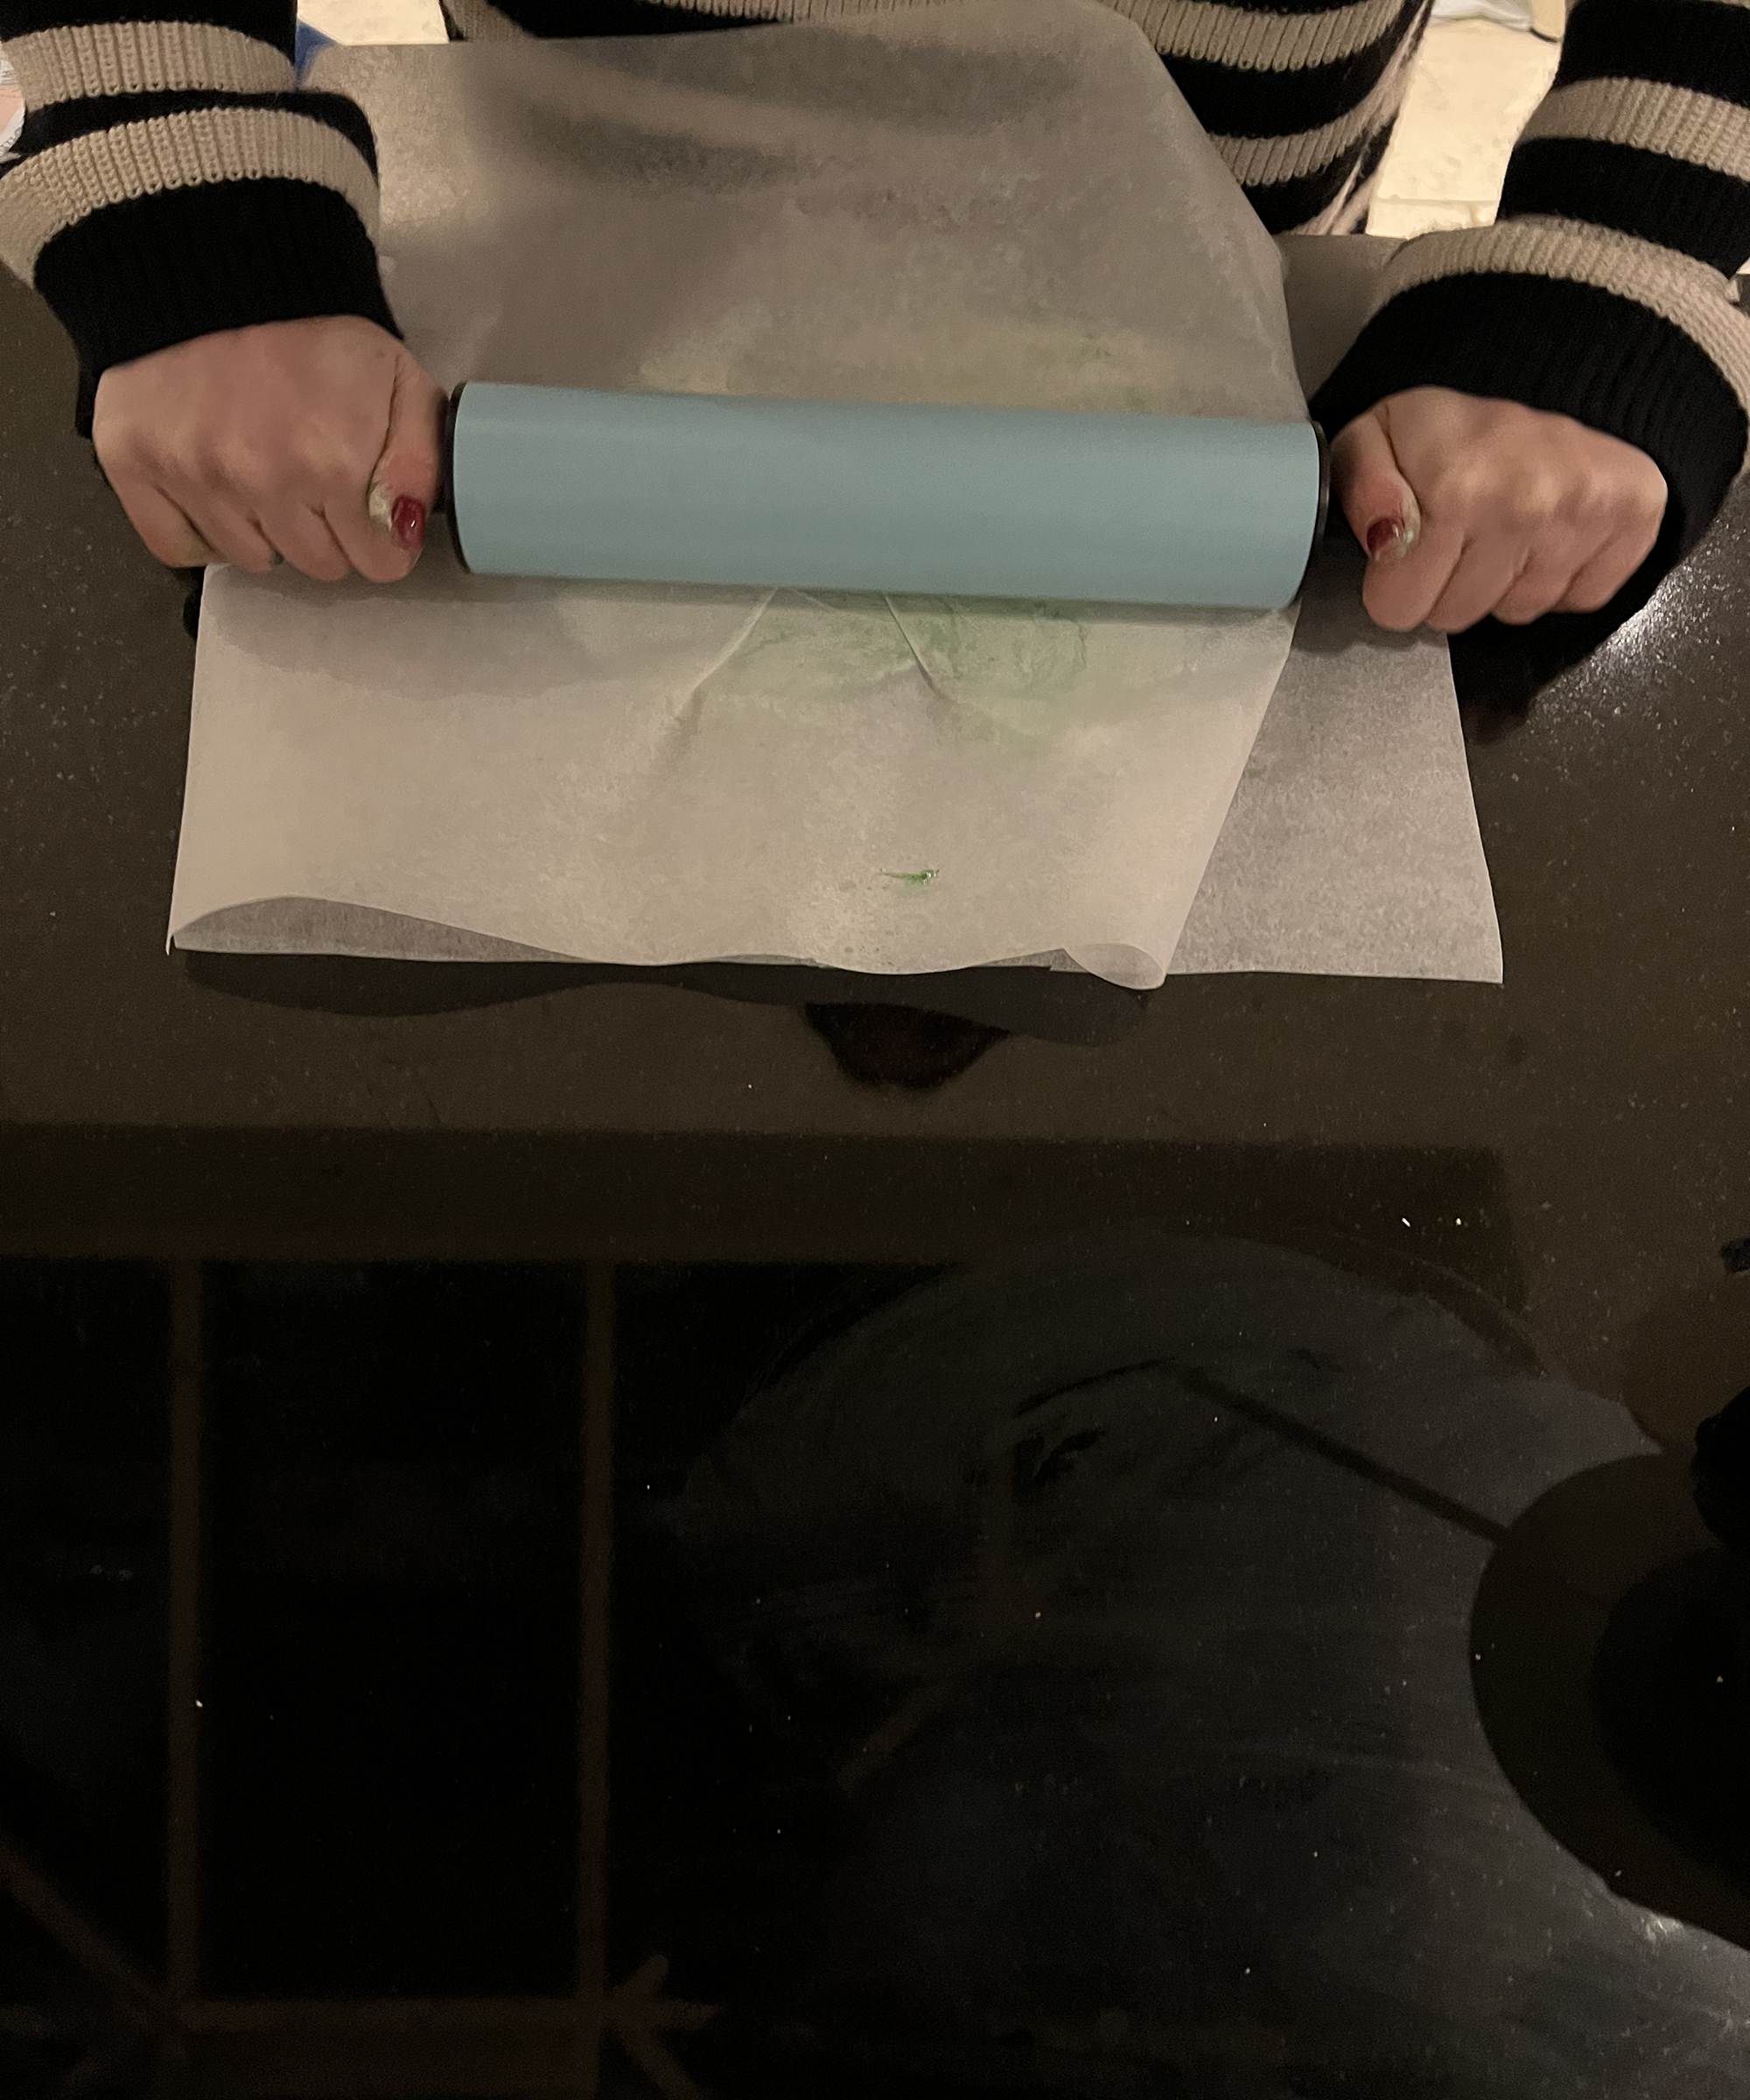
Roll the clay into a ball and place it into the middle of the baking paper and place the other piece of baking paper on top. Flatten the ball with your hand and start to roll it out. Twist the paper as you go so that you roll the clay out evenly, you are aiming to roll the clay to around half a centimeter all over and into a circle.
3. Cut your bowl out
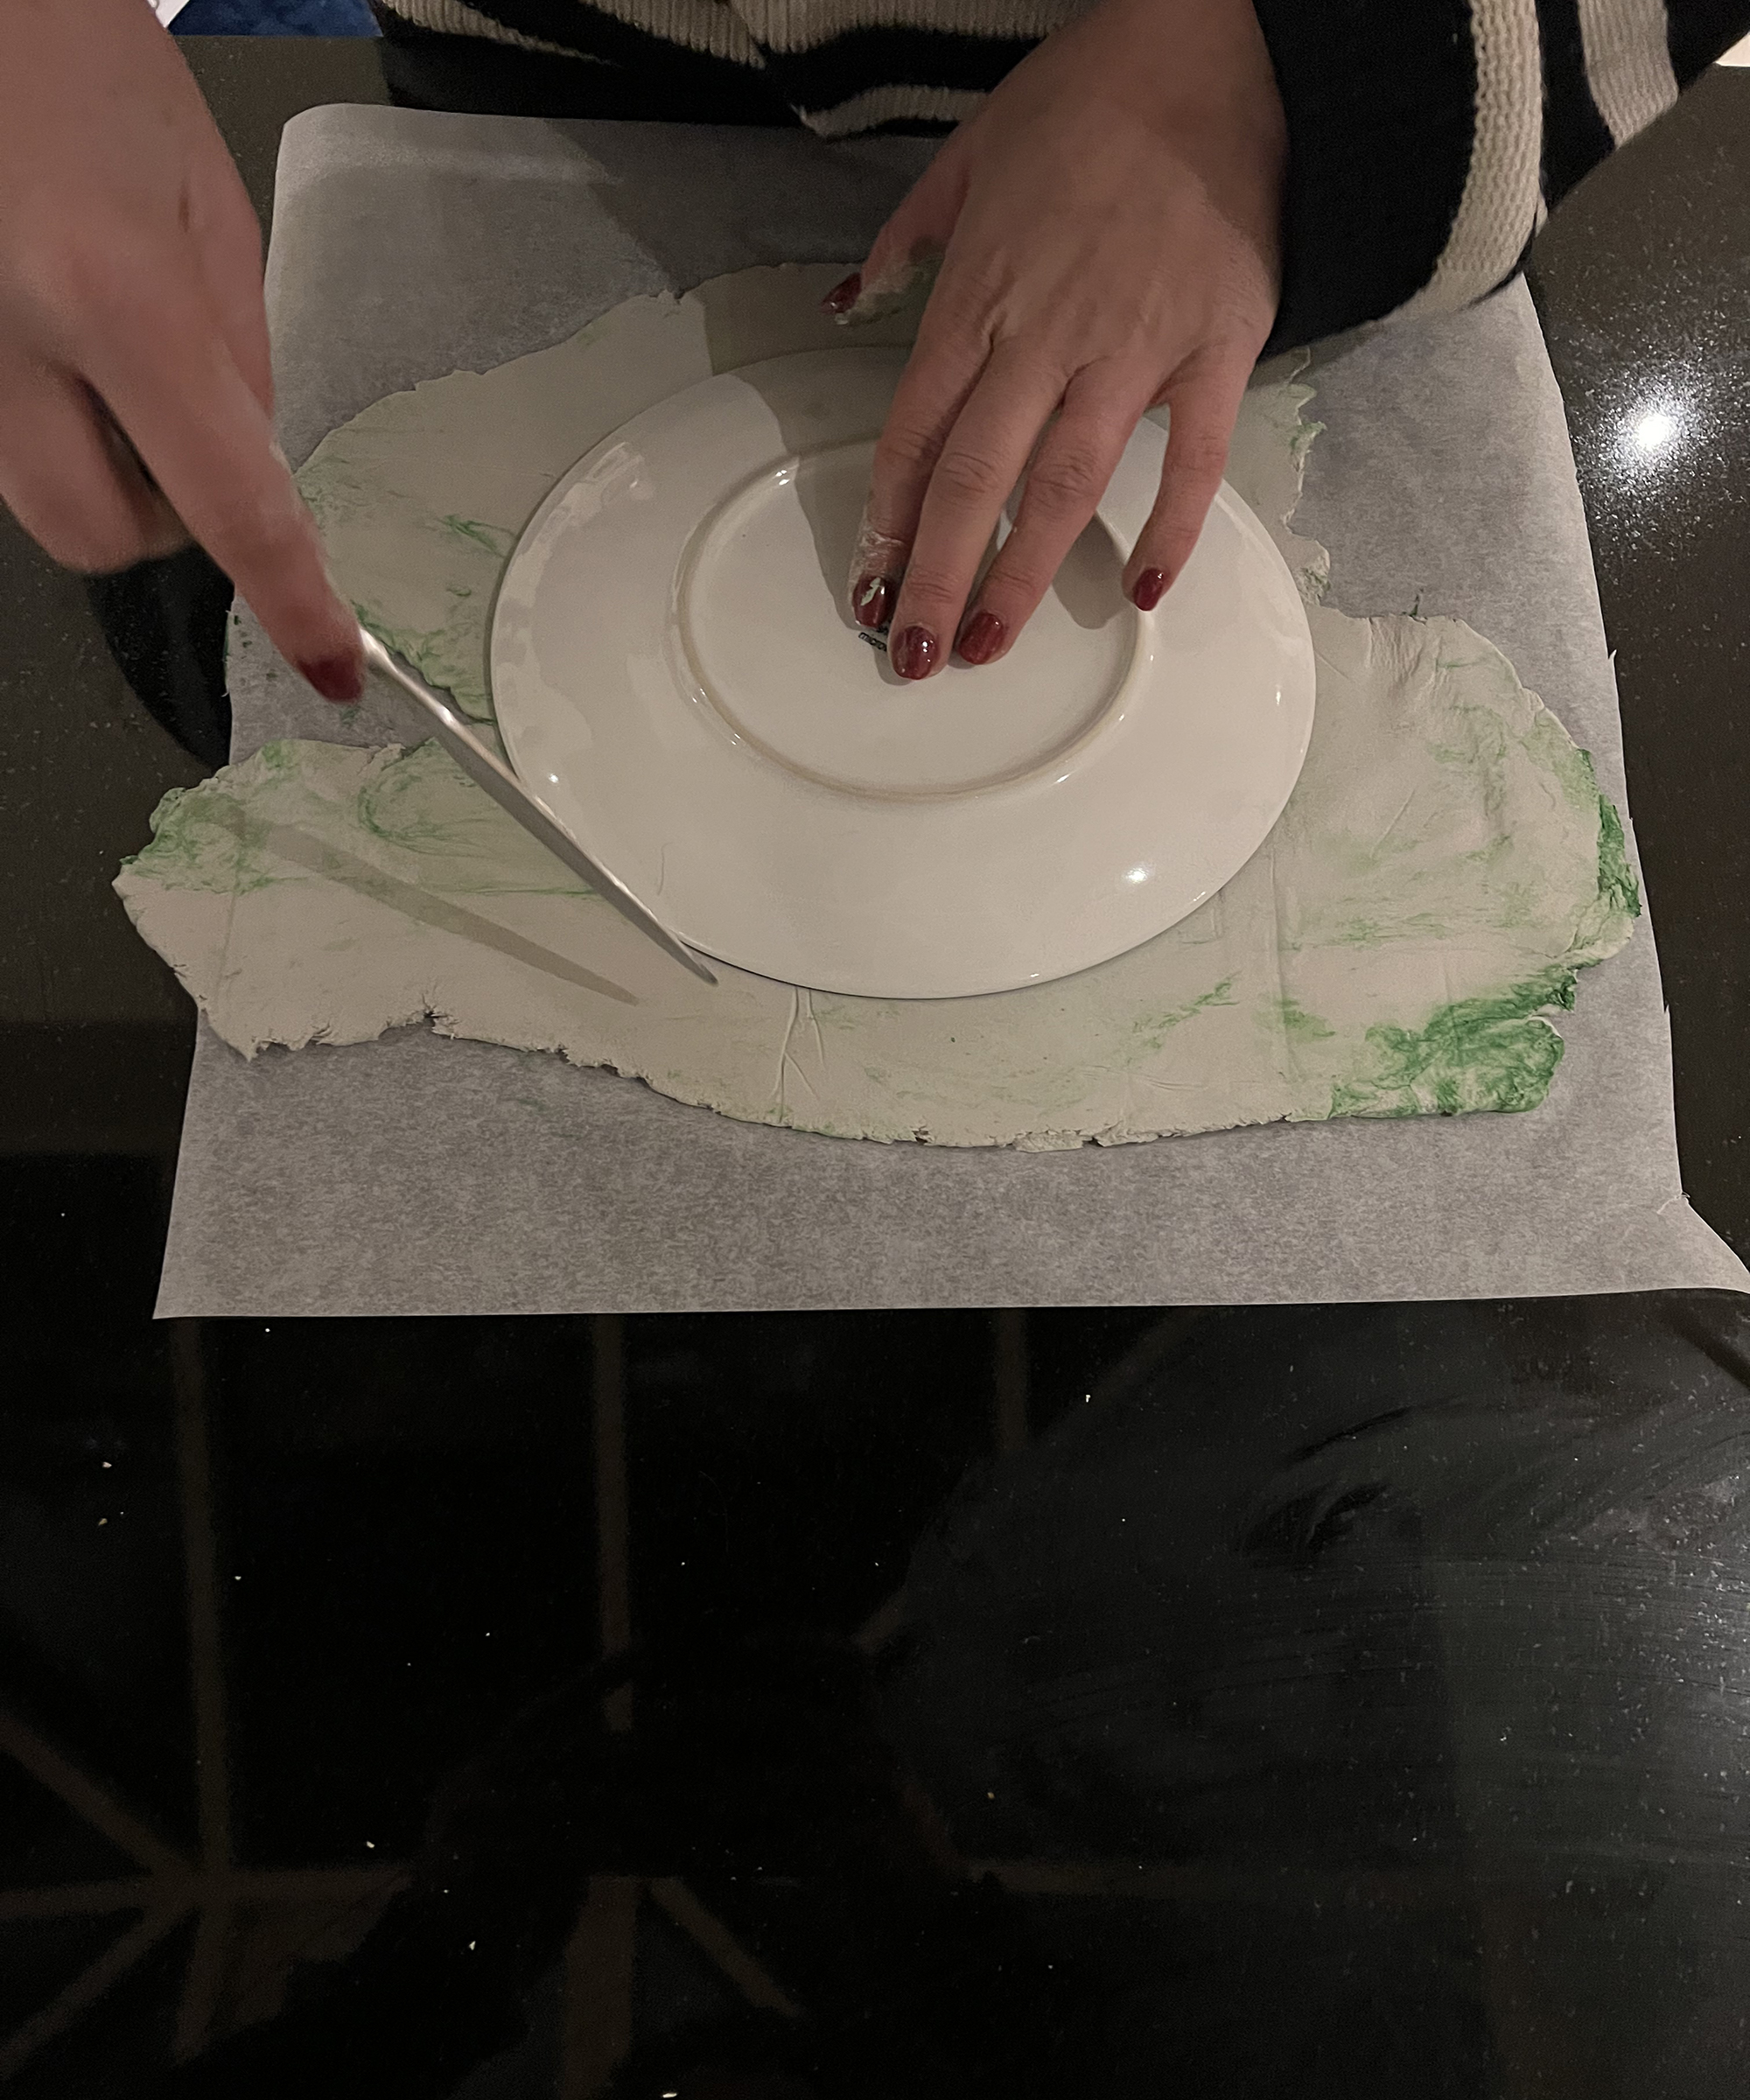
Once you are happy with the clay you have rolled out, place a dinner plate onto the clay and then cut around it with a knife. You now have the outline of your bowl. Remember, if you aren't happy with it then you can always roll it up and start again.
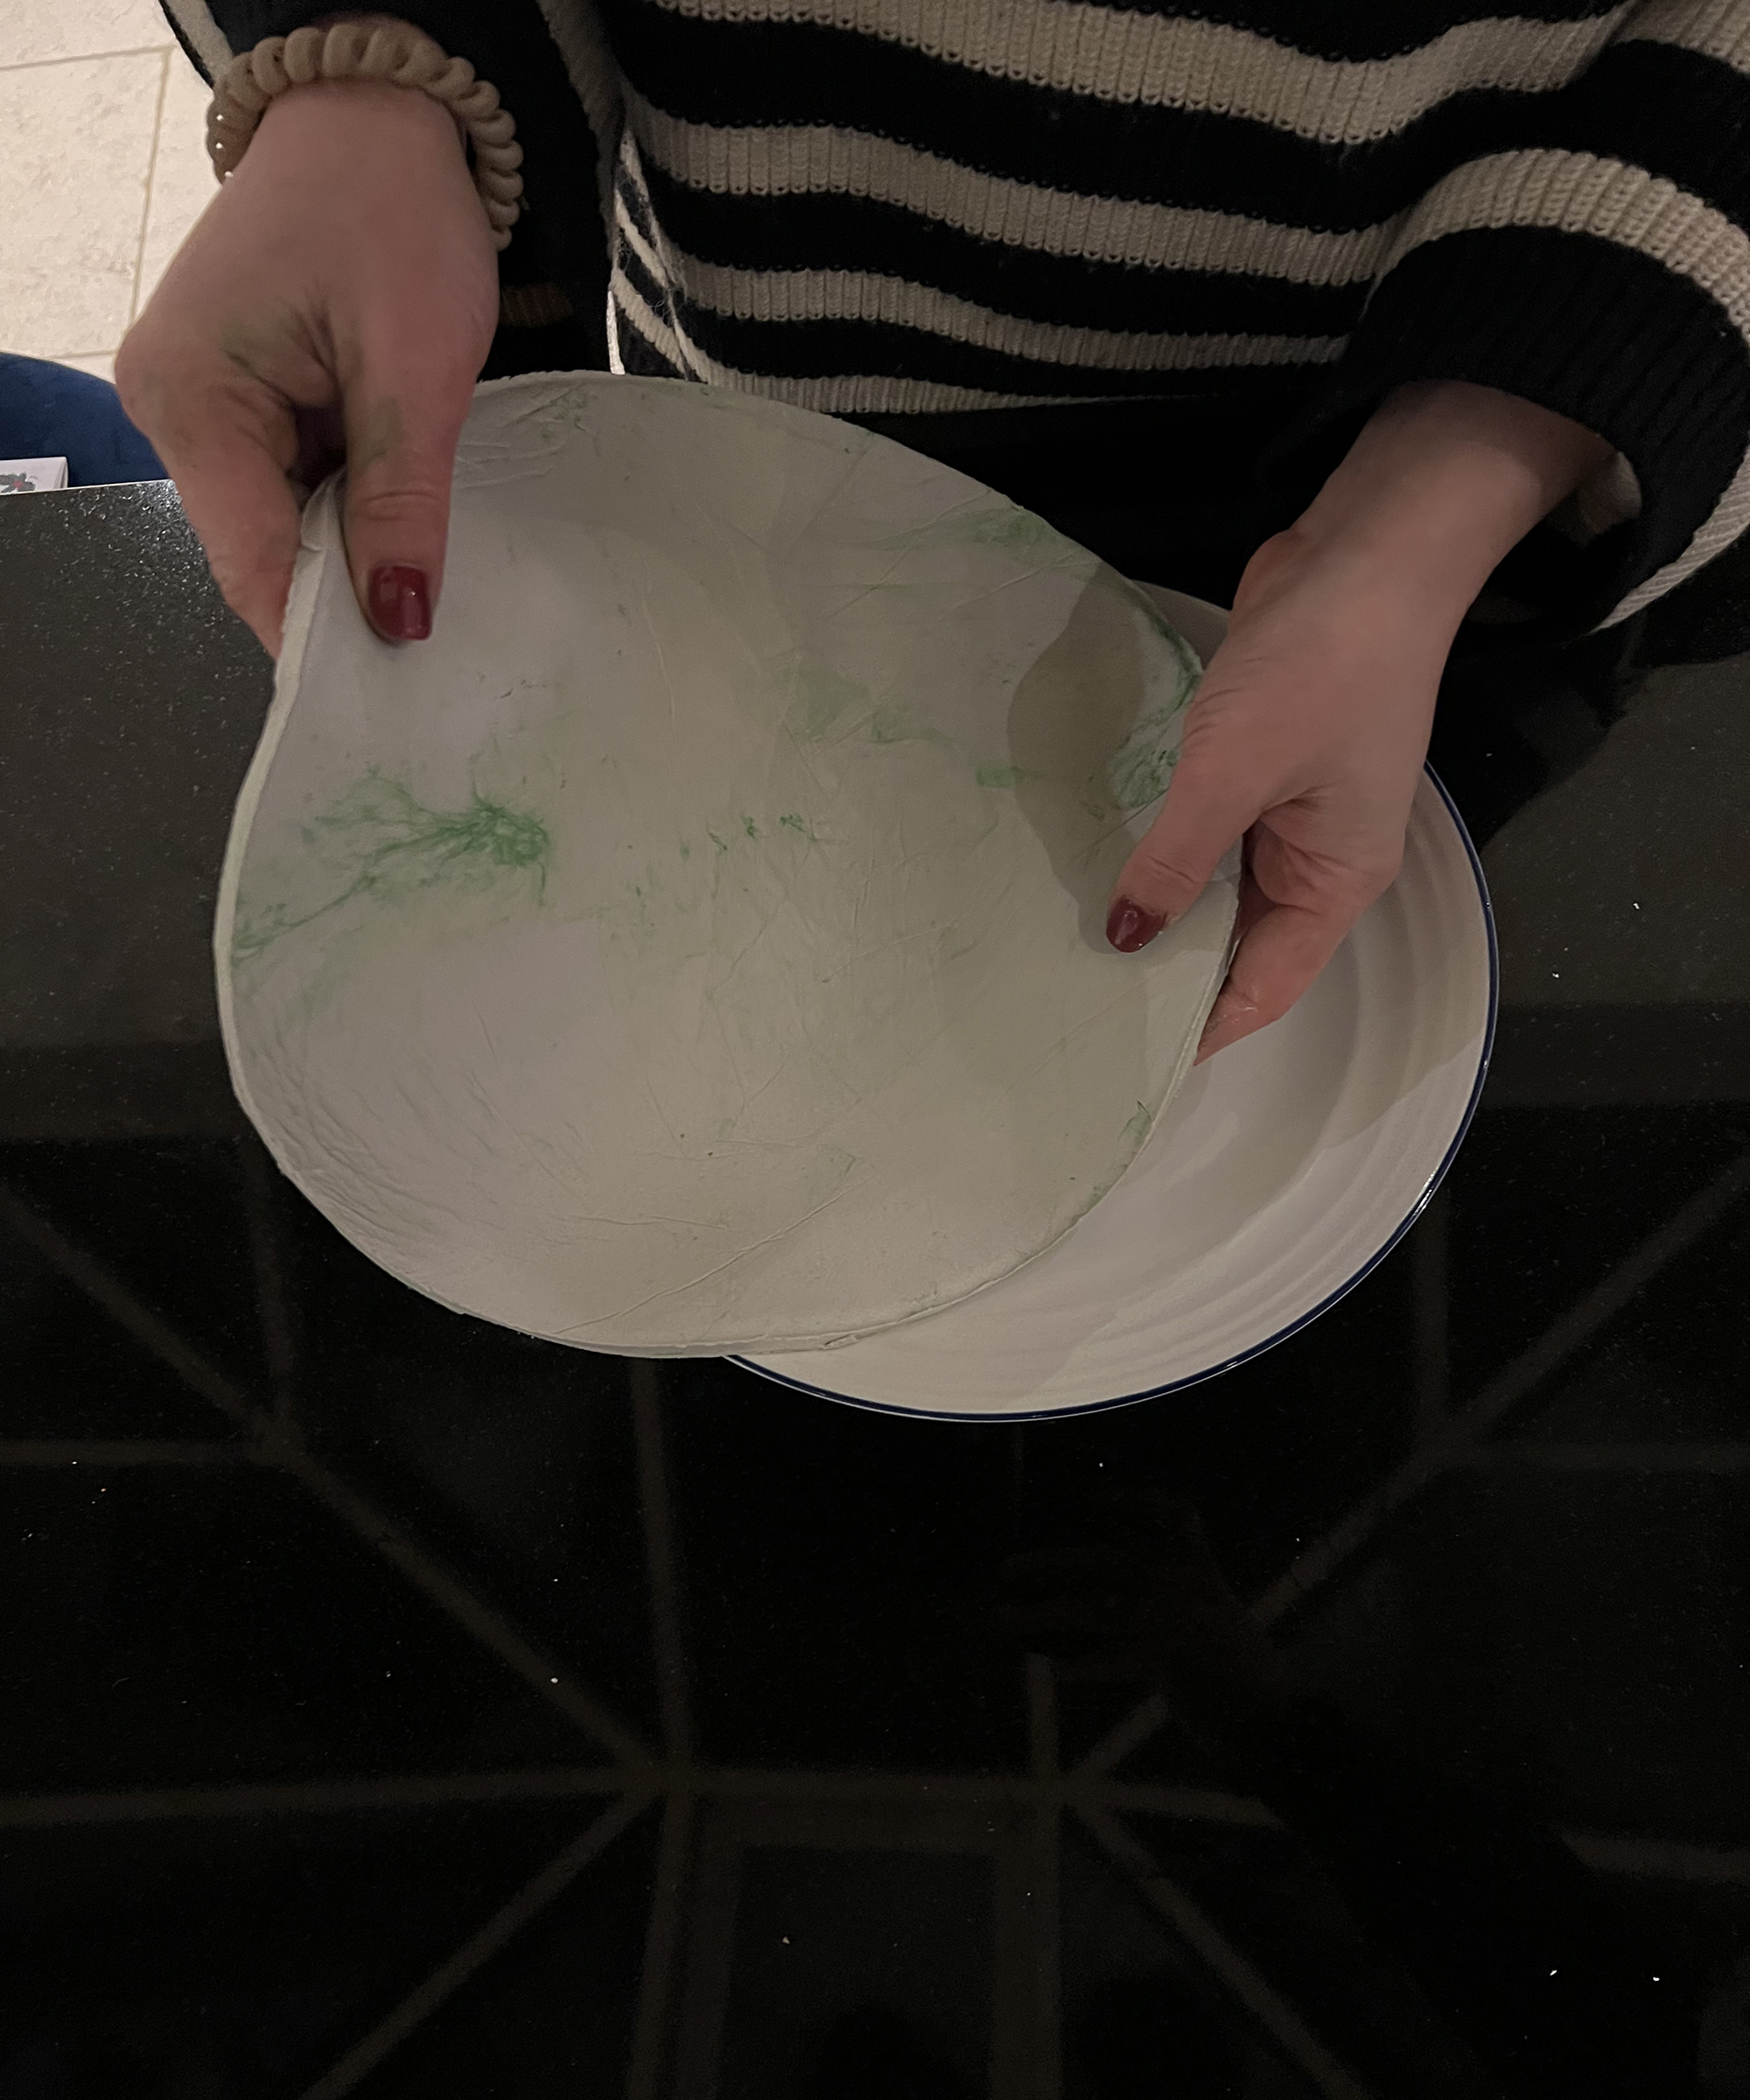
4. Make your ruffles
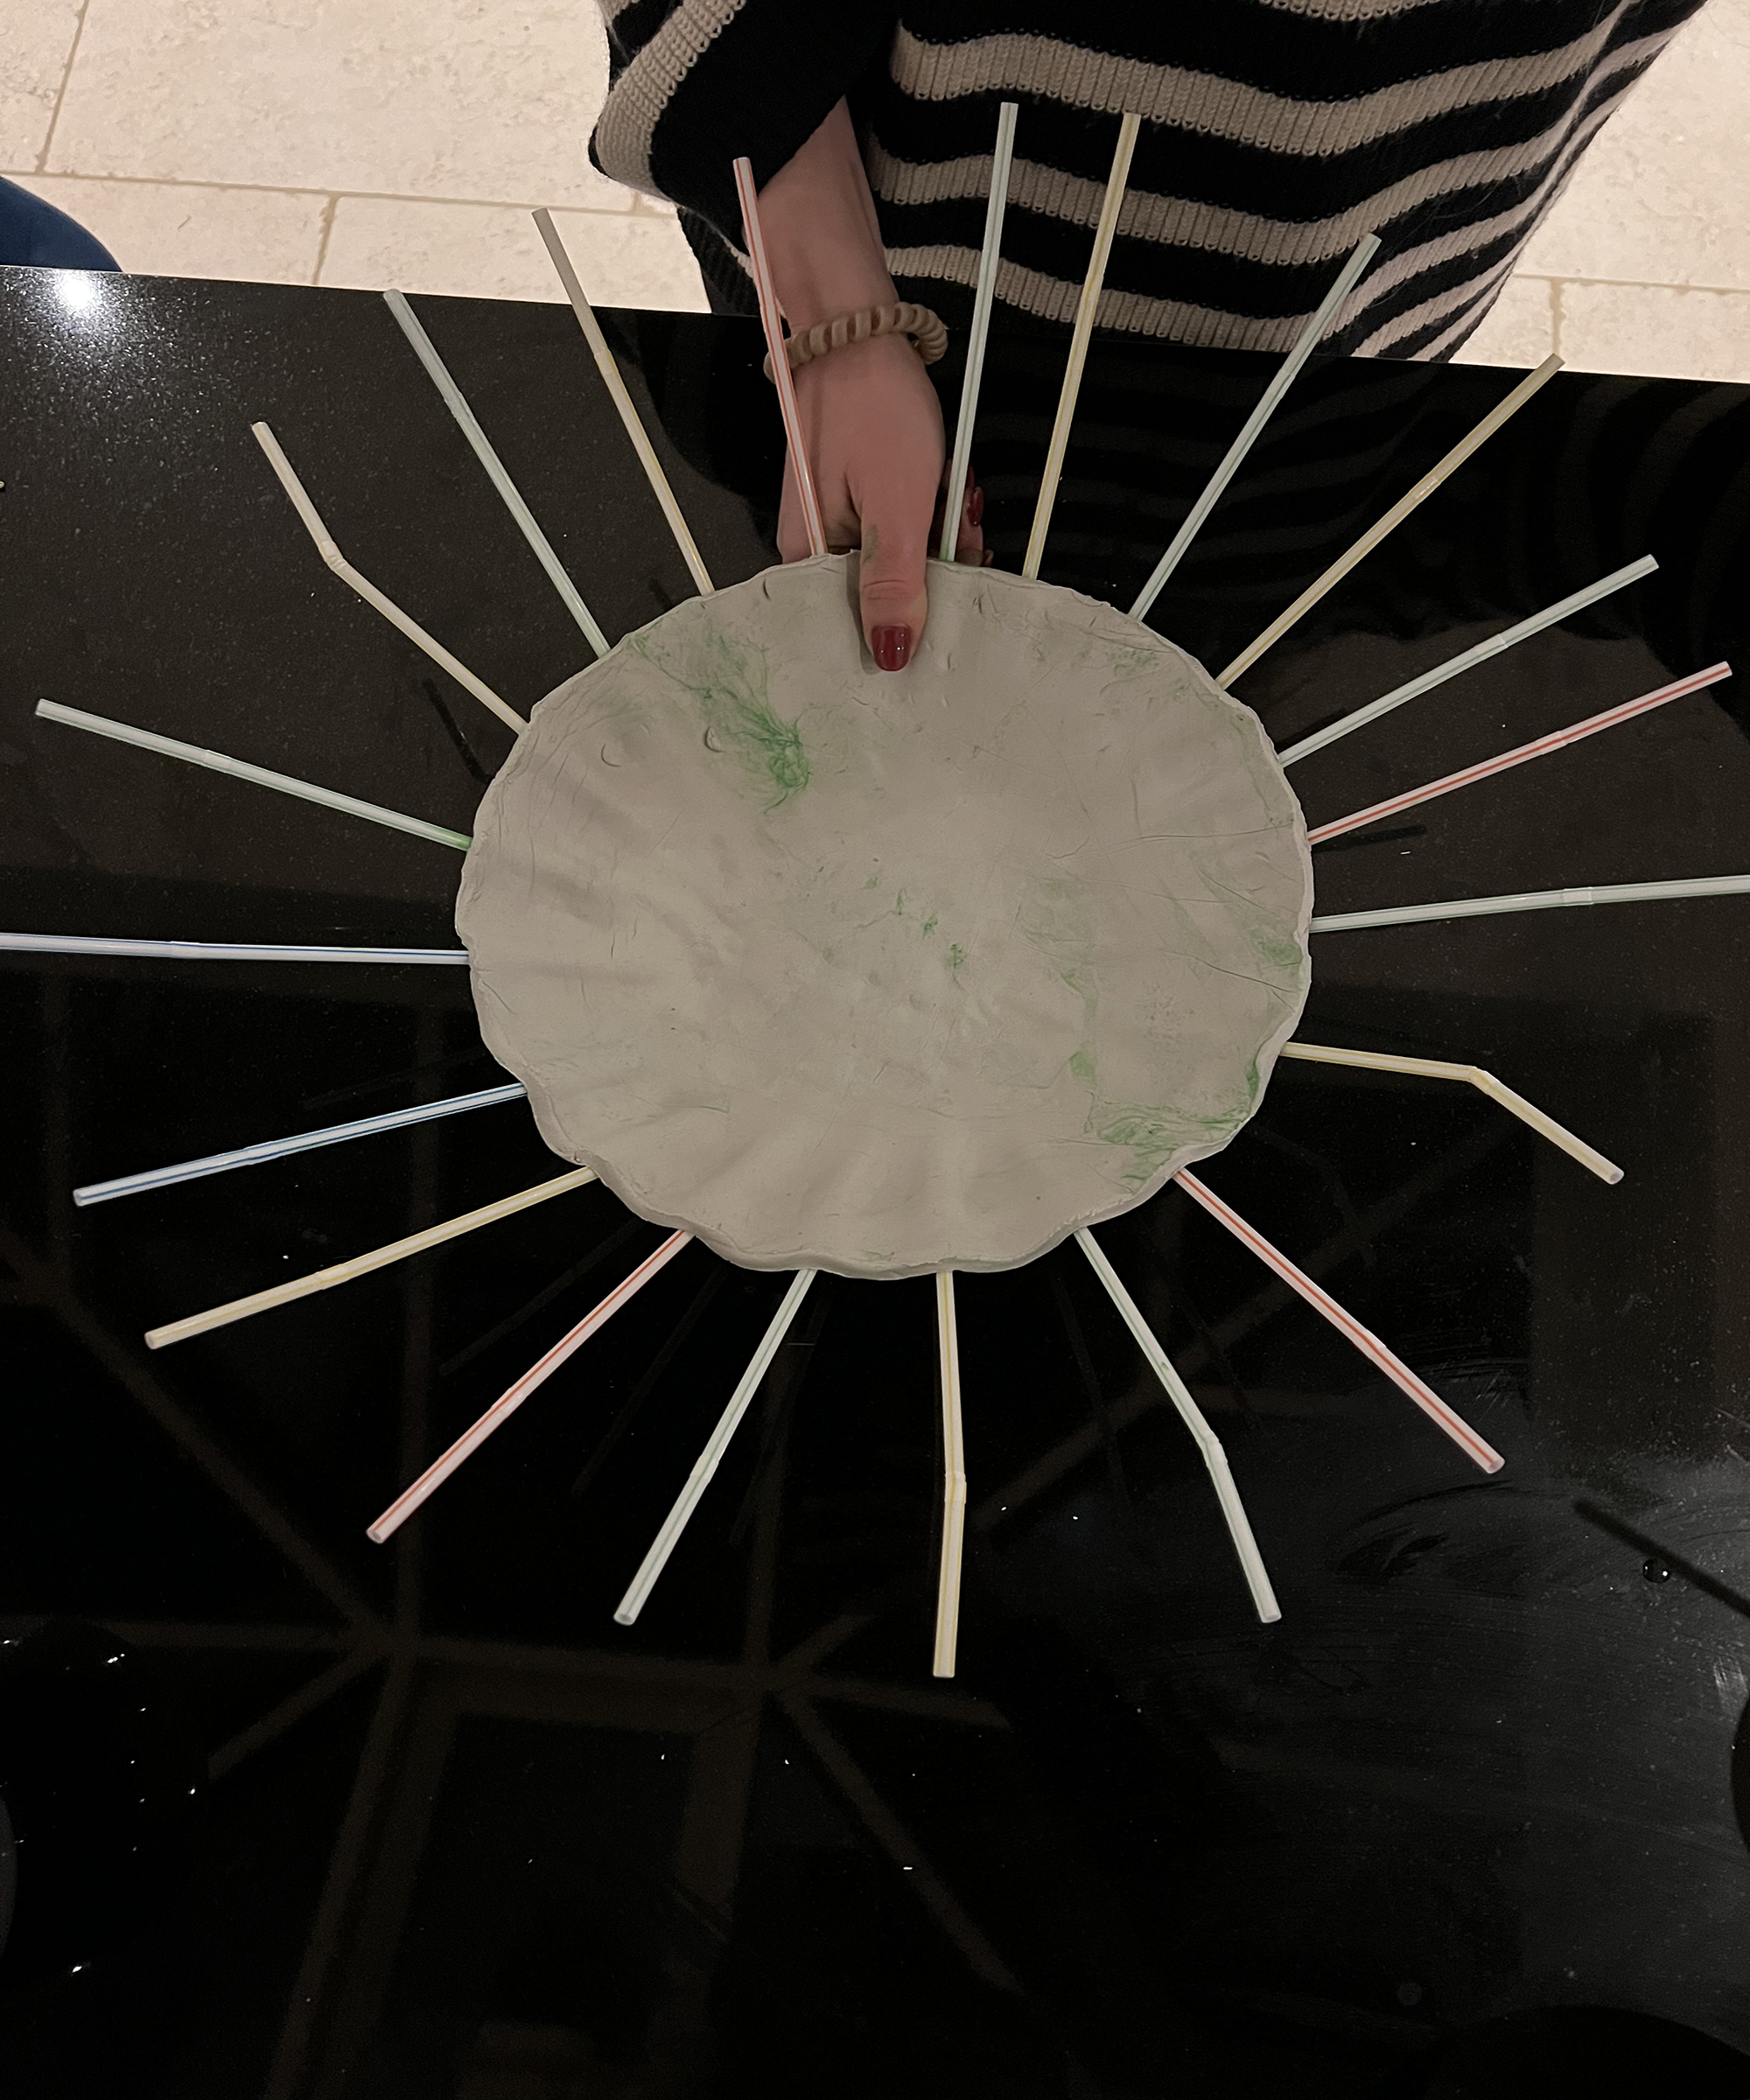
Carefully, lift the clay from the baking paper and lay it onto your bowl. The bowl is going to act as a template so use whatever size you would like based on how large you want your DIY bowl to be. Be careful not to use one that is too deep because it will be tricky to get the clay to lie on the bottom without piercing it.
Carefully push the clay onto the bowl, smoothing it out. Once you are happy with the base of the bowl, insert straws into the top of the bowl to make the ruffles. You can choose how big to make the ruffles (use larger straws if you want larger ruffles) as well as how far to space them out. I pushed the straws down around three centimeters into the bowl template and spaced the straws at around one centimeter intervals.
Use your thumb to push down the clay in between each straw to make the ruffles really distinct in form.
5. Leave to dry and admire!
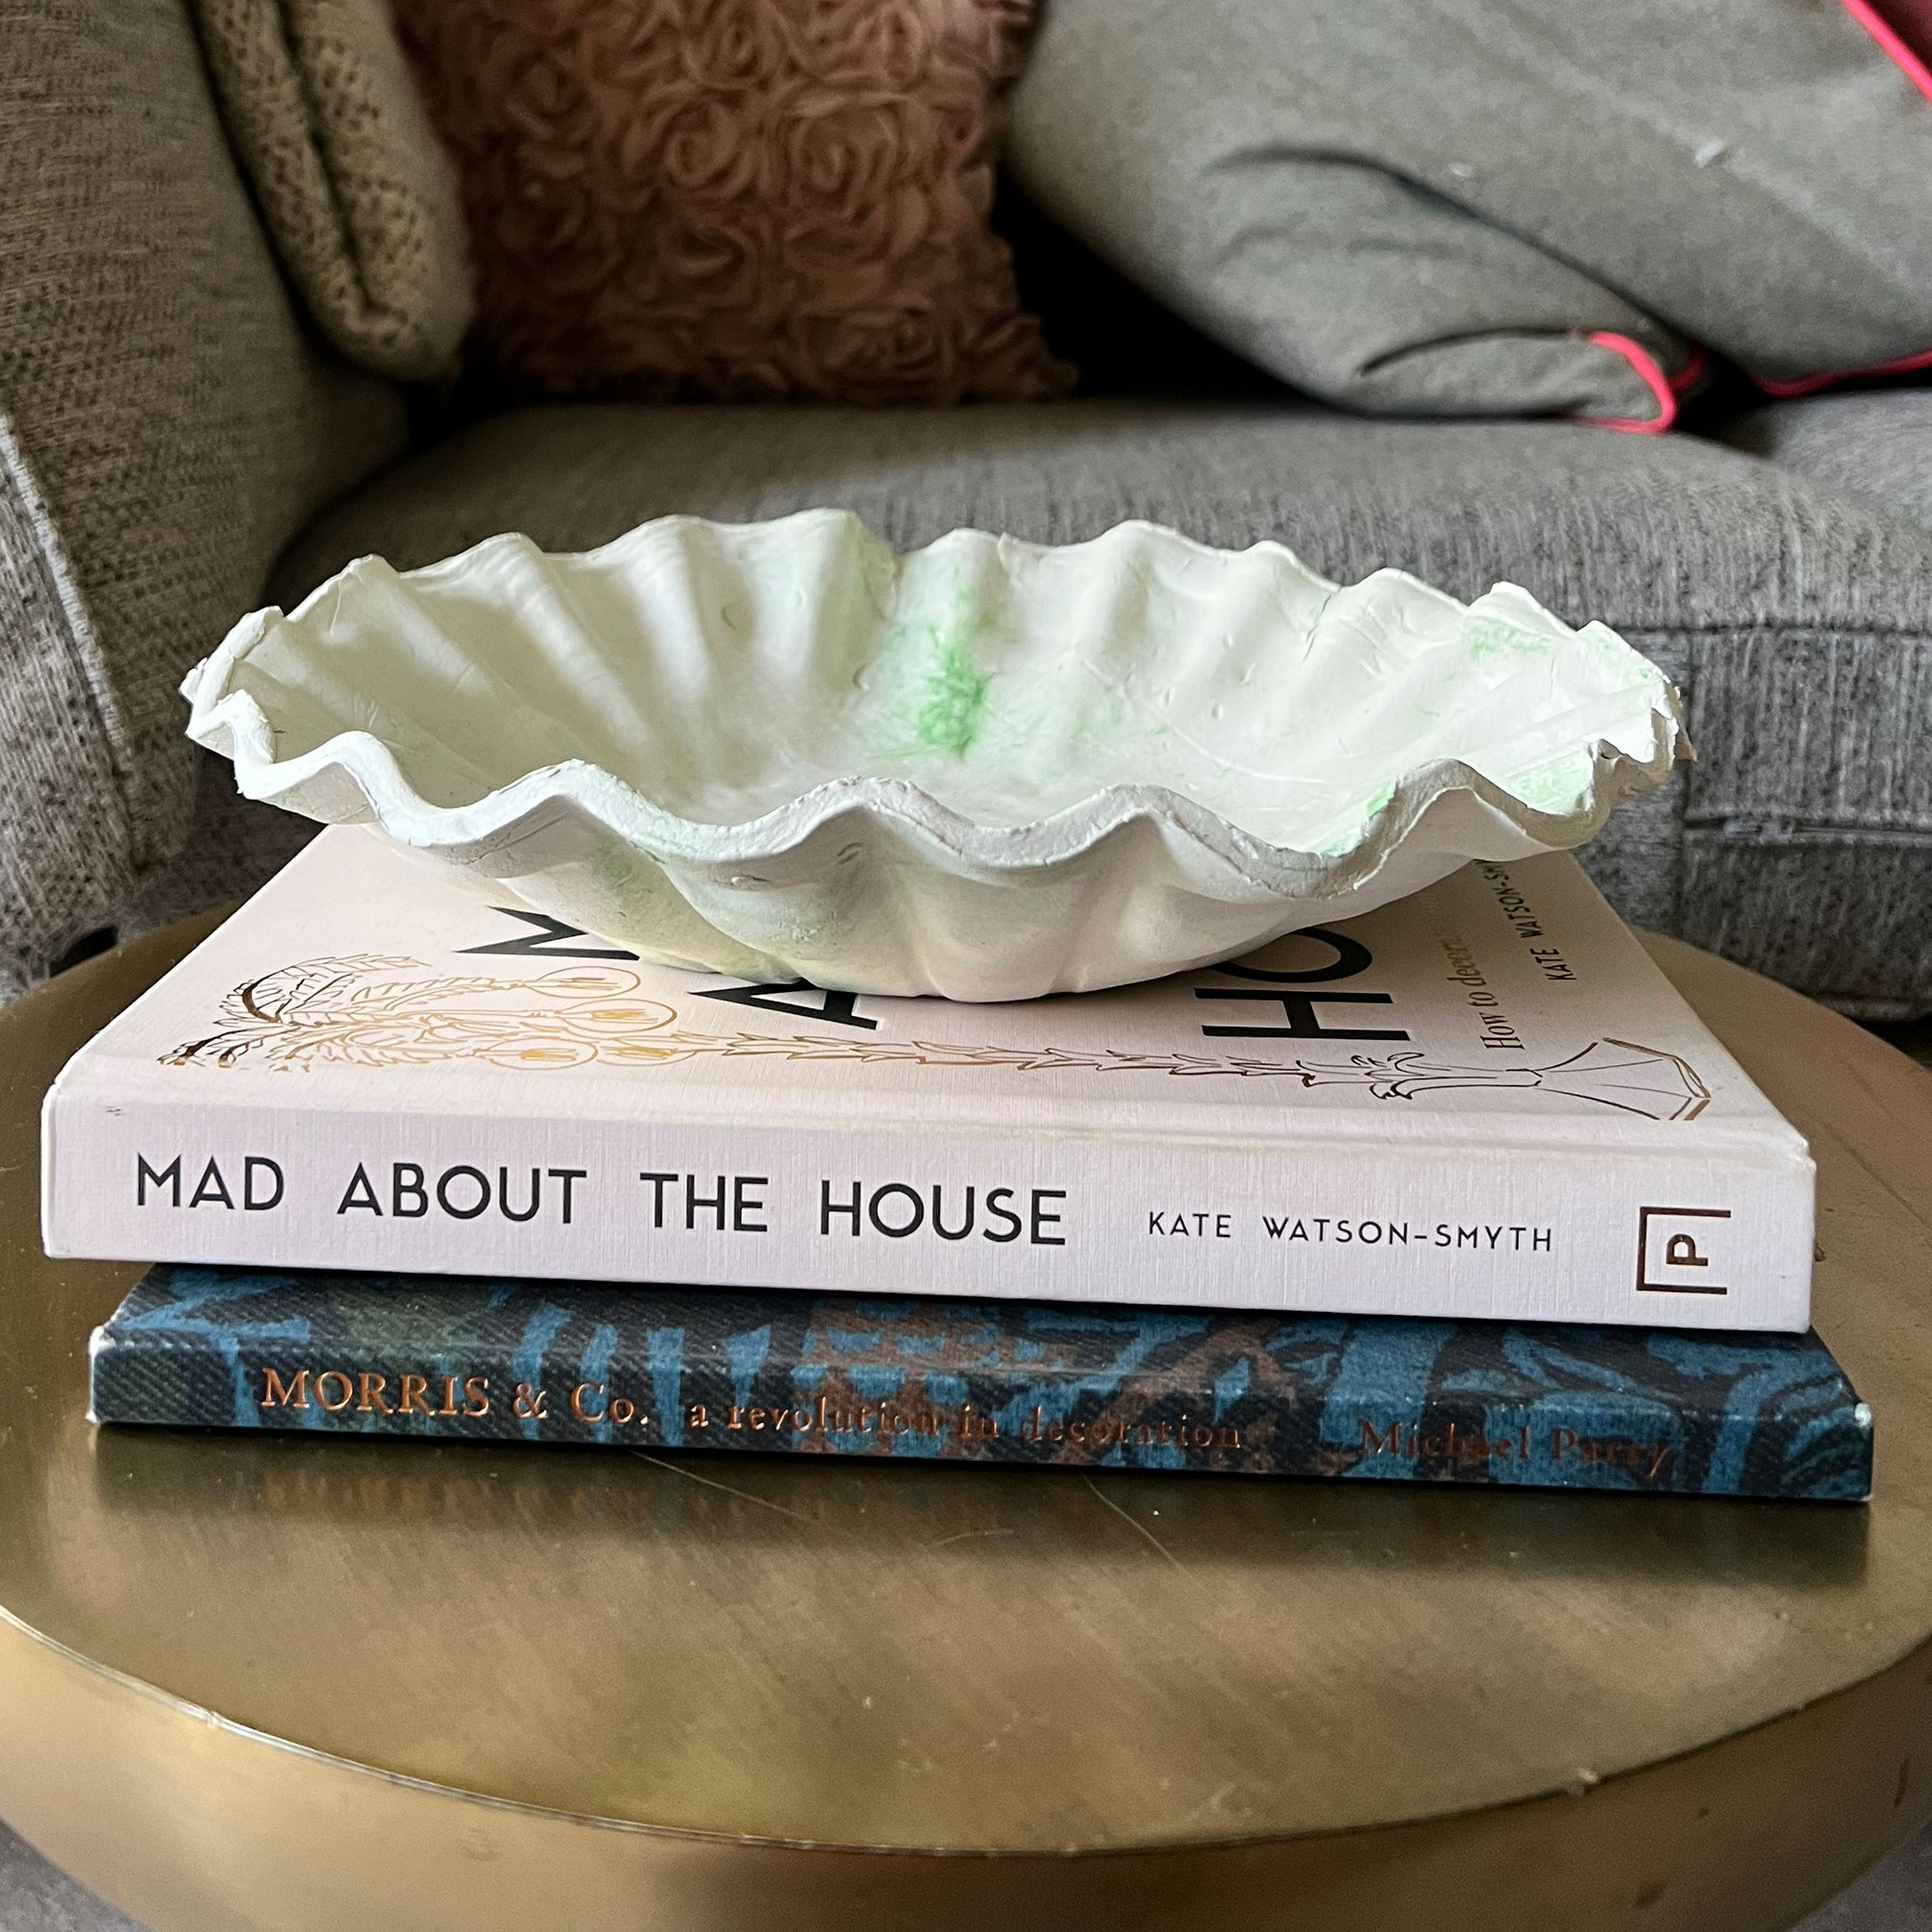
Leave the straws in the bowl for at least 24 hours. Before you take them out, tap the clay to test whether it has hardened. Once it has hardened, remove the straws (be sure to reuse them for other crafts!) and enjoy.

I’m a DIY and renovation expert from a family of renovators; it's in my blood! Renovation is my passion and I love sharing my knowledge, either through my Instagram renovation tips or my renovation course. I love seeing how it helps others build the confidence to create their dream home without it costing the earth!