How to install kitchen cabinet handles
Simply knowing how to install kitchen cabinet handles yourself could see you give your cooking space an instant facelift.

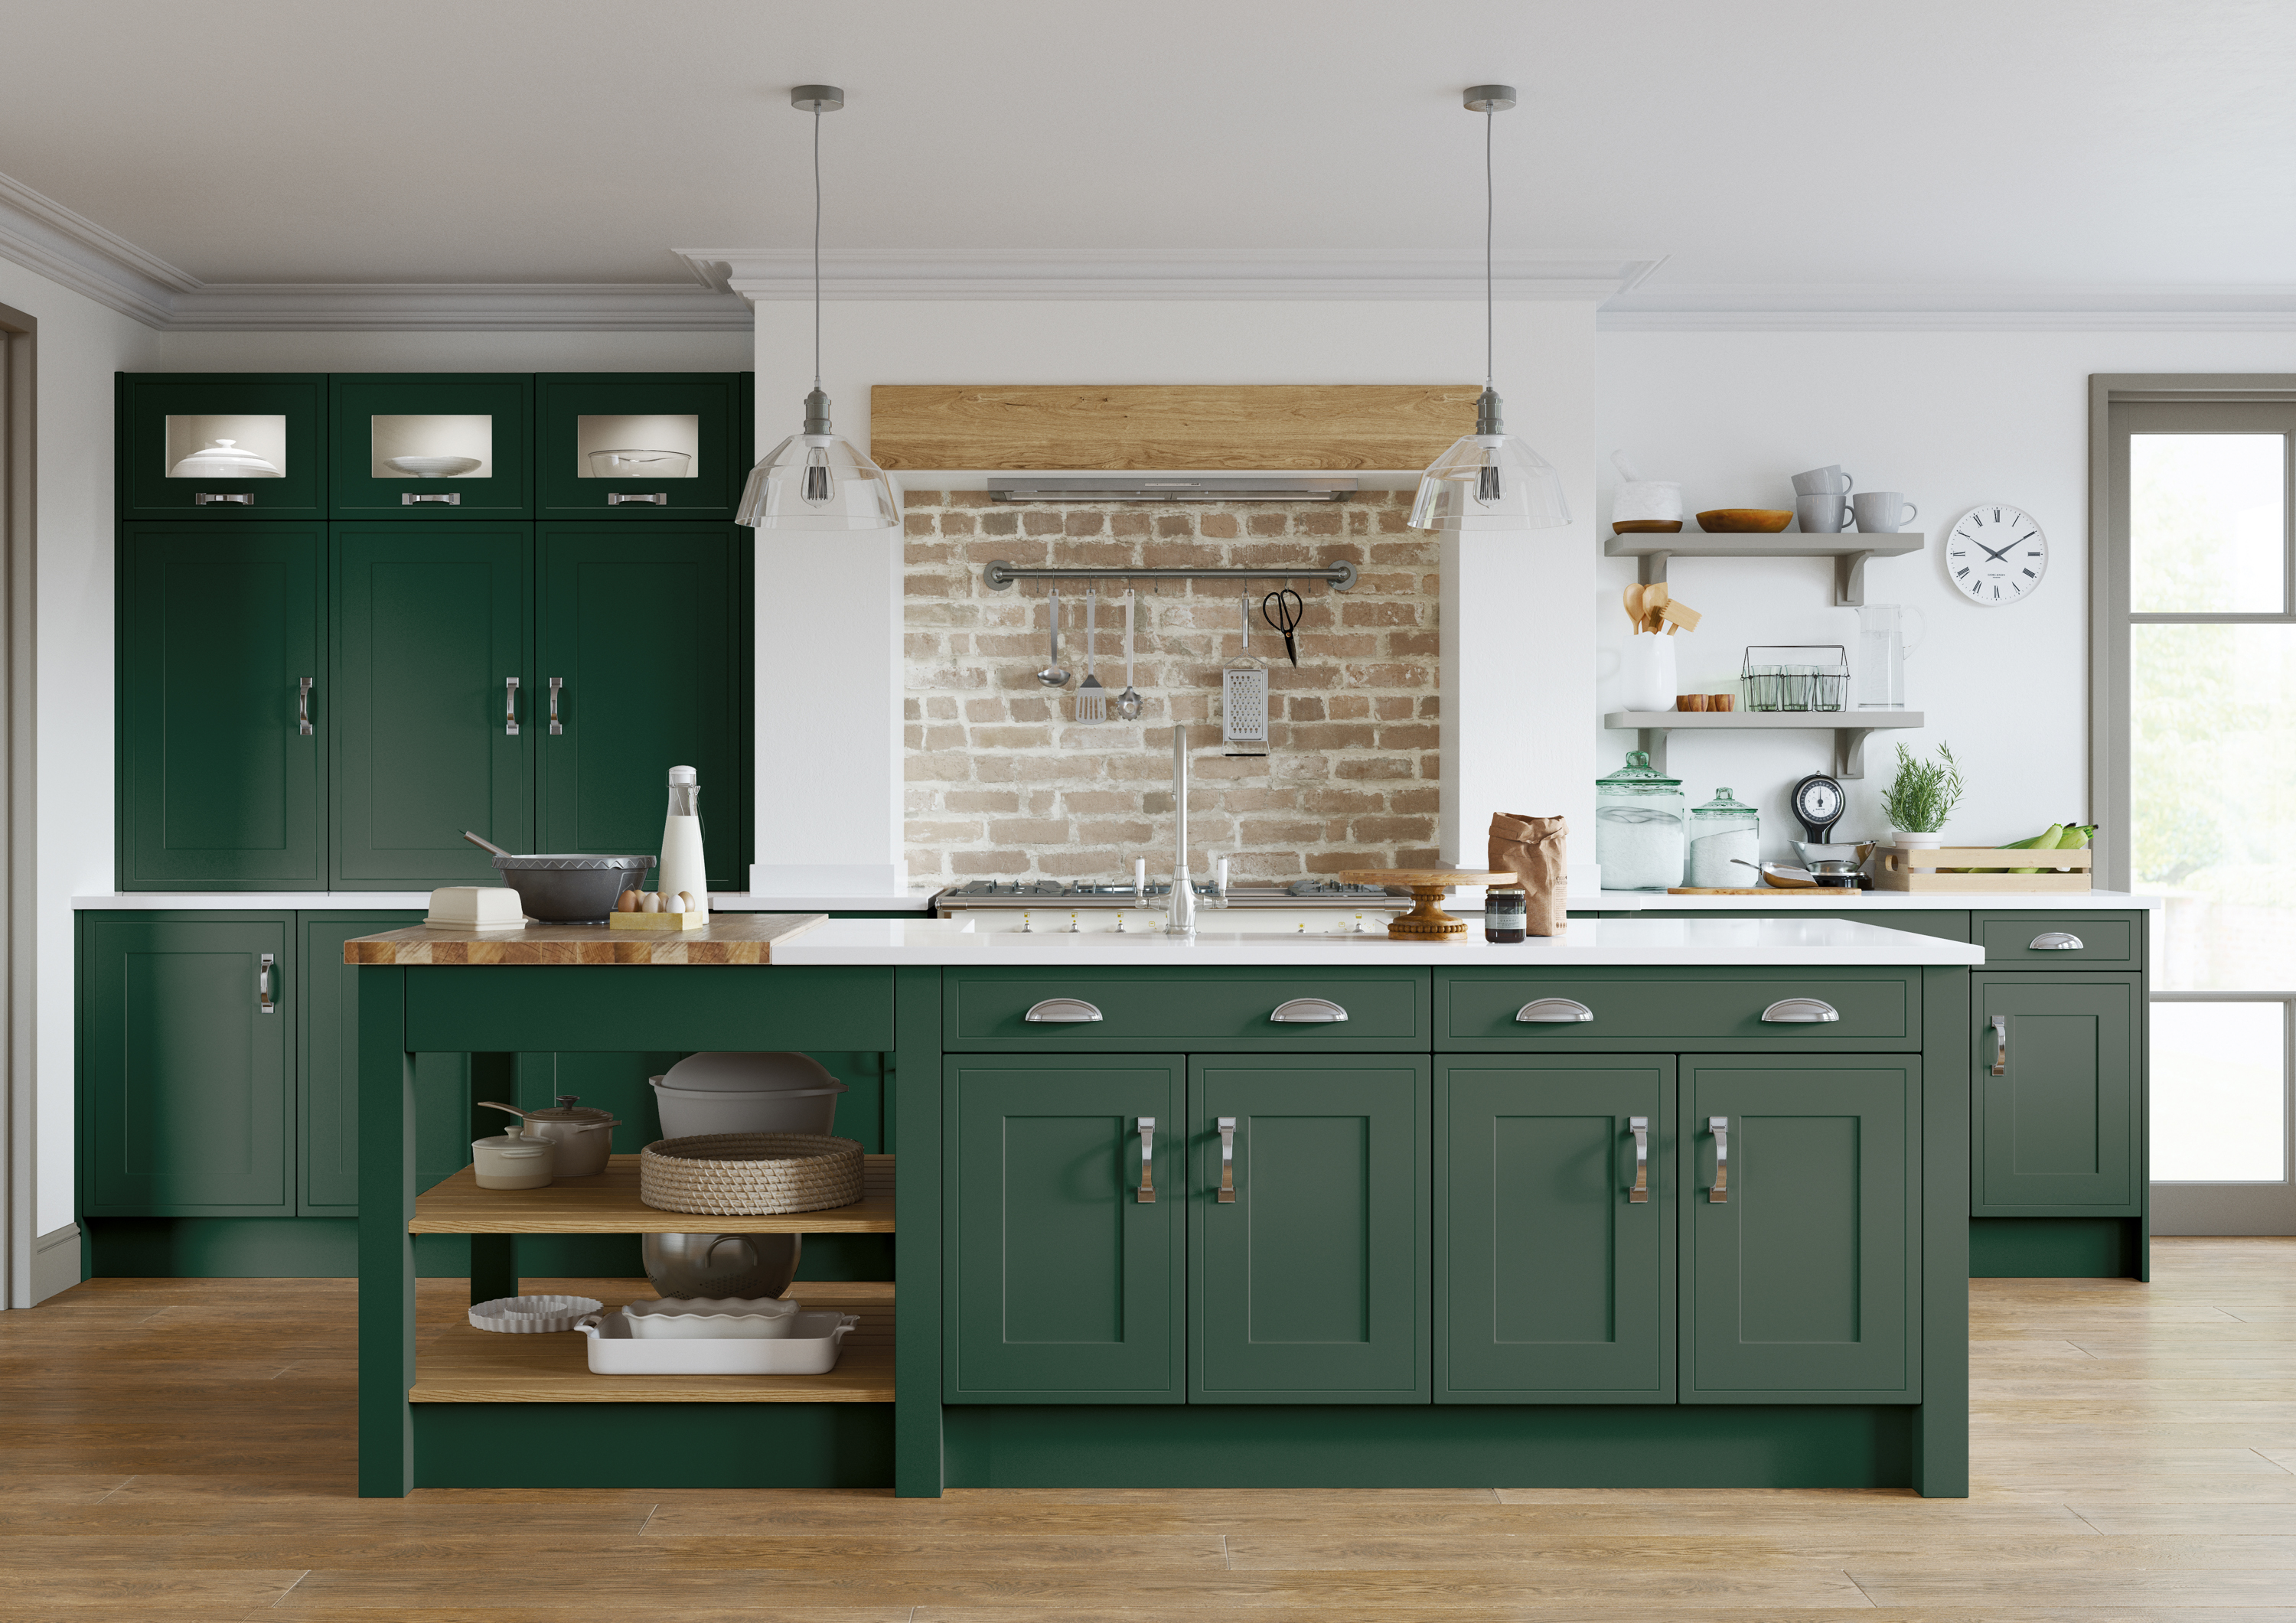
When you want to spruce up your cooking space, something as simple as learning how to install kitchen cabinet handles yourself, could be a transformative move.
Cabinet handles are small but mighty. These little pieces of hardware are deceptively important; they have a huge amount of pulling power (excuse the pun!) without people realizing it.
If you’re on a budget and can’t afford a high-end kitchen remodel then no dramas, because swapping dated handles out for a new type of pull and new color, paired with a quick paint job on the walls perhaps, can completely transform your space without costing the earth.
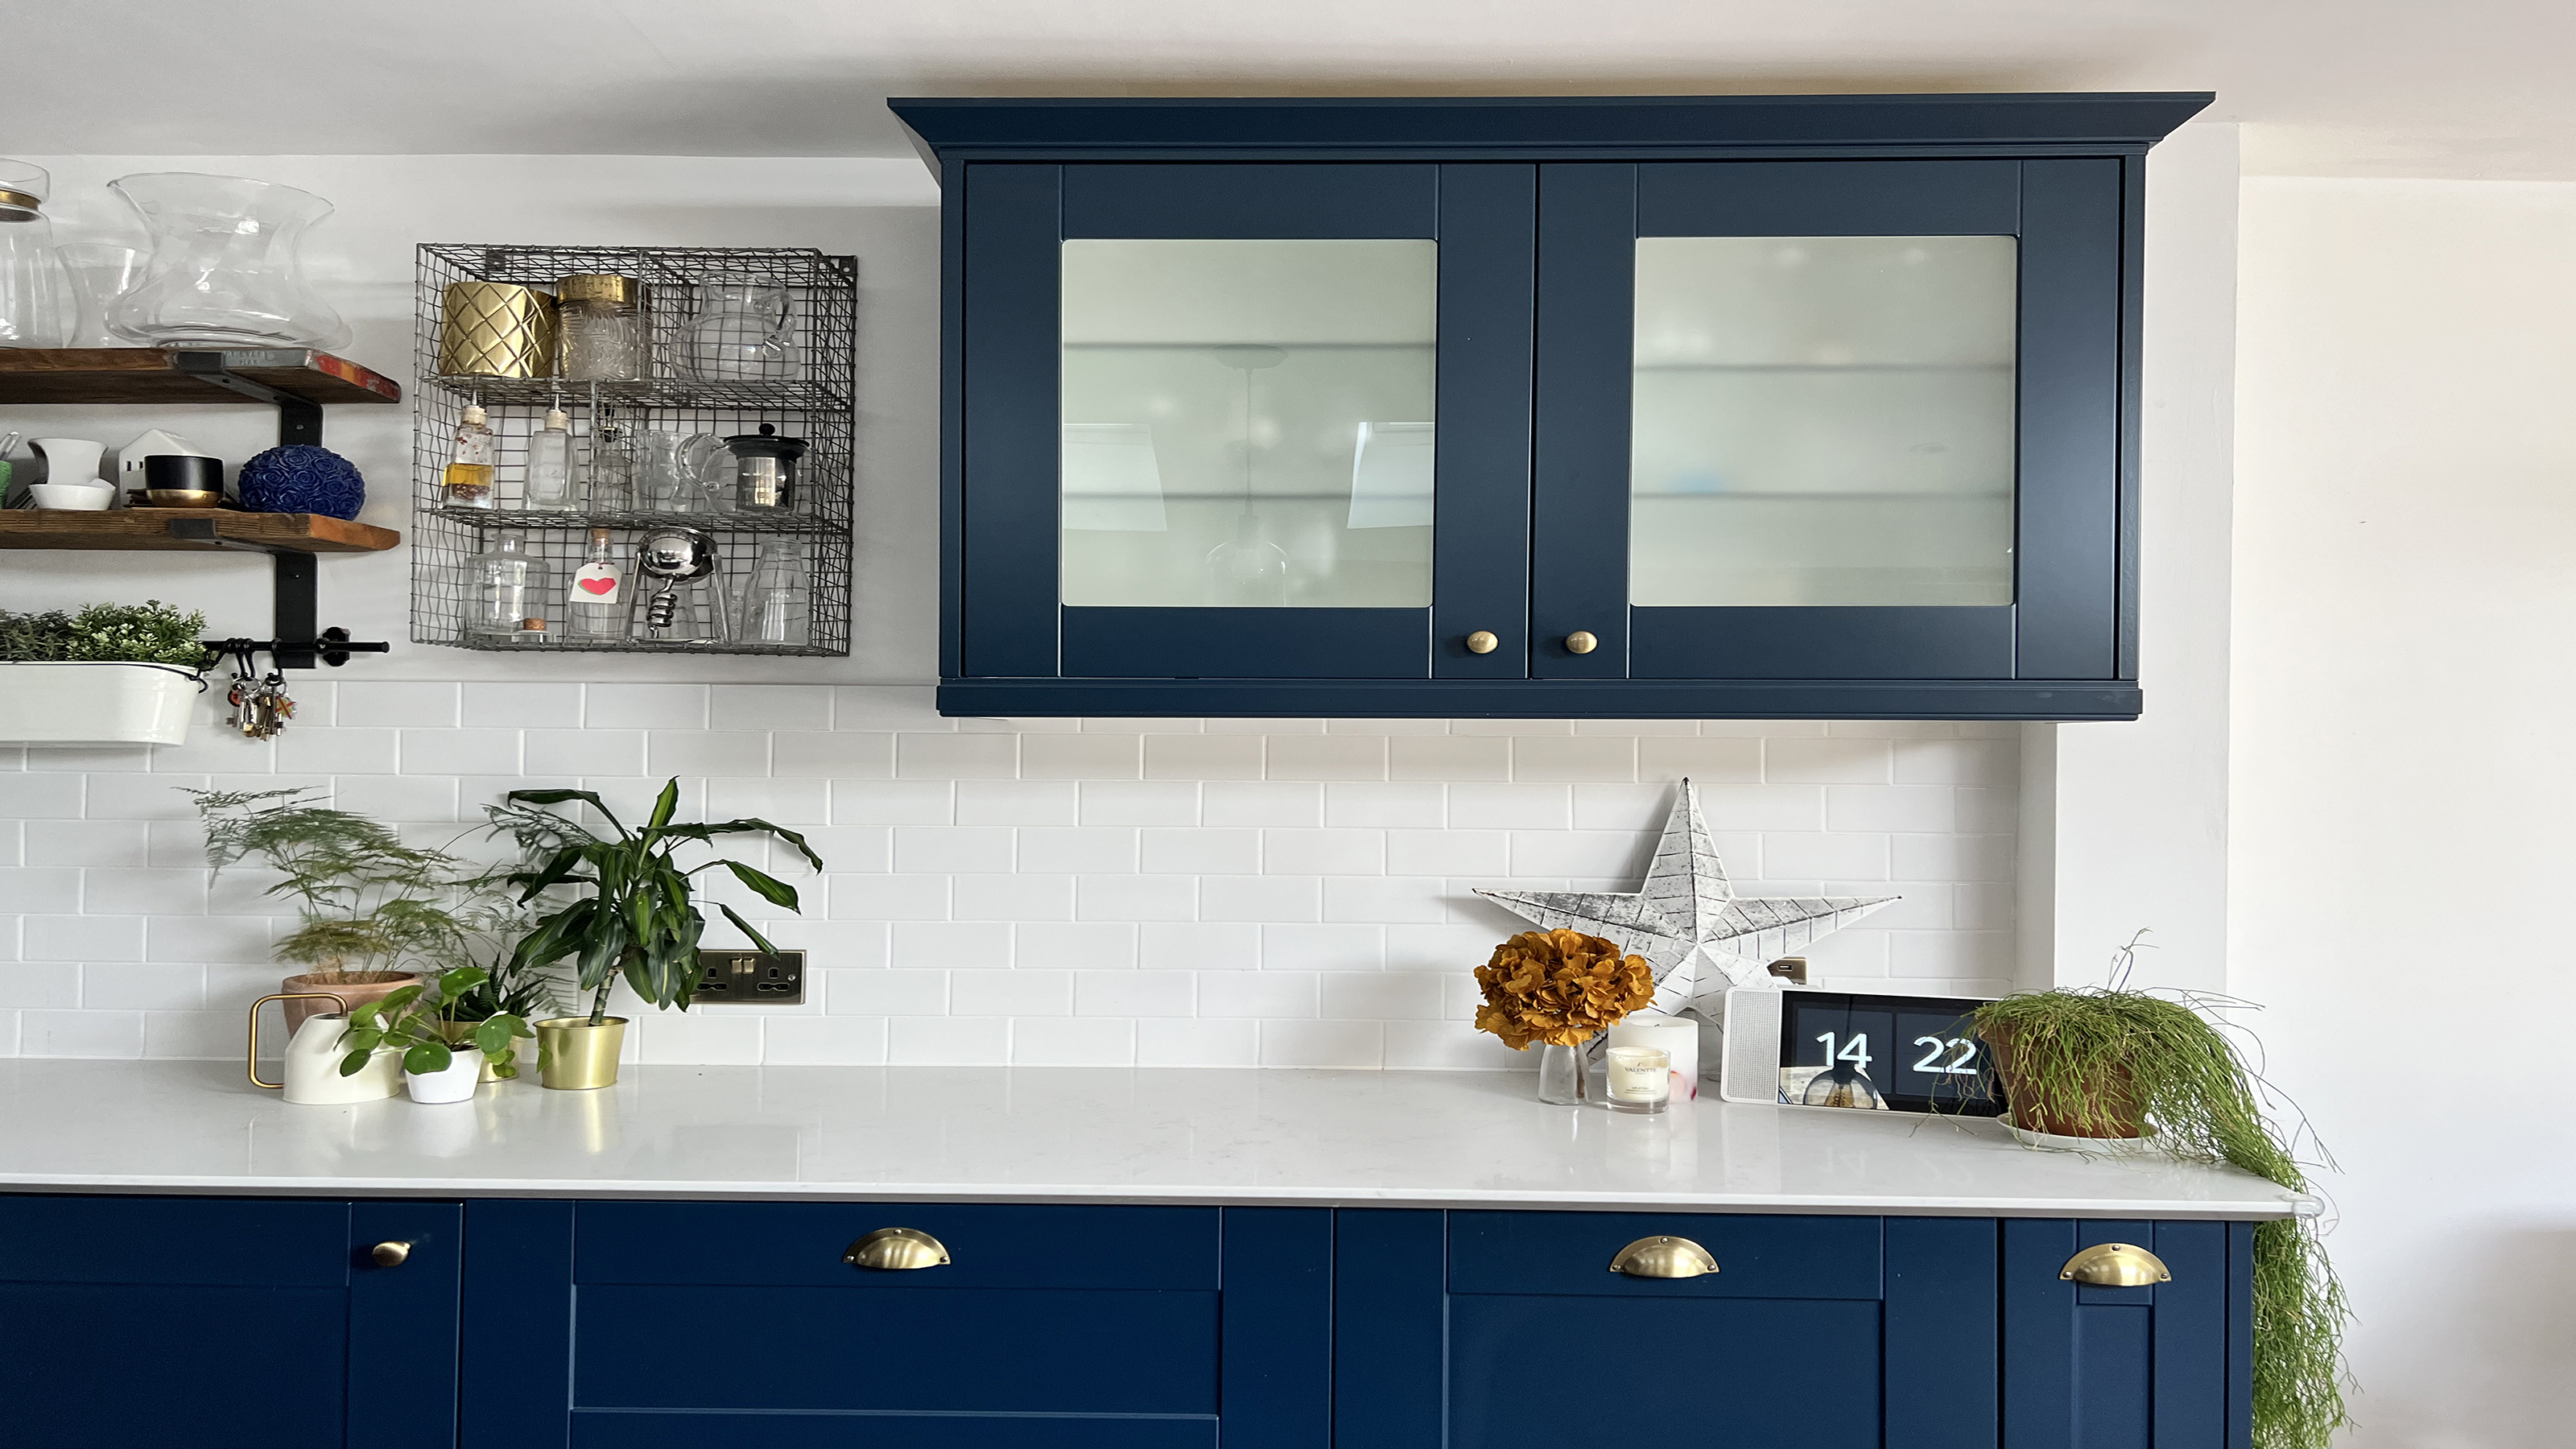
You can also mix and match handles for a more stylish look, use pull handles like these from Goldenwarm on drawers, along with more of a door knob style handle like these for cupboards to give the impression of a more custom-made kitchen. This project really gives you the chance to get creative!
Knowing your cabinets
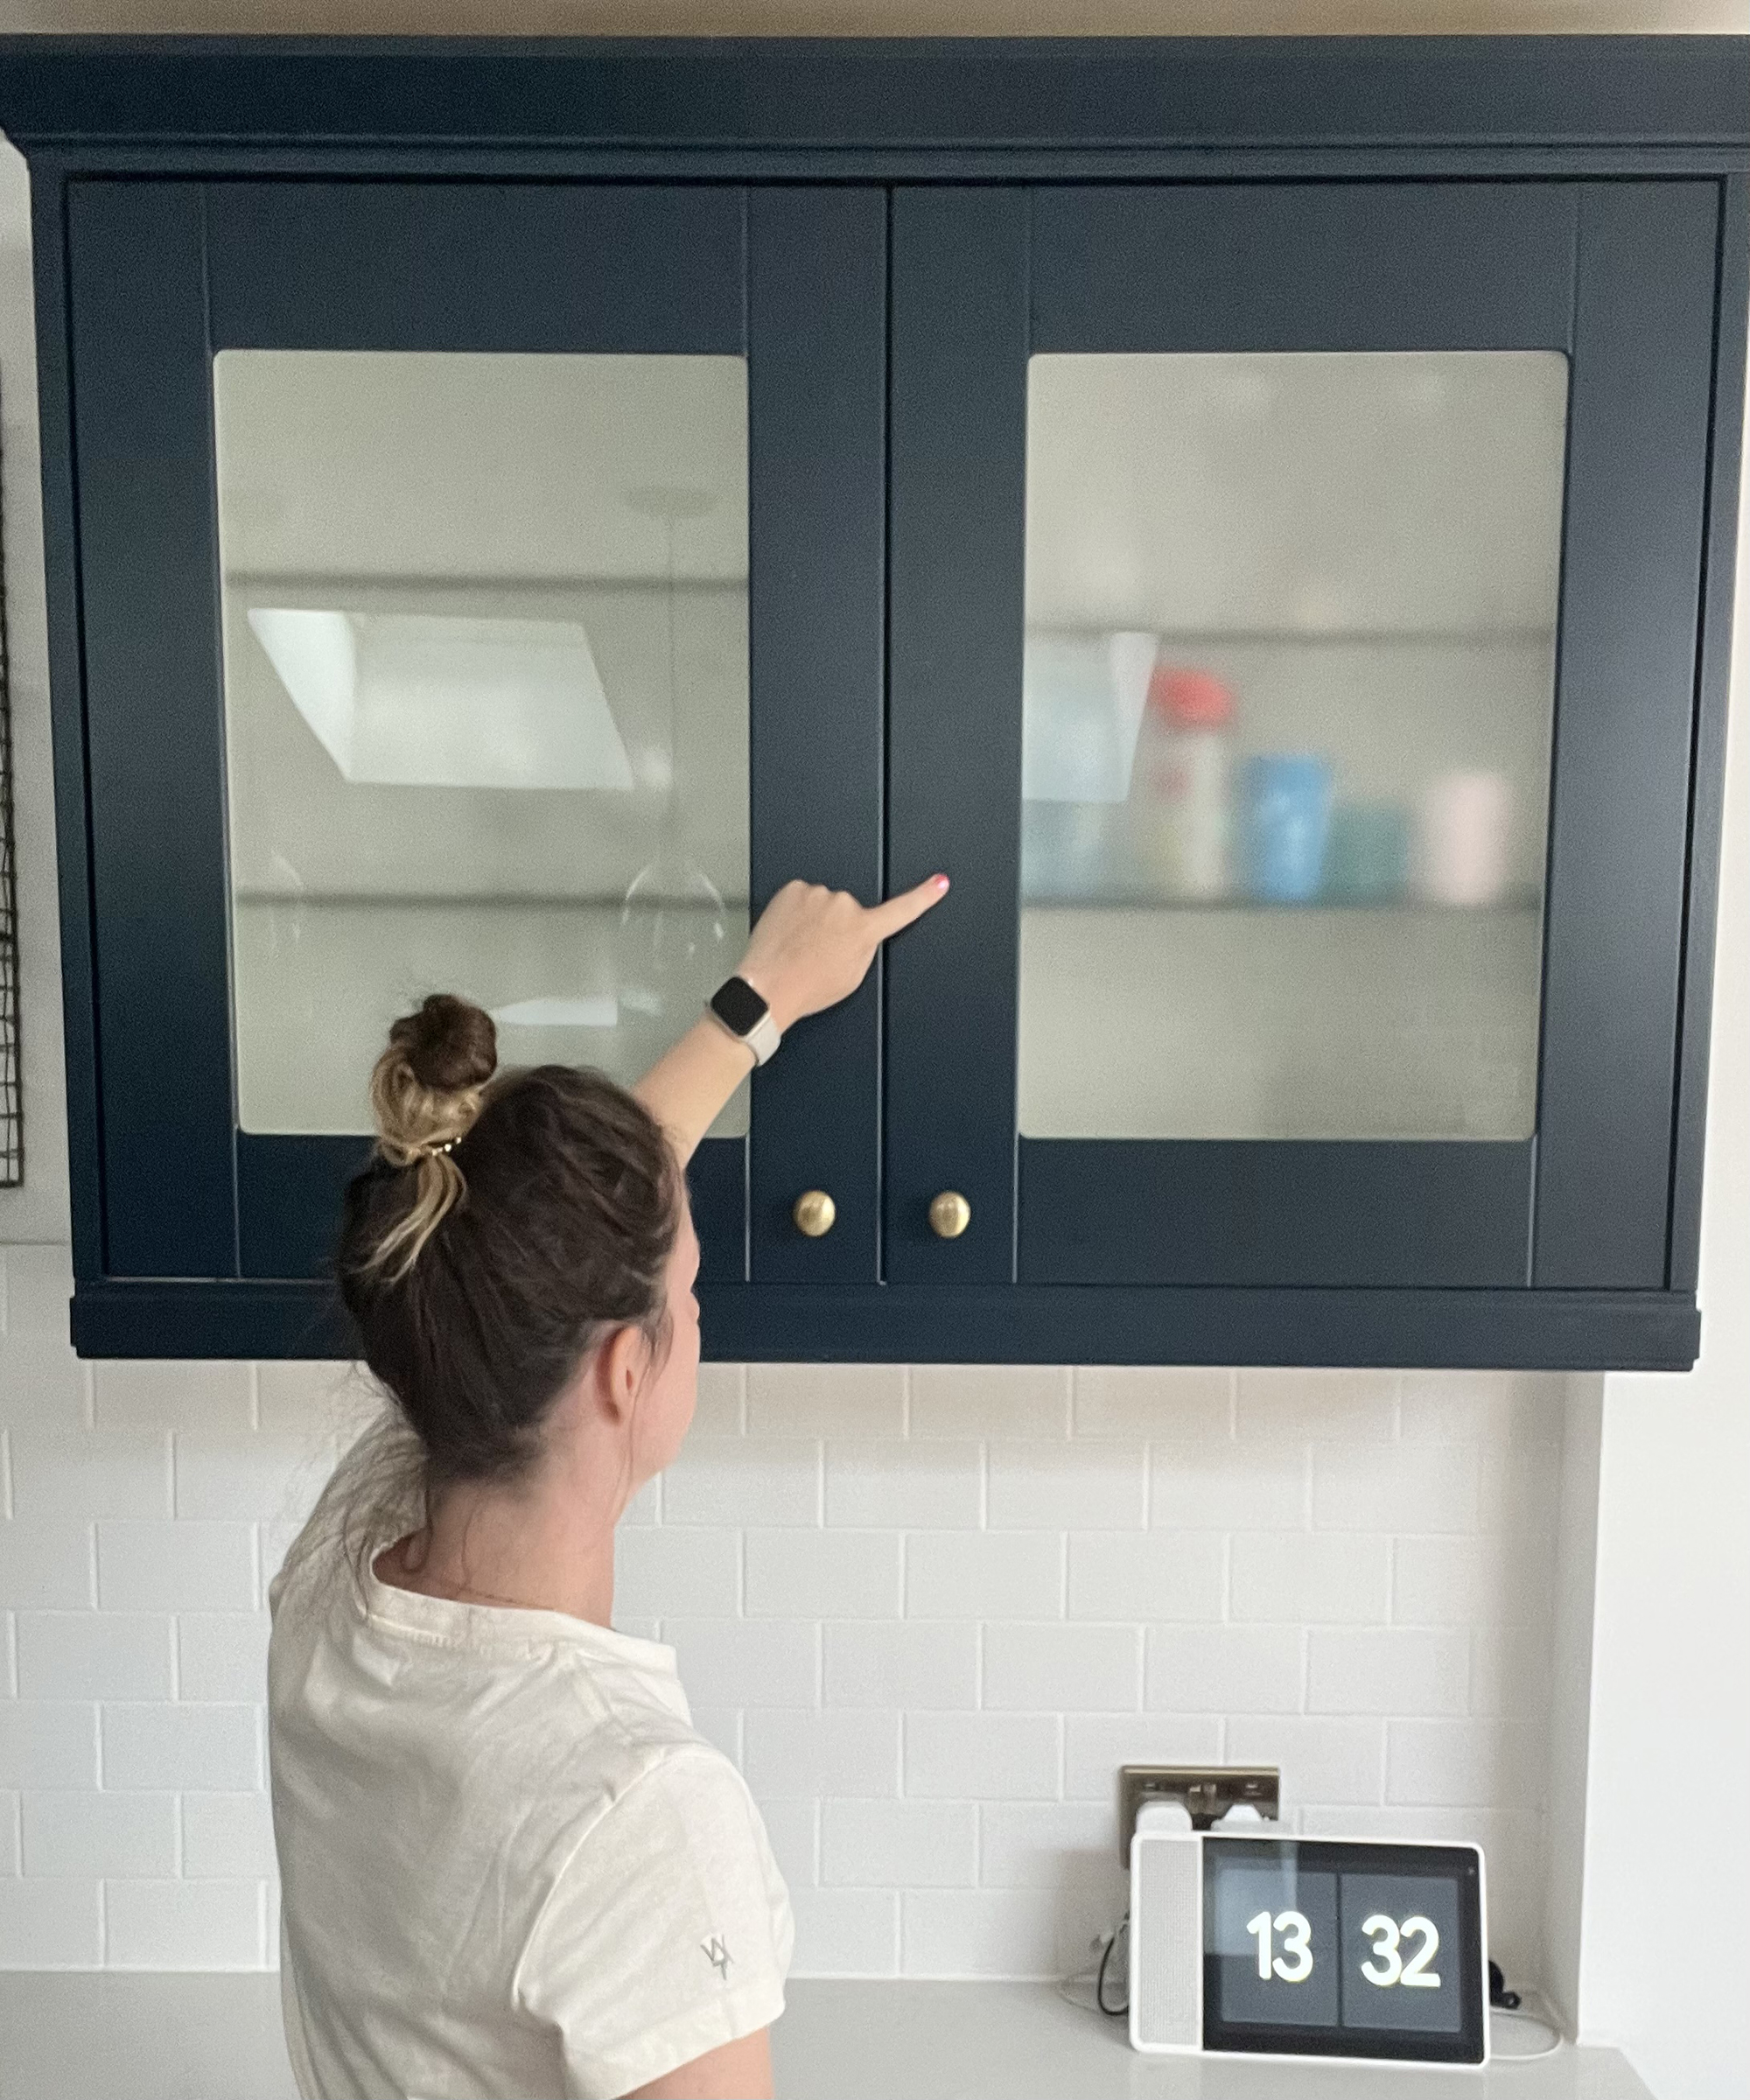
First things first, before you install or change your handles, let’s talk about the lingo. If you've ever installed kitchen cabinets yourself, you might already know this, but if not, on a cabinet door, you typically have:
- A rail which is the bottom piece of wood that acts as the base of the door
- A stile, this is the vertical, outer piece of wood (or material) that runs from the bottom to the top of the cabinet
- There is also a leading edge, this is the side of the door opposite the hinges
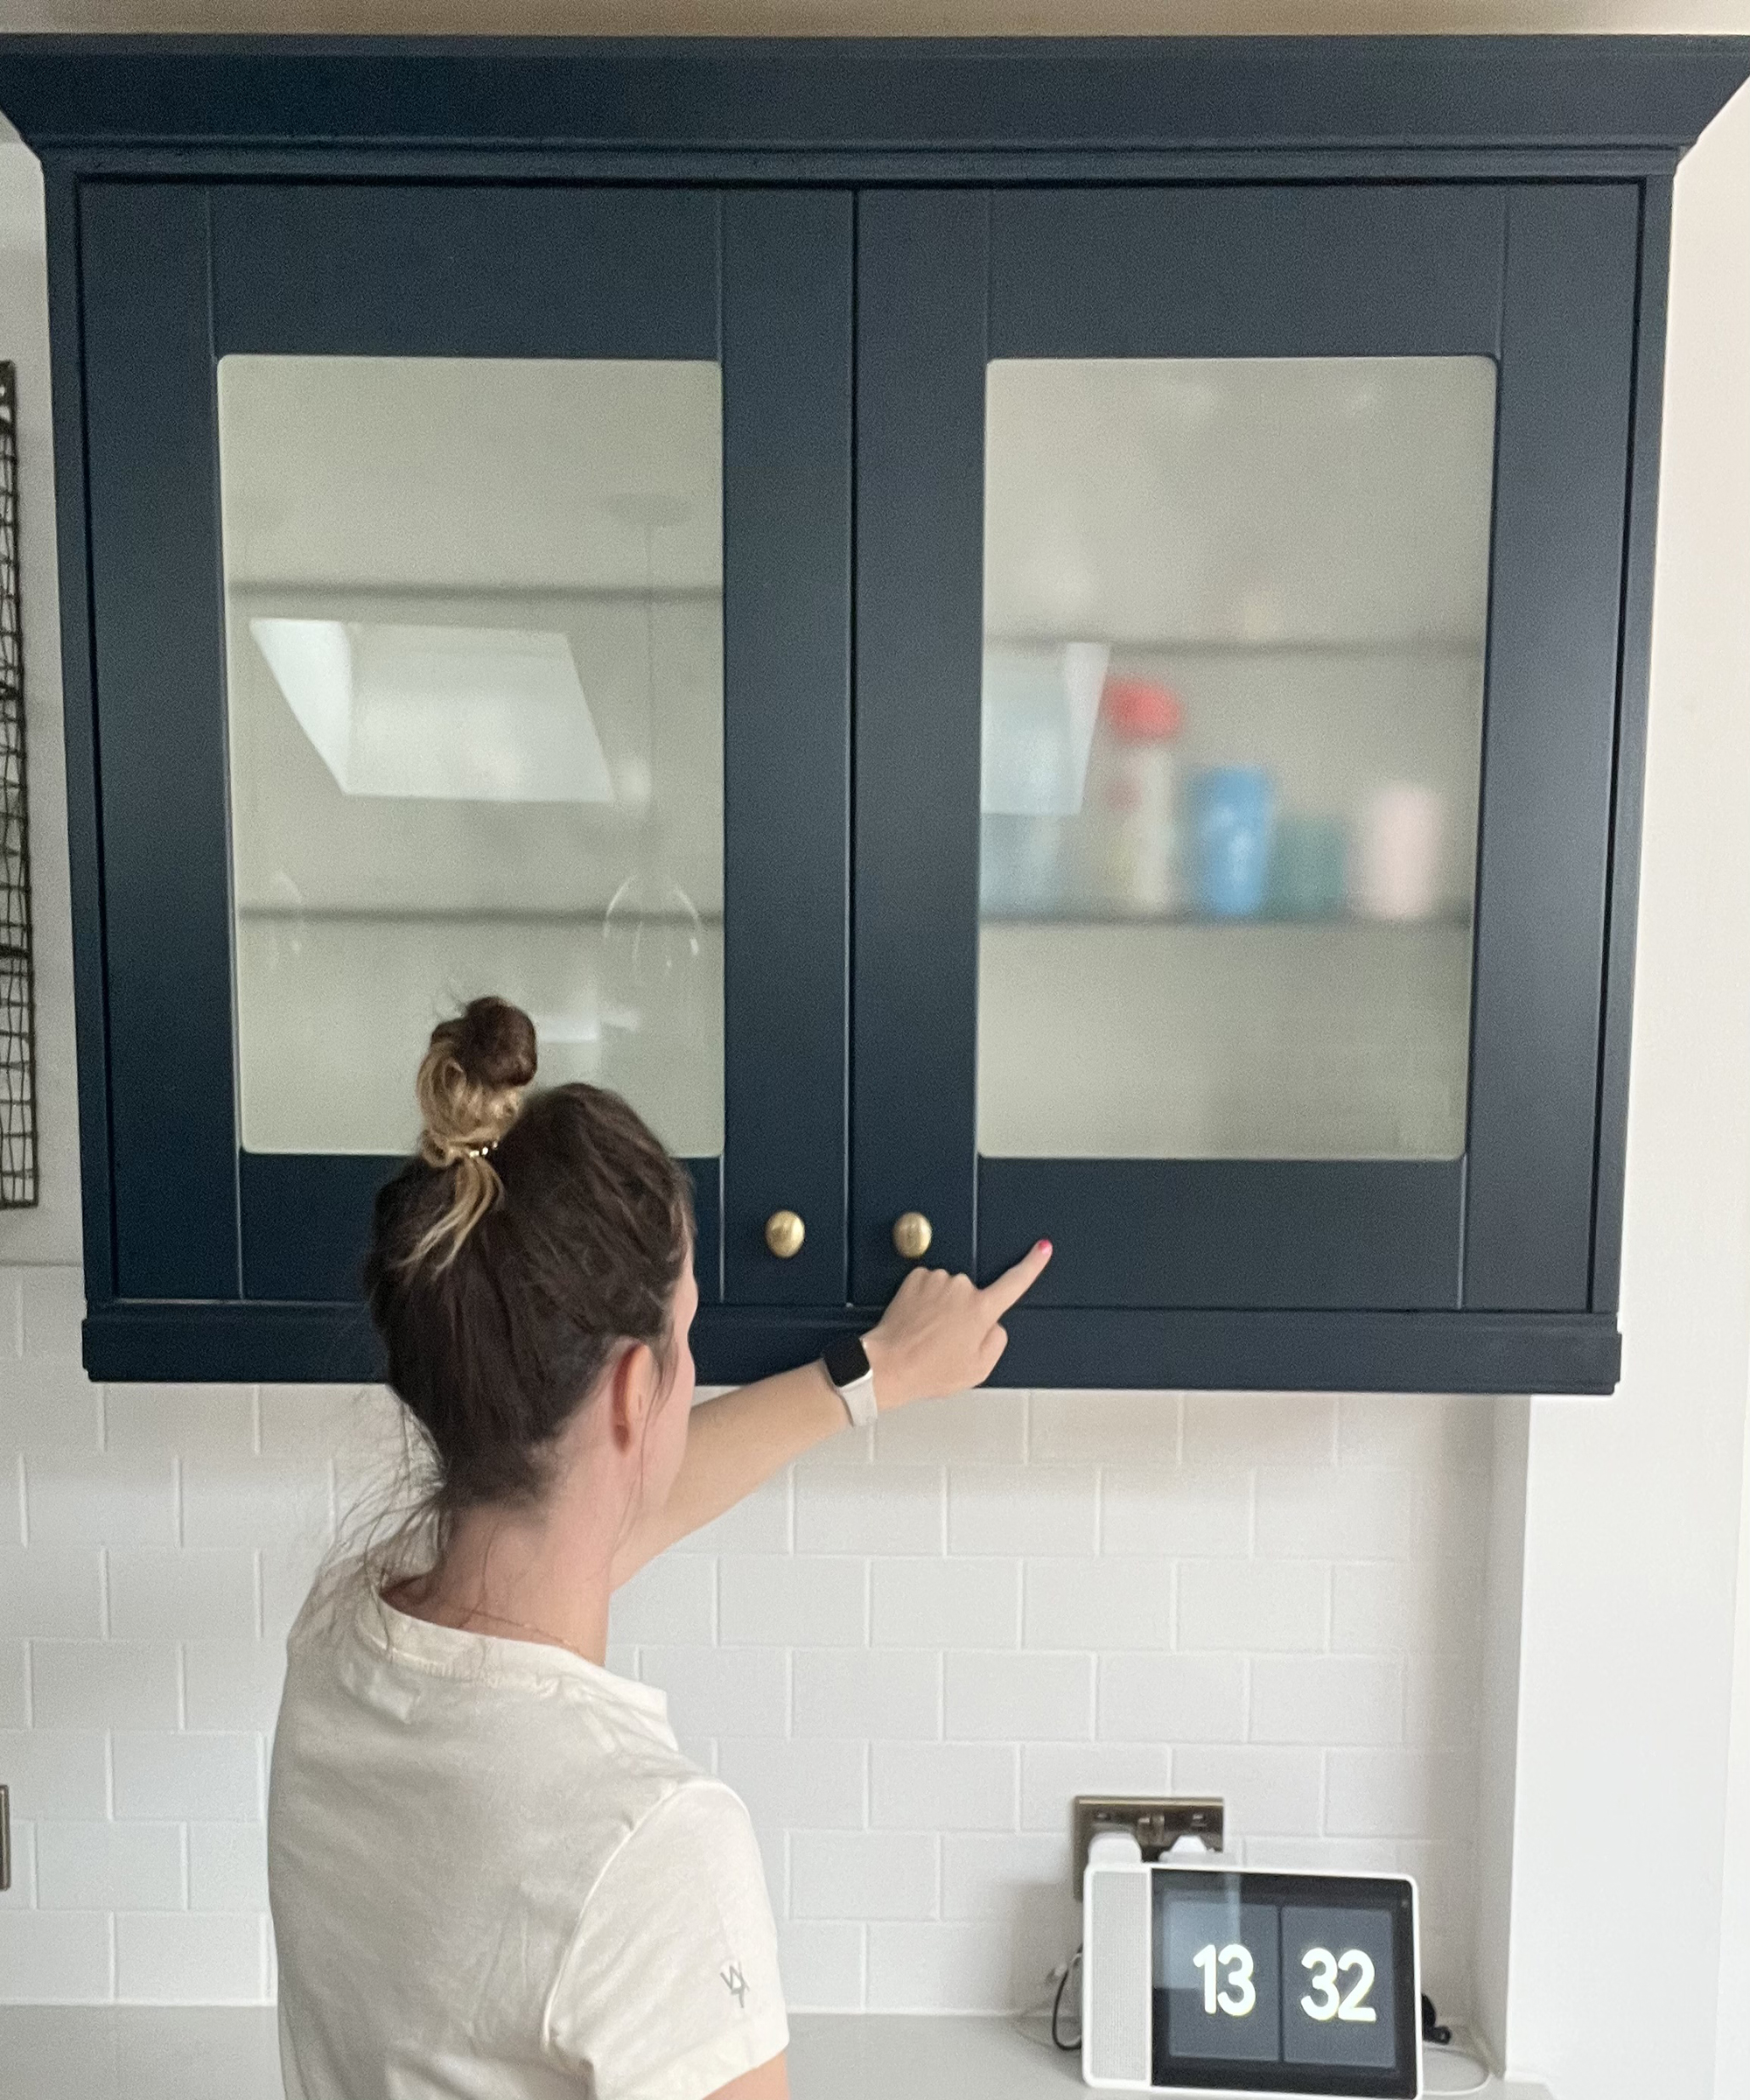
These terms will be useful when we talk about actually installing cabinet handles.
Where should handles sit on the cupboard door?
There are no hard and fast rules when it comes to where handles should sit. It depends on the cabinet or drawer type, the handle type and user preference.
Get small space home decor ideas, celeb inspiration, DIY tips and more, straight to your inbox!
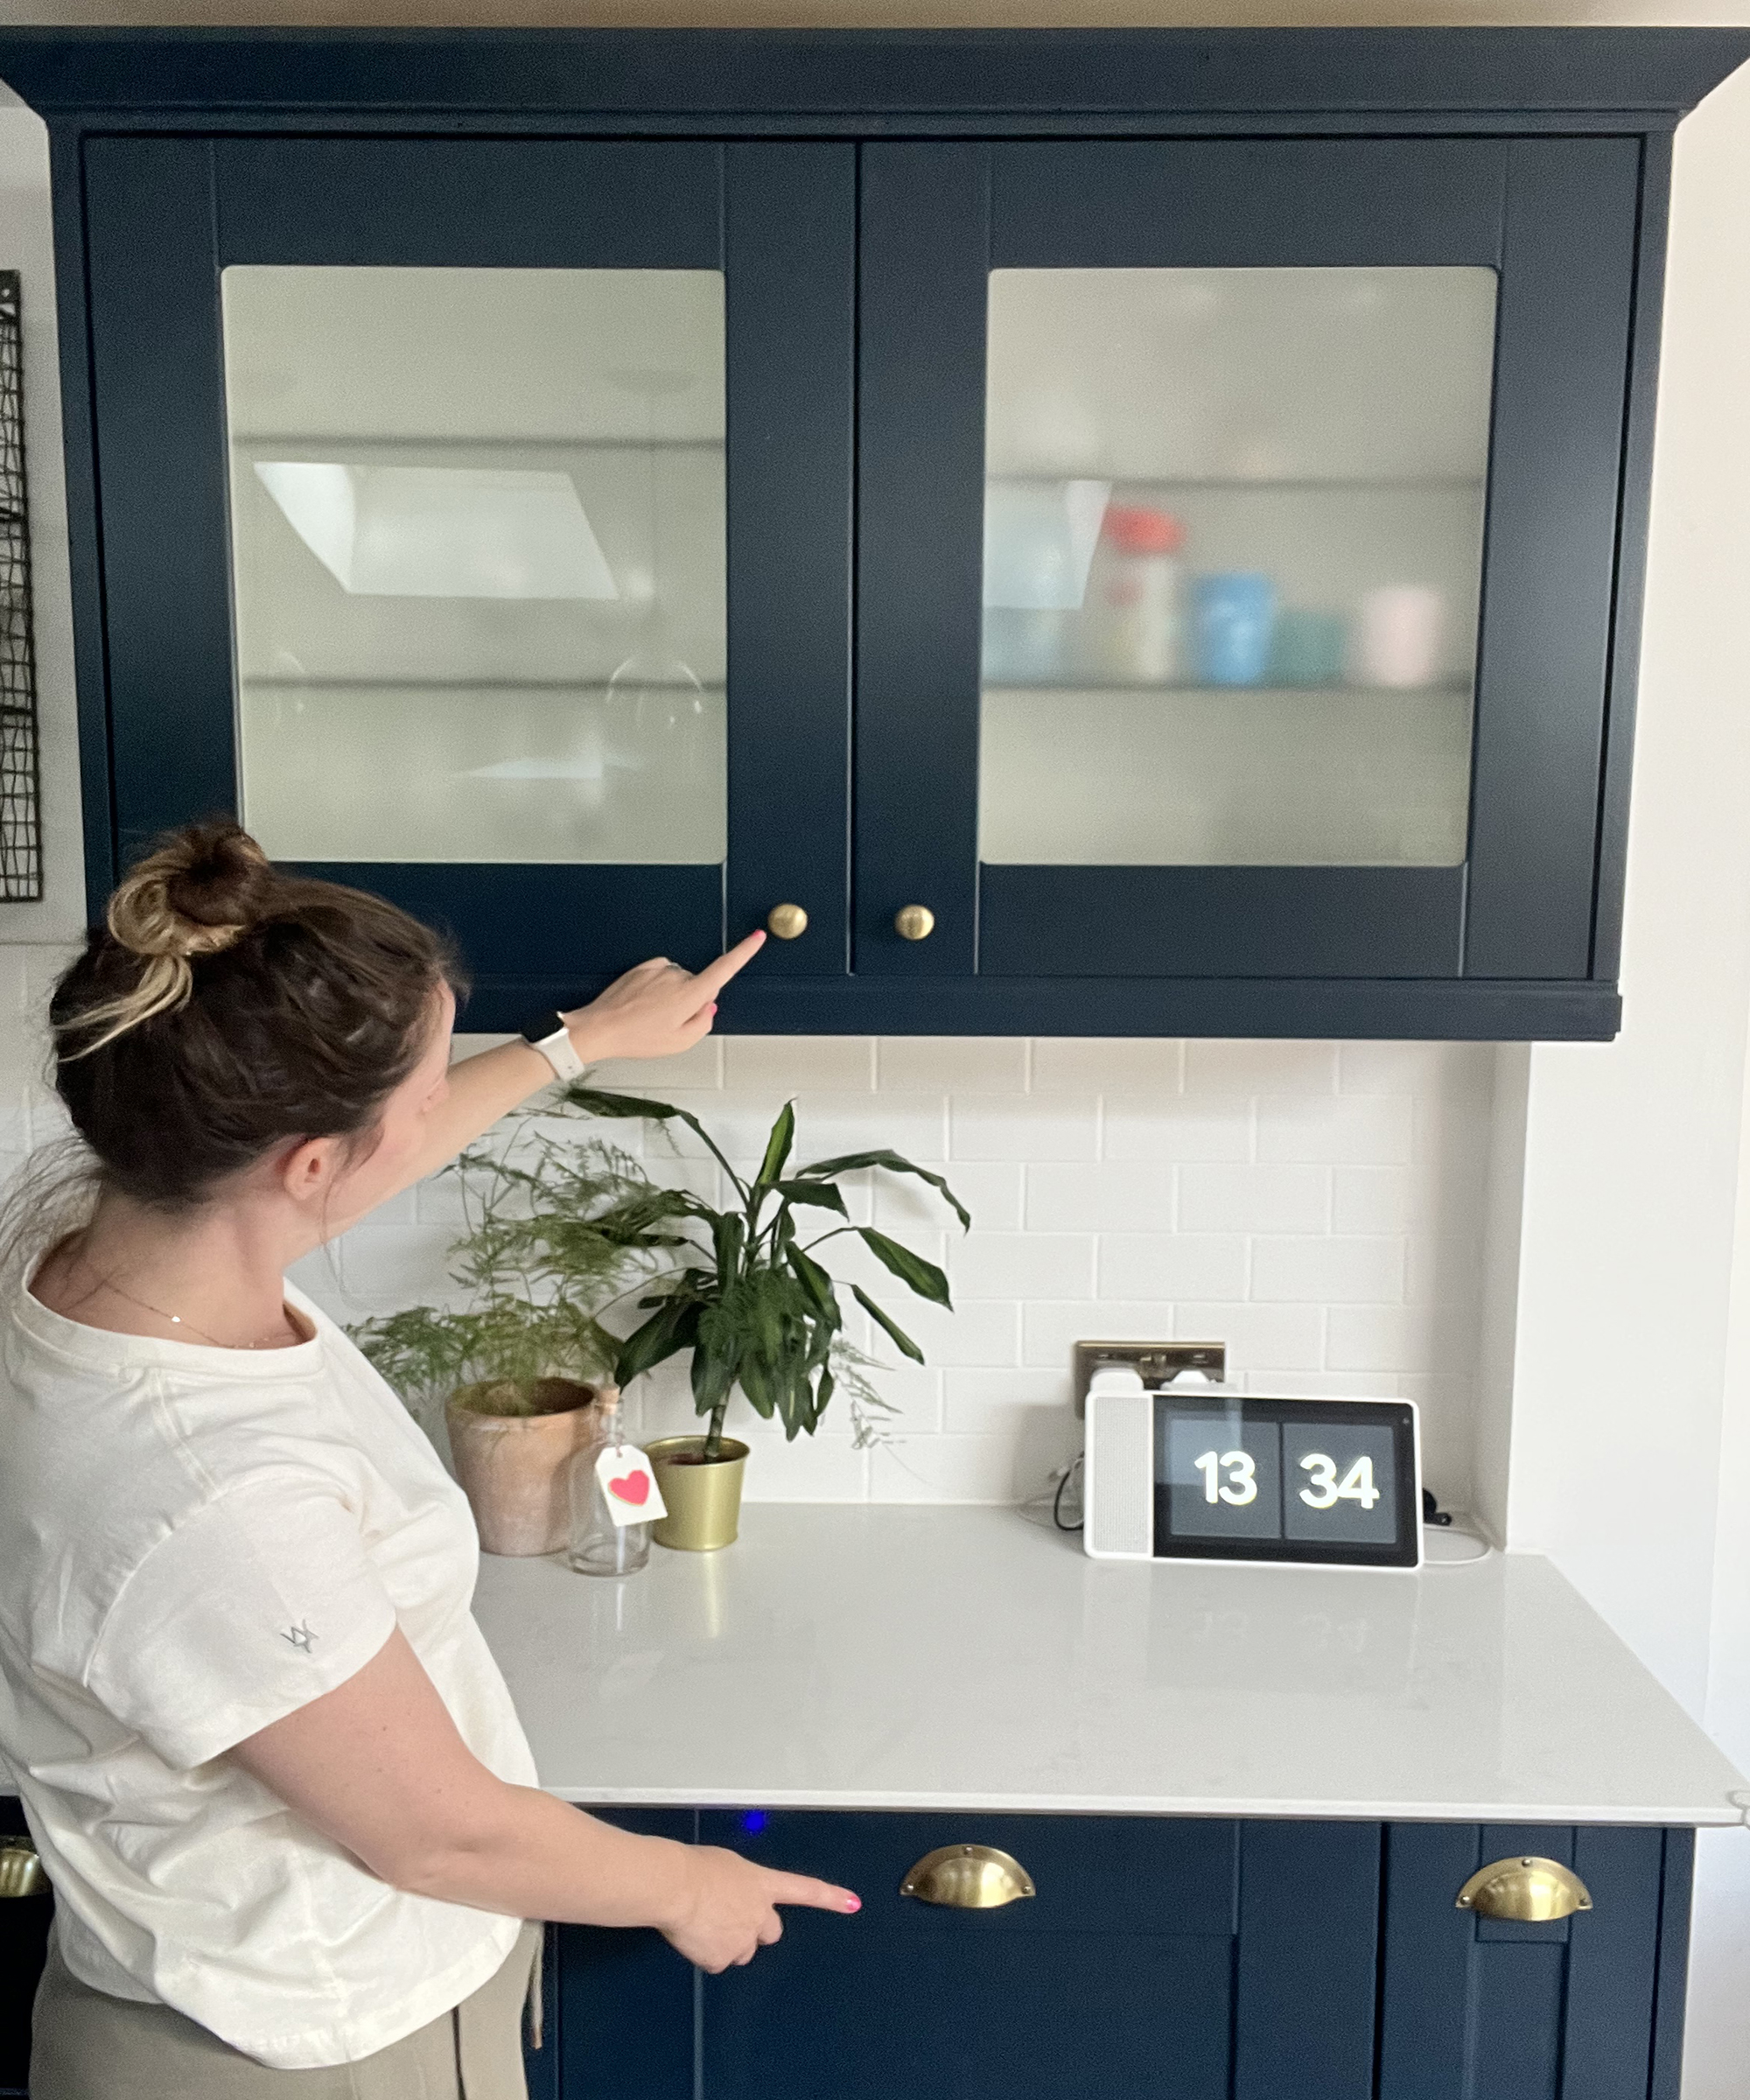
A good rule to follow with vertical pulls or handles is to line the bottom of the handle up with the top of the door rail. Otherwise, I tend to just like to make sure that handles are central.
You should also consider usability; for lower cabinets and drawers, you want to be able to pull them open without having to reach down too far. For higher cabinets, it is advisable to put them at the bottom, so that you don’t have to reach up. For drawers, so that they pull correctly and look their best aesthetically, you should position the handles in the center and for cupboards, if you are going to use knobs, they are typically placed on the opposite side to the hinges.
How to install kitchen cabinet handles step-by-step
This is an easy job and something that you can do alone.
You will need:
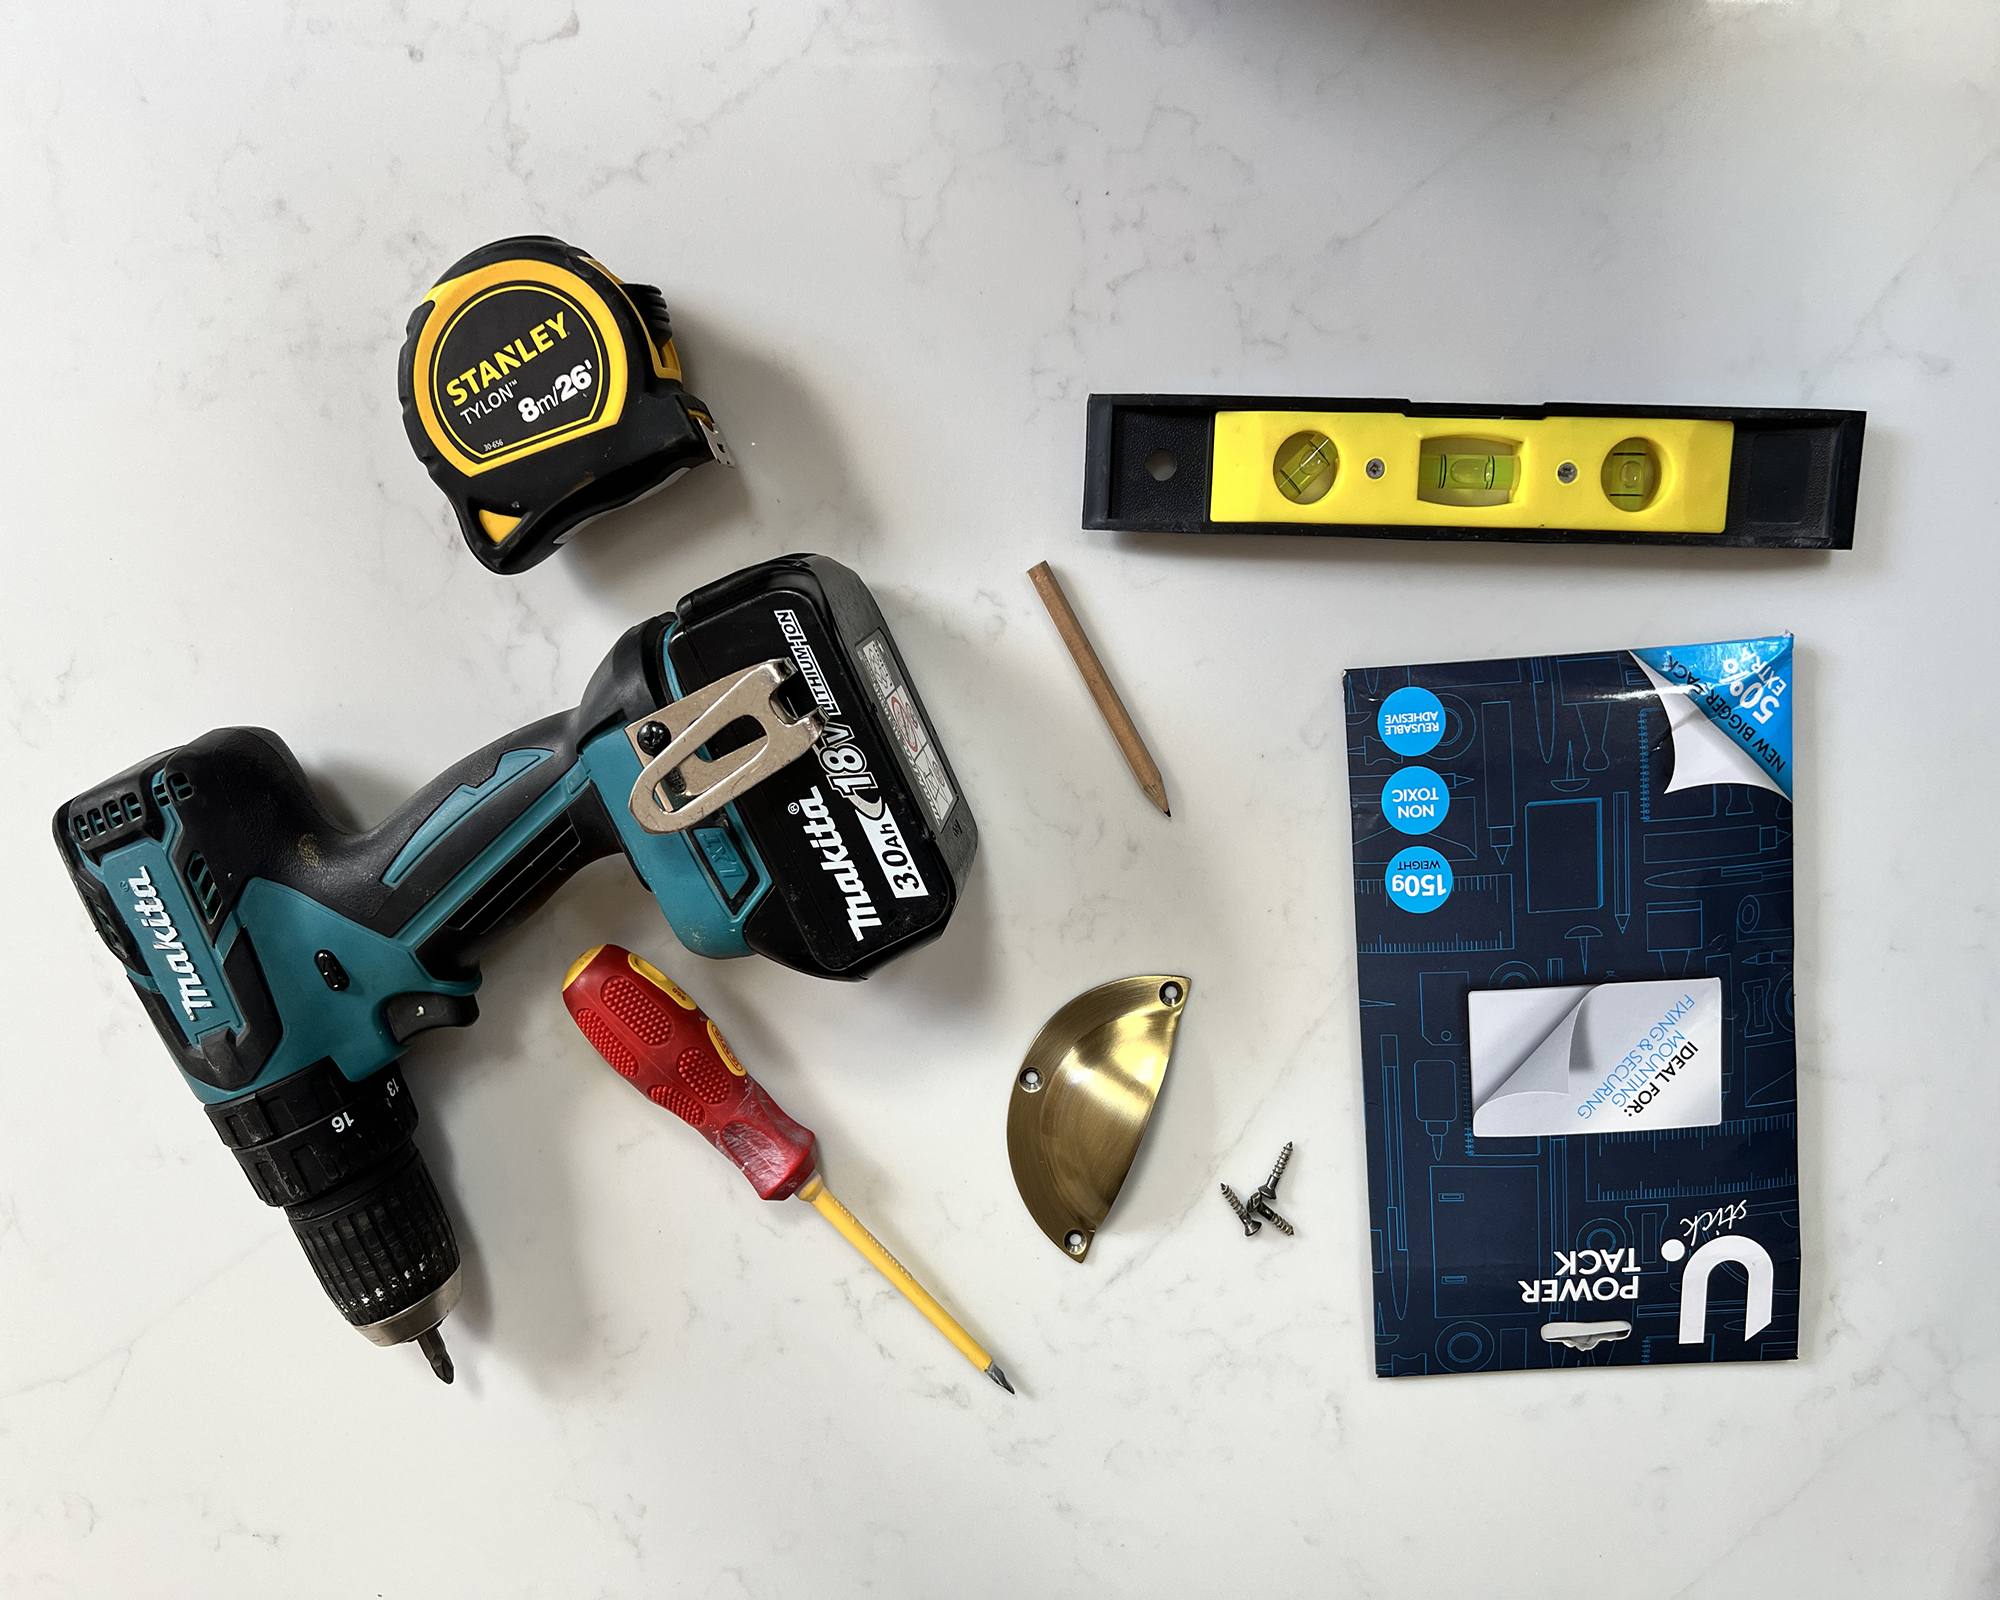
1. Cordless drill with appropriate wood drill bit to suit the fixings supplied
2. Tape measure
3. Pencil
4. Screws (they sometimes come with the handles)
5. Screwdriver
6. A level
7. New handles: Wayfair has a ton of gorgeous options
8. Awl (optional)
In terms of how long you should set aside, that depends on the number of handles you need to install but on average, a cabinet will take around 15 minutes. You'll probably get quicker as you go.
1. Decide on the position of the handles
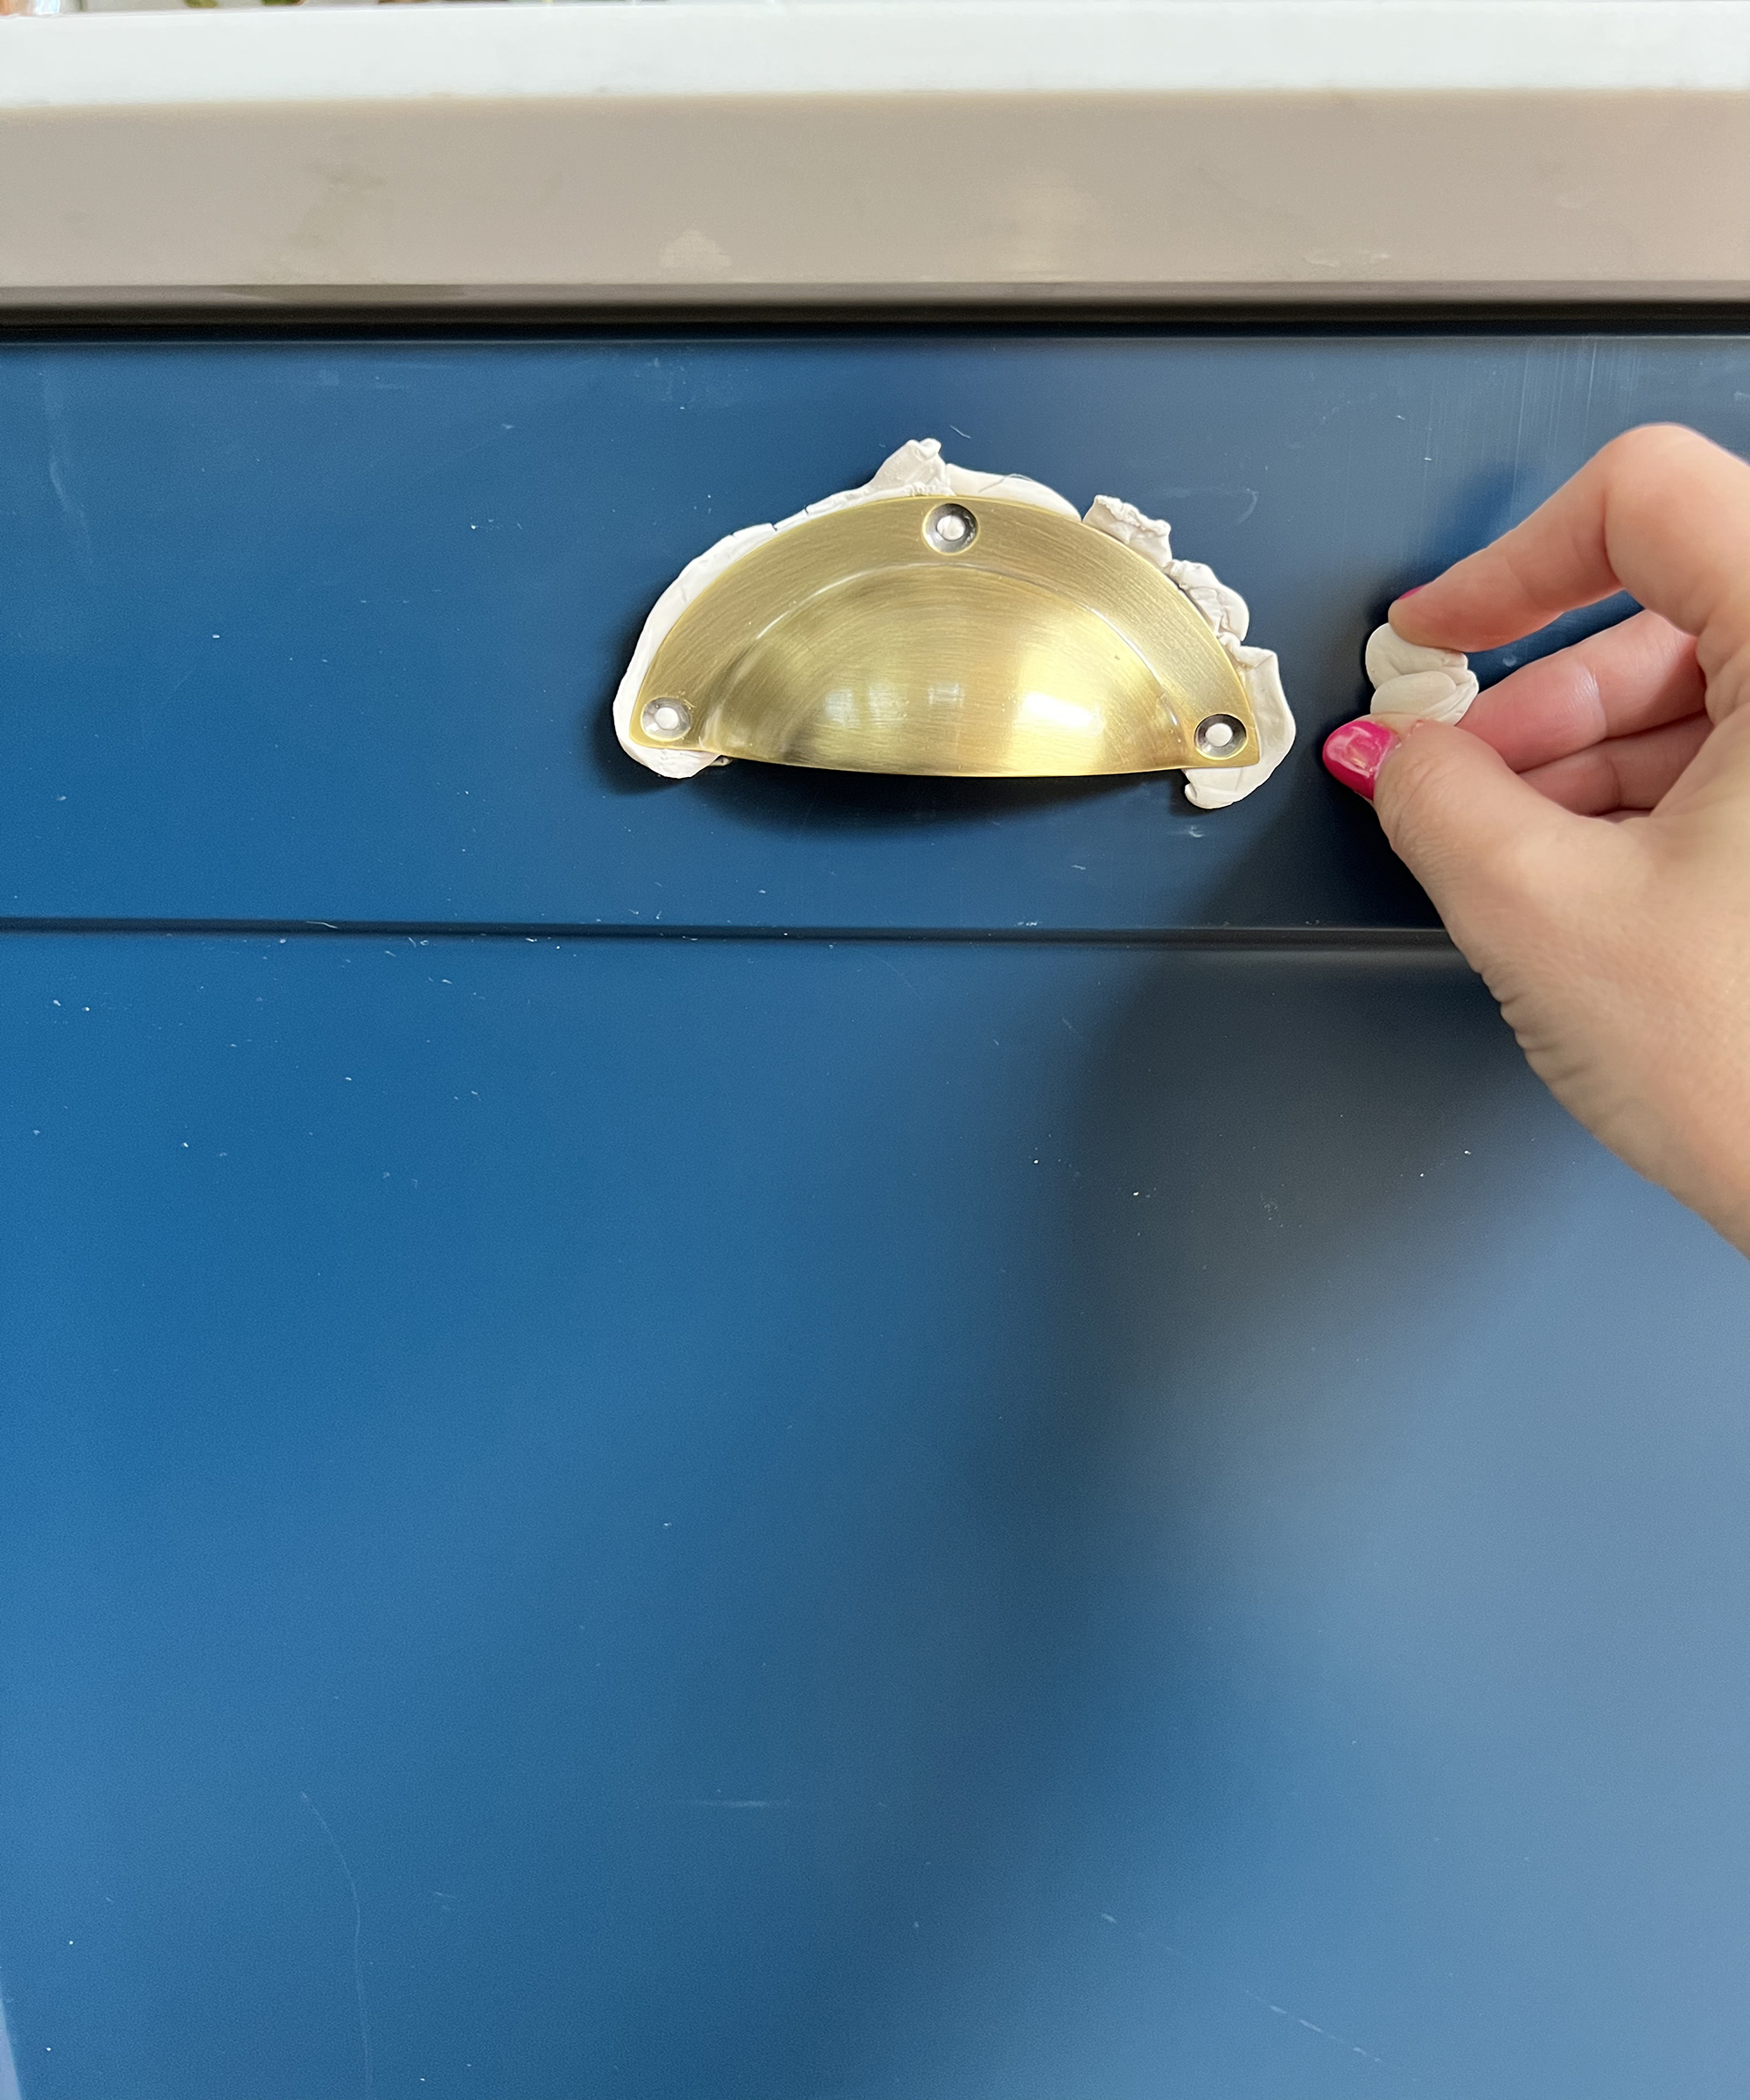
Once you have started to drill, it is tricky to wind things back, so before you make any marks, test out the position of your handles. You can do this by using putty like this Loctite one. Stick the putty to the back of the handle and place it on the cupboard where you are thinking of putting it, then stand back and see whether you think that works. If you aren’t sure, take some photos of different spots and then narrow down your favorite. Mark the one you like most with a pencil like this one from Irwin.
2. Measure and mark your drill holes
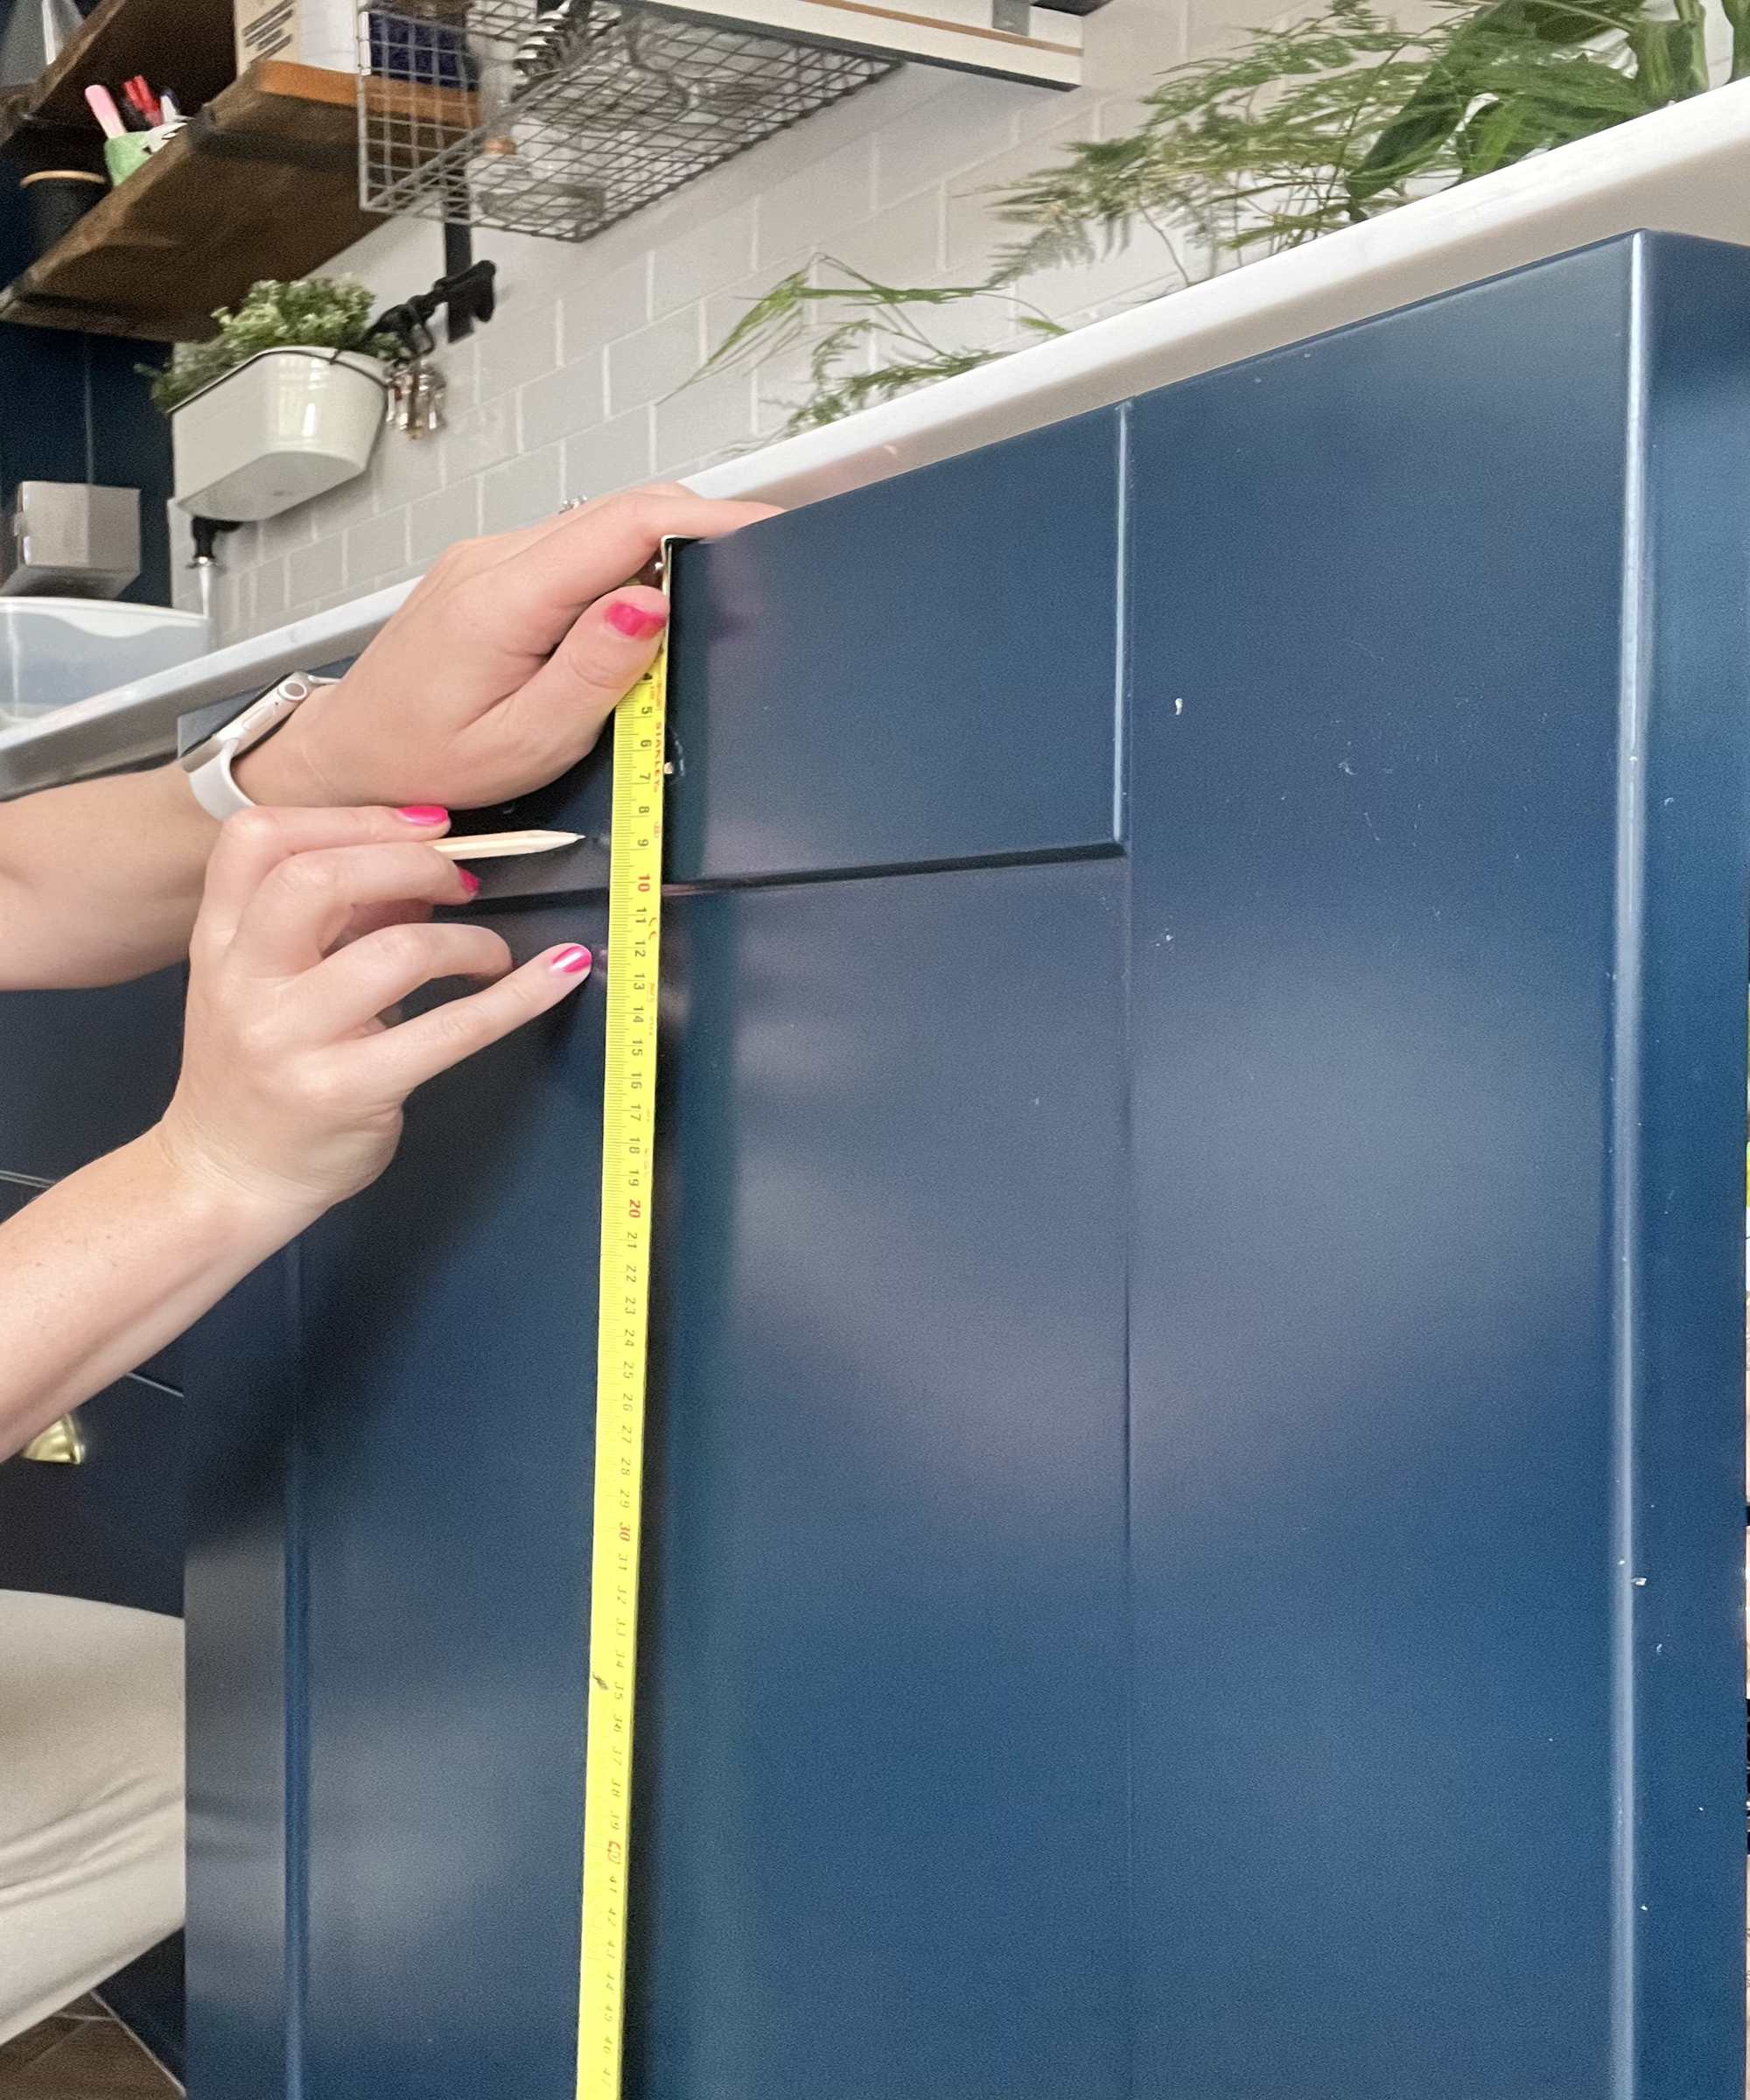
Once you have decided on your preferred position, then it’s time to measure and make the marks to drill your holes, you can use a drill like this one from Bielmeier. Firstly, this is the most important part, accurate and equal measurements are critical to your kitchen looking chic and professional. Take care if you have high gloss doors as they scratch very easily.
Kitchen cabinets and drawer handles will normally have two or three screw mounting points, knobs have one. The way you measure them is effectively the same though. This example is for cup handles like these by Harpoon which have three screws, one at the center-top and one either side.
- Find the center of the cabinet as a guide and mark this lightly with a pencil at the top of the door
- Next, using your tape measure like this one from Komelon, measure how far down the door you want to put the handle (for example, if you have decided that you want the handle five centimeters from the top of the cupboard then take your tape measure, measure five centimeters and mark lightly with the pencil, down from the central point of the door). You now have your central point and your guide for installing the top part of the handle
- To find your center hole, measure the distance between the top of the handle and the hole for the screw, then mark this on your cupboard with your pencil (for example, if you have chosen to install the handle five centimeters from the top of the door and there is a 0.5 centimeter gap between the top of the handle and the hole, then make a drill mark 5.5 centimeters down from the center mark at the top of the door
- Next, measure the distance between the top screw and the bottom screws and mark this out on the door
- Finally, measure the center-to-center measurement (i.e. the distance between each of the holes on either side of the handle so for example if the handle is five centimeters long, the center-to-center measurement is 2.5 centimeters). Once you have this, using your central mark, measure and mark each side of your center point
You now have all of your drilling holes.
If you have another type of handles, here are your install options:
If you have a standard two-point handle, then simply measure out how far down the door you wish to place the handle. Mark the location of the top door handle hold and then using the measurement for center-to-center, mark the position of the second hole.
If you are simply installing a door knob, decide how far in from the side of the door you would like this (5 centimeters is a good gauge) then measure the distance from the edge of the door to the center of the knob.
Remember: Check all of your measurements twice before drilling and be careful not to make deep marks or press too firmly when you are drawing the lines as you may damage your cabinet.
3. Check your guide marks before drilling
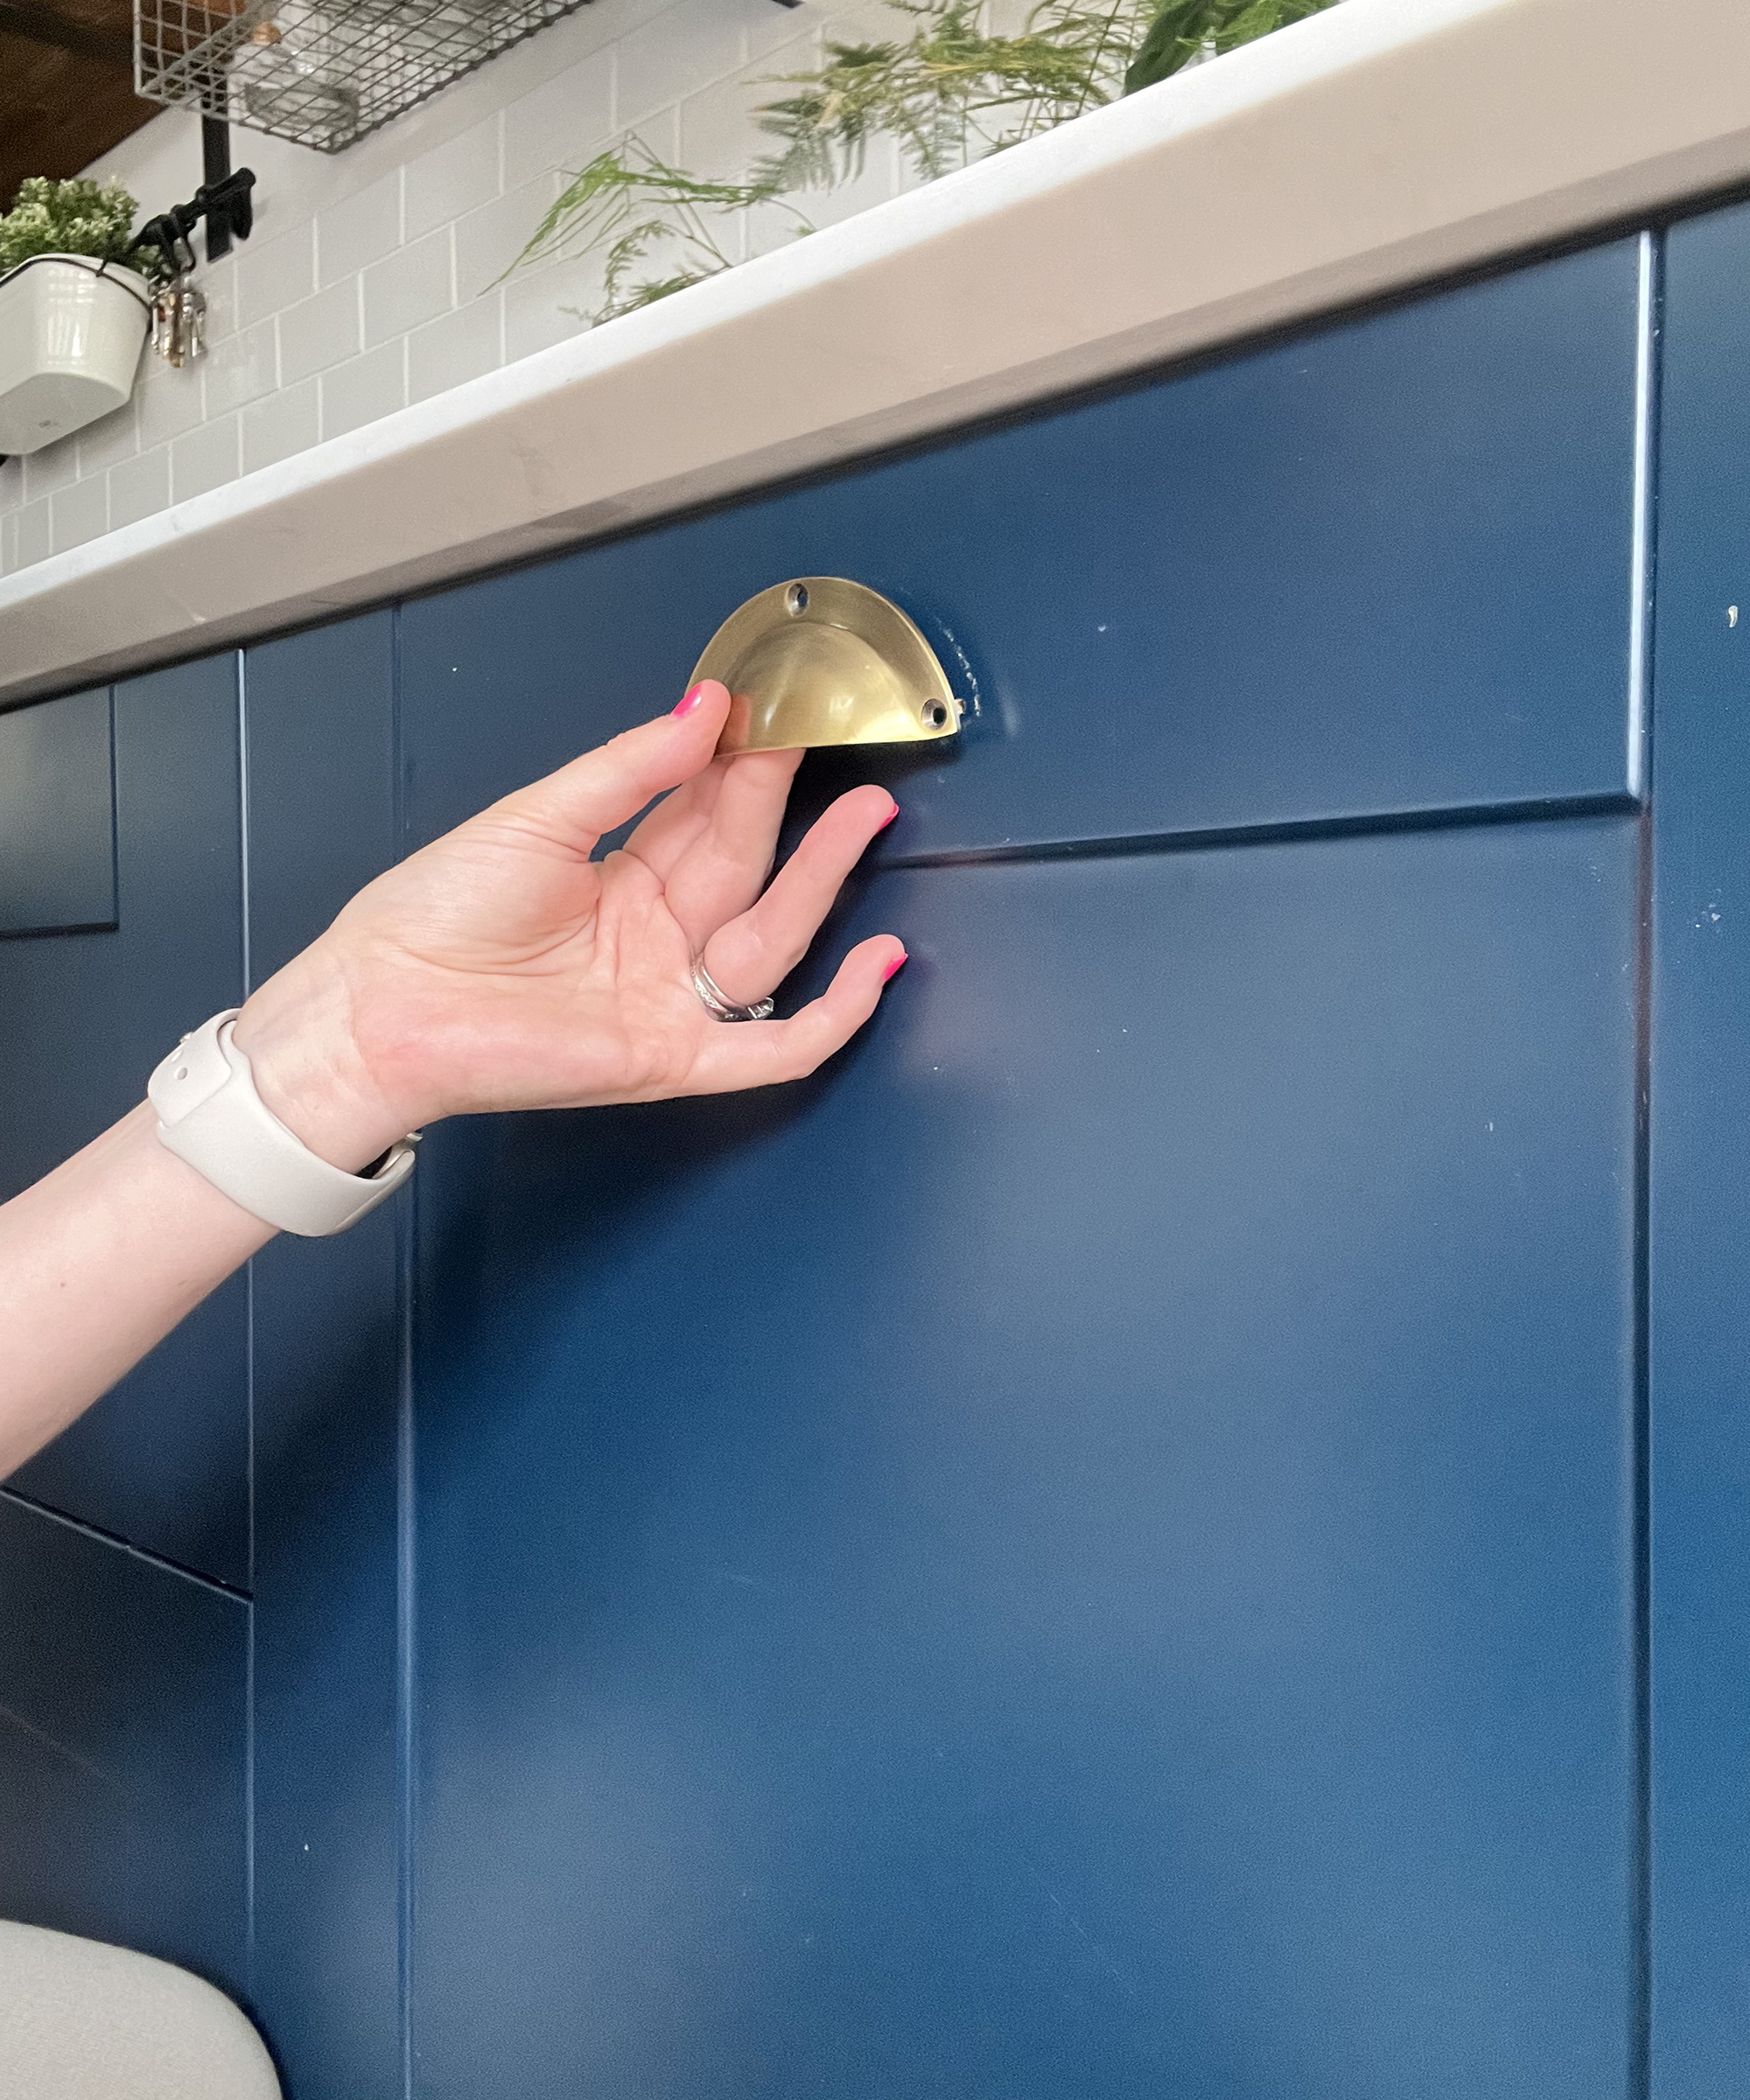
Check your guide holes before you start to drill. To do this, take the handle and place it in the desired position over the marks that you have made, checking that you are happy with the position and that each mark corresponds with a screw hole.
4. It's time to drill
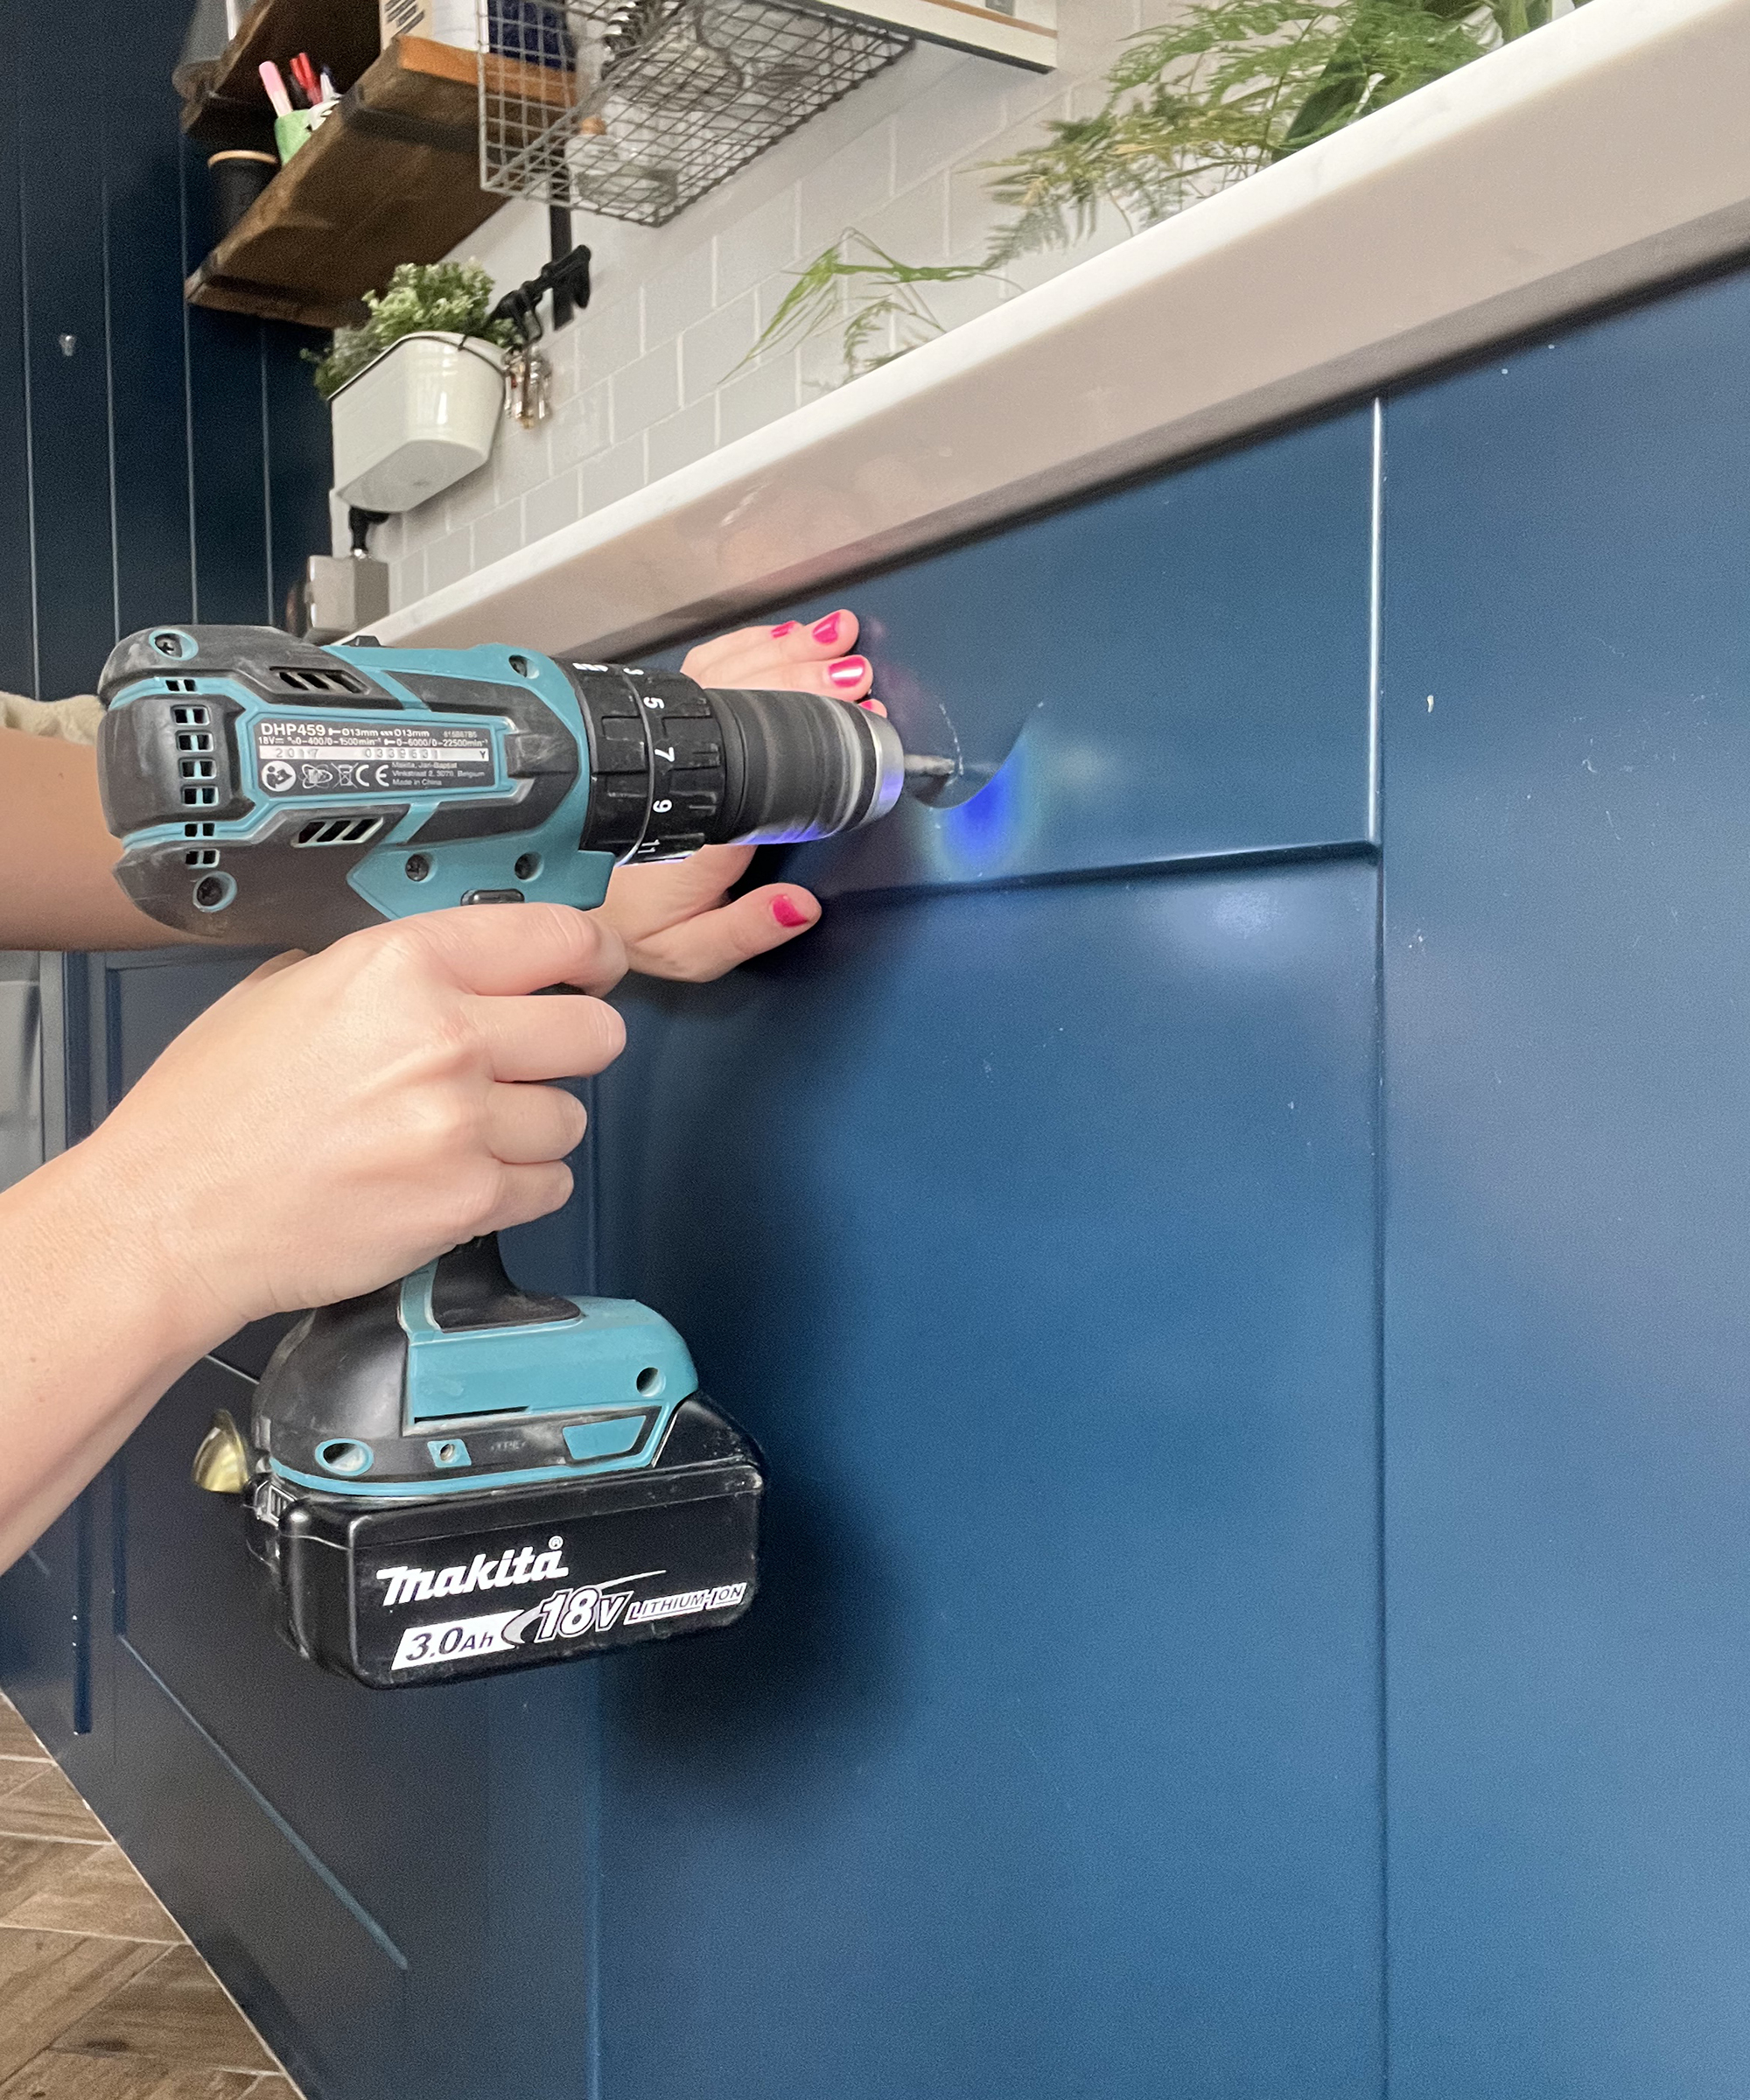
Before you start to drill, make sure that the door is protected (for example with masking tape or protective film) to minimize any damage. Make a starter hole with your drill to give your drill something to grip on to and prevent it from slipping. You can do this either with an awl (a pointed tool for making marks before you drill) like this one from General Toolsor use a smaller drill bit.
- To use an awl, place the awl on top of the mark where you want to drill and press down very firmly so that it makes a dent in the wood
- To make a starter hole using a smaller drill bit, choose a drill bit that is smaller than the screw supplied, line up your drill to the pencil mark slowly drill. Make sure you keep your hand as level and steady as possible
Once you have your starter hole, drill your screw hole. To do this, use a drill bit the same size or just slightly bigger than your screw (don’t go much bigger as the screw will then be too loose and the handle will move). Usually, a 5-millimeter drill bit will work but check the bit against the screw to ensure they are the same approximate size. Take it slow to avoid any damage and keep your hand level.
5. Screw in your handles
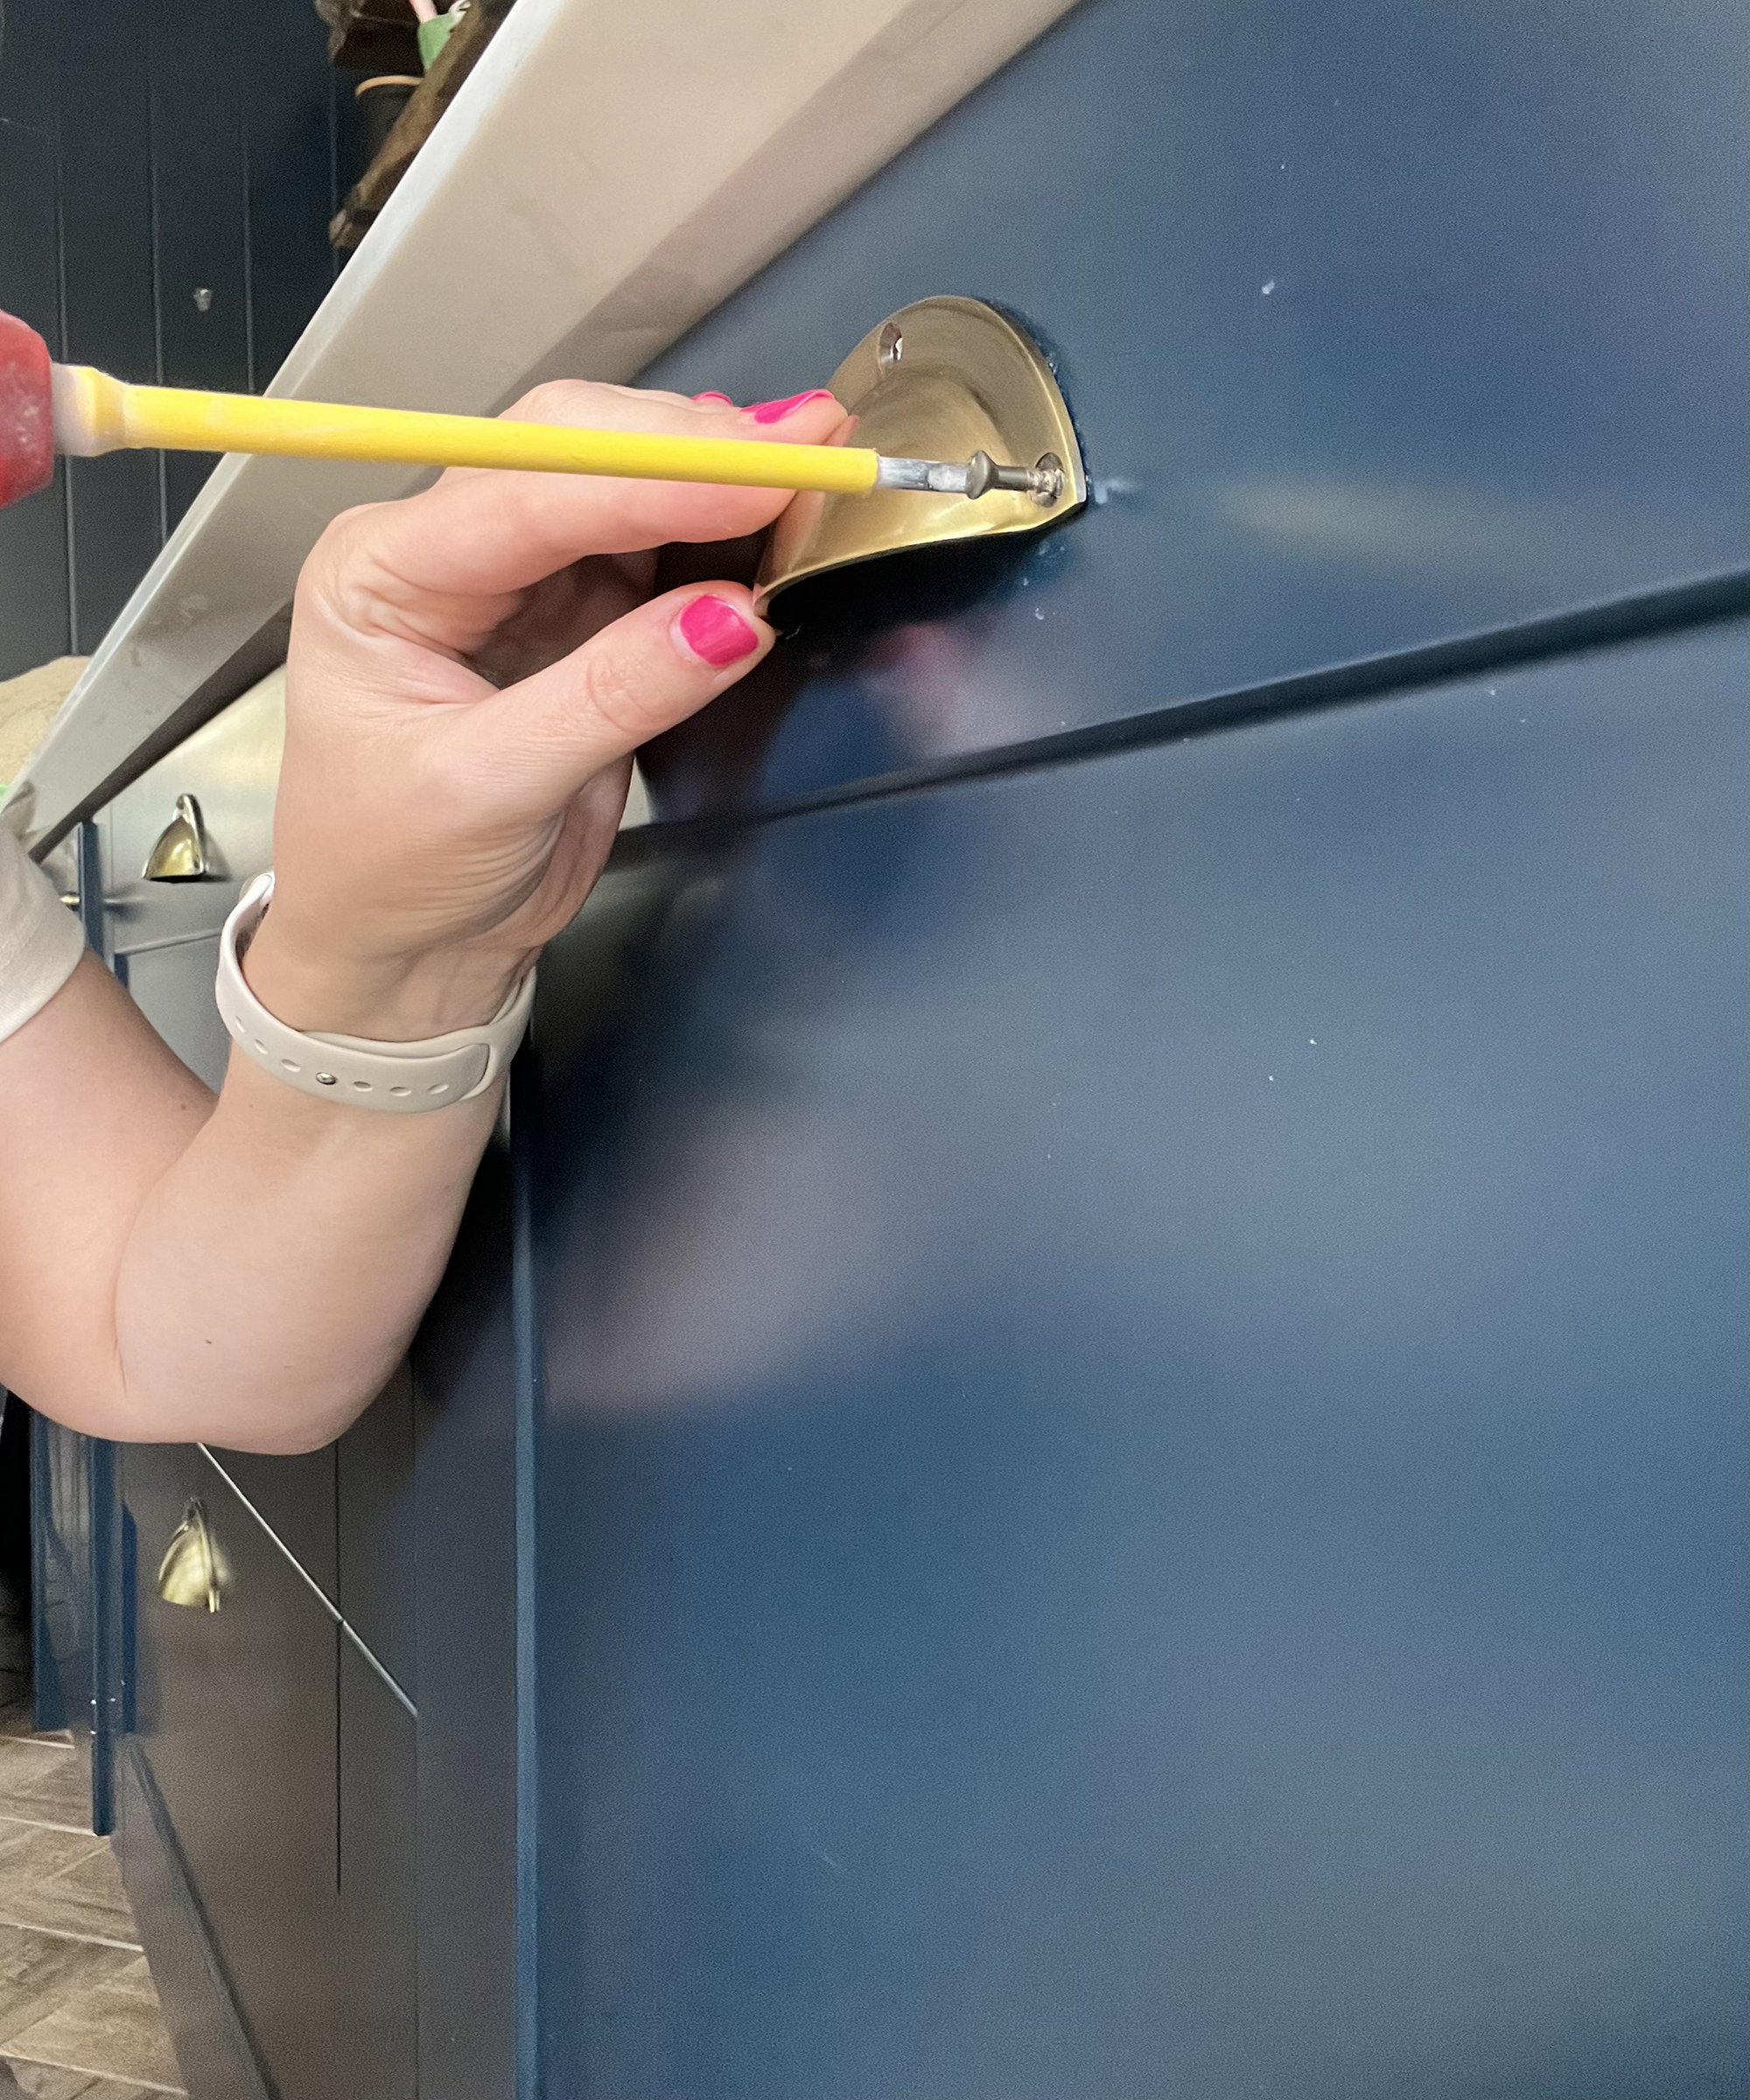
Now you have your holes it’s time to screw in the handles. This should be pretty simple:
For pull handles, you will follow steps two and three but ordinarily, pull handles are screwed on from the inside. If this is the case then pop the screw into the hole from the inside of the door and place the handle on top of it, then follow steps two and three.
If your screws are too long then you can trim them to size. Measure the amount they need to be trimmed by (this is essentially the gap between the door front and the handle when screwed in), mark this using masking tape, and then either cut off the unwanted bit with a hacksaw or bend back and forth with pliers. Be sure to trim on a non-threaded area (i.e. a smooth part).
Pro tips
1. You could always make or buy a jig (or template) like this one from Ravinte but unless you are installing lots of handles it probably isn't necessary.
2. If you need to cover up any holes on the cabinets, for example if you are changing handles from a two-screw pull handle to a knob then you can do this with backplates like these from Naubea. If you don’t want to use backplates then you can always try to fill the holes with putty like this one from the Color Putty Company. If you are painting kitchen cabinets then you can use any type of putty, fill the hole and sand it off to ensure it is smooth before priming and painting. If, however, you are just replacing the handles then this can be a little tough. You will need to find some putty to match which is much trickier with non-wood kitchens.
Rectangular or square knobs can twist over time, as well as screwing them down you can also add a drop of super glue like Gorilla glue to the back of the knob before you install them. Remember to be quick because it will dry in no time!

I’m a DIY and renovation expert from a family of renovators; it's in my blood! Renovation is my passion and I love sharing my knowledge, either through my Instagram renovation tips or my renovation course. I love seeing how it helps others build the confidence to create their dream home without it costing the earth!