How to clean a self-cleaning oven — 6 simple steps to get it squeaky clean
Everything you need to know about how to clean a self-cleaning oven including prep and round-up tasks


Get small space home decor ideas, celeb inspiration, DIY tips and more, straight to your inbox!
You are now subscribed
Your newsletter sign-up was successful
It’s easy to assume that knowing how to clean a self-cleaning oven should be simple. After all, all you need to do is press a button and you’re good to go, right? But actually, the process of cleaning a self-cleaning oven can be a little trickier than you might assume.
That’s why it’s important to know exactly how to approach the task at hand, so you’re able to keep your self-cleaning oven spick and span, without damaging it.
To learn how to clean an oven that self-cleans, we picked the minds of a range of cleaning experts for their top tips.
How to clean a self-cleaning oven
There are lots of oven cleaning hacks that may be helpful here, but the most important thing is knowing how to use the self-cleaning process with causing damage to your oven.
Leslie Kilgour, professional organizer and home hack expert, says, "Having a self-cleaning oven is helpful, but you still do need to make sure it's cleaned in order to work properly. When I teach people how to clean their kitchen, ensuring they know some simple steps to clean a self-cleaning oven is crucial for keeping the appliance working well and lasting a long time."
1. Ventilate the space

Before you start the cleaning process, adequately air your kitchen. Leslie explains, "Open windows or turn on the exhaust fan to allow fresh air to circulate during the process. The high temperatures involved in self-cleaning can produce some smoke and odor as residues burn off. Adequate ventilation helps minimize any discomfort and ensures a more pleasant cleaning experience."
Alternatively, you could opt to add an air one of the best air purifiers (like this Levoit air purifier from Amazon that has 77,000 five-star reviews and comes highly rated by shoppers) to your kitchen to help clean the air more quickly.
Get small space home decor ideas, celeb inspiration, DIY tips and more, straight to your inbox!
2. Empty the oven
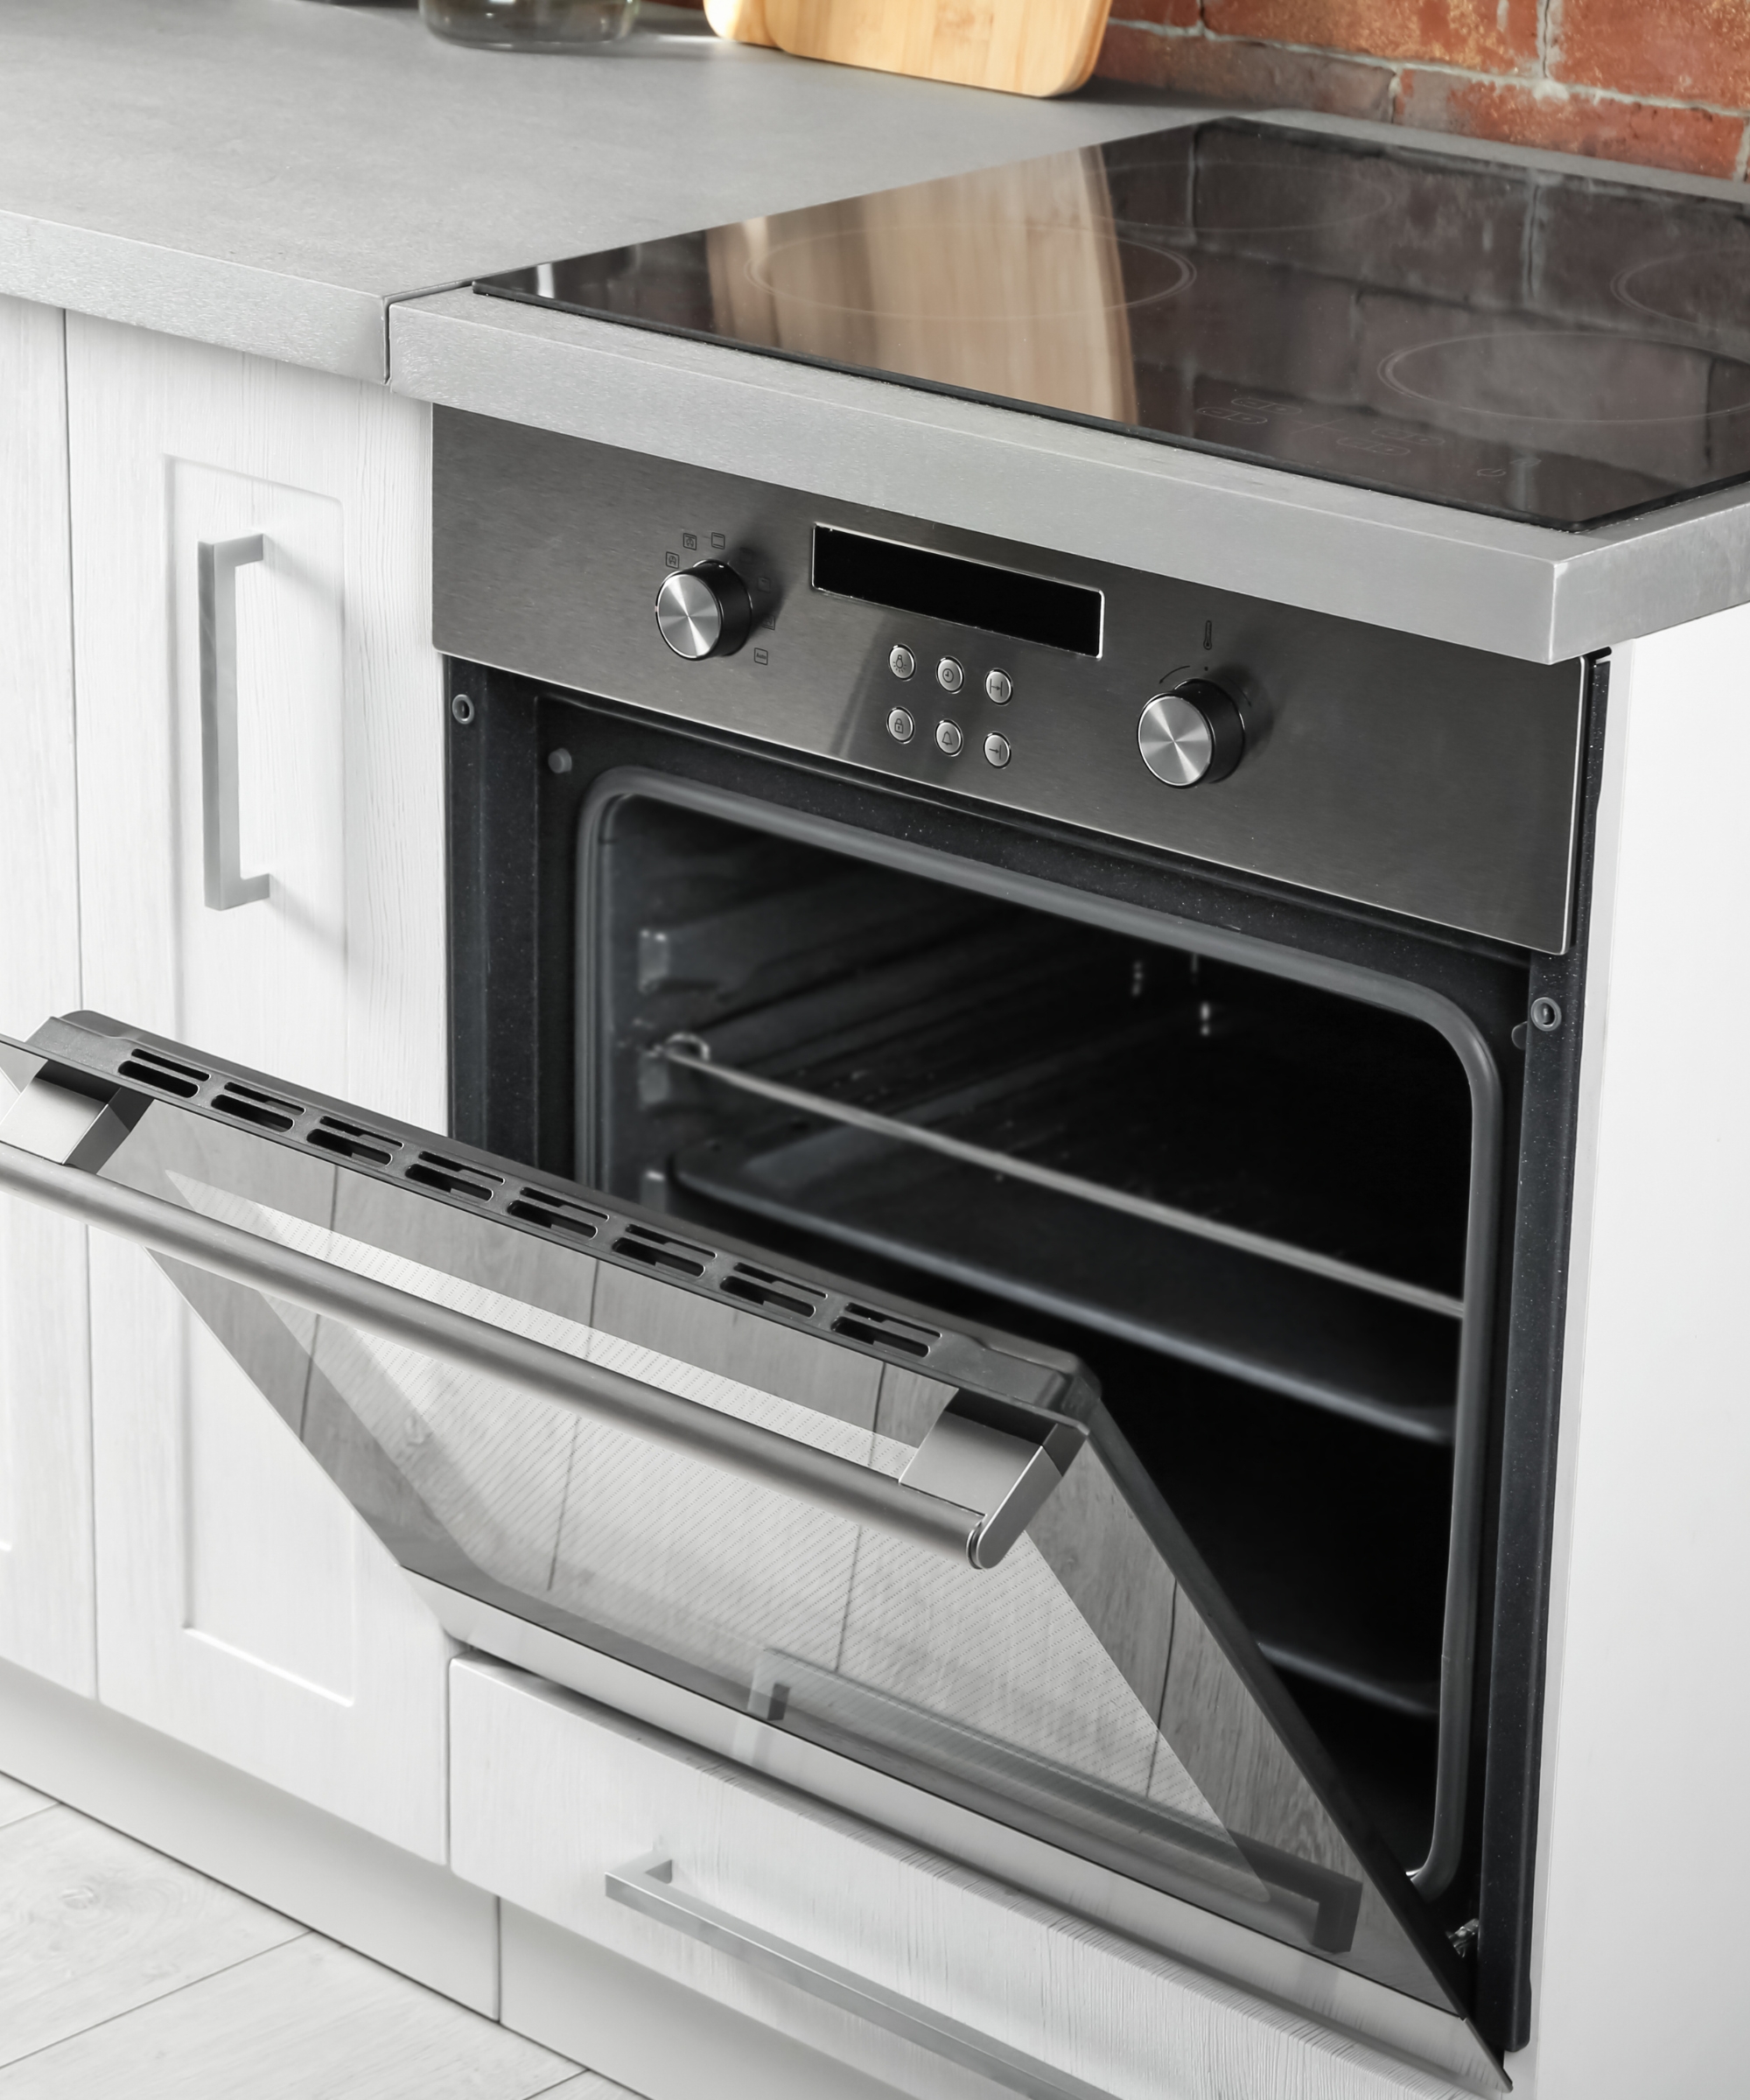
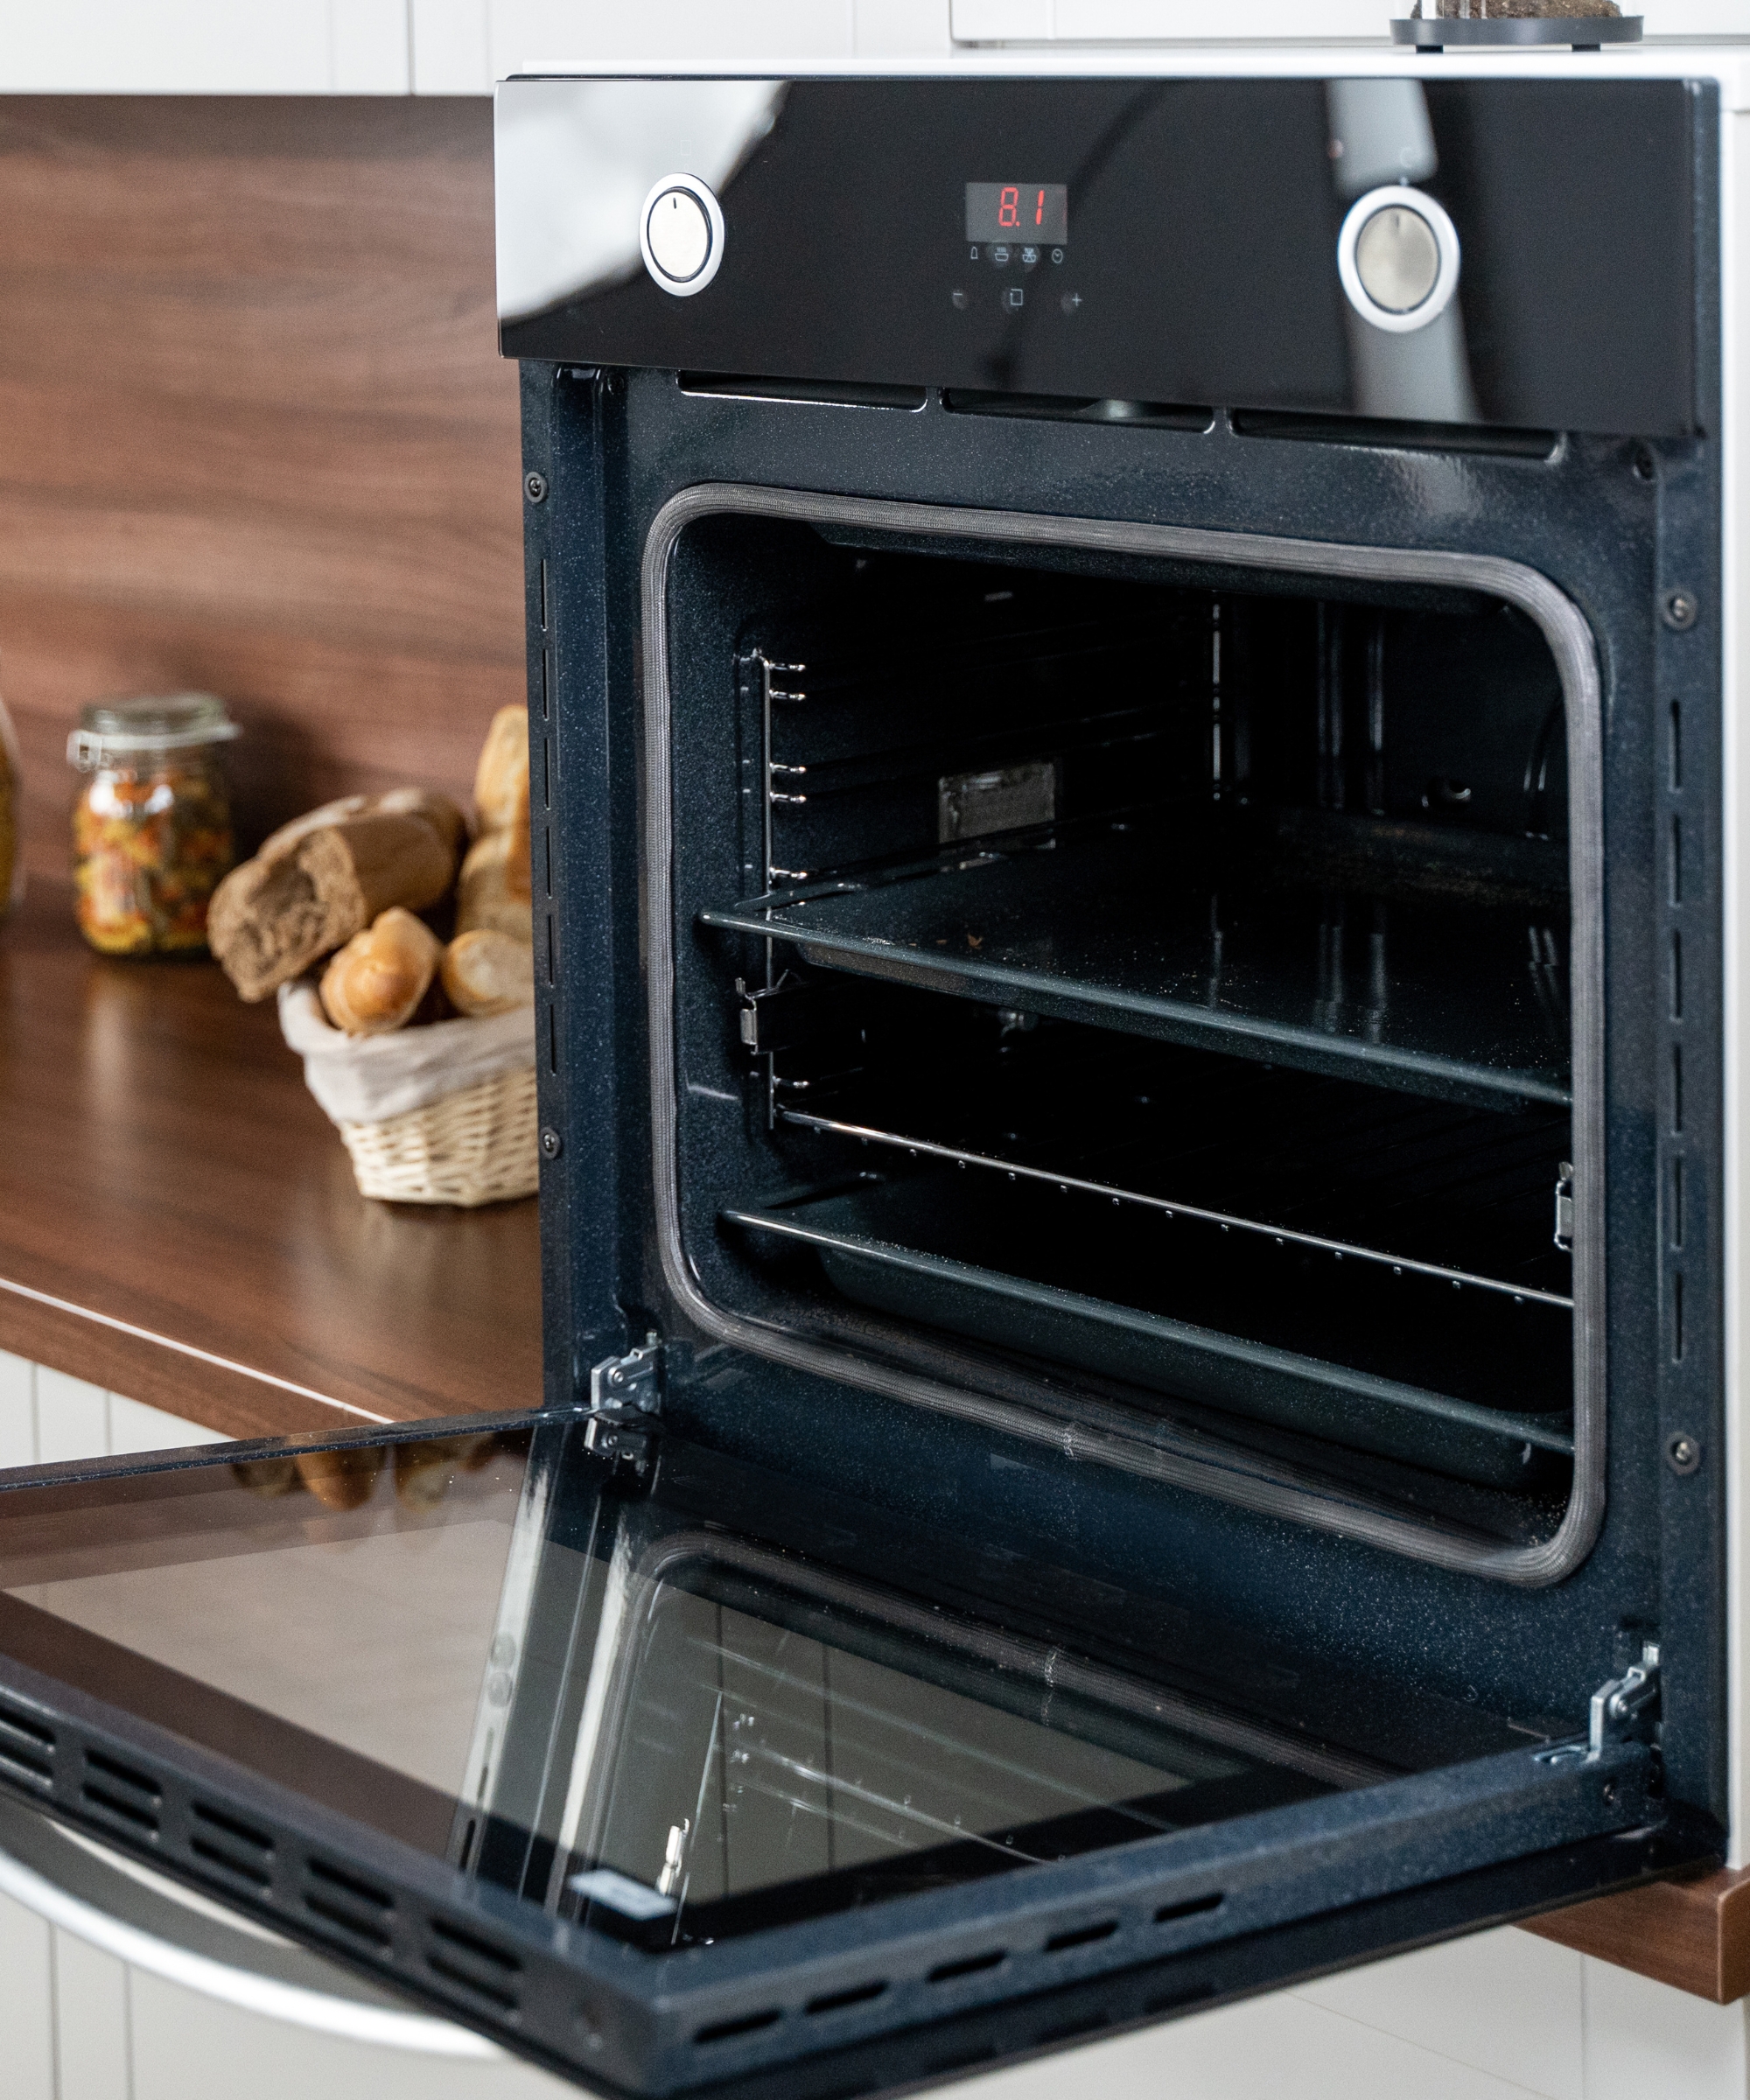
The next step is to remove any loose items from within your oven. Think oven racks, broiler pans, and any other cookware or items that can be removed. Otherwise, they may get damaged during the cleaning process.
"Before starting the self-cleaning cycle, remove oven racks and any other accessories that are not designed to withstand the high temperatures of the self-cleaning process," Leslie says.
"Clean these separately using appropriate methods, such as soaking in warm, soapy water. Taking the time to address these components individually ensures your oven's interior is the primary focus during the self-cleaning cycle, resulting in a more thorough clean.
3. Wipe out the oven

Leslie advises removing any loose debris or food particles from the oven interior before beginning the deep clean.
She says, "Make sure to wipe down visible spills with a damp cloth (like one of these microfiber cloths from Amazon) or sponge. This will make for a more effective and efficient cleaning cycle, allowing the self-cleaning function to focus on tougher, baked-on grime."
This step will also reduce how much smoke is created during the cleaning cycle. Don't forget to clean the edge of the door and the cavity around the oven frame, removing as much of the debris as possible.
It's worth giving the oven door a clean and removing as much residue off of the oven window as possible, including taking the time to clean between oven glass; soil left on the glass prior to self-cleaning may leave dark streaks or stains that will require additional cleaning effort. We like this fume-free oven cleaning solution.
For easier and less messy cleaning, opt to try one of these glass cleaning tools from Amazon.
4. Clean the oven window
It’s also worth taking the time to clean the oven window, removing as much residue as possible.
If the oven window is really dirty, it might be worth pre-treating it with an oven cleaning solution (like this easy-to-use oven cleaning spray from Amazon with over 9000 five-star reviews from shoppers). Otherwise, the glass of the oven door may be left with streaks.
5. Run the cleaning cycle

Once you’ve cleared your oven out and prepped the surrounding areas, the next step is to start the self-cleaning process. If it’s your first time running it, give the manufacturer’s cleaning instructions another read to set the process up properly.
Most self-cleaning ovens won’t work unless the door is closed and locked, but it does differ from model to model. To start, there's usually a button with ‘clean’ written on it. Press it and select a setting or cycle time.
"I like to suggest to people to plan the self-cleaning cycle for a time when you can monitor the process without distractions. These cycles typically last several hours, and it's crucial to be present in case any unexpected issues arise. Avoid initiating the self-clean feature right before a meal or when you need to leave the house to prevent any inconvenience," Leslie recommends.
6. Wipe the oven out
Once the self-cleaning cycle has come to an end, it’s best to leave the oven to cool for an hour before wiping any ash or remaining debris from the bottom of the oven. Most self-cleaning ovens feature an easy-to-clean enamel surface making this step a cinch.
However, if for any reason your oven requires scrubbing at this stage, it’s best to use a gentle abrasive sponge (like these Mr Siga sponges from Amazon) and mild dish soap (like this Dawn dish soap from Amazon) or one cup of white vinegar (we recommend this Heinz white vinegar from Amazon) mixed with three parts tepid water.
FAQs
What shouldn’t you do when cleaning a self-cleaning oven?
It's not advisable to use commercial chemical cleaners that could cause damage to the protective enamel coating inside the oven. It’s also important to make sure that oven vents remain consistently open as air needs to be able to move easily the appliance.
How long does a self-cleaning oven take to clean?
Most self-cleaning ovens come with a range of cleaning settings, with cycles lasting from 30 minutes to upwards of three hours. You can select which cycle is needed depending on how dirty your oven is and how long you think it will take to properly clean it.
How often should I clean my self-cleaning oven?
Self-cleaning oven cycles are designed to target heavier oven grime and grease. However, it’s important to use the self-cleaning feature before your oven becomes too heavily soiled, otherwise the cleaning process may result in excessive smoke.
Knowing how to clean a self-cleaning oven can be a more challenging task than you might think. Understanding how to prepare for the self-cleaning process and what steps you need to take to will result in your oven finishing up sparkling clean and fresh.
If you’ve noticed your stove top is looking a little grimy, we’ve got you covered with the best ways to clean a glass stove top.

Hi! I’m Beth Mahoney and I’m a former staff writer at Real Homes. I’ve been a journalist for the national press for the past six years, specializing in commerce and trends-related lifestyle articles, from product reviews and listicles to guides and features. With an eye for pretty things (think: quirky wall prints, scalloped edge furniture, and decadent-looking tableware) but a limited budget, I love nothing more than a bargain buy.
