Embrace the best parts of fall with a DIY sweater pumpkin
This adorable DIY sweater pumpkin can be made in about 45 minutes with just a pumpkin, some hot glue, and your favorite fall paint color!

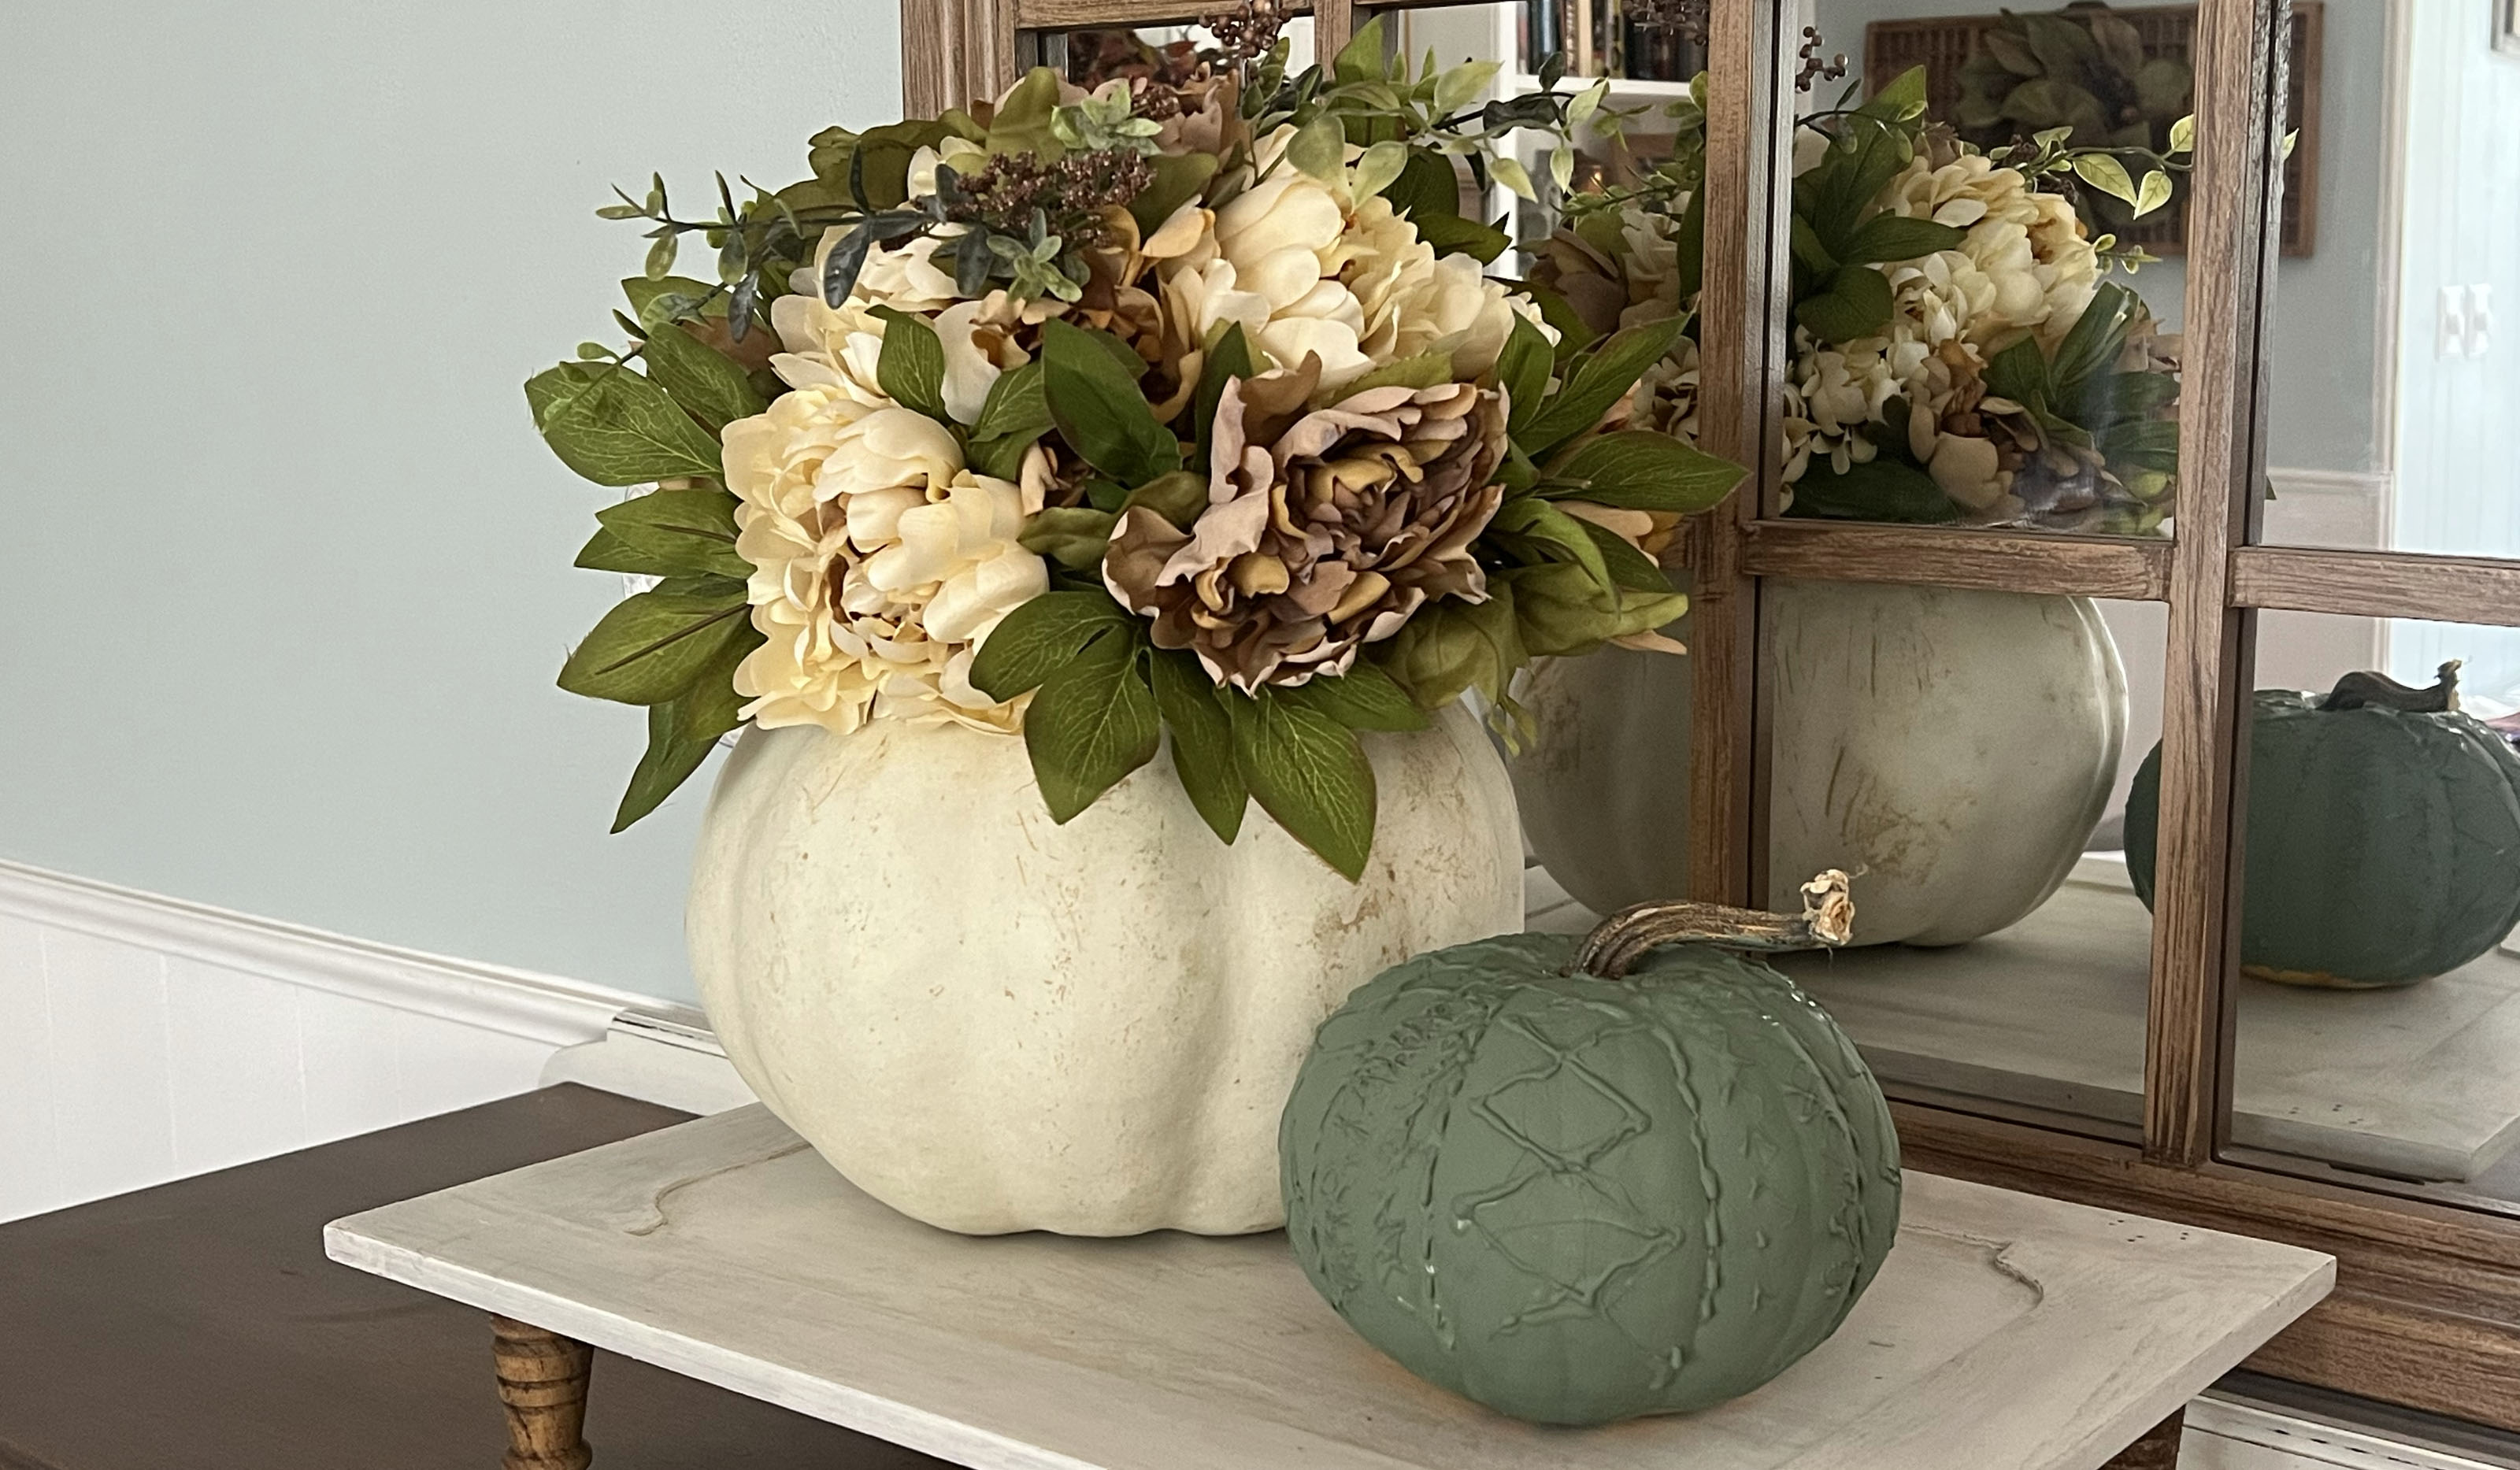
Cable knit sweaters are a staple in any autumnal wardrobe and what better way to extend that comfy feeling than incorporating it into your fall decor? This cute crafting project outfits a pumpkin with a fun cable knit pattern that fits in perfectly with the rest of your decorations while adding warmth and character!
Supplies:
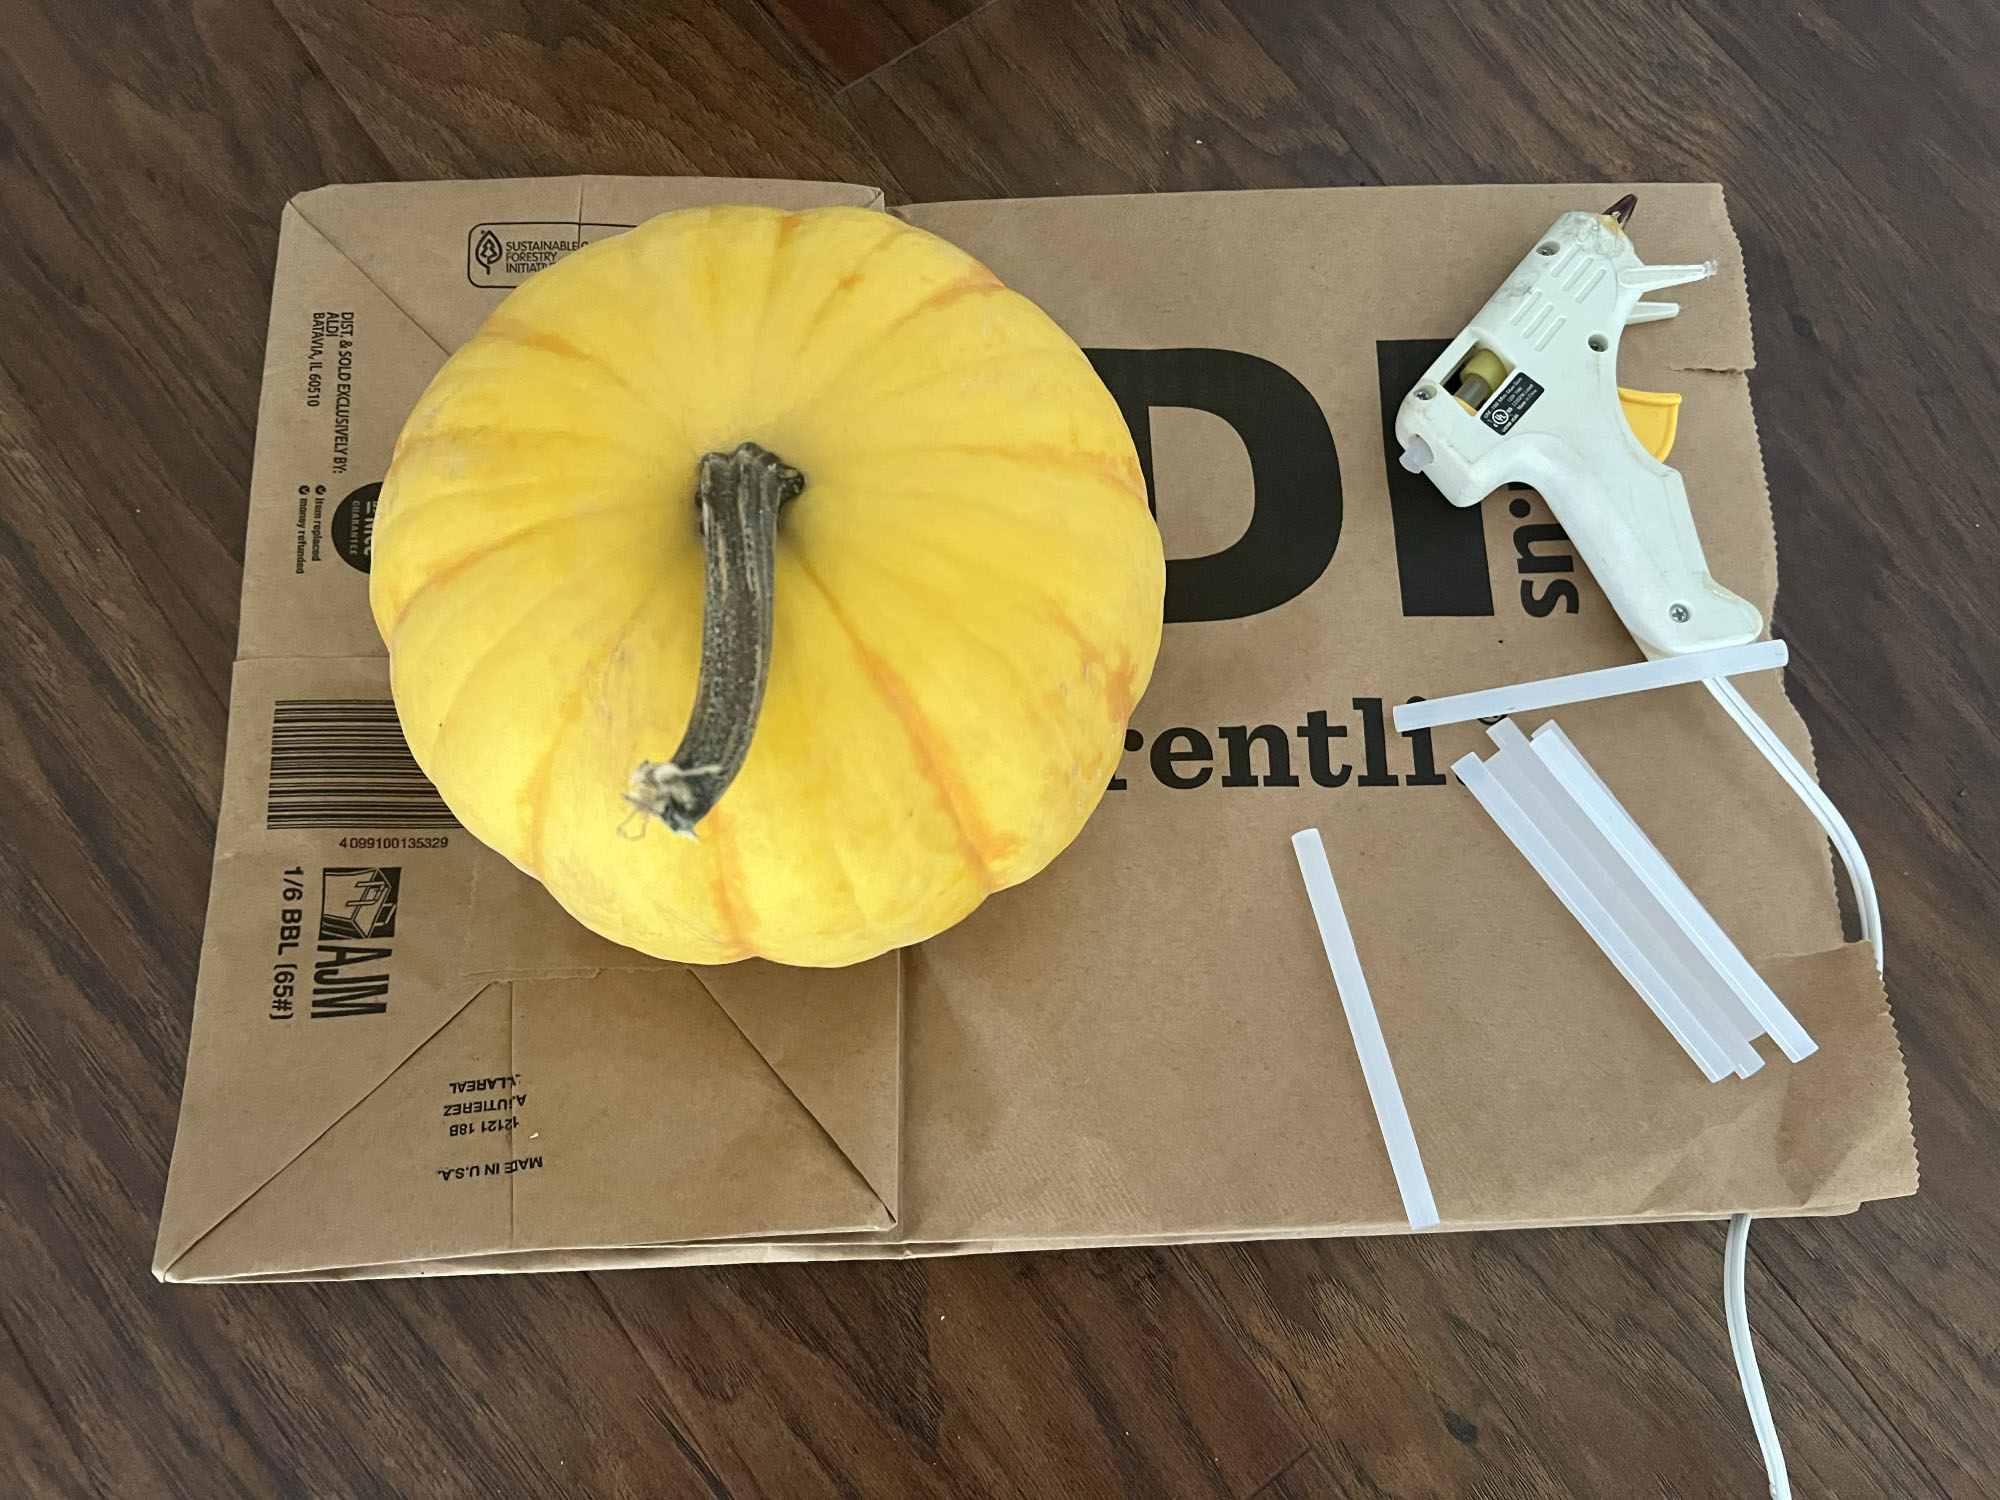
With just a few basic supplies and a little creativity, you'll be able to craft this cute gourd. Plus, it's super easy to customize so if you want to make this a little more spooky for a Halloween-esque no-carve pumpkin look, simply change up your paint color and play around with the pattern.
Here's how to craft your sweater pumpkin:
1. Clean your pumpkin
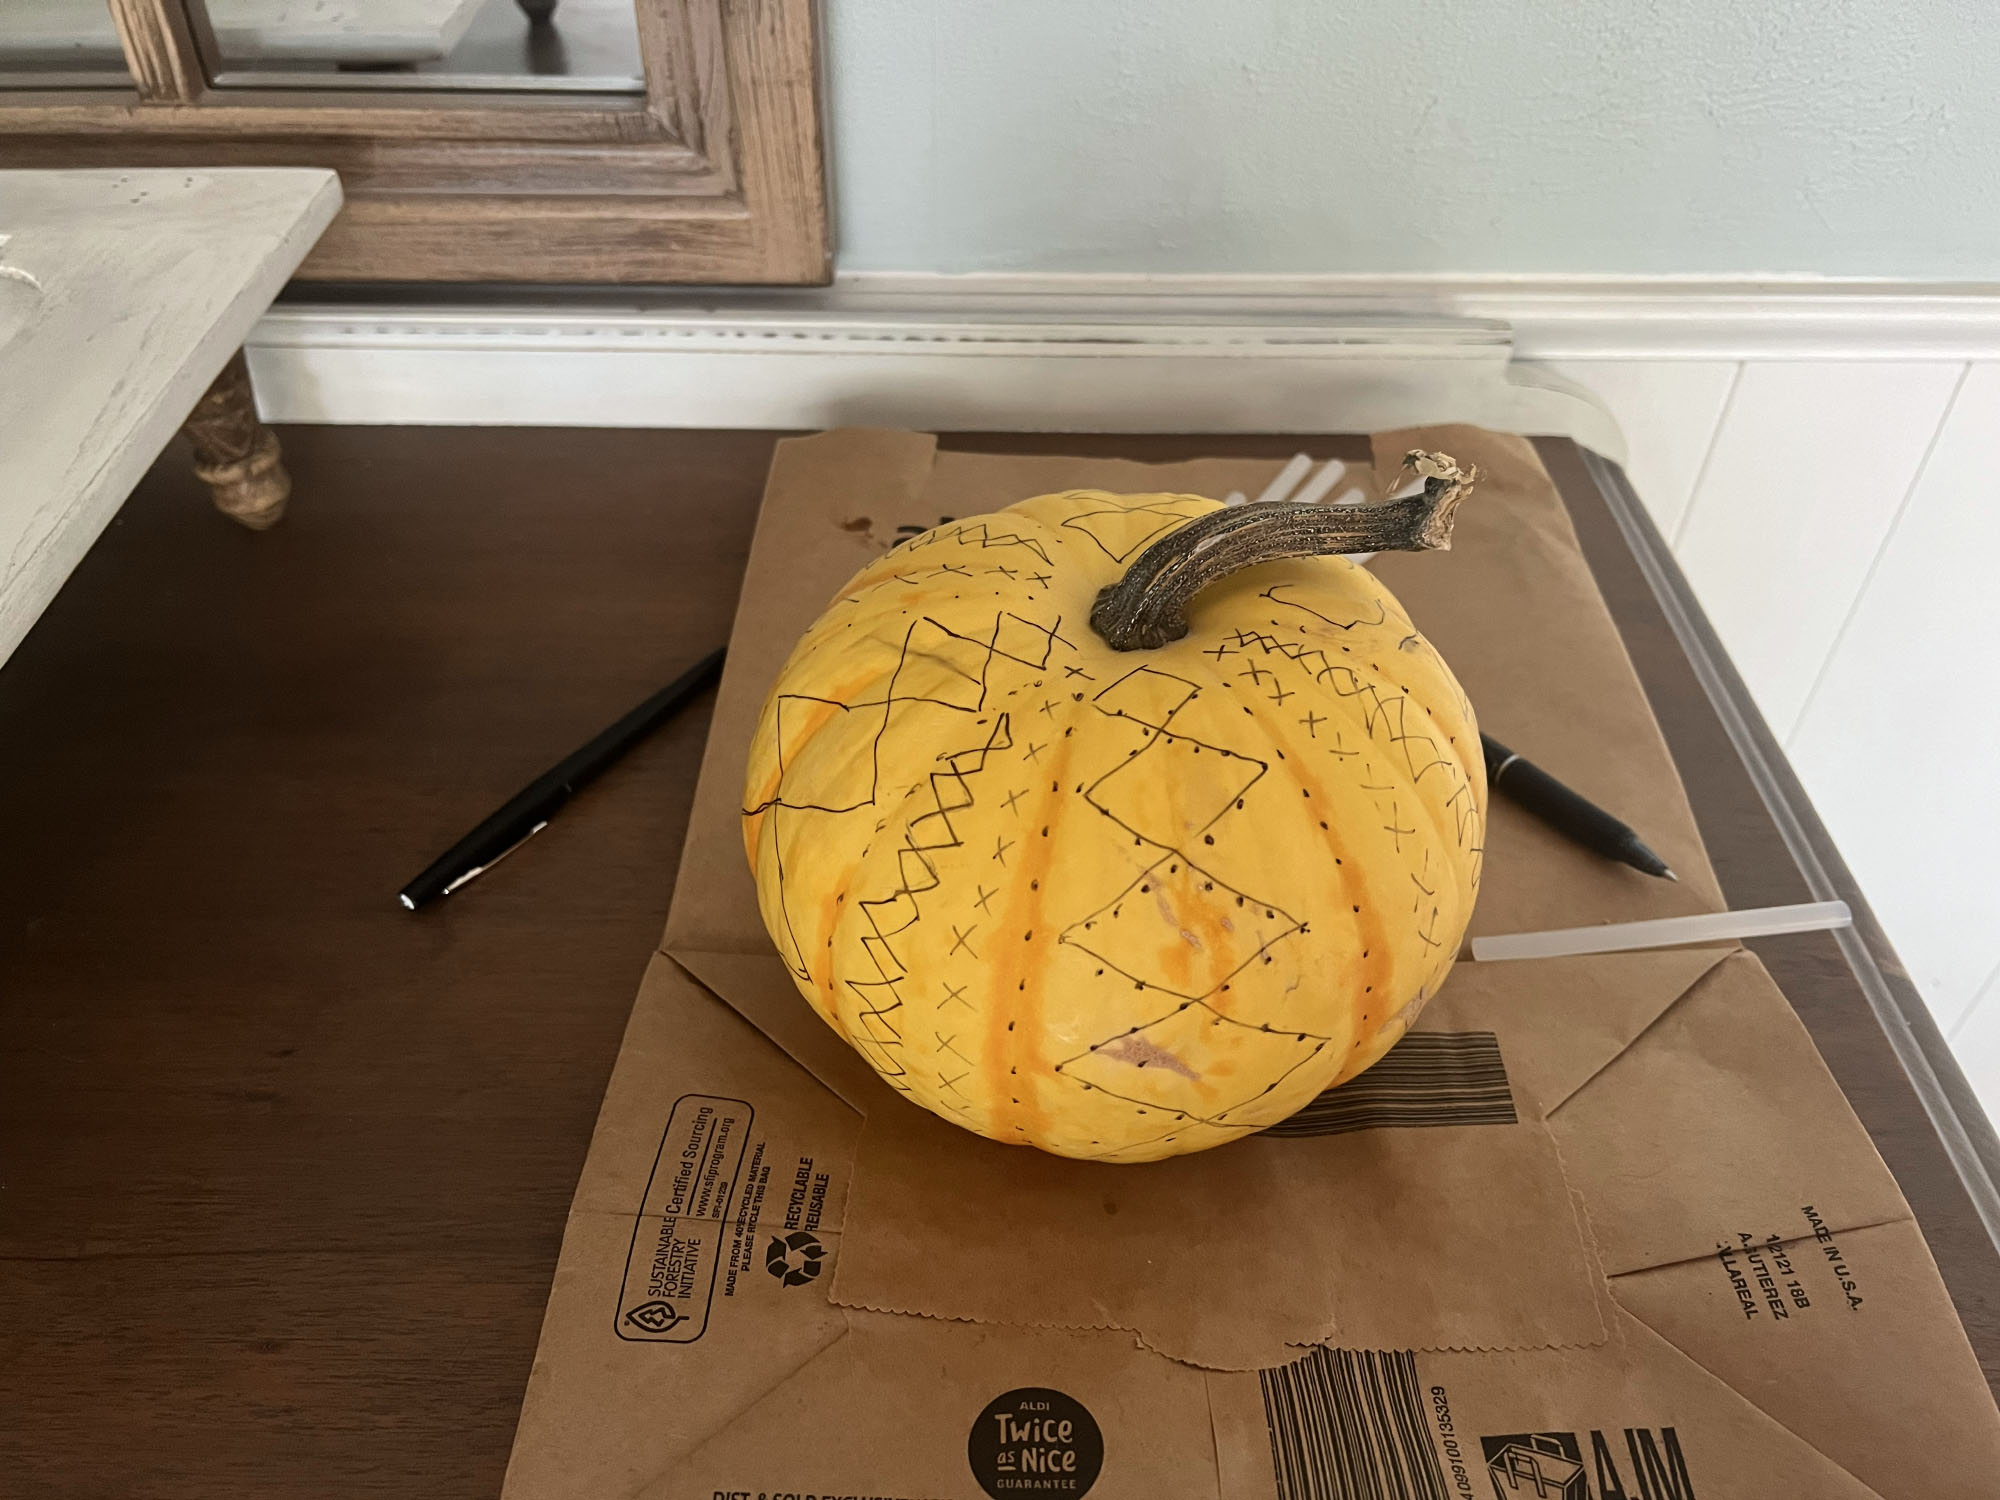
Using a damp rag, wipe your pumpkin down to remove any dirt and debris. You want to make sure you have a clean surface to work with. Turn on your glue gun so it can heat up while you prep the space. To protect the surface you're working on, lay down some plastic or paper.
2. Draw your pattern
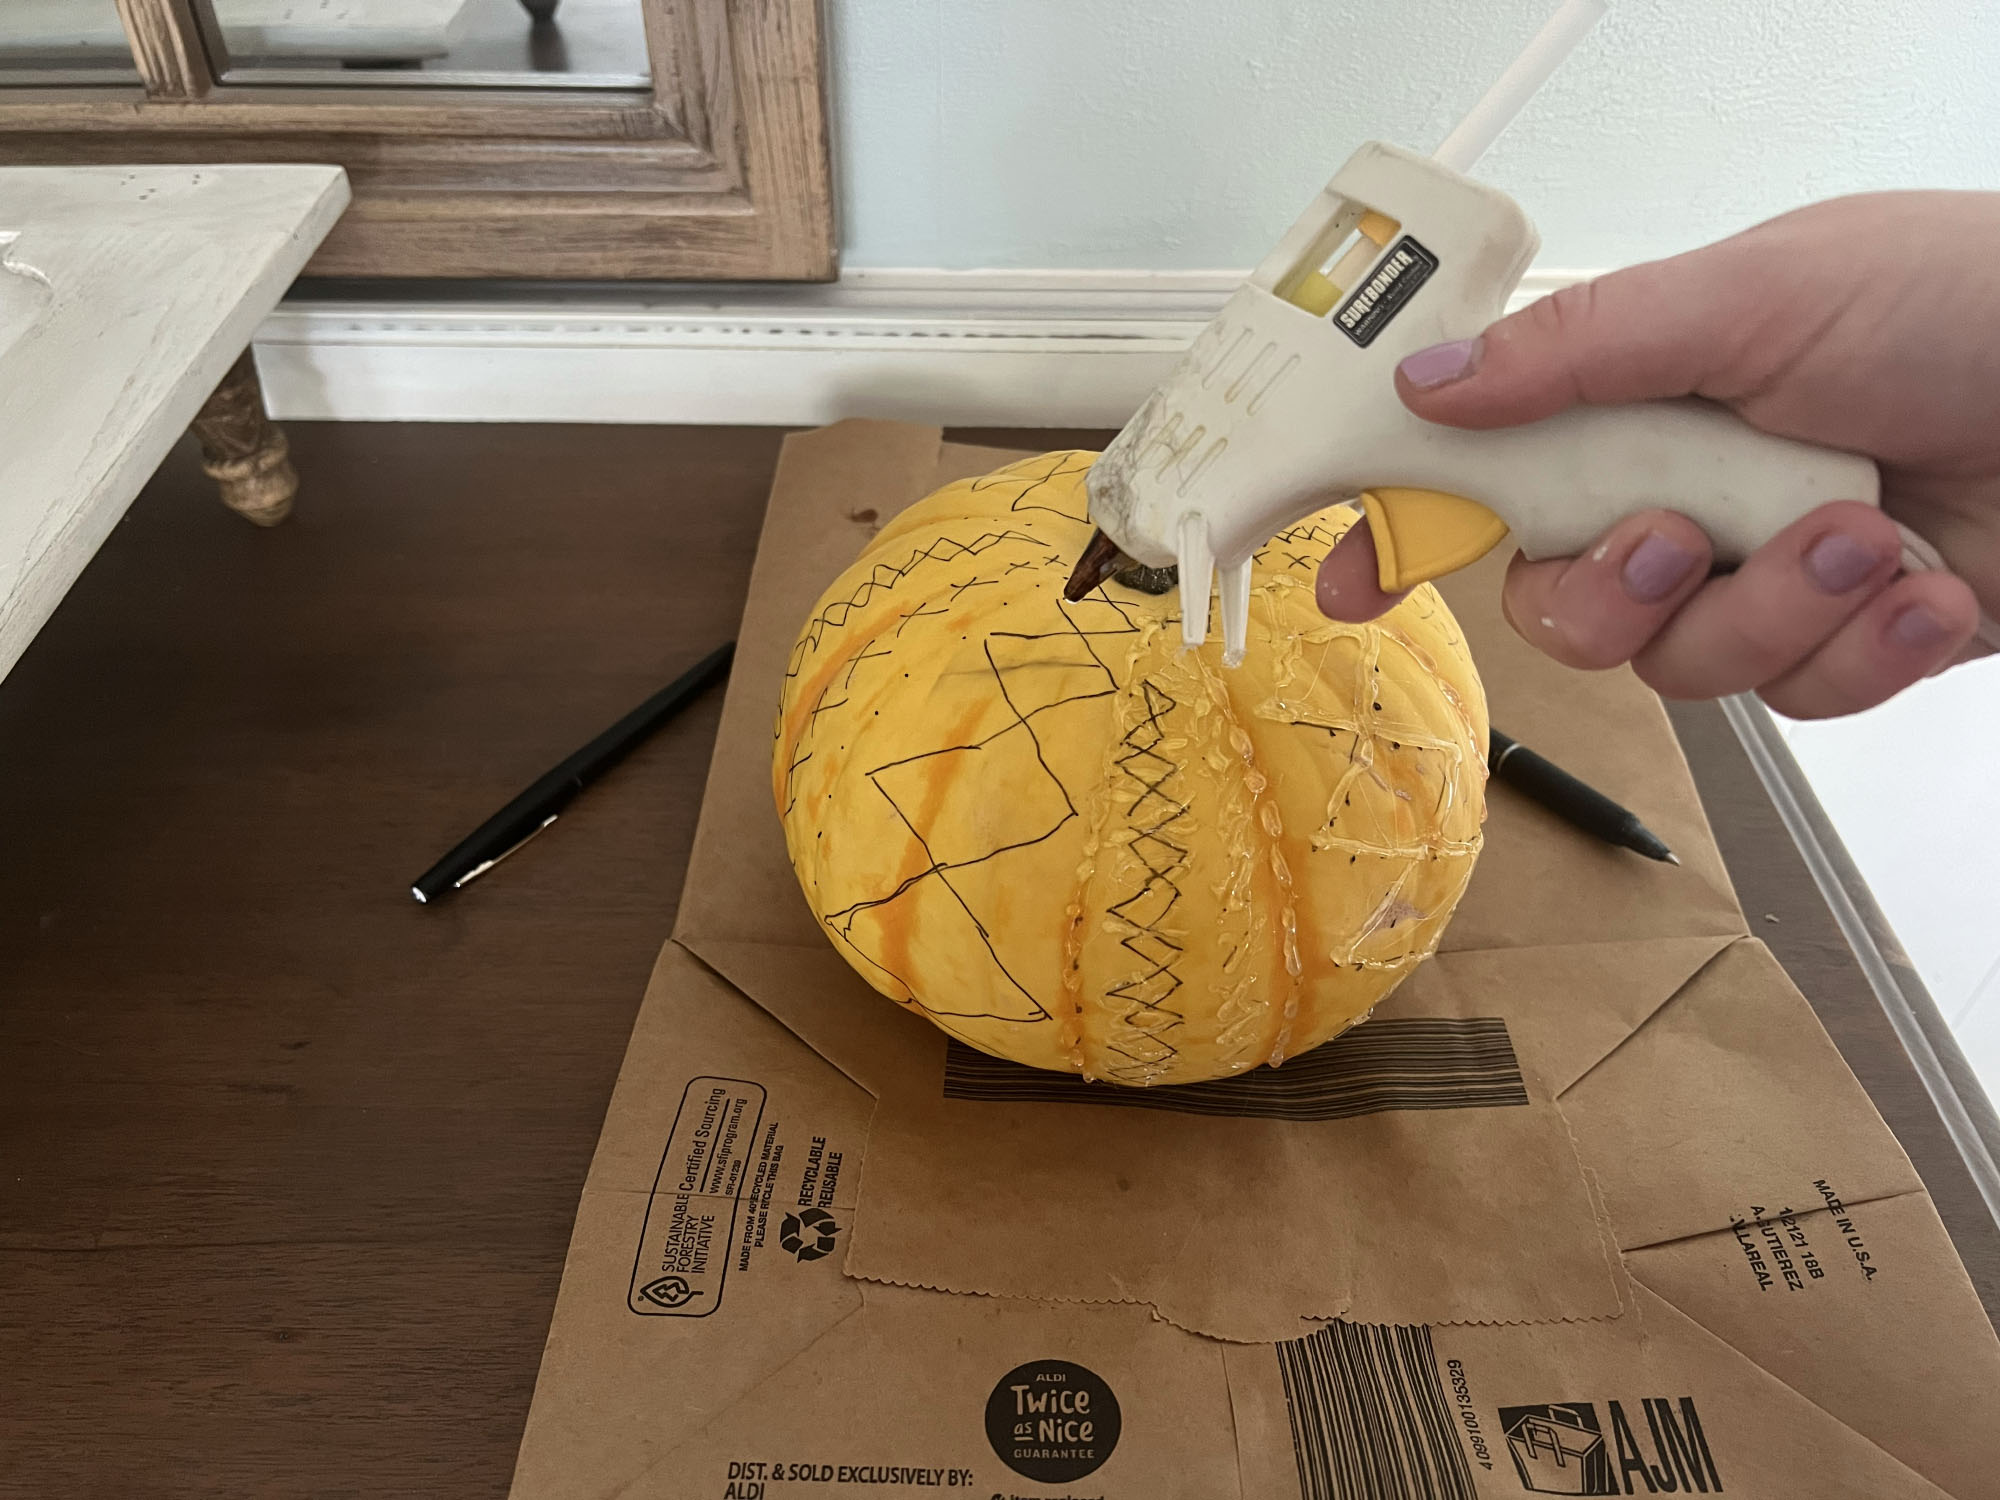
Using a pen or marker, plan out your pattern by drawing it on the pumpkin. Have a damp paper towel close by in case you mess up and want to redo any part of the pattern.
This pattern mimics a cable knit sweater so I used a picture of one to plan the pattern on my pumpkin. I started by drawing dots on either side of where I planned to place the diamond pattern. Then, I drew the diamond shape moving down the side of the pumpkin. Next, I drew a design on either side of the larger diamond pattern to mimic the smaller stitching on a cable knit sweater. Continue on in this manner until the whole pumpkin is done.
3. Trace then glue over the pattern
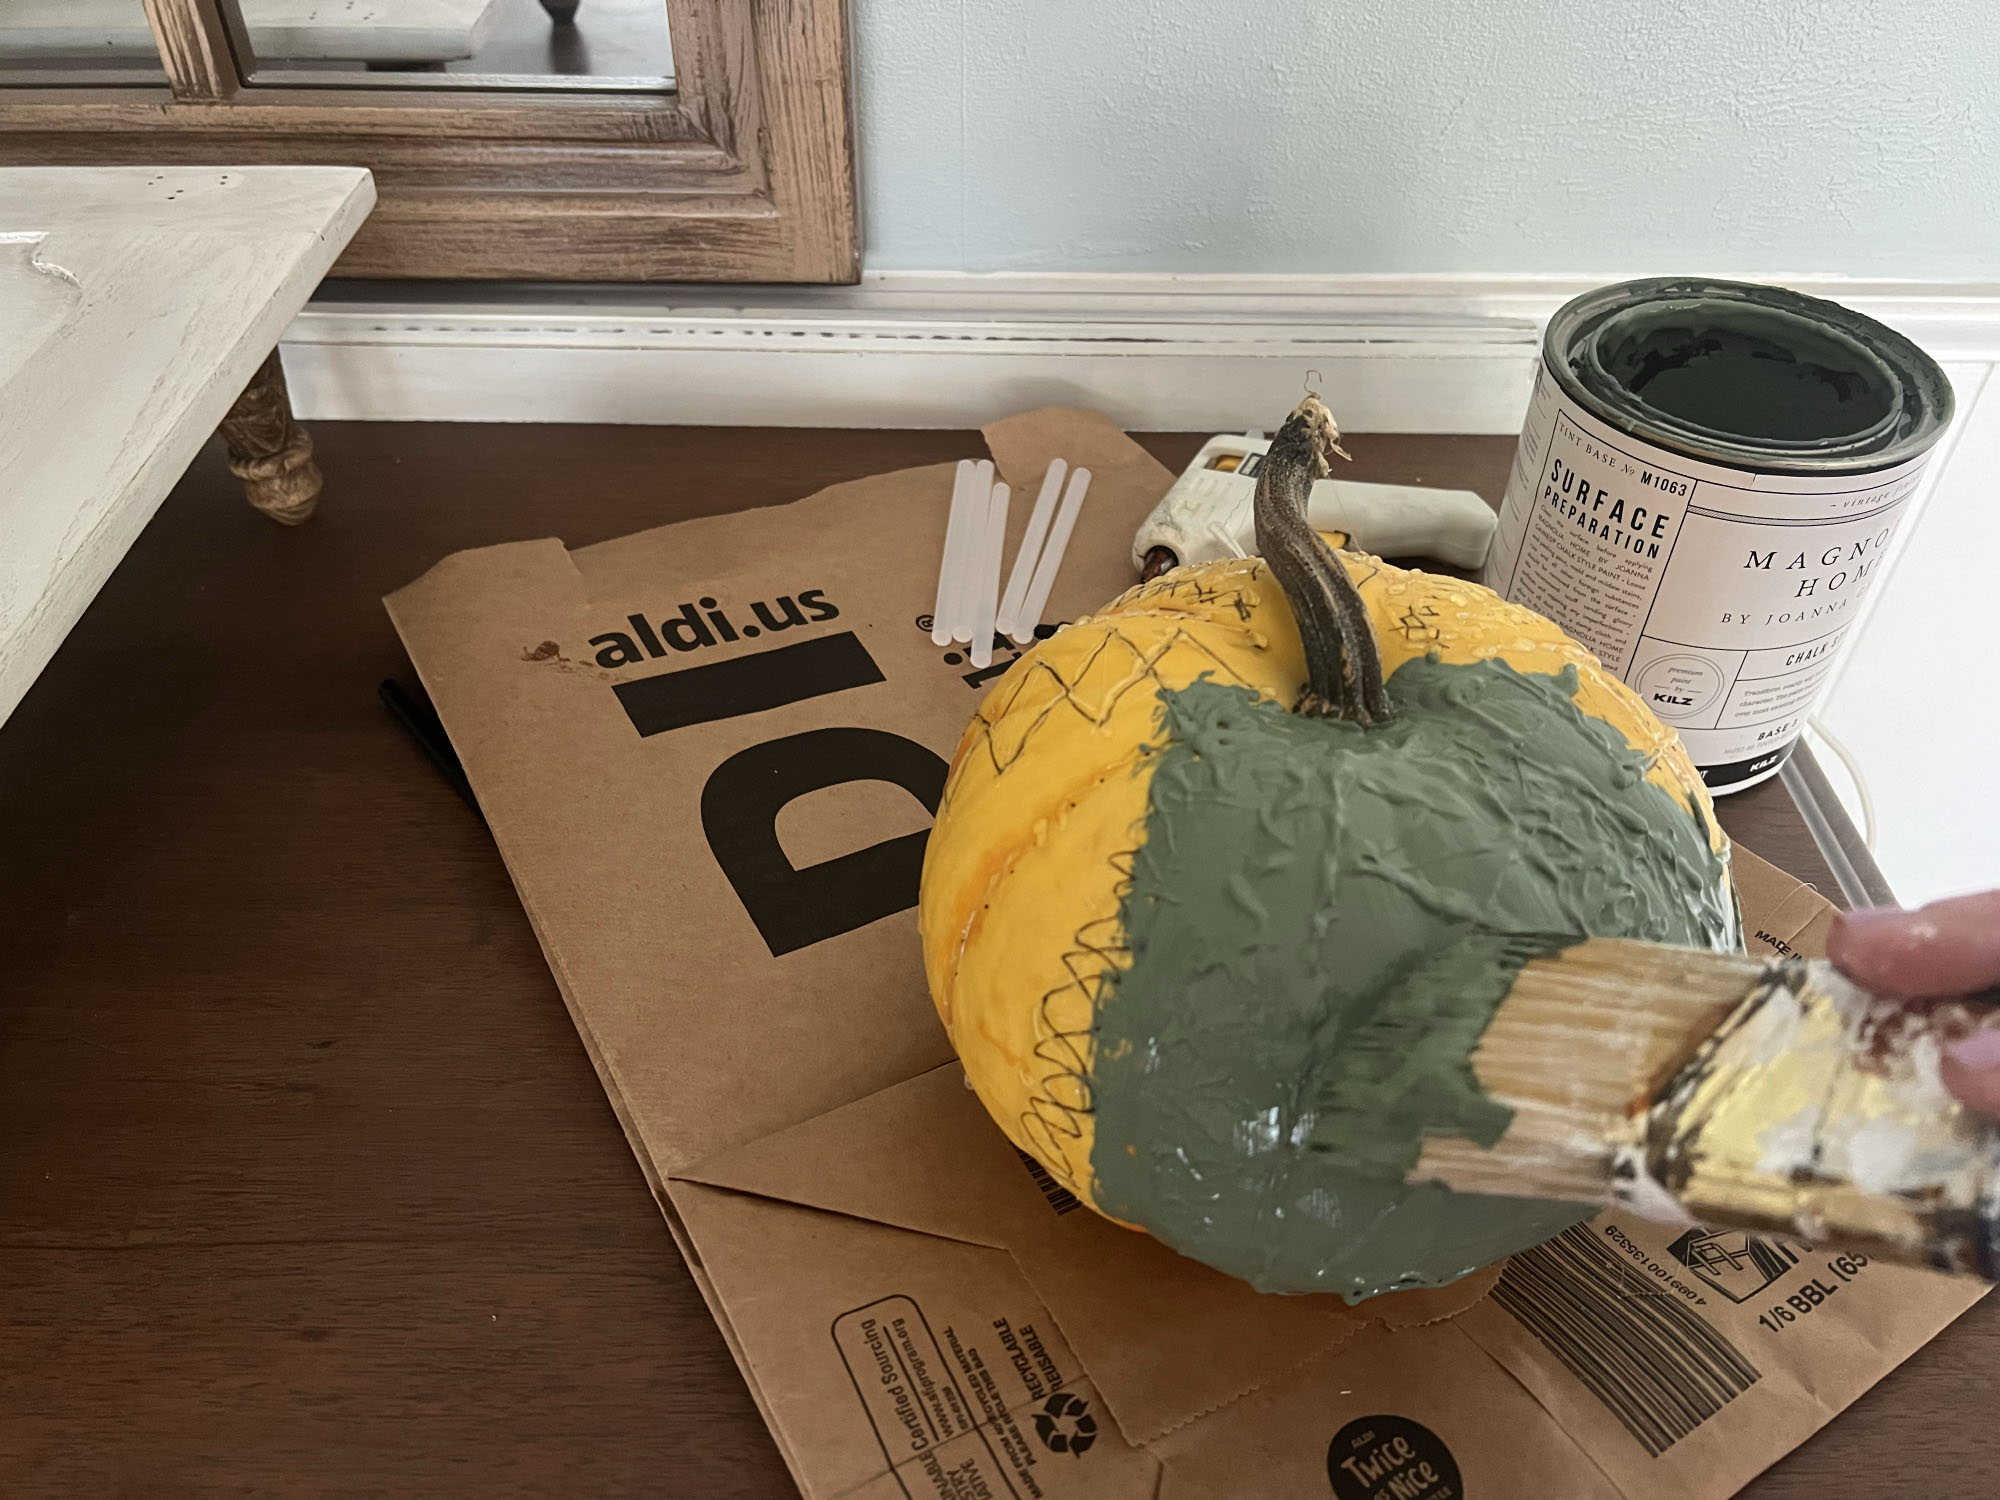
Once you’ve completed drawing your pattern, it’s time to trace over the pattern with your glue gun. Starting back at the beginning, run your glue gun over the pen lines. Where you drew the dots you may choose to make it a line or do dots of glue in between the diamond and stitching patterns. Continue until you’ve glued over the pattern on the entire surface of the pumpkin.
Get small space home decor ideas, celeb inspiration, DIY tips and more, straight to your inbox!
4. Paint your pumpkin
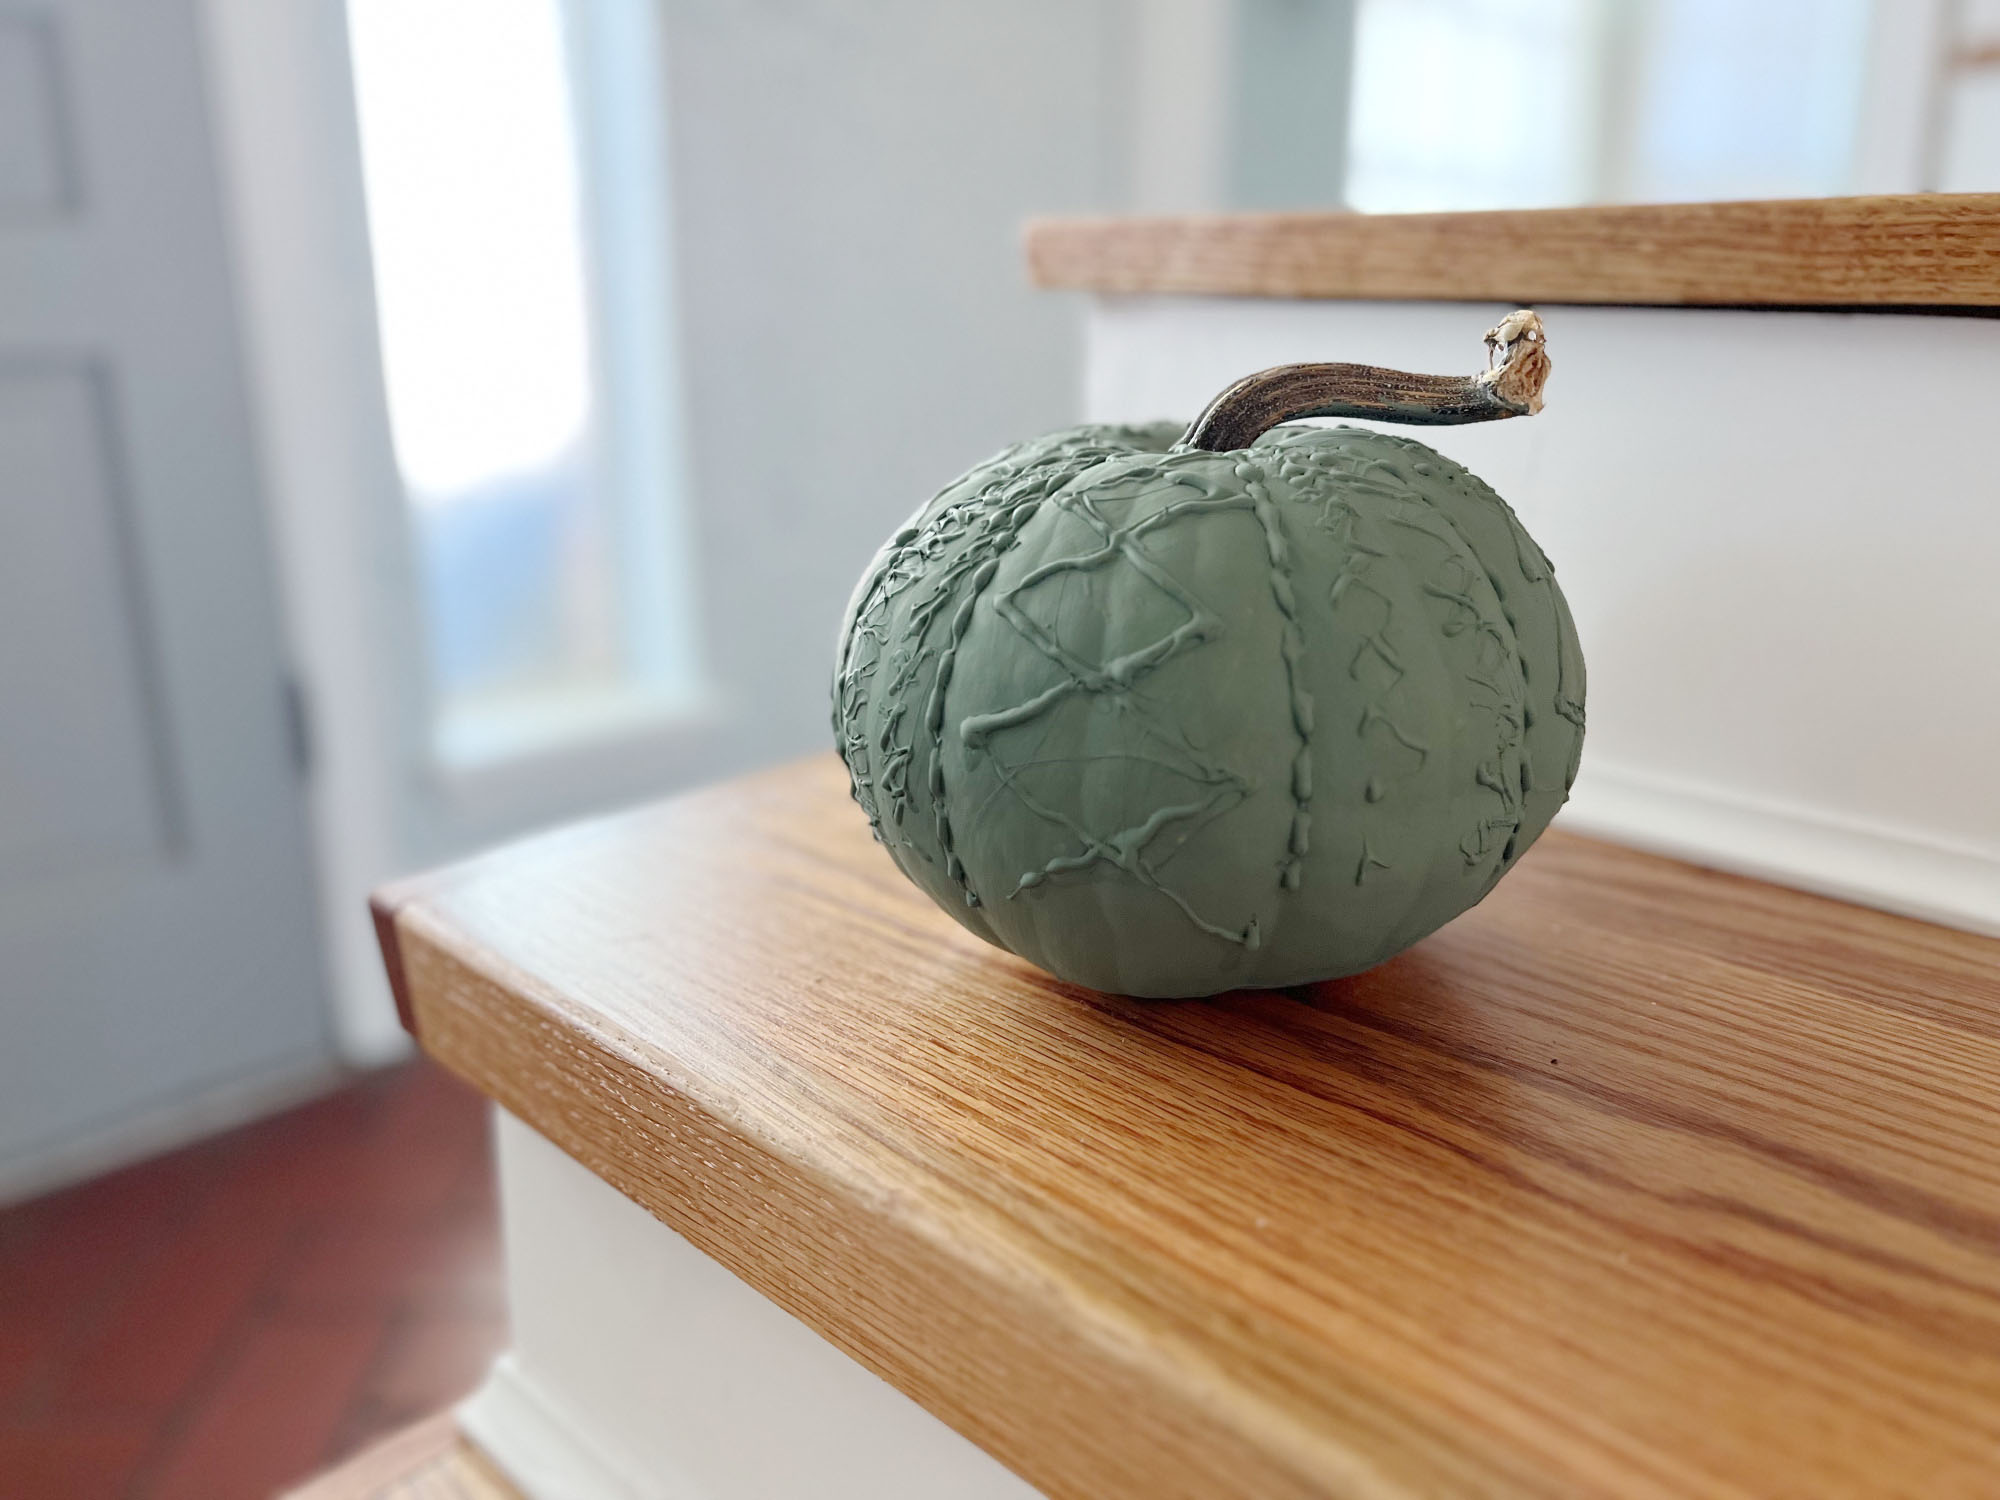
Once the glue has dried, which happens quickly with the hot glue, you’re ready to paint your pumpkin. I chose to use some leftover green chalk paint and painted over the pattern. Allow it to fully dry.
Now you’re ready to display your cute and cozy sweater pumpkin! It will complement your decor and remind you of your favorite comfy fall attire all season long.

Dori Turner writes blog posts and feature articles on affordable design and DIY from her home in the heart of Oklahoma. She has a passion for teaching others how they can transform their home on a budget.